
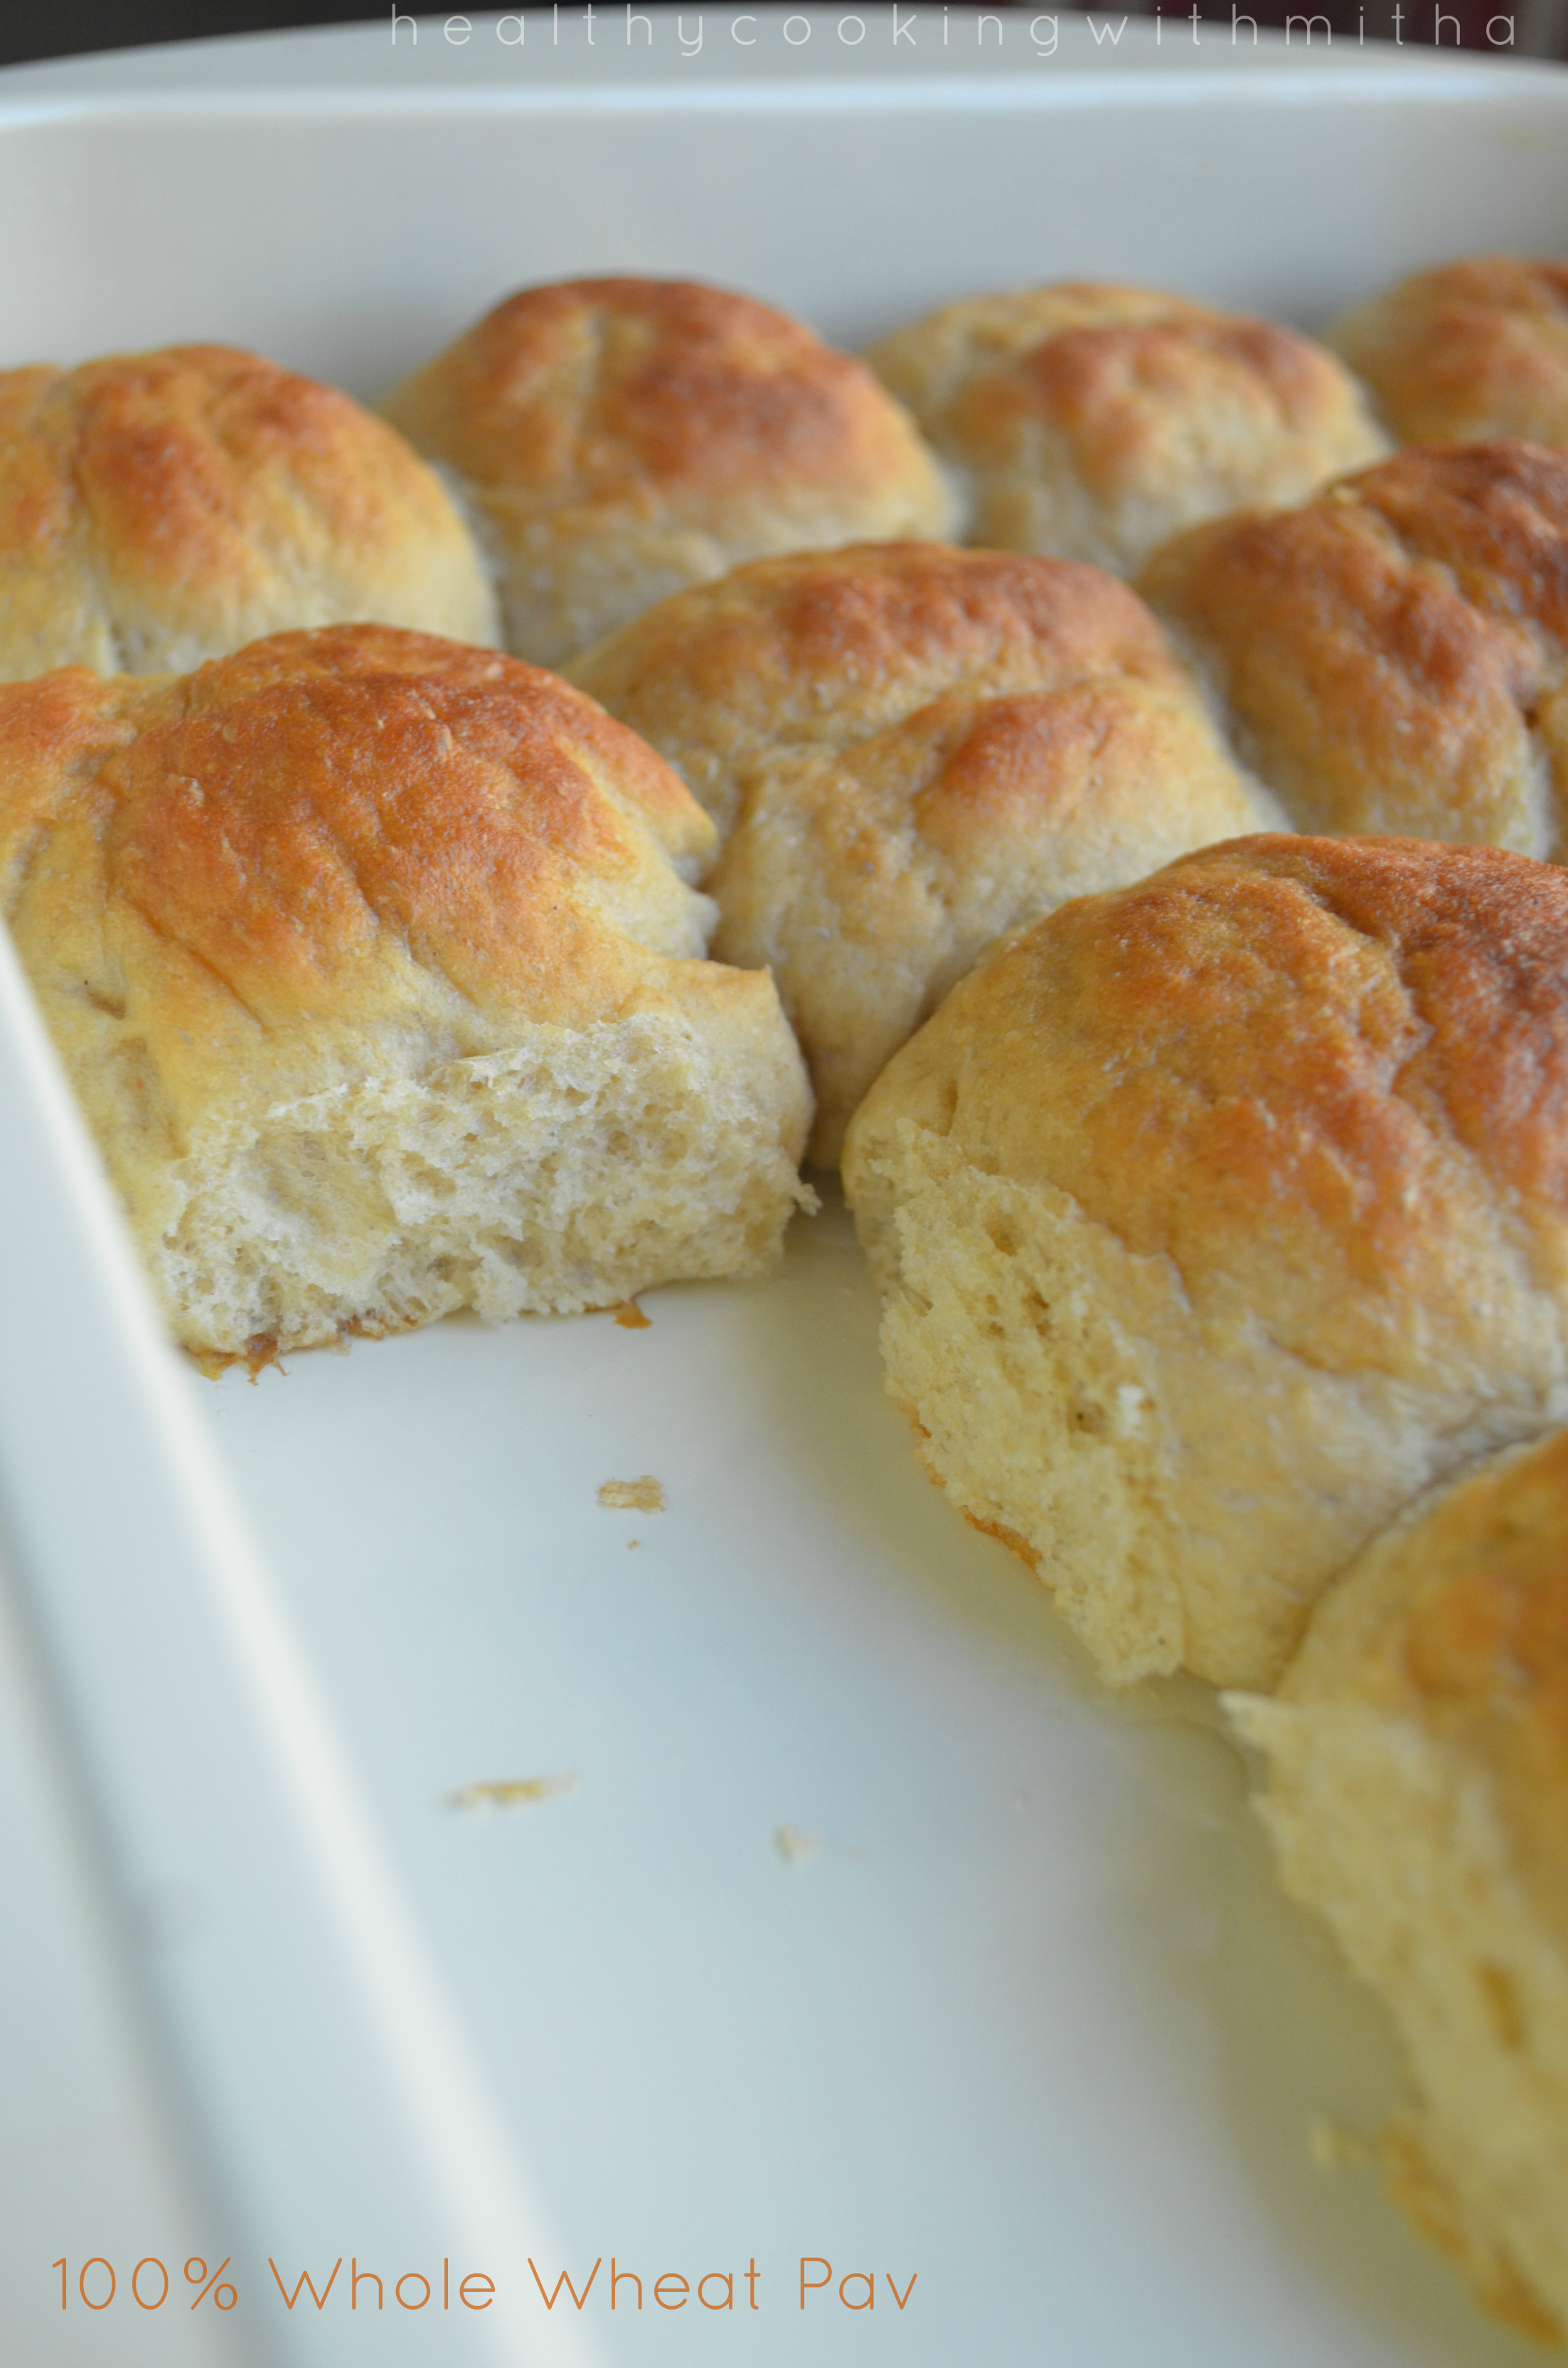
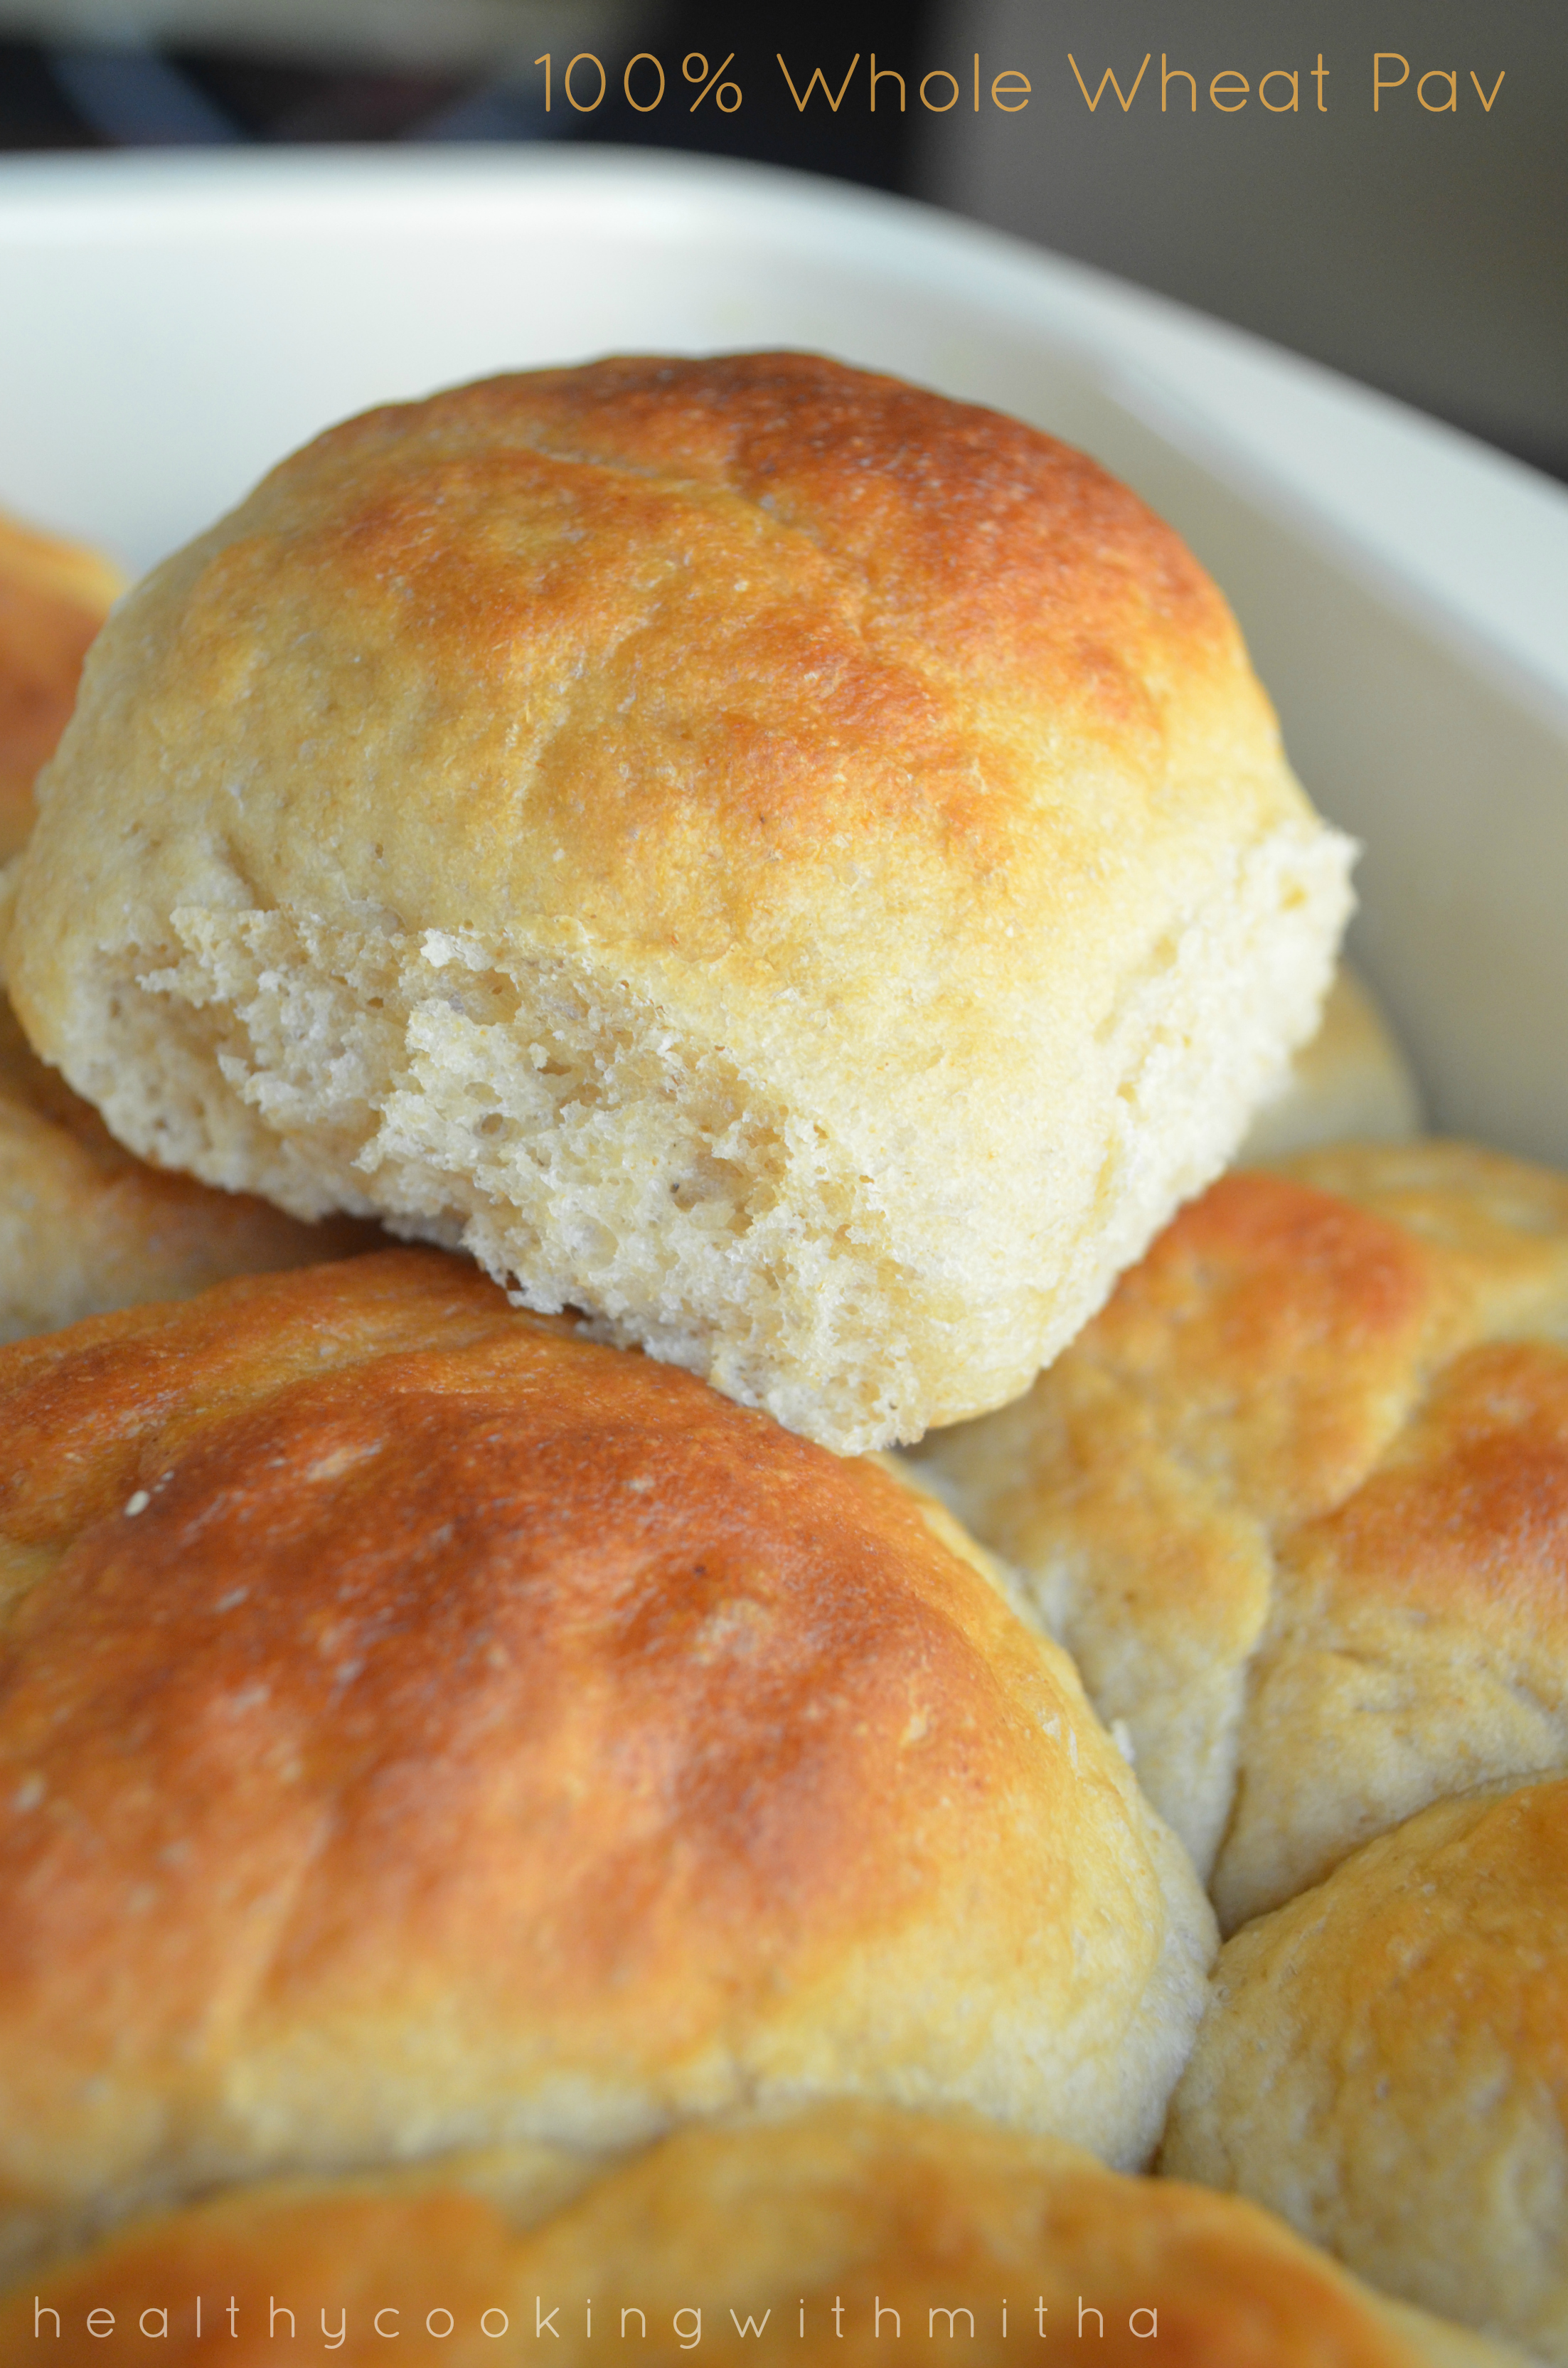
After Whole wheat Vegetable Pizza, if there is one bake I am confident that I can bake well not only for my family, but for others too, it’s these whole wheat Pav. There have been many of our friends who have enjoyed these Pav and they could not believe it’s homemade and made of wheat flour. I have baked a batch of 32 Pavs once for a dinner get together and even though it was a magnitude of hard work, their words of praises and just seeing them eat made me so happy.
These are very filling unlike maida ones which are softer in texture but contain no nutritional value. Especially after two kids, I have to think twice before I cook whether they will like it or not and it should be healthy as well. These Pavs are loved by both kiddos and that’s why, I regularly bake them.
I thank my readers for always requesting recipes which forces me to write them down. Else I would never add them here. My motive is, if it helps atleast one, then my blogging is worth it. Hope you all bake these Pav for your family. Do let me know if any doubts. Happy baking!
RECIPE:
Ingredients: { Makes 10 Pavs}
2 Cups whole wheat flour/ Atta ( I use Pillsbury brand as it works best)
1 Cup Milk (may require a little more depending on the brand of wheat flour)( can also use milk powder+water)
20 grams Butter
1 1/2 Tbsp Milk powder
1 Tbsp Cane Sugar (can substitute with regular sugar)
2 tsp Instant yeast OR 2 1/2 tsp dry active yeast
1 tsp Salt
Little milk and butter for brushing over the pav
Oil to brush the pan and dough
Step by step recipe:
1. Warm milk in a pan or microwave. It should NOT be very hot or cold. Just lukewarm. Add in cane sugar and yeast. Mix once and allow to proof (ie keep aside for about 10 mins).
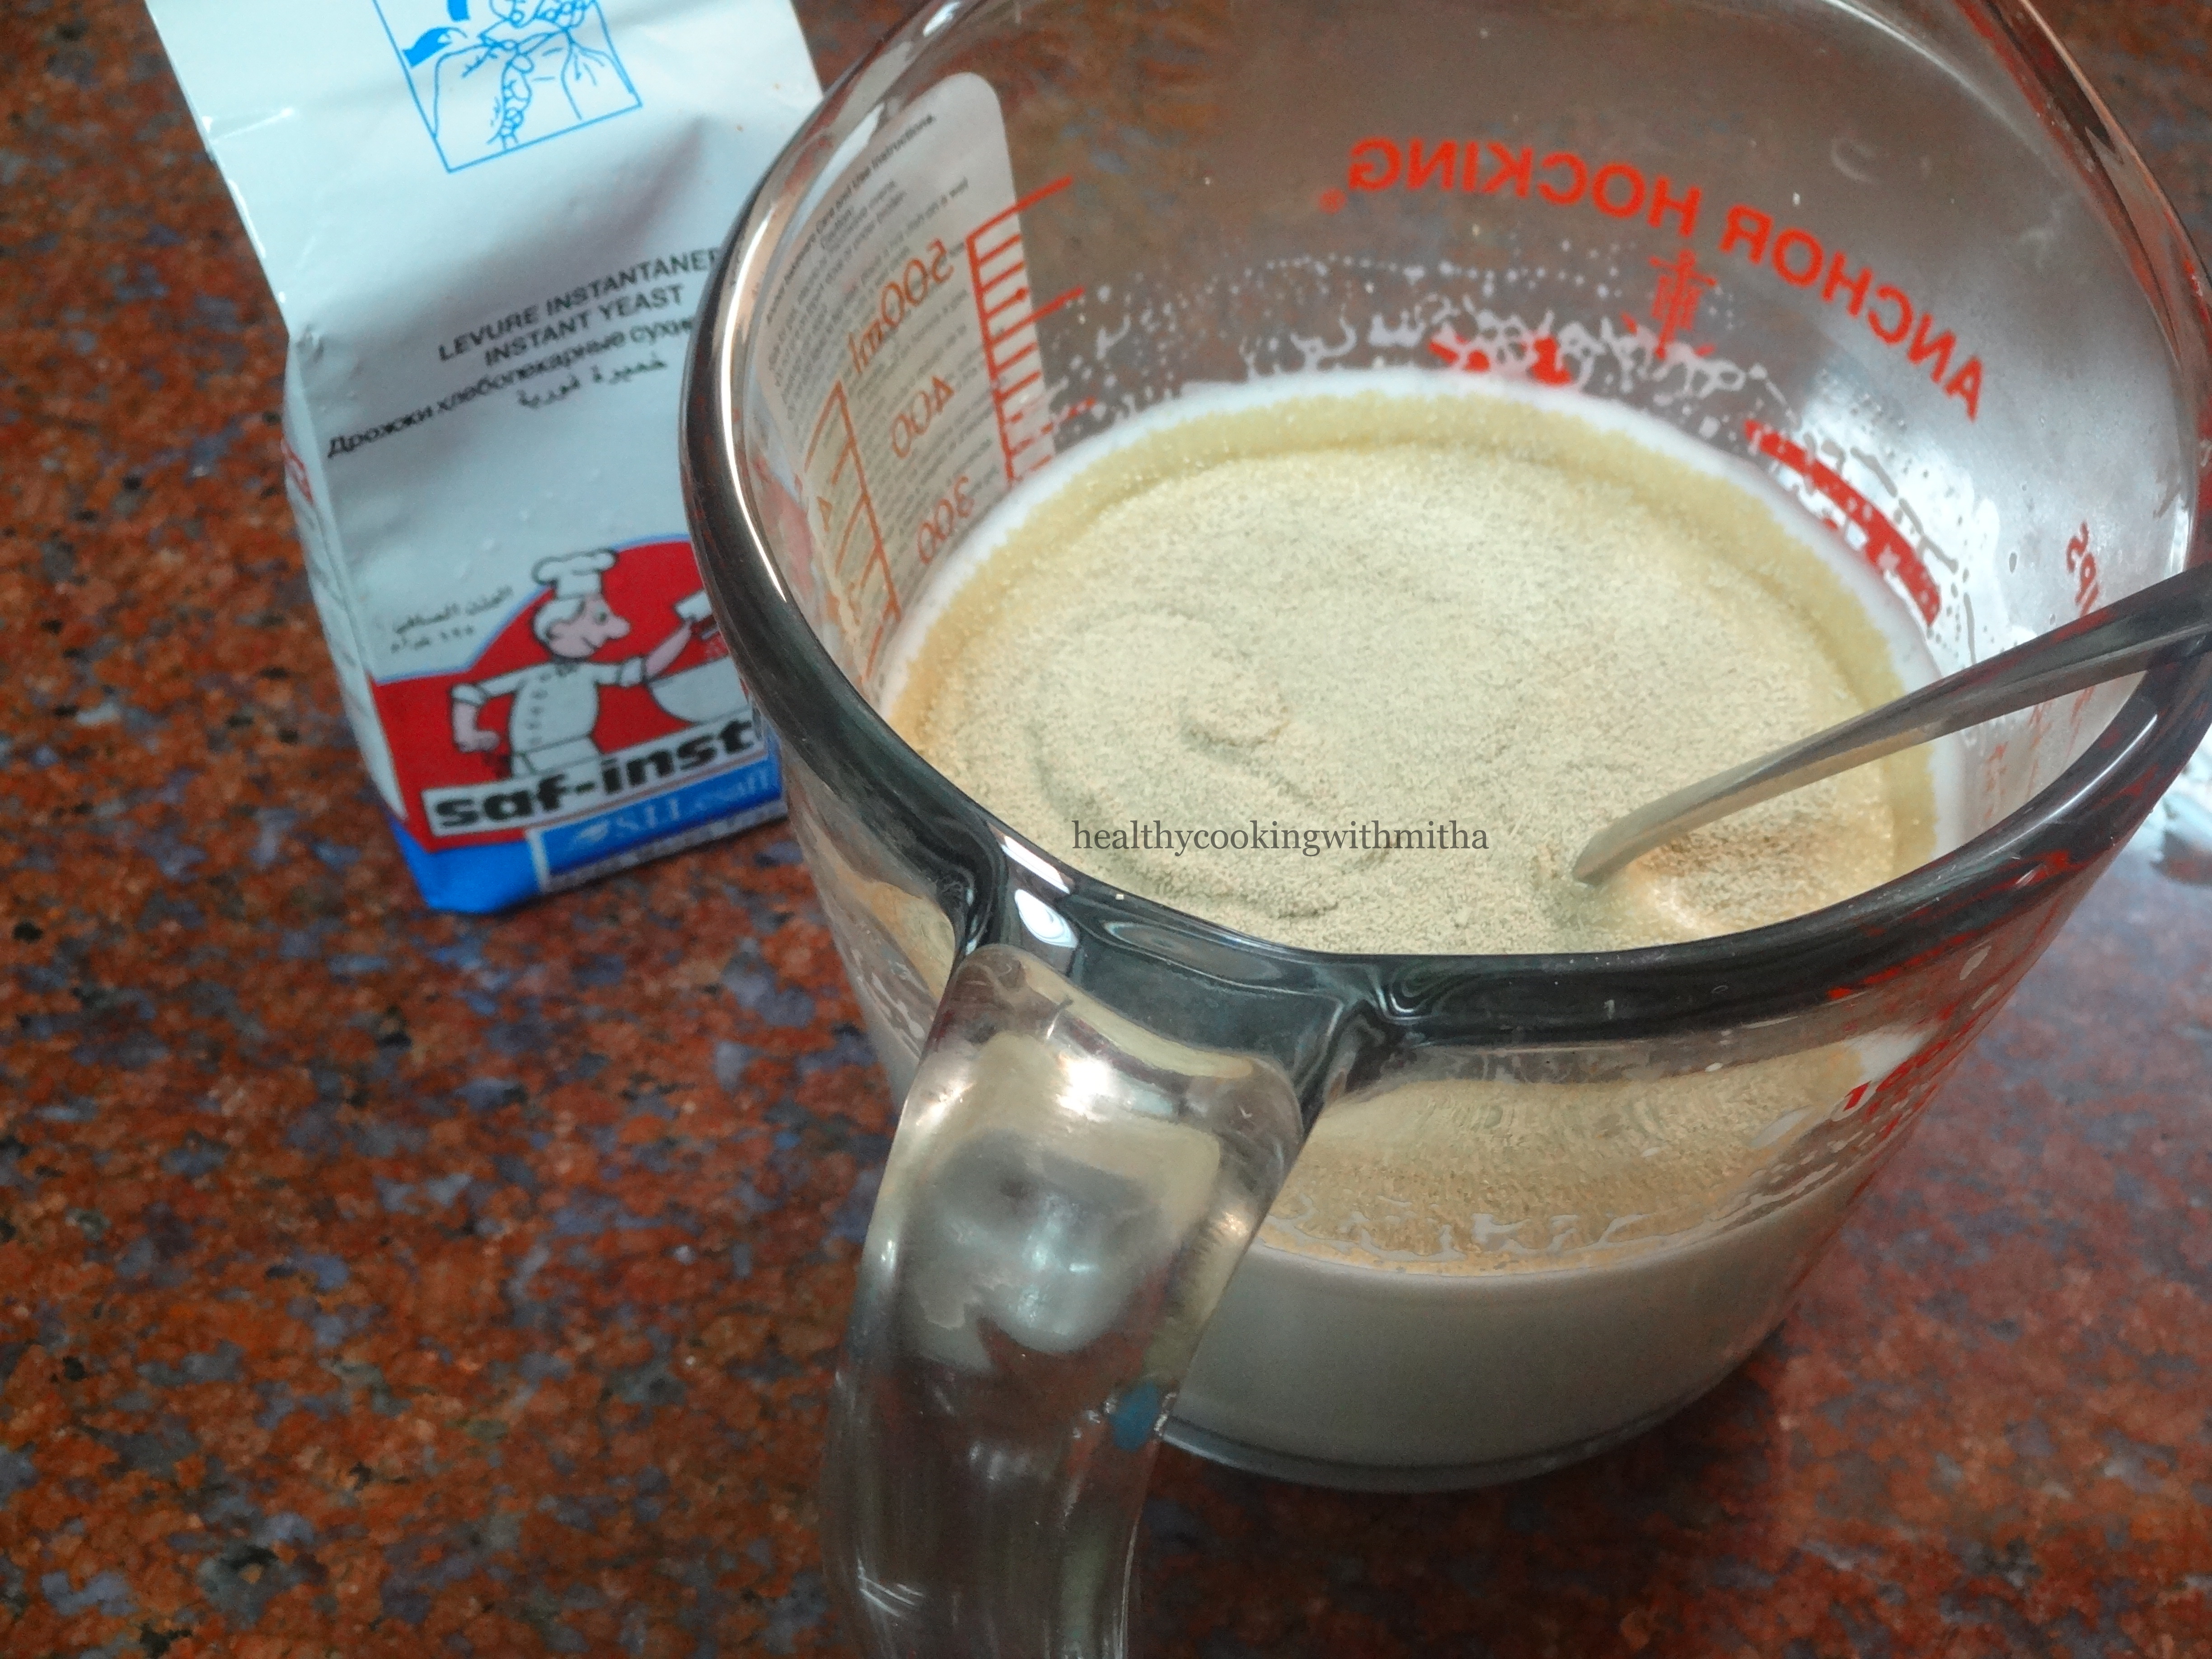

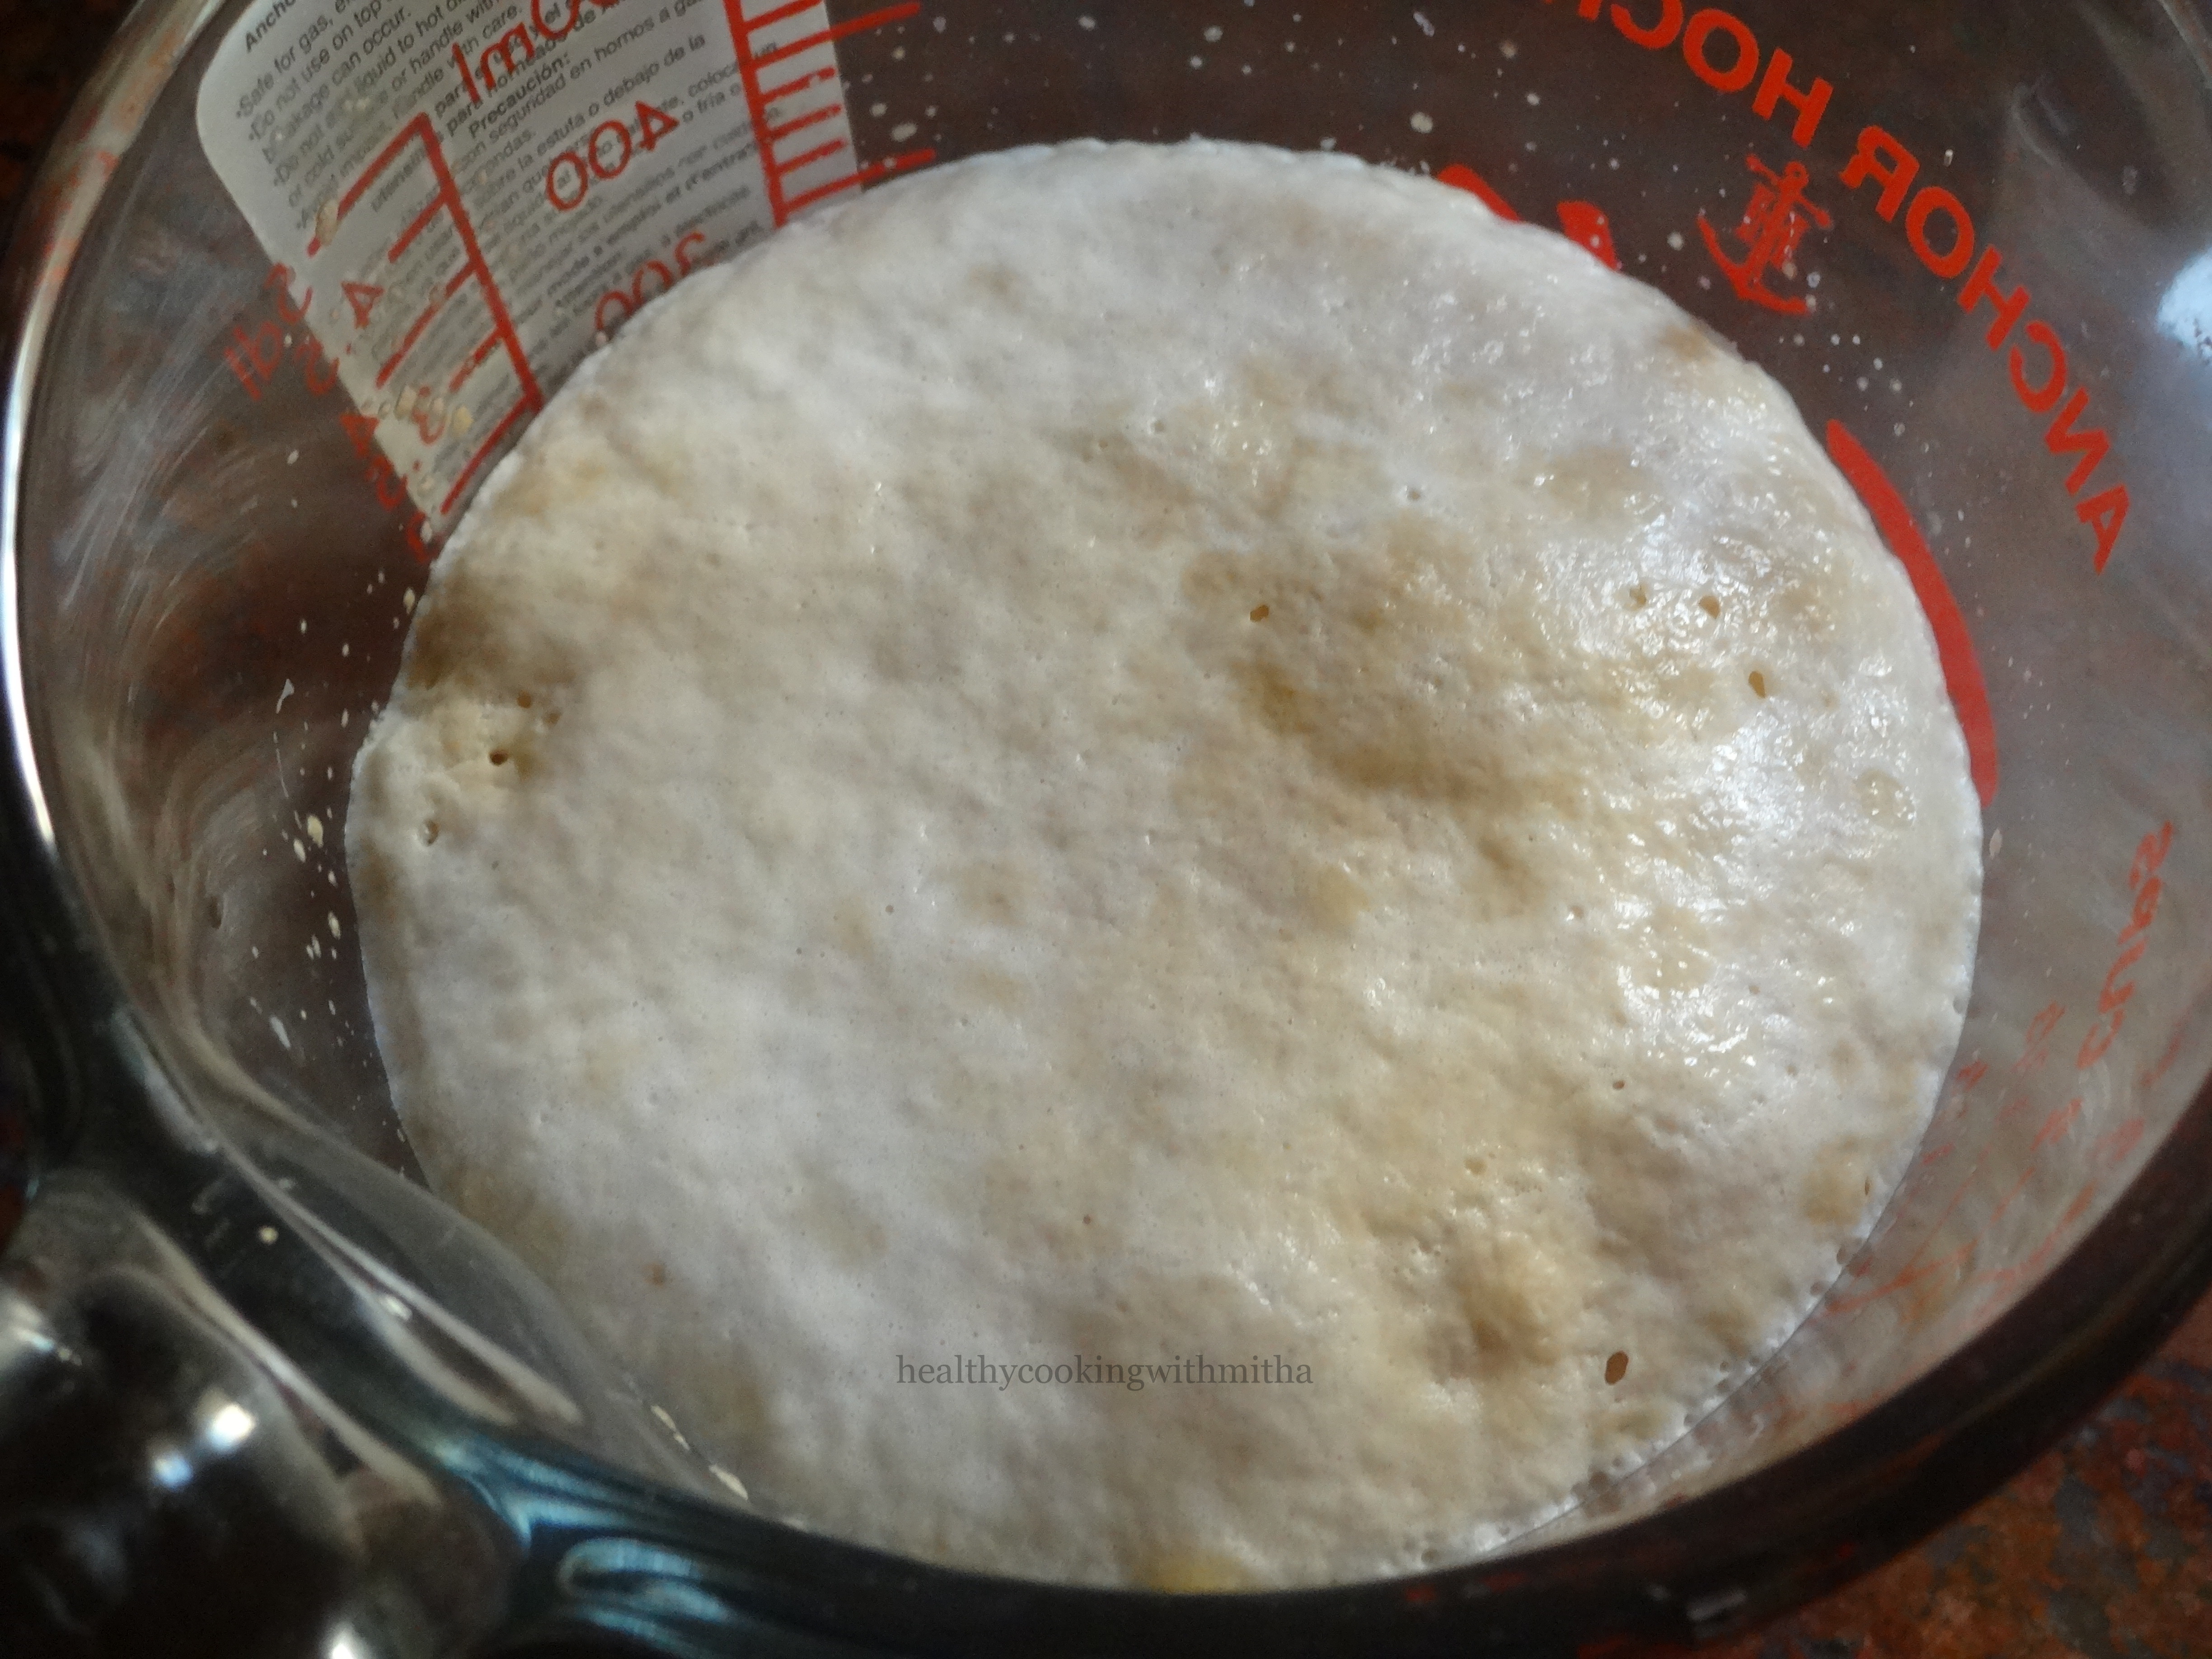
Note: If it does not proof, discard the batch. It means the yeast has expired or the milk was too hot or cold. Don’t use it to make Pav as the pav will turn hard.
Tip: When in doubt, best is to use the yeast in lukewarm water first and see if it proofs instead of wasting milk.
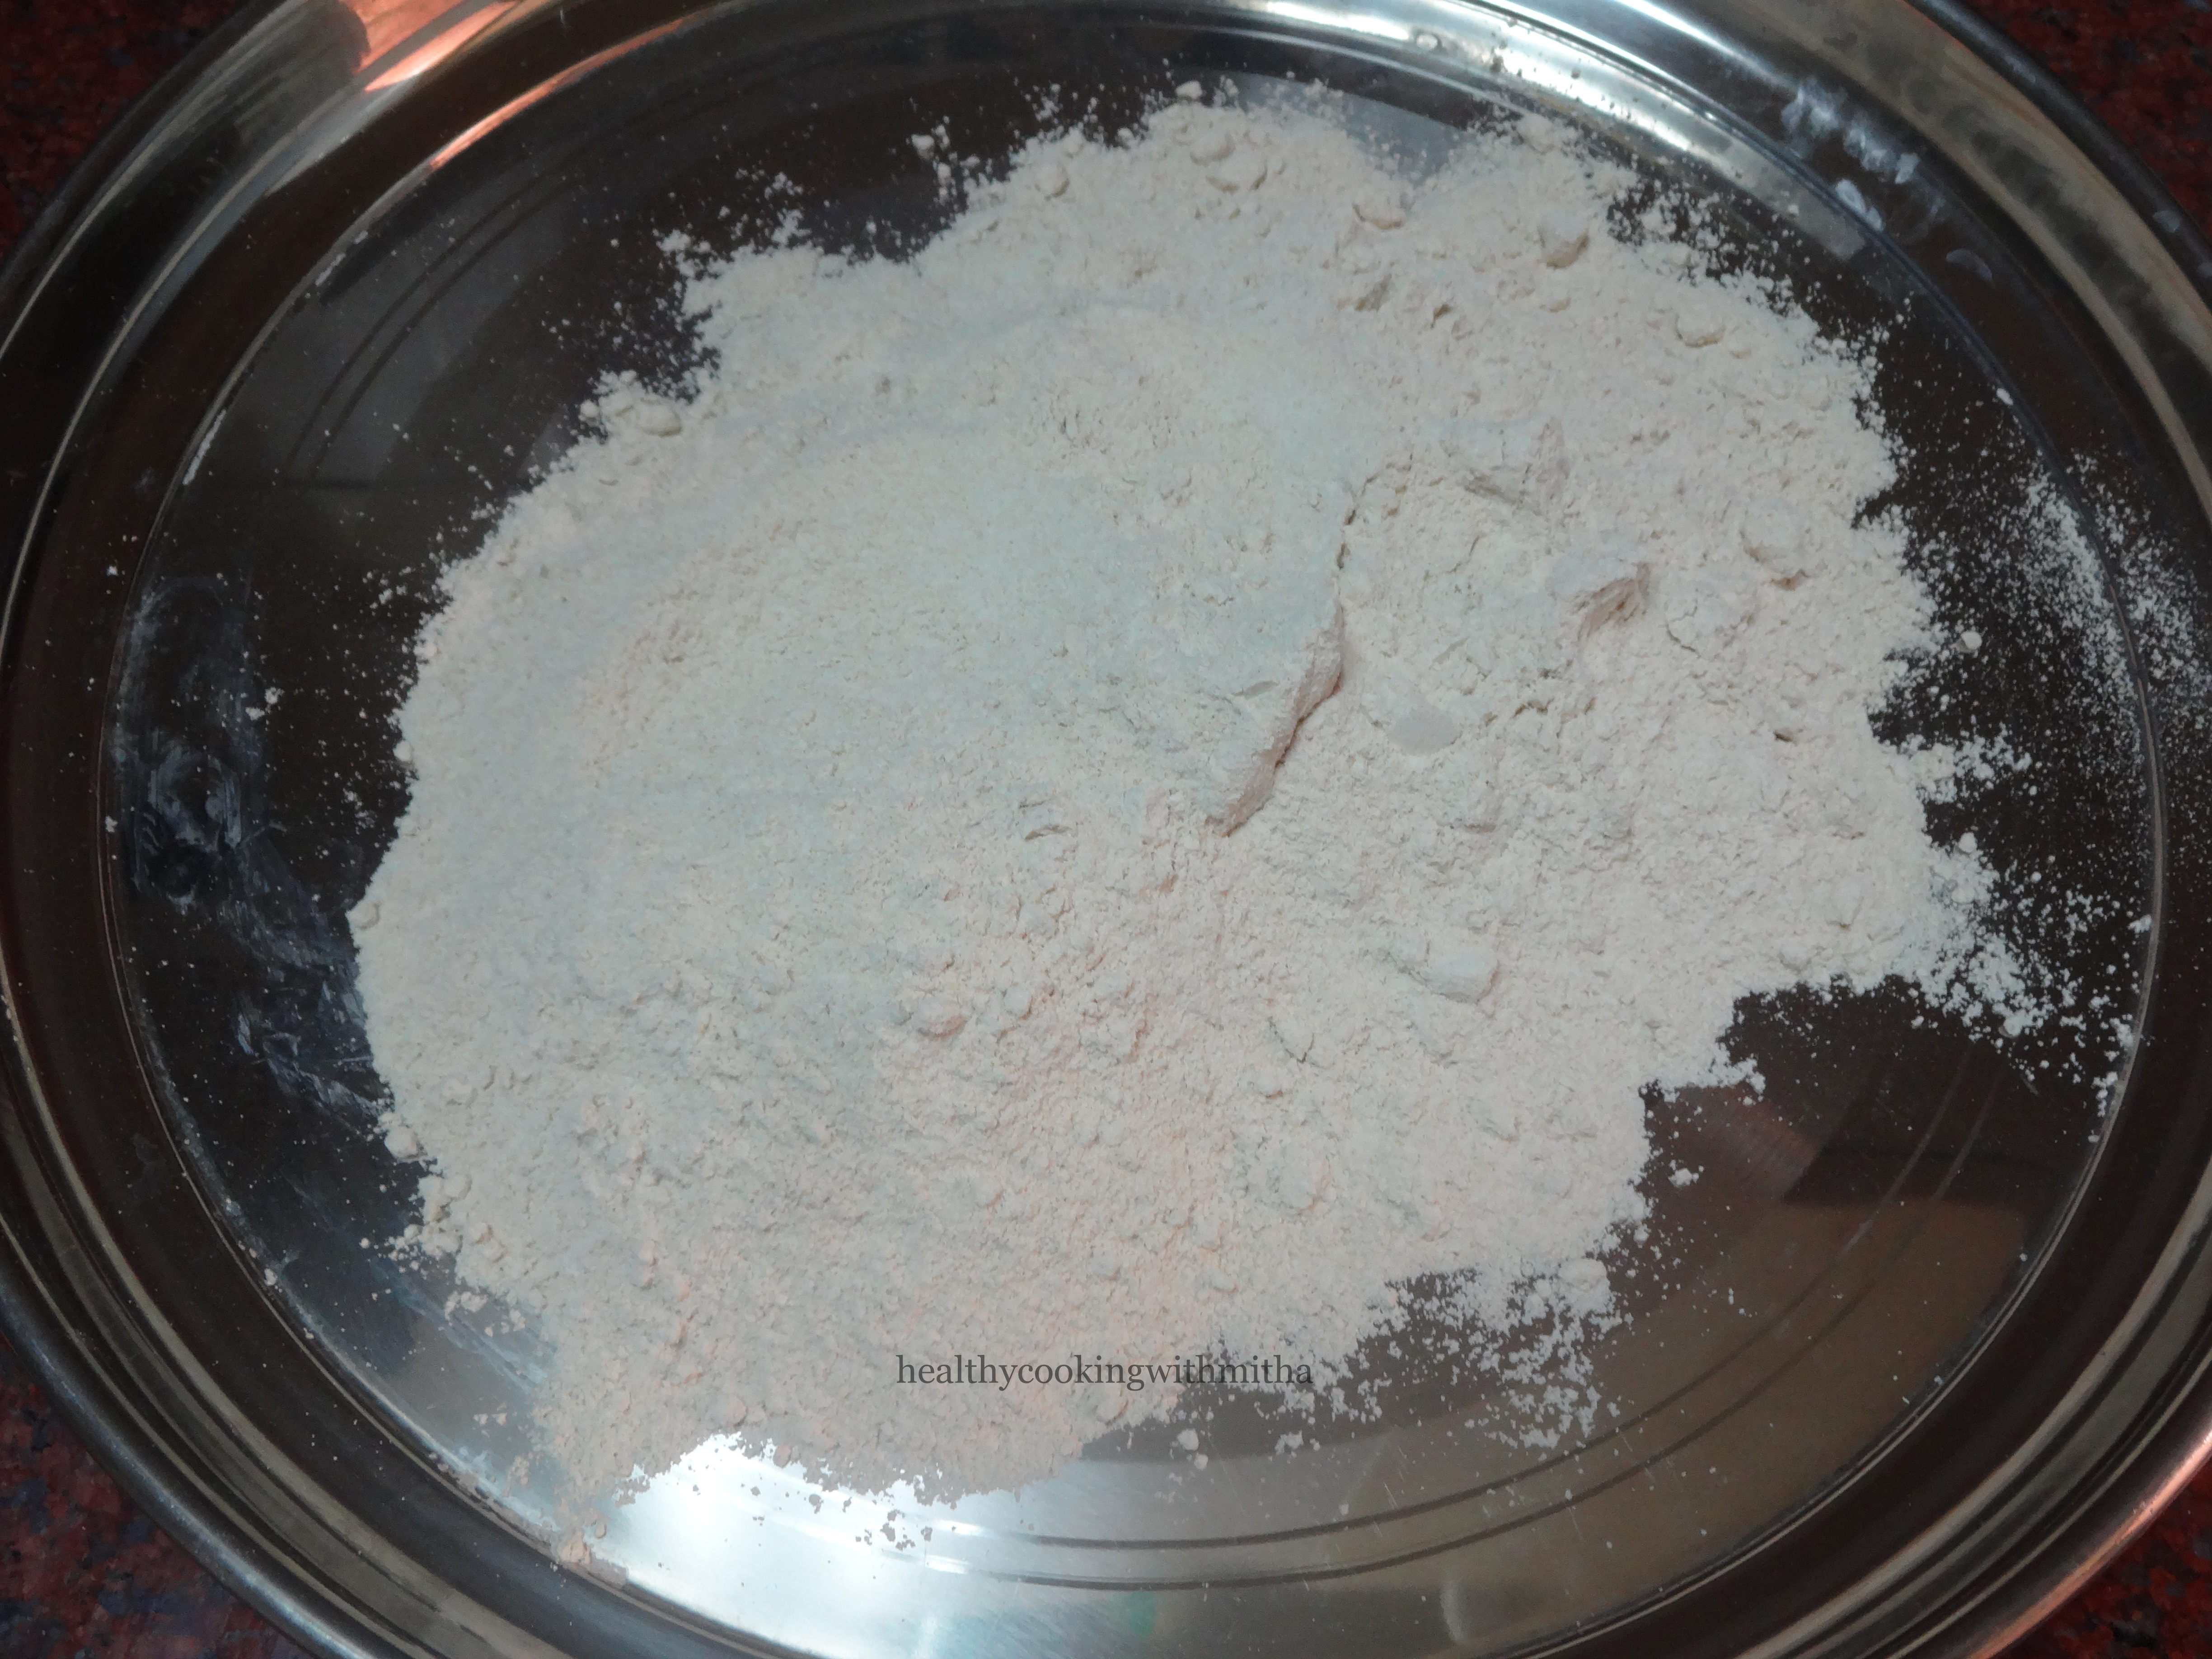
2. In a big bowl or plate, take wheat flour. Add in salt and milk powder.
3. Now make a well in the center and add the proofed yeast milk.

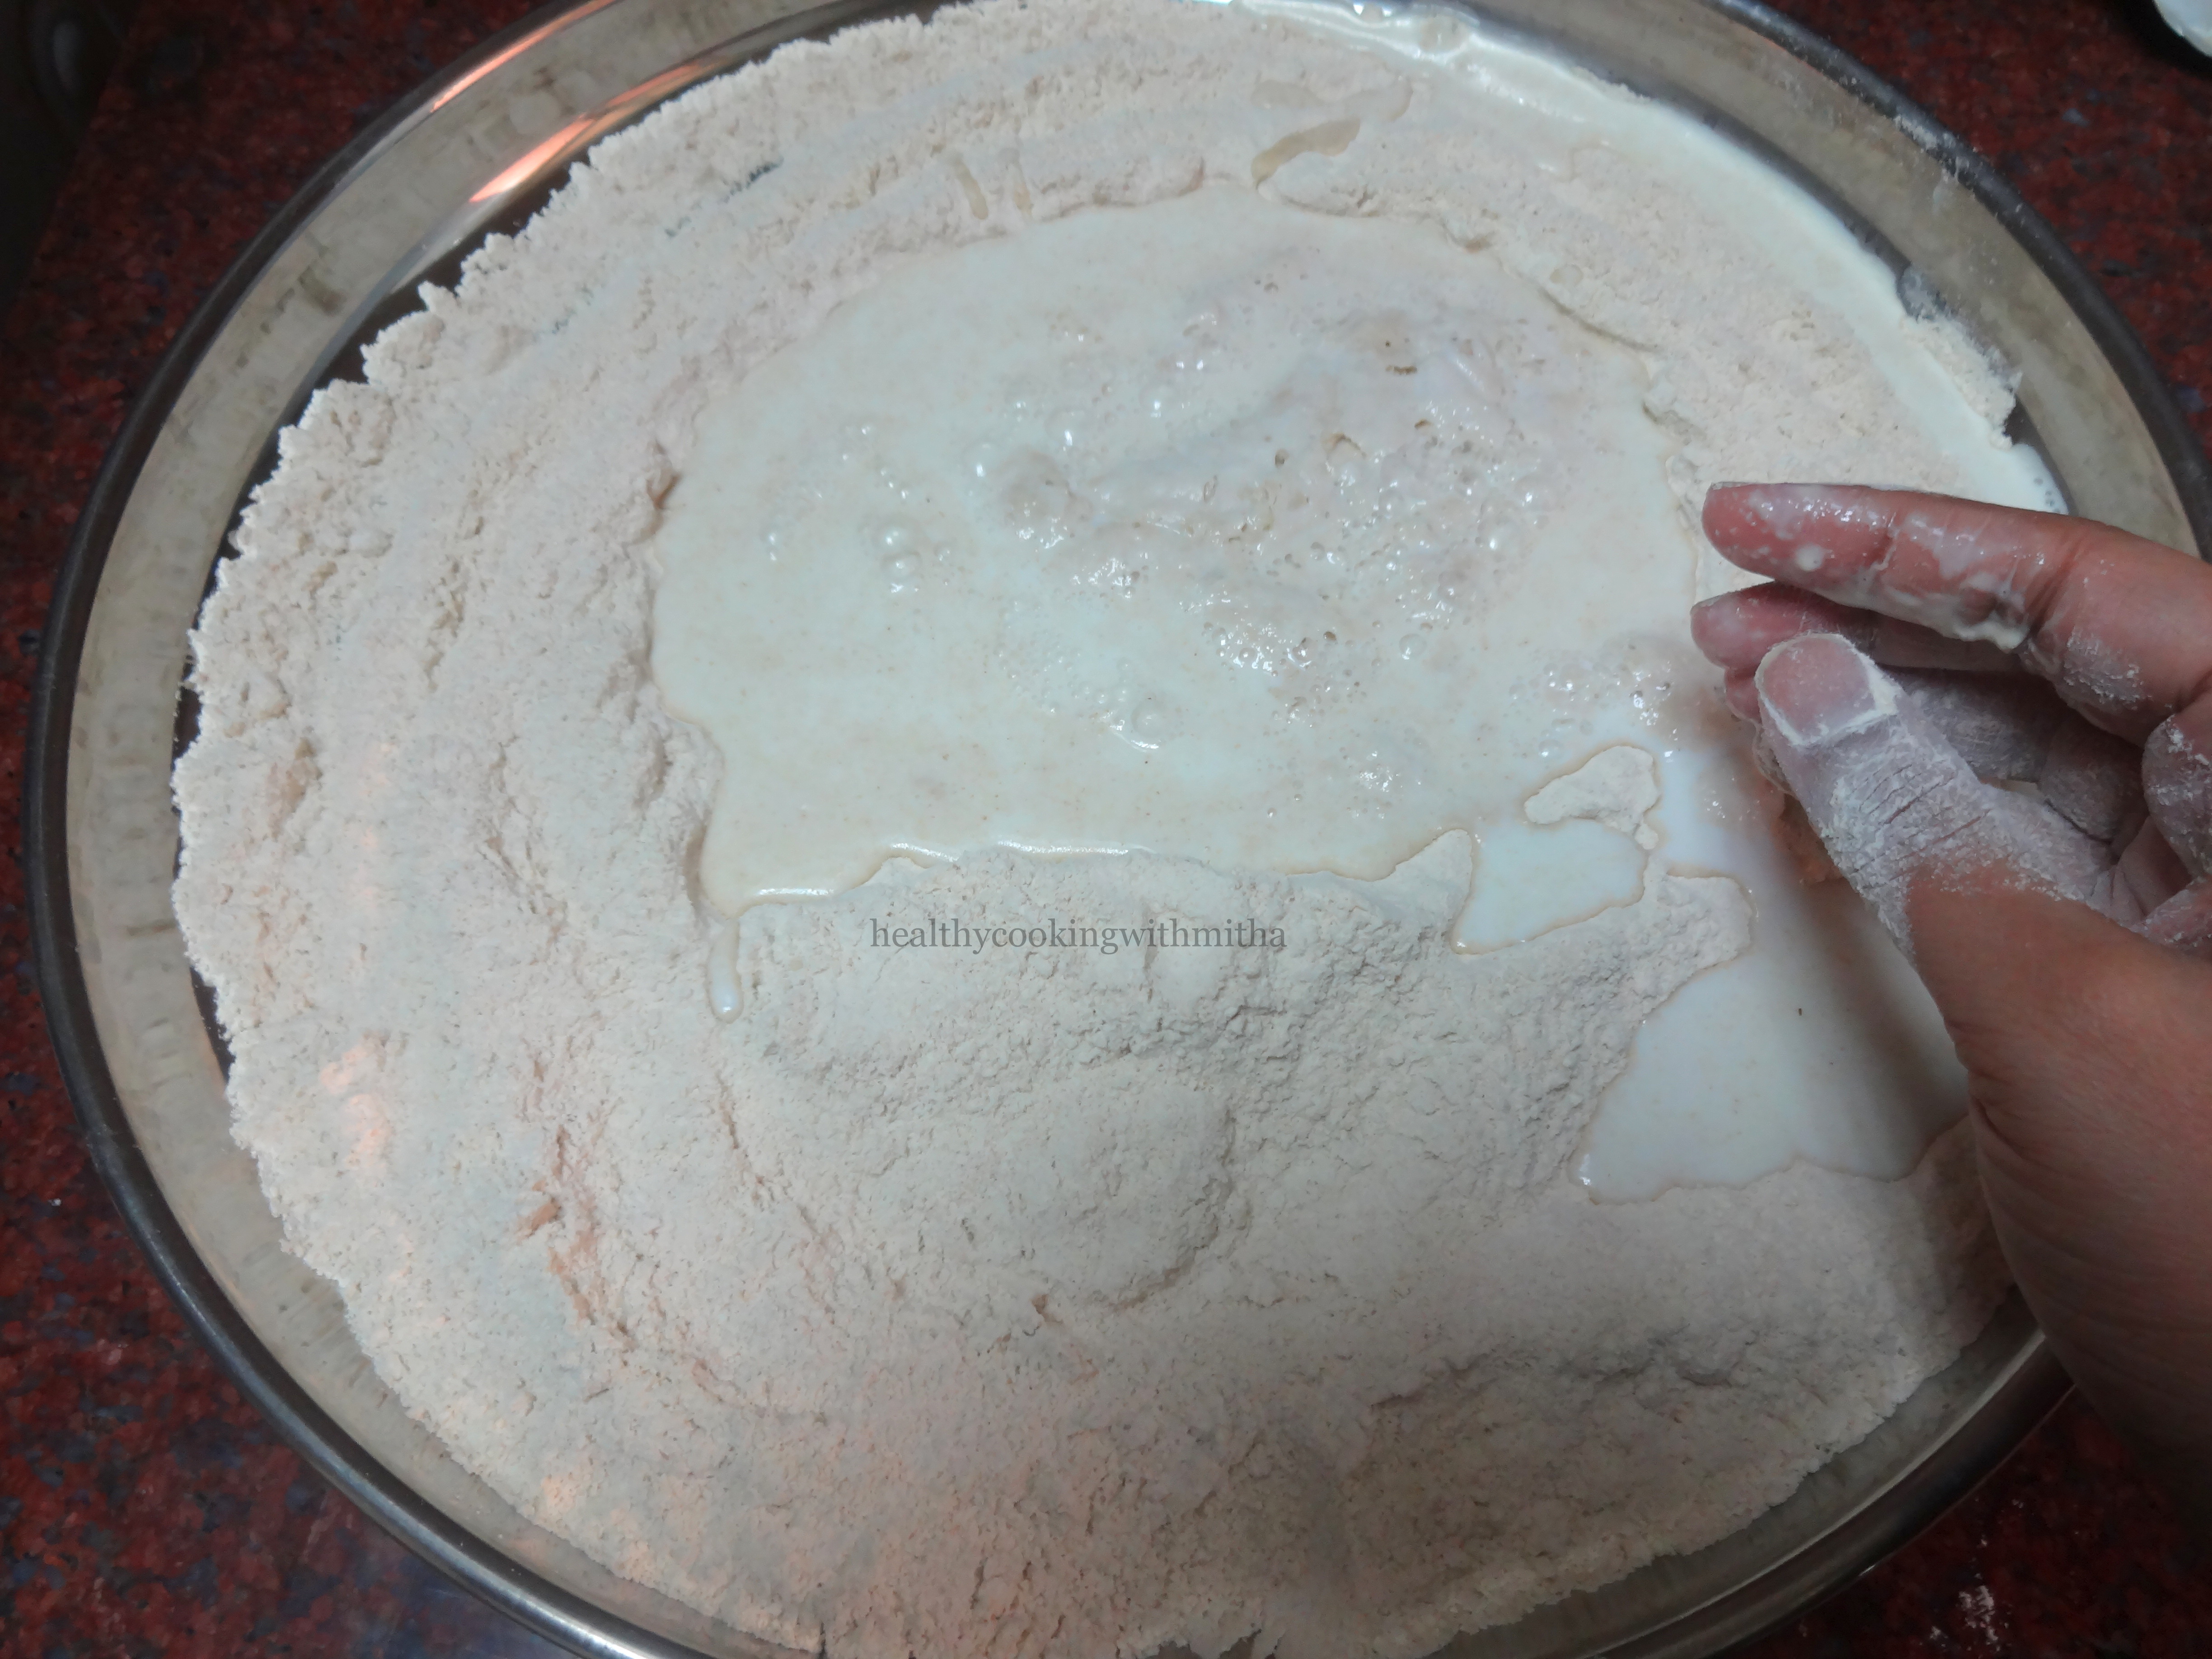
4. Now mix together like you would do for chapati dough and form a dough. It should be very sticky and not dry. If dry, add more milk to make it sticky.
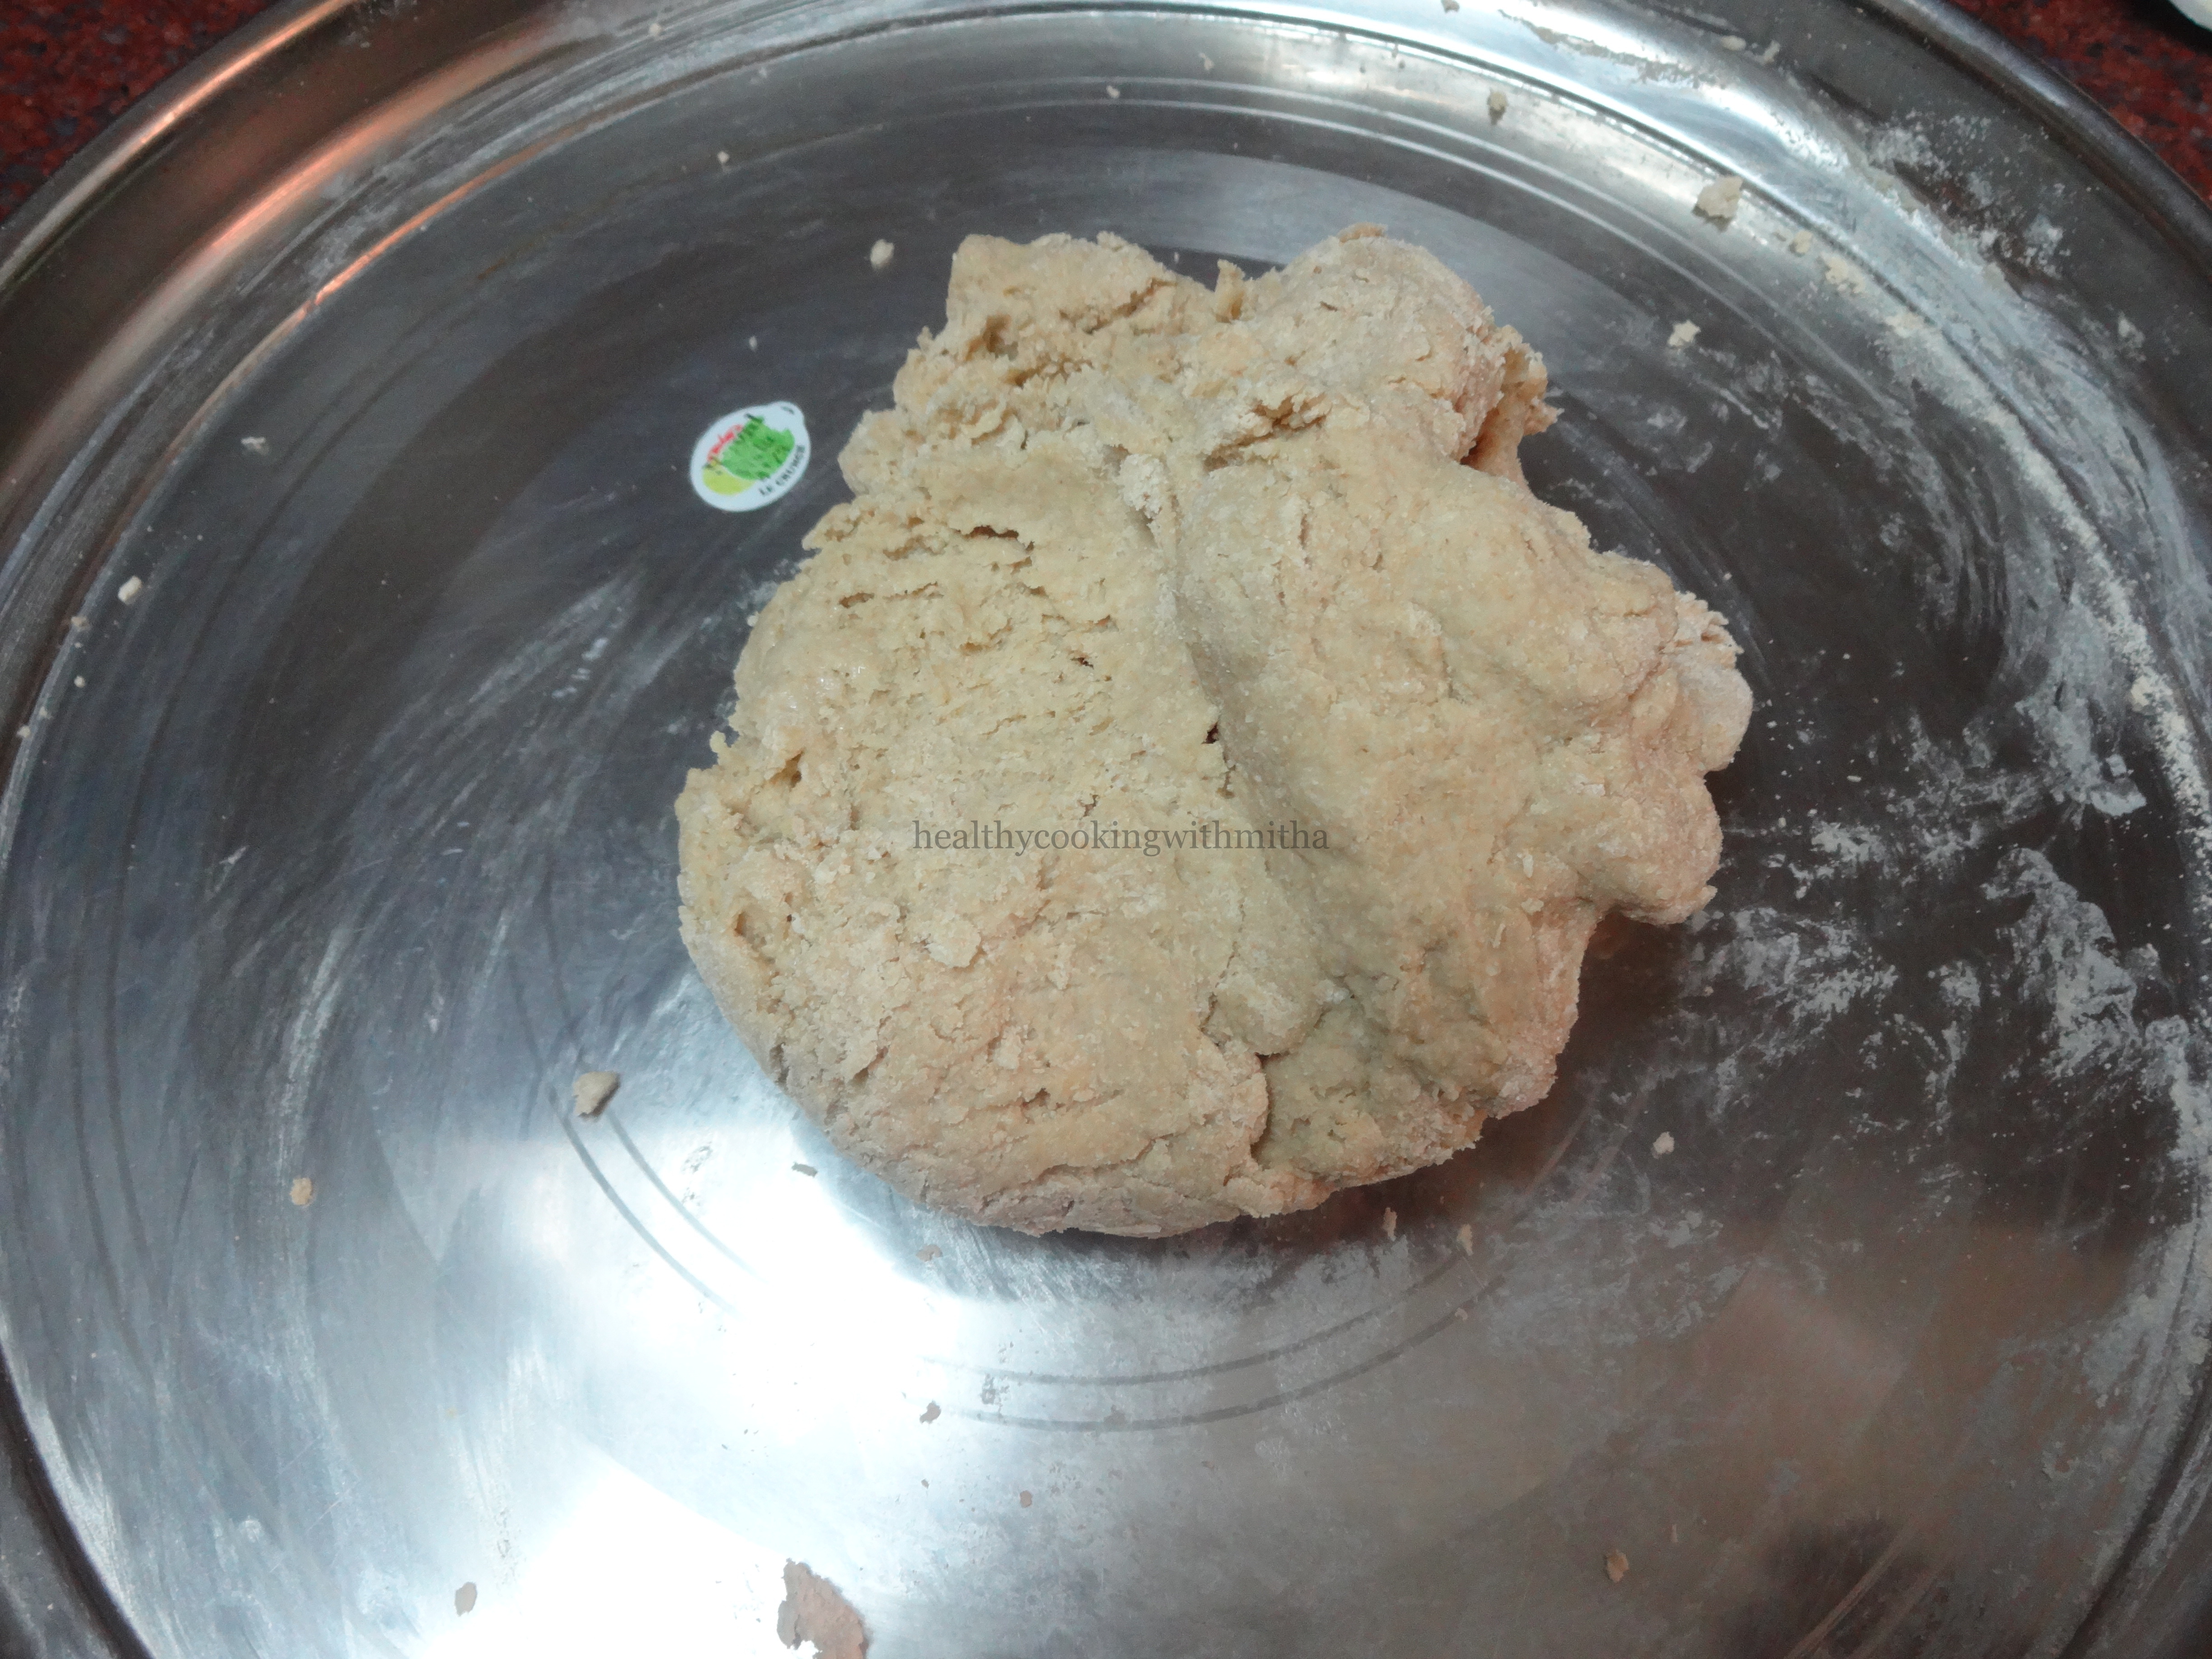


5. Add in butter and mix together.

6. Now knead together for atleast 10 mins. This is very important and very necessary for soft pavs. I keep a timer so that I don’t knead less. Here I have shown the kneading process in steps.


Note: Keep doing this for 10 to 12 mins.
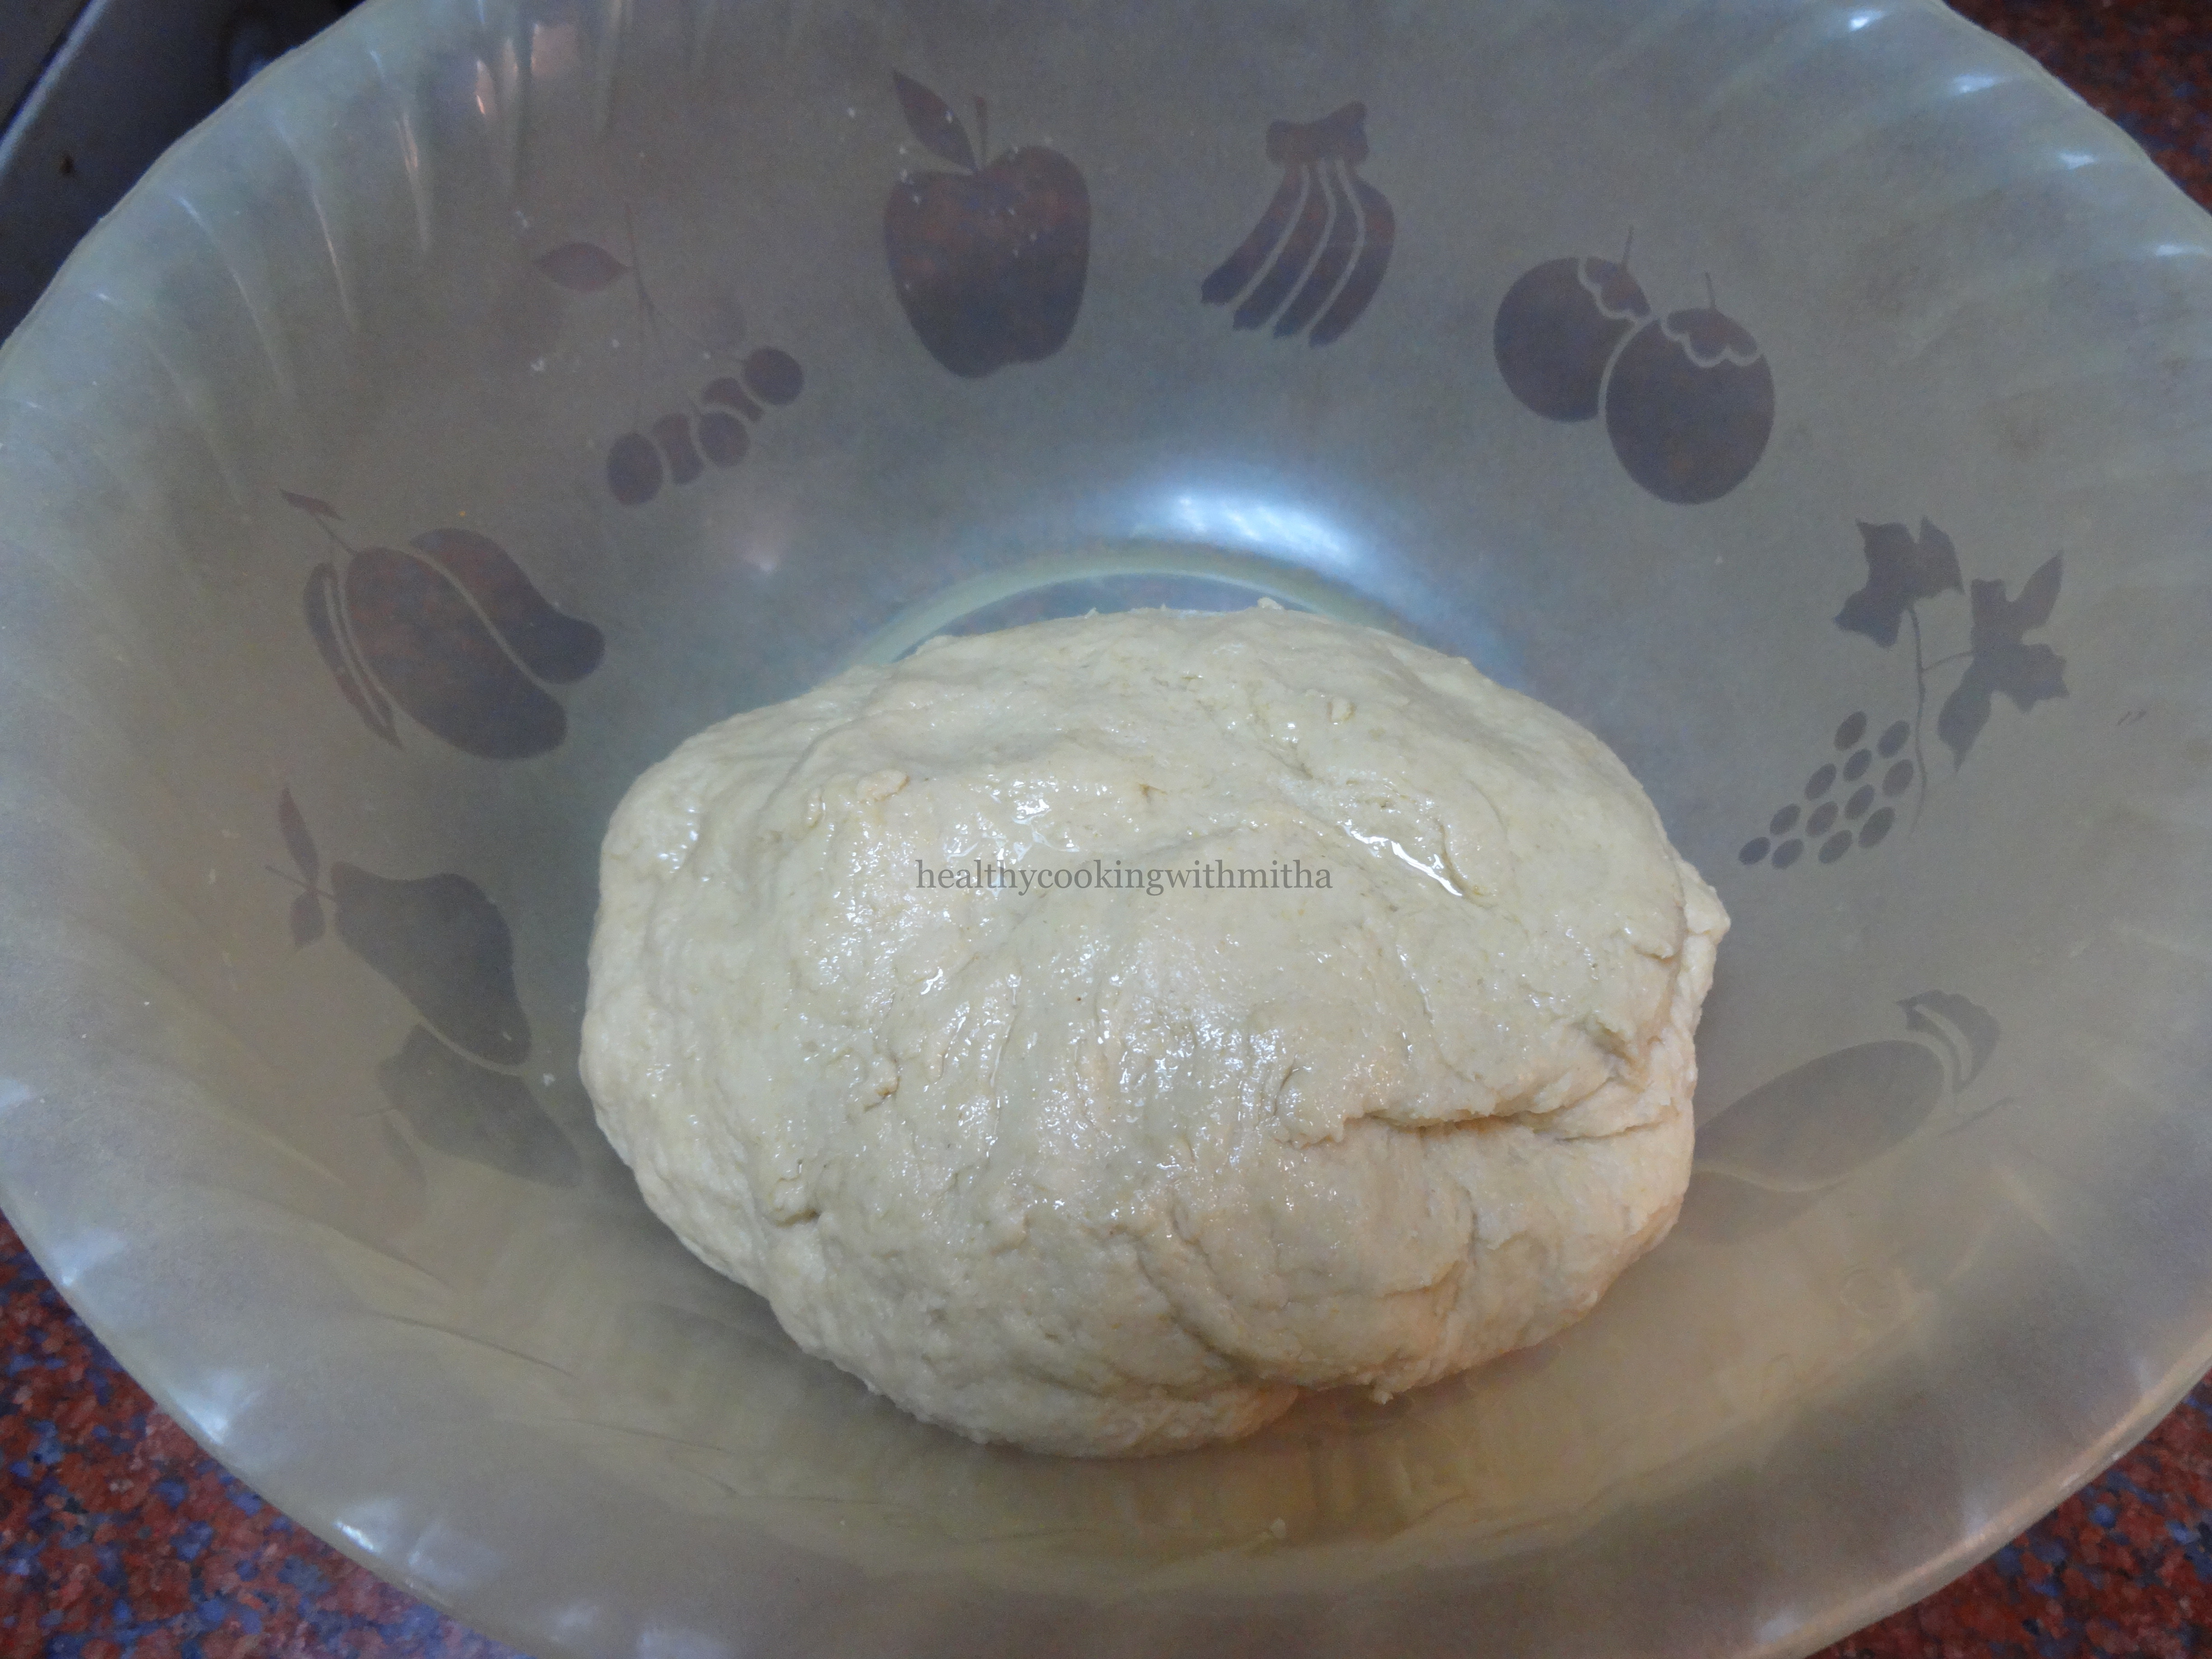
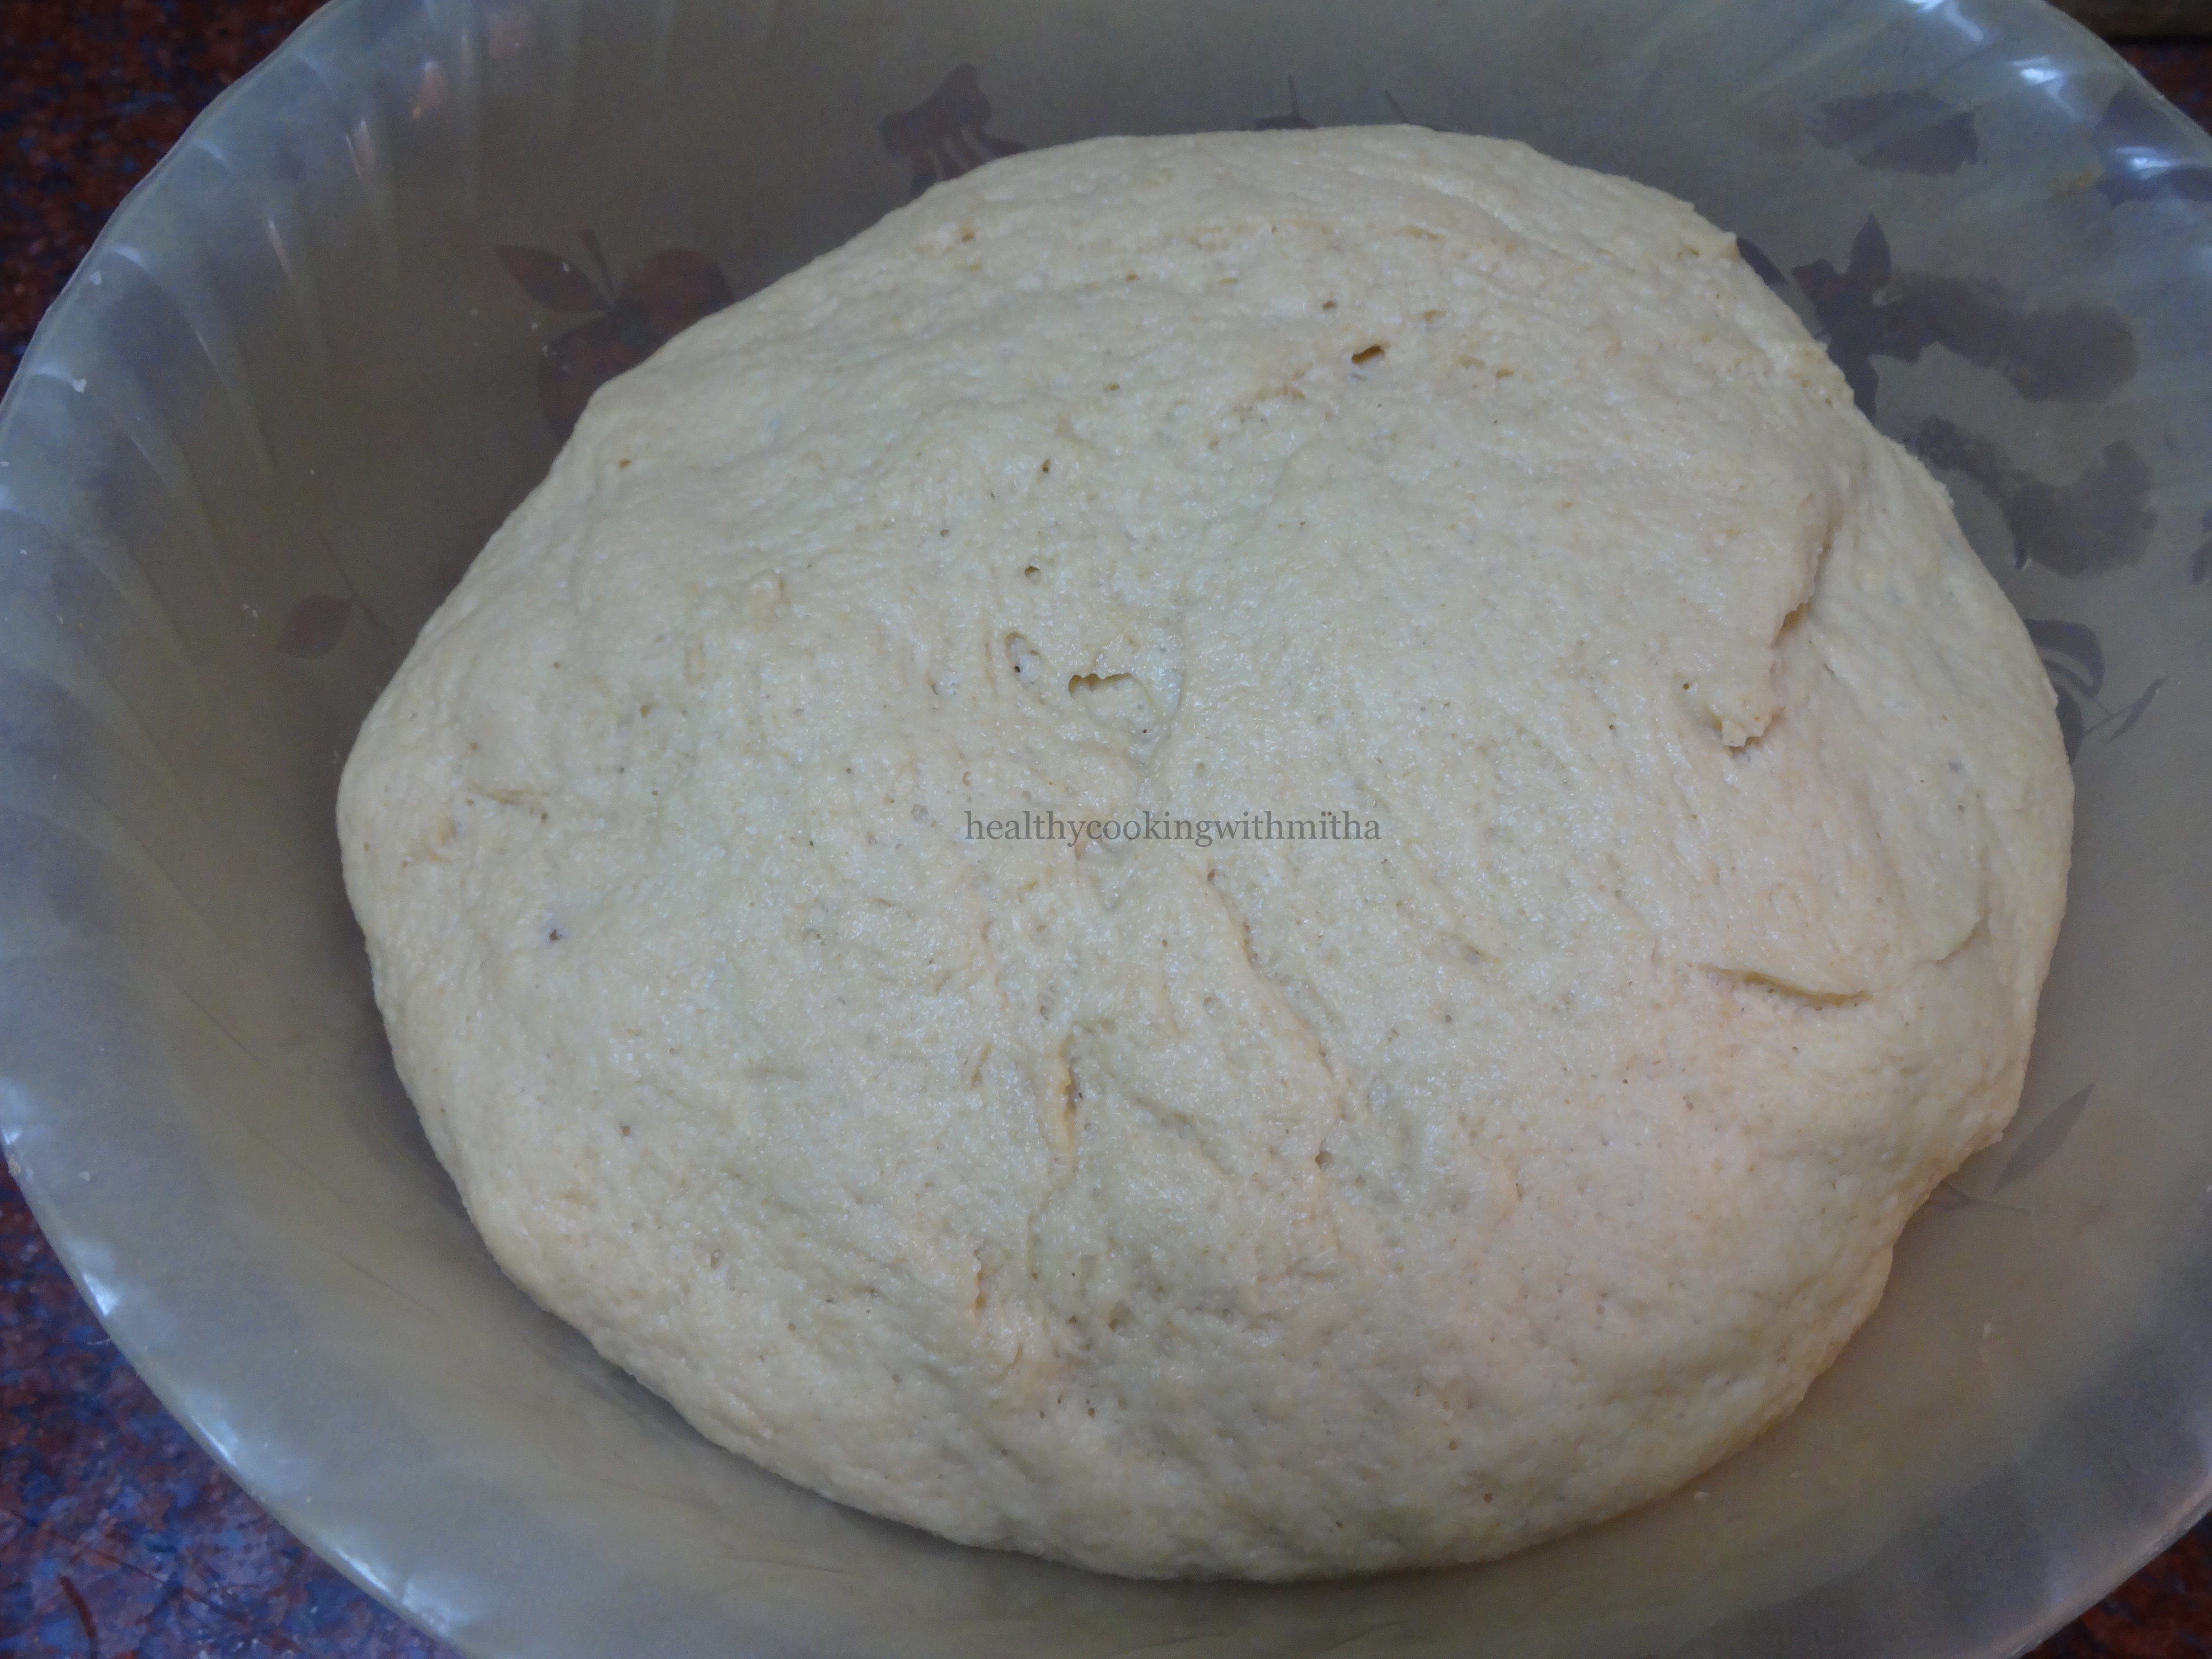
7. After kneading for 10 mins, the dough becomes very smooth and easily handle able. Coat it with any oil and Keep it to rise for 1 hour in a warm place.
8. After 1 hour, the dough rises and becomes double the size.
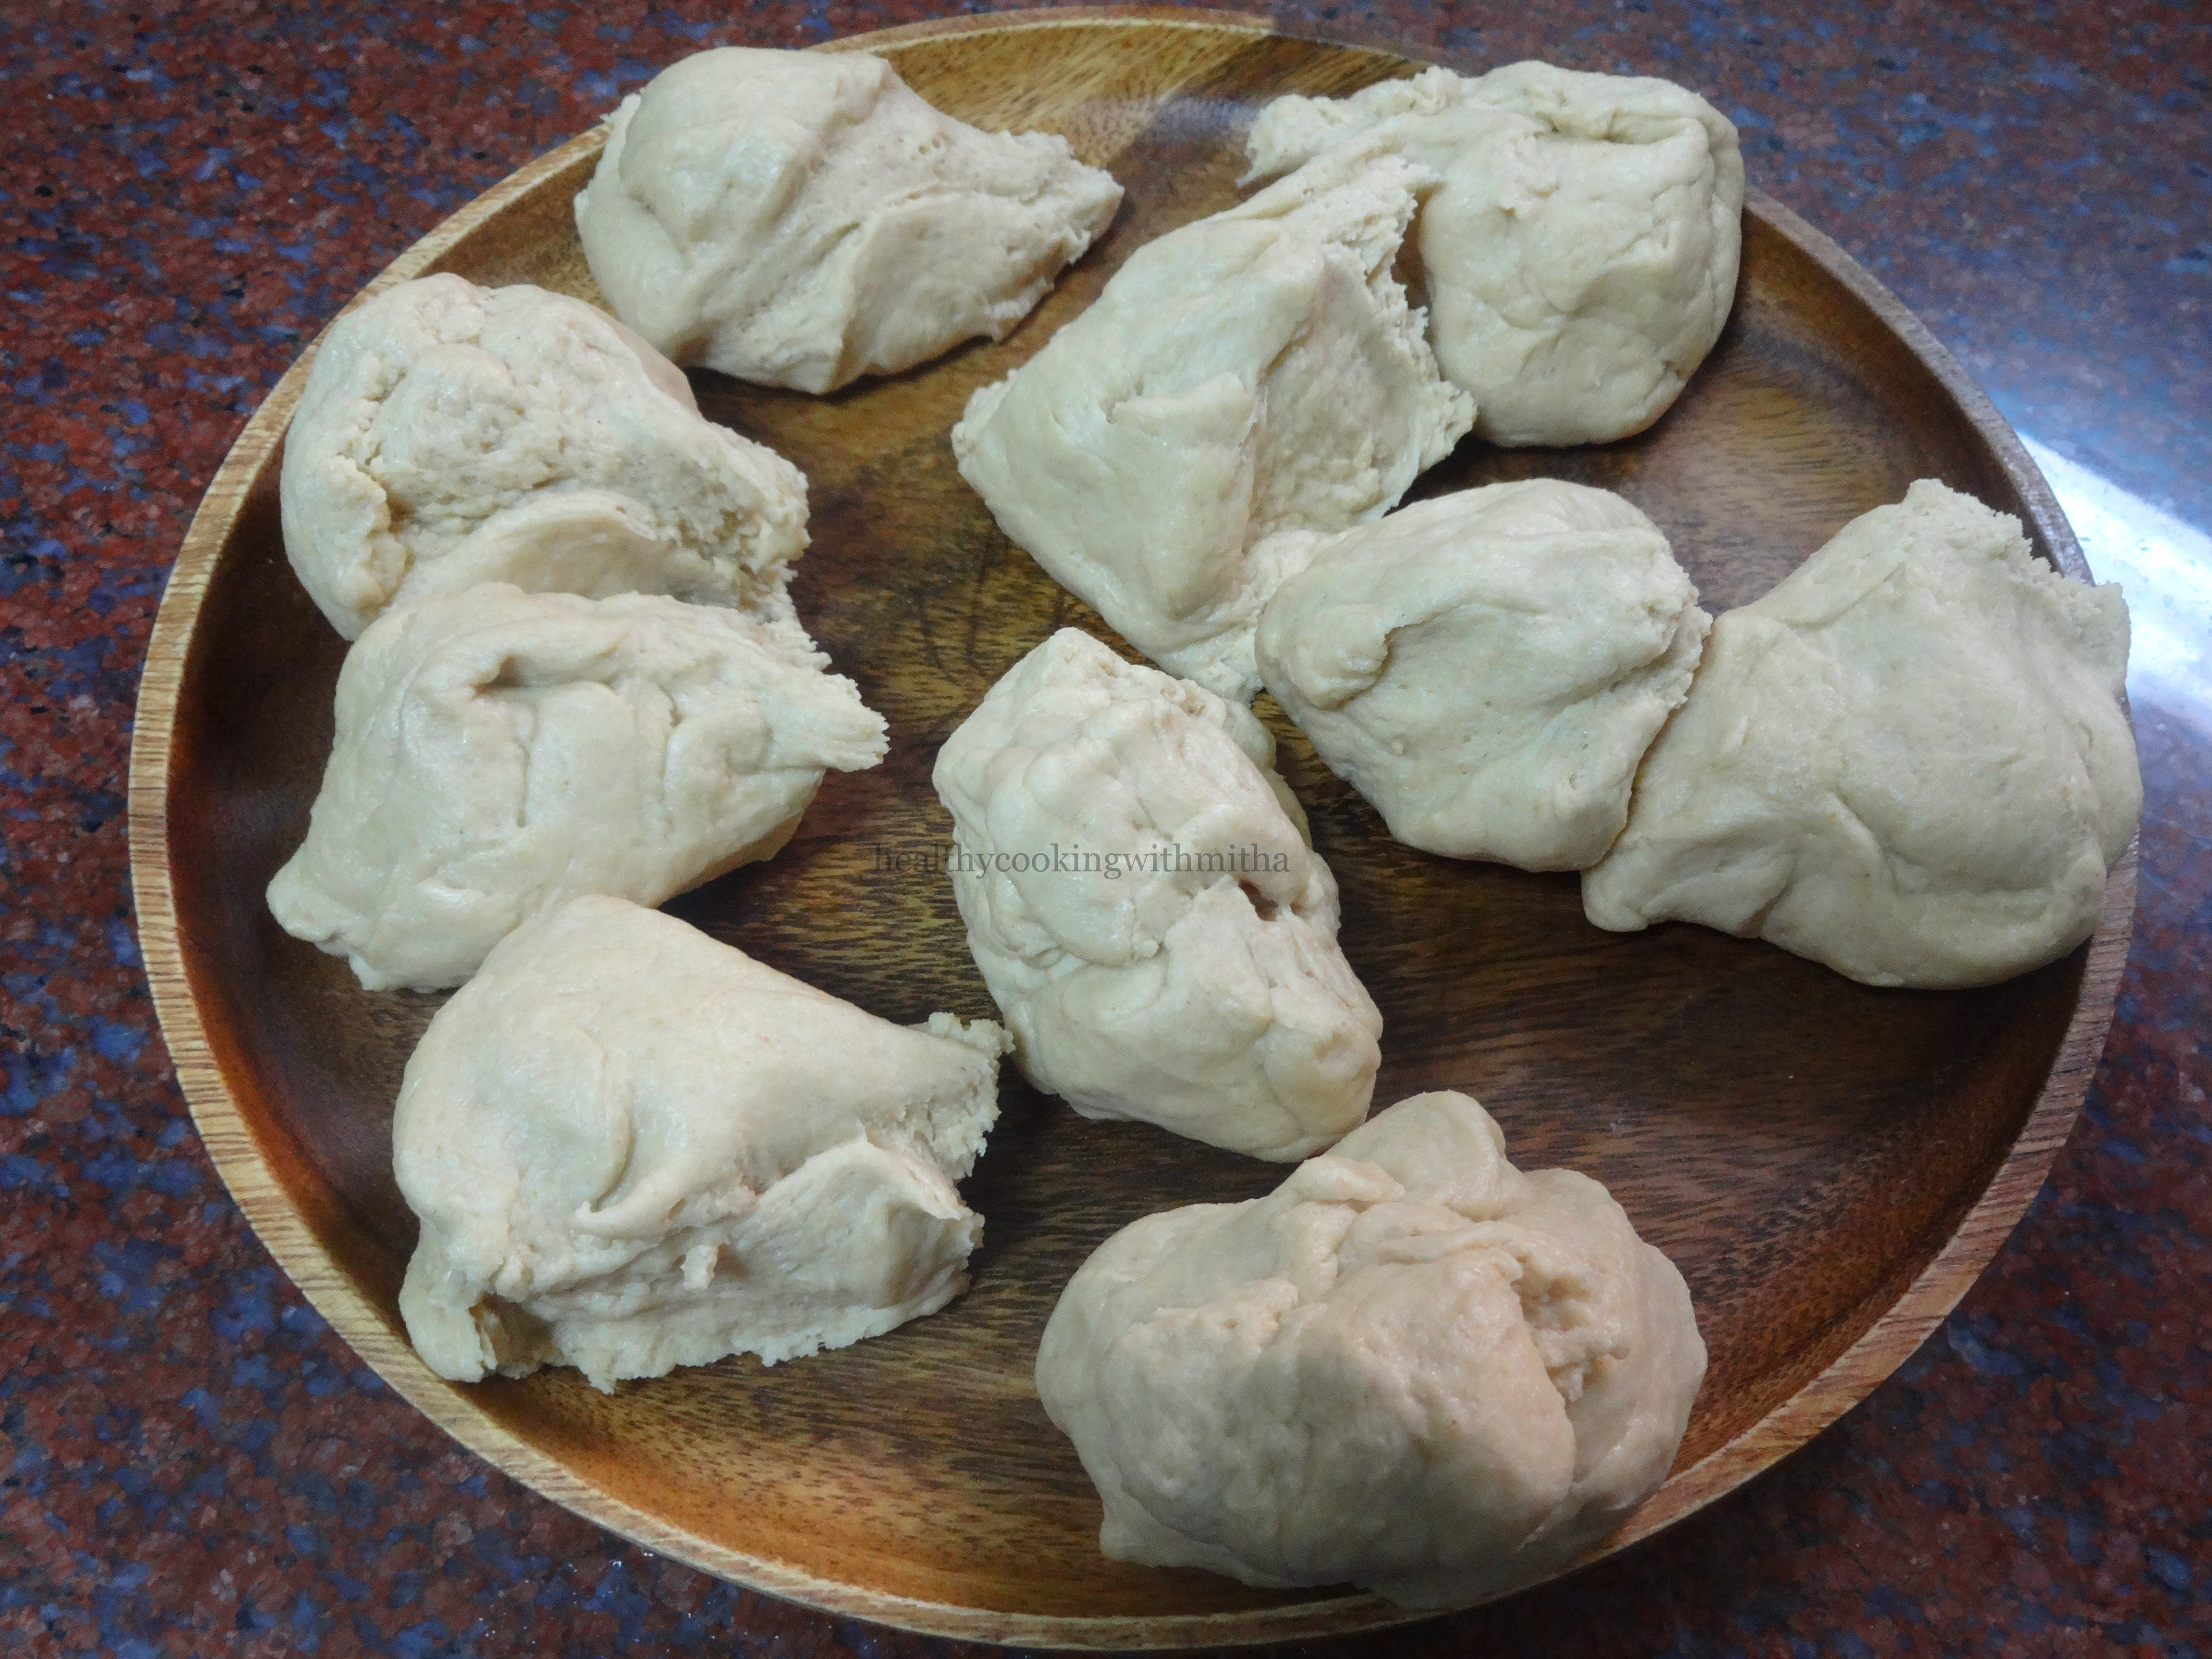
9. Now punch it down and divide into equal portions.
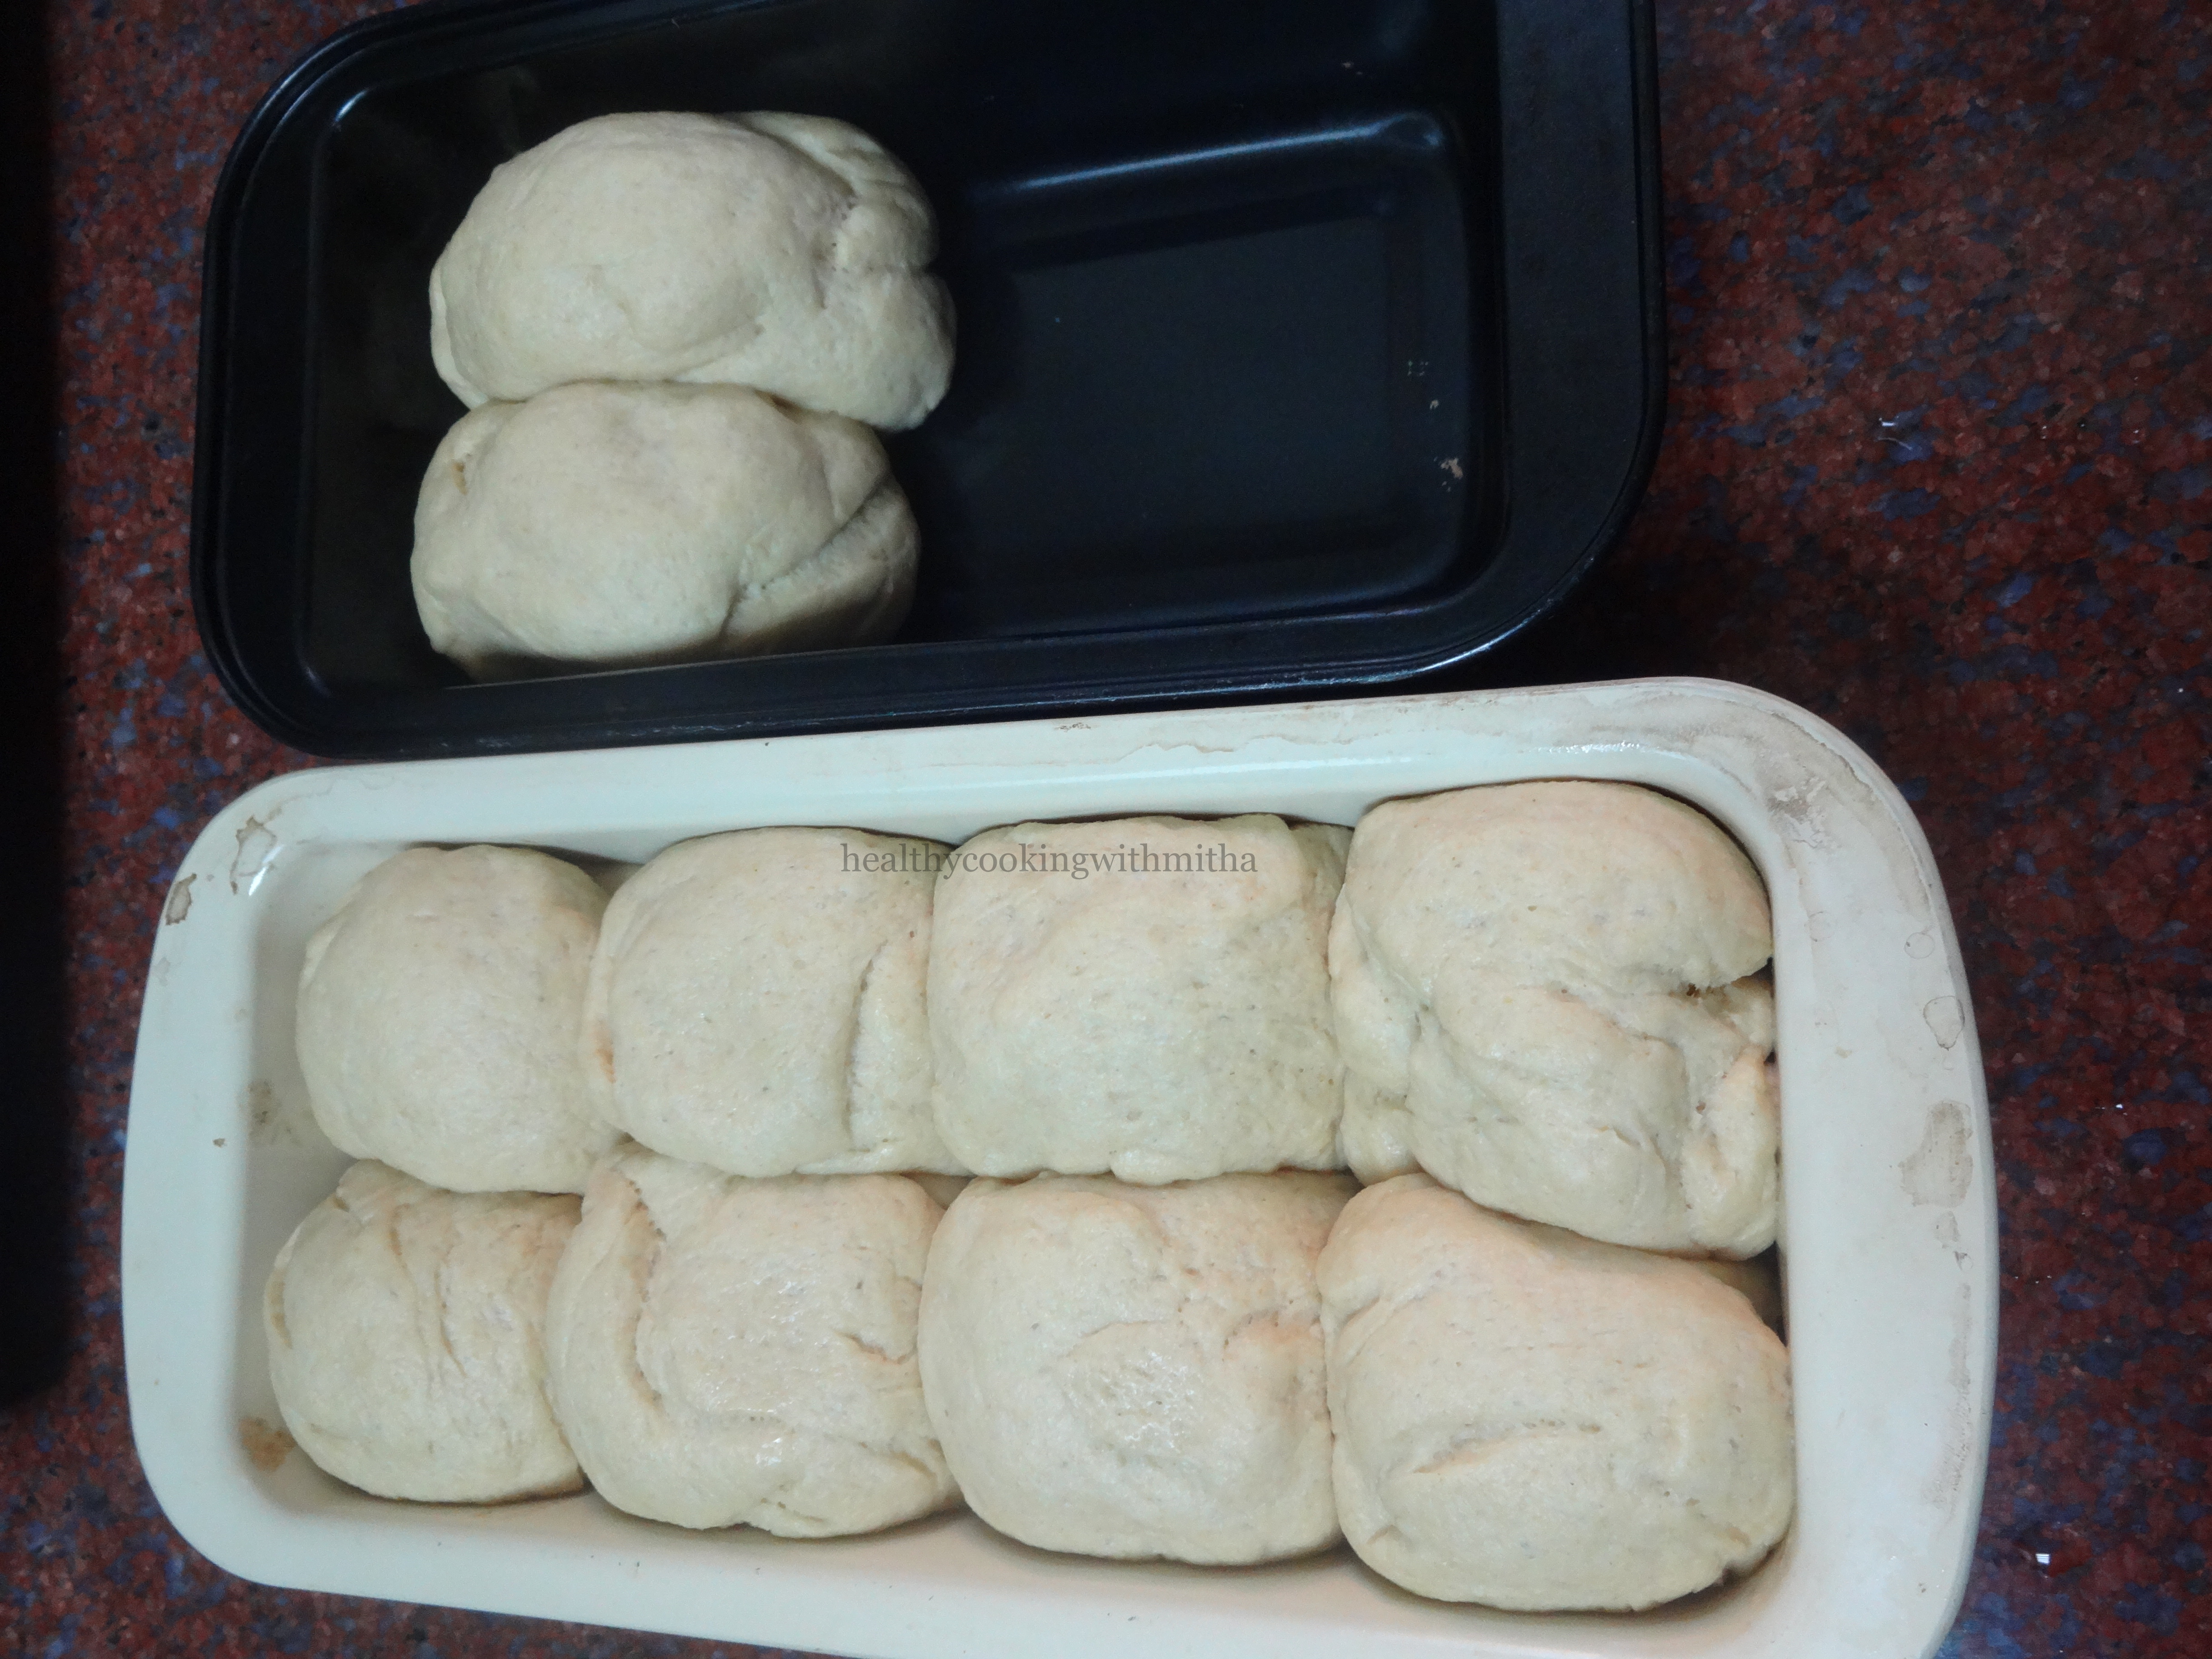
10. Make a ball and keep in a greased cake pan close to each other.
Note: It is very important to keep the dough balls close to each other, else it will rise sideways and you will get flat pavs.

11. Keep this to rise for 1 hour in a warm place. Once risen, brush the surface with milk.
12. Preheat the oven at 200 C for 10 mins. Make sure to preheat well before placing the pan in the oven. Bake for 15 to 20 mins at 200 C in the center rack of the oven till the surface of the pav turns brown like this.

13. Brush butter on the surface of the pav as soon as it is out of the oven.

Enjoy homemade wheat pavs as pav bhaji, Vada pav or the way you wish to!

Notes:
* First and foremost, if you don’t have milk or don’t want to waste it for making pavs, use milk powder mixed in water. It works the same way. I have done it many times and makes no change in the flavour of the pavs.
* The most important step is that the yeast should be right and not expired one. So proof properly with warm milk to check. If it does not form bubbles or does not give a yeasty aroma, discard it. Else it will be a waste of ingredients.
* To make perfect wheat pavs, the dough should be very sticky first and then after continually kneading for 10 mins, it should turn into a smooth dough. Though it may seem like a bit of hardwork, the result will be soft wheat pavs.
* The dough balls should be kept very close during second rise. This is also very important as other wise you will get flat pavs and not fluffy pavs. Do remember while keeping for second rise.
* The milk brush before baking gives a nice golden colour to the pavs. So don’t forget it.
* Also the butter brush after the pavs are out gives a soft texture. Don’t forget this too.
*Update: I am getting many queries asking if milk powder is necessary. It’s okay if you don’t add it since it’s not available now. It’s just for flavour and you can skip it. Just make a sticky dough with milk and knead really well. And make sure the yeast is proofed well and active.
I have tried to note down as much points as possible so that it’s easy for you all to follow but if you still have any doubts, either comment here or message me on my Facebook page Healthy cooking with mitha or on my Instagram handle and I would be happy to help. Happy baking!

Can the knead the dough in kitchen aid mixer instead of hand?
LikeLike
Yes. You can do it. Just allow the dough to be very sticky in the beginning. Else the pavs will be hard.
LikeLike
Can I put the dough in my oven with light on for first proofing?
It is the warmest place in my home.
LikeLike
Yes you can. I did the same.
LikeLike
Can this be done in microwave convention mode?
LikeLike
Yes you can.
LikeLike
Is Instant yeast and dry active yeast both necessary only instant yeast will not work
LikeLike
No no. Only instant yeast required. Or dry yeast. Not both.
LikeLike
Can I use Maida with the same proportion ?
LikeLike
Yes you can. But the water required will be less.
LikeLike
Hi.. I am very much glad to have found this blog of you.. Mast kushi jata amgile bhandava asal platform atu recognise jatana.
I personally love to cook and I could see your passion for cooking as I read through here. Keep doing what you love to do and thanks very much.. ☺
I have got couple of questions about this pav making ,
1 . Can you mention what brand of wheat floor is been used here. Because i belive it do plays majore role. Wrong brand might fail the recepie
2. Have you tried making this in micro oven anytime. If yes please mention details related to it
3. How long milk can was kept in micro oven to warm it up
Thanks 🙏
LikeLike
Hello Archana, so glad you loved my blog. Makkai masth Khushi jalle tumgele comment vajjunu. Thank you so much. Will continue blogging and yes, I too love cooking. 🙂
Regarding your queries, I use Pillsbury brand of wheat flour. Will edit and add in the recipe.
No, I have not tried this microwave. I bake in my OTG. If your microwave has convection mode, you can bake in it though.
I microwaved the milk on max power for 1 minute first. Saw if it is warm enough. If it turned lukewarm, I added yeast. Else microwaved for 1 min more. I did not mention the time as it depends on the microwave. It should not be very hot nor cold. Lukewarm is perfect.
LikeLike
Hello I tried the same procedure but when kept for rising it doubled the size with cracks…then punched and kept for another hour still it was with cracks..kept for baking but it did not turn out fluffy inside but was cooked dough.can u guide as what must have gone wrong ..forgot to click photo waiting for reply thanks
LikeLike
Hello, sorry to hear it did not come well. I have made it many times and I can say that it cracked and did not turn fluffy due to less moisture in the dough. Please make it a very sticky dough in the beginning and then knead very well for atleast 12 to 15 mins. The dough should be very soft. Much softer than chapati dough. If you get that right, you will definitely get the pav perfectly.
Baking always takes few trials before getting it right. Do try again and I am sure you will get it right. You can also message me on my facebook page when you finish kneading the dough with a picture. I can help you then. 🙂
LikeLike
Thanks alot will try again.i make with maida they turn pretty good but wheat it goes wrong.
LikeLike
Hiiii
So happy that I found your blog and decided to try this recipe.
It came out very well- in fact much better than the Maida version.
Thankyou for this wonderful recipe.
LikeLike
Thank you so much for your comment. So glad you liked these wheat pavs. My pleasure to share! ❤️
LikeLike
Lucidly explained recipe. Can i use cold pressed sesame oil or groundnut instead of butter. Will the measurements be same as butter.
Thanks in advance.
LikeLike
Thank you so much. Glad you liked my explanation. Yes, you can use any oil but just that the pav will have the aroma of the oil and the texture may vary slightly. Anyhow just make sure to make a very sticky dough at first and then knead atleast for 12 mins to get a smooth dough. That step is very important to get soft pavs.
LikeLike
Hi thanks for your recipe, can I use almond milk instead of regular milk. Appreciate your patience for answering silly questions.
LikeLike
Hello Syamala, it’s my pleasure to help. I have not used almond milk ever for baking. So can’t say about that. But I am sure it will work as it is just for the richness and flavour that we use milk instead of water. Just that I am doubtful about yeast proofing in almond milk. If it proofs well, I am sure you can use that to make pav too.
LikeLike
Loved your blog, very well explained with care. Was looking for a wholewheat recipe, will try surely. One more question since you are an expert baker, what’s the difference in texture of no knead n kneading method of bread making? Can i follow this recipe for no knead mehthod too? Thanks in advance.
LikeLike
Hi
One cup measurement please
LikeLike
1 Cup = 250 ml
LikeLike
Hi,
I tried your recipe today..it came out amazing and smelled so heavenly
..thankyou for the recipe.
LikeLike
Hii…i tried this ladi pav and i followed the recipe and measurement exactly as mentioned. I baked at 180 in microwave convection. From top it looked like baked and got the brown color too but after demoulding it was under baked inside. One thing my dough was very soft and sticky too and i kneaded with hand mixer atleast 15mins.. and after kneading also it was very soft and very light sticky
Where i am wrong here?
LikeLike
Hello, your dough texture sounds perfect. Hope you had kept in bake mode or with both rods on. I am guessing your oven bakes quickly and the pav is underdone. And hope you did not open the oven door atleast till 75% of bake time. Also, hope you did not make very large dough balls of the pav. Anyhow next time, after the pav turns brown, cover with foil and bake for about 5 to 8 mins more. This way the top part won’t turn black and inside will cook well too. Hope you get it right next time.
LikeLike
No i didnt open the door in between. After completion only i opened. I baked in ifb microwave convection and balls was also small measuring each ball 55gm. I thought its also due to stickiness or over kneading of dough. Next time i will lower the temperature and will cover with foil paper when upper top gets brown. Thank you
LikeLike
No, it’s not due to stickiness as stickiness is what gives it the perfect spongy texture. Also kneading will help aerate the dough which contributes to the fluffy pav texture. Yes, just lower the temperature and bake with foil covered till the insides bake well.
LikeLike