There’s something special about growing vegetables in our own garden and the joy while relishing it. Last year, we had brought a few stems of the Tapioca plant from my husband’s ancestral home. Who would have imagined that the stems would turn into huge plants almost reaching the height of our house and there would be these precious pieces of Tapioca underneath.. 💚

My son was the happiest to see them and he cleaned them himself.. It kept him busy for a long time which is a win for me during Summer holidays as they are always bored..

I had posted a reel on my facebook profile asking for recipes from experienced people and was lucky to get four to five very good dishes to make with Tapioca.. I also saw videos on how to peel and chop Tapioca which helped me today.
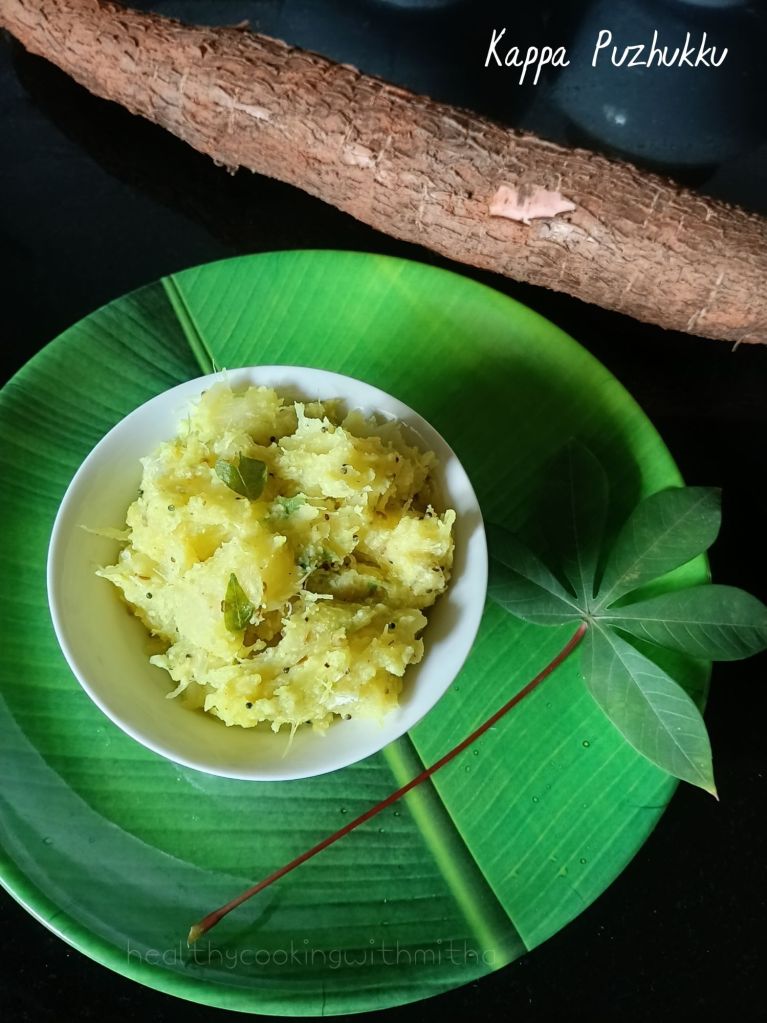
This recipe of Kappa Puzhukku is by Geetha Prabhu who is an expert in cooking. She had explained it so well that it had to turn out perfect. Loved it so much. Kids too relished it with dosa. The flavours have come out delicious. Thank you so much Geetha akka for your recipe. ❤️🙏
Hope you all try Kappa Puzhukku when you get Tapioca. Happy and healthy cooking ❤️
RECIPE:
Ingredients:
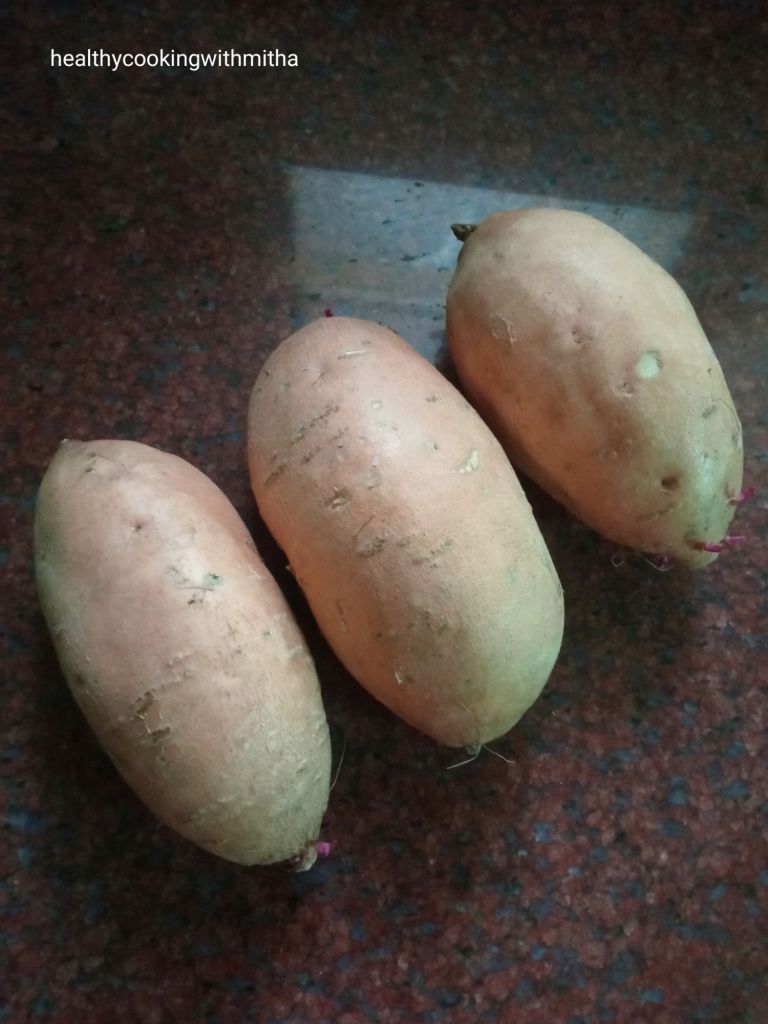
I large Tapioca
1/4 tsp Turmeric powder
Salt to taste
For ground paste:
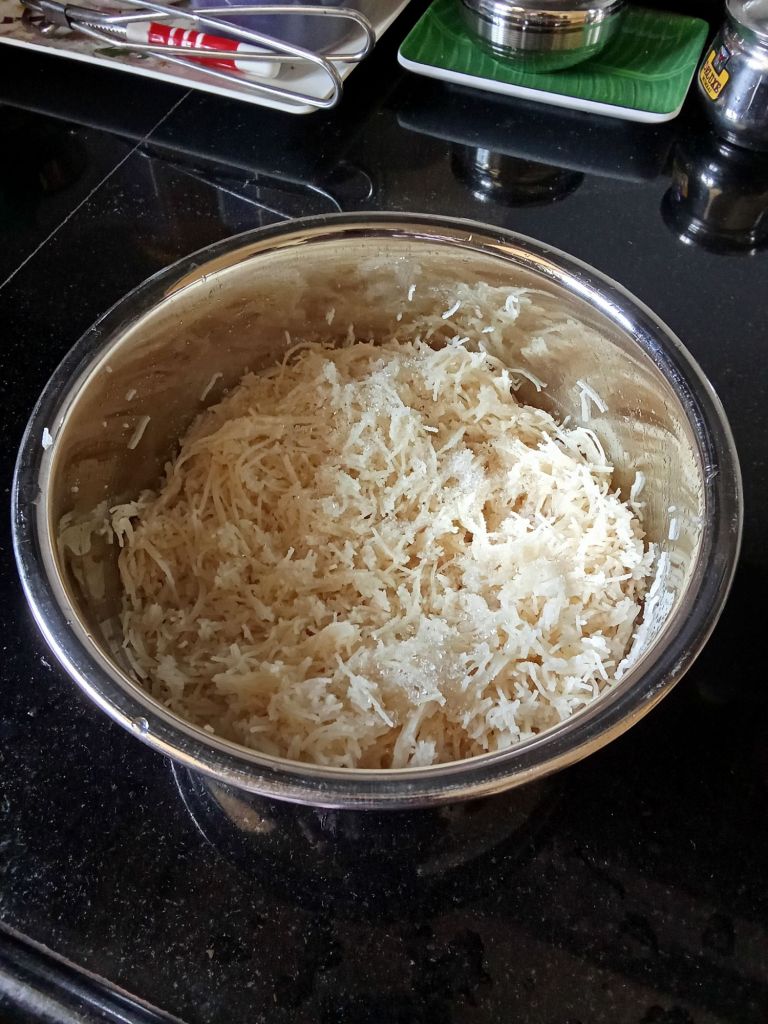
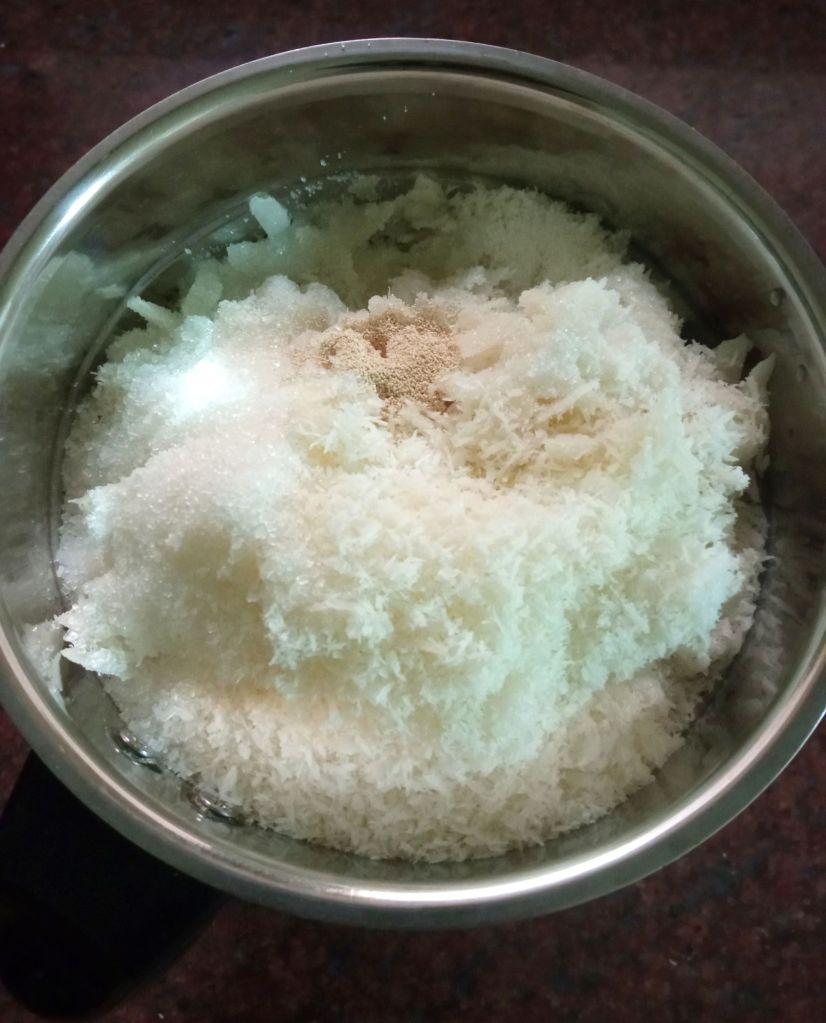
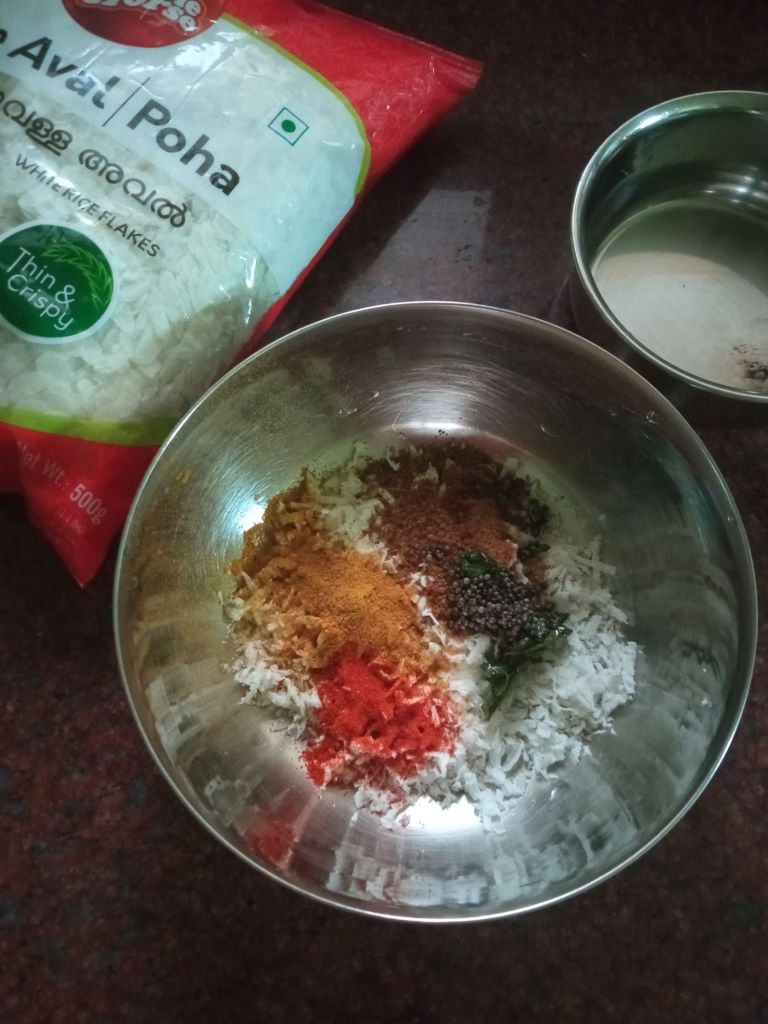
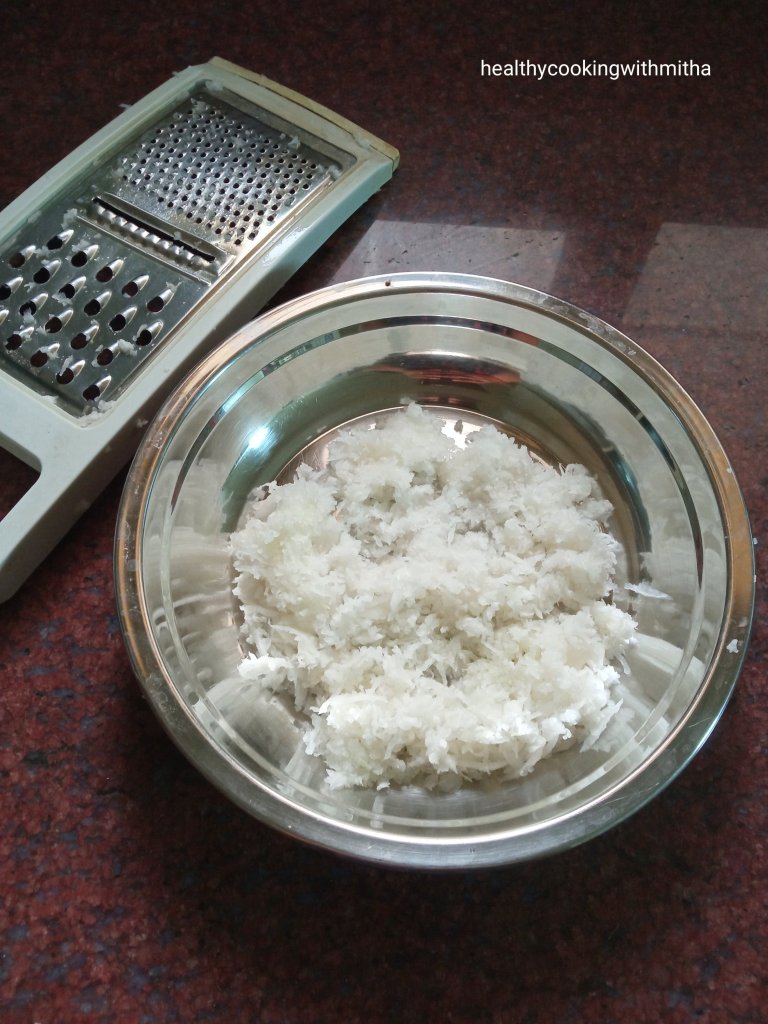
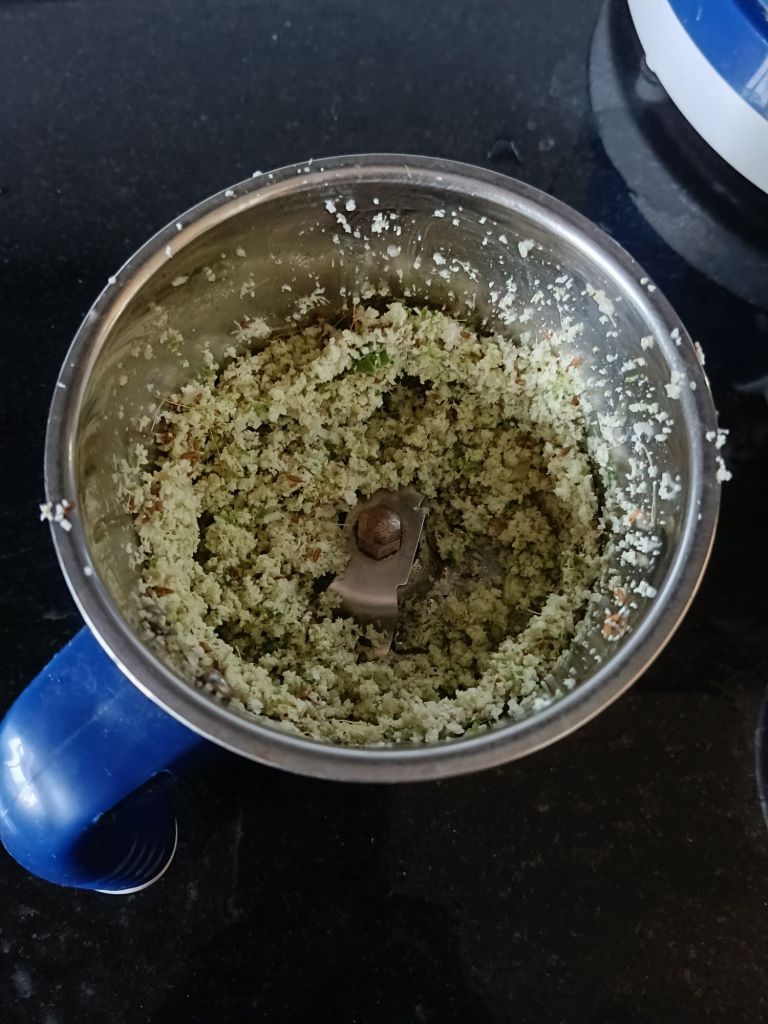
1 Cup grated Coconut
3 green chillies
1 small piece of Ginger
1 tsp Cumin seeds/ Jeera
For seasoning:
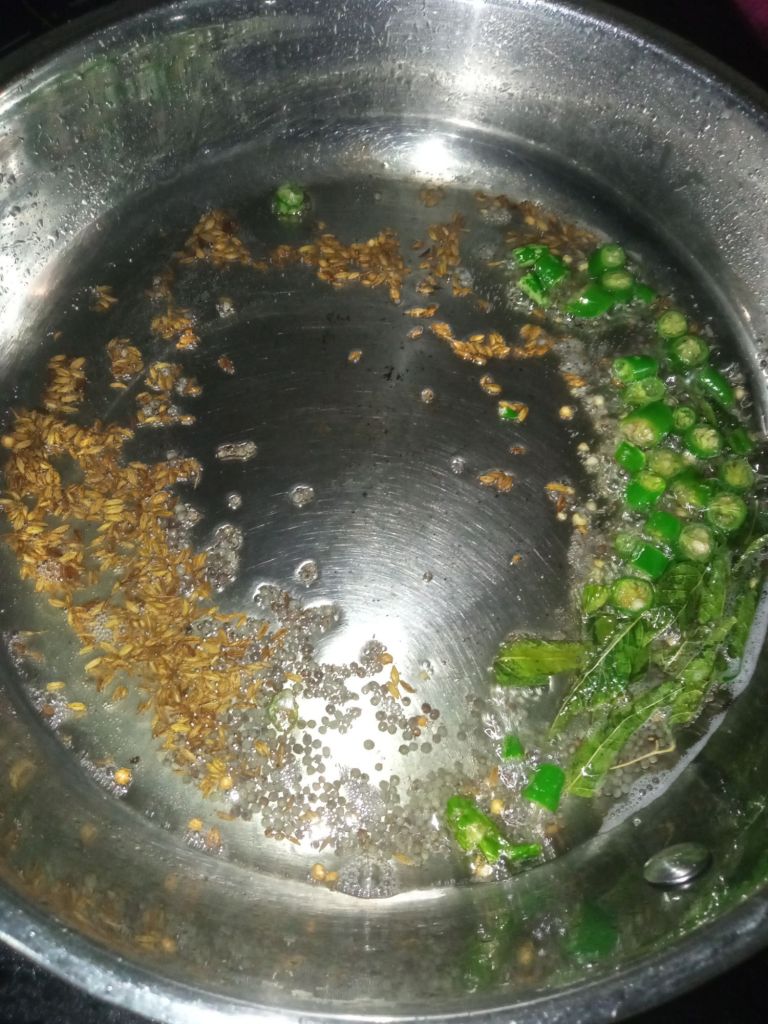
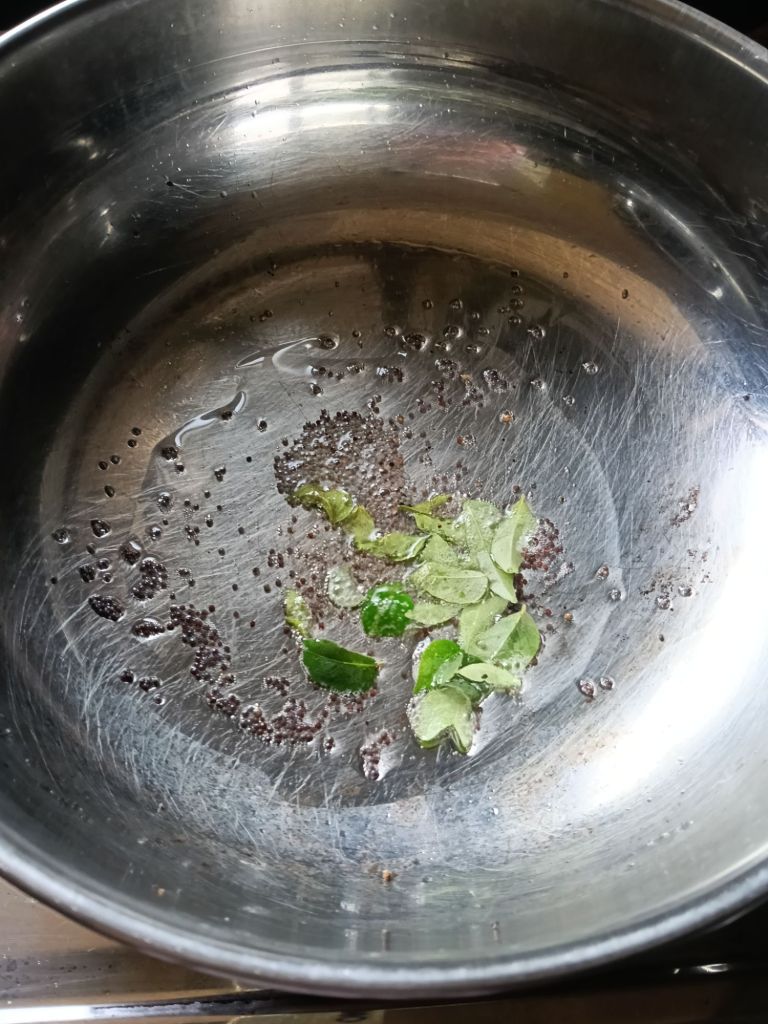
1 Tbsp Coconut Oil
2 tsp Mustard seeds
A sprig of Curry leaves
Step by step recipe:
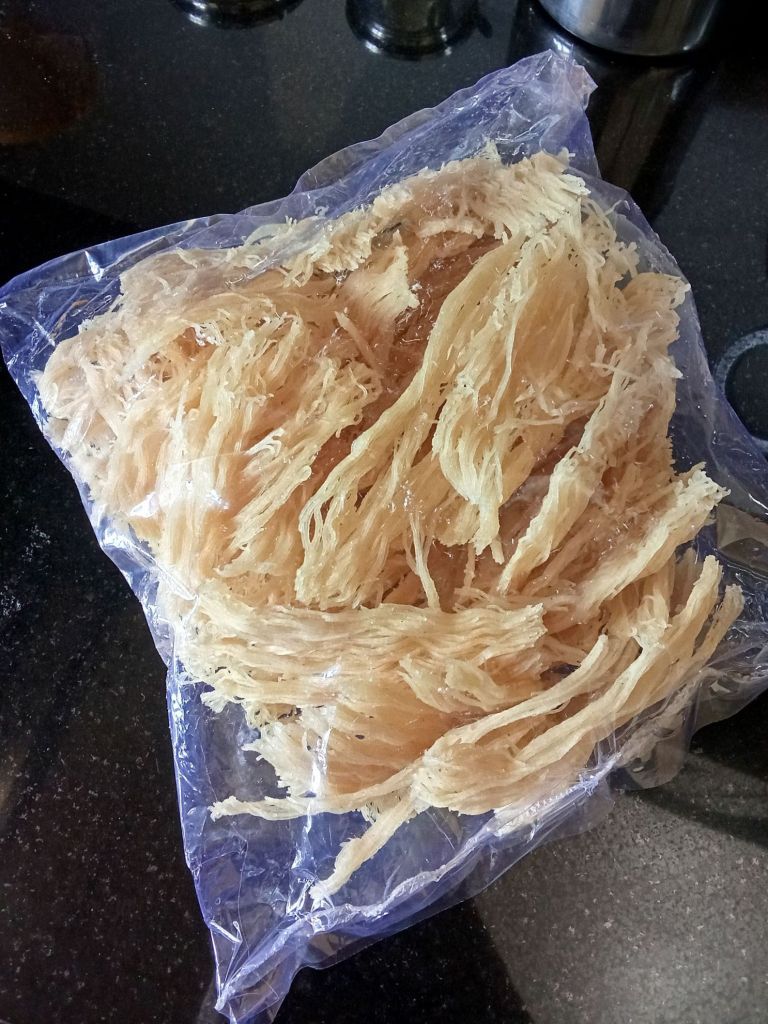
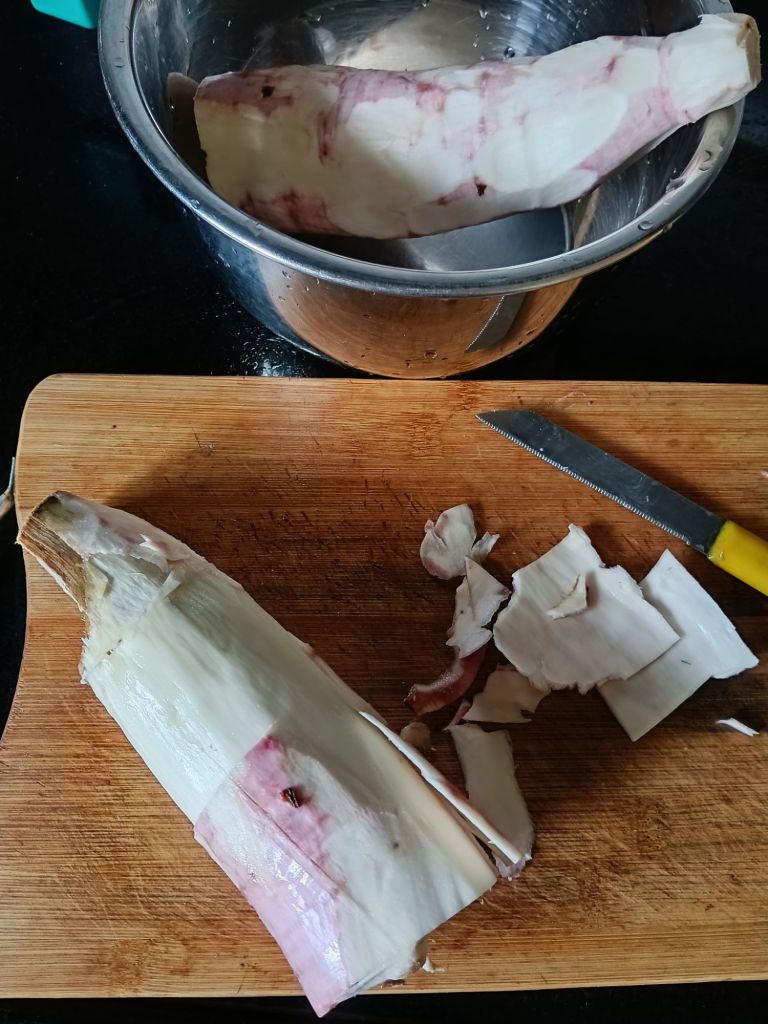
- Remove peel of Tapioca as shown.
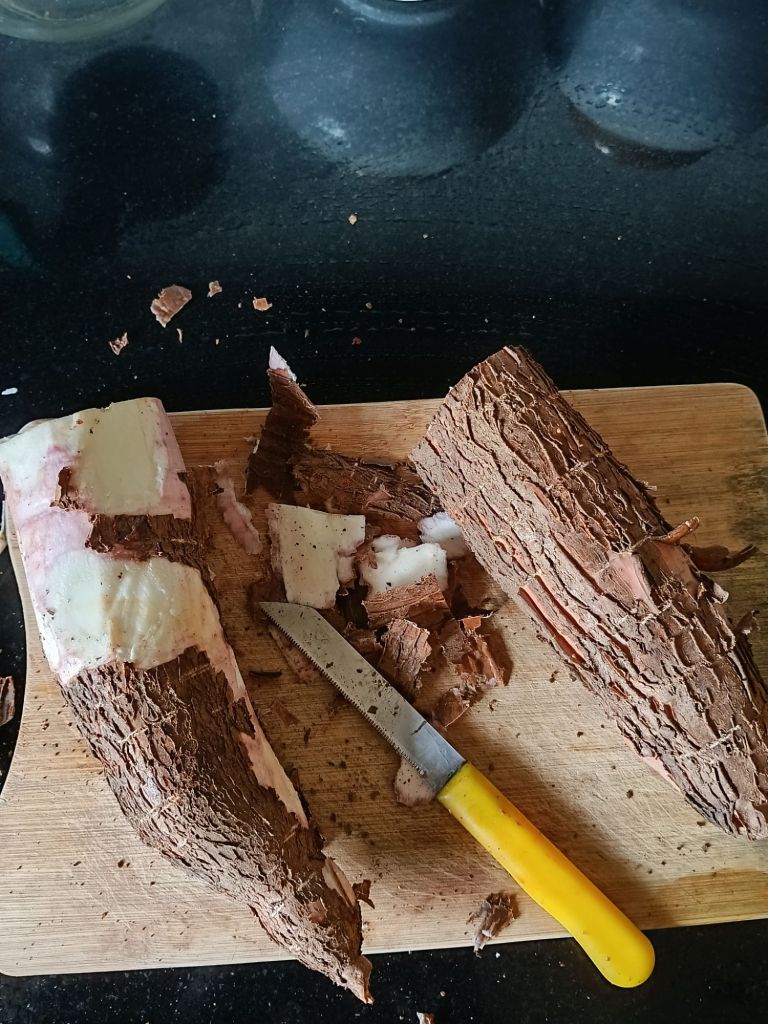
2. Then remove the outer covering which reveals the white inner Tapioca..
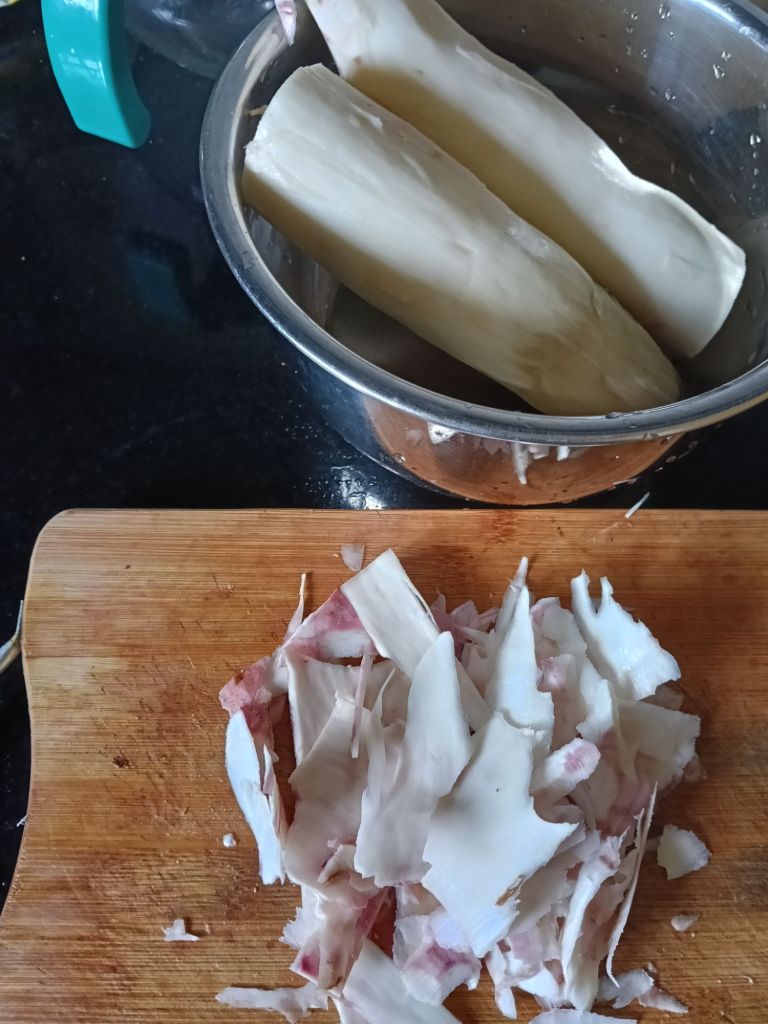
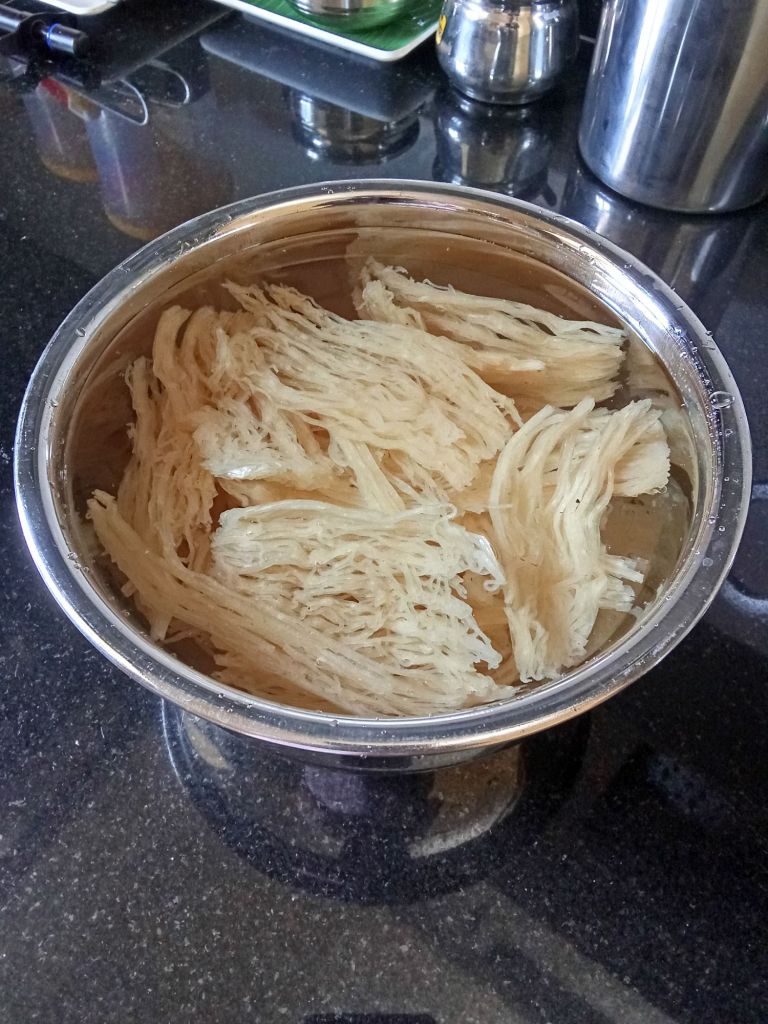
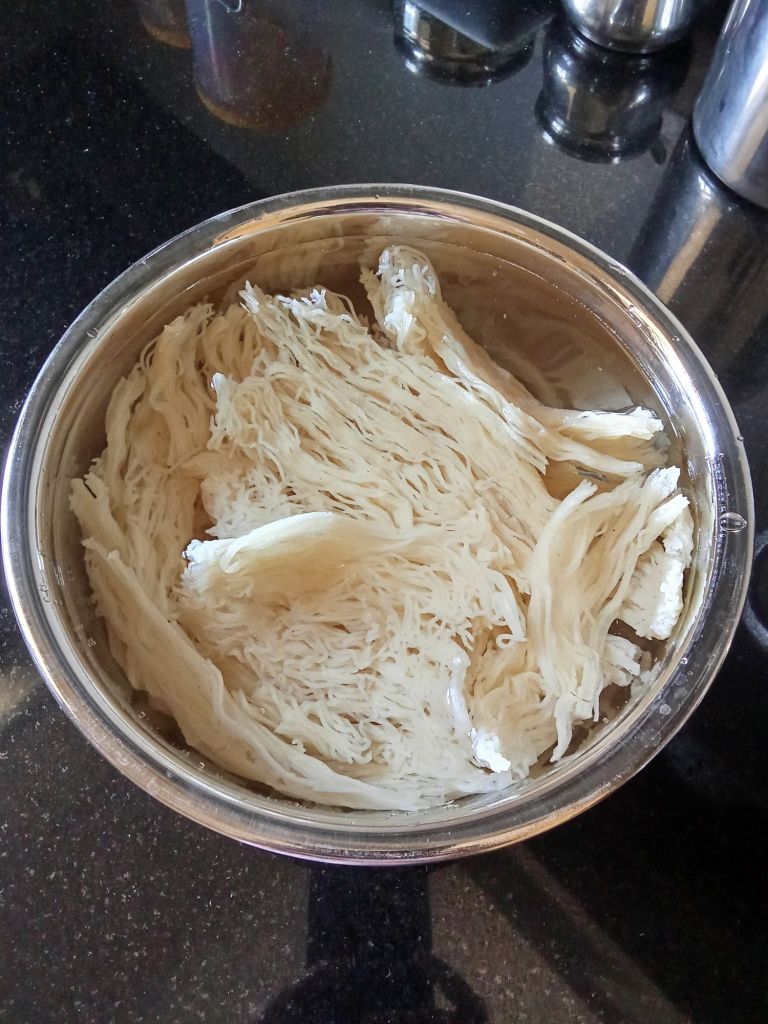
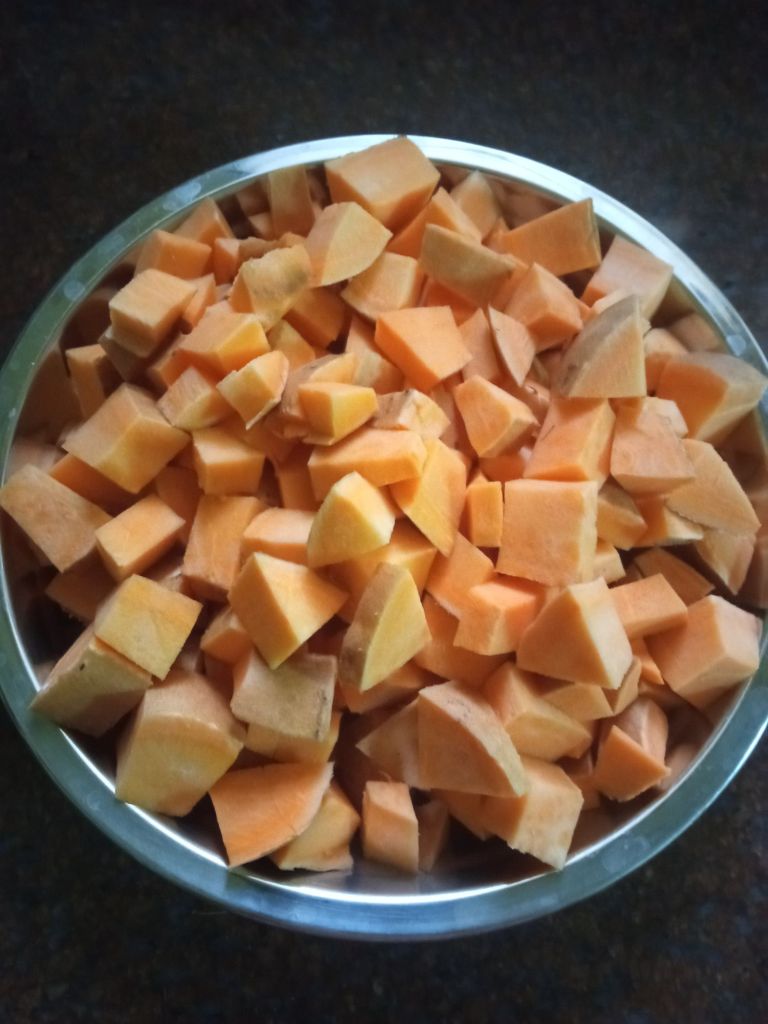
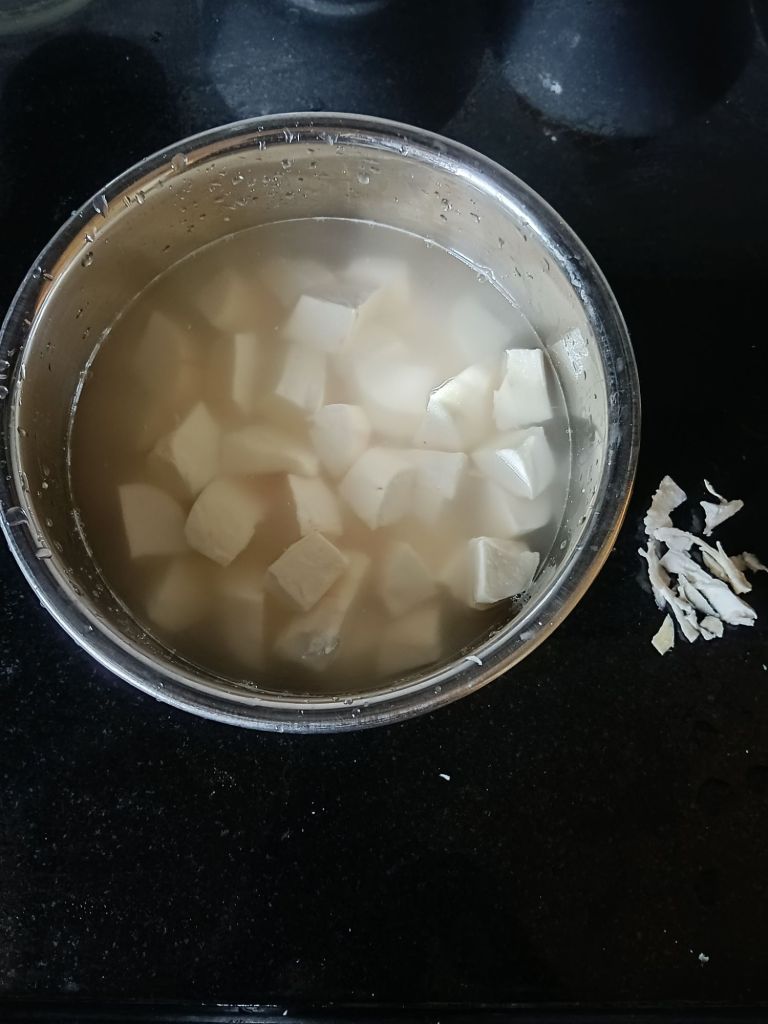
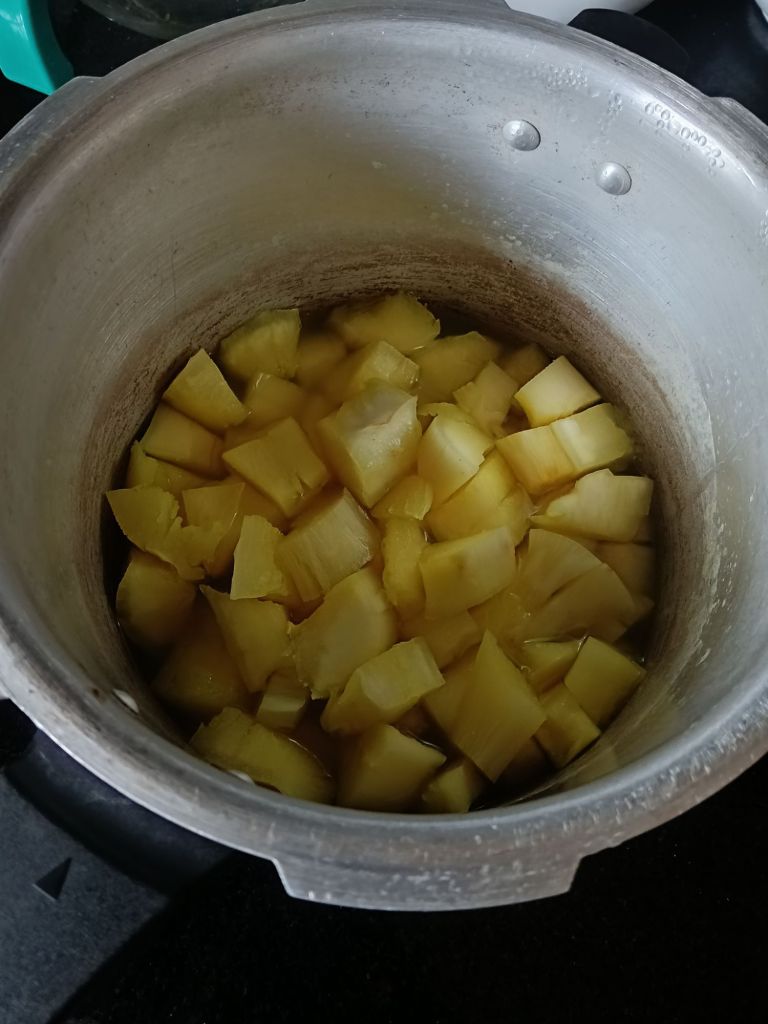
3. Now chop into bite size pieces, not very small nor very big and immediately put them into water.
Note: While cutting, you will get a center root like structure which needs to be discarded..
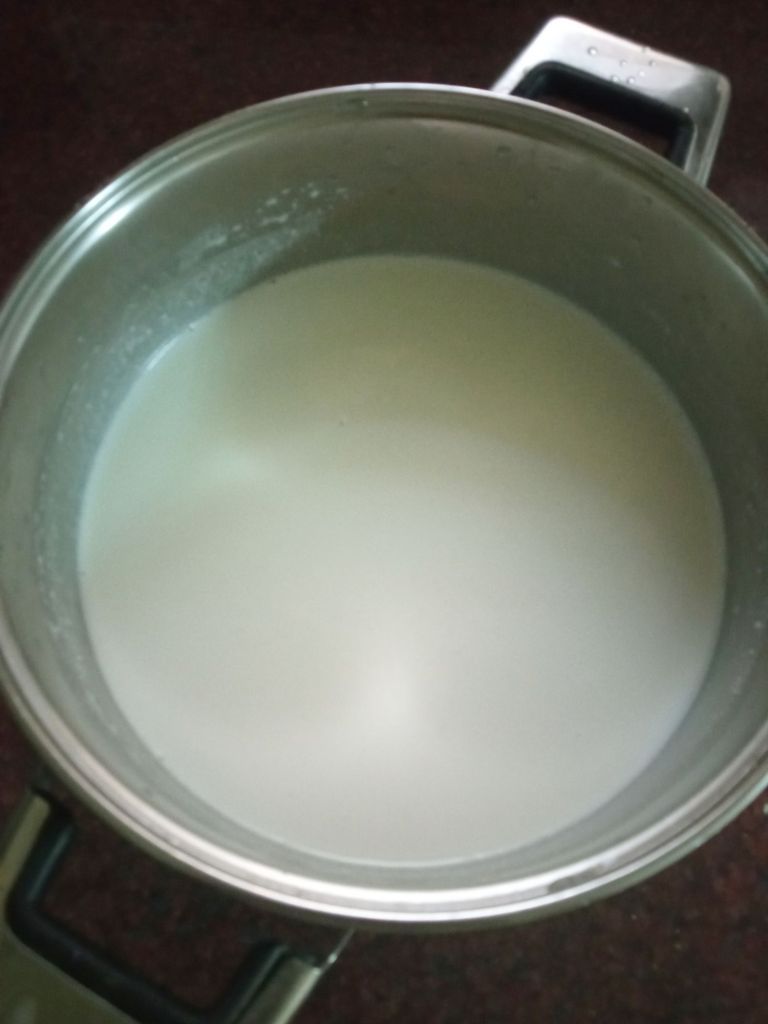
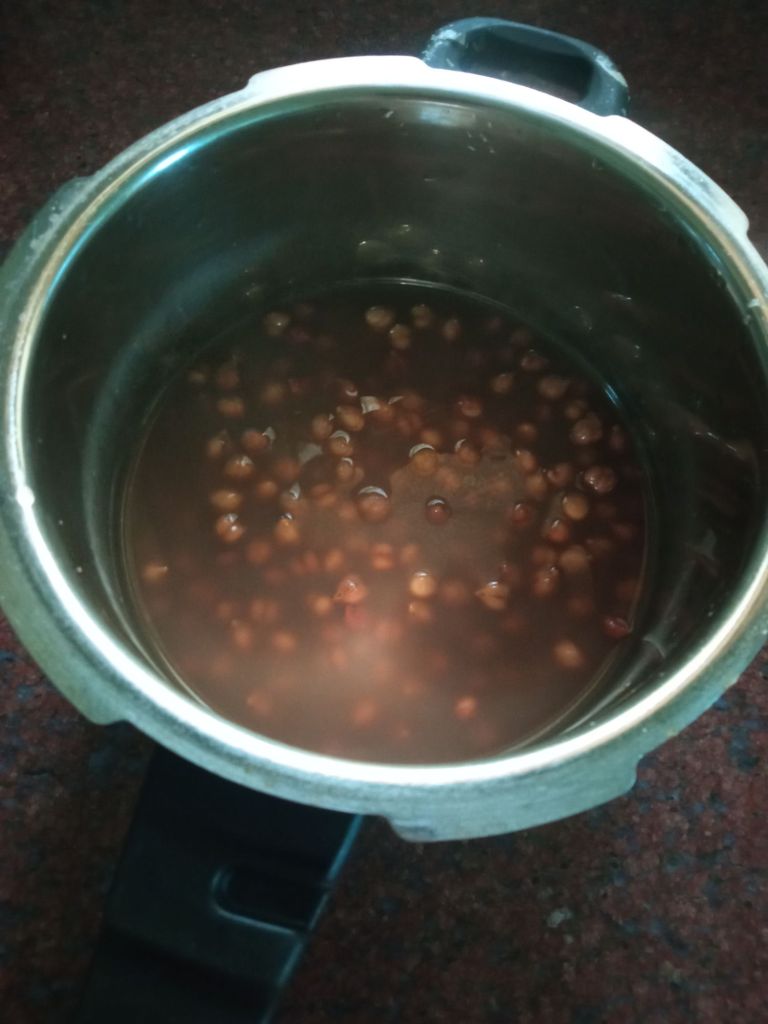
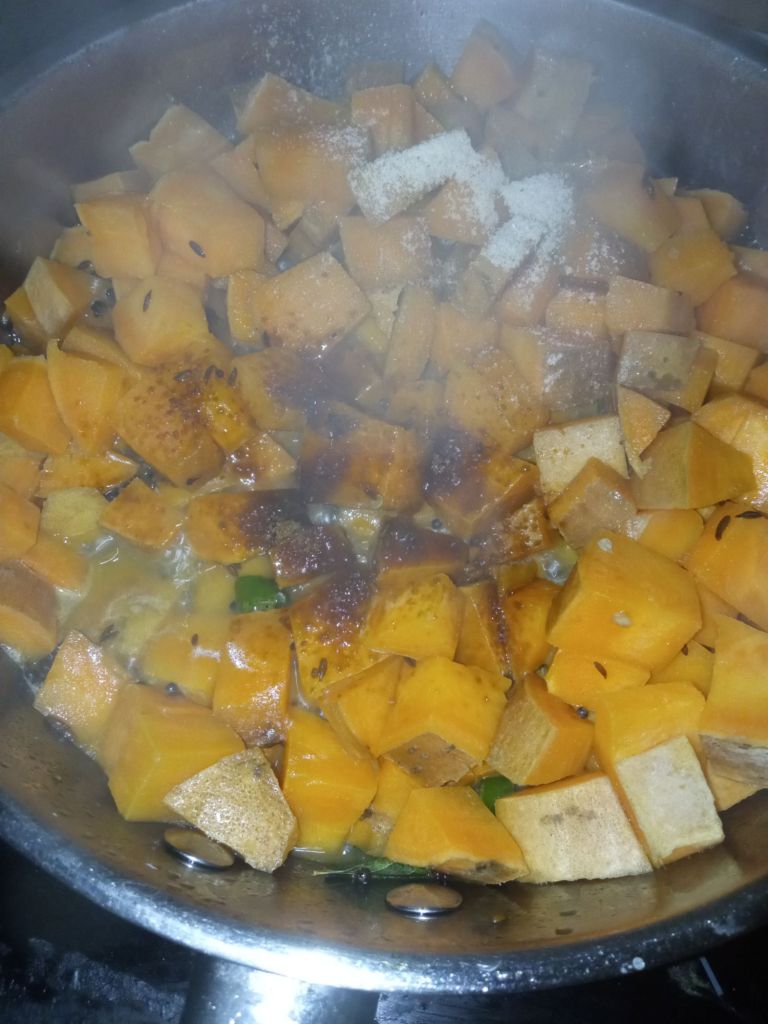
4. Now remove this water and add the Tapioca pieces to a pressure cooker. Add salt, Turmeric powder and water just till the height of the Tapioca pieces as shown.
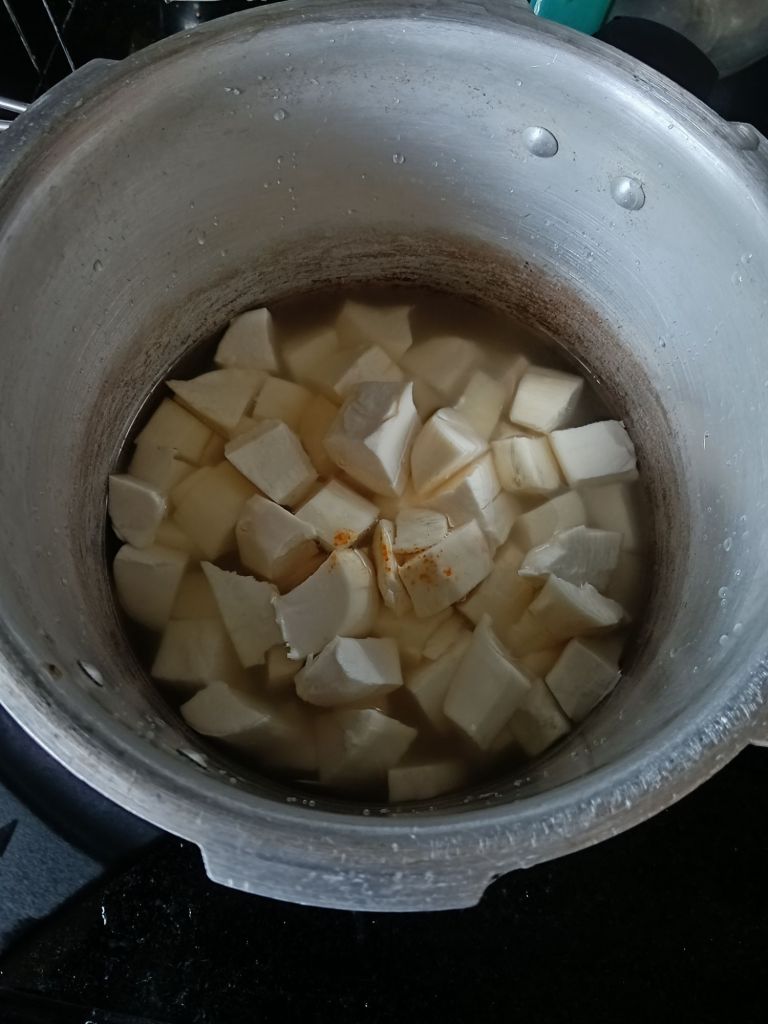
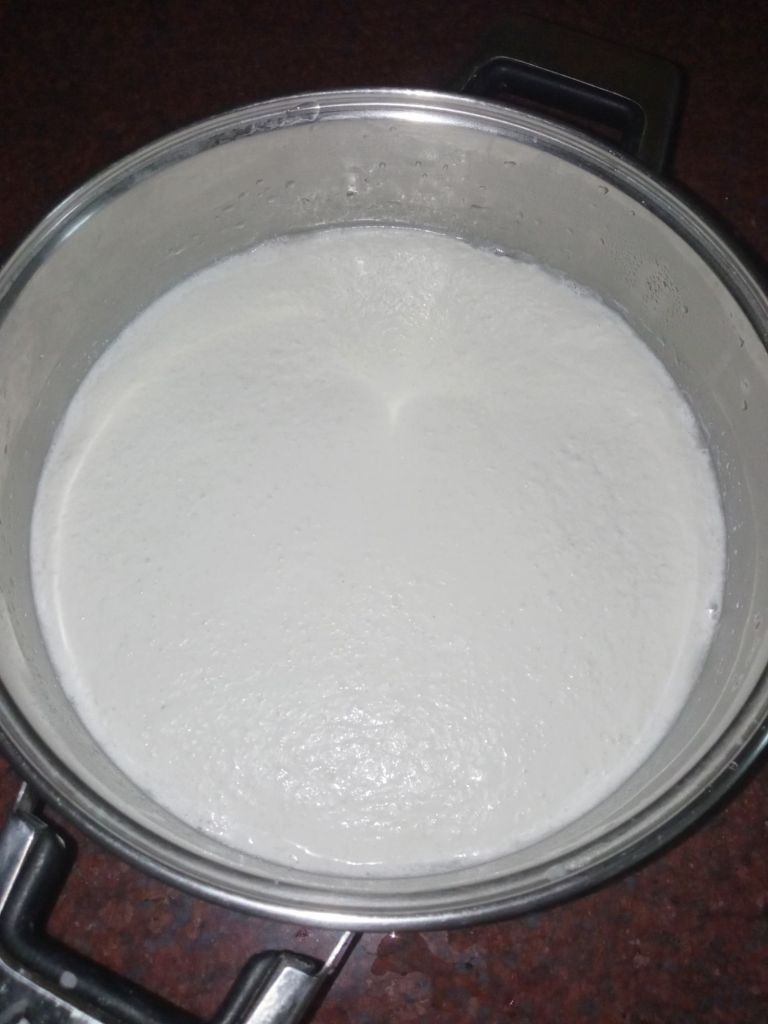
5. Pressure cook for 2 whistles. Allow it to cool.
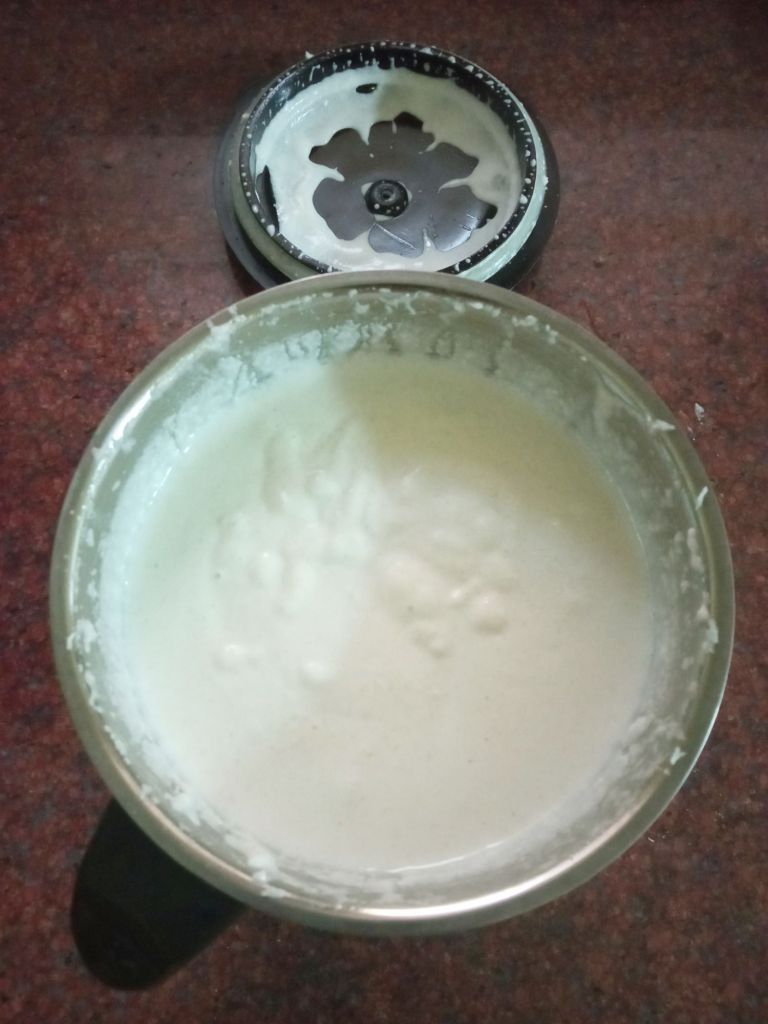
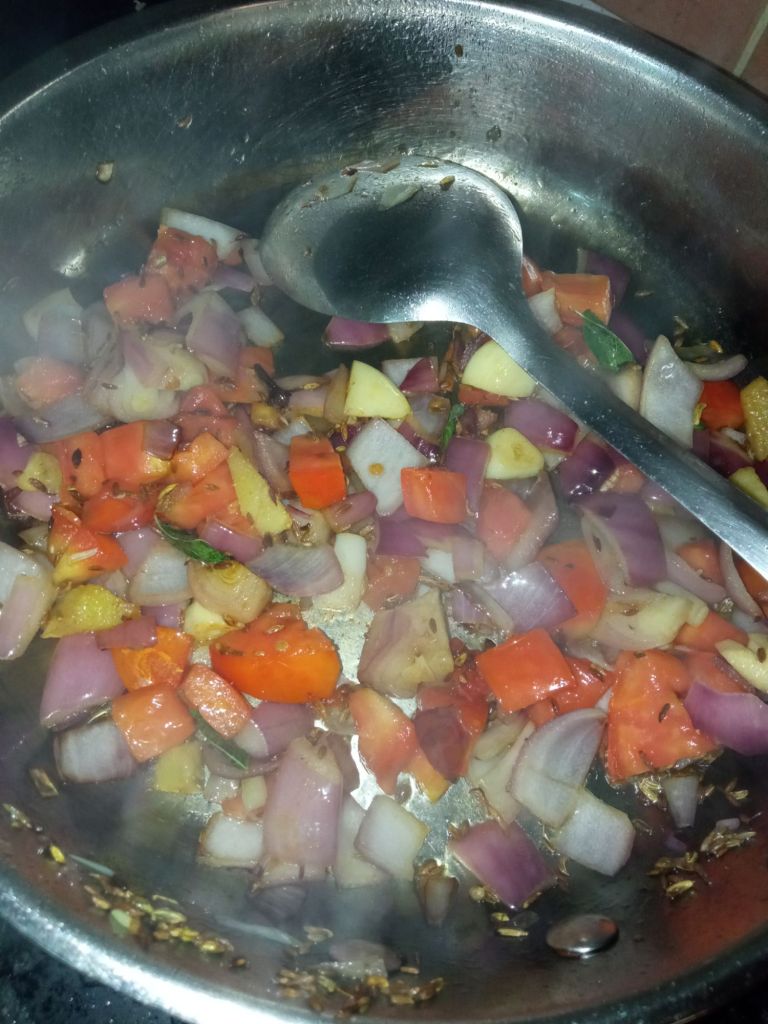
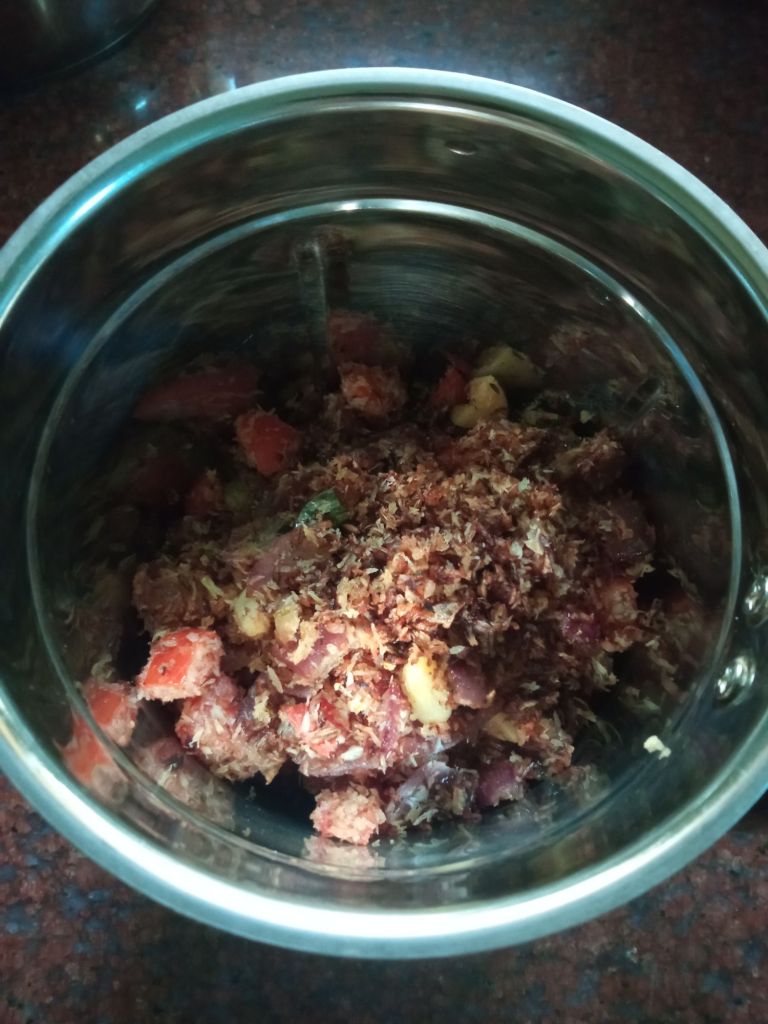
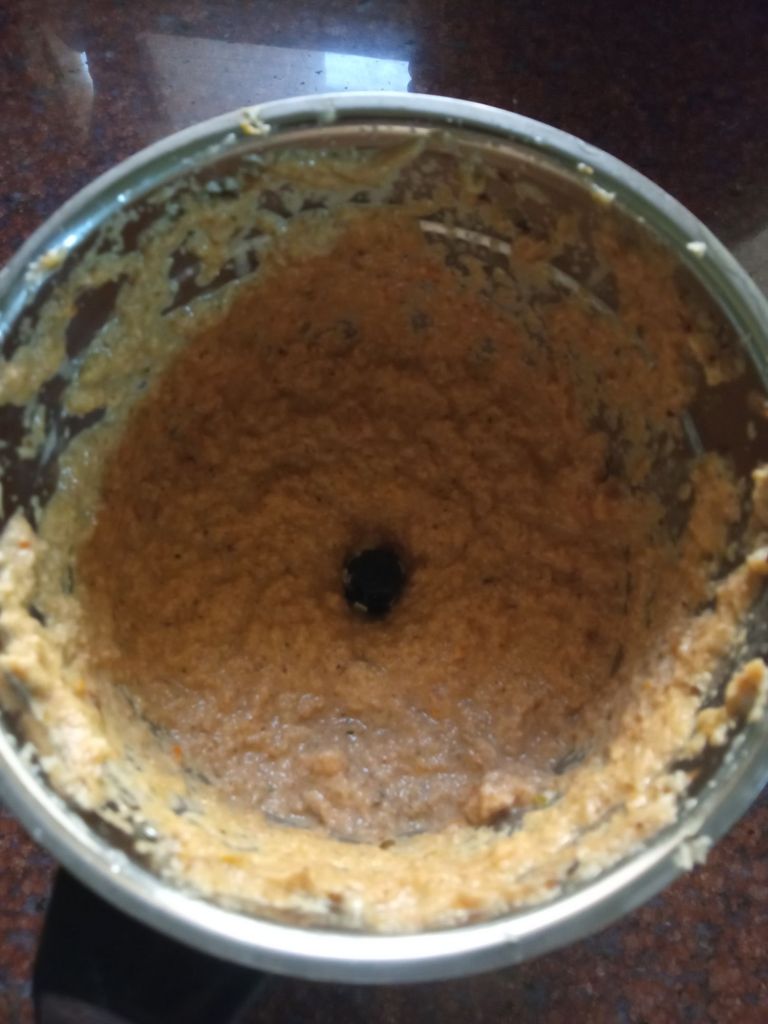
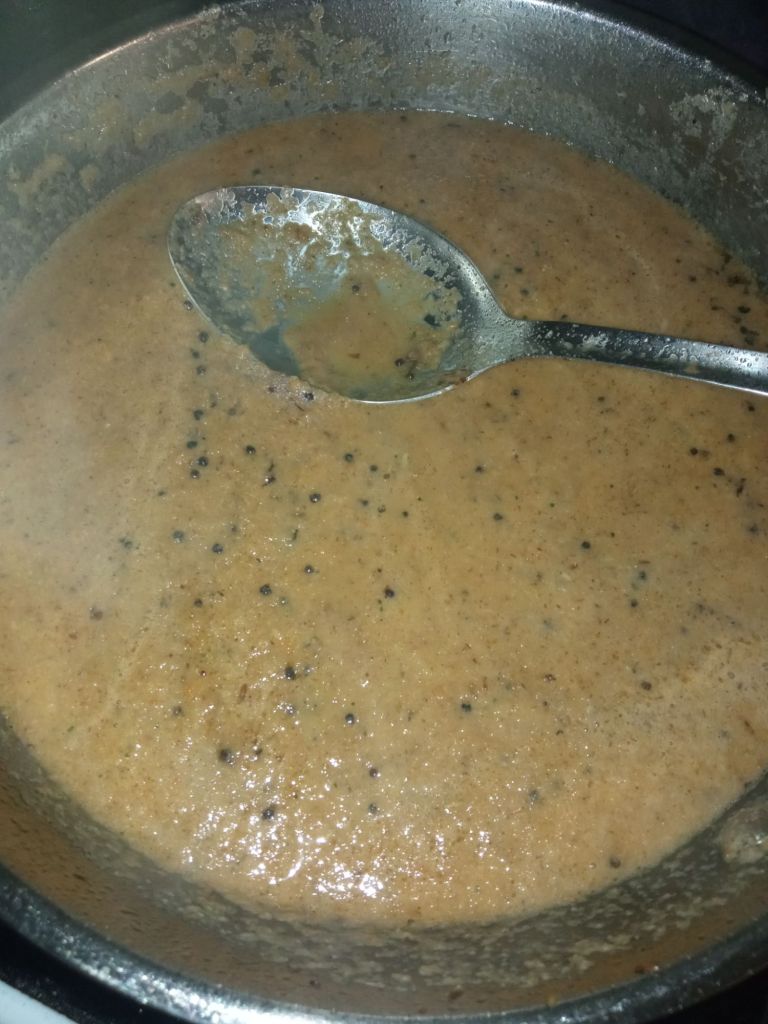
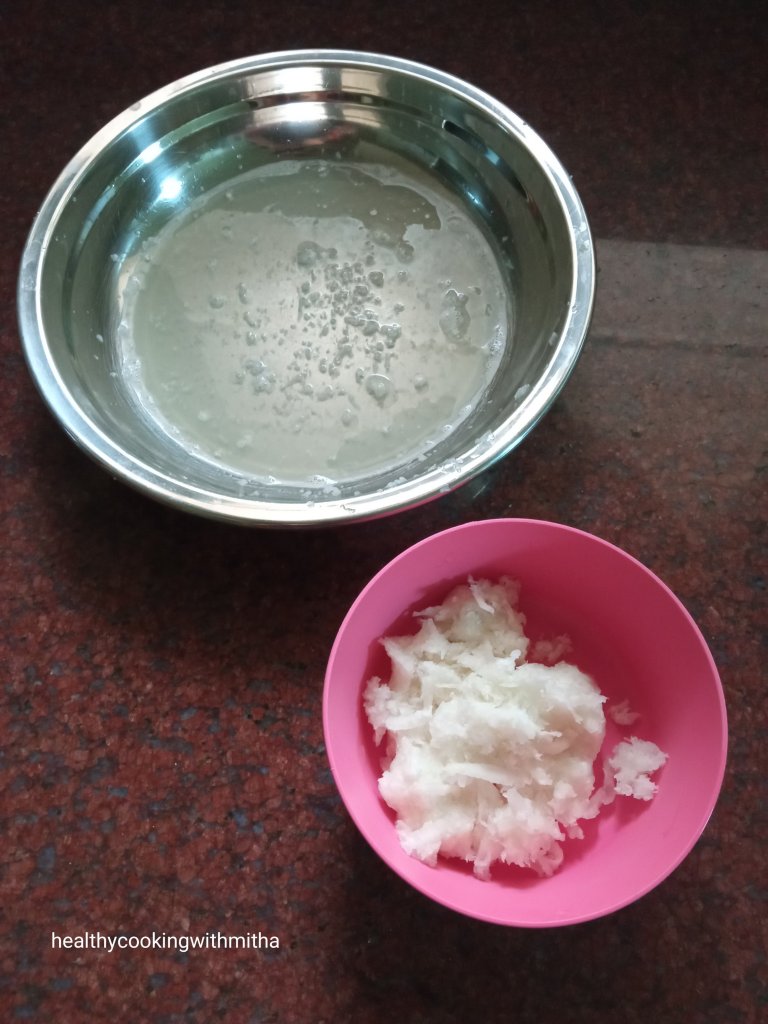
6. Meanwhile grind coconut, green chillies, ginger and cumin seeds to a slightly coarse paste.
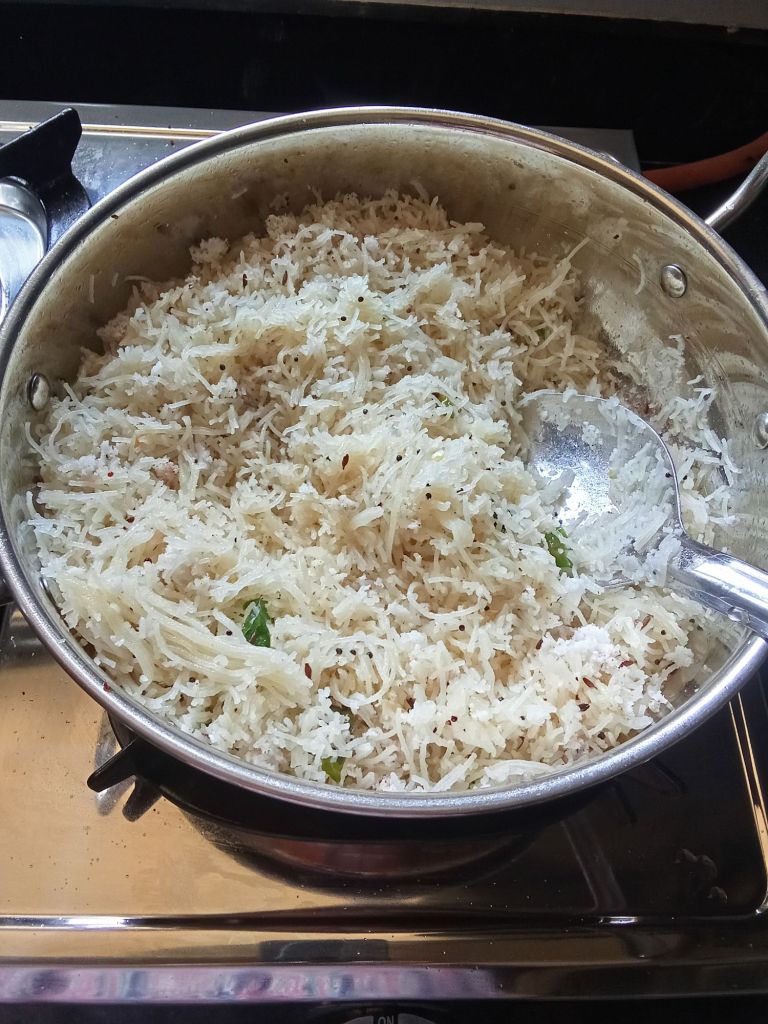
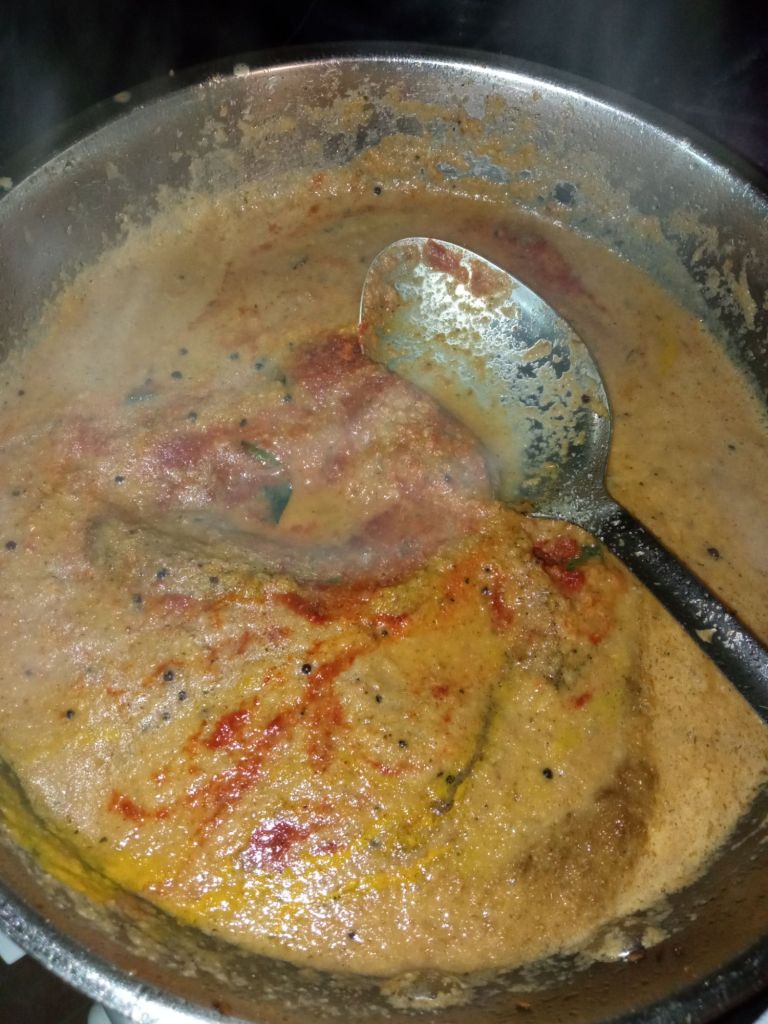
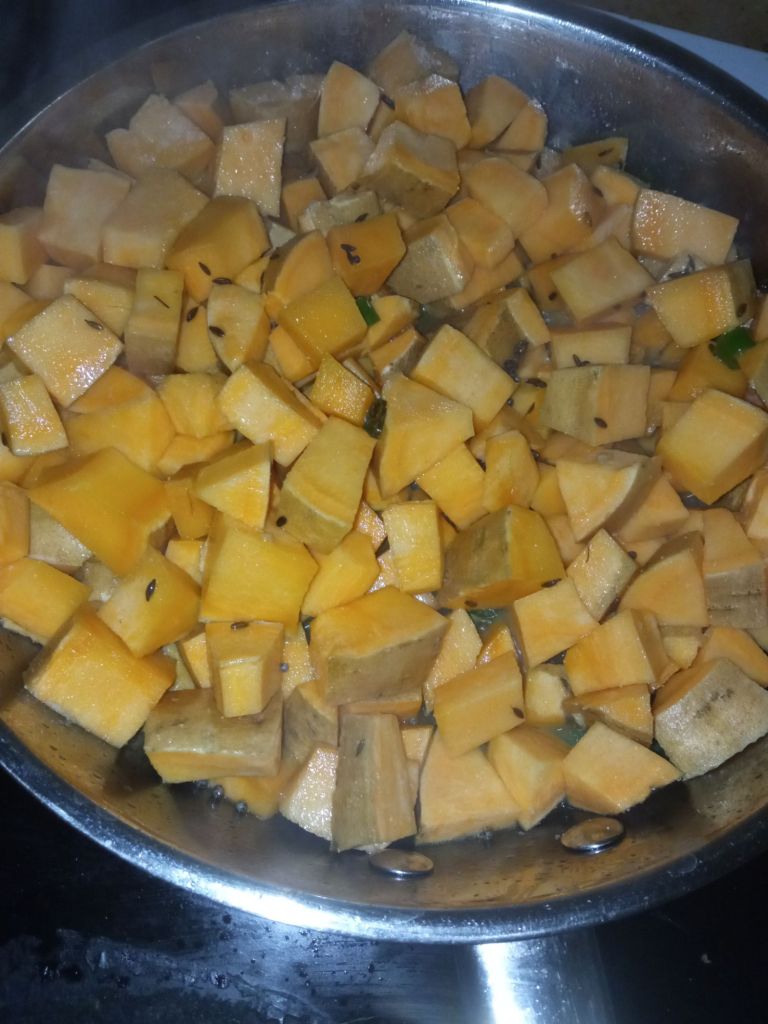
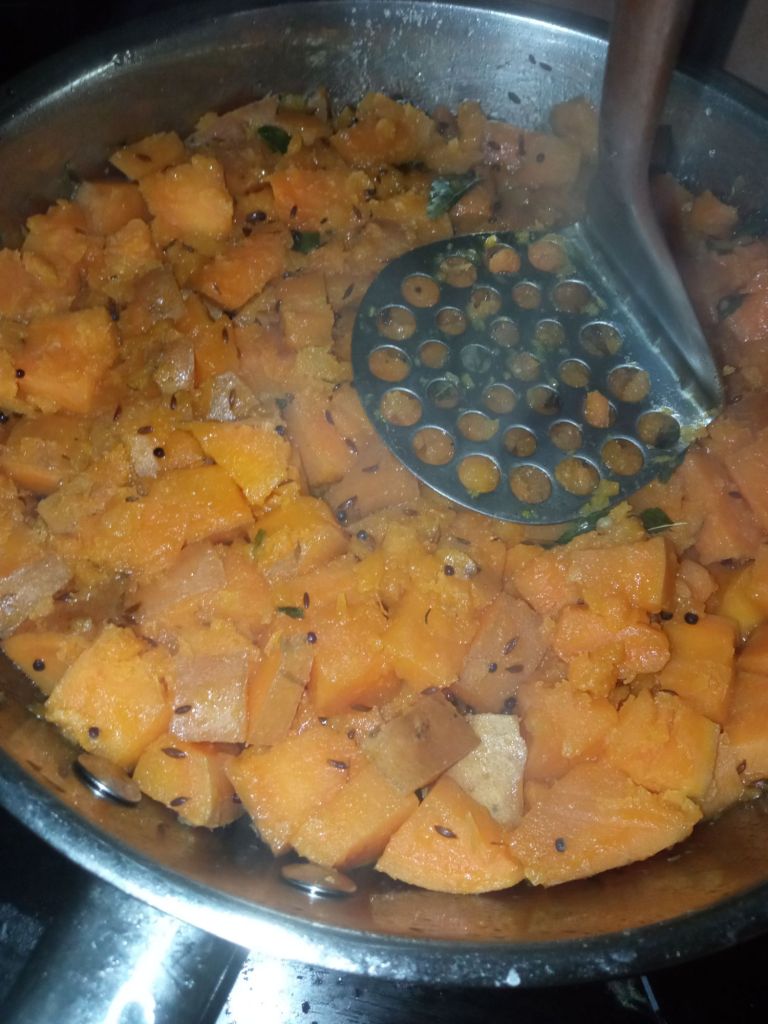
7. Heat coconut oil in a pan.. Add mustard seeds and curry leaves.
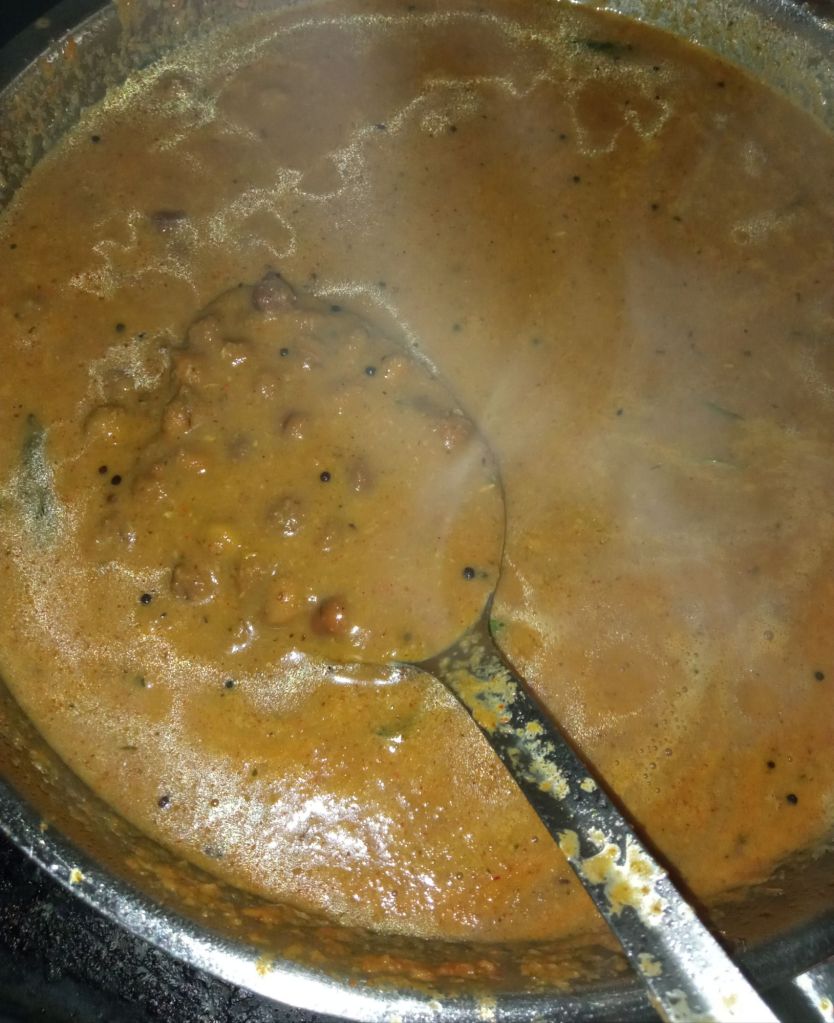
8. When mustard seeds splutter, add the cooked Tapioca pieces and the ground coconut mixture. Add the cooked water from the cooker only as much as needed. Don’t add excess water.
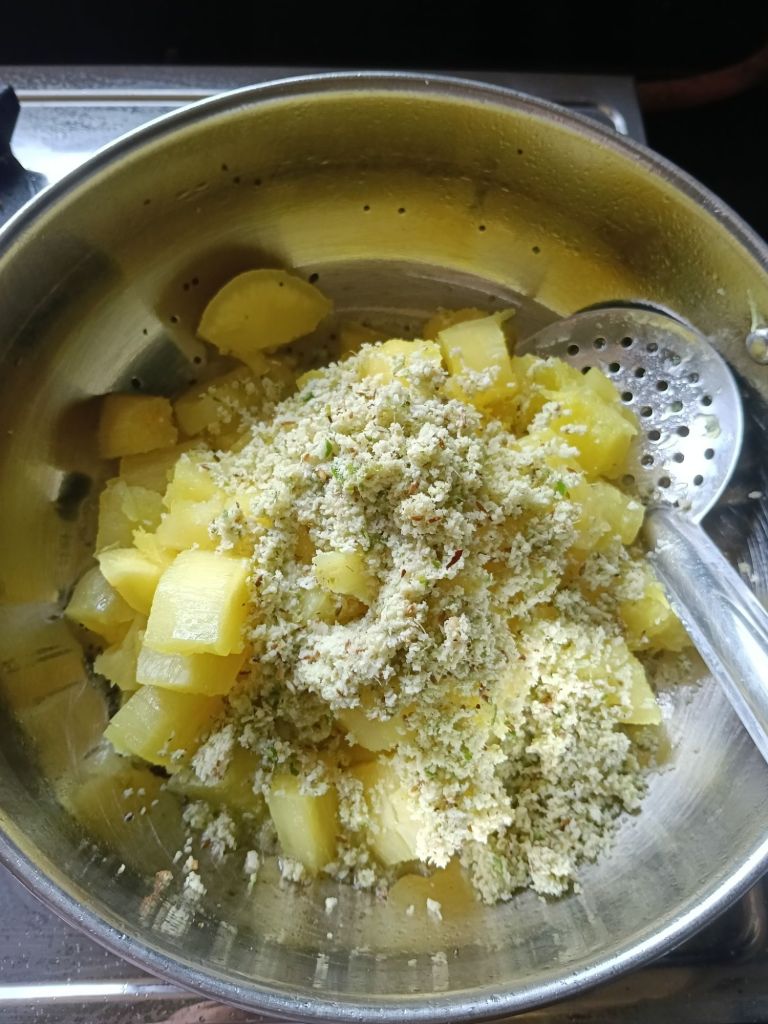
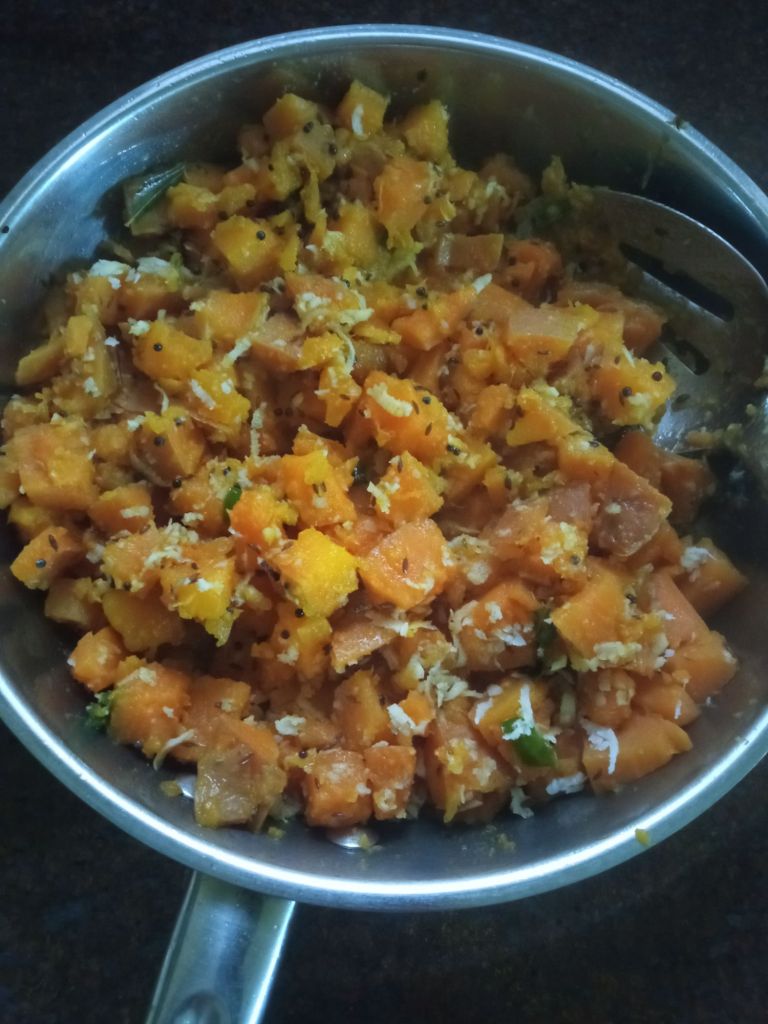
9. Mix well, adding salt if necessary.
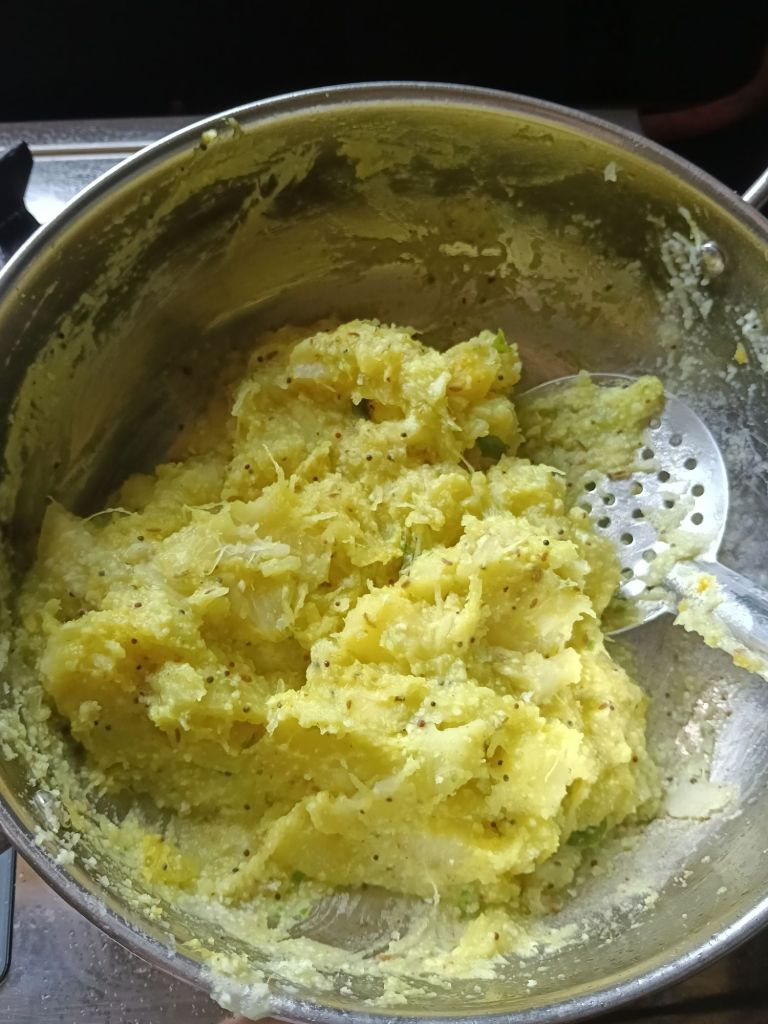
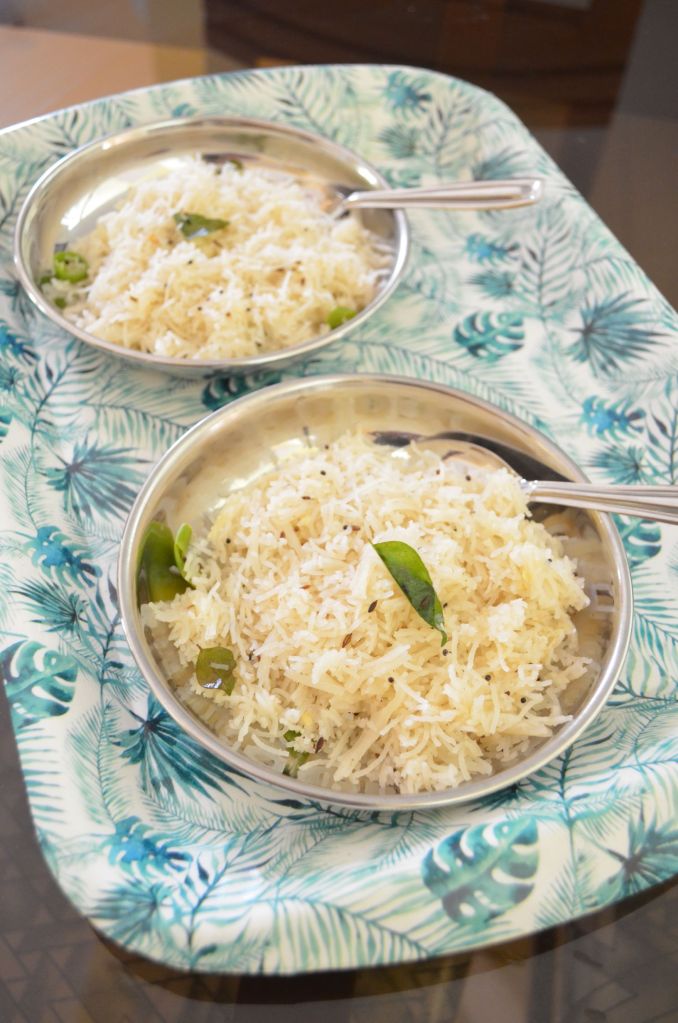
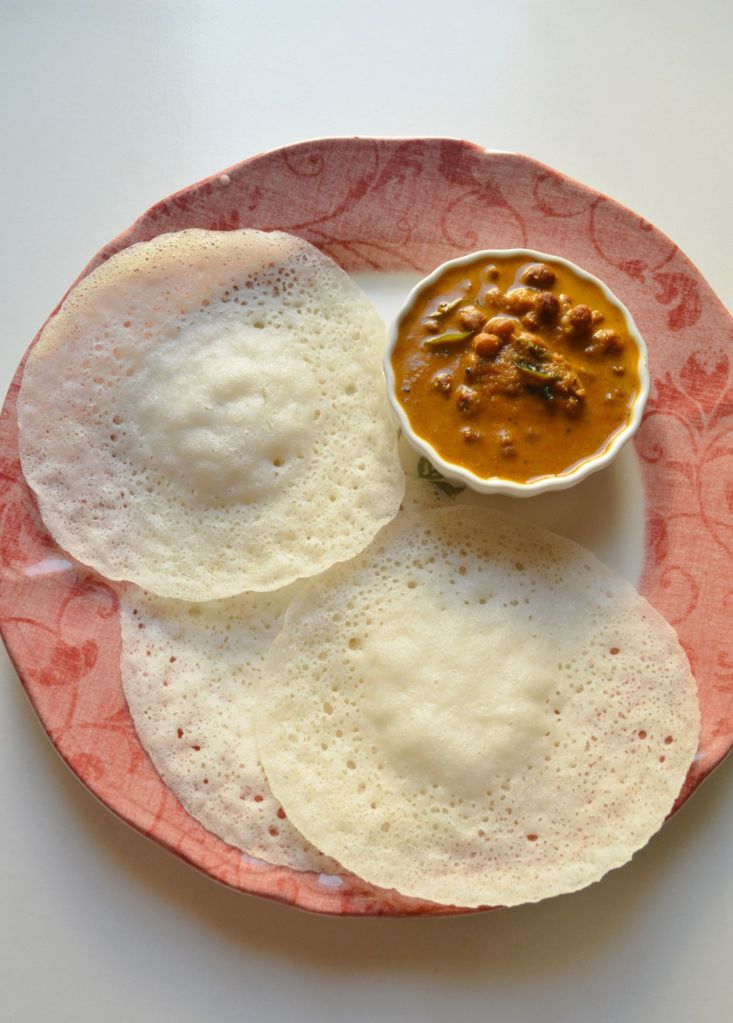
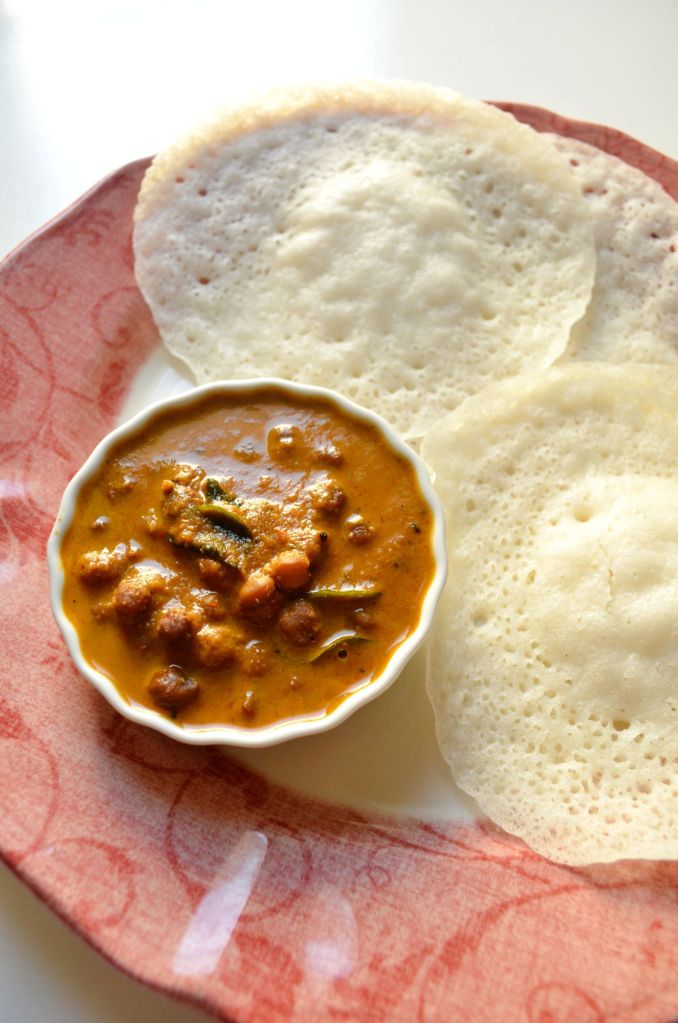
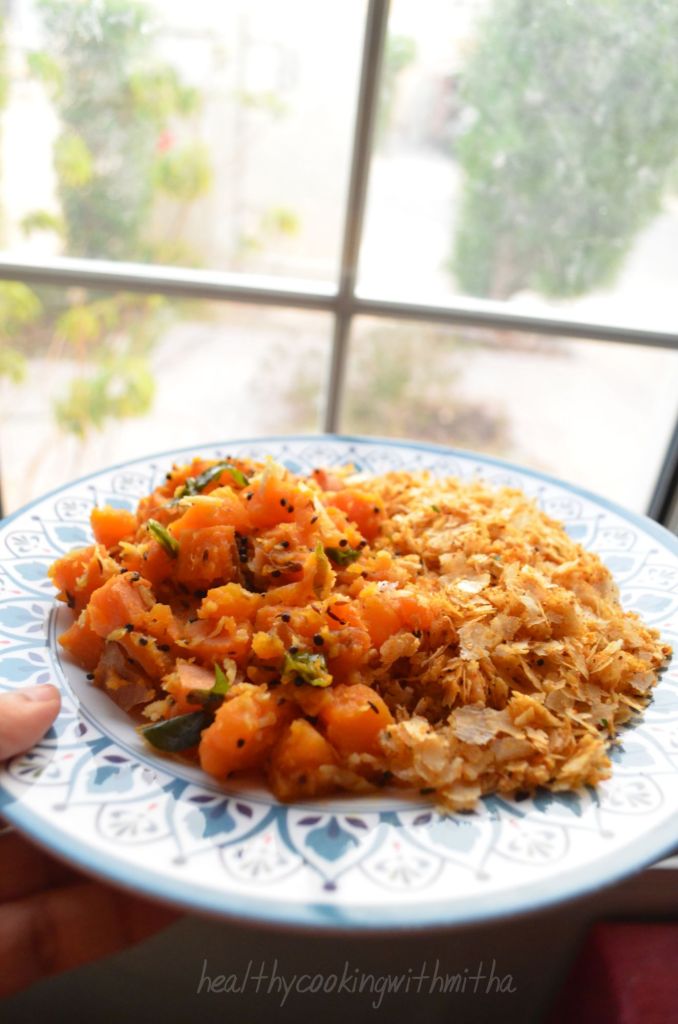
10. Kappa Puzhukku is ready.. Eat it as it is for tea time or along with dosa or chapati. It is traditionally eaten with fish curry in Kerala.. My kids loved it along with dosa..
Notes:
- If you want firm pieces of Tapioca, pressure cook for only 1 whistle..
- Put the Tapioca pieces in water to avoid it from turning black..
- You can enjoy this as it is or as an accomplishment to dosa, chapati or rice meals..