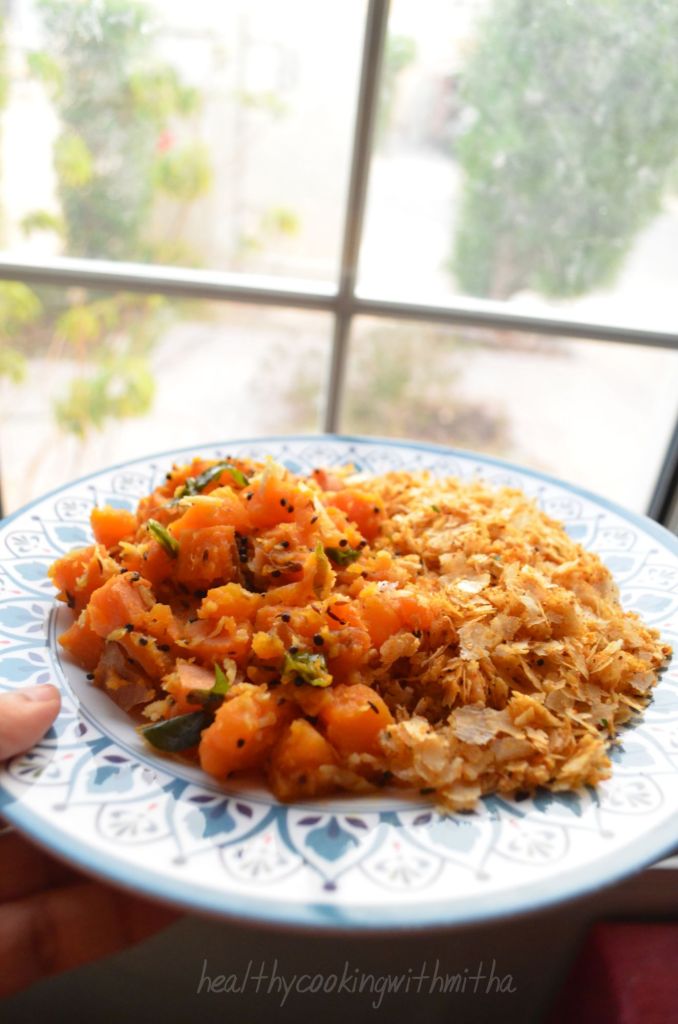
The weather here in Qatar is so good now that winters have started and the hungry me is even hungrier during evening time. 😍 Specially since I walk atleast for an hour, late in the evening, I make sure I have ample energy for that. 😄 And what’s more filling than our own age old combination of Kananga usli and theek phovu or sweet potato stir fry with spicy poha. ❤️
The mushy sweet potatoes with spicy and slightly crunchy poha makes for a heaven made pair making me go nostalgic, reminding me of my childhood when Amma and Anama used to make it for me. I was, am and forever will be a huge fan of our amchi food. ❤️
Nothing satisfies my tummy and soul more than Konkani delicacies. I have also realized that our food is so easy and quick to make along with being healthy and tasty too. ❤️
So here is me, sharing my favorite breakfast or snack dish. Hope you try and love it too. Happy and healthy cooking ❤️
RECIPE:
Ingredients:
For Sweet potato stir fry:
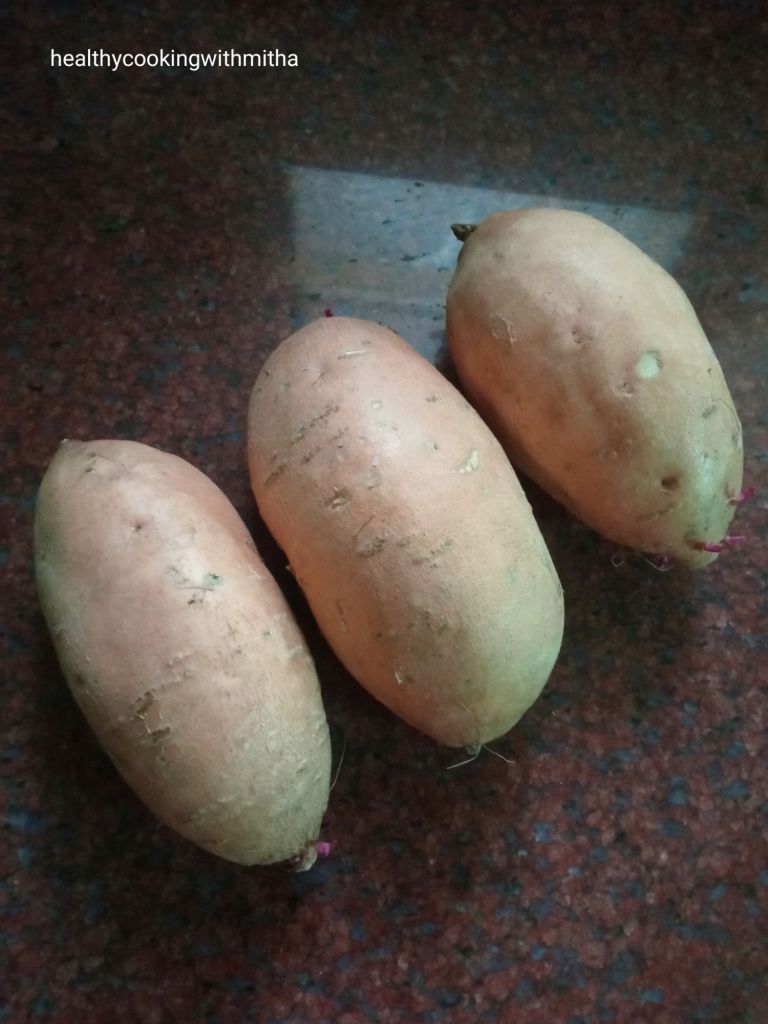
3 Medium sized Sweet potato
3 to 4 Green chillies
A sprig of curry leaves
2 tsp Mustard seeds
2 tsp Cumin seeds
Pinch of Hing or Asafoetida
1 Tbsp Jaggery powder
2 Tbsp Coconut oil
3 Tbsp freshly grated Coconut
Salt to taste
For theek phovu:
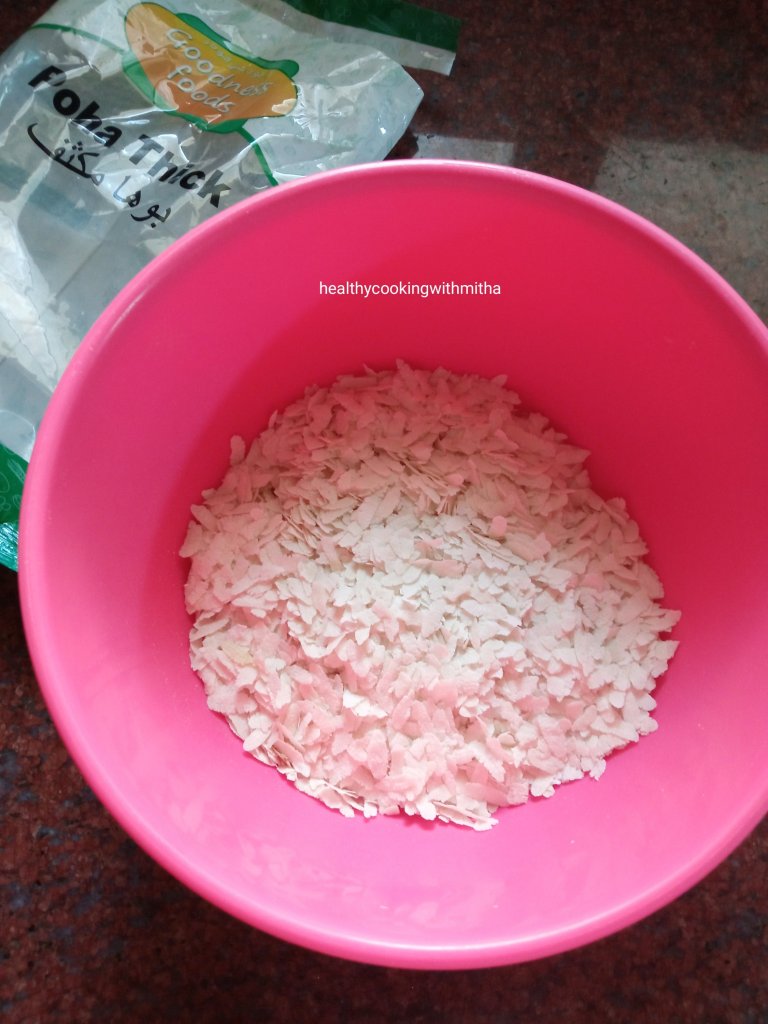
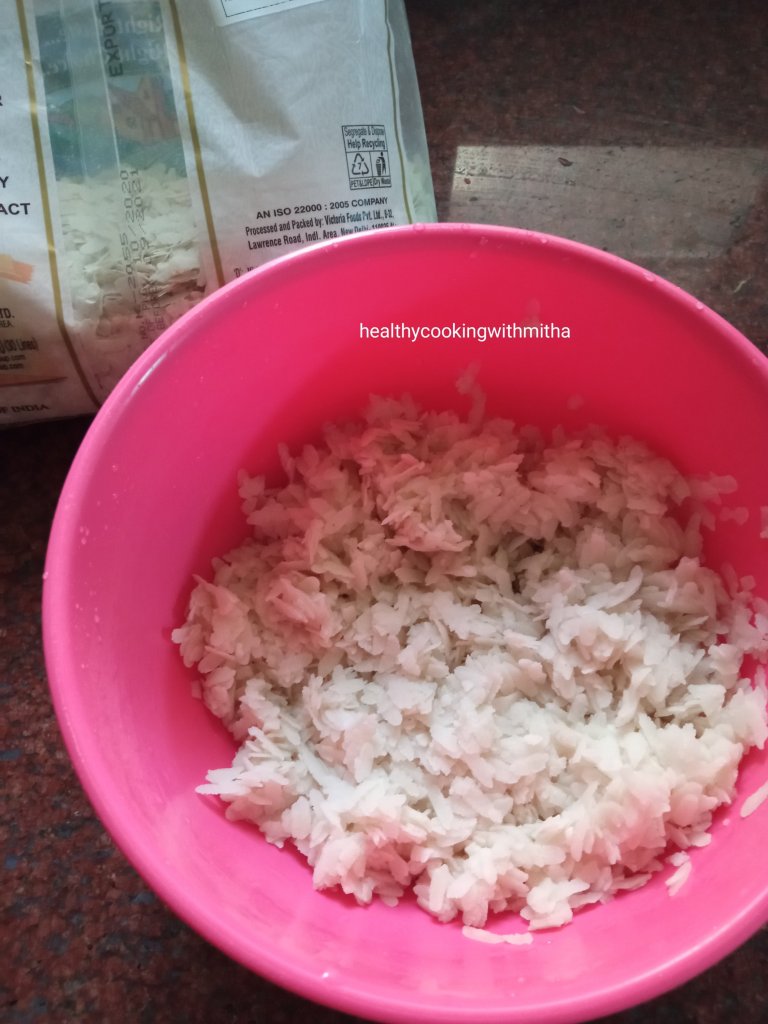
2 Cups Thin Poha/ Aval/ Flattened rice
1/2 Cup Freshly grated Coconut
2 tsp Coconut oil
1 tsp Mustard seeds
A sprig Curry leaves
2 tsp Sambar powder
1 tsp Red Chilli powder or to taste
1 tsp Jaggery powder
Salt to taste
Step by step recipe:
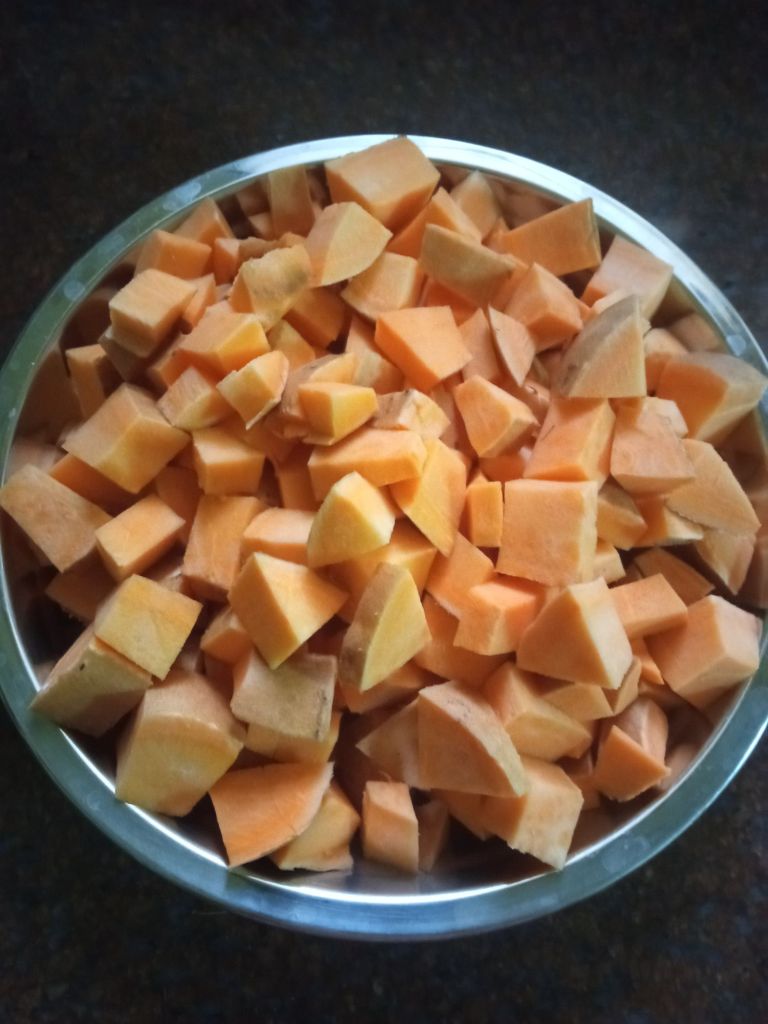
- Take sweet potato as shown. Wash them well. Cut off the sides and cut into bite size pieces. I don’t peel it.
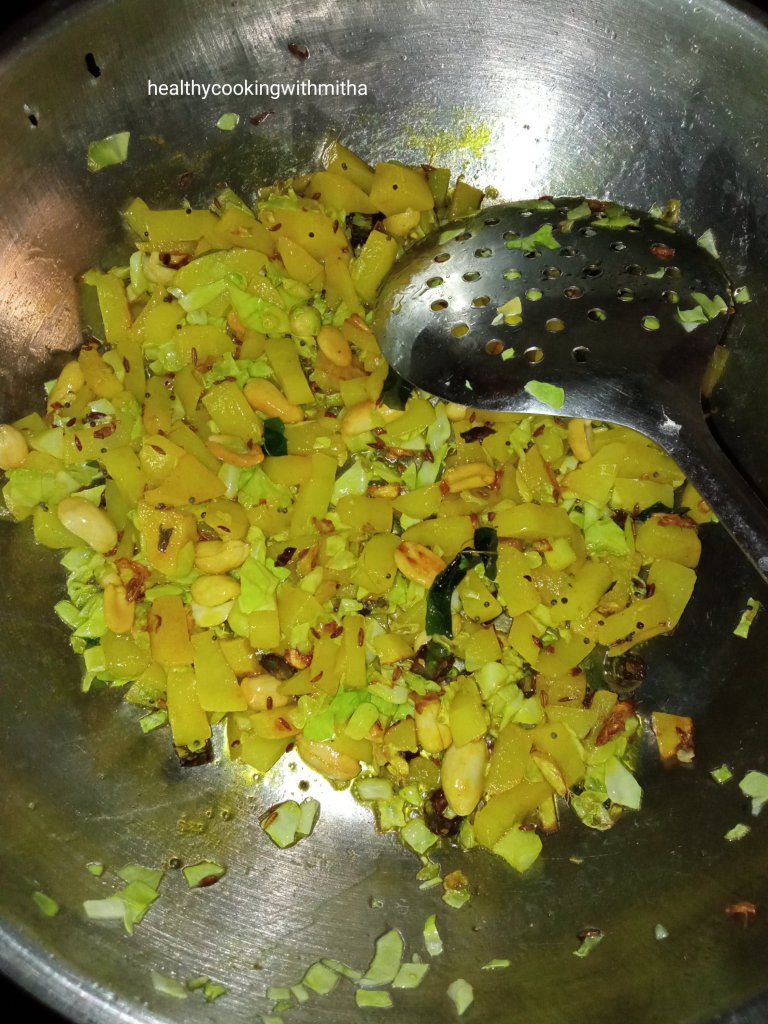
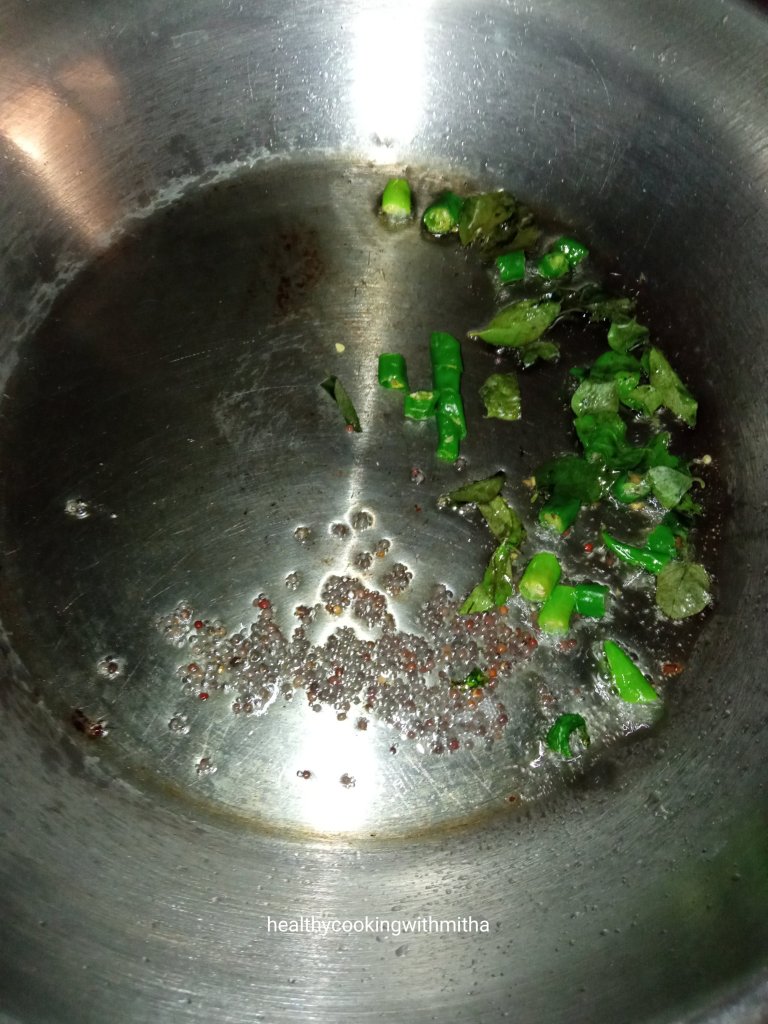
2. Now heat Coconut oil in a pan, add mustard seeds and cumin seeds. When mustard seeds splutter, add curry leaves and green chillies.
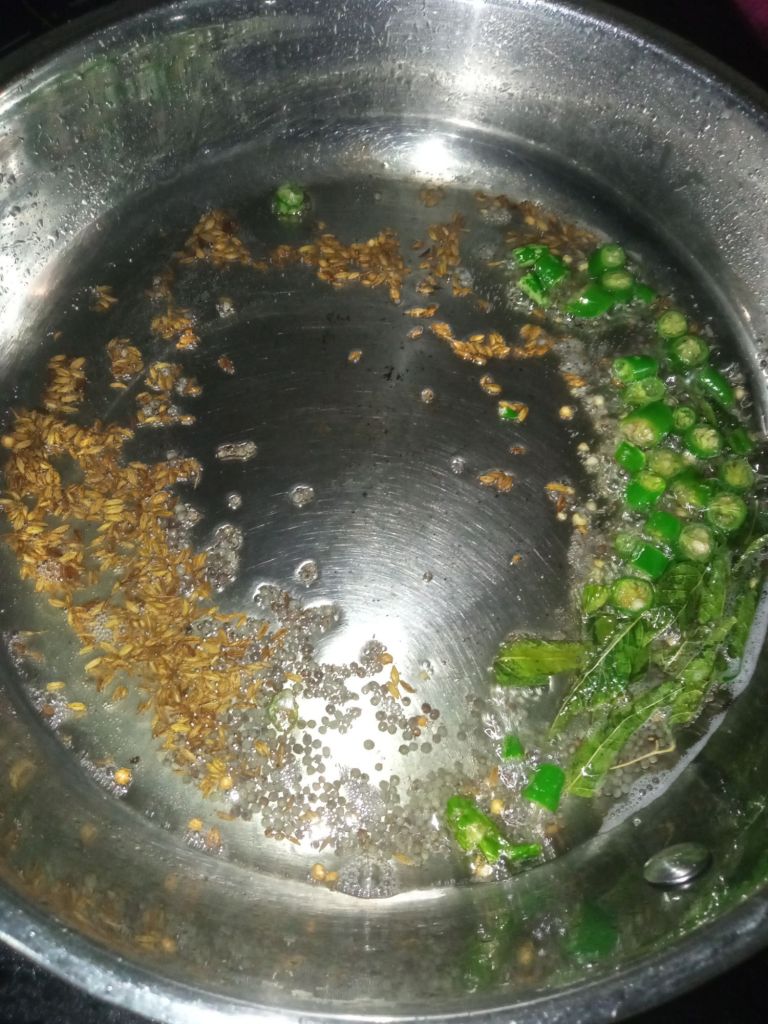
3. When green chillies start to change colour, add the chopped sweet potatoes. Mix well adding salt.
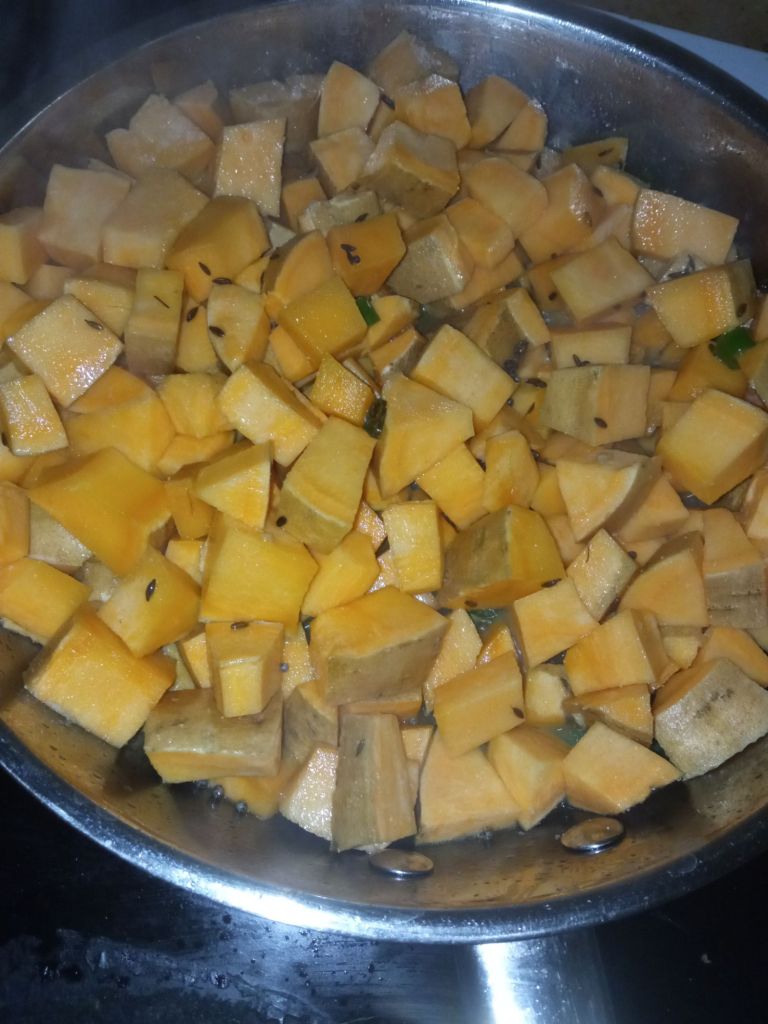
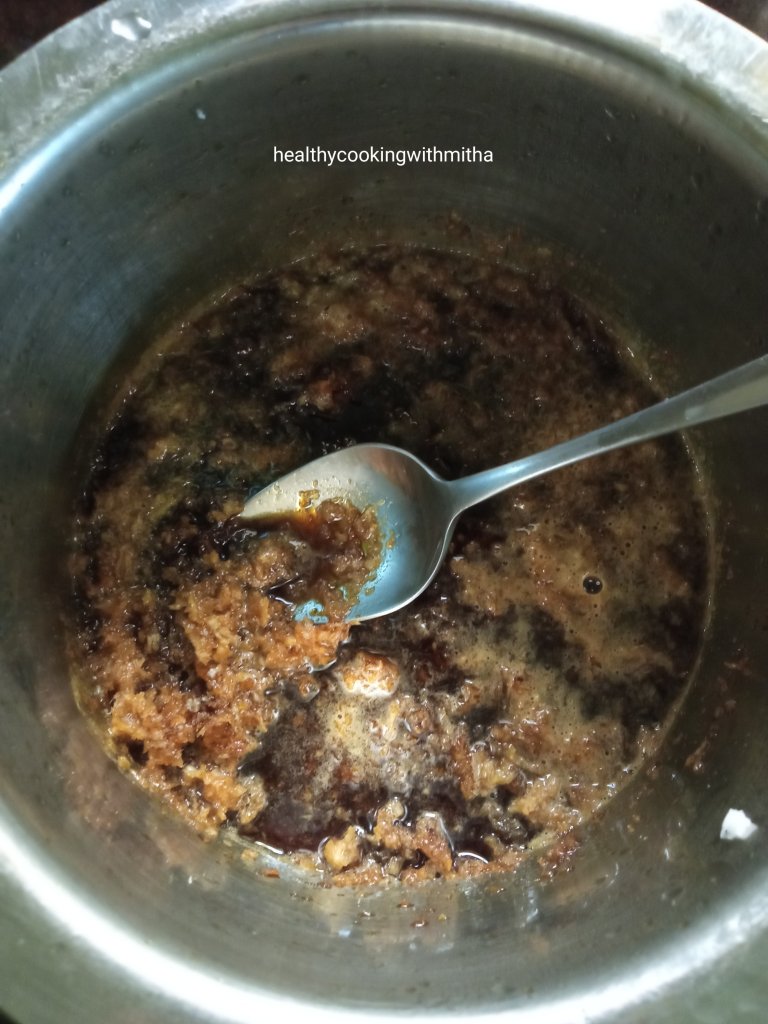
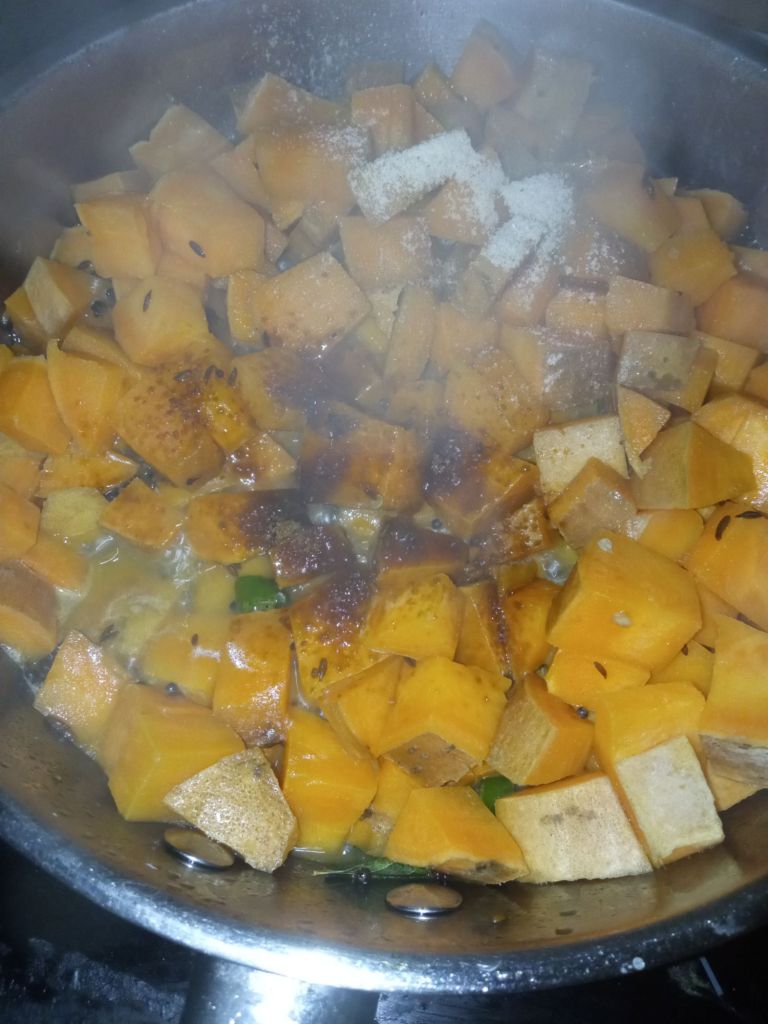
4. Add little water, cover and cook on medium flame till the sweet potatoes turn a little soft. Now add jaggery and hing powder.
5. Mix again, cover and cook till the sweet potatoes turn soft. Mash using masher to make it into slightly mushy consistency. It’s optional but we love our usli that way.
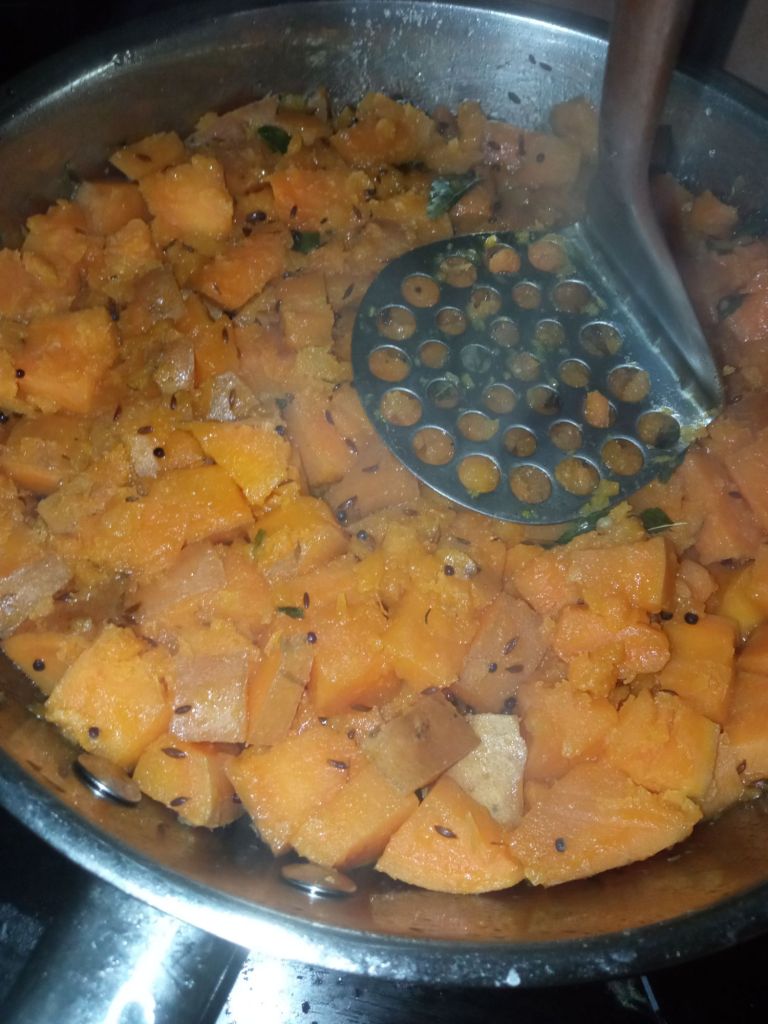
6. Remove from flame, garnish with fresly grated coconut and mix well.
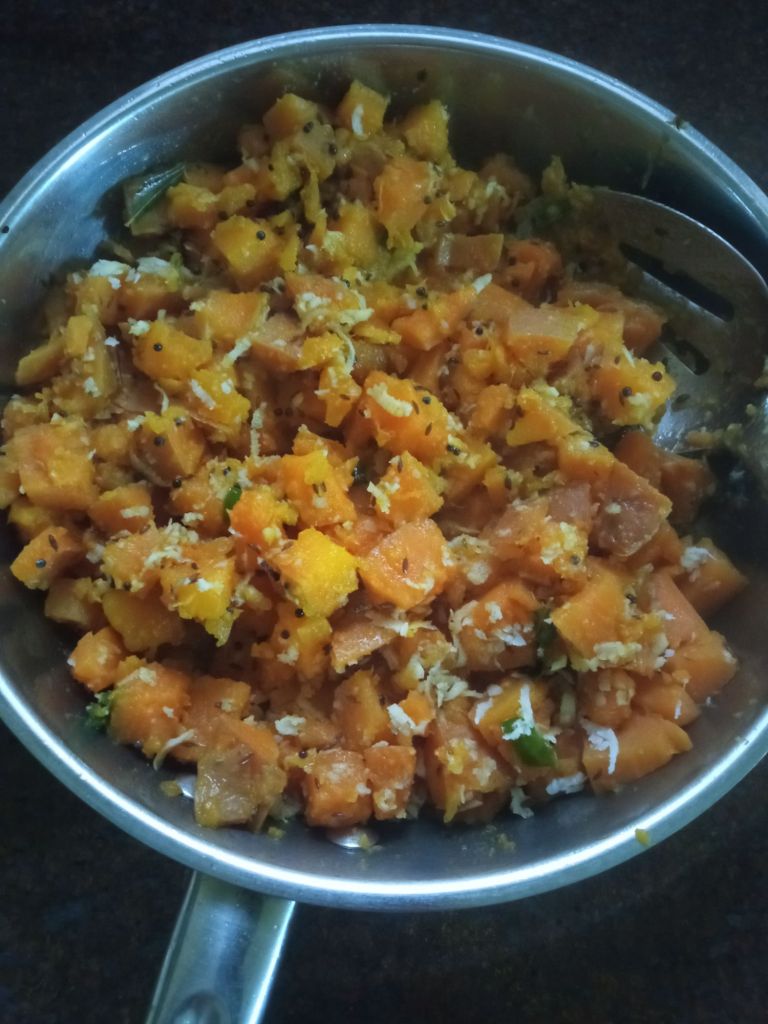
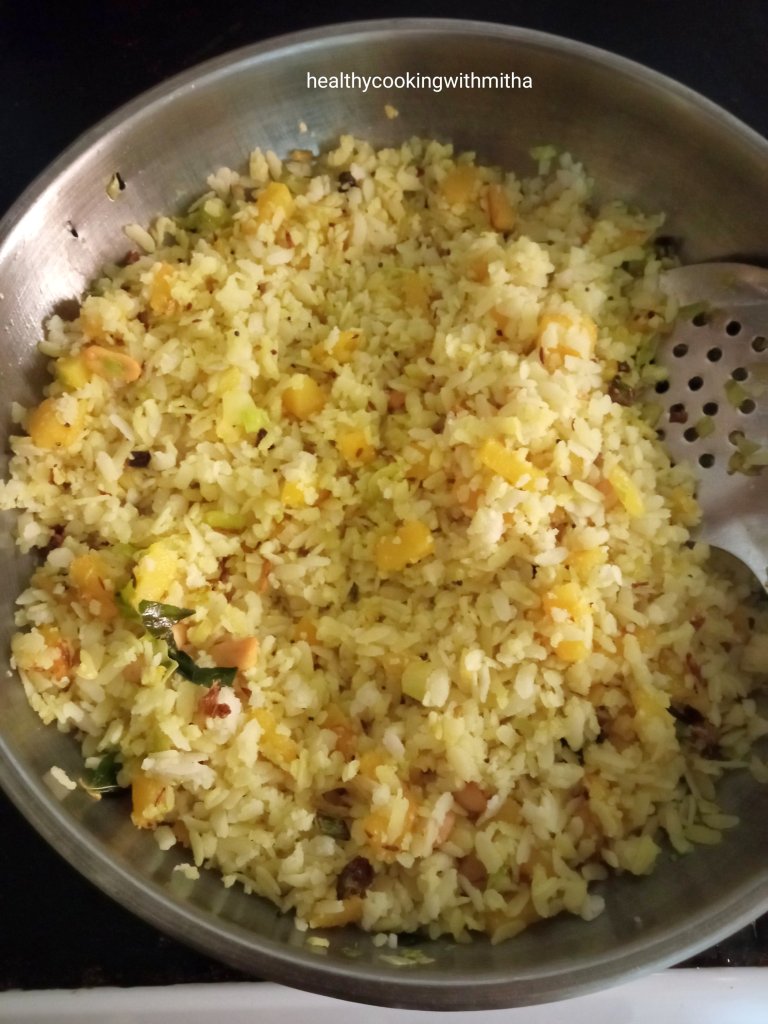
Sweet potato stir fry or Kananga usli is done!
7. For the theek phovu or spicy poha, heat Coconut oil in a small pan and add mustard seeds and curry leaves. When the seeds splutter,remove from flame.
8. Now in a bowl, take freshly grated coconut, add the seasoning from step 7, sambar powder, red chilli powder, jaggery and salt.
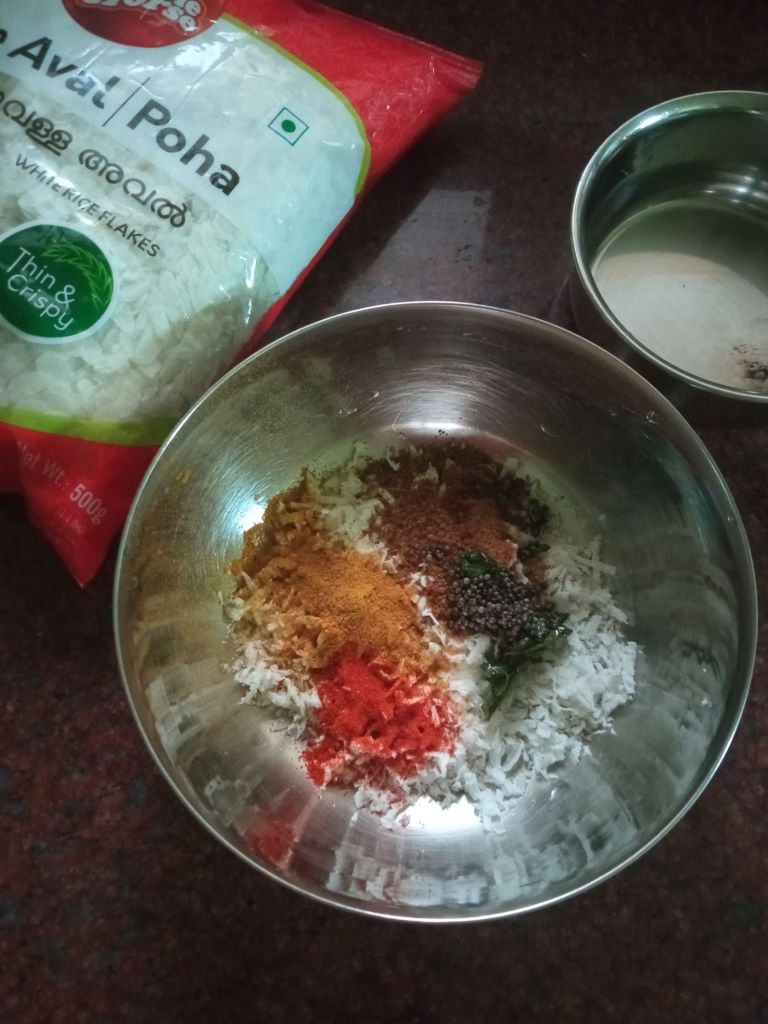
9. Now add the thin poha, one cup at a time and mix well crushing it lightly with hands.
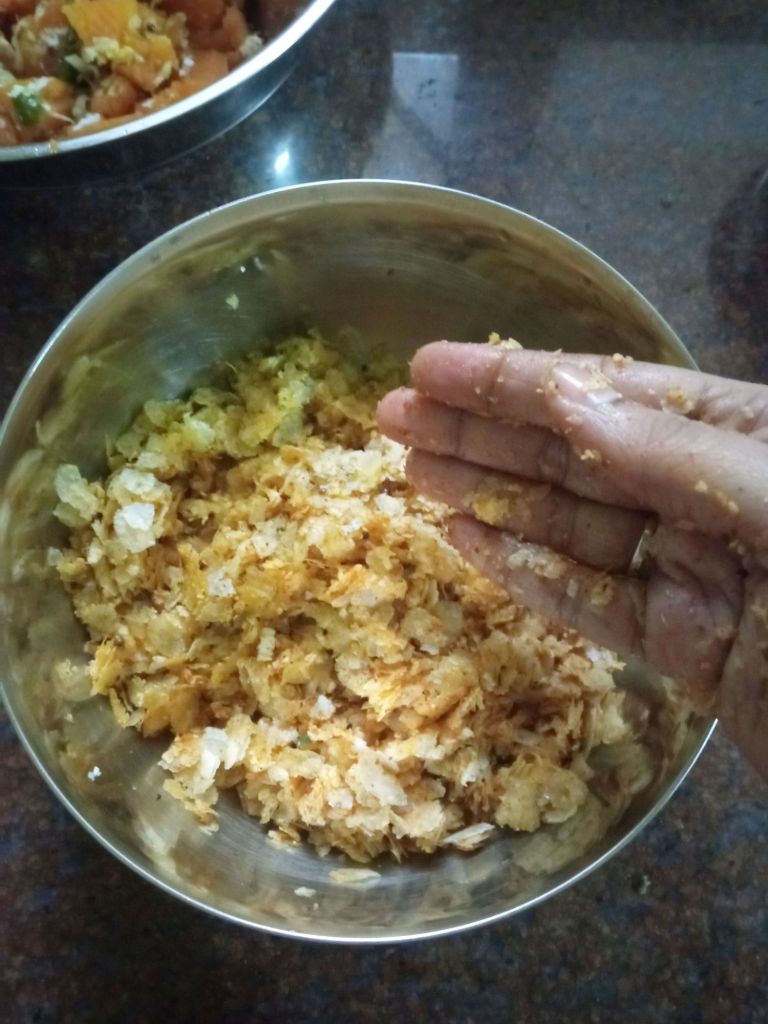
10. Do a taste test to see if you need to add more red chilli powder, jaggery or salt.
Theek phovu is done too!
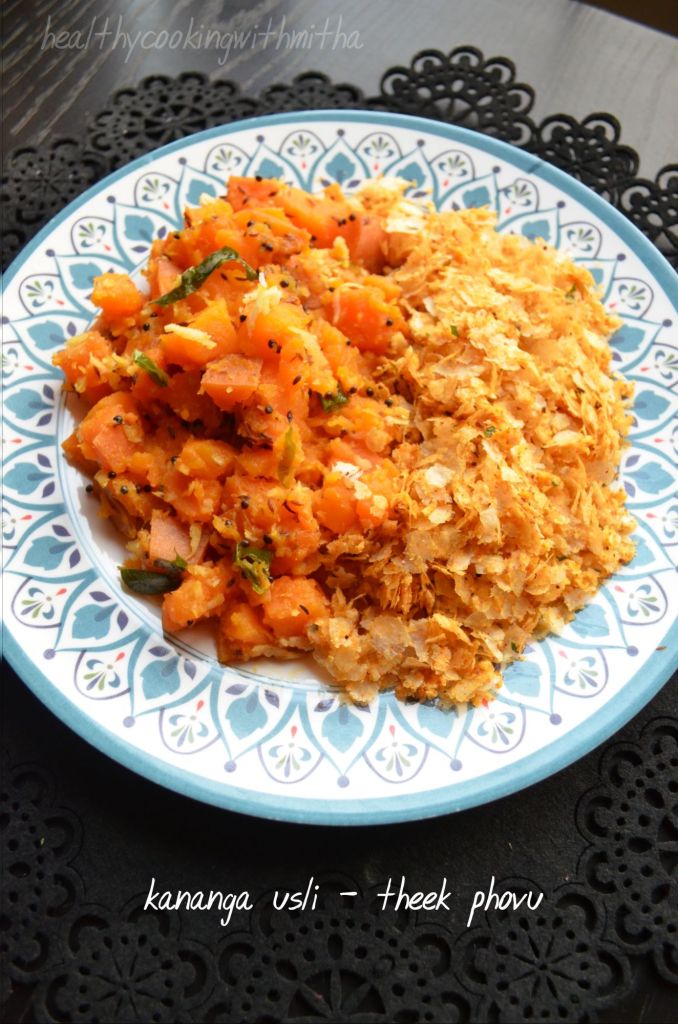
Enjoy Kananga usli with theek phovu. This sweet spicy combination will win your heart for sure ❤️
Notes:
- I live in Qatar and we get Egyptian sweet potatoes here. The size is medium. If using large ones, one large will suffice if making for two people.
- I don’t peel the sweet potatoes as the peel is nutrient dense. Also, the peel is very thin here. So we don’t realize while eating.
- You can replace sambar powder with Rasam powder too in theek phovu recipe.
- Make sure to use only thin poha and not thick poha for this recipe.
- Other seasoned breakfast dishes I make:
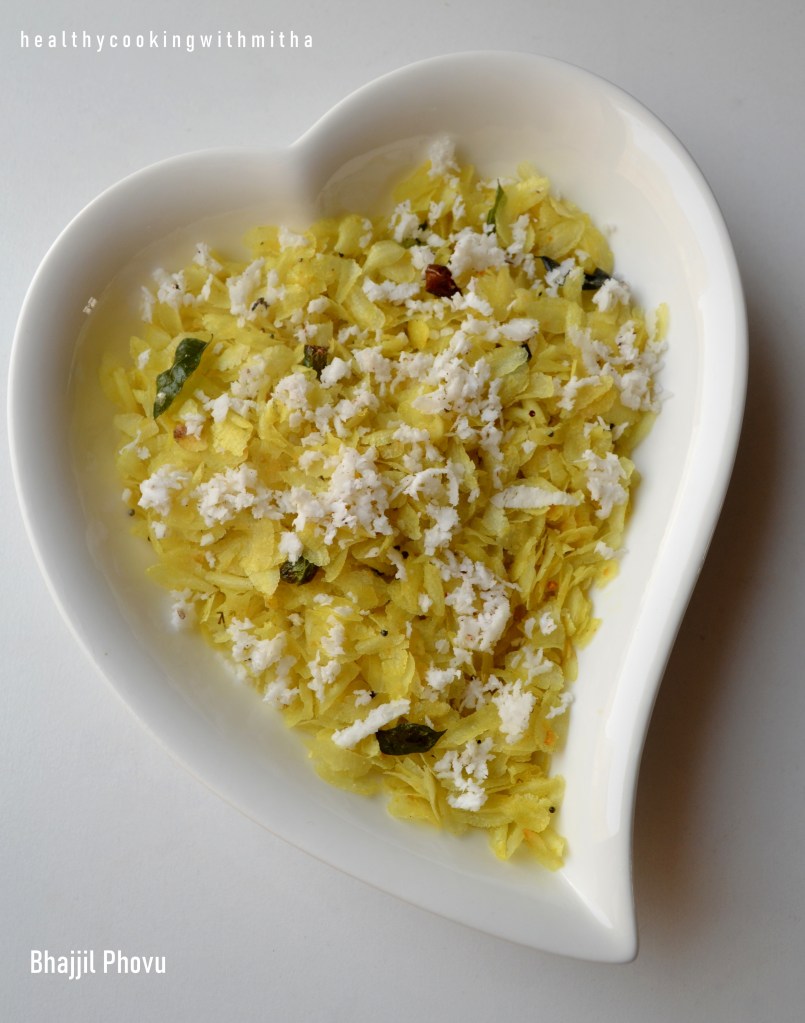
- Bhajjil Phovu
- Idli Usli from leftover idlis
- Batat Phovu
- Chow chow bath or upma with sheera
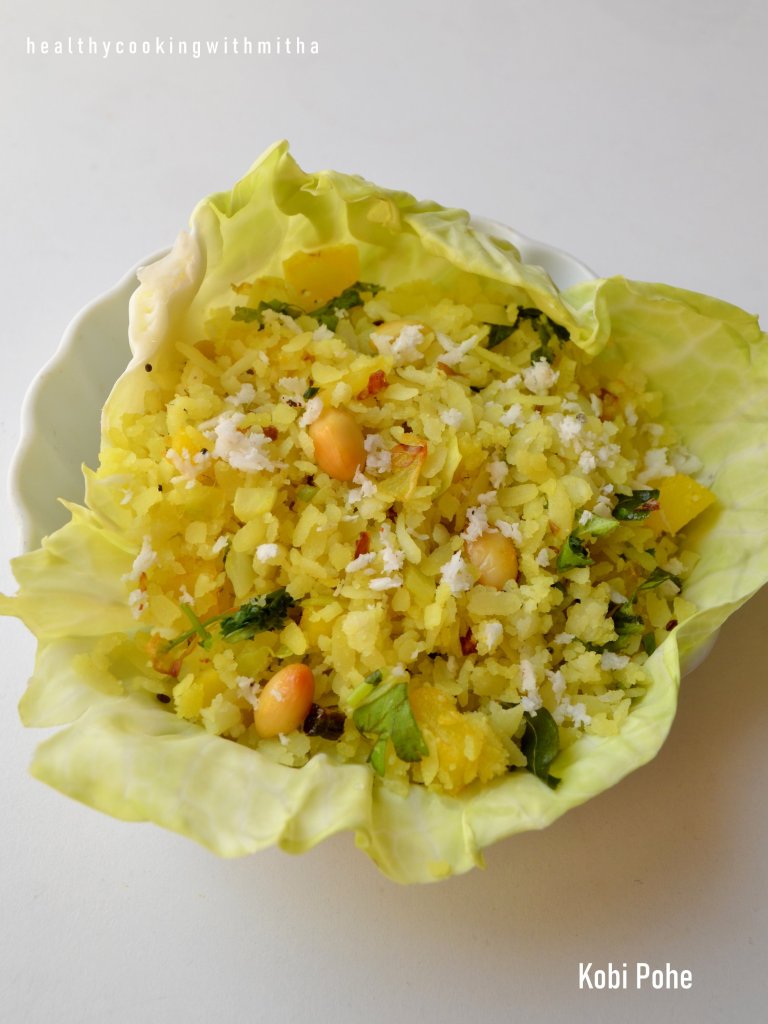
- Kobi Pohe
- Chane Usli with God Phovu
- Muga Dali Usli or moong dal usli
- No Rice Dosa recipes Collection
- Variety Idli Recipes collection
- Millet recipes collection
- Konkani recipes collection