It’s been exactly one year we are in India now, Udupi to be precise and I can’t explain the peace that I feel here. Life is simple in its simplest form and that’s how I like it to be. Parents and relatives are close by, temple functions keep coming up, neighbours are loving and kind, Udupi delicacies are so delicious, nature is its purest form around me, kids are enjoying a new kind of fun life.. in short, this one year has been a blessing, by Krishna’s grace.. ❤️🙏
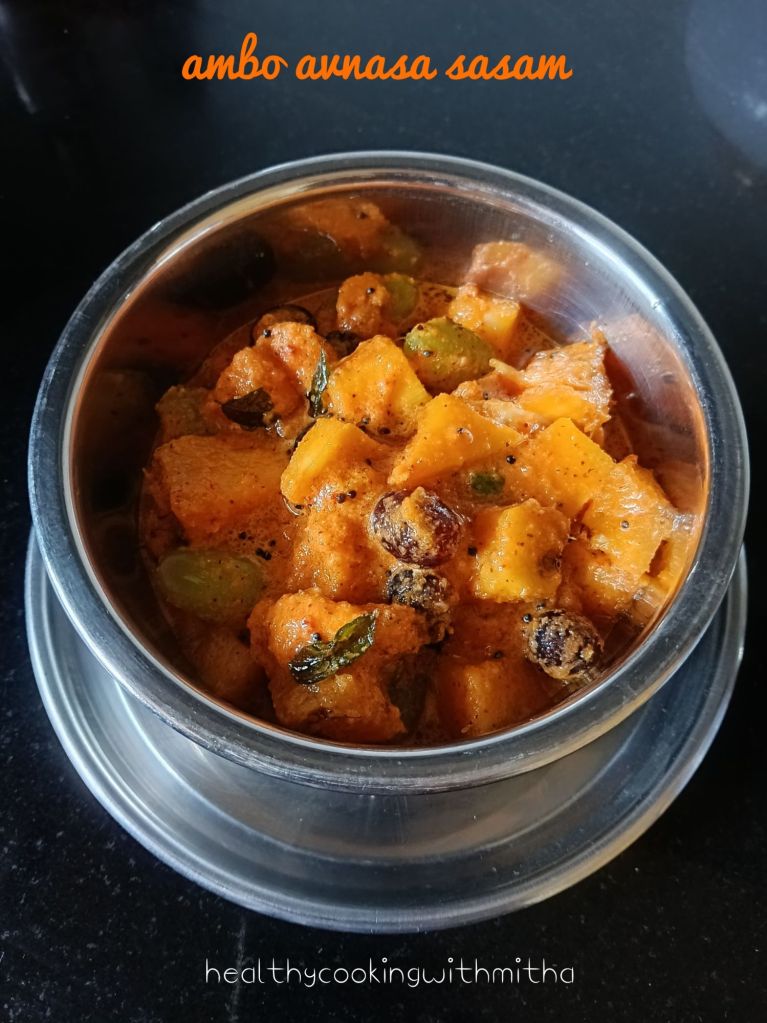
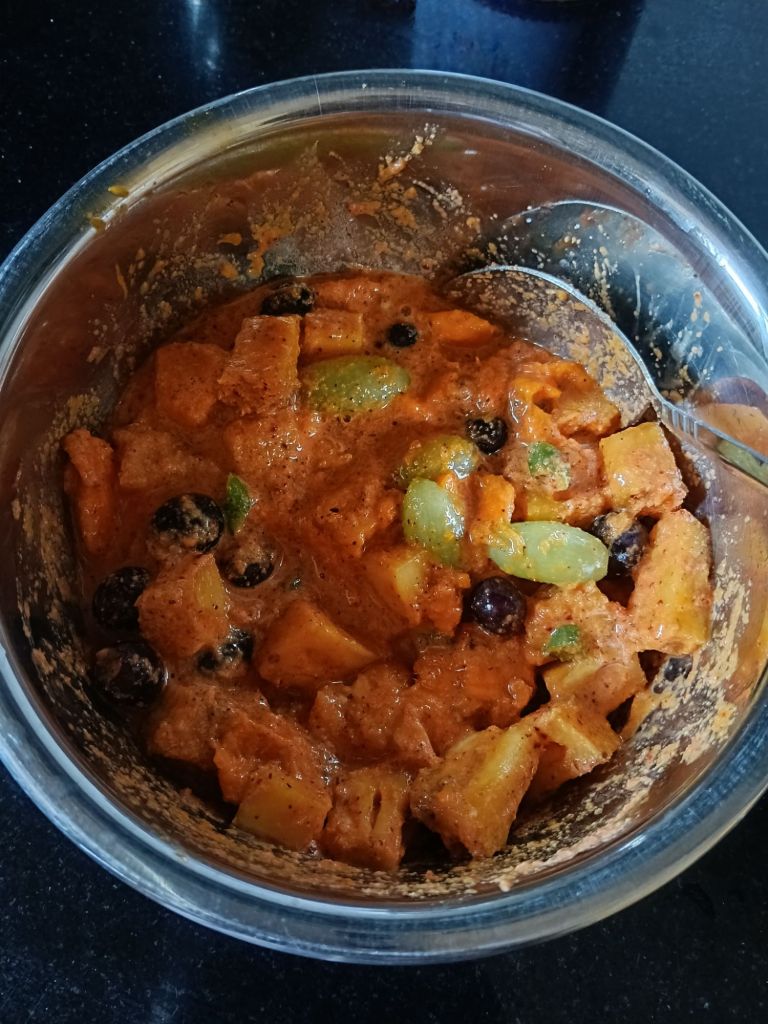
I have also been trying many Konkani dishes now as I get all kinds of ingredients easily here. One among them is this Ambo Avnasa Sasam which is famous among us Amchis specially during Mango season. Also the fresh and super sweet pineapples that we get here makes it extra special, taking it a level higher.
If you are a lover of sweet and spicy together, this dish is for you. It’s addictive and once you start eating it, the flavours will blow your mind away. It’s also a dish served at our functions regularly during Mango season.
Hope you all try and love it. Hope to post many more recipes soon. Happy and healthy cooking ❤️
RECIPE:
Ingredients: { Serves two people }
1 Large ripe Mango ( approx 1 Cup pieces )
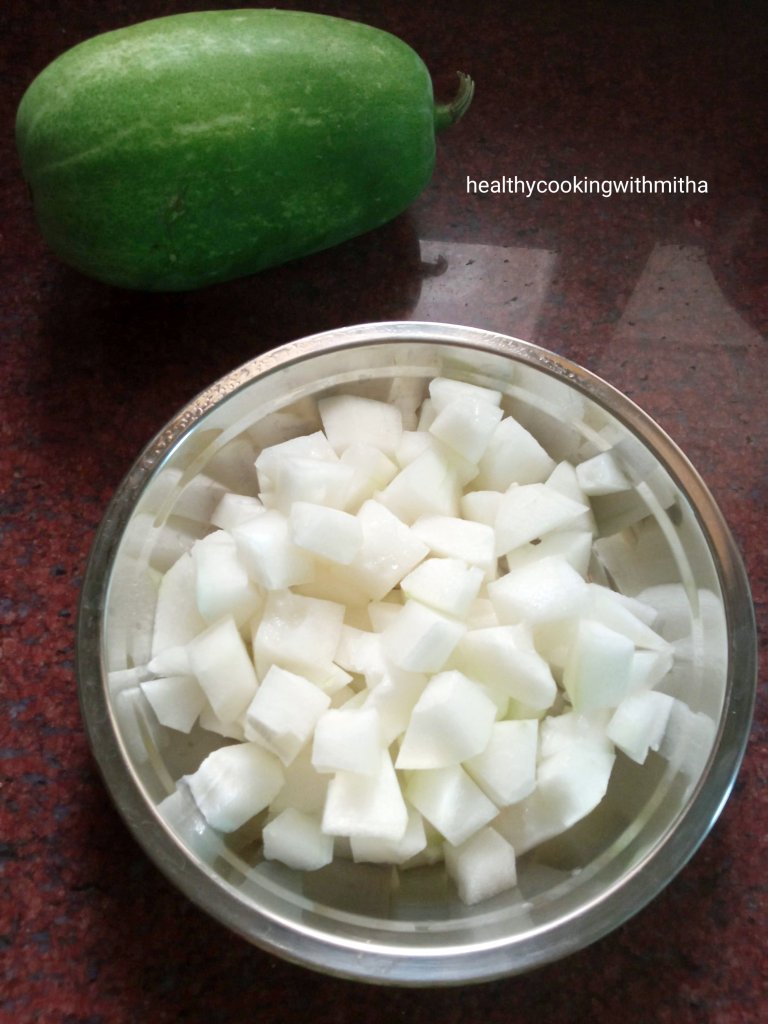
1/4 of a large Pineapple ( approx 1 1/2 Cup pieces )
About 10 to 12 Green Grapes
About 10 to 12 Black Grapes
2 Green chillies
Salt to taste
2 Tbsp Jaggery or to taste
For the masala :
1 Cup freshly grated Coconut
2 roasted Red chillies
1 tsp mustard seeds ( raw, unroasted )
For the seasoning :
1 Tbsp Coconut oil
1 tsp mustard seeds
A sprig of curry leaves
Step by step recipe:
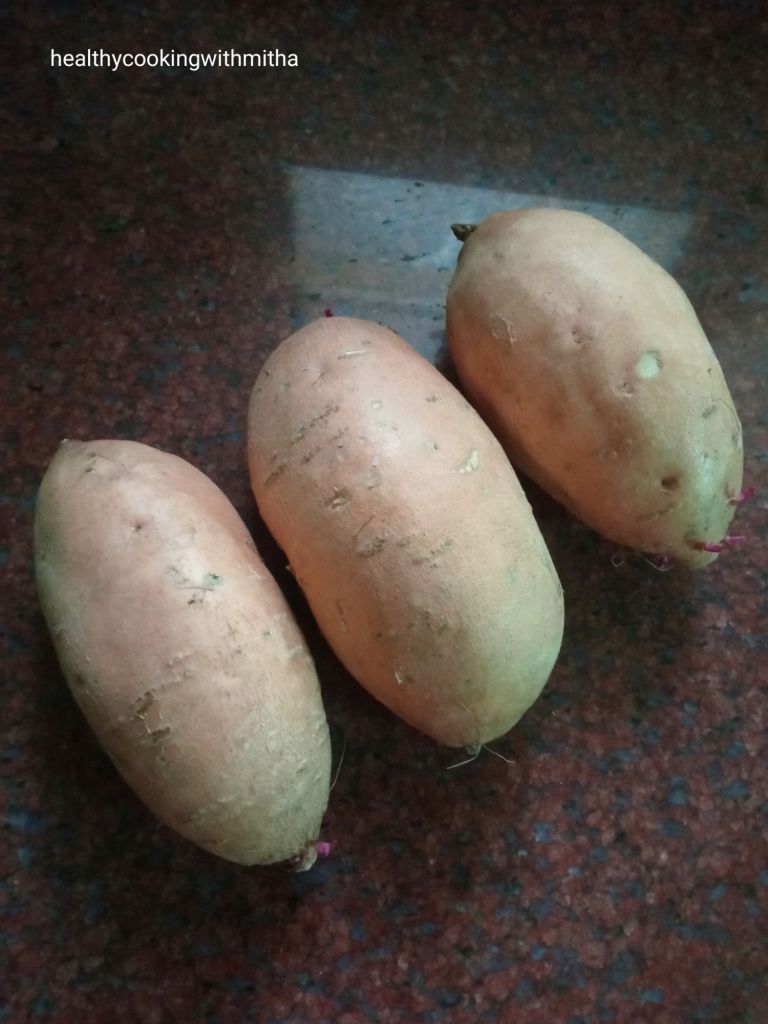
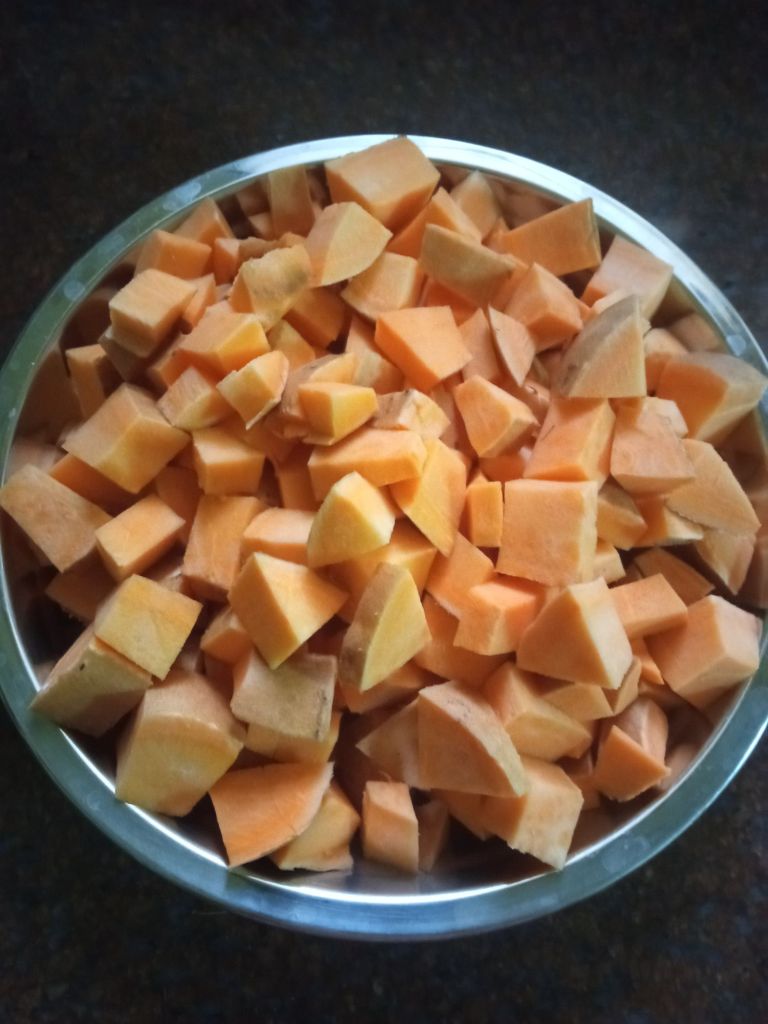
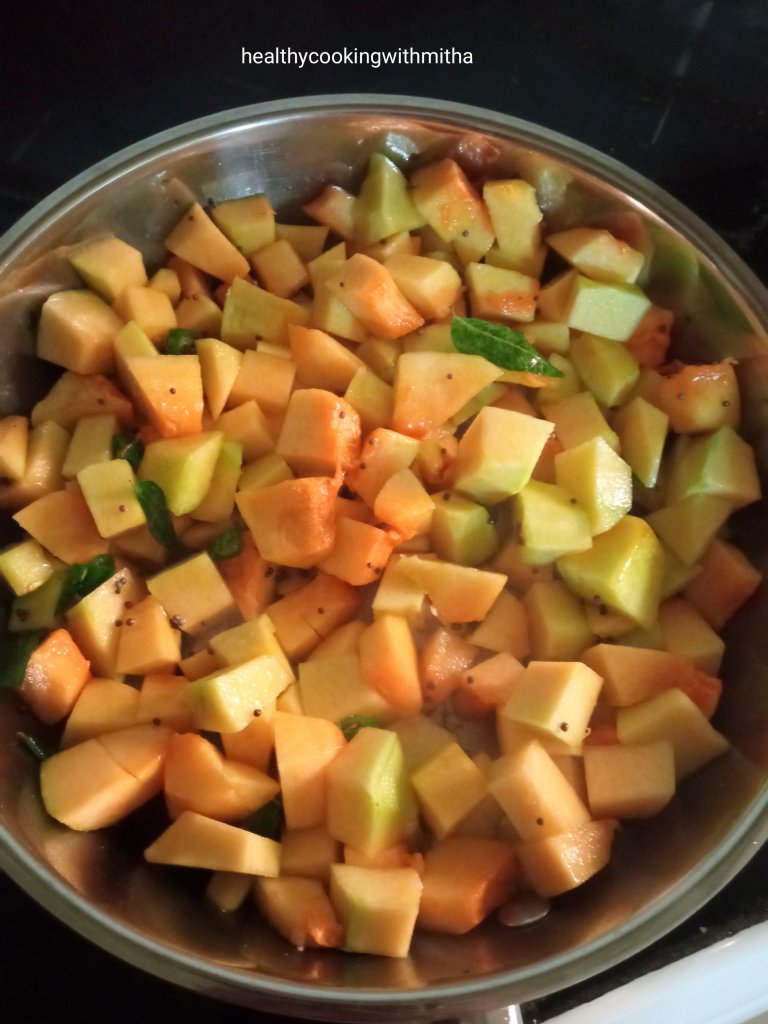
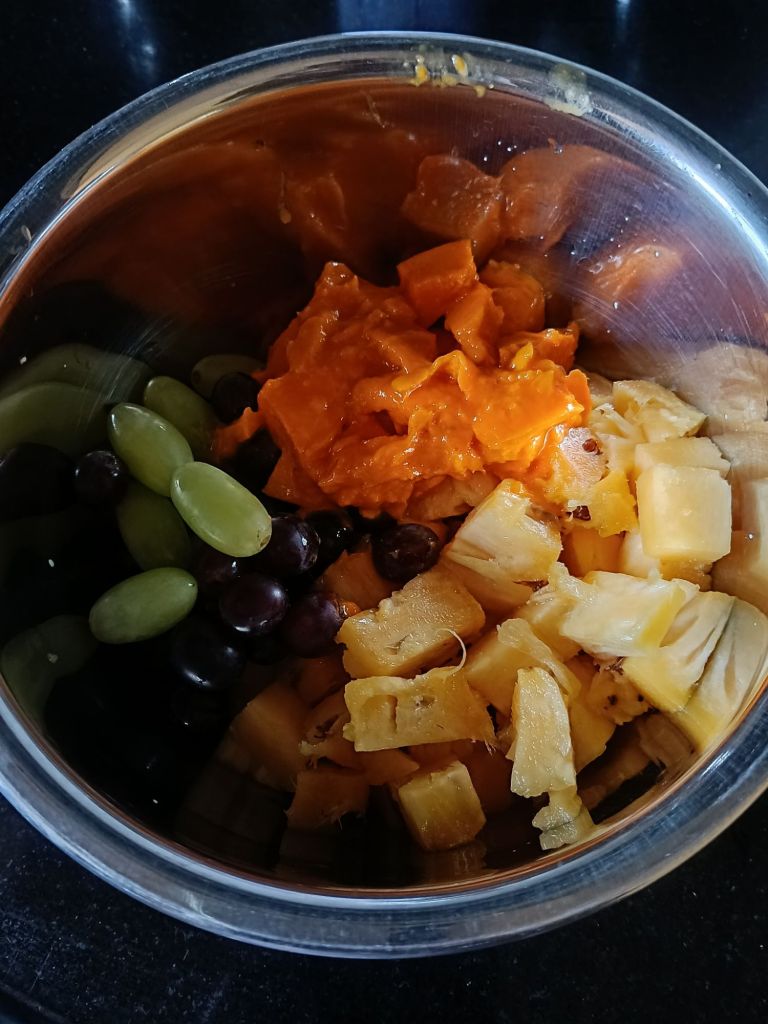
- Peel and chop Mangoes and pineapple to bite sized pieces. Wash grapes well. Add to a mixing bowl.
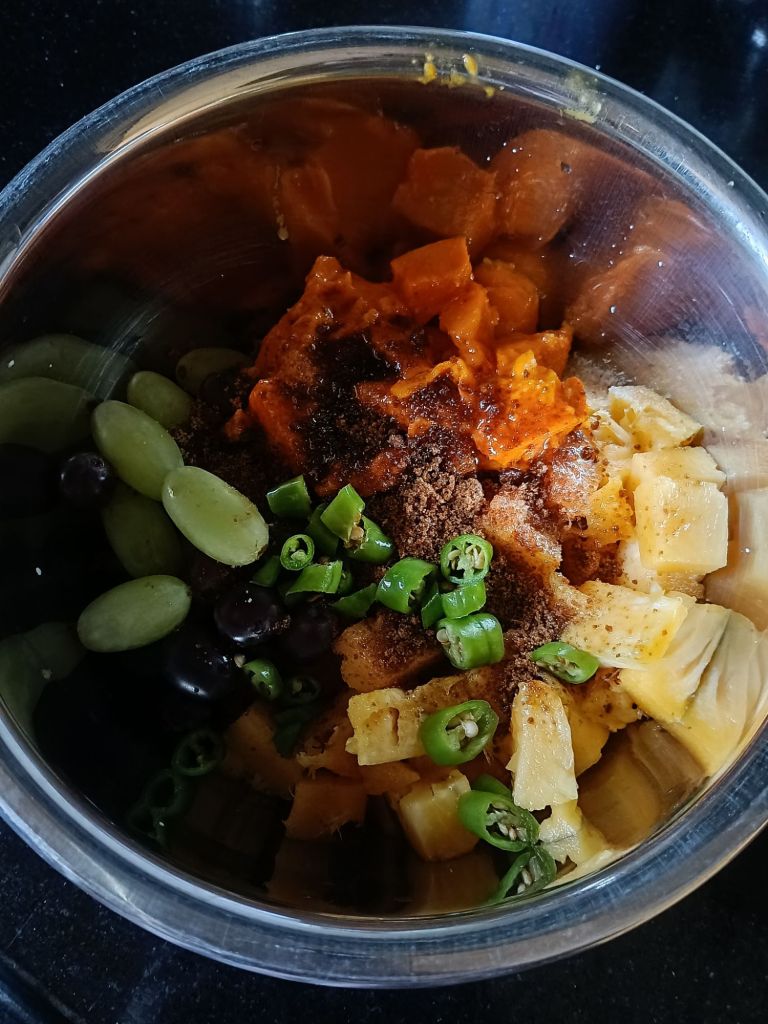
2. Now add salt, jaggery and finely chopped green chillies.
3. Mix well. Keep it aside for about 10 mins.
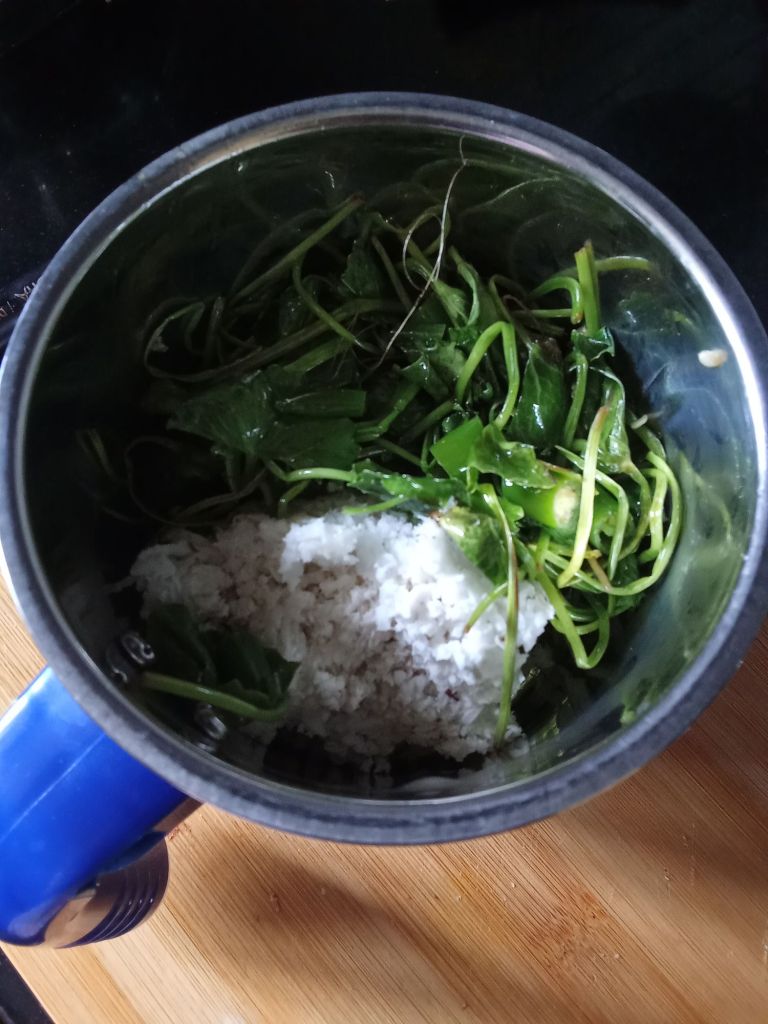
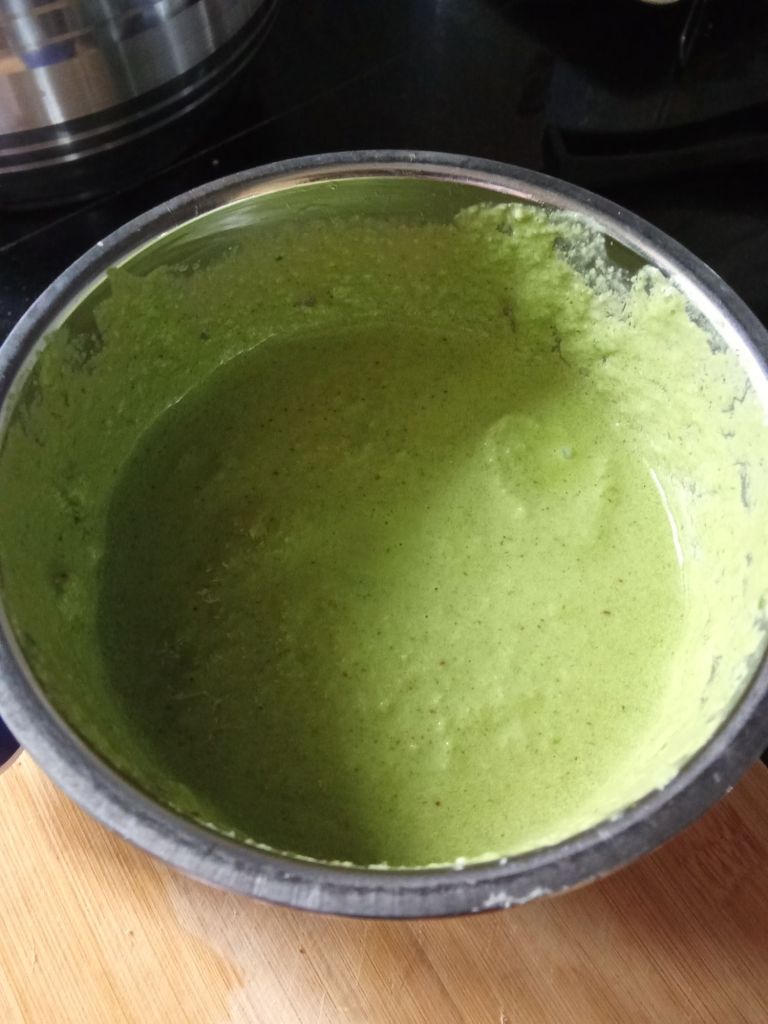
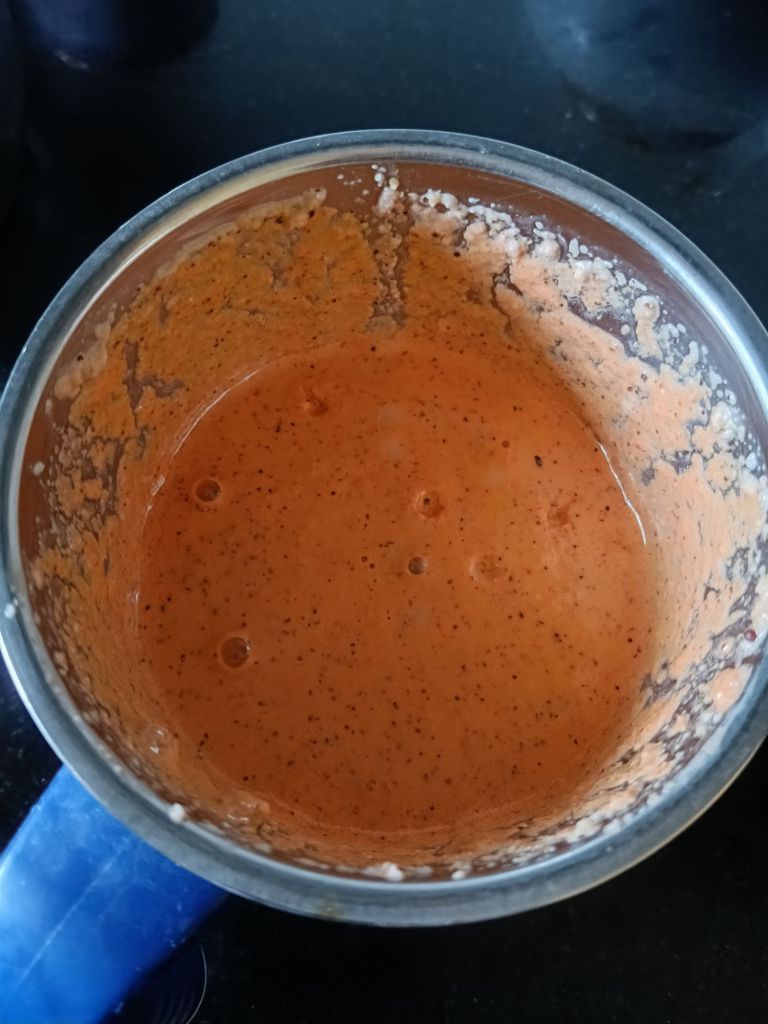
4. Now grind freshly grated coconut, red chillies and mustard seeds to smooth paste in a mixer.
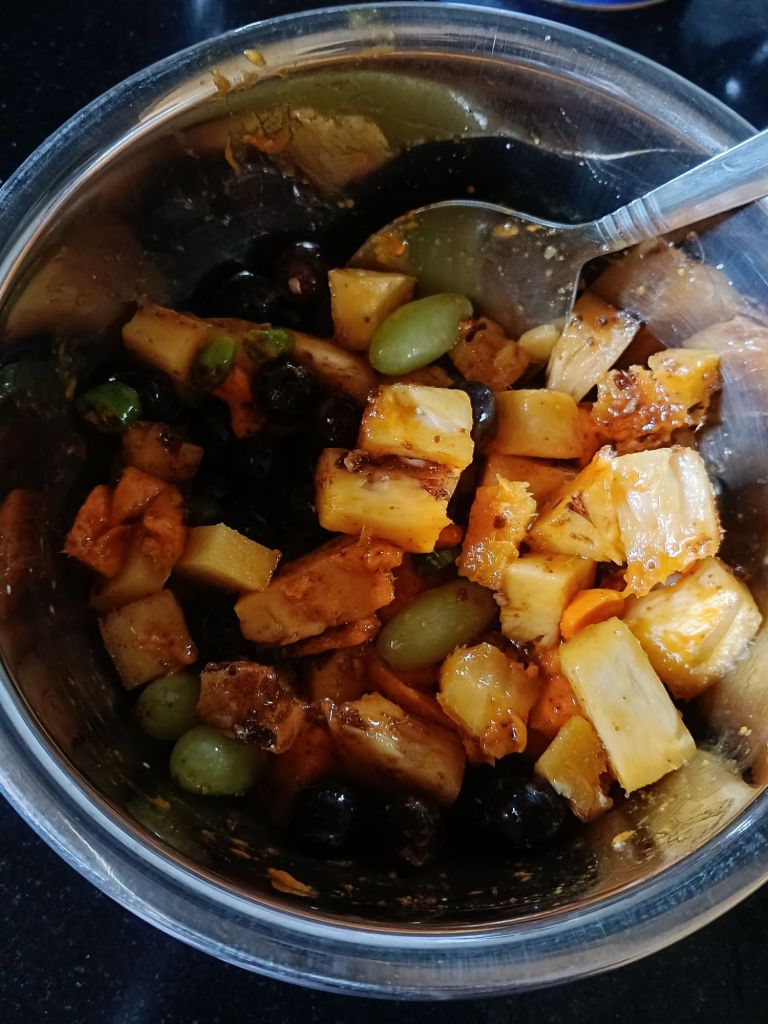
5. Now add this paste to the fruits. Mix well.
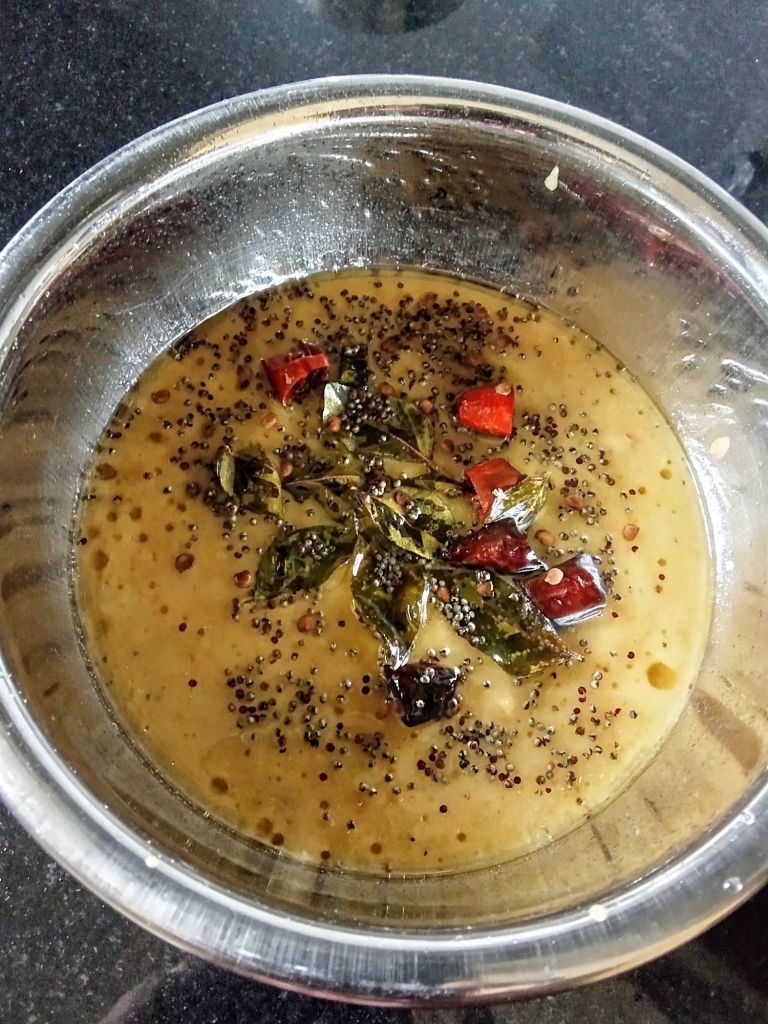
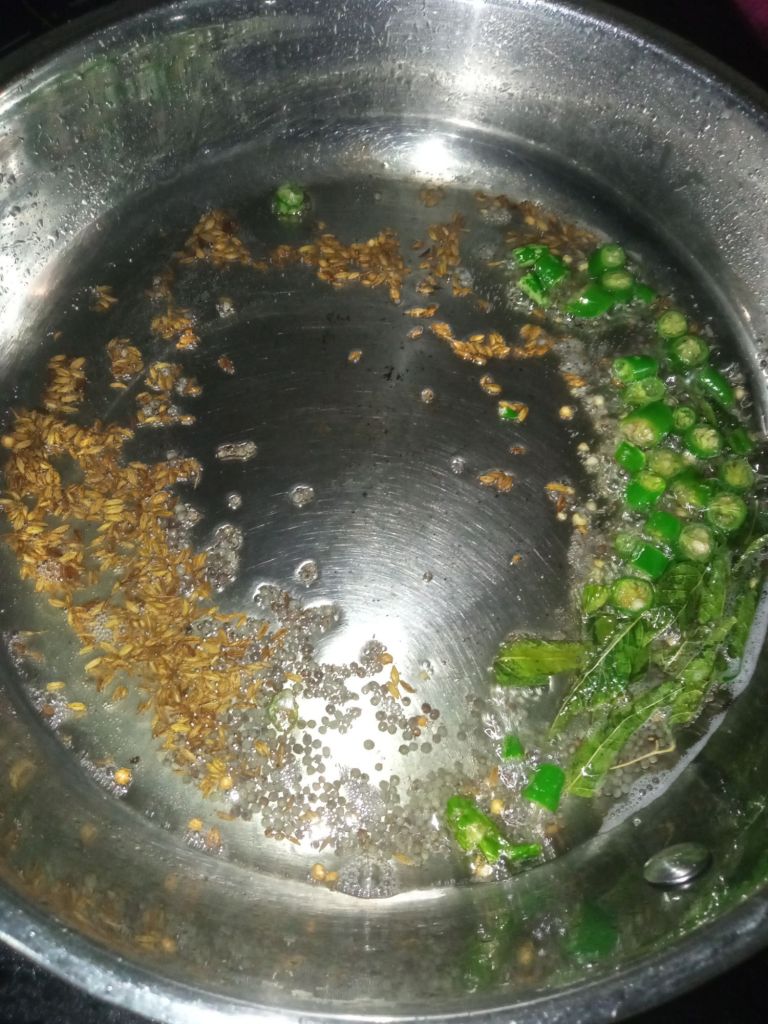
6. Heat coconut oil in a pan and add mustard seeds. When it splutters, add curry leaves. Roast for few seconds and then pour this seasoning over the fruit mix.
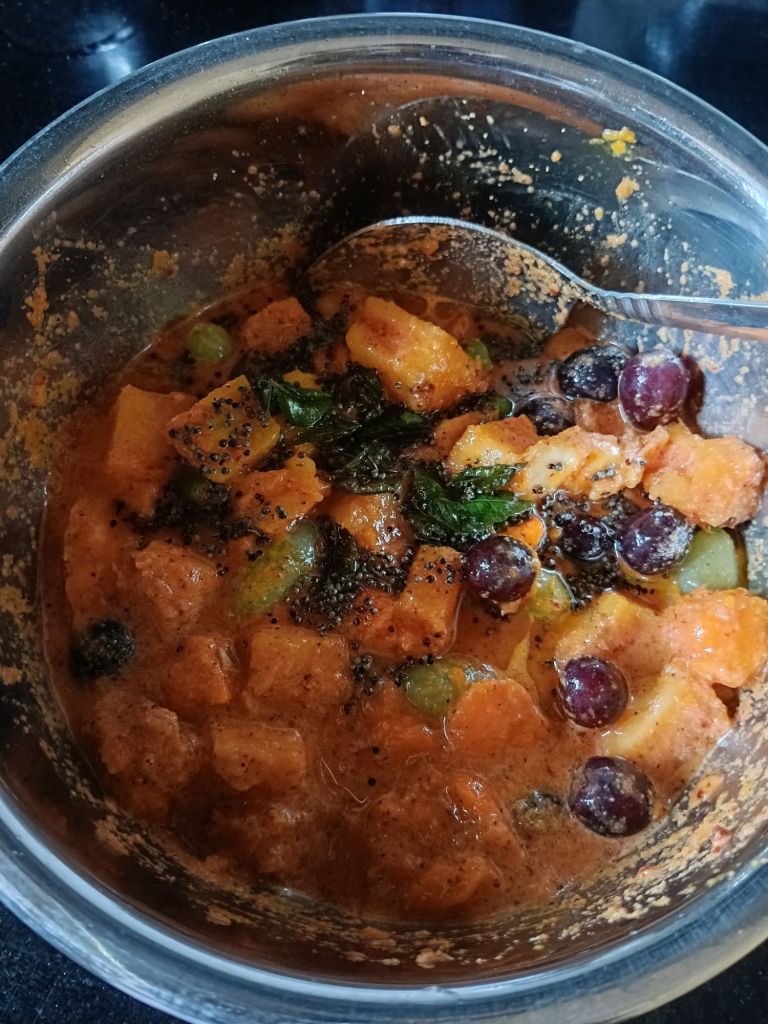
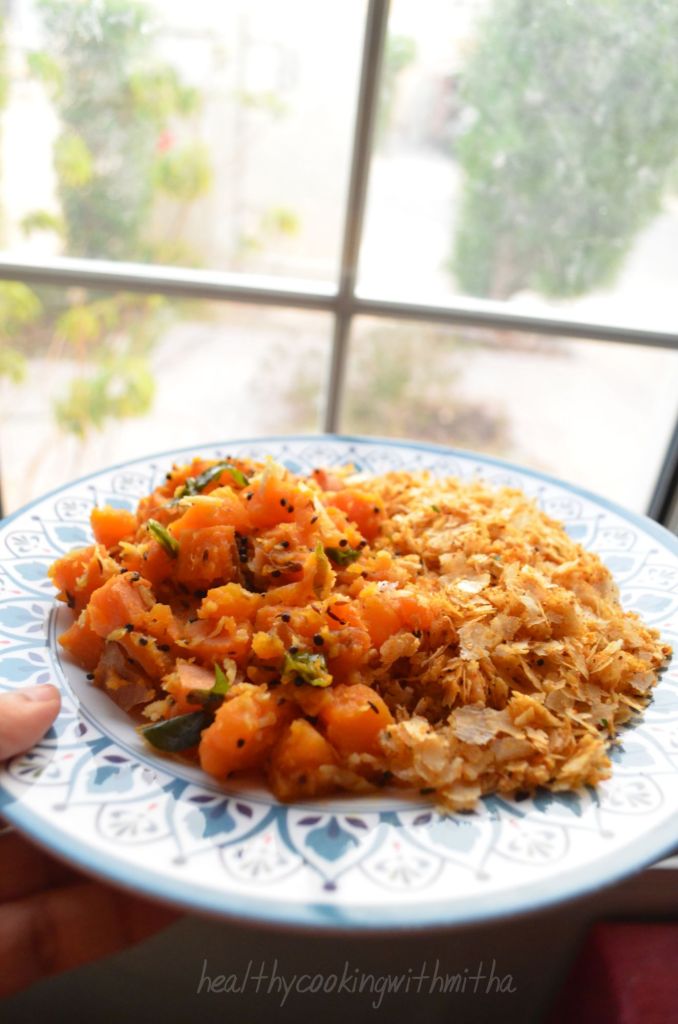
7. Mix well. Done 🙂 Enjoy it as a side dish with rice meals or as it is, like me 😍
Notes:
- You can add any one variety of grapes of both are not available.
- The ratio of fruits is upto to your taste.
- If making for small kids, you can skip green chillies and adjust red chillies.
- The dish leaves water once made. So don’t add extra water in the beginning or the dish will be very watery when serving.
- Refrigerate the leftover as it can spoil if kept at room temperature for long since we have not cooked it and it has coconut too.