Category Archives: Variety Rice

Soya Chunks Pulao | Easy Pulao recipe

Click on the image to save the recipe on Pinterest

Qatar is hosting FIFA football tournament which starts in couple of days and will last a month. So the kids are having vacation till New year and both of them are so happy to get this break (from waking early and homeworks 😄). So to celebrate this holiday time, I wanted to make something special for my daughter who loves it when I cook her favorites, so made this Soya Chunks Pulao for lunch today to surprise her. ❤️

This Pulao is her all time favorite and she always enjoys extra helpings of it when I make it. I learnt this recipe from my husband’s aunt during my newly married days and this is a regular at my place since then, specially on husband’s lunch box days. With raita and a pickle on side, this is a healthy, delicious meal. ❤️

Also, before I forget, it’s a one pot, easy to make Pulao too with very simple ingredients. It’s simplicity is what makes it truly yummy. I have tried many soya chunks rice recipes but this is what we love the most. ❤️

Hope you all try and love it too. Happy and healthy cooking! ❤️

RECIPE:

Ingredients:

1 Cup = 240 ml

1.5 Cups Basmati rice

1 Cup Soya Chunks

1 medium sized Onion

1 medium sized Tomato

6 to 8 Cashews

2 tsp Cumin seeds/ Jeera

4 Cloves

2 pods of Cardamom

1 Bay leaf

1/2 tsp Turmeric powder

1 tsp Red chilli powder or to taste

2 tsp Garam masala powder

2 Tbsp Ghee

Salt to taste

4 Tbsp chopped Coriander leaves

Step by step recipe:

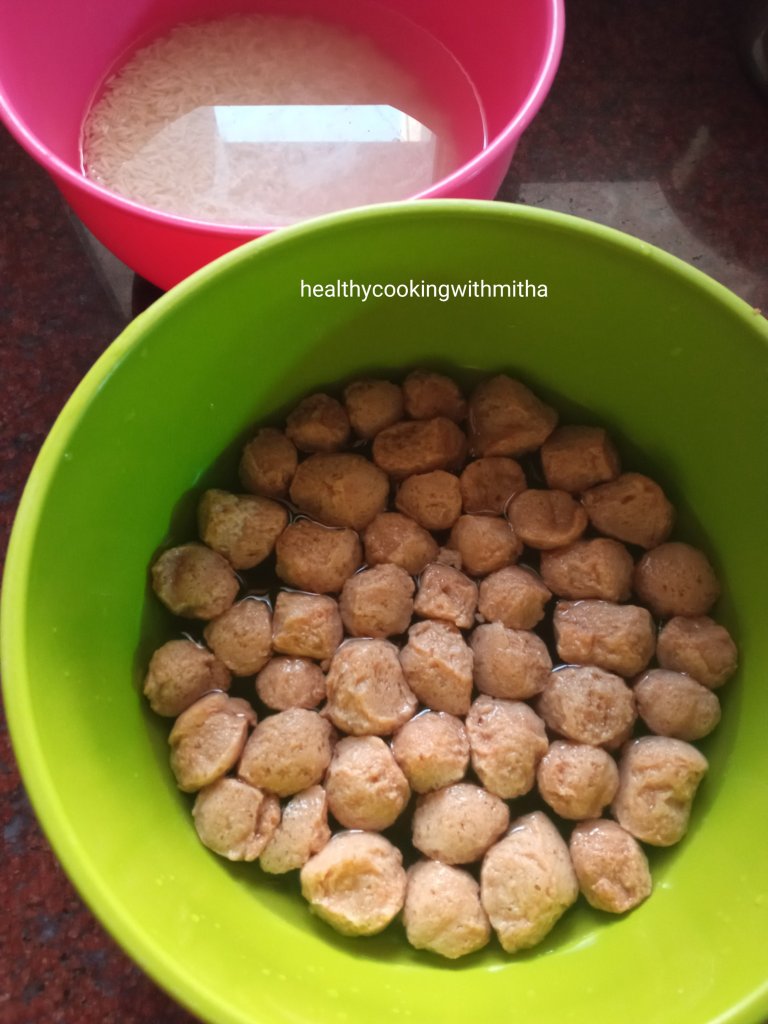
1. Soak Soya Chunks and rice separately in double the amount of water for about 20 mins. Soya Chunks will swell in size and become soft. Keep it aside.

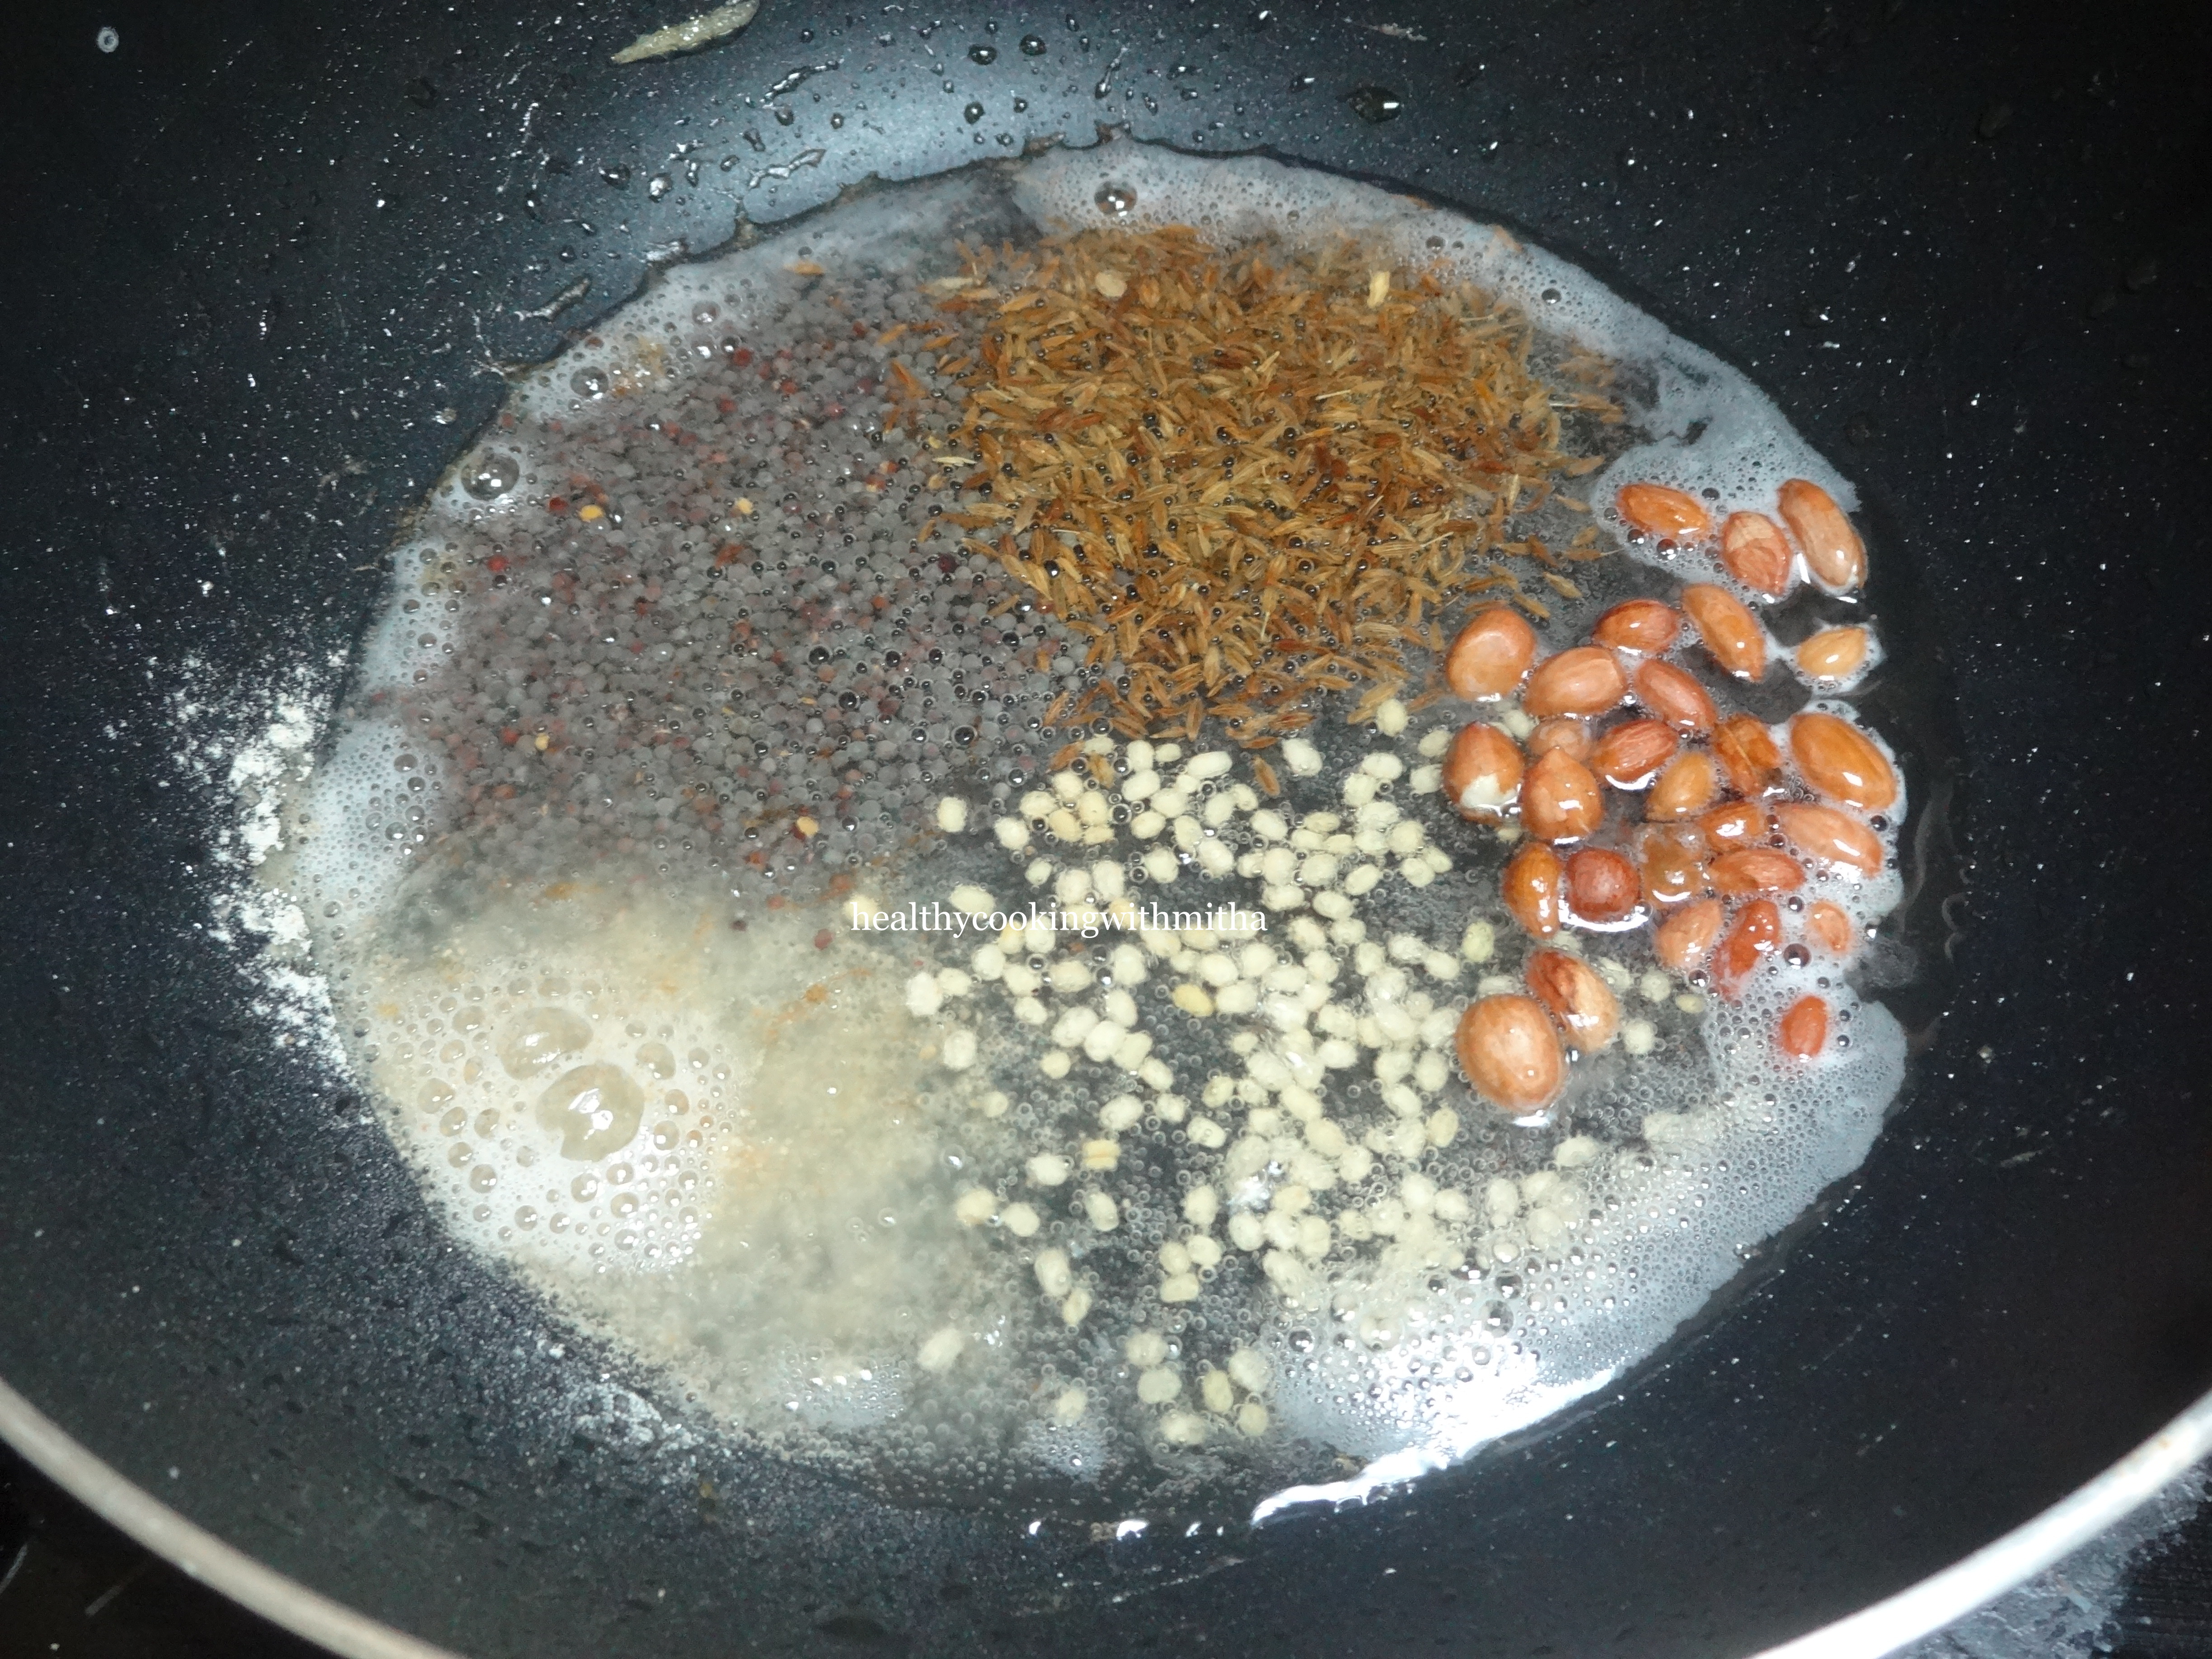
2. Heat ghee in a pan, add cumin seeds, cloves, cardamom powder, bay leaf, cashews, onions and tomatoes in the same order. Fry till cashews turn slightly golden, onions and tomatoes cook well.

3. Now add tumeric powder, red chilli powder and garam masala powder. Fry for few seconds.

4. Squeeze the soya chunks out from the soaking water and add along with rice and salt to the pan. Also add about 2 Cups of water. Mix well.

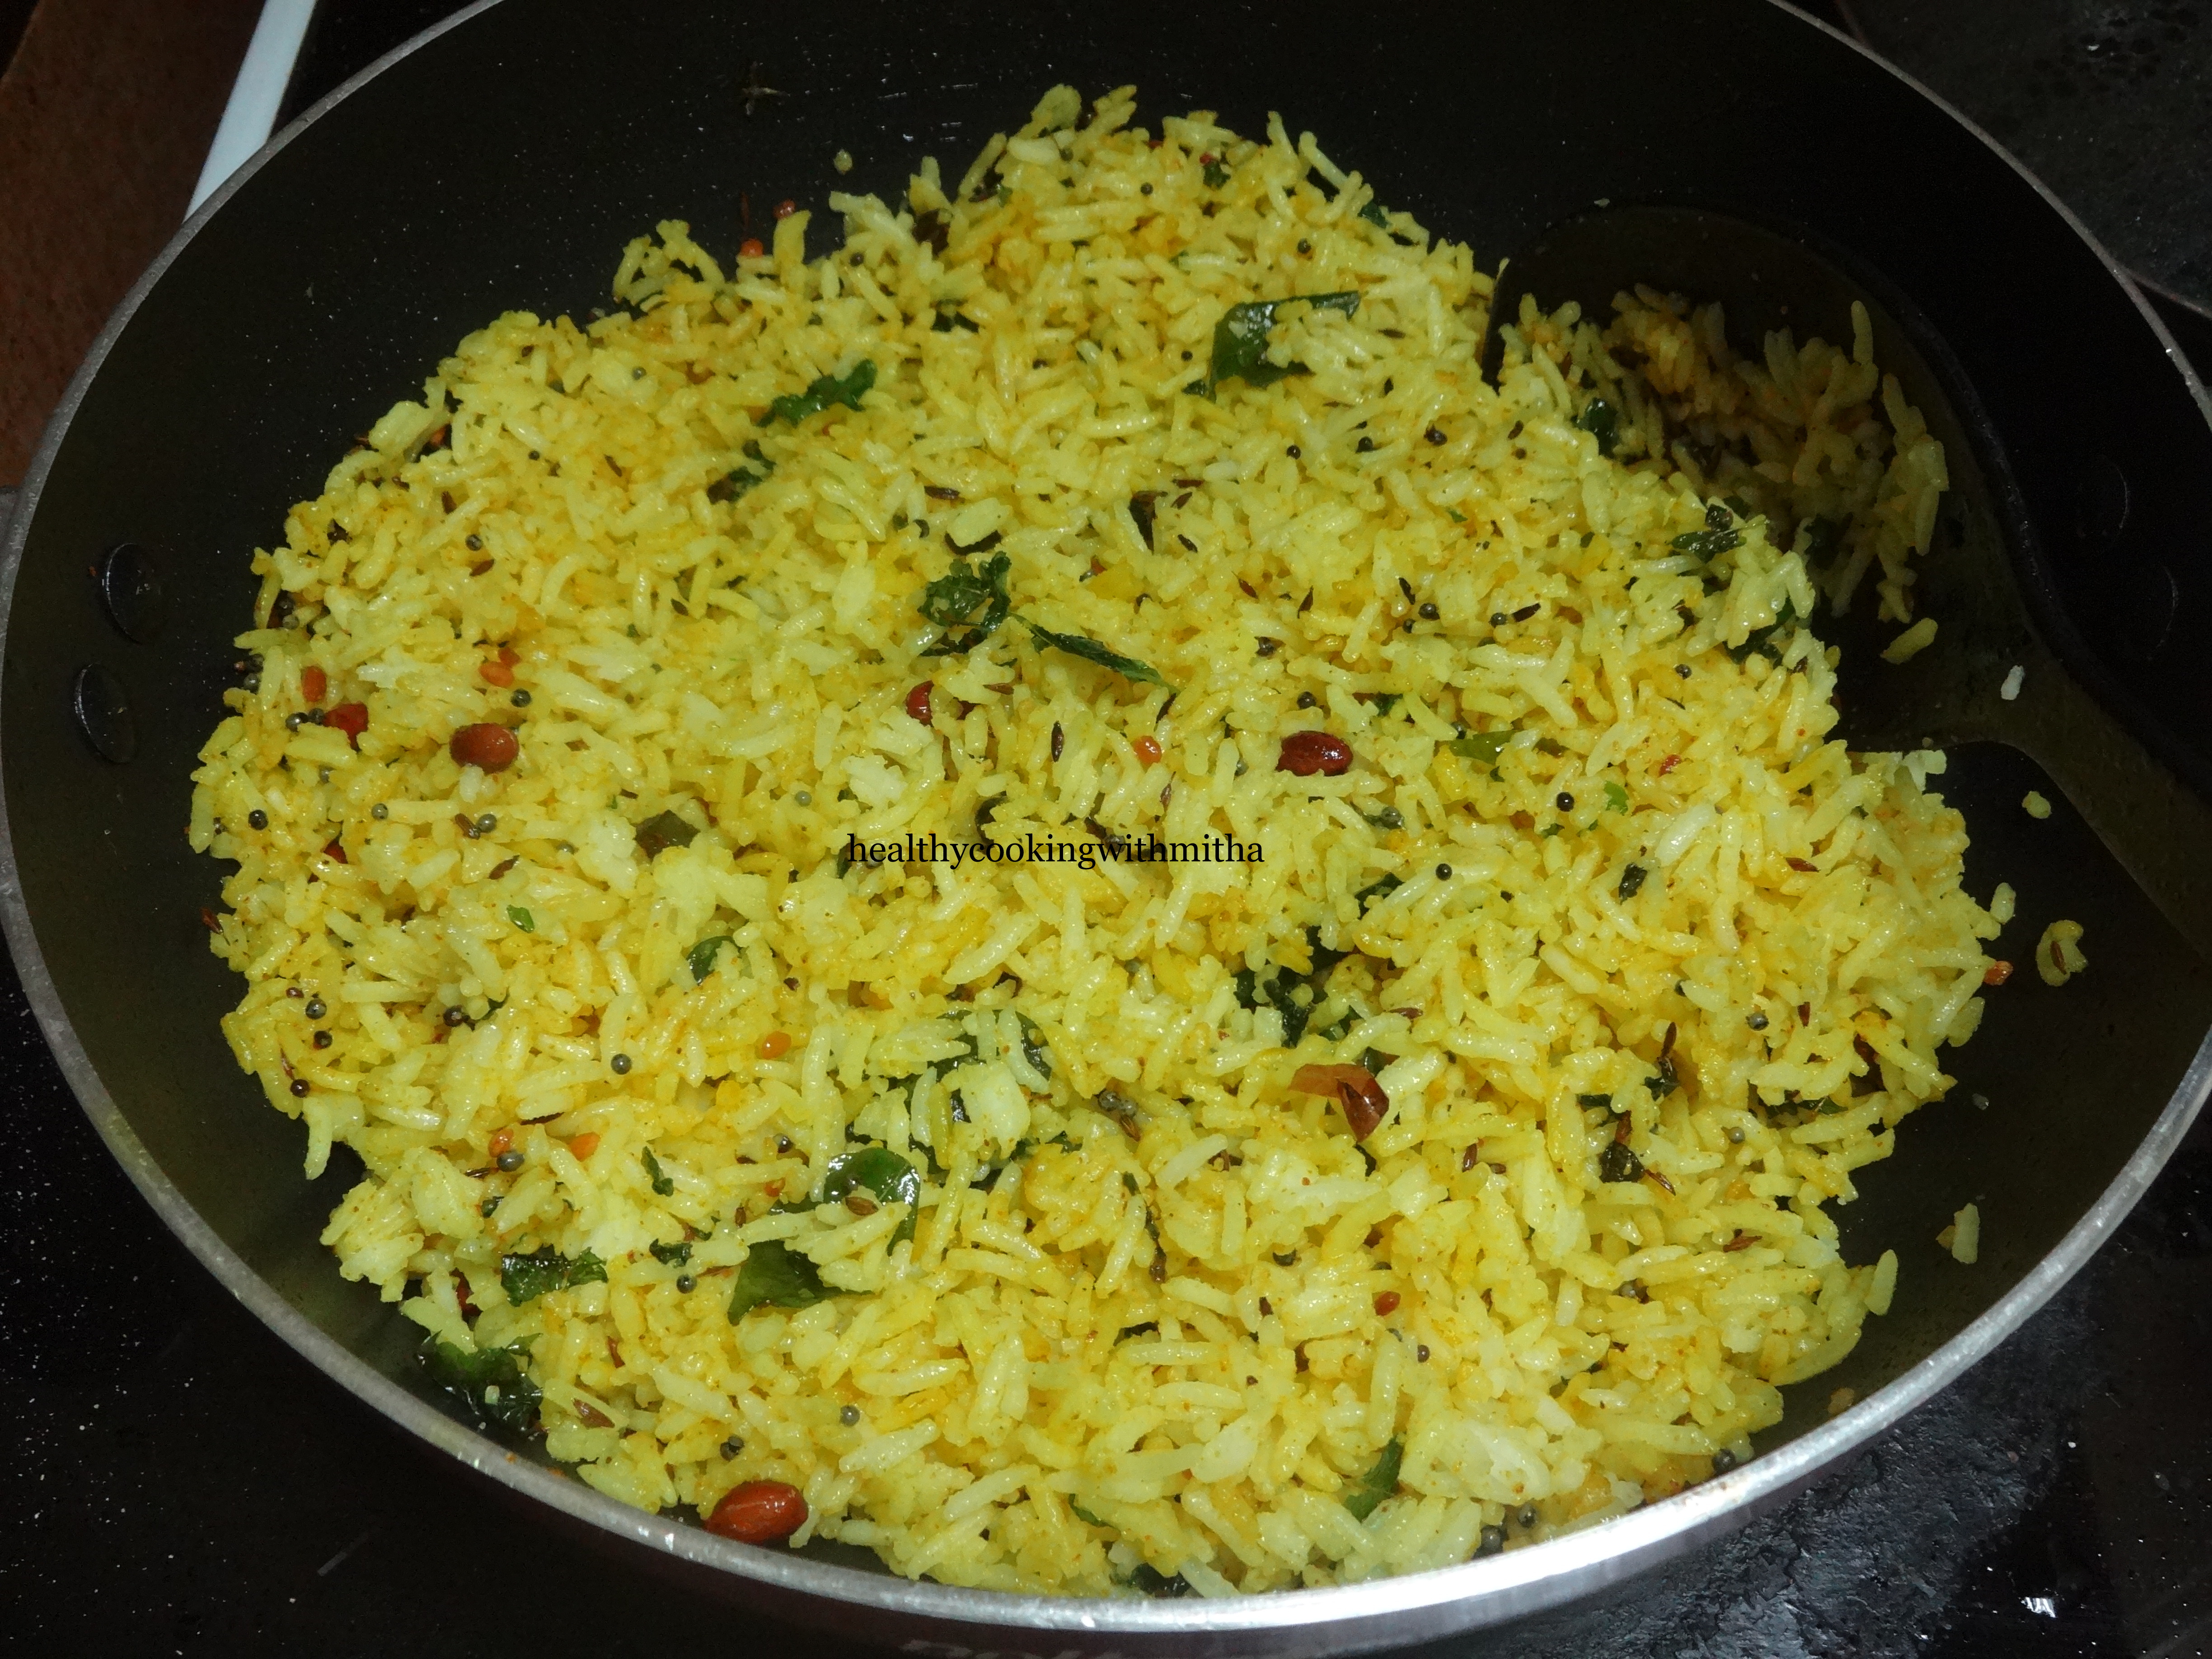
5. Now cover and cook on medium flame till the rice cooks well, turning soft yet the grains remain separate. You might need little more water depending on the quality of rice and the cooking range you use. Once cooked well, remove from flame and add chopped coriander leaves.

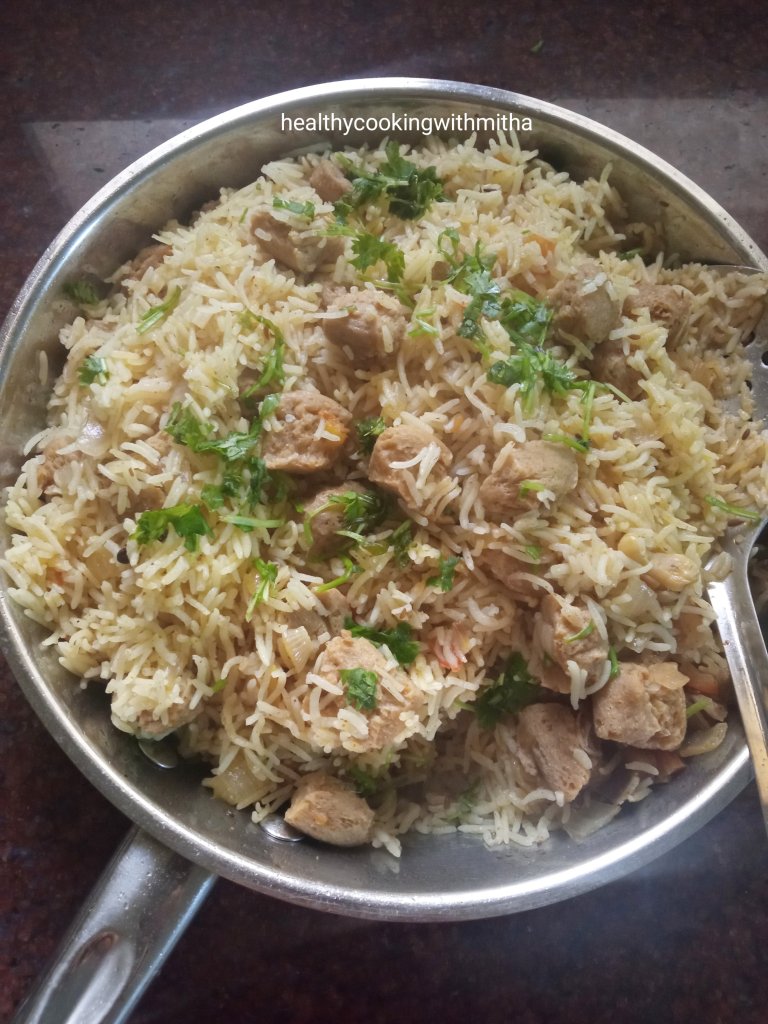
6. Mix well. Serve with raita and pickle.

Click on the image to save the recipe on Pinterest

Notes:

* I use the ratio of 1 Cup Soya Chunks to 1.5 Cups rice which turns out perfectly for me.

* Do remember to soak both the soya chunks and rice separately for atleast 15 mins so that the soya chunks turn soft.

* You can add chopped ginger, garlic and green chillies too in the pulav but I skip since my daughter does not like it.

* For Garam Masala, I alternate between different masalas from Catch brand which I love very much. Currently I am using Catch Chana Masala which has a delicious flavour.

* To make Raita, just finely chop onion, tomato, cucumbers, coriander leaves. Add curd/ yogurt, rock salt, amchur powder, jeera powder, little water and mix well.

Palak Paneer with simple vegetable pulao | Easy meal ideas

Palak paneer reminds me of only one person, someone who is very close to my heart and to whom I owe everything in life – My Amma ❤️. This is her favorite dish and I have so many memories with her love for Palak paneer. Each time I make it, I only wish she was here with me, just to see her eat with so much happiness. 😍

One of the first memories of Palak paneer and my Amma is when she was admitted in hospital during my 4th semester engineering exams due to Vertigo. It was one of my most difficult days as I could not bear to see her suffer and wanted to take care of her but I had my exams on.

Finally I decided to stay in the hospital with her and study, no matter what happens. Those days, when I used to come back after my exams, I brought her favorite foods to cheer her up. One of them was Palak paneer from a nearby restaurant. The glow on her face while eating it is still in my memories. Can never forget the small ray of happiness which this curry brought in those sad times. ❤️

And guess what? My 4th semester exam results were my most scored one in my entire engineering studies. I always say it’s only due to Amma’s blessings. 🙏

After that, I learned to make palak paneer from my aunt Anita Pai mai who was also the reason I started my blog. She encouraged me a lot during my initial cooking days. Amma loved my palak paneer so much that she said it tasted even better than restaurant ones. So whenever I visit them, I definitely make it for her. Just to see the glow on her face. 😍

I had even made it for her and sent it with my brother when he had come here to Qatar on vacation. Here is a picture from my Facebook memories. Palak paneer with Coconut burfis and Til ki Burfi which travelled from Qatar to India, from a daughter to her mother, with loads of love. ❤️❤️

This post became quite a long one but I always wanted to write about these memories as they are very close to my heart. I know Amma will have tears in her eyes while reading this. Loads of love to you Amma. Don’t know when we can meet next but I will definitely make your favorite Palak paneer for you when we meet. ❤️

Hope you all try this curry with pulao. I thank Anita Pai mai for her recipe. Happy and healthy cooking!

RECIPE:

Ingredients:

300 grams Palak or Spinach leaves (about half a large bunch)

200 grams Paneer cubes

4 green chillies

1 Tbsp Ghee

1 tsp Cumin seeds/ Jeera

1 inch Ginger piece, finely chopped

4 to 5 Garlic cloves, finely chopped

1 medium sized Onion, finely chopped

1 large Tomato, finely chopped

1/4 tsp Turmeric powder

1 tsp Garam masala powder

1/2 tsp Red chilli powder

Salt to taste

Step by step recipe:

1. Clean the spinach leaves well and wash under running water till the dirt goes away.

2. Now heat water with salt in a large pan. Add these leaves and bring to a boil.

3. As soon as it boils and the leaves start changing colour, immediately remove the leaves and wash it in cold water. Allow it to cool down.

4. Meanwhile heat ghee in a pan and add cumin seeds. When it changes colour, add Ginger and garlic. Fry for a minute. Add onion and fry till it turns translucent.

5. Now add finely chopped tomatoes and fry till it turns soft. Mash using the ladle. You can also puree tomatoes and add. Now add Haldi powder, Garam masala powder and red chilli powder.

6. Mix well. Grind the palak leaves along with green chillies and little water to a smooth paste. Add to this. Also add paneer cubes and salt.

7. Cook till the palak leaves changes colour and turns dark green. Remove from flame. Serve with rotis or rice. I usually make my simple vegetable pulao with it.

Notes:

* For vegetable pulao, soak basmati rice for about half an hour. In a pan, add ghee. Also add cloves, cardamom pods, bay leaf and some cashews. Fry till cashews turn brown. Now add drained rice along with frozen or fresh vegetables (about 1 cup for every 2 cups rice used). Cook in enough water adding salt till the rice turns soft. You can also add little milk and saffron when the rice is almost cooked for a richer version of pulao.

* Don’t cook the palak leaves in water as it will lose the nutrients. Just blanch it ie add to the hot water, bring to a boil and immediately drain and wash in running water in a colander. This helps retain the colour of palak leaves.

* I add the stalk part of palak too as it is healthy. Some people add only the leaves and discard the stalk/ stem. I feel if you grind it to smooth paste, then there is no problem in using the stem as well. In fact it gives a thickness to the gravy along with being nutritious too.

* Red chilli powder can be added only if needed since we are already adding green chillies while grinding.

* I used to add milk to the gravy towards the end when I started making palak paneer but now I don’t add as I feel it masks the palak flavour. You can add milk towards the end or garnish with fresh cream if you like it.

* You can substitute paneer with boiled chickpeas for Chole Palak and with boiled cubed Potatoes for Aloo palak or even with mushrooms for Kumbh Palak.

* Our favorite combination with Palak paneer is Vegetable pulao. I also make chapatis and it tastes great with this curry too.

Easy Vegetable Biriyani | Layered style

Before this Covid situation, our weekends would be Veg Biriyani from the nearby restaurant and I used to wait for it after bored of my own cooking. But since March, we have stopped restaurant foods completely and I started making Biriyani at home.

Though the initial few times it did not come out so well, now my husband says it comes out even better than restaurant ones. So I thought I must share this recipe with my readers as I know most of you must be cooking only at home and missing Biriyani from restaurants.

I feel homemade ones taste better mainly because of the pure ingredients that we use such as ghee as compared to the refined oil used in restaurants. Now I can’t imagine eating that and feel satisfied when my family loves the Biriyani I make. Don’t think we will ever go back to eating out. One of the many positives that Corona has taught us, I must say.

Hope you all try for your family and love it too. Happy and healthy cooking. Stay safe!

RECIPE:

Ingredients: {Serves 3}

For the rice layer:

1 1/2 Cups raw Basmati or any long grain rice, soaked for 30 mins

Salt to taste

2 Cardamom pods

2 Cloves

1 Bay leaf

For the gravy layer:

2 Tbsp Ghee

1 Tbsp Oil

1 tsp Cumin seeds or Jeera

1 tsp Fennel seeds

1 tsp Peppercorns

2 Cardamom pods

2 Cloves

1 Bay leaf

6 to 8 Cashews

1 large Onion, thinly sliced

2 Cups Mixed Vegetables (carrot, potato, beans, green peas) { I used frozen peas}

1/2 Cup Yogurt or thick Curd

2 tsp Red chilli powder or to taste

2 tsp Garam masala powder

1/2 tsp Haldi powder

Salt to taste

Other ingredients:

4 Tbsp finely chopped Mint or Pudina leaves

4 Tbsp finely chopped Coriander leaves

1/4 Cup Milk

A pinch of Saffron strands

Step by step recipe:

1. Boil water in a large pan. Add soaked and drained Basmati rice along with salt, cardamom, cloves and bay leaf. Cook till the rice is almost done. Keep aside to cool.

2. Heat ghee plus oil and add jeera, fennel seeds, peppercorns, cardamom pods, cloves, bay leaf and cashews. Fry till cashews turn brown. Add thinly sliced onions (with a pinch of salt) and fry till they start turning brown.

3. Now add the mixed vegetables and fry well for couple of minutes.

4. Add little water and cook the vegetables till almost done. Now mix Yogurt with turmeric powder, red chilli powder and garam masala powder till there are no lumps and it turns a smooth paste. Add to the cooked vegetables while mixing well on low flame.

5. Cook on low flame for about 5 mins. Remove from flame. Keep aside.

6. Now heat the saffron stands in milk for little while. I microwave on high for 1 minute till the colour of milk changes.

7. Now start layering. Take a large pan and first add a layer of the curry. I use the same pan in which I cooked the rice.

8. Now add a layer of the cooked rice (half of it) evenly over it. Add half of the saffron milk and half of the finely chopped Mint – coriander leaves evenly over it.

9. Now layer the rest of the curry over it.

10. And finally the rest of the rice along with the saffron milk and mint coriander leaves evenly over it.

11. Now take another large pan with little water in it. Place this layered Biriyani pan in it and cook covered well for atleast 20 mins in the lowest flame possible.

12. Remove and serve with raita.

Notes:

* Don’t cook the rice fully in the first step or it will get mashed when steaming after layering.

* This style of Biriyani may seem difficult than one pot ones but trust me, it tastes very delicious and is easier than other layered Biriyanis.

* The spice level is to taste. I don’t make the Biriyani spicy as my kids eat it as well. You can add more red chilli powder in the Yogurt if desired.

* Make the gravy thick and dry, not watery or the Biriyani won’t come out well.

* For raita, I add finely chopped tomatoes, onions, cucumbers, coriander leaves to yogurt with little water, salt and chaat masala. Mix well.

Schezwan Vegetable fried rice

Being newly married, I was always conscious of my husband’s food preferences and I saw that he always chose Schezwan fried rice over regular one when we ate out. So I had to try it at home and perfect it till he says it tastes exactly like restaurant ones.

And it is not really that easy to impress him and that’s how I improved with every try. Finally when he did say that the Schezwan fried rice tastes perfect, he said it tastes even better than restaurant ones. It made me feel happy and out of the world.

So I had to share this recipe and here I am. Love how the colour turns out gorgeous even without store bought Schezwan sauce.

Homemade with love ♥️ Happy and healthy cooking!

RECIPE:

Ingredients:

2 Cups long grain White rice

1/2 Cup Carrots, finely chopped

1/2 Cup Capsicum, finely chopped

1 medium sized Onion, finely chopped

1/4 Cup spring onion bulbs, finely chopped

1 inch Ginger piece, finely chopped

4 cloves of garlic, finely chopped

3 green chillies, finely chopped

6 to 8 Kashmiri red chillies (long variety) – or to taste

1 Tbsp Tomato ketchup

1 tsp Pepper powder

2 Tbsp Oil

Salt to taste

1 tsp Vinegar

Spring onion greens, for garnish

Step by step recipe:

1. Cook white rice till almost done and the grains are still separate.

2. Soak red chillies in warm water for 10 mins or more time if you have.

3. Grind the red chillies with little water to a semi coarse paste like shown. Keep aside.

4. Heat oil in a large wok and add ginger, garlic and green chillies. Saute till they turn brown in colour.

5. Add spring onions and onions. Saute till onions turn brown.

6. Now add capsicums and carrots. Saute on high for five mins.

7. Add tomato ketchup, pepper powder and salt. Mix well.

8. Next add the red chilli paste and saute for five mins more till the paste cooks.

9. Now add the cooked rice and mix till the rice mixes well with the Schezwan sauce. Take care to do so gently as else the rice grains may break.

10. Add vinegar and garnish with spring onions. Serve hot!

Notes:

* For plain Vegetable fried rice, skip the red chillies paste. Rest process is the same.

* Don’t overcook the rice or you will get a mushy fried rice. Cook till almost done, drain and keep the lid open so that it stops cooking in the steam.

* You can also use leftover rice for this recipe as long as it is not over cooked.

Lemon mint chitranna

When I was a kid, my mother used to say ” If I make plain rice and curry, you say you don’t like rice but if I make chitranna or pulao, rice becomes your favourite!”. The same is with my kids now. They love variety rice more than plain one and this lemon rice is their favourite.

My 5 year old loves her lemon rice with lemon pickle (yes , a sour lover she is) while my 1.5 year old loves lemon rice with curd.

Since we have plenty of mint growing in our backyard, I add them too for some extra flavour and health benefit.

RECIPE:

Ingredients:

4 Cups cooked white rice (leftover rice will also do)

10 to 12 mint leaves/ pudina

3 green chillies

1/2 tsp Turmeric powder/ Haldi

Juice of a half a lemon/ one full lemon of using Indian variety

Salt to taste

For seasoning:

1 Tbsp Coconut oil

1 tsp Mustard seeds

1 tsp Cumin seeds/ Jeera

1 tsp Urad dal

1 Tbsp Peanuts

A pinch of Hing/ Asafoetida

A sprig of curry leaves

Step by step recipe:

1. Heat coconut oil in a pan and add mustard seeds, cumin seeds, urad dal, peanuts and hing.

2. When mustard seeds splutter, add curry leaves and green chillies. Fry for few seconds.

3. Now add mint leaves along with turmeric powder and fry for few more seconds.

4. Now add the cooked rice along with salt to the pan and mix thoroughly. If adding freshly made rice, allow the rice to cool down completely before you add to the pan else the rice will not hold shape and will mash down.

5. Finally add lemon juice after switching off the flame and mix well.

Notes:

* You can skip mint leaves if not available and make normal lemon chitranna.

* A garnish with freshly grated coconut can also be added for a wonderful flavour.

* If you don’t have leftover rice and don’t have the time to make rice, allow it to cool and mix, you can cook the rice in the seasoning itself like how you cook pulao. I do that during rush days and it turns out great too. Instead of cooked rice, add raw rice and enough water. Cook rice till done. Add lemon juice at the end.

If any doubts, do message me on my Facebook page Healthy cooking with mithaor on my Instagram handle and I would be happy to help. Happy cooking!