My family is a huge fan of mushrooms and it is on our shopping list every week. I love to try out variety of dishes with mushrooms and apart from the finger licking delicious Mushroom Chettinad, I always make this soup specially for the kids.
They both love it very much and my daughter tells me, Amma you become a chef when you grow up okay. You make such delicious foods for us. Her innocence melts my heart. As much as a naughty girl that she is, her compliments keeps me going.
This soup is very easy to make and hardly takes 15 mins. I make this in the evenings for them as a healthy, tummy filling snack. Hope you all try it too. Happy and healthy cooking!
RECIPE:
Ingredients: { Serves 2}
1/4 Cup thinly sliced Mushrooms
1 Cup full fat Milk
1/2 inch Ginger piece, finely chopped
2 cloves of Garlic (optional), finely chopped
1/2 a medium sized Onion, finely chopped
Pepper powder to taste
Salt to taste
1 Tbsp fresh Cream (or substitute with 1 Tbsp corn flour with 1 Tbsp milk)
1 Tbsp Butter or oil
Step by step recipe:
1. Heat butter in a pan and add ginger, garlic and onions. Fry till the onions turn translucent.
2. Now add thinly sliced mushrooms and keep sauteing till mushrooms cook ie for about 5 mins.
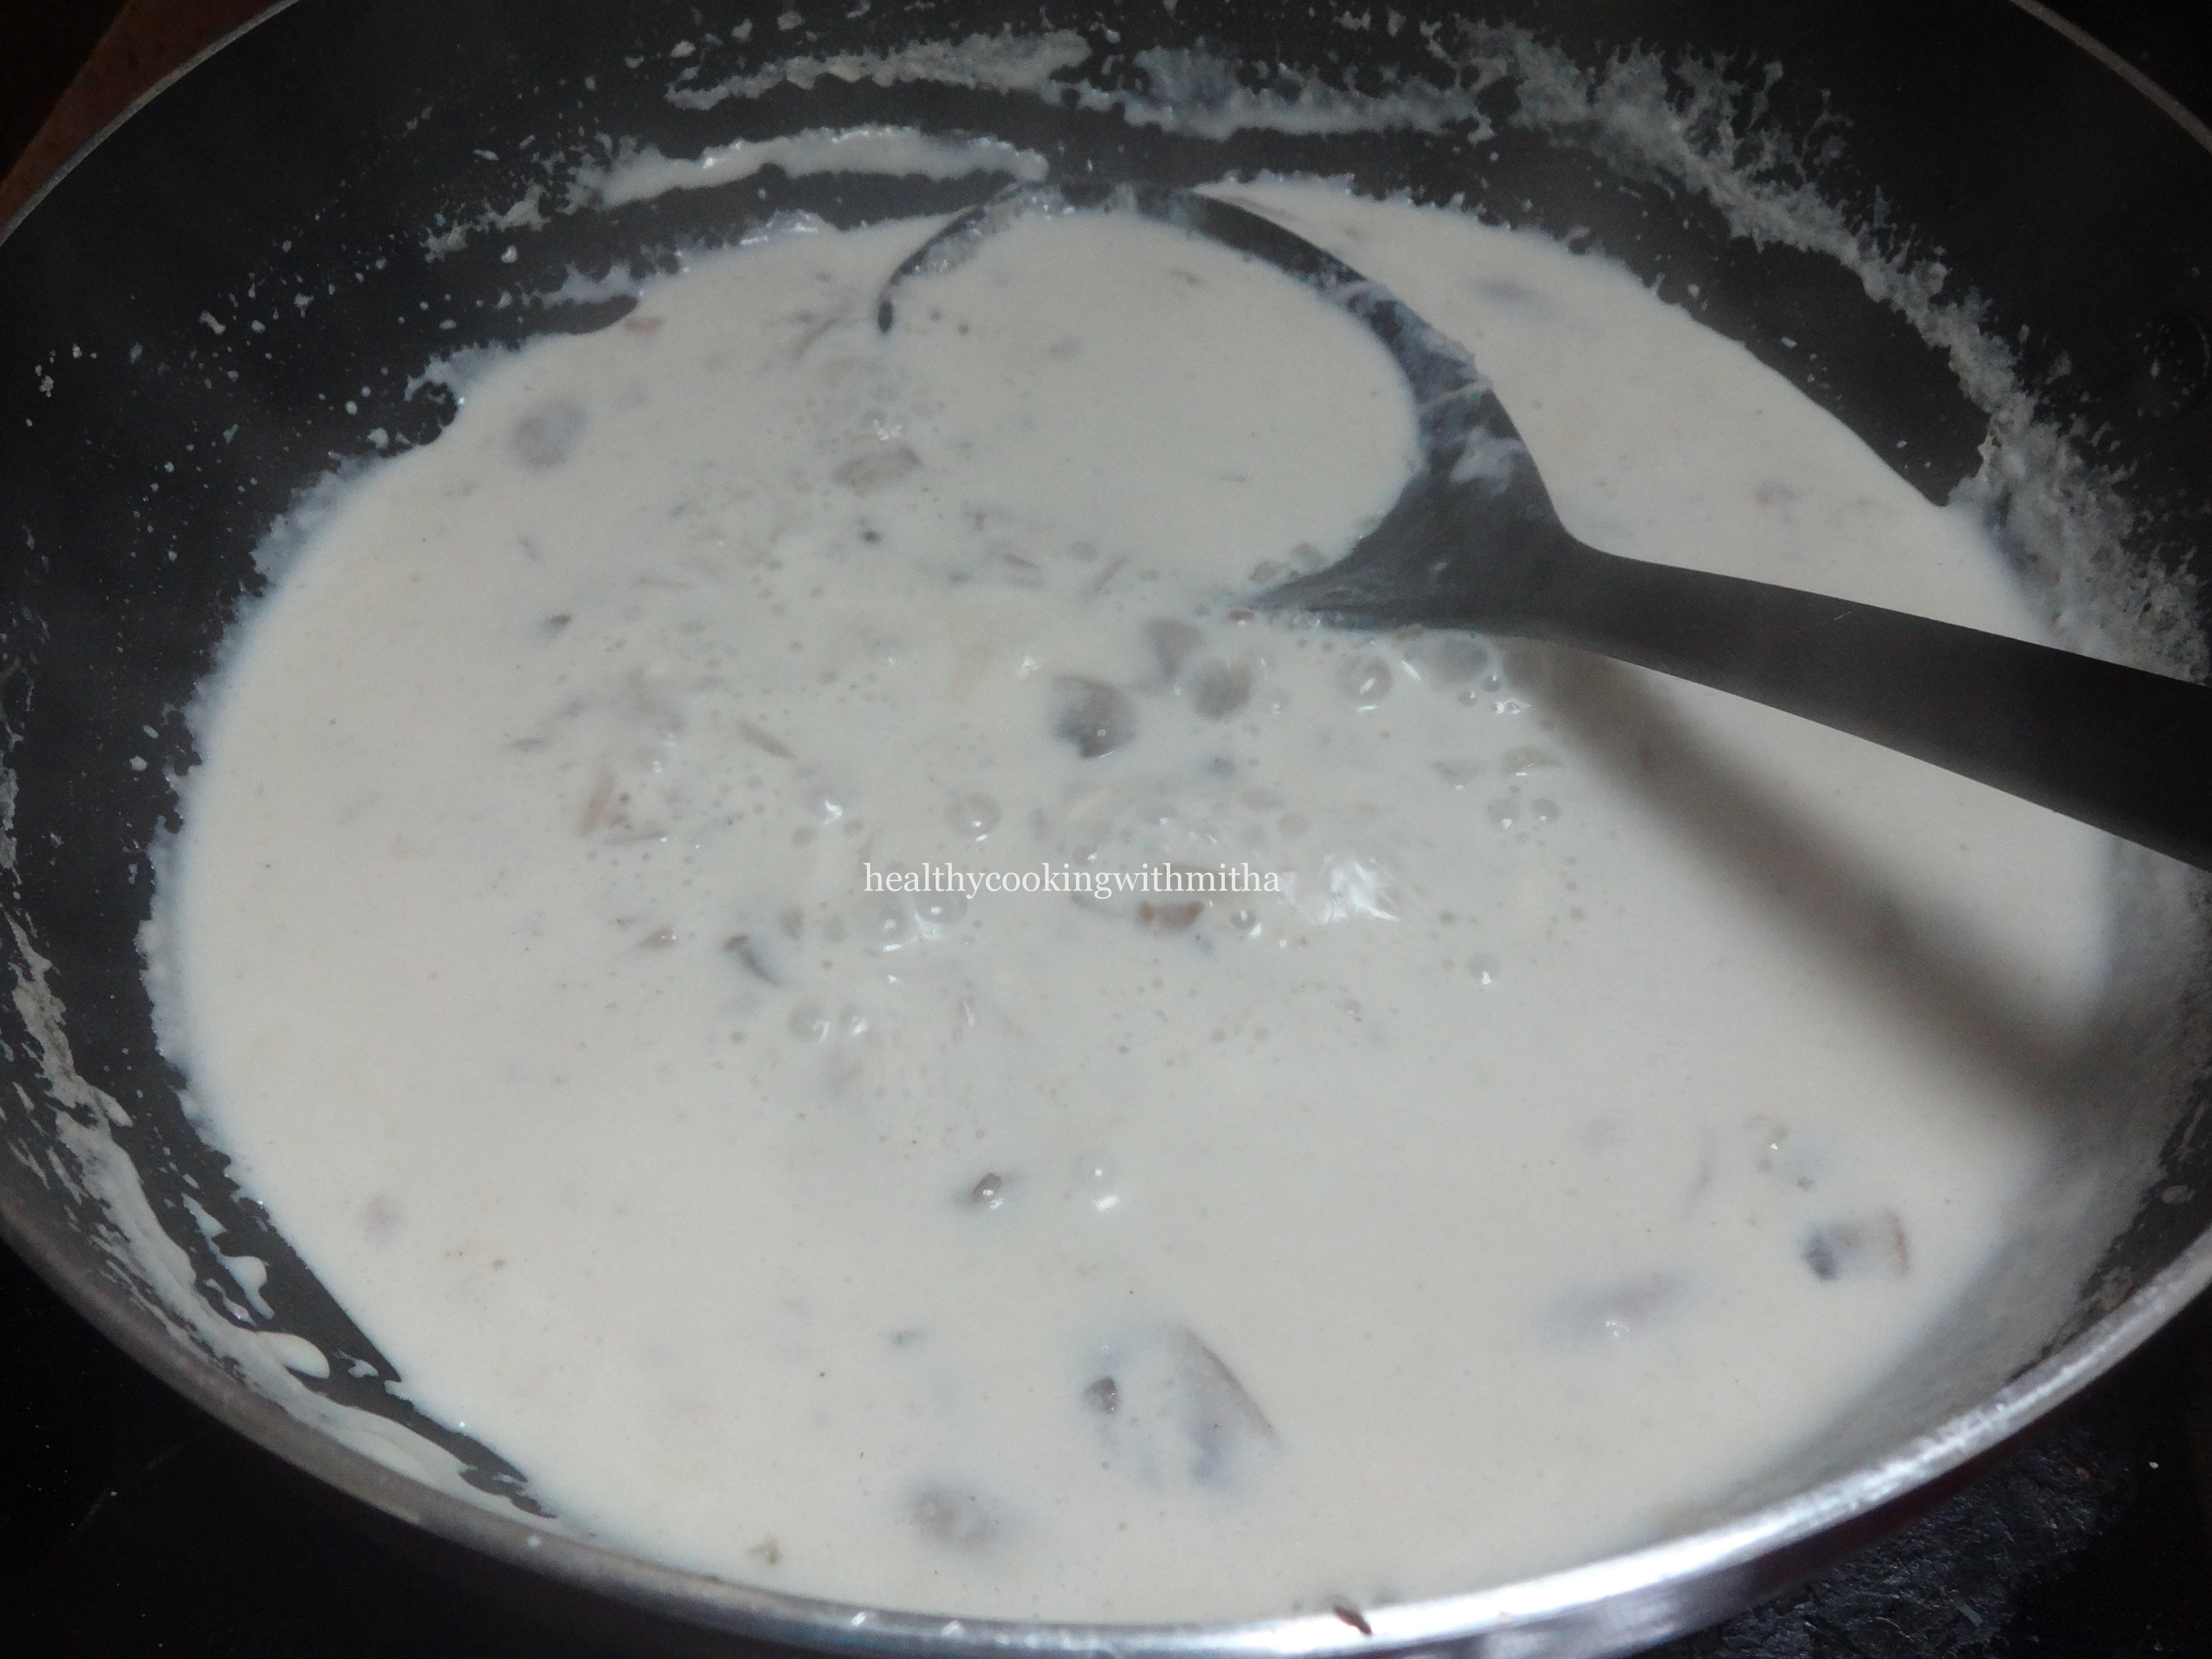
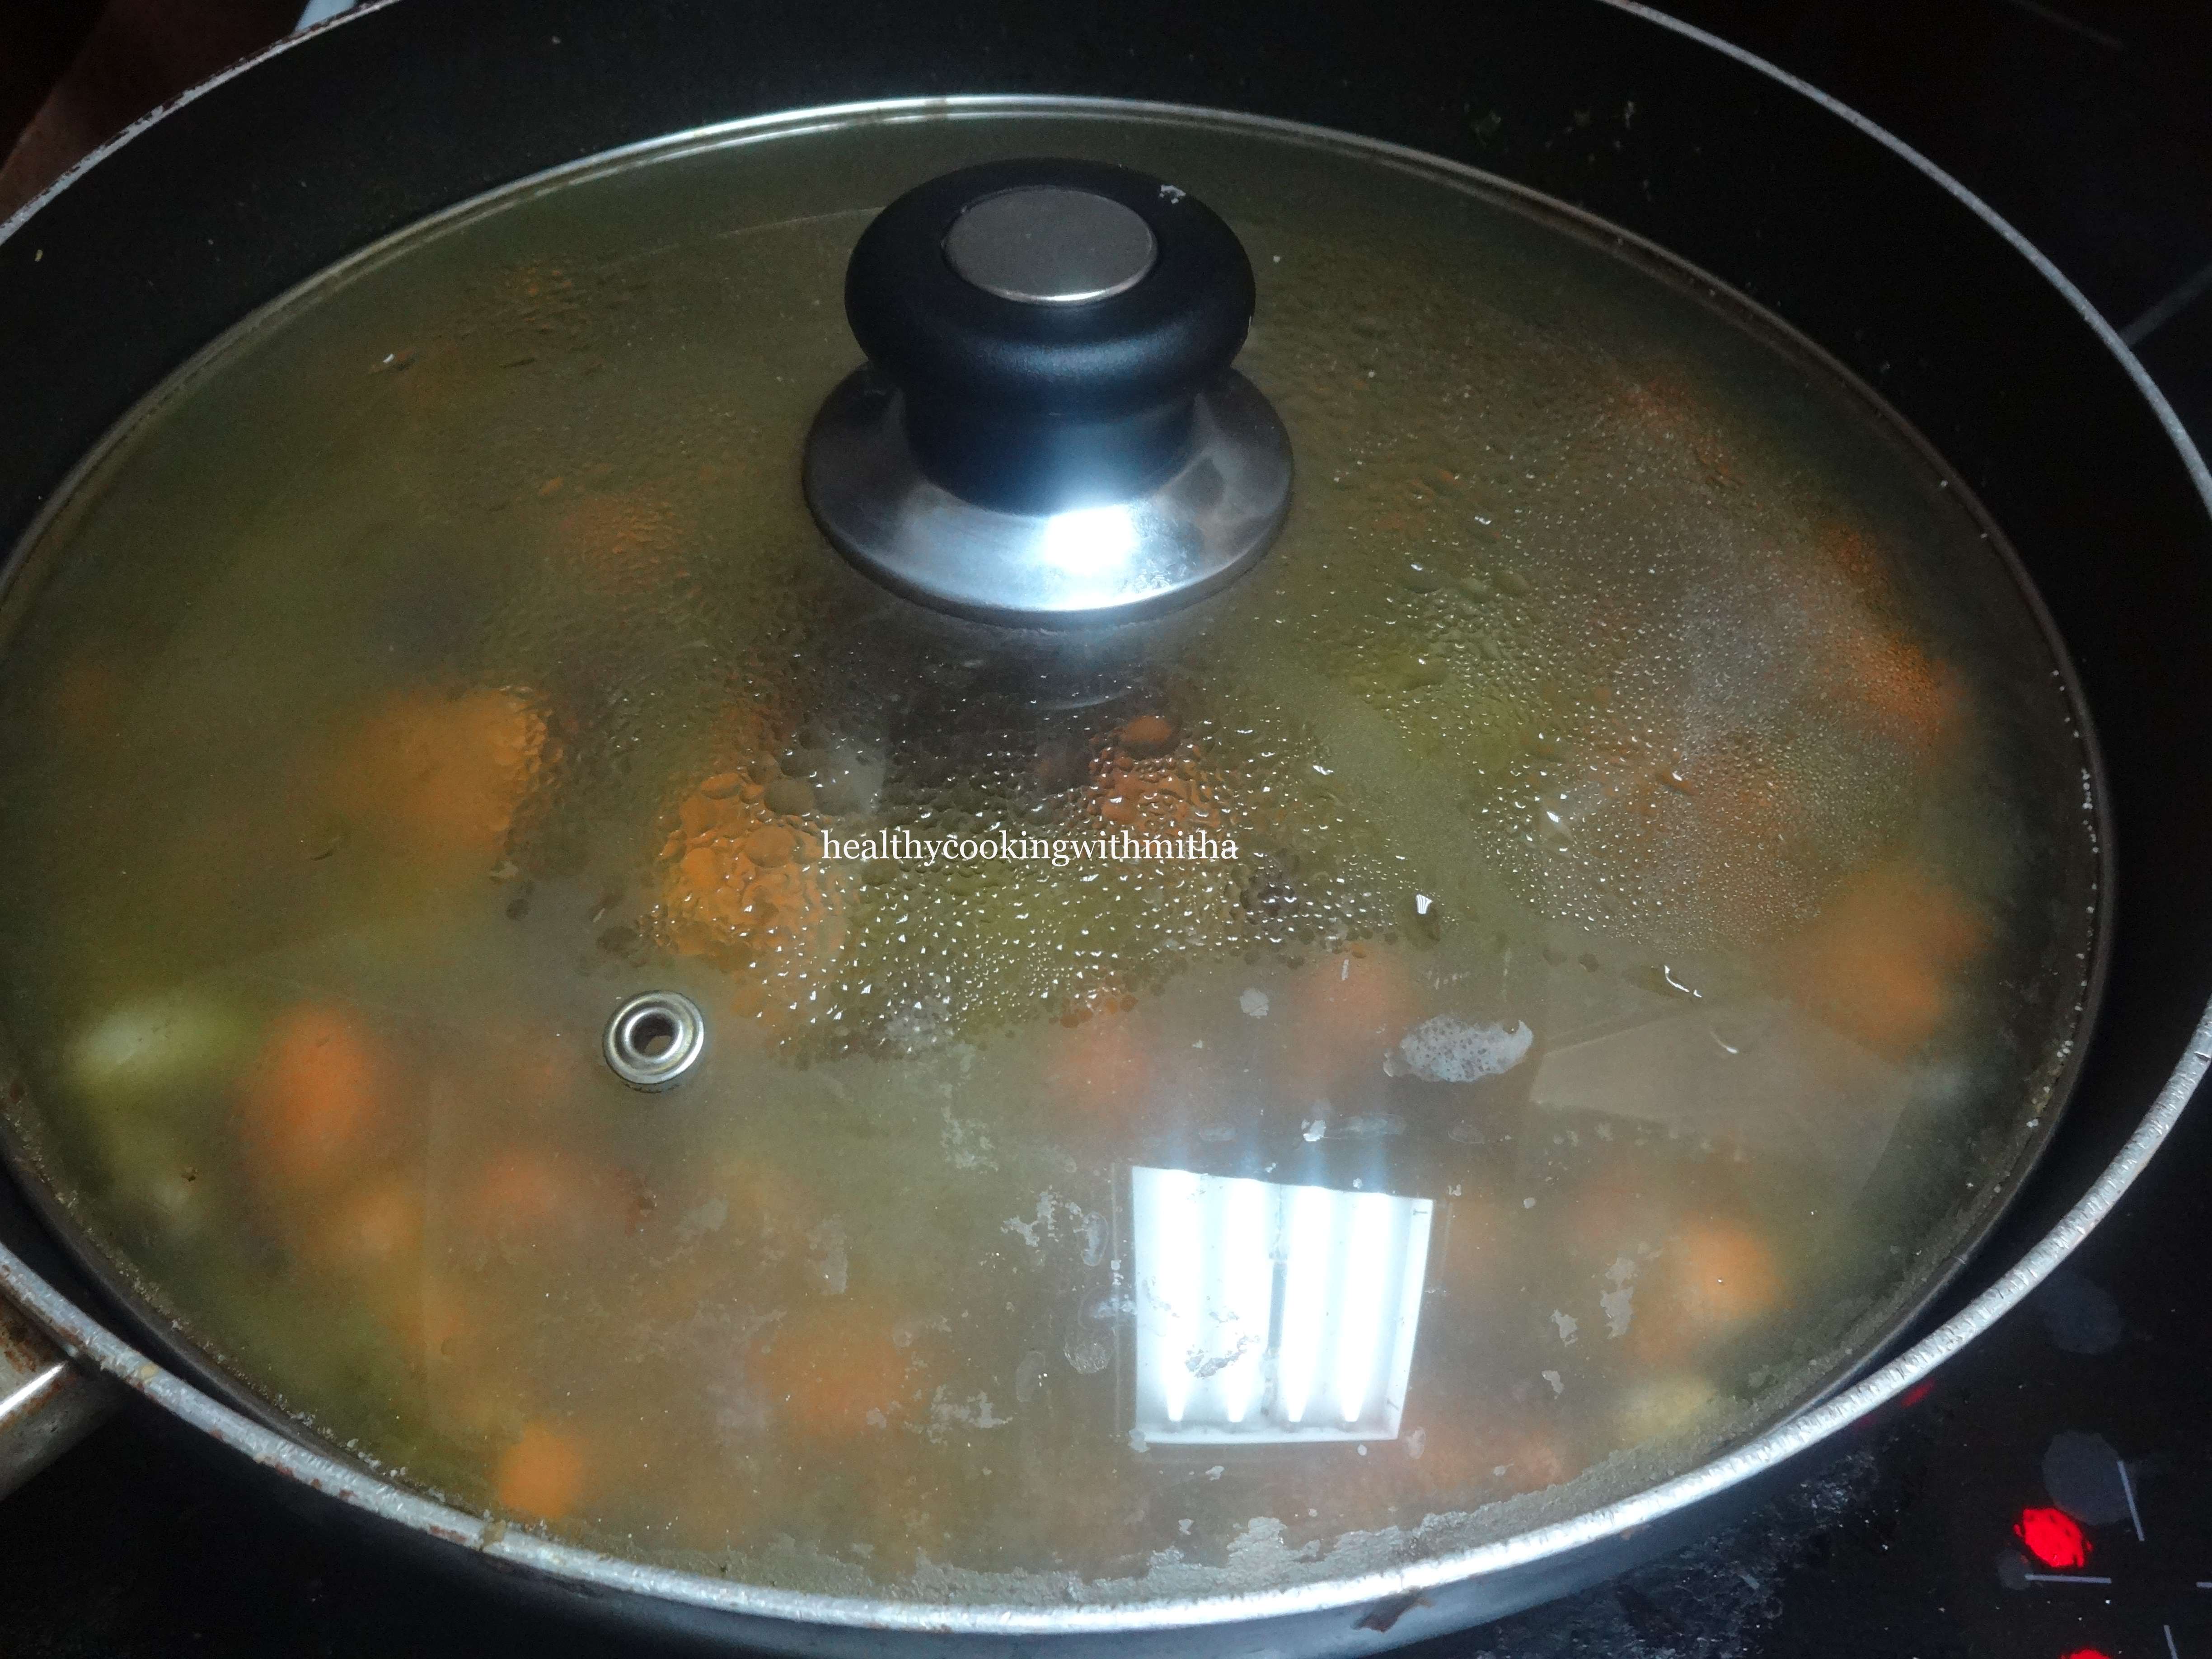
3. Pour in milk after keeping the flame to low and allow the soup to come to a boil on low flame. Else the milk might burn.
4. Now add cream and mix well. Allow it to cook on medium flame till it thickens which will take 5 to 10 mins.
5. Add salt and pepper. Mix well and serve hot.
Notes:
* I sometimes skip garlic if I don’t have. Ginger and onions give a wonderful flavour to it. So don’t skip it.
* Don’t add more mushrooms than mentioned for 1 cup milk. Else it will be a curry instead of soup.
* If you want to make in more quantity, just double the measurements.
* Be sure to cook the mushrooms before adding milk. Also, low flame is important after adding milk so that the soup does not burn.
* I don’t have cream in my pantry most times. So I substitute with 1 Tbsp corn flour + 1 Tbsp milk. Just mix together without lumps and add when the milk boils instead of cream. Gives the same texture and taste.
* Please use full fat milk for this recipe. Else the soup will be watery.
* Garnish with coriander leaves if available.
* I used button mushrooms for this recipe. You can also try Mushroom Chettinad.
As I have mentioned earlier, Saturday used to be our “eat out” dinner day. So Amma always made this pulao for lunch so that there are no leftover curries and we can order properly from the restaurant 😁. Though sometimes she added beans too to the pulao mostly she made only carrot pulao which tasted so yummy that me and my brother used to wait for Saturdays.
The pulao did not require any side dish and we enjoyed hot pulao as it is. I still remember how aromatic it was and Amma used to serve them lovingly onto our plates. 😍
Now that I think of it, childhood was really the best part of our lives. We were in so much hurry to be a grown up and did not realise that being a kid and getting pampered is really amazing. Now that my daughter says she wants to be a grown up like me, I tell her, don’t hurry my love, enjoy your childhood. 😊
Here’s sharing the recipe. My family loves this pulao and hope your family likes it too. Happy and healthy cooking!
RECIPE:
Ingredients:
2 Cups White rice/ Basmati rice
3/4 Cup finely chopped Carrot
1 medium sized Onion, thinly sliced
1/2 inch Cinnamon stick
Few broken cashews
1 tsp Red chilli powder
1/2 tsp Garam masala powder
Salt to taste
1 Tbsp Ghee/ Oil
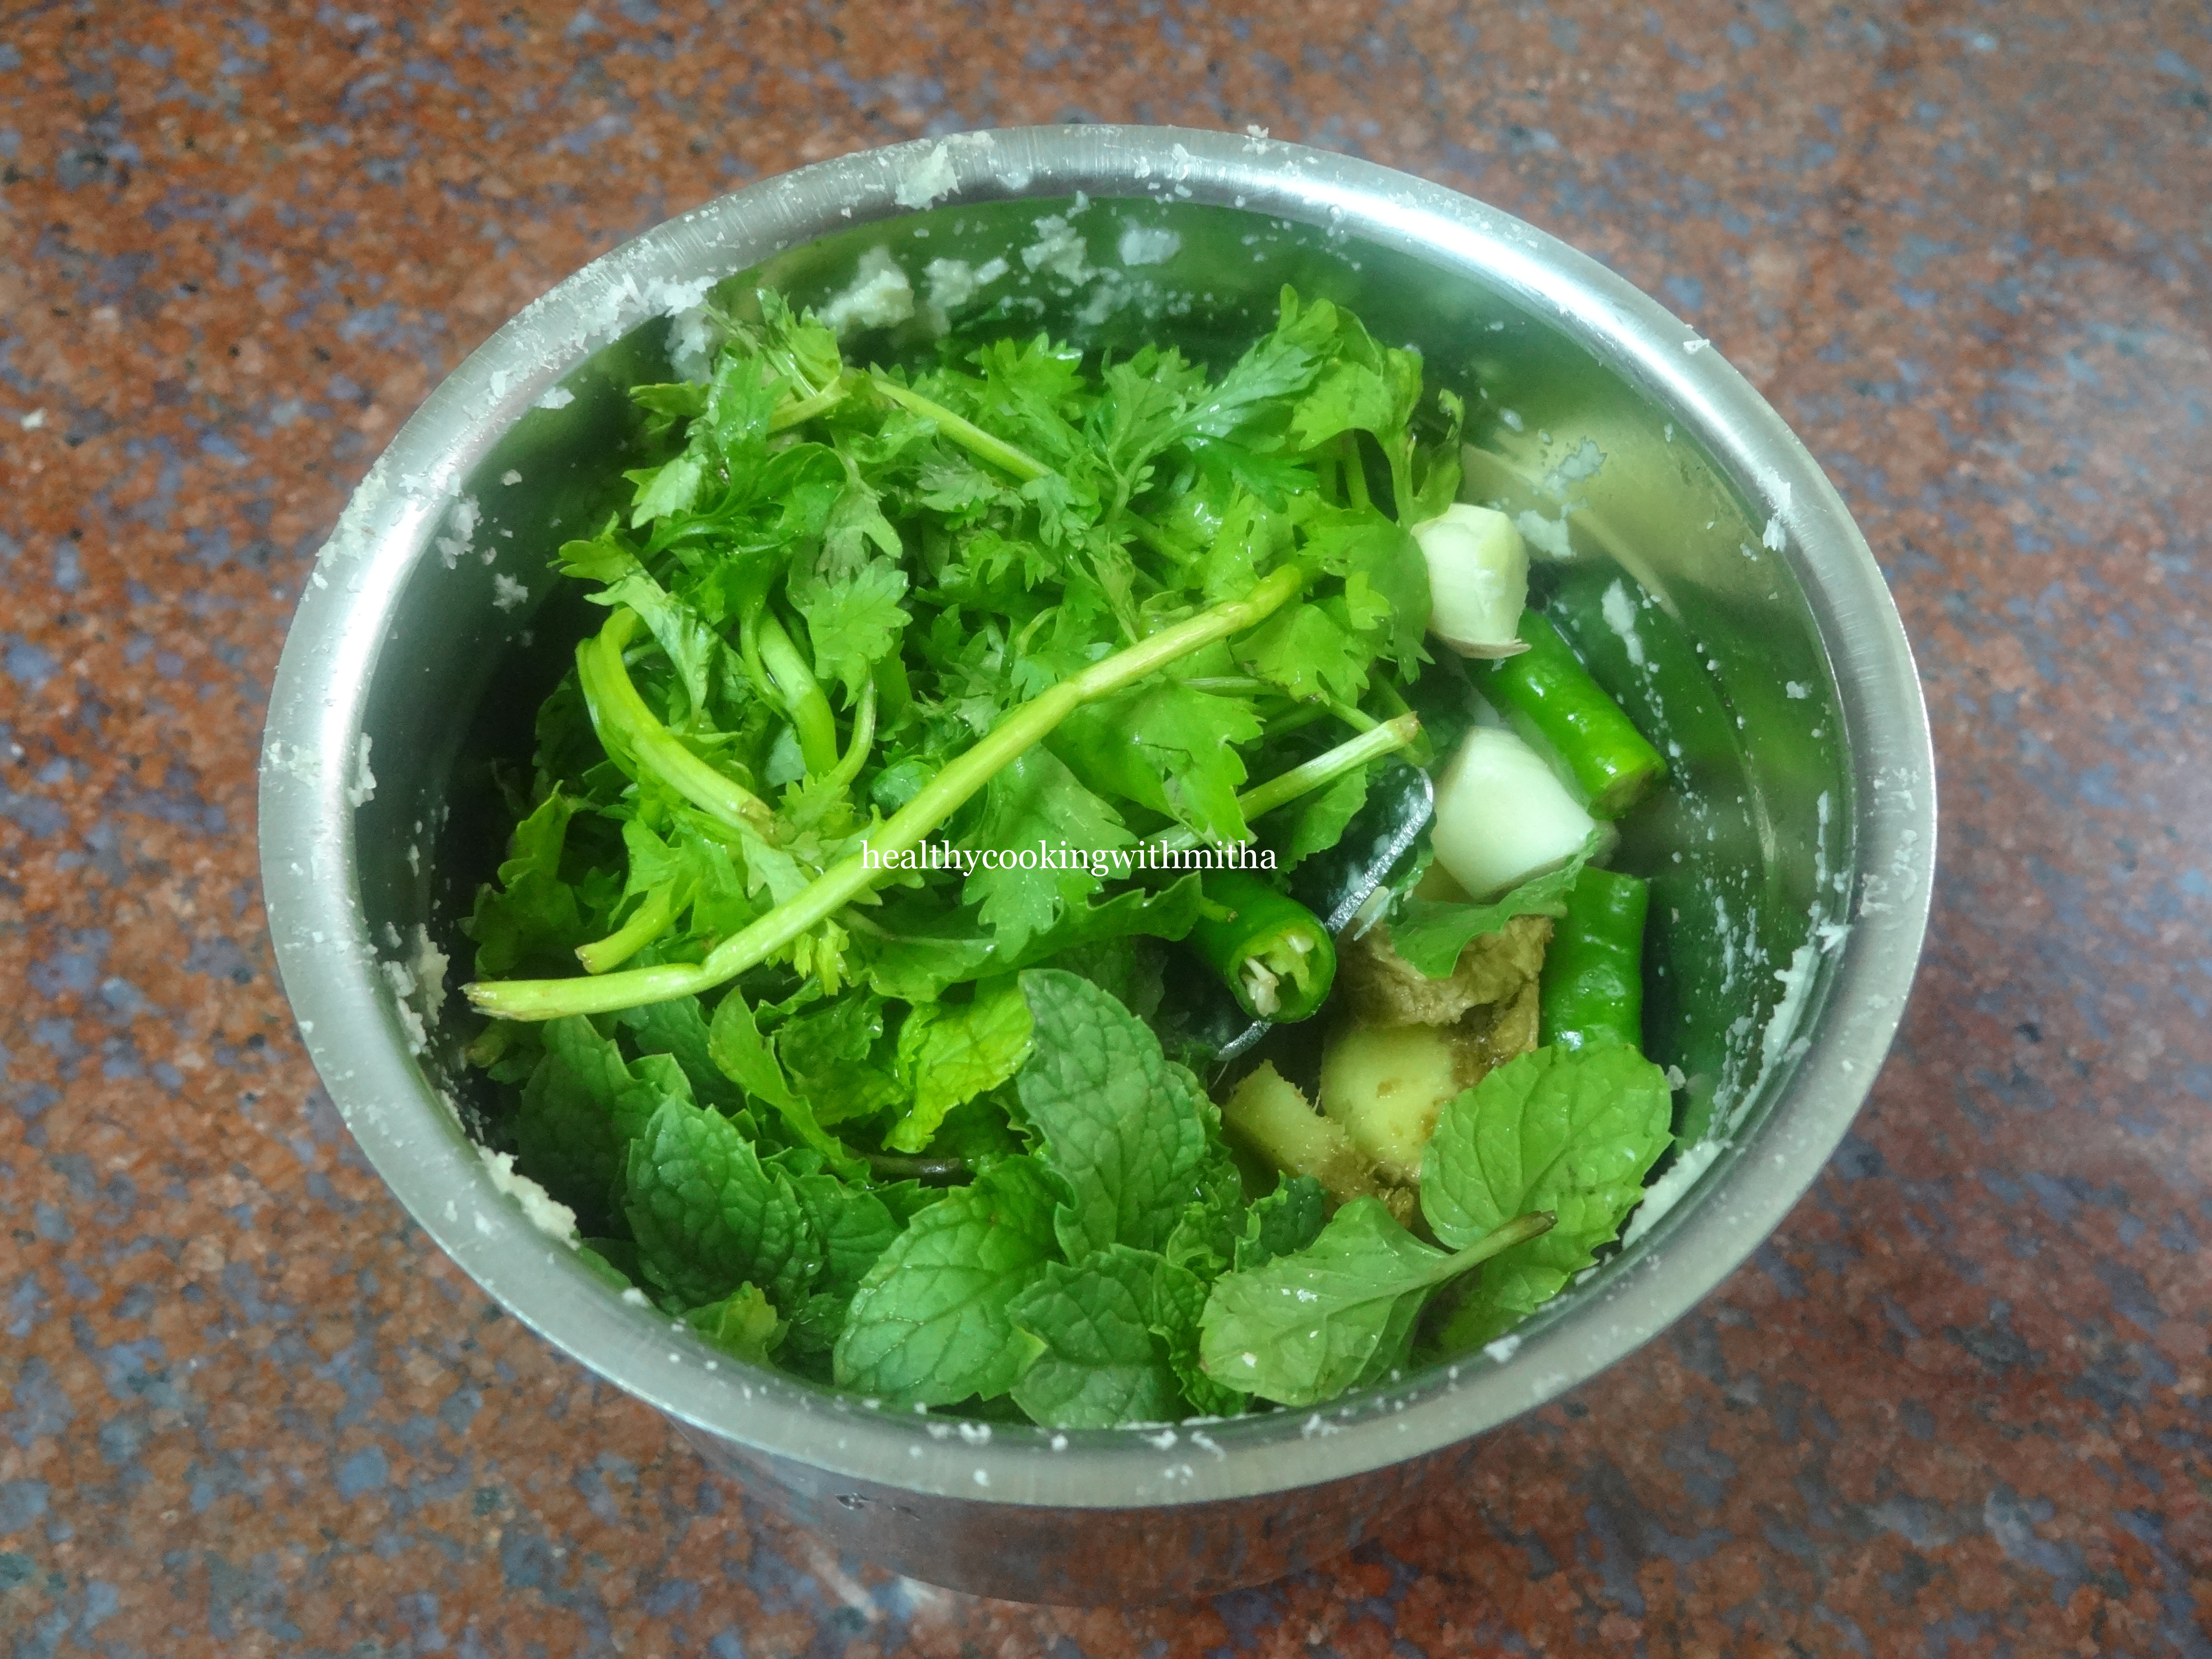
To grind into a fine paste:
6 to 7 sprigs of Coriander leaves
6 to 8 mint leaves
3 green chillies
3 Garlic pods
1 inch Ginger piece
2 cloves
Step by step recipe:
1. Wash well and soak the rice for about 15 mins to an hour if you have the time.
2. Take all the ingredients to grind in a mixer and grind to a smooth paste.
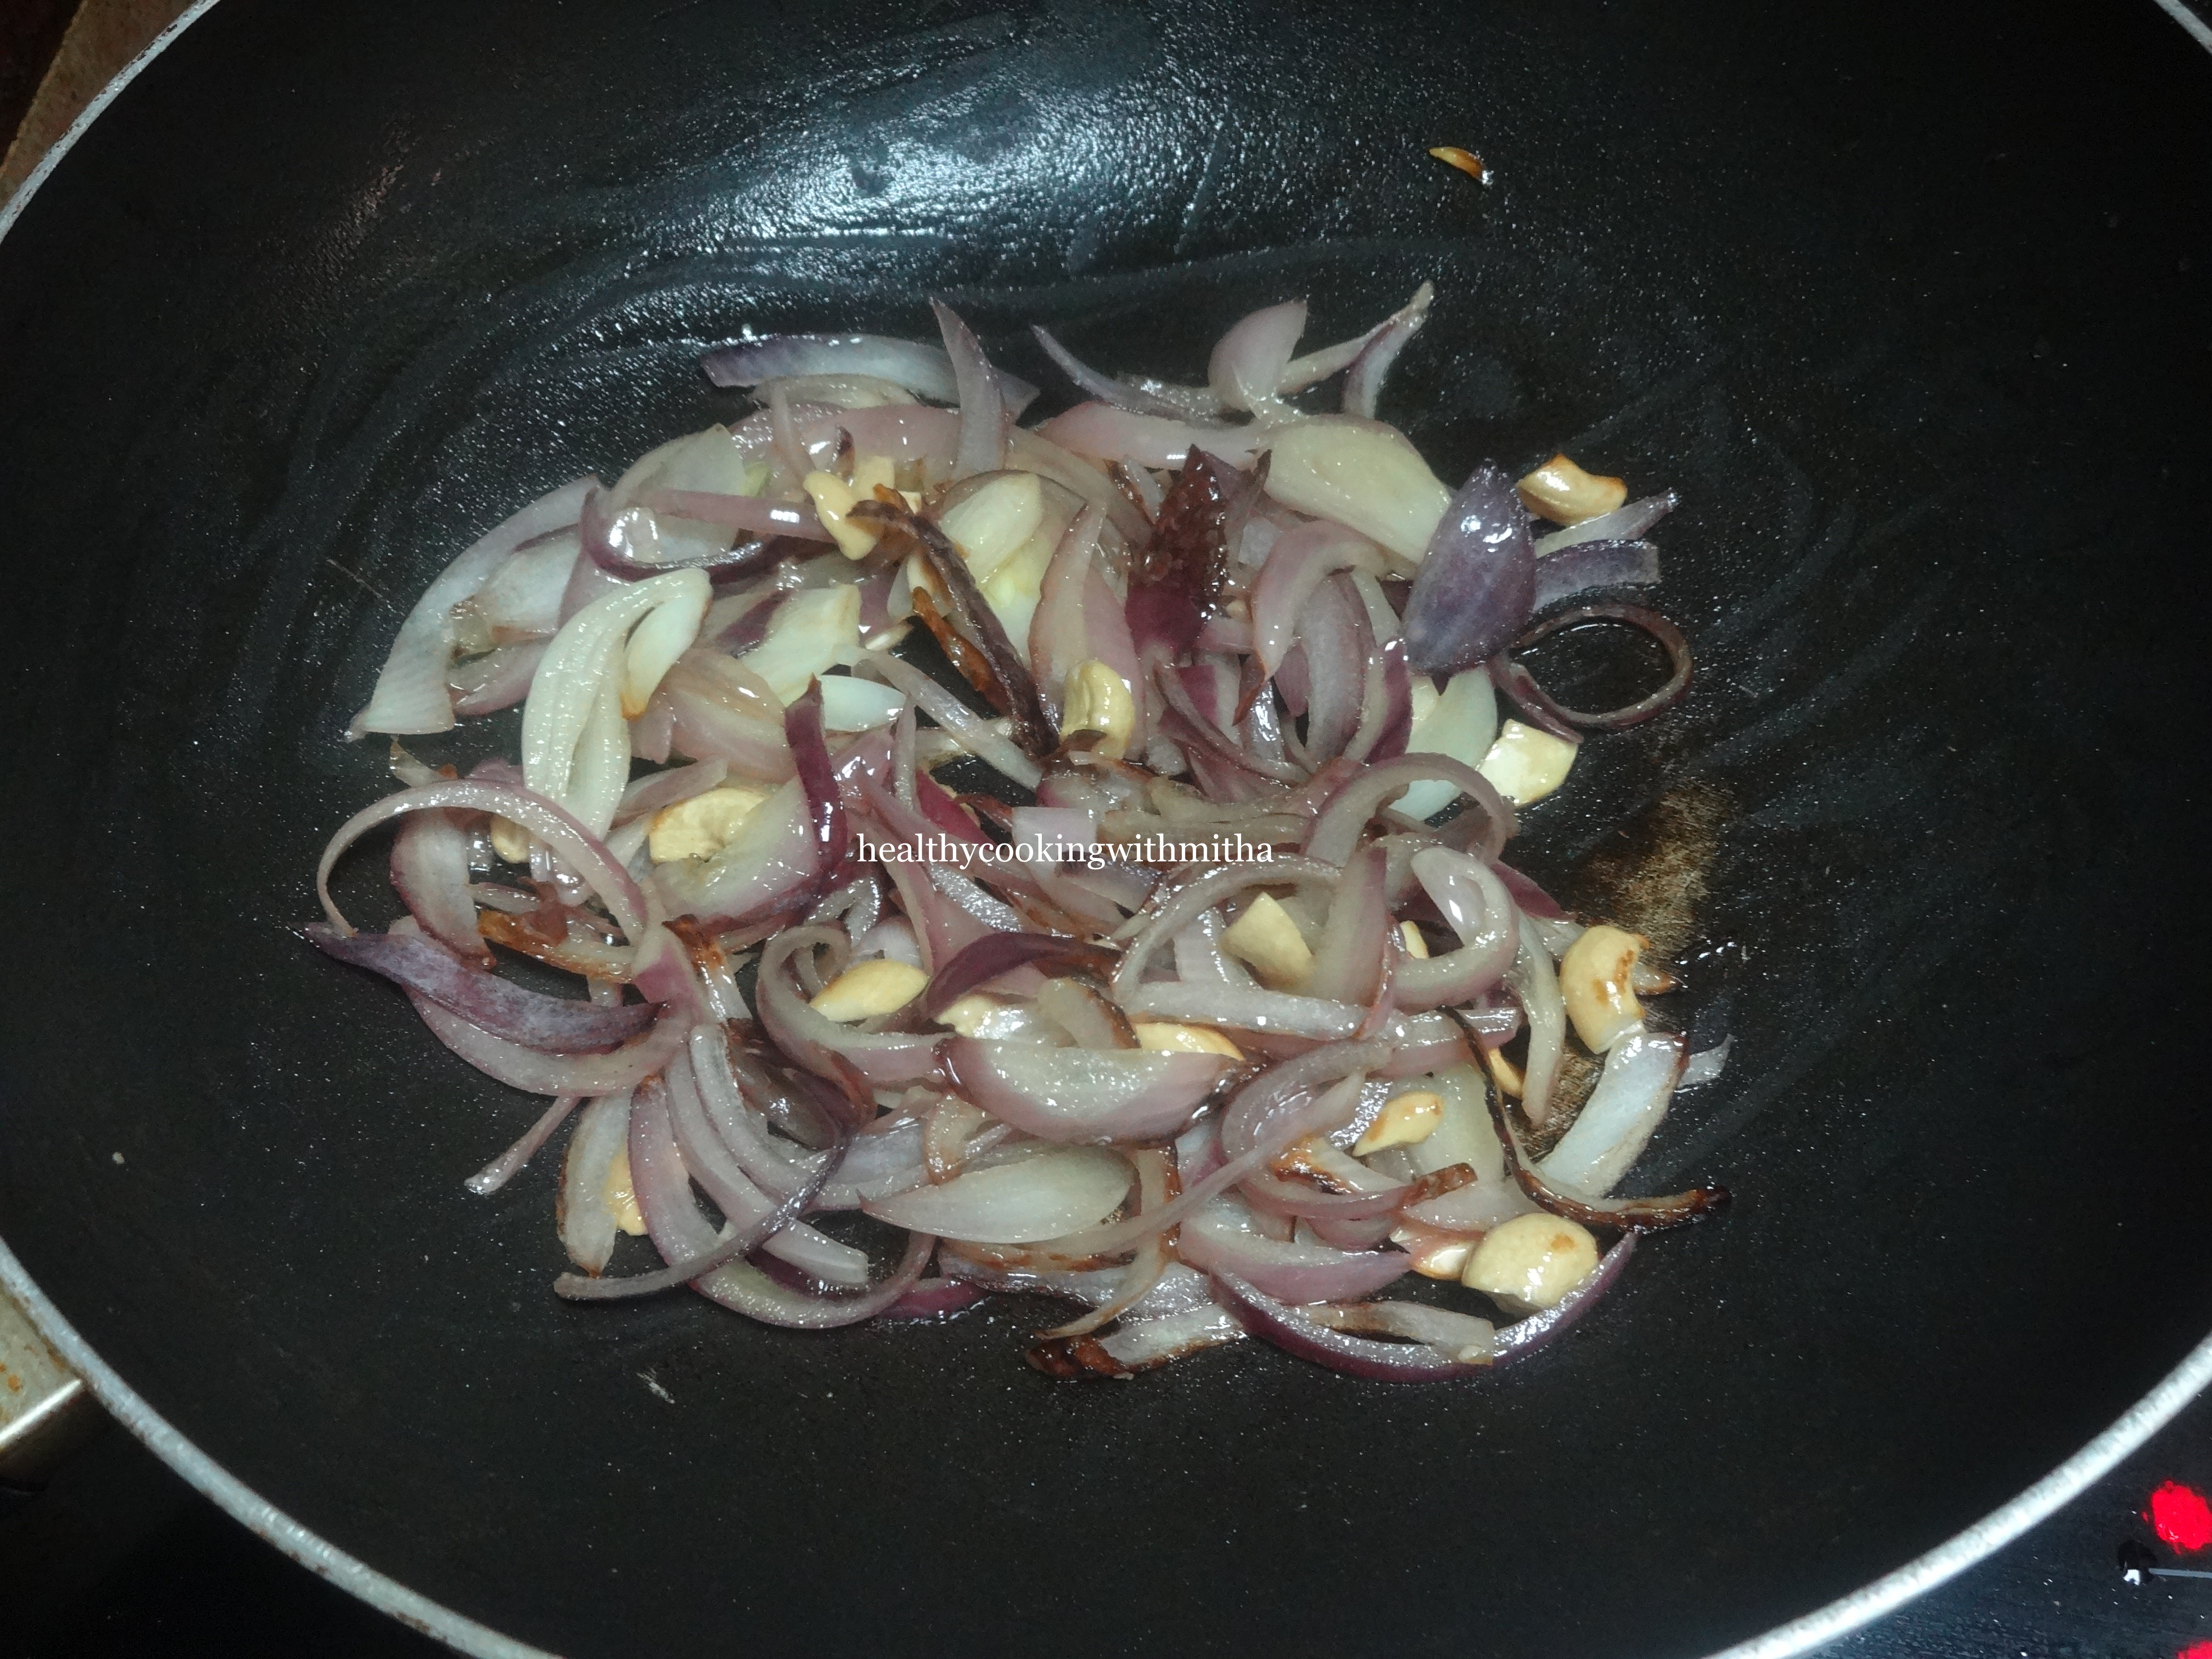
3. Heat oil or ghee in a pan and add thinly sliced onions along with cashews and cinnamon. Saute till they turn light brown.
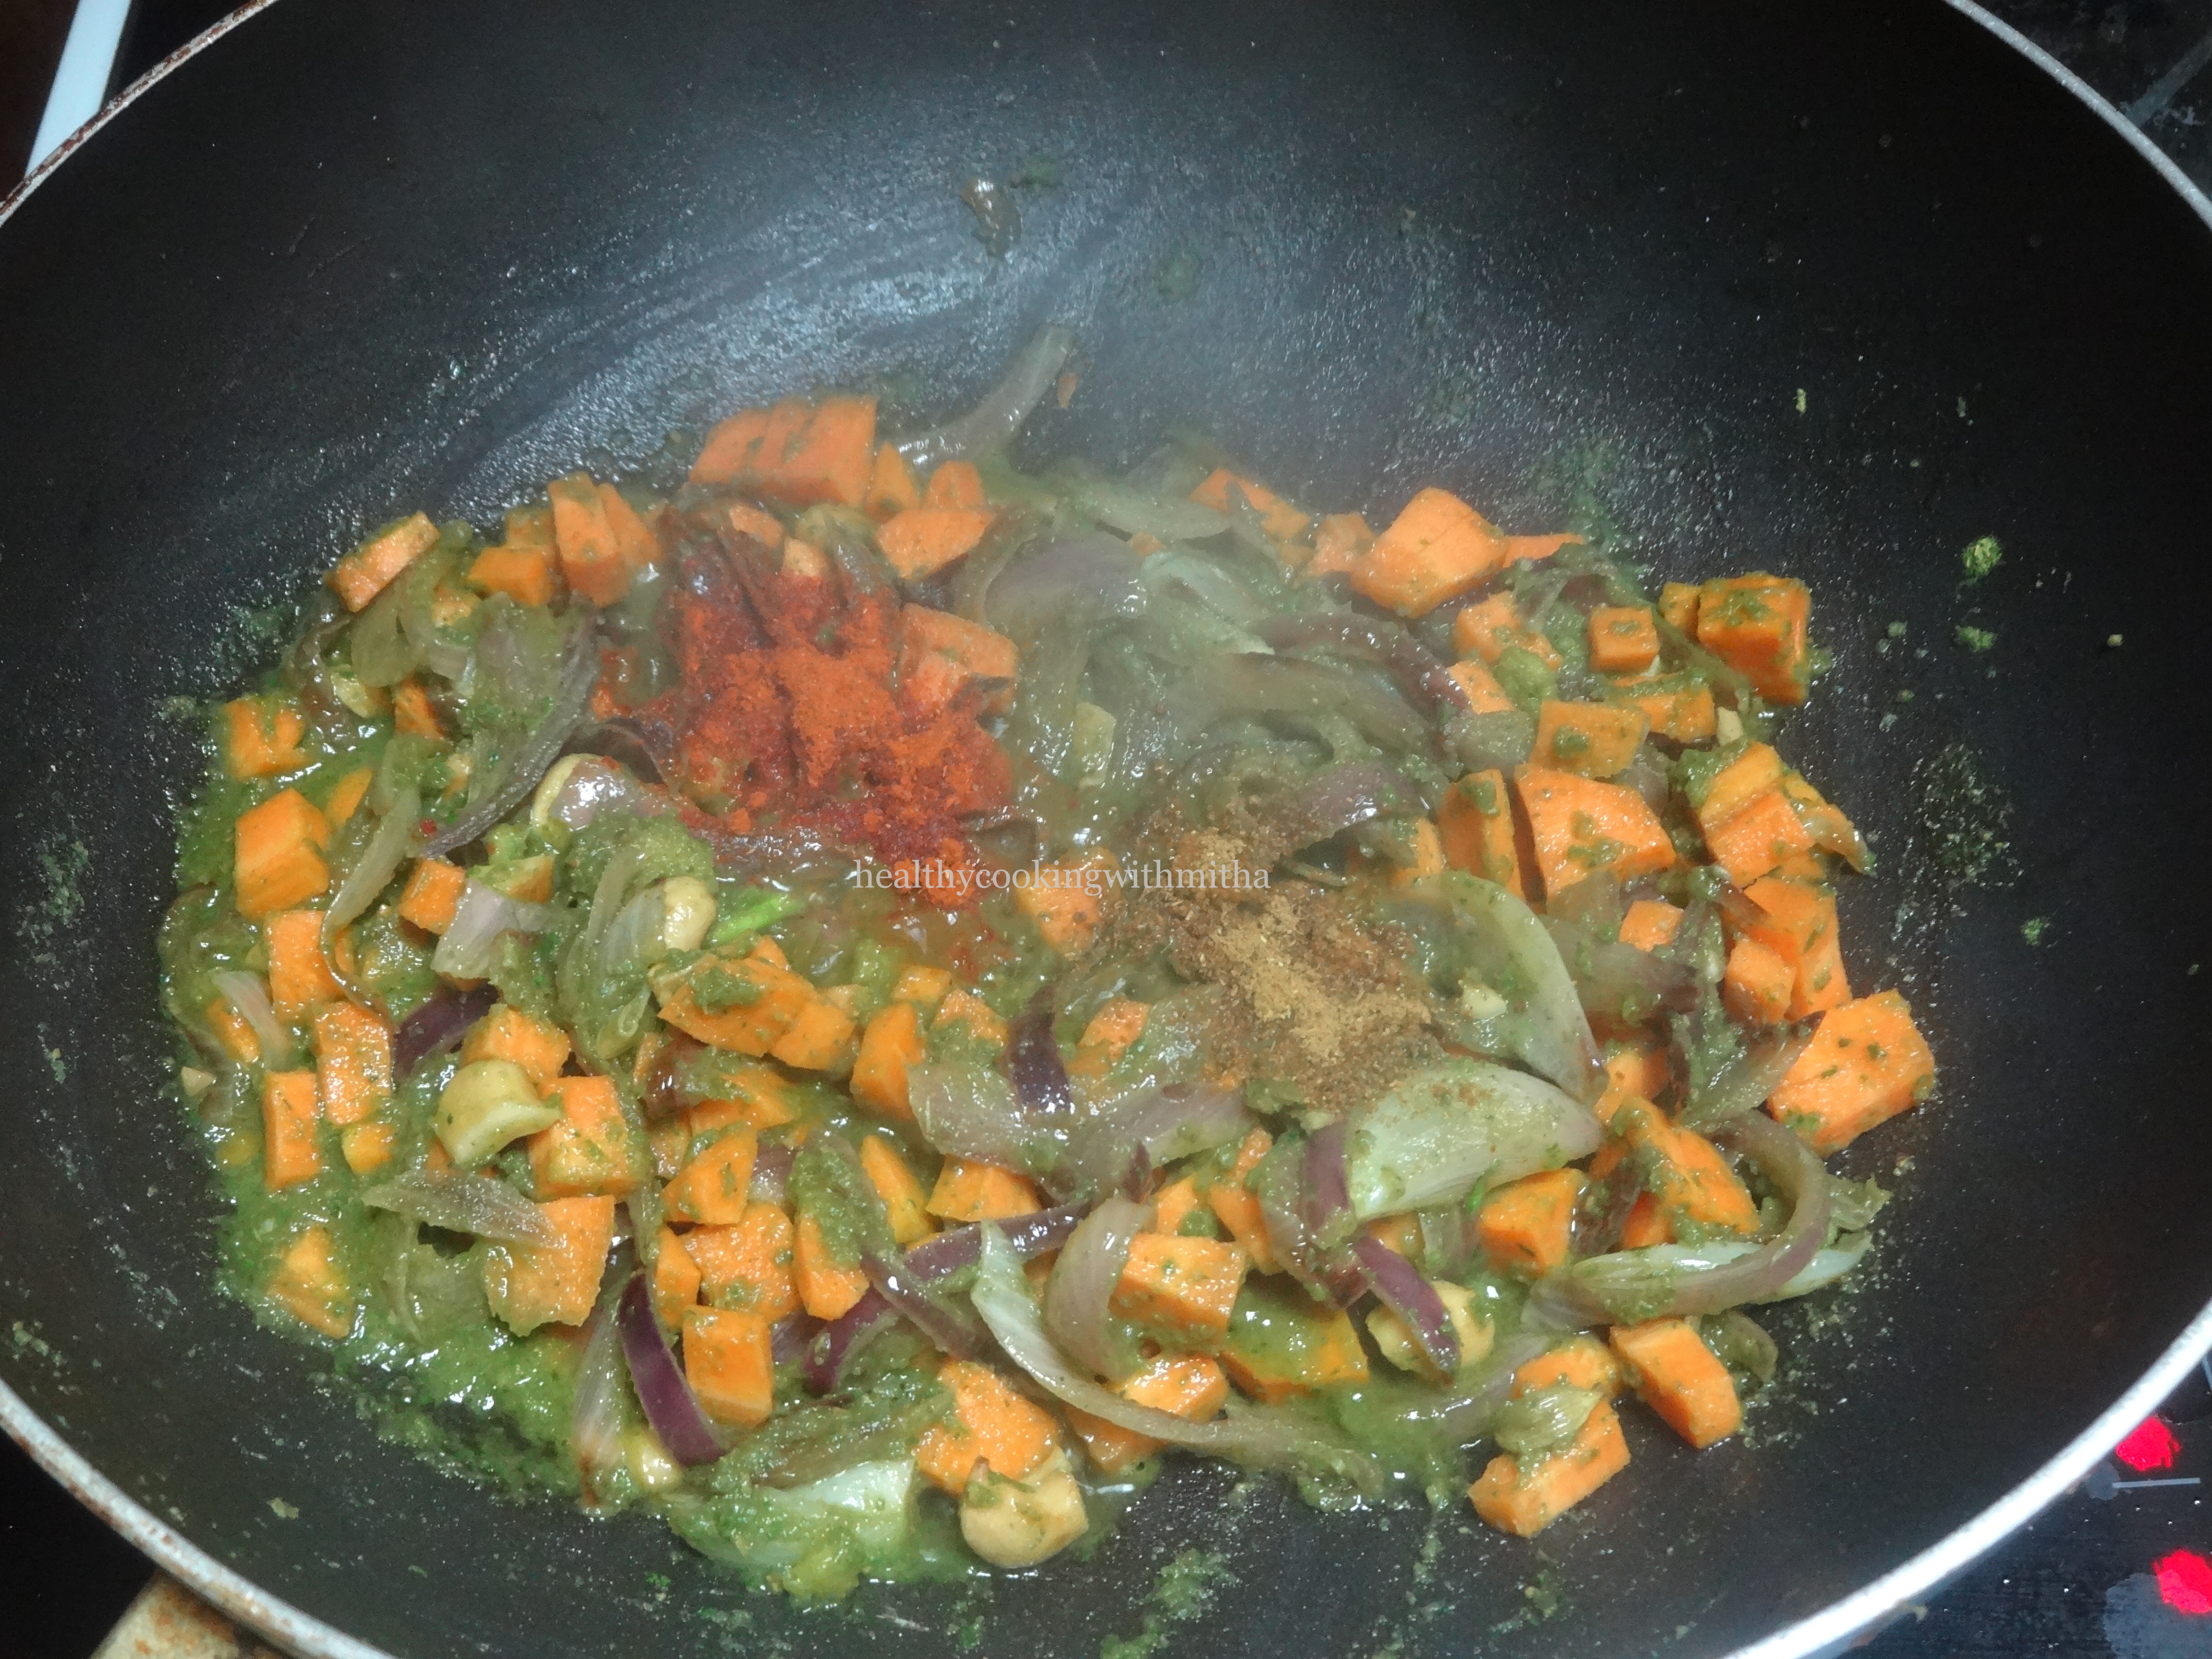
4. Add the ground paste to this and cook for 5 mins till the raw smell goes away.
5. Add chopped carrots. Mix well.
6. Now add 1 tsp red chilli powder, 1/2 tsp Garam masala powder. Mix well.
7. Now add rice and mix well. Saute for two mins.
8. Add salt and hot water till it immerses the rice completely. Now cover and cook on medium flame till the rice cooks completely. Check in between if it requires water.
9. Serve pulav hot with raita, pickle or curry of your choice.
Notes:
* You can add more veggies to this to make Vegetable pulao but I love this pulao with only carrots just like how Amma made.
* You can skip mint leaves if you don’t have. Amma never added it. I add it as we have mint growing in our garden. So add it in every dish possible.
Click on the image to save the recipe on Pinterest
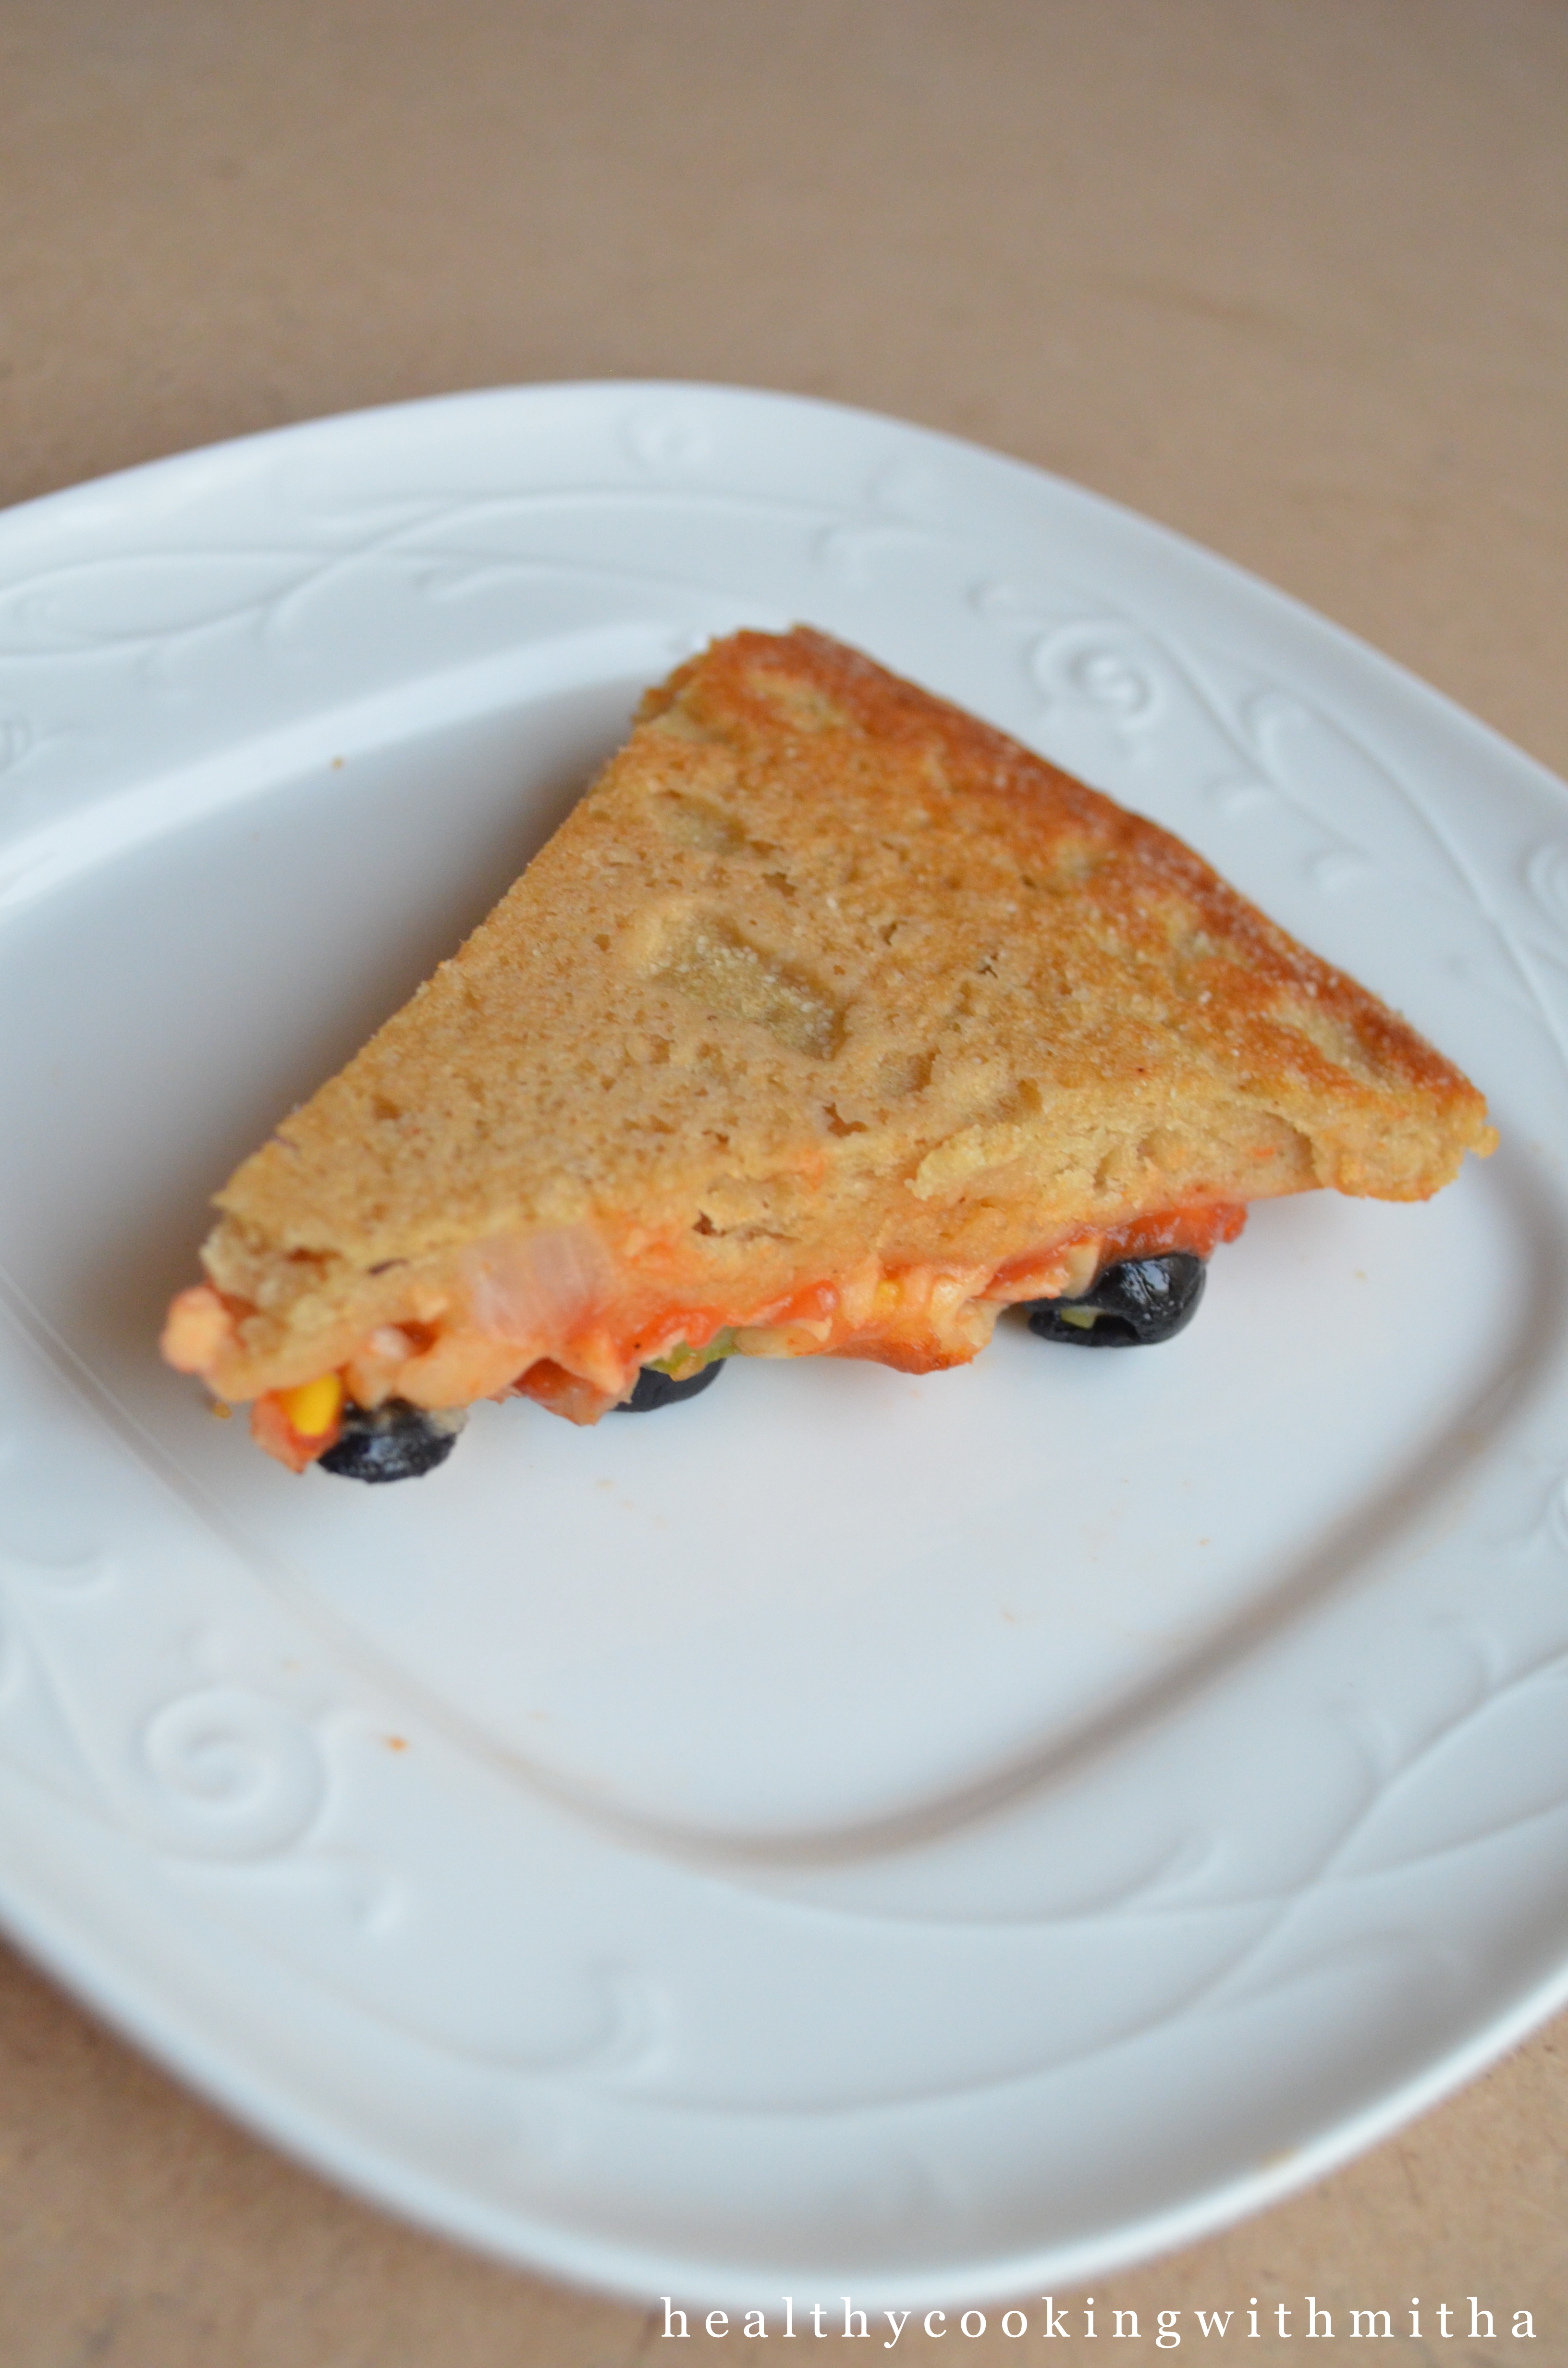
Baking pizzas at home have become more of a necessity than hobby in the present scenario when we are all home bound. I am so glad that I started baking wheat pizzas long back that now it’s as easy as making chapatis for me. My kids relish them as much as they enjoy store bought ones and it gives me immense happiness to see them eat healthy.
Click on the image to save the recipe on Pinterest
I had been getting many requests for this recipe. So here it is for all of you. Do let me know if you have even the tiniest doubt and I would be happy to help you. I know baking is as easy as it can be but equally difficult for some and I love helping as much as I can.
Happy baking!
RECIPE:
Ingredients:
For the pizza dough: (makes two medium size pizzas)1 Cup = 240 ml
3 Cups whole wheat flour/ Atta ( I use Pillsbury most times)
1 to 1 1/2 Cups Water (depending on the flour brand)
2 tsp Instant yeast ( or 2 1/2 tsp dry active yeast) (I use saf instant yeast brand)
1/2 tsp Cane sugar (can replace with regular sugar)
1/2 tsp Salt
1 Tbsp Olive oil/ or any oil to coat the dough
For the toppings: (for 1 pizza)
Around 5 Tbsp Pizza sauce or Tomato ketchup
Approx 1 Cup grated mozzarella cheese or as required
1 Cup of mixed vegetables (like Capsicum, Onion, sweetcorn, mushroom,babycorn)
A handful of chopped olives
Salt to taste
A dash of pepper powder
Olive oil or any oil to coat the dough surface.
Step by step recipe:
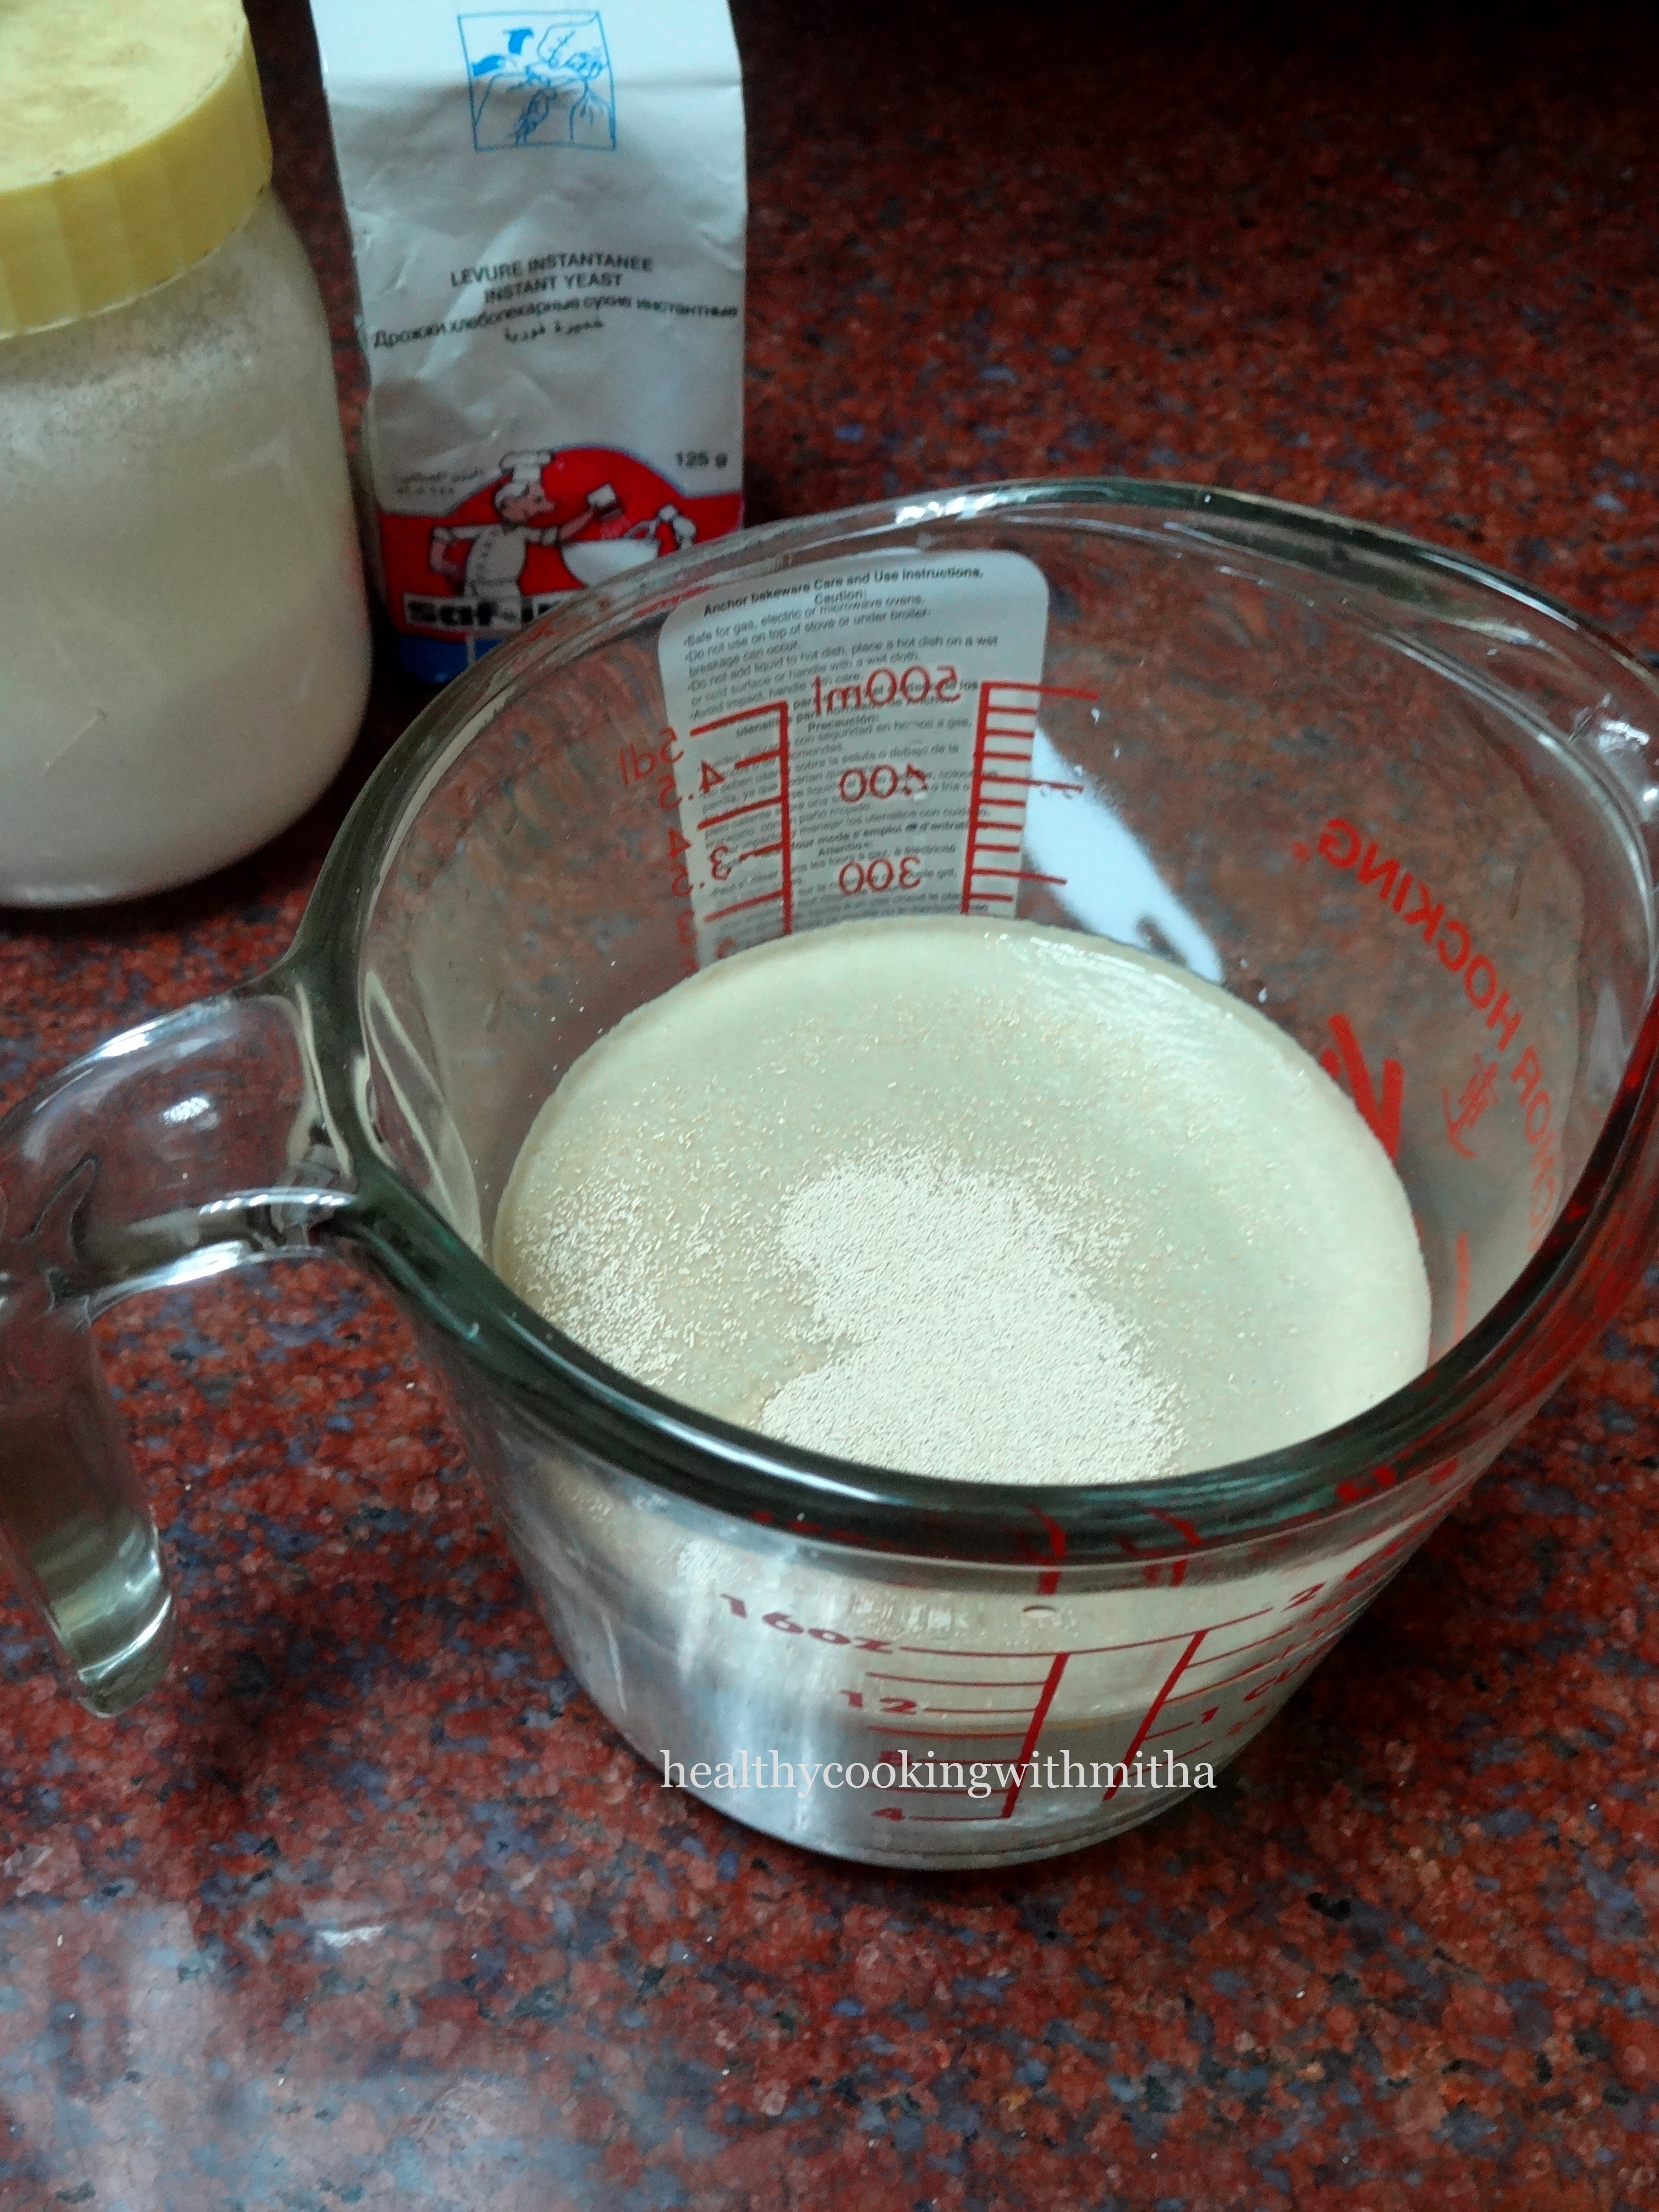
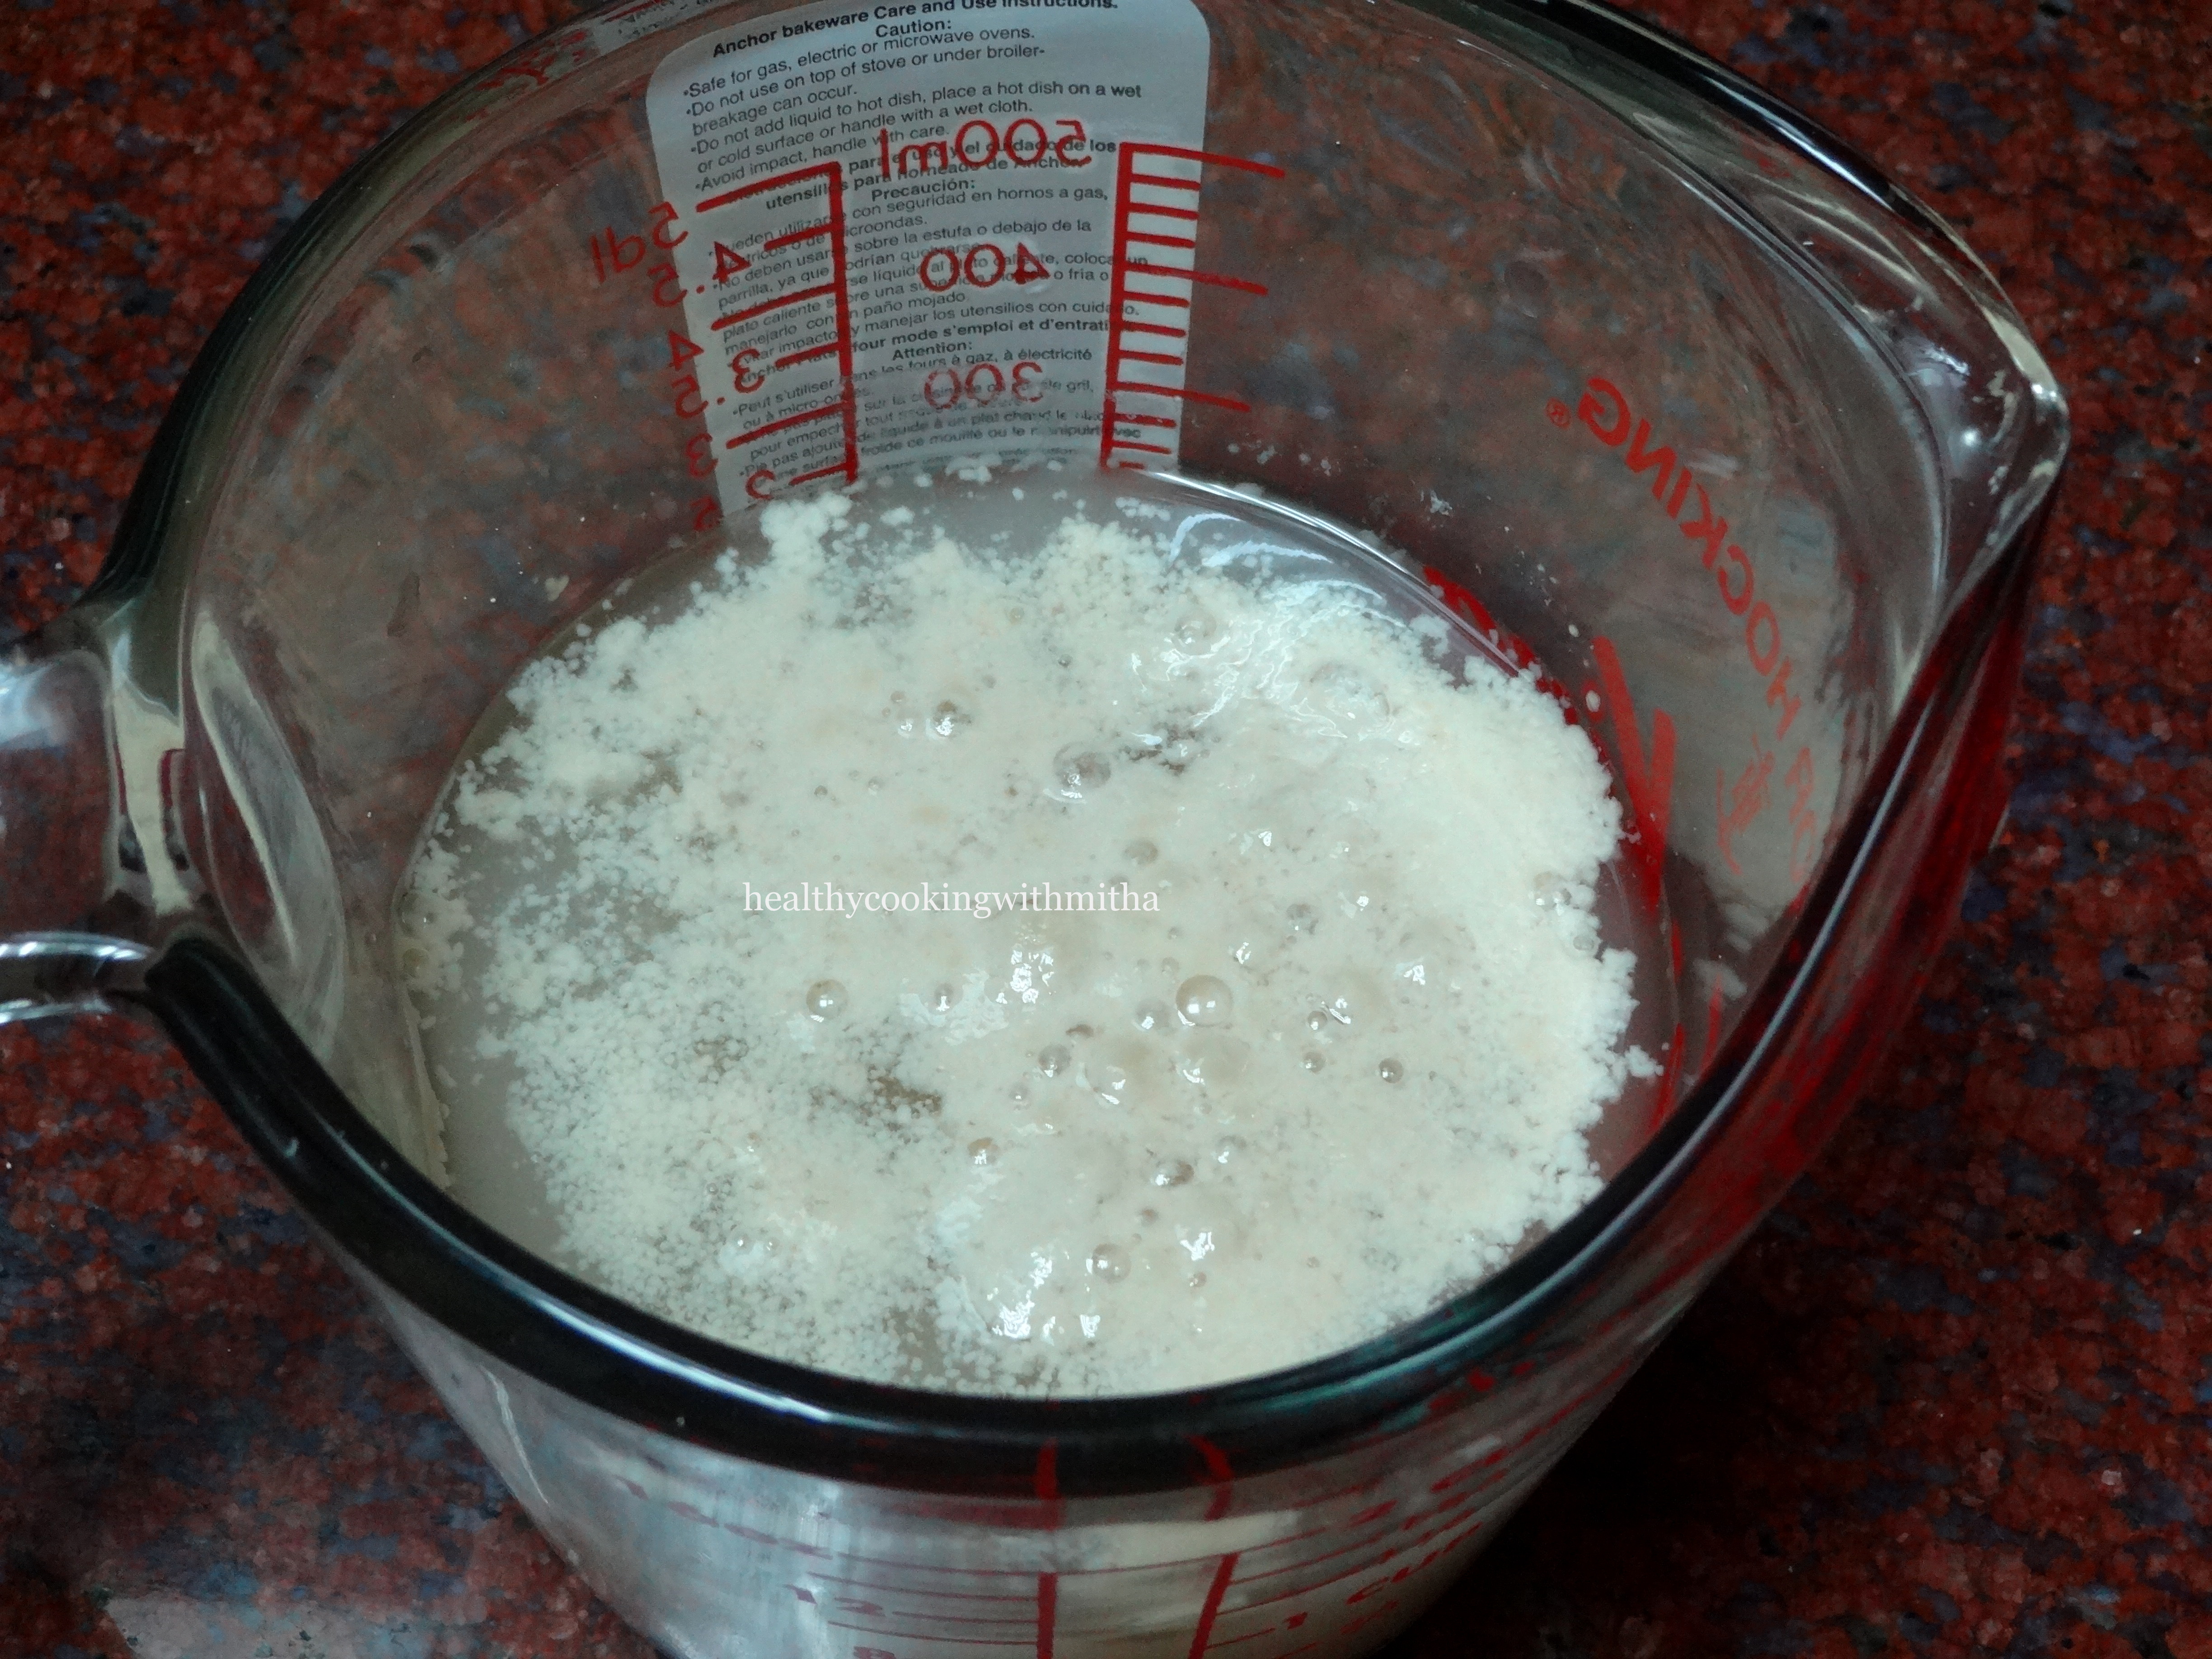
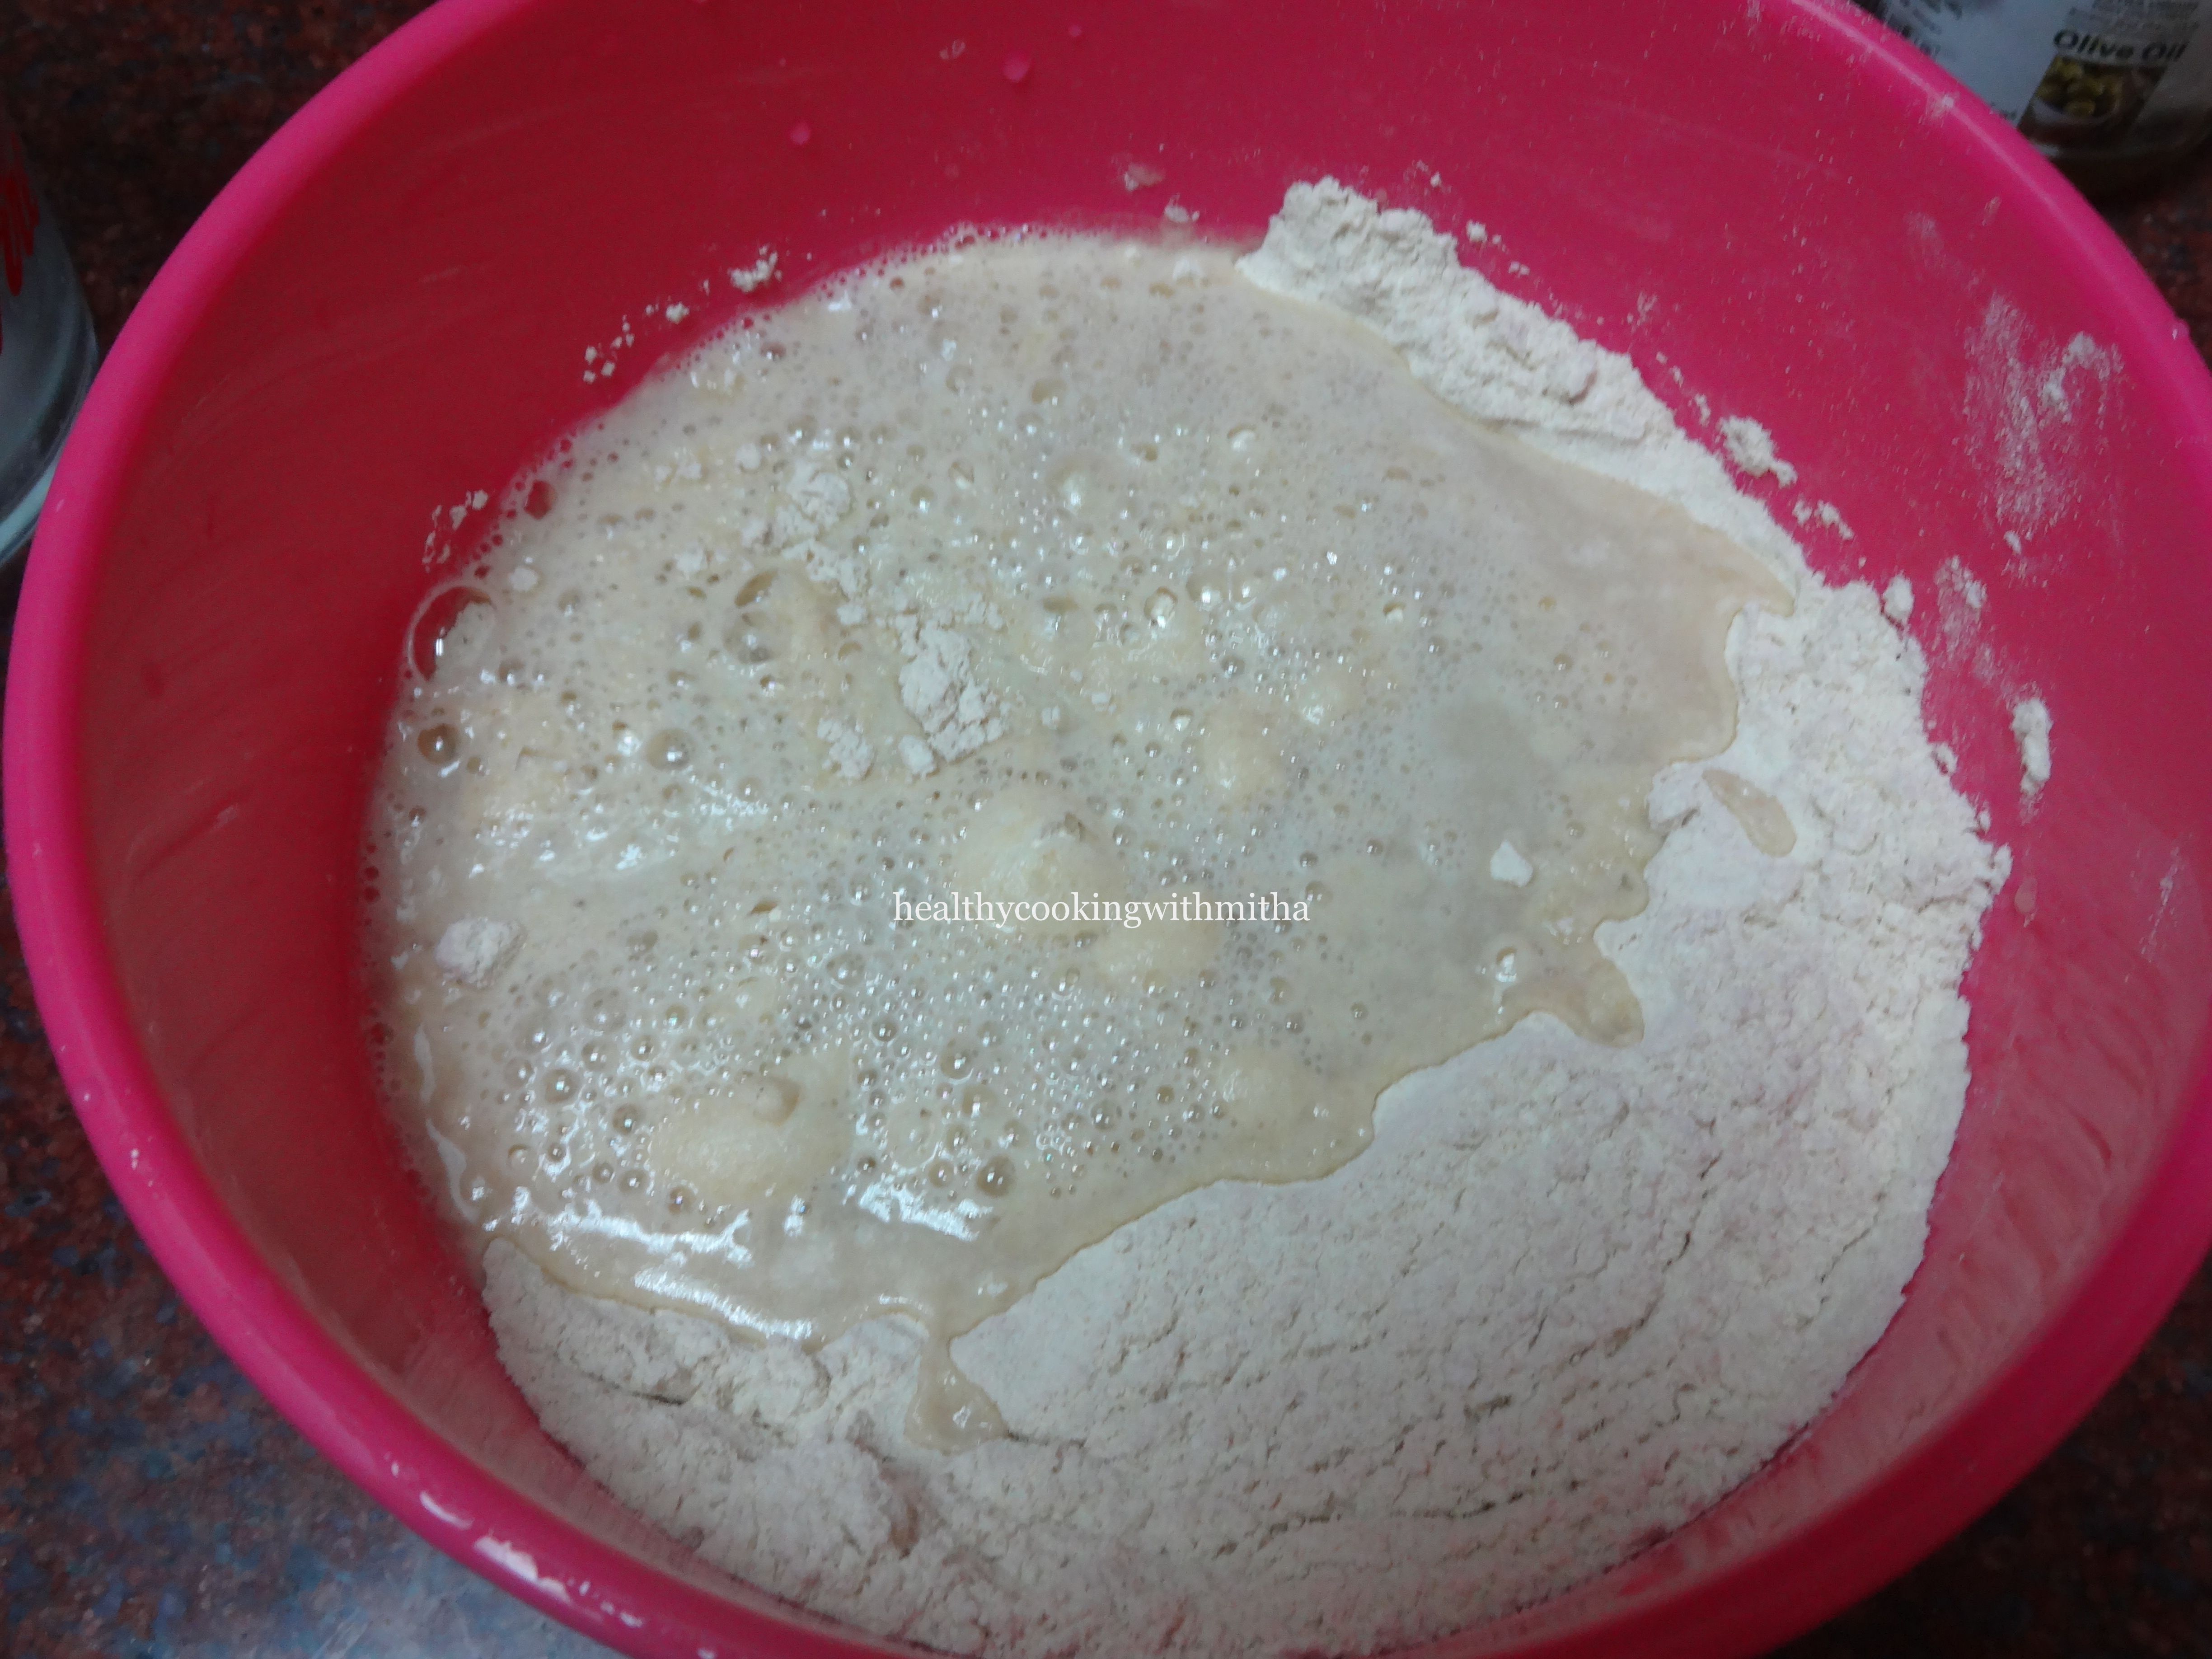
1. Take 1 Cup lukewarm water and add 1/2 tsp Cane sugar into it. Mix well and add 2 tsp instant yeast. Mix once and allow it to proof.{The water should NOT be very hot nor cold for the yeast to proof}
2. Meanwhile, take 3 cups of wheat flour in a large mixing bowl and add salt to it. Mix well.
3. Now the yeast has proofed as shown. (If the yeast does not proof ie does not rise, discard it and do not follow the next steps as maybe the yeast has expired.)
See for the bubbles, yeasty aroma and a slight rise to check if the yeast is good or not.
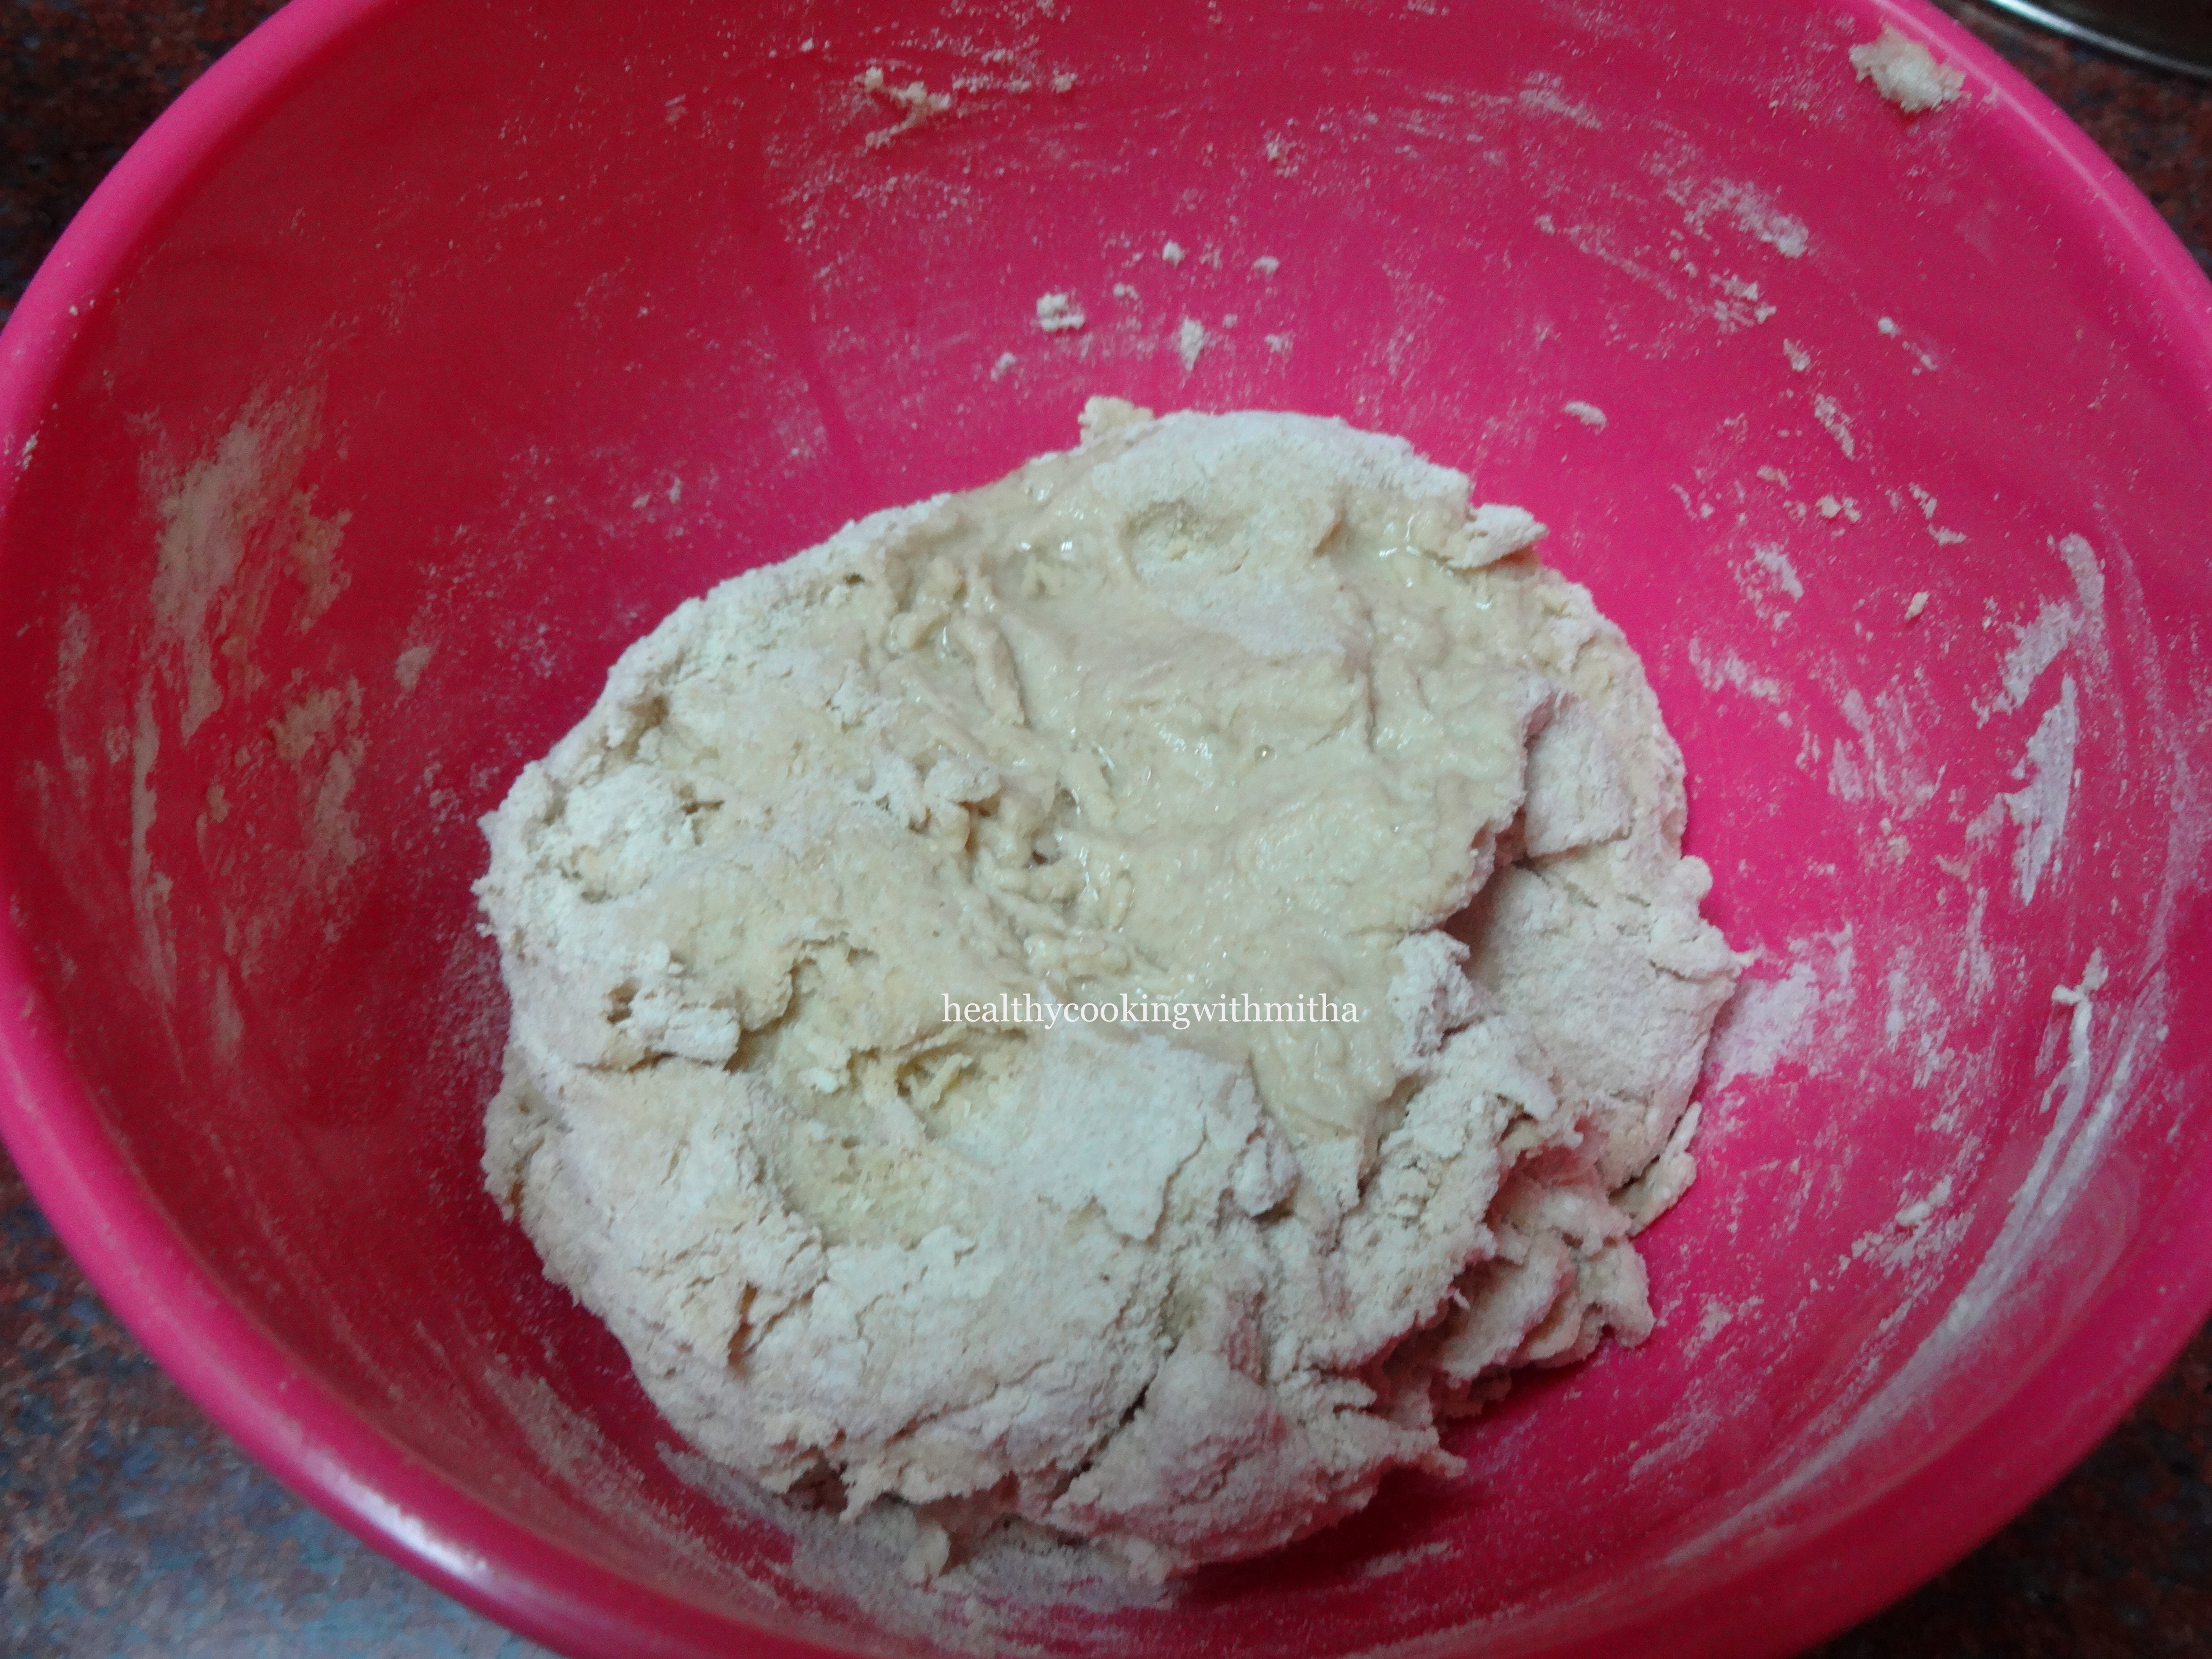
4. Now add this to the flour- salt mixture and knead just like you knead normal dough for chapatis adding the extra 1/2 Cup water if necessary.
5. Now add olive oil towards the end of the kneading process and knead once again to form a smooth dough. ( If you don’t have olive oil, any oil like sunflower or coconut oil will do)
6. Keep the dough covered in a warm place for about 1.5 hours to 2 hours for the dough to rise and double the size. If the weather is cold, it might take even 3 hours.
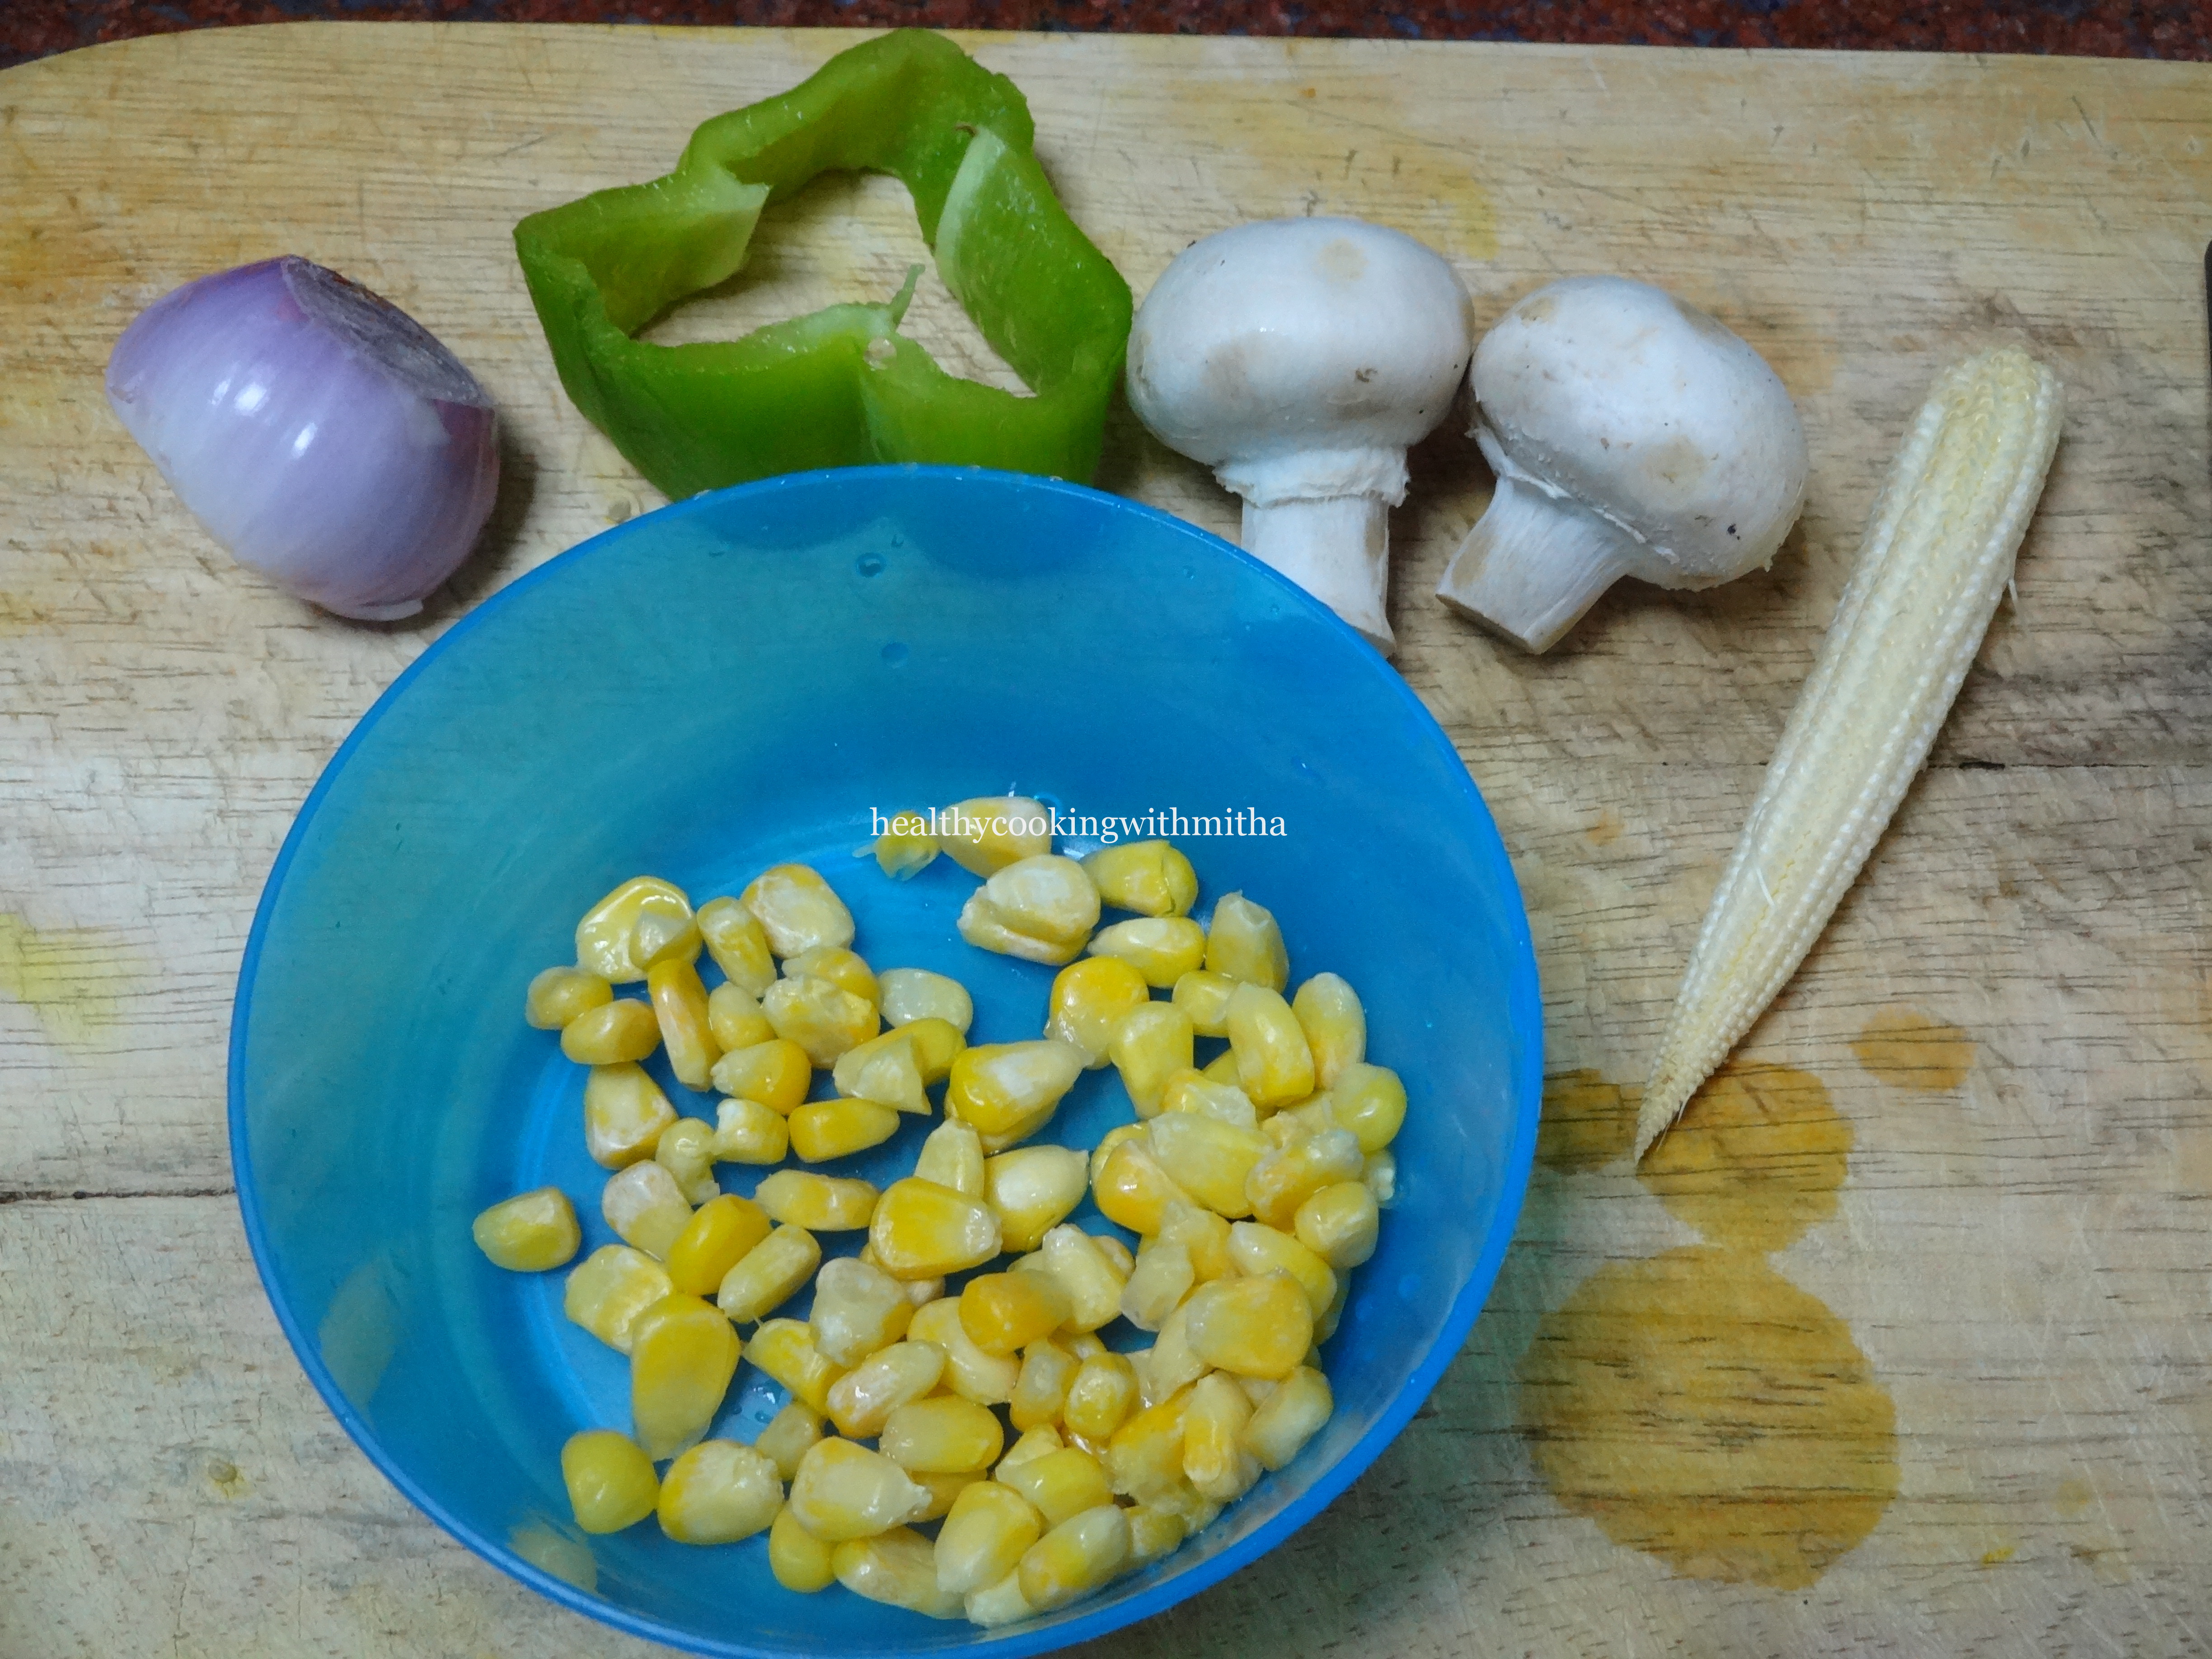
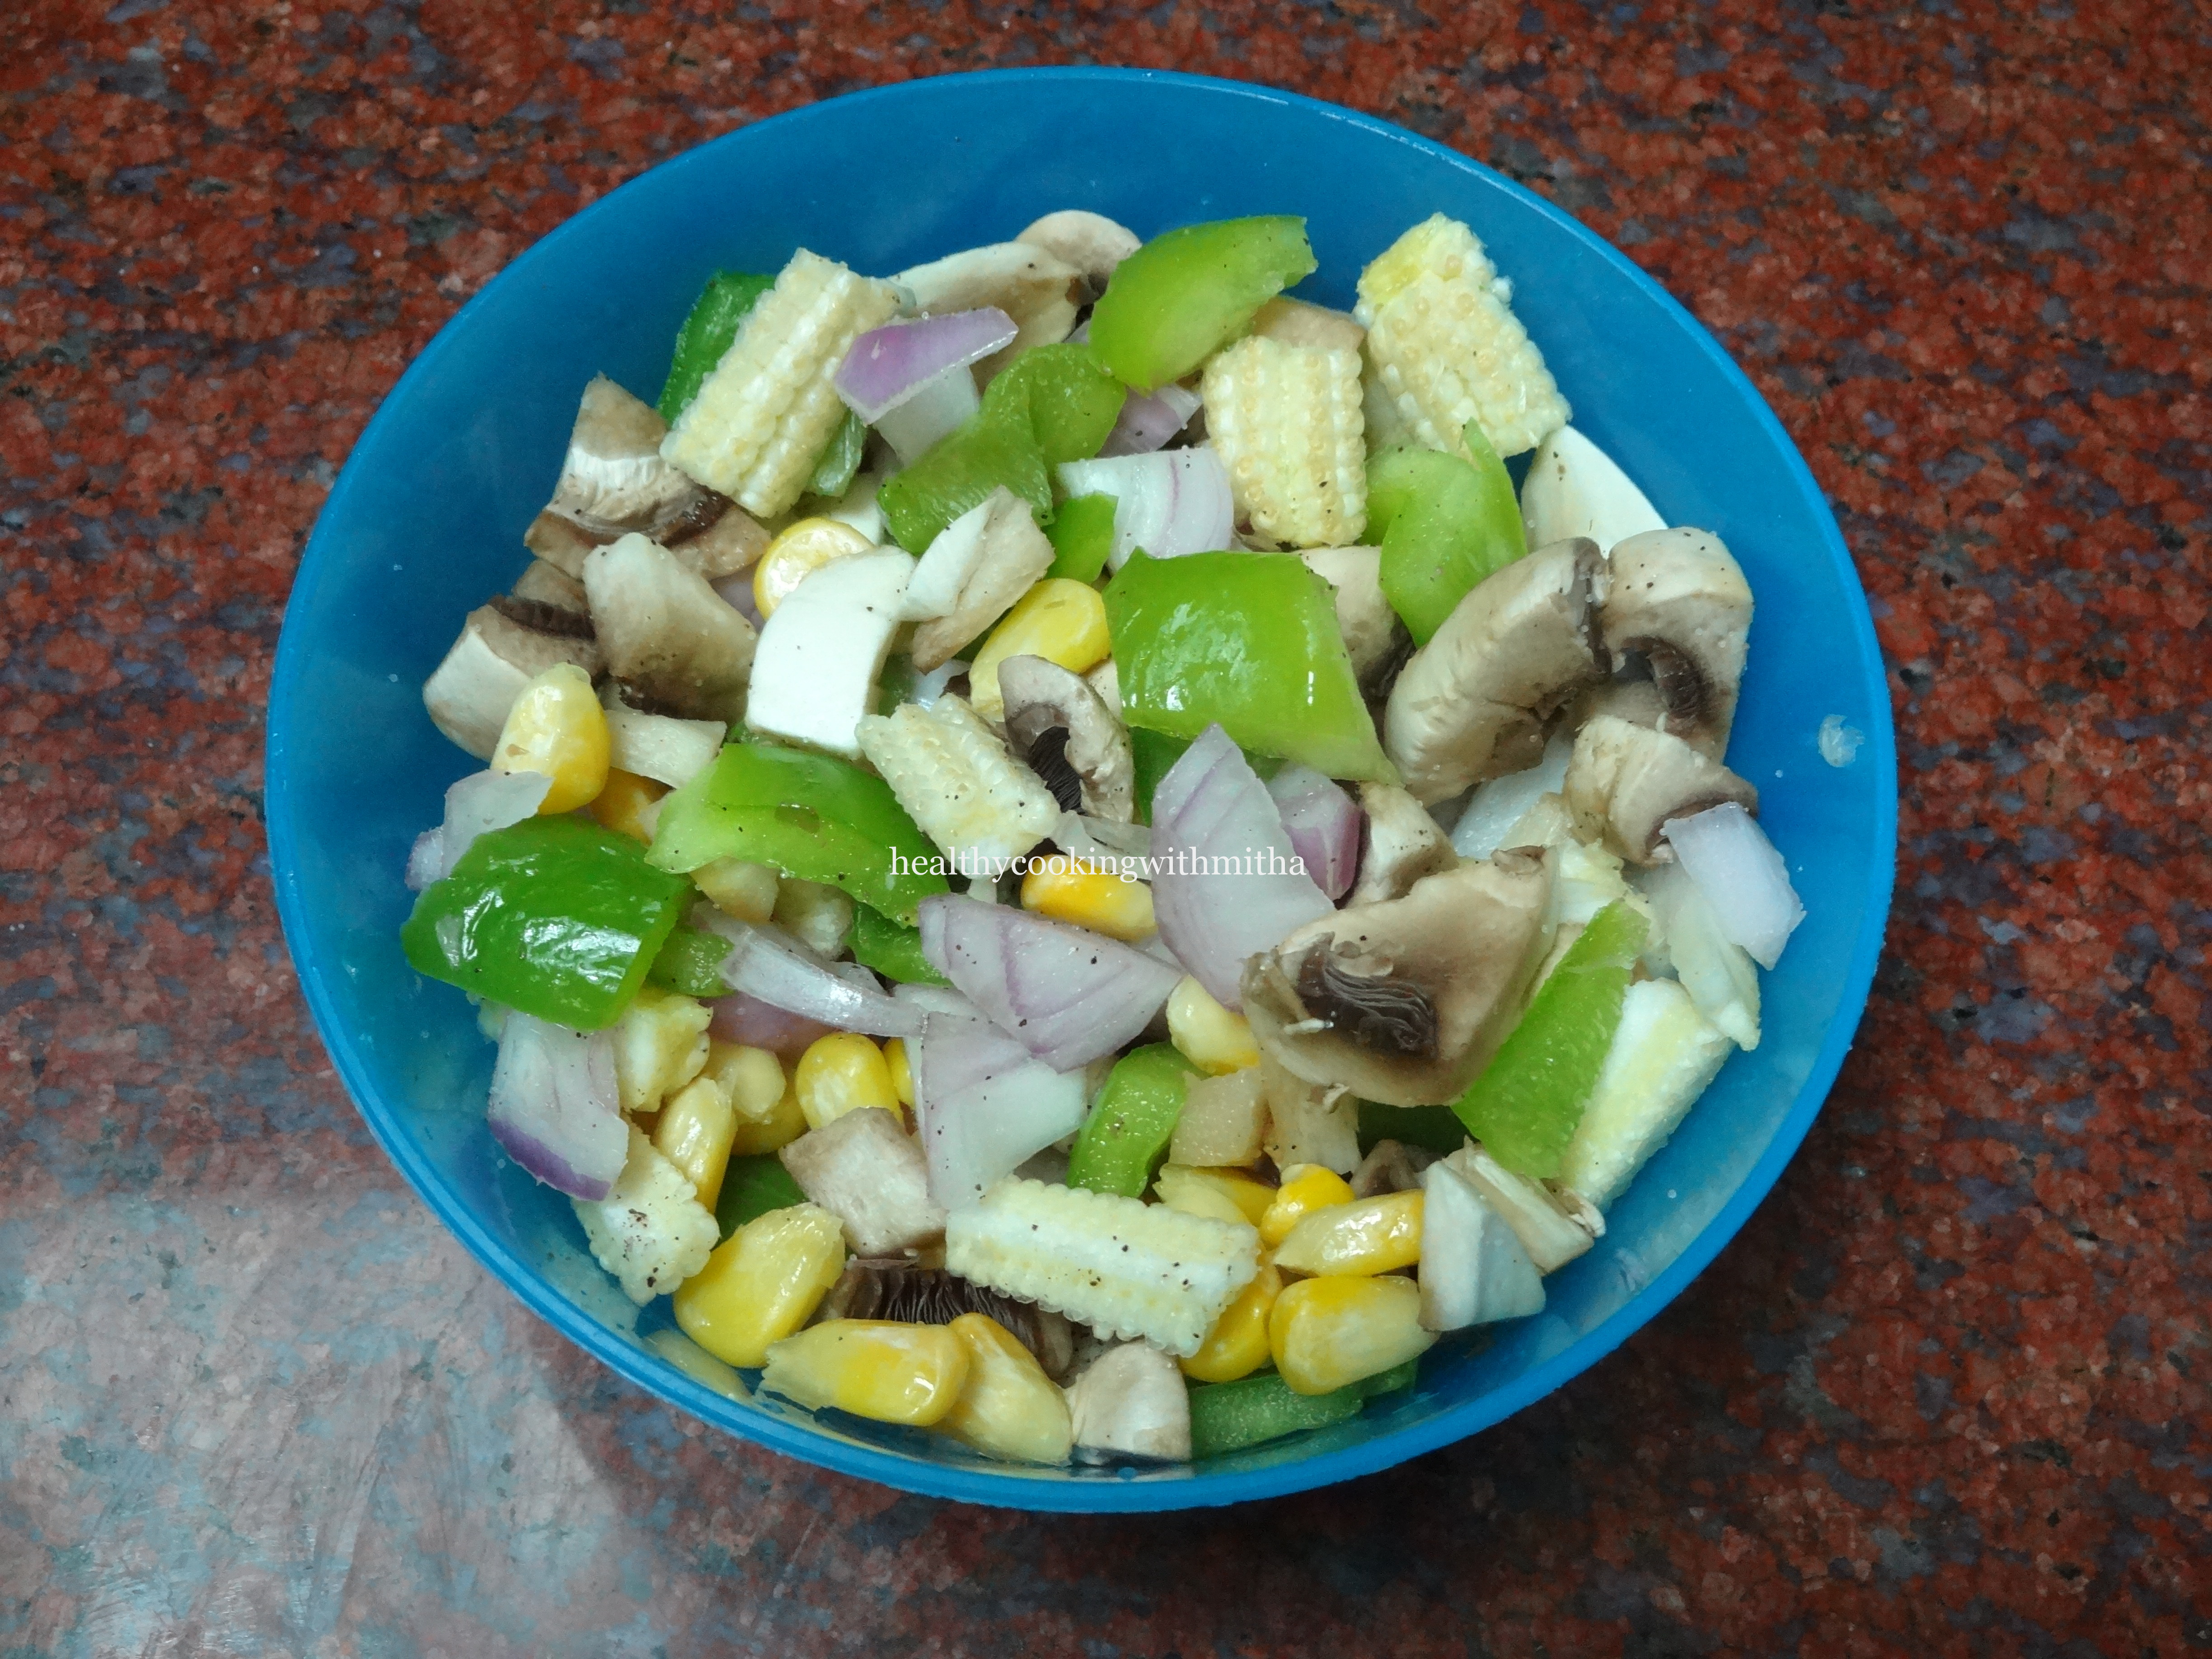
7. Meanwhile chop and prepare veggies for topping.
See the quantity of veggies I have taken. This much is enough for one medium pizza. Don’t add too many veggies which will spoil the taste. Add salt and pepper powder to the veggies
8. Now after 1.5 hours, check if the dough has risen and doubled. If so, remove and divide into two halves.
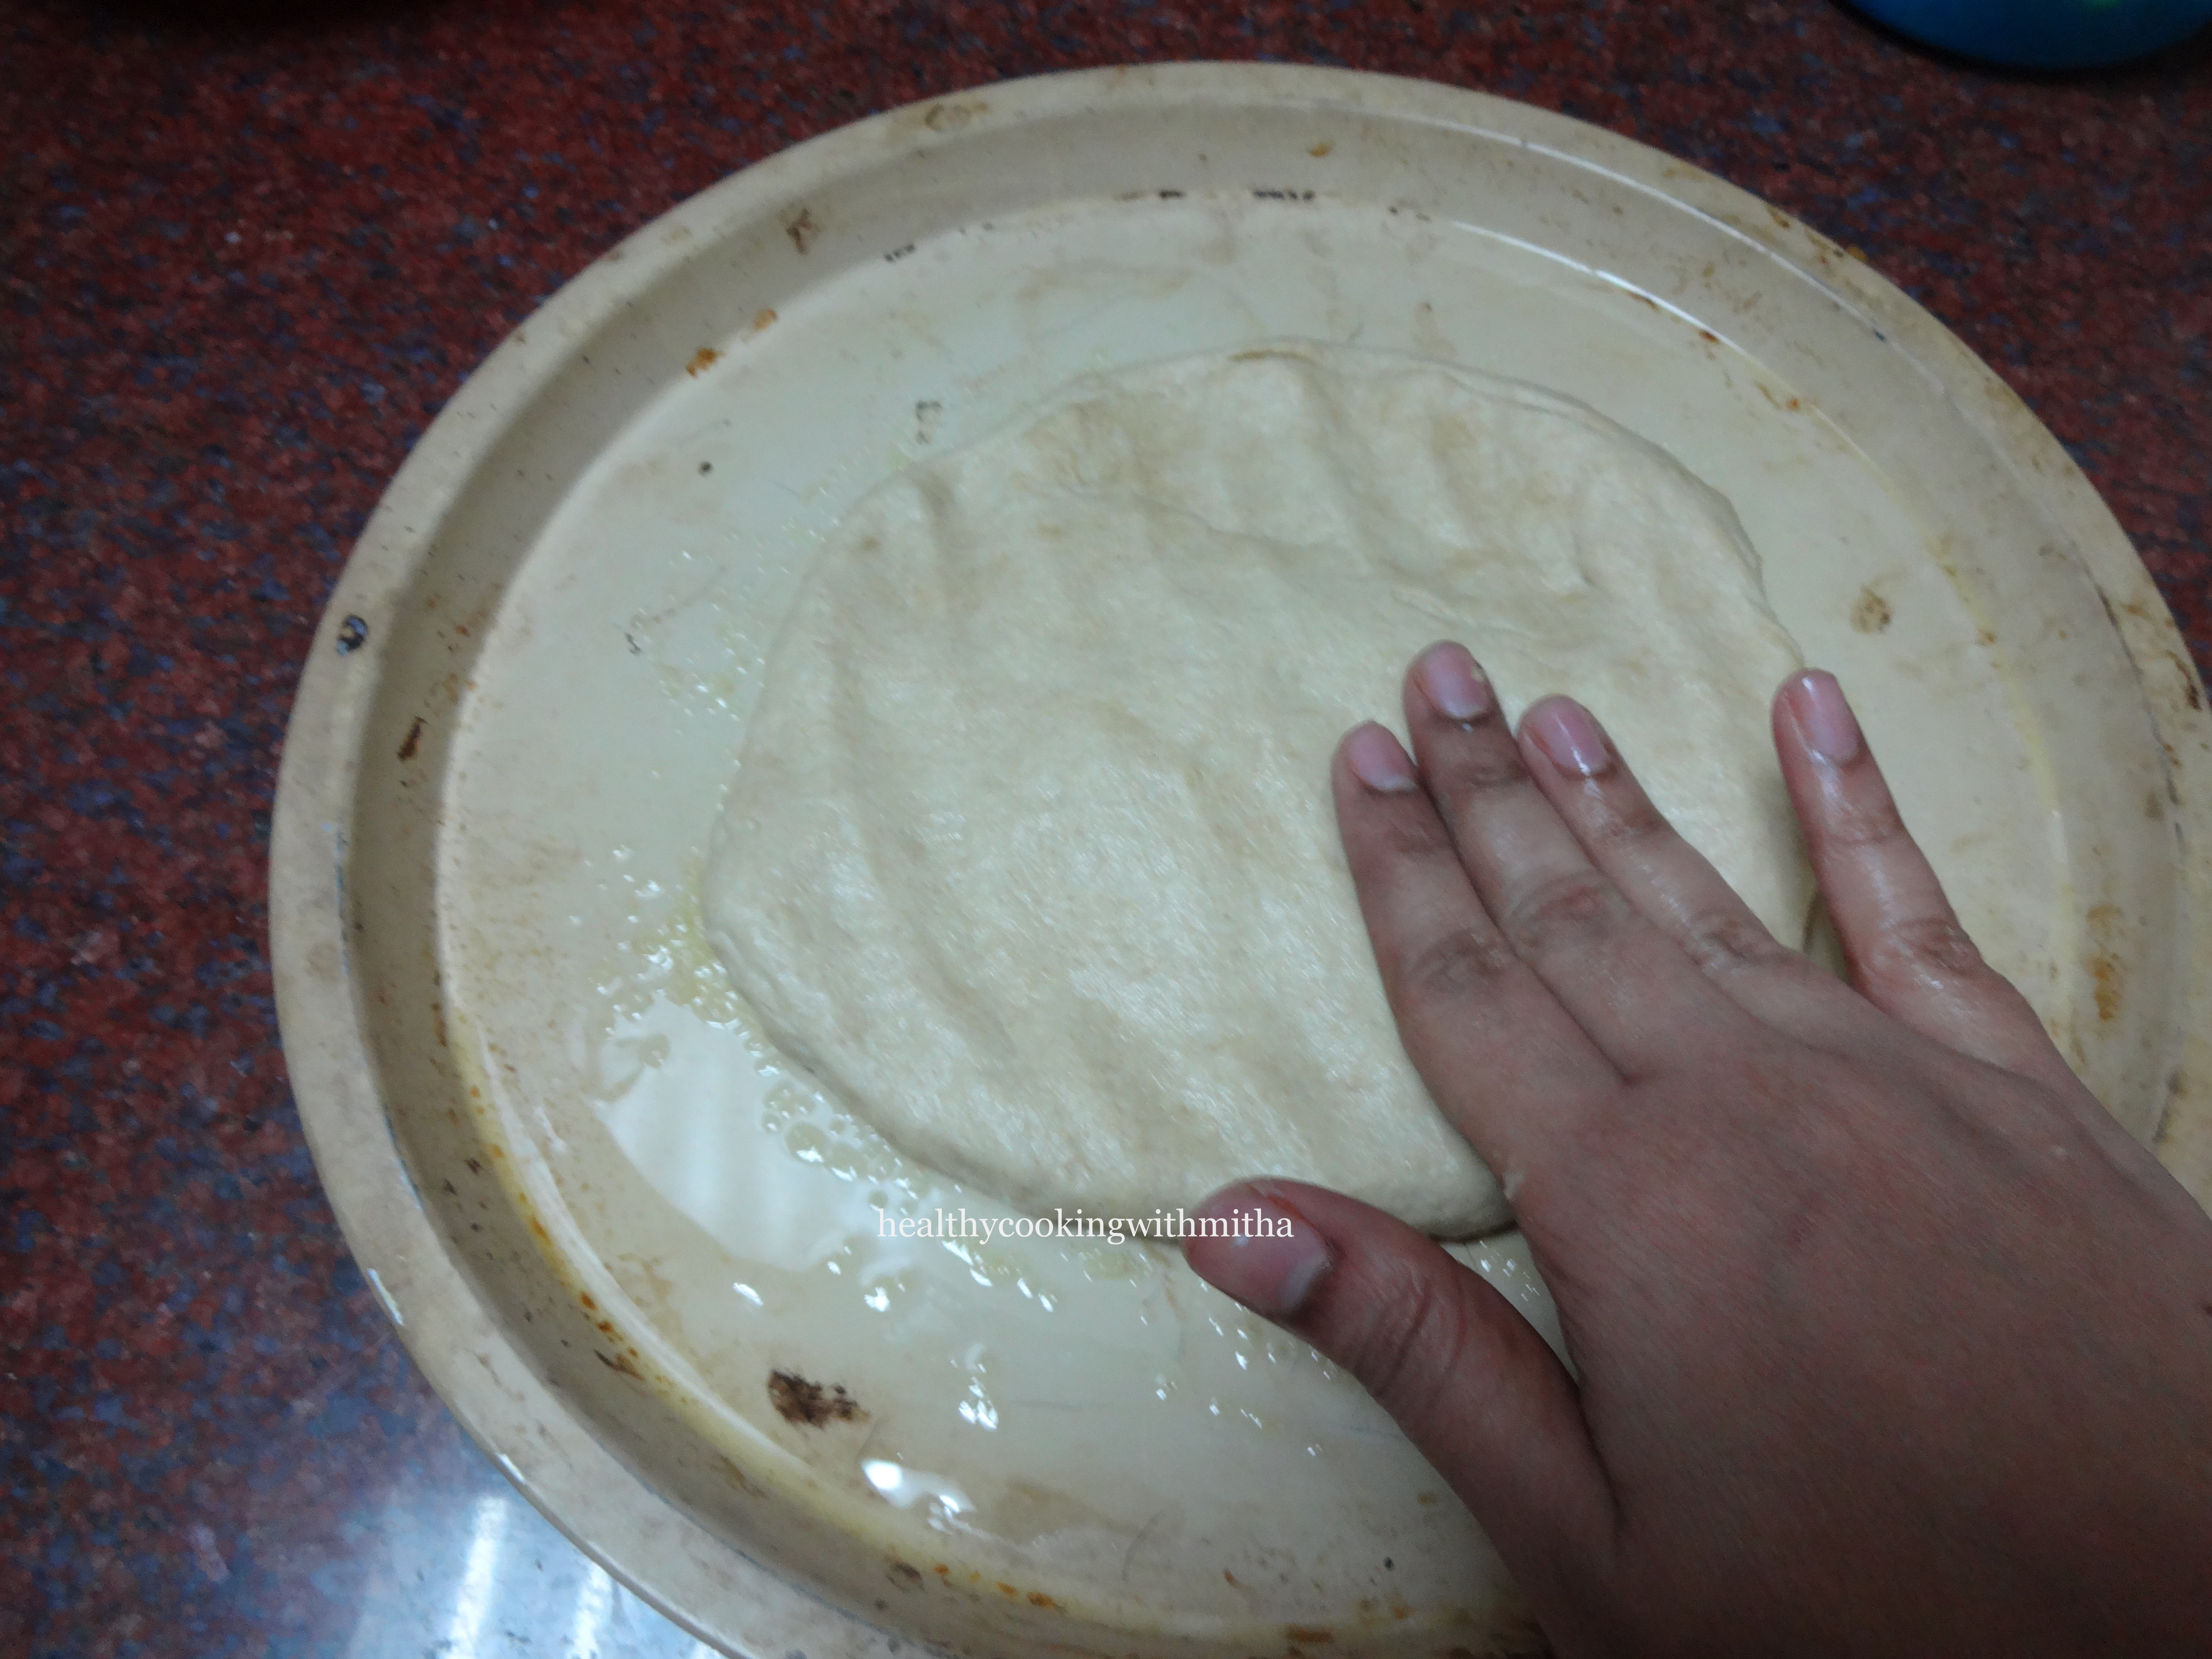
9. Spread one half of the dough over a well greased (with oil and dust little wheat flour) oven proof pizza plate with fingers as shown.
10. Spread evenly in a round shape if possible and then coat the dough with oil.
It should NOT be spread very thick as it won’t bake well. Spread as evenly as possible.
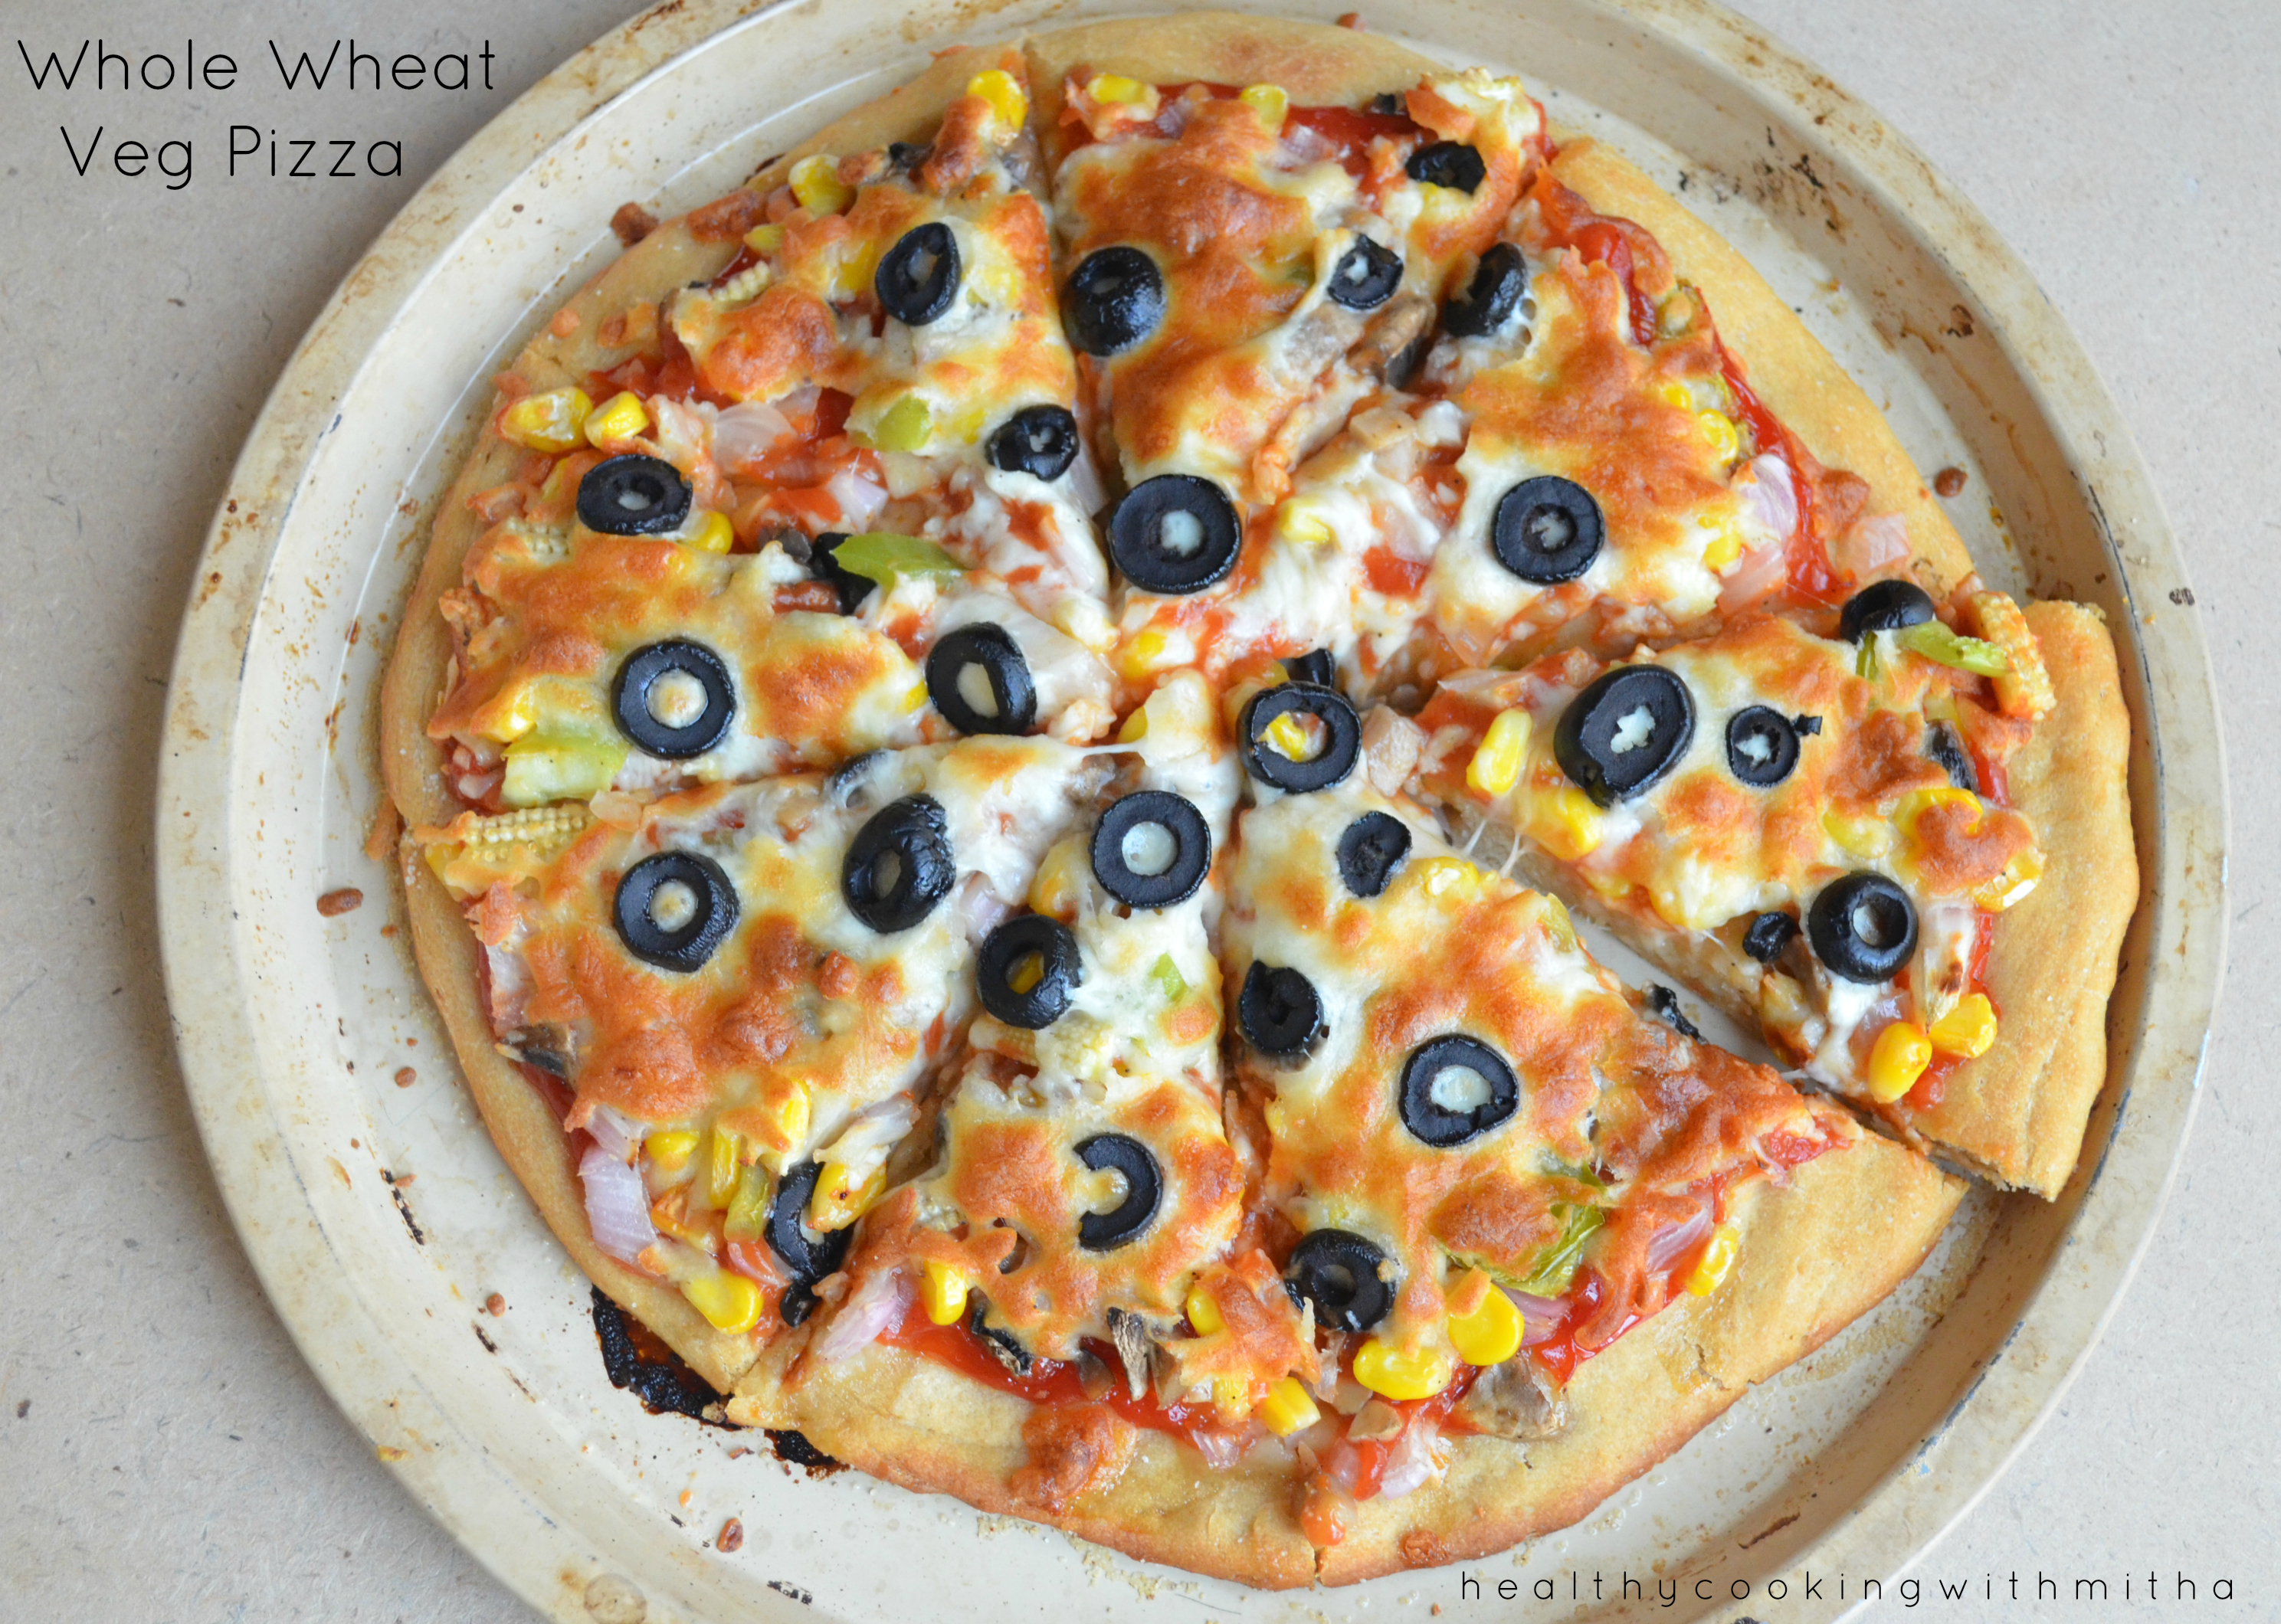
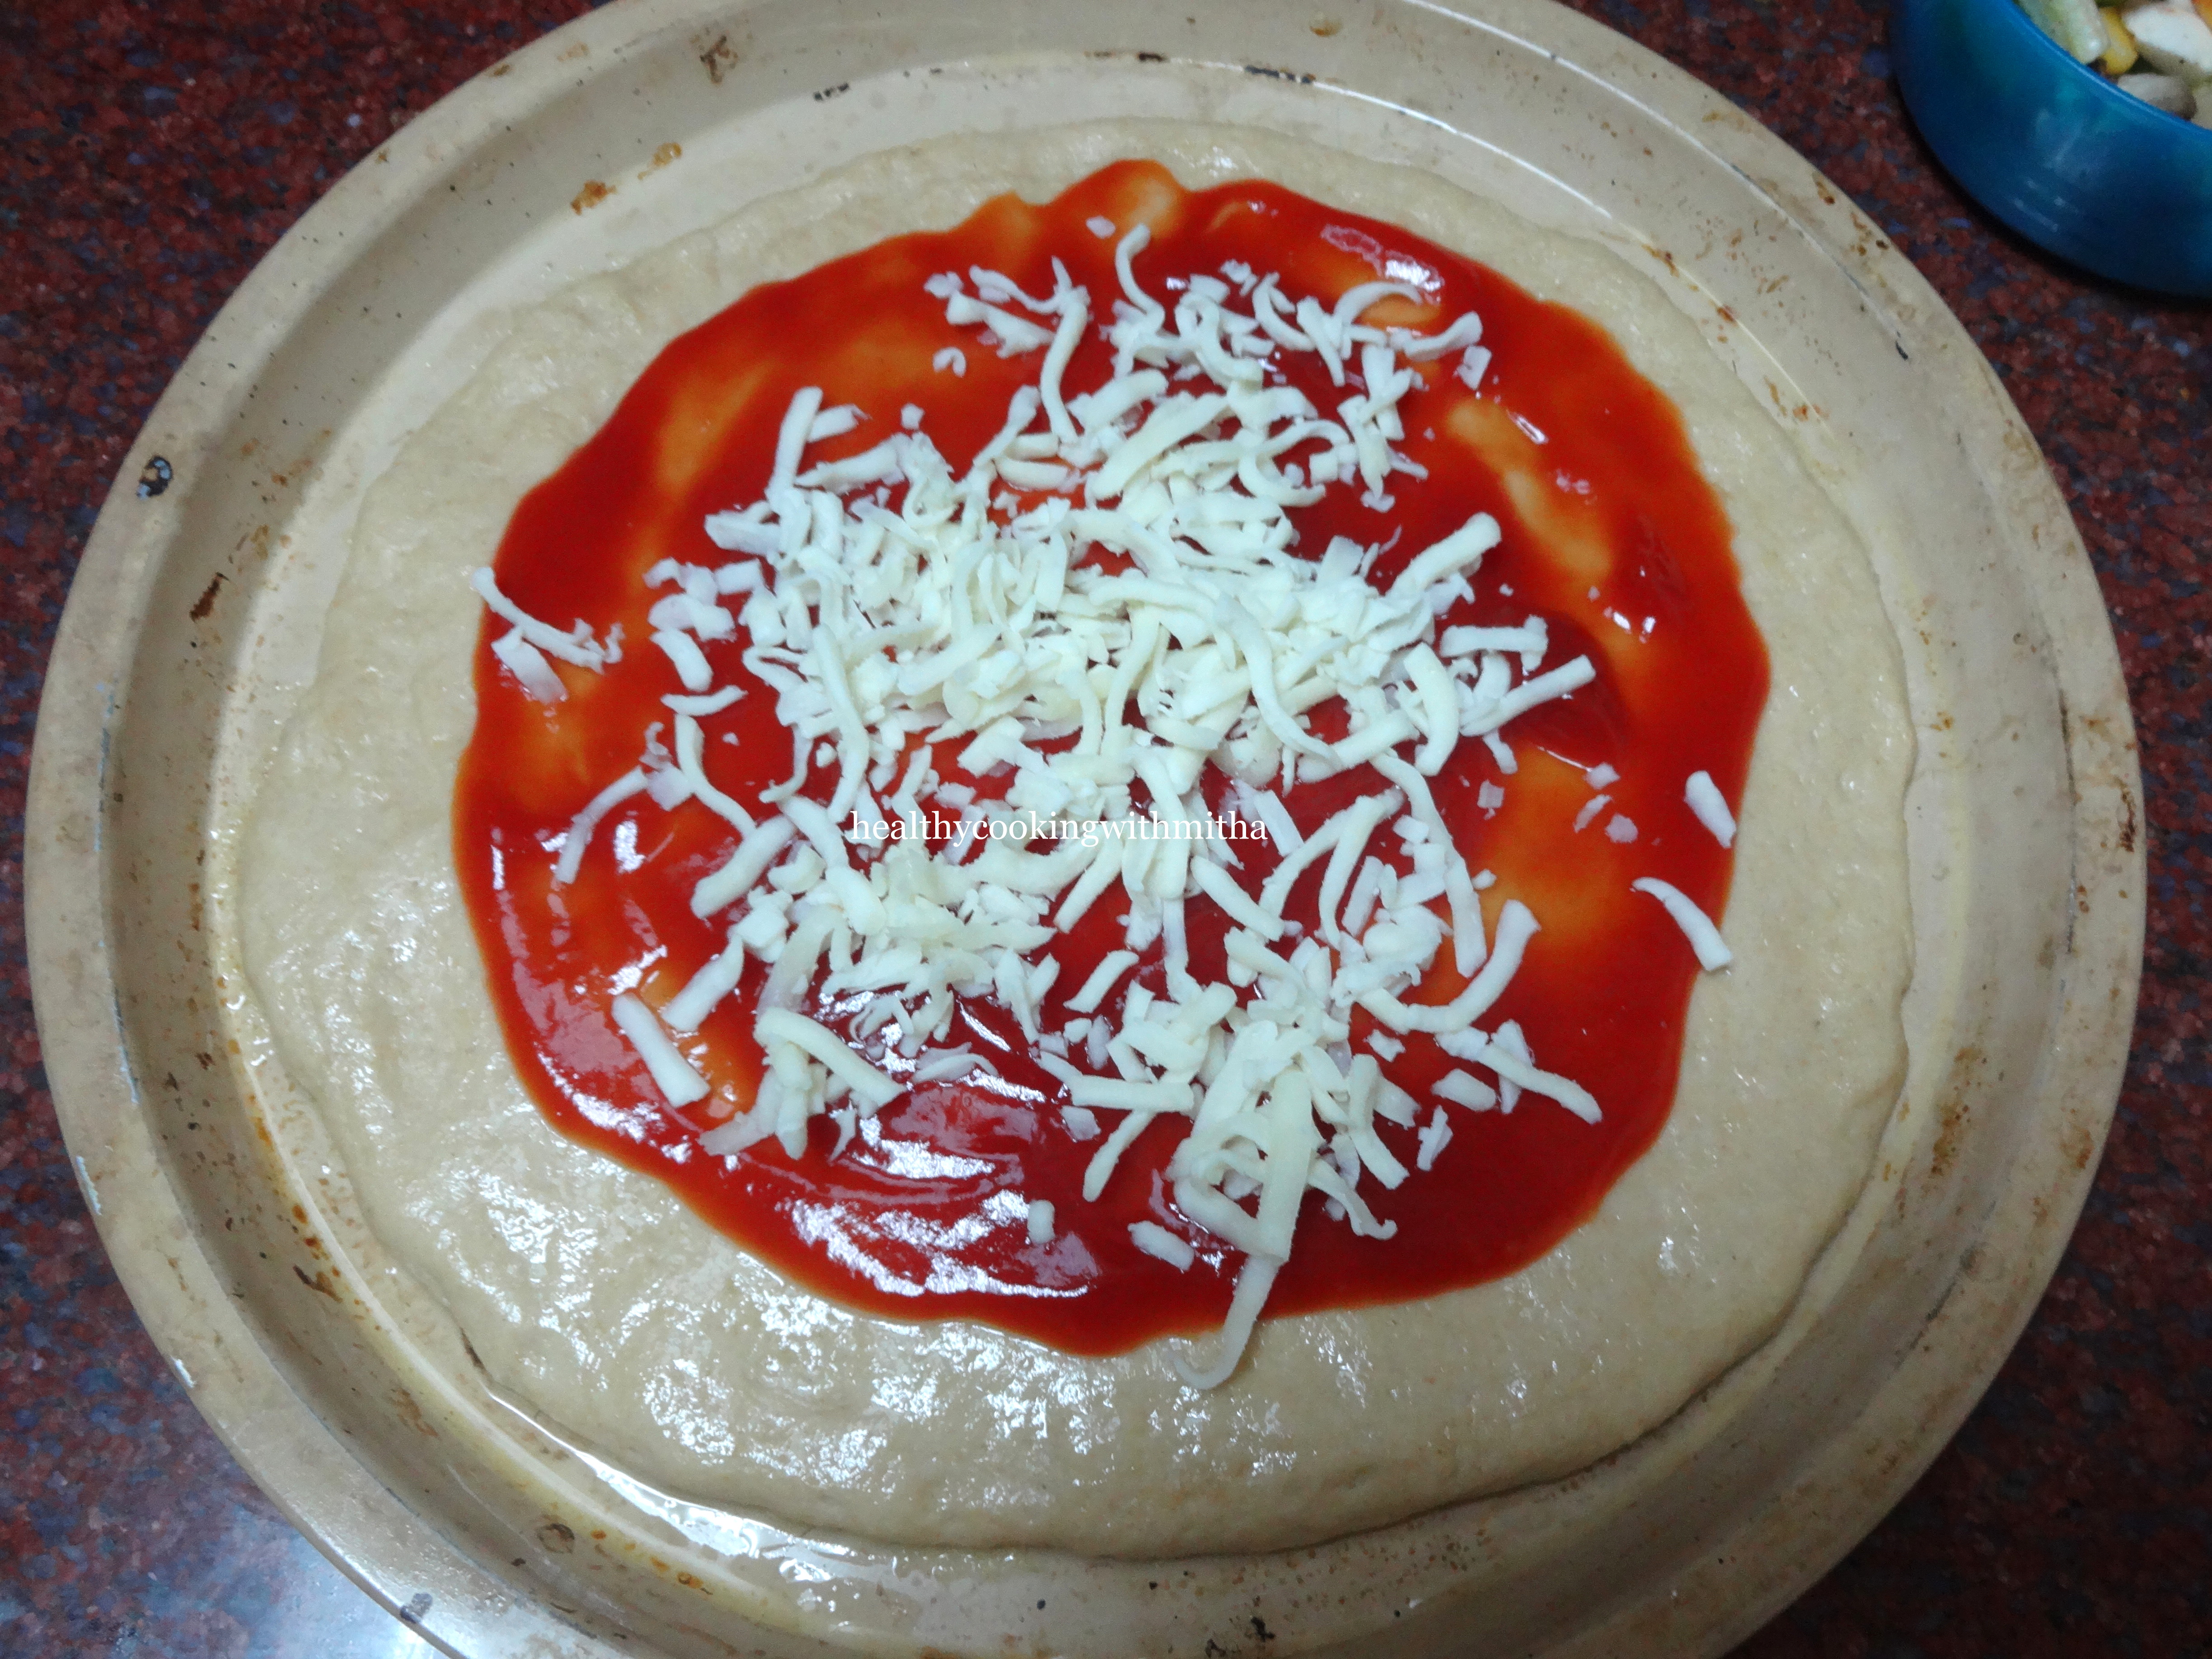
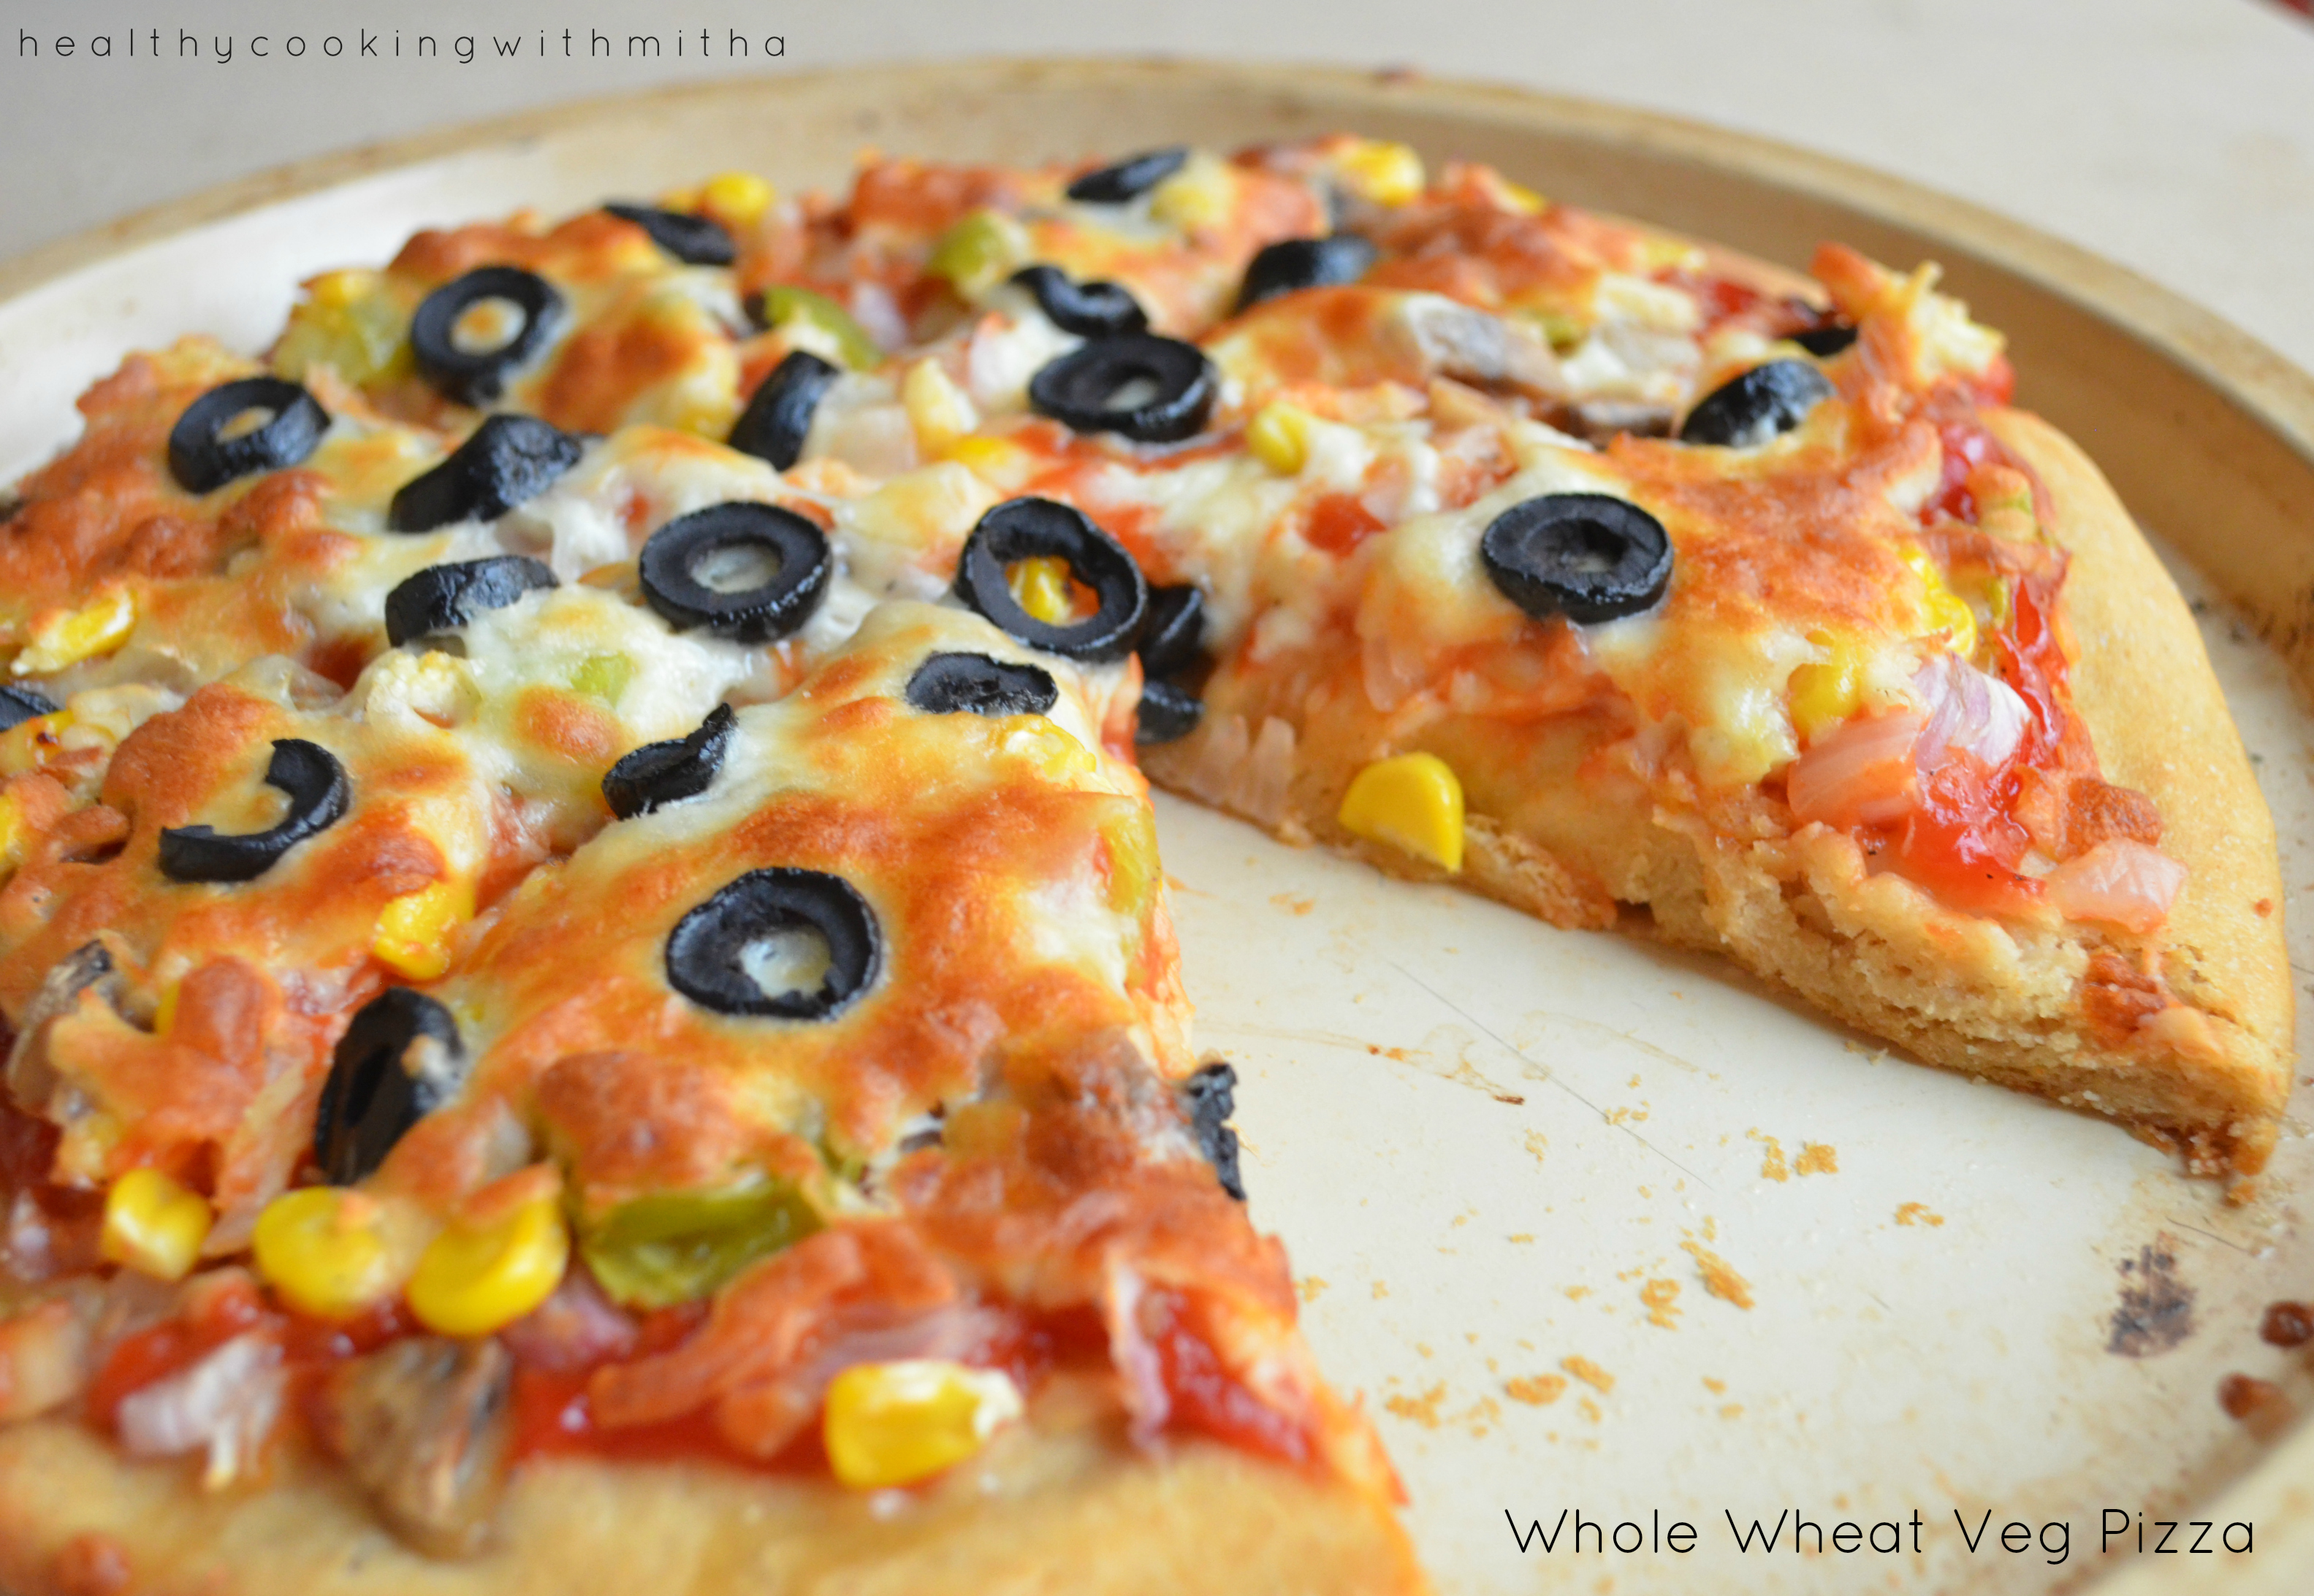
11. Add a layer of pizza sauce or ketchup and grated mozzarella cheese.
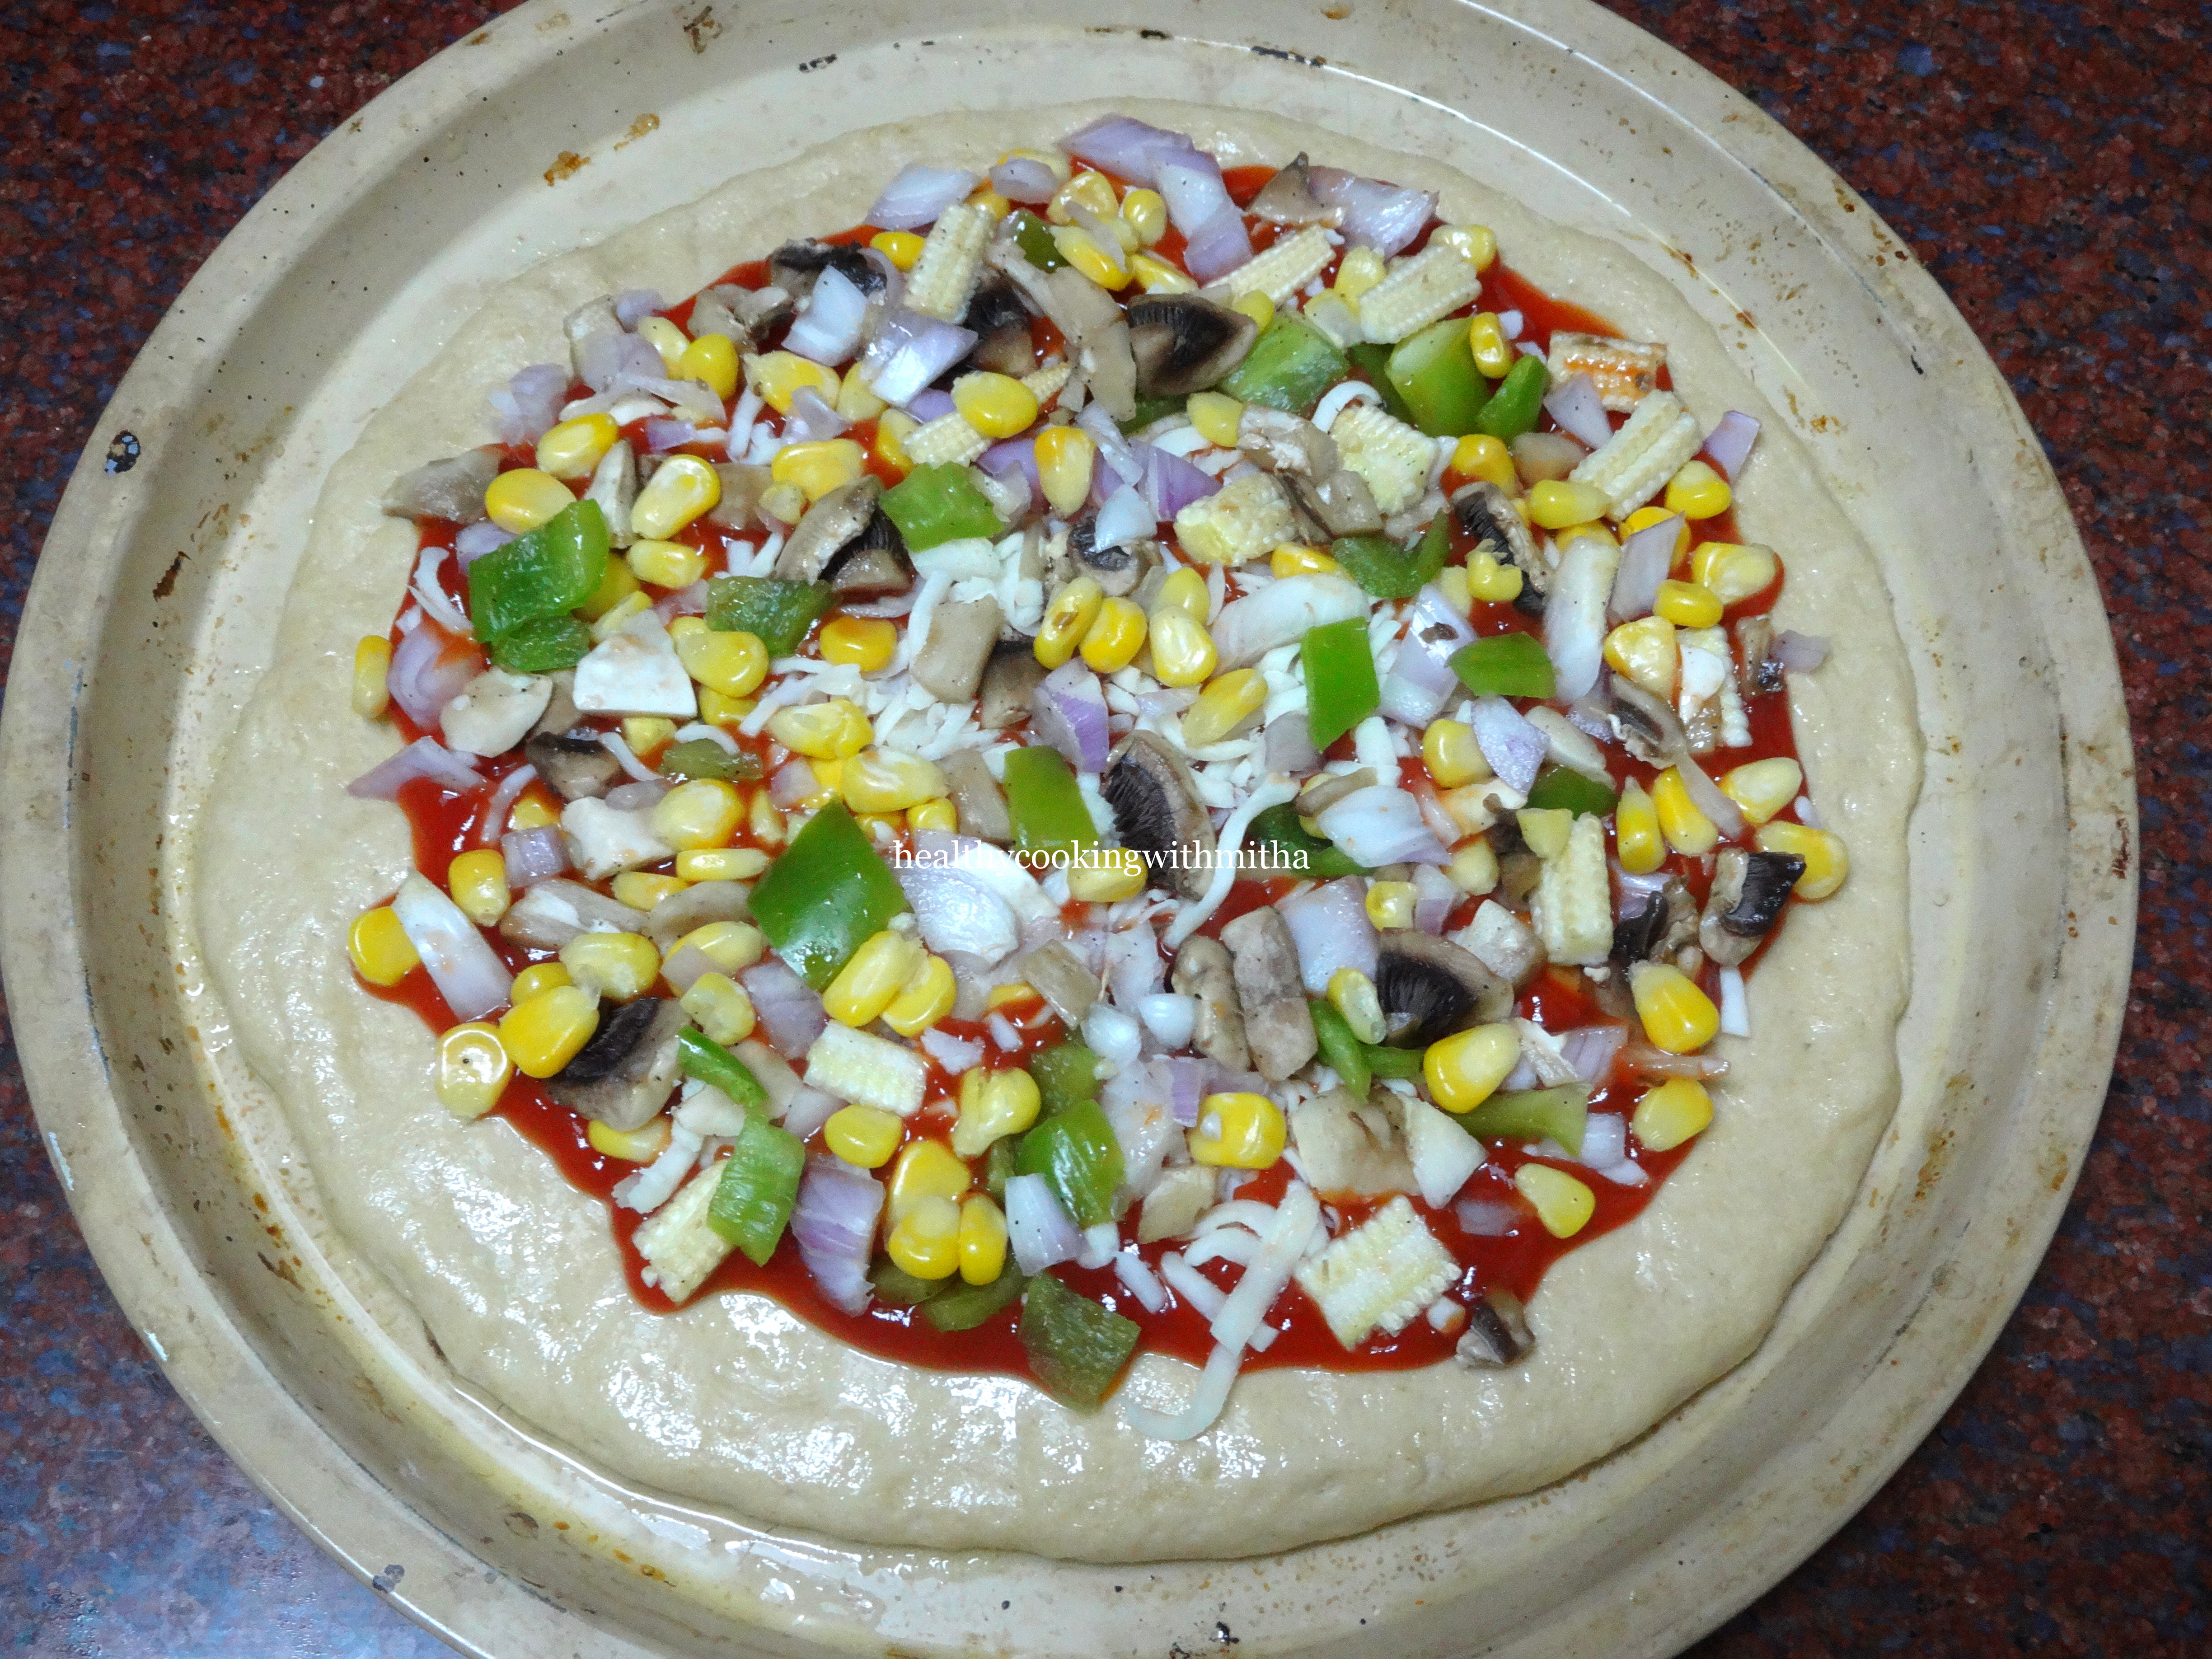
12. Add veggies and spread evenly.
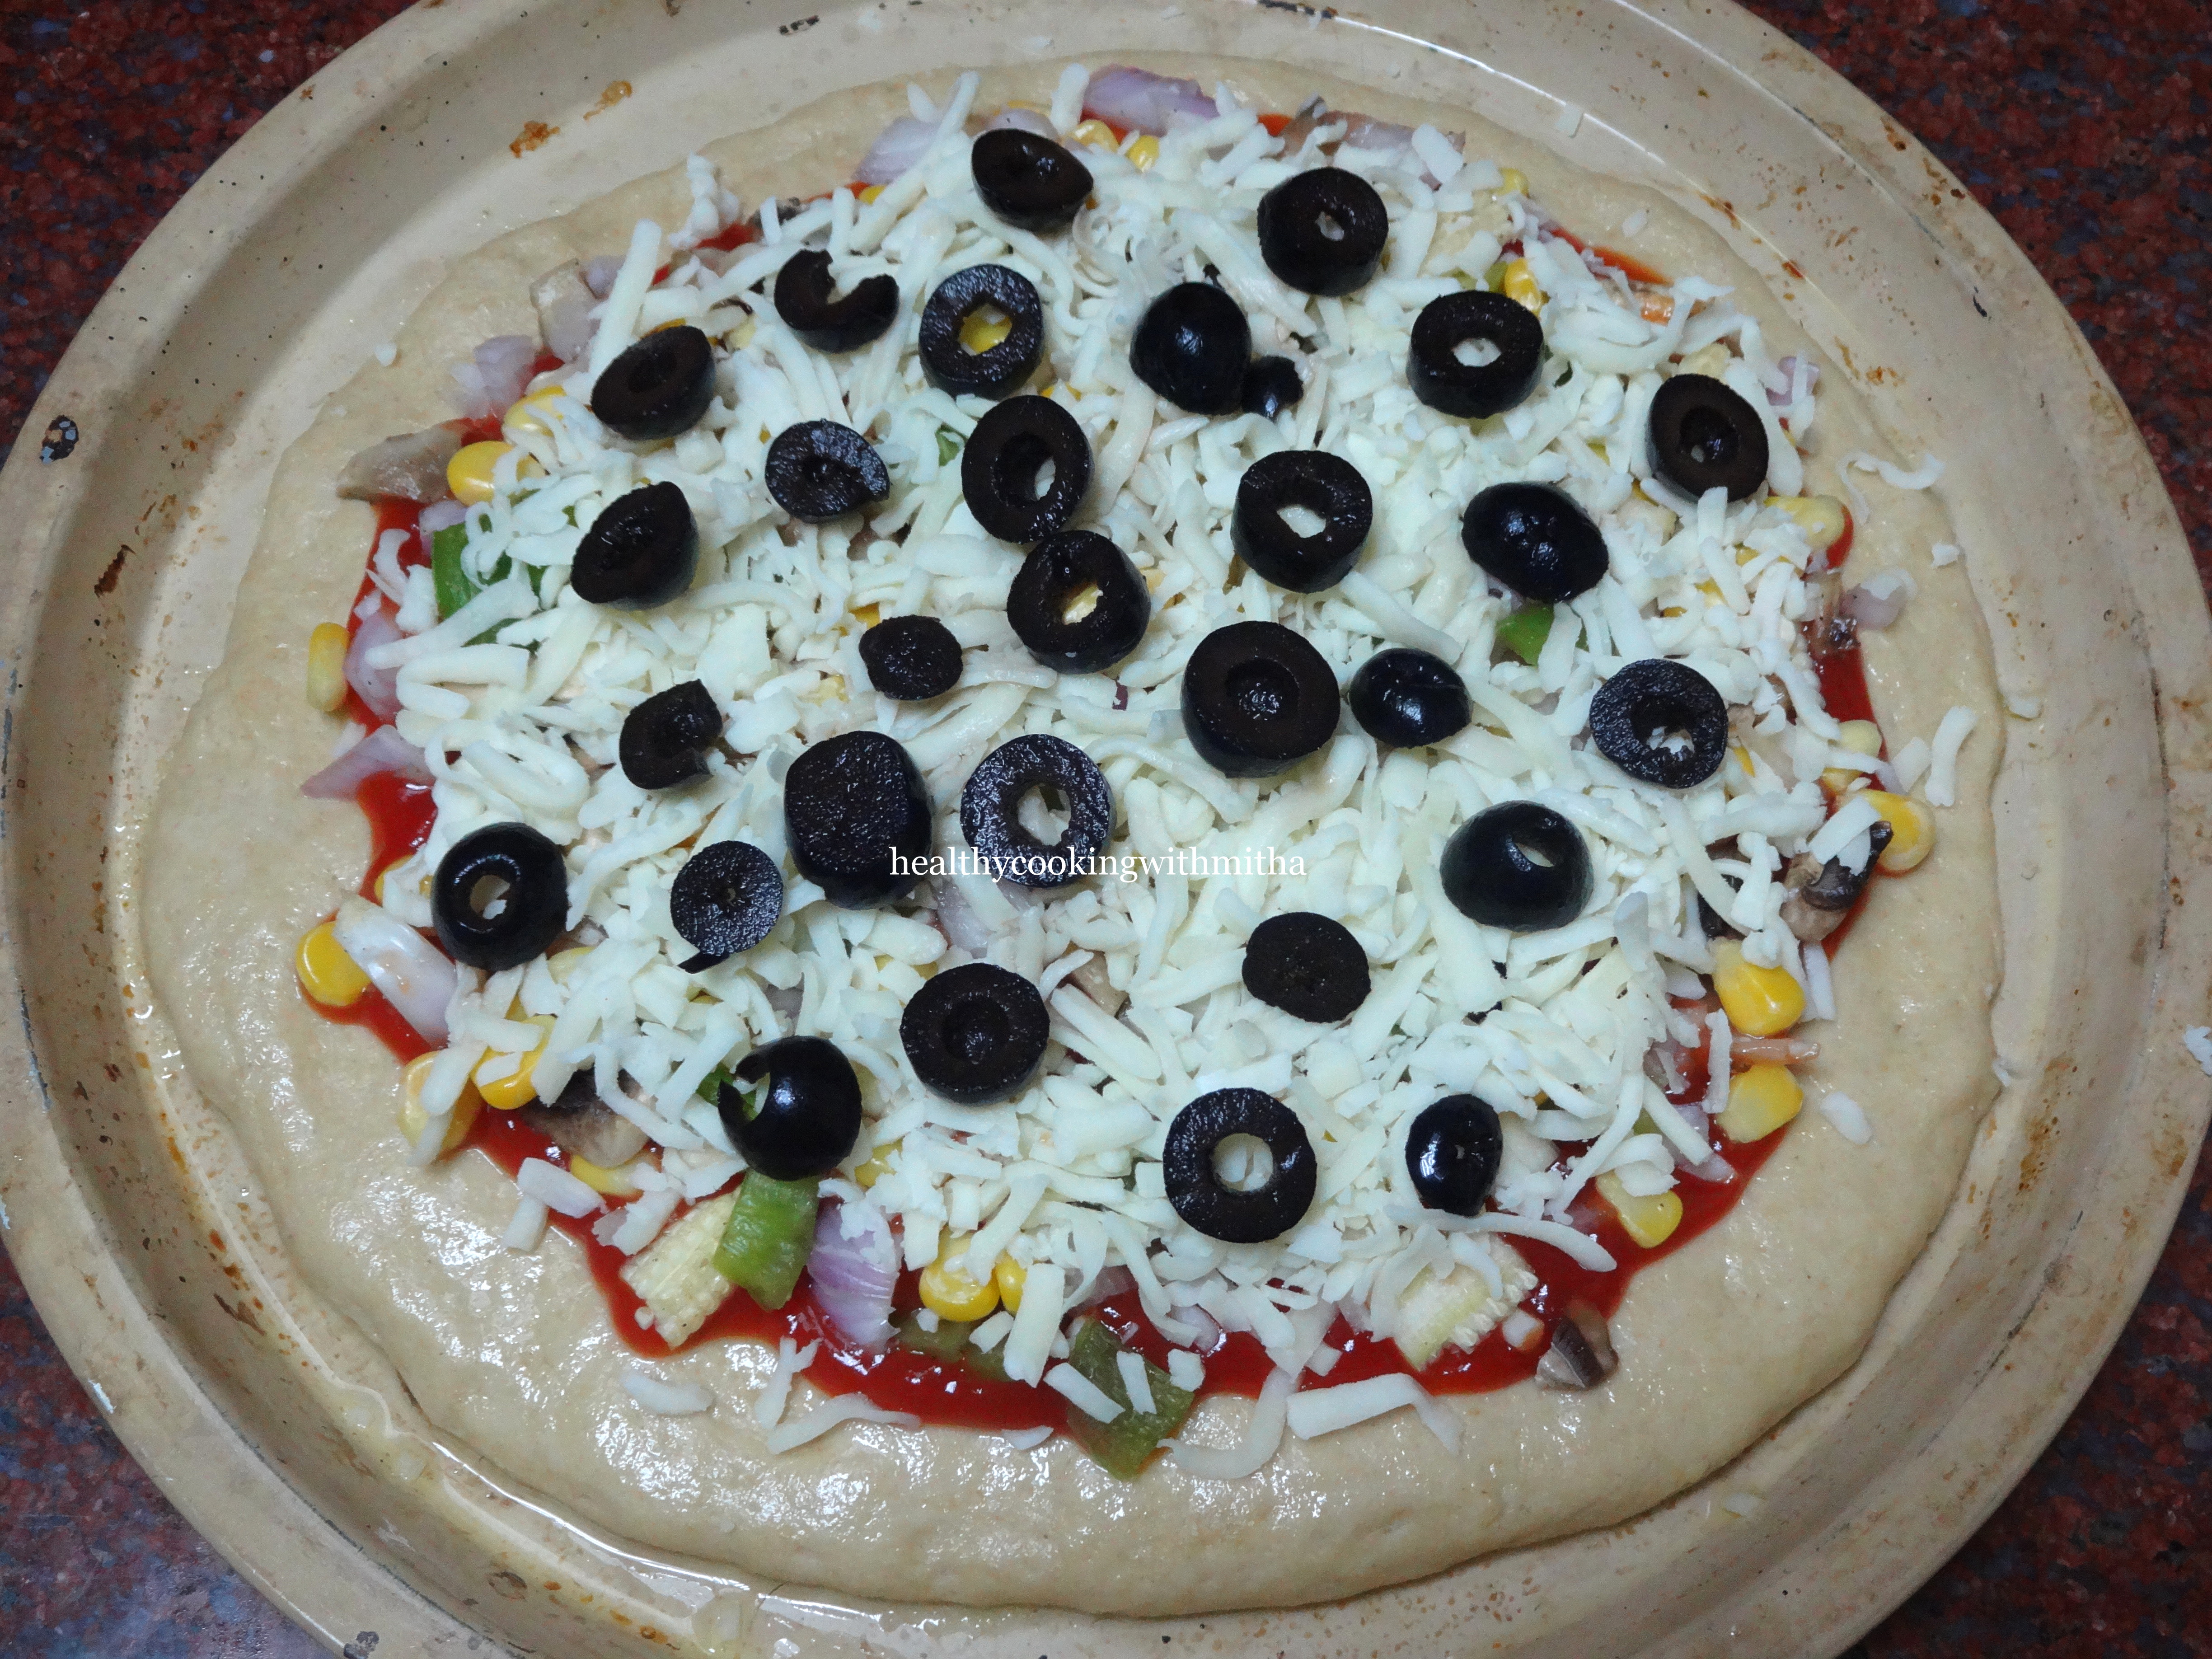
13. Add another layer of mozzarella cheese.
14. Now top with olive slices.
15. Preheat the oven at 200 C for 10 mins. ( Do this before you start topping your pizza. So by the time you finish topping, the oven is very hot. The oven needs to be very hot when you place the pizza in the oven.)
16. Now place the pizza in the center rack of the hot oven and bake for 15 mins at 200 C. Do NOT open the oven door in this time. After 15 mins, check if the cheese has melted and turned golden. If so, take it out.
17. Slice and enjoy your hot homemade wheat pizza!
Click on the image to save the recipe on Pinterest
Notes:
* Very important to note that the 3 Cups of wheat flour we used yields two pizzas. So use only half the dough for one pizza. If you use the whole dough for one pizza, it will turn thick and won’t cook properly.
* Here is the other half of the dough. I refrigerate it in an airtight container and it lasts atleast 3 to 4 days in the fridge and I can make pizza again.
* Grease the pizza plate well with oil and dust wheat flour over it so that the pizza does not stick to the plate. Look at the under side of the pizza. Love the colour.
* Also always proof your yeast to check if it’s good or not. Else it’s a waste of ingredients. I have explained proofing in the first few steps.
* Every oven is different. So do keep an eye after 10 mins into the baking time. But don’t open the oven door many times as it disturbs the baking process.
* Do remember to preheat the oven atleast for 10 mins at 200 C so that the oven is very hot when pizza is placed which is very essential for proper baking.
I have tried to note down as much points as possible so that it’s easy for you all to follow but if you still have any doubts, either comment here or message me on my Facebook page Healthy cooking with mitha or on my Instagram handle and I would be happy to help. Happy baking!
If you are new to baking, you can check this article which I have written to help beginners in baking : Baking basics for Beginners
There was a time when my 4 year old got kind of addicted to chips. Since she started solids at 6 months, I had always made sure to offer her healthy options. No processed junk like biscuits or chips. But as we moved along, somewhere along the line, I lost my determination and she fell in love with chips.
Now what do I do? How do I bring her out of this unhealthy love? As I read about various healthy options, Makhanas or lotus seeds came into my eyes.
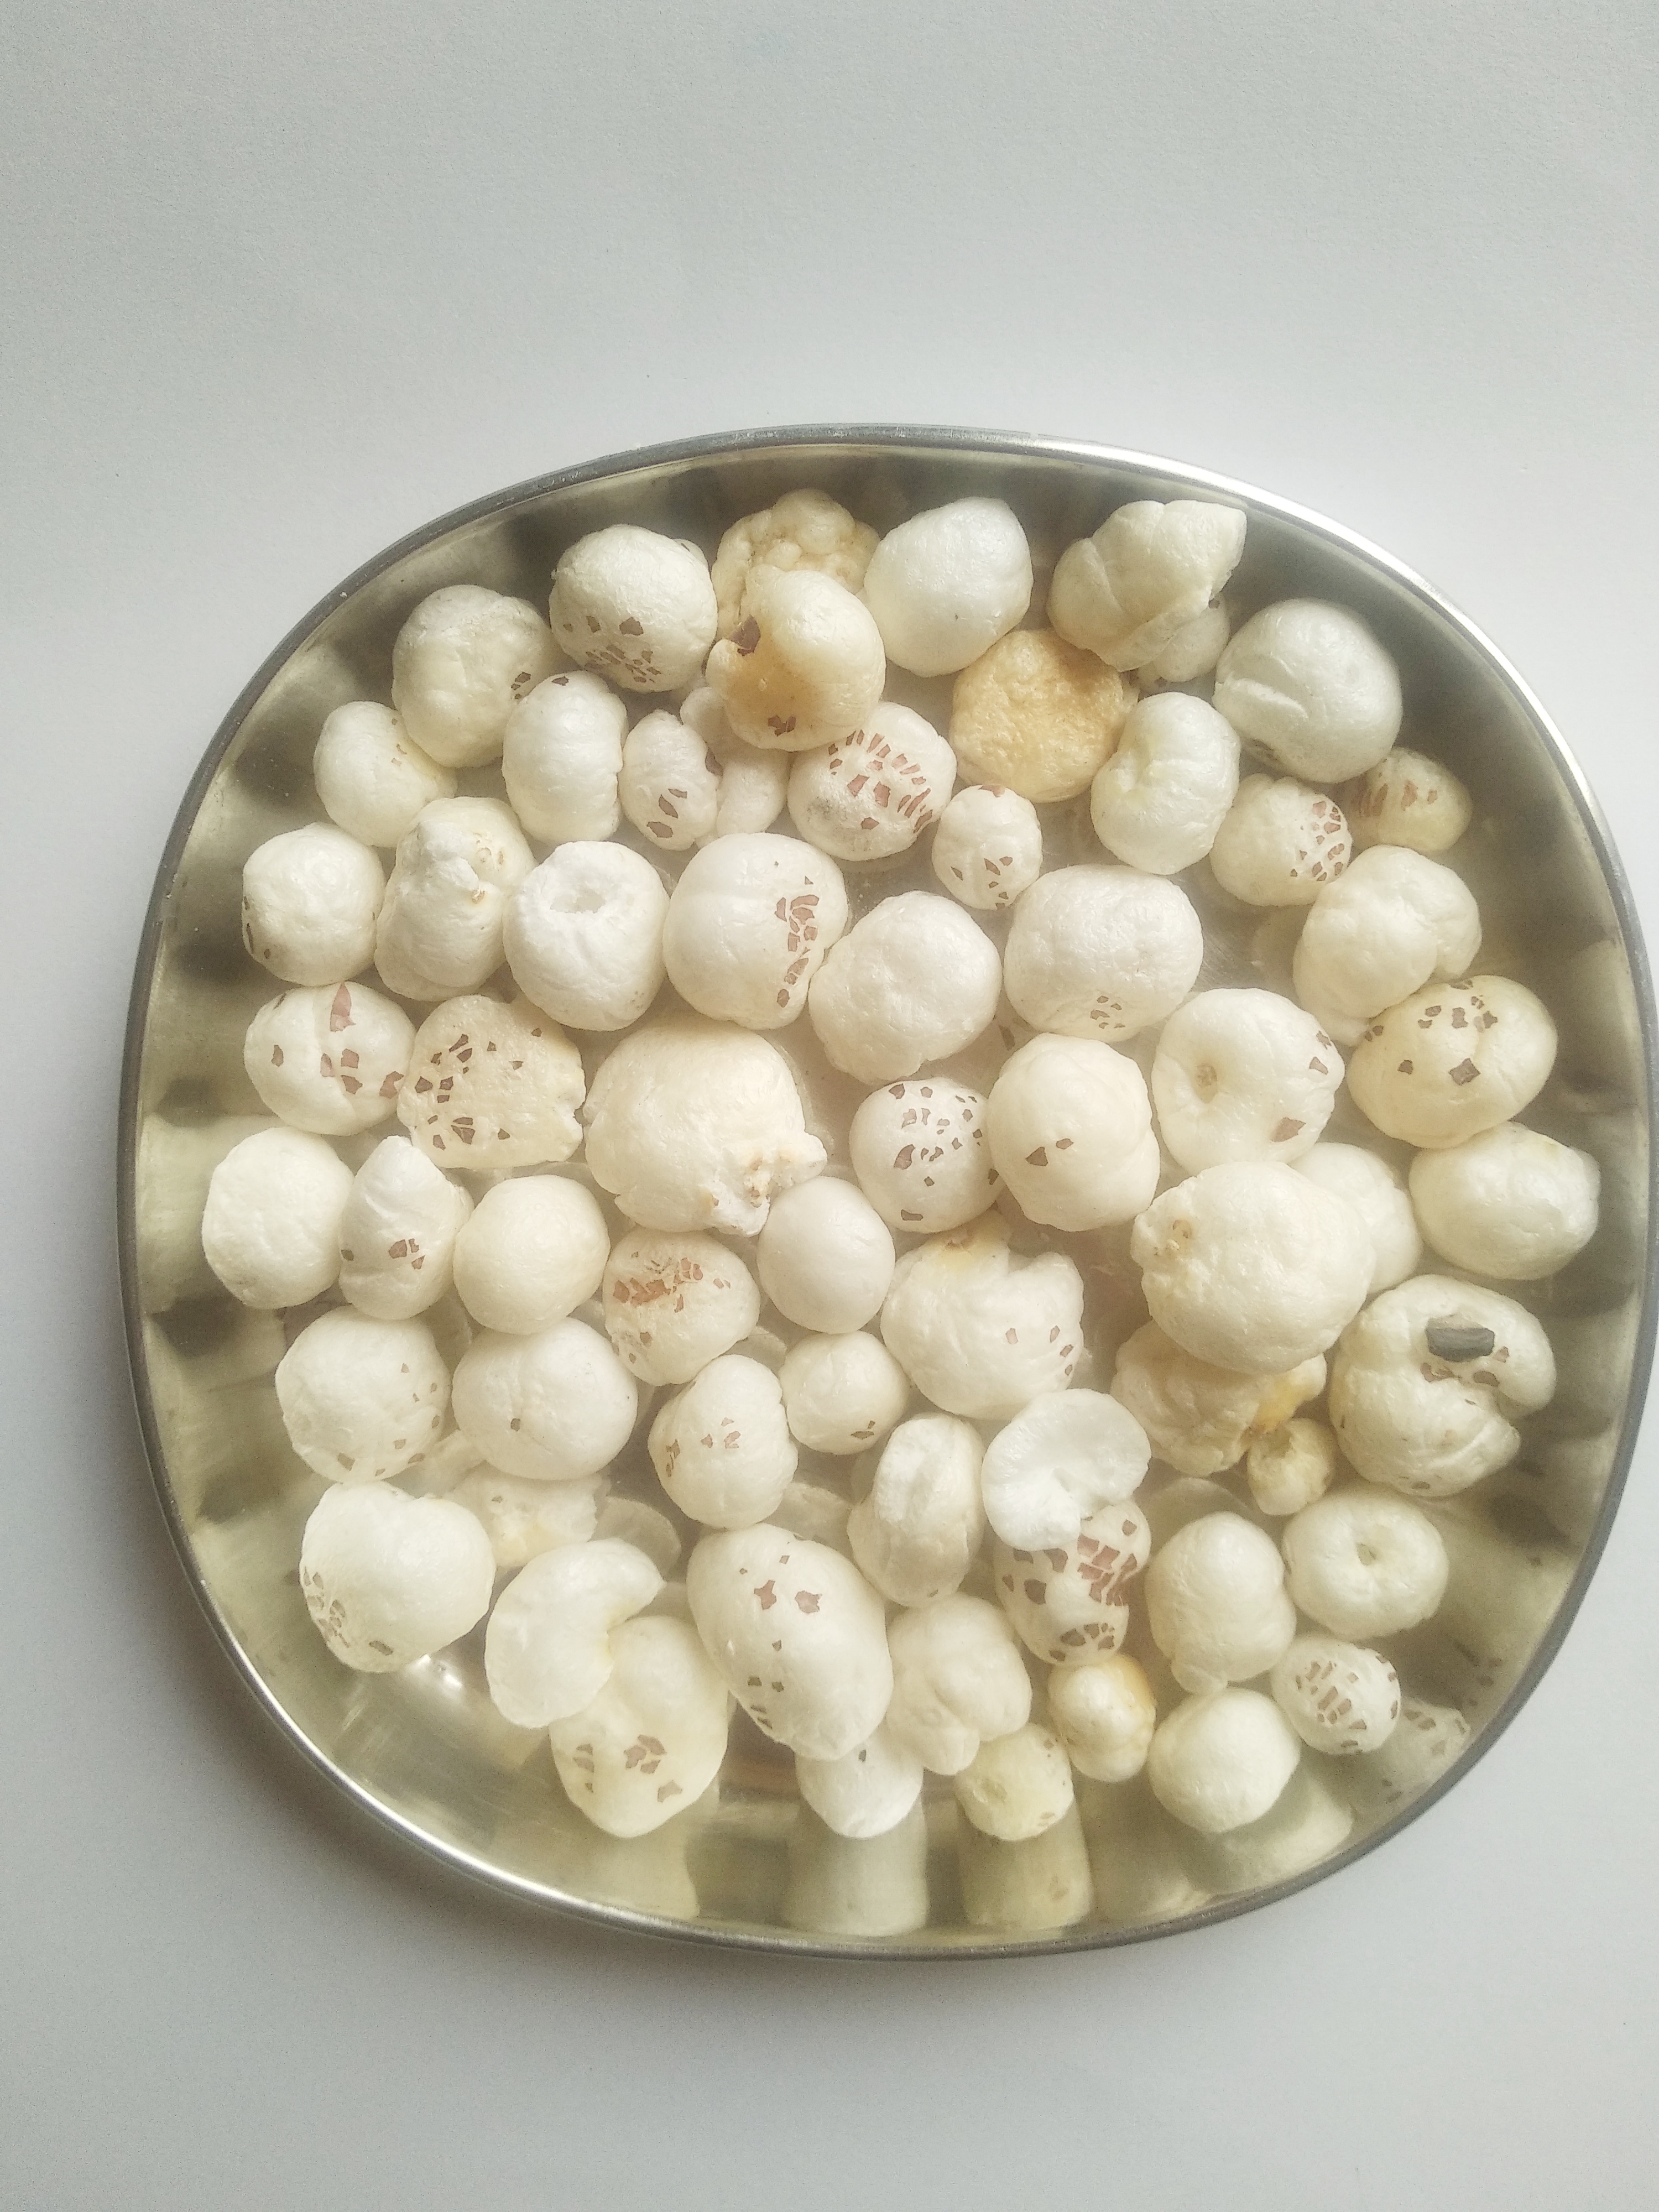
Makhanas/ Fox nuts/ Lotus seeds
Makhanas also called as Fox nuts (yes, fancy name too!) are super healthy and as crunchy as chips. I am lucky that it’s easily available in our local supermarket and hence it was easy to make the switch. It tastes bland in its original form but when fried in ghee, it turns out oh so yummy!
As available locally here.
My little girl now crunches and munches on Makhanas and they have become her favourite snacks. Be it after school hunger pangs or post dinner snack, Makhanas are her best friend now. I also take them along during flight journeys so that she can munch on to curb boredom.
Ghee fried Makhanas
My one year old also loves Makhanas and they serve as excellent finger food too. Just fry and quarter them to offer to babies.
My one year old snacking on Makhanas. Have halved them before offering.
Health benefits of Makhanas/ Fox nuts: Low in cholesterol and fat, low glycemic index, high in magnesium, gluten free, rich in protein, beneficial to kidneys.
How to prepare fried Makhanas?
You will need:
* 1 Cup Makhanas/ Fox nuts
* 1 Tbsp Ghee/ Butter/ Oil
* A pinch of salt (optional)
How to prepare:
1. Heat a frying pan and add ghee to it.
2. Add Makhanas and fry them till the colour changes to slight brown. It will take 3 to 5 mins. Don’t keep on high flame as the Makhanas may burn.
3. Remove from flame and sprinkle little salt if needed.
Notes:
* You can also add chat masala or cheese powder or red chilli powder for more flavors.
* For younger kids, quarter the Makhanas after frying and offer. Skip salt if the baby is less than an year old.
Advertisements
Join me in my journey with a foodie husband and hungry kiddos while I make them eat healthy!