What I love the most being in native is that I am not only close to my loved ones but also very close to nature. As I say jokingly to my kids, it’s like living inside National Geographic channel. The variety of trees and plants, their leaves, the beautiful flowers and the pretty little butterflies along with insects that sit on them.. A delight to watch for a nature lover like me.. 💚
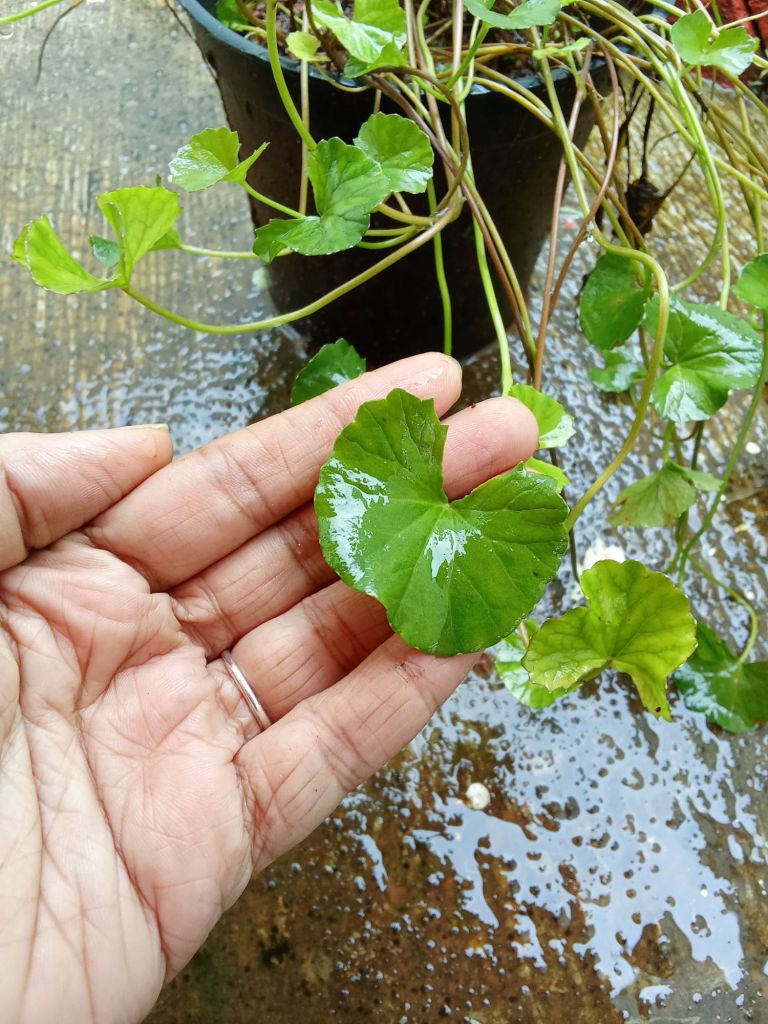
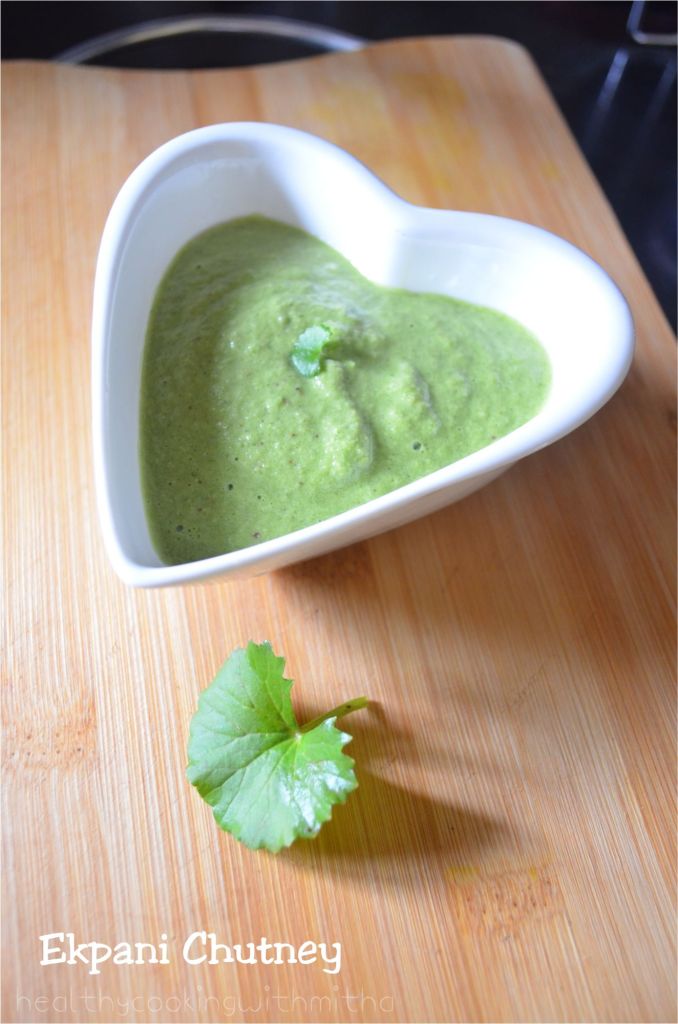
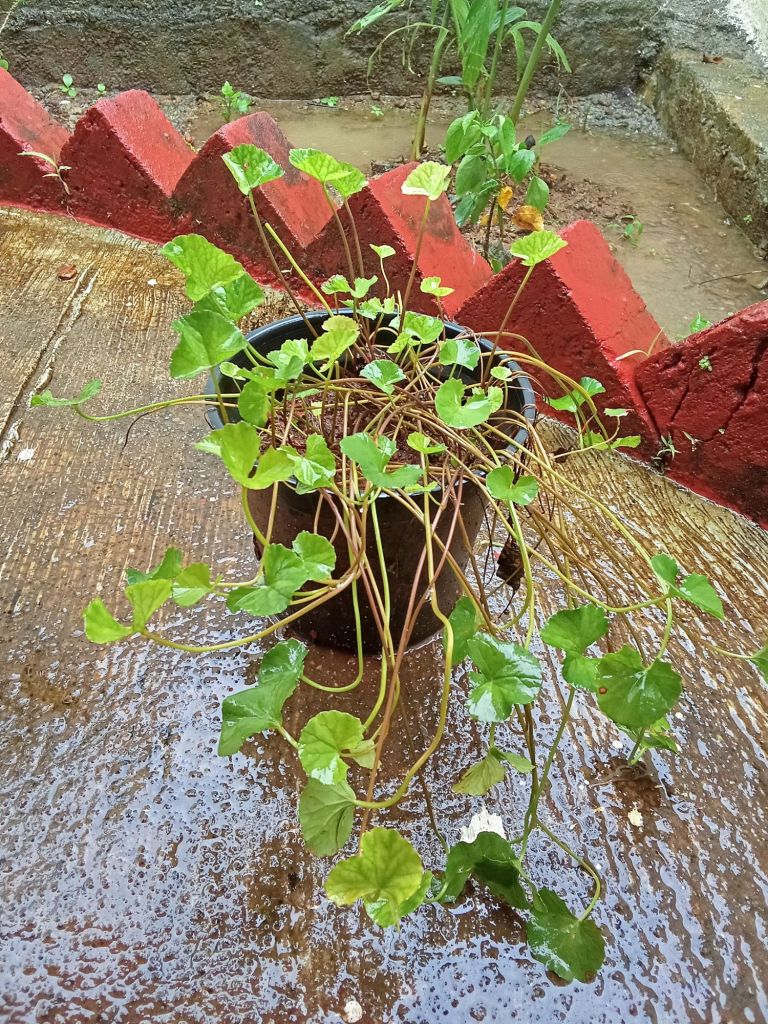
Along with observing them, I also use edible leaves for my cooking. They are not only tasty but high in medicinal value. One such leaf is Brahmi or Ekpani leaves which is very beneficial for the brain specially for kids.
My kids love any kind of chutney and don’t realize what’s inside it. So whenever I find Ekpani leaves, I make this chutney so that they consume these leaves regularly. I learned this recipe from my husband’s aunt Mrs Geetha Shankar Hegde ( mave )who is a great cook and someone who inspired me to cook during my first few months as a newly wed bride.
I have to mention one more person, someone very dear to me, Prabha Vaman Bhat mai who was kind enough to share her Ekpani plant along with the pot and also many other plants for our garden. Her plants are yielding such beautiful flowers in our house. Thank you so much Prabha mai. ❤️🙏
Here’s sharing mave’s recipe and hope you all will try this tasty chutney too. Happy and healthy cooking! ❤️
RECIPE:
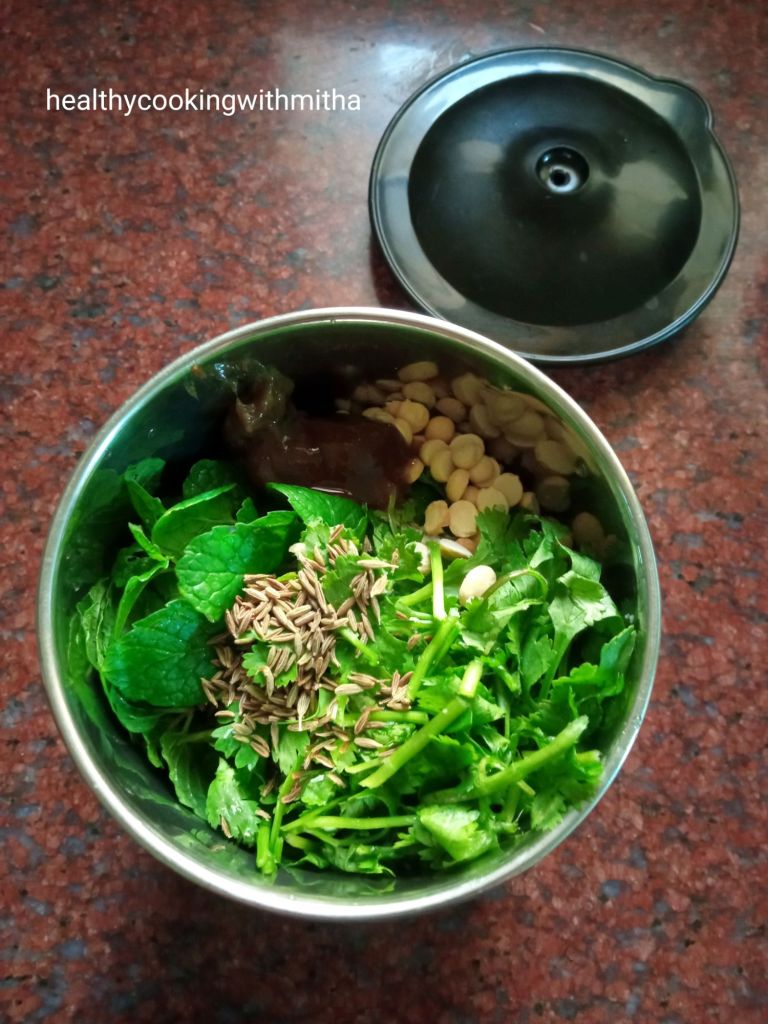
Ingredients:
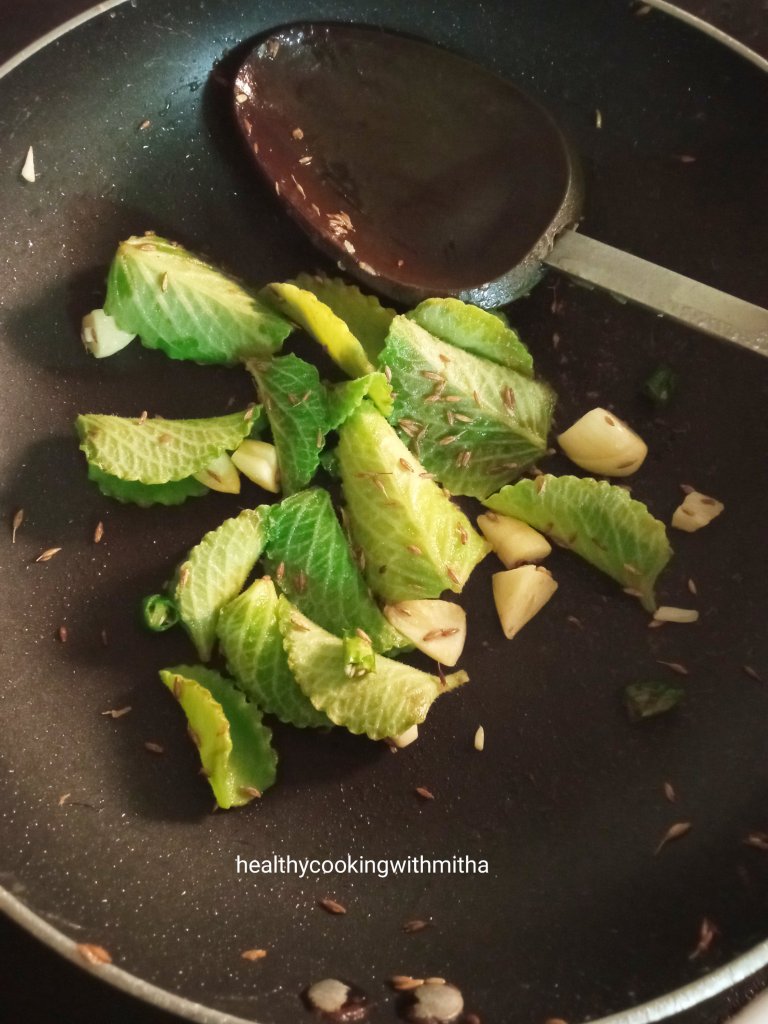
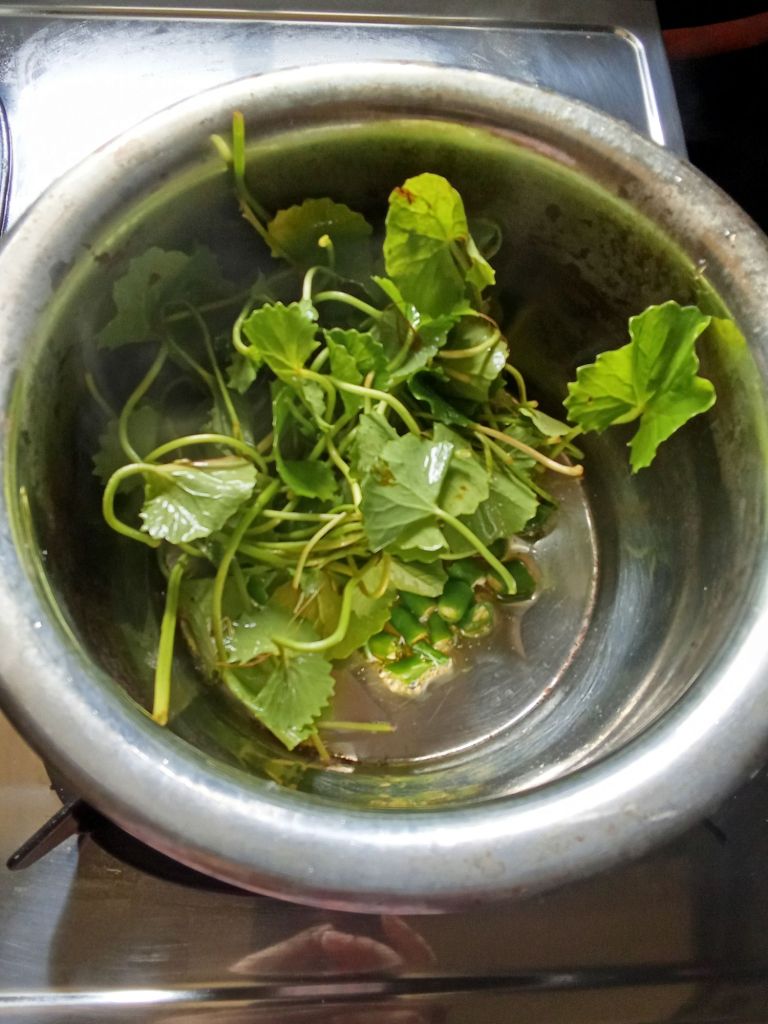
About 10 to 12 Brahmi or Ekpani leaves with stem and root
3 Green chillies
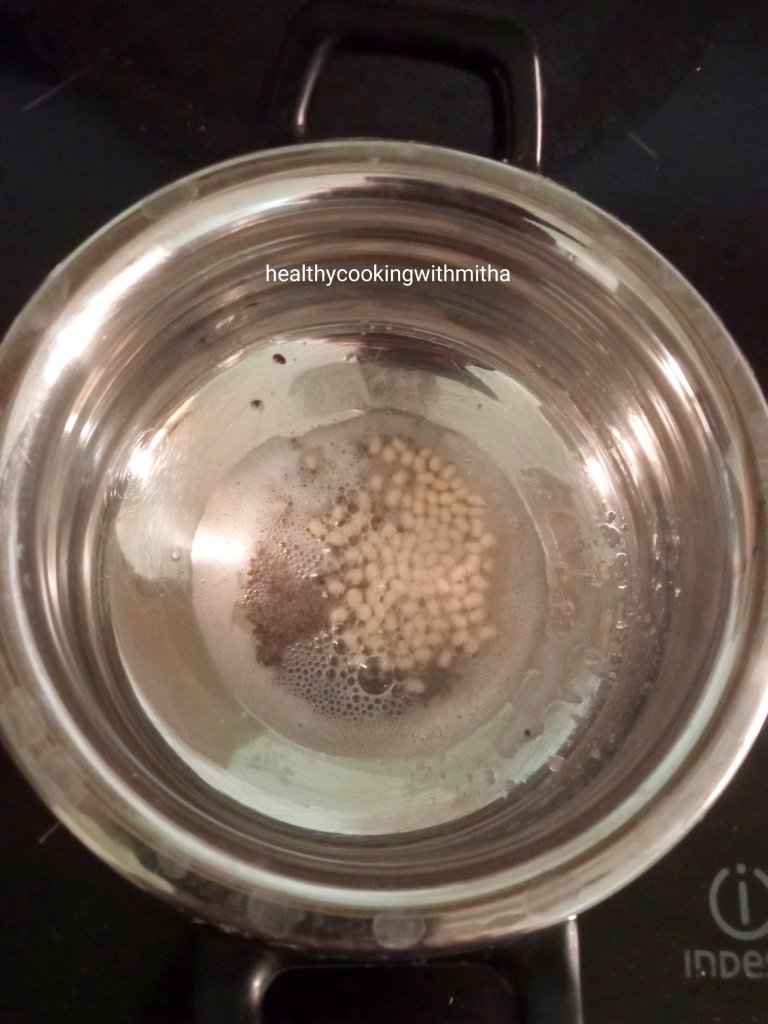
1 tsp Cumin seeds
2 tsp Ghee
1/2 Cup Coconut gratings
A small pebble sized ball of Tamarind
Salt to taste
Step by step recipe:
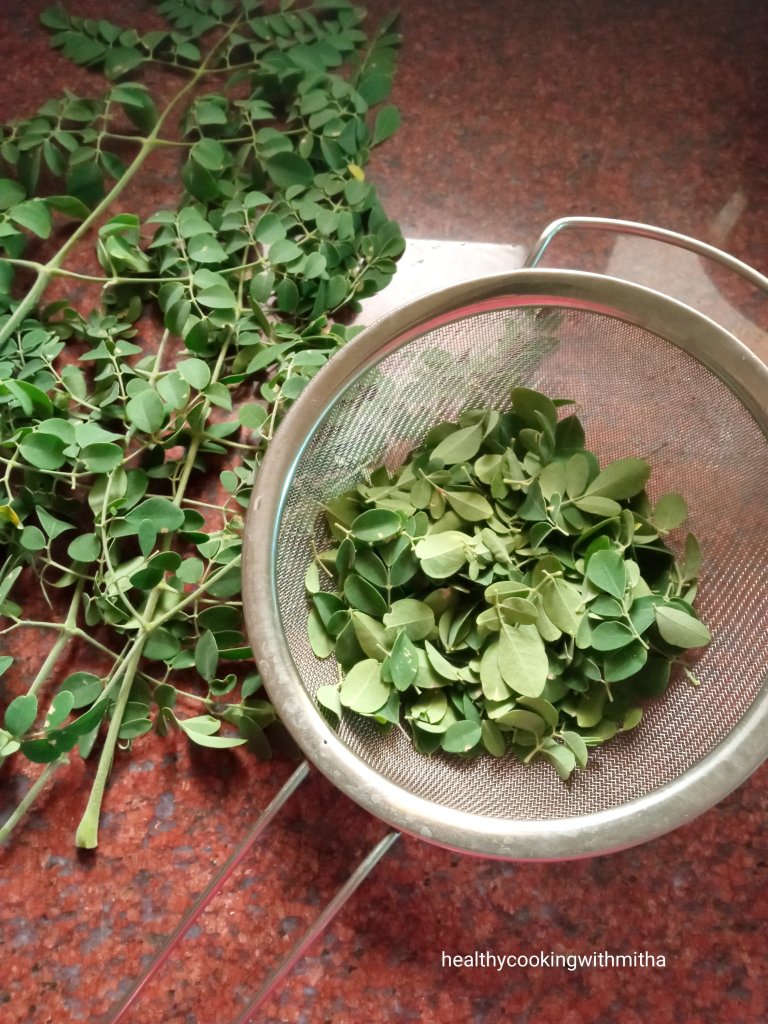
- Wash the Brahmi leaves with stem and root very well in a bowl to remove the soil in the root. Roots are very important and healthy but if not available, you can use only the leaves for this chutney too.
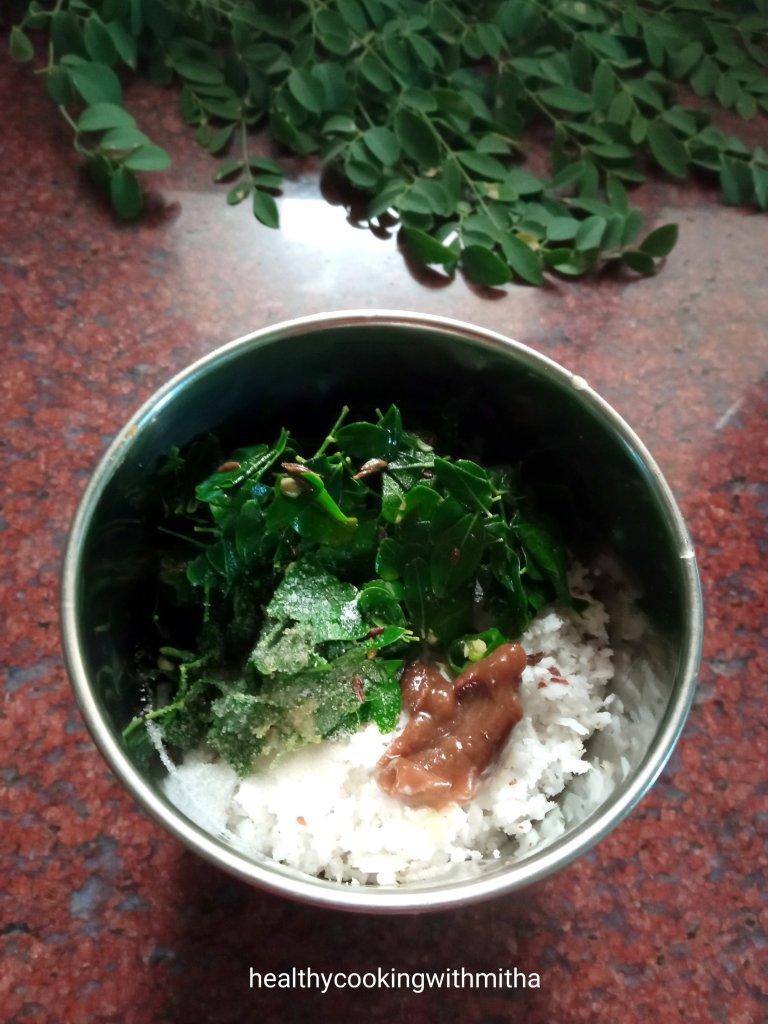
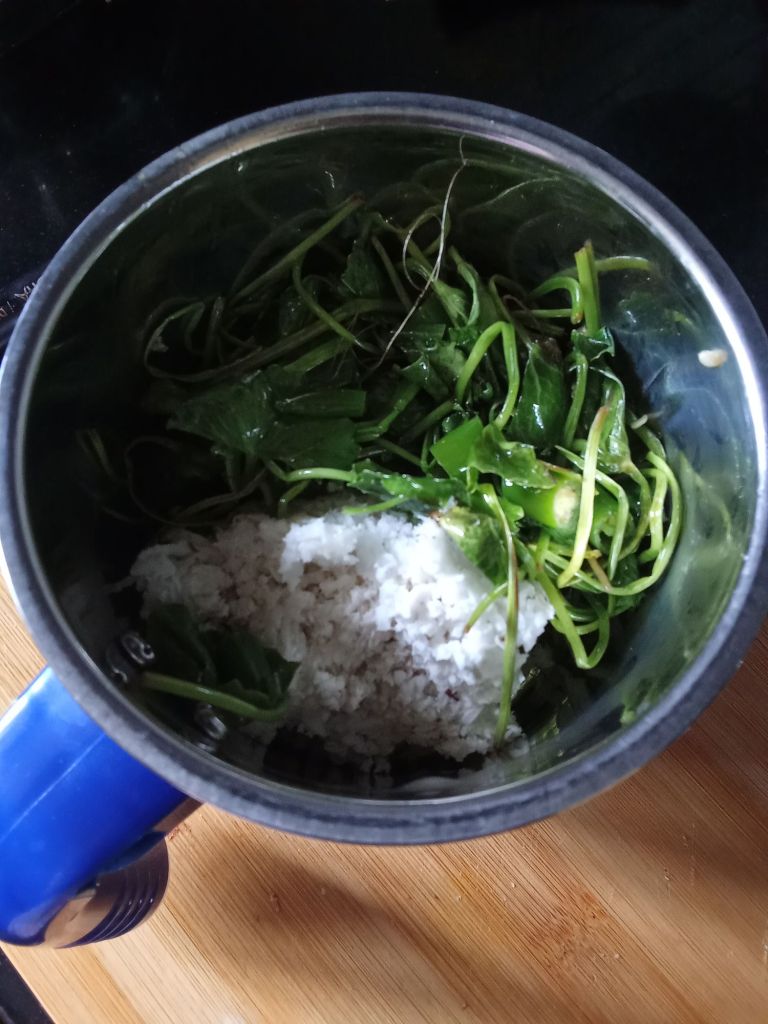
- Heat ghee in a pan and add cumin seeds. When it changes colour, add green chillies. Now add the washed ekpani leaves.
3. Fry for few seconds until the leaves wilt a little.

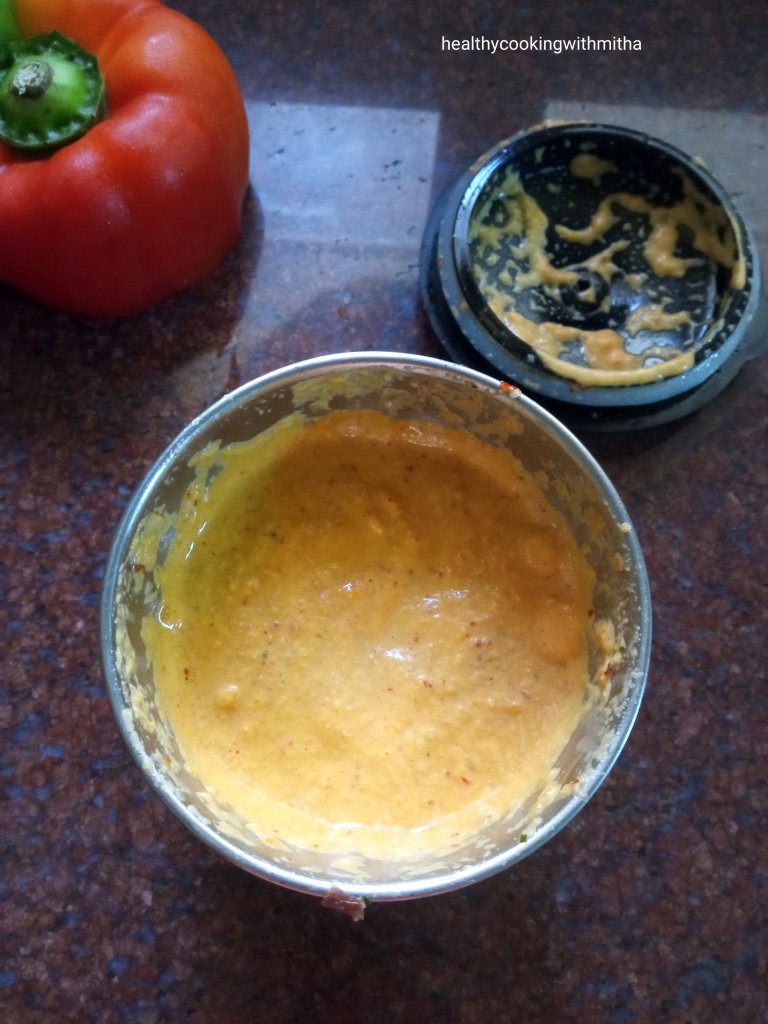
4. Now add this to a mixer jar along with coconut, tamarind, salt and little water.
5. Grind to a smooth paste adding water as per desired consistency.
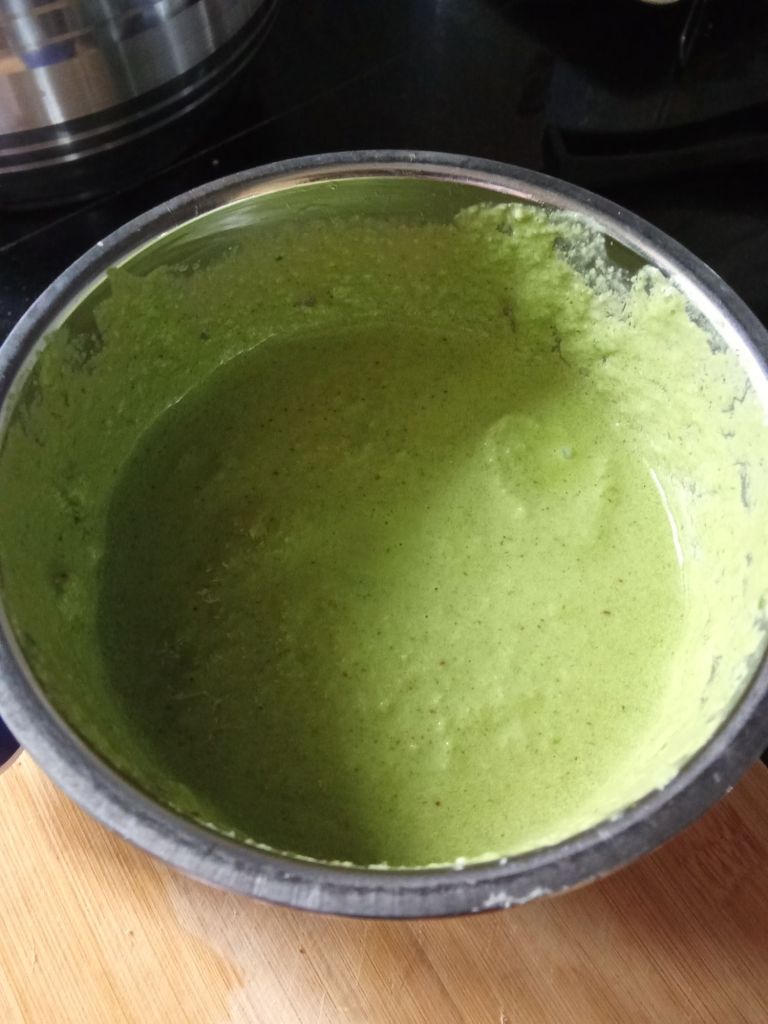
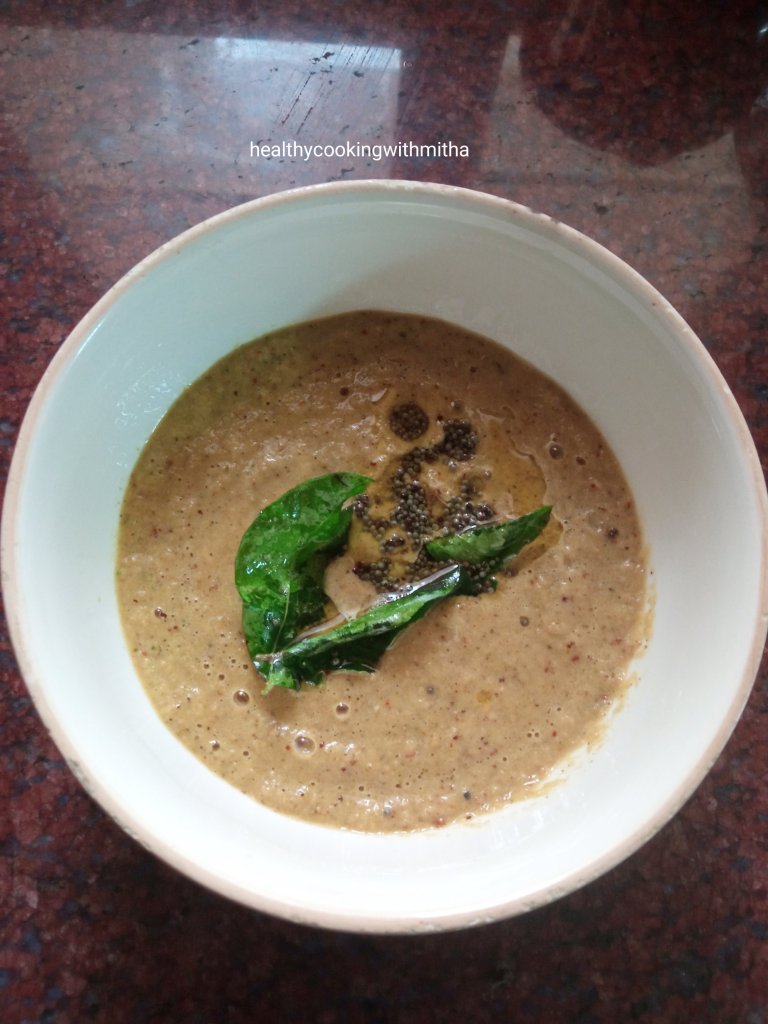
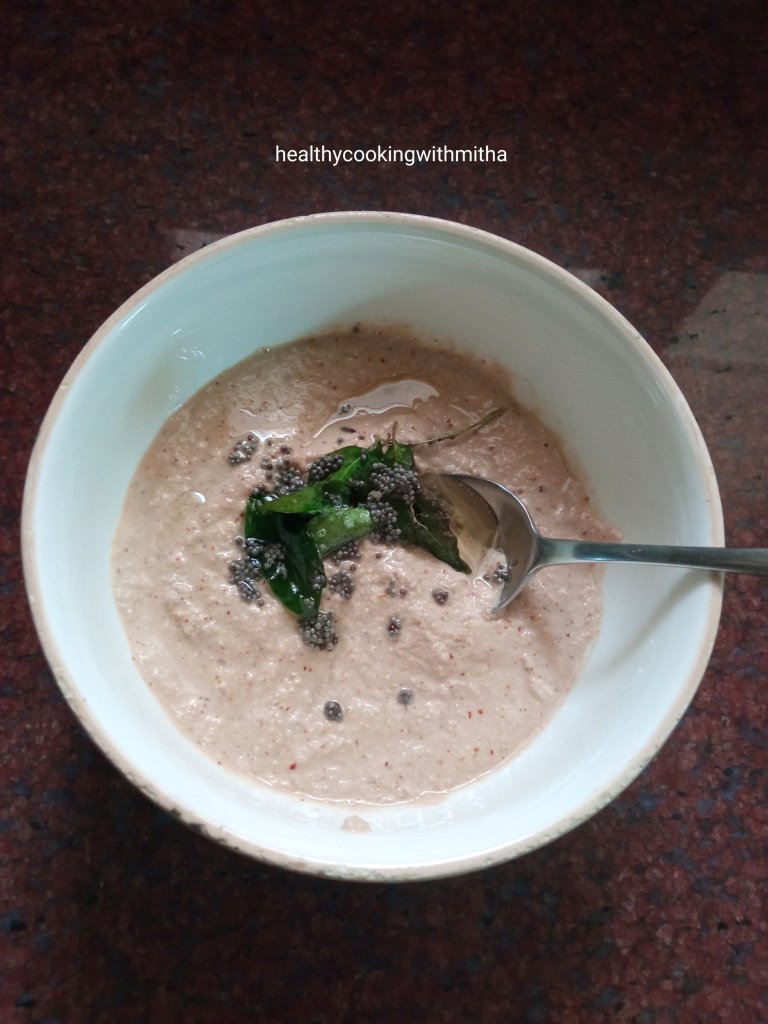
6. Done! Enjoy with dosas, idlis or rice.
Notes:
- You can use the same recipe to make chutney from different leaves like sambarpalli or moringa leaves too..
- Another way of making this chutney is to grind the leaves without frying along with coconut, green chillies, ginger, garlic, tamarind and salt. That tastes good too. I learned it from my neighbour here.
- Sharing some of my favorite chutney recipes:
- Sambarpalli Chutney
- Moringa leaves chutney
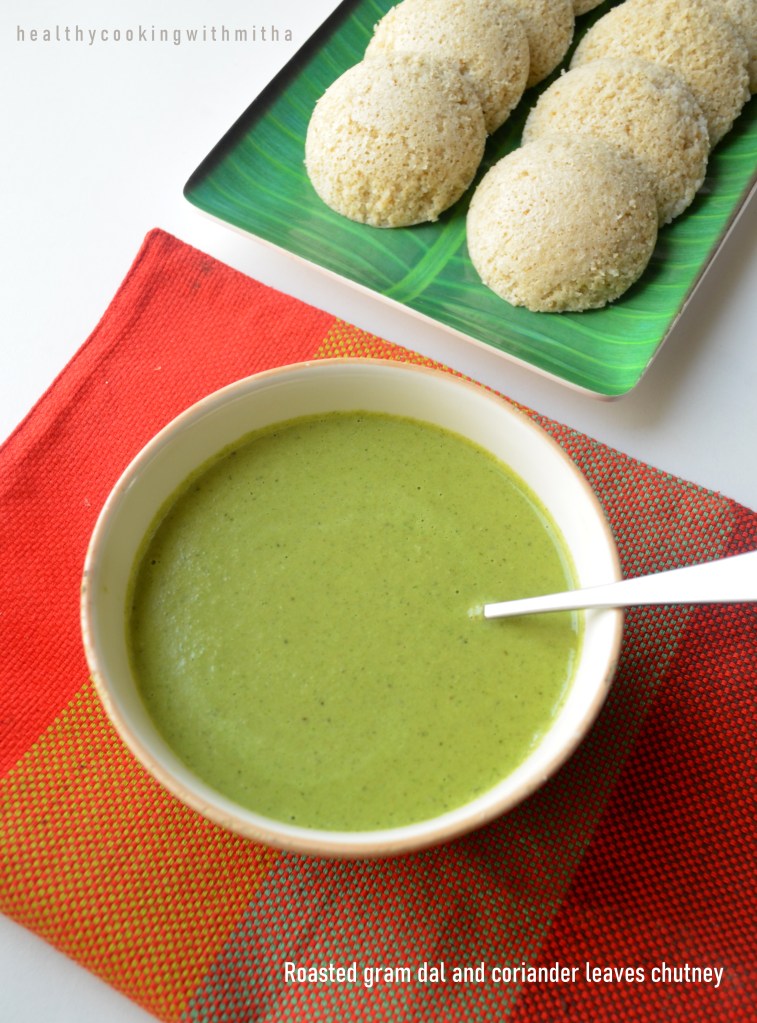
- Roasted gram Coriander leaves chutney
- Amma’s Tomato Chutney
- Ridgegourd peel Chutney
- Peanut Onion Chutney