Category Archives: Snacks

Guacamole Wrap | Avocado dip/ spread

Click on the picture to save the recipe on Pinterest

My husband’s company bus takes us to three of the oldest (and everyone’s favorite) malls in Qatar every Friday, alternating between City center, Villagio and Lulu. Although we only go sometimes due to husband’s busy shift work, kids absolutely love going to Villagio and City center as they both have huge play places.

If you ask me, I love Villagio just to look around people enjoying the boat rides inside the mall, few others posing for pictures and kids running around happily looking at the boats. ❤️ Food and shopping options are better at City center mall but Villagio does have Asha’s restaurant by Asha Bhonsle ma’am for great Indian vegetarian food.

Recently when we went to Villagio, I had already made dinner at home. So we were looking for light snacks there. That’s when I saw this guacamole wrap at Tea Time while waiting in their long queue for Karak tea ( I love love Karak 😍).

After tasting the wrap, I felt I could make it even healthier at home with our regular chapati. Few attempts later, I can now say, the guacamole wrap that I make tastes really super delicious.

To my luck, both Kenyan and South African Avocados are getting very cheap here and so in our weekly grocery, Avocadoes are a regular now. Kids enjoy its milkshake and love the wrap as well. For me too, it’s a filling, healthy snack before I go for my evening walk.

So this is how I make the Guacamole wrap and hope you all loved reading my short story. 😍 Do try it too when you get Avocadoes. Happy and healthy cooking ❤️

RECIPE:

Ingredients: {Makes about 4 wraps}

For the Guacamole:

2 ripe, soft Avocadoes

Juice of half a large lemon or to taste

1 small sized Onion

1 small sized Tomato

2 to 3 Green chillies

2 Garlic, peeled and finely chopped

3 Tbsp finely chopped Coriander leaves

Salt to taste

For the Wrap:

One chapati/ roti for each wrap

Step by step recipe:

1. Chop the stem part of the Avocadoes. I used Kenyan Avocadoes which are dark brown or black in colour.

2. Now it’s easy to peel off the skin like this.
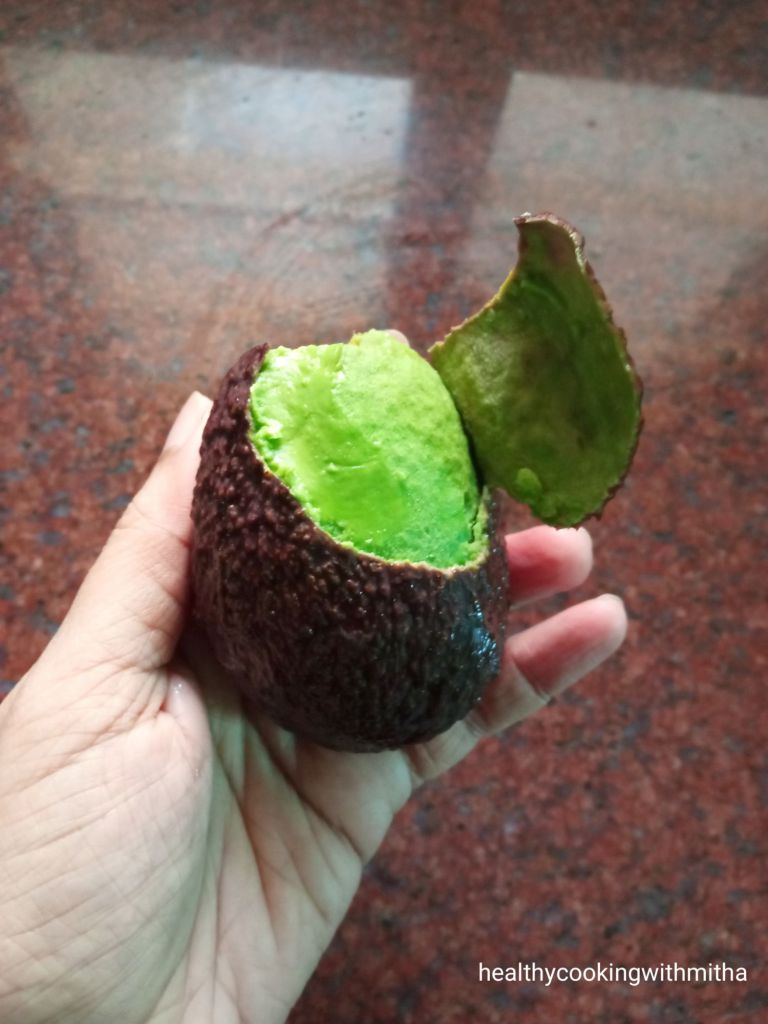
3. Add to a bowl.
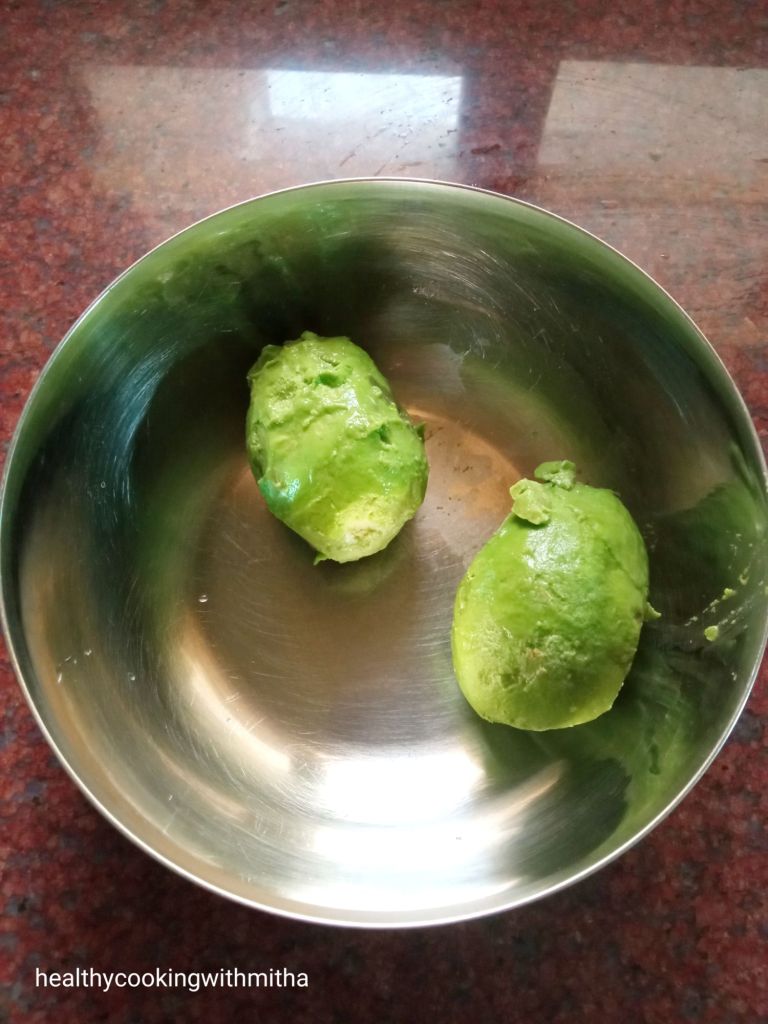
4. Remove the seed (one each) and mash both the Avocadoes using a fork till they are smooth in texture.

5. Add lemon juice and salt. Mix well. At this point, add lemon juice little by little, while tasting. You can also add more later. It takes me half a large green lime for two avocadoes.
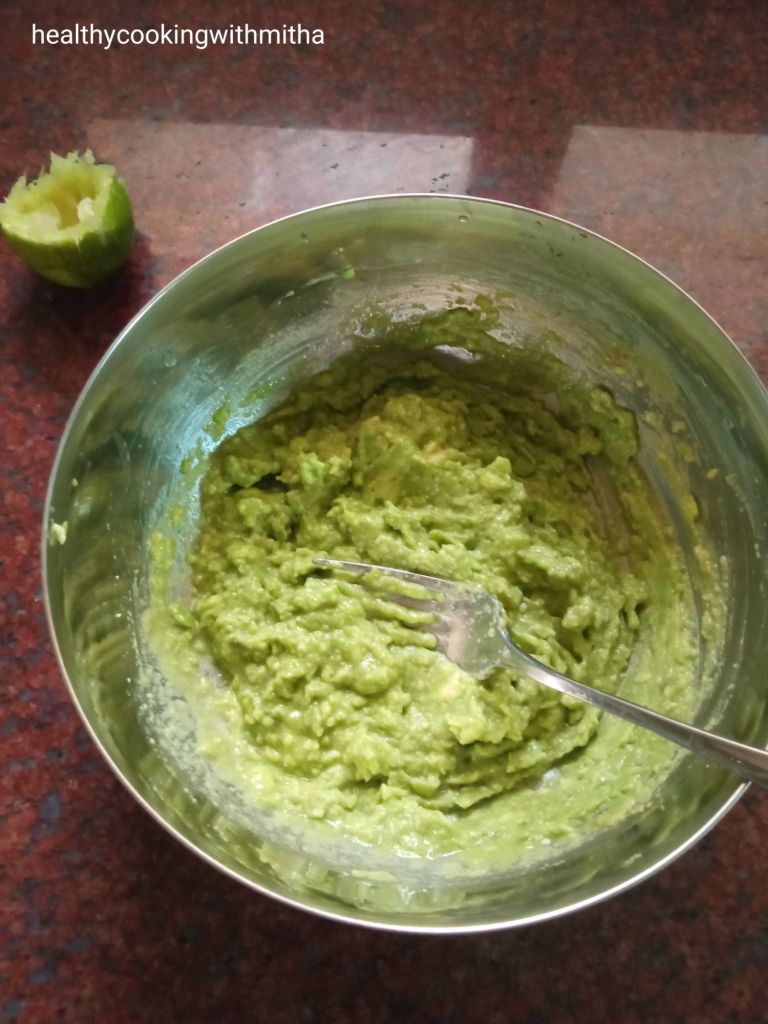
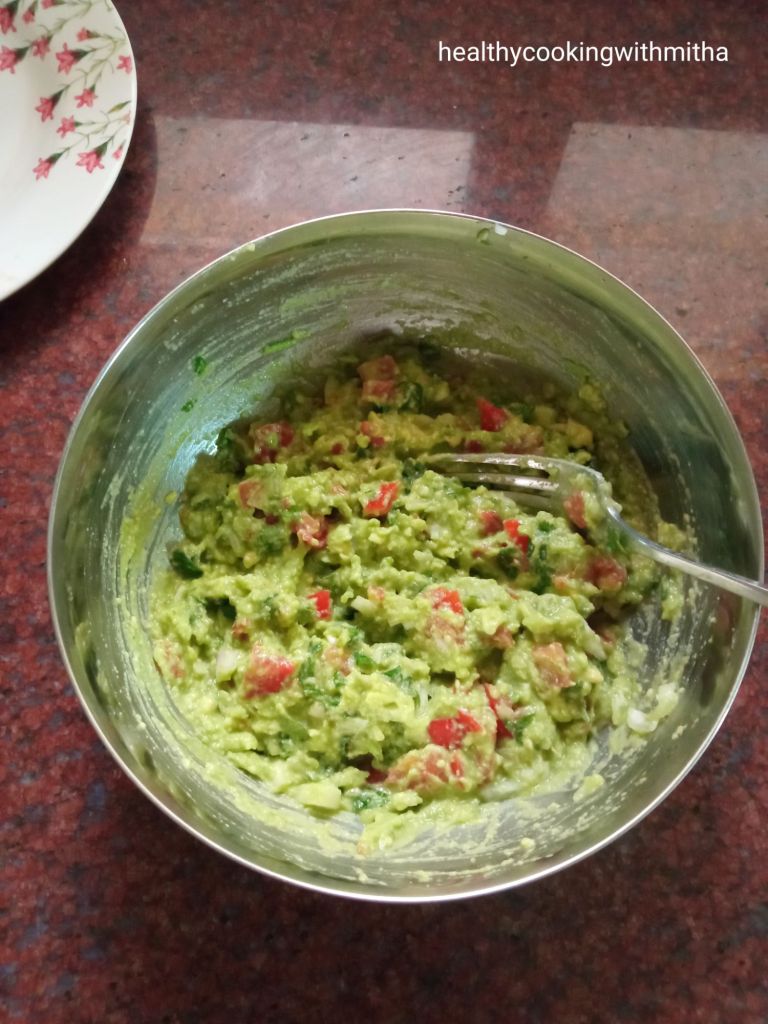
6. Now add all the other ingredients like onion, tomato, green chillies, garlic and coriander leaves.

7. Mix everything and do a taste test for salt and lime. Guacamole is done! You can use it as a dip or as a spread.
8. For wrap, take a regular chapati. I make it triangular in shape so that it’s easy to hold the guacamole inside. Spread the guacamole evenly over the chapati as shown.

9. Roll to make the wrap.

10. Done!

Click on the picture to save the recipe on Pinterest

Notes:

* In Guacamole, as per me, lemon juice and garlic are the most important ingredients. When I ate the wrap at Tea Time, Villagio, I felt the taste was slightly bland as the lemon juice was less for me and they had not added garlic. In my first attempt too, I skipped garlic and I felt it was not as flavourful.

* So I checked many authentic Guacamole recipes and found garlic in all of them. So I too added it and how wonderful does it taste with garlic and a little extra lemon juice. 😍 However if you are not a sour taste lover, you can add lemon to your taste.

* Green chillies can be added to your taste as well.

* Kenyan Avocadoes are so soft in texture and easy to peel as well as compared to Green Avocadoes. If using green ones, look for ripe ones and scoop the pulp using a spoon instead of peeling the skin like I showed above.

* For chapati, just knead whole wheat flour, salt and water to make a firm, soft dough. Keep it to rest for atleast 30 mins. Roll and make chapatis adding ghee while flipping in the pan.

* You can also try:

Paneer Tikka Wrap

Click on the picture to save the recipe on Pinterest

Ragi Ela Ada | Steamed Finger Millet snack | Vegan, Gluten free and Oil free

Click on the image to save the recipe on Pinterest

Kids’ schools have started after Eid holidays and days have started flying again. Waking up early, preparing their snack boxes, sending them to school, morning walk, cleaning the house, relaxing till they come back and after that hearing about their day at school, teaching them, walking again in the evening while they play outside, finally preparing for their next day at school and putting them to sleep.

Days are super busy but I would not want it any other way. I have realized being busy is actually great than sitting idle and overthinking. So it’s a blessing in disguise for me. ❤️

In midst of this, is cooking which I love and which brings me happiness. I listen to bhajans and songs while cooking which makes it so peaceful. Music is truly therapeutic. ❤️

Apart from breakfast, lunch and dinner, there is one meal of the day which is most difficult for me – Snack time. Finding a quick, healthy and tasty snack which the kids also love is very hard. So when I tried this Ragi ada inspired by my Kochi memories of the regular ada and it came out so well that we all loved it, I knew I had to share it with all of you too. ❤️

I don’t know why some people think Ragi is bitter. Ragi is such a tasty millet and I use it regularly in my cooking. It is tasty and very healthy too. Have shared all the recipes that I make using Ragi in the notes section towards the end. Do try and I think if you follow the recipe well, adapt it in your cooking, in few days, you will love Ragi too, just like we do. ❤️

Happy and healthy cooking ❤️

RECIPE:

Ingredients: { to make about 5 adas }

1 Cup = 240 ml

Banana leaves to make the ada

To make outer covering:

1 Cup Ragi flour ( finger millet powder)

Salt to taste

Approx 1 Cup hot water

To make inner filling:

3/4 Cup Jaggery

3/4 Cup freshly grated Coconut

1/4 tsp Cardamom powder

Step by step recipe:

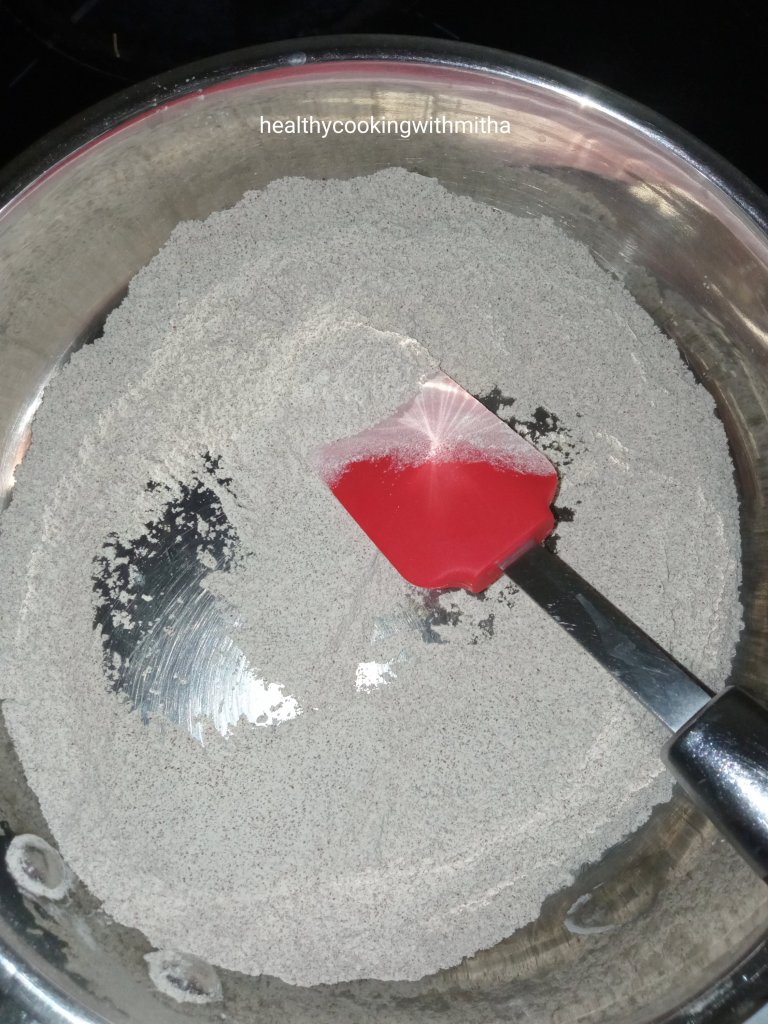
1. Dry roast Ragi flour ( do NOT add oil while roasting) on medium flame till you get an aroma of the flour and it changes colour to a darker tone.

Note: Even if you have roasted ragi flour with you, dry roast for few minutes as it enhances the flavour a lot.

2. Transfer it to a bowl. Add salt.

3. Now add hot water, little by little. Mix as you add water.

4. As you add hot water, little by little, after mixing, the dough will look like this. Do NOT add water after this.

5. Now the dough will be warm. Using hands, mix together to form a smooth and soft dough.

6. Now make the inner filling. Take coconut and jaggery in a pan. Heat it together on medium flame till the jaggery melts and coconut will stick to jaggery. Remove from flame. Add Cardamom powder. Mix well.

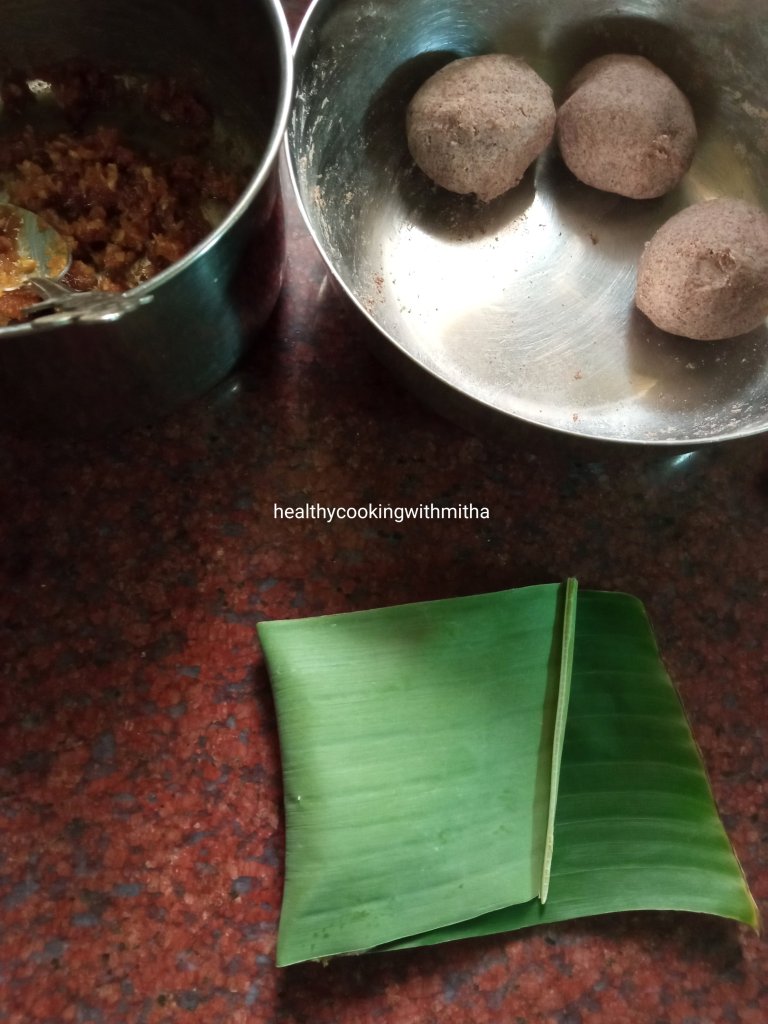
7. Now cut the banana leaf into rectangle pieces as shown. Clean it with water and wipe it dry.

Also divide the ragi dough into equal sized balls. If you have taken 1 Cup (240 ml) of Ragi flour, you will get 5 balls.

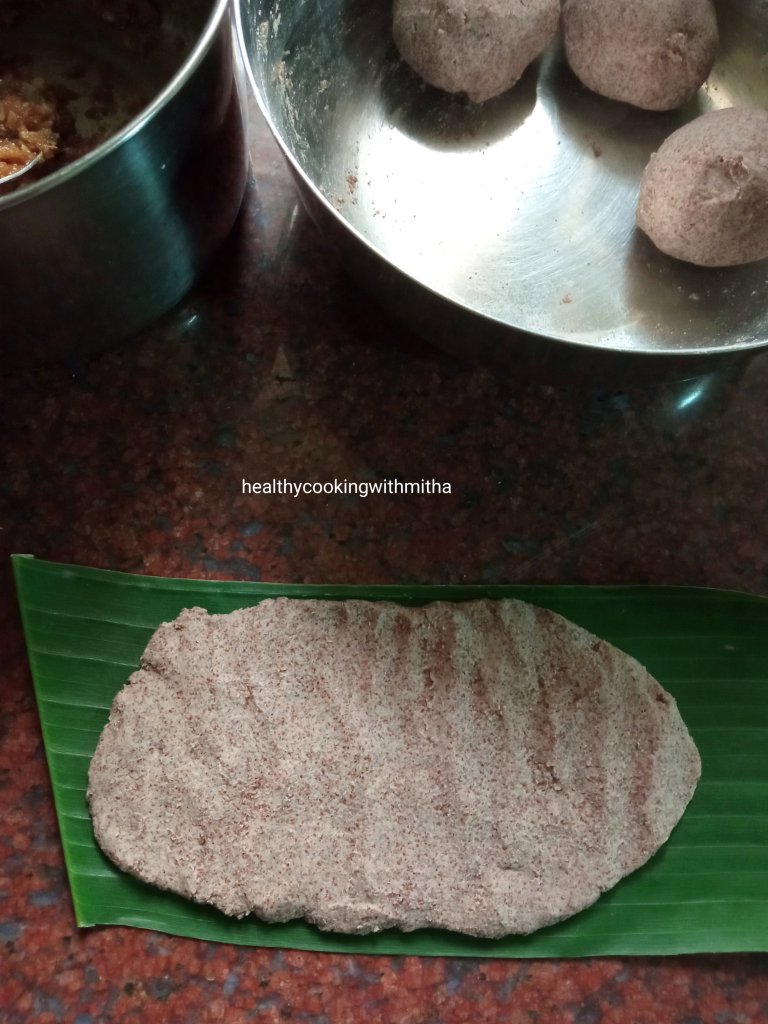
8. Take a ball of ragi dough and spread it using slightly wet fingers as thin as possible.

9. Take a spoonful of the filling and place it on one half side. Spread it on the half side using spoon as shown in the image below.

10. Fold the banana leaf while closing both the halves as shown.

11. Seal the edges of the dough using fingers so that the filling does not come out.

12. Repeat the same with the rest of the dough balls. Place it on a idli steamer.

13. Steam for 20 to 25 mins on high flame till the ada cooks thoroughly. Remove from flame. Allow it to cool for 5 mins.

14. Now peel off the banana leaf, discard it and enjoy the warm Ragi ela adas. 😍

Click on the image to save the recipe on Pinterest

Just look at the inside of the ada. Sweet, juicy and so delicious 😍

Click on the image to save the recipe on Pinterest

Notes:

* As you can see from the above picture, the ada is of the right thickness and also steamed fully. This is due to spreading the dough thin over the banana leaf and also steaming for atleast 20 mins.

* Even if you have roasted ragi flour with you, dry roast for few minutes to get perfect aromatic ragi adas.

* Do use only hot water while preparing the dough. It took me around 1 Cup hot water for 1 Cup Ragi flour. Add only 1/4 Cup at a time and mix well till you get the dough as in step number 4. Then mix using hands to form a smooth dough.

* Don’t add a lot of water while making dough. It will be difficult to spread if dough is too soft.

* For 1 Cup Ragi flour, 3/4 Cup coconut and 3/4 Cup jaggery made the right filling for me. If you add a lot of filling, it will be difficult to seal the edges. So add only a spoonful to cover half of the ada.

* I have not made this without banana leaves. So can’t say the alternative to it. Spreading the dough on the leaf is easy and the ada turns aromatic too. So try to get the leaves if you can.

* These adas are best eaten soon after they are steamed but tastes yummy even after few hours too. So you can carry it in tiffin box and during travel too.

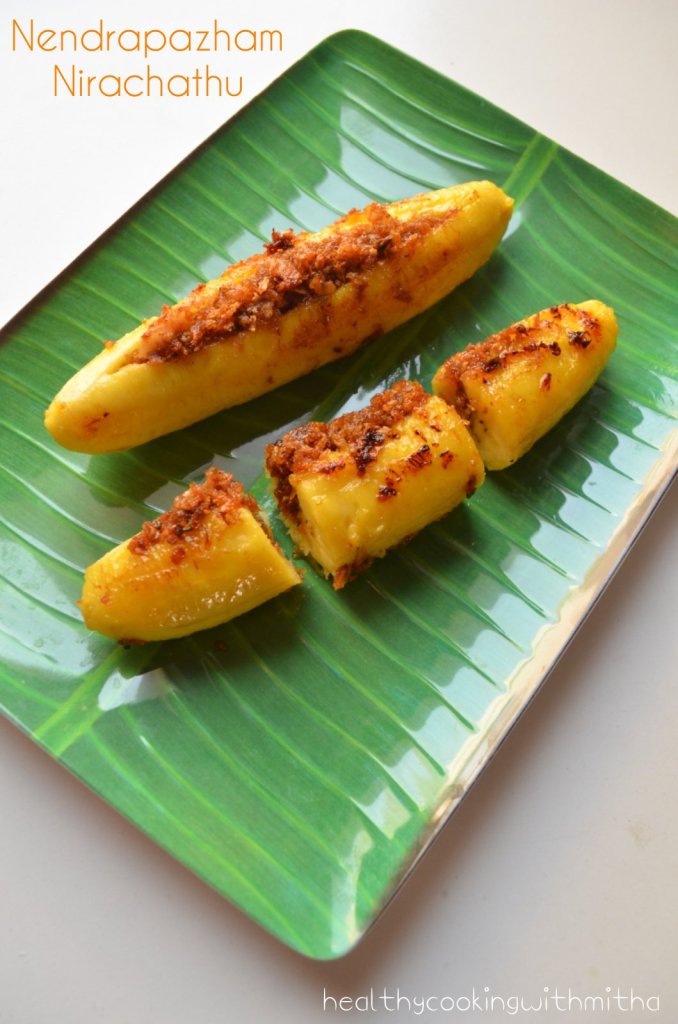
* A similar recipe with coconut jaggery filling is this Kerala style Nendrapazham nirachathu or stuffed Nendran Bananas..

Nendrapazham nirachathu

* I make many dishes using Ragi flour. You can check the recipes here:

Instant Ragi Rava dosa

Ragi Set Dosas

Instant Ragi Idlis

Ragi Urad Idlis

Ragi Malpuas/ Ragi Pancakes

Ragi Jaggery Ladoos

Ragi Butter cookies

Eggless Ragi Chocolate Cake

Ghugni | Bengali Matar Ghugni | Peas curry/chaat

Click on the picture to save the recipe on Pinterest

Chaat of any kind has been my favorite since a child, may it be the eating waala spicy, tangy chaats or the talking waala chatting. 😂😂 In fact talking my heart out while eating chaats with my loved ones is my dream kind of outing. During my college days, me, my brother and parents used to go out to eat chaats on Saturday evenings. It used to be so much fun and I still cherish those memories. ❤️

Now, whenever we go out and there are chaats available, my first order would definitely be atleast one among the various chaats in their menu. 😍 Karnataka style Masala Puri is my favorite among all chaats followed by Dahi Puri.

Bengalis make a similar chaat like our masala puri with peas, which can be had as a curry too. I had shared it in my old blog and I am happy to share it here too. This Chaat is very flavorful and so easy to make that you will be tempted to try it as soon as possible.

Hope you all will try it for your next evening snack and enjoy it with your cup of tea or coffee. Enjoy cooking and eating with your loved ones. It is these moments that we remember all our life. Happy and healthy cooking ❤️

RECIPE:

Ingredients:

1 Cup dried Green peas/ white peas

1 Tbsp Oil

2 tsp Ghee

1 Bay leaf

2 Cloves

1 inch Cinnamon stick

1 Cardamom pod

2 Dried Red chillies

1 inch Ginger, grated

2 Green chillies, finely chopped

1 medium sized Onion, thinly sliced

1 medium sized Tomato, diced

1 medium sized Potato, peeled and diced

1/4 tsp Turmeric powder

1 tsp Cumin powder

2 tsp Coriander powder

2 tsp Red chilli powder or to taste

3 Tbsp finely chopped Coriander leaves

1 green chilli and few finely chopped onion pieces, for garnish

Salt to taste

Step by step recipe:

1. Wash well and soak the dried peas in enough water overnight or for atleast 8 hours.

2. Drain the water completely and wash again. Add the peas to a pressure cooker with fresh water to the level of about 2 cm above the peas level. Pressure cook till soft. Take care to not overcook it.

In my electric stove top, I keep on high flame for 10 mins and it gets very soft.

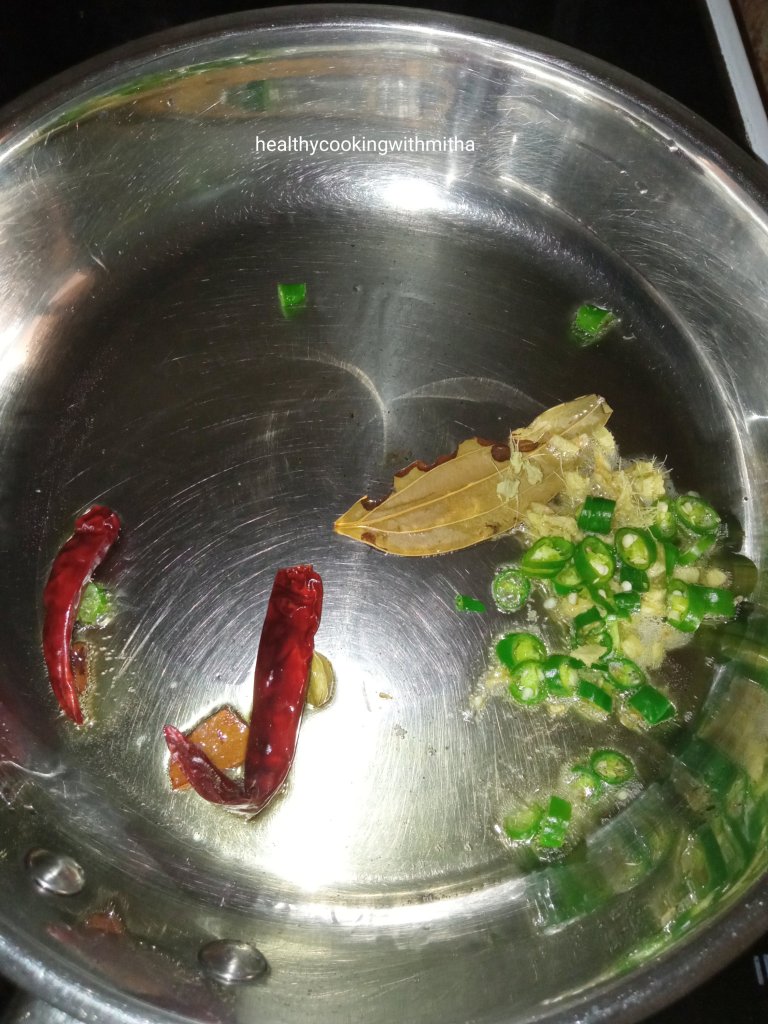
3. Now heat oil + ghee in a pan. Add bay leaf, cloves, cinnamon, cardamom, red chillies, ginger and green chillies. Let it cook for few seconds.

4. Now add sliced onion and fry till it turns translucent. Add potatoes and fry in the oil for few seconds.

5. Add tomatoes and mix well. Let it turn soft.

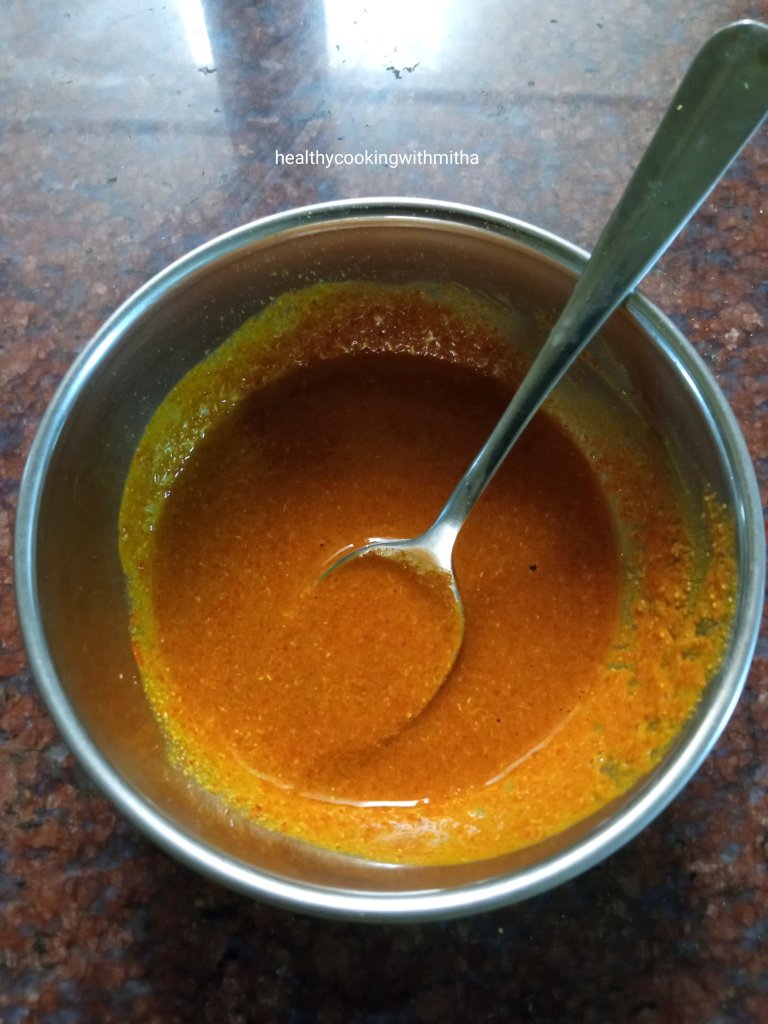
6. In a small bowl, add turmeric powder, cumin powder, coriander powder and red chilli powder. Add about 2 to 3 Tbsp water and make a smooth paste with it mixing well with a spoon.

7. Add this to the pan and mix well stirring continually for few minutes till the powders cook.

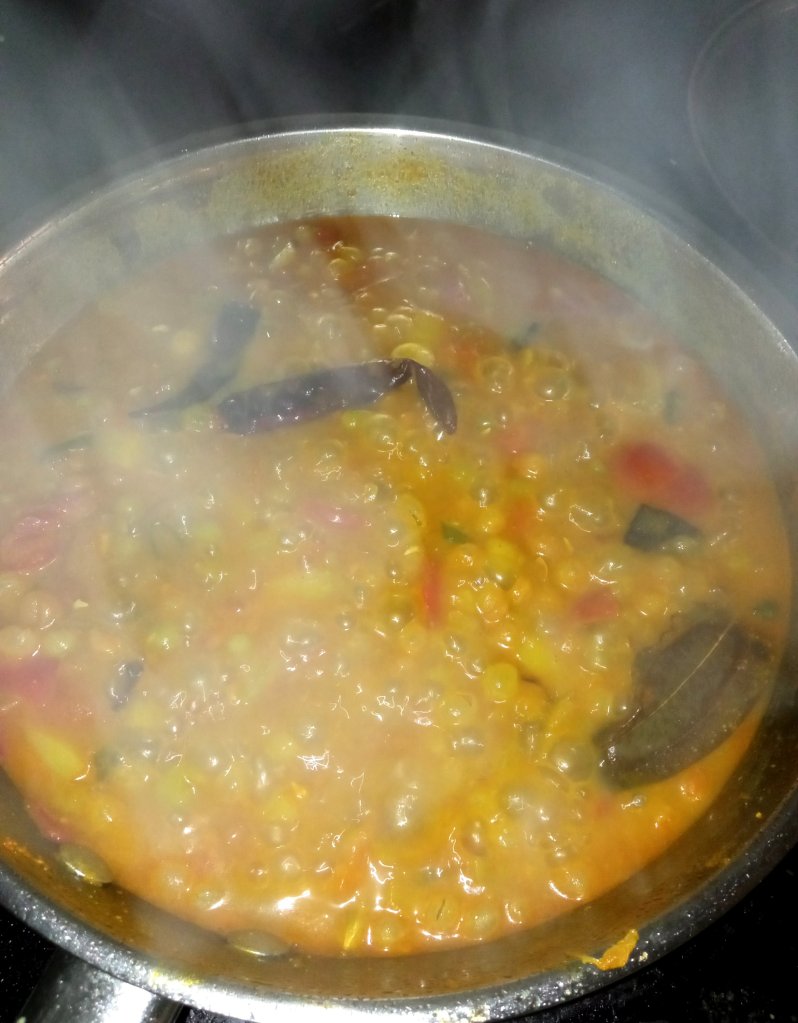
8. Add the cooked green peas along with salt. Also add water if needed to get the desired consistentency. I prefer it thick, so don’t add much water. Cover and cook for about 10 mins on medium flame till the gravy thickens.

9. Remove from flame. When serving, garnish with chopped onions, green chillies and coriander leaves.

Click on the picture to save the recipe on Pinterest

Notes:

* You can use dried Green or white peas to make Ghugni. Frozen or fresh ones will not give the same taste.

* Do soak the peas for atleast 8 hours so that it gets digested well by the body.

* Don’t overcook the peas that it gets mashed. We need it go be soft yet retain it’s structure.

* You can enjoy Ghugni as a Chaat or like a curry with rice or chapati.

* For Ghugni Chaat, you can make additions like tamarind chutney/ coriander leaves- mint chutney and sev or bhujiya as topping but I love it just as it is.

* The gravy can be thick or thin like how you prefer but Ghugni is usually had thick.

* With leftover Ghugni, I add paneer cubes to make it Matar Paneer. Tastes so yum too. 😍

My favorite Chaat recipes:

* Masala Puri Chaat

* Bhel Puri Chaat

* Sprouted Moong Chaat

* Paneer Pav Bhaji

Tri colour Capsicum Salsa | Easy Capsicum salad/dip recipe

Click on the image to save the recipe on Pinterest

Tri colour Capsicums always attracted me when I went for grocery shopping but it used to be super expensive and I never felt like buying it. Recently Qatar has been growing a variety of veggies locally and hence we have been getting even expensive vegetables like Broccoli and coloured capsicums considerably cheaper. Also just see how fresh they are! 😍

So, whenever I get my hands on them, it’s either this salsa or fried rice. Both ways, it is consumed happily by my kids which is most important for me whenever I cook something. With salsa, I present it to them with nachos for evening snack and they munch it on happily. ❤️

Also, these capsicums are best when they are had raw with their flavours intact. Cooking them leads to make it soft and is not as fresh. So my preferable way to use these capsicums is by making this salsa which we have as an accompaniment with rice meals as well. Tastes so yum. ❤️

Hope you all try and love it too. Happy and healthy cooking ❤️

RECIPE:

Ingredients:

1/2 a medium sized Green Capsicum

1/2 a medium sized Yellow Capsicum

1/2 a medium sized Red Capsicum

1 medium sized Onion

1 medium sized Tomato

3 Green chillies

1/4 tsp Pepper powder

Salt to taste

Juice of 1 Indian lemon or half of large lemon

Finely chopped Coriander leaves, for garnish

Step by step recipe:

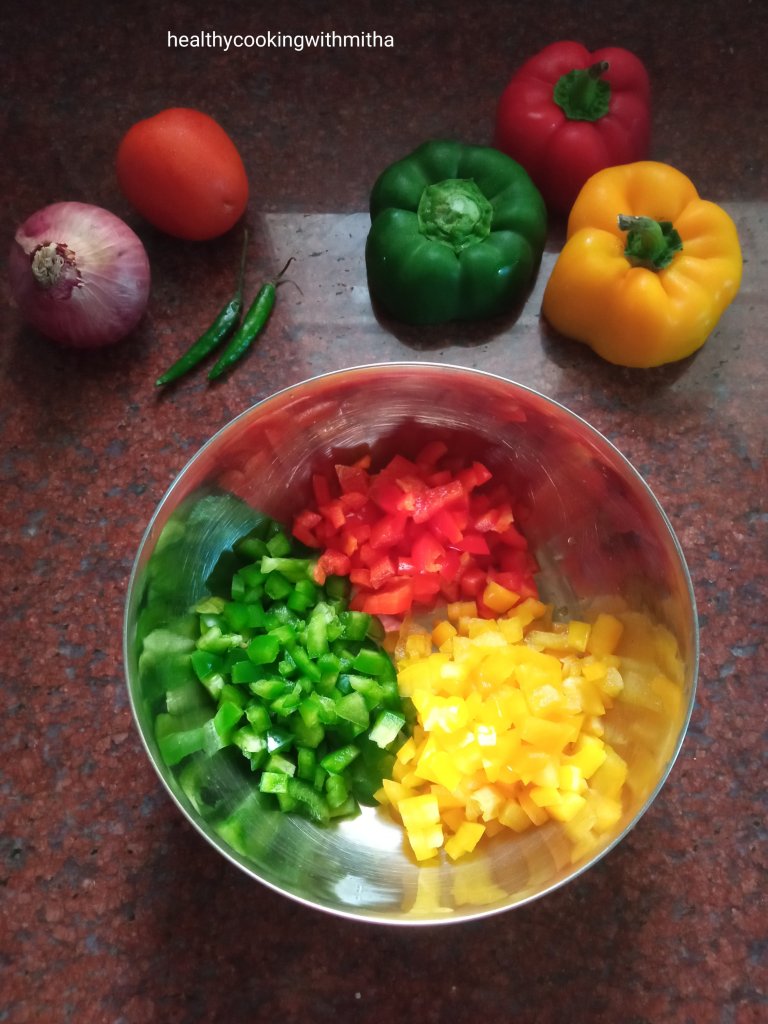
1. Finely chop the three capsicums and add to a mixing bowl.

2. Now add finely chopped Onion, tomatoes and green chillies to it.

3. Add finely chopped Coriander leaves, salt, pepper powder and lemon juice. Mix well. Taste and adjust the lemon juice and salt as needed.

4. Done! Enjoy as a salad or as a salsa with Nachos. ❤️

Click on the image to save the recipe on Pinterest

Notes:

* The above measurement serves 4. If you are making for more people, just use three whole capsicums and about two tomatoes and two onions.

* You can skip green chillies if making for small kids. I remove green chillies before giving to my kids.

* You can also add a dash of red chilli powder for more spice but we love this as it is.

* I also serve it as a side along with rice meals and the salad gives a nice, fresh crunch to the meal.

* The other salads that I make regularly:

Mixed Bean Salad

Carrot Kismuri

Moong dal Kosambari

Cabbage Kosambari

Mixed Vegetable Salad

Khamang Kakdi/ Cucumber salad

Barley Salad

Banana Stem Salad

Purple Cabbage Coleslaw

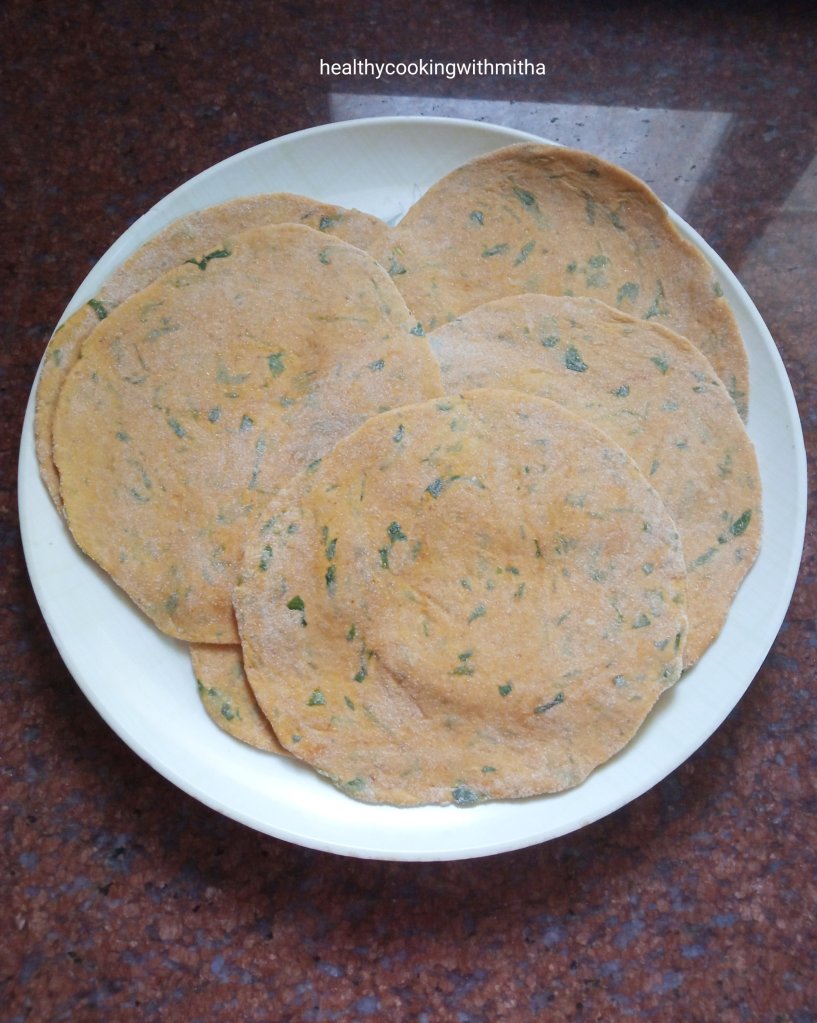
Methi Thepla | Easy, soft, flavourful theplas with fenugreek leaves

Click on the image to save the recipe on Pinterest

As my son is sleeping after coming back tired from school, I have finally sat down to write this recipe of Methi Theplas which are his favorite 😍. He loves variety of dosas, bhakris, parathas and his recent love is this Methi Thepla. ❤️ It’s winter now in Qatar and we have fresh methi (fenugreek) leaves growing in our tiny kitchen garden, handled very lovingly by my husband. Here are the tiny yet pretty and very healthy leaves 😍

These leaves are plucked when my son demands for Theplas and love how homegrown leaves have an amazing flavour of it’s own. Farm to kitchen lifestyle is really the best way to enjoy and respect food. ❤️

Though I also make Alu methi and methi dal, these Theplas have become more regular as my kids love it. It’s also very easy to make and hardly takes 30 mins from start to finish.

They also stay well at room temperature for few hours and remain soft. So, in case there are leftovers, they still taste yum when enjoyed later.

Do try this delicious and healthy variation instead of rotis or parathas and you will definitely love it. Happy and healthy cooking ❤️

Ingredients: { Makes about 7 Theplas }

1 Cup = 240 ml

1 cup finely chopped Fenugreek leaves/ Methi leaves

2 Cups Wheat flour / Chakki ka Atta

2 tsp white Sesame seeds / Til

2 tsp Oil ( I use coconut oil)

1 tsp Red chilli powder

1 tsp Coriander powder

1/4 tsp Turmeric powder

A pinch of Hing/ Asafoetida

Salt to taste

Approx 1/2 cup water to make the dough

Oil or Ghee to cook the Theplas

Step by step recipe:

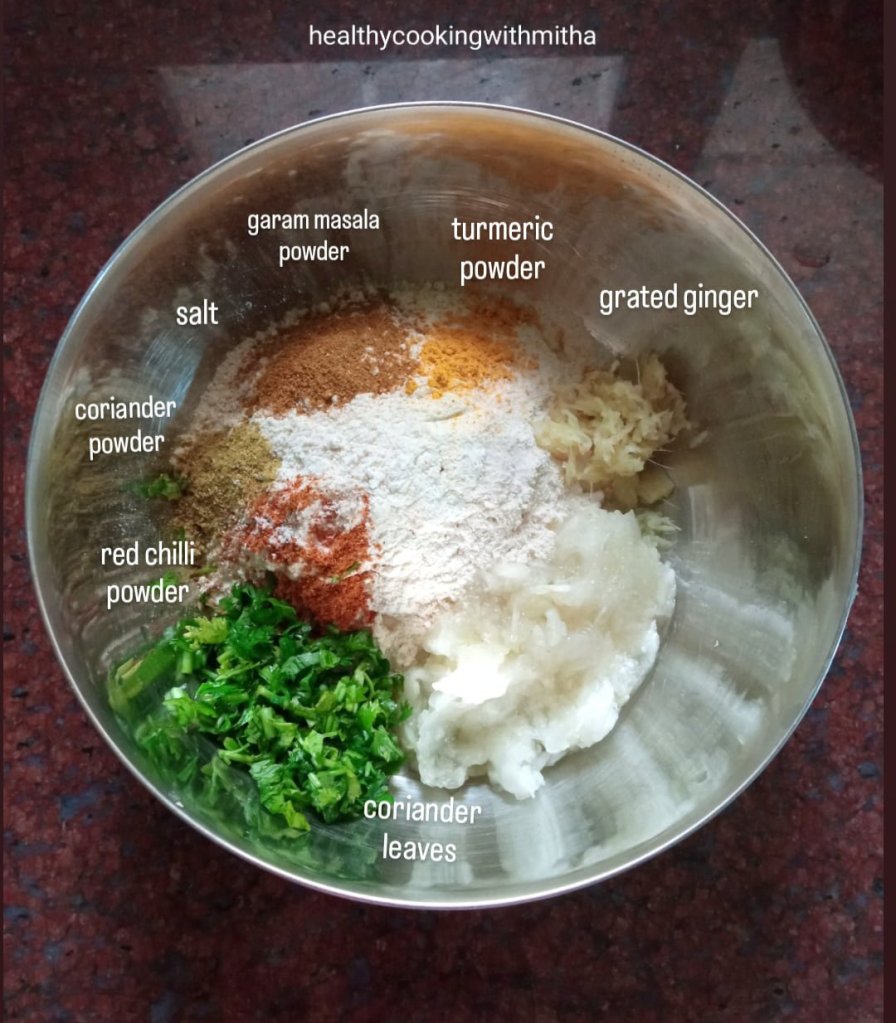
1. Take finely chopped methi leaves in a large mixing bowl (I chop the tender stems too along with the leaves. You can chop only the leaves if the stems are thick). Add sesame seeds, red chilli powder, coriander powder, turmeric powder, salt, oil, hing.

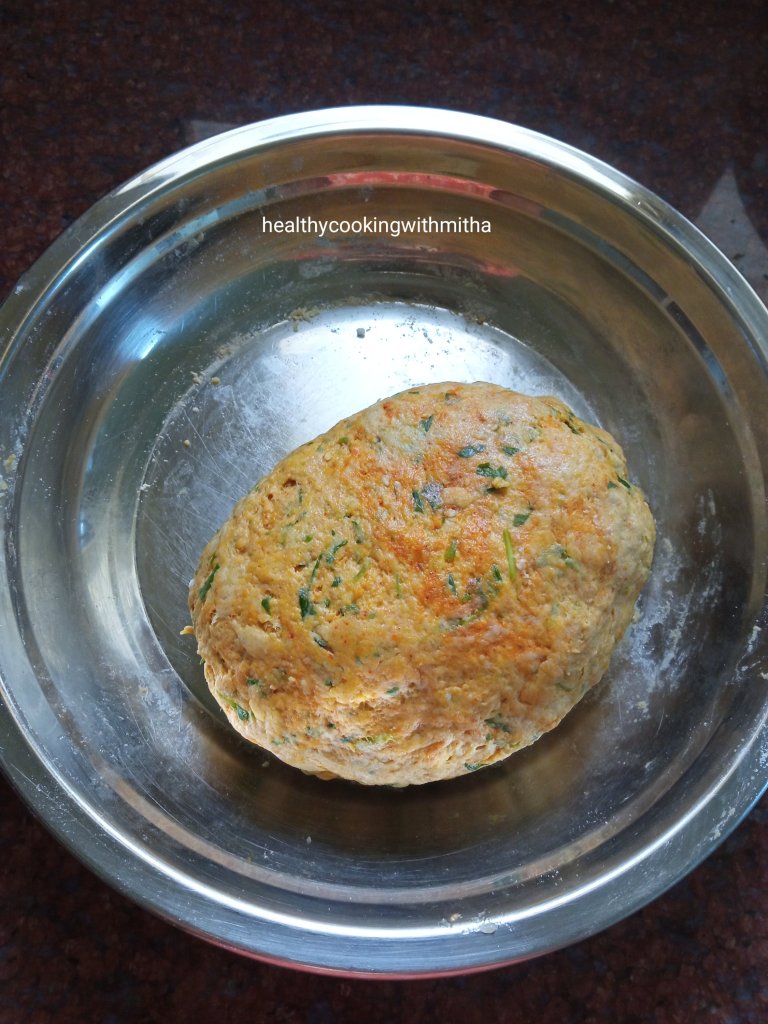
2. Now add wheat flour and mix everything well. Add water little by little and form a soft dough just like chapati dough.

3. Now divide the dough into equal sized balls as shown.

4. Using dry wheat flour, dust each of the balls and roll just like chapatis.

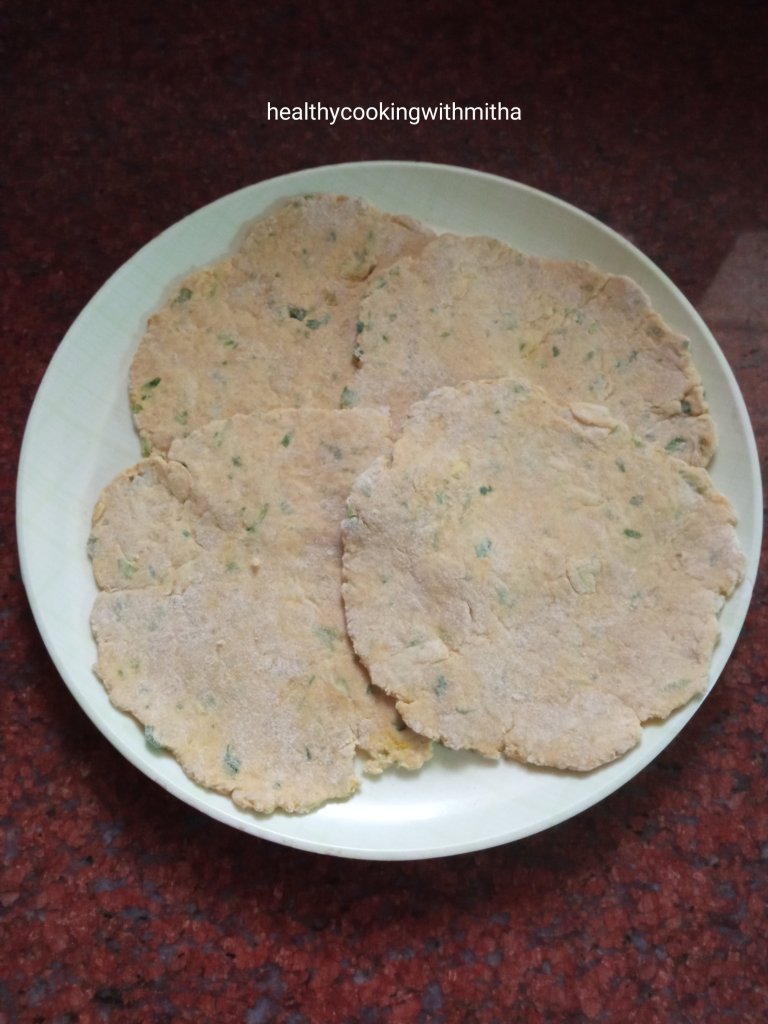
5. Heat a pan and fry the Theplas, both sides while applying oil or Ghee. Cook till brown spots appear on either sides of the Thepla.

6. Enjoy hot Theplas with curd and pickle or even as it is. Tastes so yum ❤️

Click on the image to save the recipe on Pinterest

Notes:

* You can also enjoy them after a while as they remain soft for many hours. Hence they make an excellent lunch box option or to make and carry during traveling.

* Just pack them tightly in a steel box or a hot case.

* The ratio of 1 : 2 for methi leaves : wheat flour works well for me. If you change the ratio, it might be difficult to roll the Theplas.

* Remove thick stems from methi leaves before adding to Theplas. I add thin, tender stems finely chopped and you can never feel them in the mouth.

* Make sure to cook both sides of the Theplas well with oil or Ghee which makes the Theplas soft.

* I also make Theplas adding yogurt which is another method you can try. I make Bottlegourd or Dudhi/ Lauki Thepla that way. Here is the recipe : Bottlegourd Theplas

* For growing your own methi leaves, just sprout regular methi seeds and add them to soil. You can also grow in pots of you don’t have the space for direct soil. It takes about two weeks for methi leaves to grow completely once sowed in soil. I have shared the detailed blog on how to sprout methi seeds in this blog. You can check HERE.

Batat Phovu| Kanda Batata Poha | Easy Breakfast recipe with rice flakes

Click on the image to save the recipe on Pinterest

Whenever I ask my husband what breakfast he would like to eat when there is no dosa or idli batter, he immediately says “Batat Phovu”. 😄 And to imagine that he used to simply dislike potatoes when we got married. I used to beg him to please get us some potatoes as it used to be my favorite vegetable. Yes, “used to be” 😂 Now I have joined him in not liking potatoes so much but he is slowly liking them in some dishes and one of them is this Batat Phovu. 😍

In fact, it is he who suggested me that I should definitely share this recipe on the blog while I was sceptical as this is quite a well known recipe. “Everyone makes this and everyone knows the recipe..”, I told him. “But don’t think anyone can make it as perfectly as yours!”, was his reply instantly. (This man really loves what I cook 😂😂)

So I decided to share the recipe on the blog. Because if it helps even one, I will consider my efforts worthwhile. Though I am not a perfect cook in any way, some dishes I cook comes out really tasty and Batat Phovu is one among them.

Here’s sharing the simple recipe for those who don’t know yet. Hope it’s helpful for you. Happy and healthy cooking! ❤️

RECIPE:

Ingredients: {Serves 2 to 3 people}

1 Cup = 240 ml

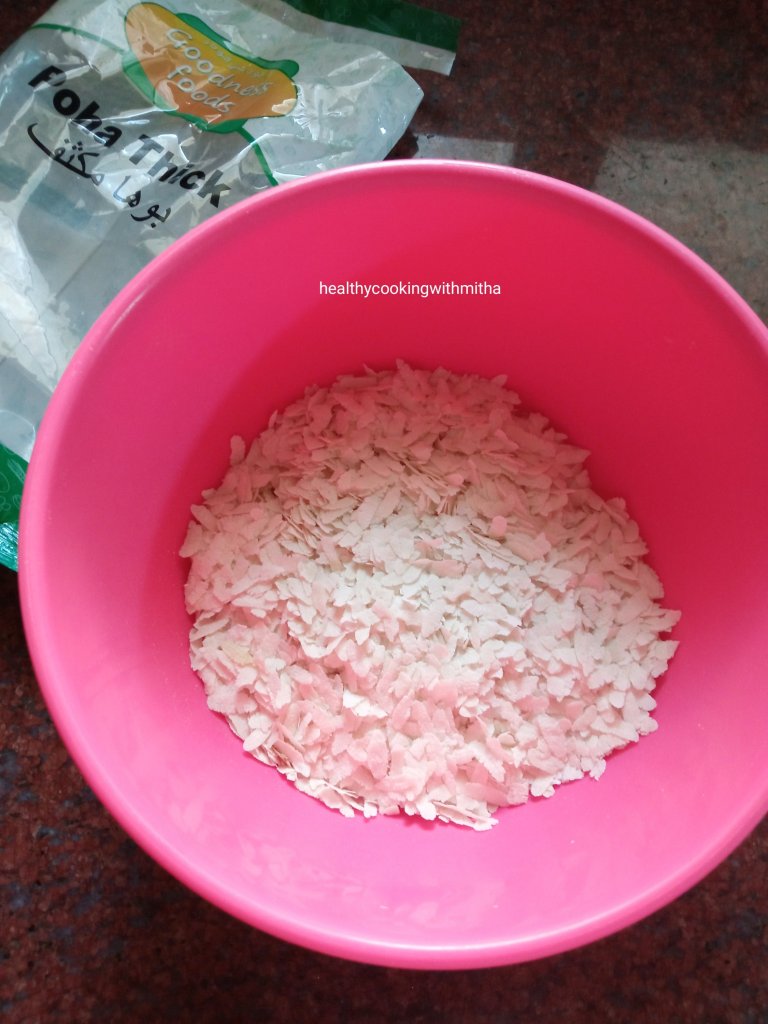
2 Cups Thick Poha / Rice flakes / Beaten rice

2 Tbsp Coconut Oil

1 tsp Ghee

1 tsp Mustard seeds

1 tsp Cumin seeds

2 Tbsp Peanuts

Few Curry leaves

3 Green chillies

1 medium sized Onion

2 medium sized Potatoes

1/4 tsp Turmeric powder

A pinch of Asafoetida/ Hing

2 tsp Sugar

Salt to taste

2 Tbsp Coriander leaves, for garnish

2 Tbsp freshly grated Coconut, for garnish

Juice of 1/2 an Indian lemon

Step by step recipe:

1. Heat oil + ghee in a pan. Add mustard seeds and cumin seeds. Allow mustard seeds to splutter. Now add peanuts, curry leaves and finely chopped green chillies. Fry for few seconds till peanuts get roasted.

2. Now add finely chopped Onion and fry till onions turn translucent.

3. Add peeled and finely chopped Potatoes and turmeric powder. Mix well and fry the potatoes for a minute. Now add few spoons of water. Cover and cook till the potatoes turn soft. Will take about 5 mins.

4. Meanwhile take Thick Poha in a bowl. Note to take thick variety of Poha and not the thin variety of Poha.

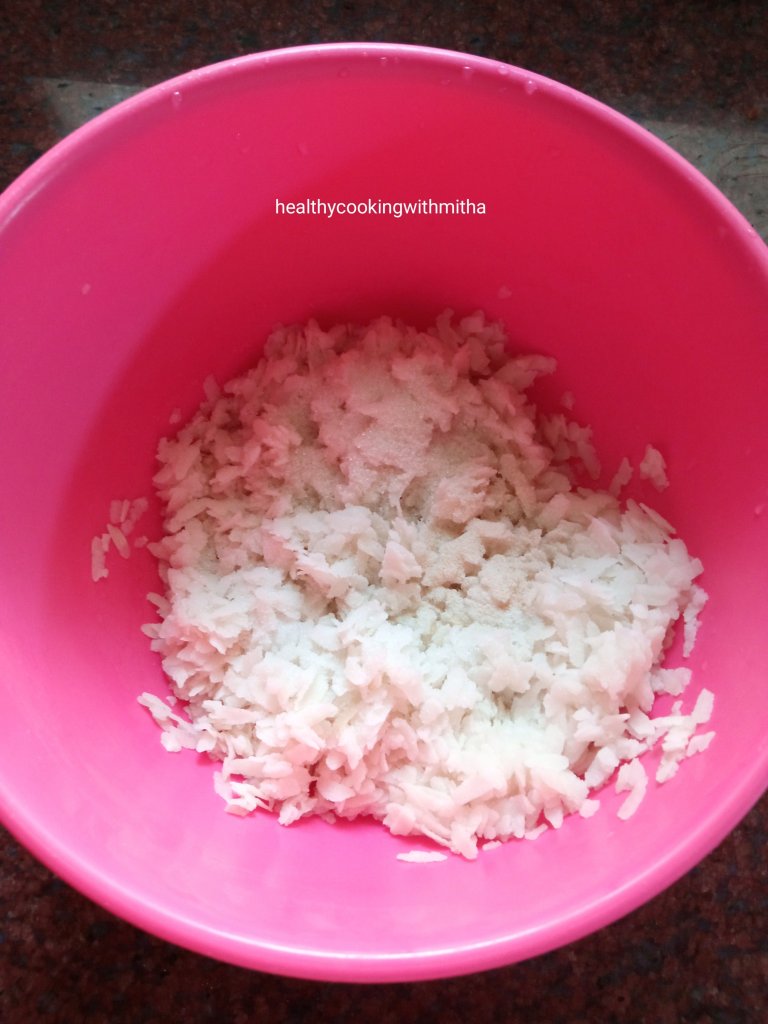
5. Now wash it well once or twice to remove impurities from it. Drain water completely after washing. Poha turns soft now. Add salt, sugar and hing powder. Mix well.

6. Once potatoes turn soft, add poha to it and mix well continually till the mixture combines. Cover and keep for 5 mins on very low flame.

7. Now remove from flame and garnish with finely chopped coriander leaves and grated coconut. Drizzle lemon juice on top. Mix well. Serve hot. Done! ❤️

Click on the image to save the recipe on Pinterest

Notes:

* We like the Poha soft and moist. So I wash really well and also cook after adding to the pan. If you don’t like it soft, you can wash only once and just mix in the pan and remove from flame without covering it.

* Batat Phovu is best had hot when freshly made. If kept for long, it tends to get dry. In case you have to make ahead, just sprinkle few drops of water while reheating before serving. That makes it moist again.

* You can skip potatoes if you don’t like and make simple Kanda Poha with only onions.

* Some people also add carrots, capsicum and peas to this making it Vegetable Poha which is even healthier but my family loves Batat Phovu the authentic way only. Just shared as I thought it’s a great idea.

* I add oil + ghee to enhance the flavour of the Batat Phovu. You can add only oil if you like.

* Thick Poha is used to make Batat Phovu and not Thin Poha. Thin Poha is used in dishes like Godu Phovu (sweetened rice flakes) and Bhajjil Phovu (roasted rice flakes).

* I mix salt, sugar and hing in the washed Poha instead of adding in the pan as I have seen it results in even mixing and tastes really good.

* The thick Poha I use does not need soaking at all and turns soft when I wash it twice. If your Poha is very hard, you will need to soak for few minutes to make it soft before use.

* You can also try my other Poha recipes:

Kobi Pohe (Satwik version of Pohe with Cabbage)

Poha Vegetable Cutlet

Instant Poha Idlis

Instant Oats Poha Dosa

Other Breakfast Ideas

Eggless Wheat Banana Cupcakes | Healthy muffins | Easy recipe

Click on the image to save the recipe on Pinterest

I have been baking cakes and cupcakes with wheat flour, jaggery and ghee since many years now and I am happy to say that my kids too have got so much used to this flavour that they love it much more than store bought maida based cupcakes. I bake them for their school tiffin box and also as an evening snack before they go out to play. ❤️

Now that they are at home whole day (demanding for food quite often 😅), my cooking has also increased and while I was about to make these banana cupcakes, I realized I had not shared the recipe on the blog. So quickly took some pictures and here I am writing this recipe while they are enjoying the cupcakes. ❤️

Cinnamon gives a wonderful aroma and flavour to these cupcakes and that makes these cupcakes super tasty too. They come out so soft too and you can never say it does not have eggs in it.

Hope you all try these delicious, filling cupcakes too and I am sure you will love it too. Happy and healthy baking! ❤️

RECIPE:

Ingredients: { Makes 6 medium sized muffins }

1 Cup = 240 ml

Dry Ingredients:

1 Cup Whole Wheat flour / Atta

1/4 tsp Cinnamon powder (or Vanilla essence)

1/4 tsp Baking soda

A pinch of salt

Wet Ingredients:

1/4 Cup Mashed Bananas ( I took 2 small overripe Indian bananas)

1/2 Cup Jaggery powder

1/4 Cup Water

1/4 Cup Ghee

1 tsp Vinegar (or lemon juice)

Step by step recipe:

1. Sift together using a sieve 1 Cup wheat flour, 1/4 tsp Cinnamon powder, 1/4 tsp Baking soda and a pinch of salt. Keep aside.

Note: If using Vanilla essence, you can mix with wet ingredients.

2. In another mixing bowl, take 1/4 Cup mashed bananas, 1/2 Cup Jaggery powder, 1/4 Cup Water, 1/4 Cup Ghee and 1 tsp Vinegar. Mix very well using a spatula.

Note: I mashed two overripe Indian bananas and got 1/4 Cup of mashed bananas. Even if you use three Indian bananas, it’s fine. Cupcakes will come out well. Just take care to mash really well.

3. Now add the dry ingredients mix to the wet ingredients mix and fold using the spatula. Do NOT overmix. Just mix so that you don’t see any dry flour specks in the mixture.

4. Preheat the oven at 180 C for 10 to 15 mins in the center rack of the oven. If using microwave convection oven, choose the option of turning both rods on.

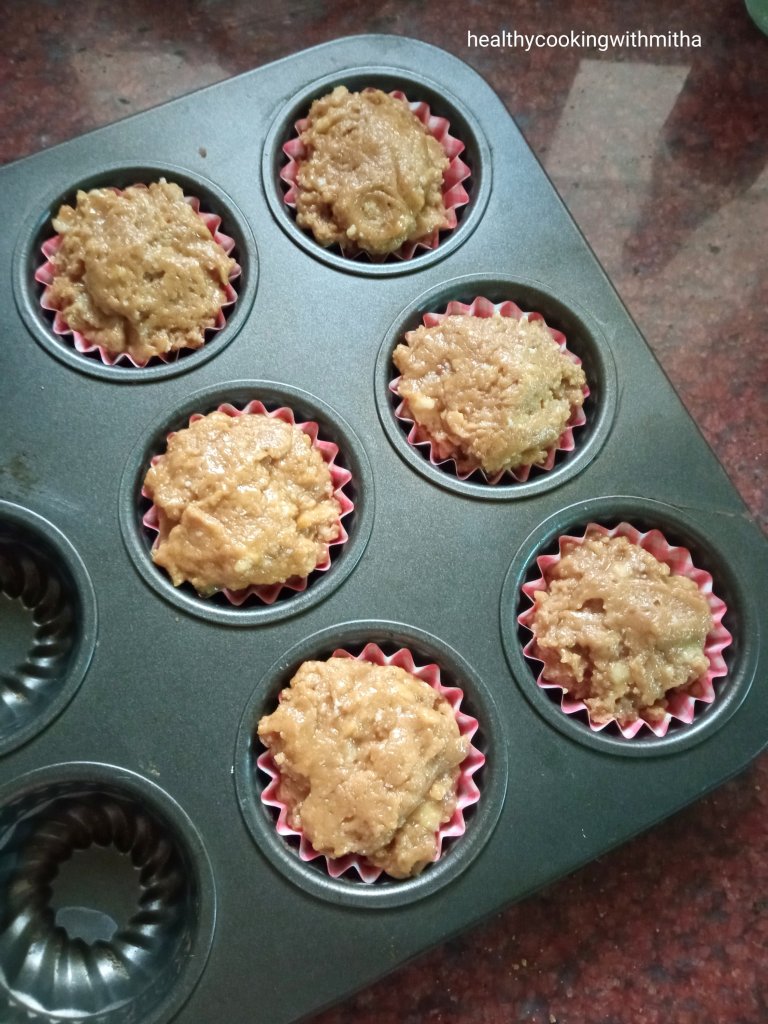
5. Meanwhile line the muffin pan with liners or just grease well with ghee or butter. Add a spoonful or two of the batter into each mold.

6. Bake at 180 C for 18 to 20 mins. Mine gets done exactly at 18 mins. Keep an eye after 15 mins into baking time so that the cupcakes don’t turn brown on the surface. Allow them to cool and then enjoy!

Note: To check if done, insert a toothpick in the center most cupcake. If it comes out clear or with tiny crumbs and is not wet, then the cupcakes are well baked. If it comes out wet, bake for few minutes more.

Click on the image to save the recipe on Pinterest

Notes:

* These cupcakes lasts well at room temperature for a day. Just keep in a moisture free container. After a day, refrigerate it and then microwave for few seconds before consuming.

* I have used 1/4 Cup mashed Bananas to 1/2 Cup mashed Bananas in this recipe and it does not make much difference. It depends on how many overripe bananas I have. If I have two, I add two and if I have three, I add all three. Just make sure to not increase the quantity more than 1/2 Cup though.

* I recommend using Cinnamon powder for this recipe as it gives such a wonderful aroma and flavour. But if you don’t have, you can use vanilla essence or even Cardamom powder too.

* Always remember to sieve the dry ingredients to get soft muffins, specially when using whole wheat flour.

* Ghee can be substituted with melted butter, Jaggery can be substituted with brown sugar or regular sugar and Vinegar can be substituted with lemon juice, all of same quantity.

* Don’t overmix both the dry and wet ingredients. Just mix well once. Overmixing can lead to hard muffins.

* Preheating the oven before placing the muffin pan is a very important step. Don’t forget it. Preheat at 180 C for 10 to 15 mins.

* Bake in the center rack of OTG or with both rods on in a microwave convection oven. Keep an eyes after 15 mins into baking time but don’t keep opening oven door before that. Mine gets done exactly at 18 mins in OTG.

* To check if done, insert a toothpick in the center most cupcake. If it comes out clear or with tiny crumbs and is not wet, then the cupcakes are well baked. If it comes out wet, bake for few minutes more.

* You can give this to kids as evening snack or in their tiffin box for a filling, tasty treat.

For more Healthy cakes, cupcakes and cookies recipes, you can check my collection:

Healthy Cakes, Cupcakes and Muffins

For Baking tips for Beginners, you can check:

Baking Tips for Beginners

More recipes with Bananas like Banana pancakes, Banana Rava Cupcakes, Chocolate banana cake:

Banana recipes Collection

Bottlegourd Thepla | Lauki/ Dudhi Thepla

Click on the image to save the recipe on Pinterest

The house is silent now, till afternoon, when my kids come back from school. I am utilizing this alone time to write this interesting, very healthy and super tasty Bottlegourd thepla recipe which I learned sometime back. Once the kids return from school, all they say is “Amma, Potta Bhook!” meaning “Mom, I am hungry!” in Konkani. 😁

So I have to keep something ready for them so that I can feed them as quick as I can. And it should be filling as well. Else in another 30 mins, it’s the same dialogue again. 😄 So, in my search for healthy snack recipes, I found this Bottlegourd Thepla which I tried one day for the hungry siblings. 😍😍

Both of them literally had a fight till the last bite while I had the last laugh as they did not realize they were eating bottlegourd too in it. 😁 Seriously speaking, you can never say it is made of bottlegourd. The taste of these soft theplas are heavenly to say the least. ❤️

So now, bottlegourd is bought weekly in our grocery shopping to specially make these theplas and I had to share the recipe with all of you too. ❤️

Bottlegourd ❤️

Do try them for a change from the regular food that we make and you are sure to be a fan of Bottlegourd theplas too. Happy and healthy cooking! ❤️

RECIPE:

Ingredients: { 1 Cup = 240 ml }

Makes about 4 Theplas

1 Cup Whole Wheat flour/ Atta

1/2 Cup peeled, cored and grated Bottlegourd/ Lauki / Dudhi / Sorekai / Chorakaa

1/2 inch Ginger piece, grated

3 Tbsp Coriander leaves, chopped

1/4 tsp Turmeric powder

1/2 tsp Red chilli powder

1 tsp Coriander powder

1 tsp Garam masala powder

Salt to taste

1 to 2 Tbsp Yogurt/ Curd or as needed

Dry wheat flour as needed while rolling

Oil or Ghee to cook the Theplas

Step by step recipe:

1. Peel, core and grate Bottlegourd. I took half of one medium sized Bottlegourd and got 1/2 Cup gratings.

2. Add it to a mixing bowl. Add wheat flour. Then add grated ginger, chopped coriander leaves, turmeric powder, red chilli powder, Garam masala powder, coriander powder and salt.

3. Mix well using hands. Bottlegourd will release it’s water and the dough will be moist.

4. Now add 1 Tbsp Yogurt and mix well to form a dough.

Note: This step is very important as if you add more yogurt, the dough will be wet and you won’t be able to roll the theplas. Add only as much as to form a dough. In case by mistake you add more yogurt, just add more wheat flour to form a non sticky dough.

5. Coat the dough with few drops of any kind of oil so that the dough becomes non sticky.

6. Now divide into equal sized dough balls. Flatten and dip into dry wheat flour. Roll as thin as you can.

Note: The shape will not be perfect round due to grated bottlegourd in it but it’s fine. Just dip into as much dry wheat flour as needed and roll.

7. Now fry both sides on a hot tawa applying oil or Ghee on either sides, cooking the Thepla really well till it turns golden brown in colour.

8. Serve hot with mango or lemon pickle. ❤️

Notes:

* Hot theplas with pickle taste the best but you can also make ahead and keep as these last for two to three days. A perfect travel food made regularly by Gujaratis.

* Do a taste test by eating a small bite of the bottlegourd before grating to see if it’s bitter. I have never found a bitter one but I have heard some do taste bitter. So I always taste before grating.

* You can also add finely chopped green chillies to thepla dough but since I make for my kids, I add only little red chilli powder.

* Knead the dough only using the moisture from bottlegourd and yogurt. Don’t add water while kneading.

* The ratio of 1/2 Cup grated bottlegourd to 1 Cup wheat flour and 1 Tbsp Yogurt gives a very soft Thepla but is slightly tricky while rolling. If you are not good at rolling, you can increase the quantity of wheat flour to 1 1/2 Cups wheat flour. The texture will be similar to rotis though.

* While rolling, use ample amount of dry wheat flour which helps in rolling easily. If using less, the dough will stick to the rolling platform.

* I used ghee to fry the theplas. You can use oil too.

* A simple mango pickle tastes the best with this Thepla. You can also make coriander chutney or raita too.

* I regularly make this Bottlegourd Halwa which tastes really delicious. You can try it as well.

Click on the image to save the recipe on Pinterest

Nendrapazham Nirachathu | Stuffed Nendran Banana

Click on the image to save the recipe on Pinterest

It’s a special weekend day today as my daughter Ashritha’s half yearly exams are finally over and it really feels like my exams are over too. 😅 Teaching her for her second standard exams was not less than my engineering semester exams for me. 😁

Planning her lessons, teaching her, preparing notes, asking her questions while I do my work, then finally heaving a sigh of relief when she says the exams were easy… All of these were my last two weeks in short. 😄 So since yesterday, I have been making her favorite dishes to celebrate “freedom from exams” and today was the day to give freedom to these fast ripening Nendran Bananas too. 😍

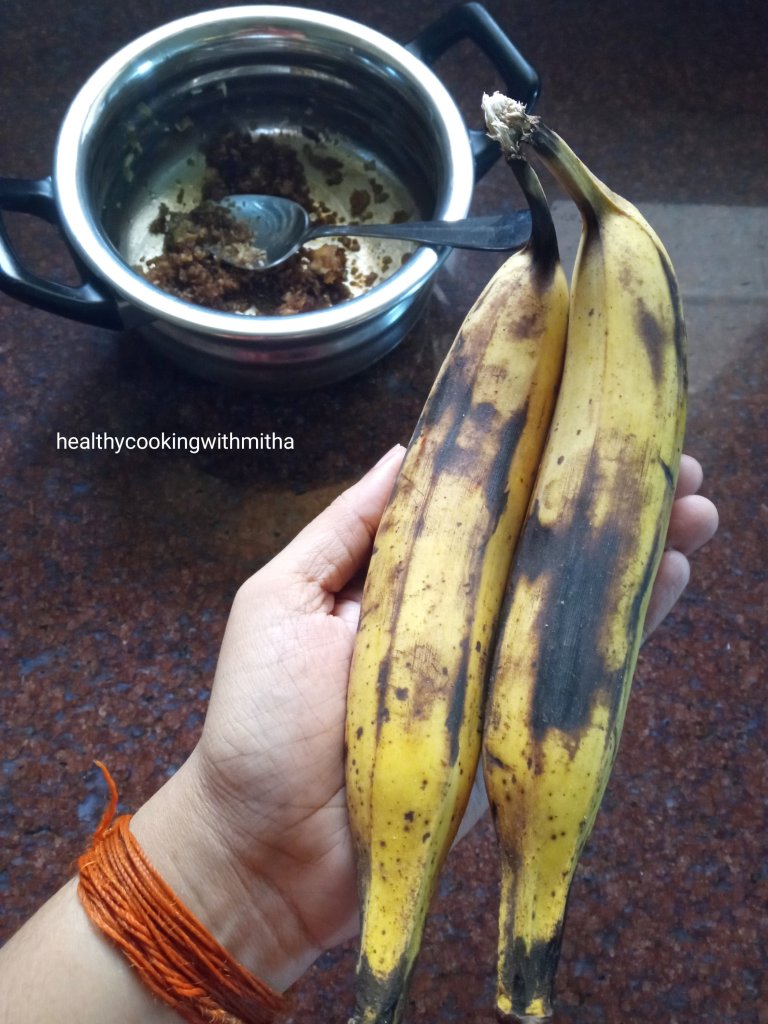
Nendran Bananas are her favorite and apart from slicing round, frying in ghee, I also make this Nendran Banana Halwa when the bananas turn overripe. I also learned to make this Nendrapazham nirachathu last month which she loved a lot. So I decided to make it today with these bananas and took some pictures to add on the blog too.

This is very easy to make and tastes so delicious for words, specially if you love Nendran Bananas. Hope you all try it too. Happy and healthy cooking! ❤️

RECIPE:

Ingredients: { For two stuffed bananas }

Two Ripe Nendran Bananas (should not be very soft or over ripe)

4 Tbsp Freshly grated Coconut

2 to 3 Tbsp Jaggery powder

1 tsp Ghee + 1 Tbsp Ghee

1/2 tsp Cardamom powder

Step by step recipe:

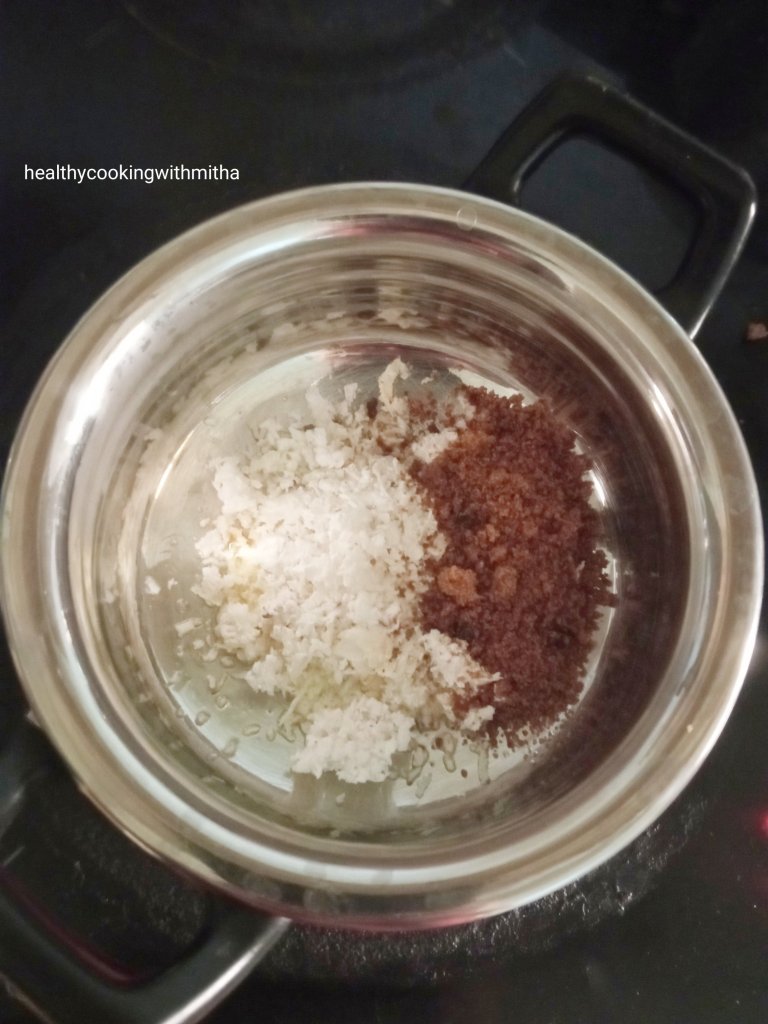
1. Heat 1 tsp Ghee in a small pan and add freshly grated coconut and jaggery powder.

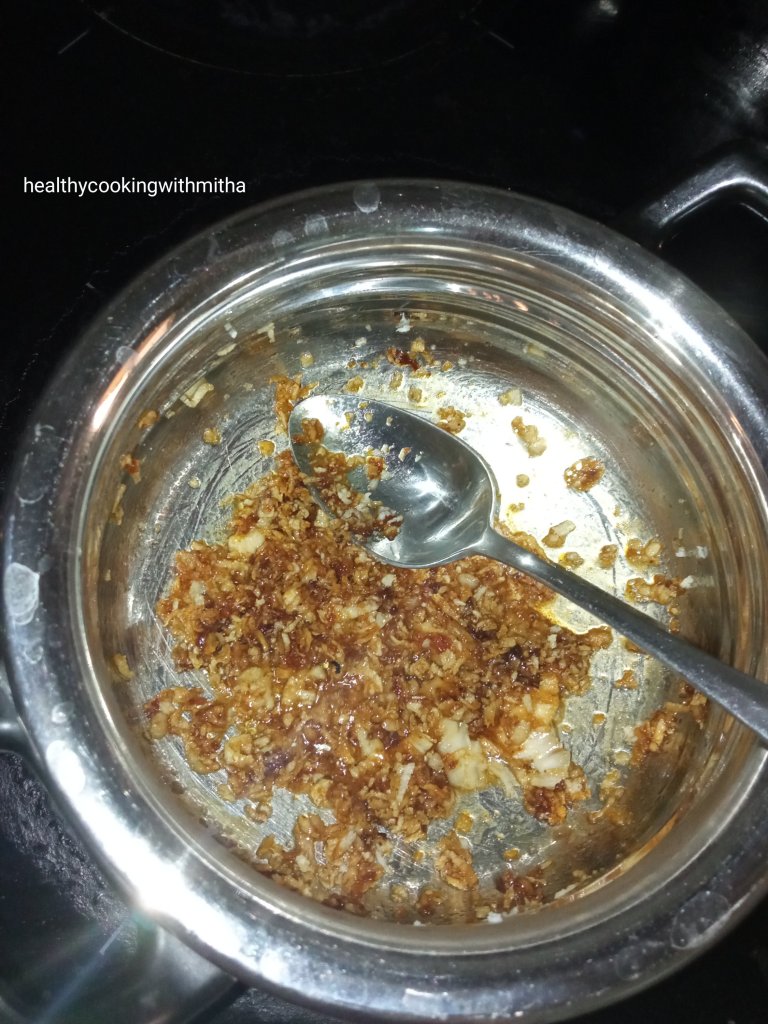
2. On medium to low flame, fry the coconut- jaggery well in ghee for a minute.

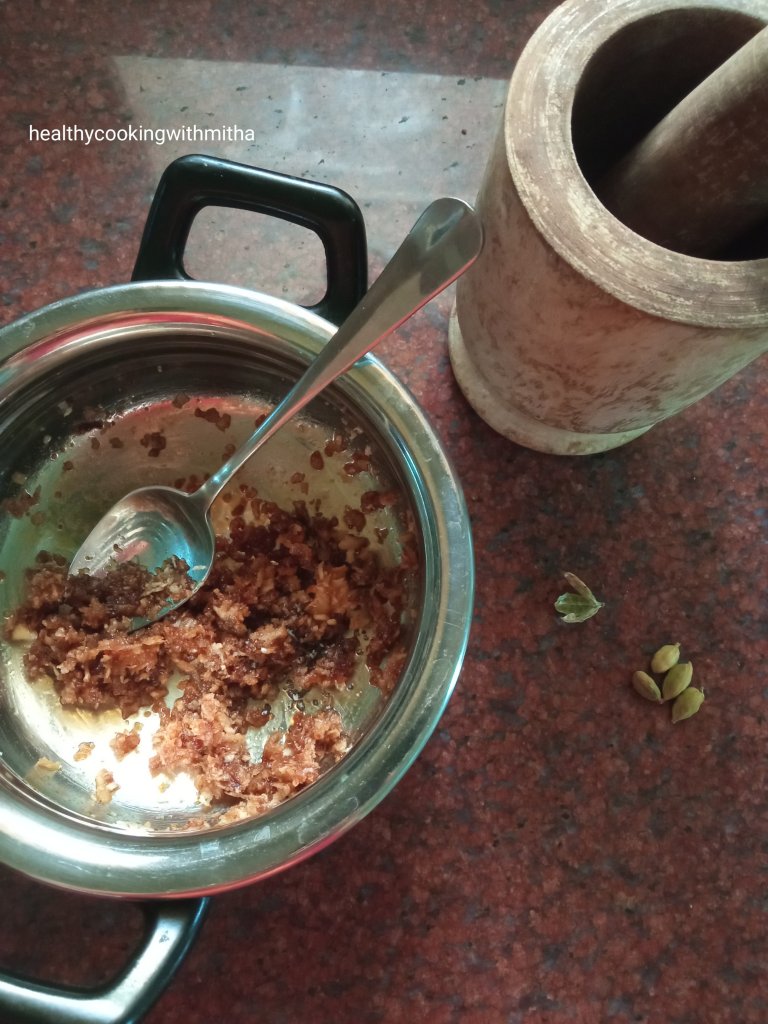
3. Remove from flame. Add Cardamom powder. Mix well.

4. Take the ripe Nendran Bananas. If they are very soft, we can’t use it as it will break when we fill and fry it. Just see that they are ripe yet firm.

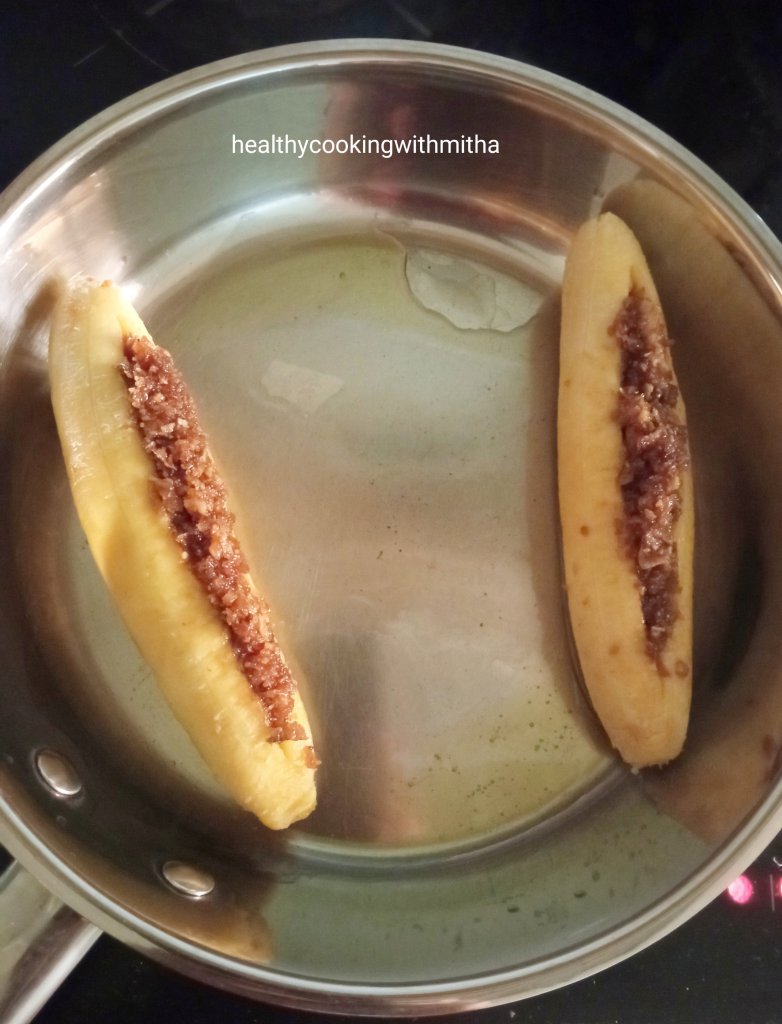
5. Peel the bananas. Make a small slit with knife in the center leaving the ends as shown. Don’t make a very deep cut too. Just slit until 3/4th depth of the banana.

6. Now stuff the bananas with the coconut jaggery mixture using hands. Divide the mixture between the two bananas.

7. Now heat 1 Tbsp Ghee in a pan and roast all three sides of the bananas till they turn slight brown. Do it on medium to low flame, else they can burn.

8. Done. Slice into three to four pieces and serve. Enjoy! ❤️

Click on the image to save the recipe on Pinterest

Notes:

* If you have very soft or over ripe bananas, you can make this Quick Nendran Banana Halwa that I make regularly.

* This recipe requires the bananas to be ripe yet firm to hold.

* While frying the bananas, be careful while turning and see that you do so on medium to low flame, else the stuffing can burn as it has jaggery in it.

Instant Sweet Appo | Wheat Jaggery appe | Easy Sweet Paniyaram | Godu Appo

Click on the image to save the recipe on Pinterest

The bowl of sweet appes that you can see above has been finished off by my sweet 3 year old son as I write this. After I made it and gave him one, he took a bite and asked me innocently, “mmm yummy Amma, ye hotel?” 😄. I felt very happy and like a chef that my son found the appes so good that he thought they were from hotel. 😍

He wanted more and finally ate the whole bowl of it. My heart filled up as a mother by seeing him eat happily and I wanted to share my happiness with all of you too as soon as possible. So, sat to write down this blog now itself. ❤️

These appes were one among the first I learnt to make when I got the Appe pan as we have grown up eating them. My kids love it a lot and I make it regularly for them as a tasty snack. It’s so quick to make yet fills up their tummies in a healthy way. ❤️

I also want to share a glimpse of my kitchen counter with all of you today seeing which makes me very happy each day. I love arranging it and love to keep the house clean. Took this picture to send my Amma and felt like sharing with you all too. A peek into my kitchen and my favorite place in the house. 😍

The popsicle molds are my recent purchase and I am loving making new varieties of fruit popsicles each day for the kids. Their excitement while enjoying them is one of a kind. 😍 Will share the recipes when I find time. ❤️

Hope you all loved reading this blog. Do try these appes and I am sure you will love them. Happy and healthy cooking! ❤️

RECIPE:

Ingredients: { Makes about 24 small sized appos }

1 Cup Wheat flour (Chapati Atta)

1/2 Cup Jaggery powder or to taste

2 to 3 Tbsp freshly grated Coconut

A pinch of Salt

1/4 tsp Cardamom powder

1/2 Cup Milk

1/2 to 3/4 Cup water (to make the batter)

1 small Indian Banana (1/4 Cup mashed banana)

Ghee to cook the appos

Step by step recipe:

1. Take 1 Cup wheat flour, 1/2 Cup Jaggery powder, about 2 Tbsp freshly grated coconut, salt and Cardamom powder in a mixing bowl.

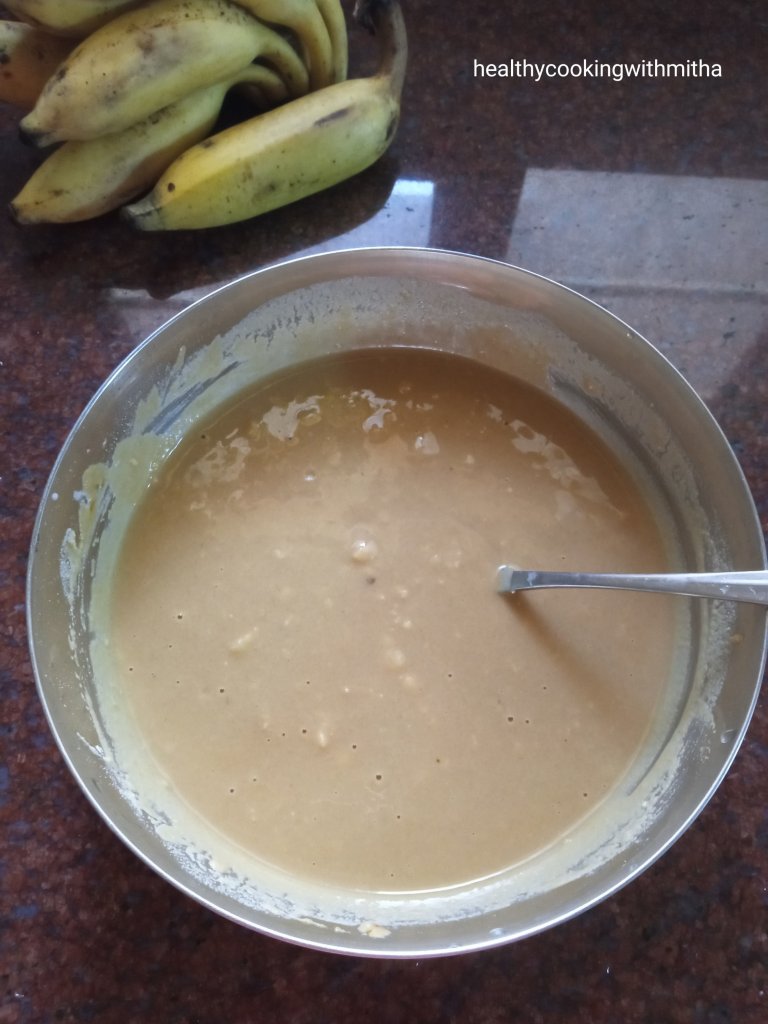
2. Add 1/2 Cup Milk and water (1/4 Cup each time) to make a slightly thick lump free batter. It takes about 1/2 Cup to 3/4 Cup water to make this batter depending on the brand of wheat flour and how much water it absorbs. The consistency should be neither very thin nor very thick. It should be thicker than dosa batter.

3. Now add the mashed banana to the batter. Mix well. I add 1 small Indian Banana which is 1/4 Cup when mashed.

4. Now heat the Appe pan and when it becomes hot, reduce the flame to medium. Now add a drop of ghee in each of the holes of the pan. Add one spoonful of batter in each of them. Don’t keep the flame on high as the appes may turn black in colour. Always keep the flame on medium to get golden coloured appes.

5. Cover and cook for a minute or till the surface looks slightly cooked.

6. Flip and cook for a minute again.

7. Serve them warm or at room temperature. Tastes so yum! 😍

Click on the image to save the recipe on Pinterest

Notes:

* You can skip banana if you don’t have but trust me, these appes taste really heavenly with the banana flavour and the slight bite of bananas in them.

* If you are not adding bananas, you will need to add a pinch of baking soda to help the appos fluff up. I don’t like to use soda and hence I add bananas everytime while making appos.

* This is how I make Wheat banana pancakes too. So you can use appe batter to make pancakes.

* The measurements I have shared above works very well for me. You can add or reduce jaggery, coconut and milk as per your taste.

* Always cook the appes in medium flame for perfect golden coloured appes.

* I also make Mixed dal Appes which comes out delicious. You can check the recipe here.