Chaat of any kind has been my favorite since a child, may it be the eating waala spicy, tangy chaats or the talking waala chatting. 😂😂 In fact talking my heart out while eating chaats with my loved ones is my dream kind of outing. During my college days, me, my brother and parents used to go out to eat chaats on Saturday evenings. It used to be so much fun and I still cherish those memories. ❤️
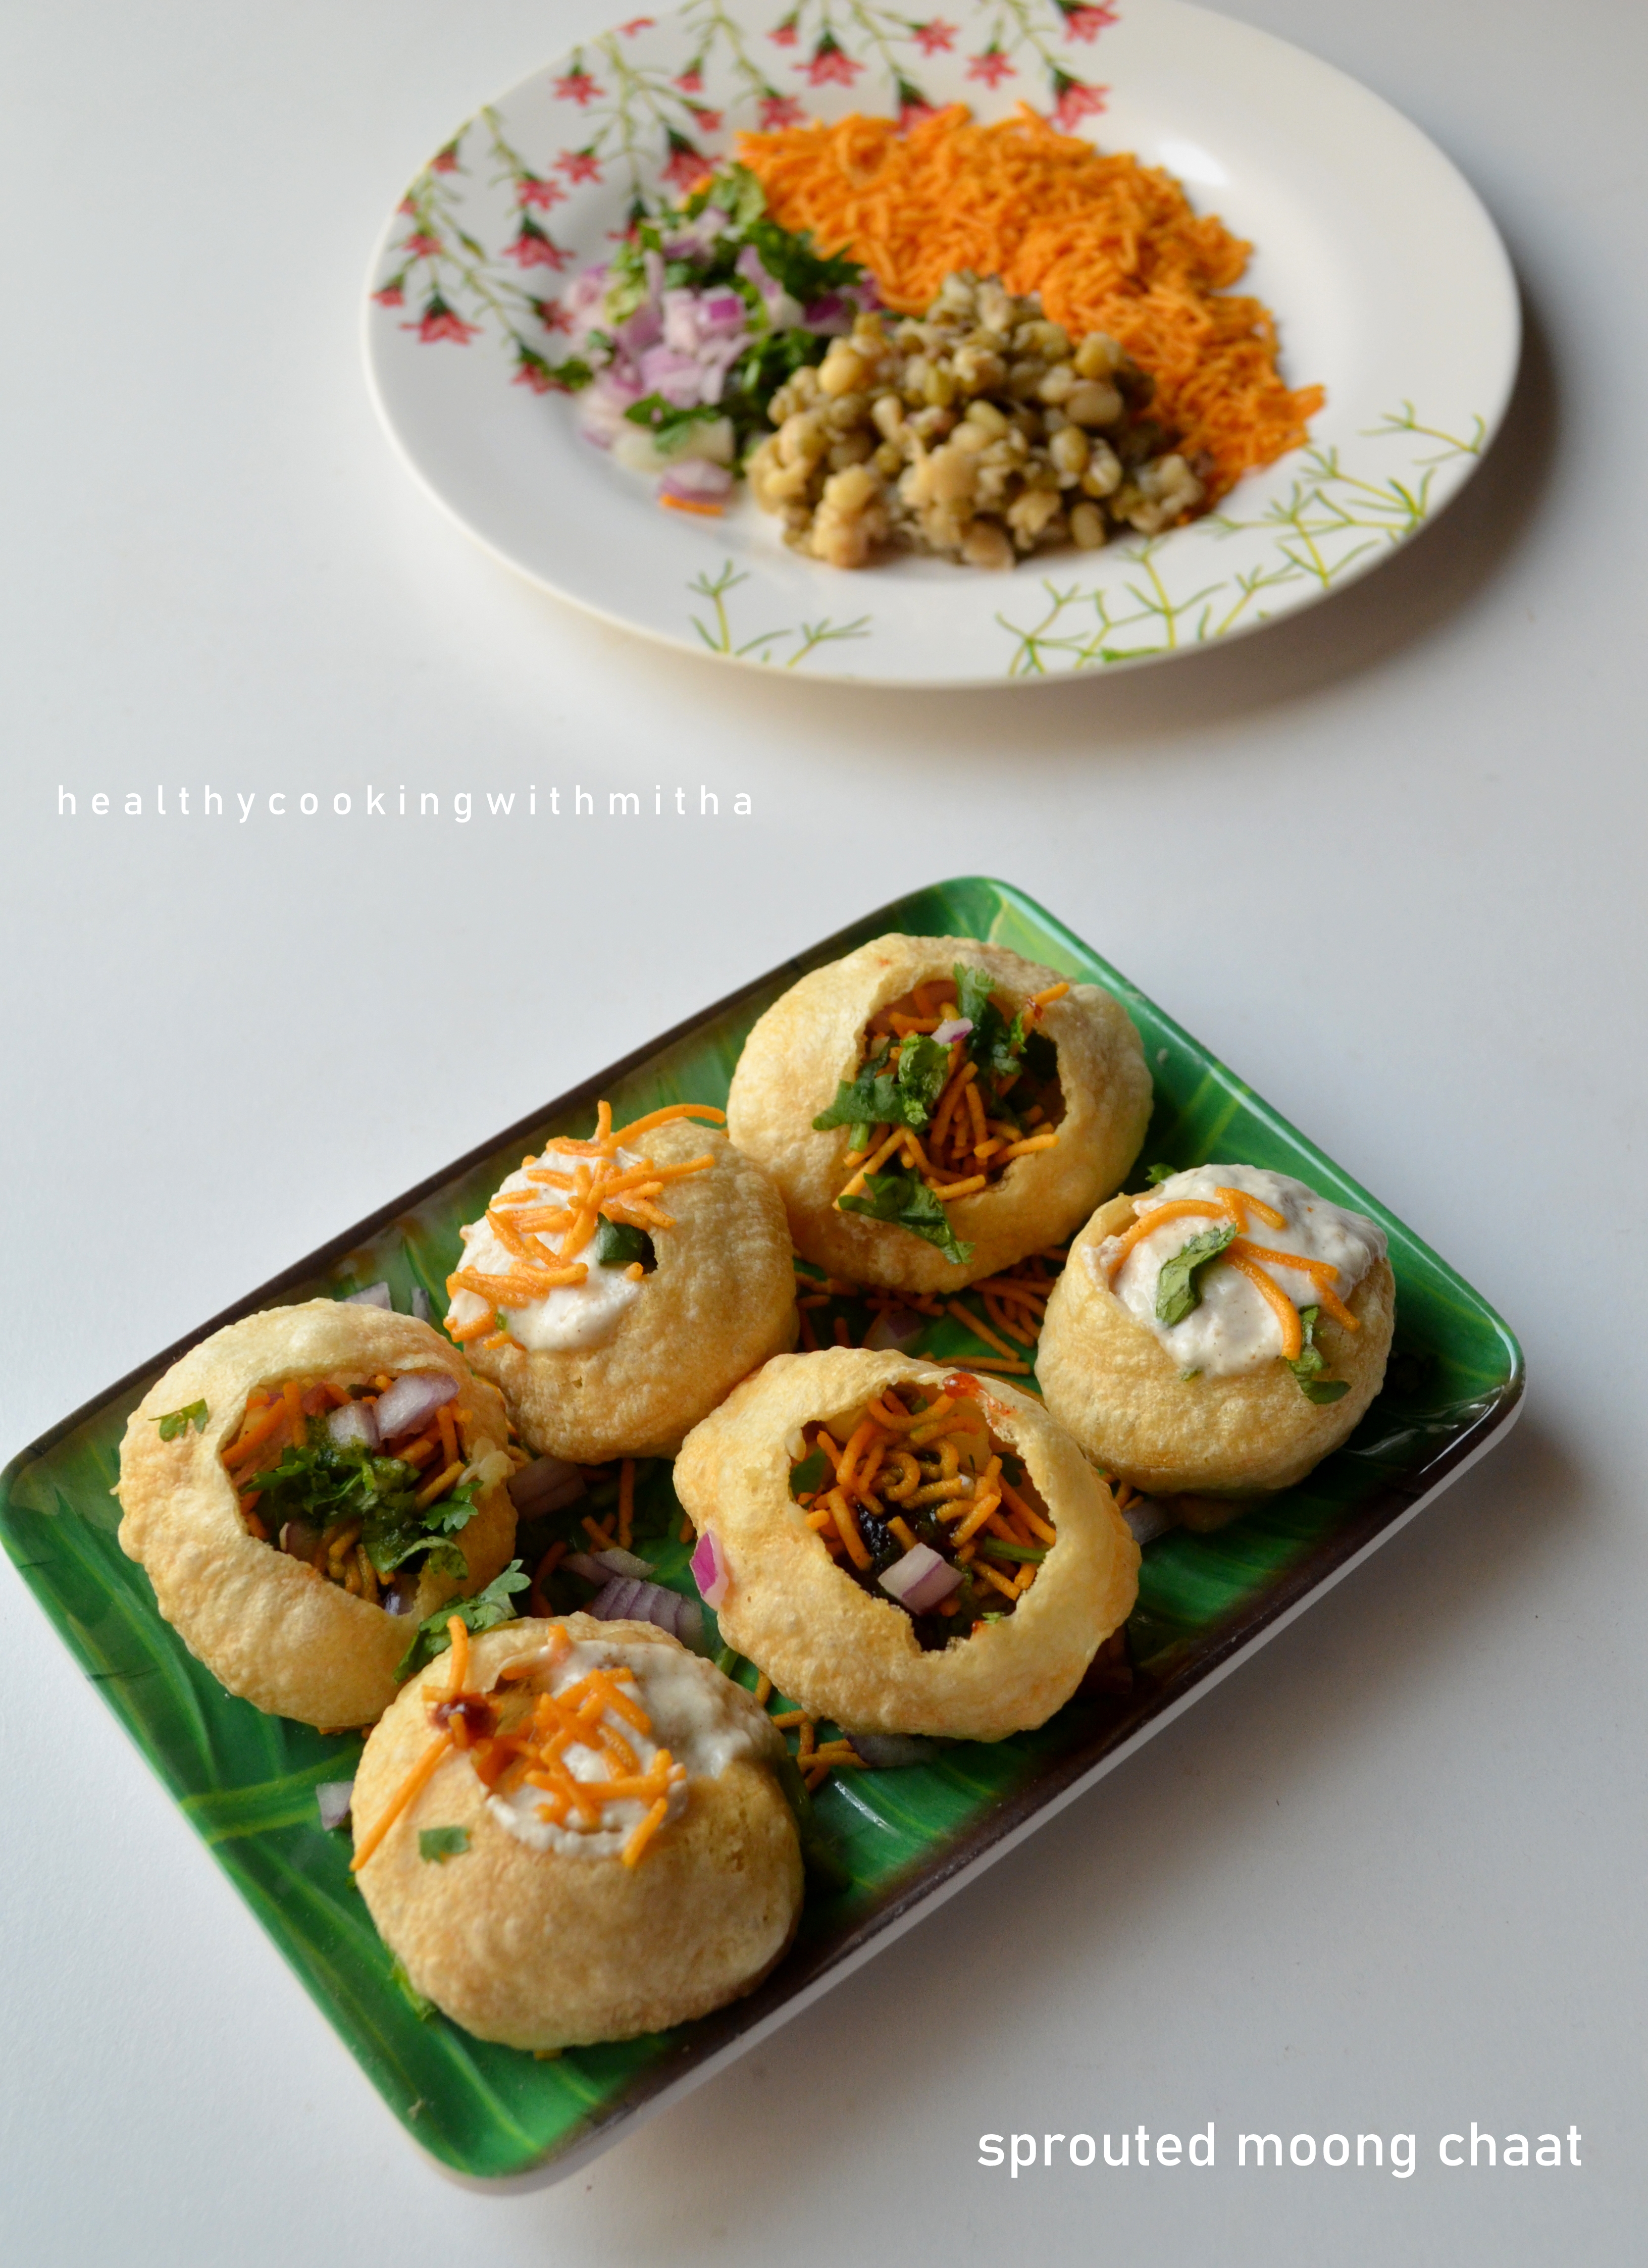
Now, whenever we go out and there are chaats available, my first order would definitely be atleast one among the various chaats in their menu. 😍 Karnataka style Masala Puri is my favorite among all chaats followed by Dahi Puri.
Bengalis make a similar chaat like our masala puri with peas, which can be had as a curry too. I had shared it in my old blog and I am happy to share it here too. This Chaat is very flavorful and so easy to make that you will be tempted to try it as soon as possible.
Hope you all will try it for your next evening snack and enjoy it with your cup of tea or coffee. Enjoy cooking and eating with your loved ones. It is these moments that we remember all our life. Happy and healthy cooking ❤️
RECIPE:
Ingredients:
1 Cup dried Green peas/ white peas
1 Tbsp Oil
2 tsp Ghee
1 Bay leaf
2 Cloves
1 inch Cinnamon stick
1 Cardamom pod
2 Dried Red chillies
1 inch Ginger, grated
2 Green chillies, finely chopped
1 medium sized Onion, thinly sliced
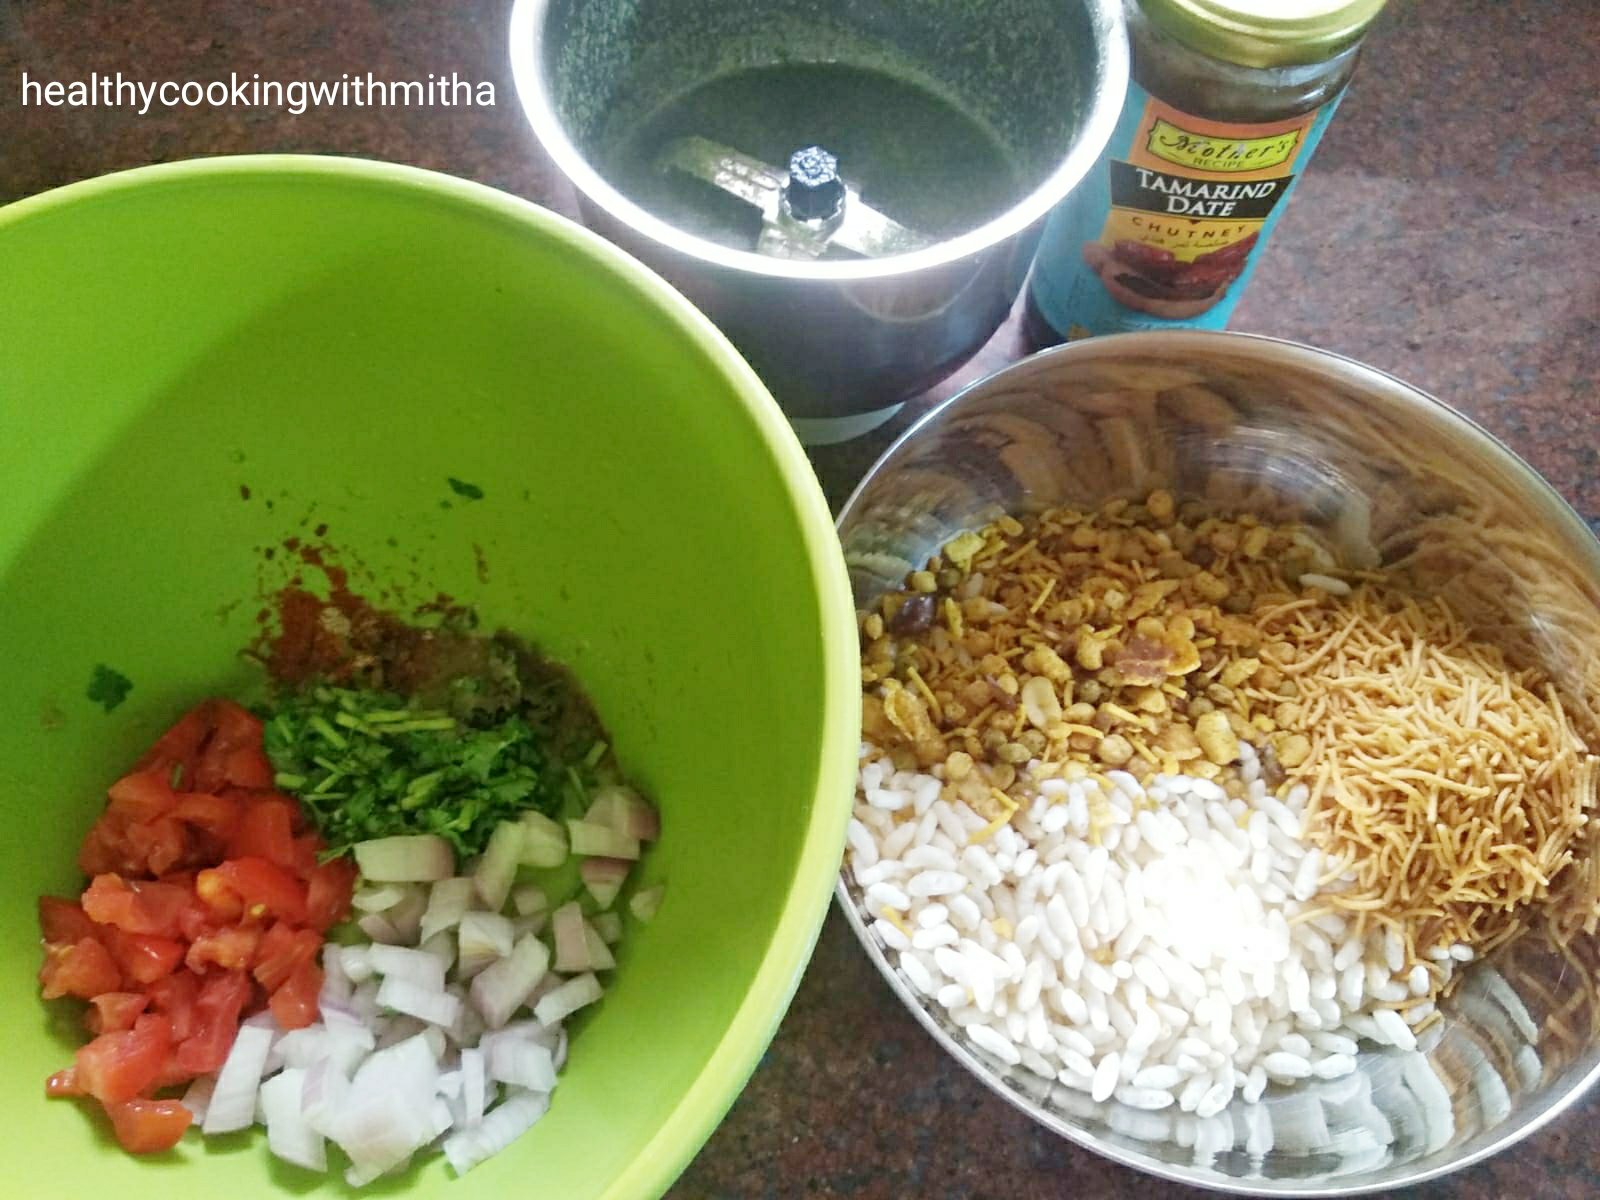
1 medium sized Tomato, diced
1 medium sized Potato, peeled and diced
1/4 tsp Turmeric powder
1 tsp Cumin powder
2 tsp Coriander powder
2 tsp Red chilli powder or to taste
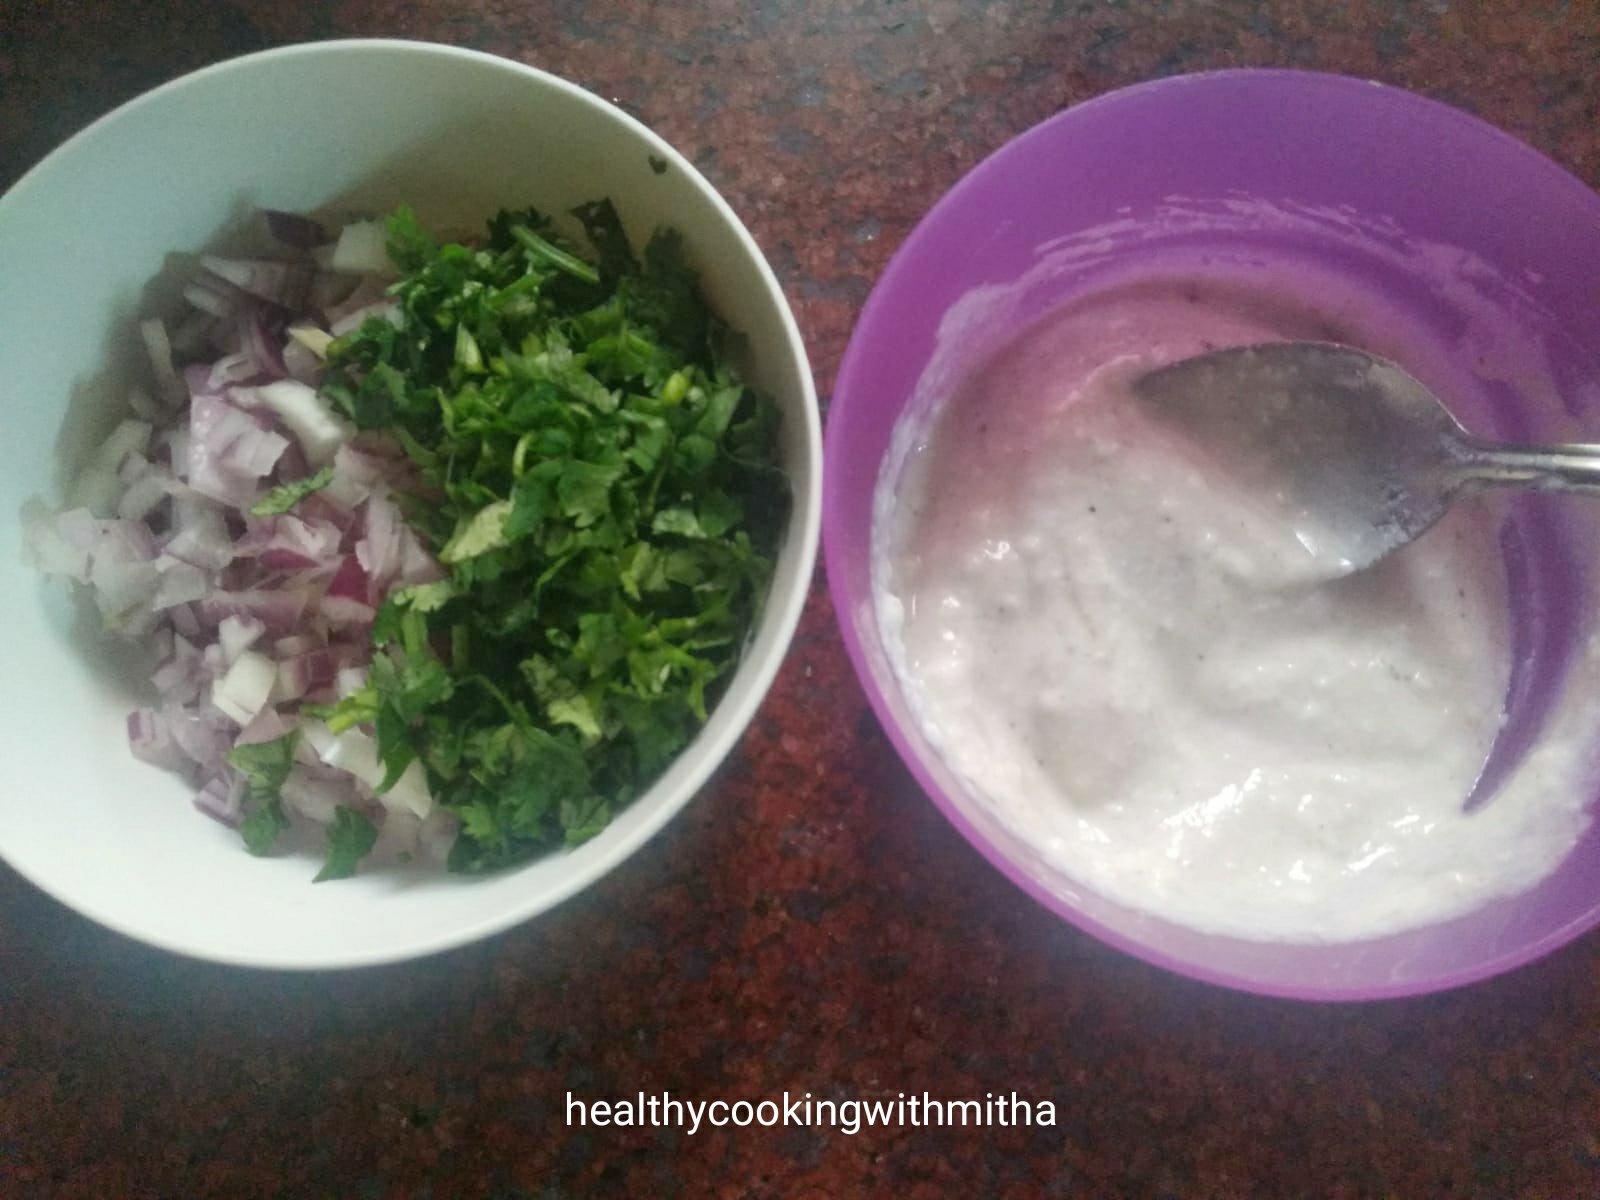
3 Tbsp finely chopped Coriander leaves
1 green chilli and few finely chopped onion pieces, for garnish
Salt to taste
Step by step recipe:
1. Wash well and soak the dried peas in enough water overnight or for atleast 8 hours.

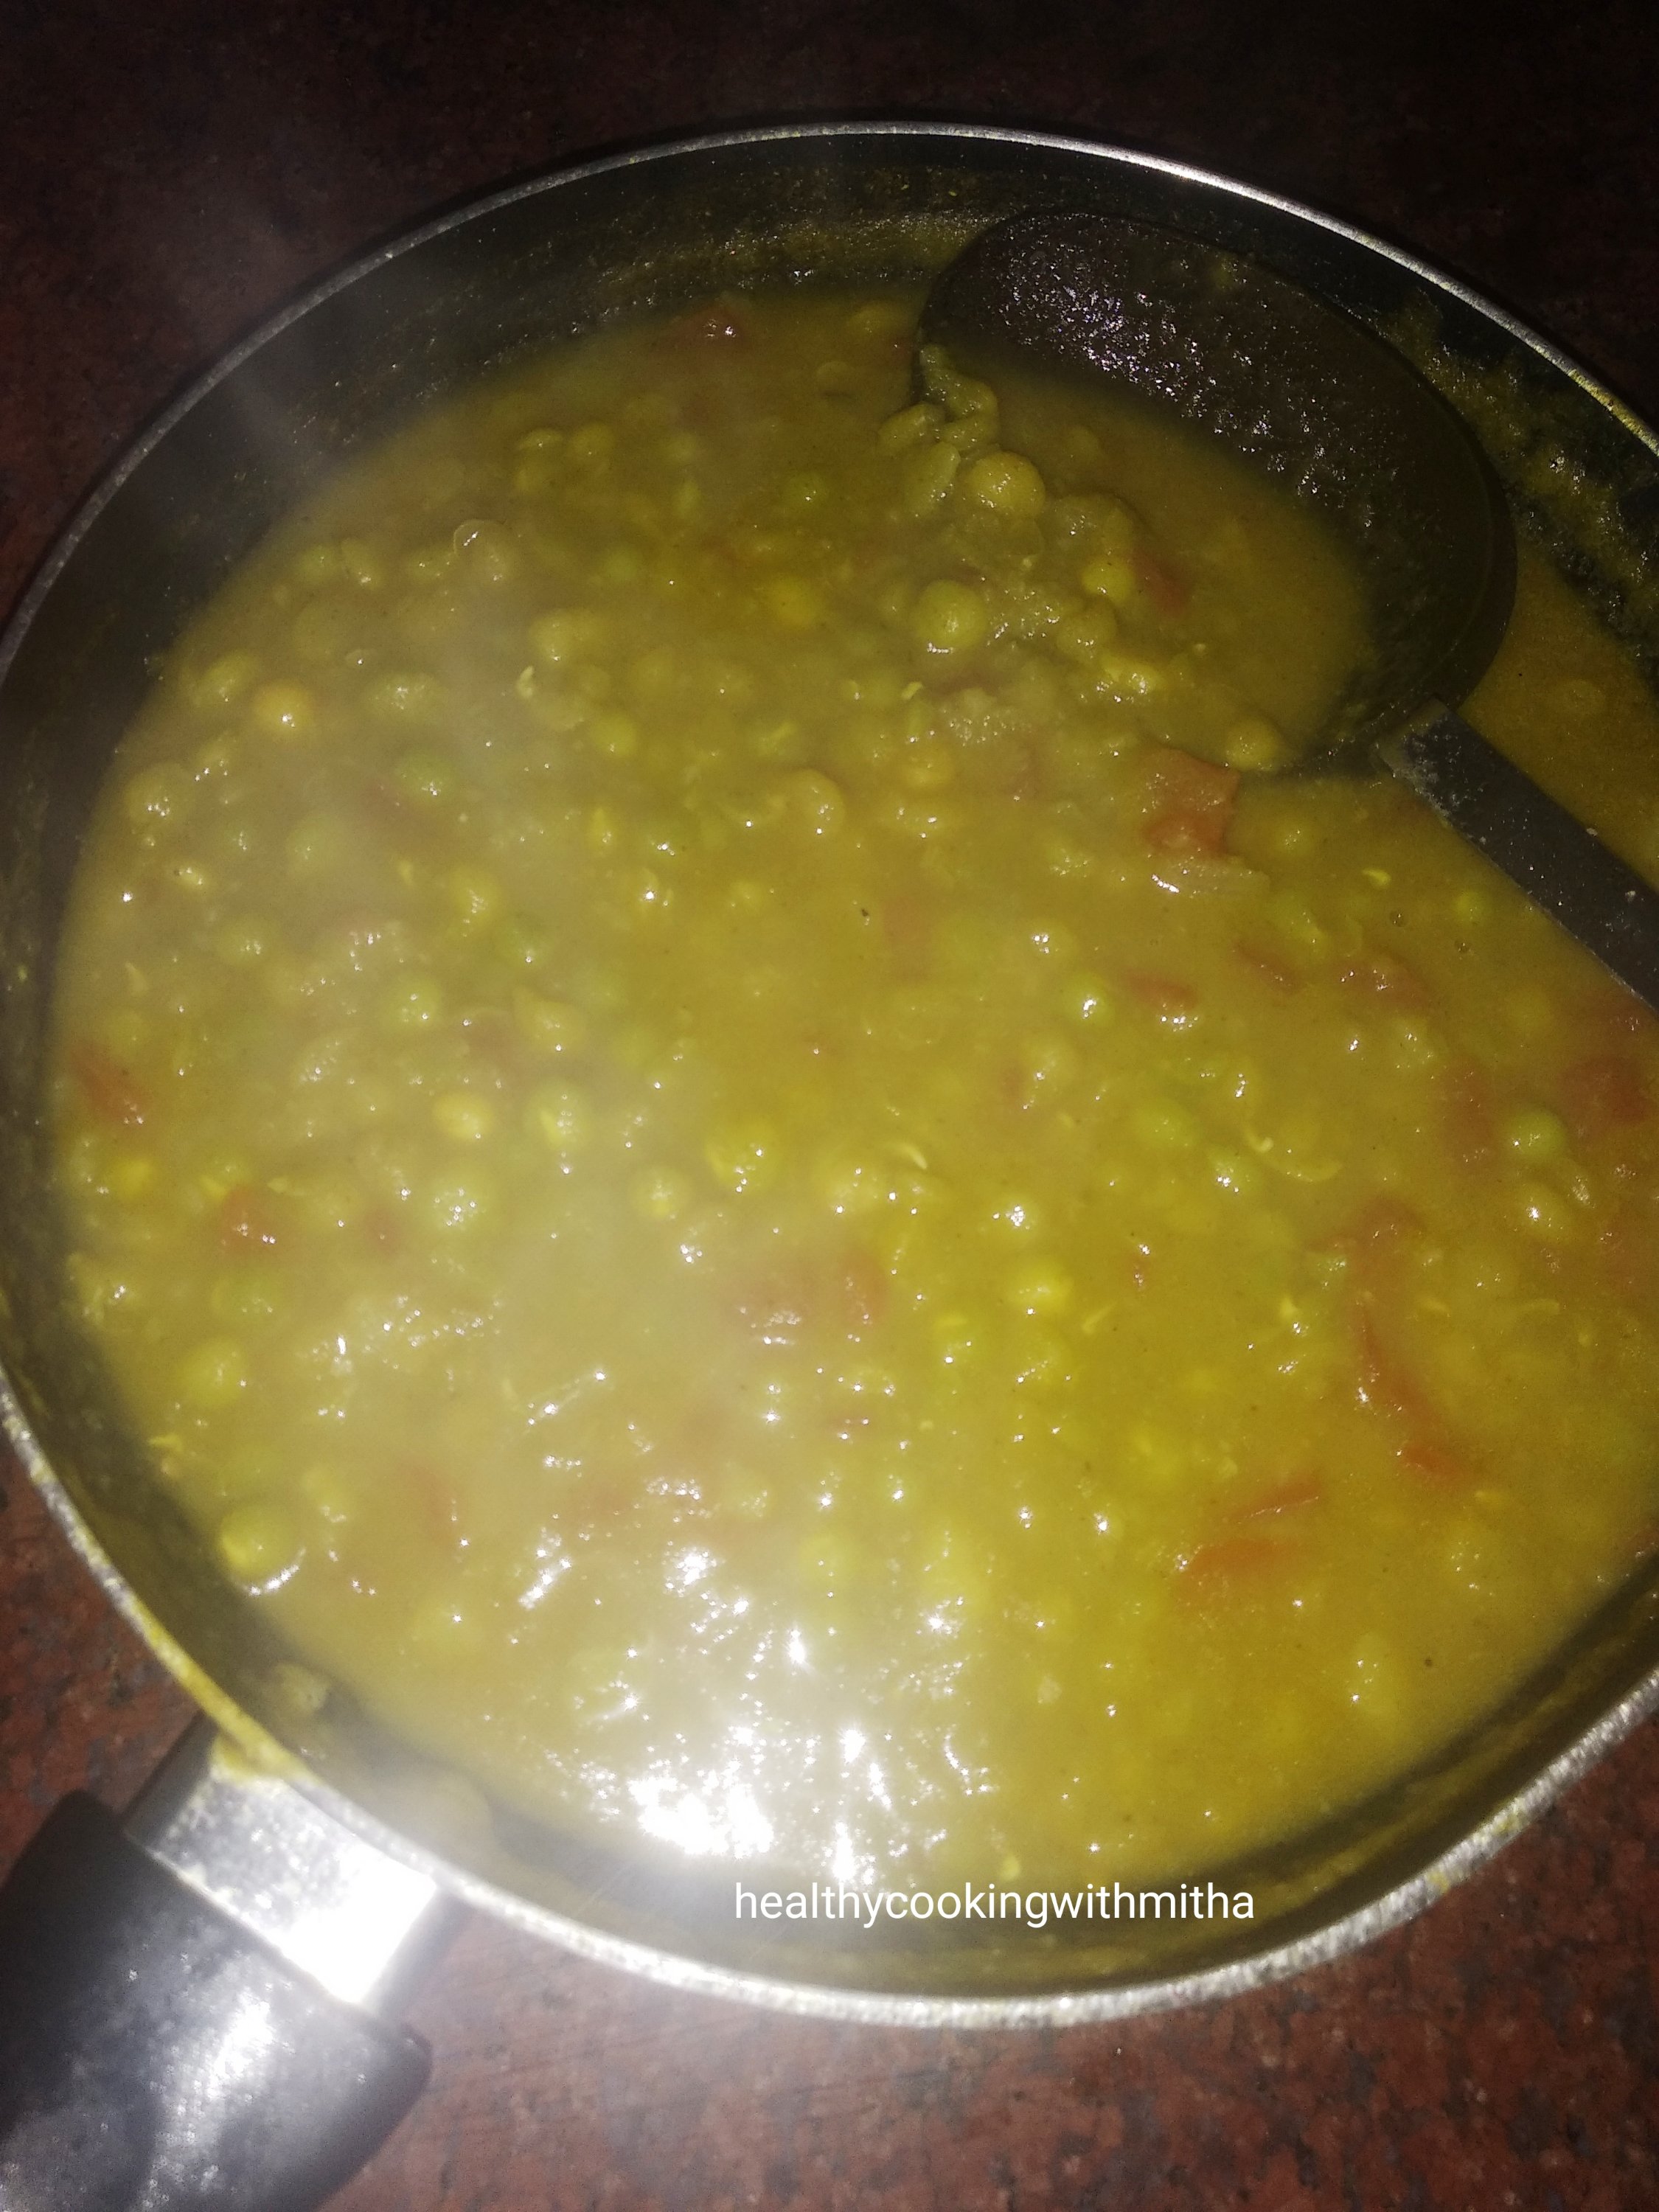
2. Drain the water completely and wash again. Add the peas to a pressure cooker with fresh water to the level of about 2 cm above the peas level. Pressure cook till soft. Take care to not overcook it.
In my electric stove top, I keep on high flame for 10 mins and it gets very soft.

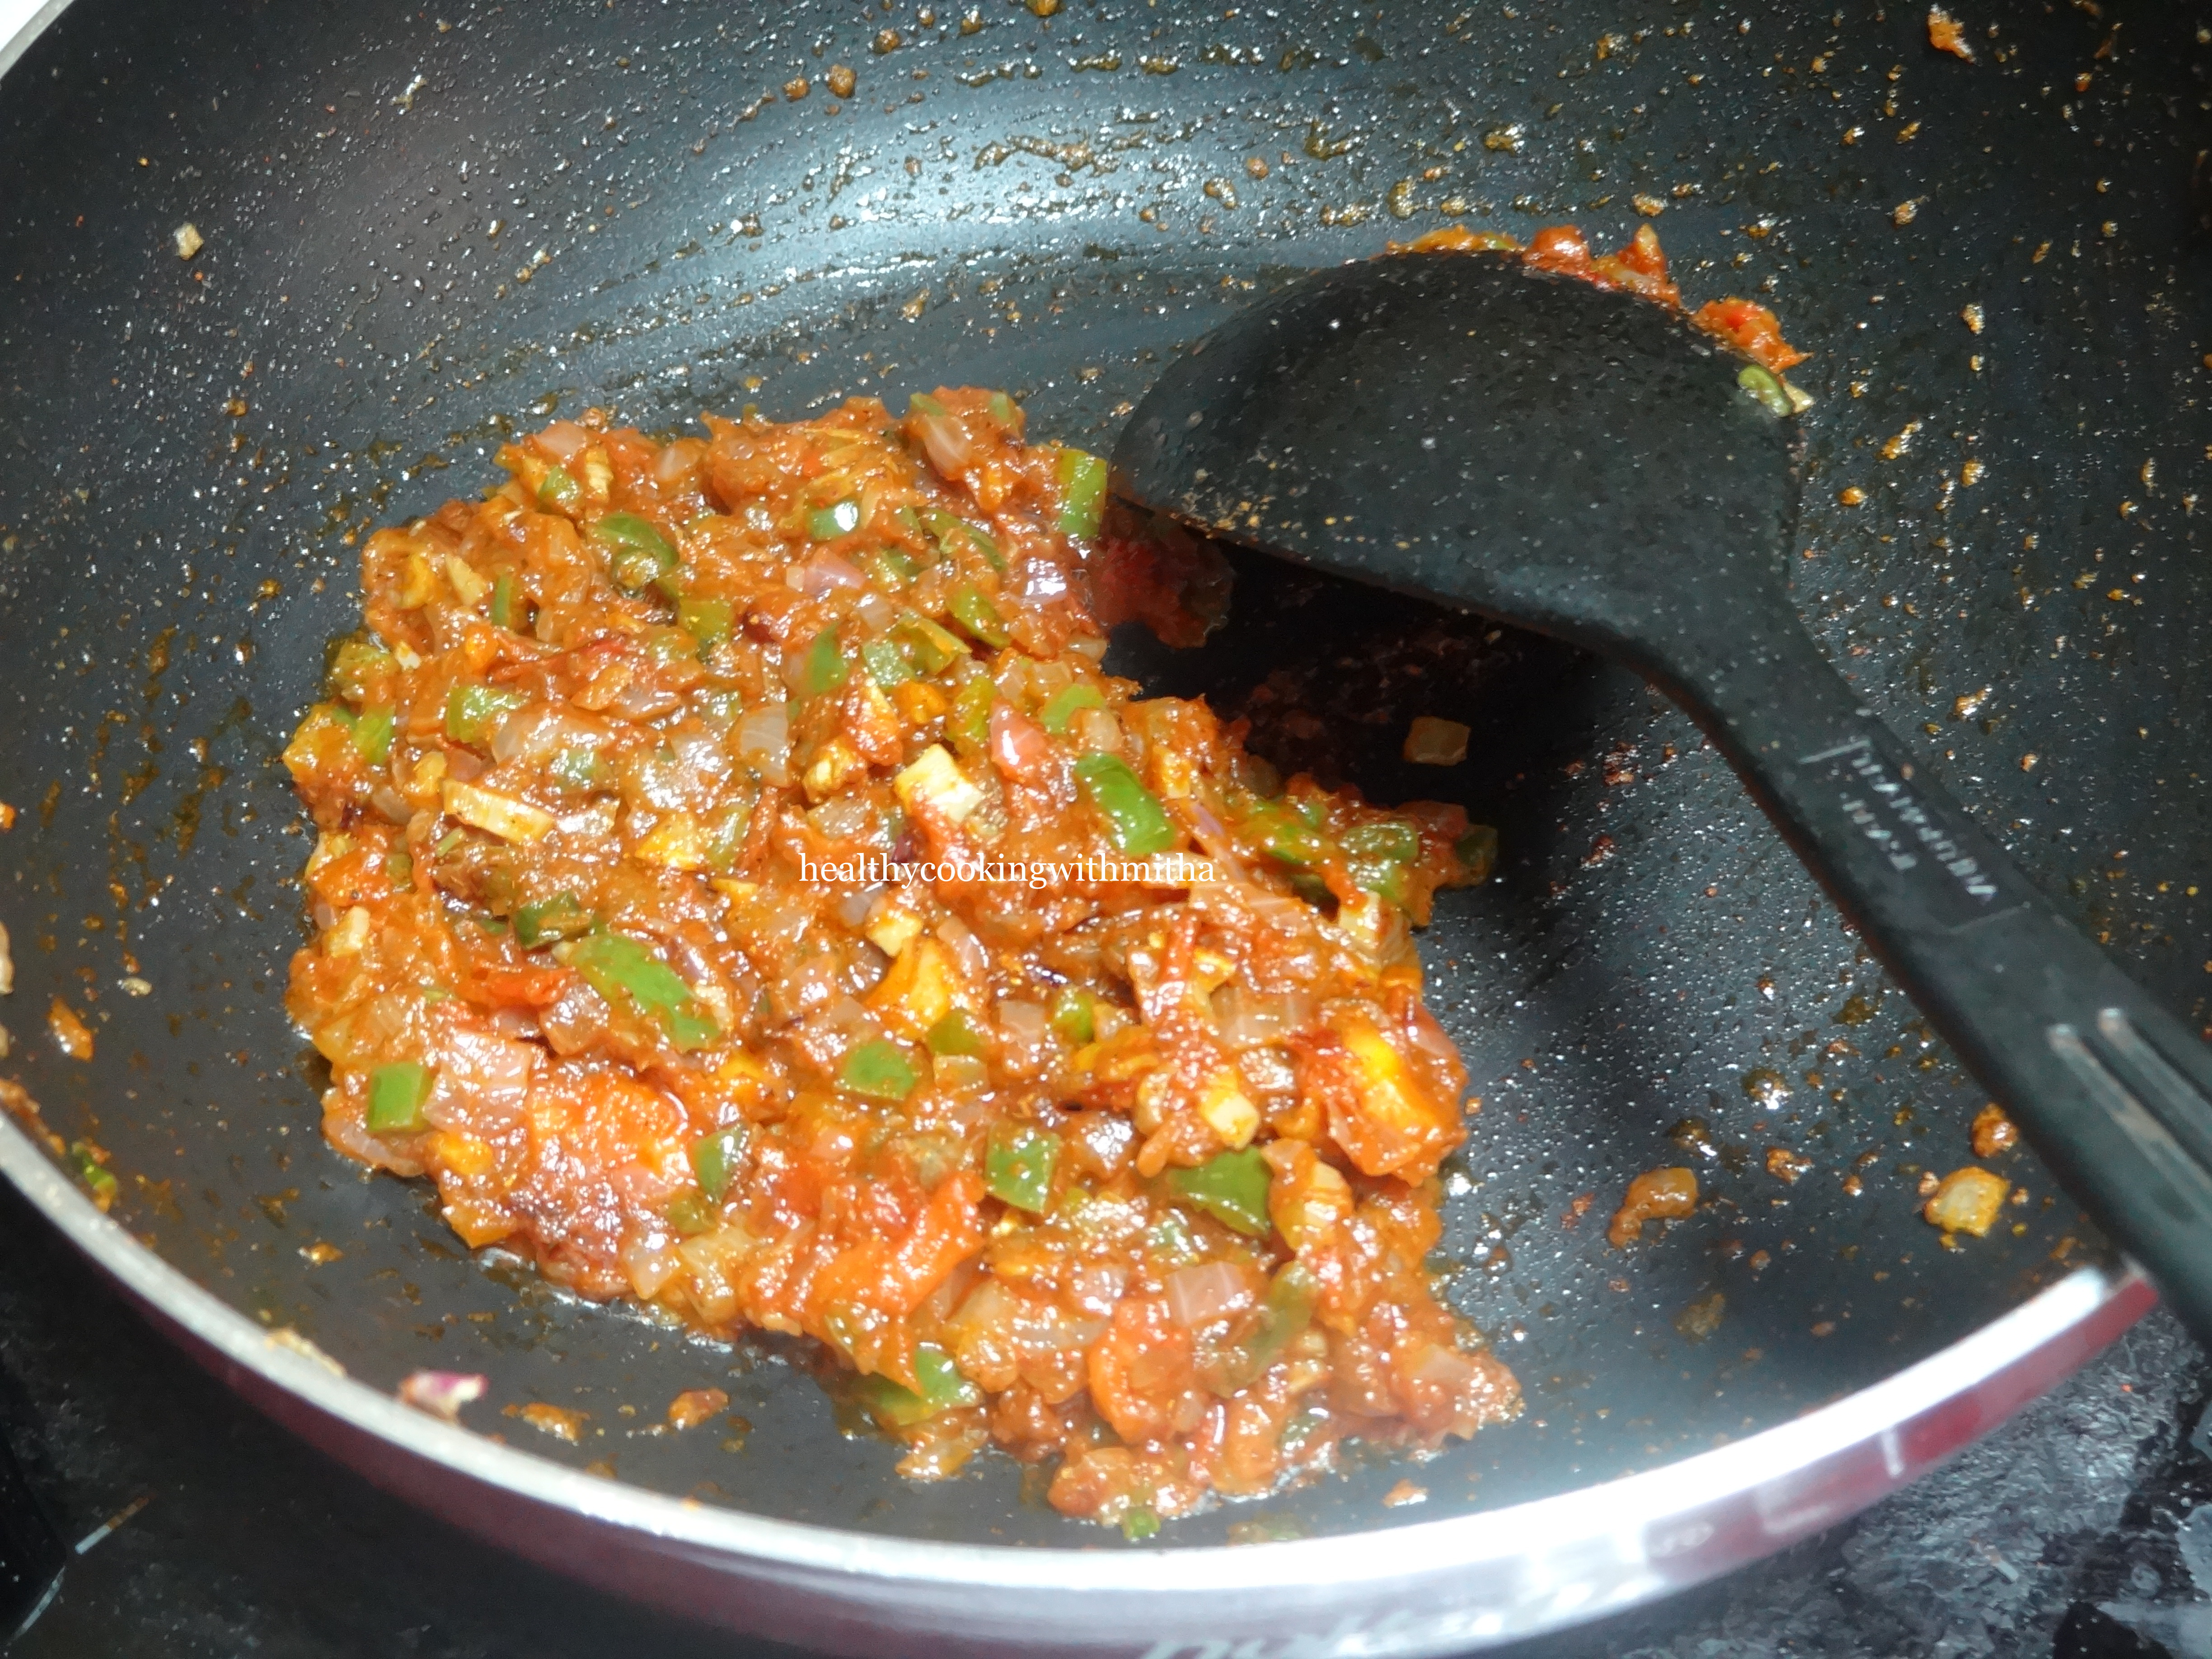
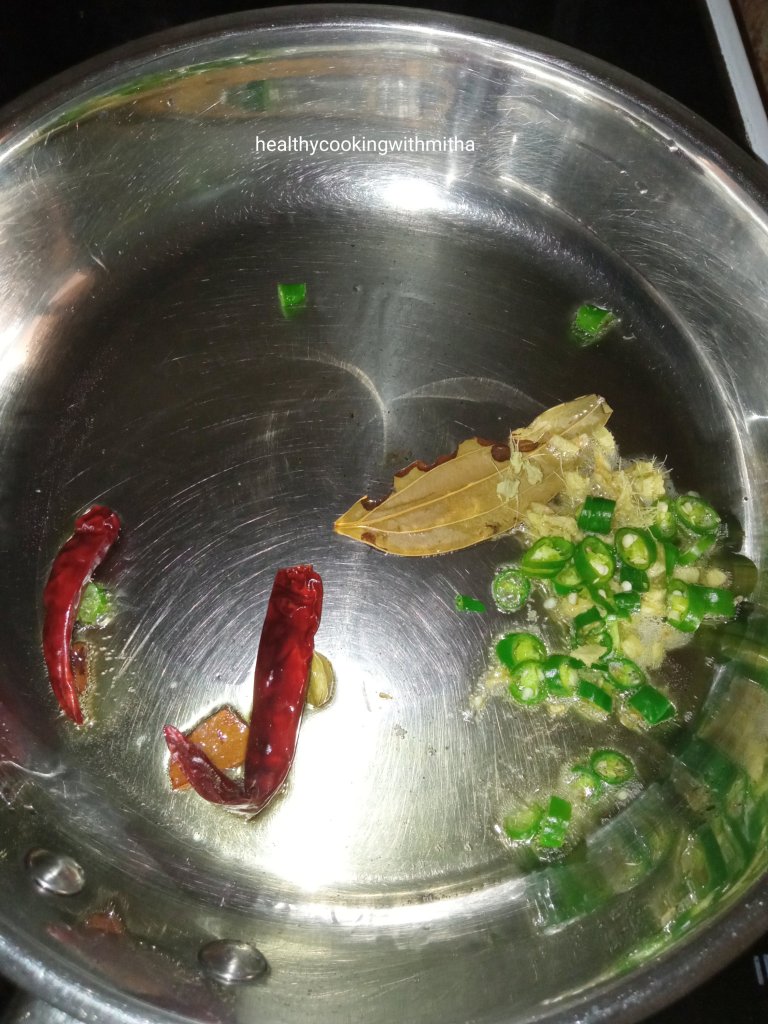
3. Now heat oil + ghee in a pan. Add bay leaf, cloves, cinnamon, cardamom, red chillies, ginger and green chillies. Let it cook for few seconds.
4. Now add sliced onion and fry till it turns translucent. Add potatoes and fry in the oil for few seconds.

5. Add tomatoes and mix well. Let it turn soft.

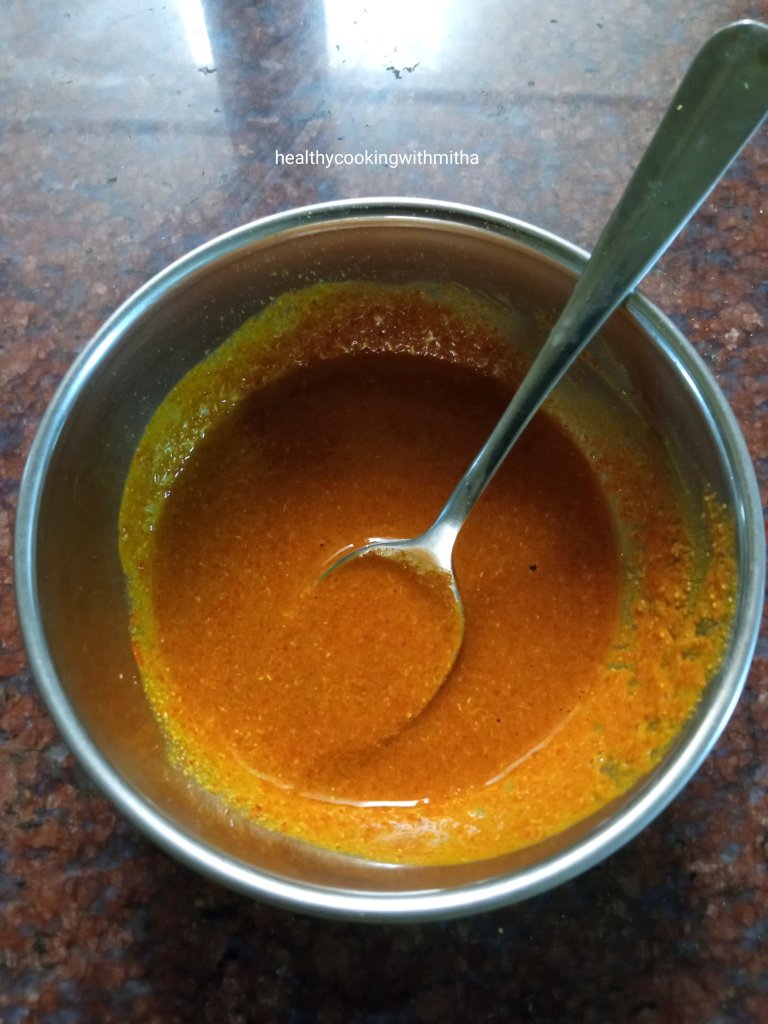
6. In a small bowl, add turmeric powder, cumin powder, coriander powder and red chilli powder. Add about 2 to 3 Tbsp water and make a smooth paste with it mixing well with a spoon.
7. Add this to the pan and mix well stirring continually for few minutes till the powders cook.

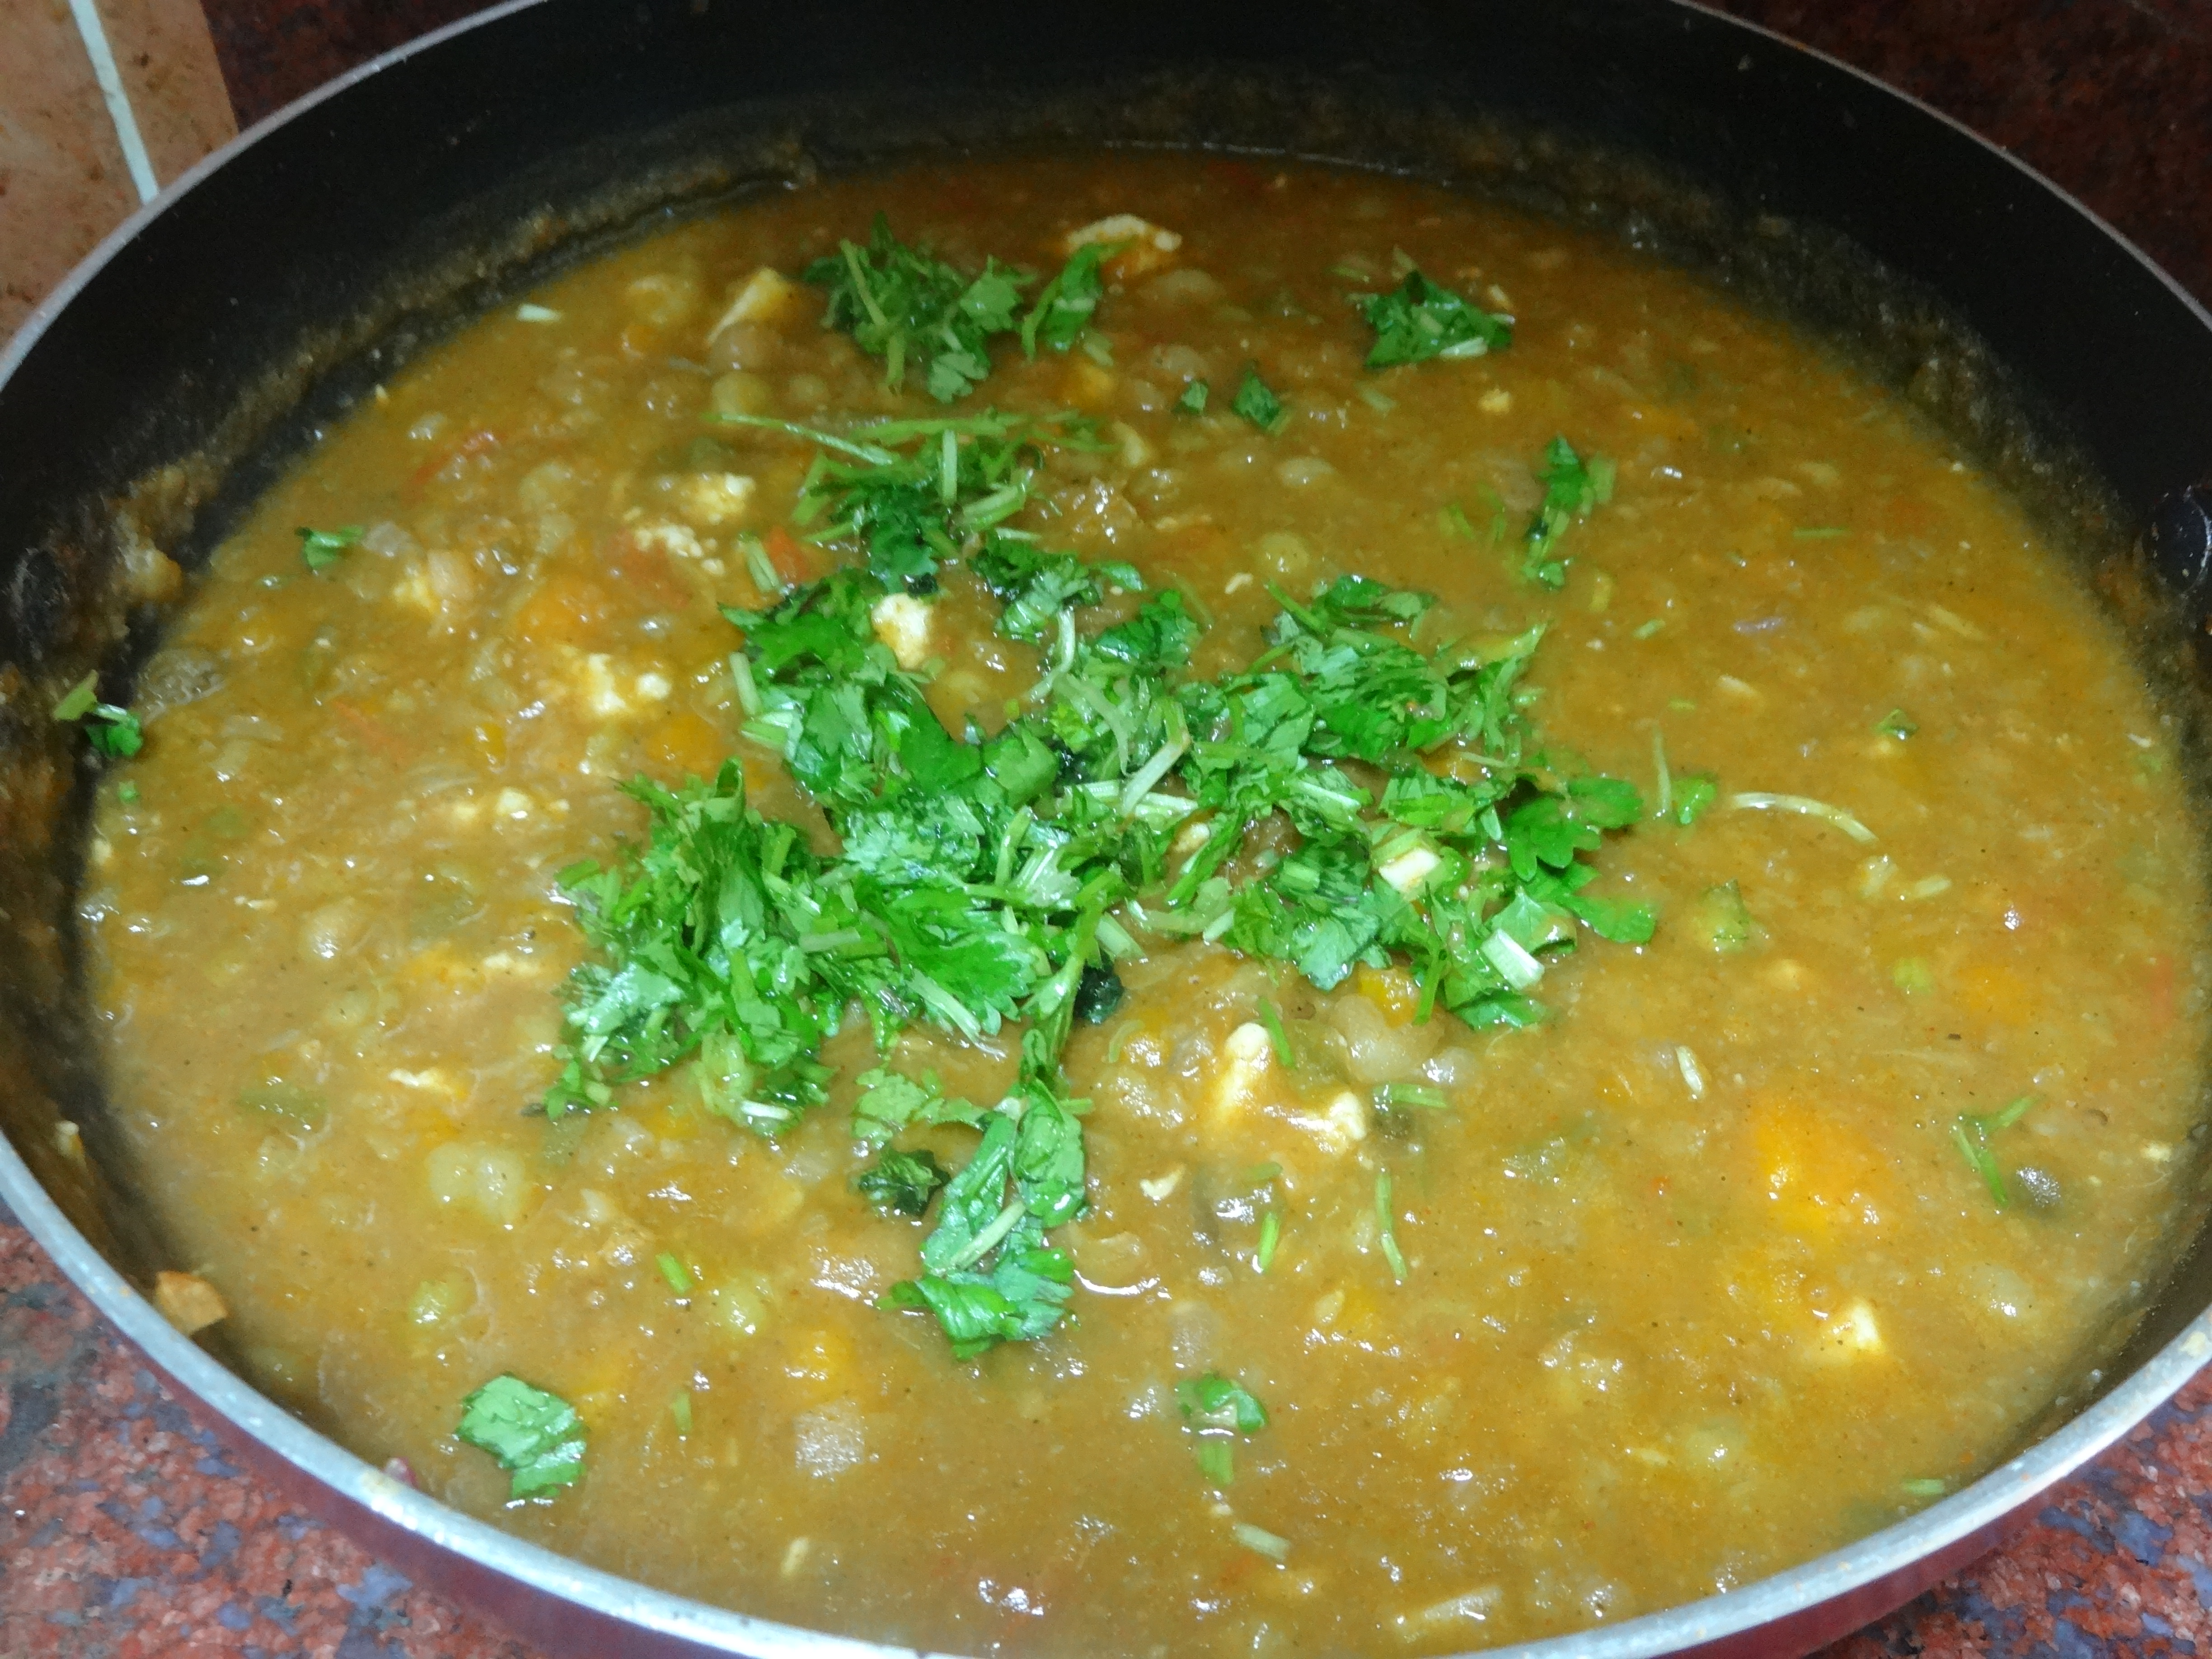
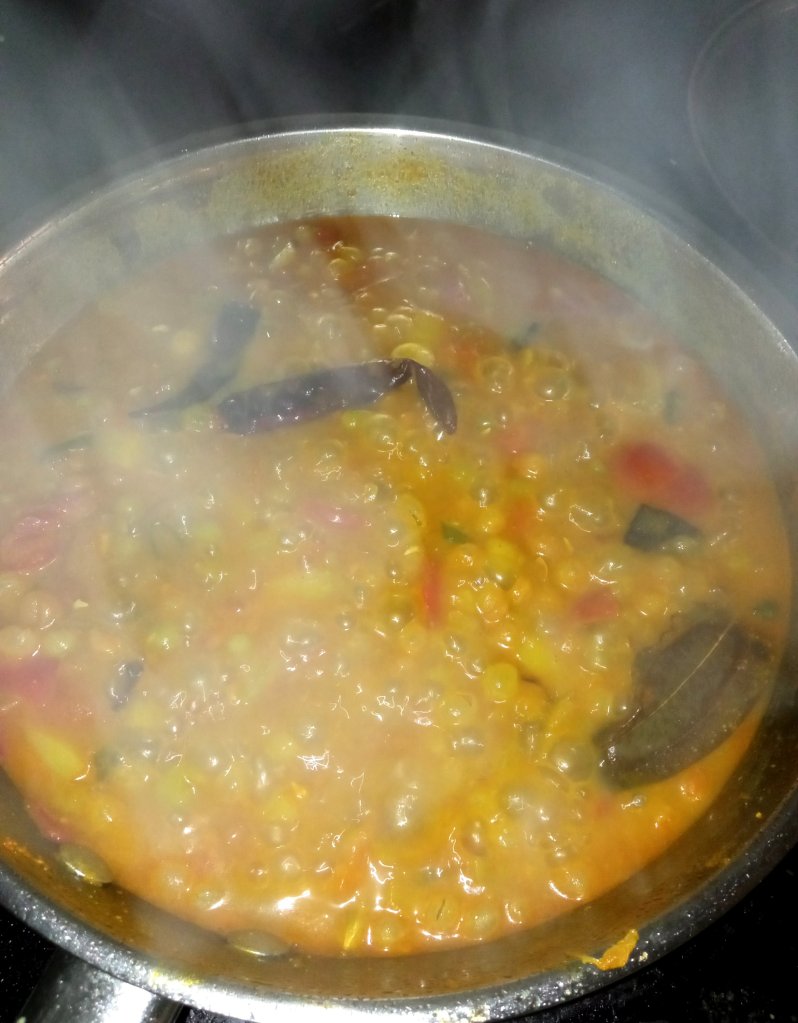
8. Add the cooked green peas along with salt. Also add water if needed to get the desired consistentency. I prefer it thick, so don’t add much water. Cover and cook for about 10 mins on medium flame till the gravy thickens.
9. Remove from flame. When serving, garnish with chopped onions, green chillies and coriander leaves.
Notes:
* You can use dried Green or white peas to make Ghugni. Frozen or fresh ones will not give the same taste.
* Do soak the peas for atleast 8 hours so that it gets digested well by the body.
* Don’t overcook the peas that it gets mashed. We need it go be soft yet retain it’s structure.
* You can enjoy Ghugni as a Chaat or like a curry with rice or chapati.
* For Ghugni Chaat, you can make additions like tamarind chutney/ coriander leaves- mint chutney and sev or bhujiya as topping but I love it just as it is.
* The gravy can be thick or thin like how you prefer but Ghugni is usually had thick.
* With leftover Ghugni, I add paneer cubes to make it Matar Paneer. Tastes so yum too. 😍
My favorite Chaat recipes: