Tag Archives: Parathas

Mooli Paratha | Easy Radish Paratha

Click on the image to save the recipe on Pinterest

As I have already mentioned in my last post of Methi Theplas , during Winter in Qatar ie from October to March, most residents here grow many veggies and flowers in their garden. It’s a delight to see the greenery in front of all houses, specially where we live as it’s away from the main city.

Along with my husband who loves gardening, we are lucky to have neighbours who grow and share their produce with us too. One among the veggies that grows well here is white Radish. Look at these freshly plucked ones given to me by my neighbour who grew it with love. πŸ’š

And as usual, whenever I get any veggie, I first see how it can be fed to my kids in a way that they like it. After my success with Methi Theplas and Bottlegourd Theplas, I decided to add these radishes as stuffing into parathas and imagine my happiness when it got gobbled away by both my little rabbits. 😍😍

So nowadays, whenever I get radish, I make these Mooli Parathas with it and as it tastes same like Paneer Parathas, kids never realize, it’s a vegetable that’s going inside them.

I had to share this with all of you and hence clicked photos when I made it recently. Hope you all try and like it. Happy and healthy cooking ❀️

RECIPE:

Ingredients: { Makes about 6 Parathas}

(1 Cup = 240 ml)

2 Cups Whole Wheat flour/ Atta

3 medium sized white Radishes (3/4 Cup gratings)

2 Tbsp finely chopped Coriander leaves

1/4 tsp Turmeric powder (haldi powder)

1/2 tsp Cumin powder (jeera powder)

1/2 tsp Garam Masala powder

1 tsp Red chilli powder

Salt to taste

Ghee to cook the parathas

Step by step recipe:

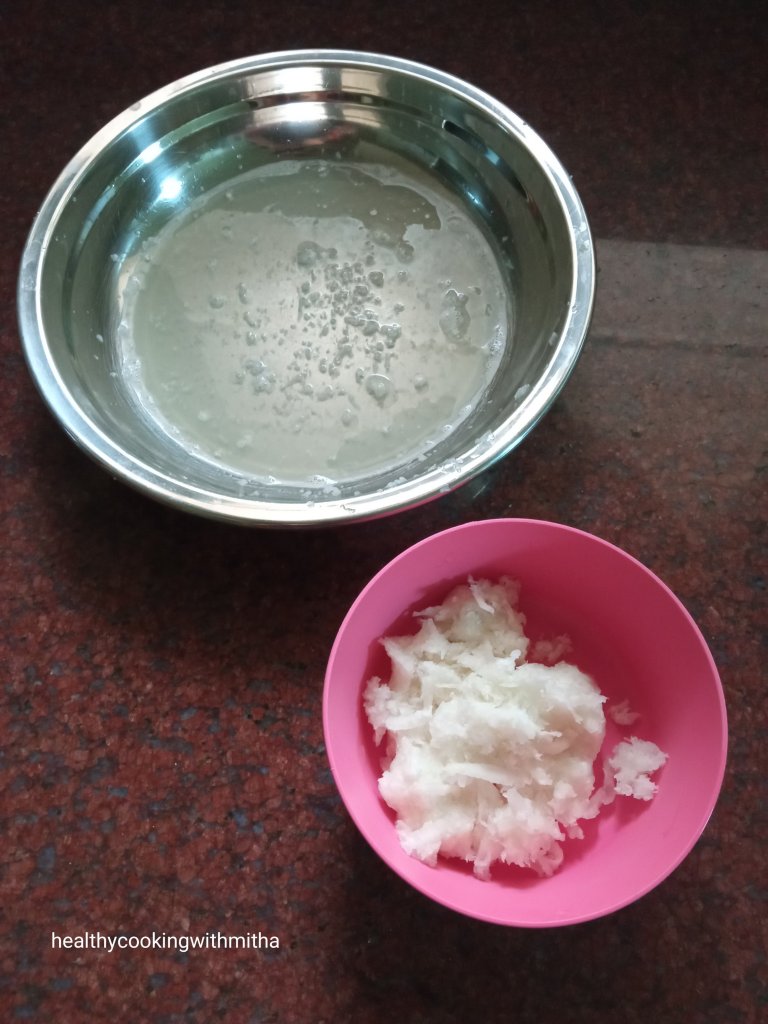
1. Peel the radishes and grate it finely as shown.

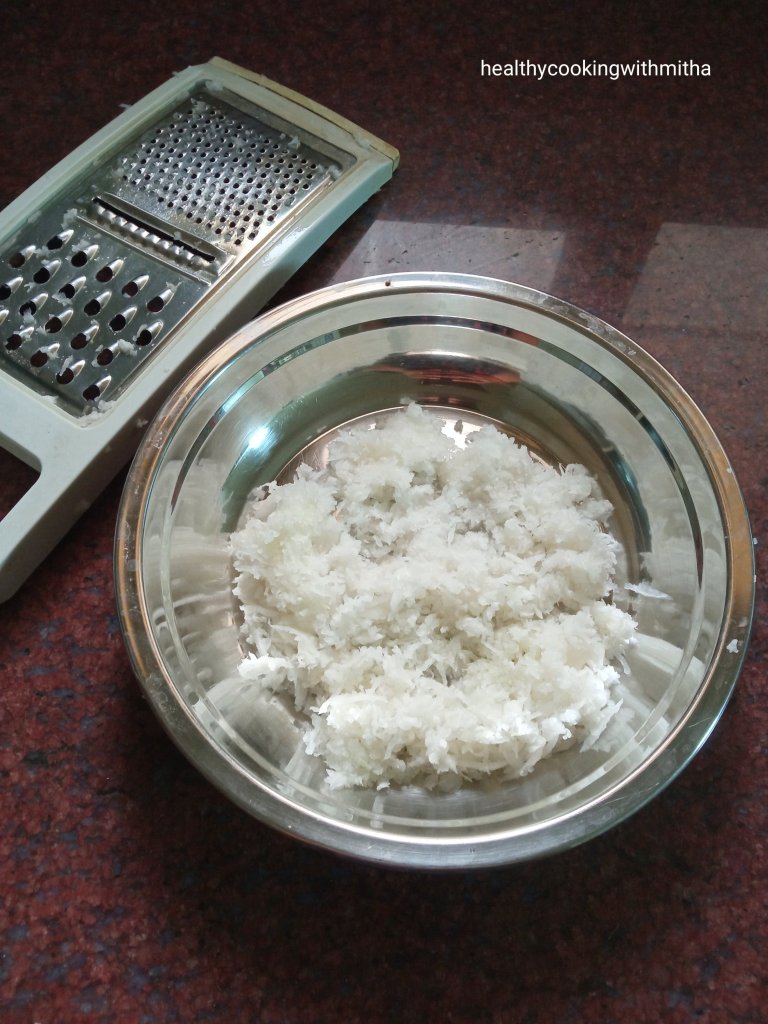
2. Add salt and keep it aside for about 10 mins. It will leave all the water content.

3. Now squeeze the radish gratings and add to another bowl. Don’t discard the water. We will knead dough in it.

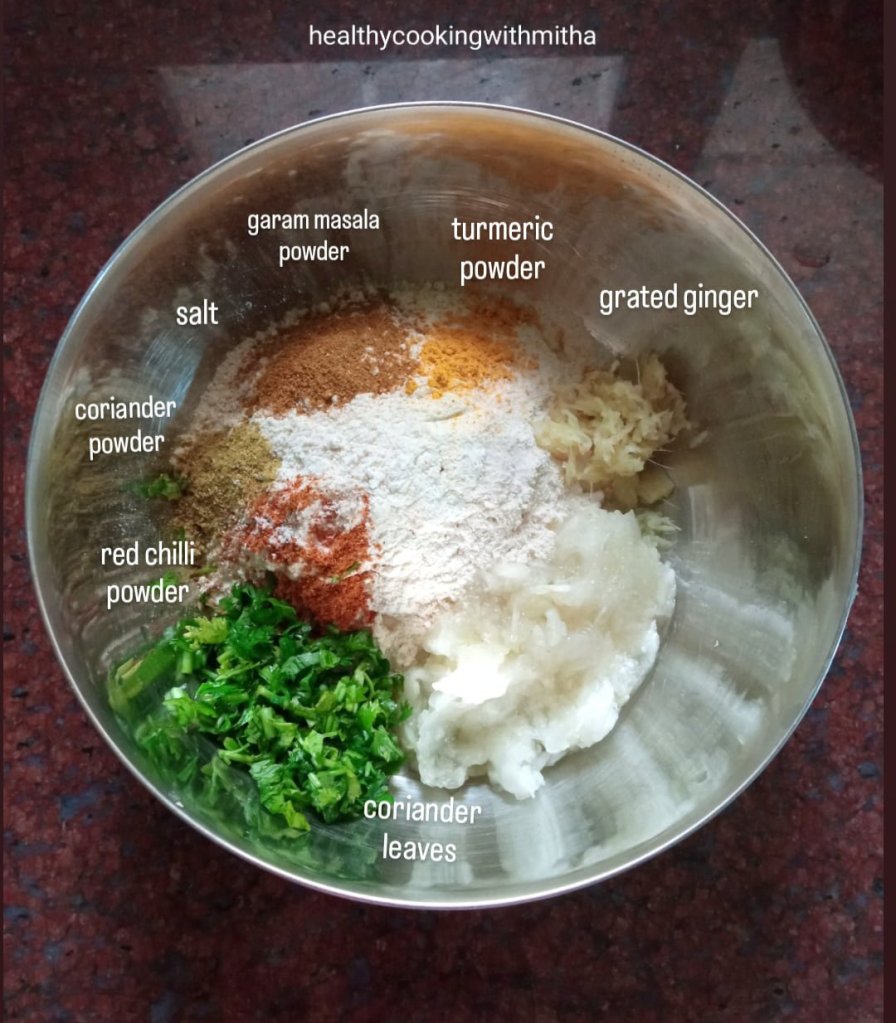
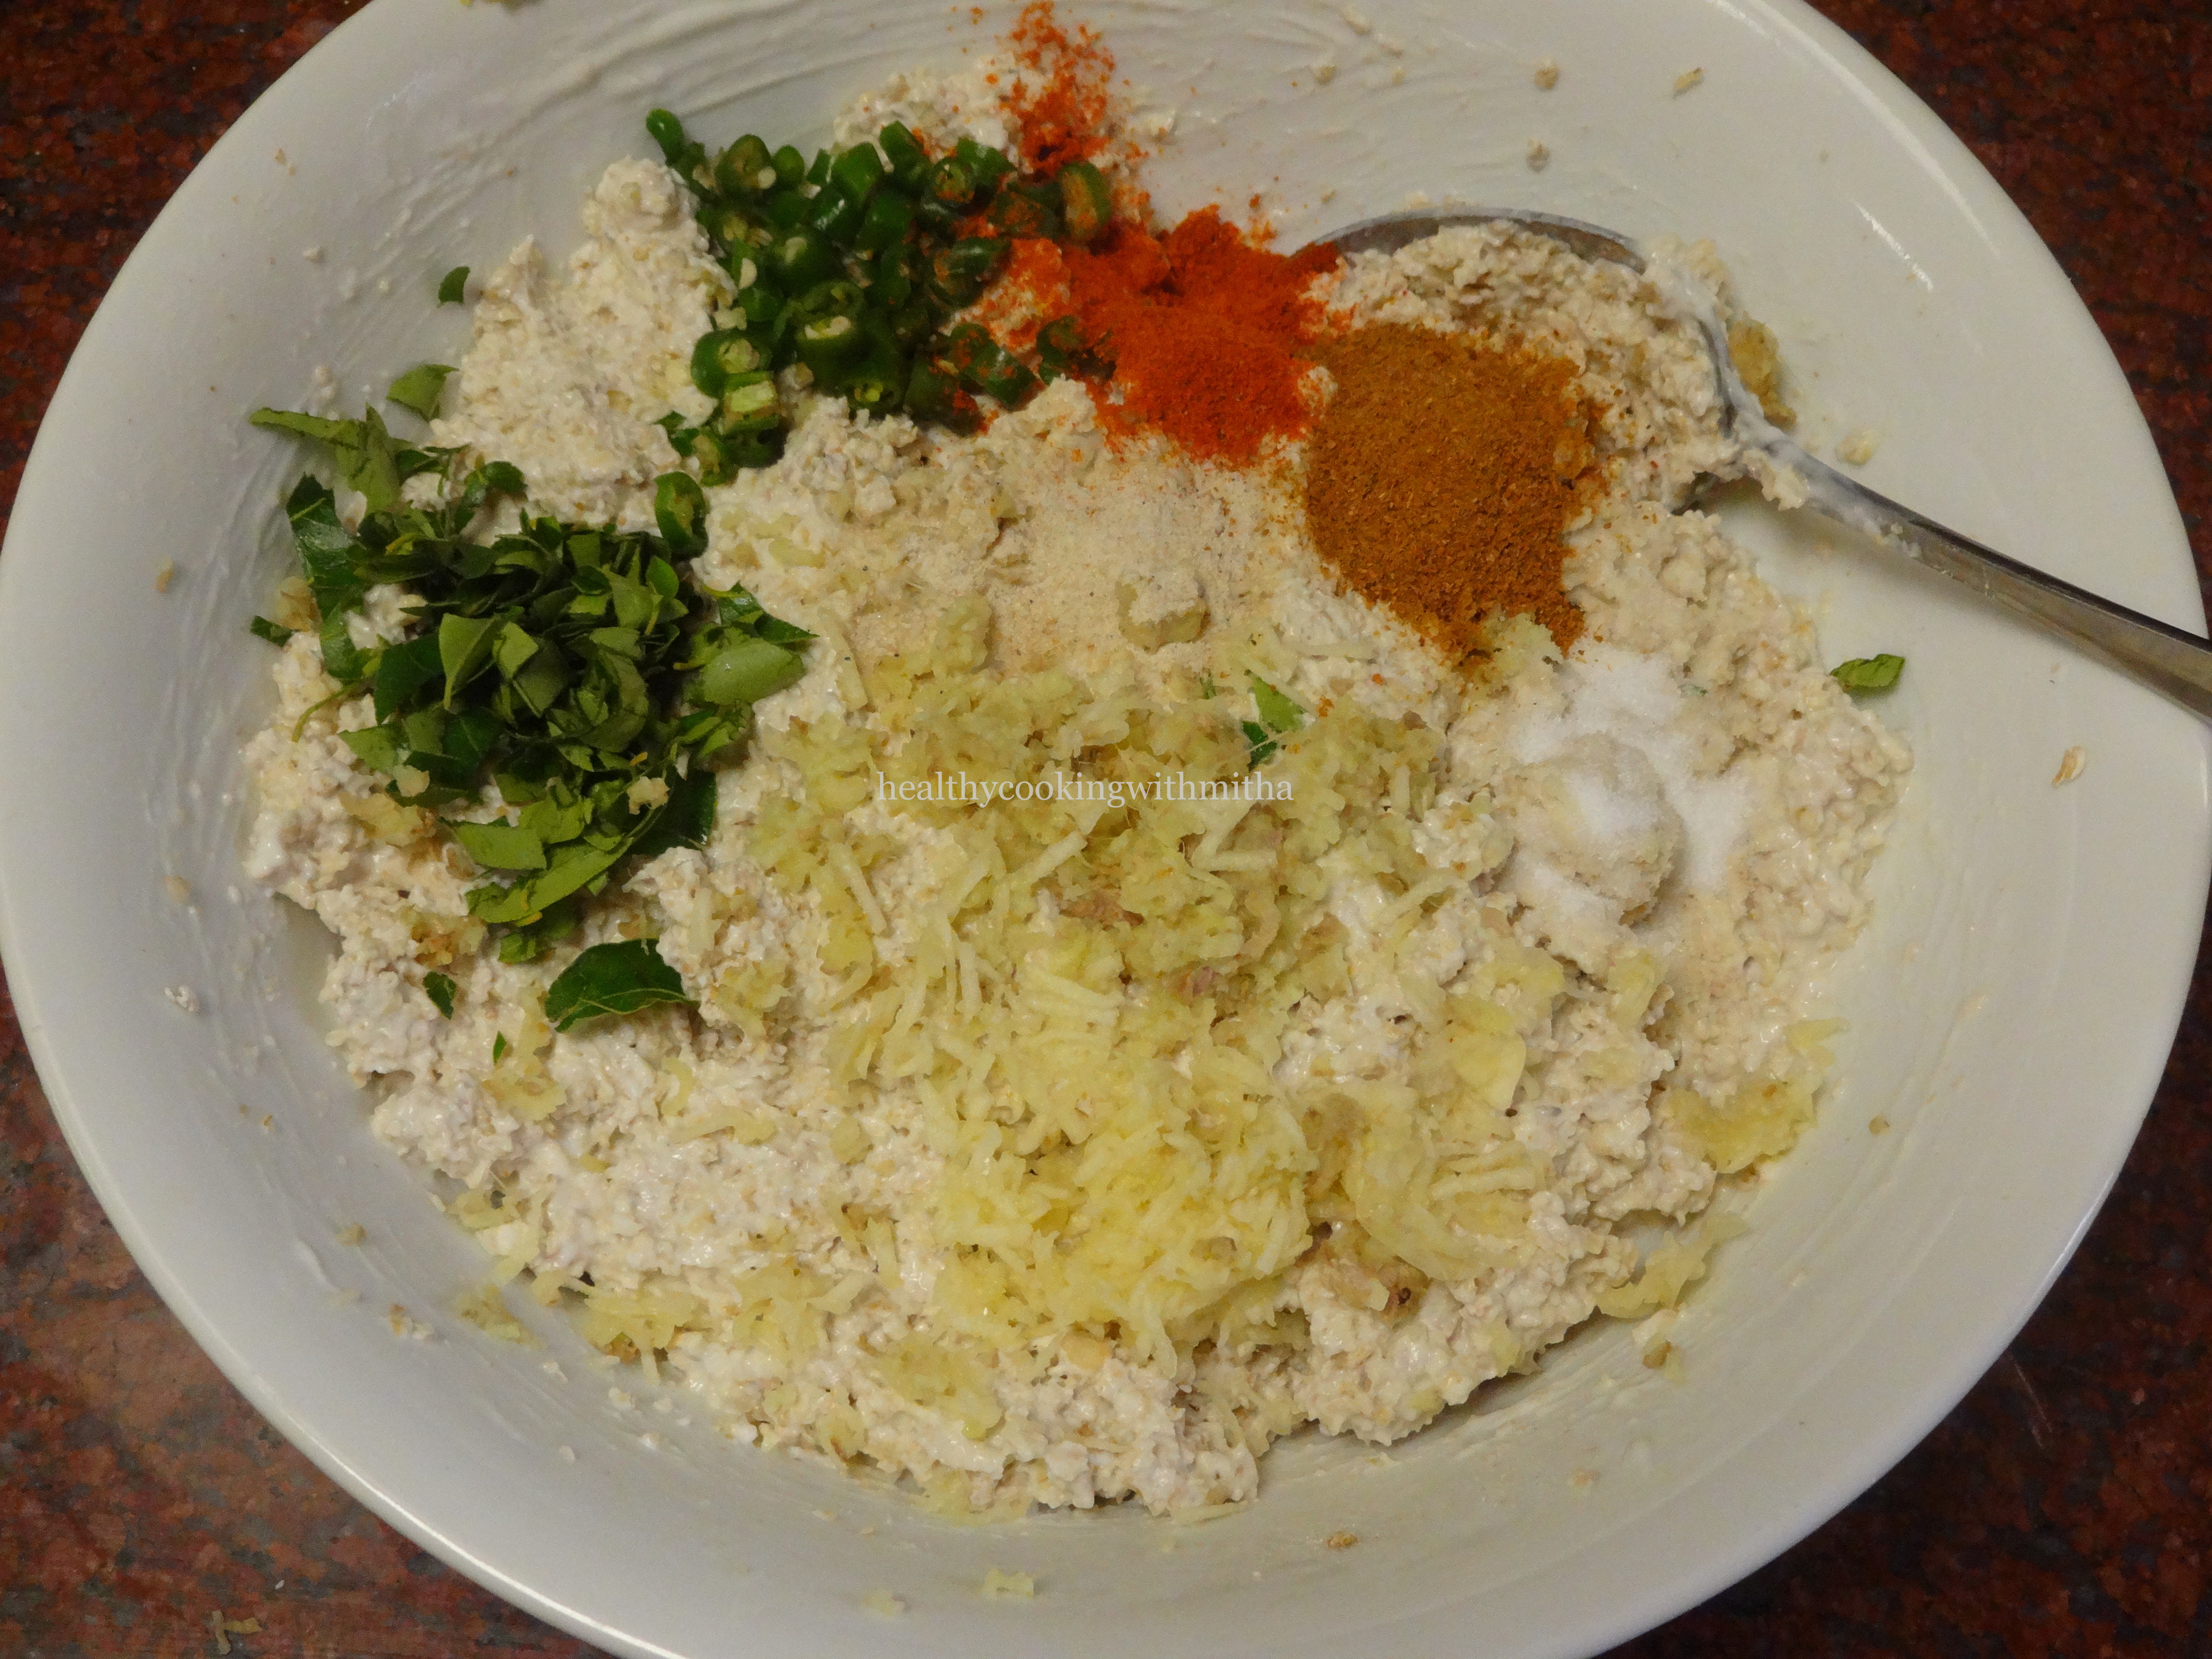
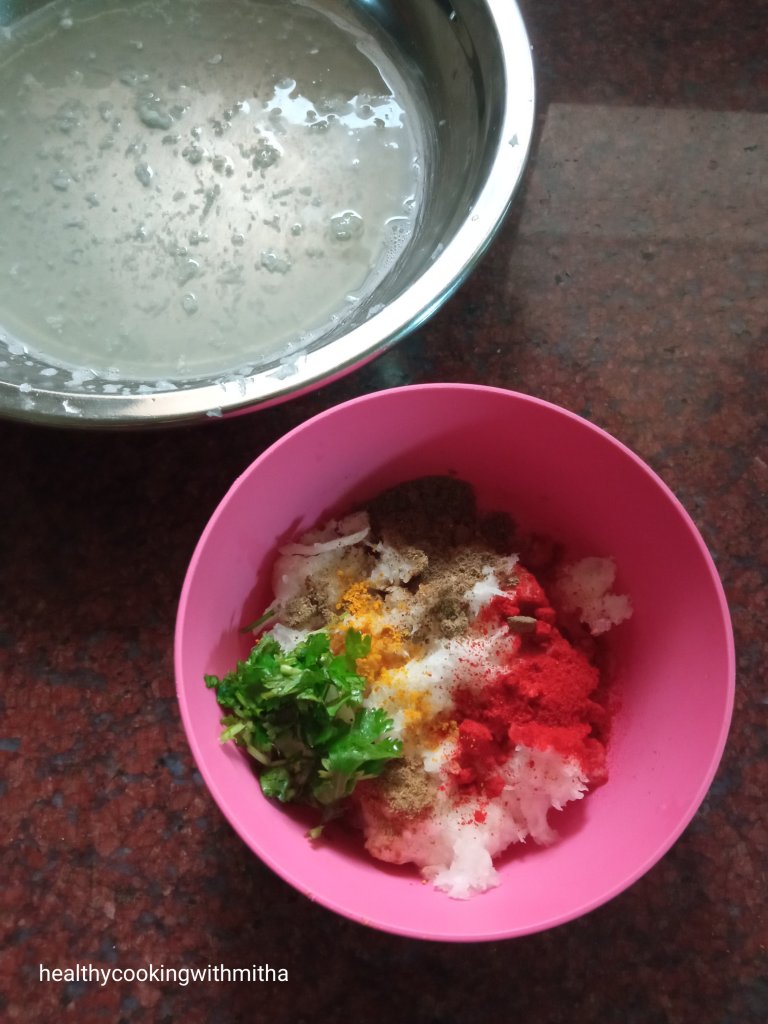
4. Now to the radish gratings, add coriander leaves, turmeric powder, jeera powder, Garam Masala powder, red chilli powder and salt. Mix well.

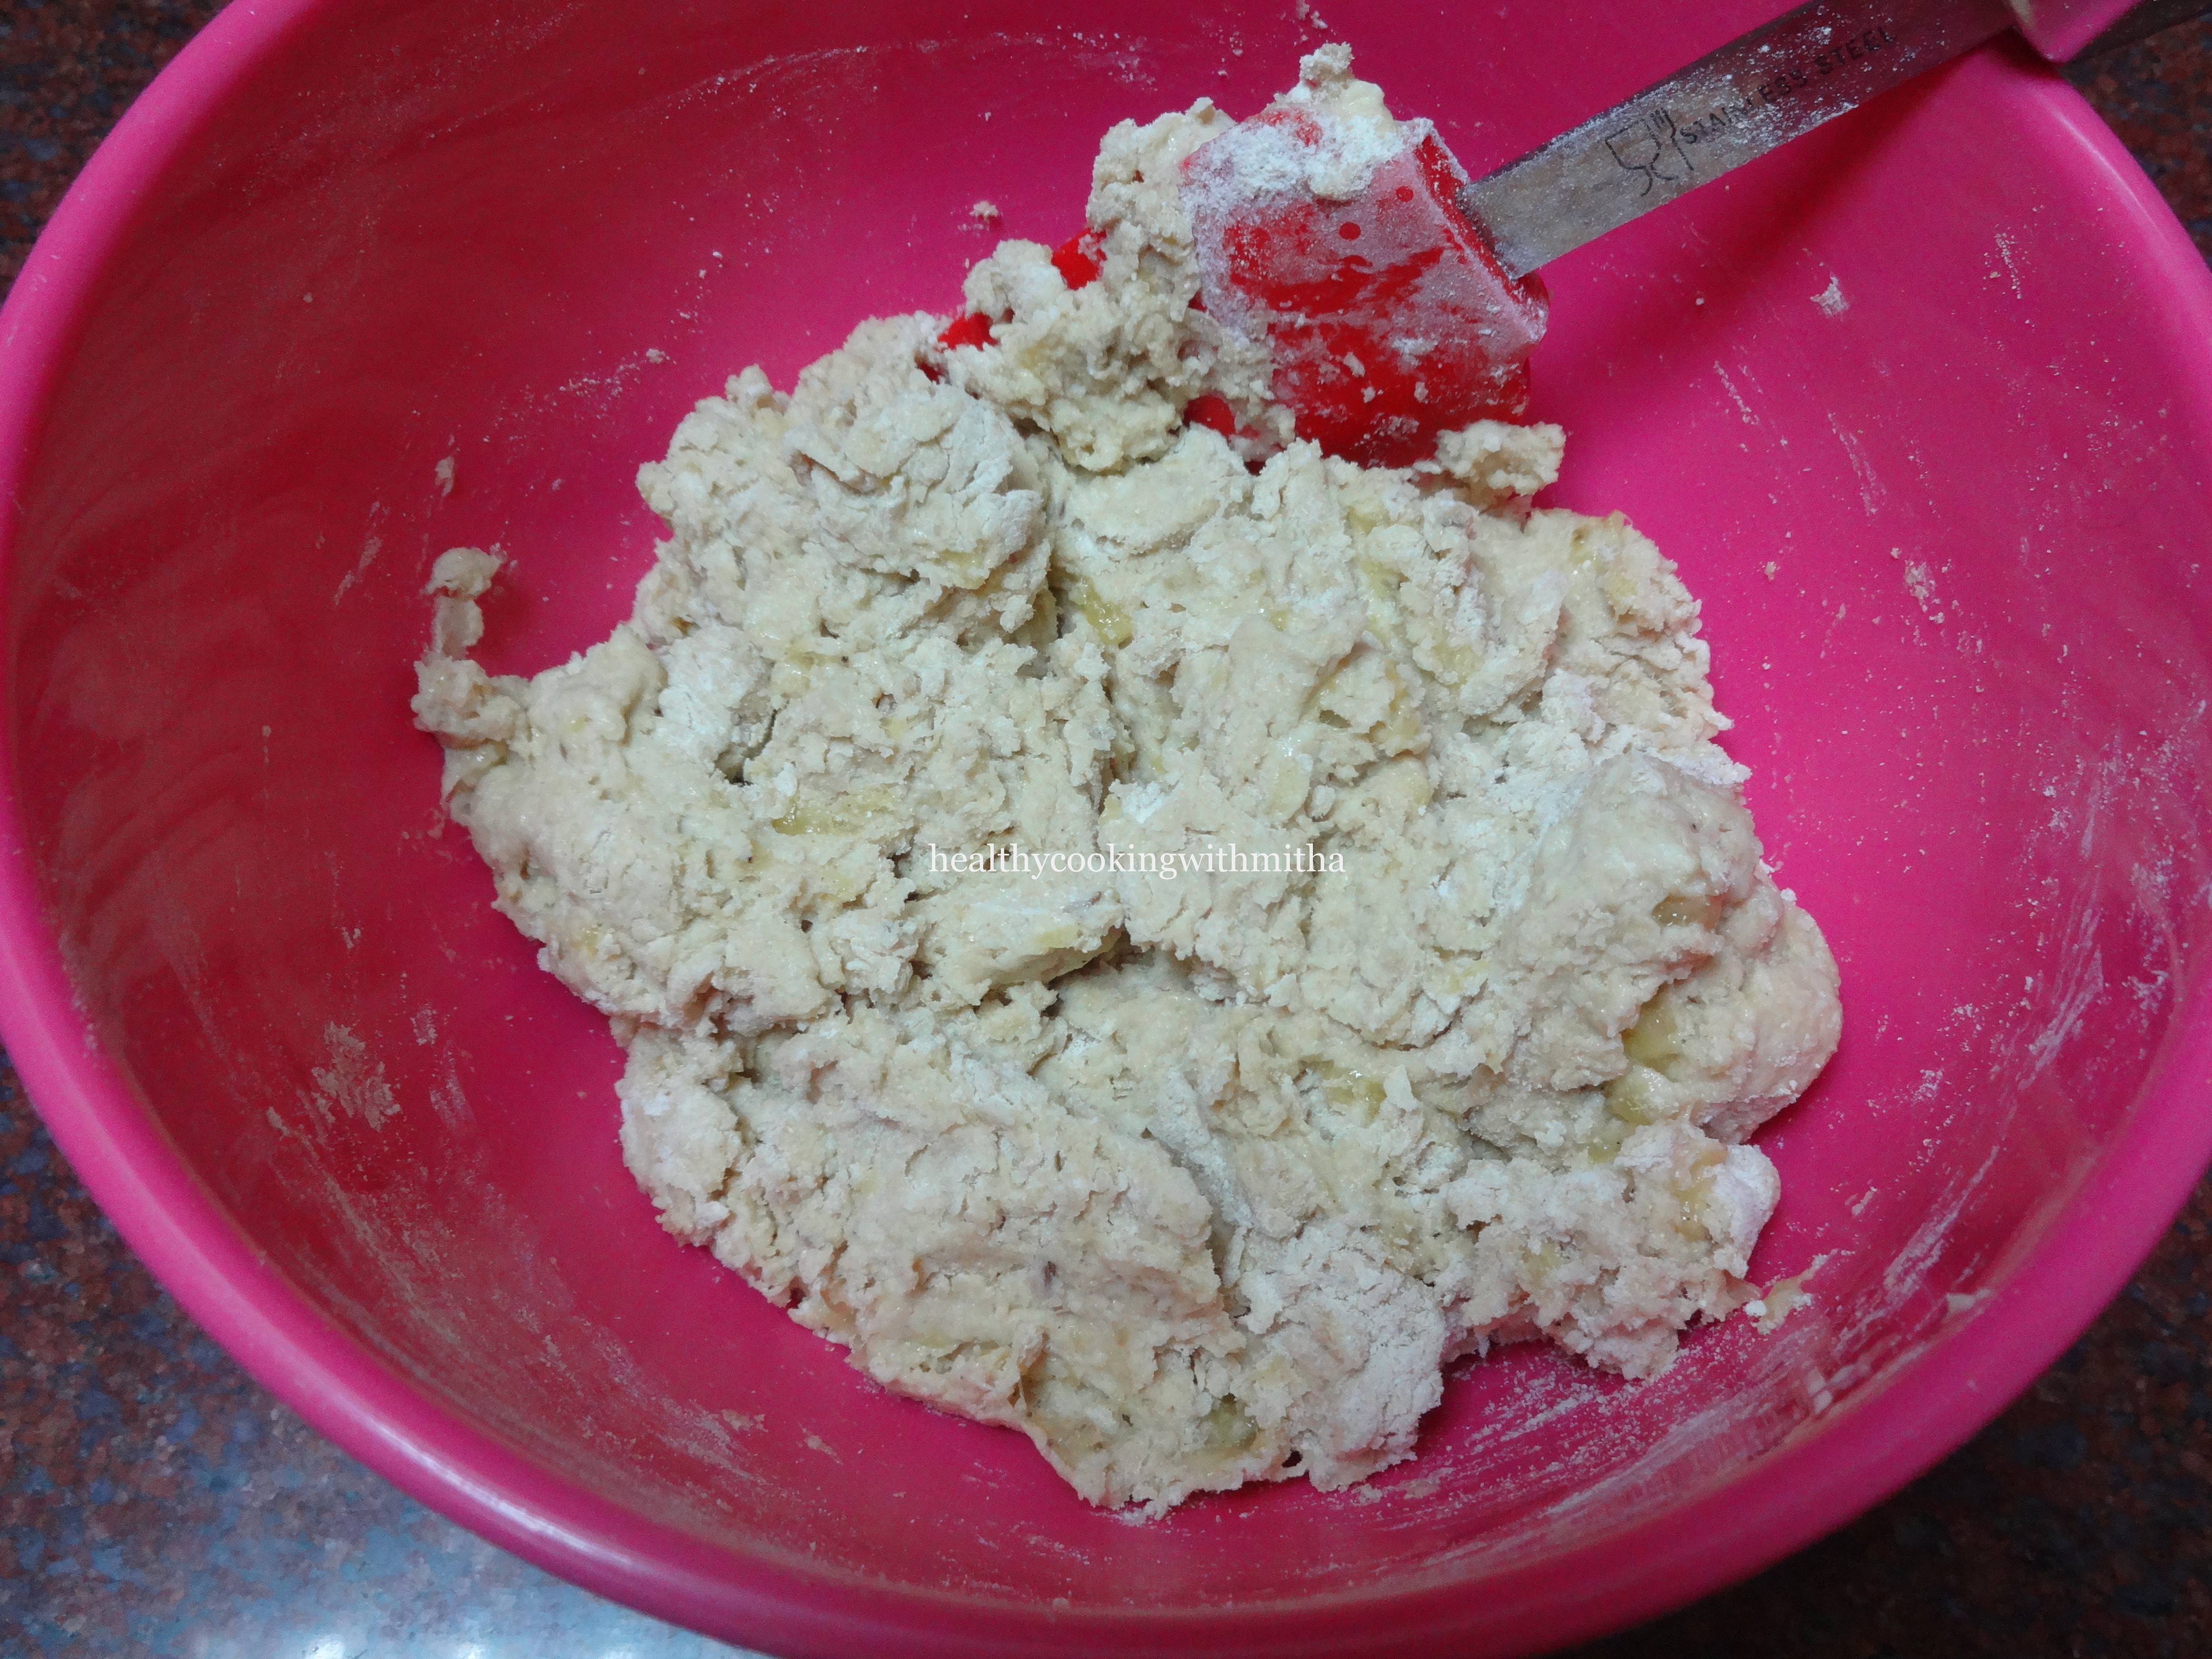
5. In the radish water, add wheat flour and knead a soft dough similar to chapati dough. Add extra water if needed to knead the dough. No need to add salt as we have already added to radish.

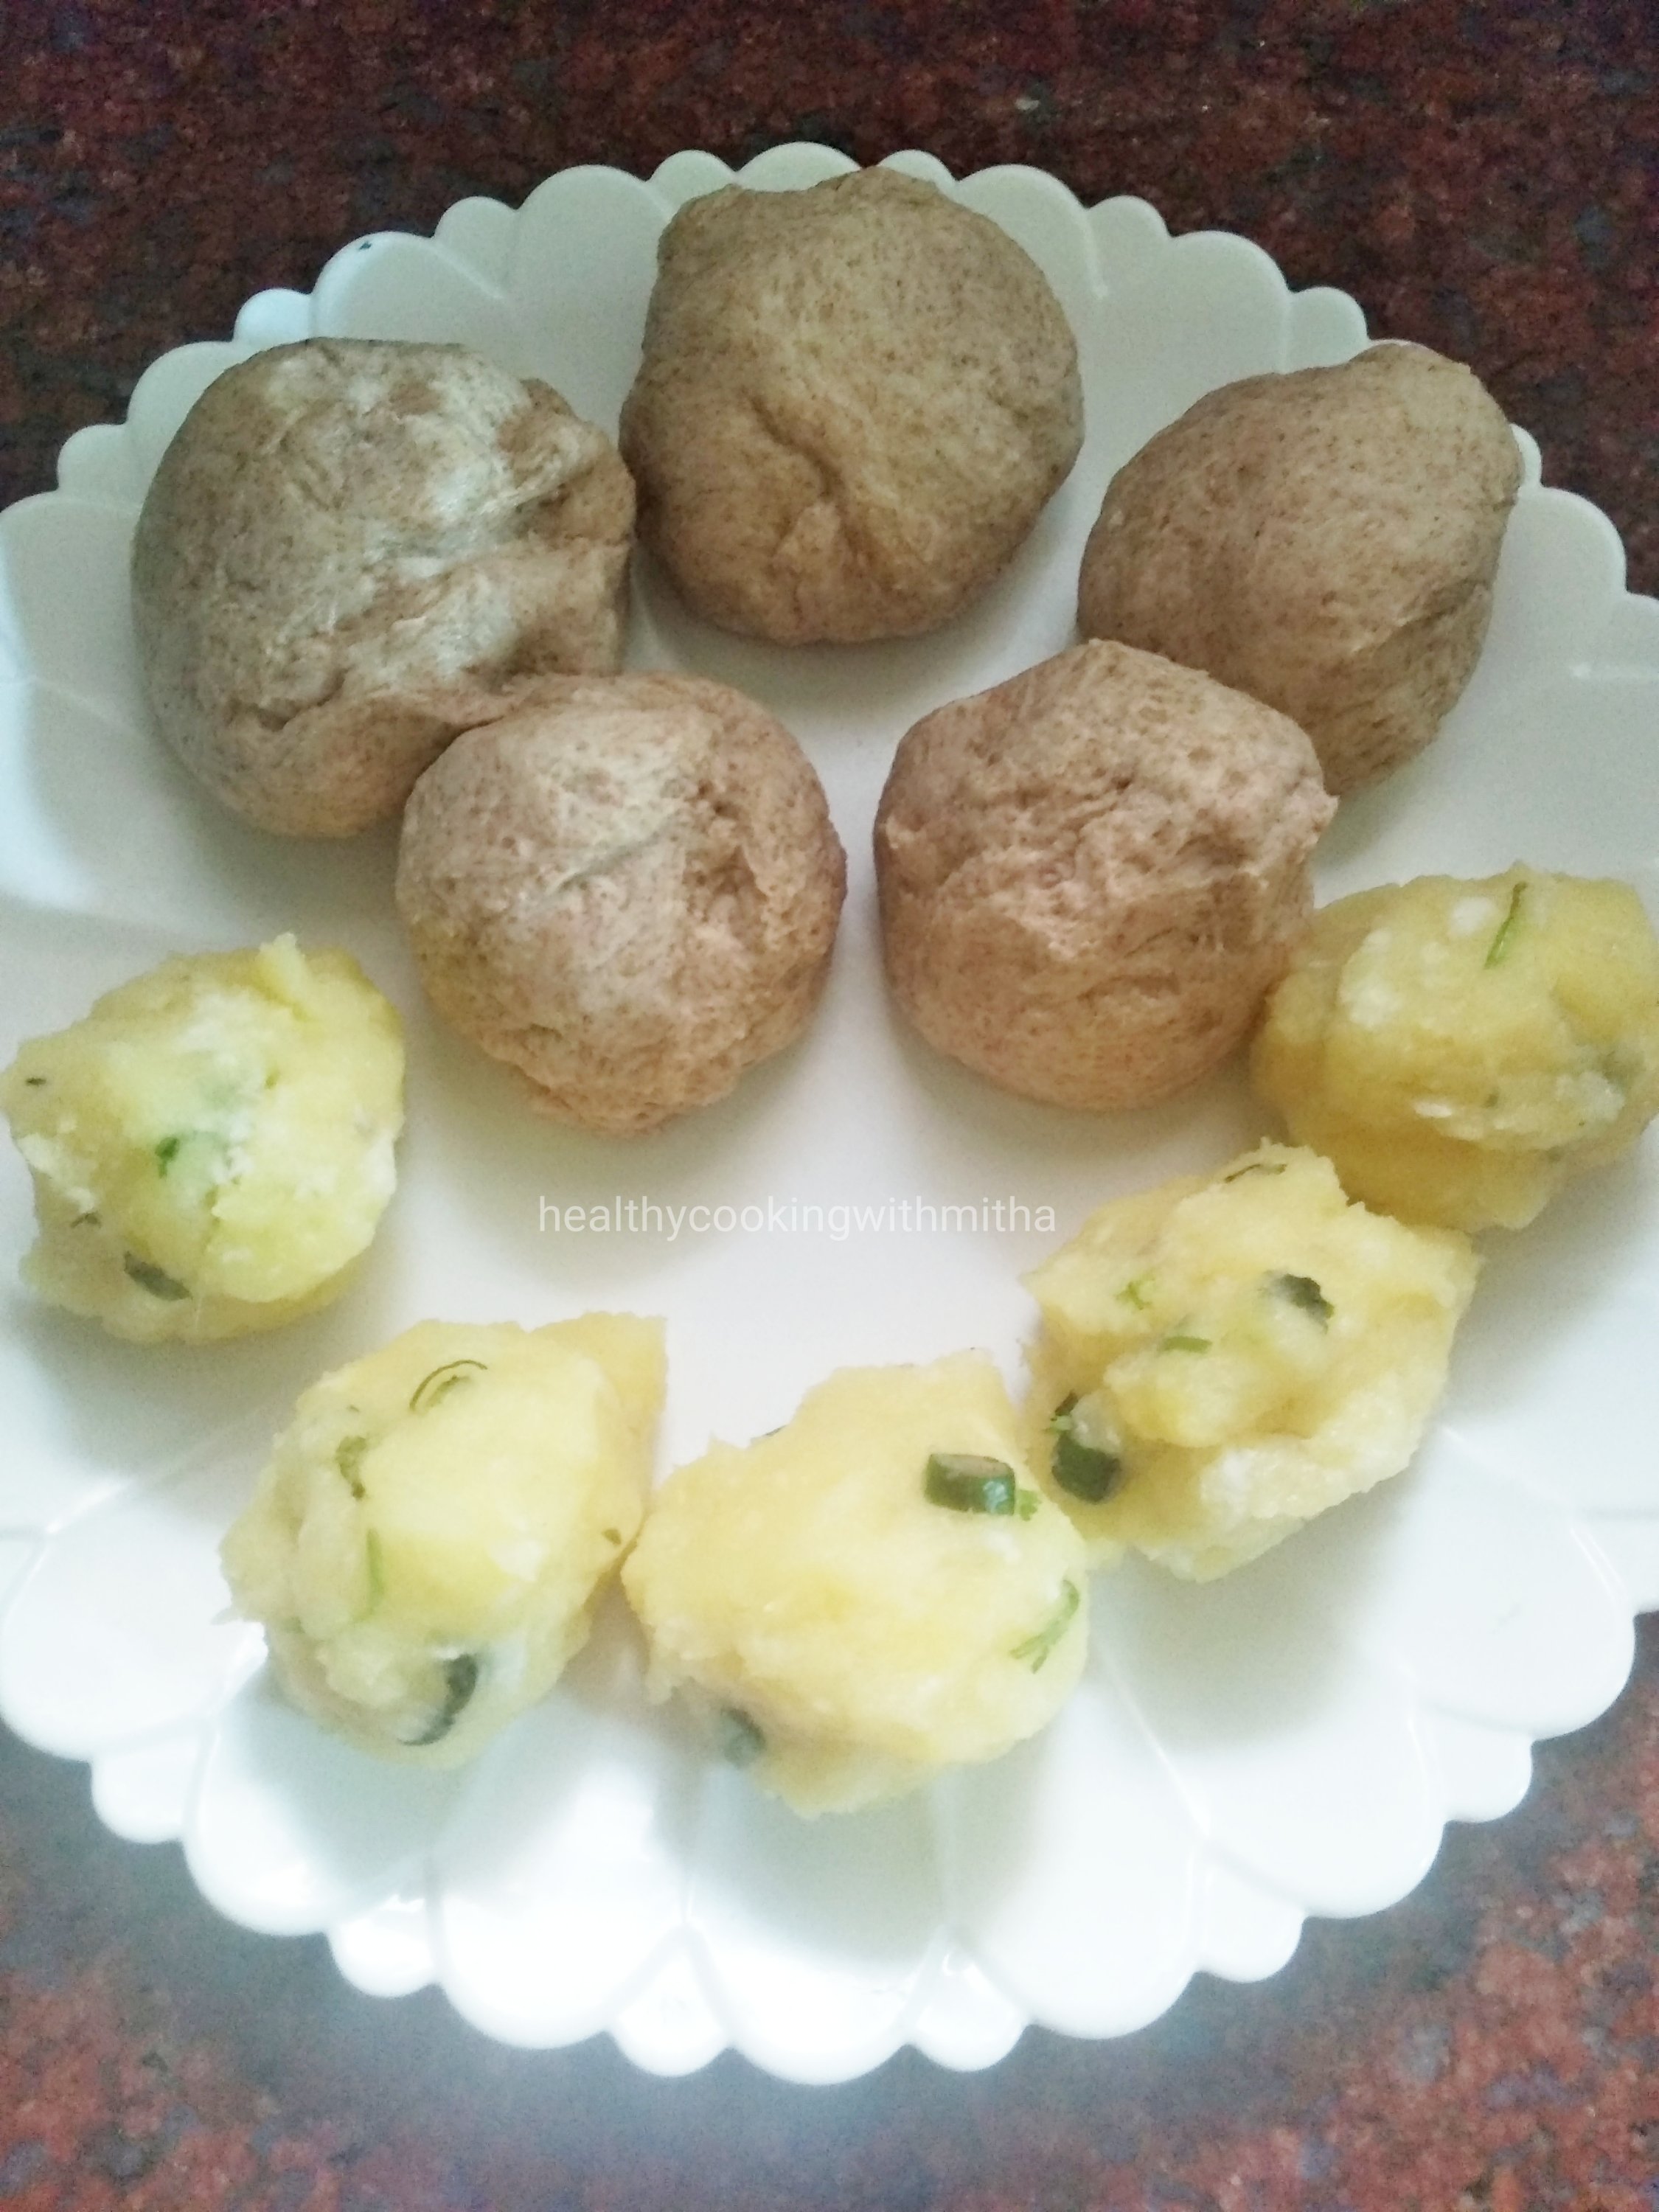
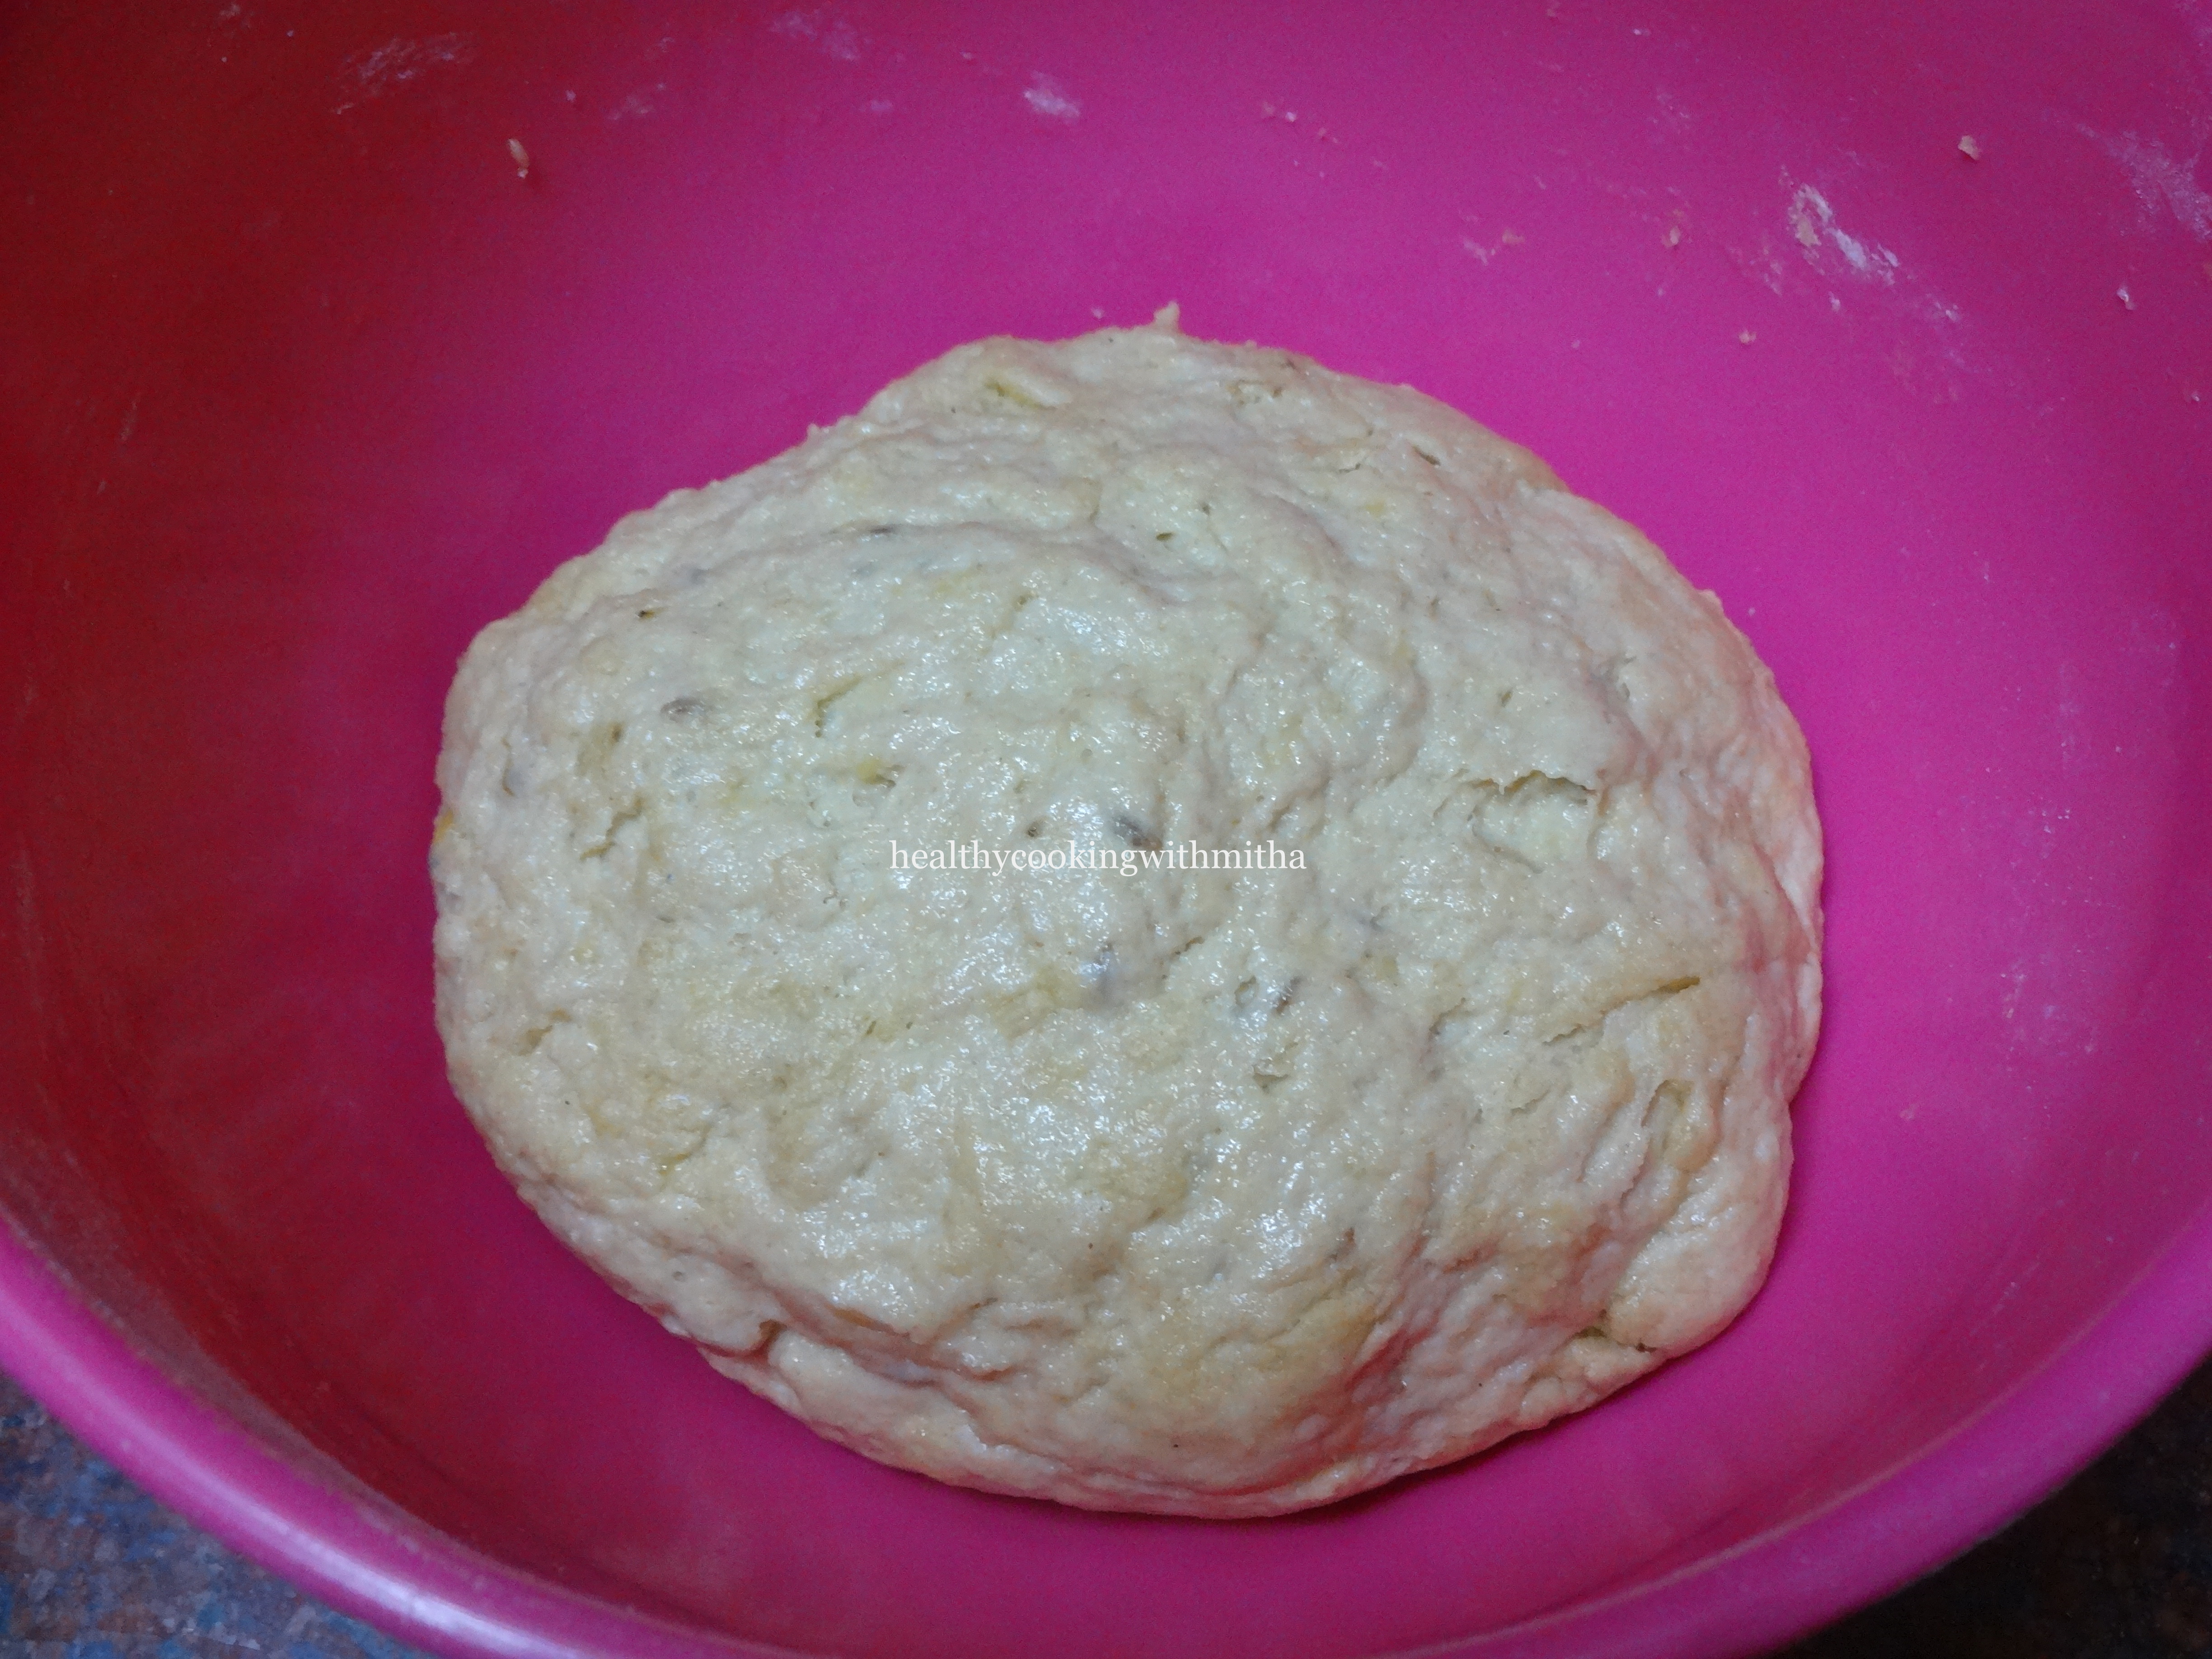
Now both the outer dough and inner filling is ready. Keep the Chapati dough for rest for about an hour before making parathas. Till then, it’s best to refrigerate the filling in case it leaves water.

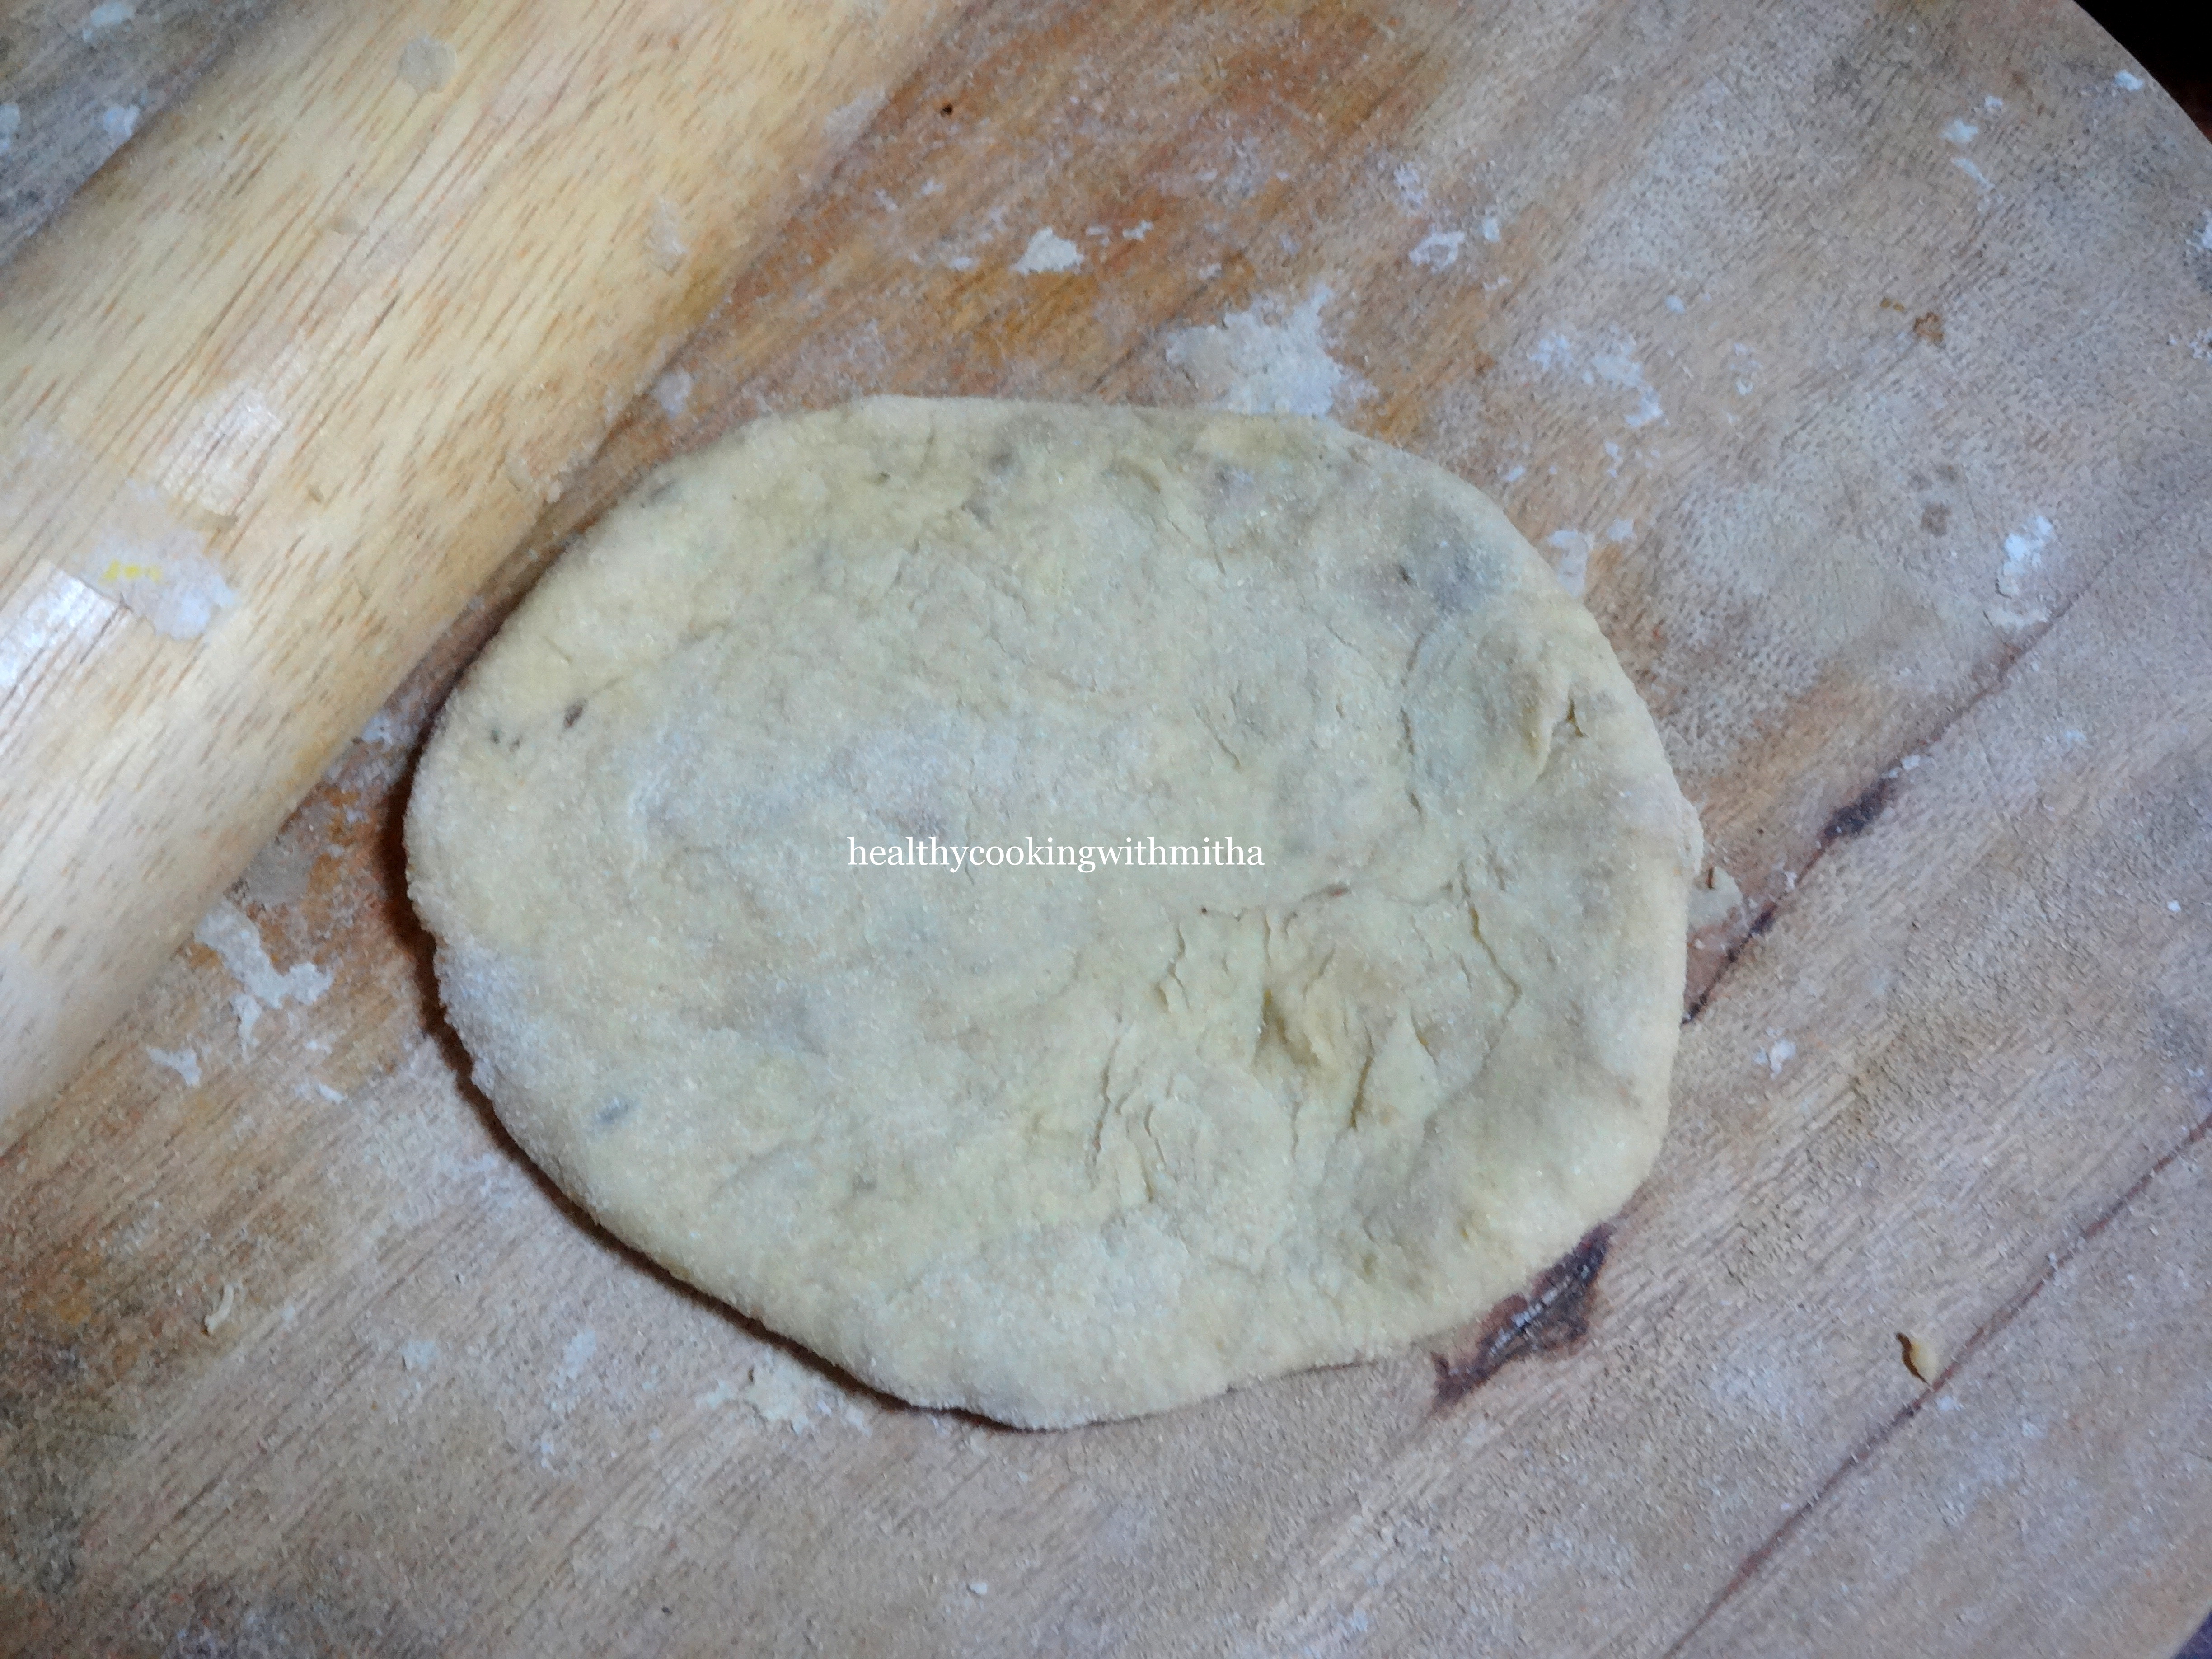
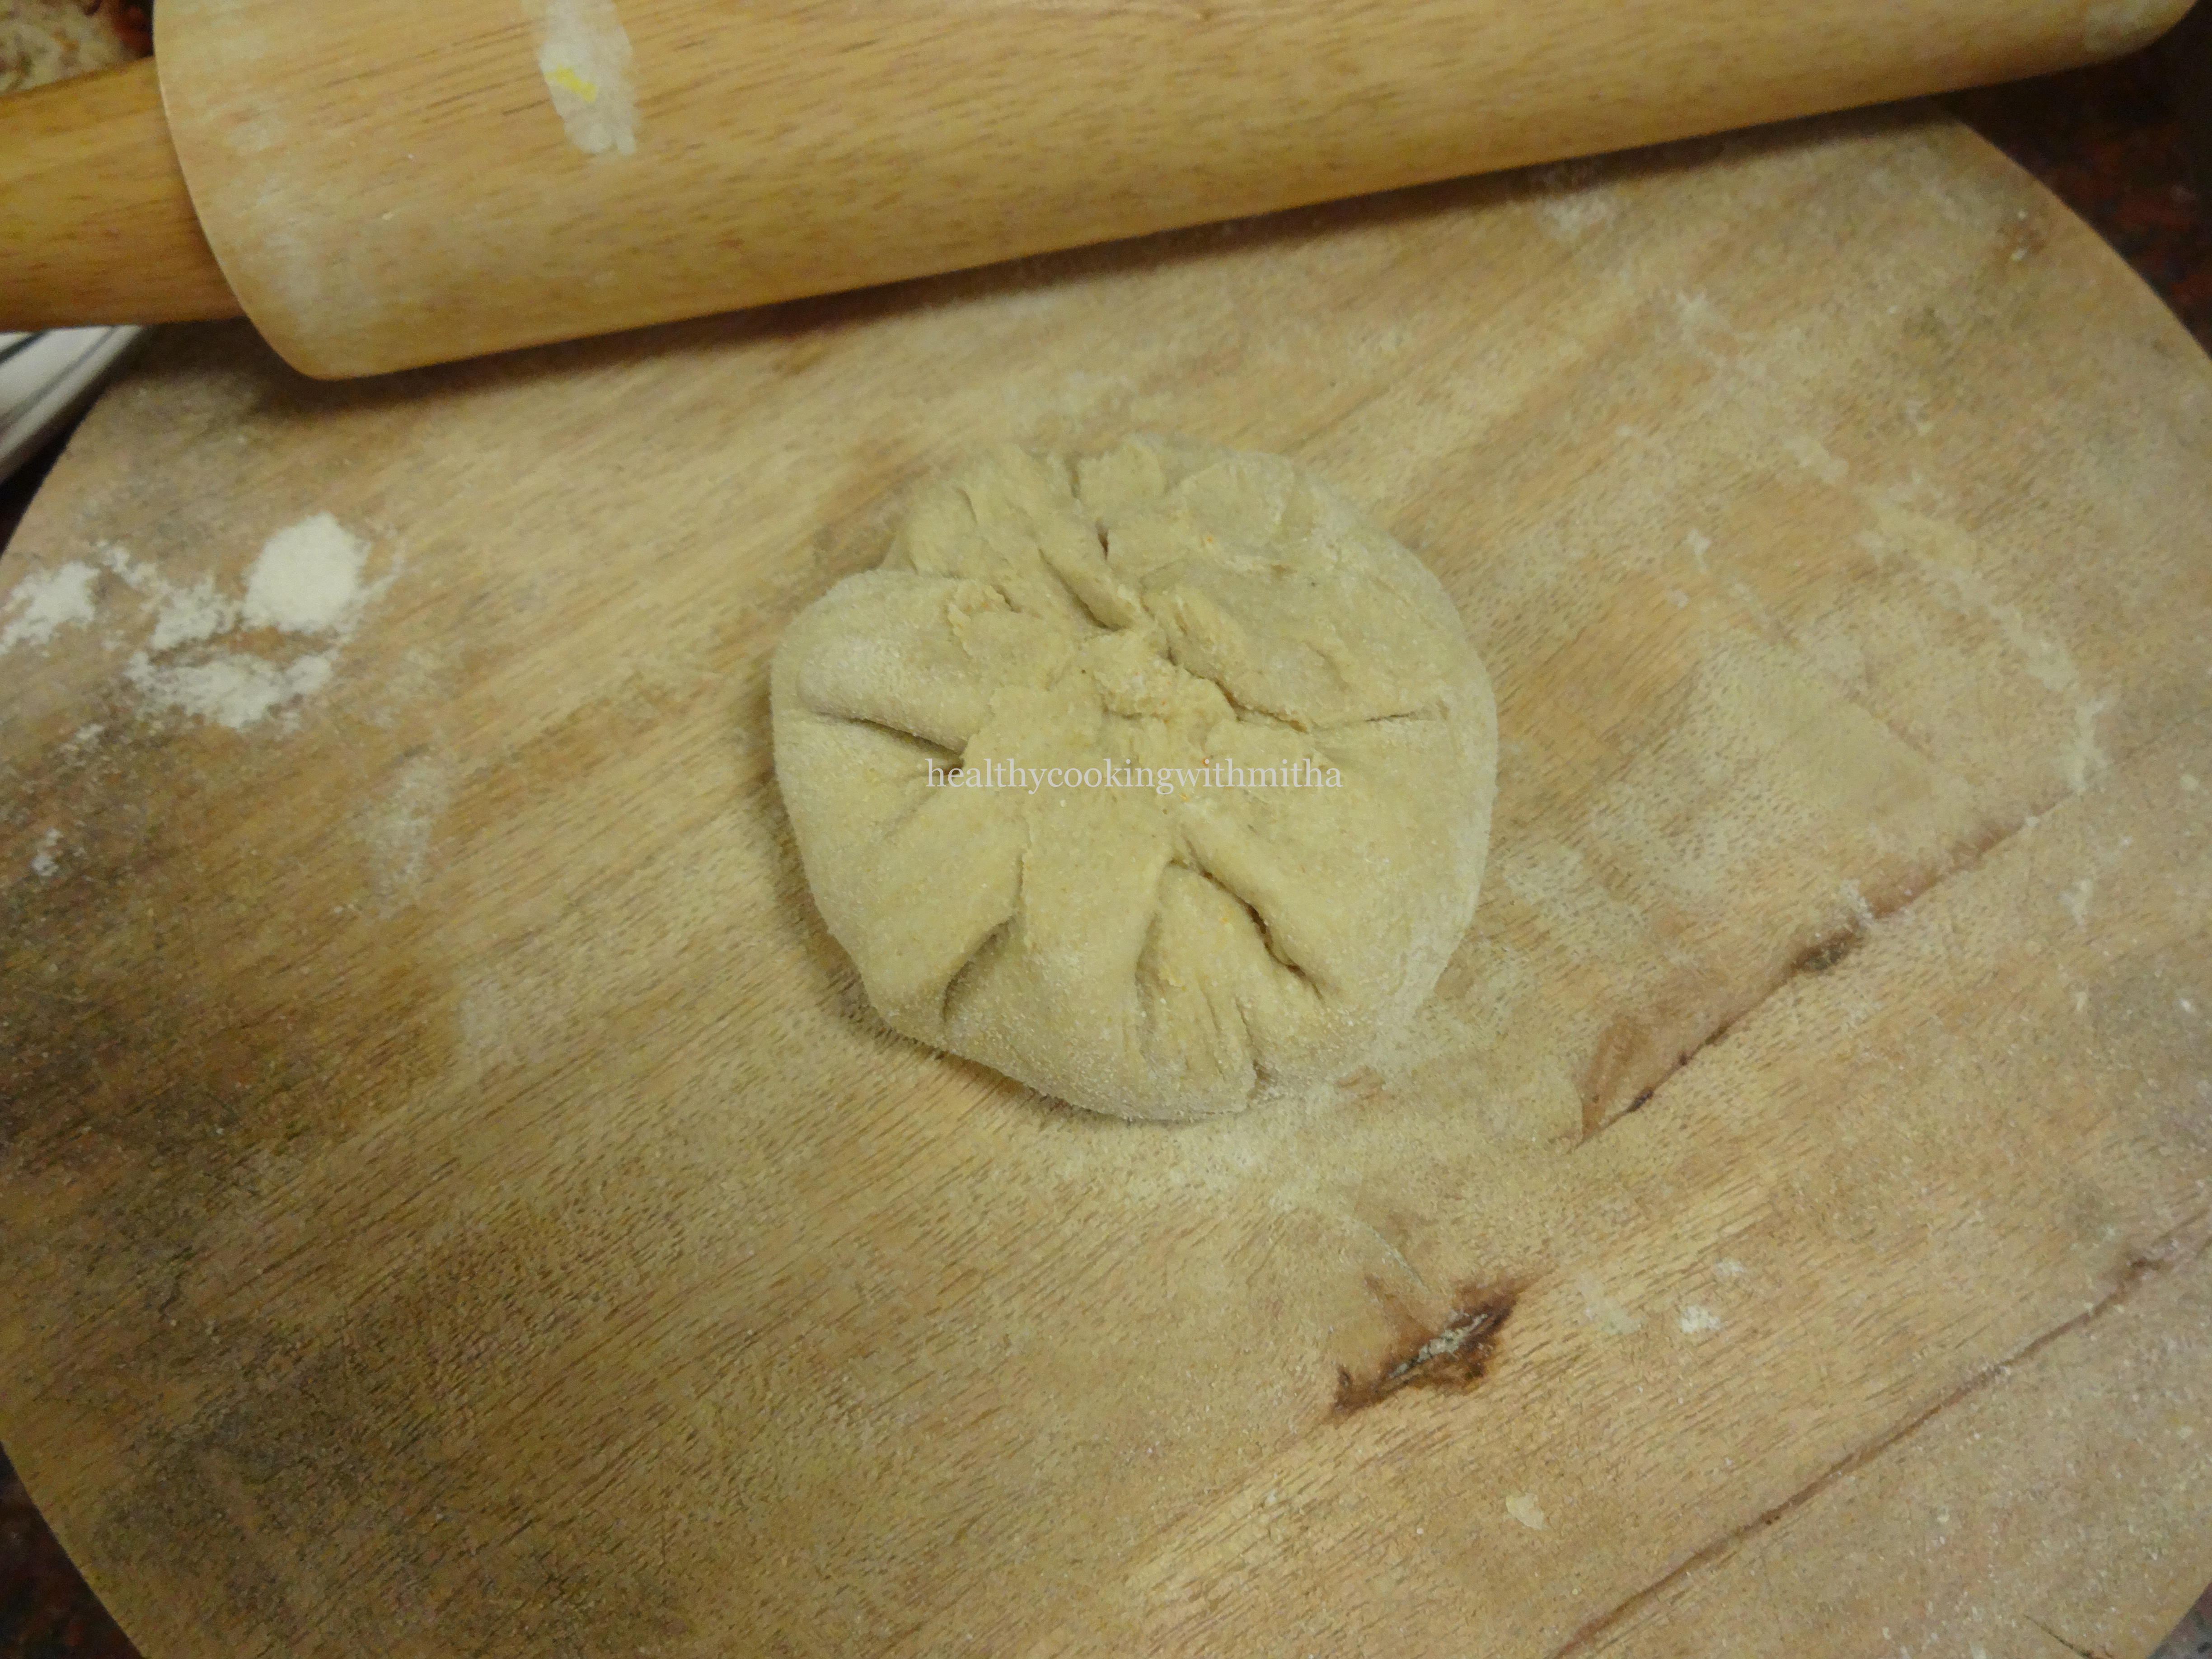
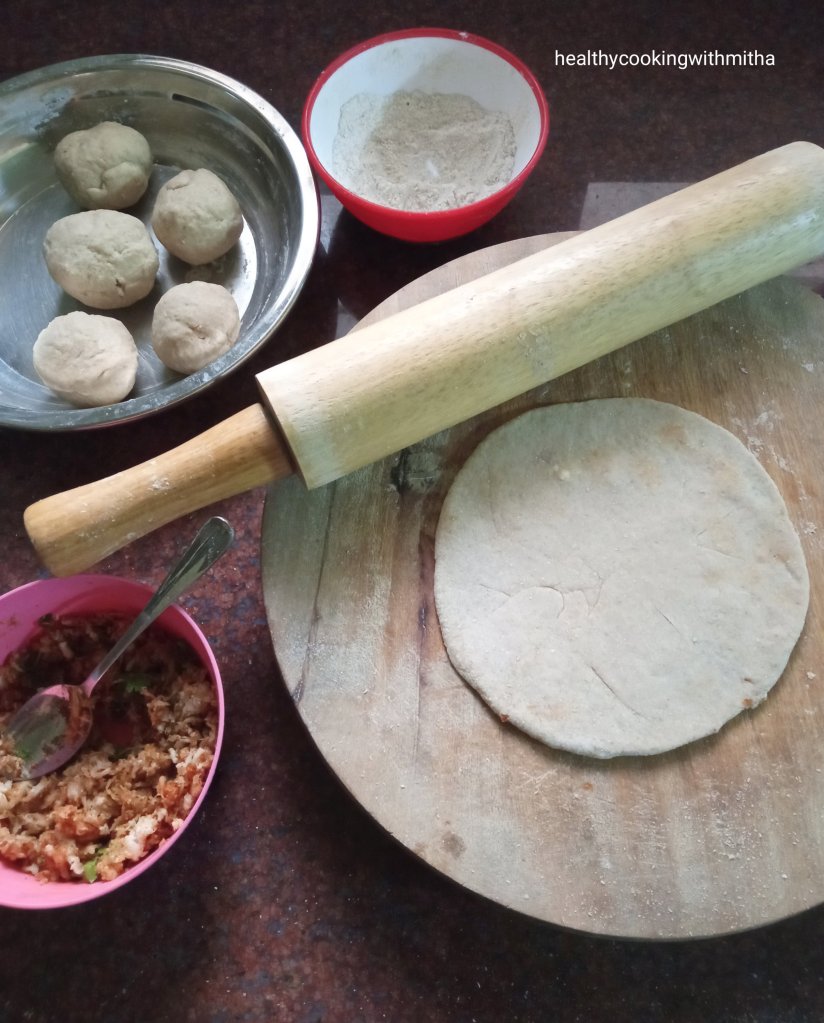
6. To make Parathas, divide the chapati dough into equal, medium sized balls. Take one of the ball and dip it in dry wheat flour. Roll it into a small sized thick chapati and add a spoon of filling inside, in the center as shown.

7. Cover it by folding the edges and sealing it using the dough in the sides.

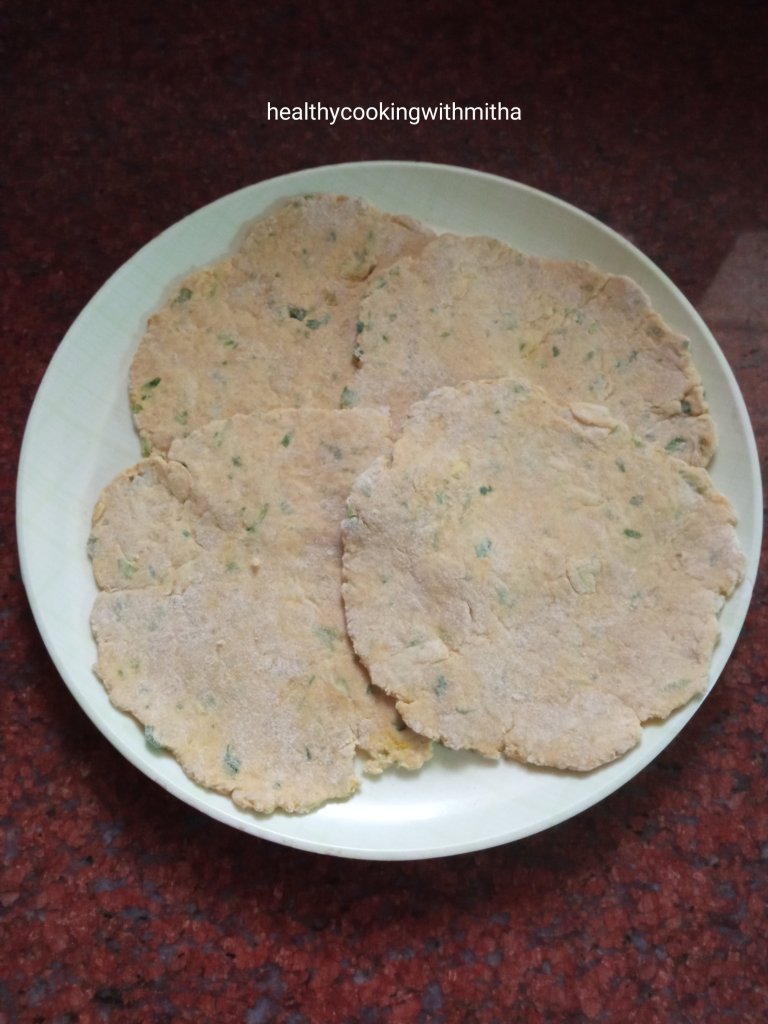
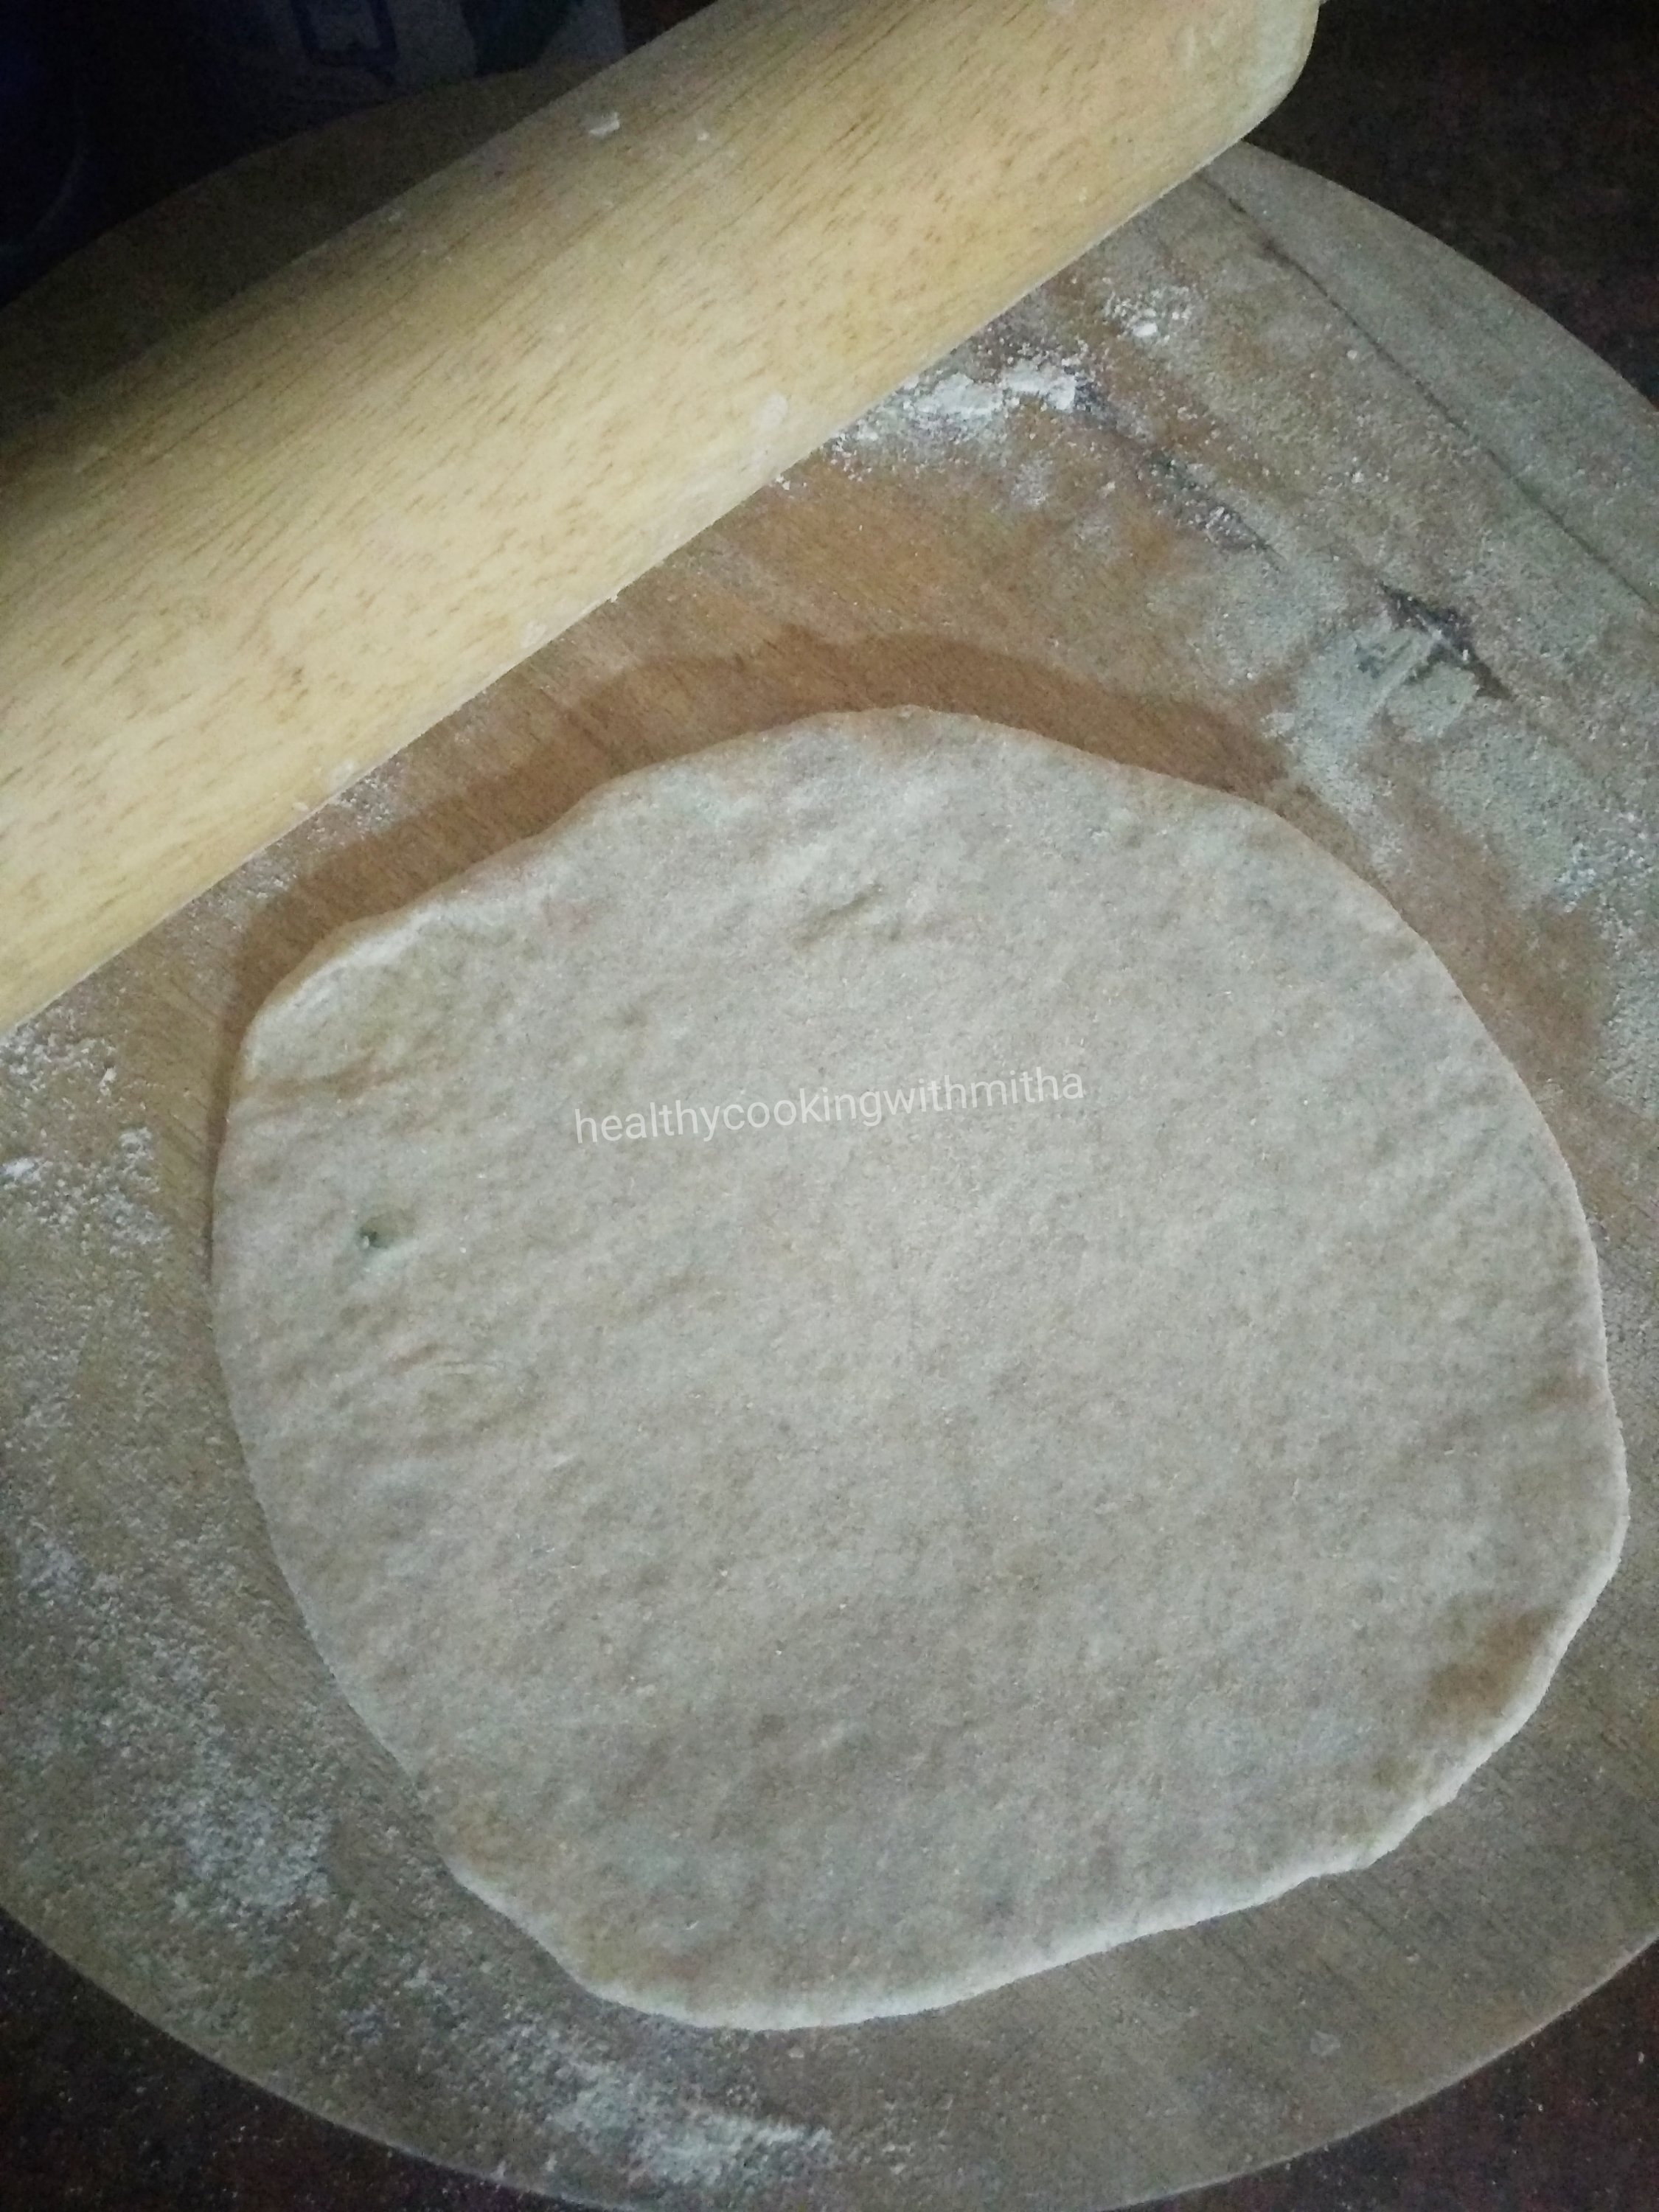
8. Dip again in dry wheat flour and roll as thin as possible, ensuring that you don’t give much pressure as the filling can come outside.

9. Now heat a pan/ tawa and place the paratha over it. Fry both sides using ghee till it browns and cooks well.

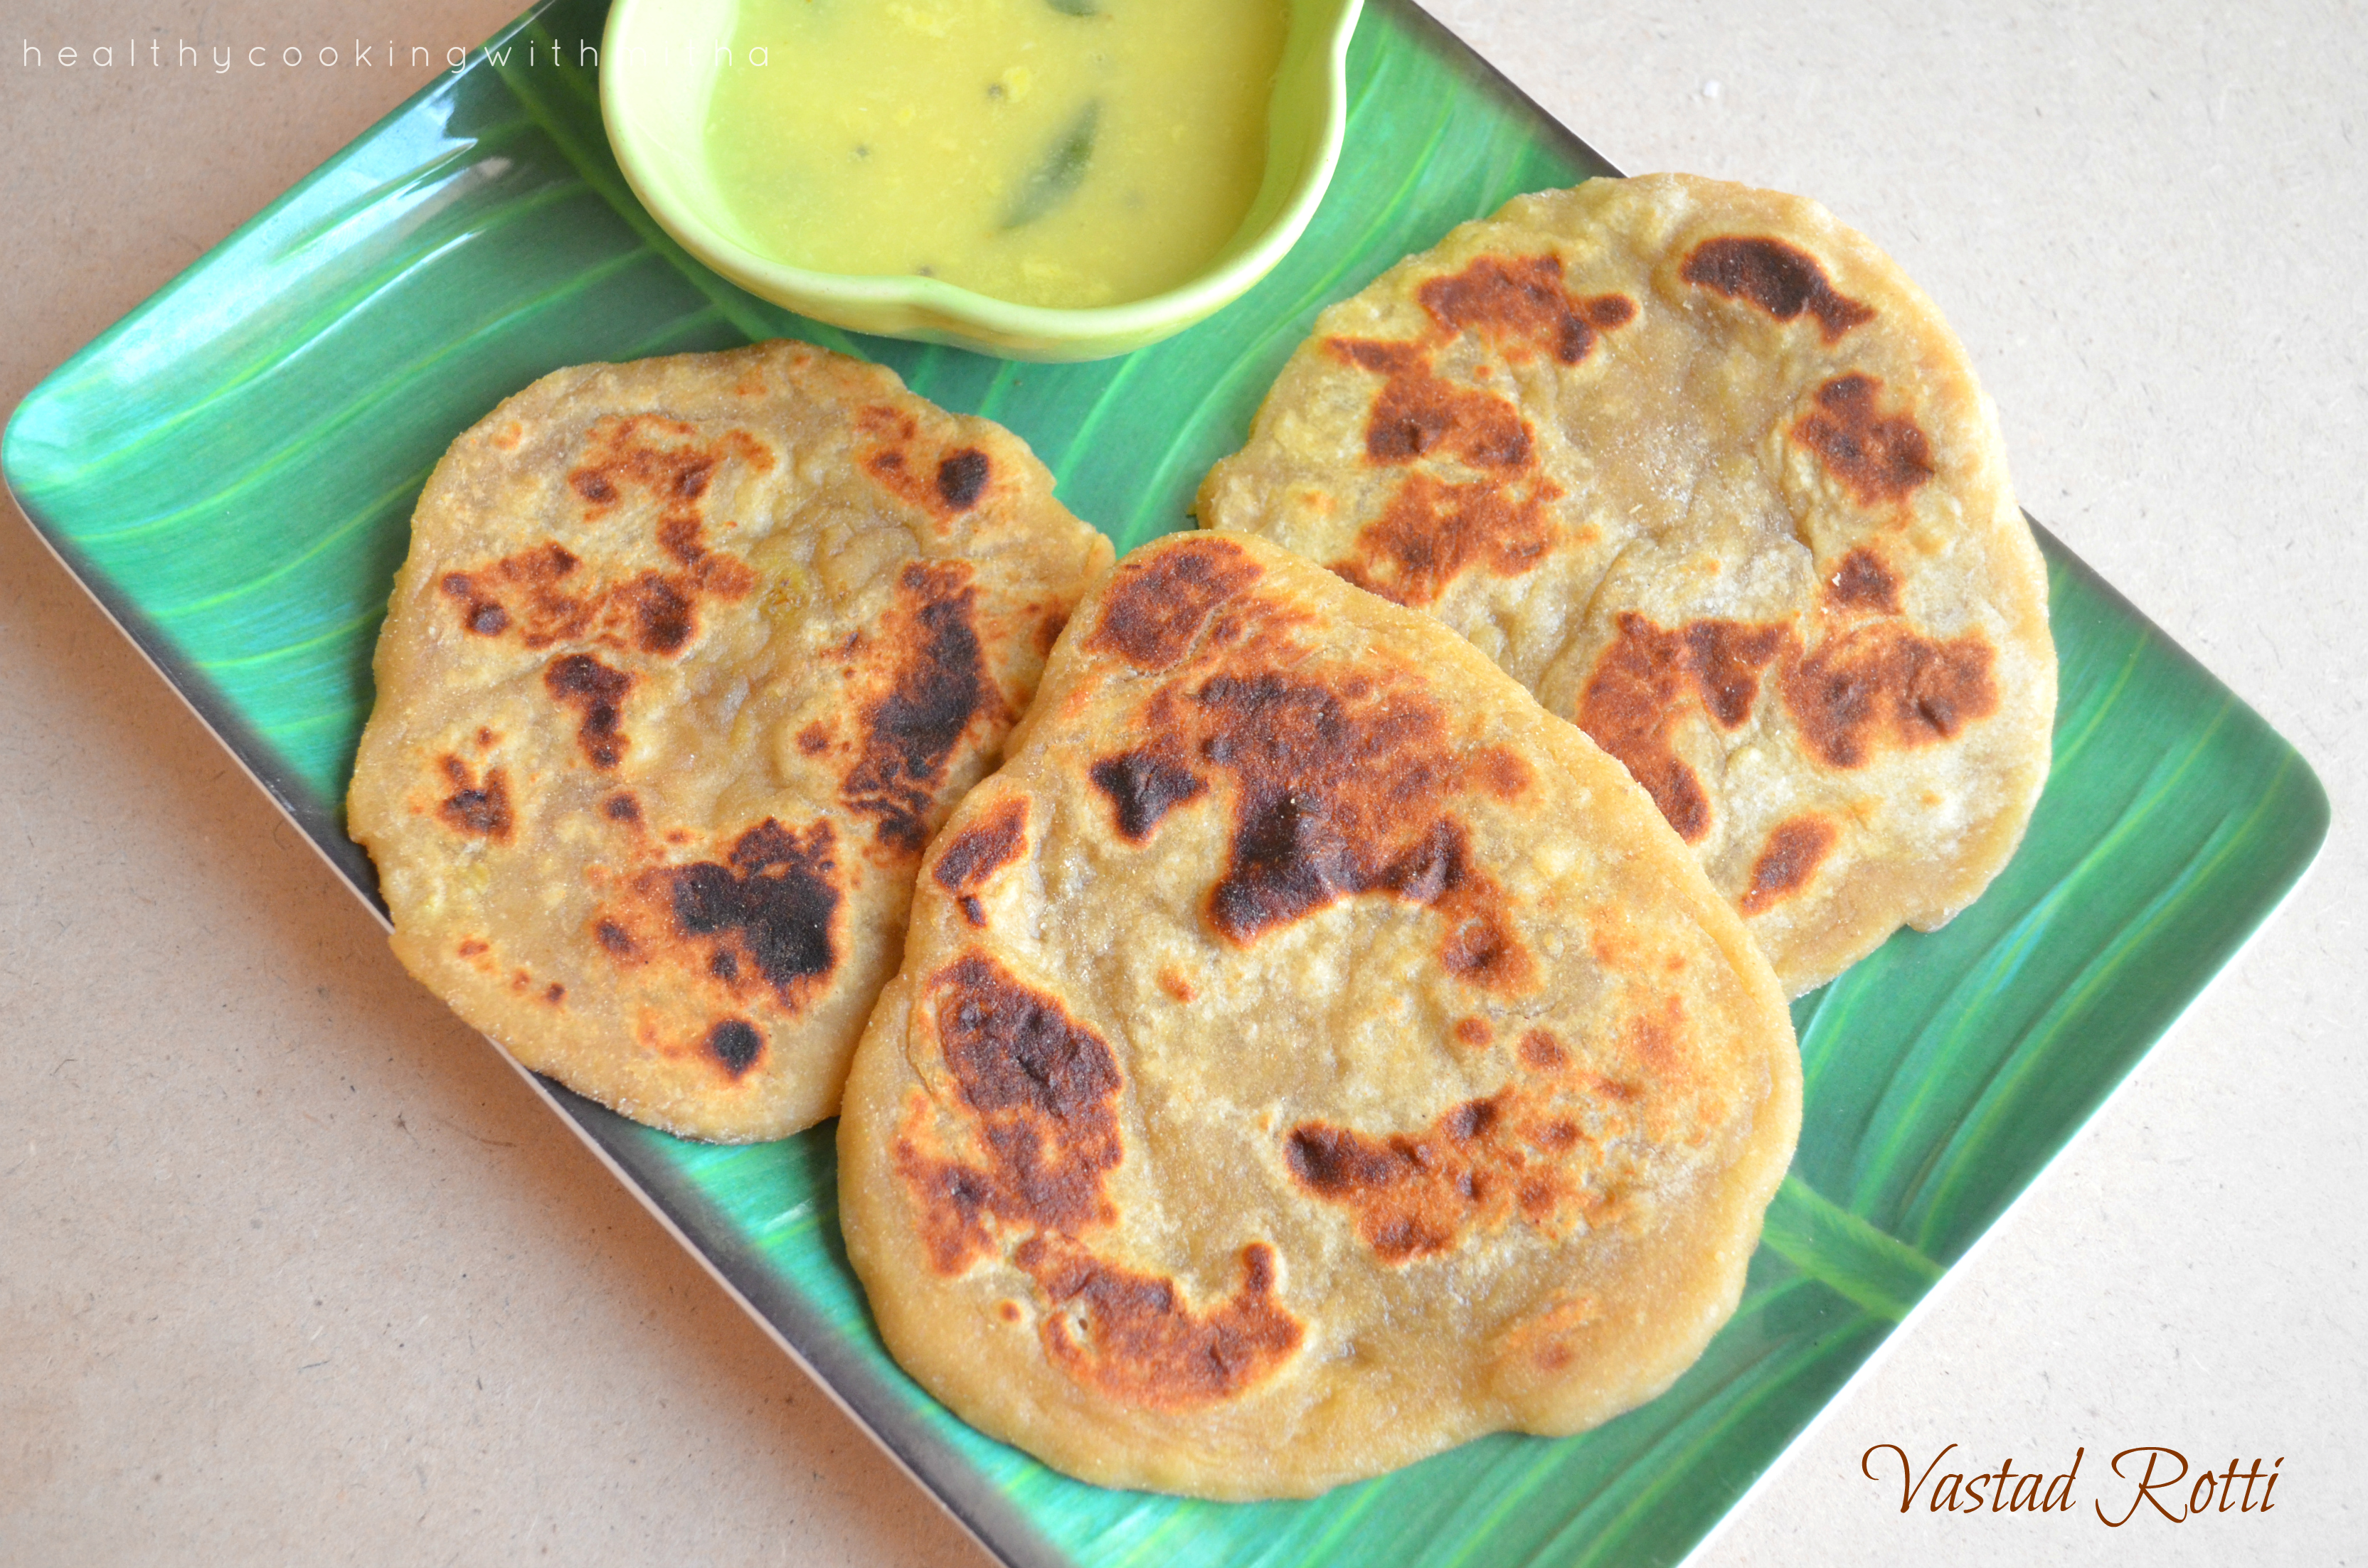
10. Serve with raita, chutney or pickle. Tastes so yum!

Notes:

* Remember to add salt and keep the radish gratings for atleast 10 mins so that all the water gets let out and you don’t get a soggy filling.

* Don’t discard the water and knead the wheat flour in it so as to not waste the nutrients in the radish water.

* While keep the dough to rest, refrigerate the filling so that it does not leave out water. In case, you feel the mixture is wet, you can add little crumbled paneer so that it absorbs the extra moisture from the filling.

* You can add the masalas which you like to the filling. I like which my family prefers. You can also add finely chopped green chillies to the filling.

* You can also check my other Paratha/ Thepla recipes:

Alu Paratha

Bottlegourd Theplas

Methi Theplas

Click on the image to save the recipe on Pinterest
Advertisement

Bottlegourd Thepla | Lauki/ Dudhi Thepla

Click on the image to save the recipe on Pinterest

The house is silent now, till afternoon, when my kids come back from school. I am utilizing this alone time to write this interesting, very healthy and super tasty Bottlegourd thepla recipe which I learned sometime back. Once the kids return from school, all they say is “Amma, Potta Bhook!” meaning “Mom, I am hungry!” in Konkani. 😁

So I have to keep something ready for them so that I can feed them as quick as I can. And it should be filling as well. Else in another 30 mins, it’s the same dialogue again. πŸ˜„ So, in my search for healthy snack recipes, I found this Bottlegourd Thepla which I tried one day for the hungry siblings. 😍😍

Both of them literally had a fight till the last bite while I had the last laugh as they did not realize they were eating bottlegourd too in it. 😁 Seriously speaking, you can never say it is made of bottlegourd. The taste of these soft theplas are heavenly to say the least. ❀️

So now, bottlegourd is bought weekly in our grocery shopping to specially make these theplas and I had to share the recipe with all of you too. ❀️

Bottlegourd ❀️

Do try them for a change from the regular food that we make and you are sure to be a fan of Bottlegourd theplas too. Happy and healthy cooking! ❀️

RECIPE:

Ingredients: { 1 Cup = 240 ml }

Makes about 4 Theplas

1 Cup Whole Wheat flour/ Atta

1/2 Cup peeled, cored and grated Bottlegourd/ Lauki / Dudhi / Sorekai / Chorakaa

1/2 inch Ginger piece, grated

3 Tbsp Coriander leaves, chopped

1/4 tsp Turmeric powder

1/2 tsp Red chilli powder

1 tsp Coriander powder

1 tsp Garam masala powder

Salt to taste

1 to 2 Tbsp Yogurt/ Curd or as needed

Dry wheat flour as needed while rolling

Oil or Ghee to cook the Theplas

Step by step recipe:

1. Peel, core and grate Bottlegourd. I took half of one medium sized Bottlegourd and got 1/2 Cup gratings.

2. Add it to a mixing bowl. Add wheat flour. Then add grated ginger, chopped coriander leaves, turmeric powder, red chilli powder, Garam masala powder, coriander powder and salt.

3. Mix well using hands. Bottlegourd will release it’s water and the dough will be moist.

4. Now add 1 Tbsp Yogurt and mix well to form a dough.

Note: This step is very important as if you add more yogurt, the dough will be wet and you won’t be able to roll the theplas. Add only as much as to form a dough. In case by mistake you add more yogurt, just add more wheat flour to form a non sticky dough.

5. Coat the dough with few drops of any kind of oil so that the dough becomes non sticky.

6. Now divide into equal sized dough balls. Flatten and dip into dry wheat flour. Roll as thin as you can.

Note: The shape will not be perfect round due to grated bottlegourd in it but it’s fine. Just dip into as much dry wheat flour as needed and roll.

7. Now fry both sides on a hot tawa applying oil or Ghee on either sides, cooking the Thepla really well till it turns golden brown in colour.

8. Serve hot with mango or lemon pickle. ❀️

Notes:

* Hot theplas with pickle taste the best but you can also make ahead and keep as these last for two to three days. A perfect travel food made regularly by Gujaratis.

* Do a taste test by eating a small bite of the bottlegourd before grating to see if it’s bitter. I have never found a bitter one but I have heard some do taste bitter. So I always taste before grating.

* You can also add finely chopped green chillies to thepla dough but since I make for my kids, I add only little red chilli powder.

* Knead the dough only using the moisture from bottlegourd and yogurt. Don’t add water while kneading.

* The ratio of 1/2 Cup grated bottlegourd to 1 Cup wheat flour and 1 Tbsp Yogurt gives a very soft Thepla but is slightly tricky while rolling. If you are not good at rolling, you can increase the quantity of wheat flour to 1 1/2 Cups wheat flour. The texture will be similar to rotis though.

* While rolling, use ample amount of dry wheat flour which helps in rolling easily. If using less, the dough will stick to the rolling platform.

* I used ghee to fry the theplas. You can use oil too.

* A simple mango pickle tastes the best with this Thepla. You can also make coriander chutney or raita too.

* I regularly make this Bottlegourd Halwa which tastes really delicious. You can try it as well.

Click on the image to save the recipe on Pinterest

Oats recipes Compilation | Dosas, idli, cake, paratha and pizza with oats

As I write this, I am sitting on our sofa with my son sleeping soundly in my arms, completing his evening nap. I have had many people tell me that it’s not a good habit and I should practice him by putting him down on the bed during nap time so that I can be free then. I usually say “okay, I will try” to them as I know they won’t understand that the peace I get when my son sleeps in my arms 😍 is incomparable to any free time I may get after putting him on the bed. Also, he too naps much better, very peacefully when he sleeps in my arms. ❀️

What I do is, finish all my chores before his nap time and while he sleeps on me, I either chat with Amma or listen to my favorite songs or like I am doing now, blog a new recipe. I feel relaxed then and his nap turns into my rest time too. ❀️

Also, I know this won’t last long as I used to do the same with my daughter too. Now at 6 years, she no longer sleeps next to me while my son who is 2.5 years needs all the cuddles in the world at night too. So I just tell myself to enjoy this bliss of motherhood, the love, the attachment, the “mogu mogu“, his hugs, his caressing, his kisses, his tight embraces while it lasts. ❀️

I just hope that even if he grows, he will still love me the same, if not show it physically but still the affection remain the same. That’s all a mother wants and this motherhood journey has taught that to me. ❀️

Here’s sharing the Oats recipes which I make always to include the super food in our diet. Hope you all try and like it. Happy and healthy cooking!

1. Instant Oats Idlis : This was one of the first recipes that I learned with oats many years back and has been my regular specially when I have not planned ahead or don’t know what to make for breakfast.

Recipe here: Instant Oats Idlis

Click on the image for the recipe

2. Instant Oats Poha dosa: An instant dosa with oats and poha which goes really well with sambar. My kids love this dosa very much.

Recipe here : Instant Oats Poha dosa

Click on the image for the recipe

3. Oats and Mixed dal dosas : These dosas come out as delicious as beautiful they are to see. Great way to include protein and nutrients in your dosa.

Recipe here : Oats and Mixed dal dosas

Click on the image for the recipe

4. Moong sprouts Oats dosa : Yet another healthy dosa combining sprouts and Oats which comes out very tasty. I make this to include sprouts in my kids’ diet who don’t eat sprout as it is.

Recipe here : Moong sprouts Oats dosa

Click on the image for the recipe

5. Instant Oats Vegetable Bhakri : This is hands down my favorite breakfast with oats. Combining so many veggies and oats, this Bhakri or thick dosa does not even need an accompaniment. Tastes so delicious with butter. Hardly takes time to make the batter and is so filling that it can be a meal in itself too.

Recipe here : Instant Oats Vegetable Bhakri

Click on the image for the recipe

6. Masala Oats Paratha : This unique and super delicious parathas are a must try. Learnt it from a friend many years back and I make it for a change from regular chapatis. My kids love it a lot and eat more than usual when I make it, making me a happy mommy. 😍

Recipe here : Masala Oats Paratha

Click on the image for the recipe

7. Dates and Oats Cake : A healthy and yummy cake combining the goodness of dates and Oats. You can never say it has oats in it and trust me, comes out very delicious. One among the most tried cake recipes from my blog after Sugar free Dates Carrot Cake.

Recipe here : Dates and Oats Cake

Click on the image for the recipe

8. Gluten free Oats Pizza : I usually make whole wheat Vegetable Pizza at home as evening snack for my kids. Apart from that, I have learned to make this Oats pizza which only has oats in the base. Comes out very soft and super tasty too. A must try pizza specially for those looking to bake gluten free pizza at home.

Recipe here – Gluten free Oats Pizza

Click on the image for the recipe

You can also check my other compilations:

* “No rice” Dosa recipes Compilation

* Easy to make, ready in 15 mins Healthy sweet recipes compilation

* Healthy cakes and cookies compilation

* Baking basics guide for beginners

Alu Paratha

In my childhood, if there was something I used to wait from Amma’s special dishes, it was Puri bhaji that she made weekly once for breakfast and this Alu Paratha which was a weekend lunch speciality.

I used to buzz around her like a bee till she made hot hot parathas so lovingly that I can never match her taste in it. Though after marriage, potatoes are not common in my household as husband does not like it (can you believe it?? He hates my favourite potato πŸ˜‘), he does love these alu parathas gratefully.

So I make them for his lunch box as they stay soft even after many hours along with Mint chutney and they make an amazing combination. Hope you all try these simple alu parathas too. Happy and healthy cooking!

RECIPE:

Ingredients: { makes about 10 parathas}

For the outer dough:

4 Cups of whole wheat flour/ Atta

Salt to taste

Water as required

For the filling:

4 medium sized Potatoes

3 Tbsp freshly grated Coconut

3 Green chillies

2 Tbsp Coriander leaves

1/2 tsp Hing or Asafoetida

Salt to taste

Ghee to cook the parathas

Step by step recipe:

1. Take wheat flour and salt in a bowl. Add water as required and form a smooth dough. Keep aside.

2. Pressure cook potatoes till they turn soft but don’t overcook them as it can lead them to leave water and will be difficult to stuff inside. Remove them and allow them to cool.

Note: I usually pressure cook for 4 whistles on my electric stovetop. May vary for gas tops.

3. After they cool down, peel and mash the potatoes well with a masher. Add coconut, green chillies, coriander leaves, hing and salt.

4. Mix well and keep aside.

5. When making parathas, divide both the doughs into equal portions.

Note: Keep the wheat flour dough size bigger than the filling so that you can roll easily.

6. Keep the pan to heat on the flame. Dip the wheat dough in dry wheat flour and roll into a small round shape as shown. Place the filling inside.

7. Close the dough from all sides and seal.

8. Dip again in dry wheat flour and roll as thin as you can.

9. Place this on the hot tawa and fry both sides using ghee.

Notes:

* Be careful while cooking the potatoes and if it does leave water and turn extra soft, add little oats for the mashed potatoes to absorb water. I do it too and you won’t know the difference.

* This tastes very simple but delicious especially those who love hing flavour.

* We love it curd or Mint chutney.

Vastad rotti | Wheat Banana flatbread

I am sure if you are checking this recipe, it must be either due to the amazement of the unique name “Vastad rotti” or have savoured this delicious snack made by your grandmother and just wish to recreate it in your kitchen.

Anyhow for all of you, Vastad rotti is nothing but tava fried version of the famous Mangalore Buns. My grandmother made these rottis as evening snack when she did not want to deep fry the leftover buns dough again. They tasted so delicious that I loved it more than buns itself.

After marriage, when I tried it for the first time, my husband did not know about it but to my amazement, he too loved it very much. So now whenever there are leftover bananas, he asks me make these rottis. In fact, sometimes he brings bananas only for this. Such is the love for these cute small Vastad rottis. 😍

Hope you all try and love it too. Happy and healthy cooking! β™₯️

RECIPE:

Ingredients:

3 Cups Wheat flour (or as required)

1 Cup mashed bananas

1/2 Cup Curd or Yogurt

1/4 Cup Powdered Jaggery or Sugar

2 Tbsp Besan/ chickpea flour

1 tsp Cumin seeds/ Jeera

A pinch of pepper powder

Salt to taste

1/2 tsp Baking soda (optional)* check notes

Step by step recipe:

1. Take mashed bananas in a large bowl. Add besan, jaggery or sugar, cumin seeds, pepper powder, salt and baking soda ( if adding).

This is an old picture. I add powdered jaggery now.

2. Add curd and mix well using a spatula.

3. Now slowly add wheat flour 1 Cup at a time and keep mixing till it forms a dough. Knead with hands lightly.

4. Coat the dough with oil and cover and keep overnight or for 6 to 8 hours to ferment at room temperature in a warm place.

5. When making vastad rottis, make equal portions of the dough.

6. Roll like you roll out puri into a thick circle. Use dry flour if needed.

7. Heat a tawa and place the rolled roti on it. Look at it puff up and form tiny bubbles on the surface.

8. Add ghee. Flip and cook the other side too.

9. Serve hot with chutney or dalitoy ( Konkani style dal).

Notes:

* Actually the measurements of this recipe can vary a lot depending on the variety of bananas, water content in curd and quality of wheat flour. So please go with the step by step recipe and follow accordingly.

* You can also make with leftover bananas even if you have only couple of them. Not necessarily 1 Cup mashed bananas are required.

* Add curd along with other ingredients and see how much wheat flour is needed to get it to form a dough.

* Please do not add water while forming this dough. The moisture should come only from bananas and curd.

* I skip baking soda sometimes and even though there is a difference in texture, taste is almost the same. With baking soda, the texture is flaky like a paratha and without it, the texture is like a thick chapati.

* After fermentation of the dough, the dough might leave water and turn very sticky. Just add more wheat flour and form a manageable dough.

* Roll the dough into a thick circle and cook well on medium flame. On high flame, the rotis can turn black due to the presence of bananas in it.

* You can use powdered jaggery or sugar in the dough. Does not make much difference.

Masala Oats Paratha

Click on the image to save the recipe on Pinterest

I have been unknowingly adding a lot of Oats recipes like Dates and Oats Cake , Oats and Mixed dal dosa, Instant Oats Idli and now this Masala Oats Paratha.

Some years back my friend had shared this recipe of Masala Oats Paratha. I had tried it many times and loved it too but somehow forgot it later as we usually have rice.

Yesterday I remembered it and made just few of them for dinner to see if the kids will like the change in taste. I was so happy when my daughter said “Amma, what is this? This is so yummy. Give me more. Can’t stop eating it.” And finally ate three of them instead of one that she usually eats. Even though I should not share this for the fear of evil eye, can’t resist as it made me so happy and out of the world. I am sure all mothers can understand how I feel.

Here’s sharing the recipe. Hope your family loves it too.

RECIPE:

Ingredients: { Makes around 8 Parathas}

For the outer dough:

3 Cups Whole wheat flour/ Atta

Salt to taste

Water as required to knead the dough

For the inner filling:

2 Cups Instant Oats

1/2 Cup Curd/ Yogurt

3 green chillies, finely chopped

A small piece of ginger, minced

3 garlic cloves, minced (optional)

Few curry leaves, finely chopped

2 Tbsp of finely chopped Coriander leaves

2 tsp Garam masala powder

1 tsp Red chilli powder

Salt to taste

Oil or ghee to cook the parathas

Step by step recipe:

1. Take wheat flour and salt in a bowl and add water. Knead to form a smooth dough. Keep aside.

2. Now take instant oats in another bowl and add curd one spoon at a time and keep mixing till it looks like one wet mixture. I required 1/2 Cup curd for 2 Cups Oats.

This should be the consistency of the mixture. It should be thick.

3. Now add ginger, garlic, green chillies, curry leaves, coriander leaves, garam masala powder, red chilli powder and salt.

4. Mix well and divide into equal portions.

5. Now divide the wheat dough also into equal number of balls. Take one and roll a little. Place one oats portion inside it.

6. Close and seal the edges.

7. Using dry flour, roll into a big circle like you roll regular parathas.

8. Now place it on a hot tava and cook both sides using ghee or oil.

9. Enjoy it hot with curd or any side dish. We love it with Amma’s tomato chutney.

Notes:

* Don’t add a lot of curd than required or you will have difficulty filling it if it is more wet.

* The masalas and spices are to taste. I sometimes skip garlic or curry leaves if I don’t have. It’s all upto how your family loves it.

* I take out the green chilly before feeding each bite to my kids. You could skip it from their mixture itself if needed.

Click on the image to save the recipe on Pinterest