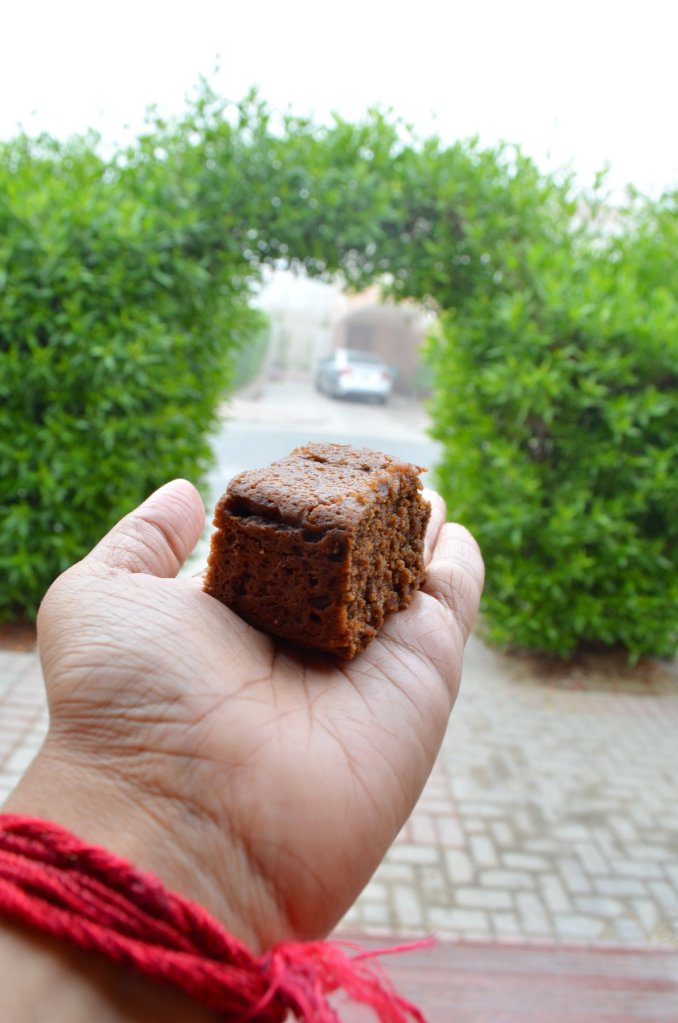
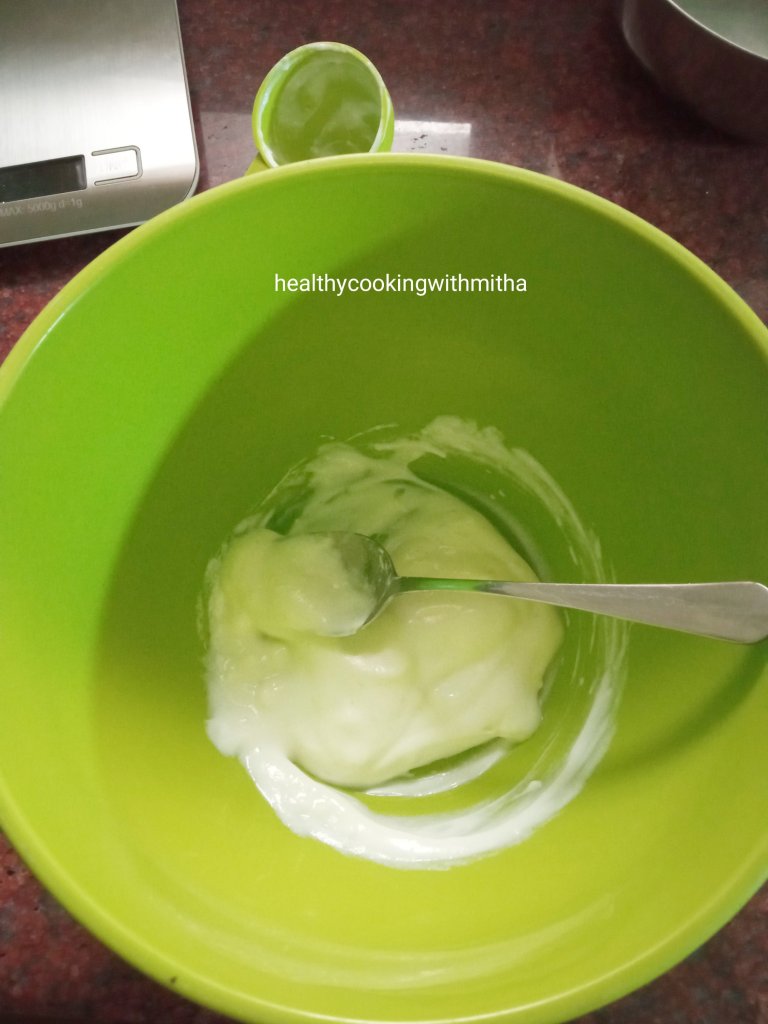
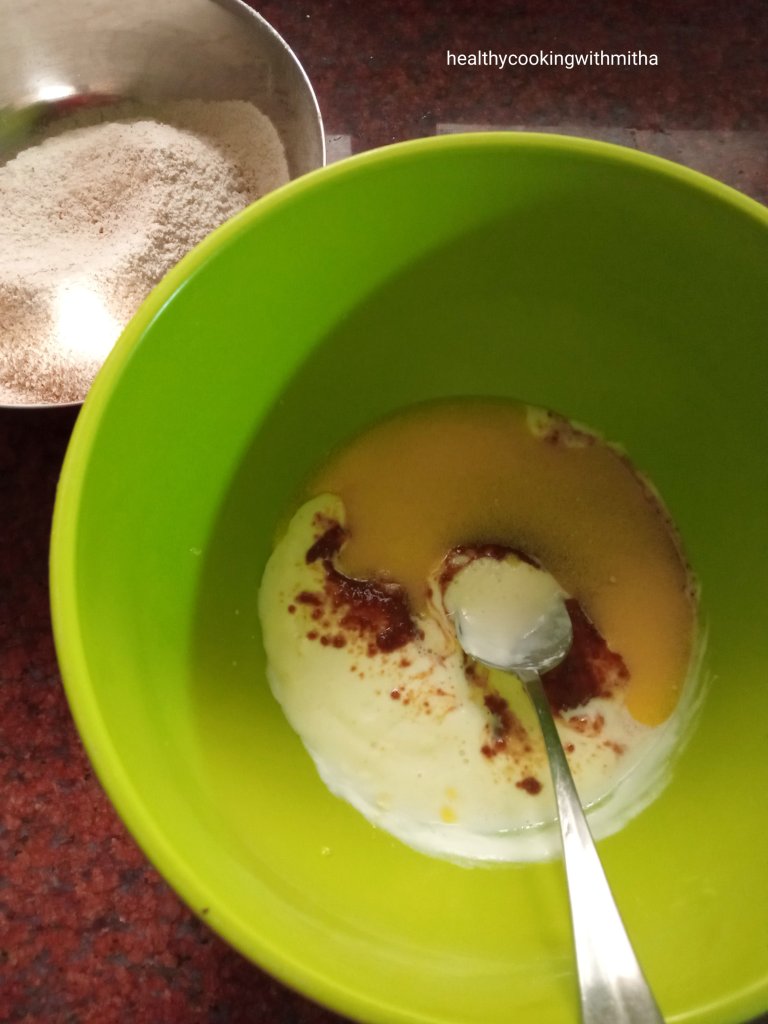
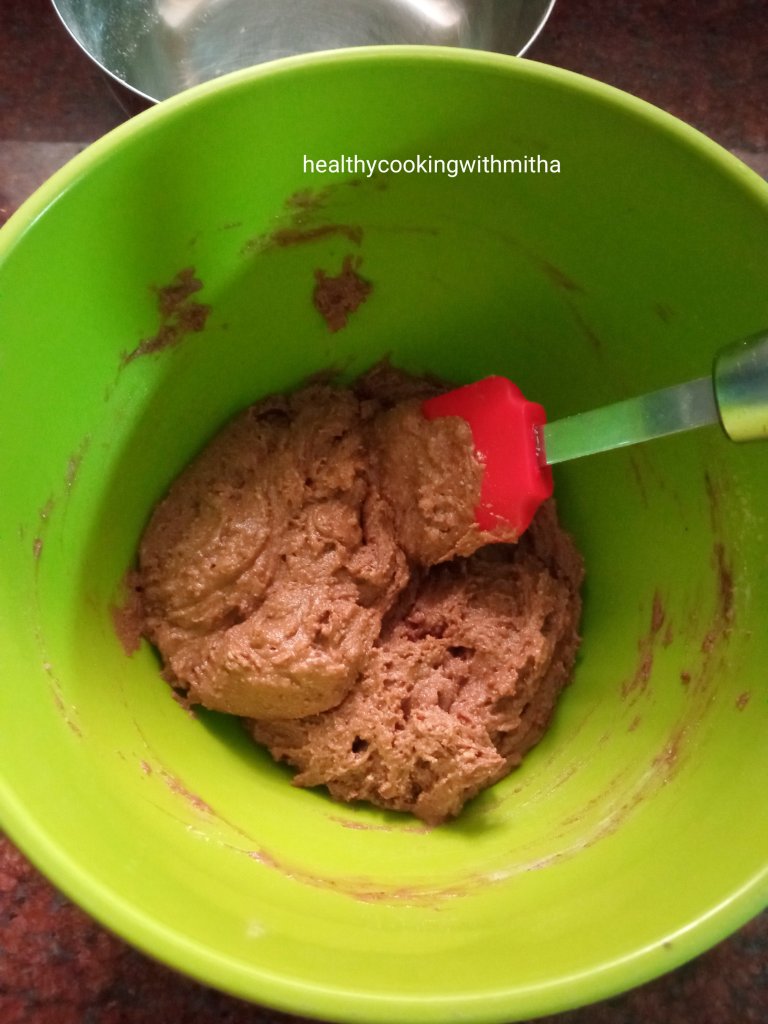
Click on the image to save the recipe on Pinterest
Here’s welcoming my favorite veggie as a child – Beetroot into the blog β€οΈ I have never posted a recipe with beetroot before as my husband used to dislike it so much that we hardly bought it. Even if we bought it after my hundred requests π, it used to go into only two dishes:
* Amma’s Carrot Upkari, where carrot is replaced with beetroot, like how my Amma made and is my favorite dish with Beetroot.
But still it was rare as he still did not like the flavour of beetroot at all. π
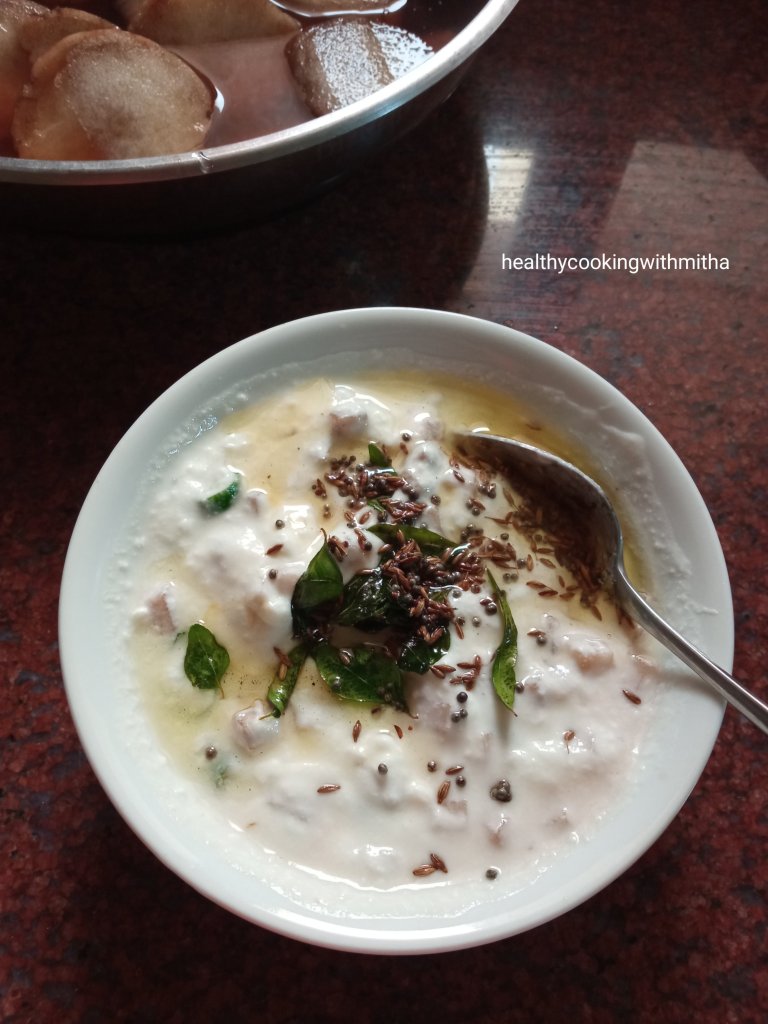
Then one day, I tried this Beetroot Raita as a quick side dish for Pulao and everything changed π He said it’s the best dish he had ever tasted with beetroot and now he himself gets the veggie to make this raita (Happy me β€οΈ)
And the kids? Yes, they too love it for it’s Gorgeous colour and enjoy dipping it in their parathas and theplas.
So, finally our love – hate relationship with Beetroot turned into love, much to my delight, all due to this delicious raita. β€οΈ
Hope you all try it and love it too. It’s a very easy recipe. Happy and healthy cooking β€οΈ
RECIPE:
Ingredients: (Serves 2)
1 Cup Yogurt/ Curd
3/4 Cup grated Beetroot (half a medium beetroot)
1 small sized Onion, finely chopped
1 Green chilly
2 Tbsp Coriander leaves
1 tsp Cumin powder / Jeera powder
1/2 tsp Chaat masala
Salt to taste
Step by step recipe:
1. Take yogurt in a bowl and mix with a spoon till it becomes creamy in texture and lump free.
2. Now add all the ingredients – peeled and grated Beetroot, finely chopped onion, green chilly and coriander leaves, jeera powder, Chaat masala and salt.
3. Mix well. Done π
4. Serve with Pulao or with any meals. I also serve it with parathas or theplas and it tastes delicious. β€οΈ
Click on the image to save the recipe on Pinterest
Notes:
* I have used homegrown mint leaves in the presentation above which I fine chop and add to the raita sometimes. So if you have mint leaves, you can add it as well ( about 5 to 6 leaves).
* The yogurt we get here is thick. If you get watery curd, sieve it to make it thick and then add other ingredients.
* Alternately if you like slightly thin raita, you can adjust the consistency as you like.
* Chaat masala can be substituted with amchoor or dry mango powder.
Click on the image to save the recipe on Pinterest
It’s been more than two months that I have blogged a new recipe (Too long a break, I know!π). But sometimes you just want to get away from the same schedule of life and do something different. For me, in these two months, I enjoyed a lot with my kids. I made reels with them with funny Instagram filters (did not post them but made it just for fun.. their smiles on seeing them as Tigers and Donkeys were super cute ππ), played football with my son, did a lot of drawing and colouring with my daughter, danced like crazy everyday with both the kids and cooked whatever they wished for. β€οΈ
Since it was my daughter’s vacation, I made it my vacation as well π . Had a fun couple of months sleeping till late in the morning and watching my favorite songs on repeat. β€οΈ
So now that her classes have started with alternate weeks of online and physical classes, I said enough of my break and restarted blogging. What’s better to start than this salad which both my kids love a lot. β€οΈ
Purple cabbage has this unique flavour and crunch which tastes so good when made as a salad. Usually coleslaw recipes use Mayonnaise but I have substituted it with yogurt to make it vegetarian and of course healthy. Hope you all try and enjoy it. Happy and healthy cooking! β€οΈ
Special thanks to those who missed me and pinged me to ask why am I not blogging. It was so nice of you all and I appreciate it with all my heart. Loads of love. β€οΈ
RECIPE:
Ingredients:
1/2 Cup Purple cabbage, finely chopped
1/2 Cup regular cabbage, finely chopped
1/2 Cup Carrots, peeled andgrated
1/2 Cup Capsicum, finely chopped
2 Tbsp thick yogurt (or hung curd)
1 tsp Vinegar (or lemon juice)
Pepper powder to taste
Salt to taste
Step by step recipe:
1. Take the finely chopped cabbages, Capsicum and grated carrots in a mixing bowl.
2. Now add thick yogurt, salt, pepper powder and vinegar. Mix well.
3. You are done. Serve immediately or chilled as it is or as an accompaniment with rice.
Click on the image to save the recipe on Pinterest
Notes:
* You can also add onions, lettuce or coloured capsicum if you want but I make this way.
* This salad is best consumed the same day when made as when kept in refrigerator and consumed next day makes it taste slightly bitter due to the purple cabbage.
* Make sure to use thick yogurt. If your yogurt or curd is thin, sieve it to remove water content and add to the salad.
* Pepper powder and vinegar are to taste. You can add as much or as less as you desire.
* This salad acts as an excellent sandwich filling. My kids love it a lot. β€οΈ I add a little more yogurt to it, a little ketchup and fill in sandwiches.
Click on the image to save the recipe on Pinterest
This picture of Amrakhand or Mango Shrikhand is making me drool now and I am so sad that it’s already finished off. π Had made it as it is my brother’s birthday today and I wanted to post a sweet recipe on the blog dedicated to him. As my regular readers know, Mango is my most favorite fruit among all and making mango sweets are my favorite pastime during mango season. π
This dessert hardly takes any effort (just mixer jar washing π) but looks so beautiful (all credits to my fav Mango β€οΈ) and tastes so delicious that whenever I make it, the kids can’t get enough of it. They call it mango ice cream. π
Just received a picture of my brother cutting his birthday cake. He turned 25 years today and this picture amazed me as to how much he has grown from a little baby on my lap to a handsome man. β€οΈ
He works for IBM, Bangalore but is at home due to the work from home situation now. Grateful to God for that as I am relieved that my parents have company and also he’s much safer in Udupi. This picture also shows my home, Amma’s dream flat amidst nature near Shri Krishna temple, Udupi and makes me miss all of them so much. β€οΈ
Also sharing a collage of pictures of my journey with my brother from when he was a baby, born 6.5 years after me, to our childhood memories to growing up together. β€οΈ
Here’s wishing you a very happy birthday dear Madan. Loads of love and blessings on this special day as you turn 25. Dedicating this sweet to you. β€οΈ The big heart is me, being your Akka and the small heart is you, my little brother.ππ
Click on the image to save the recipe on Pinterest
On this note, sharing the recipe with all of you. Hope you all will try this sweet recipe and I am sure you will love it. Happy and healthy cooking! β€οΈ
RECIPE:
Ingredients: { Makes about 3 Cups }
2 Cups Curd / Yogurt
1 Cup thick Mango pulp
1/4 Cup Jaggery (about 3 to 4 spoons)
1/4 tsp Cardamom powder
Saffron strands and mango pieces to garnish (optional)
Step by step recipe:
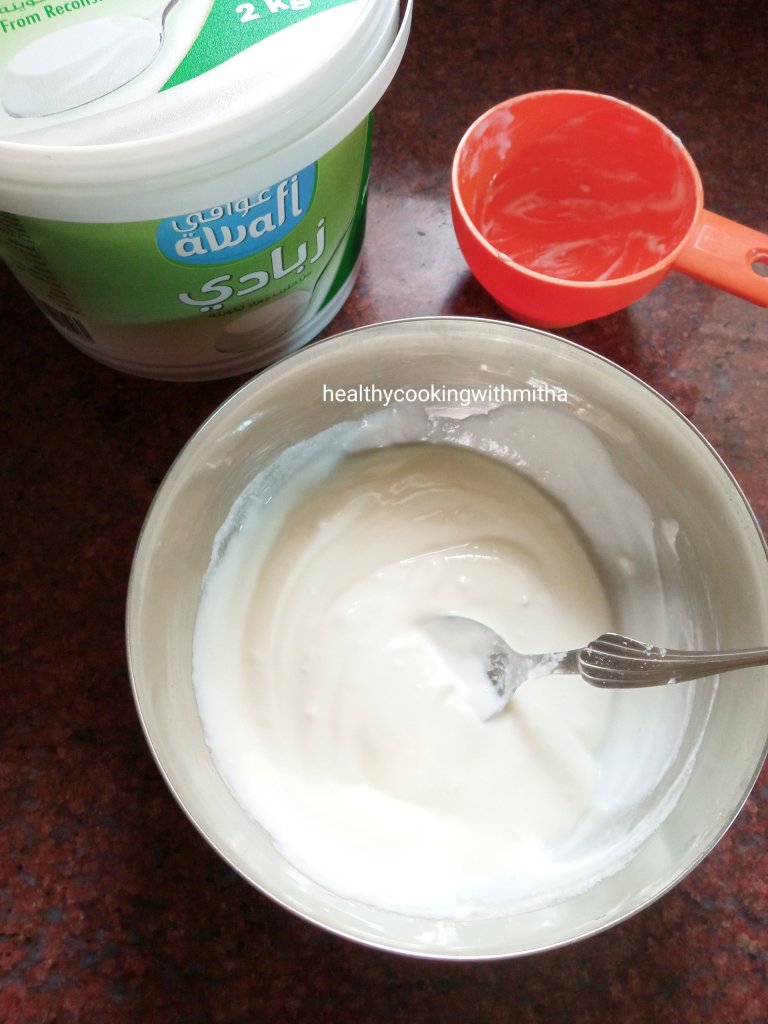
1. Make Hung Curd from the regular curd. It is very easy to make and I have shared all the step by step pictures in this Jaggery Shrikhand post. You can check that.
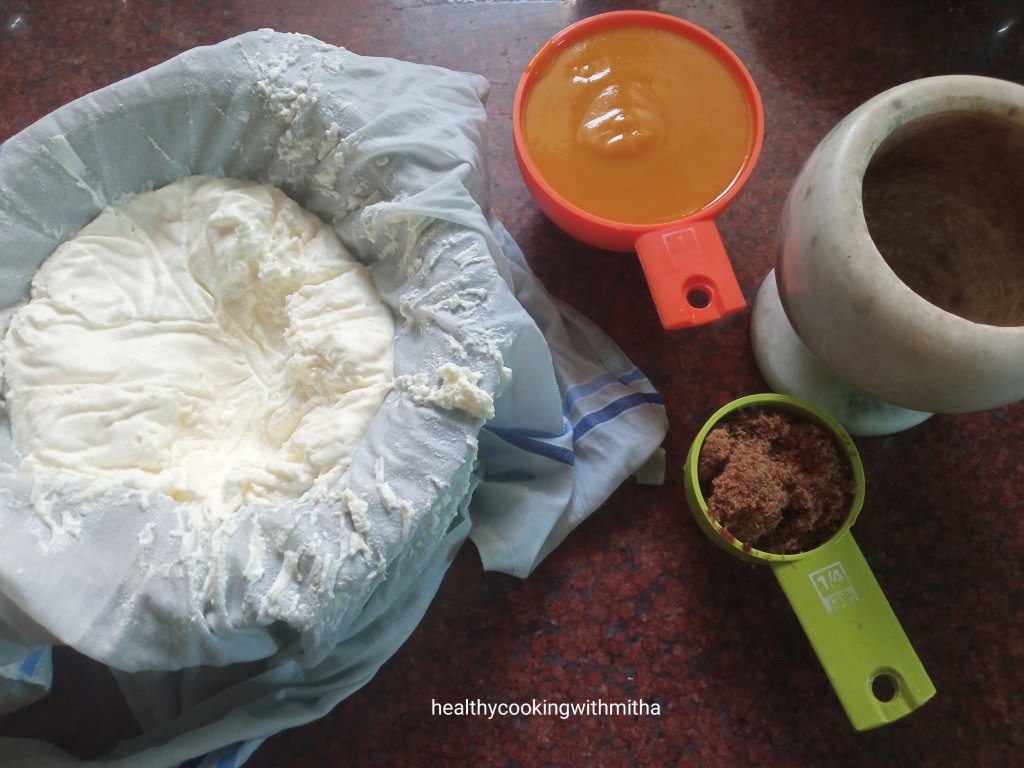
2. Once hung curd is ready, keep all the other ingredients ready too. In this picture you can see, freshly made hung curd, mango pulp, jaggery powder and cardamom powder.
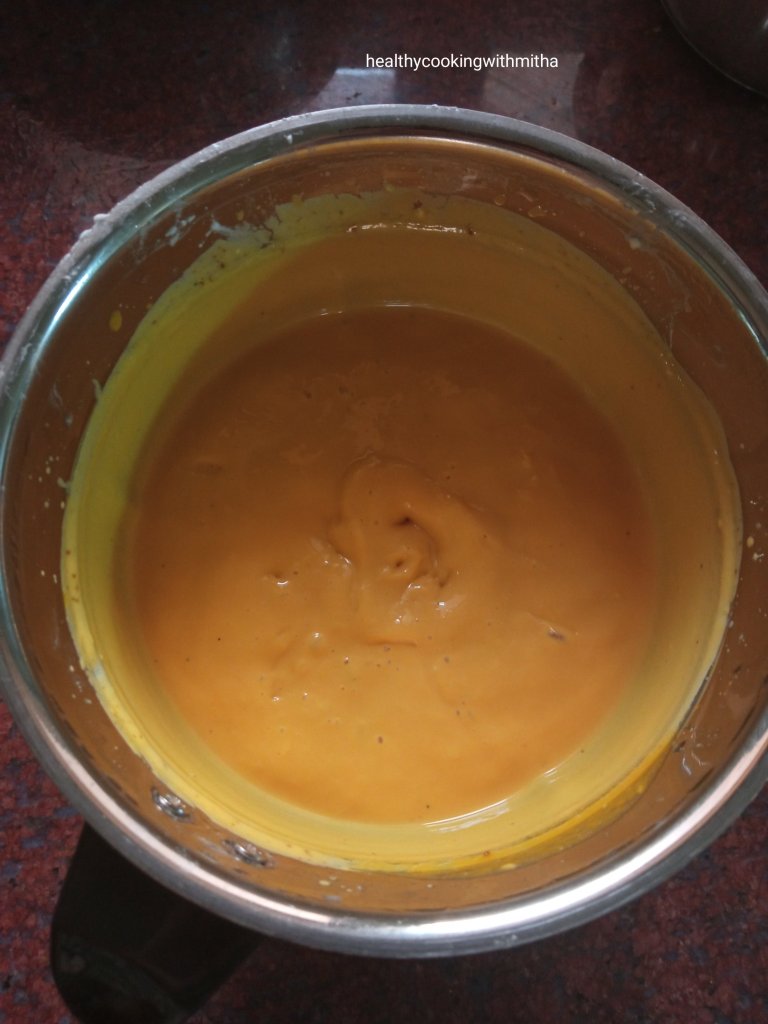
3. Now add all these ingredients in the mixer jar and blend till the mixture turns smooth and creamy.
4. You are done. Now pour into bowls, garnish with saffron and mango pieces. Serve chilled.
Click on the image to save the recipe on Pinterest
Notes:
* This sweet tastes best with Alphonso mango pulp due to the natural sweetness of the mango.
* You can use fresh or canned mango pulp. When making the mango pulp at home, just blend the mangoes to a thick pulp without adding water. Else the Amrakhand turns watery.
* You can skip jaggery too if the mangoes are very sweet.
* The thicker the yogurt, the quicker you will get hung curd. I hung the curd in a bowl only for two hours and it came out to be a thick hung curd. That’s because the curd or yogurt that we get here is very thick.
* For making hung curd using regular curd, check my Jaggery Shrikhand post.
* You can also add dry fruits to it. I skipped as my kids like it only with mango pieces.
* I have added a lot of mango sweet recipes on the blog. You can check them here – Mango Recipes.
Click on the image to save the recipe on Pinterest
There was a time when I used to make only one or two curries for our matta rice meals. Since I cook the matta rice very soft like a gruel, a side dish would be sufficient to enjoy a simple dinner. Don’t know when I started cooking more, maybe lockdown effect π or to deviate my mind π or listen to more music π, I now make atleast 3 to 4 varieties of curries daily. It makes me very happy to see the thali with different colours and nutrients too.β€οΈ
My son is also a huge fan of his plate filled with curries and says, “Amma, Wow π” when I bring his meal to feed him. I am glad that this boy needs no extra efforts to make him eat veggies. He already loves vegetables (even traditional ones) so much that I am sure he was a farmer in his past life and a Konkani for sure. π
As for me, due to him, I too have learned to like these vegetables which I did not like as a kid (Amma, true na? π). So, as a mother, at 31 year old, I am learning healthy eating habits from my 2.5 year old son ( how cool is that π). But honestly, not only this, if I have learned to be happy at the simplest things, it is through my kids, if I have learned to enjoy life with whatever we have, it is through them. Even if I scold them, they still come back to me with the same amount of love and hug me saying, “Love you, Amma”. That forgiving, non judging, free thinking, trusting nature of kids and the innocence, which gets lost as we grow up, have to be learned from kids. Maybe that’s what is a part of the circle of life. β€οΈ
So, on this thoughtful note, sharing the recipes with Banana stem. Hope you all like it. Happy and healthy cooking!
RECIPE:
Ingredients:
Banana stem (inner pith)/ Gabbo as available {mine was 35 cm in length}
For Kosambari:
1/4 Cup Moong dal
1 Cup finely chopped Banana stem
3 Green chillies
2 Tbsp Coriander leaves
2 Tbsp grated Coconut
A pinch of Hing/ Asafoetida
1 tsp Oil, 1 tsp Mustard seeds, A sprig of Curry leaves – for seasoning
Lemon juice from 1 Indian lemon for garnish
Salt to taste
For Salad:
1 Cup finely chopped Banana stem
1 Cup Curd / Yogurt
2 Green chillies
Salt to taste
1 tsp Oil or ghee, 1 tsp Mustard seeds, 1/2 tsp Cumin seeds, A sprig of Curry leaves – for seasoning
Step by step recipe:
1. First wash well and soak the moong dal in enough water and keep aside till use. This is for the kosambari.
2. Next, wash the Banana pith well. I get the outer parts of the stem already removed. So I don’t have pictures of how to remove that. Please check YouTube videos on how to use banana stem if using for the first time. Cut into roundels while removing any fibres which may come out. Immediately put in a vessel filled with water as shown.
3. Now finely chop these roundels and add little to a bowl for the salad. Also add finely chopped green chillies.
4. Now add curd and salt. Mix well.
5. Season oil or ghee by spluttering mustard seeds and adding cumin seeds and curry leaves. Pour this seasoning over the salad. Mix well. Salad is ready.
6. For the Kosambari, now again finely chop the banana stem and add to the soaked, drained moong dal along with green chillies and coriander leaves.
7. Now add coconut along with the seasoning of mustard seeds and curry leaves in oil.
8. Add lemon juice and salt. Mix well. Kosambari is ready.
9. For the Gabbe Upkari, cut the rest of the Banana stem into long pieces. Heat about 2 tsp Oil in a pan. Add a pinch of Hing along with 3 to 4 broken red chillies and the chopped Banana stem pieces with salt and little water. Cover and cook till the stem pieces turn soft. Garnish with grated Coconut and mix well.
10. Serve the Banana stem salad, Banana stem Kosambari and Upkari with rice meals.
Notes:
* I also make a simple sambar along with these three dishes as it makes a great combination and a very wholesome meal.
* Remember to remove the outer parts of the Banana stem if you have the stem with outer parts intact. Check YouTube videos on how to use Banana stem. I get it with the innermost pith in my nearest supermarket.
* While chopping the pith, you will get some fibres come out. Discard it.
* Keep the chopped pieces in plain water or tumeric water till use, else the pieces turn black very quickly.
* Don’t worry about using banana stem without cooking it in salad and Kosambari. It can be had raw and tastes really good too. Just chop it very finely.
Click on the image to save the recipe on Pinterest.
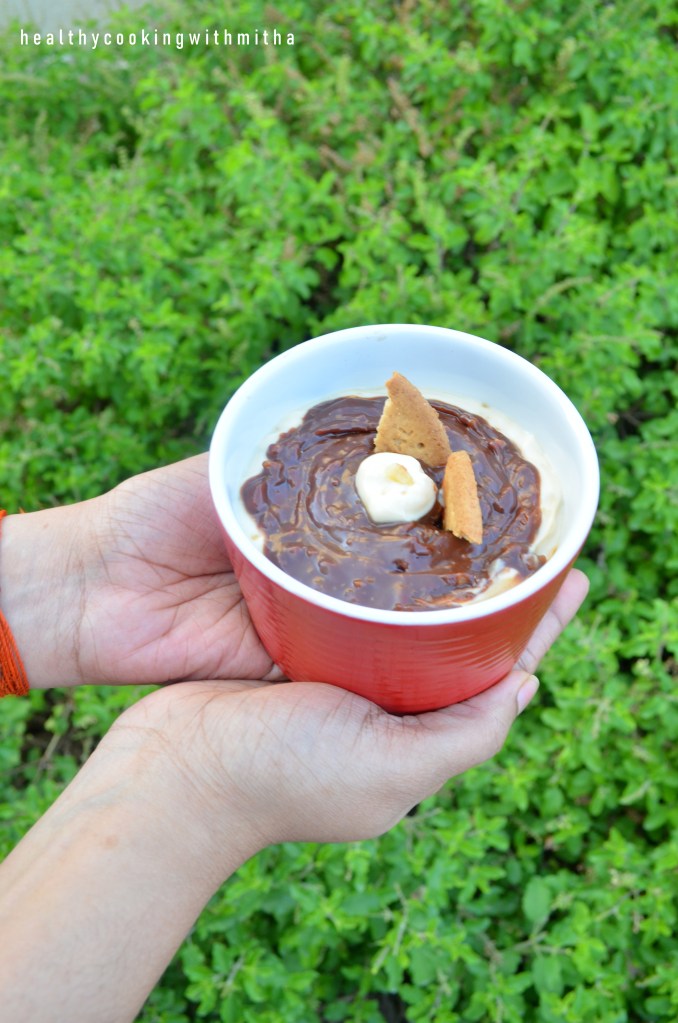
If you are amazed at the above picture, you are not alone. I too have been coming back to look at it every few minutes π . Can’t believe my hands holding the pudding over our Tulsi plants could look so beautiful π. Have to thank Mr Husband for his idea and also the captures (his plant love speaks!). The Tulsi bushes are also growing so well now due to winters here in Qatar which makes for a perfect backdrop. Doesn’t the pudding look so pretty? π
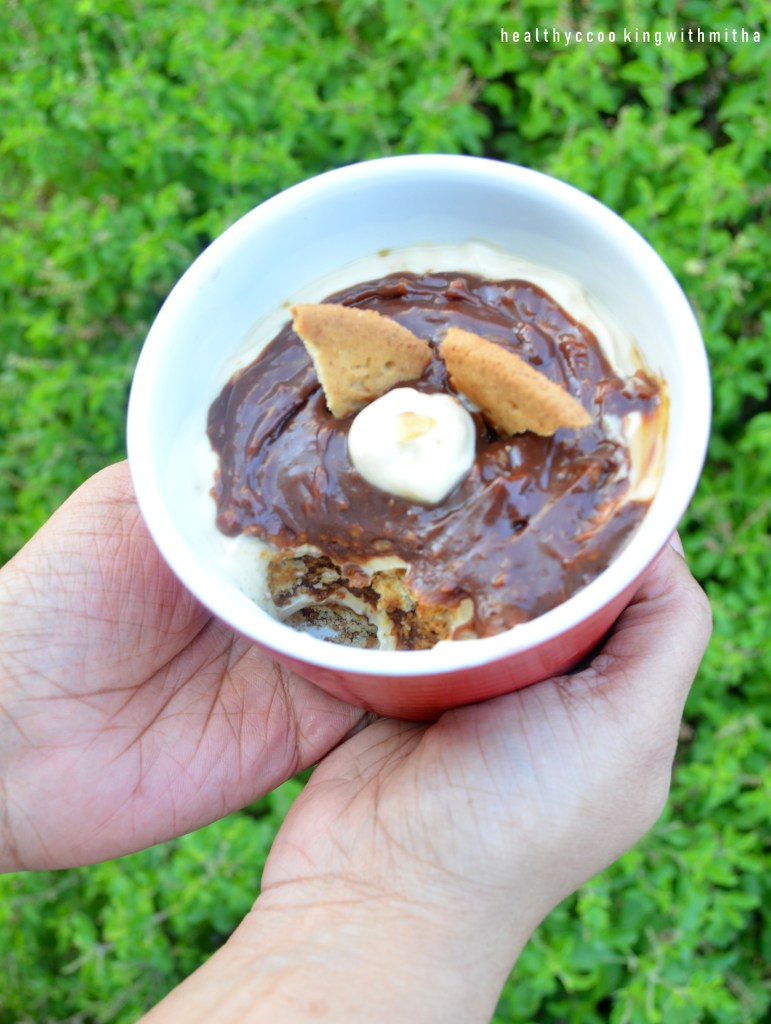
An inside look of the deliciousness π
It is Qatar National day on December 18th and I dedicate this simple yet delicious dessert to Qatar πΆπ¦ where I am living since more than 9 years now. Sharing a collage of pictures which I took during my first year here, the 21 year old me, little silly, very naive, a cry baby, super talkative, amazed at the tall buildings, astonished at stylish people, scared of escalators (yes, that’s true π¬) and wondering if I will ever fit in here. π
These are two of my favorite places here. The view of the Doha skyline from Corniche with the gleaming blue waters in between and Villagio mall which has a small stream of water flowing right in midst of the mall with a boat taking you for small rides. There is also a park next to this mall which has a beautiful lake where I could just sit for hours looking at the ducks moving around freely (my bird love speaks π). There are also the goodies we got during our first visit to the Corniche on National day celebrations. I was as happy as a kid to get these stickers and notepad that I had clicked all this to show Amma. π
This country has really seen me changing. From the silly, naive, talkative girl (who wanted to chat with everyone around) to a woman now, who thinks more than she speaks, does not want many people close to her, happy in her own little world. I actually have only a handful of friends apart from my family and very few special ones whom I love to love, in my life. That’s my precious circle and I can do anything for them. π (That’s me and I know only to love to the extreme and nothing less than that. β€οΈ)
I can go on and on but I guess it’s time to give a break to my thoughts and keep it for the next time. I don’t know how many of you are from Qatar but I wish all my readers from Qatar a very Happy National day πΆπ¦. We residents know how well our King has taken care of this country and it’s people, even in the toughest times of blockade and we are all proud of him. I don’t know how long I would be here but this country will be in my heart forever. πΆπ¦ β€οΈ
Now to the recipe finally. π Do try this delicious dessert and you are sure to love it. Happy and healthy cooking!
RECIPE:
Ingredients: { Serves 2 }
For Hung curd layer:
2 Cups thick full fat Curd/ Yogurt (tomake about 1 1/2 Cups Hung curd)
1/2 Cup Jaggery powder/ grated Jaggery
For chocolate layer:
About 35 grams Chocolate (I used Lindt. You can use Dairy milk or any other brand.)
1 Tbsp Milk
2 Tbsp finely chopped Walnuts
For Biscuit layer:
2 to 4 Digestive biscuits (or as needed as per your container.)
1/2 Tbsp Instant coffee powder
2 Tbsp Water
Step by step recipe:
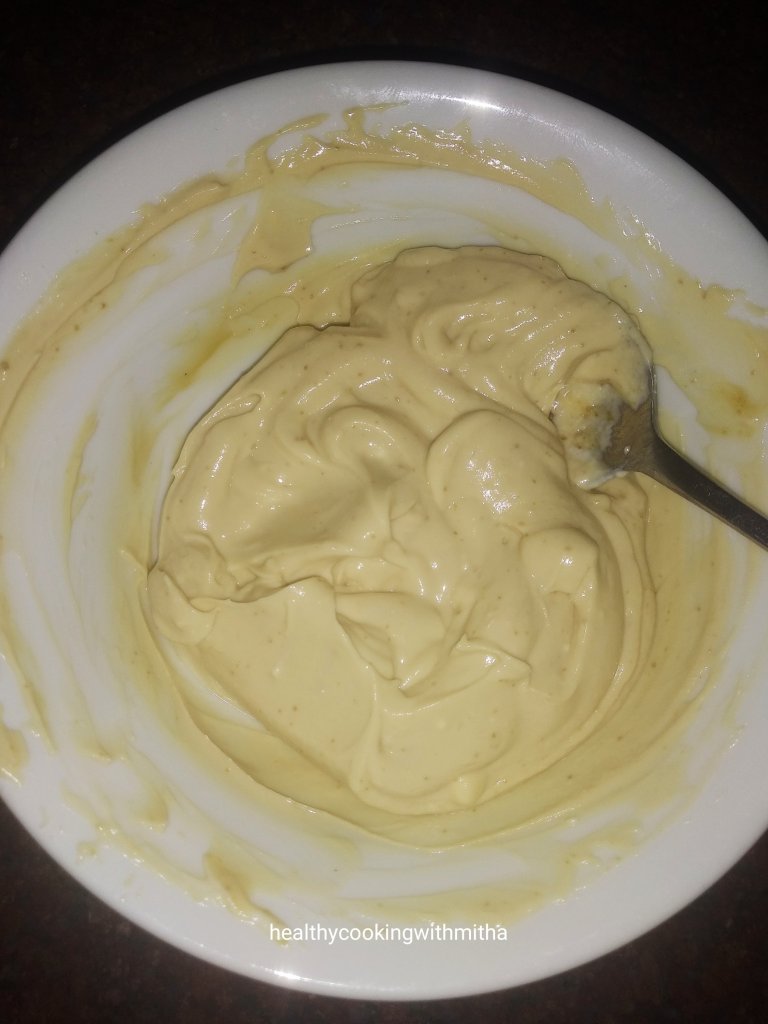
1. Make hung curd using 2 Cups Yogurt. You can see the full step by step pictorial here in my Jaggery Shrikhand recipe. Now, add jaggery powder to it and mix well. (Sieve if jaggery powder contains granules) Keep aside.
This is Jaggery Shrikhand which tastes yummy as it is too! π
2. Now take chocolate (your regular chocolate like dairy milk/ galaxy) in a microwave safe bowl. Microwave on high power for 1 to 2 mins till the chocolate turns soft.
3. Add about 1 Tbsp milk to it. Also add finely chopped Walnuts to it. Mix well. Keep aside.
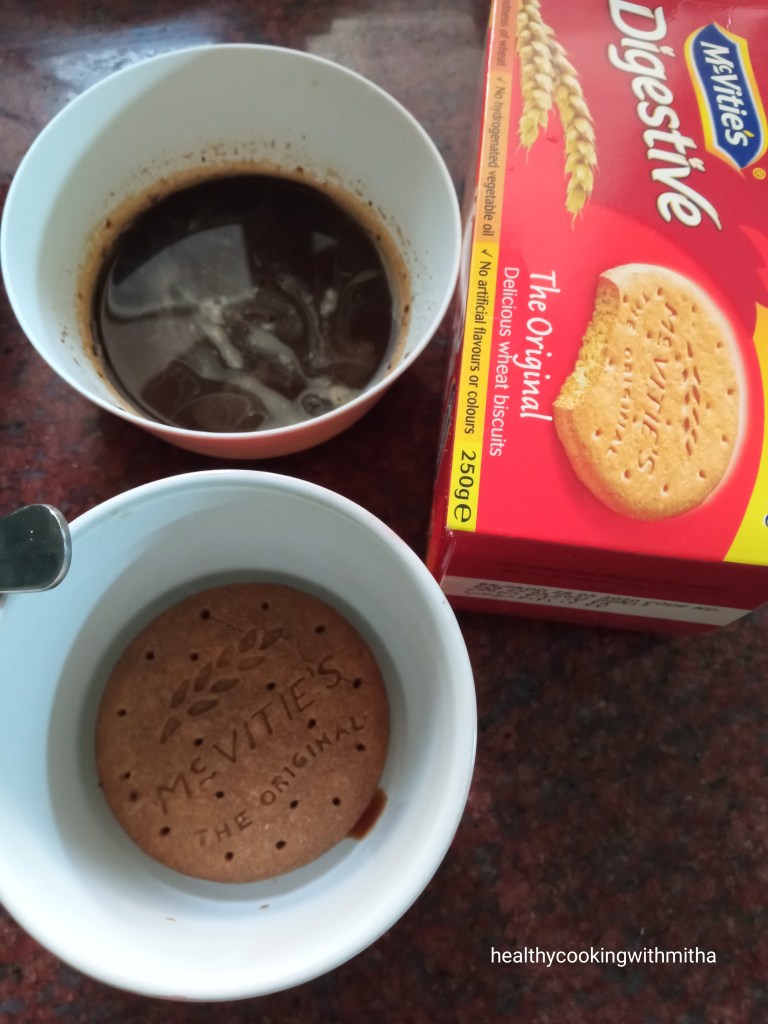
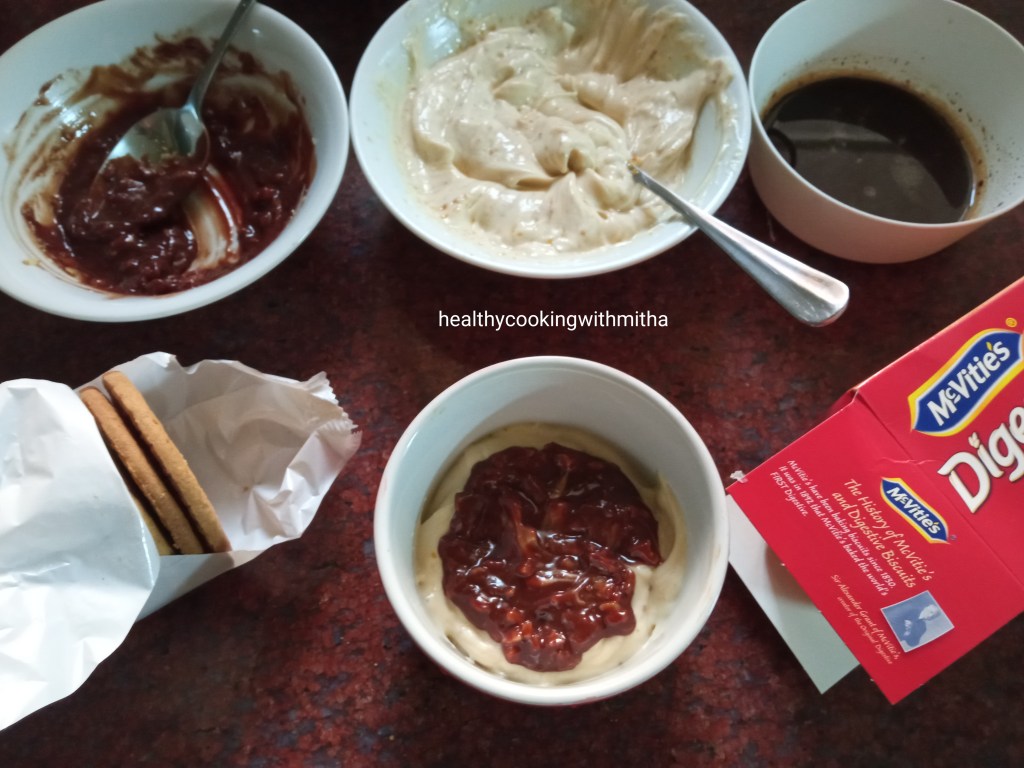
4. Mix instant coffee powder with water till it dissolves. Dip one of the digestive biscuit into it and keep in a bowl.
5. Add a layer of the Jaggery Shrikhand over it.
6. Top it with the melted chocolate- walnut mixture.
7. Again repeat a layer of biscuit dipped in coffee solution, jaggery Shrikhand and melted chocolate- walnut mixture. Garnish with biscuit pieces and a hint of Jaggery Shrikhand. Serve that time itself or chill and serve.
Notes:
* If you don’t have hung curd or don’t know how to make it at home, check my step by step pictorial in the Jaggery Shrikhand recipe. Once you make hung curd, the assembling of this pudding hardly takes 10 mins to make.
* Just make sure you use full fat yogurt which is not very sour.
* Use any biscuits which is available in your house. I wanted to make it healthy, so I used Digestive biscuits. But digestive biscuits dipped in coffee solution does give a wonderful flavour.
* Make sure you don’t add a lot of coffee solution in the pudding or the pudding can turn bitter (once I added a little of leftover coffee solution over it and it had a slight bitter aftertaste.). Just dip the biscuits in the solution and add to the bowl.
Repeat again as much as your bowl as hold. With the measurements I have given, it makes one small bowl of the pudding serving two.
* Walnuts give a wonderful crunch and flavour to the pudding. But you can skip or substitute with other nuts if you don’t have.
* I enjoy this pudding as soon as I make it but if you like it chilled, you can refrigerate for an hour. It also helps the layers set very well and turns firm.
* I sometimes add a layer of sliced bananas to this making it a Banana chocolate pudding.
* Makes for a great make ahead dessert for parties. A lot healthier than whipping cream and sugar based puddings too. You won’t know the difference too as hung curd gives it that creamy flavour.
Twice a week when my husband is on his day shift, he eats his lunch at his company’s “restaurant”. He calls it canteen but I call it restaurant because of the wonderful spread they put out which sounds so scrumptious especially for me as I love buffets.
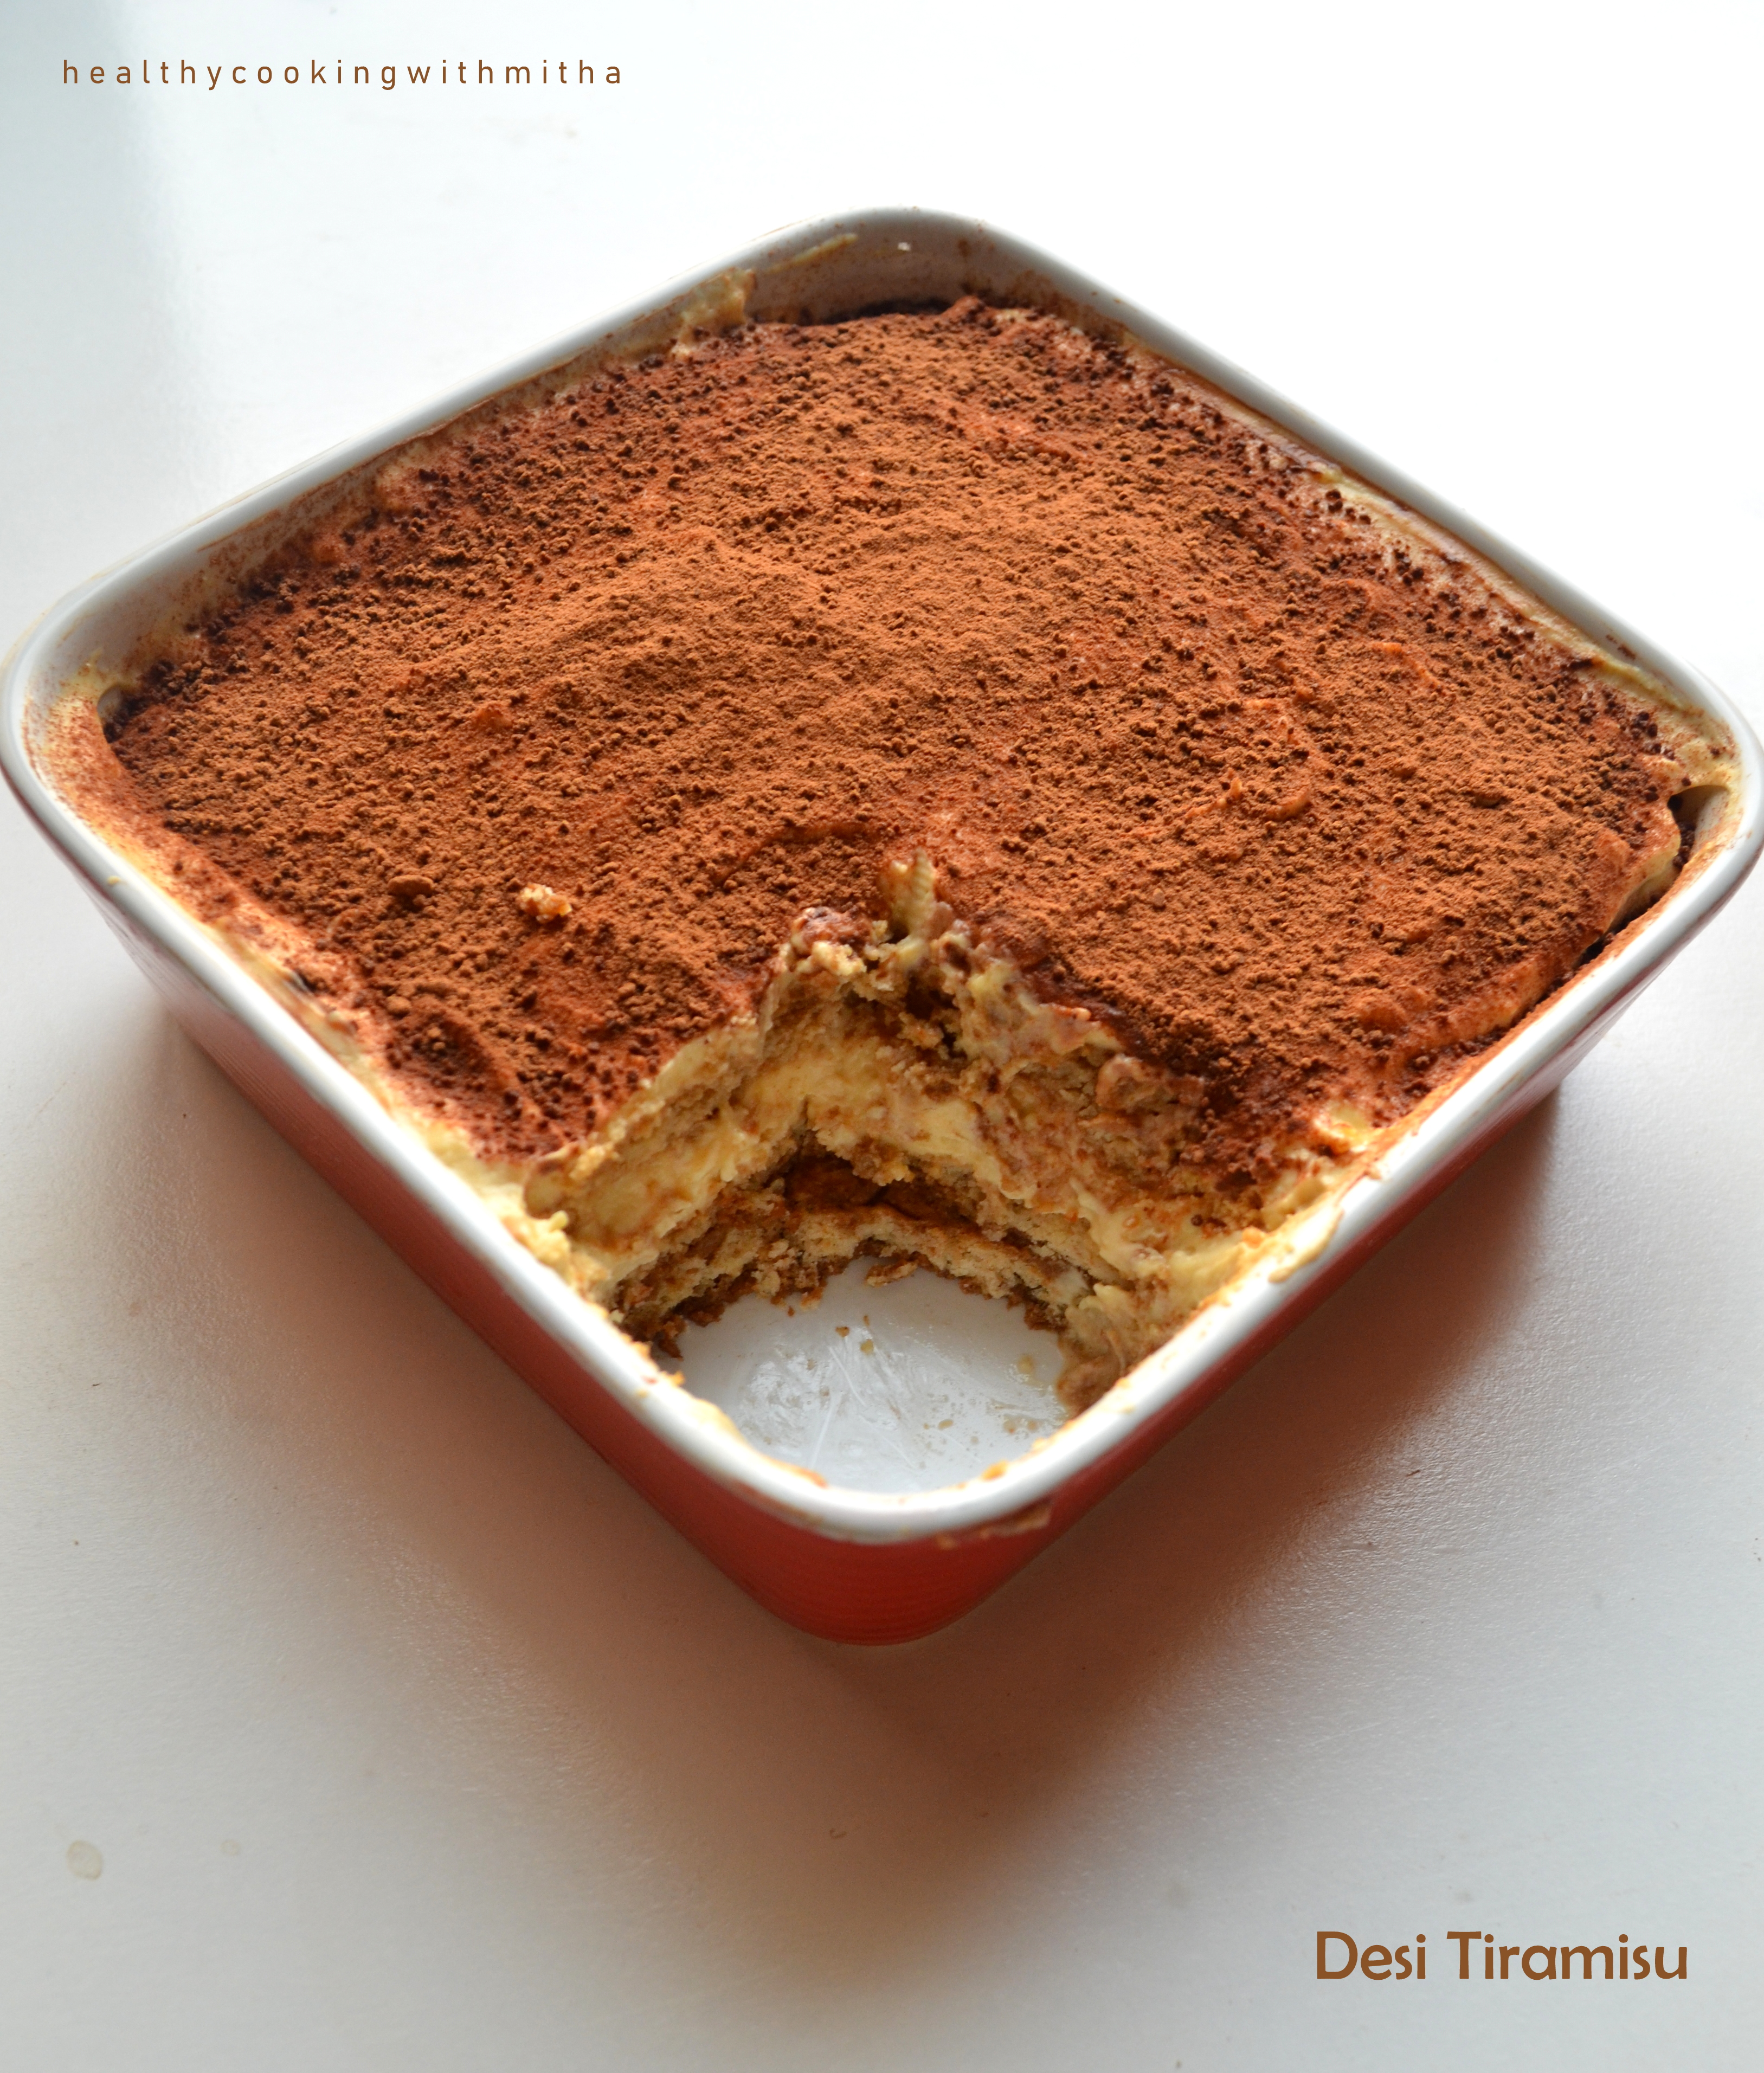
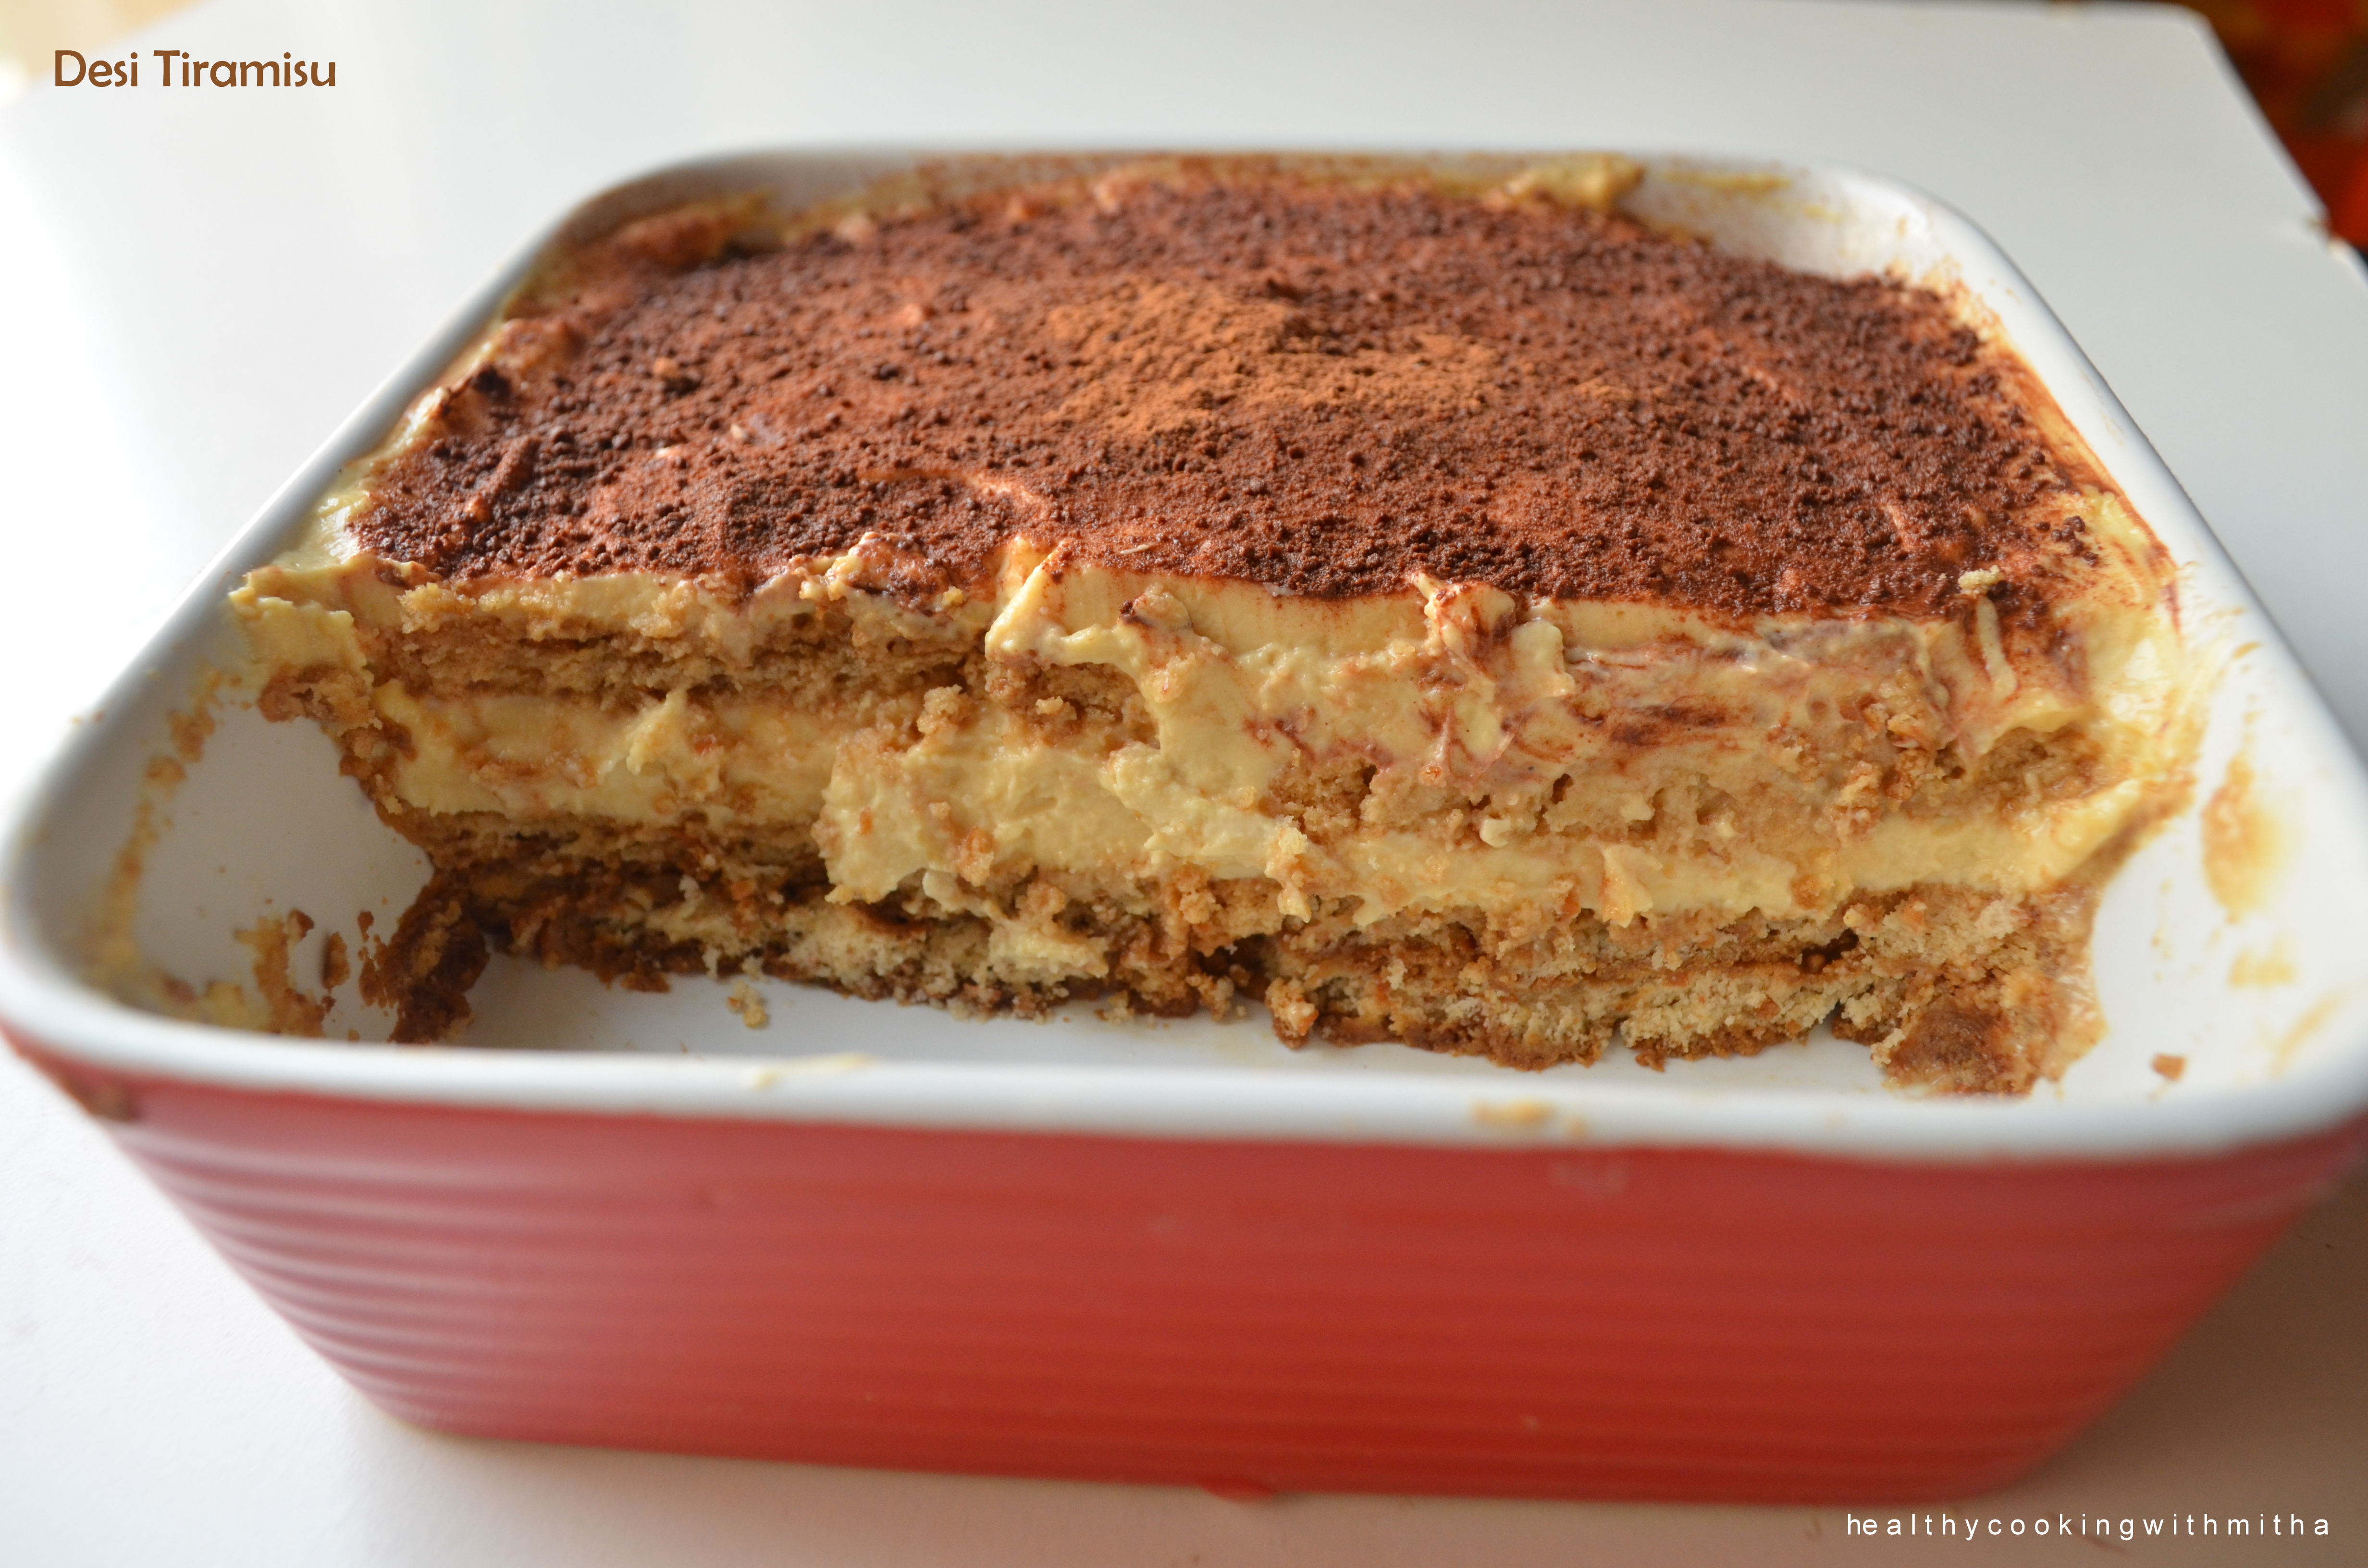
So he comes back home and gives details of what he ate there (much to my dismay π ) which includes starters, variety salads, main course dishes and my favourite part – Desserts π. Tiramisu is one among them and my mouth waters when I hear it. If it was before, we would have gone out and enjoyed it, but now since everything is homemade, even the famous dessert had to made at home too.
And imagine my happiness when it turns out so delicious that all my cravings got satiated. I referred a lot of recipes online and understood that many had made Tiramisu using hung curd. So I made it even healthier by using jaggery and digestive biscuits.
Main point is all these ingredients are easily available as compared to the original Tiramisu where most are exotic ingredients.
So hope you all try and love it too. Happiness is definitely indulging in this delicious Tiramisu! β€οΈ
RECIPE:
Ingredients:
3 Cups Hung Curd
2 Cups thick Custard
3/4 Cup powdered Jaggery or Cane sugar
For the biscuit layer:
Approx 12 Whole wheat Digestive biscuits
4 tsp Instant coffee powder mixed with 2 Tbsp water (or as needed)
For dusting: 2 tsp Cocoa powder or grated chocolate
Step by step recipe:
1. For making hung curd, follow the stepwise pictorial that I have shared here.
2. For making custard, follow the instructions given in the packet of custard powder. In my packet it said, take 500 ml of milk and boil it with 2 Tbsp of sugar. Mix 2 Tbsp Custard powder with 2 Tbsp Milk so that it is free from lumps. Then add the boiling milk to the custard paste while whisking well (off the flame). Then heat the mixture on low flame till the custard turns very thick. Cool it completely. This gave me 2 Cups of thick Custard.
3. For the Tiramisu, take hung curd, the cooled custard and sieved jaggery powder (remember to sieve) in a bowl.
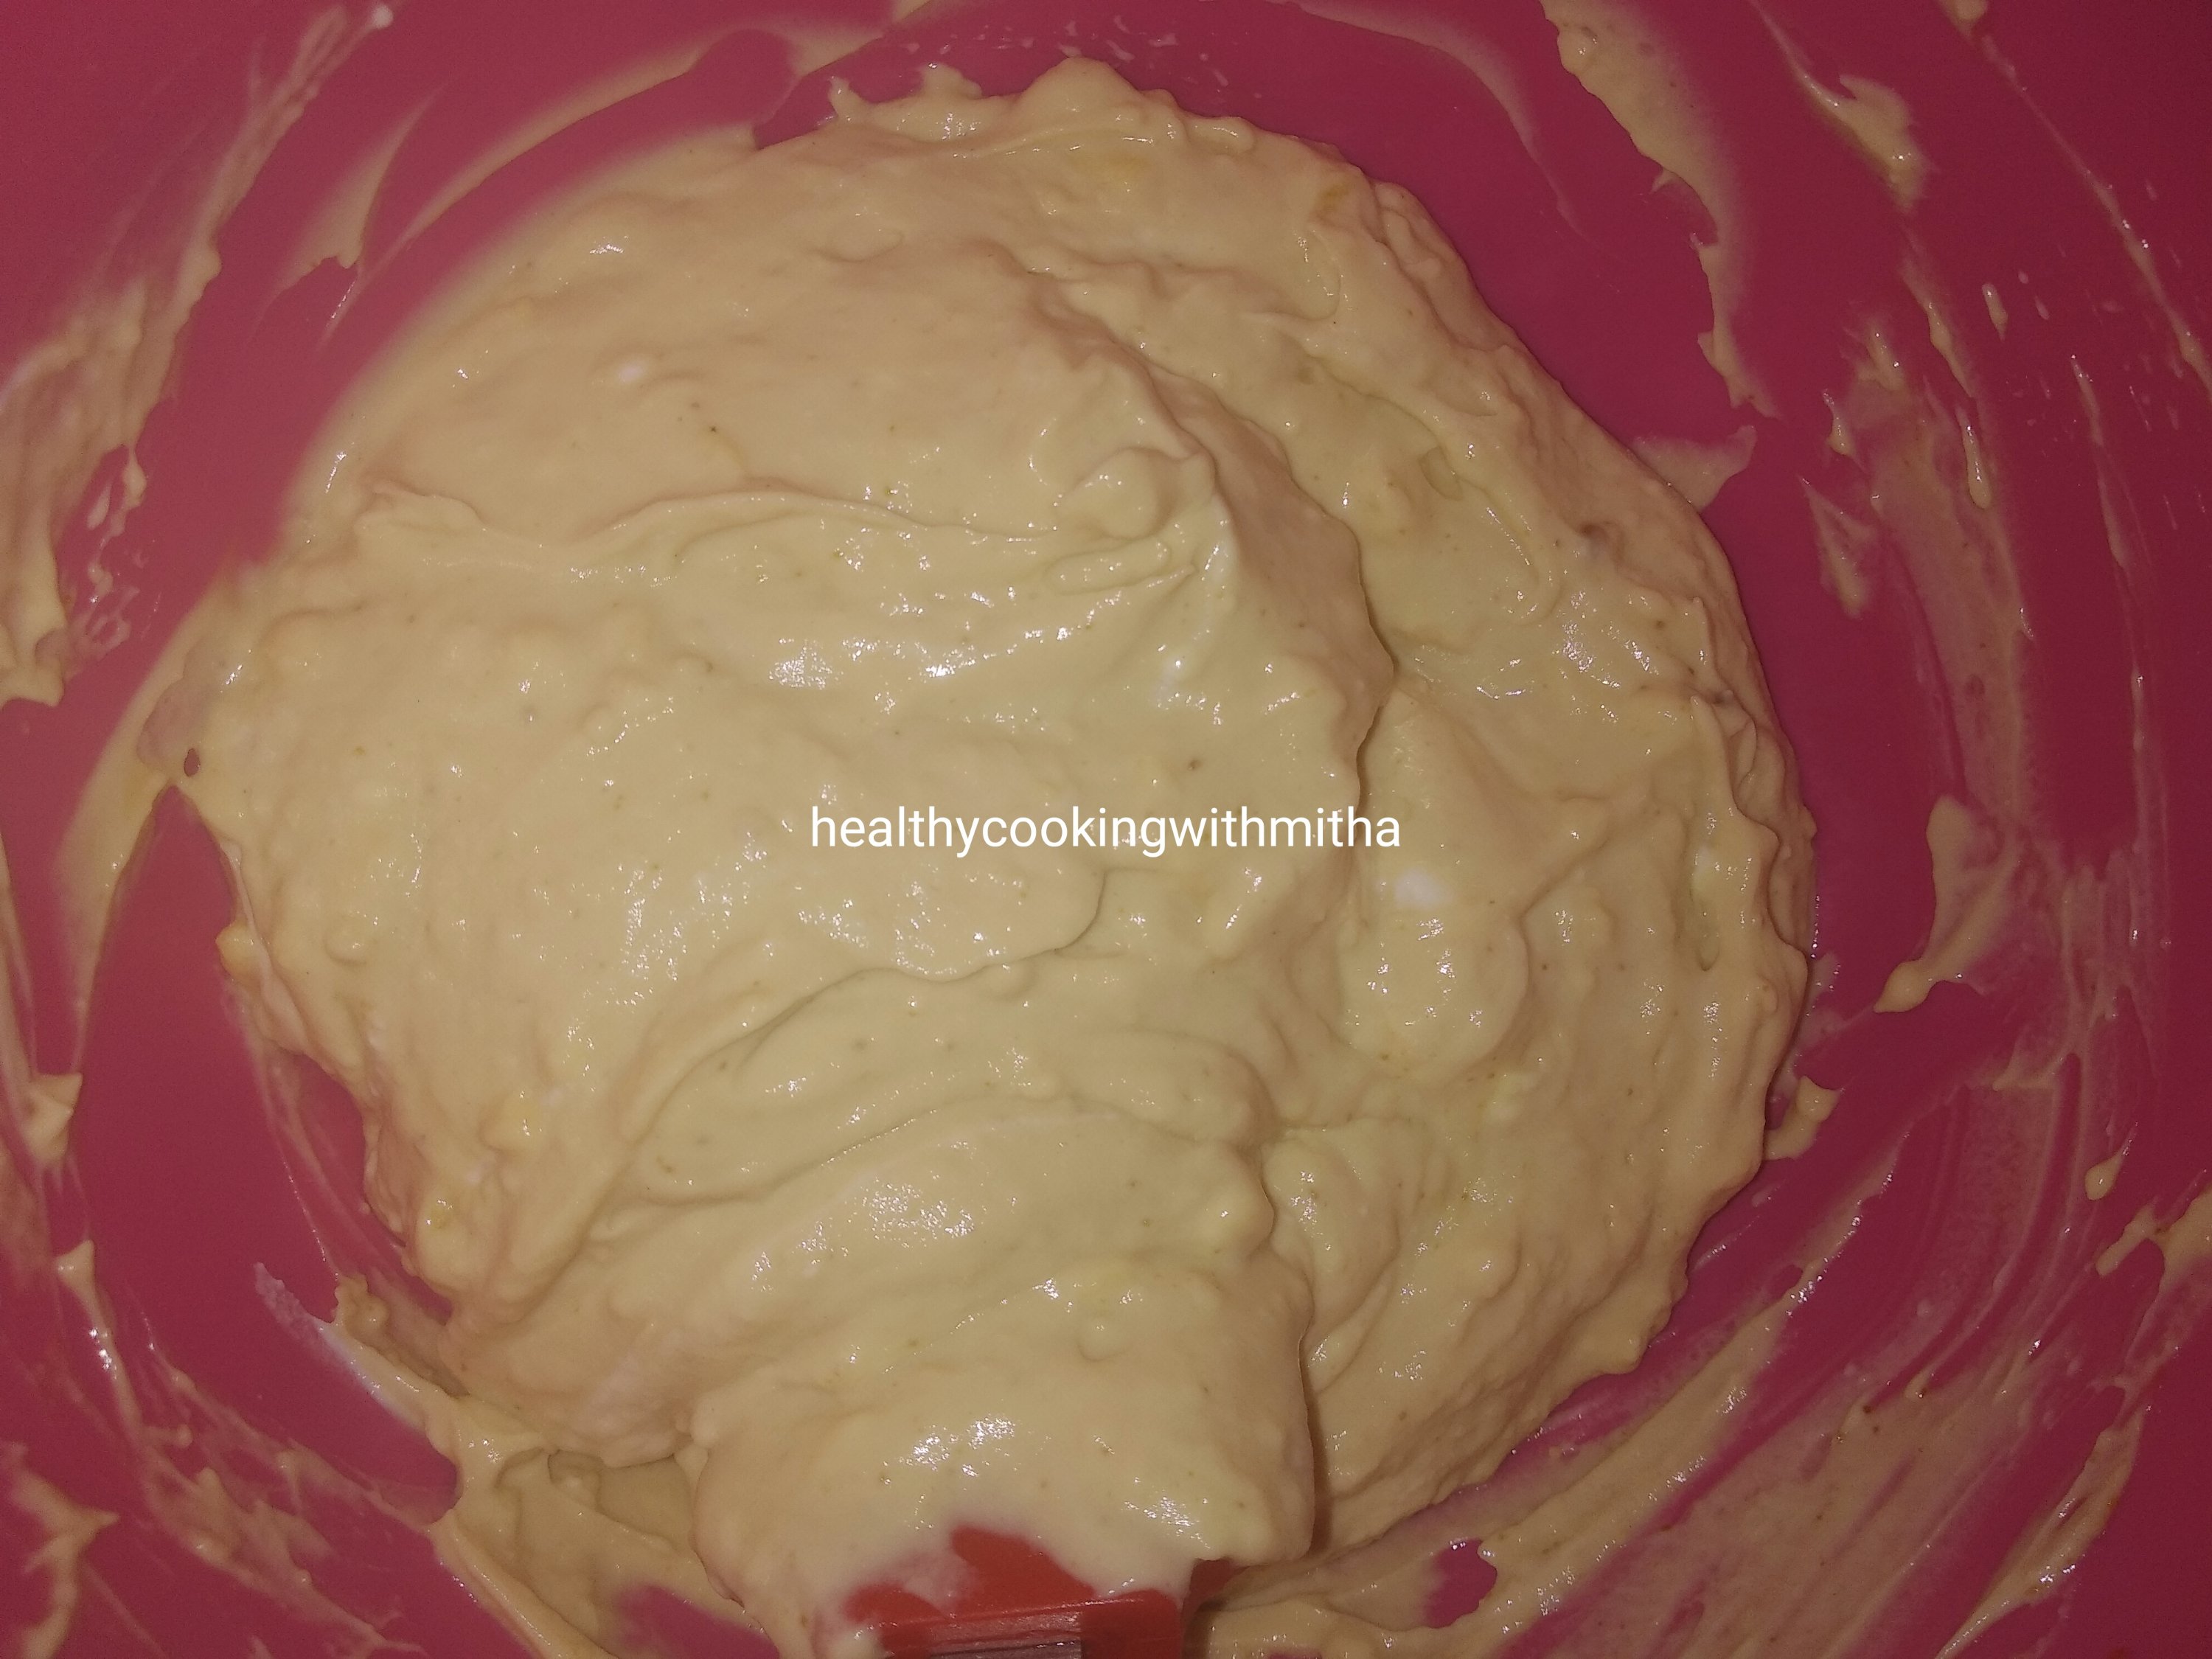
Note: Check how thick I have made the custard. It should resemble hung curd texture. Only then you will get a perfect tiramisu.
4. Mix well using a spatula so that they are combined well. Keep aside.
5. Now mix together instant coffee powder with water to make a coffee solution. Dip the digestive biscuits one by one and arrange in a rectangular pan as shown.
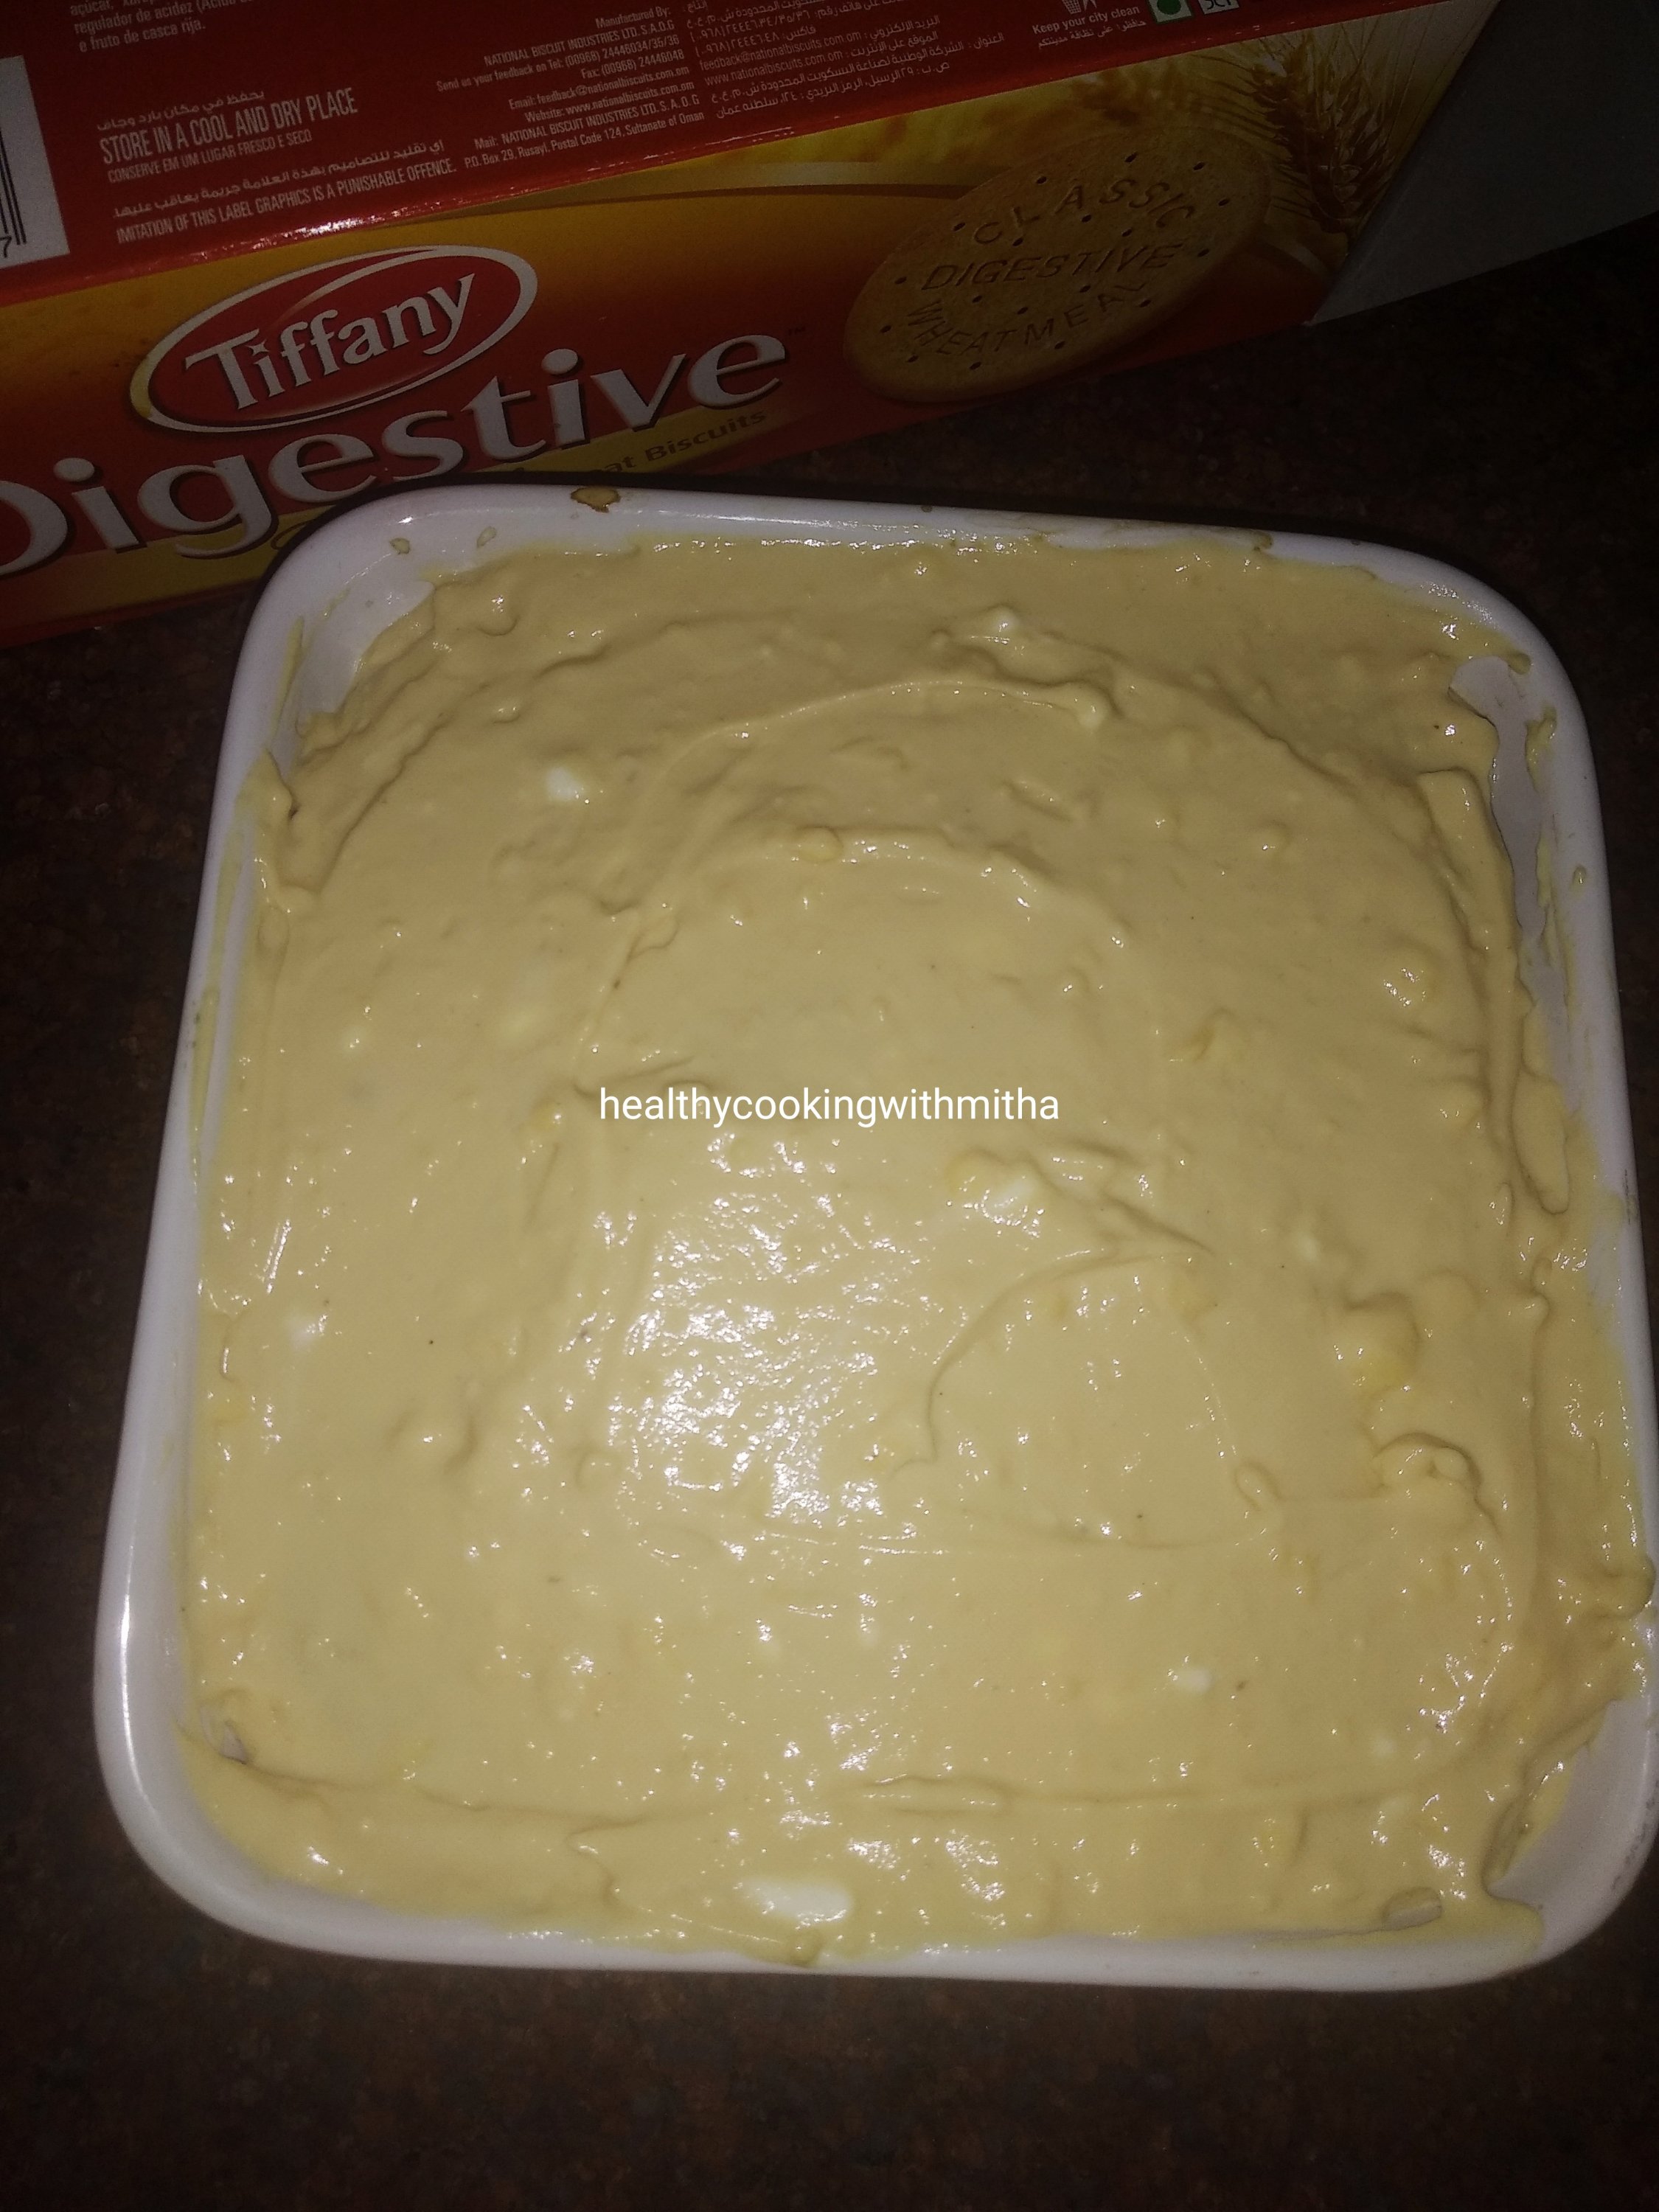
6. Keep two layers of biscuits in the bottom most layer so that it gives a good base while cutting the Tiramisu. Now layer with the hung curd mixture.
7. Again layer with biscuits dipped in coffee solution.
I did not waste the broken biscuit too π
8. Again layer with the hung curd mixture. Refrigerate overnight or for about 10 to 12 hours to get perfectly set Tiramisu.
9. After it sets, dust with cocoa powder using a sieve and serve. Too delicious for words! β€οΈ
Notes:
* Be careful to get the texture of the hung curd and Custard really thick. Else you won’t get perfect texture of Tiramisu.
* Although regular Tiramisu uses cream, sugar and mascarpone cheese, we found hung curd, custard and jaggery combination works superbly well and gives such a delicious Tiramisu which is a lot healthier too.
* Also substituting with digestive biscuits makes it so healthy and undoubtedly tasty too. Don’t forget to dip it in instant coffee solution.
* The layers are: Biscuit layer 1, Biscuit layer 2, Hung curd layer 1, Biscuit layer 3, Hung curd layer 2. After chilling cocoa powder dusting or chocolate gratings.
* I usually make this at night and it sets perfectly by next day afternoon.
* The slices are not super perfect but the taste and texture is. I can guarantee you will love it. We just could not have enough of it. So delicious! Just look at the layers. π
I have tried to note down as much points as possible so that it’s easy for you all to follow but if you still have any doubts, either comment here or message me on my Facebook pageΒ Healthy cooking with mitha or on myΒ InstagramΒ handle and I would be happy to help.
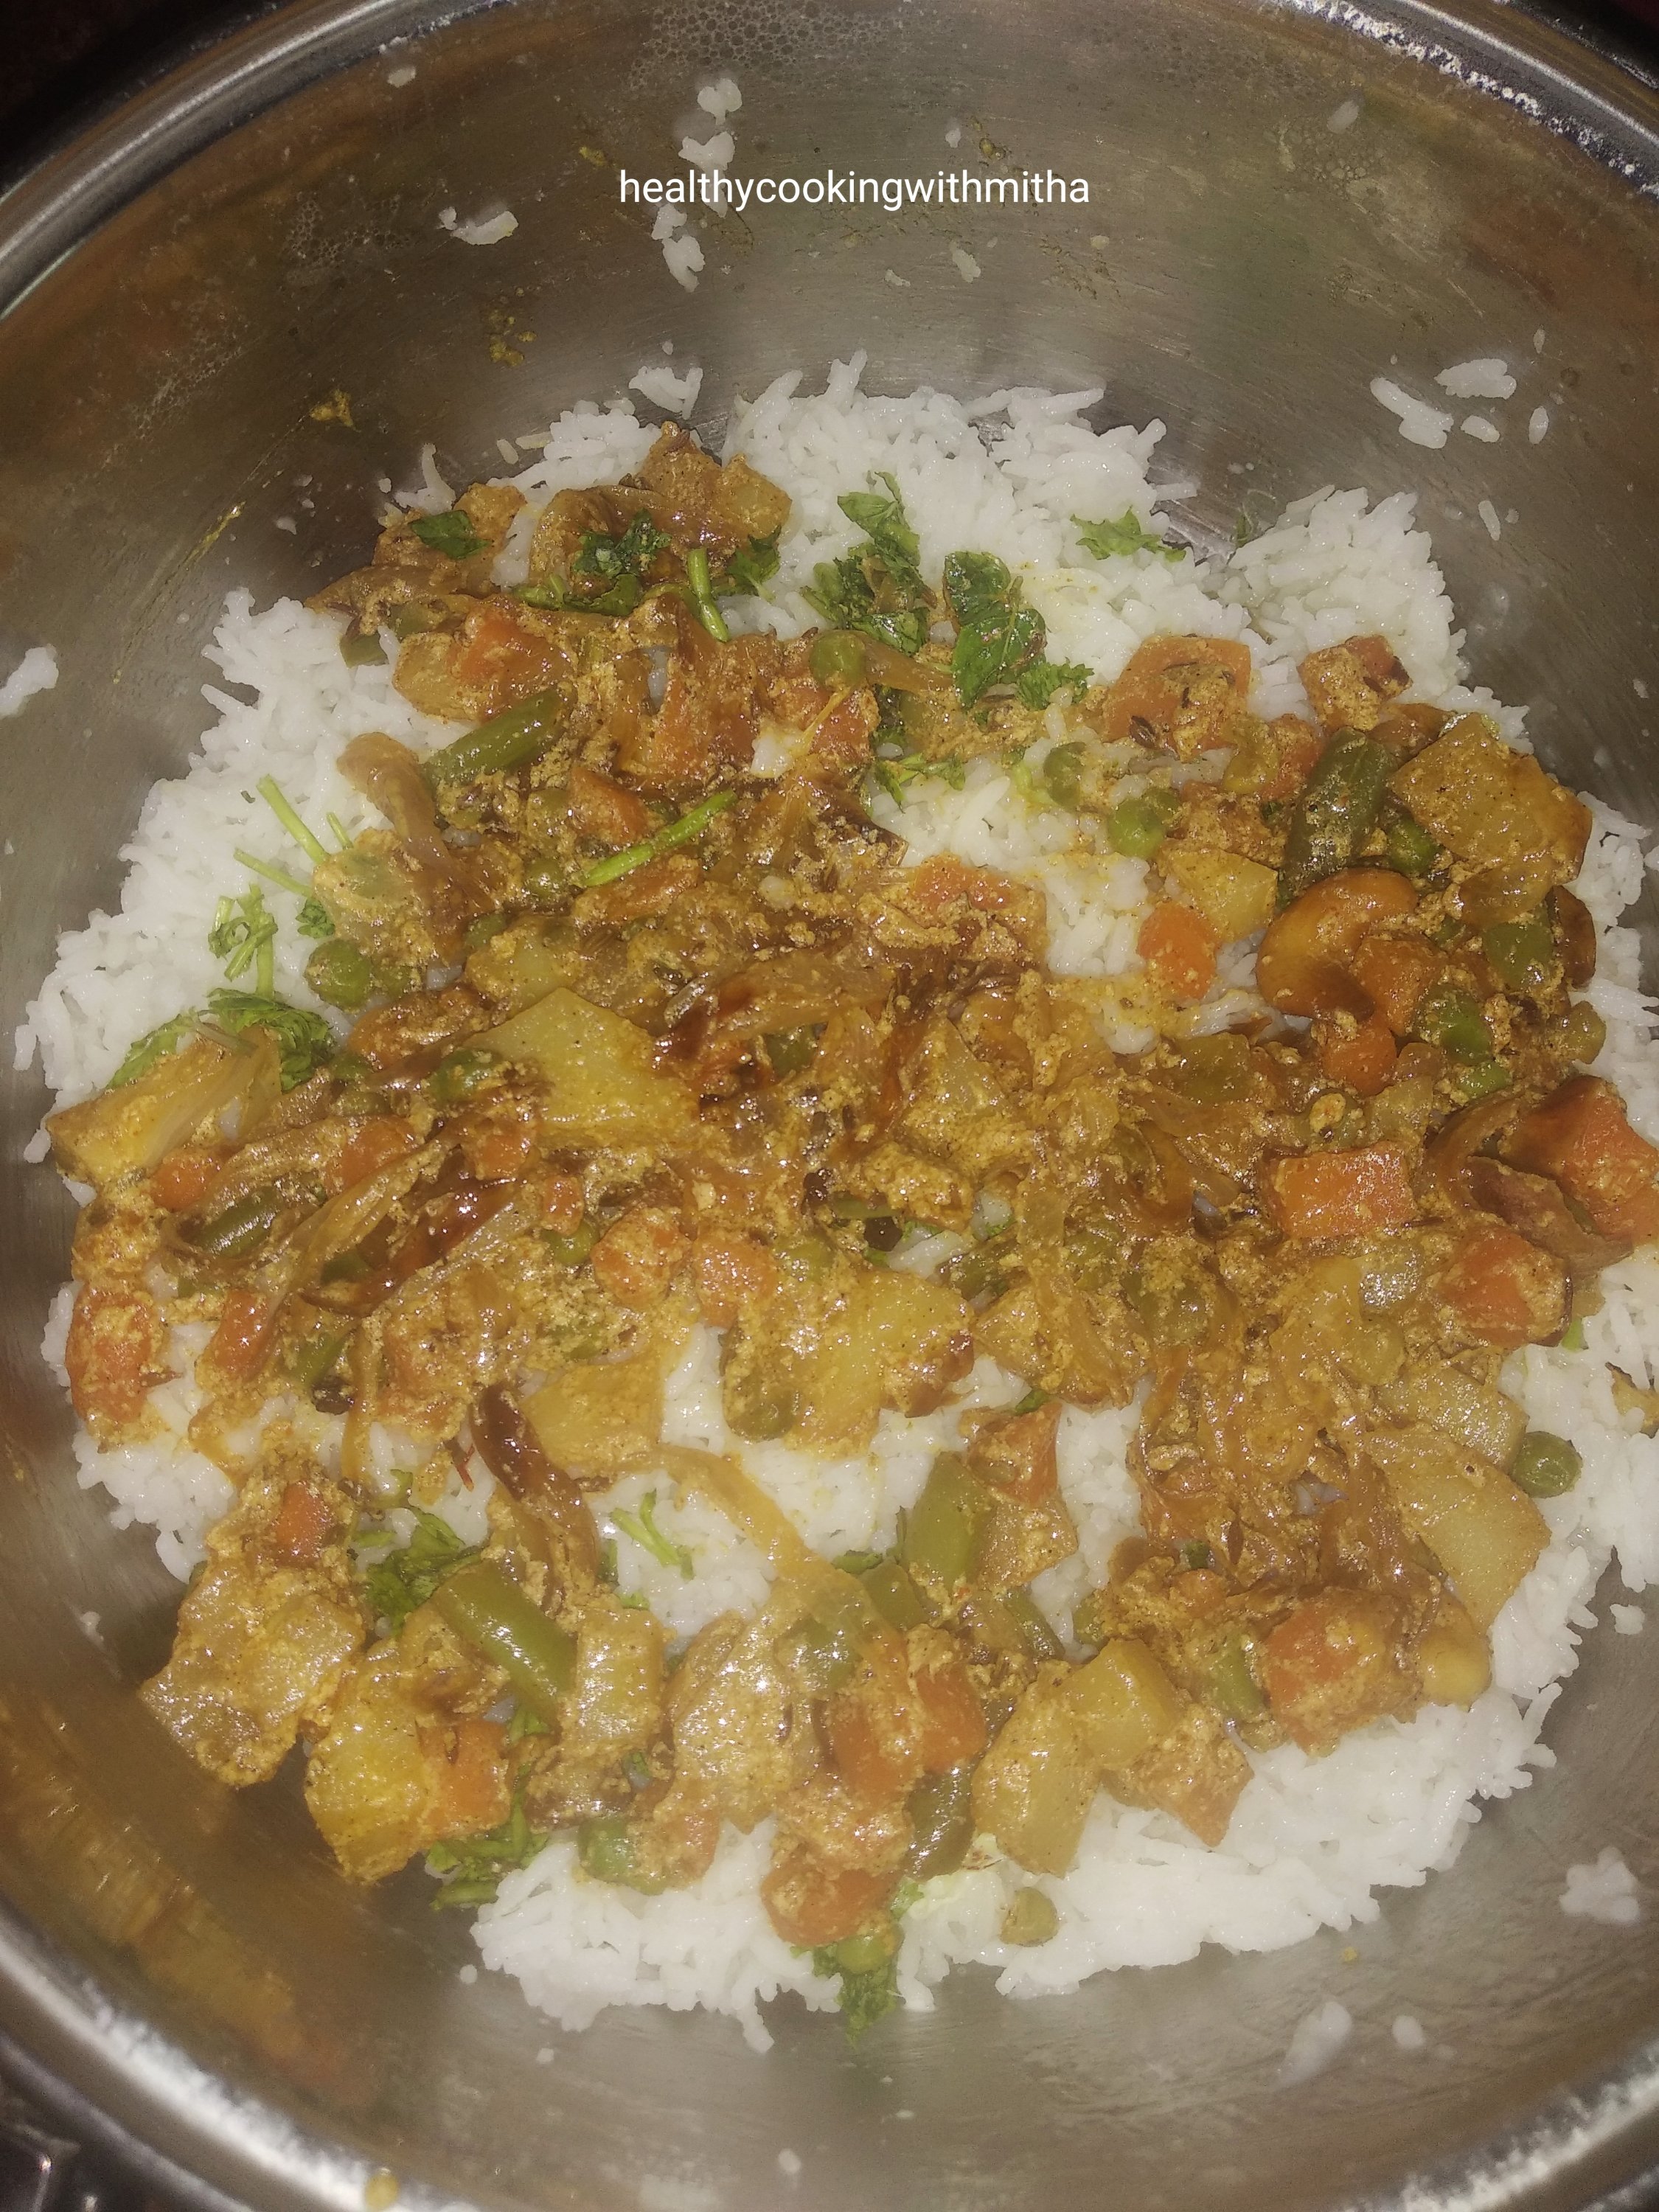
Before this Covid situation, our weekends would be Veg Biriyani from the nearby restaurant and I used to wait for it after bored of my own cooking. But since March, we have stopped restaurant foods completely and I started making Biriyani at home.
Though the initial few times it did not come out so well, now my husband says it comes out even better than restaurant ones. So I thought I must share this recipe with my readers as I know most of you must be cooking only at home and missing Biriyani from restaurants.
I feel homemade ones taste better mainly because of the pure ingredients that we use such as ghee as compared to the refined oil used in restaurants. Now I can’t imagine eating that and feel satisfied when my family loves the Biriyani I make. Don’t think we will ever go back to eating out. One of the many positives that Corona has taught us, I must say.
Hope you all try for your family and love it too. Happy and healthy cooking. Stay safe!
RECIPE:
Ingredients: {Serves 3}
For the rice layer:
1 1/2 Cups raw Basmati or any long grain rice, soaked for 30 mins
Salt to taste
2 Cardamom pods
2 Cloves
1 Bay leaf
For the gravy layer:
2 Tbsp Ghee
1 Tbsp Oil
1 tsp Cumin seeds or Jeera
1 tsp Fennel seeds
1 tsp Peppercorns
2 Cardamom pods
2 Cloves
1 Bay leaf
6 to 8 Cashews
1 large Onion, thinly sliced
2 Cups Mixed Vegetables (carrot, potato, beans, green peas) { I used frozen peas}
1/2 Cup Yogurt or thick Curd
2 tsp Red chilli powder or to taste
2 tsp Garam masala powder
1/2 tsp Haldi powder
Salt to taste
Other ingredients:
4 Tbsp finely chopped Mint or Pudina leaves
4 Tbsp finely chopped Coriander leaves
1/4 Cup Milk
A pinch of Saffron strands
Step by step recipe:
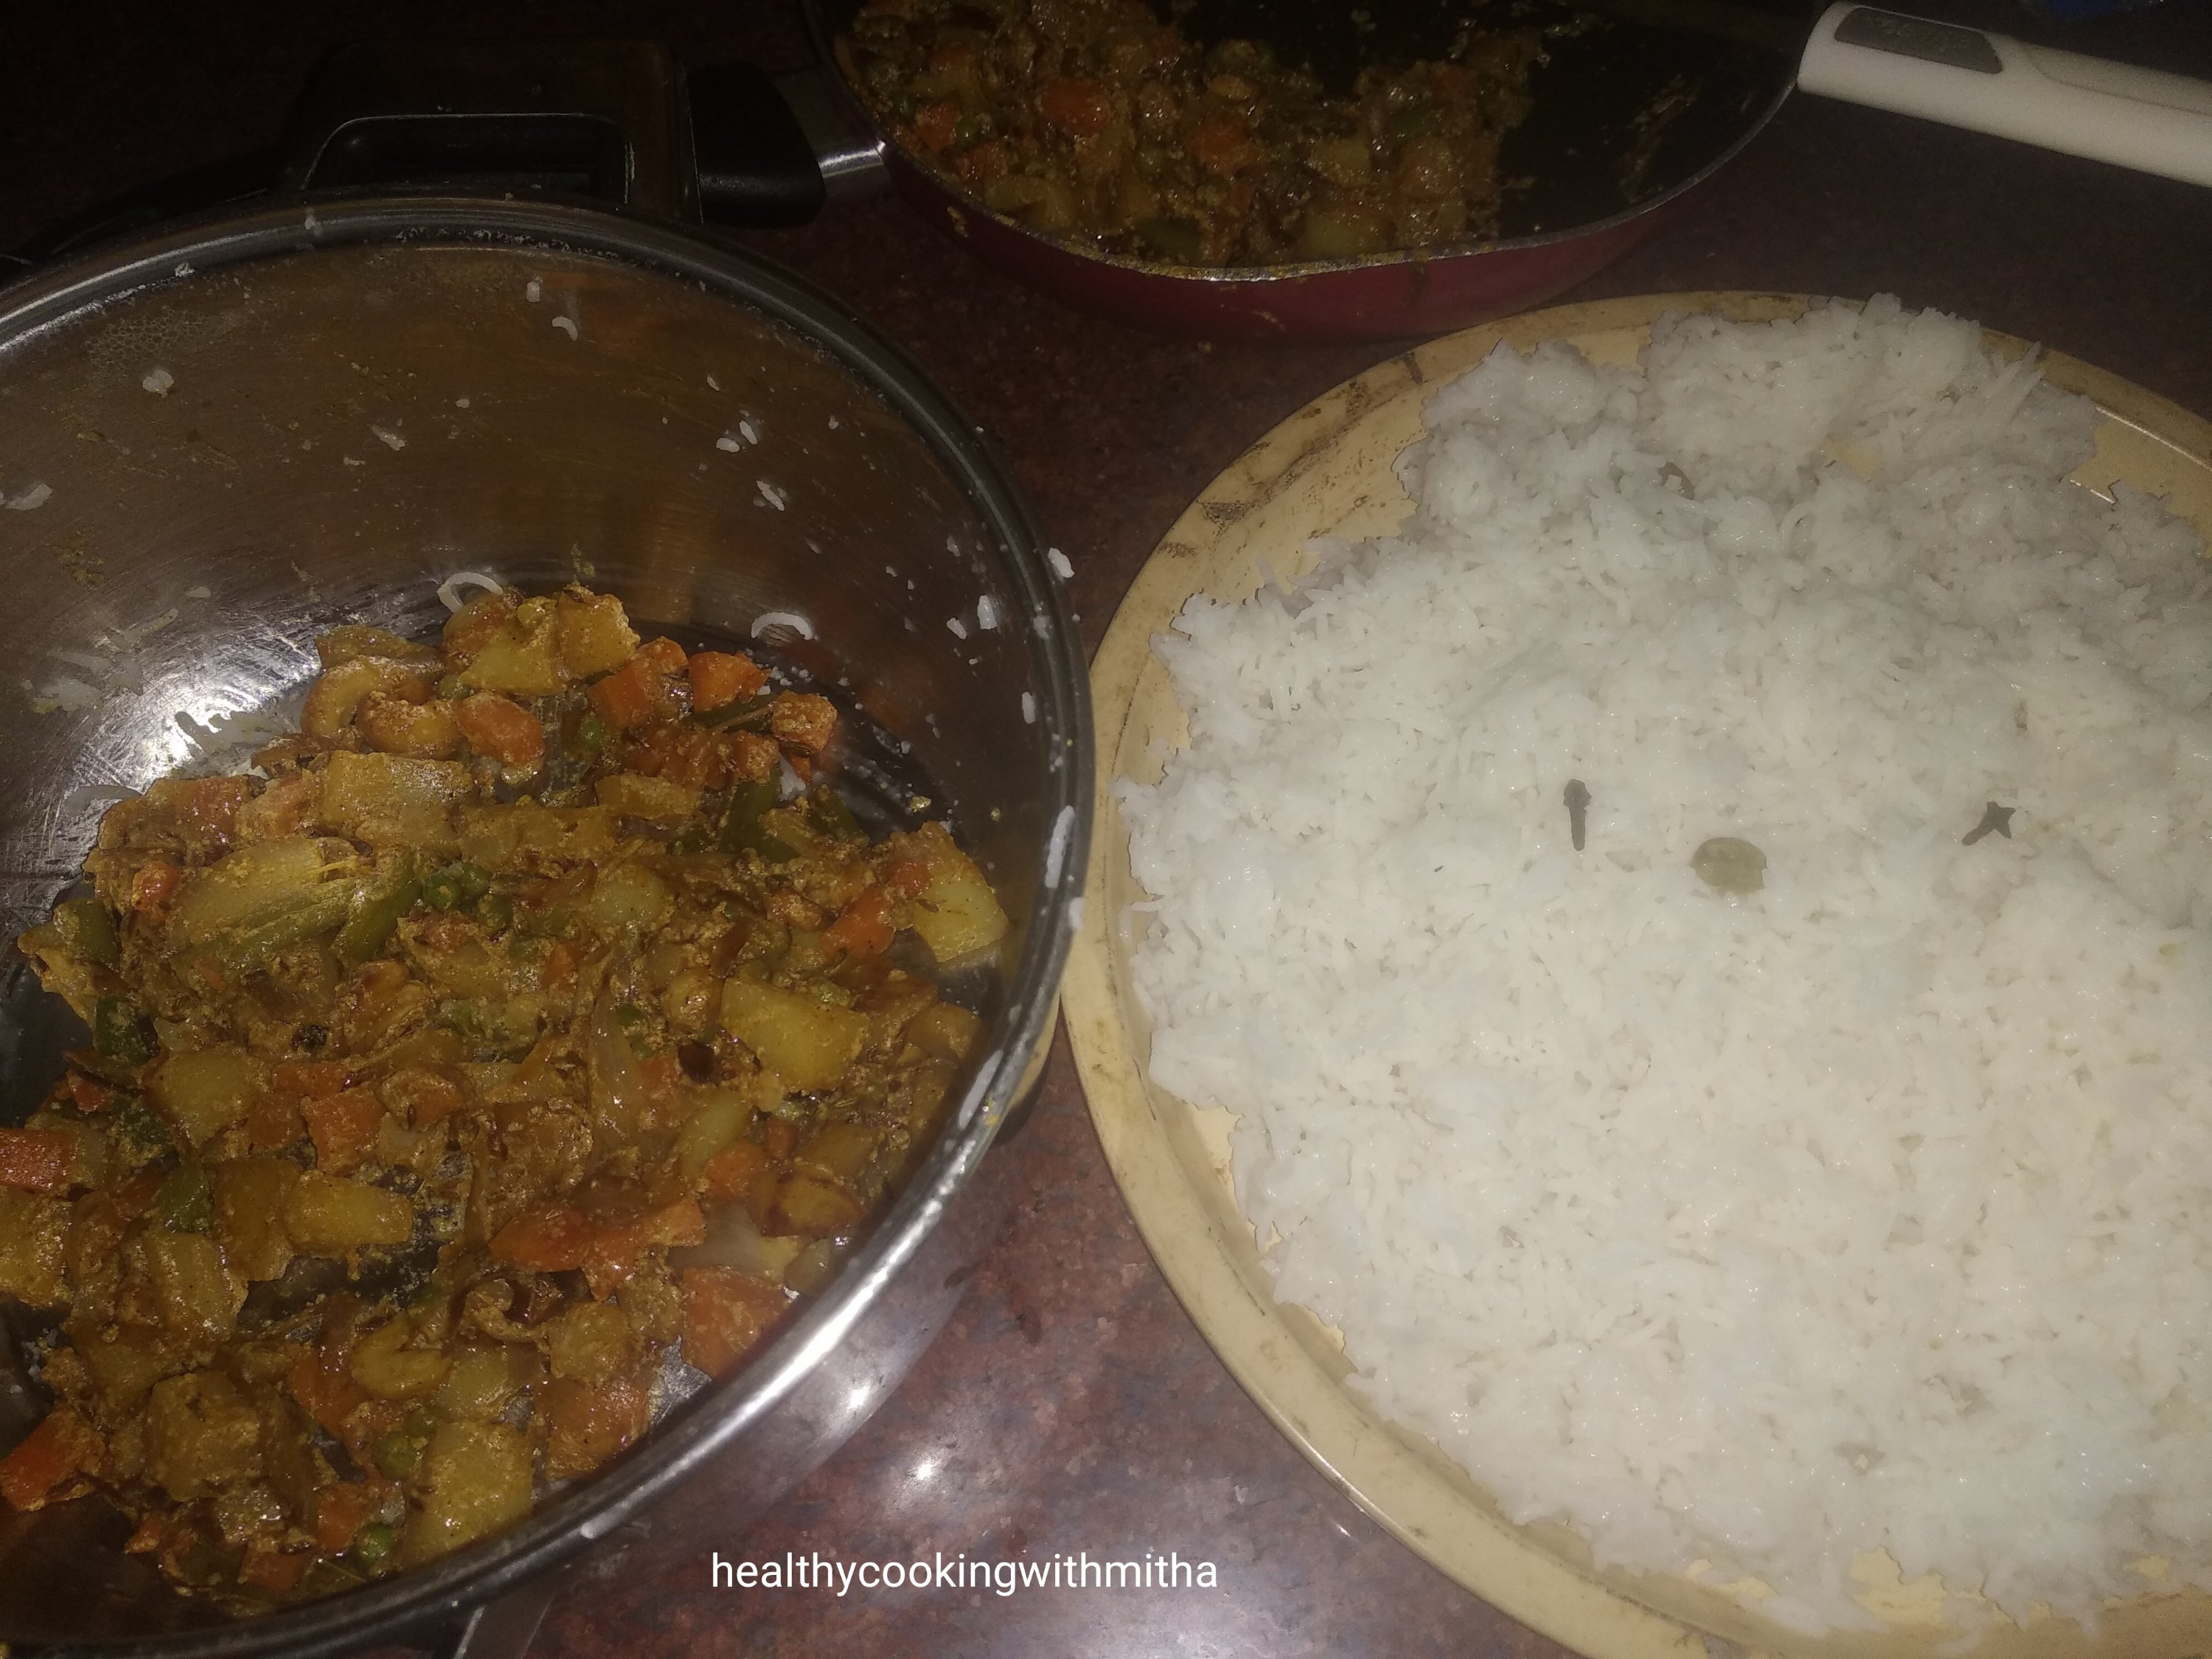
1. Boil water in a large pan. Add soaked and drained Basmati rice along with salt, cardamom, cloves and bay leaf. Cook till the rice is almostdone. Keep aside to cool.
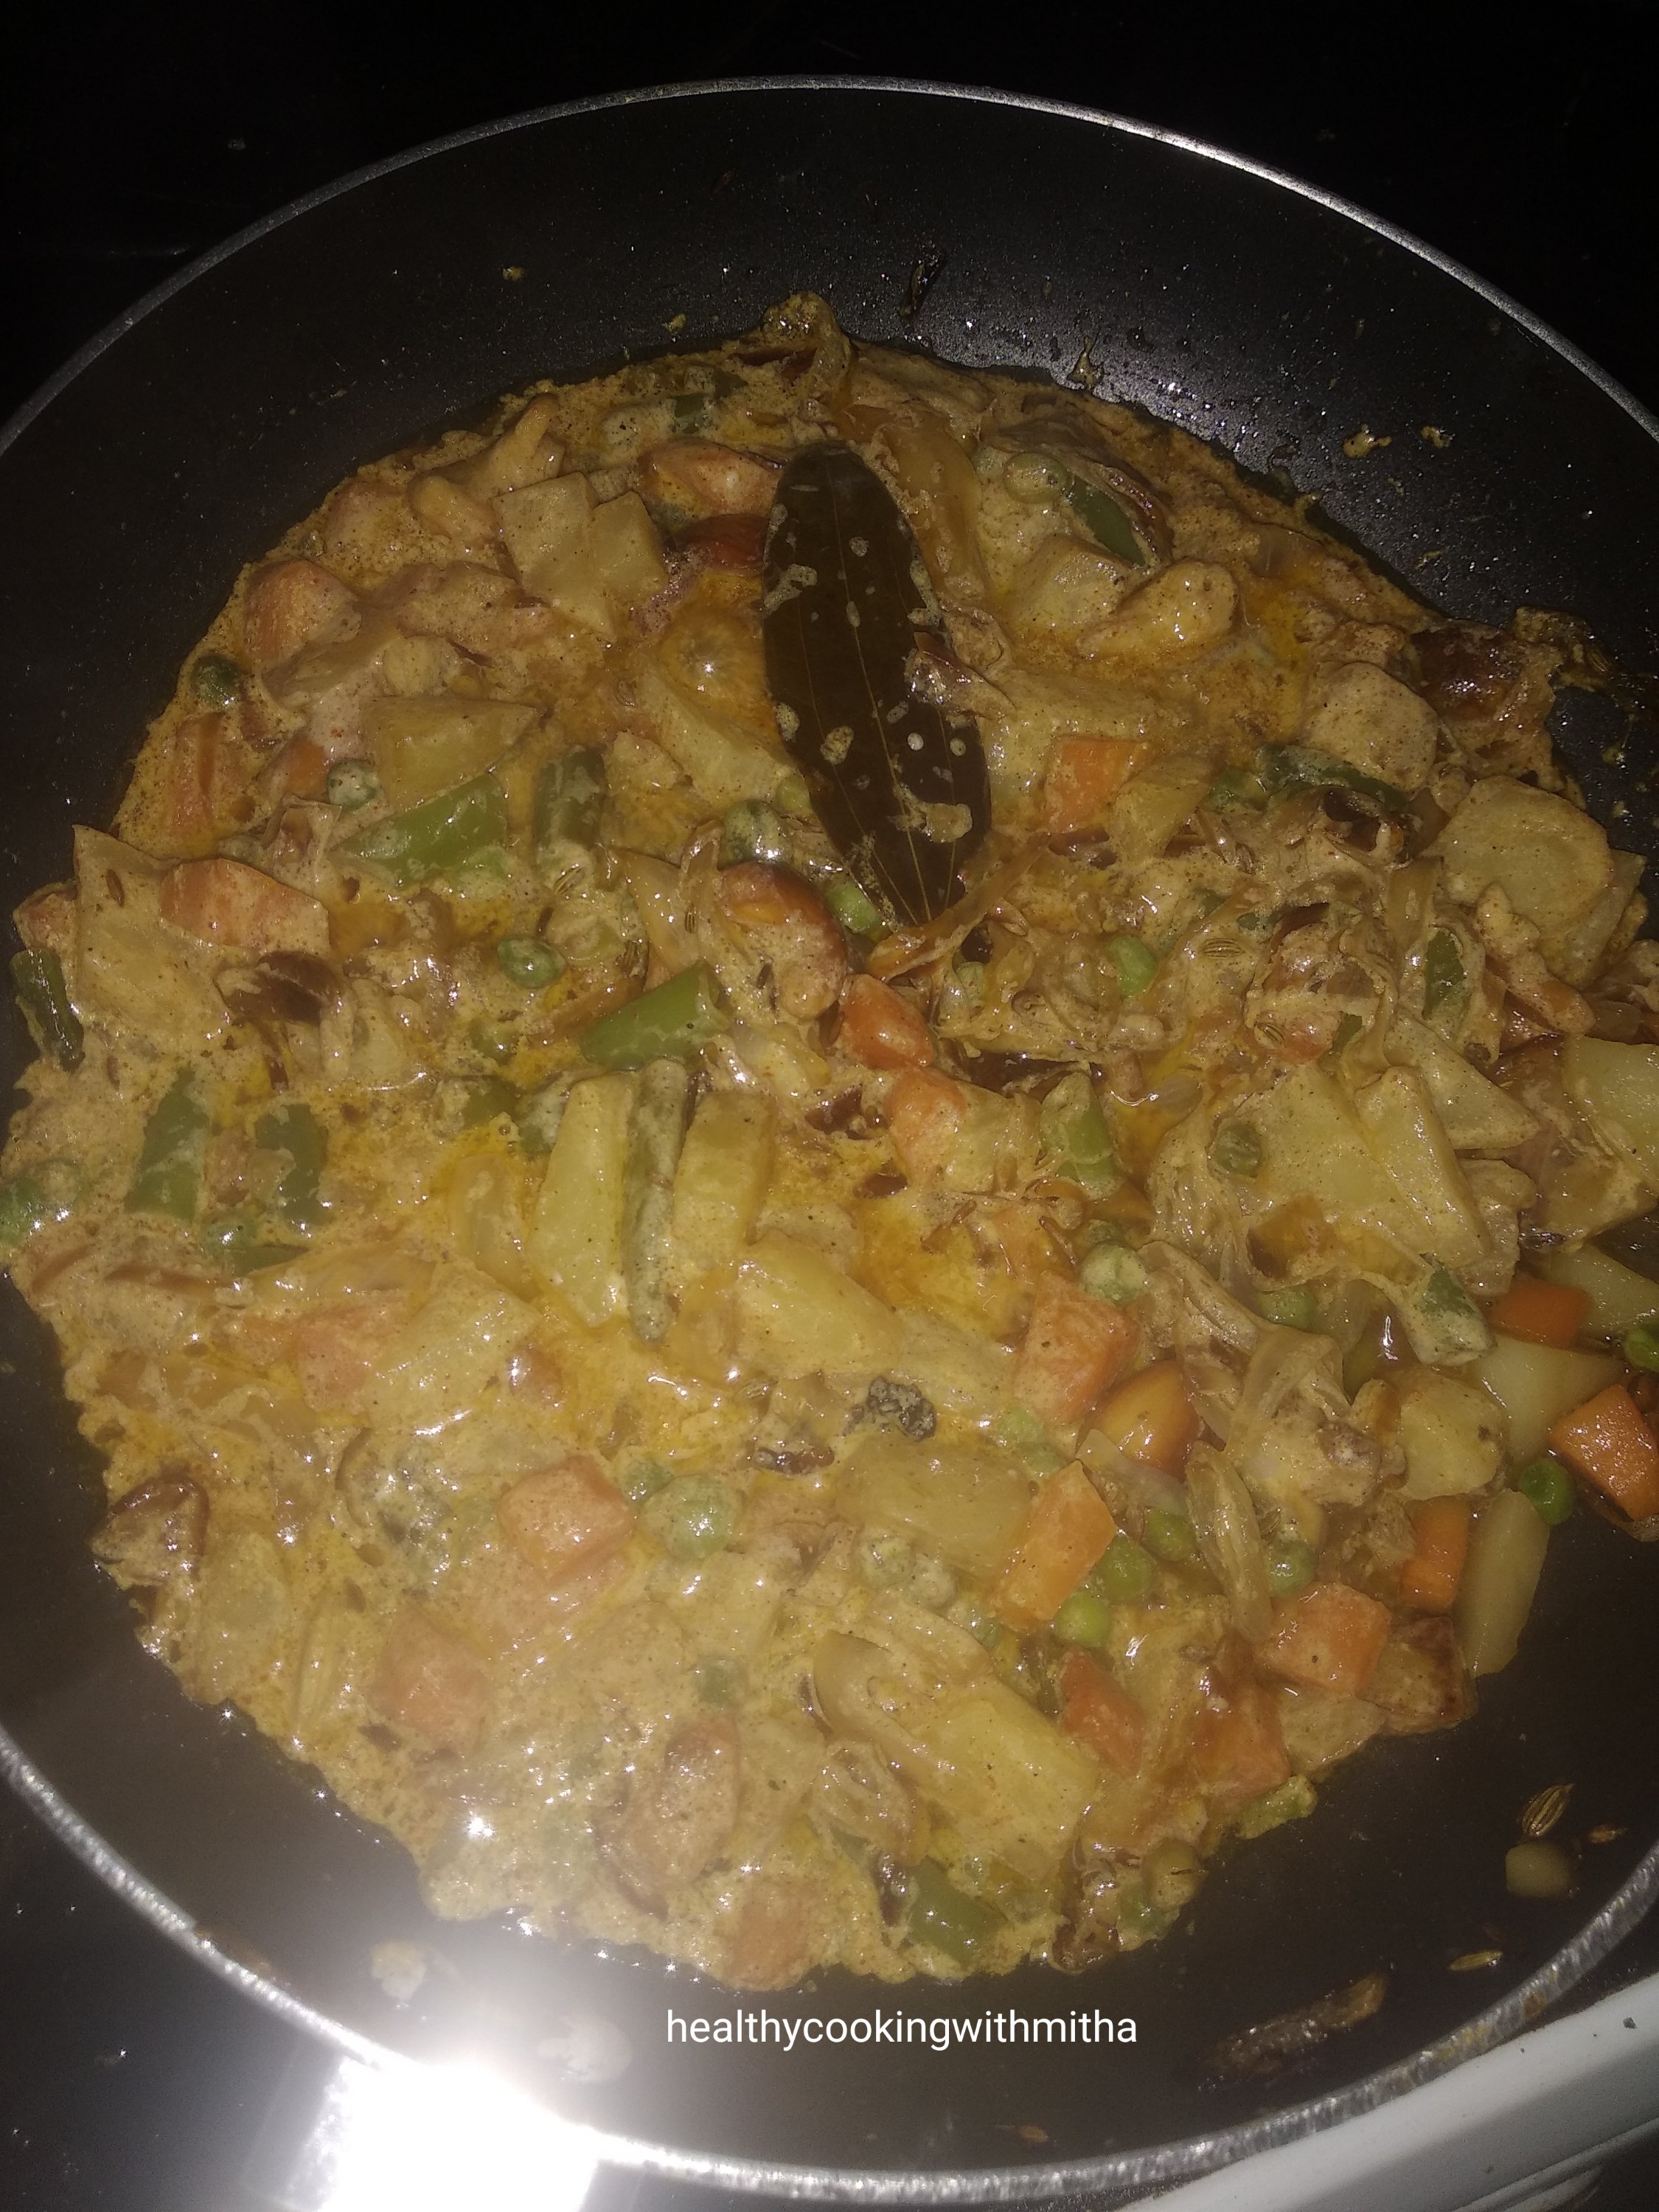
2. Heat ghee plus oil and add jeera, fennel seeds, peppercorns, cardamom pods, cloves, bay leaf and cashews. Fry till cashews turn brown. Add thinly sliced onions (with a pinch of salt) and fry till they start turning brown.
3. Now add the mixed vegetables and fry well for couple of minutes.
4. Add little water and cook the vegetables till almost done. Now mix Yogurt with turmeric powder, red chilli powder and garam masala powder till there are no lumps and it turns a smooth paste. Add to the cooked vegetables while mixing well on low flame.
5. Cook on low flame for about 5 mins. Remove from flame. Keep aside.
6. Now heat the saffron stands in milk for little while. I microwave on high for 1 minute till the colour of milk changes.
7. Now start layering. Take a large pan and first add a layer of the curry. I use the same pan in which I cooked the rice.
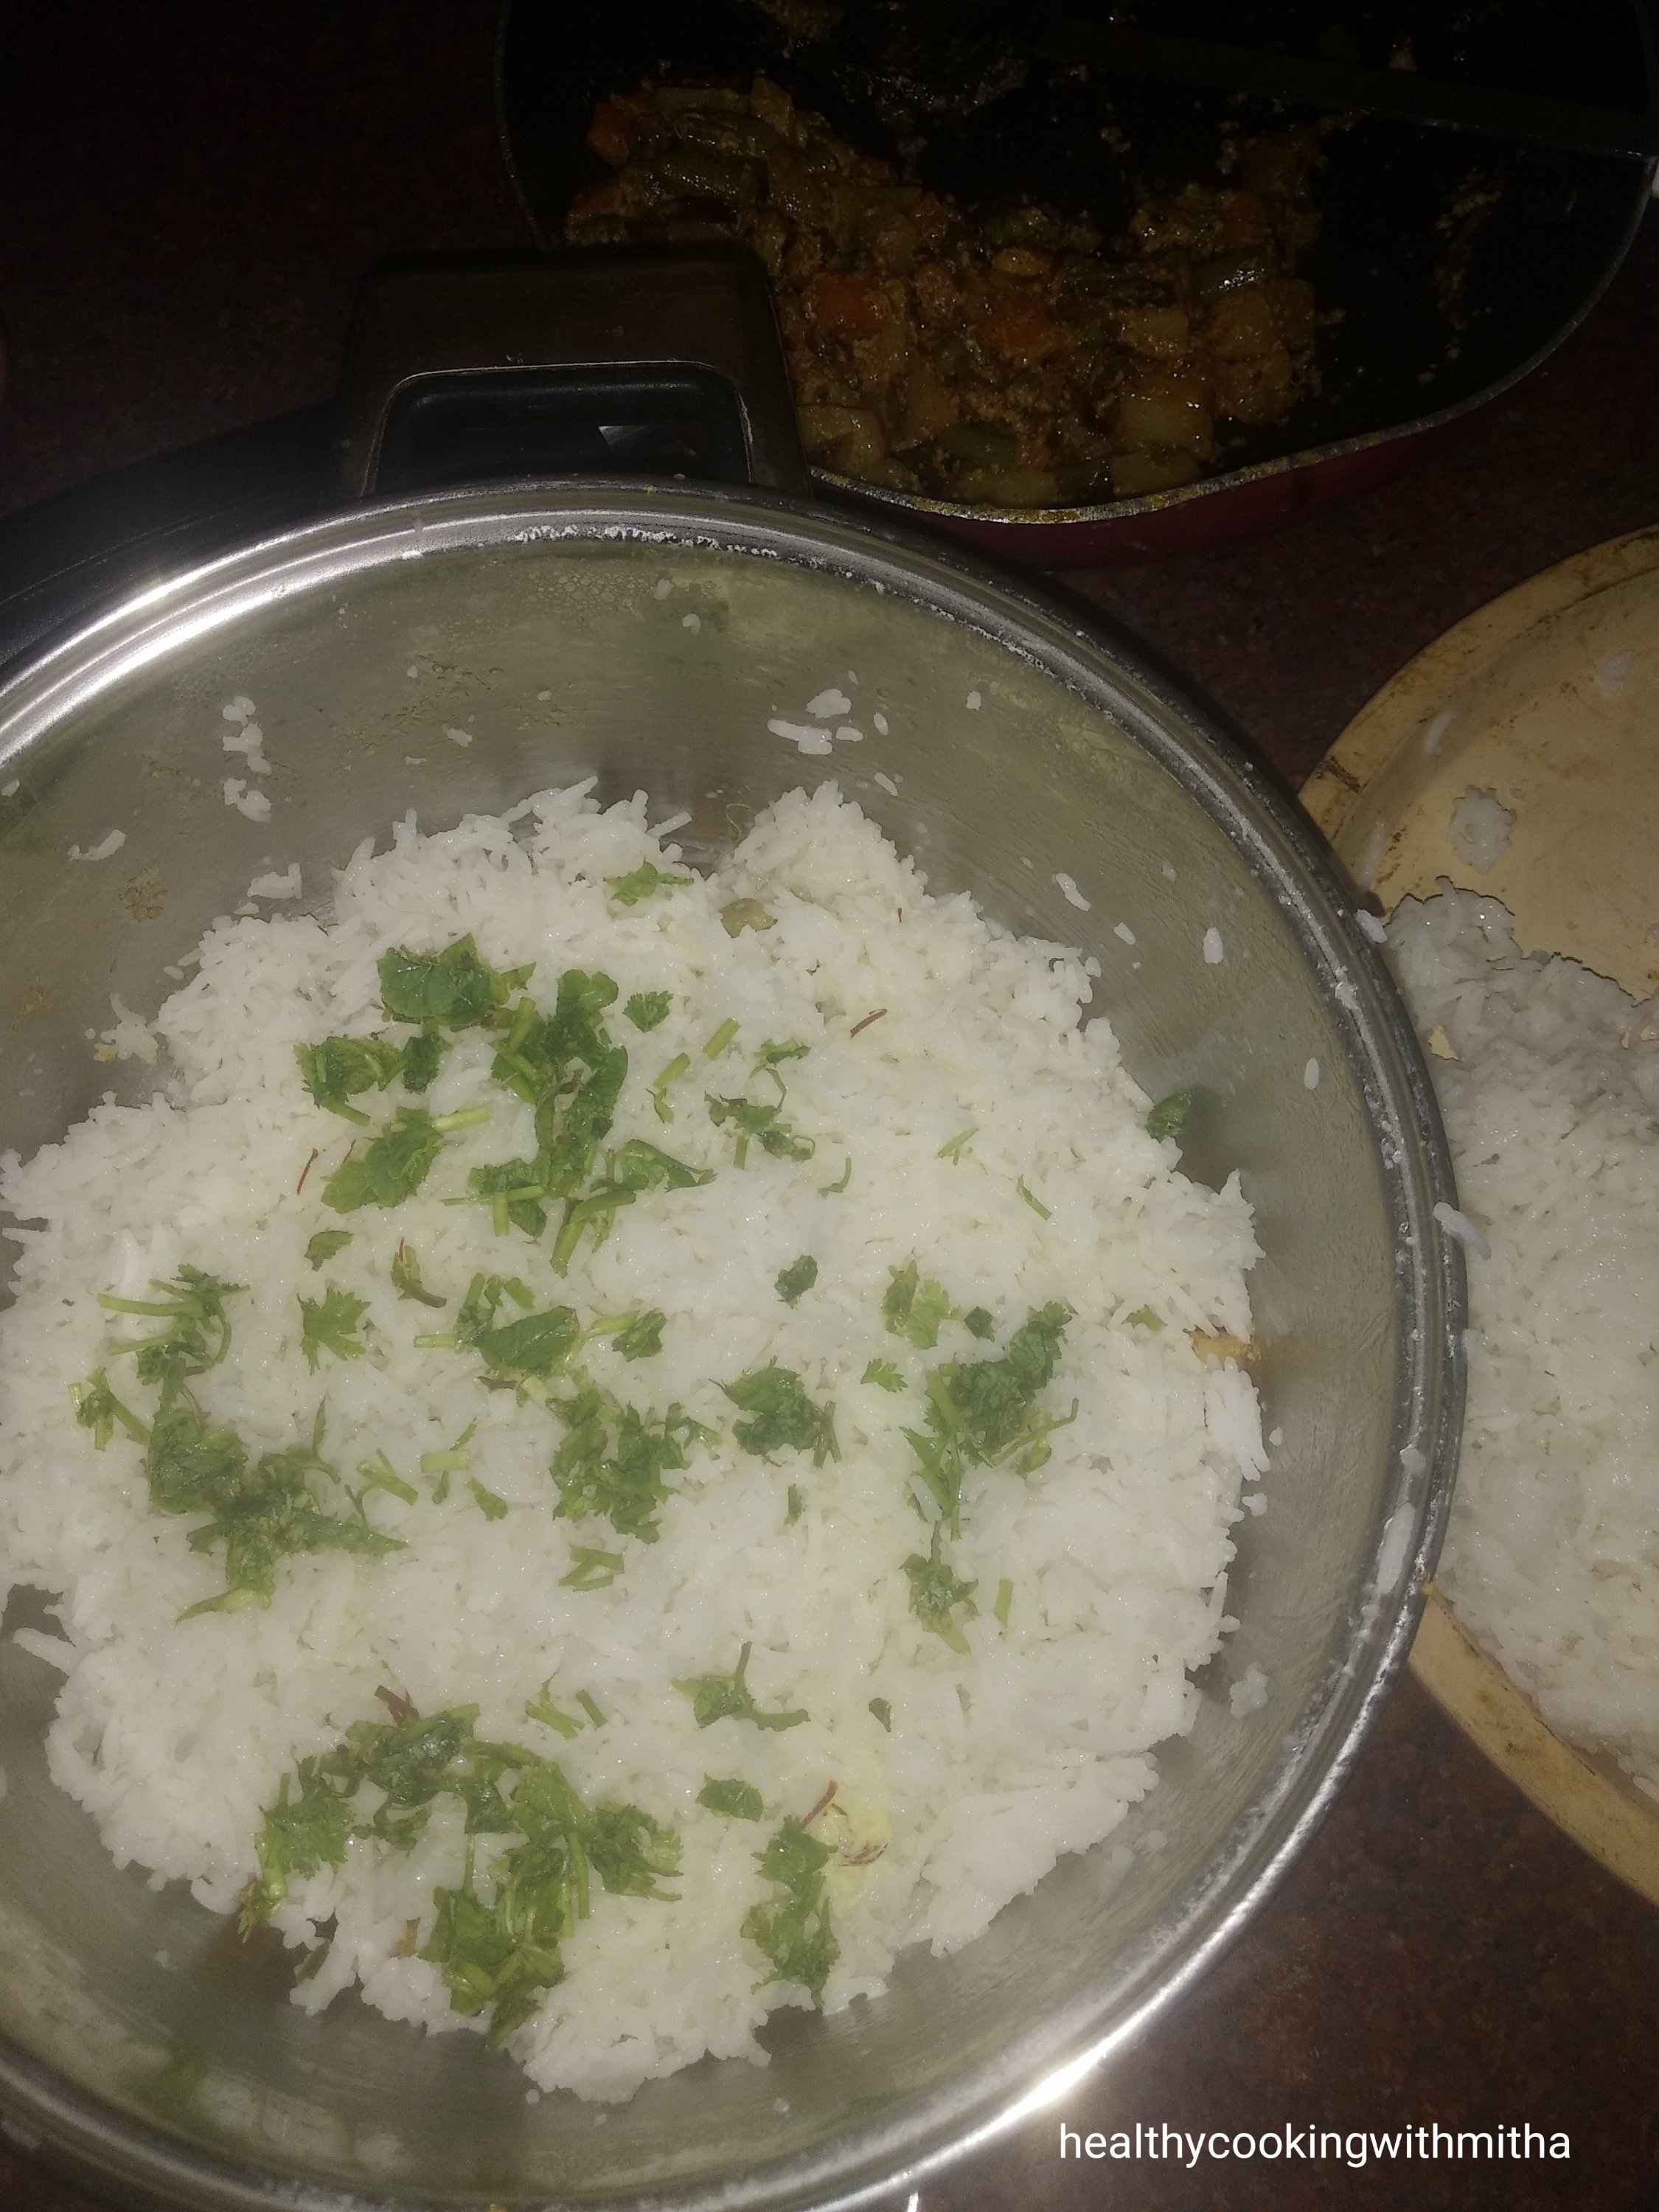
8. Now add a layer of the cooked rice (half of it) evenly over it. Add half of the saffron milk and half of the finely chopped Mint – coriander leaves evenly over it.
9. Now layer the rest of the curry over it.
10. And finally the rest of the rice along with the saffron milk and mint coriander leaves evenly over it.
11. Now take another large pan with little water in it. Place this layered Biriyani pan in it and cook covered well for atleast 20 mins in the lowest flame possible.
12. Remove and serve with raita.
Notes:
* Don’t cook the rice fully in the first step or it will get mashed when steaming after layering.
* This style of Biriyani may seem difficult than one pot ones but trust me, it tastes very delicious and is easier than other layered Biriyanis.
* The spice level is to taste. I don’t make the Biriyani spicy as my kids eat it as well. You can add more red chilli powder in the Yogurt if desired.
* Make the gravy thick and dry, not watery or the Biriyani won’t come out well.
* For raita, I add finely chopped tomatoes, onions, cucumbers, coriander leaves to yogurt with little water, salt and chaat masala. Mix well.
I love sweets and Shrikhand is one of my favourites. We used to buy Amul Shrikhand available here but I always felt it was a tad too sugary for my taste (inspite of being all sweet teeth in my mouth π). So it was kept for rare cravings.
Then one day when I was chatting with my friend Sonali Baindur (Divya) , she said she makes Shrikhand at home following her mother in law, Vidya Baindur’s recipe. She mentioned that not only is making Shrikhand at home easier but a lot cheaper too. So that gave me the much needed encouragement to try it out.
And as she said, it is very very easy. I made Shrikhand with Jaggery instead as we love Jaggery flavour a lot more. It tasted so yummy that I really wonder why I did not make it these many days. We already made it thrice this month. Very cooling for the summers here in Qatar too.
Thank you Divya for the inspiration. Hope you all try and love it too.
Happy Gowri Pooja and VinayakaChaturthi to all my readers. ShreeGaneshaya Namaha. π
RECIPE:
Ingredients: {Makes about 1 Cup Shrikhand}
1 Cup Curd or Yogurt (full fat or low fat, both are fine)
1/4 Cup Jaggery powder or grated jaggery
Step by step recipe:
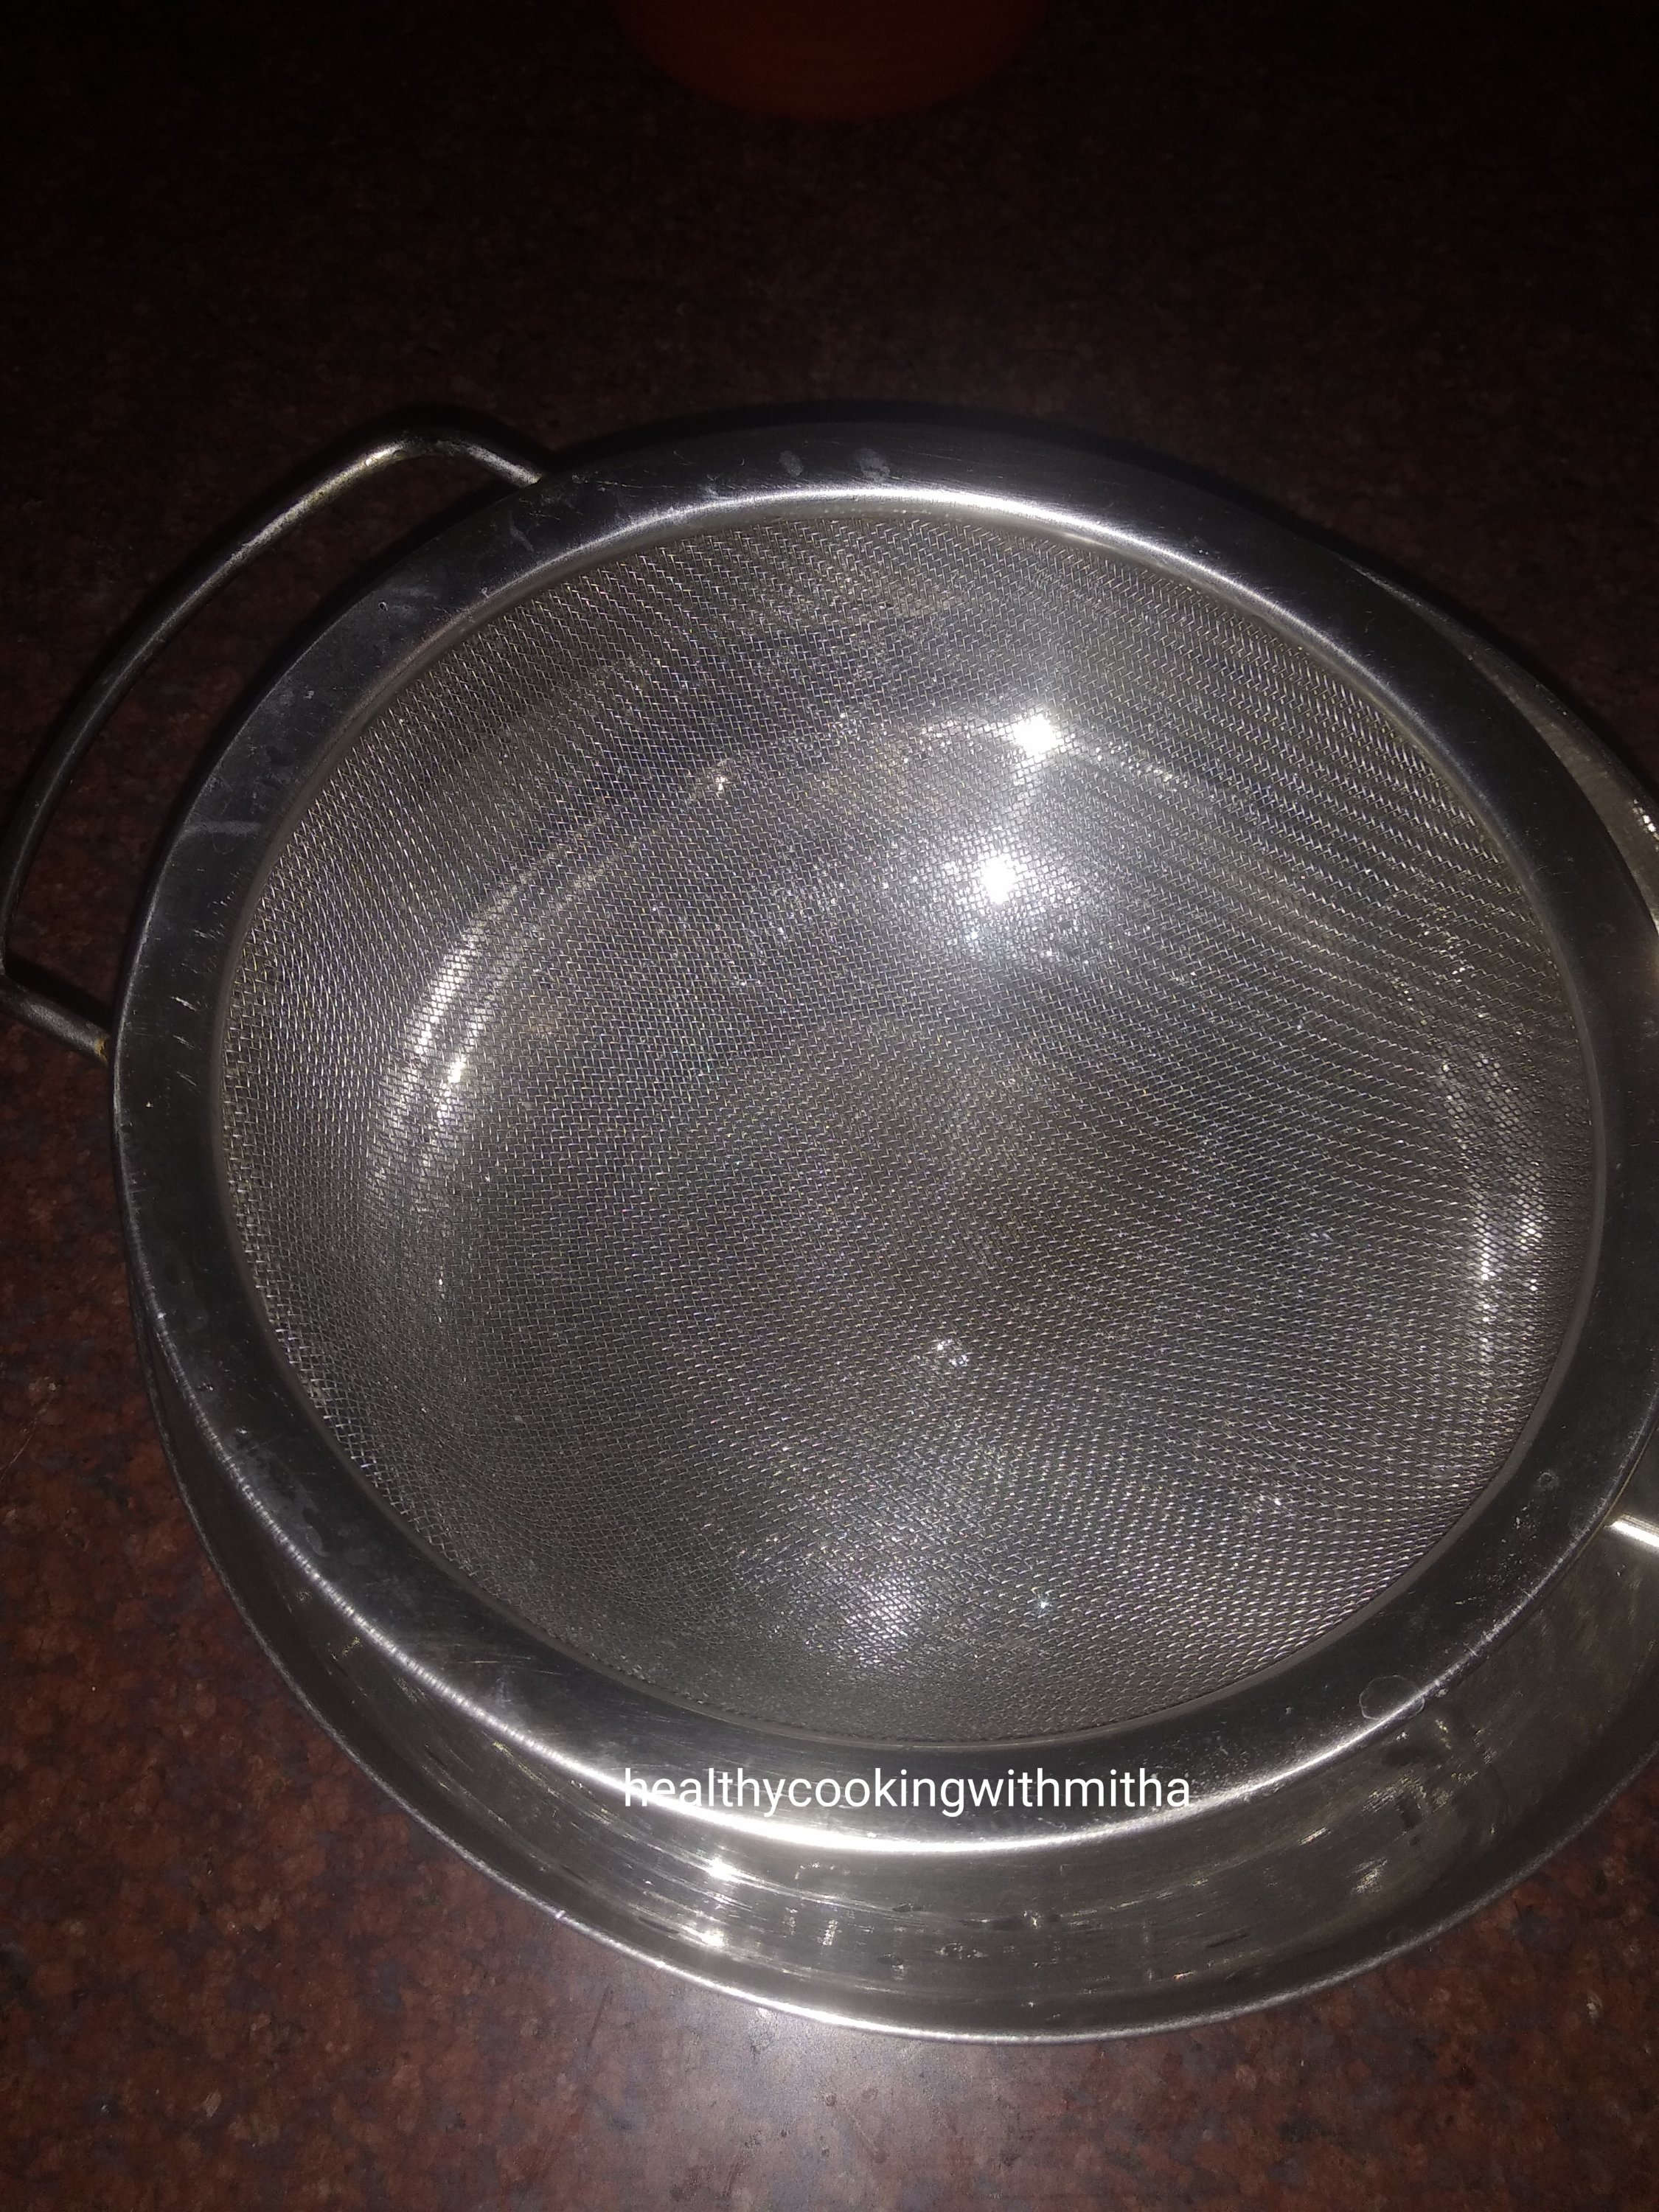
1. Take a bowl and keep a strainer over it like shown.
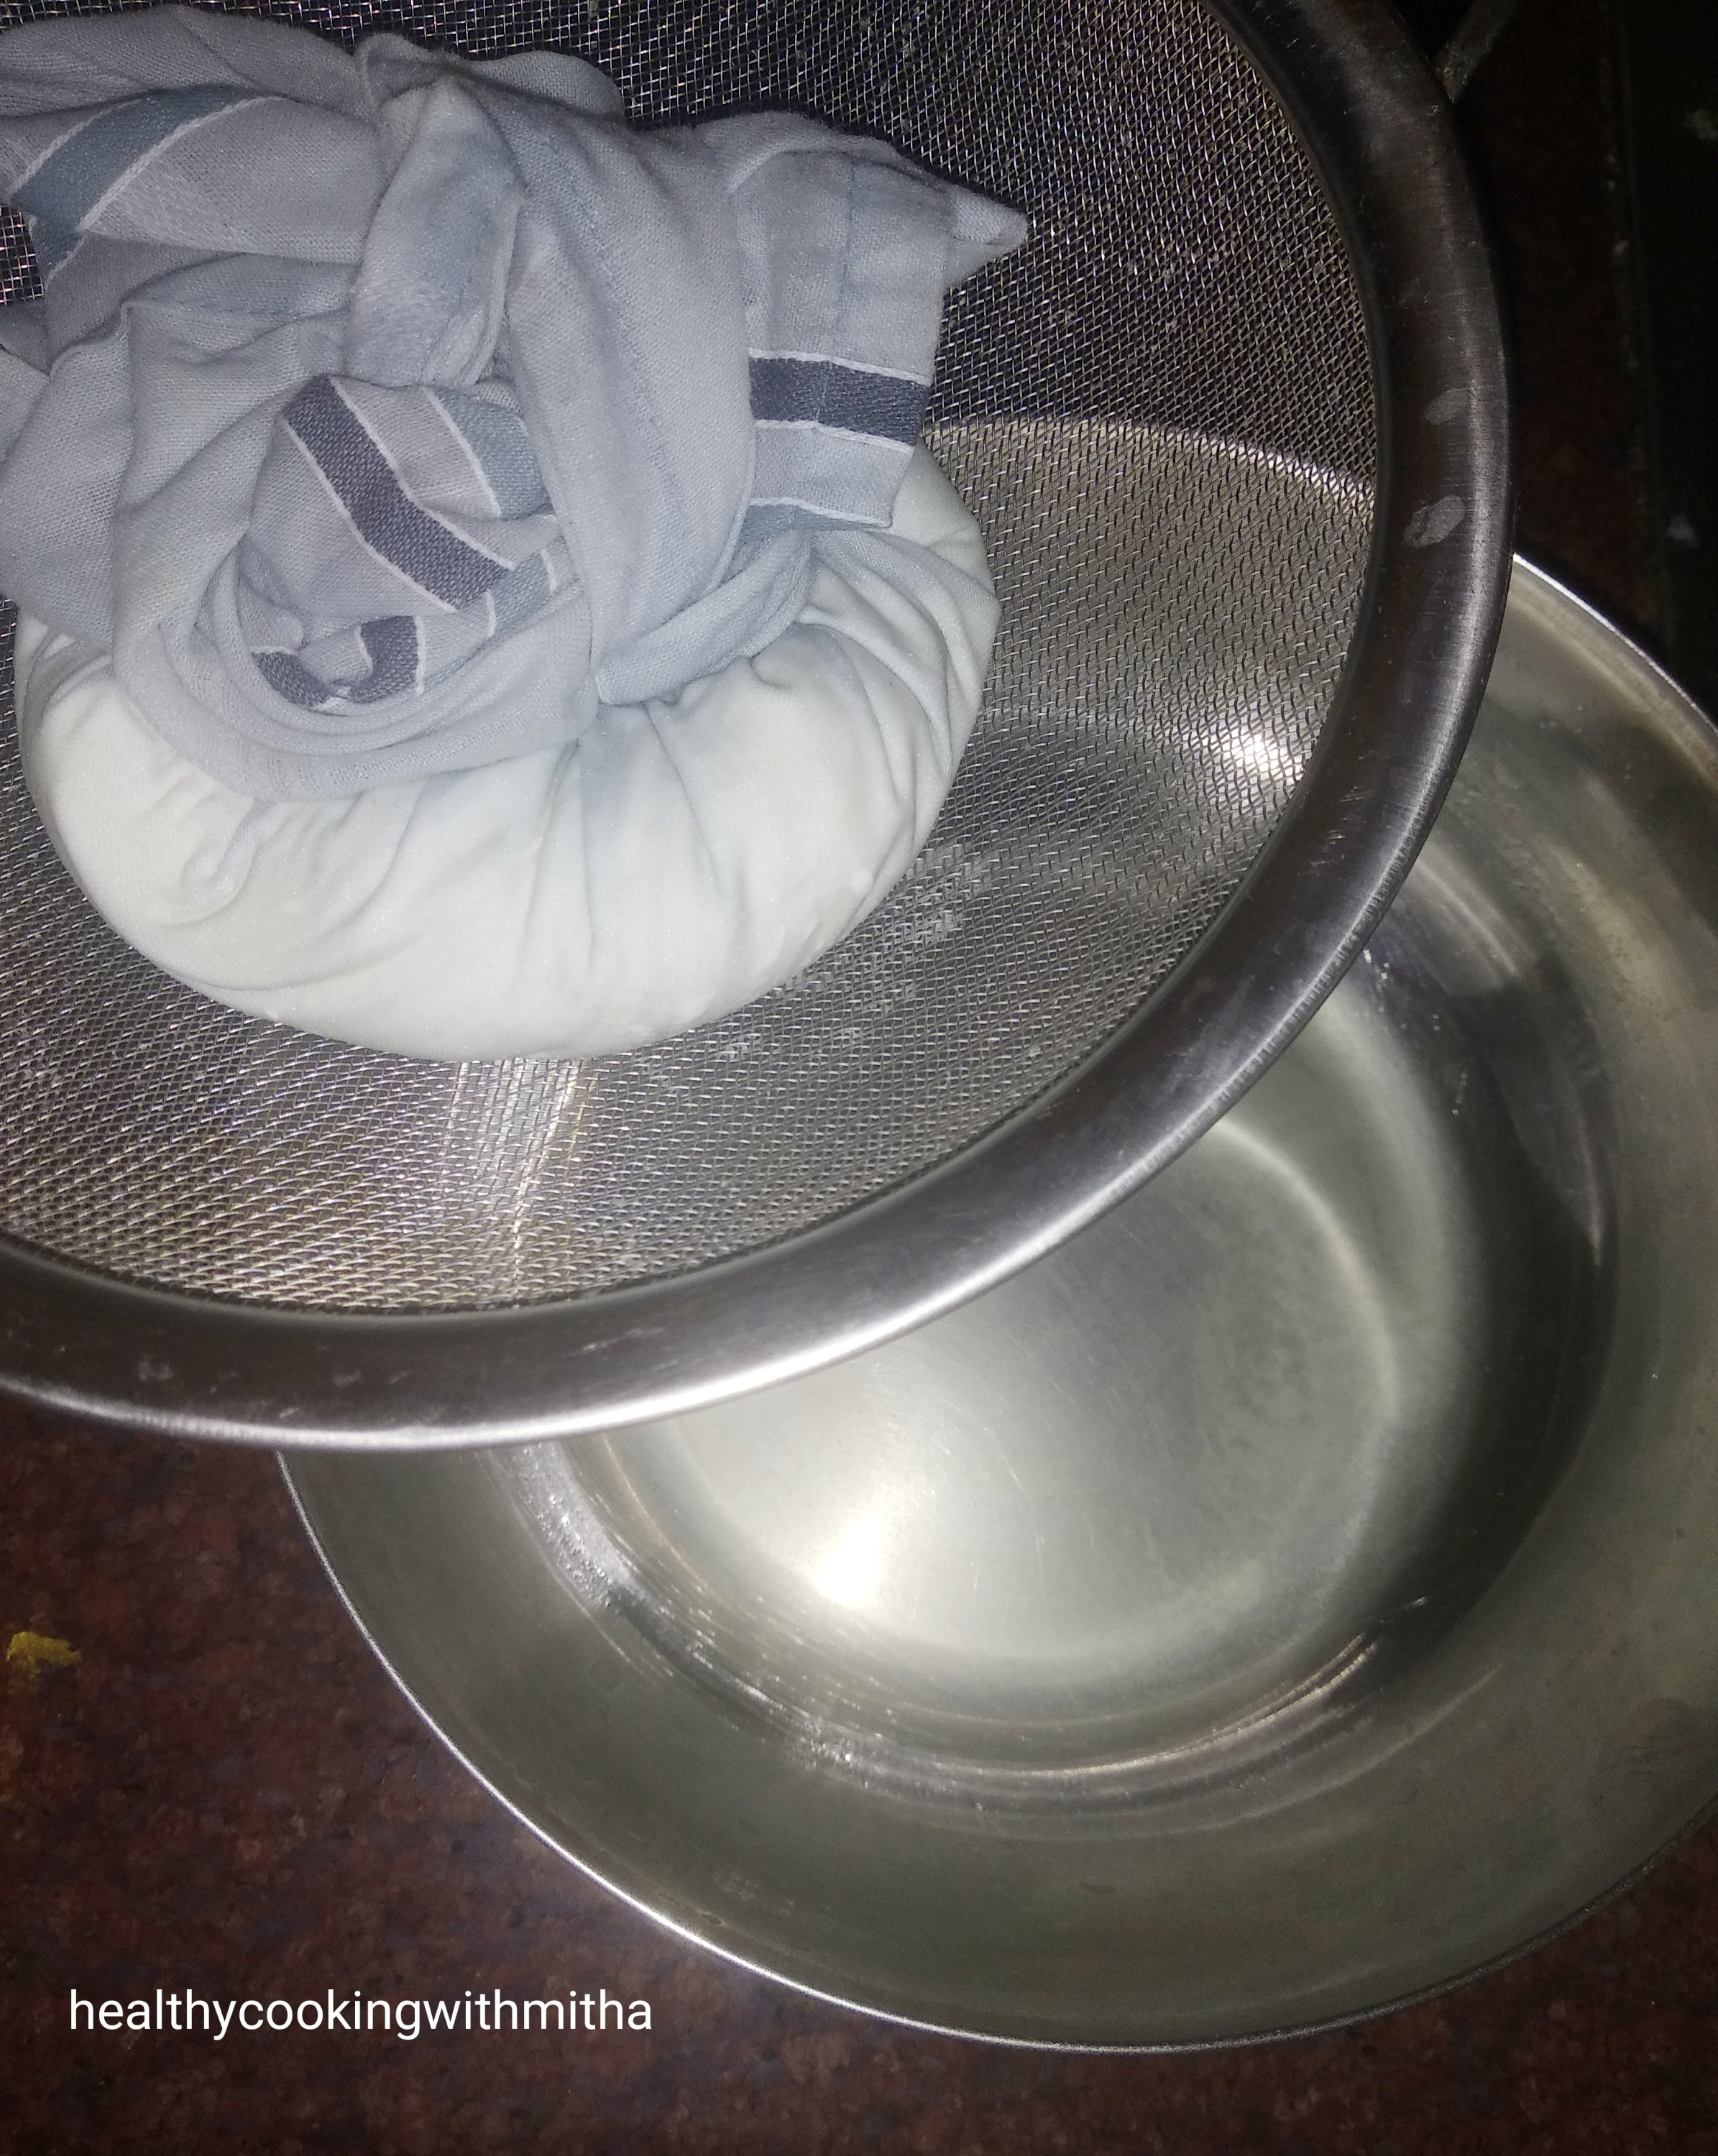
2. Now keep a muslin cloth or a clean handkerchief over it. Add 1 Cup regular Curd.
3. Tie it well tightly squeezing excess water into the bowl. Now keep a heavy object over it. I kept my pestle.
4. Refrigerate overnight (with the bowl underneath to catch the extra water dripping) or atleast for 6 hours. See how much water has dripped in the bowl after overnight refrigeration.
Note: Don’t discard the dripped water. Add it to curries instead of water or to your dosa batter while grinding or roti dough when kneading.
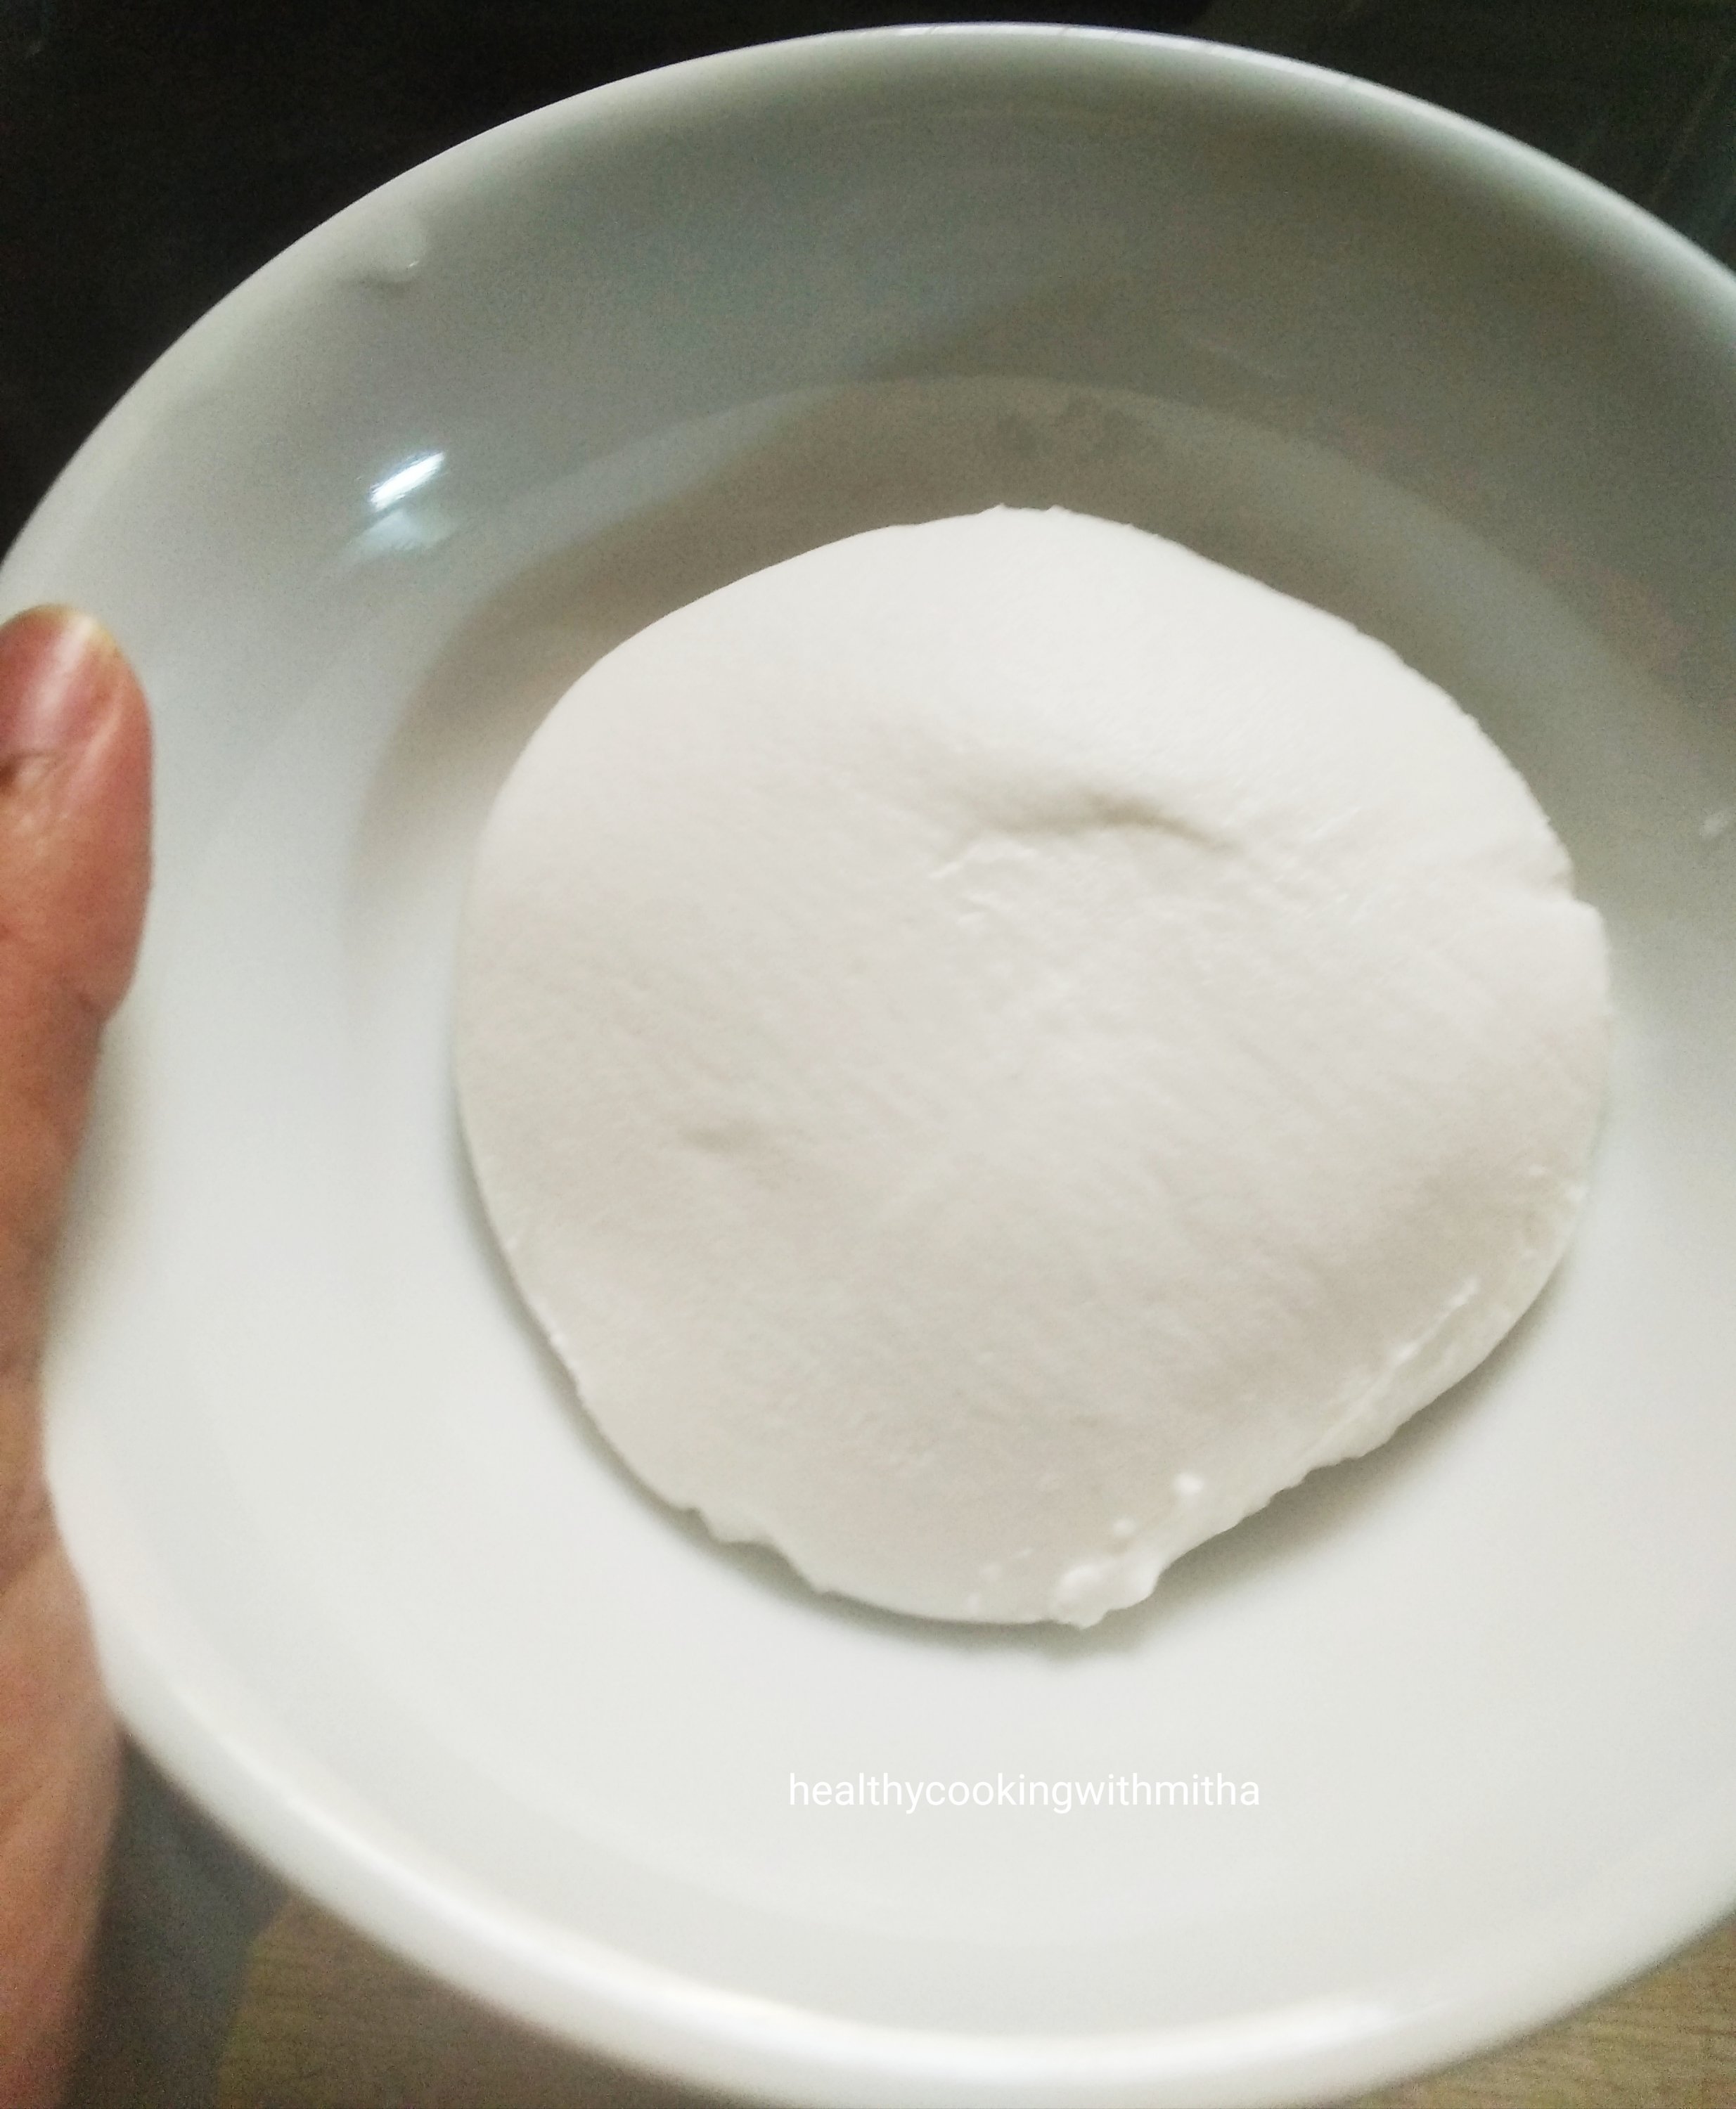
5. Untie the cloth. See how well the hung curd has set.
6. Remove into a bowl. This is HUNGCURD. You can use it in many recipes.
7. Now sieve powdered jaggery into this bowl or add finely grated jaggery.
Note: Sieving powdered jaggery is important as I found it gives a creamy Shrikhand.
8. Mix well together.
9. Serve right away or chilled.
Notes:
* Don’t forget to tie the cloth tightly and keep a weight on top so that you get perfect hung curd.
* Also don’t discard the dripped water. Add it to curries instead of water or to your dosa batter while grinding or roti dough when kneading.
* Sieving powdered jaggery is important as I found it gives a creamy Shrikhand. So don’t skip the step. If you are grating jaggery, then no need to sieve.
* Jaggery can be substituted with cane sugar or even regular powdered sugar for a normal sugar based Shrikhand.
* You can also add cardamom powder or saffron strands for flavour.
When I was a child, the only Idlis I knew were the regular white Idlis my mother made and the horsegram Idlis, cucumber Idlis, jackfruit Idlis (kulitha idli, thoushe muddho, ponsa mudho in Konkani) which my grandmother made. These varieties are the only ones I remember apart from the amchi famous Khotto or idlis made in jackfruit leaves.
After I started blogging and kept on look out for variety of recipes, I started making Rava Idlis and other Idlis which don’t need rice at all. Here you can check all of them in my Idli Stand page.
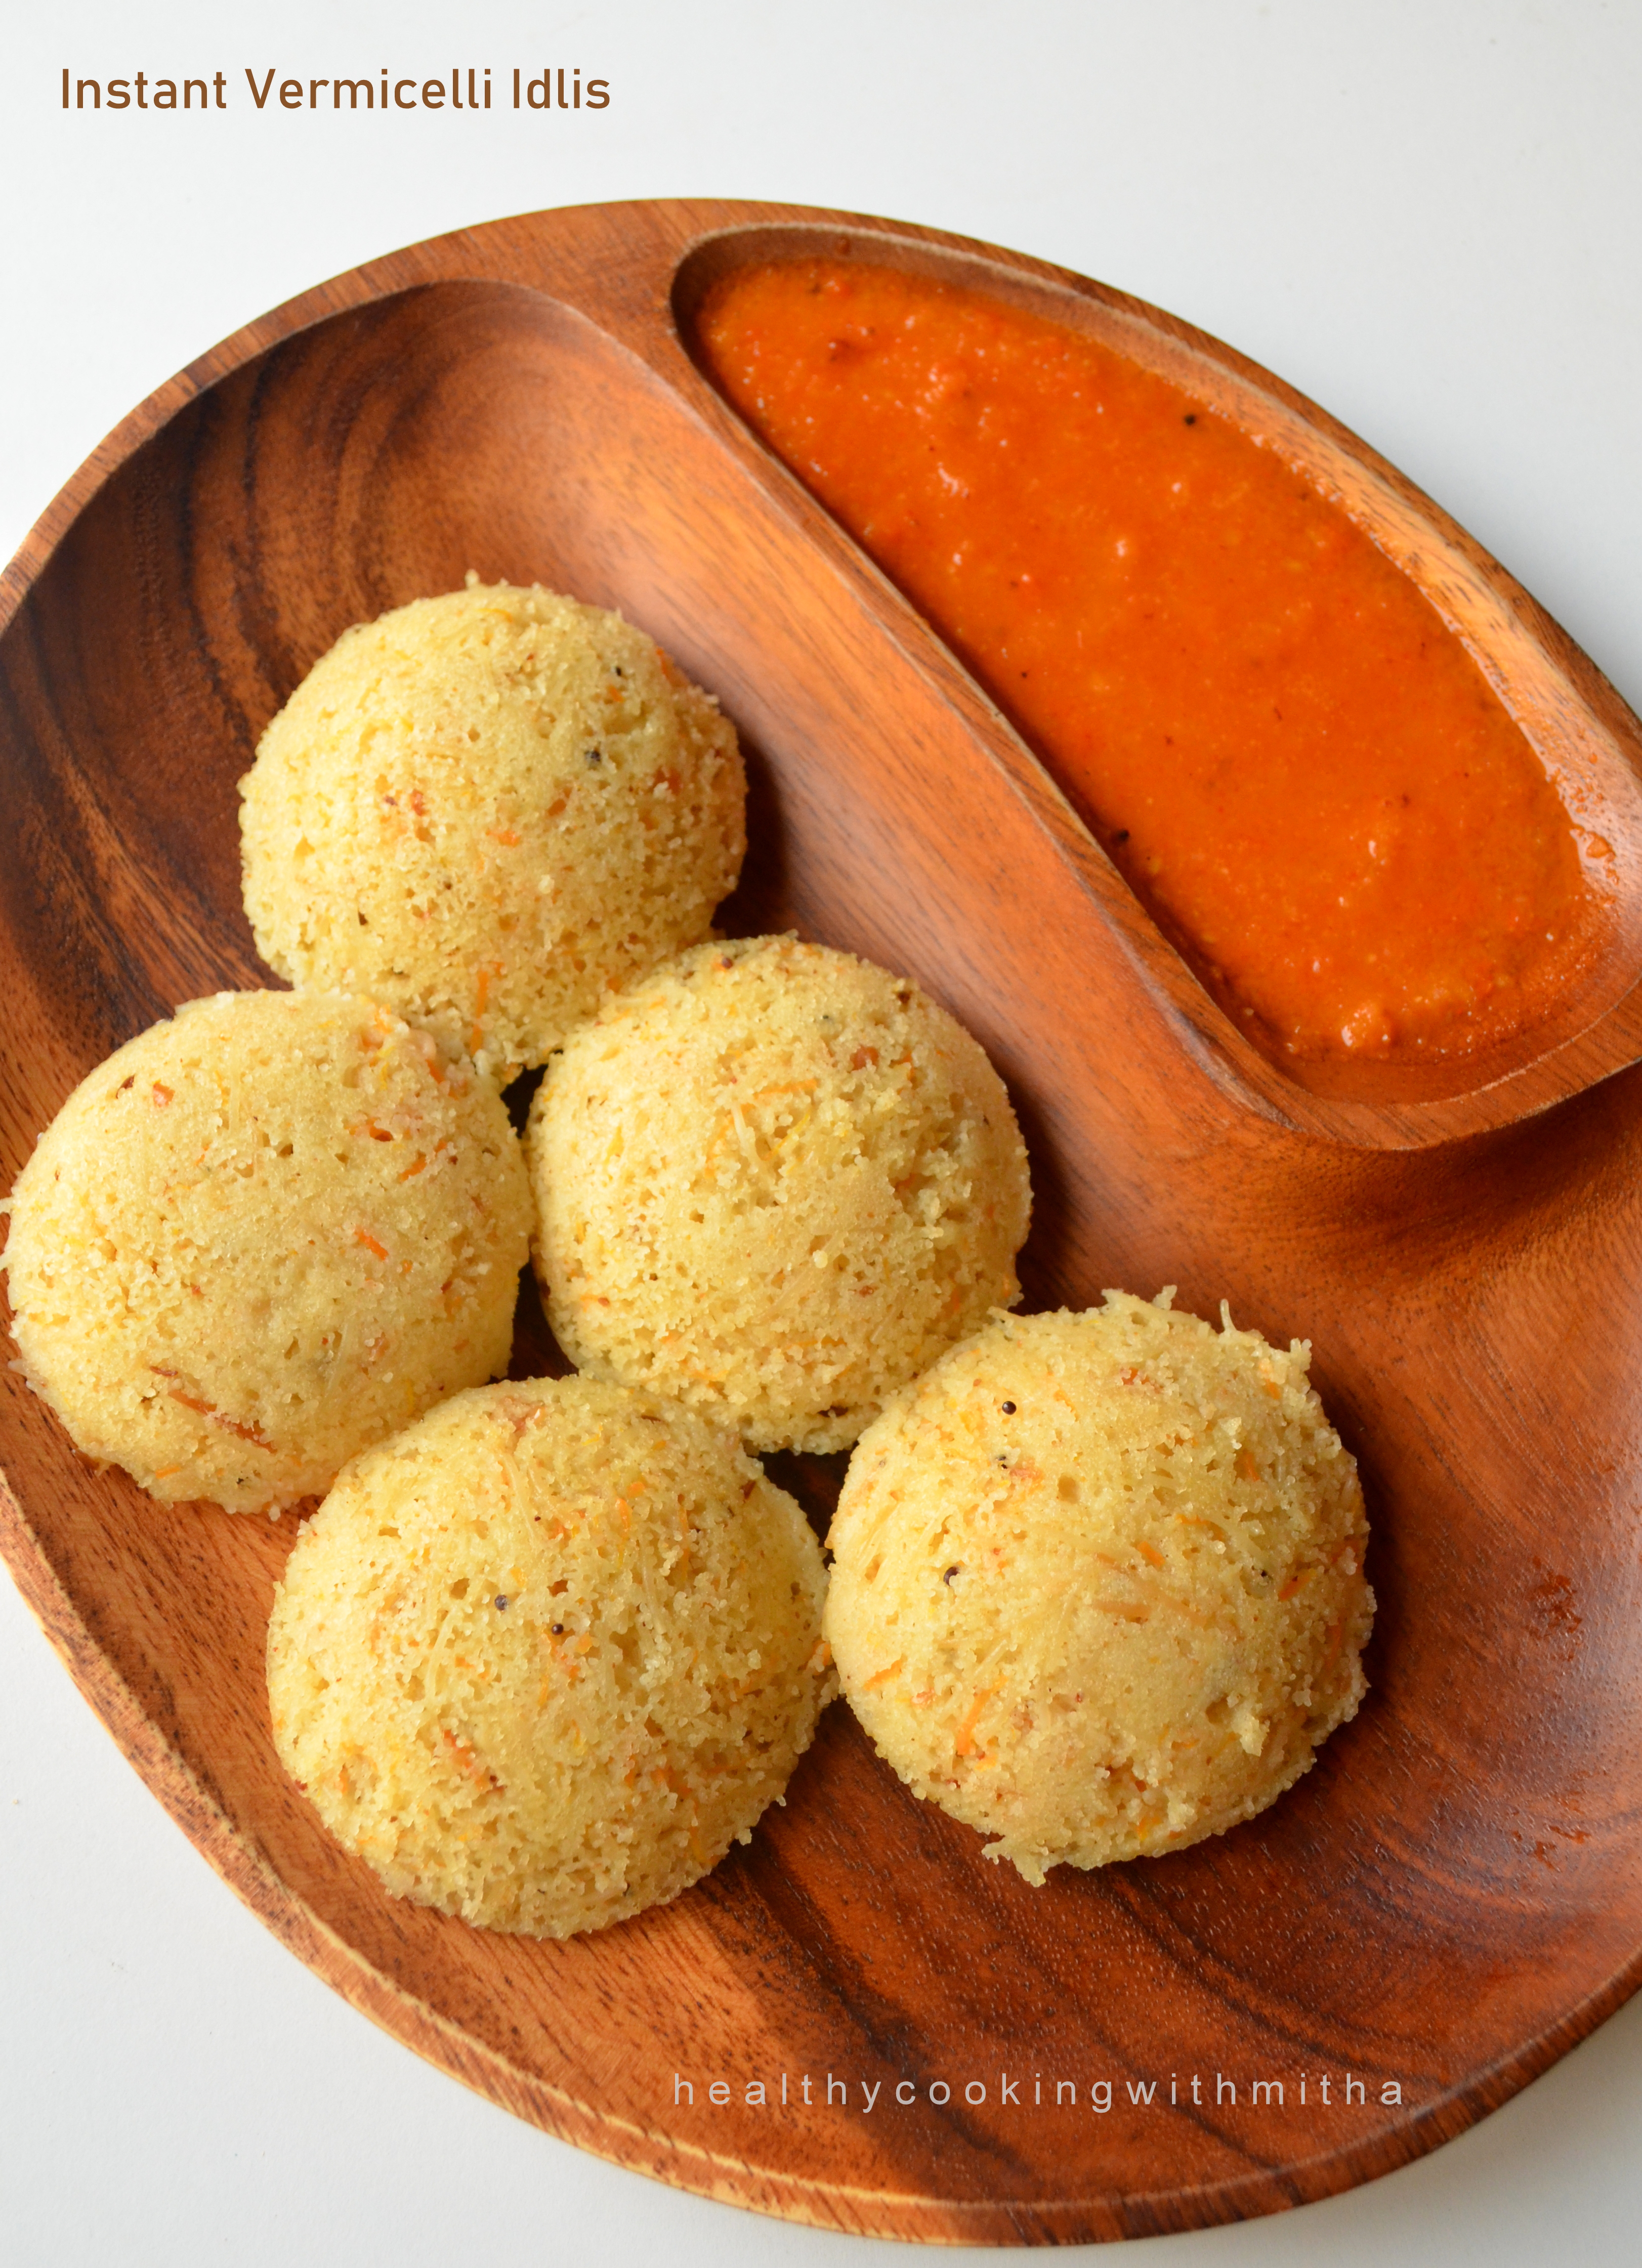
Vermicelli idli was one among the first ones to be tried and loved. So I had to share this here. Its a unique but very tasty idli. Comes out super soft and spongy.
Hope you all try and like it too. Happy and healthy cooking!
RECIPE:
Ingredients:
1 Cup wheat Vermicelli (the regular variety which we use to make upma. Not super thin ones)
1 Cup wheat Semolina/ Rava/ Sooji
1 Cup Yogurt or thick Curd
About 3/4 Cup Water
1/2 Cup grated Carrots
1 tsp Eno fruit salt {*check notes for substitute}
Salt to taste
For seasoning:
2 tsp Oil
1/2 tsp Mustard seeds
1/2 tsp Cumin seeds or Jeera
1/2 tsp split Urad dal
Few broken Cashews
Step by step recipe:
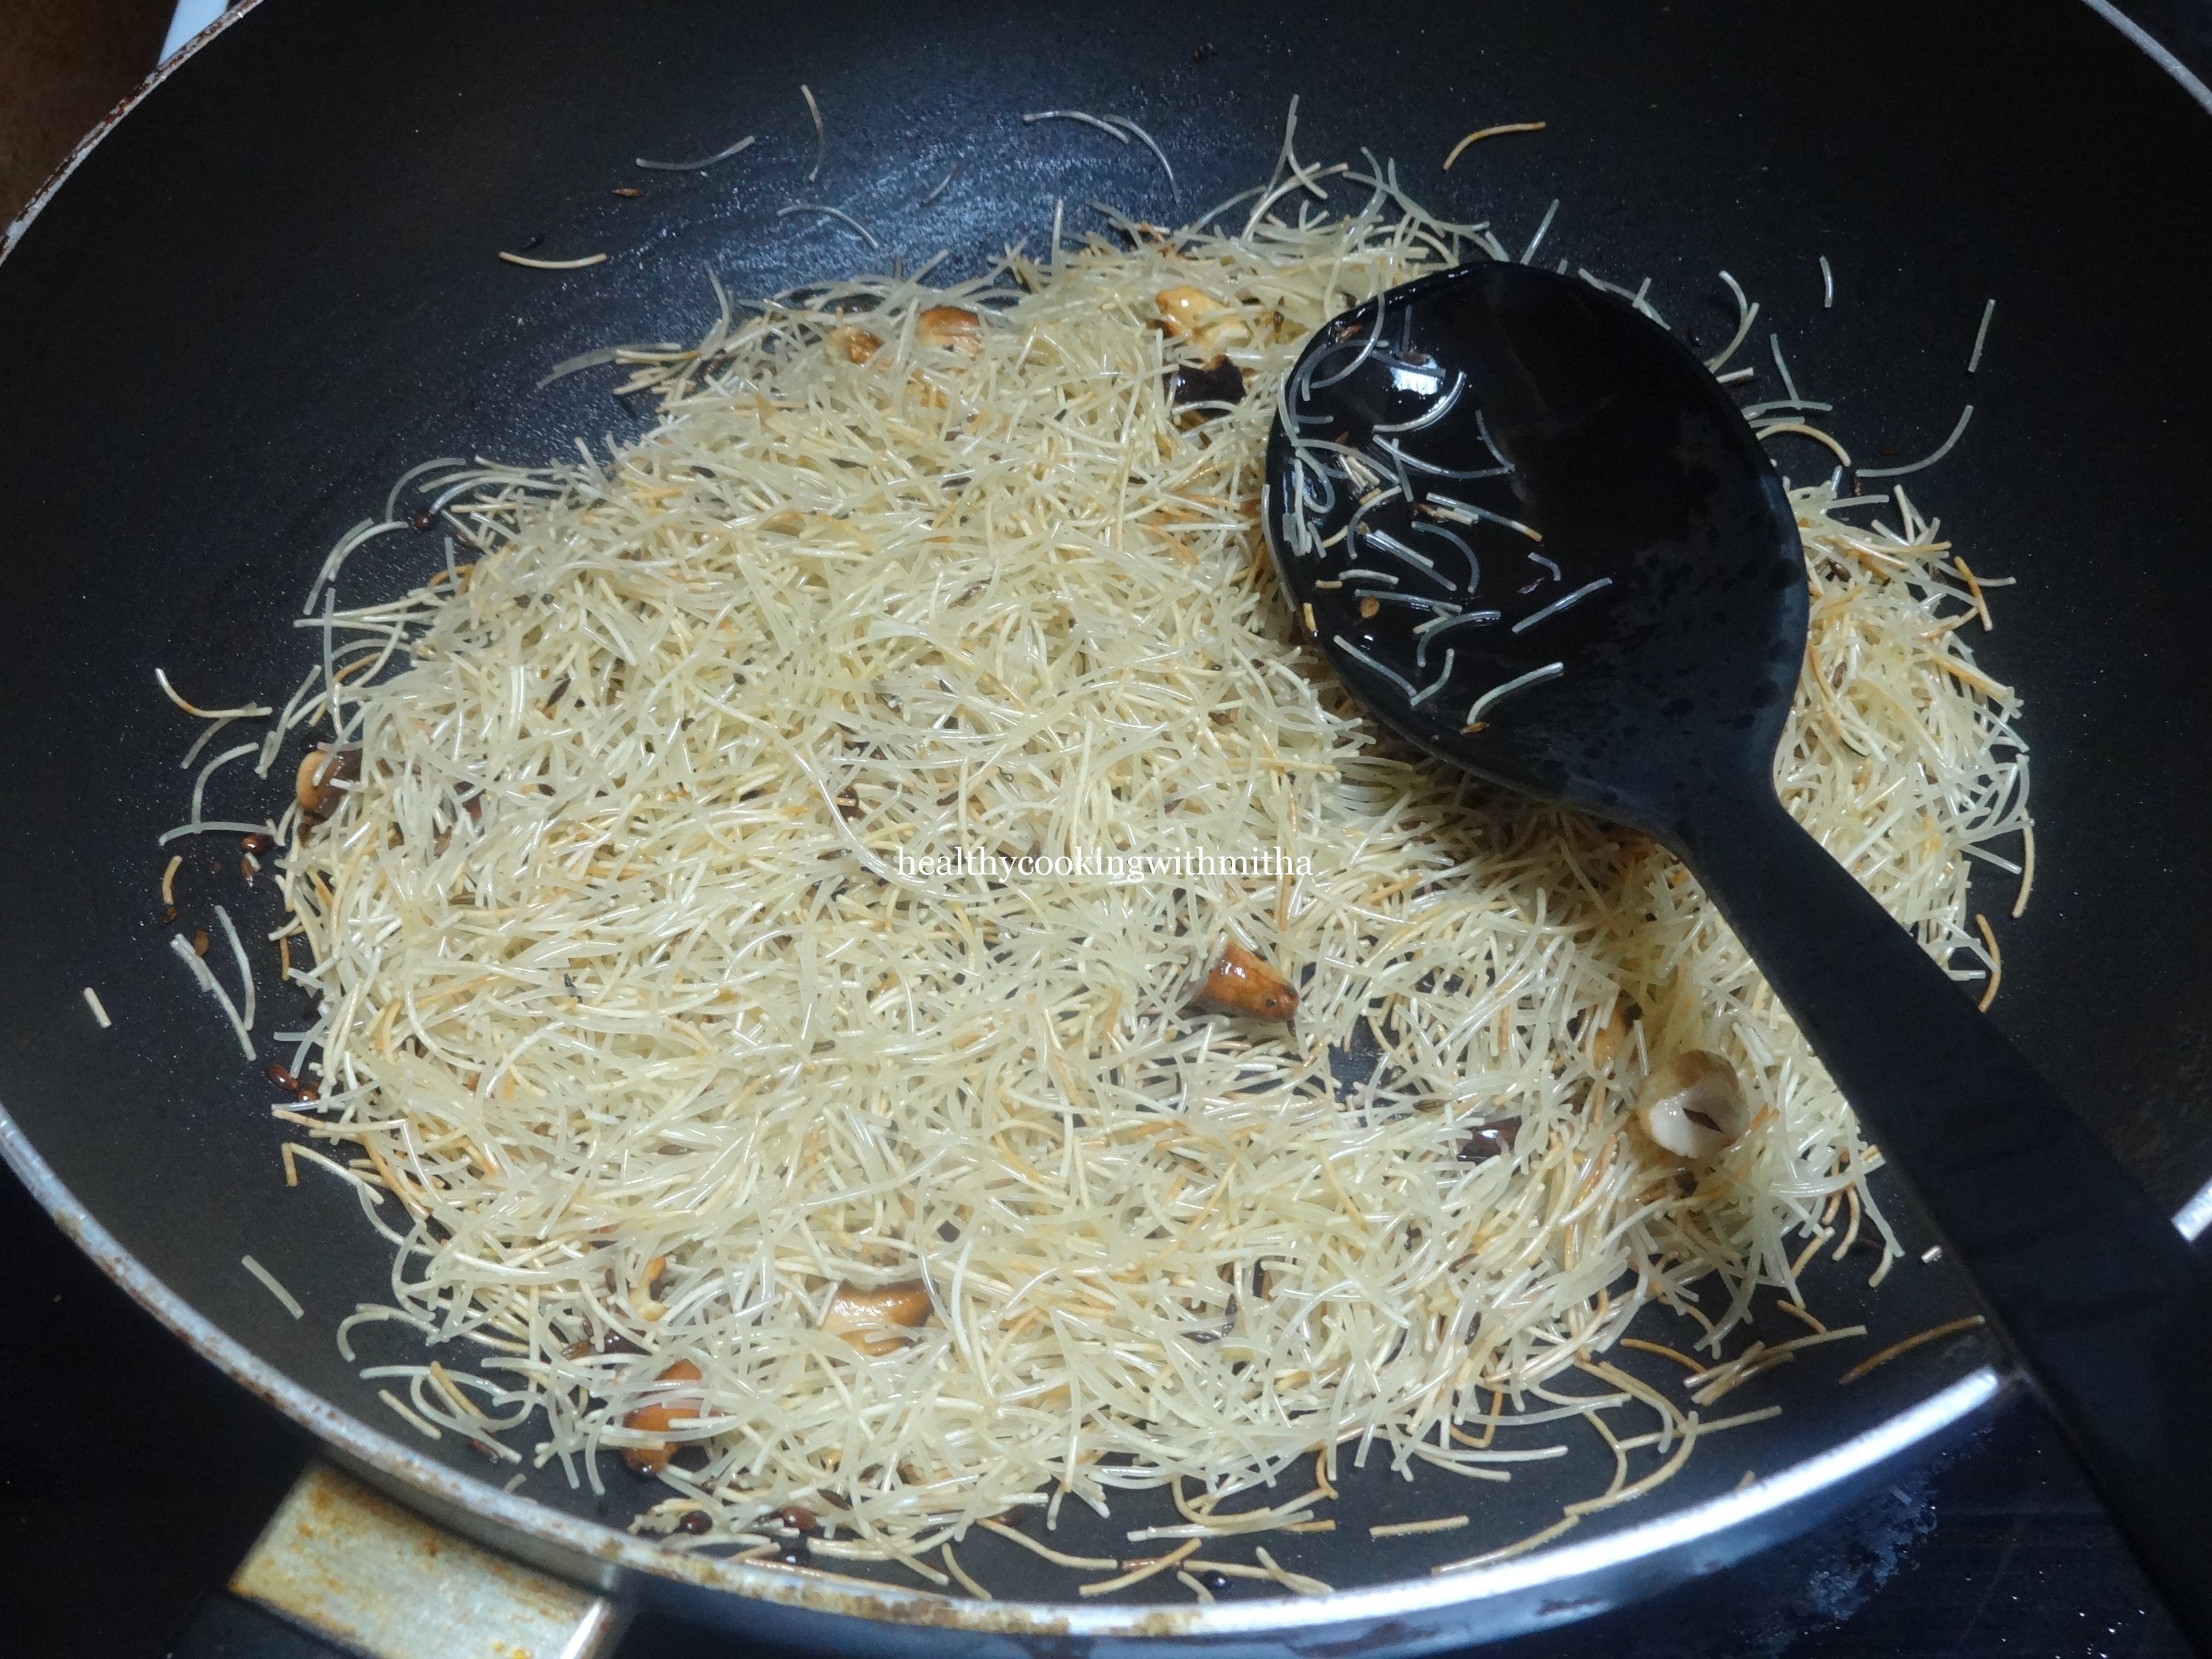
1. Heat oil in a pan and splutter mustard seeds, add Jeera, urad dal and broken cashews. Fry little till cashews turn golden. Then add vermicelli and fry on medium flame till it changes colour and turns brown.
2. Now add rava and fry again till it turns light brown.
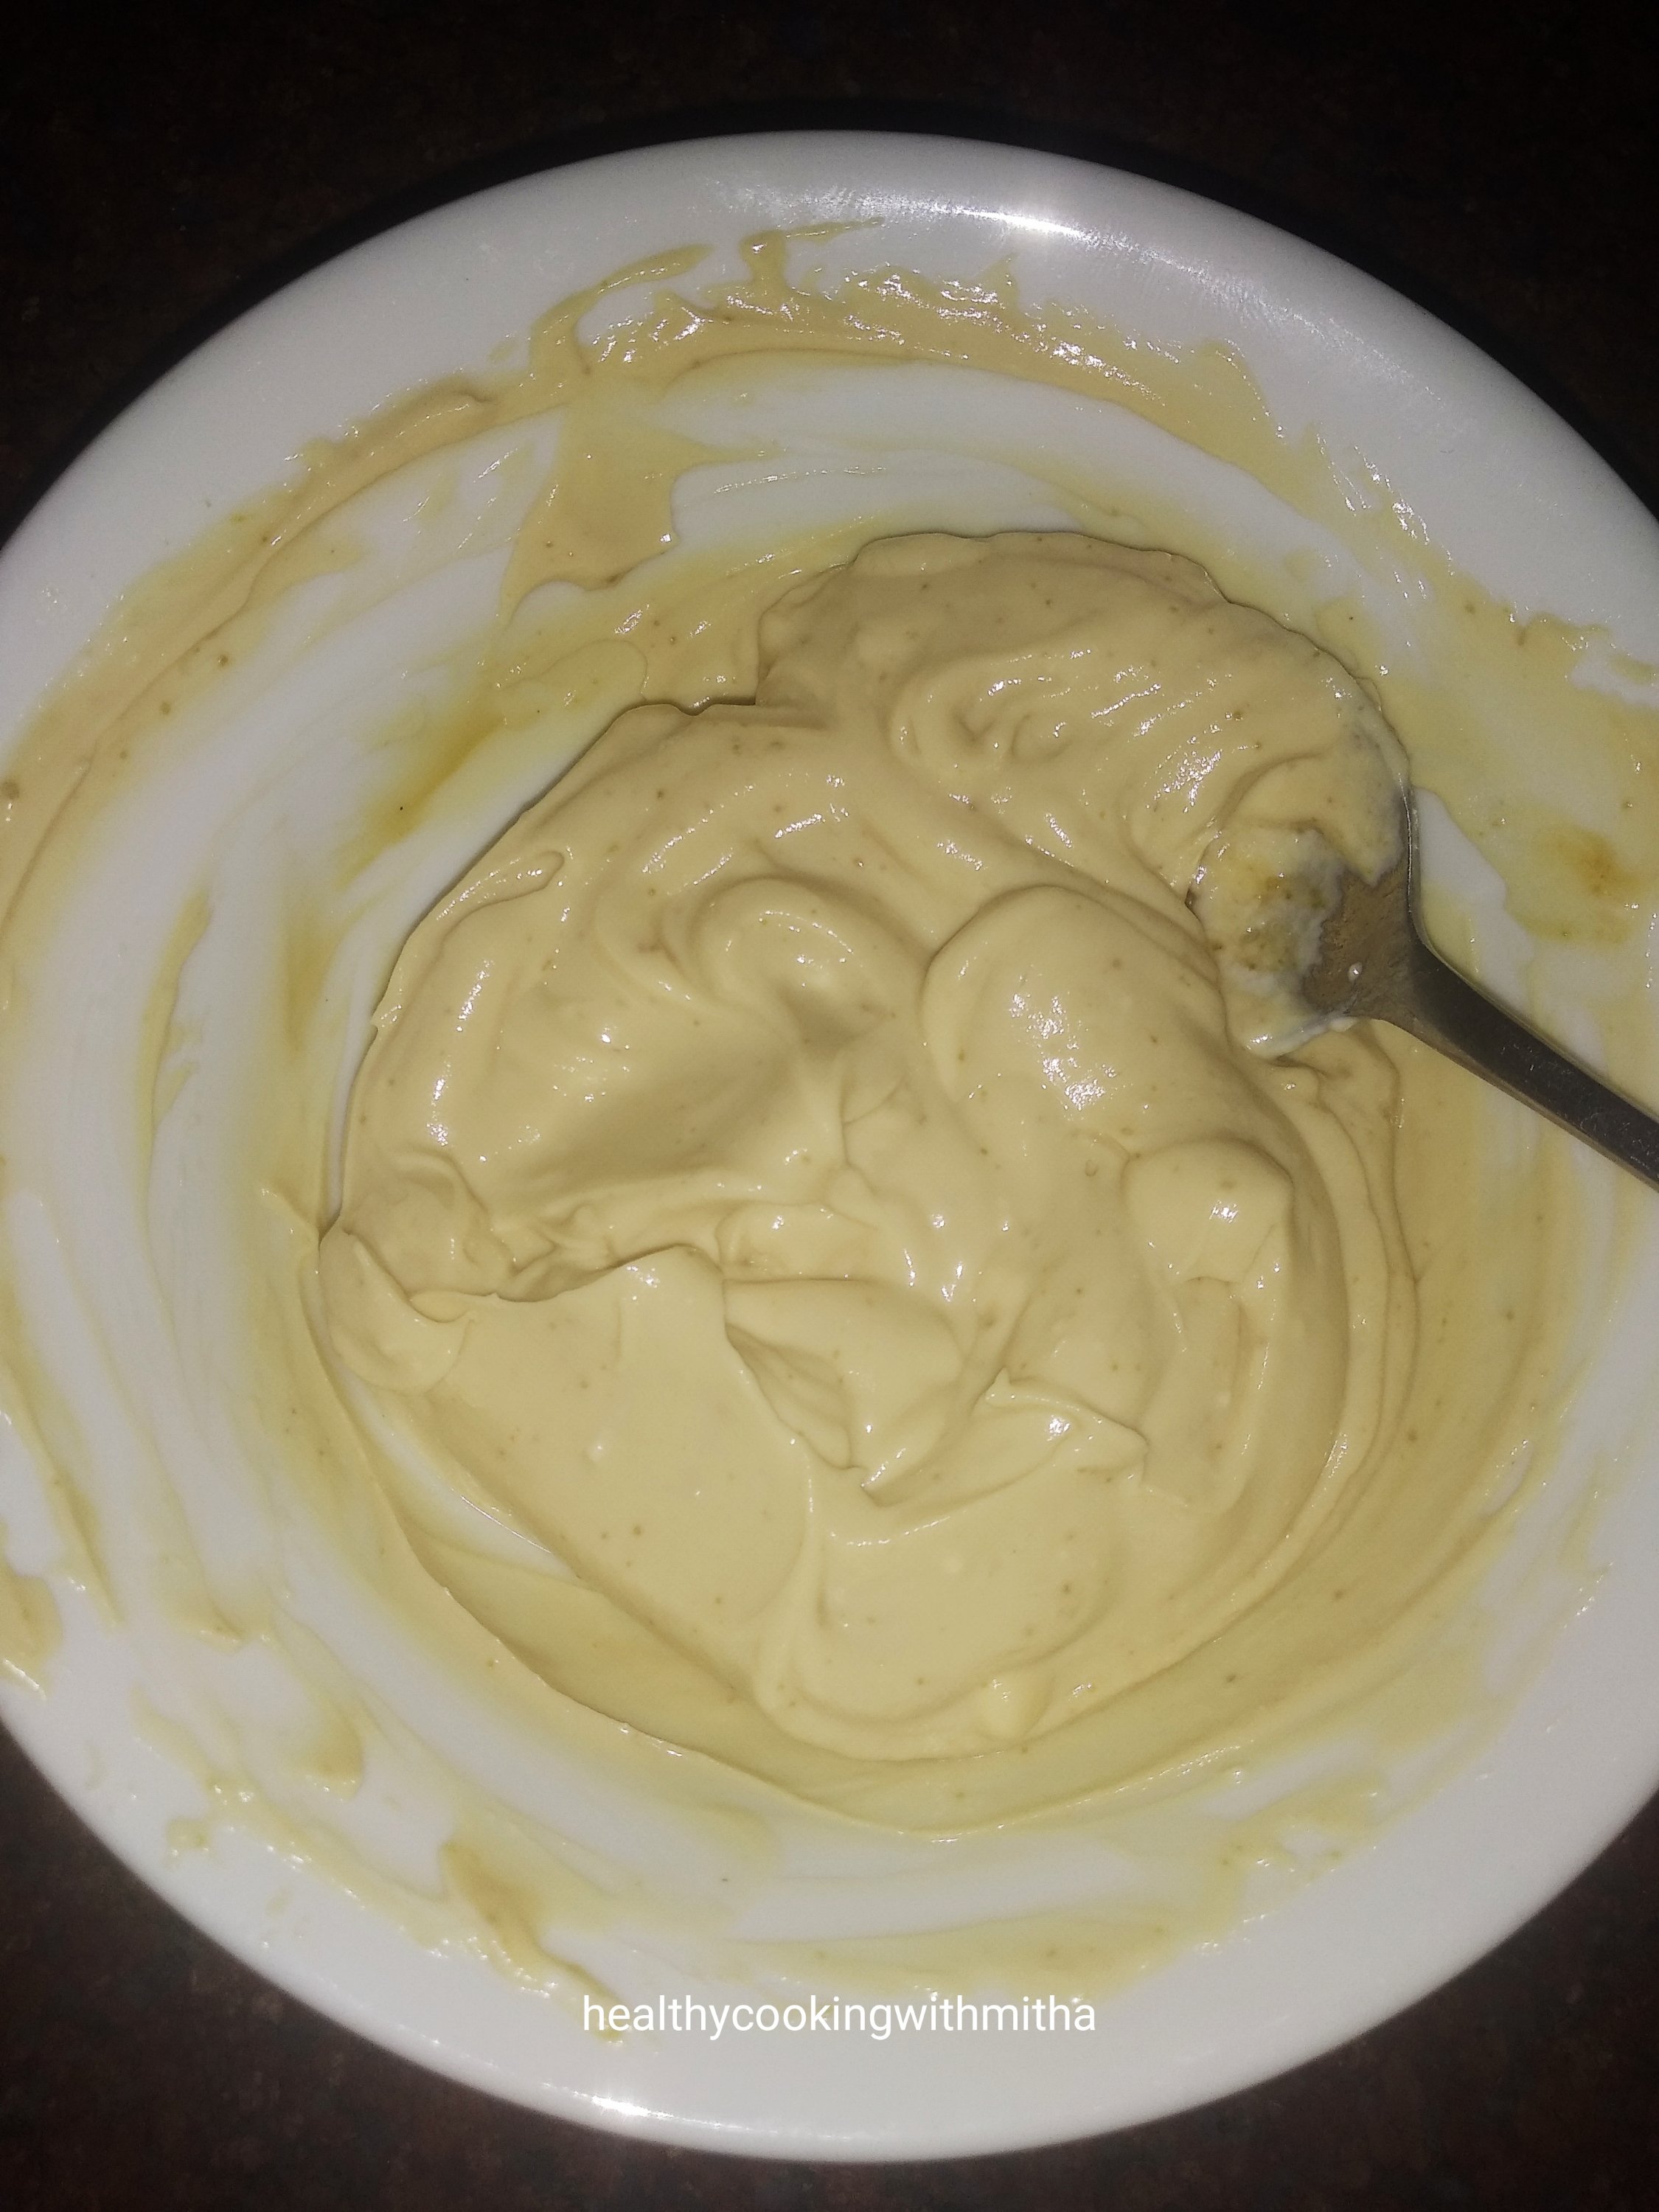
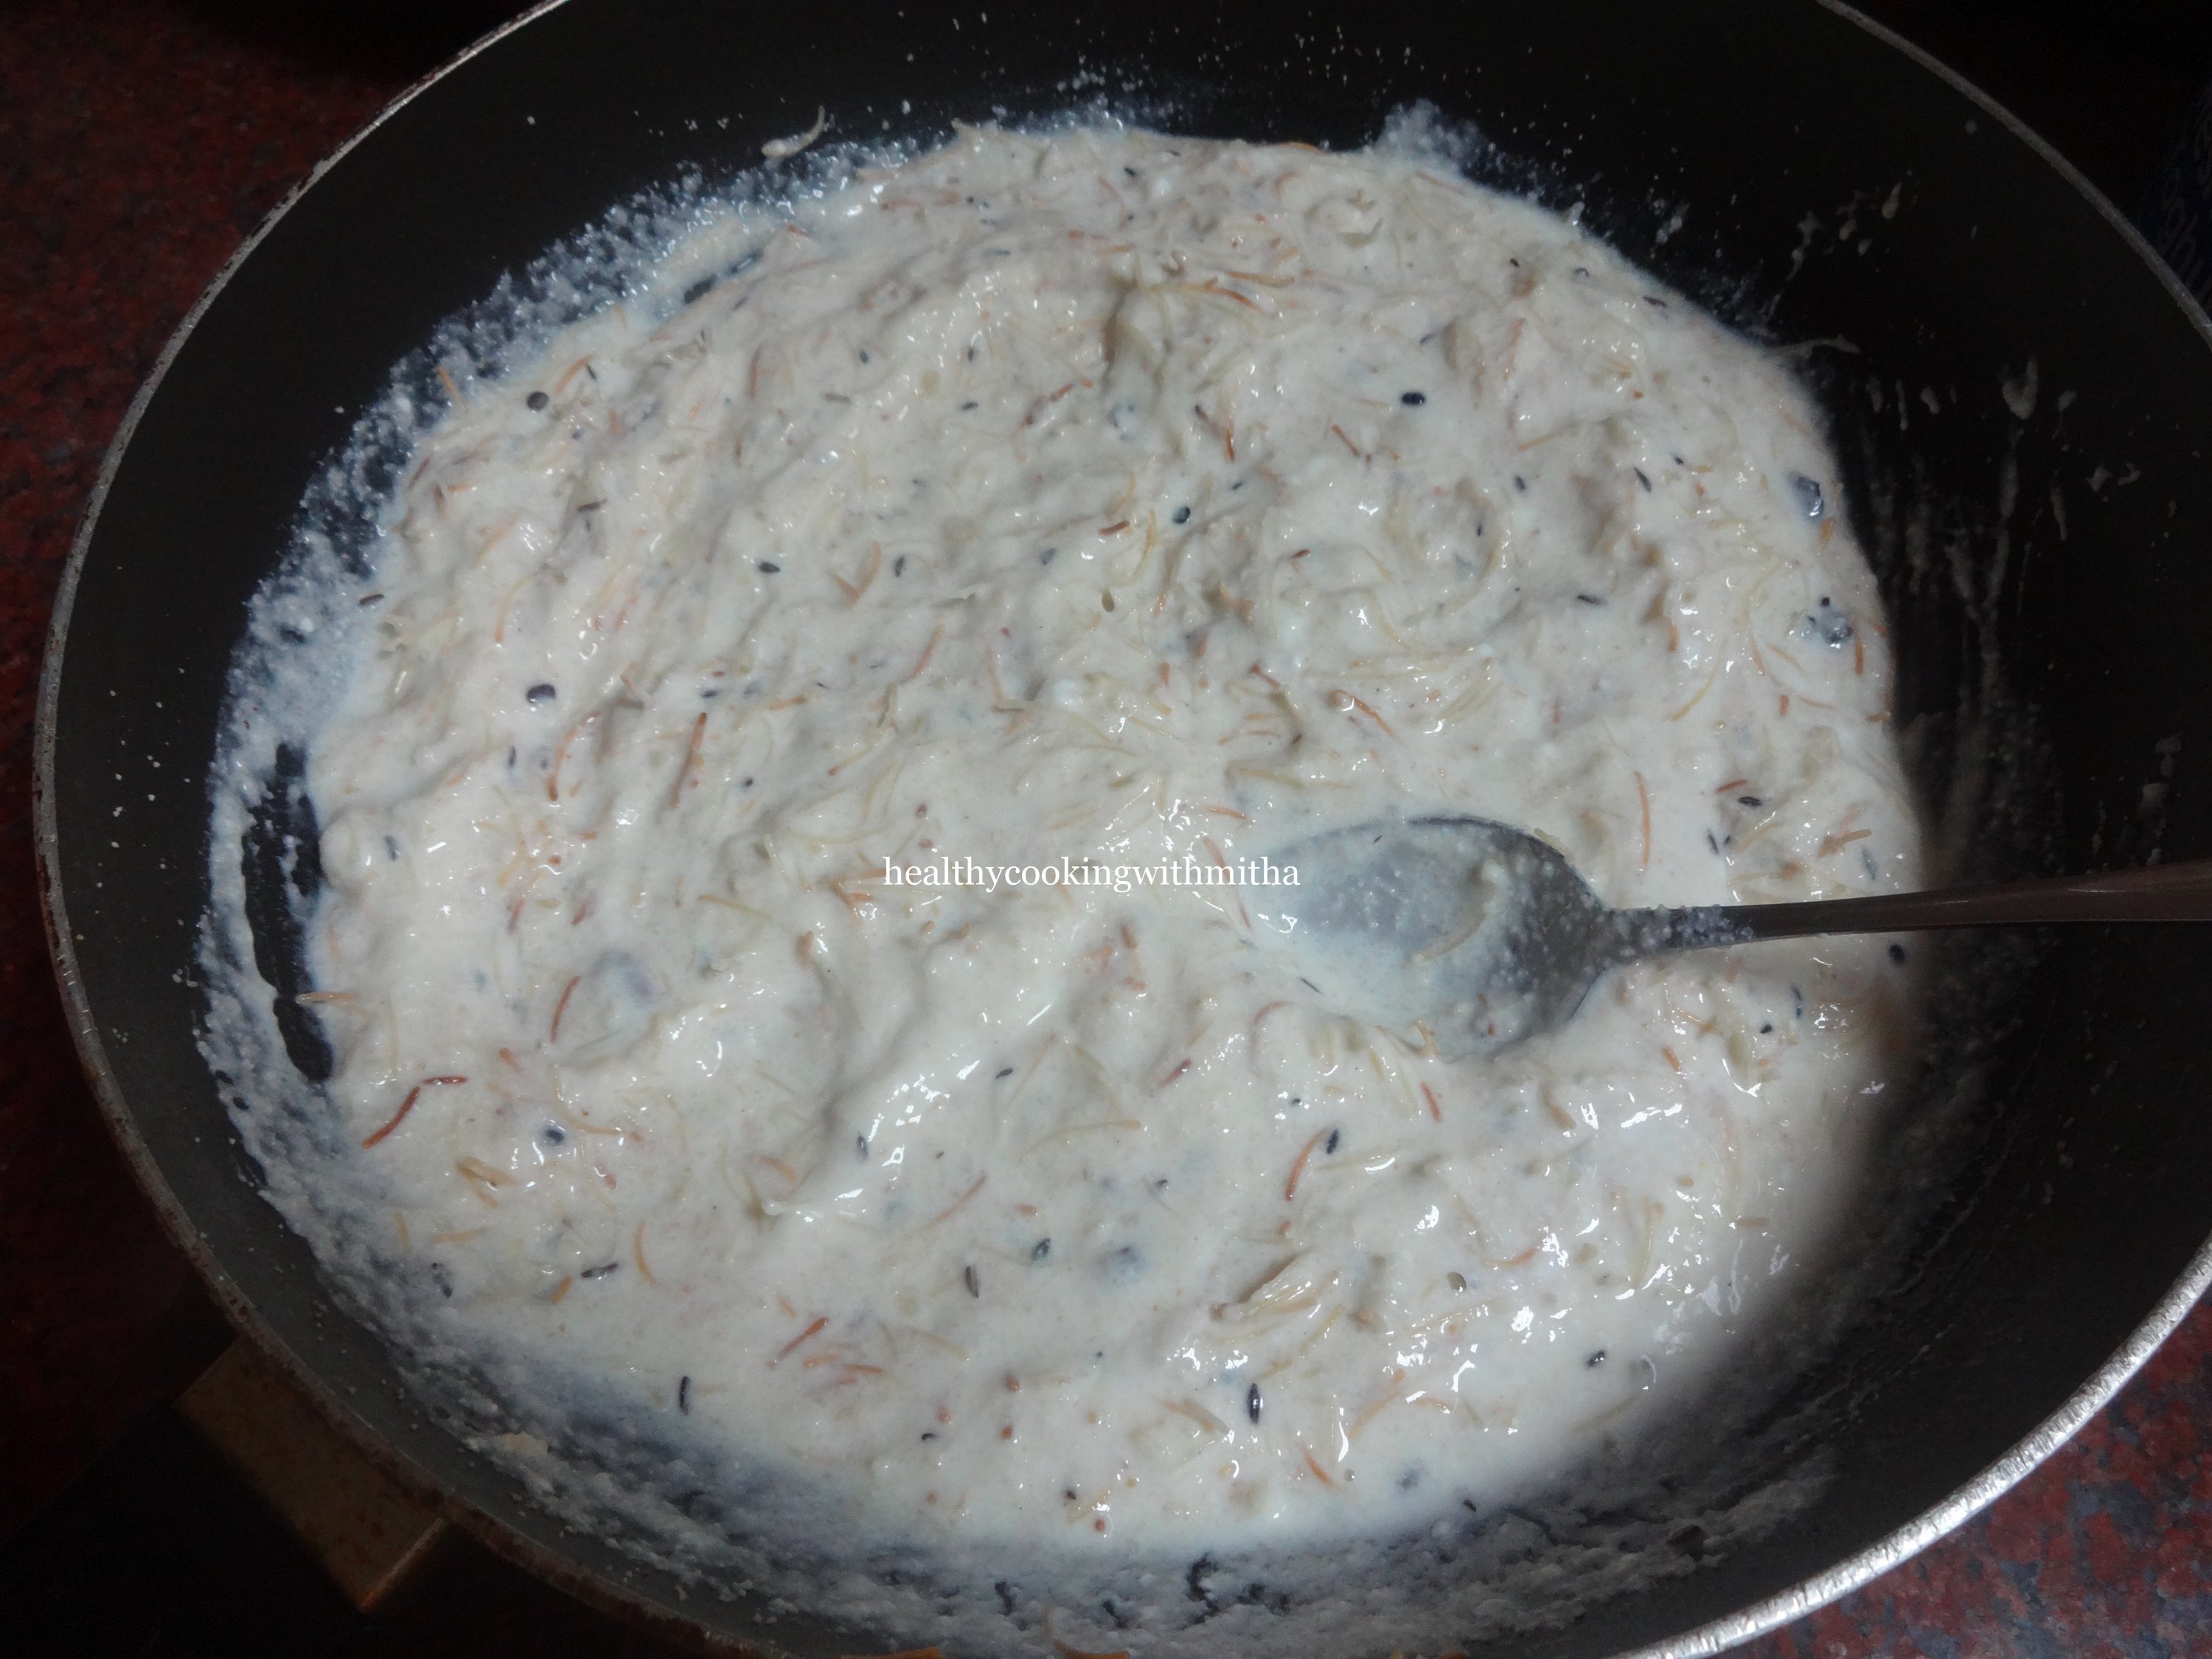
3. Switch off the flame now and allow it to cool down slightly. Add curd and water. Mix well.
4. Now add grated carrots and mix well. Add salt and Eno fruit salt. Mix well.
5. Steam immediately after adding Eno fruit salt. Steam for 20 mins or till done.
The white colour is due to my kitchen lights. These Idlis get a golden hue due to vermicelli and carrots.
6. Remove and serve with a chutney of your choice. I have served it with my Amma’s tomato chutney.
Notes:
* 1 tsp Eno fruit salt can be substituted with 1/2 tsp Baking soda and 1/2 tsp Lemon juice.
* Steam immediately after adding Eno fruit salt.
* You can also make regular Instant Rava Idlis if you don’t have vermicelli.
* Grated carrots are optional but give a good bite and also increases the nutritional value.
* For 1 Cup Vermicelli and 1 Cup Rava, 1 Cup curds plus 3/4 Cup water gave perfect texture of the batter which is slightly thick. The amount of water depends upon the curd. Start with 1/2 Cup water and add more only if necessary. Don’t make the batter thin.
Click on the image to save the recipe on Pinterest
I am sure if you are checking this recipe, it must be either due to the amazement of the unique name “Vastad rotti” or have savoured this delicious snack made by your grandmother and just wish to recreate it in your kitchen.
Anyhow for all of you, Vastad rotti is nothing but tava fried version of the famous Mangalore Buns. My grandmother made these rottis as evening snack when she did not want to deep fry the leftover buns dough again. They tasted so delicious that I loved it more than buns itself.
After marriage, when I tried it for the first time, my husband did not know about it but to my amazement, he too loved it very much. So now whenever there are leftover bananas, he asks me make these rottis. In fact, sometimes he brings bananas only for this. Such is the love for these cute small Vastad rottis. π
Hope you all try and love it too. Happy and healthy cooking! β₯οΈ
RECIPE:
Ingredients:
3 Cups Wheat flour (or as required)
1 Cup mashed bananas
1/2 Cup Curd or Yogurt
1/4 Cup Powdered Jaggery or Sugar
2 Tbsp Besan/ chickpea flour
1 tsp Cumin seeds/ Jeera
A pinch of pepper powder
Salt to taste
1/2 tsp Baking soda (optional)* check notes
Step by step recipe:
1. Take mashed bananas in a large bowl. Add besan, jaggery or sugar, cumin seeds, pepper powder, salt and baking soda ( if adding).
This is an old picture. I add powdered jaggery now.
2. Add curd and mix well using a spatula.
3. Now slowly add wheat flour 1 Cup at a time and keep mixing till it forms a dough. Knead with hands lightly.
4. Coat the dough with oil and cover and keep overnight or for 6 to 8 hoursto ferment at room temperature in a warm place.
5. When making vastad rottis, make equal portions of the dough.
6. Roll like you roll out puri into a thick circle. Use dry flour if needed.
7. Heat a tawa and place the rolled roti on it. Look at it puff up and form tiny bubbles on the surface.
8. Add ghee. Flip and cook the other side too.
9. Serve hot with chutney or dalitoy ( Konkani style dal).
Notes:
* Actually the measurements of this recipe can vary a lot depending on the variety of bananas, water content in curd and quality of wheat flour. So please go with the step by step recipe and follow accordingly.
* You can also make with leftover bananas even if you have only couple of them. Not necessarily 1 Cup mashed bananas are required.
* Add curd along with other ingredients and see how much wheat flour is needed to get it to form a dough.
* Please do not add water while forming this dough. The moisture should come only from bananas and curd.
* I skip baking soda sometimes and even though there is a difference in texture, taste is almost the same. With baking soda, the texture is flaky like a paratha and without it, the texture is like a thick chapati.
* After fermentation of the dough, the dough might leave water and turn very sticky. Just add more wheat flour and form a manageable dough.
* Roll the dough into a thick circle and cook well on medium flame. On high flame, the rotis can turn black due to the presence of bananas in it.
* You can use powdered jaggery or sugar in the dough. Does not make much difference.