Baking is therapy for me. I love how the ingredients mix in together to create something so delicious and the aroma which fills the house is magical. I have been baking different varieties of cakes now using wheat flour and jaggery. My daughter loves it more than the refined flour based cakes. There is a richness in wheat flour cakes which makes it more tastier and of course healthier.
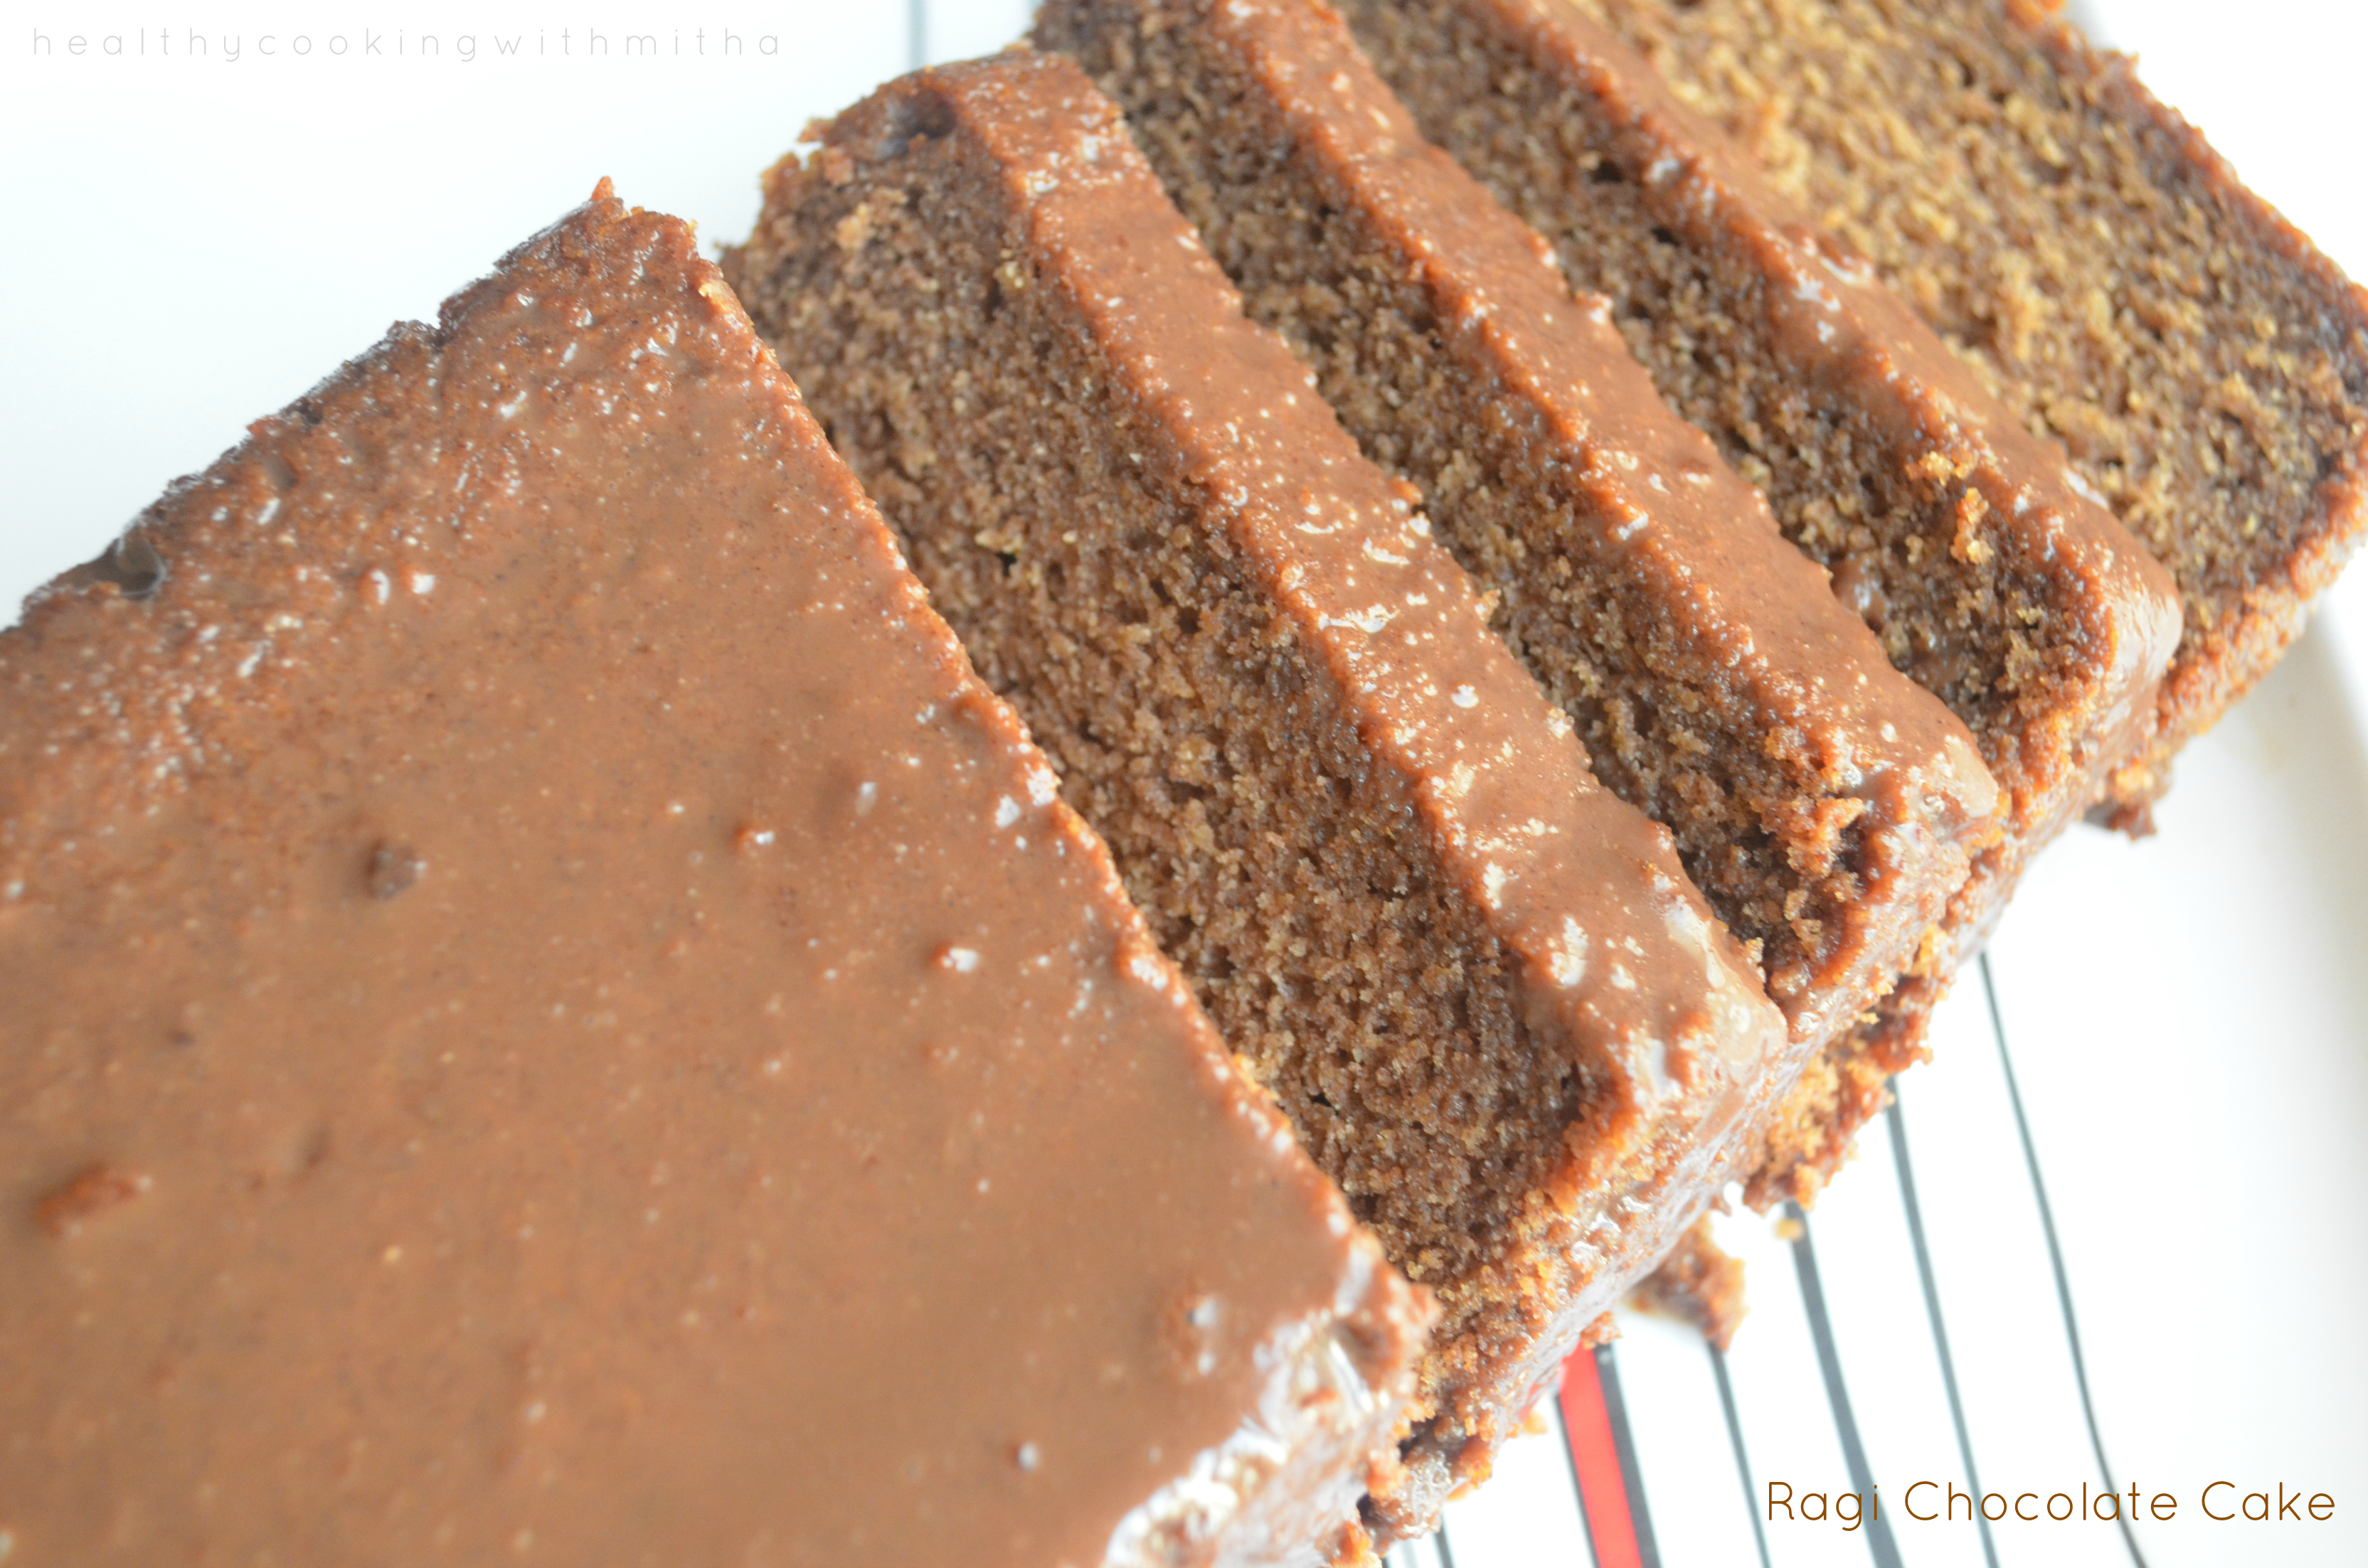
Ragi Chocolate cake was an amazing find of a recipe as it uses another healthy ingredient but is quite hidden in the cake. You could never say it has ragi in it. Even when I made it the first time, my little girl had loved it so much.

The simple frosting of chocolate sauce takes this cake to another level. We are a huge fan of this cake and it’s my pleasure to share it with all of you. Happy and healthy cooking.
RECIPE:
Adapted from here.
Ingredients:
Dry Ingredients:
3/4 Cup Ragi flour/ finger millet powder/ Nachni atta
3/4 Cup Whole wheat flour/ Atta
2 Tbsps Cocoa powder
1 tsp Baking powder
1/2 tsp Baking soda
Wet Ingredients:
150 grams (2/3 Cup) Butter (salted or unsalted can be used)
80 ml (1/3 Cup) Yogurt/ thick curd/ Dahi
3/4 Cup Milk
1 Cup powdered Jaggery/ cane sugar
1 Tbsp Vanilla extract
For the frosting:
1 Cup Milk
1/4 Cup Sugar
2 Tbsp Cocoa powder
1 tsp Vanilla extract
Step by Step recipe:
1. Preheat the oven at 180 C for 15 mins. Keep the heating rack as the center one if using a conventional oven like me.
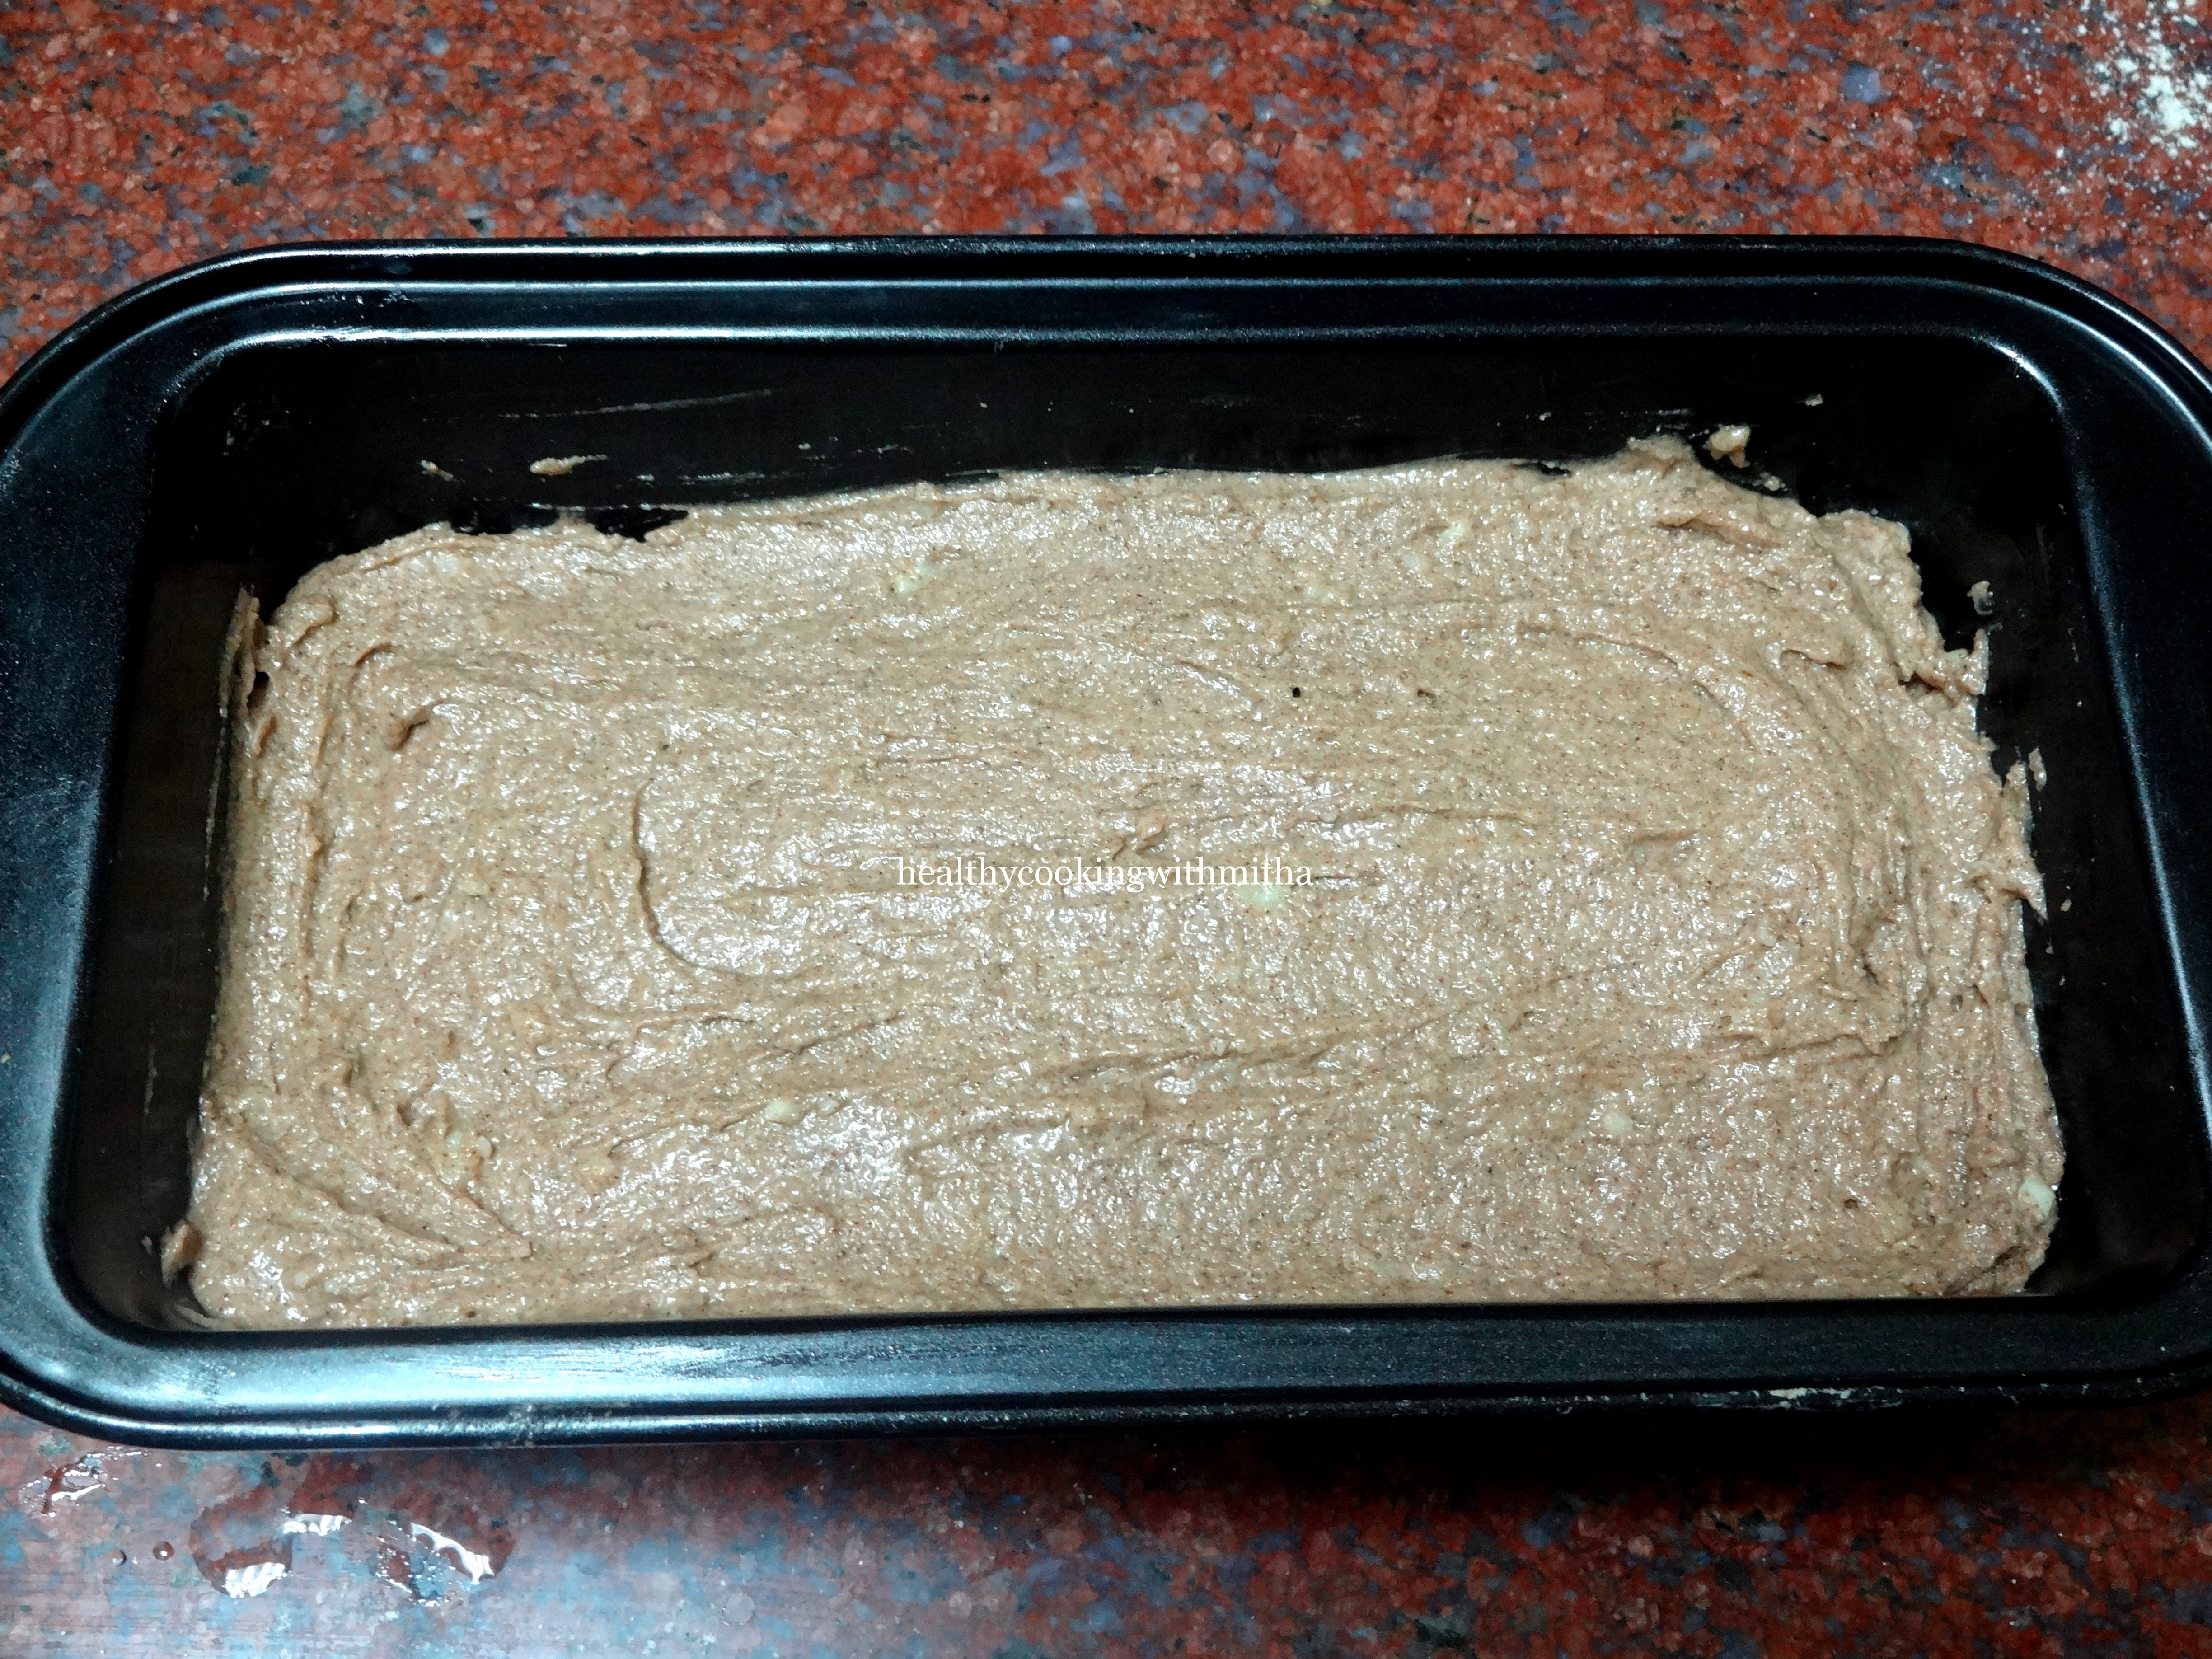
2. Keep the baking tin ready by lining with parchment paper or applying butter inside so that the cake does not stick to the pan.
3. Sift all the dry ingredients using a sieve to ensure all the powders are lump free and mix uniformly.


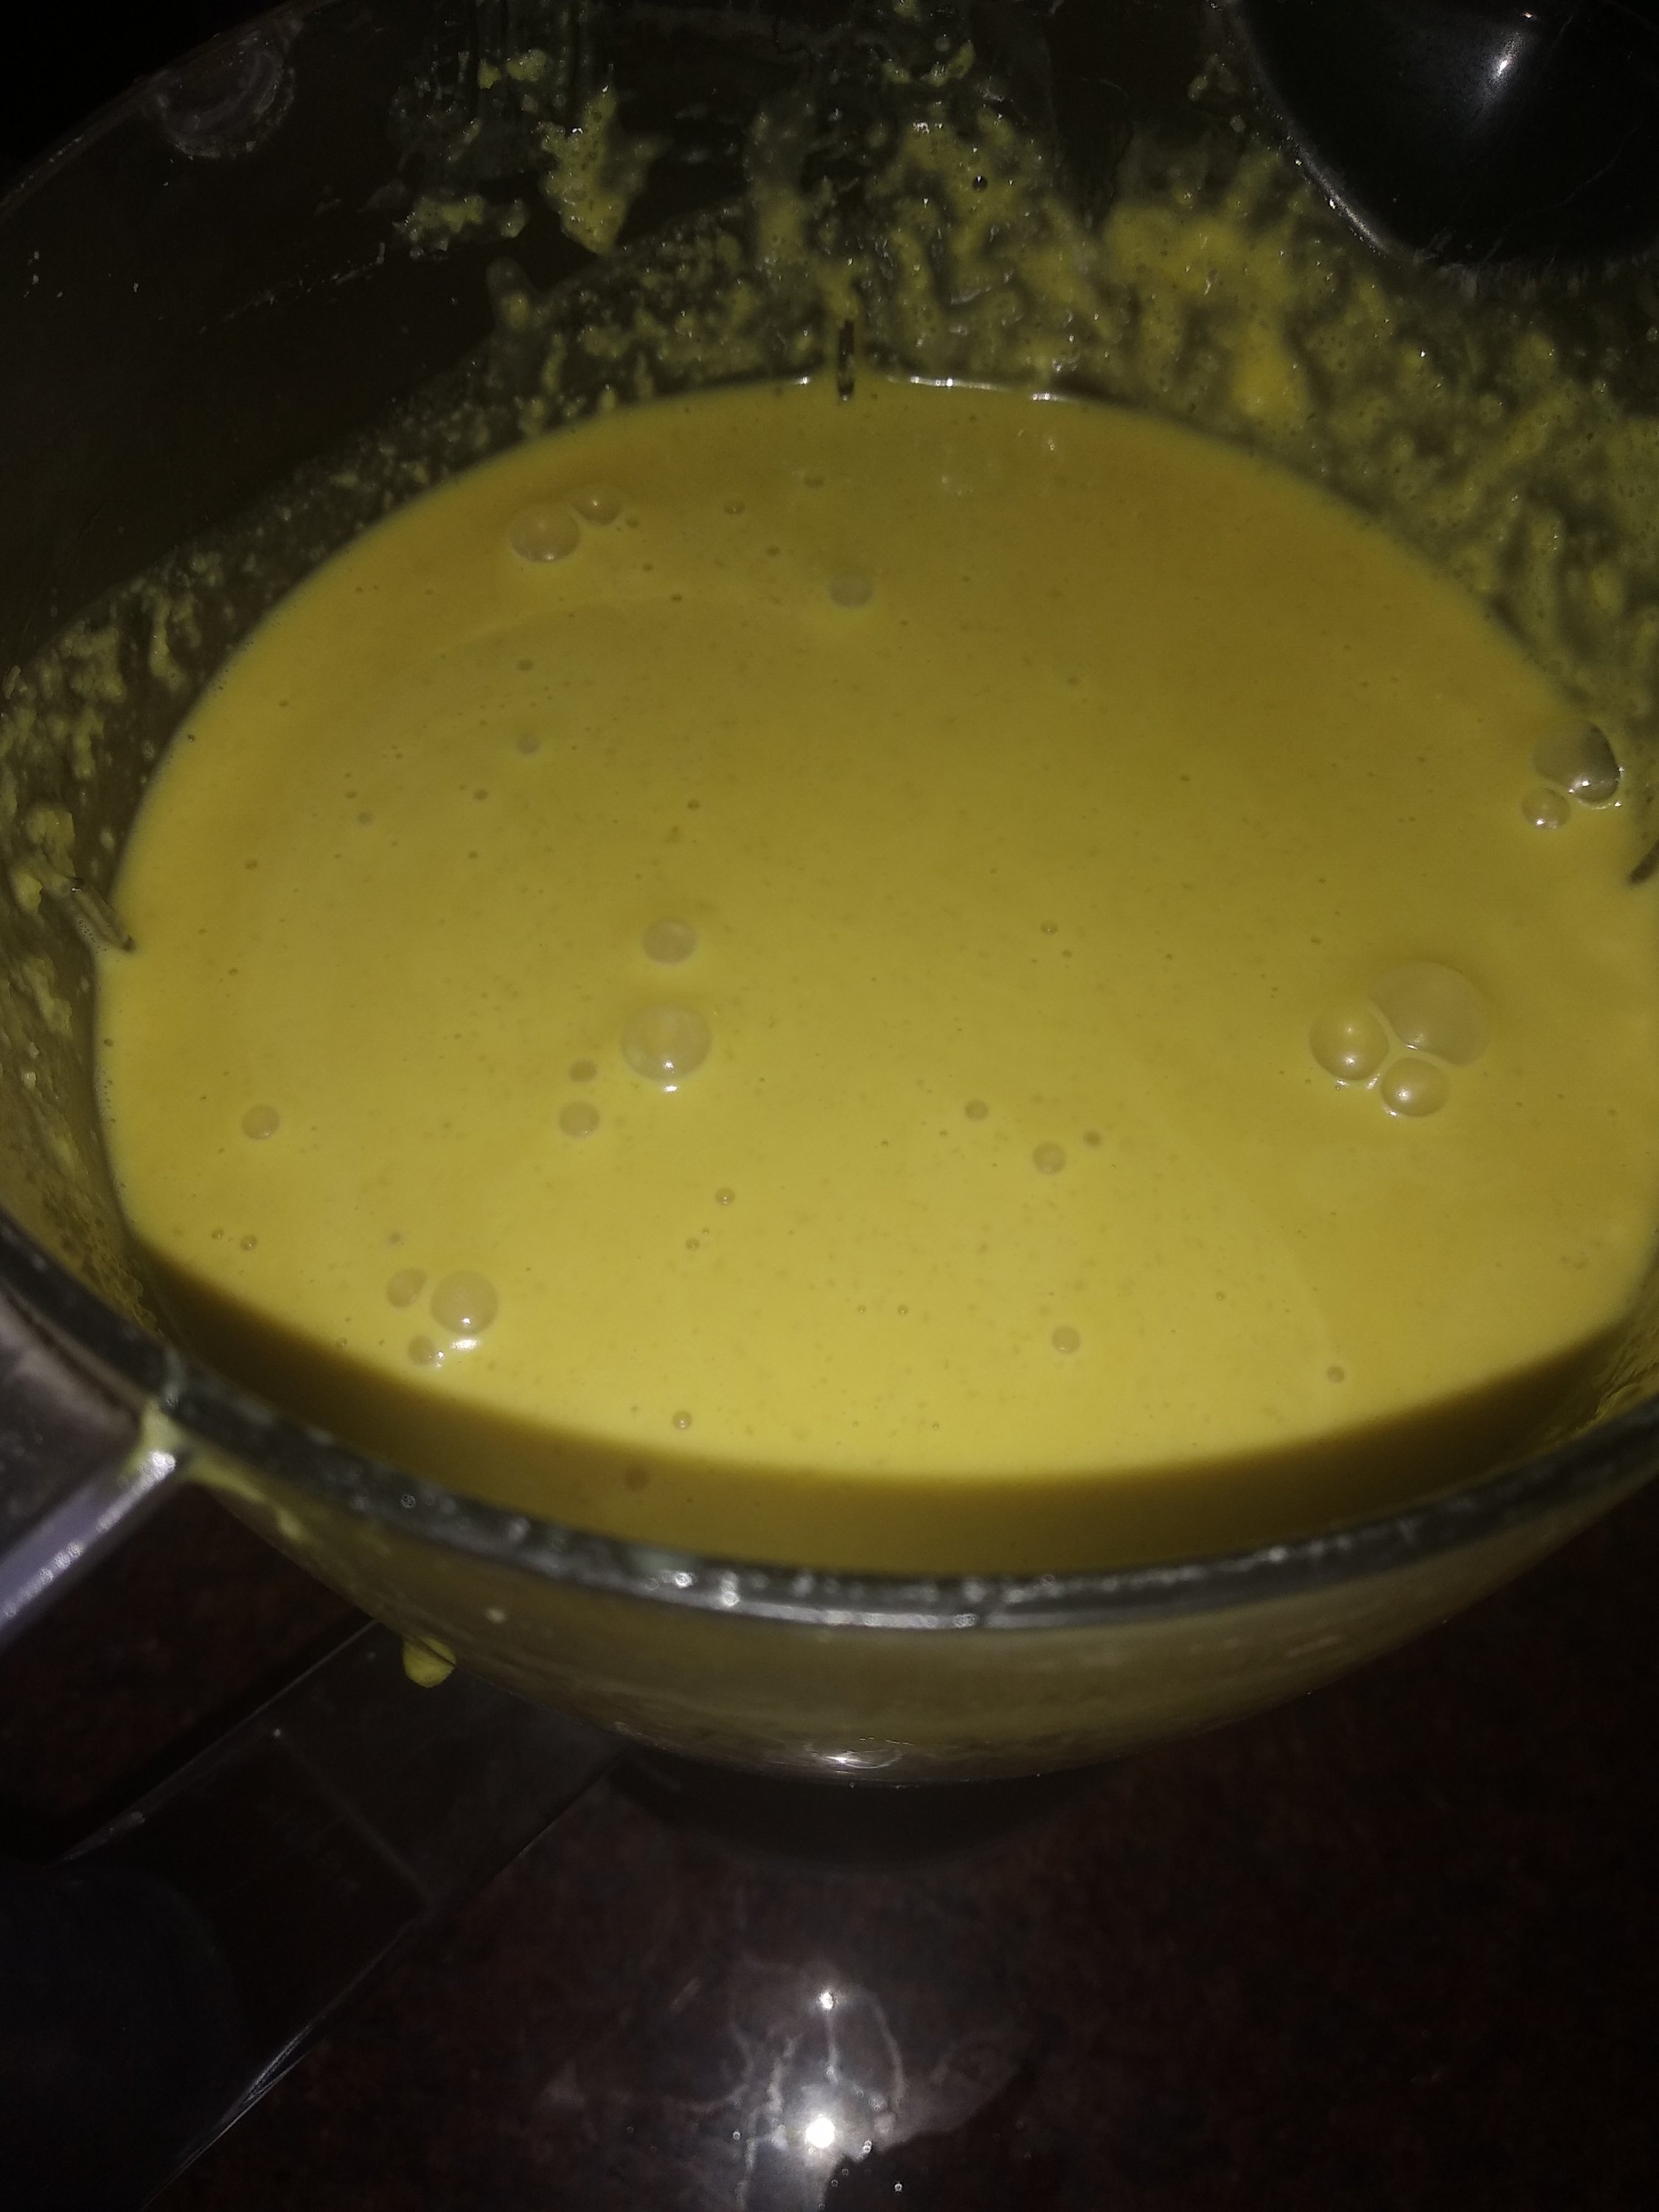
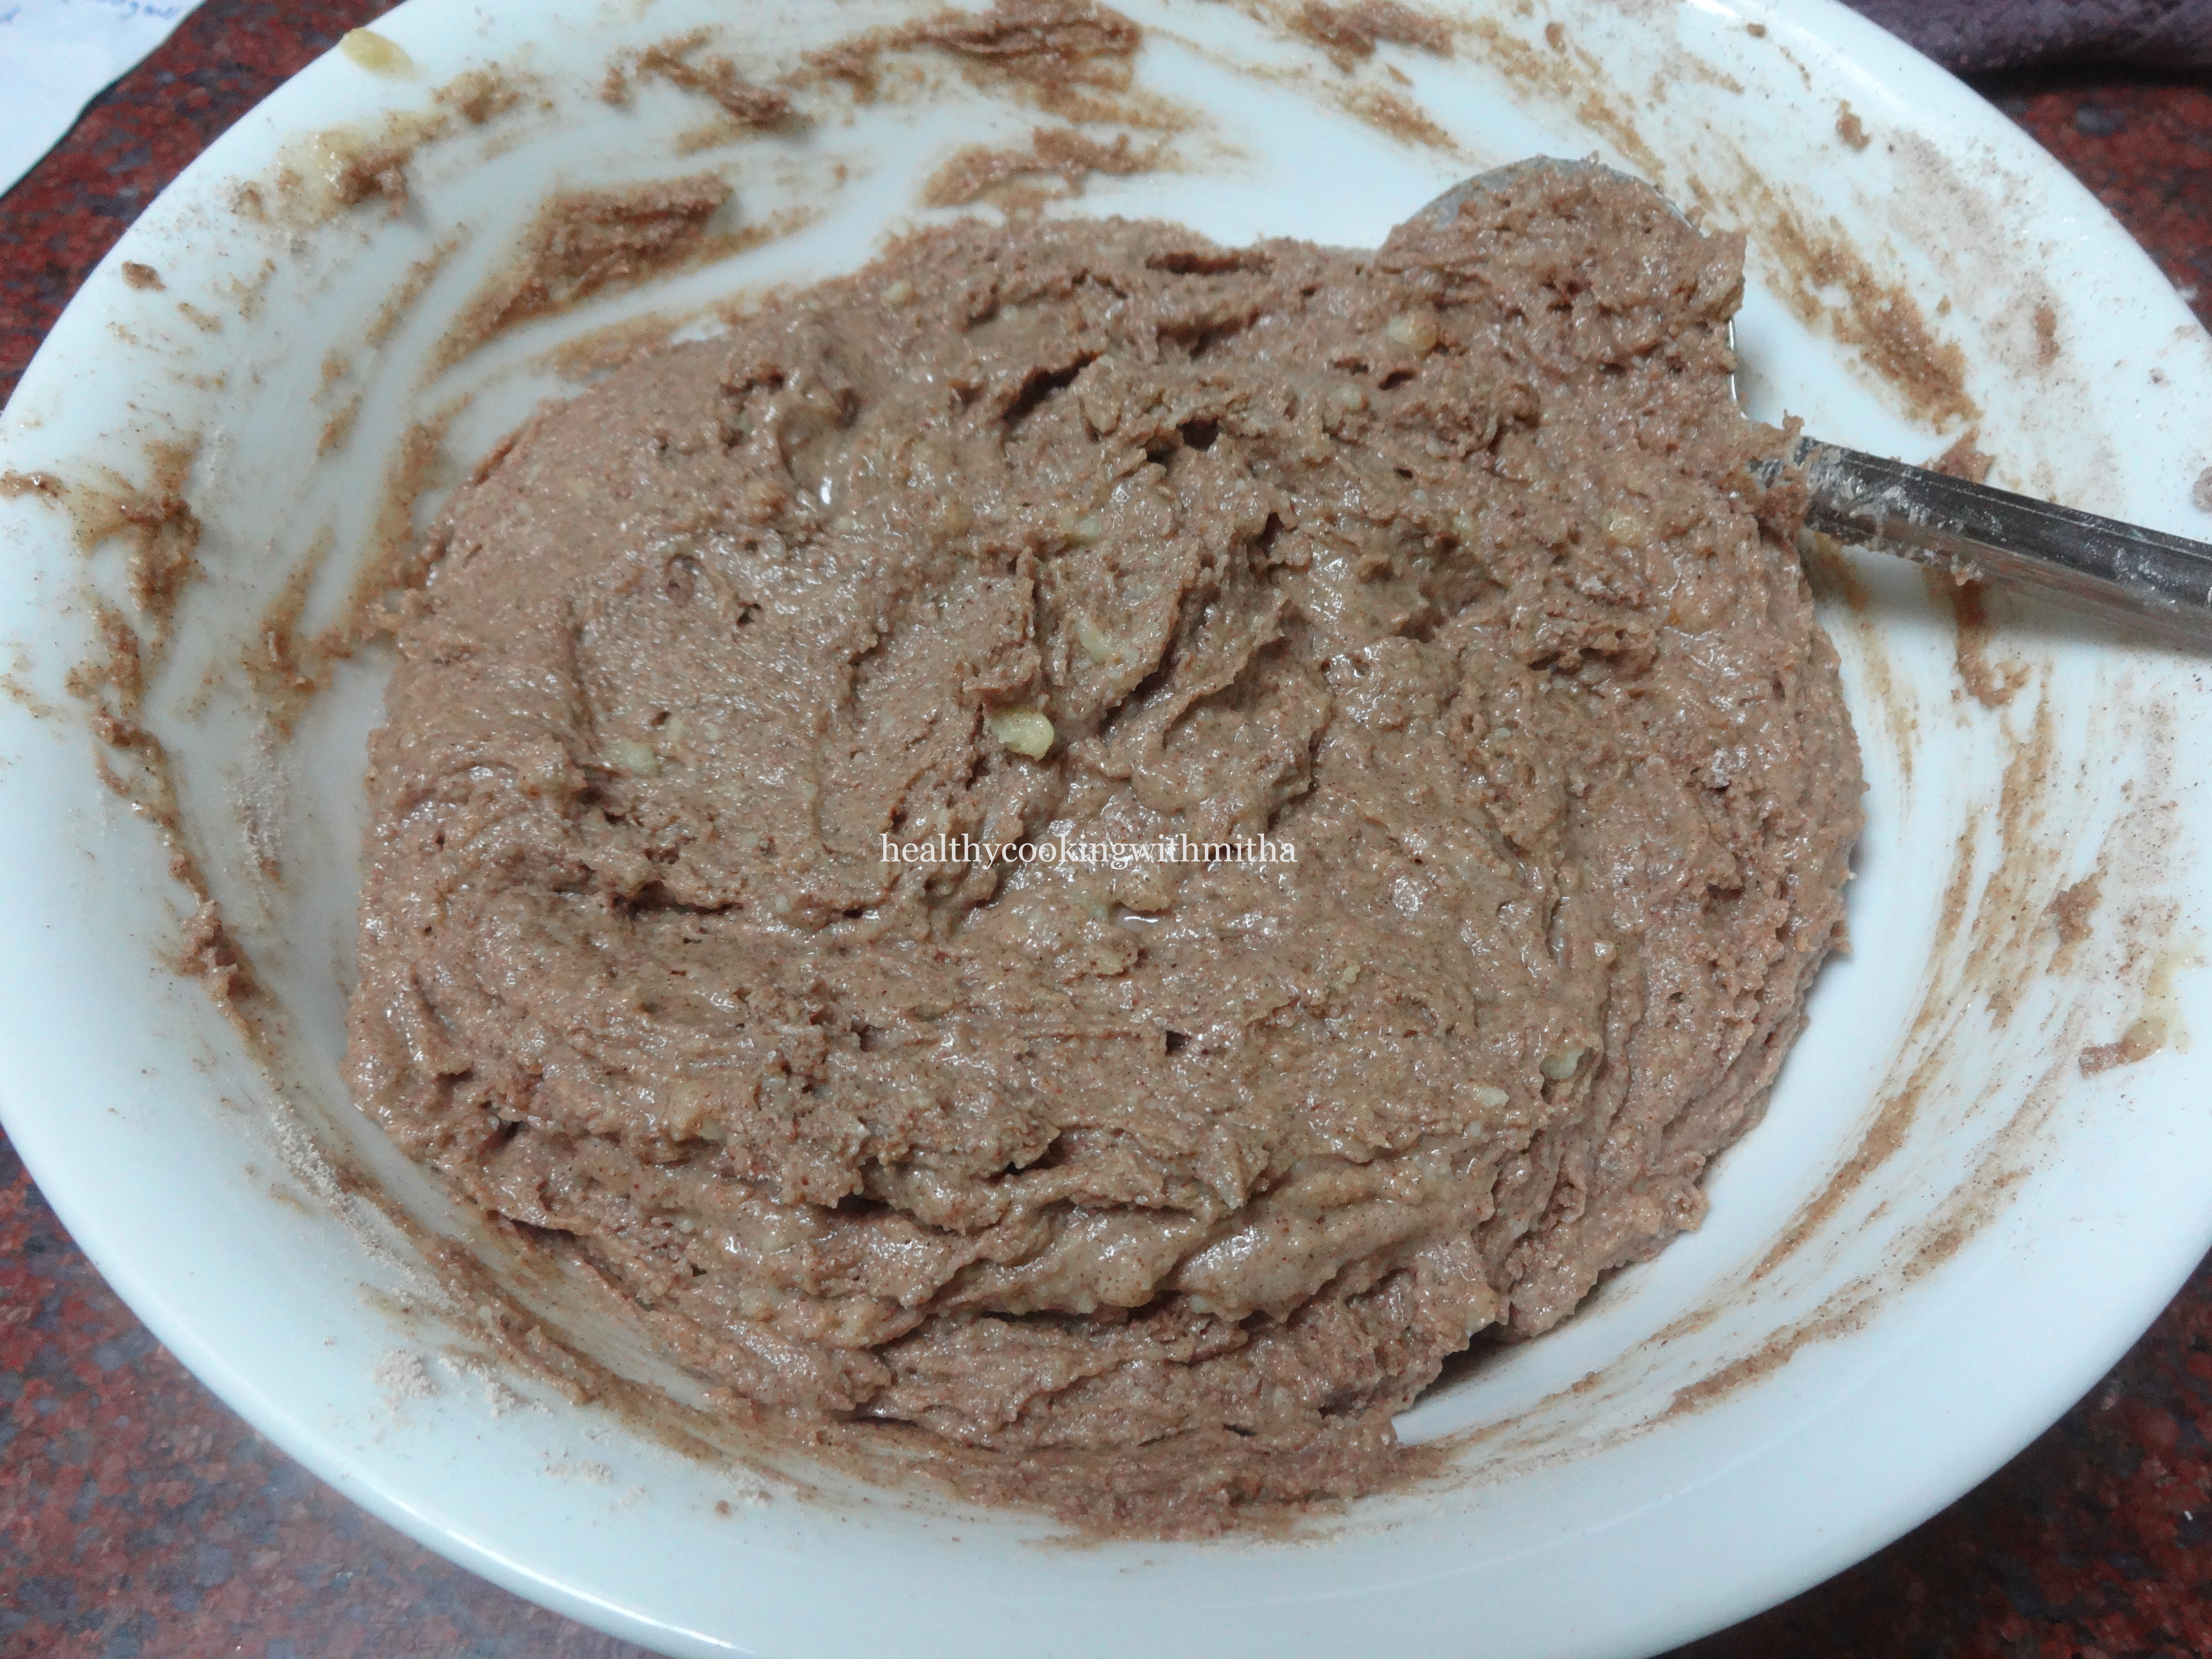
4. Melt butter by microwaving it for two to three mins on high. Allow it to cool down. Add in the milk, Yogurt (which has been whisked well), jaggery and vanilla. Mix well using a whisk.


5. Now add the dry ingredients into the wet ingredients and mix using a spatula such that everything is mixed uniformly and there are no specks of flour visible. Do NOT over mix the batter.
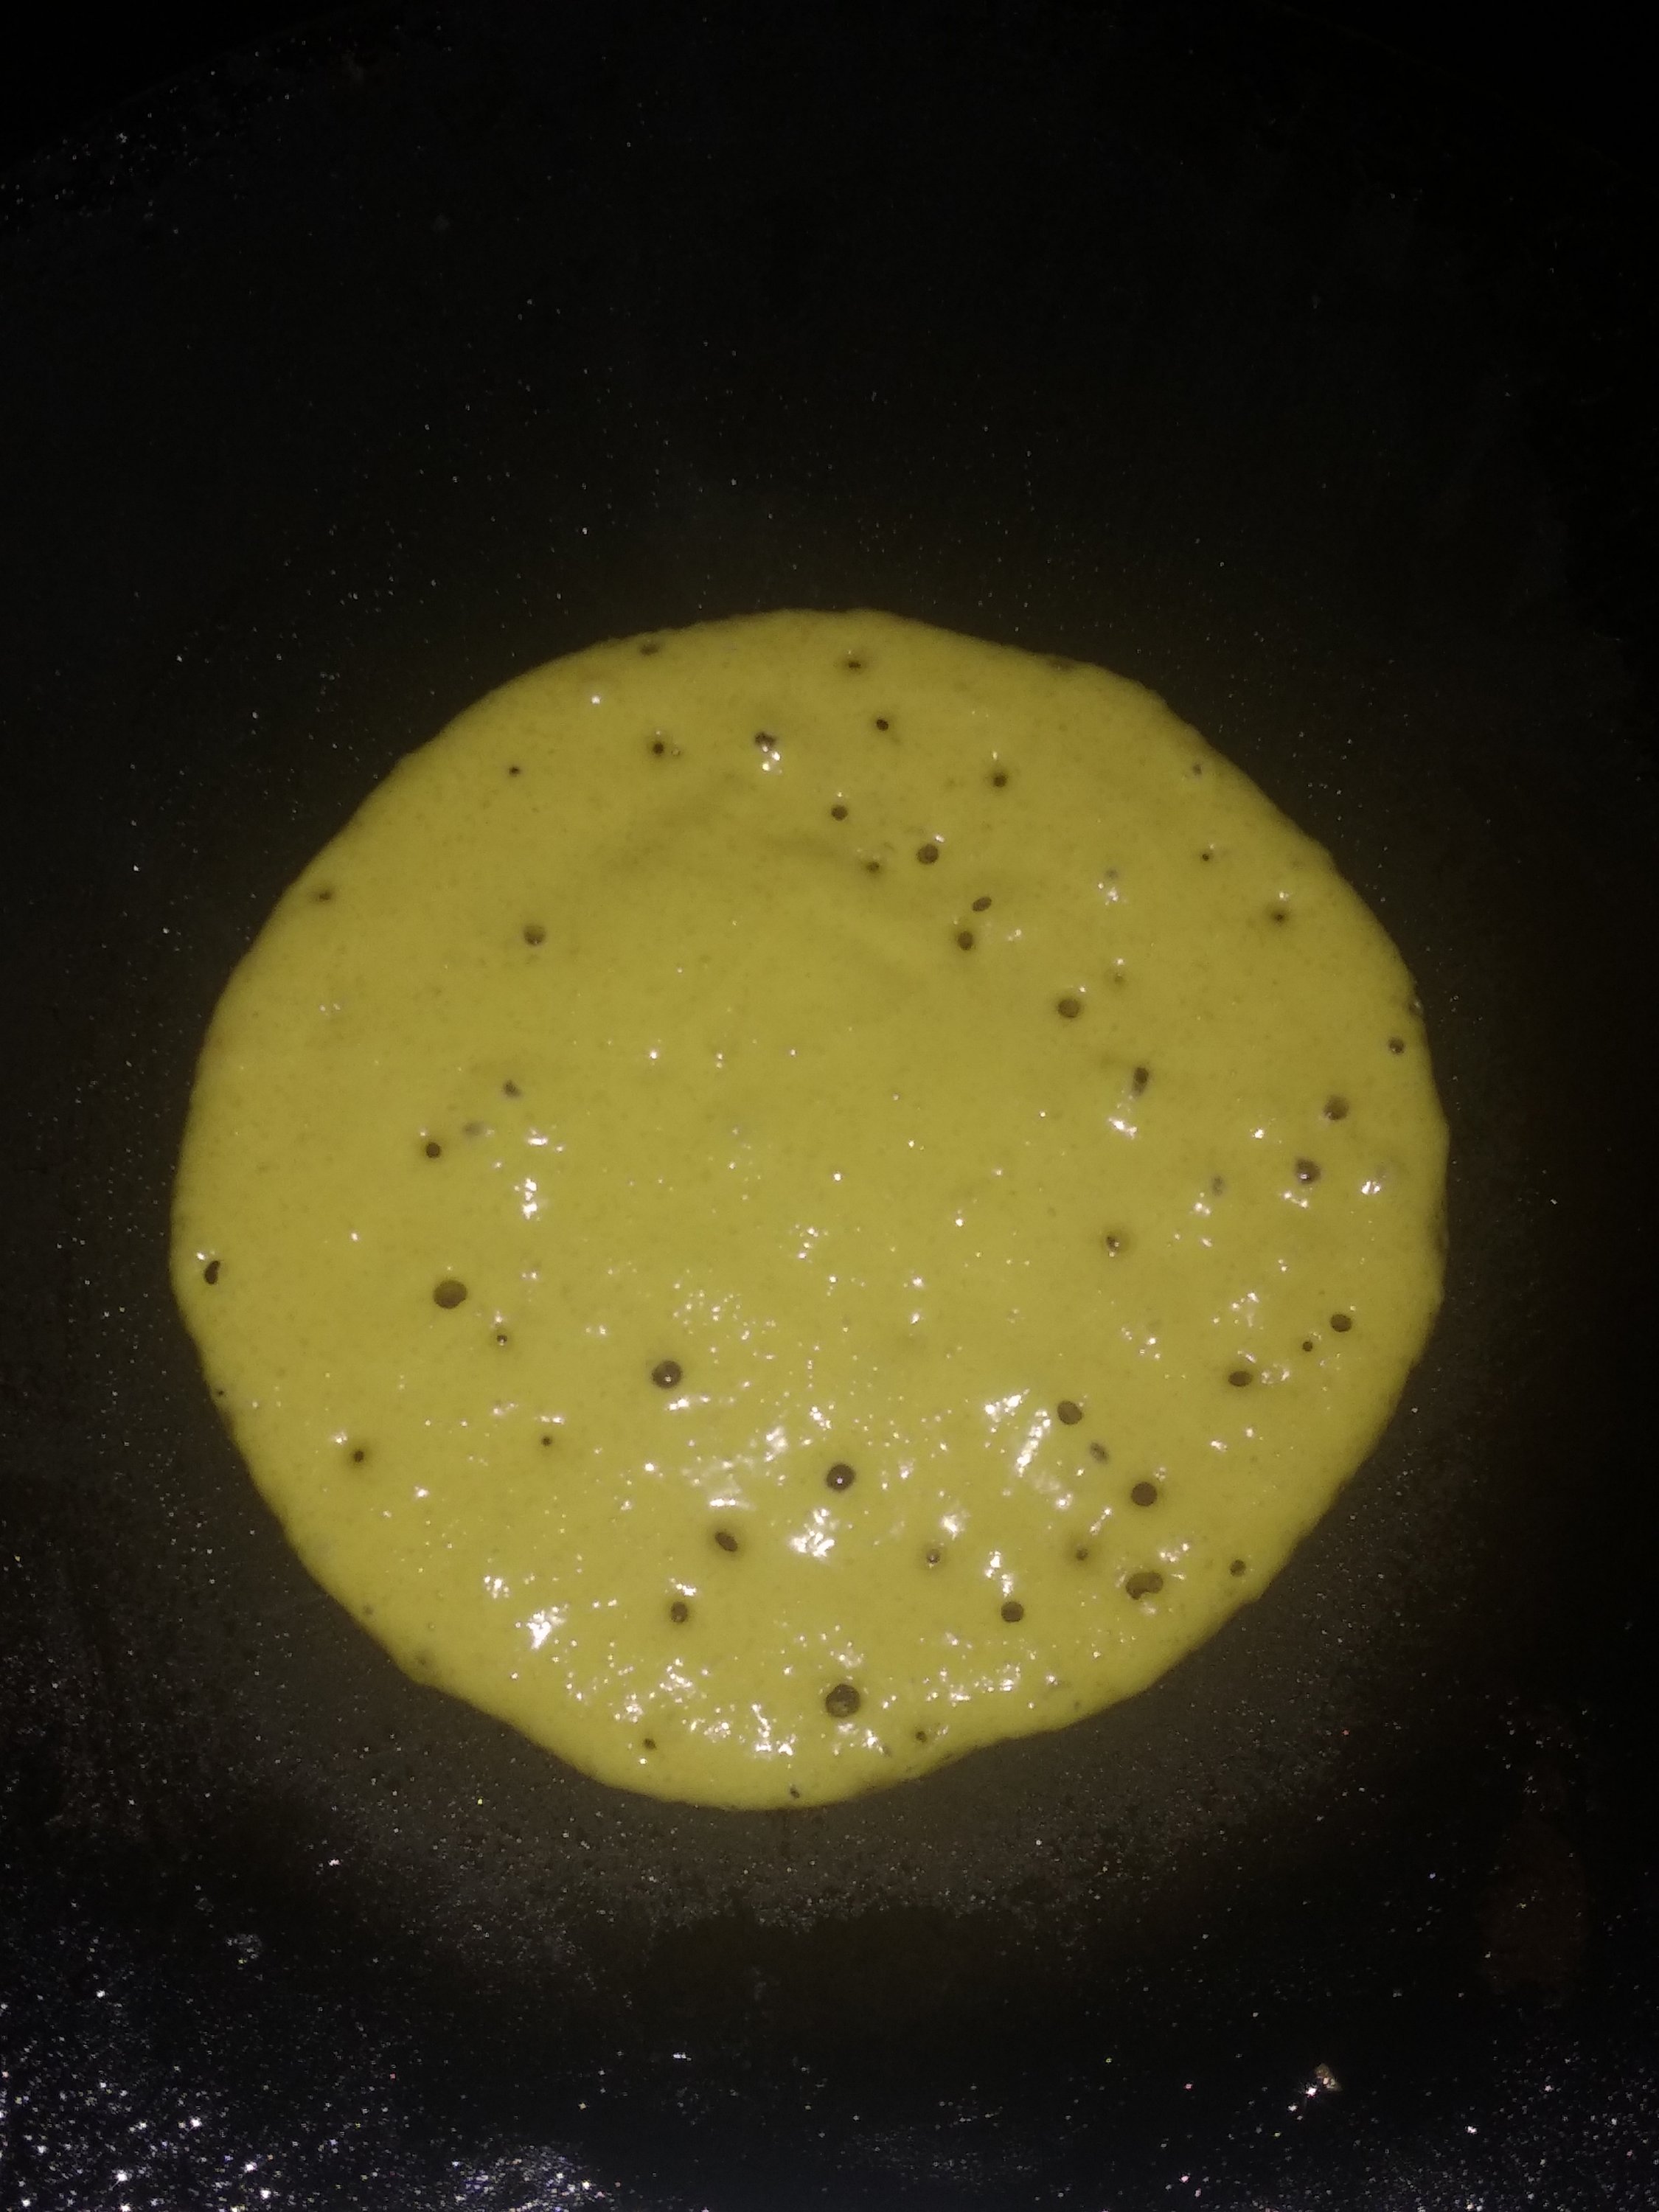
6. Pour the batter into the baking pan and spread uniformly.
7. Bake at 180 C for 30 to 35 mins. It took 35 mins for my cake to bake in my conventional oven. In microwave with conventional mode ovens, it gets done even quickly. So keep an eye after 25 mins into the baking time. Read NOTES.
8. Check with toothpick inserted in the center of the cake. Is comes out clear, then the cake is done. If comes out sticky or wet, it needs few more mins of baking. After done, allow it to cool for few minutes.

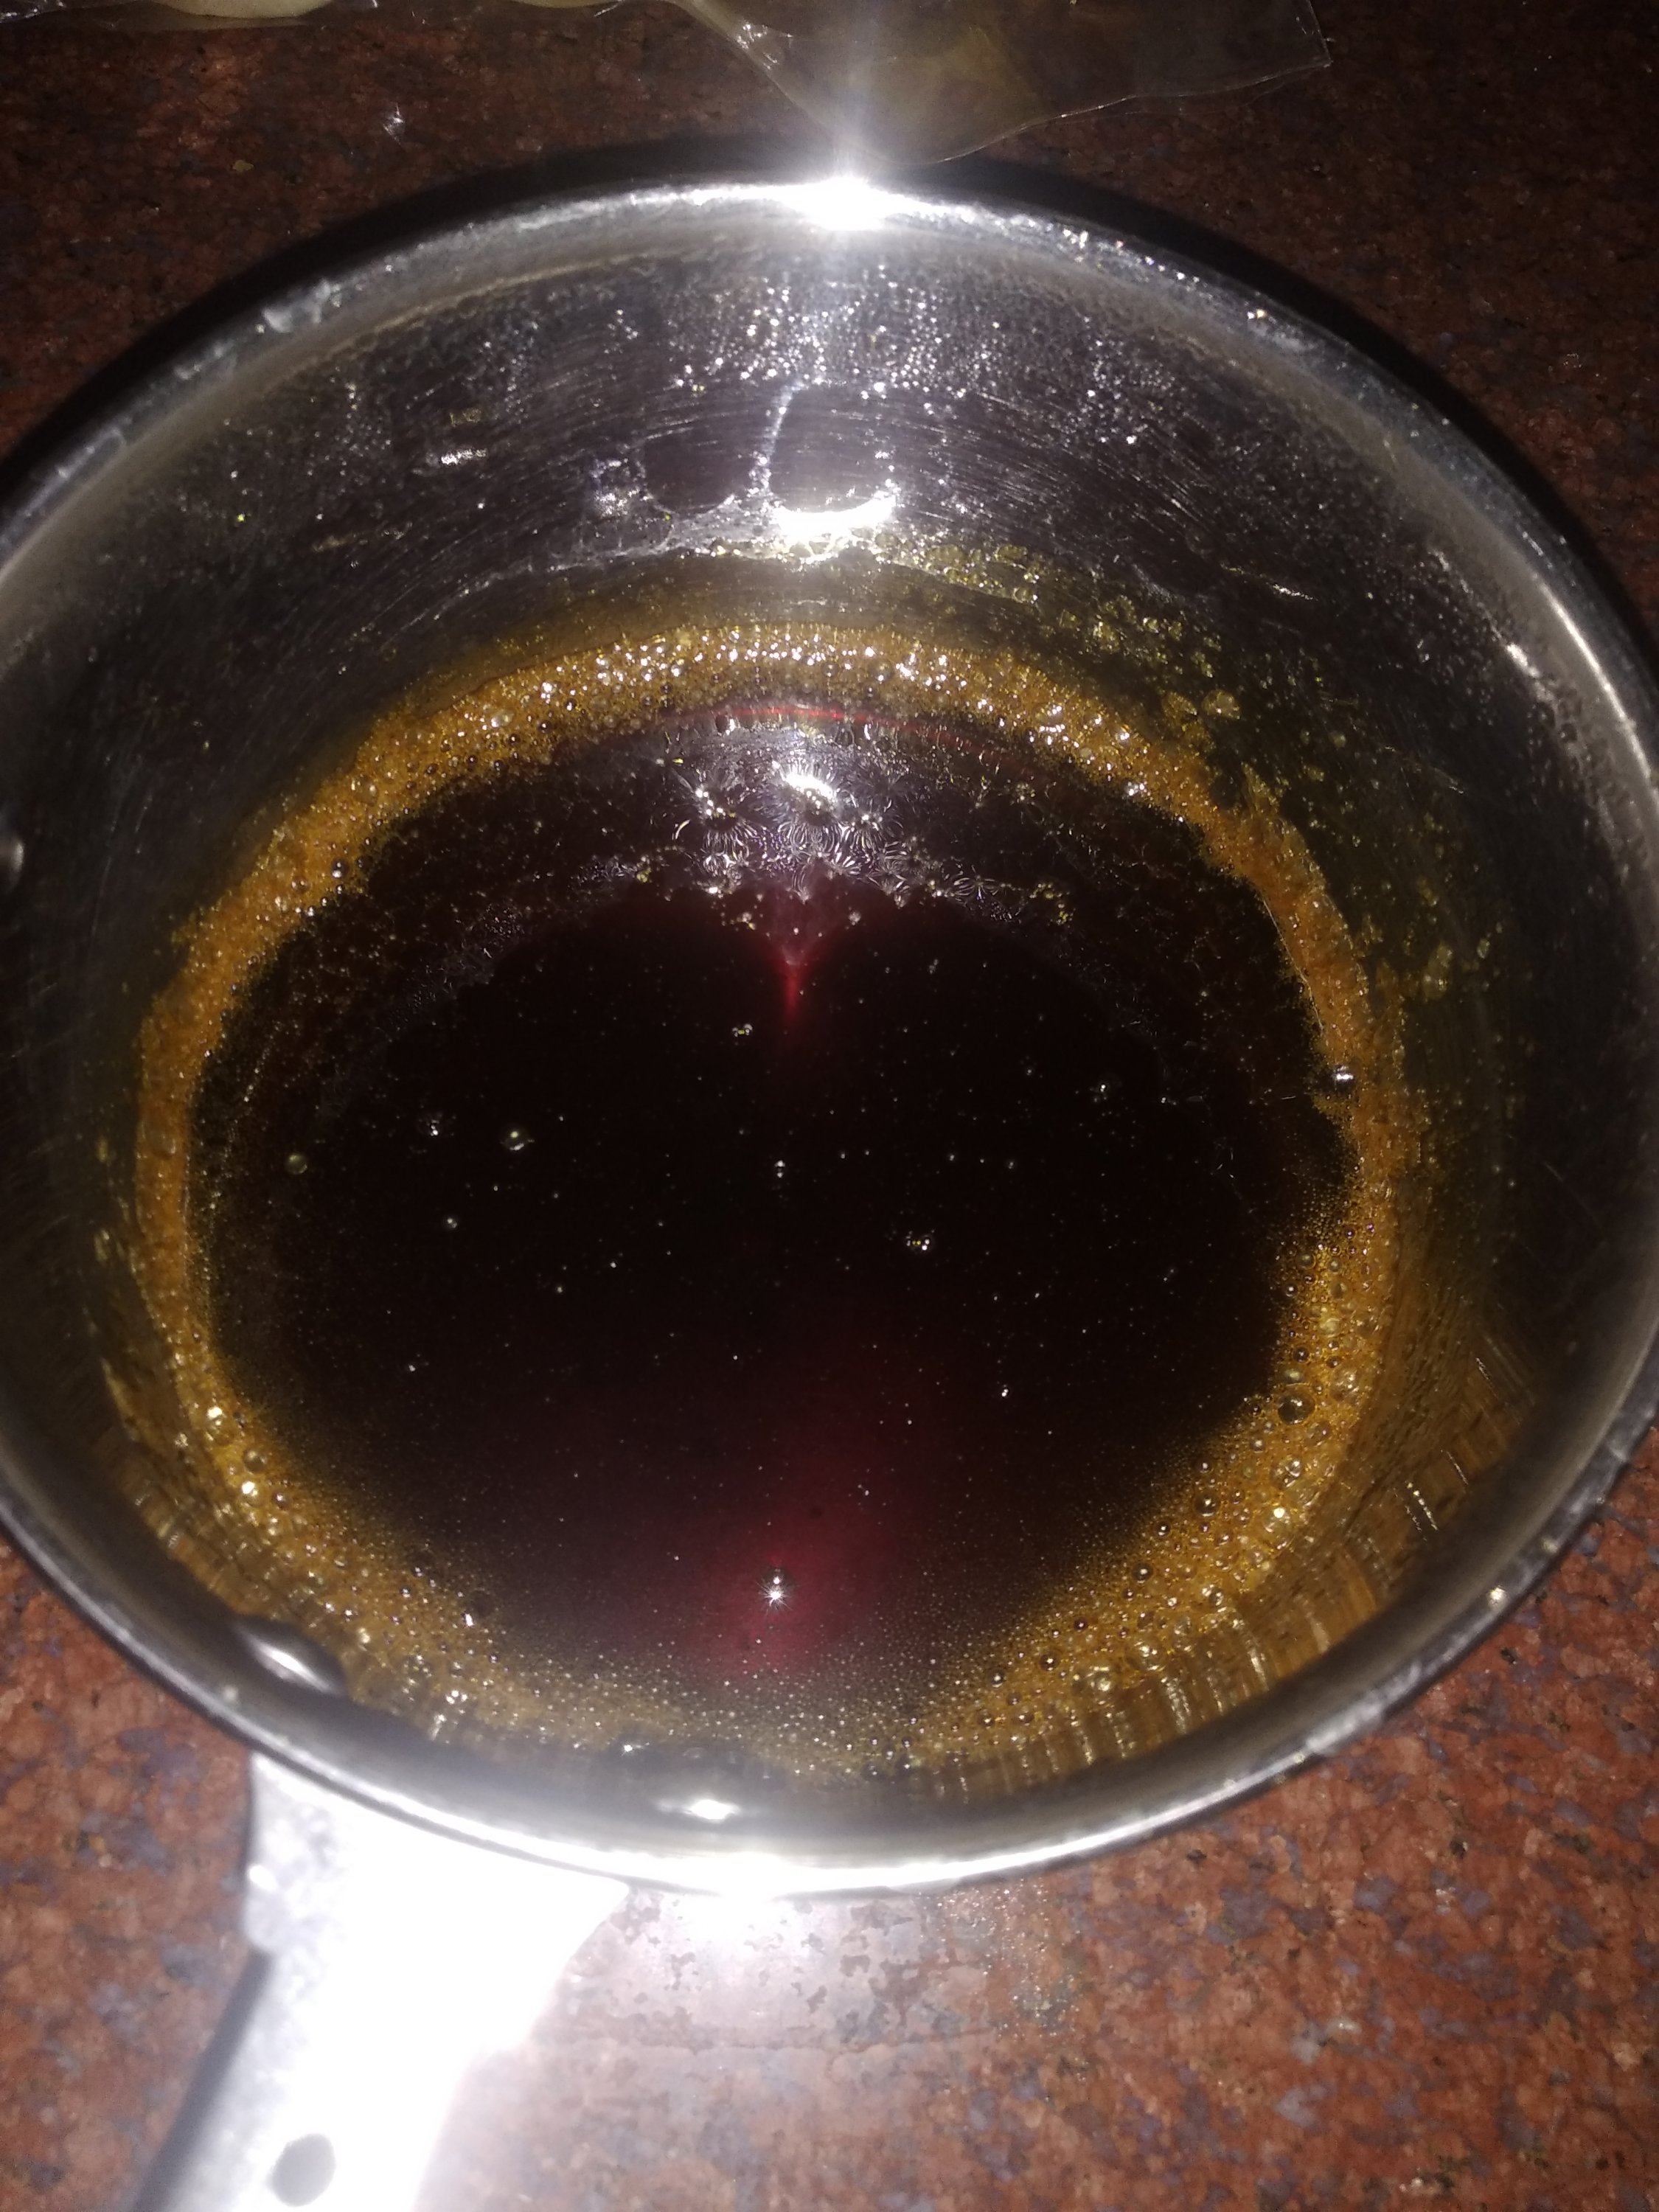
9. For frosting, combine together milk, cocoa powder, sugar and vanilla in a bowl. Whisk well first and then keep on flame.

10. On medium flame, keep whisking continually while allowing it to get thicker (usually takes about 5 mins). Once it gets thick, remove from flame and pour over the cake and spread evenly.

11. Wait for a while for the frosting to set before you slice and serve. Refrigerate the cake after a day at room temperature.
Notes:
* Use a pinch of salt while sifting the dry ingredients if using unsalted butter. I used salted butter.
* This cake tastes heavenly with the frosting. So don’t skip it. But for those who prefer their cakes plain, without frosting tastes good too. And no, there is no ragi flavour at all as cocoa, vanilla and jaggery do an amazing job at masking the ragi flavour.
* While baking, always ensure your oven is preheated well (180 C for 10 to 15 mins is the norm).
* Don’t keep opening the oven door between bake times. Check only after 25 mins if the bake time says 30 mins of baking. Else opening the door too often leads to uneven baking.
* This cake tastes good even after getting refrigerated. The frosting sets well and enhances the flavor. Just microwave for a minute before serving. I have kept the cake a maximum of three days in the fridge before it got finished off by my family.
* I have used organic powdered jaggery. You could also use cane sugar. Both work well for this recipe.
If any doubts, do message me on my Facebook page Healthy cooking with mitha or on my Instagram handle and I would be happy to help. Happy cooking!