Tag Archives: Konkani dish

Raw Banana moong curry | Kerala style recipe

I get many messages from my readers about which place I really belong to, as I keep mentioning both Kerala and Karnataka in my write ups. Actually I am from a beautiful village named Katapady near Udupi. When I was 9 years old, we shifted to Ernakulam and thus started my life as a Keralite. After shifting many rental houses, we bought our own house in a place called Elamakkara. It was in midst of many temples and we loved the area very much. That house still brings back many beautiful memories as I did my schooling and college life, spent my pregnancies and days with my newborn babies in that house. Many nostalgic memories to cherish forever. ❤️

My parents shifted back to Udupi two years back and are enjoying themselves in their dream flat which is in midst of nature. You can see so many varieties of birds and butterflies there with every morning welcomed by their chirping. I love chatting with Amma lying on her bed looking at the beautiful birds. Right now I am in Qatar (settled here after marriage since 9 years) and honestly, it feels really homesick not being able to travel even if I want to (not risking with the present situation). Hope next year brings more happiness. ❤️

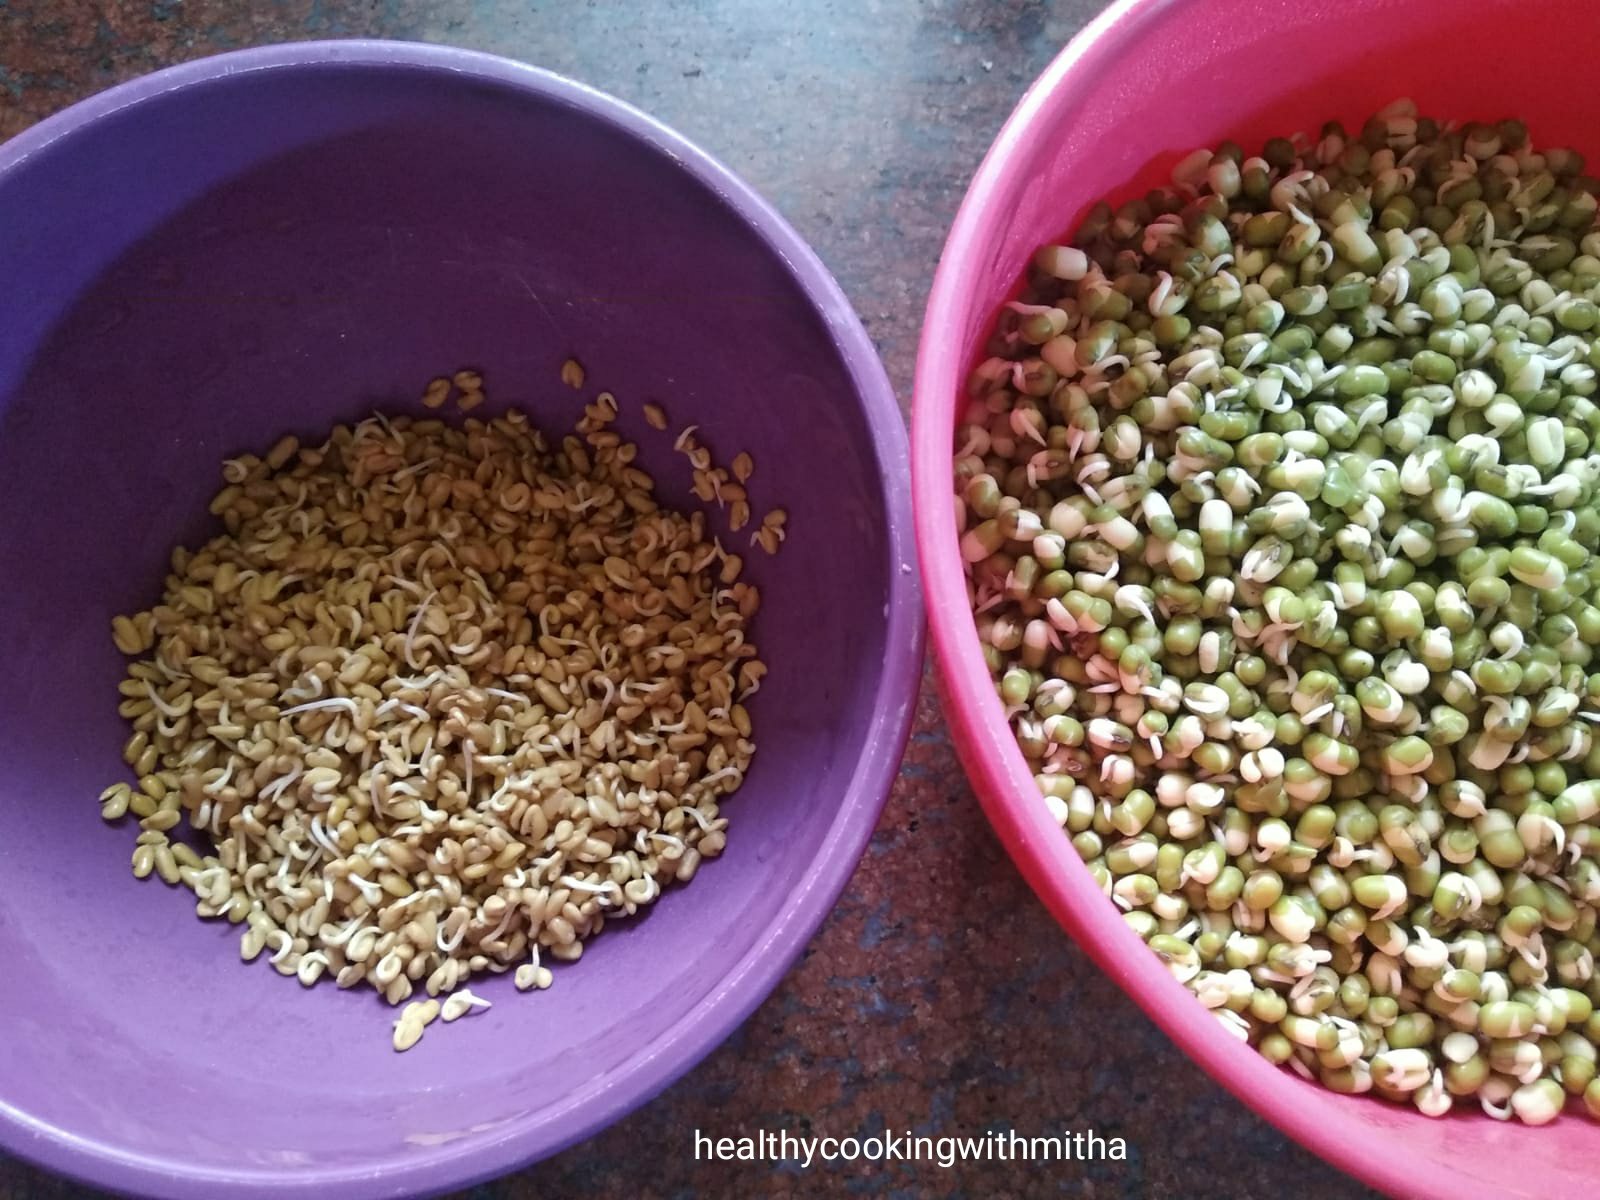
Coming back to this recipe (got emotionally carried away like always 😅), I had shared a recipe of Sprouted moong methi sukke earlier which I had learned from the Konkani community in Elamakkara. Many of my readers and relatives had tried and loved it so much. So here’s sharing one more recipe which is commonly made by them. They actually use banana stem and whole moong but I replace with raw bananas as stem is not available here.

Hope you all try it and love it too. Happy and healthy cooking!

RECIPE:

Ingredients: { The below measurements serve 5 to 6 people, so halve the quantity of moong and raw banana and adjust chillies if making for 2 people }

2 medium sized Raw Bananas

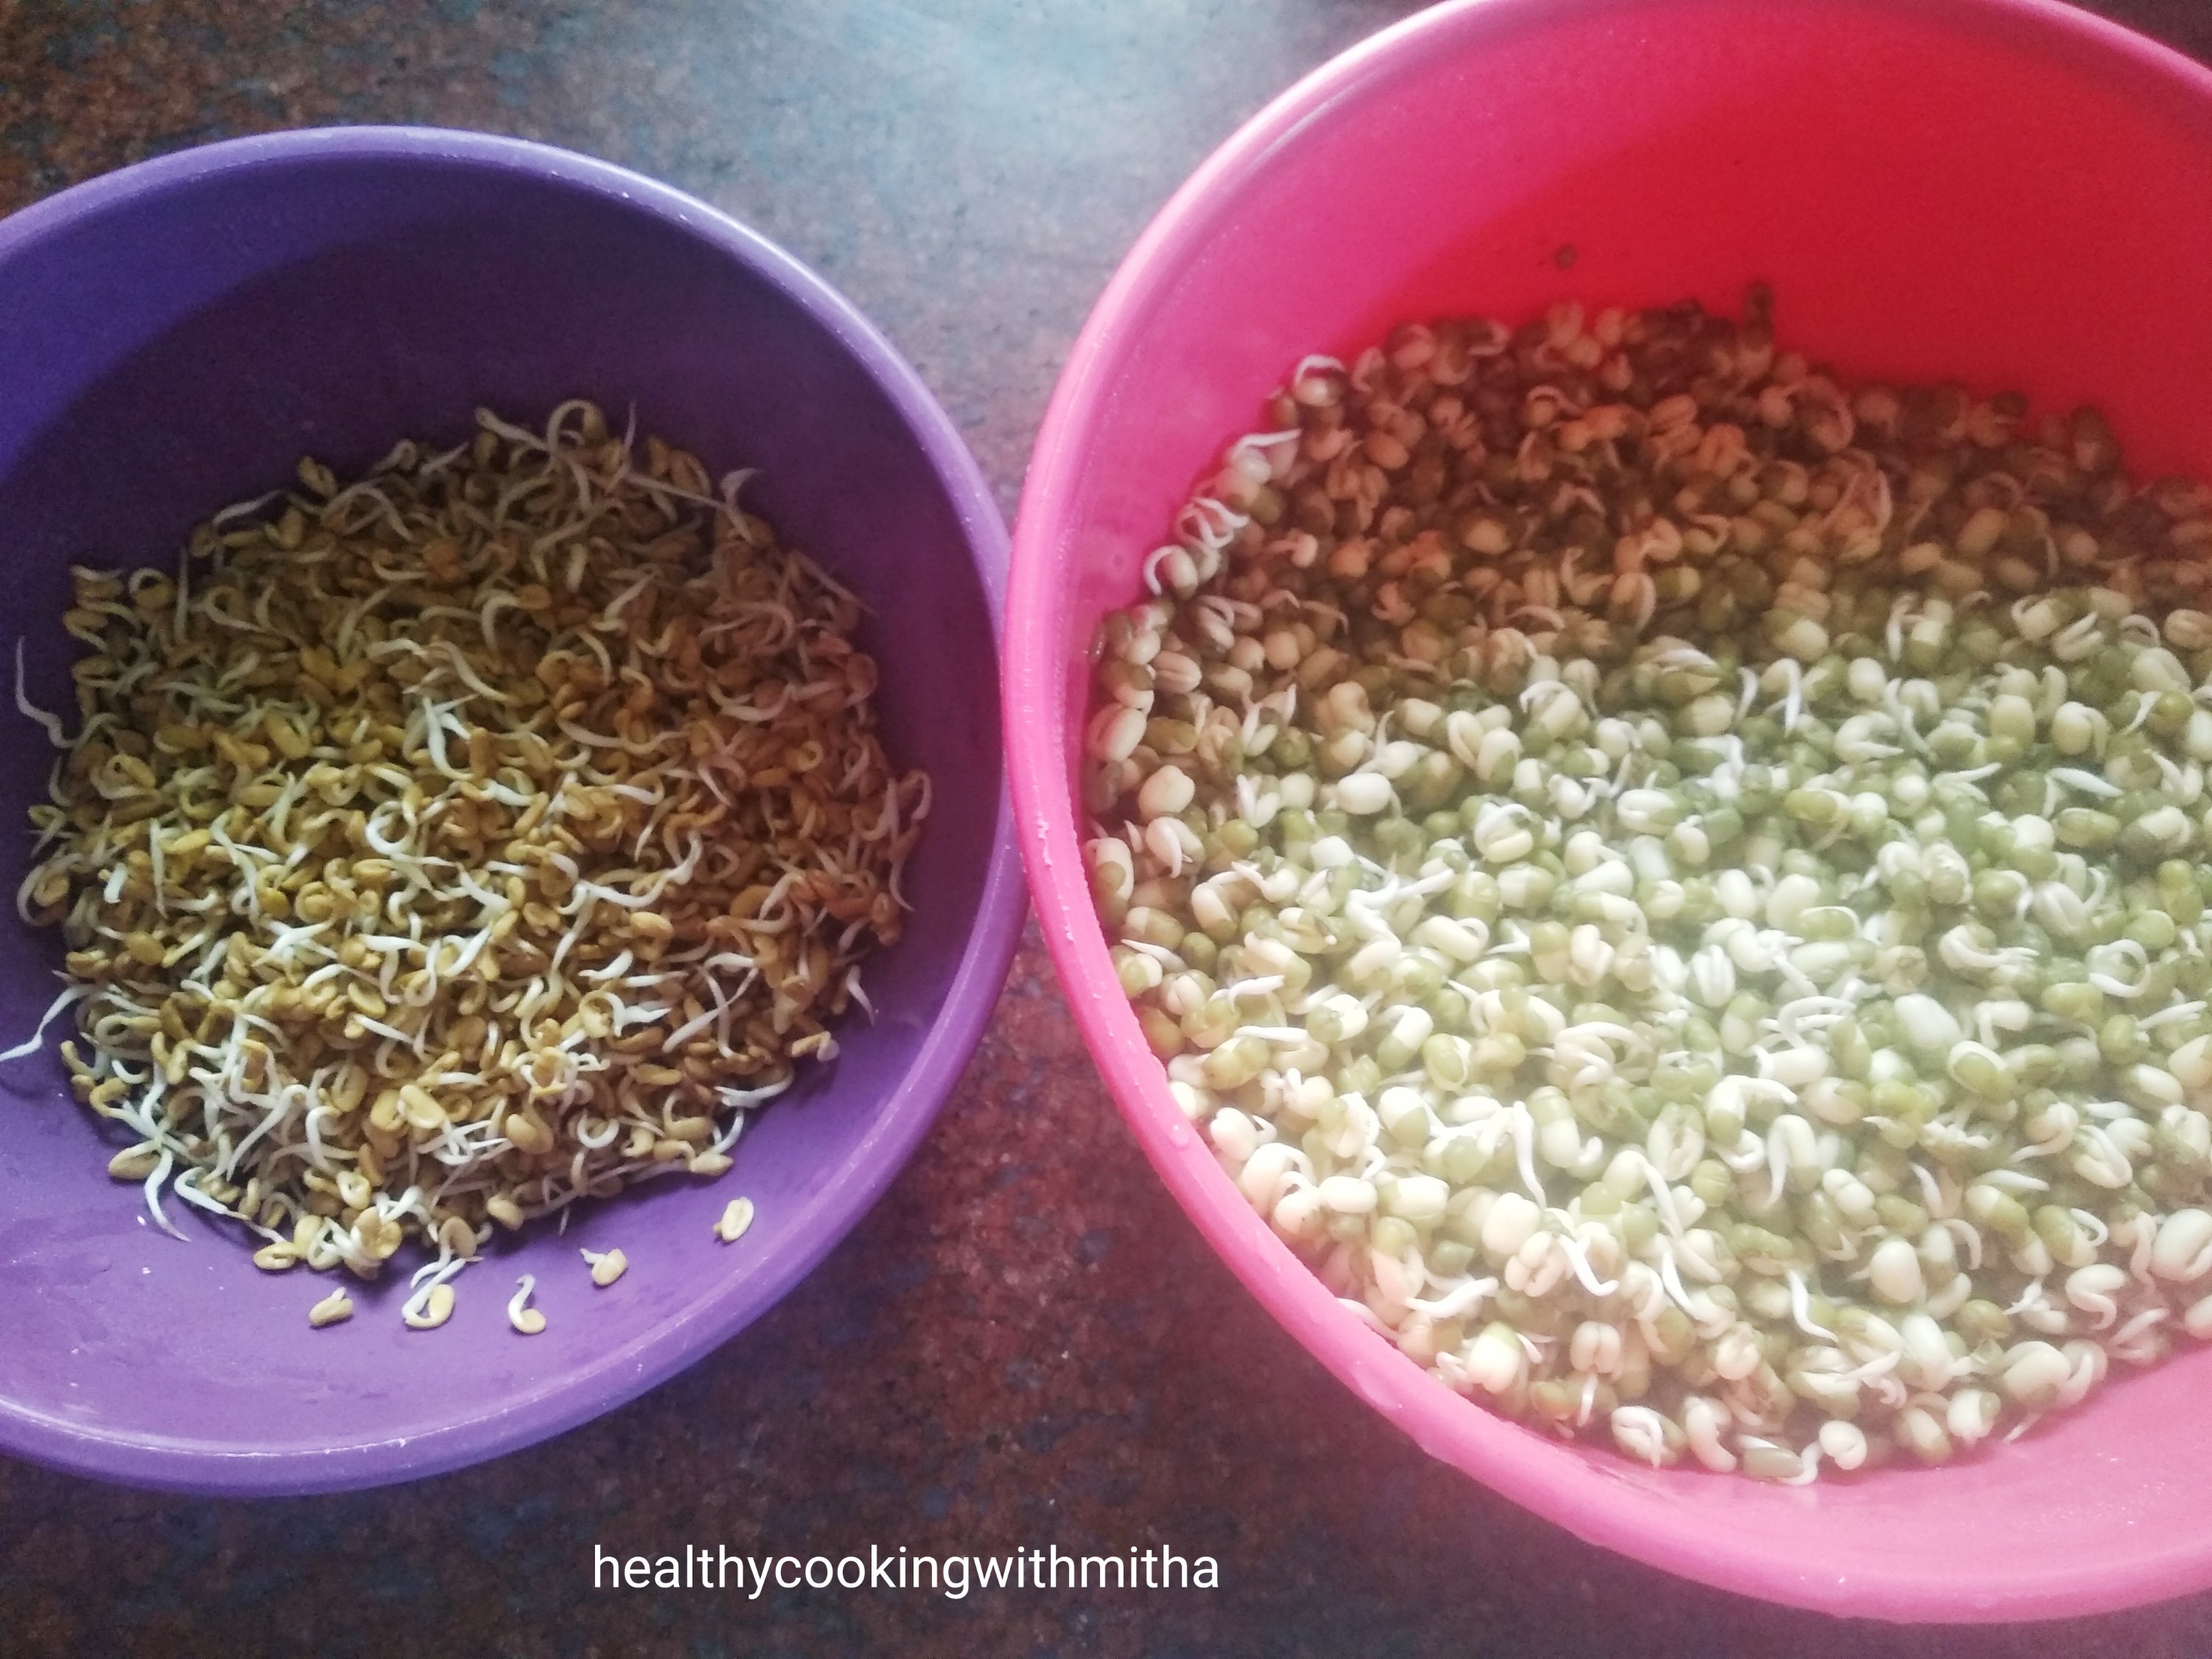
1 Cup dried whole moong/ green gram

Salt to taste

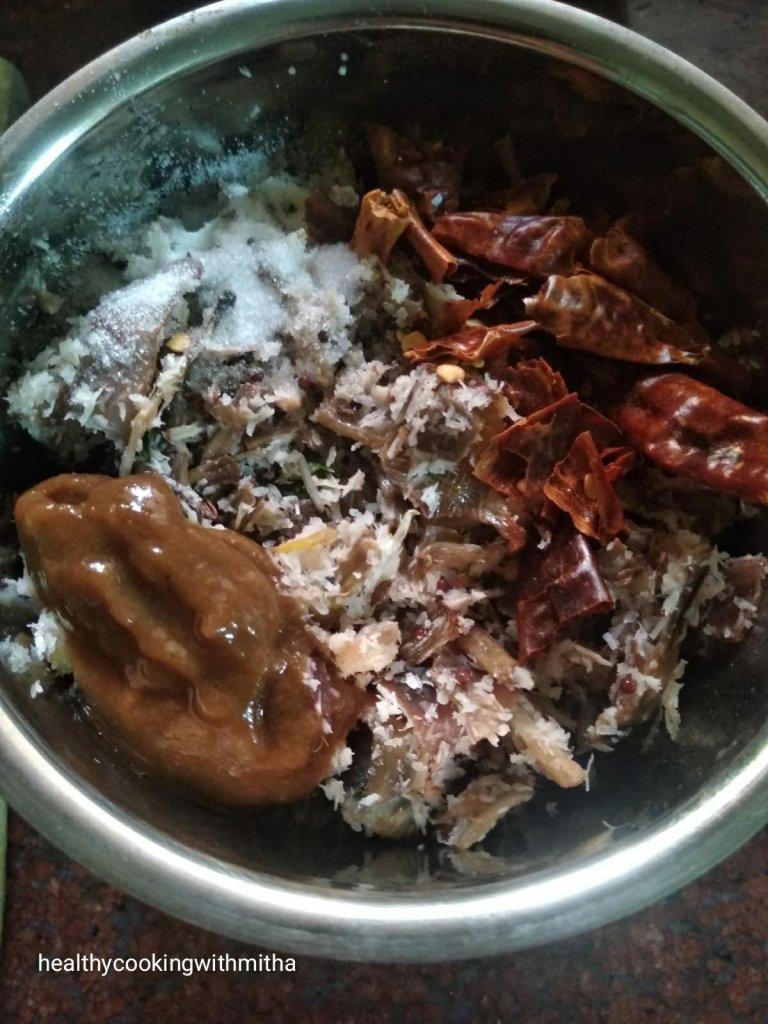
For the ground masala:

1 Cup Coconut

1 tsp Jeera or Cumin seeds

4 to 5 Green chillies or to taste

1/2 inch Ginger piece

For seasoning:

1 Tbsp Coconut oil

1 tsp Mustard seeds

A sprig of Curry leaves

2 long red chillies

Step by step recipe:

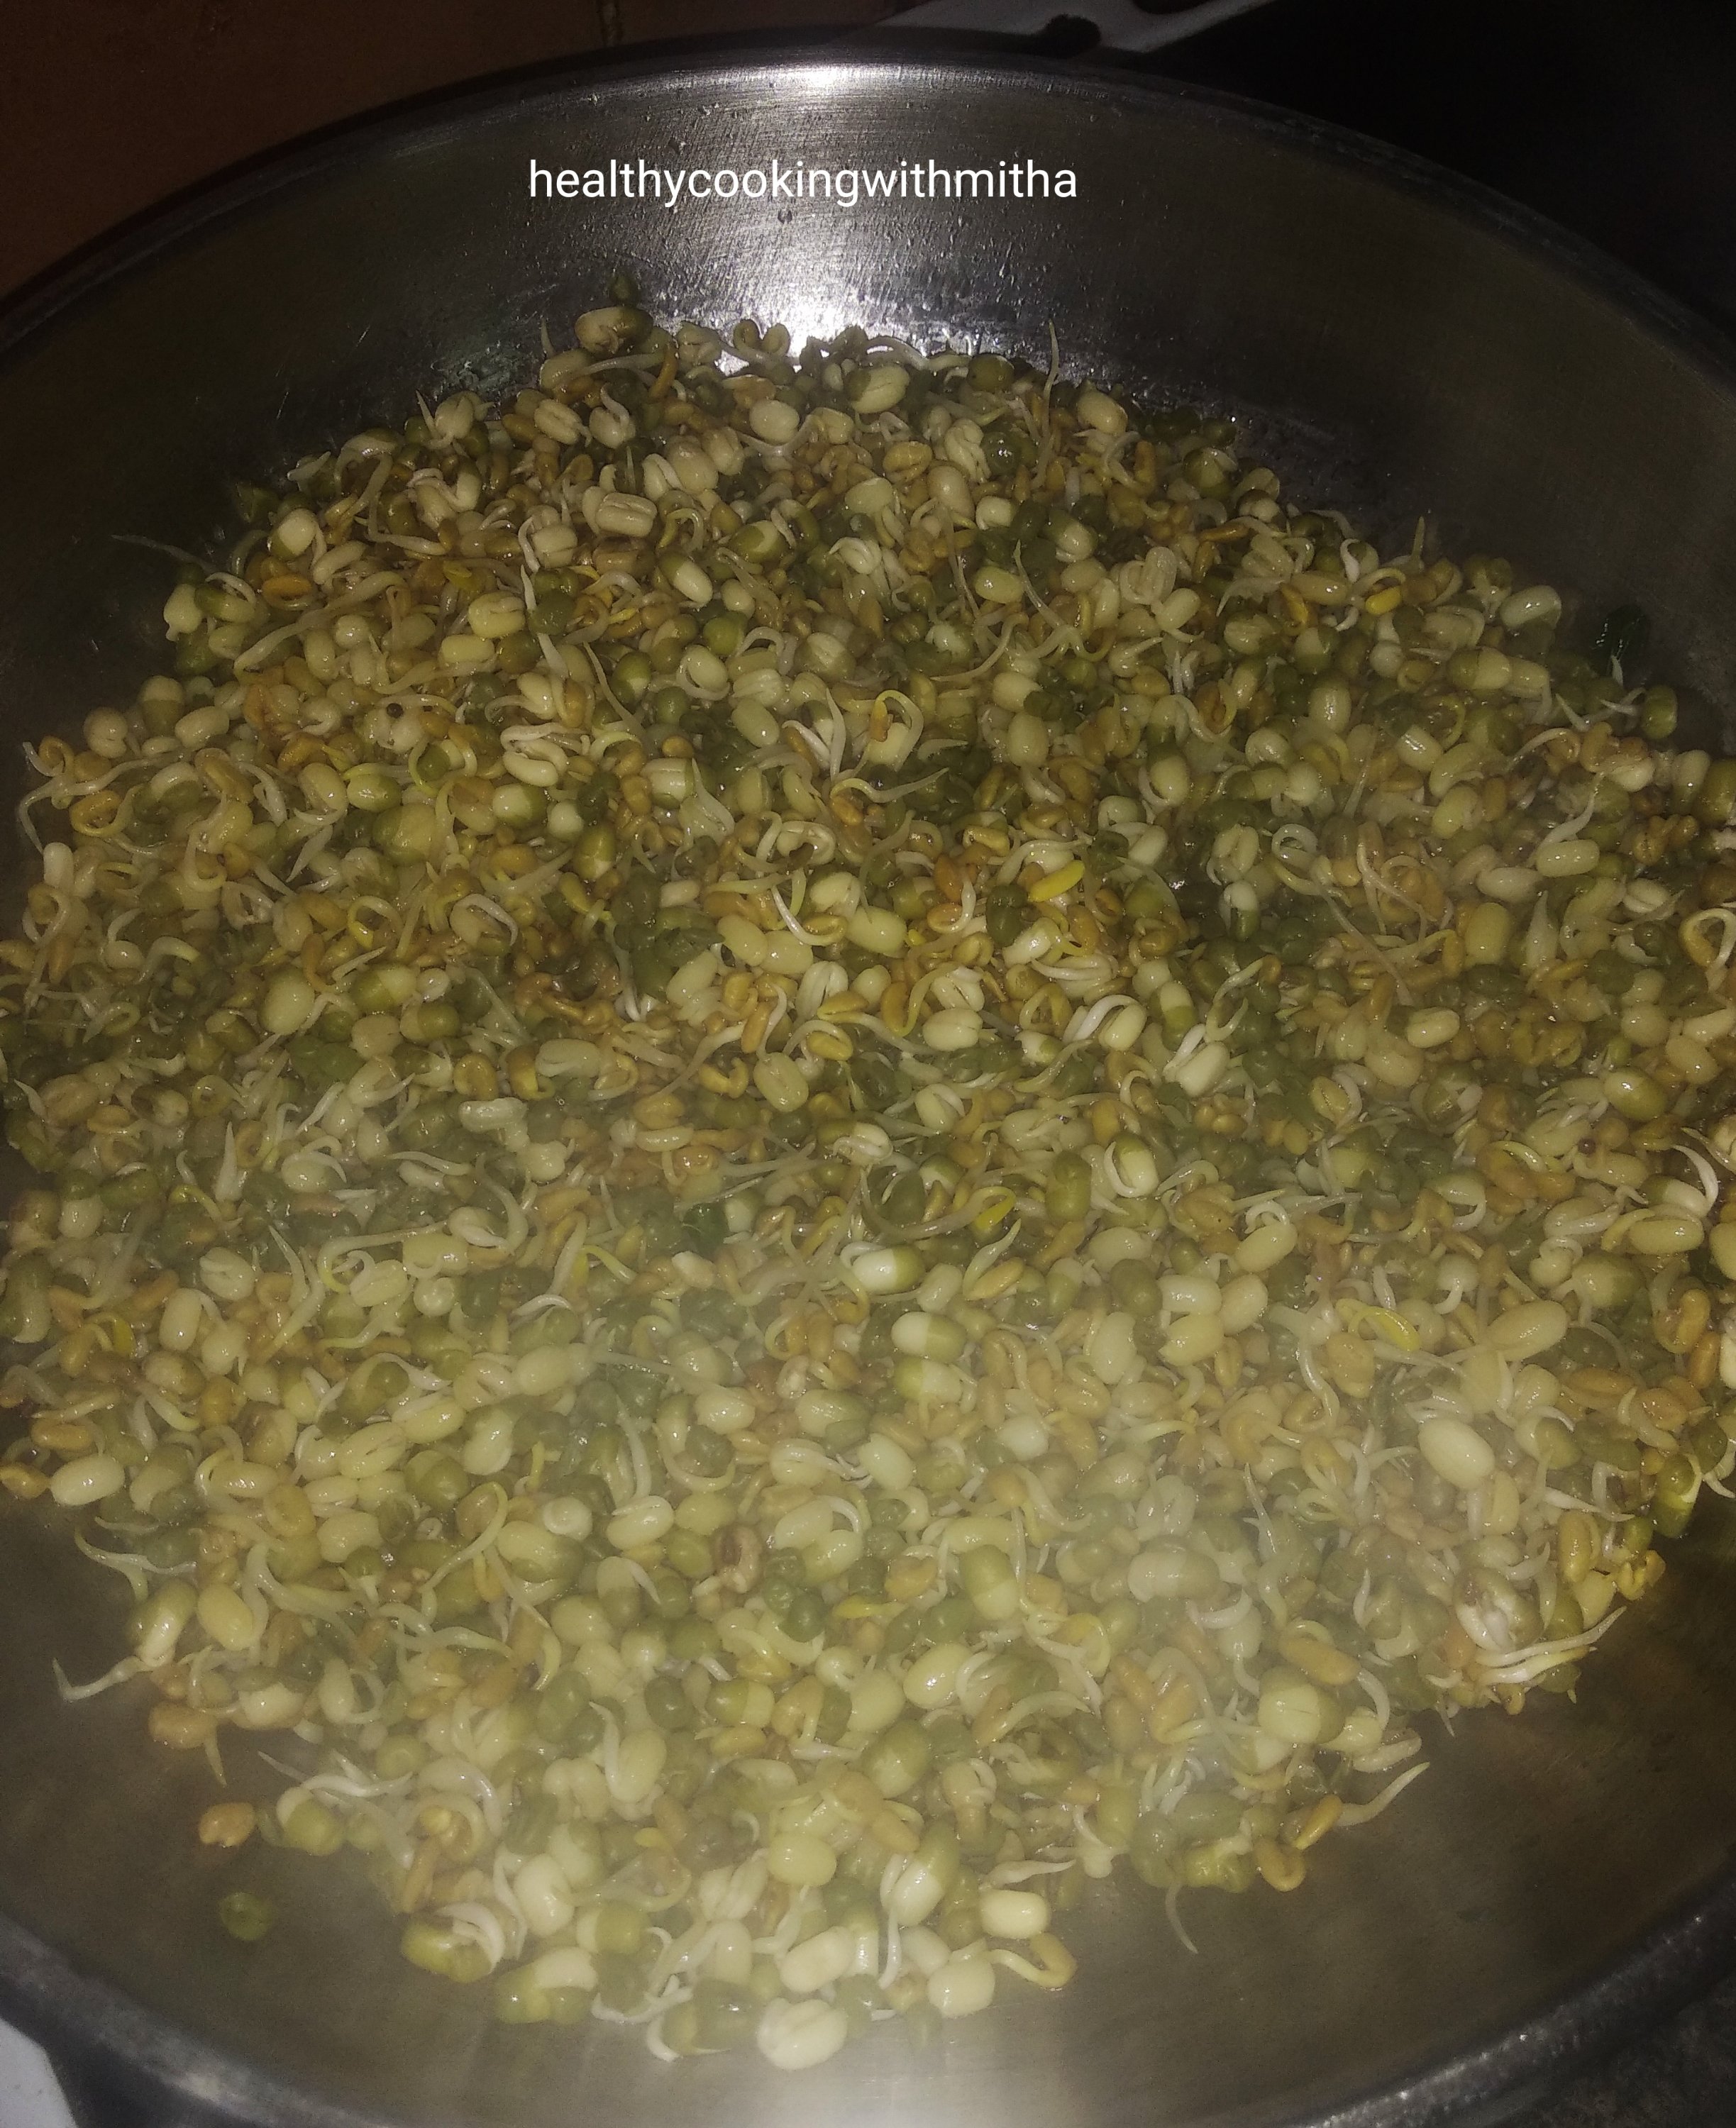
1. * Soak dried moong in atleast double the water overnight or for atleast 8 hours. Drain the water completely. Wash well. Pressure cook with water a little above it’s level for 2 whistles (or as per your cooking range) till it turns soft.

* Also chop both ends of raw Banana. Peel the skin off and finely chop the raw Banana and add to water.

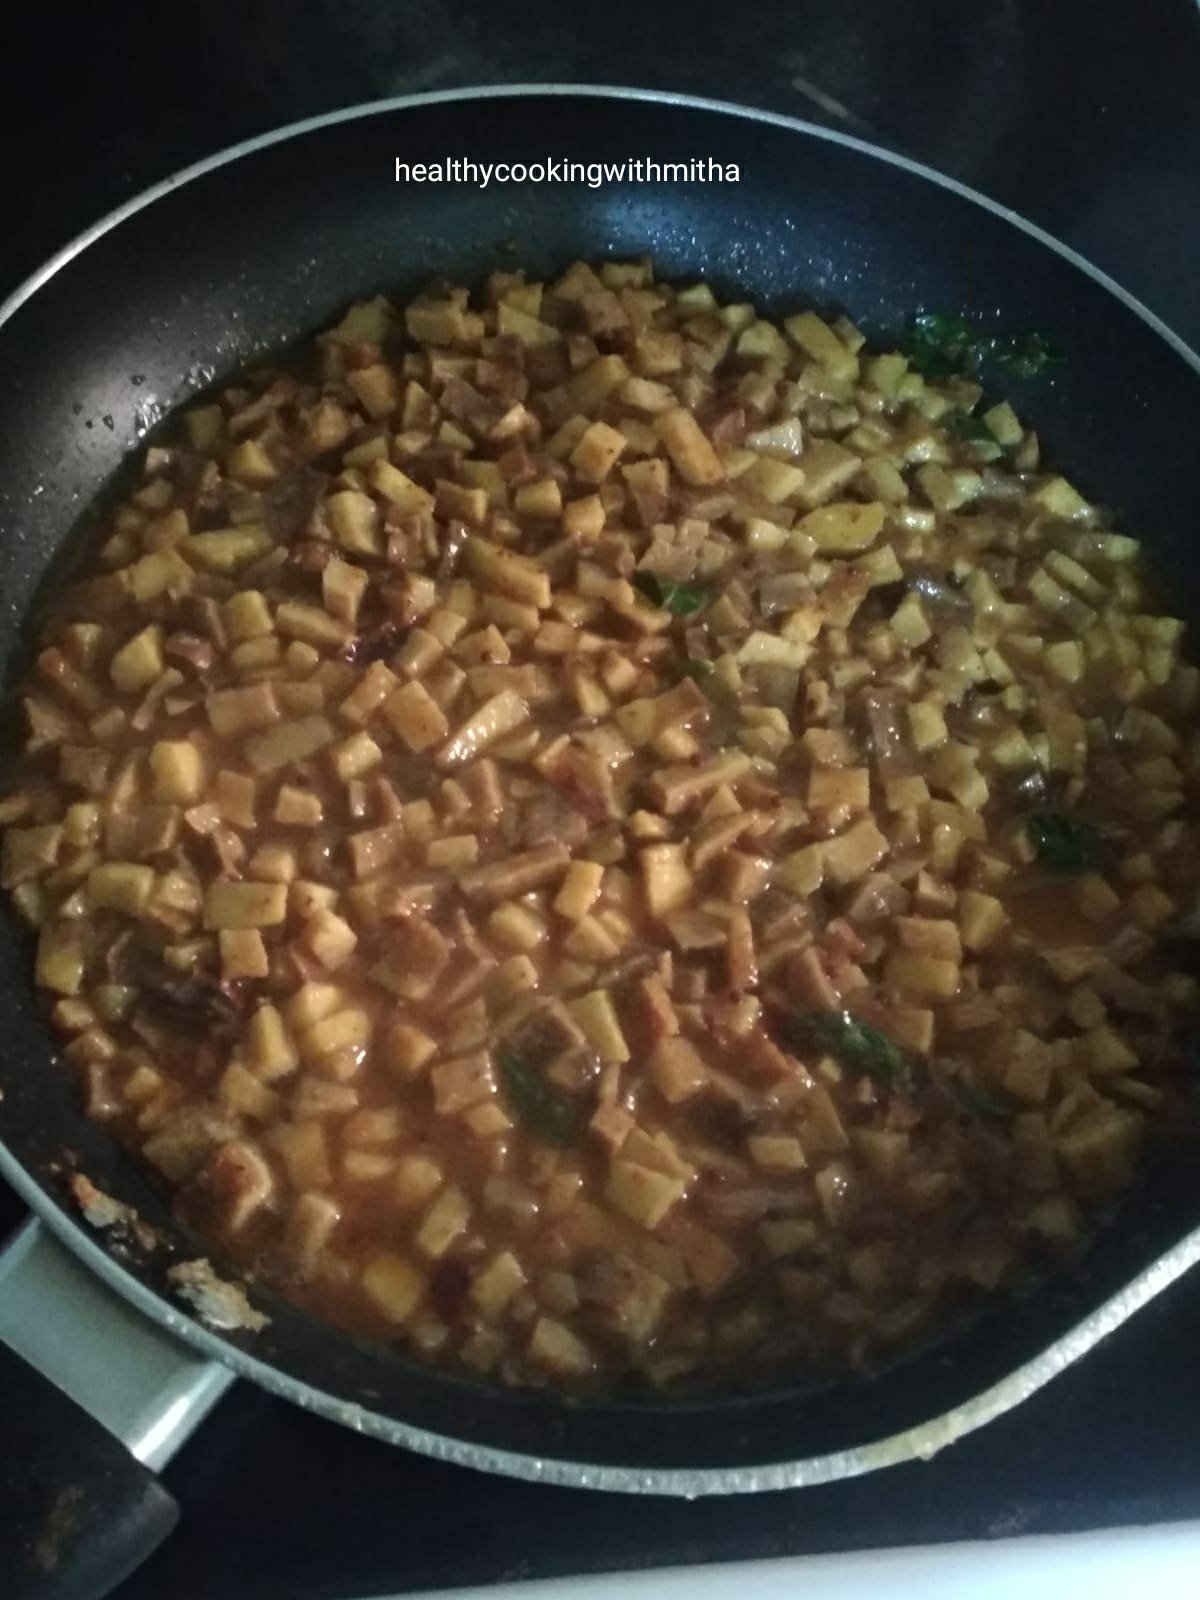
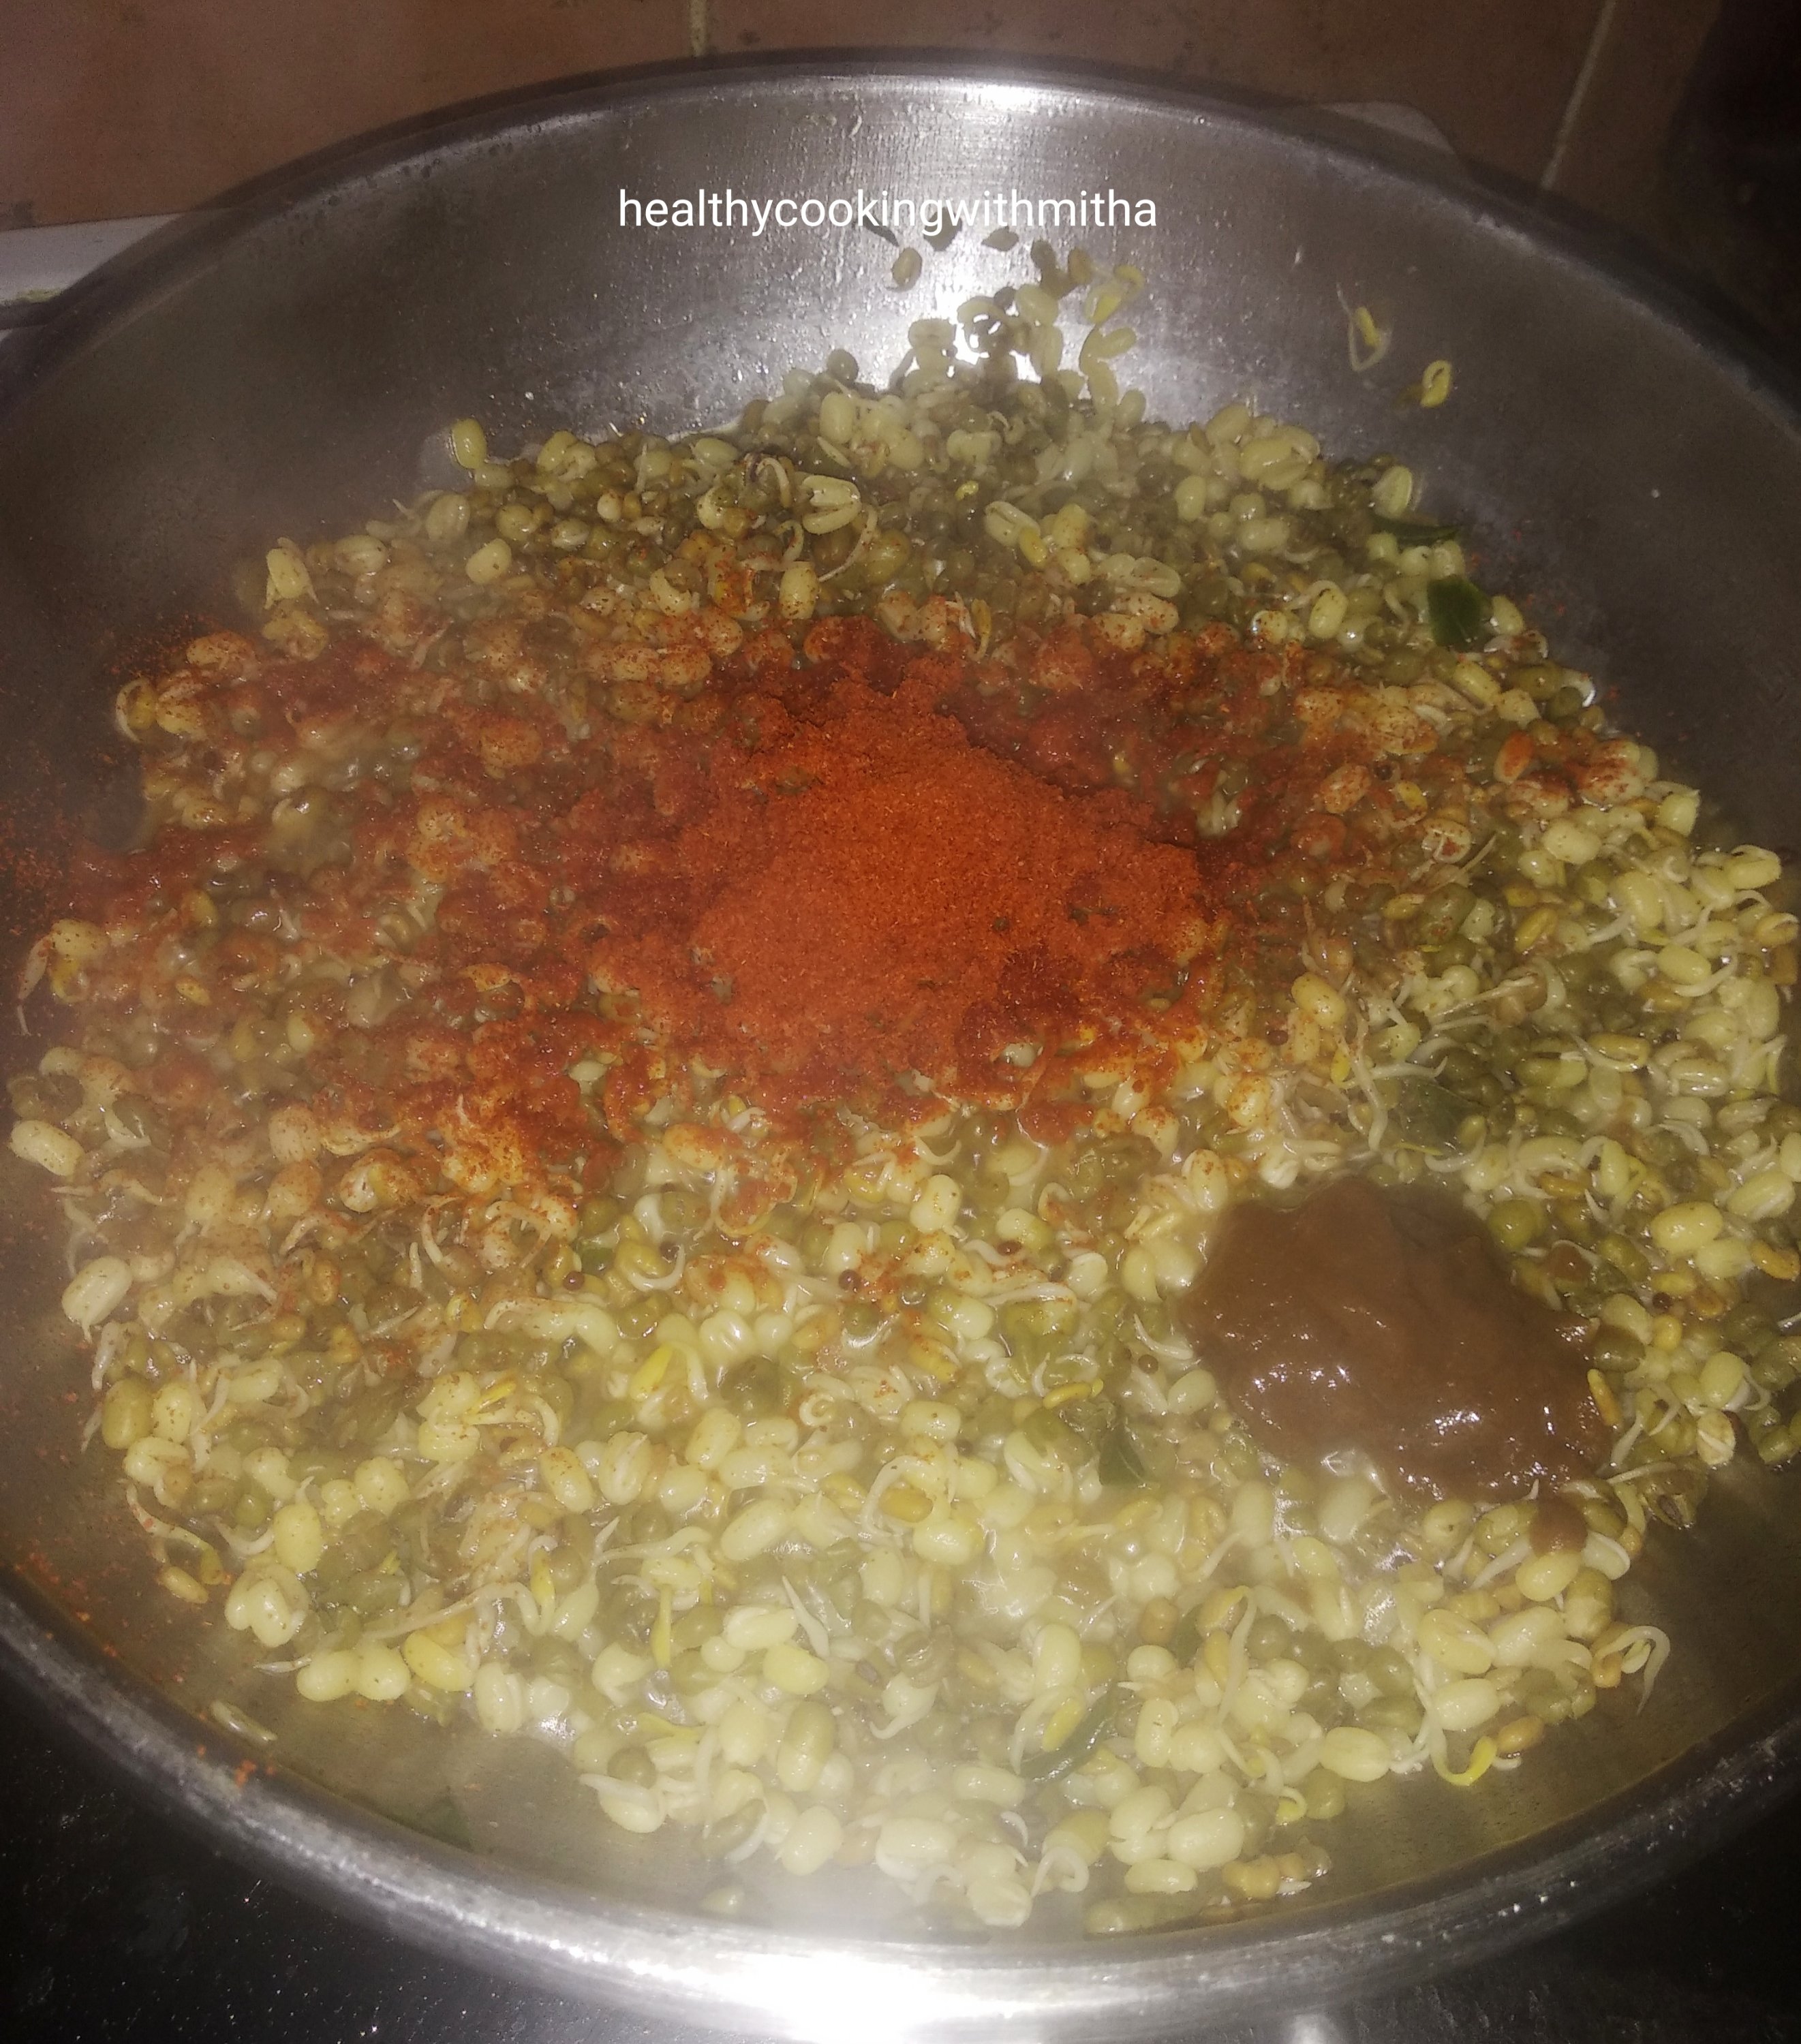
2. Heat oil in a pan. Splutter mustard seeds. Add curry leaves and red chillies. Now add raw bananas and fry for few minutes till it cooks halfway.

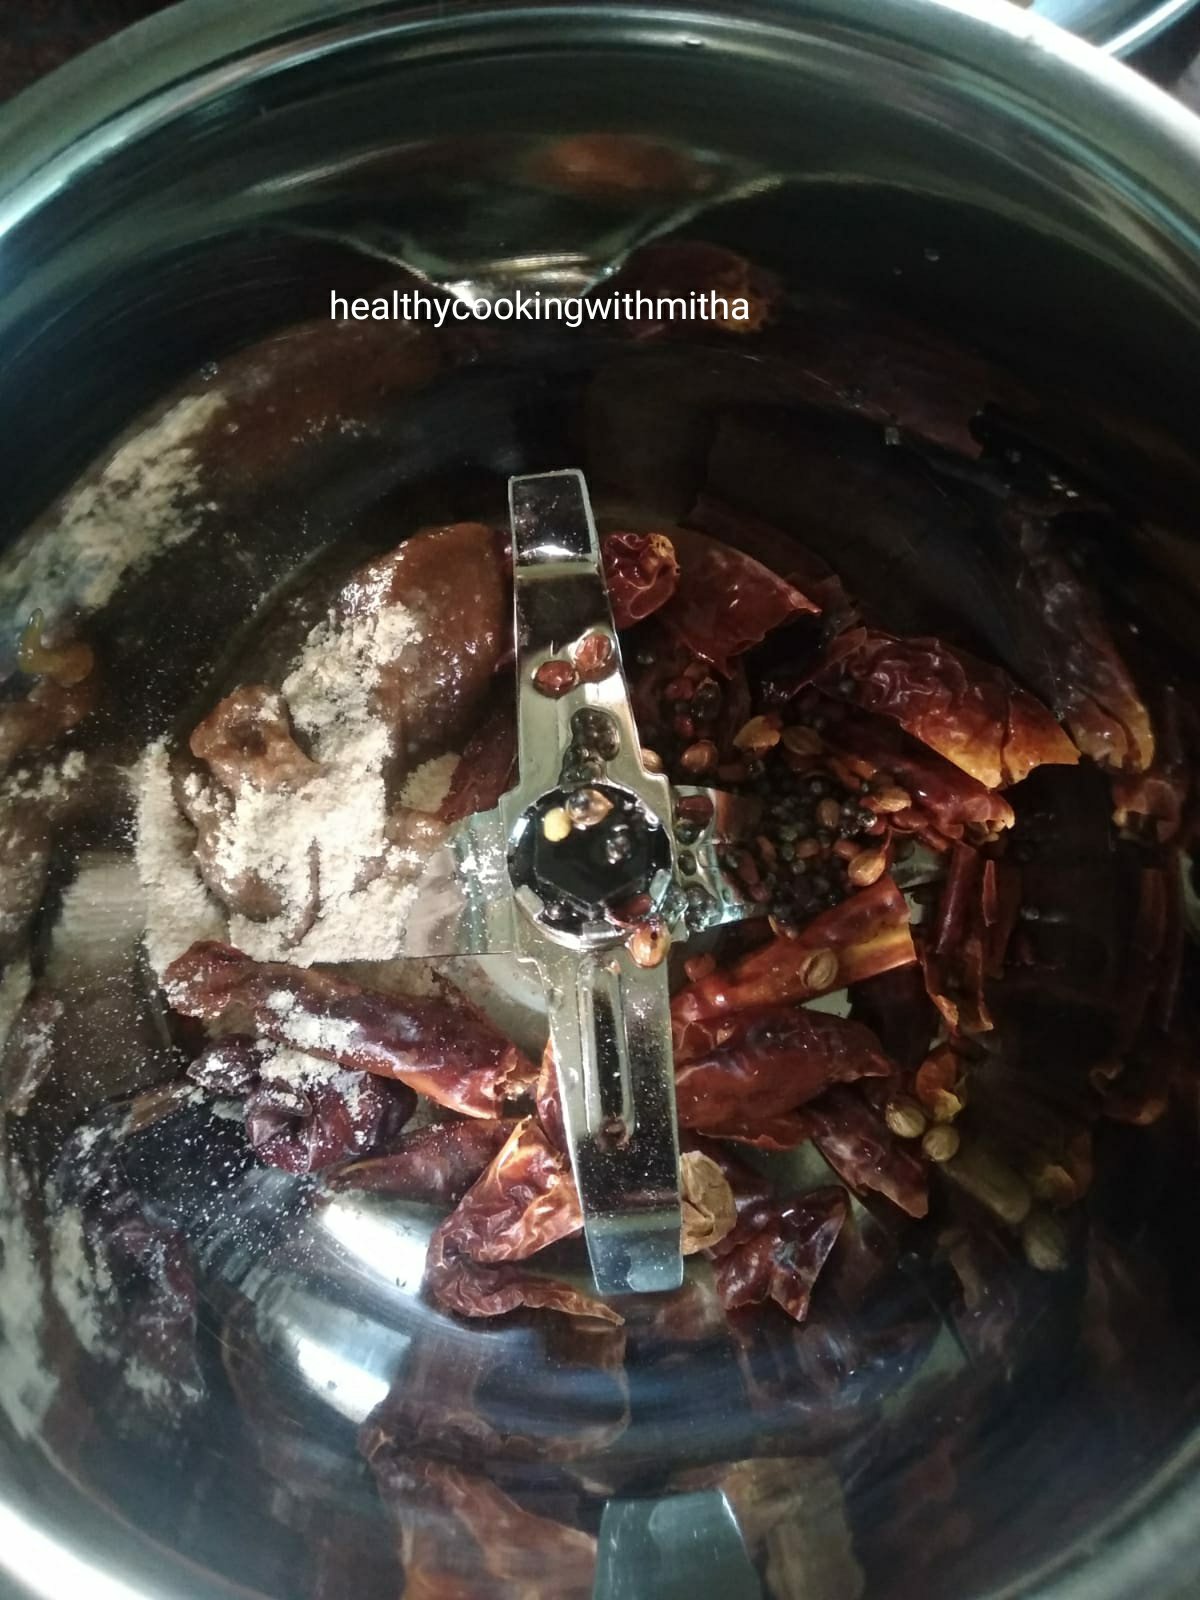
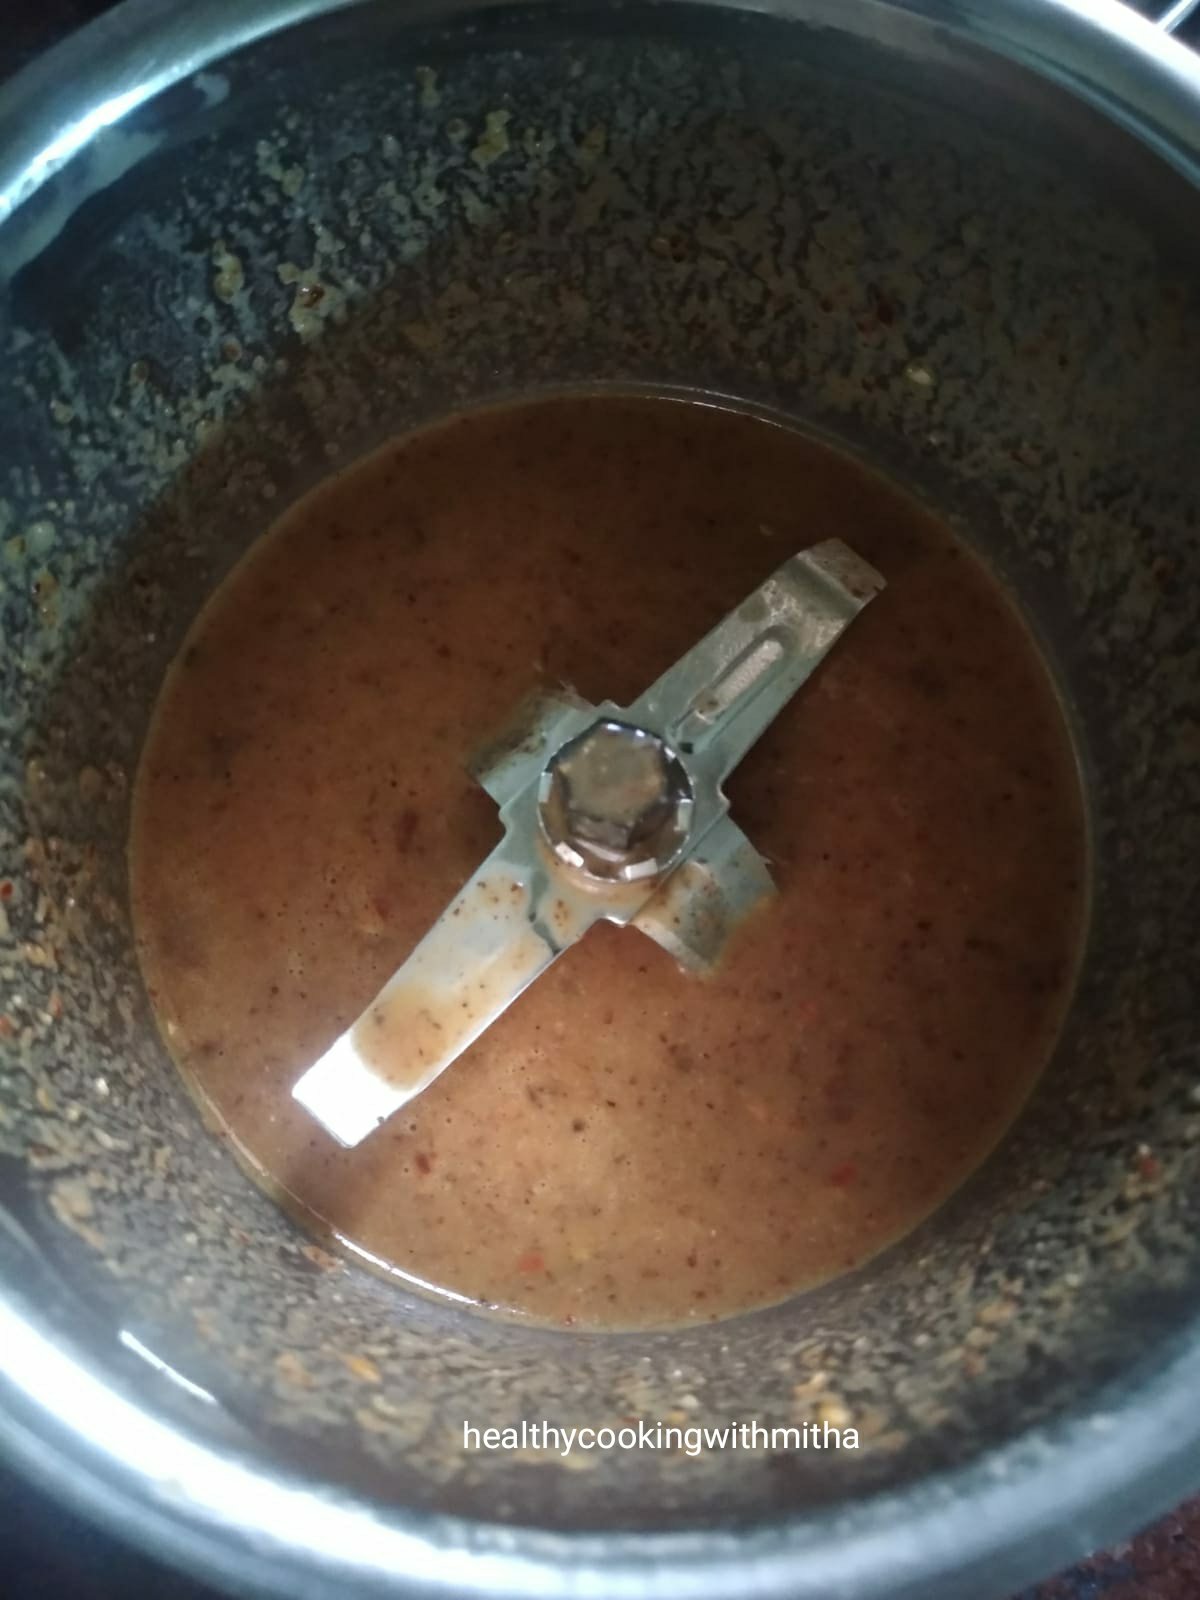
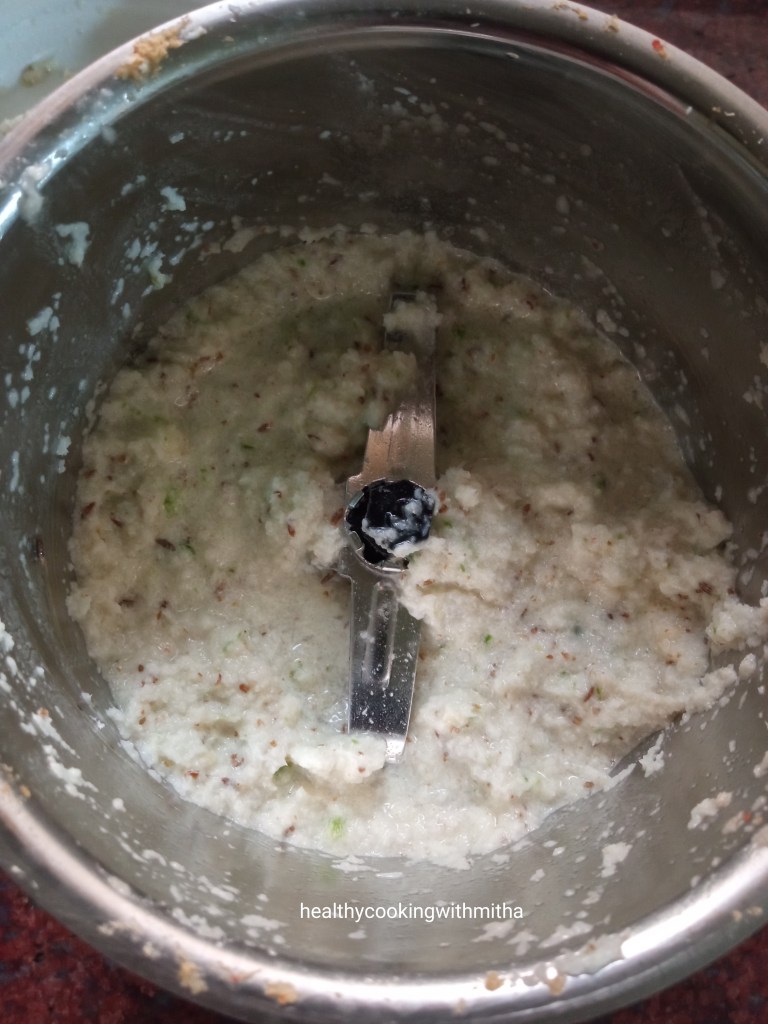
3. Now grind coconut, green chillies, Jeera and ginger along with about 1/4 Cup water to a coarse paste. Don’t make a smooth paste.

4. Now add this paste along with salt, cooked moong to the raw bananas and cook together till the raw bananas turn soft. Also add water as needed. This a thick gravy.

5. Serve hot with rice meals.

Notes:

* This curry thickens as you keep it. So add water as much as you like it. We prefer it dry as we eat with matta rice gruel for dinner. Adjust thickness using water.

* You can substitute raw bananas with Banana stem (gabbo) too. That’s how it’s made among Kerala Konkani people.

* Do remember to grind the coconut mixture to a coarse paste to get the best flavour.

* Also add couple of more green chillies if you like spicy curries.

* If you want to make the curry in less quantity, soak only 1/2 Cup moong and use 1 raw Banana in the curry. This will serve 2 people for 1 meal.

* I make Easy Raw Banana tawa fry as an accompaniment with this curry along with rice. The meal turns out very tasty.

* You can also try this Sprouted moong methi sukke. Tastes Amazing!

Kharbas dosa | no fermentation dosa

My husband is on vacation since two weeks now and has been looking out for new recipes to try for me. It has actually made my job easier as I no longer have to think what to cook (which is a huge task in itself 😅). He searches for unique recipes (his current hobby 😀) and sends it to me. I just have to make it (which I don’t mind at all as I love cooking ❤️)

So last week he sent me this recipe of Kharbas dosa which he found in a video. I was amazed as it did not need fermentation at all and even then turned out super crispy. It also came out so tasty that I had to share the recipe with all of you. 😍

Hope you all try and love this dosa too. Our dosa loving family could not get enough of it and I made it again today for them. Happy and healthy cooking! ❤️

RECIPE:

Recipe credits: jyoth youtube channel

Ingredients: {Gives about 12 to 14 dosas}

2 Cups Raw white rice or Idli rice (I use any variety of short grain white rice available here)

1 Cup Urad dal (I used split ones)

2 tsp Methi or Fenugreek seeds

2 tsp Peppercorns or to taste

2 Kashmiri long red chillies

Salt to taste

Ghee or oil to cook the dosa

Step by step recipe:

1. Wash well and soak the rice, Urad dal, Methi along with pepper corns and red chillies for atleast 4 hours.

2. After it gets soaked, drain water completely and add to the mixer jar along with salt.

3. Add about 1 to 1 1/2 Cups water and grind to a smooth paste. Pour into a bowl.

4. Now the batter is ready to make dosas. Heat a dosa pan and pour a ladle of the batter. Spread into a large circle. Cook till the surface looks cooked and the underside turns crispy adding ghee or oil in between..

5. Serve hot with a chutney of your choice.

Notes:

* Methi is a very important ingredient in this dosa as we are not fermenting it. Do not skip Methi.

* The amount of pepper is to taste. If you don’t like pepper, you can skip it but I suggest to add atleast 1 tsp of pepper and 1 red chilly for the great flavour.

* Since I am a huge fan of fermentation as it increases the nutritional value in manifold, I do ferment this dosa batter as well but it makes no change to the texture of the dosa. It is crisp even before fermentation. The taste is also the same. So I suggest if you have time, ferment it for few hours. Else it’s okay as this dosa really does not need fermentation.

* The chutney I make with this dosa is ginger chutney. Just grind coconut with green chillies, ginger and tamarind paste along with salt and water to a fine paste. Pour into a bowl and add little water to bring it to chutney consistency. Season with spluttered mustard seeds and curry leaves in coconut oil.

Churmundo with jaggery | easy wheat flour jaggery ladoos

Even though I am good at making pedas, ladoos are one sweet I had never attempted much. When I did attempt few months back, it had got such weird shapes 😆 that I thought my hands were not meant to make those perfect, droolworthy round round ladoos.

And guess which ladoos proved me wrong? Our own amchi Churmundos.❤️ Churmundos are usually made with wheat flour and sugar powder but I have used jaggery here. My fondest memory with these ladoos are both my grandmothers making lovingly for me during childhood.

My paternal grandmother or Annama and my aunt Chandriakka still make big boxes of these ladoos and give it to me when I return back to Qatar after vacation. Those ladoos are loaded with love and I eat each bite remembering them.

So this time since we could not visit them, I decided to make them myself (“no matter what shape they turn out!!” was my thought). And imagine my happiness when it turned out so perfect. My husband said it was the best Churmundo he had ever eaten. The kids too loved it very much and it got finished off quickly.

So I thought why not share this easy recipe of Churmundos. I make with jaggery as my family prefers jaggery sweets to sugary ones. Even though I am not very creative, I decorated them like a lamp as Diwali is less than a week away and I am all set for the festival. How do they look? 😬😍

As an after note, how many of you remember the small colourful liquid bindis that we used to decorate as kids during festivals? Don’t these ladoo designs resemble it? It was very unintentional but I was reminded of those bindis after I saw these designs. Such good memories they were. Childhood was definitely special. Happy festive season to all of you! ❤️

RECIPE:

Ingredients: {Makes about 10 to 12 small ladoos}

1 Cup Whole wheat flour/ Atta (I use Pillsbury brand of wheat flour)

3/4 Cup powdered Jaggery

1/4 Cup Ghee (plus 1 Tbsp to fry raisins)

2 Tbsp Raisins or as per your taste

1/4 tsp Cardamom powder

Step by step recipe:

1. Heat 1 Tbsp Ghee in a pan and add raisins. When they plump up, remove into a bowl. Keep aside.

2. In the same pan, melt ghee (don’t make it very hot. Just melt it on low flame.) Add wheat flour and start sauteing on low flame.

3. Initially it will be in small lumps but as you continue sauteing on low flame while patting the lumps using the spatula (as shown in the below picture), it will be a smooth mixture. (This is after about 5 mins of sauteing)

4. Continue sauteing and you will get a wonderful aroma, there will be no raw smell of the flour and the whole mixture will come together as shown below. It takes me exactly 8 mins from start to get the mixture to this stage but might vary depends on your pan and the flame.

5. Remove immediately to the bowl that you added raisins. Also add jaggery powder and Cardamom powder.

6. Mix well using the spatula when still the mixture is hot.

7. Now make ladoos using your hands when the mixture is still warm. If you are finding difficulty in forming the ladoos and they are breaking apart, add little ghee to the mixture and you can easily make ladoos. But the amount of ghee is perfect to make these ladoos and I don’t think more will be required.

8. Serve warm or store in an airtight container.

Notes:

* As it is very quick to make, I make only with 1 Cup of wheat flour at a time which yields me about 11 ladoos. They get finished off by my family within two days. I store it in an airtight container at room temperature.

* Be careful to saute the wheat flour in very low flame. I use electric cooking range and I keep in the flame between medium and low. It took me 8 mins of sauteing on this flame. (tip: keep your favorite songs while sauteing and you won’t even realize that you have sauteed that much 😃)

* Raisins are to taste or can be skipped but gives a good flavour to the ladoos.

* Jaggery powder can be substituted with sugar powder if your family does not like jaggery flavour.

* While binding ladoos if you are unable to form them, add ghee if needed to the mixture and also your palms to get neat ladoos.

* These ladoos are initially very soft but turn firm on keeping at room temperature for little while.

* This is how I make cardamom powder. I remove the seeds of cardamom from the skin. Crush the seeds using mortar pestle into fine powder. Use as needed. I used seeds from 2 cardamoms to get 1/4 tsp powder. (The skin can be added to tea for great flavour.)

Moong dal Kosambari | Konkani style seasoned salad

Click on the image to save the recipe on Pinterest.

I have been blogging continually for a week now and my readers must be wondering what kind of energy has got into me 😅. Actually I realized how much time I was wasting in overthinking and felt it was best if I deviate my time towards something productive. So here I am with my son sleeping in my arms completing his evening sleep while I am blogging with my favorite songs in the background on spotify instead of random browsing or feeding my moody thoughts (which are sometimes too much to handle for the sensitive me 😬).

This kosambari is my favorite accompaniment to our rice meals. It is quick to assemble, very healthy with protein rich moong dal and tastes yummy too. People from Karnataka and Konkanis know this as they have grown up eating it at home, in temples and even in weddings.

There are many variations but this is how I make kosambari. It can beat any exotic salad in terms of taste and I am sure will won’t be able to stop eating it. It’s a favorite of my family and I have to make a huge bowl of it. Even then I hardly get to eat couple of spoons of it (my son comes when I eat my dinner and finishes off my share of the kosambari too 😂).

Hope those who don’t know will try and love it. Happy and healthy cooking!

RECIPE:

Ingredients:

1/4 Cup Moong dal

3 English cucumbers ( I use them as Indian ones are rarely available here)

1 Carrot, peeled and grated

3 Green chillies or to taste

3 Tbsp freshly grated coconut

Juice of one Indian lemon

Salt to taste

For seasoning:

1 tsp Coconut oil

1 tsp Mustard seeds

Few curry leaves

A pinch of Hing powder

Step by step recipe:

1. Soak moong dal in almost double the amount of water for about 30 to 45 mins. It will swell in size and when you bite, there will be no rawness in it. Then you can use it. Meanwhile, also wash well and chop cucumbers. Add cucumbers, grated carrot, green chillies and grated coconut in a mixing bowl.

2. When the moong dal is soaked, drain water from it completely and add to this along with salt.. Also heat oil in a pan, splutter mustard seeds and fry curry leaves slightly in it. Add Hing powder too. Then pour the seasoning over this.

3. Finally add lemon juice and mix well.

4. Serve with rice meals or enjoy as it is.

Note:

* Make sure to soak the moong dal well. When you taste and see by 30 mins, you will know whether it has rawness or can be eaten. If you feel it’s still raw, soak for more time. Anyhow, by maximum one hour, it will swell well and will be ready to be added to the salad.

* You can make this with cucumber alone or carrot alone but I love mixing both as it gives a good flavour and looks good too.

* Goes well as an accompaniment with rice and rasam.

Click on the image to save the recipe on Pinterest.

Benda Uli/ Bhindi fry/ Spicy Lady’s finger fry

If there is one vegetable that I am not fond of, it is Lady’s finger. My all time favorite veggies are potato, elephant yam, beetroot, carrot ie all underground vegetables 😋. But Mr hubby hates potato and beetroot. So all these years, we have never bought beetroot and rarely use potato except for masala dosa or chapati bhaji. Husband’s food choices replace mine (Kahaani ghar ghar ki, I suppose! 😆)

Now guess which veggie is his favorite? Yes, Lady’s finger 🙄😅. So this lady makes way into our house more than quite often and he makes me eat it saying it is healthy 😬. So I have learnt to cook it in a way that I can atleast bear to eat it.

Benda Uli is commonly made at his place and the only dish he too likes with Bhindi. Though it is made little liquidy, I make it crisp so that it does not turn slimy (which I absolutely dislike). It turns out good and even my kids like it.

Hope you all try and like it as well. Happy and healthy cooking!

RECIPE:

Ingredients:

3 Cups chopped Lady’s finger / Bhindi/ Benda

2 Tbsp Coconut oil

1 medium sized Onion, finely sliced

1 medium sized Tomato, finely chopped

1 tsp Red chilli powder or to taste

Salt to taste

Step by step recipe:

1. This is how I prepare the Lady’s fingers for any curry. Wash them well under running water. Then allow it dry completely. Just keep it as such for little while and it will air dry. Chop off both ends of the Lady’s fingers and then cut into small pieces. Put in a bowl and keep aside.

Note: Ensuring that there is no water in the Lady’s fingers avoids the sliminess in the curry.

2. Now heat oil in a pan and add finely sliced onions. Fry till it turns translucent.

3. Now add tomatoes and fry till it turns soft.

3. Add the chopped Lady’s finger and fry it continually till it cooks. Don’t add water at all or else the curry turns slimy. It will take time but the texture of Lady’s finger will be very crispy and tasty.

5. Now add red chilli powder and salt. Mix well such that everything blends well. Cook for couple of minutes.

6. Remove from flame. Serve with rice meals.

Notes:

* Towards the end of frying, I purposely allow it to get little burnt ( to a little brownish tinge and not to black ). It gives it a very good flavour to the curry.

* For Lady’s finger, the most important part is preparing the vegetable. Wash first and then allow it to dry off completely. This ensures that slimes don’t form while cooking the Lady’s finger.

* Usually Benda Uli is made little liquidy but I prefer this method of cooking it (water free) as it gives crispy and tasty curry.

* Red chilli powder is to taste.

Rava Bhakri /Rullanva Doddaka/ Instant Semolina savory pancakes

I am a huge fan of our age old amchi (Konkani) dishes. They are not only easy to make but very healthy and super delicious too. Also, I am a firm believer that breakfast should be the most filling meal as it gives us energy for the day and keeps us away from snacking often.

This Rava Bhakri is exactly that. Very filling and super tasty too. It’s my go to breakfast when I have forgotten to soak for dosas or idlis. My kids call it “Rullanva bobbo” and demand it whenever they feel hungry. So this “bobbo” becomes their snack too when they come tired after playing. And the best part is, it hardly takes 10 mins from start to finish to make this.

Now that’s how I love my dishes. Less time in the kitchen, yet healthy, kid friendly and delicious. Most Konkanis know this recipe but sharing for those who don’t know. Hope you all try it too. Happy and healthy cooking!

RECIPE:

Ingredients:

2 and 1/2 Cups Semolina (wheat rava, upma rava, sooji)

Approx 3 Cups Water

1/4 Cup Wheat flour (Atta)

1/4 Cup freshly grated Coconut

1/4 Cup Yogurt/ Buttermilk (optional)

2 to 3 Green chillies

1 inch Ginger piece, grated

1 Tbsp Sugar

Salt to taste

Ghee or coconut oil to cook the dosa

Step by step recipe:

1. Take Semolina, wheat flour, sugar, salt and coconut in a mixing bowl.

2. Add yogurt, water, Ginger and green chillies. Mix well and make a lump free batter of thick consistency. (It took me 3 Cups water for 21/2 cups rava. Might vary depending on the brand of rava.)

3. Now heat a dosa pan and add a ladle of dosa batter. Spread it into a thick dosa.

4. Cover and cook till the surface cooks. Add ghee or oil on top.

5. Flip and cook for a minute.

6. Serve hot with butter and pickle.

Notes:

* Rava absorbs a lot of water very quickly. But it varies with the brand of rava. So best is to add water one cup at a time in the beginning and then add little by little to make a batter thicker than dosa batter consistency.

* This batter can be made before hand and refrigerated. I make it at night and refrigerate for breakfast the next day as it saves a lot of time in the morning. Just that the rava absorbs all the water. So it needs and addition of about a cup of water to bring it back to pourable consistency.

* The addition of yogurt or buttermilk is optional but gives a nice tangy flavour to it.

* You can also grind the coconut along with Ginger and green chillies. Then add to the batter but I love the bite of green chillies. So I don’t do that way.

* I don’t even need pickle with this. Butter is an excellent accompaniment to this bhakri.

* You can also add an mashed overripe banana to this batter. Tastes really delicious!

* You can also add grated cucumbers to this to make Instant Cucumber dosas or Thoushe Bhakris.

Banana flower/ Bondi Chutney & Bondi Upkari

Banana flower is very healthy especially for our digestive system and kidney function. So I always try to include it in our meals at least once a week. This chutney is my favourite which my mother used to make regularly.

As good as it is for health, it is also lipsmackingly delicious . We enjoy it with our rice meals and also with dosas. Here’s sharing how my Amma used to make this chutney and also the upkari.

Do try it and you will definitely love it. Happy and healthy cooking! ❤️

RECIPE:

Ingredients:

1/2 a medium sized Banana flower/ Bondi (I took the other half for upkari)

1/2 Cup fresh or desiccated Coconut

2 tsp Oil

1 tsp Mustard seeds

1 tsp Cumin seeds/ Jeera

A sprig of curry leaves

1 tsp Tamarind paste

3 dried Red chillies or to taste

Salt to taste

Step by step recipe:

1. First of all, remove the outer layers of the banana flower along with the small white flowers inside. Just two or three layers will do till you get the inner firm banana flower. Chop it finely and immediately add to a bowl with water.

Note: I got 5 Cups of chopped banana flower in total. Took 2 cups for chutney and 3 cups for upkari.

2. Heat a pan with oil and add mustard seeds, cumin seeds and curry leaves.

3. When mustard seeds splutter, add the drained chopped banana flower to it. Fry well and cook with very little water till it turns soft.

4. Now add coconut and fry till it turns light brown in colour.

5. Allow it to cool. When it cools down, grind it along with red chillies, Tamarind and salt to a smooth paste adding water little by little as needed as it’s a thick chutney.

6. Remove in a bowl and serve with rice meals.

Notes:

* For the upkari or stir fry, Heat oil in a pan and add finely chopped garlic. Fry till garlic turns light brown in colour. Add the drained chopped banana flower and cook till it turns soft adding salt and red chilli powder as it cooks. Garnish with grated coconut on top. {On days that we don’t eat garlic especially during fasting days, I add Hing or asafoetida instead to the seasoning and it tastes delicious too.}

* While discarding the outer layers of the banana flower, discard the two or three hard and outermost ones. Rest are consumable.

* Immediately add the chopped banana flower to water or else it will turn black.

* Cook the banana flower well or else the chutney will have a raw flavour.

* This chutney is thick and can be enjoyed with rice meals or even with dosa.

* If refrigerated, it can last well for two days.

Broken Wheat sweet khichdi | Gonva Khana Khichidi

Usually, I don’t time my recipes according to festivals as my blogging depends on the time I get after my household works along with taking care of two kids. But this time it is different. With the encouragement I got from my readers for my previous posts, this sweet recipe is definitely worth spending my sleep time on, just to post for Vijaya Dashami. Thank you readers! Without you to read this, I will never be motivated to write. ❤️

The significance of Vijaya Dashami has two stories from the Indian mythology. One is the killing of Ravana by Lord Rama and the second is the killing of Mahishasura by Goddess Durga, both of which are celebrated on this auspicious day signifying the victory of righteousness and goodness over evil.

My heartfelt prayers to God on this occasion is to not allow the bad qualities in me take over the good qualities at any moment and also let me not hurt anyone knowingly or unknowingly. As I write this, I know it is difficult as we are all humans and make mistakes. But if we continue praying, God will definitely help us overcome everything in life. We just need to leave everything to him and trust him. As my Amma says, do good and be good, that’s all we can do. Whatever has to happen, will happen according to God’s will and we can’t change it. Once we understand this, we are at peace.

On this spiritual (and a “letting out my heart” 😁) note, I would like to wish all of you a very happy Dussehra or Vijaya Dashami. Hope you all try this easy sweet which is loved in my family. May the sweetness always remain in your lives and may it be filled with happiness.

RECIPE:

Ingredients:

1 Cup Broken wheat/ Gonva Khan/ Daliya/ Lapsi

1 Cup Jaggery (powder or grated)

About 4 Cups hot Water

1/2 Cup thick Coconut milk *check notes

2 Tbsp Ghee

About 8 to 10 Cashews

About 2 Tbsp Raisins

1/2 tsp Cardamom powder

Step by step recipe:

1. Heat ghee in a pan and add cashews and raisins. Fry till the cashews turn light brown and raisins plump up.

2. Add broken wheat and roast for a minute.

3. Now, add 2 Cups hot water (at first) and cook till it absorbs all the water. Then, add 1 Cup hot water and 1 Cup more if needed, along with 1/2 Cup coconut milk.

4. Cook till the broken wheat turns soft and swells.

(Took 4 Cups water for me in total for 1 Cup broken wheat. Might vary depending upon the variety of broken wheat.)

5. Now add jaggery and mix well.

6. Keep stirring and cook till the mixture leaves the sides of the pan. Add cardamom powder.

7. Remove and serve hot with banana slices as garnish if you have.

Notes:

* The only time consuming part while making this khichdi is for the broken wheat to cook fully. Add 2 Cups of hot water first and then 1 Cup each time while checking if the broken wheat is cooked or not.

* When it cooks fully, it will swell in size and you can no longer see it white grain like but will be very soft.

* For me, 1:4 ratio of broken wheat: hot water worked perfectly to get soft yet thick texture of khichdi. If you like a little thin texture of Khichdi, then you can increase the water content.

* I add this khichdi to a plate and cut into squares. It cools down and sets, giving perfect slices. You can serve that way too if you like.

* Coconut milk gives it the richness in taste. I make Coconut milk using coconut milk powder. You can use fresh coconut milk as well.

Surna Koot | Spicy Konkani style yam pickle

Elephant yam or Surnu is my favourite vegetable since childhood and my birthday lunch would always include Surna upkari or stir fried elephant yam which Amma never forgot to make. Her love made it even tastier. I can never make it that way. ❤️

During festive occasions, this elephant yam pickle or Surna koot is commonly made by my husband’s aunt and is my absolute favourite. She is an expert cook and my Guru who introduced me to cooking post marriage (before that, I was a Amma’s baby who was hardly allowed inside the kitchen 😍).

But after marriage, I learnt a lot from my husband’s aunt or mhave as I call her. The way she cooks so lovingly for everyone taking care of everyone’s likes and dislikes has been an inspiration for me.

So here’s sharing the recipe for the pickle. We love it a lot and I regularly make it when I get elephant yam. Hope you all try and love it too. Happy and healthy cooking!

RECIPE:

Ingredients:

2 Cups finely chopped Elephant Yam/ Chena/ Soornu

Salt to taste

2 Tbsp Oil ( to fry the yam)

For the masala paste:

5 to 6 dried Kashmiri red chillies or to taste

1 tsp Tamarind paste

1/2 tsp Hing or Asafoetida powder

1/2 tsp Coriander seeds + 1 tsp Mustard seeds + 1/2 tsp Methi seeds {to be fried in 1 tsp oil}

For the seasoning:

2 tsp Oil

1 tsp Mustard seeds

A sprig of Curry leaves

Step by step recipe:

1. Heat oil in a pan and add the finely chopped Elephant Yam pieces along with salt.

2. Fry till the pieces turn crisp. Keep aside. You can deep fry instead. But I prefer shallow frying it.

3. Take dried red chillies, tamarind paste, hing in a mixer. Fry coriander seeds, methi and mustard seeds in little oil. Cool and add to the mixer.

4. Add little water and grind to a smooth paste.

5. Heat oil in a pan and splutter mustard seeds. Add curry leaves and fry till it turns crisp. Now add the ground paste. Allow it to come to a boil.

6. Now add the shallow fried elephant yam pieces and allow to cook till the pieces turn soft. Also add salt if needed.

7. Adjust water and add red chilli powder if needed. Remove from flame. Serve with rice meals.

Notes:

* In this recipe, usually the yam pieces are deep fried after applying salt. You can do it too but since I don’t like deep frying, I shallow fry it till it turns crisp. Though it takes time, it is to avoid the extra oil.

* You can adjust salt, water and red chilli powder towards the end to make it as spicy or as thick or thin as you like. It’s usually had like a semi thick gravy with rice meals.

* We enjoy it with our Matta rice gruel (congee or pej) and it’s a comforting soulfood.

Sprouted Moong Methi sukke | Kerala Konkani style spicy curry

Click on the image to save the recipe on Pinterest

I have lived a major part of my life in Kerala. So inspite of being a Kannadiga, I love many dishes from the Kerala cuisine like Avial (especially in marriage sadyas 😁), Palada payasam ( Best bakery ones 😋), Puttu Kadala and Porottas (from thattu kadas ❤️), Appam stew (from my bestie’s lunch box 😅)… I can go on and on about it..

Also, since we lived among the Konkani GSB community in Elamakkara, we got a chance to taste dishes from their cuisine too. Many of them became just like our family and used to share whatever special they cook with us. And me being a foodie used to get so excited to taste something new.

One among the dish was this sprouted Moong Methi sukke which was made by an aunty whom we call Shyamala akka. She runs a catering service from her home and also sells snacks like chips and ladoos. So when we had a function at home, we ordered meals from her and this sukke was a part of it. We all loved it so much that we had to ask her for the recipe.

She was kind enough to share it in detail with us and after that, it’s a regular at my place. It is super healthy as it includes two variety of sprouts and is so delicious that you can’t stop eating it, that’s a promise.

Sprouting is very nutritious as it manifolds the health quotient of both moong and methi. Hope you all try this curry. I am sure you will love it. Happy and healthy cooking!

RECIPE:

Ingredients:

1/4 Cup dried Fenugreek seeds/ Methi {gives about 1 Cup methi sprouts}

1 Cup whole Moong/ Green gram {gives about 3 Cups moong sprouts}

3 Cups water or as needed

1 Tbsp Tamarind

2 tsp Red chilli powder

2 tsp Coconut oil

1 tsp Mustard seeds

A sprig of curry leaves

Salt to taste

1/4 Cup freshly grated Coconut

In the below steps by step pictures, I have taken 2 Cups Moong to sprout as I needed to use it for other dishes. For this recipe, only 1 Cup moong is required which yields about 3 Cups of sprouts.

Step by step recipe:

1. Wash well and soak Fenugreek seeds and whole moong separately in atleast thrice the amount of water overnight or for atleast 8 hours.

2. Now drain the water completely from it using a strainer. Do not forget to drain the water completely.

3. Now cover and keep aside for 10 to 12 hours.

4. Now when you open after 10 to 12 hours, you can see little sprouts have emerged depending upon the weather in your place. In hot weathers, sprouting happens in a faster pace then in cold weathers. Wash the sprouts well and drain again completely.

DAY 1 of SPROUTS

5. Keep again covered for 10 to 12 hours. Then you can see that the sprouts have increased in size. Now they are ready to be used. Wash them again and drain. Keep aside.

DAY 2 of SPROUTS

6. Heat oil in a pan. Splutter mustard seeds and add curry leaves. Now add both the sprouts together (1 Cup Methi sprouts + 3 Cups Moong sprouts). Mix well.

7. Add 3 cups of water and cook covered till the sprouts turn soft but still are firm. Add tamarind paste, salt and red chilli powder.

8. Mix well and cook for 5 more mins. Add water if needed and mix well.

9. Remove from flame and garnish with grated coconut.

Click on the image to save the recipe on Pinterest

Notes:

* Methi usually takes two days to sprout while moong sprouts within a day. But I sprout both for two days as it gives good sprouts for moong too.

* Remember to drain water completely before keeping for sprouting or else the sprouts can start smelling.

* Also remember to wash well atleast once daily to avoid the sprouts going bad.

* Red chilli powder is to taste. You can reduce or increase as per your taste.

* Don’t overcook the sprouts. Just cook till they turn soft yet are firm.

* The ratio of 1:3 of methi sprouts : moong sprouts gives perfect taste to this curry.

* The process of sprouting may look difficult but trust me, your work is very less. You just need to soak, drain and wash. That’s all. Rest work is done by the sprouts themselves. 😁 (I have just added a lot of step by step pictures so that it’s helpful for people who are new to sprouting.)