Click on the image to save the recipe on Pinterest
We love salads with our meal. My kids specially love them. Dinner time is less hassle free when salad is available as they finish off without any fuss. So I make different varieties of salads everyday.
Since we are vegetarians, our protein comes from pulses and beans. So it is important to include them in our diet. And what better way that this salad. Also, love how gorgeous it looks. Mixed beans give a wonderful bite and is an amazing accompaniment to the meal.
I love eating this salad in itself too. Makes for an excellent snack option. Hope you all like this idea. Happy and healthy cooking!
RECIPE:
Ingredients:
2 Tbsp Kidney beans/ Rajma
2 Tbsp Pigeon peas/ Black eyed beans/Lobia
2 Tbsp White or black Chana/ chickpeas
1 medium sized Onion
1 medium sized Tomato
2 green chillies
1 tsp Chat masala
Salt to taste
2 Tbsp coriander leaves
Juice of half a lemon
Step by step recipe:
1. Wash well and soak the beans for 6 to 8 hours or overnight.
2. Pressure cook it together till it turns soft. Cool and refrigerate. Use when making salad.
Note: Kidney beans and chickpeas take the same time to cook. Pigeon peas cook quickly but still does not mash when cooked along with the other beans.
3. To the cooked mixed beans, add finely chopped onions, tomatoes, green chillies, coriander leaves, chat masala and salt.
4. Squeeze lemon juice, mix well and you are done.
5. Serve freshly made salad with your meal or make this a meal in itself.
Notes:
* You can also add moong sprouts to this salad.
* I sometimes add cucumber too.
* Green chillies are optional if making for kids. You can add a pinch of black pepper powder instead.
* Serve immediately after mixing onions in it as it will start smelling if kept for long.
* You can soak and cook the beans. Refrigerate and use when required.
Click on the image to save the recipe on Pinterest
Click on the image to save the recipe on Pinterest
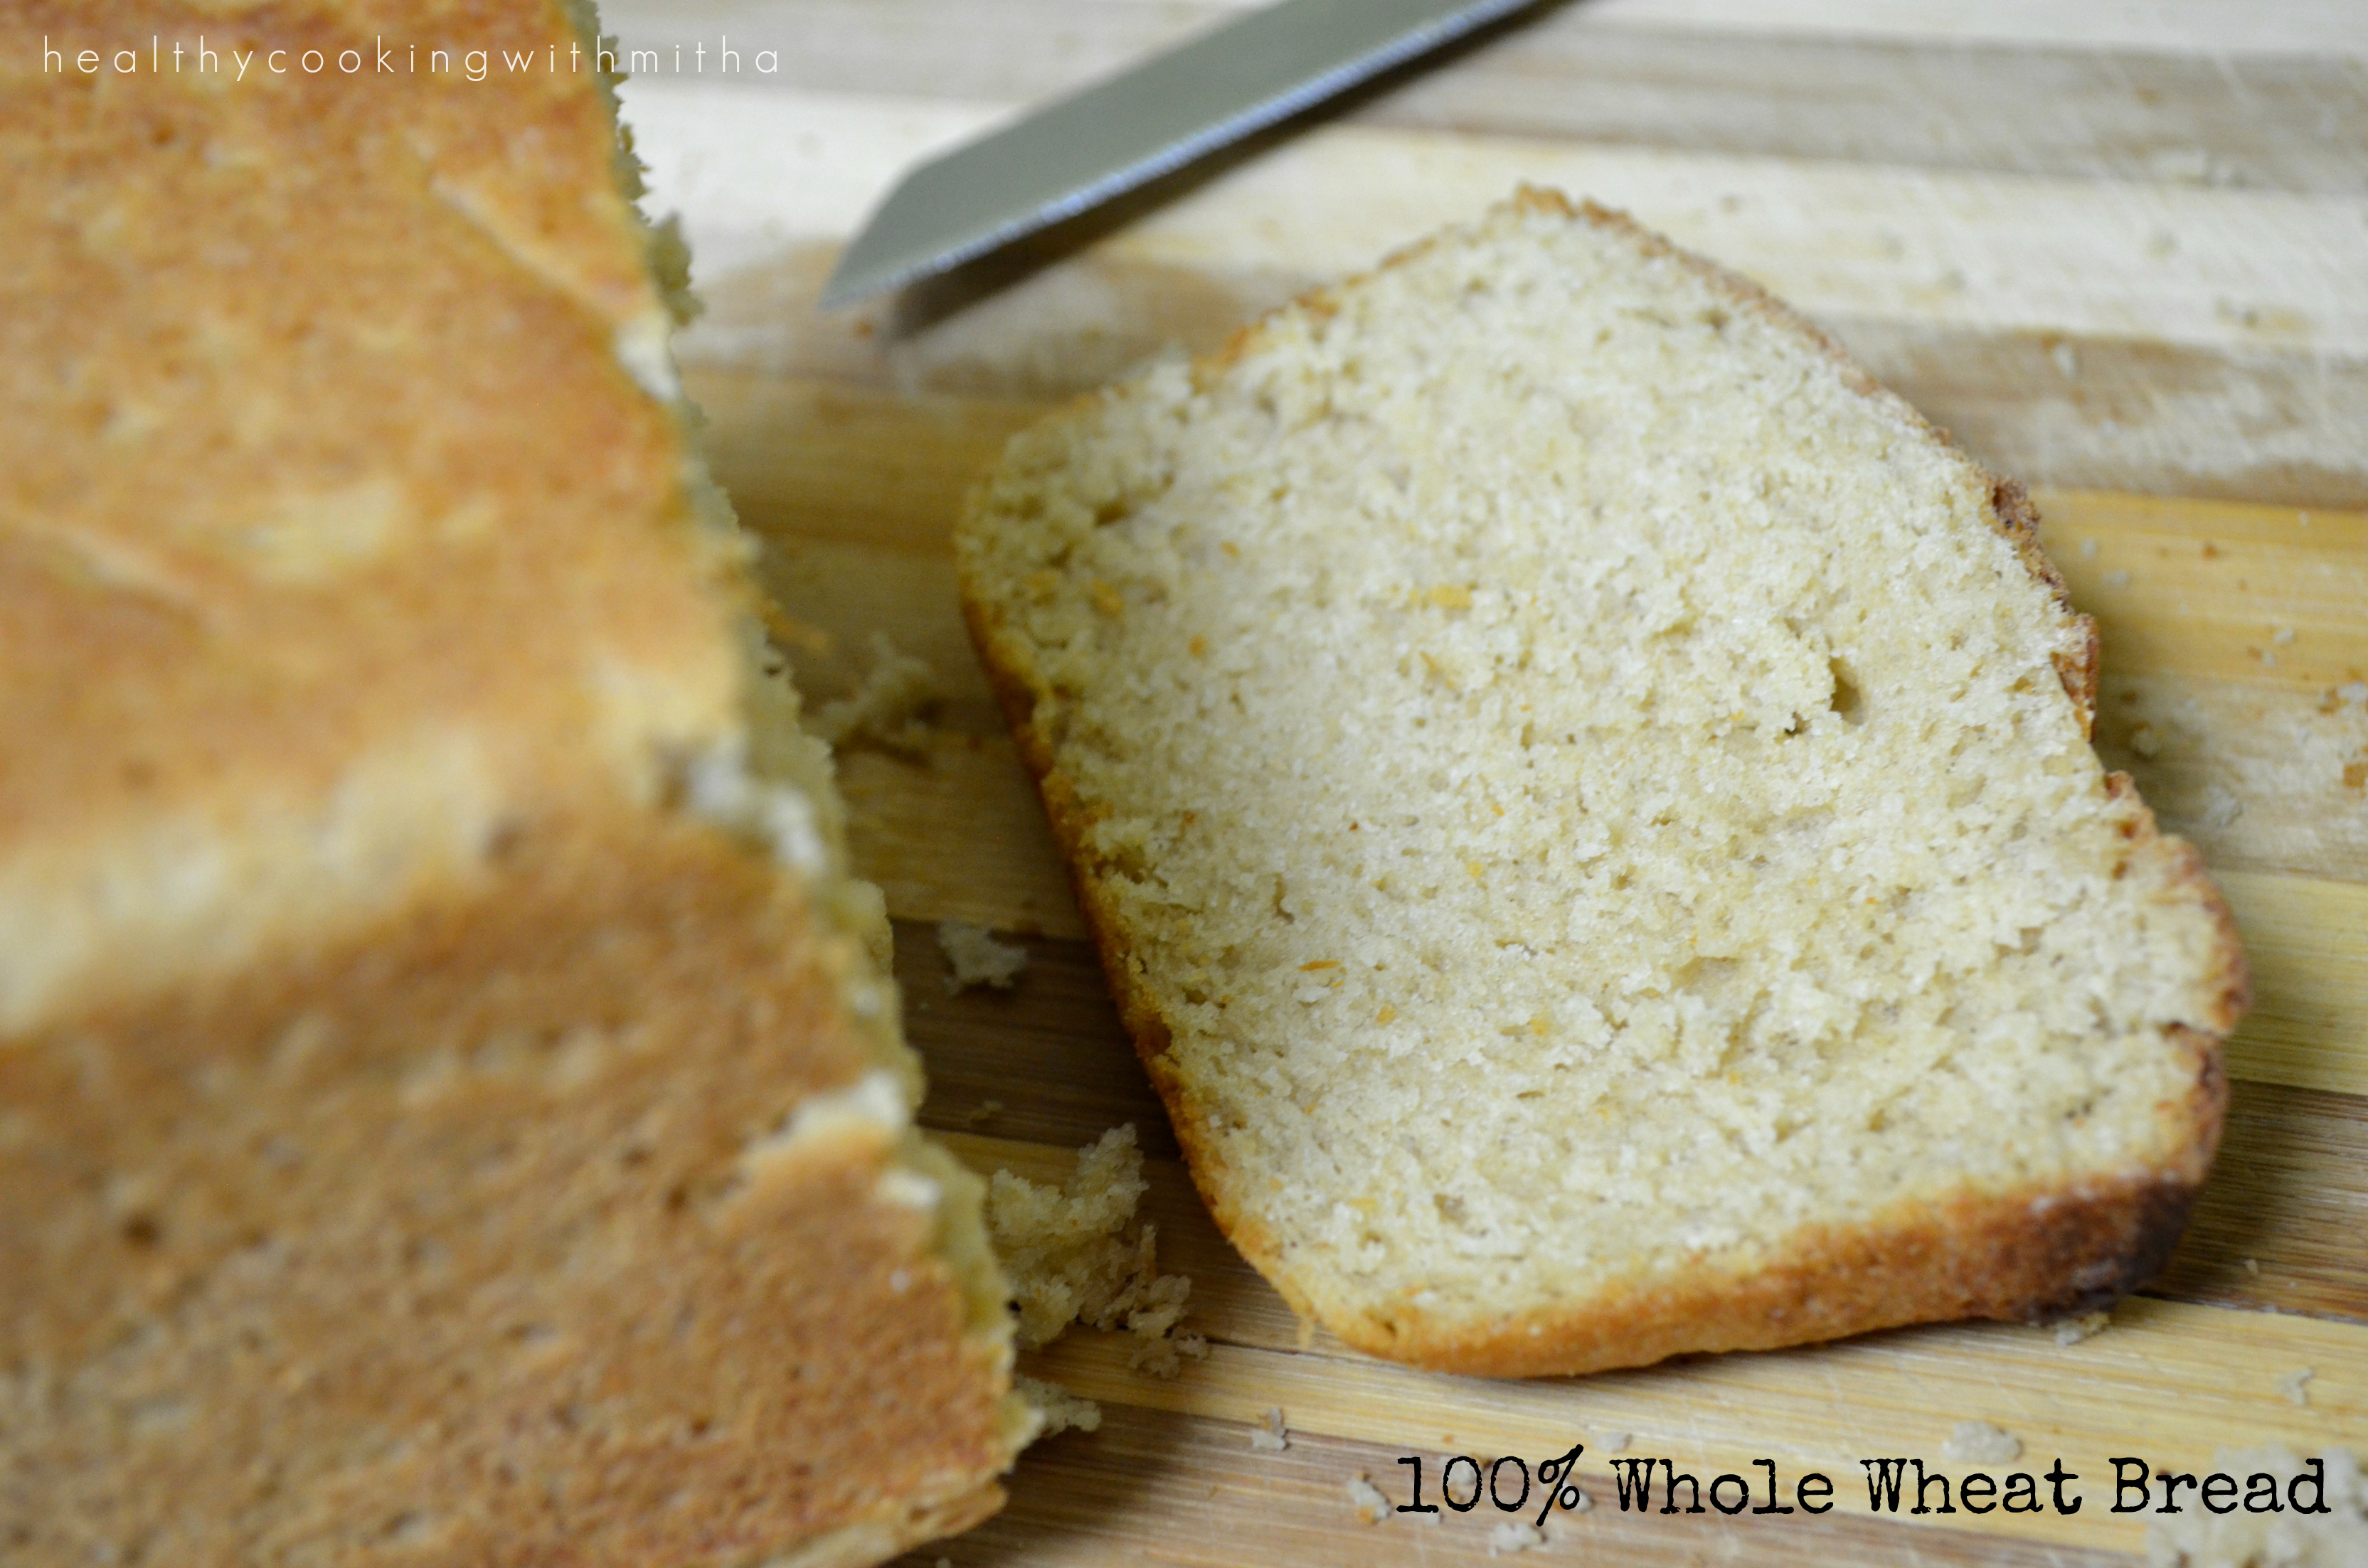
My journey with bread baking started many years ago and after numerous trials, I am happy to say that I can now bake a perfect whole wheat bread. My kids love this bread and prefer it anyday over store bought ones even though it’s been long we have not bought our bread. I bake it freshly when needed and it’s not difficult too.
Just a matter of practice and following the steps well. This recipe has been most requested for by my readers and I am very happy that finally it is ready to share with all of you.
As always, do let me know if you have any doubts and it would be my pleasure to help. Happy baking!
RECIPE:
Ingredients:
3 Cups whole wheat flour/ Atta (I usually use Pillsbury brand)
1 to 1 1/2 Cups water (depending on the brand of atta)
2 tsp Instant yeast
1 tsp Salt
2 tsp Jaggery/ Brown sugar/ regular sugar
2 Tbsp Yogurt or thick curd
3 Tbsp Ghee (plus 1 Tbsp to coat the dough before rise)
Little milk to brush the dough before baking
Little butter to brush the dough after baking
Step by step recipe:
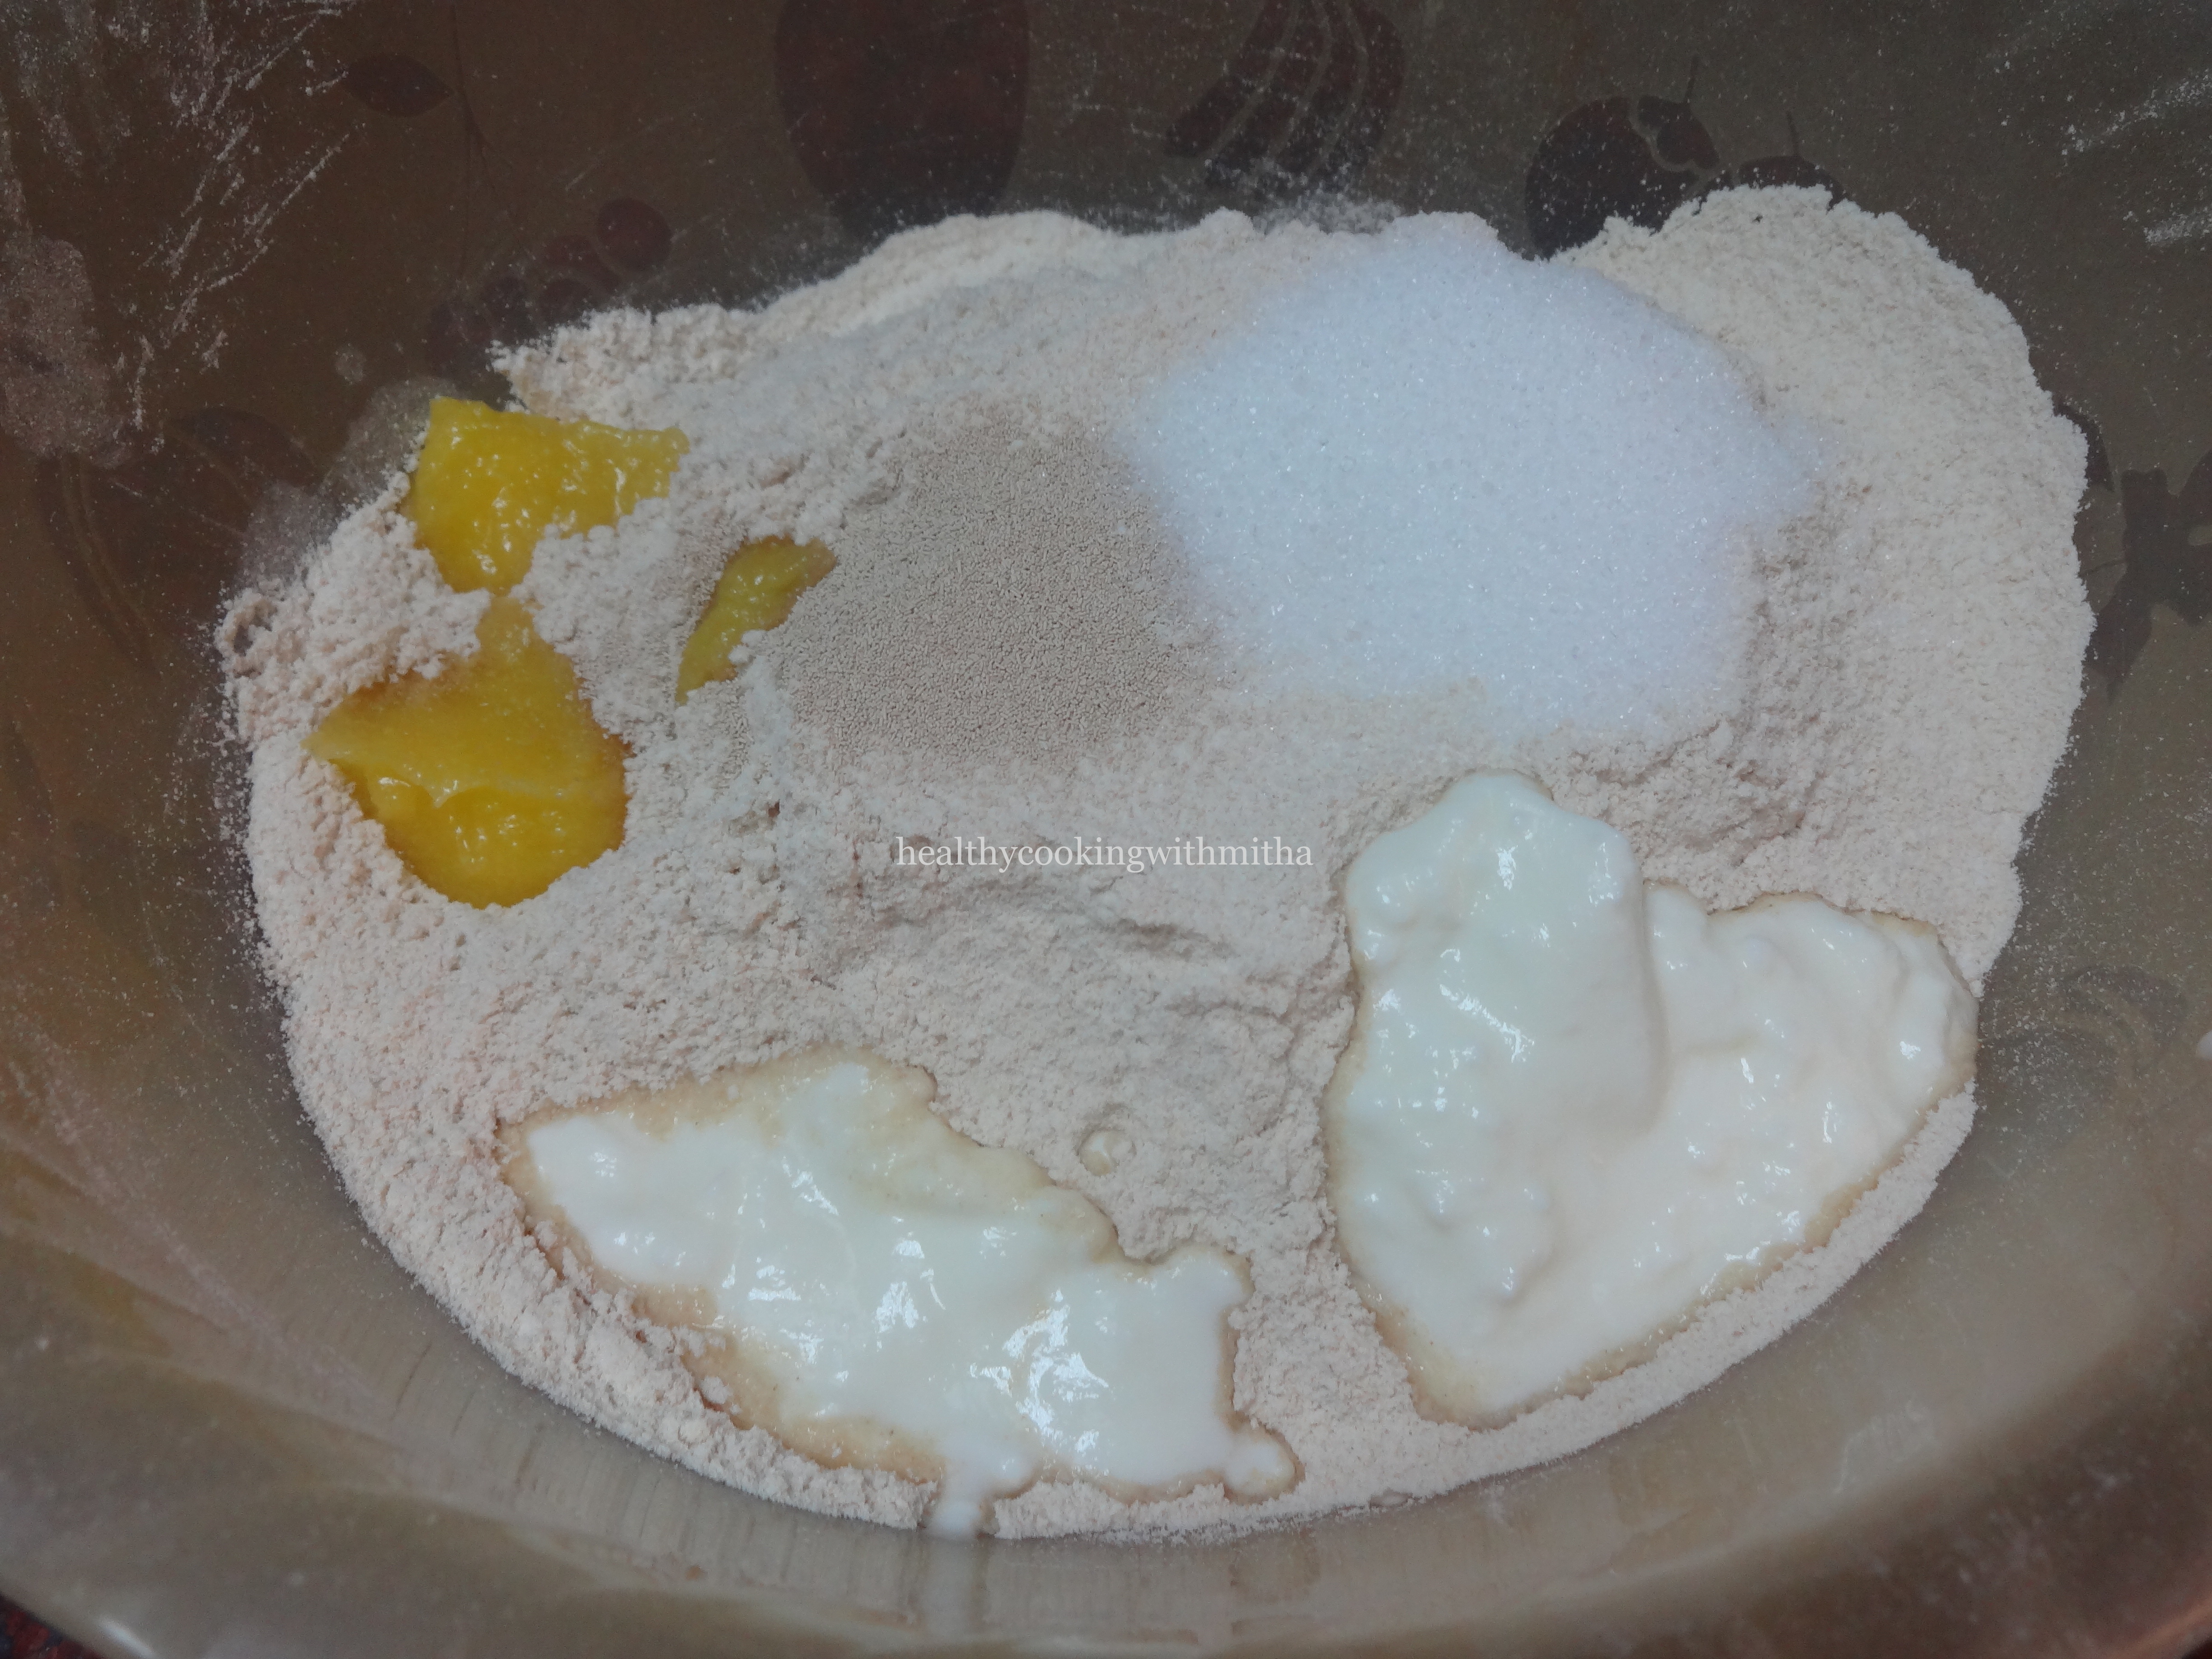
1. Take 3 Cups of wheat flour. Add instant yeast, sugar, salt, yogurt and ghee.
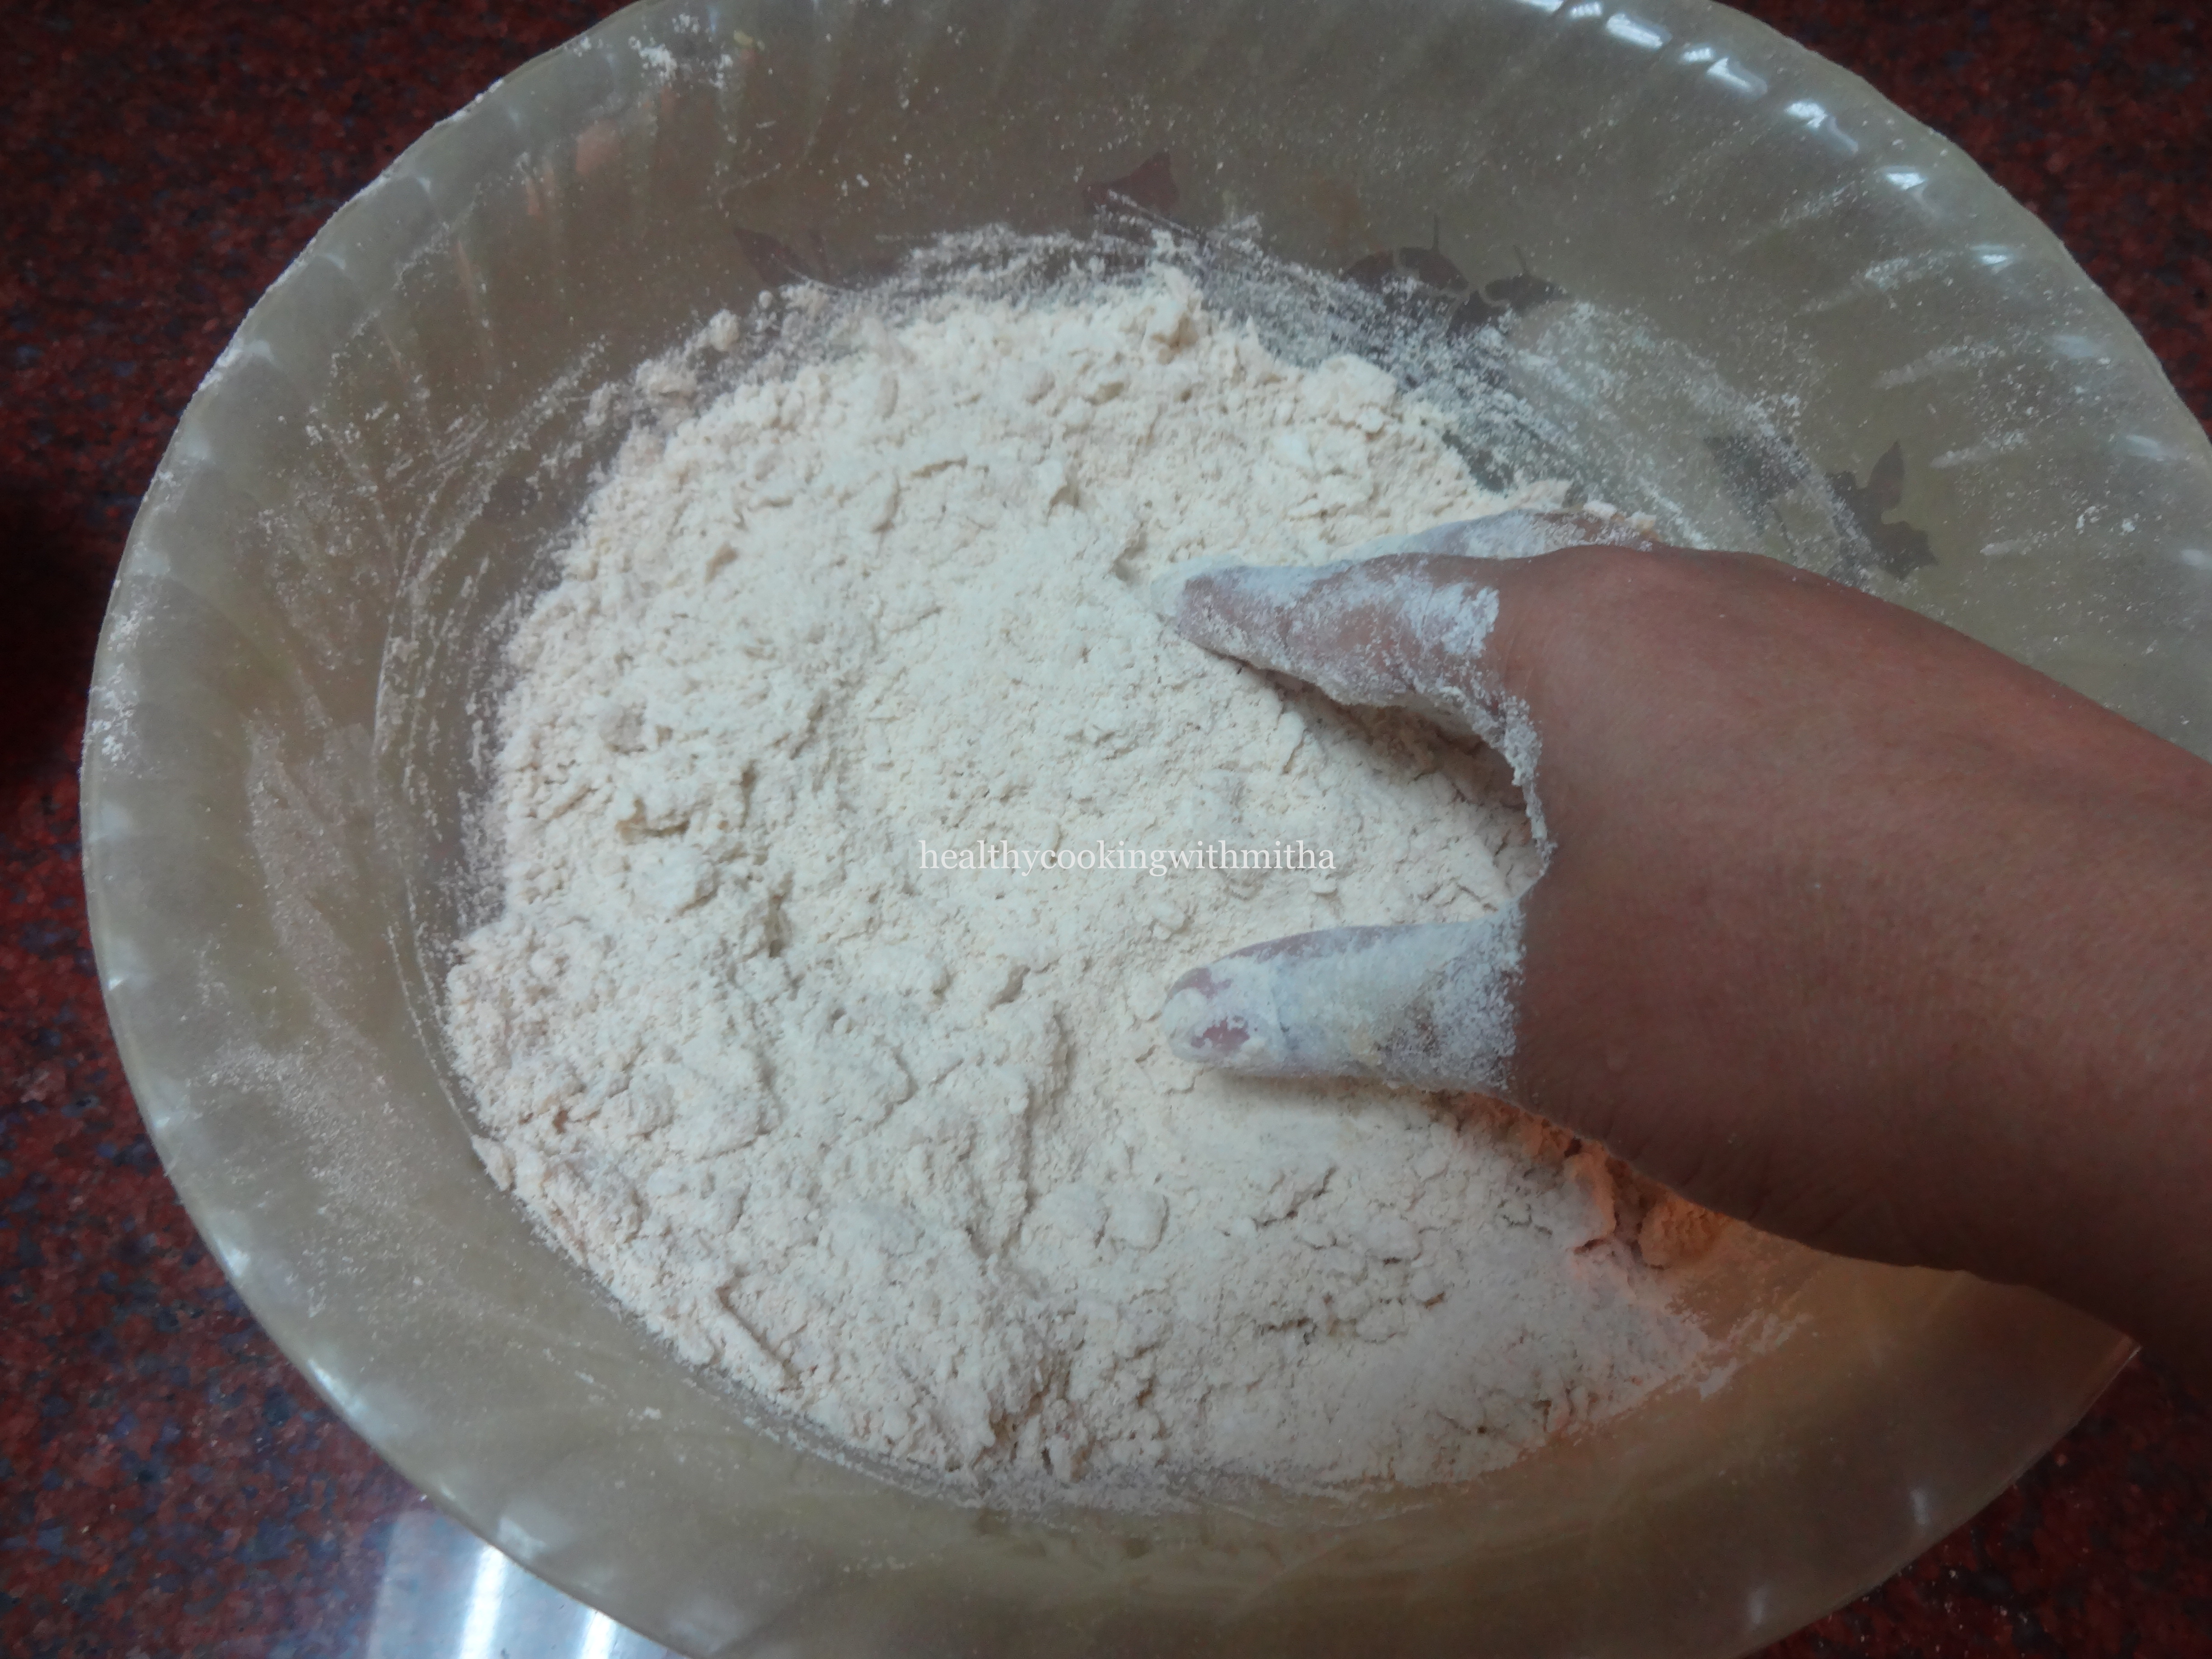
2. Mix well using a spatula or hands.
3. Add water and knead well. The dough should be very sticky. Now knead for 8 to 10 mins till it becomes a smooth dough as shown.
4. Coat the dough with ghee or oil and keep covered for 1 hour in a warm place or till it has doubled in size.
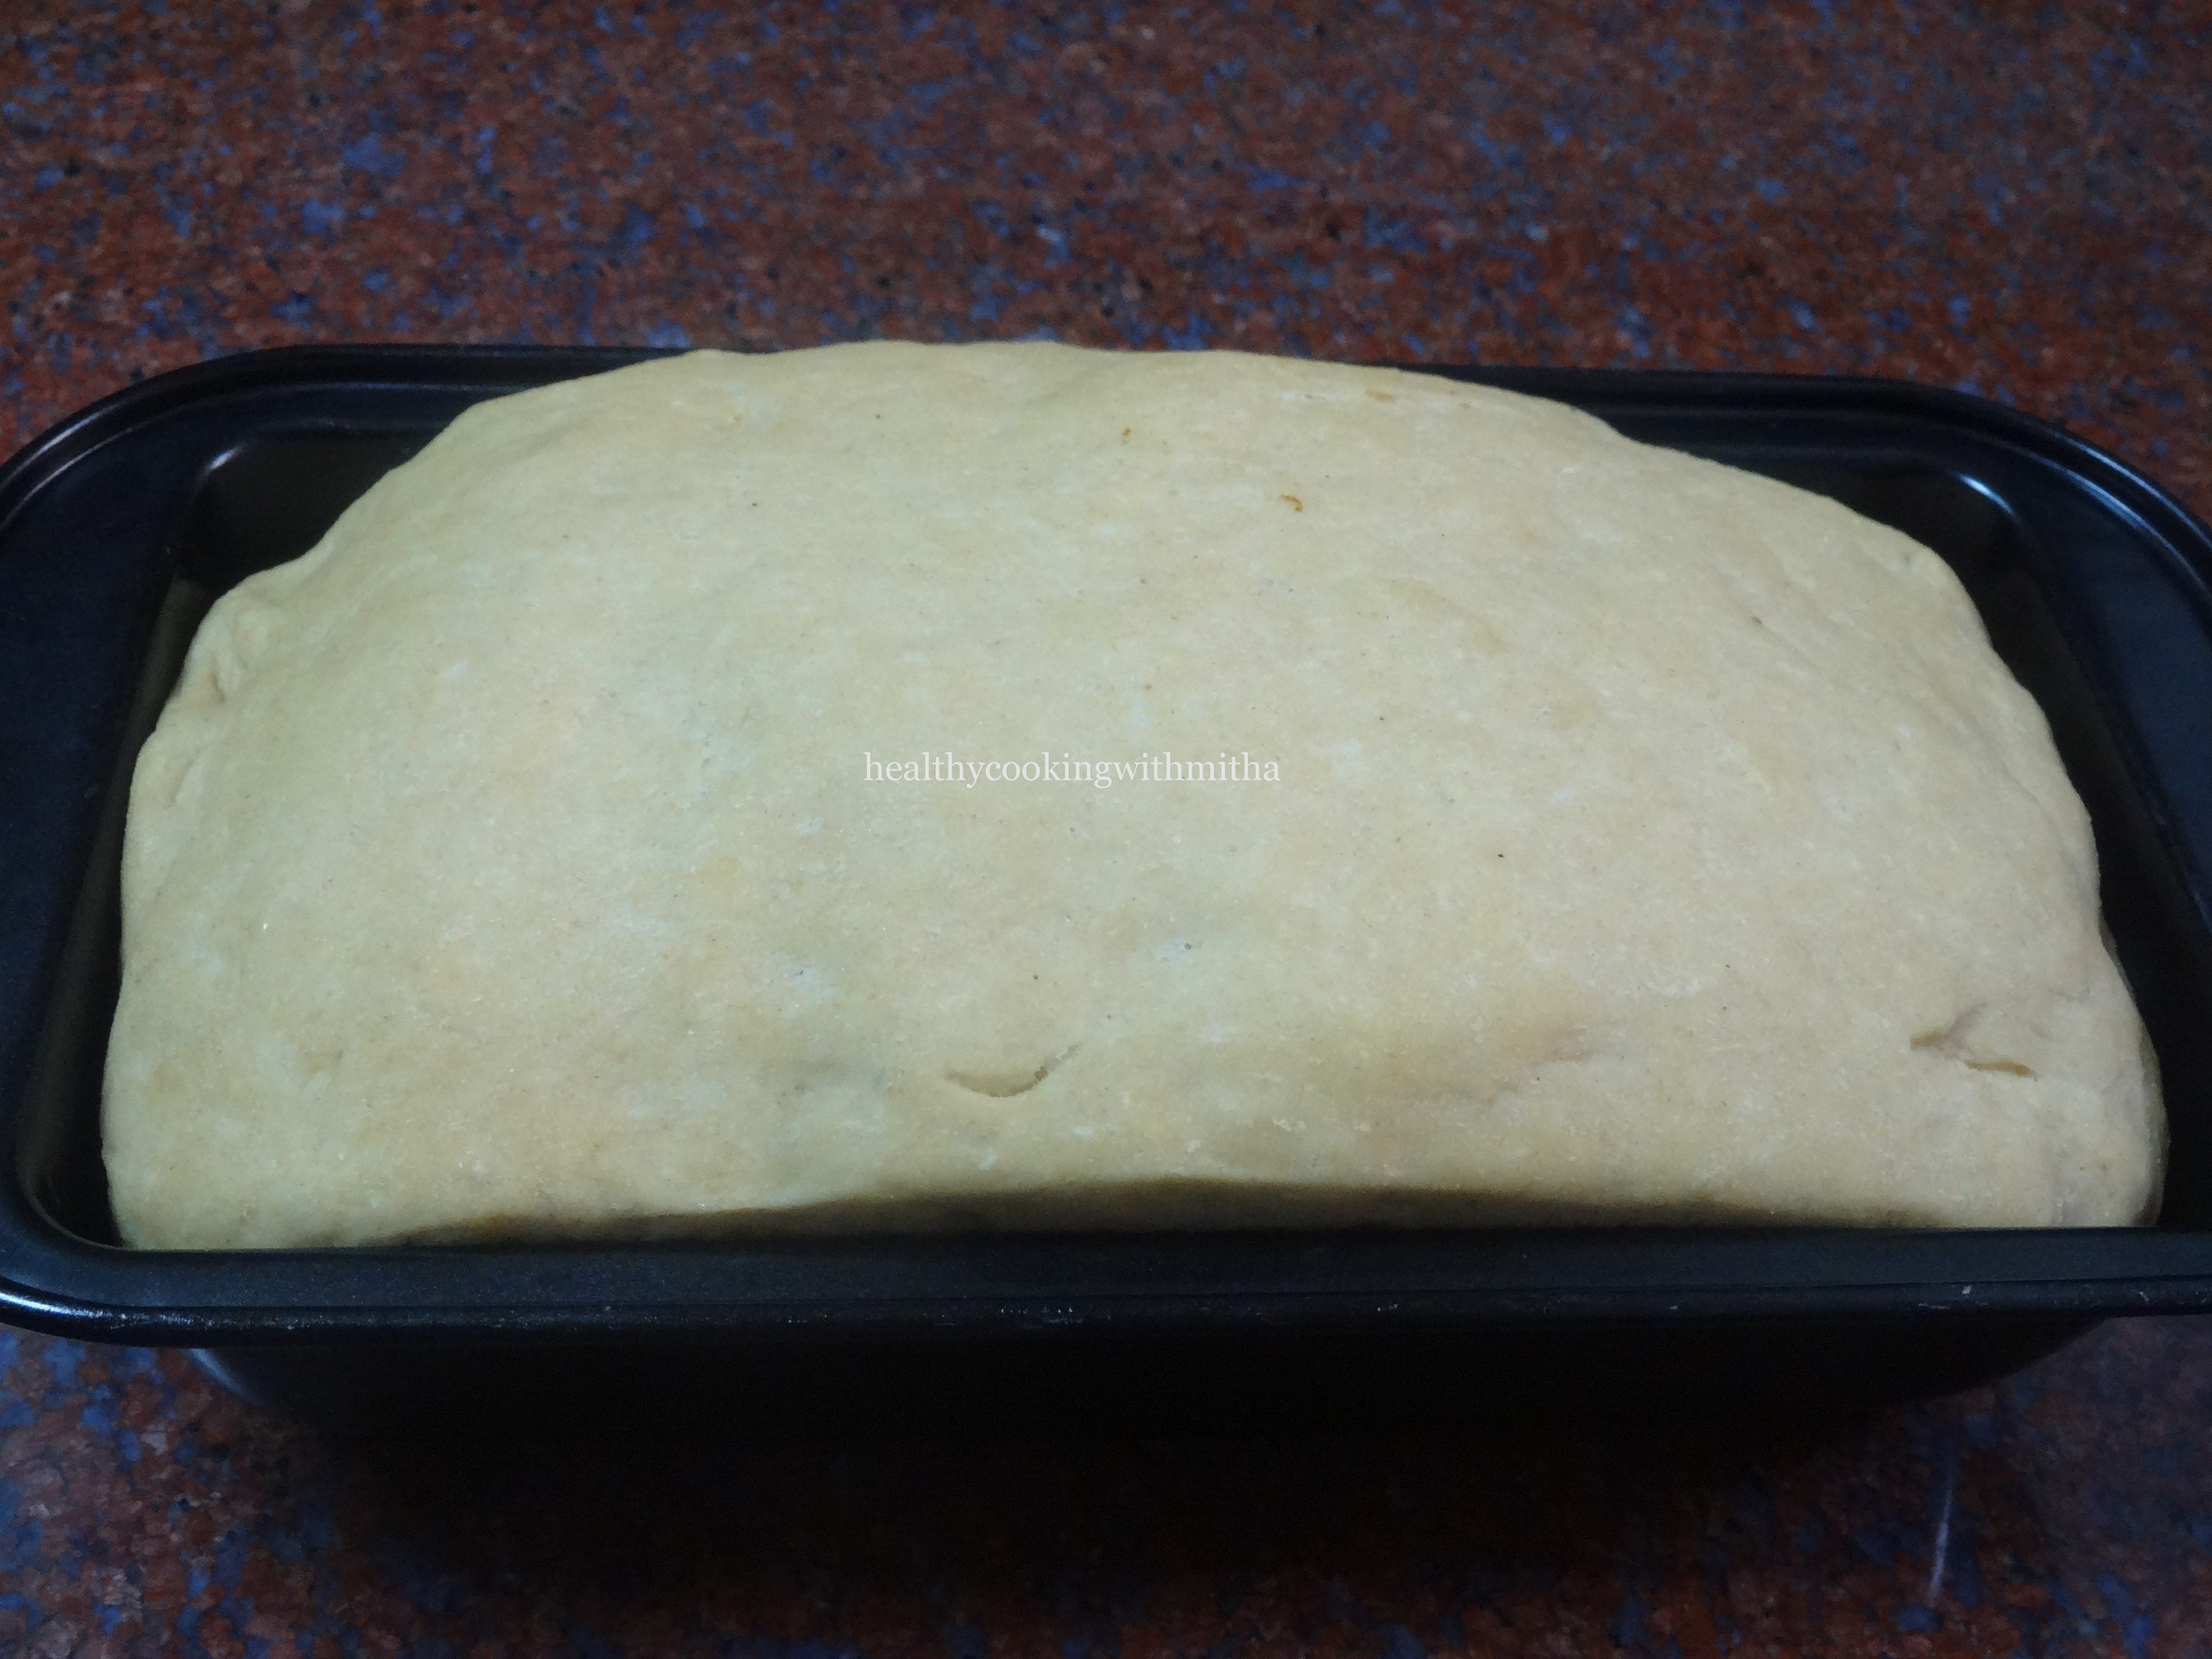
5. Now after it has doubled, put the dough in a loaf pan and level the surface as shown.
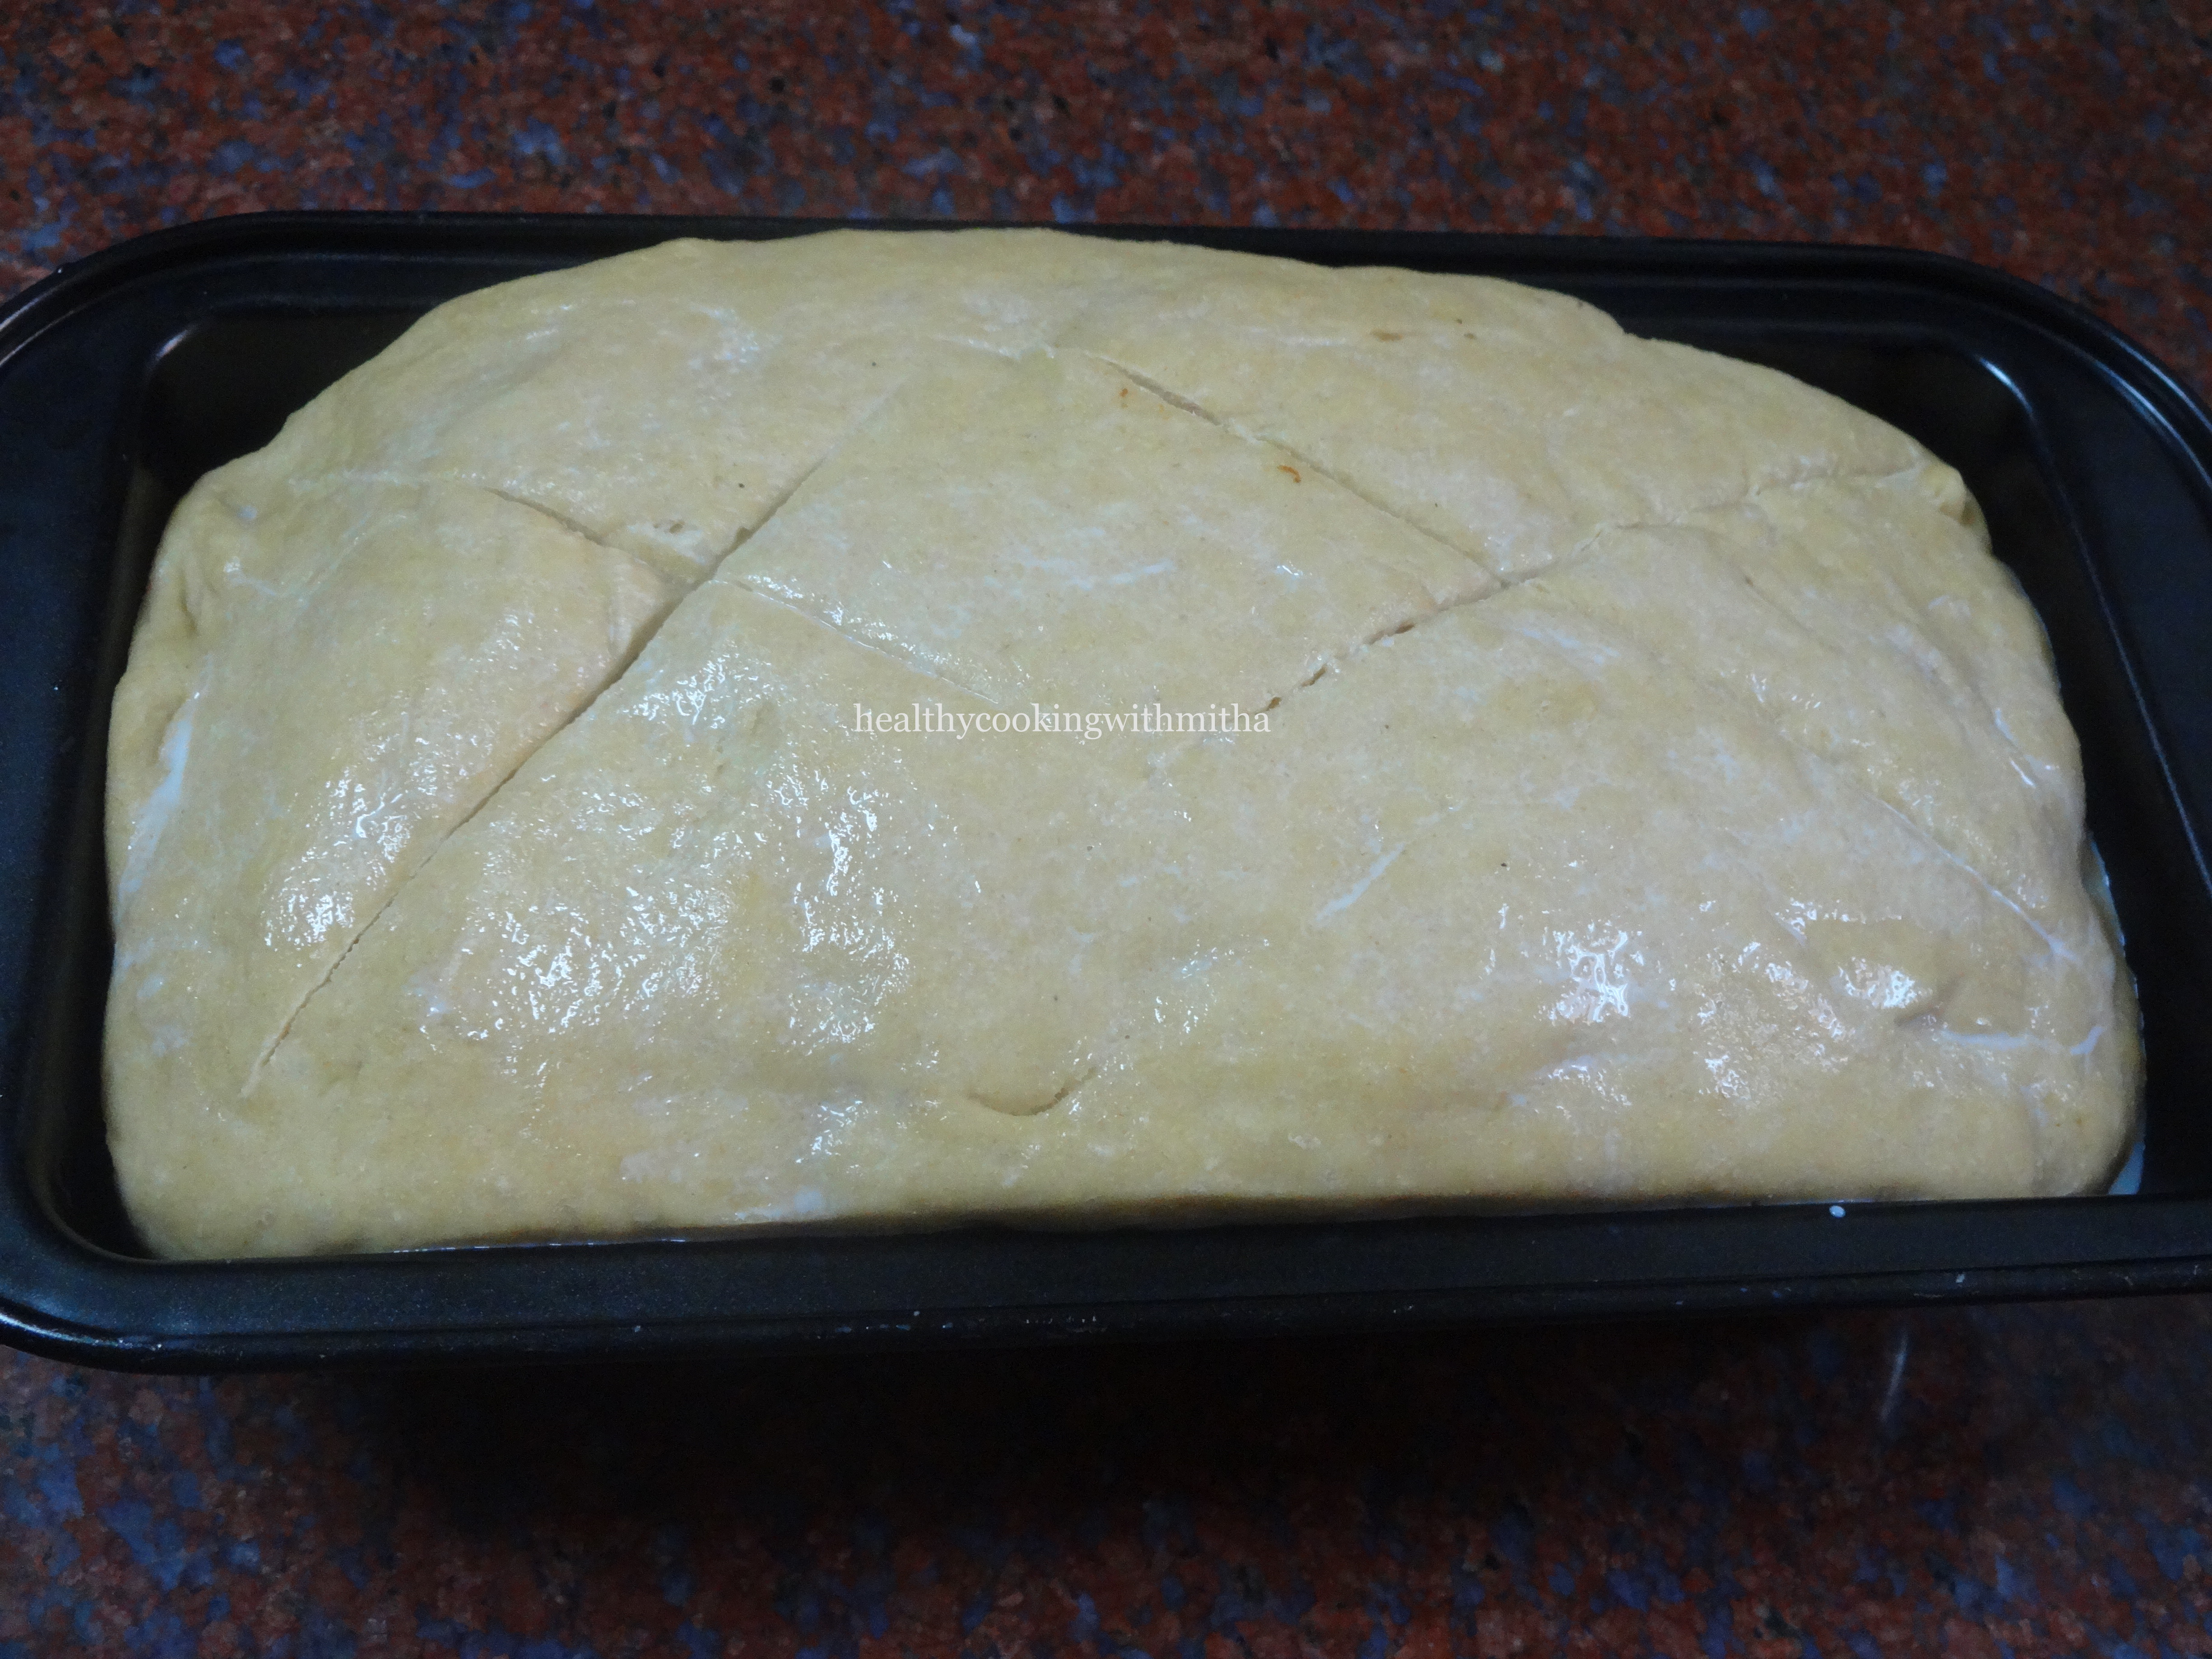
6. Again keep for about 45 mins to one hour till the dough raises above the rim of the loaf pan as shown.
7. Now brush the surface lightly with milk and make cross signs over the bread as shown.
8. Preheat the oven at 180 C for 10 mins.
9. Bake the bread at 180 C for 30 mins or till the surface of the bread turns brown in colour.
10. Now brush the surface with butter so that the crust remains soft.
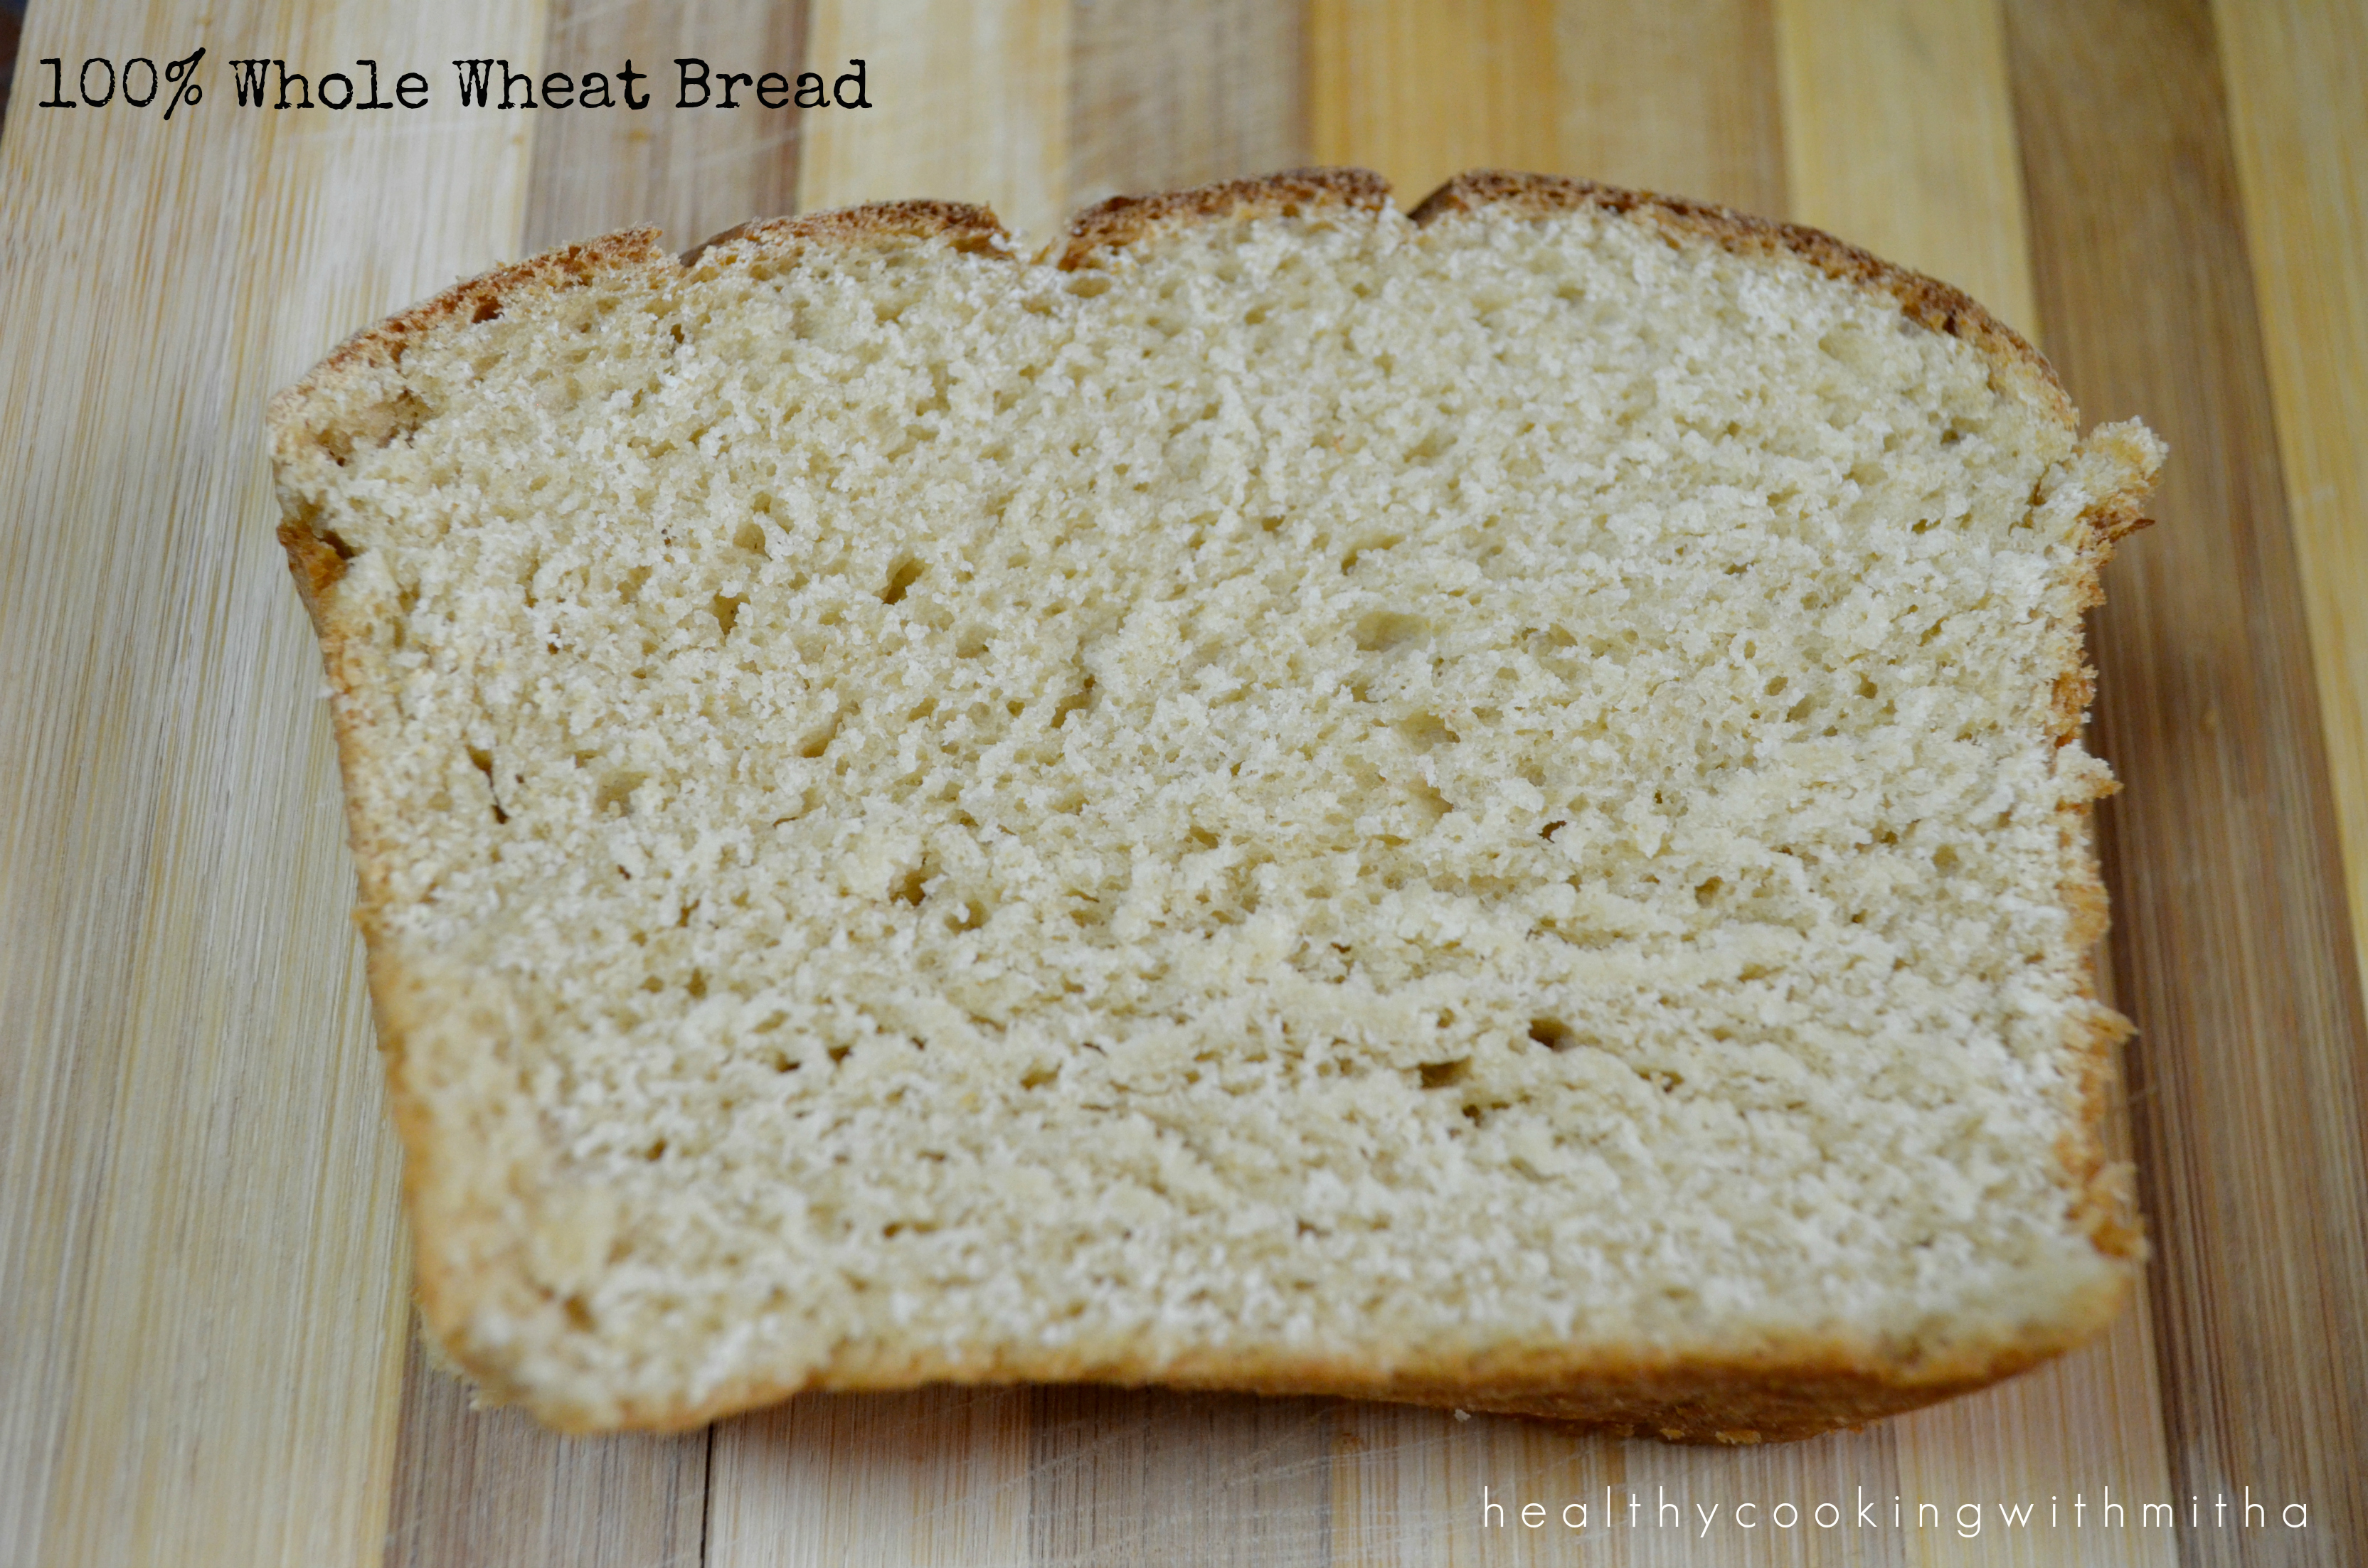
11. Allow it to cool completely before you remove the bread. Use a knife at the sides and gently remove the bread from the pan.
12. Slice and enjoy!
Click on the image to save the recipe on Pinterest
Notes:
* First of all, bread making is not as easy as it looks and you might not get perfect result the first time in terms of texture. But as you bake more, you will be proud of how well a wheat bread you can bake. So keep trying!
* Please use measuring cups for best results with baking. My 1 Cup measures 240 ml.
* If using dry active yeast, substitute 2 tsp instant yeast with 1 Tbsp dry active yeast. Also dry active yeast needs proofing before adding to the dough. Refer my Wheat pav recipe to see how to proof yeast.
* IMPORTANT: The dough should be very sticky at first to get a good soft, fluffy bread. So make the dough sticky and knead well using hands or kneader for atleast 8 mins. It really makes a wonderful difference to the texture.
* Both the rise times depend on the weather in your area. In warm places, it rises very quickly as compared to cold places. So keep for the first rise till if doubles and second rise till it rises above the pan level.
* The length of my loaf pan is 20 cm. If you choose a longer loaf pan, the bread may not get height for 3 Cups flour. So best is to use a 20 cm pan for 3 Cups of flour to get the bread as shown in my pictures.
* Do not be tempted to open the doors atleast till 20 mins into the baking time. Else the bread won’t bake properly.
* Milk brush gives it a nice golden colour. So don’t skip it.
* Also don’t forget to brush with butter as soon as it’s out of the oven so that the bread remains soft on the crust.
* This wheat bread lasts well for a day at room temperature. Ours has never lasted after that as it gets finished off quickly.
I had not even heard of rava Idlis before marriage. For me, Idlis meant either the regular idlis or sweet/ plain Idlis that we konkanis call mudho. Rava idli came into the picture as I started going to hotels with hubby and I became a huge fan of these unique kind of Idlis.
Little did I know that it would be so easy to make them at home. One try and I have never ordered them in restaurants after that. Almost 9 years later, I can now make these Idlis even in my dreams 😀 and it is in our regular breakfast menu.
I am sure most of you must be knowing the recipe but this is for those like me who did not know about it. Even if it helps one, I will feel it’s worthwhile. Happy cooking!
RECIPE:
Ingredients: (Makes around 8 to 10 Idlis)
1 Cup = 240 ml
1 Cup Rava / Sooji / Semolina
1/2 Cup Curd / Yogurt
1 tsp Oil
1/2 tsp Mustard seeds
1/2 tsp Cumin seeds/ Jeera
1/2 tsp split Urad dal
Few Cashews, chopped
Salt to taste
1 tsp Eno fruit salt (Substitute with 1/2 tsp baking soda + 1/2 tsp lemon juice)
Step by step recipe:
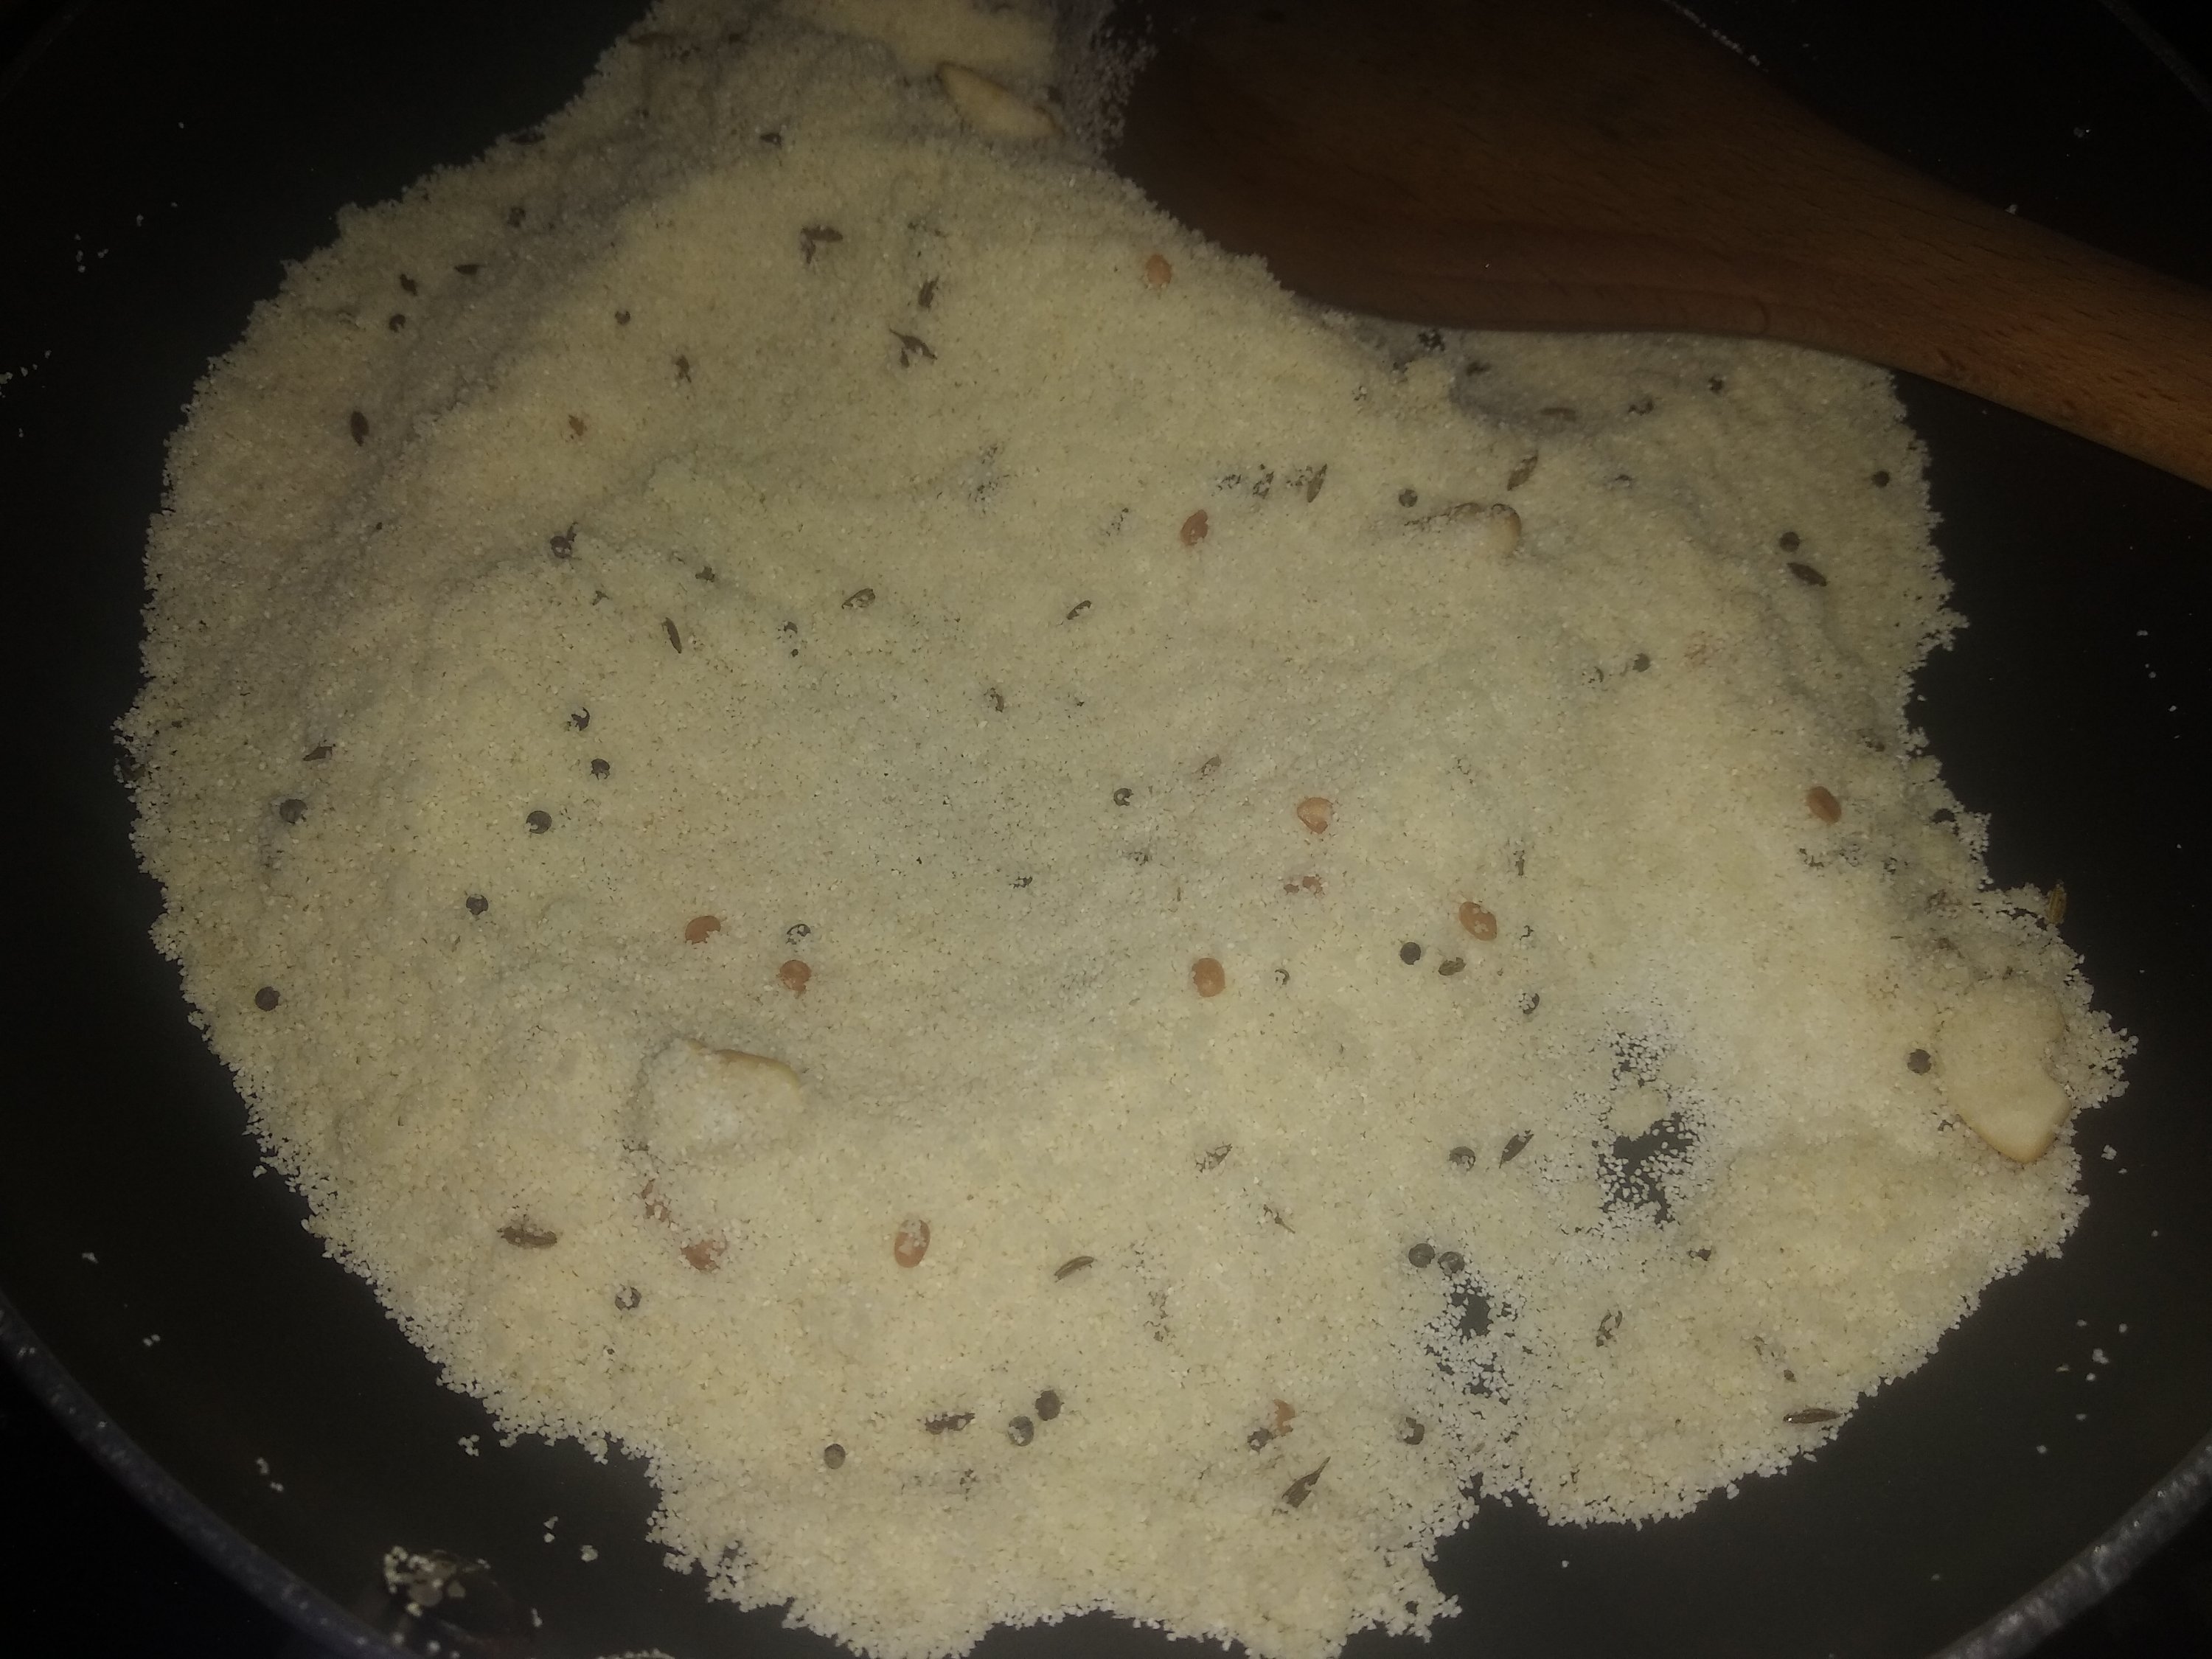
1. Heat oil in a pan and splutter mustard seeds. Add cumin seeds, urad dal and cashews. Fry for few seconds.
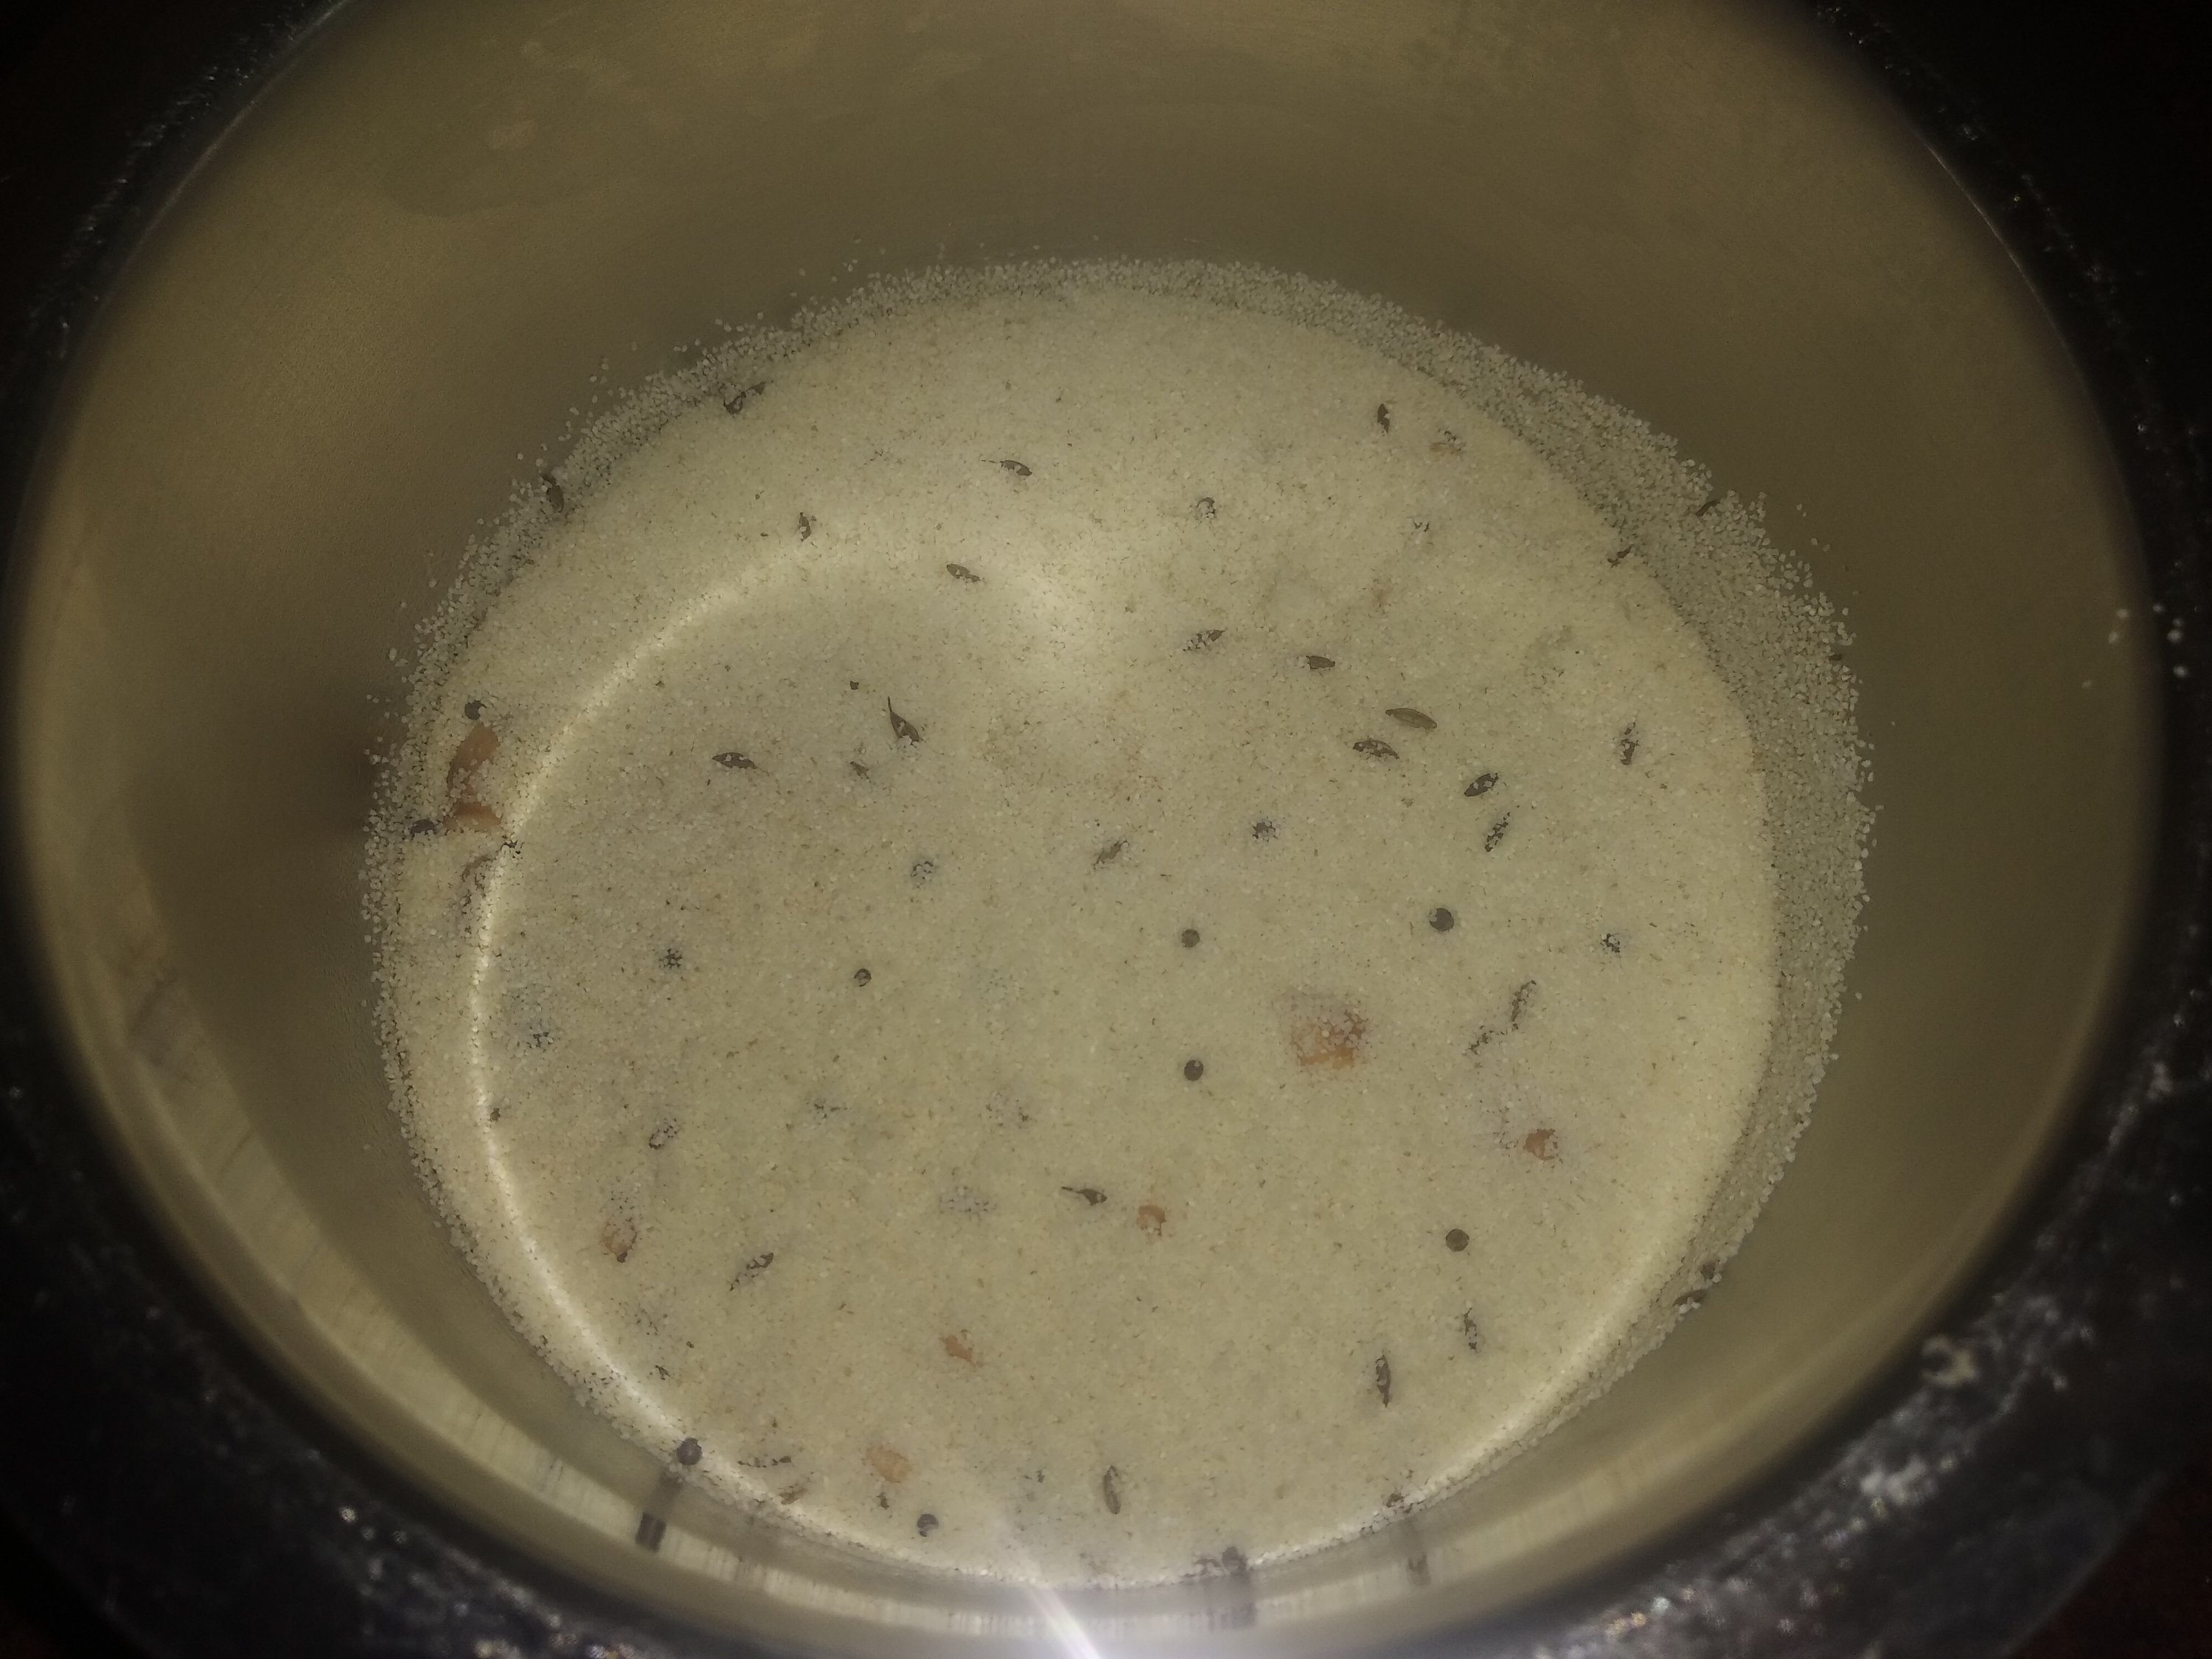
2. Now add rava and fry on medium flame till it changes colour slightly and turns aromatic.
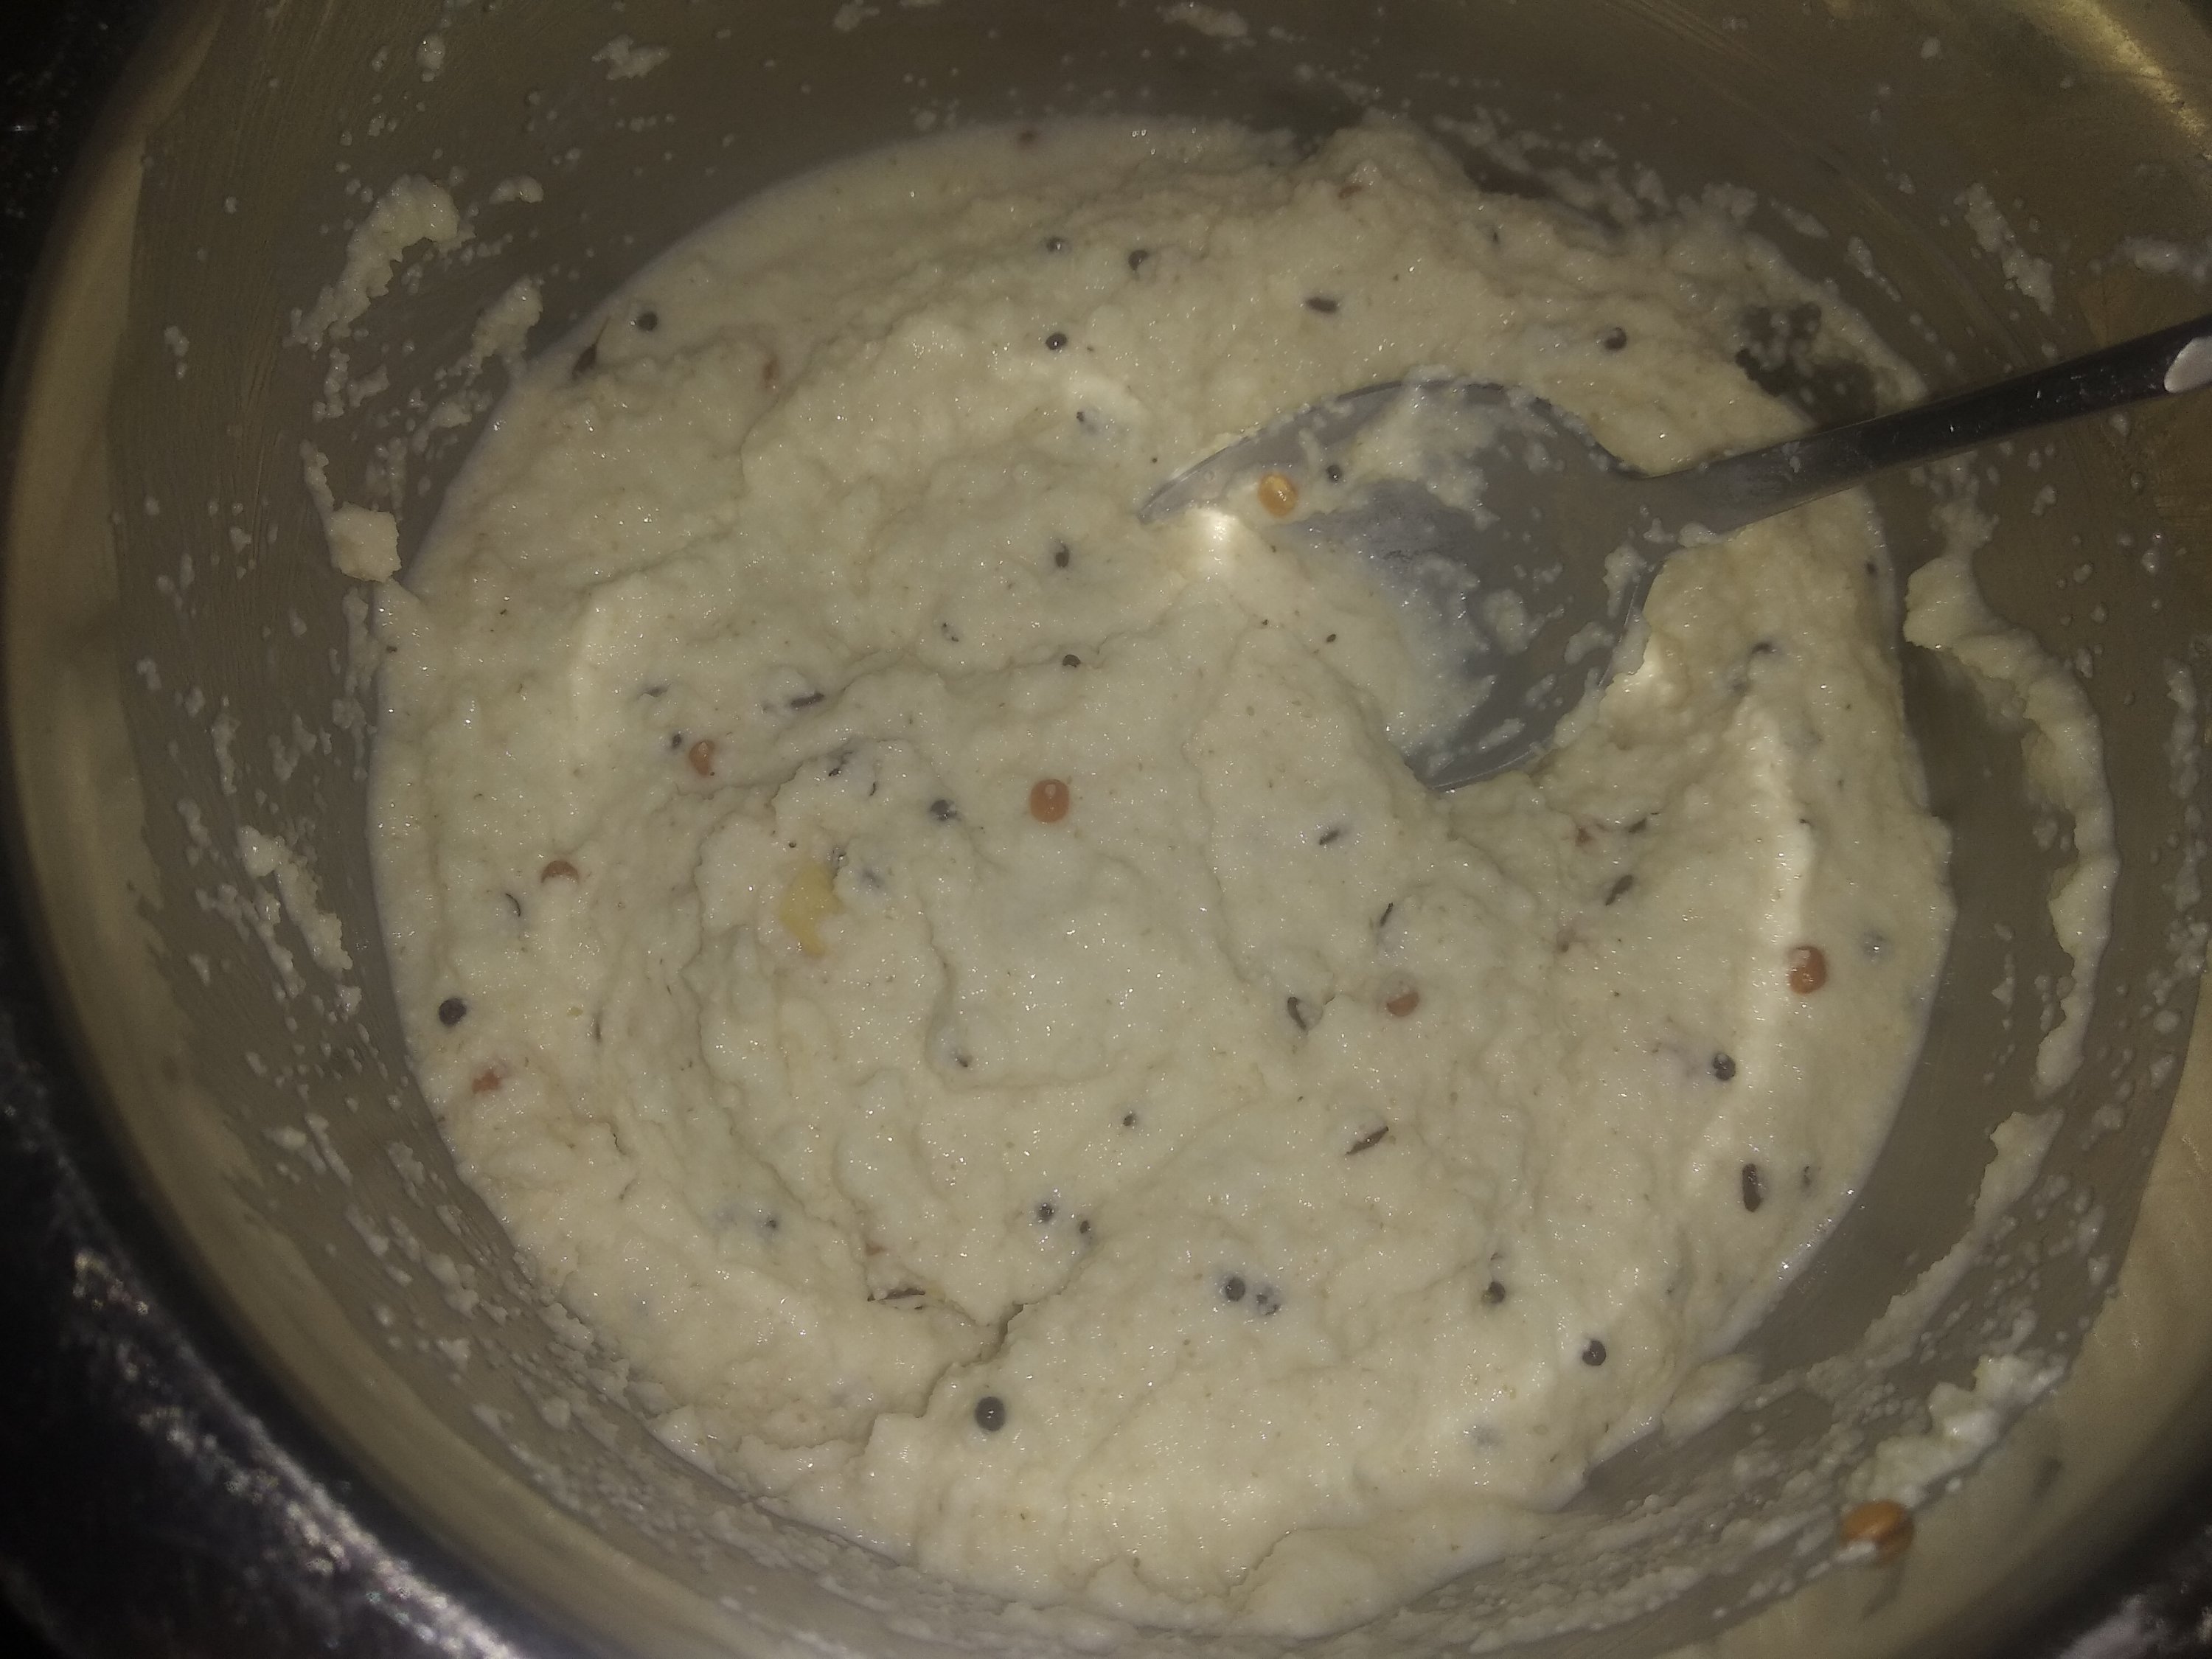
3. Immediately transfer to a bowl and allow it to cool.
4. Once cooled, add curd, salt and about 1/2 Cup water and mix well.
The consistency of the batter should be slightly thick to make good rava Idlis.
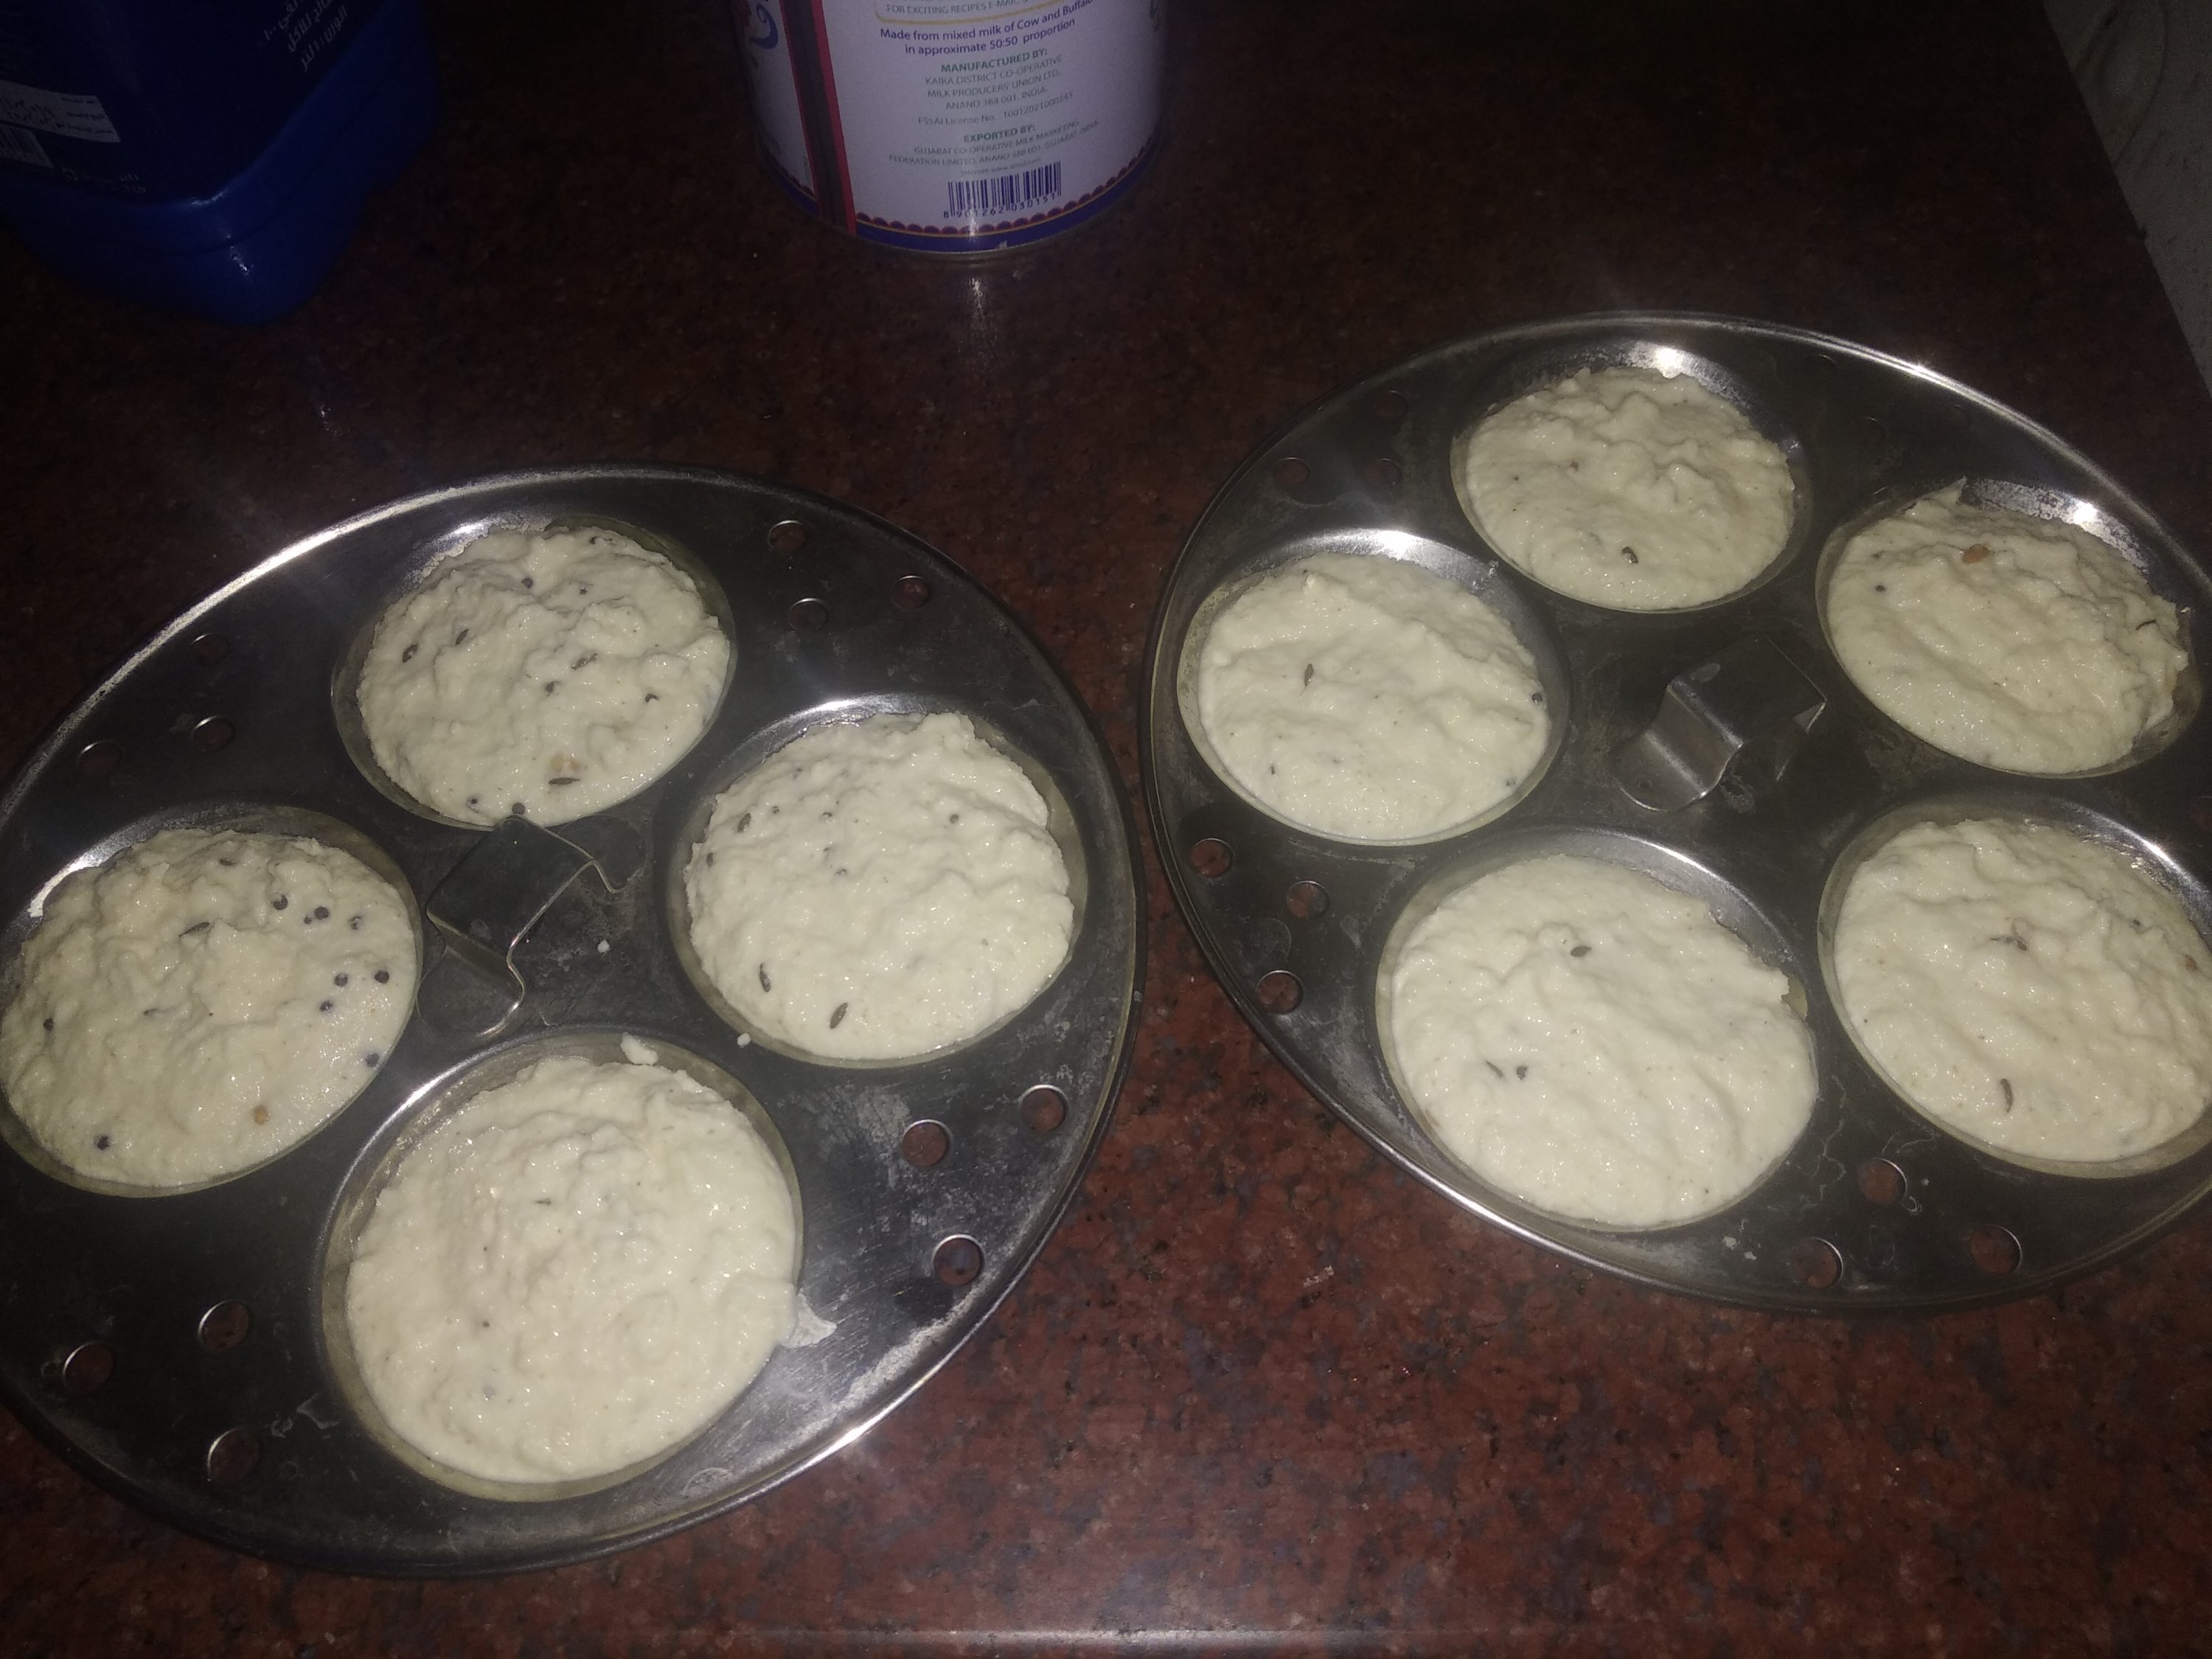
5. Now add eno fruit salt and mix once. Do not mix a lot. Just one even mix will do.
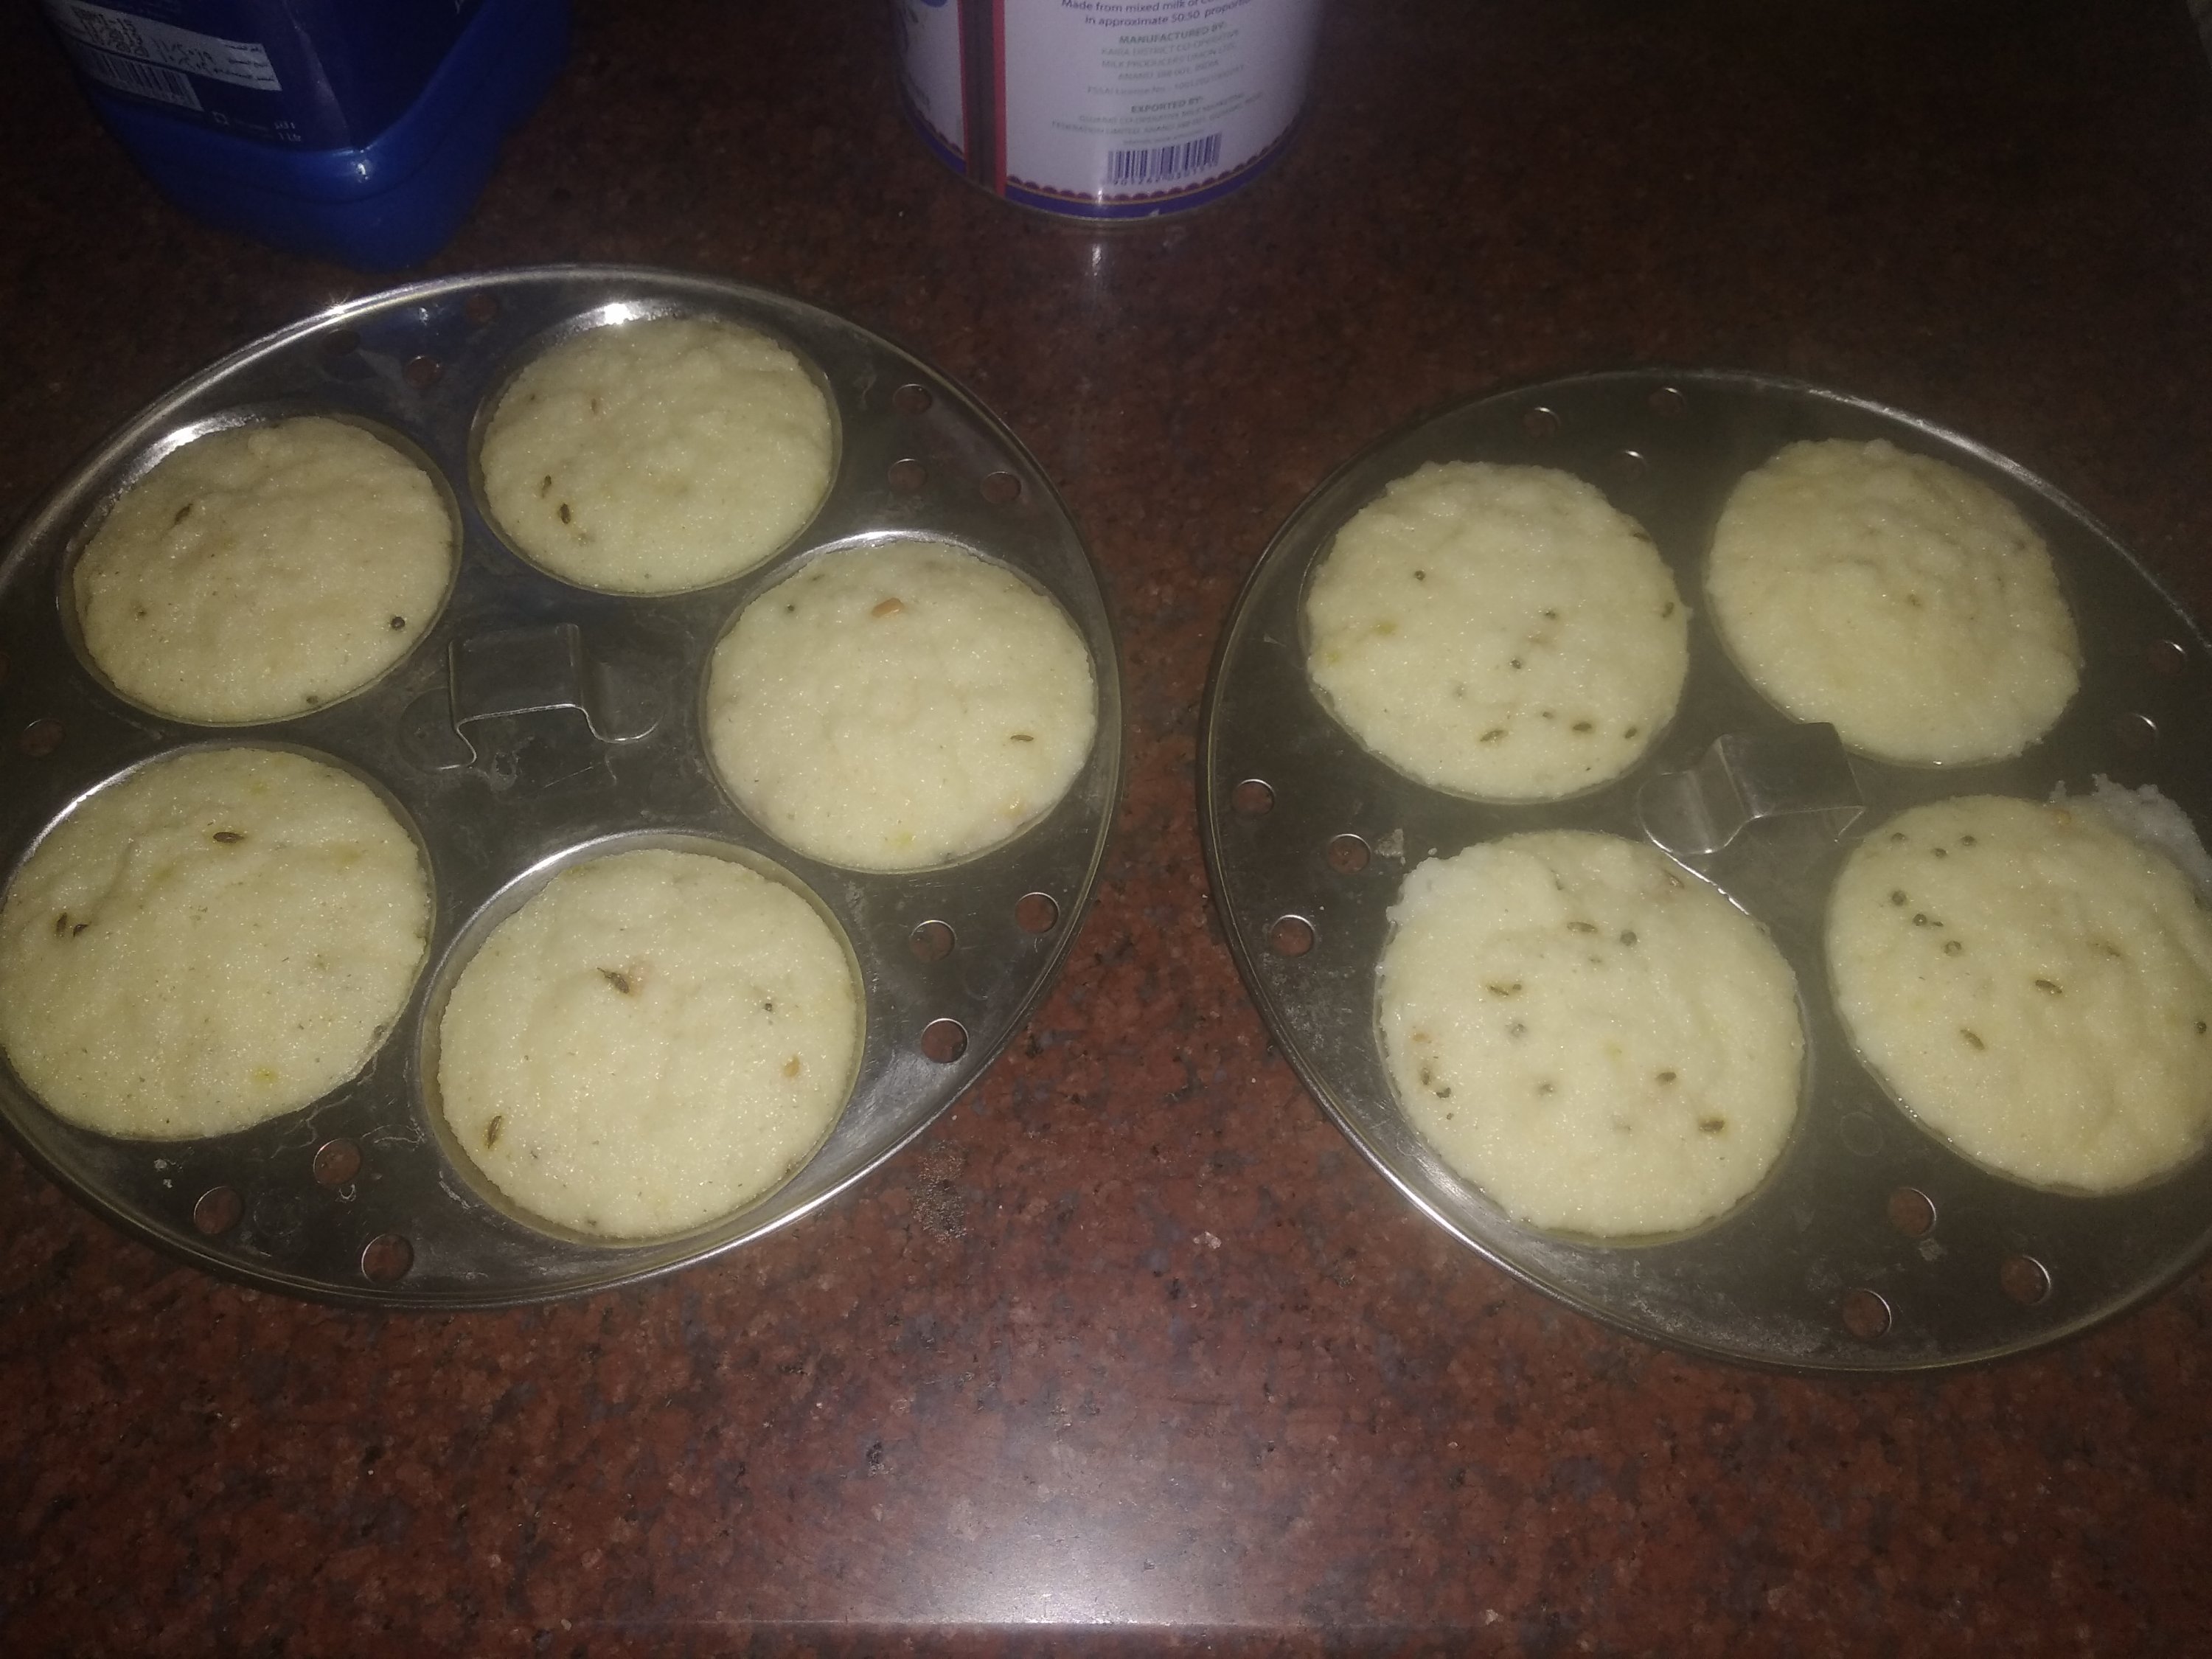
6. Put the batter into greased idli moulds and steam for 20 mins or till done.
7. Serve with a chutney of your choice or sambar.
Notes:
* Don’t make the batter very thick nor thin. For 1 Cup rava, it took me 1/2 Cup curd and 1/2 Cup water to get the perfect batter.
* After adding Eno fruit salt, you must immediately steam the batter. The batter cannot be stored after adding Eno fruit salt.
* You can however fry the rava in the seasoning and store in the fridge or freezer. Add curd, salt, water, Eno fruit salt when making Idlis and steam.
* Allow the fried rava to cool before adding curd. Else it might form lumps.
* As already mentioned above, you can substitute 1 tsp Eno fruit salt with 1/2 tsp Baking soda plus 1/2 tsp lemon juice.
* You can also add grated carrots and coriander leaves to the batter, like I have added here.
Click on the image to save the recipe on Pinterest
Baking pizzas at home have become more of a necessity than hobby in the present scenario when we are all home bound. I am so glad that I started baking wheat pizzas long back that now it’s as easy as making chapatis for me. My kids relish them as much as they enjoy store bought ones and it gives me immense happiness to see them eat healthy.
Click on the image to save the recipe on Pinterest
I had been getting many requests for this recipe. So here it is for all of you. Do let me know if you have even the tiniest doubt and I would be happy to help you. I know baking is as easy as it can be but equally difficult for some and I love helping as much as I can.
Happy baking!
RECIPE:
Ingredients:
For the pizza dough: (makes two medium size pizzas)1 Cup = 240 ml
3 Cups whole wheat flour/ Atta ( I use Pillsbury most times)
1 to 1 1/2 Cups Water (depending on the flour brand)
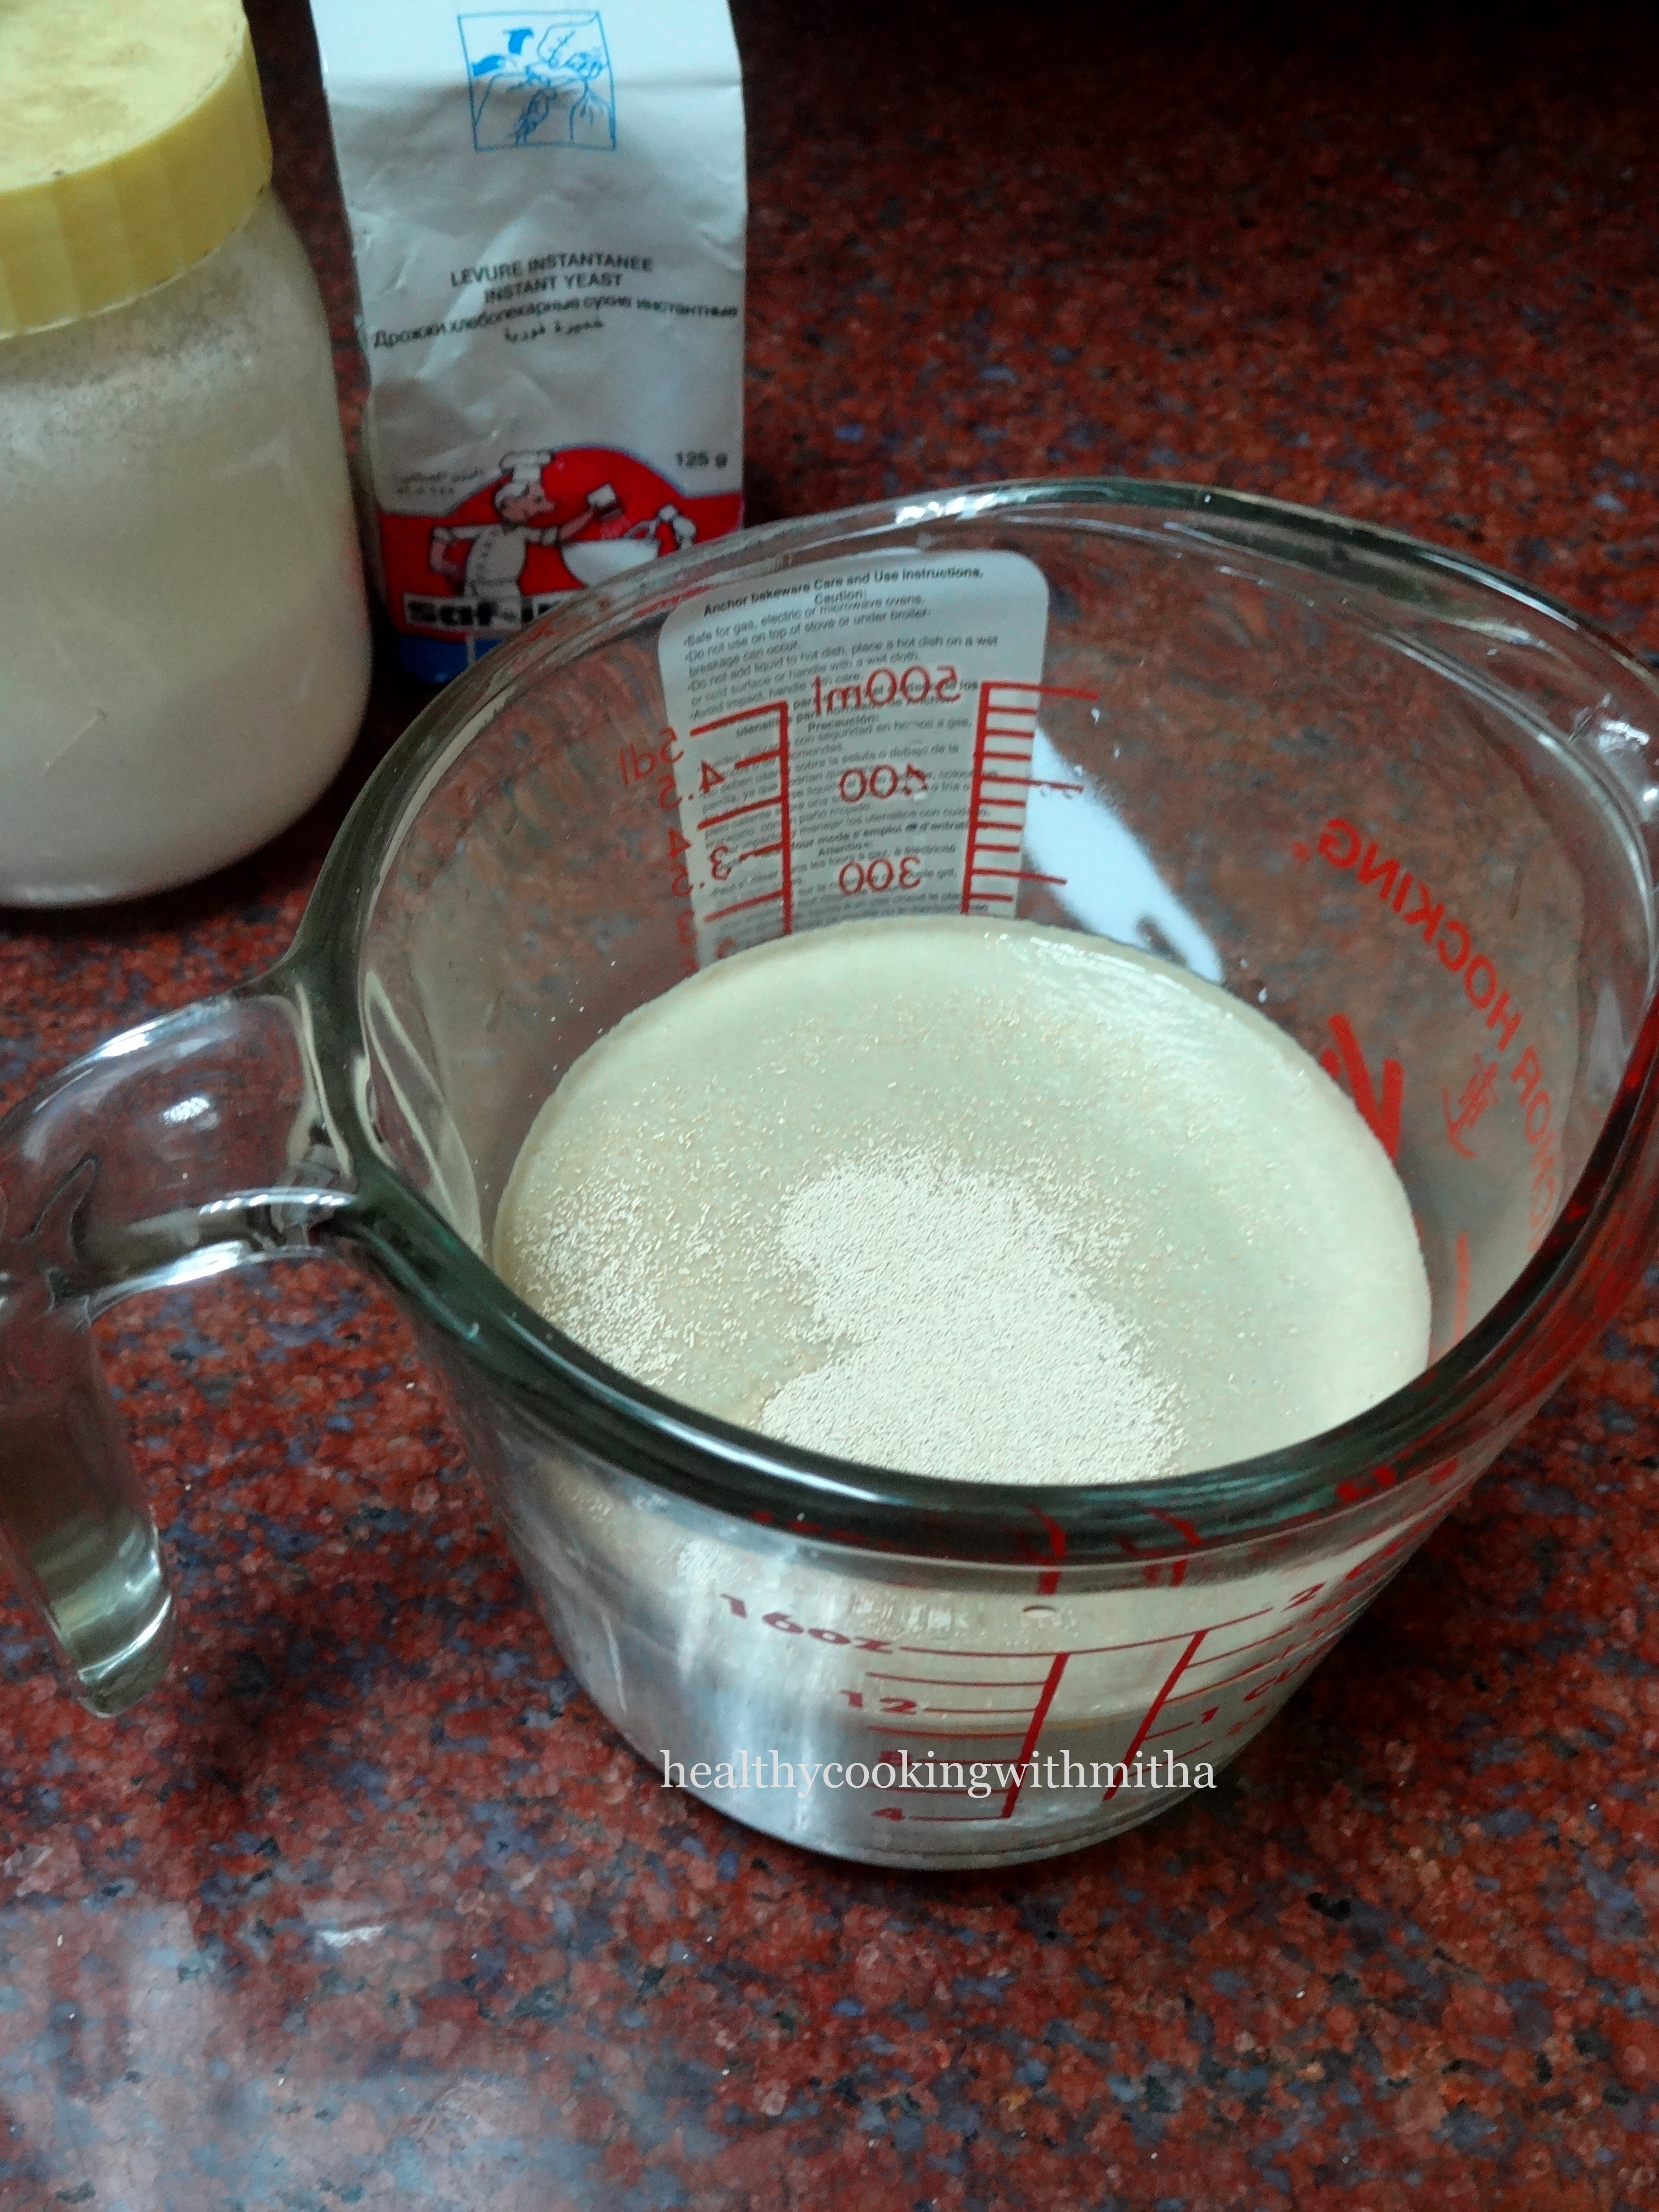
2 tsp Instant yeast ( or 2 1/2 tsp dry active yeast) (I use saf instant yeast brand)
1/2 tsp Cane sugar (can replace with regular sugar)
1/2 tsp Salt
1 Tbsp Olive oil/ or any oil to coat the dough
For the toppings: (for 1 pizza)
Around 5 Tbsp Pizza sauce or Tomato ketchup
Approx 1 Cup grated mozzarella cheese or as required
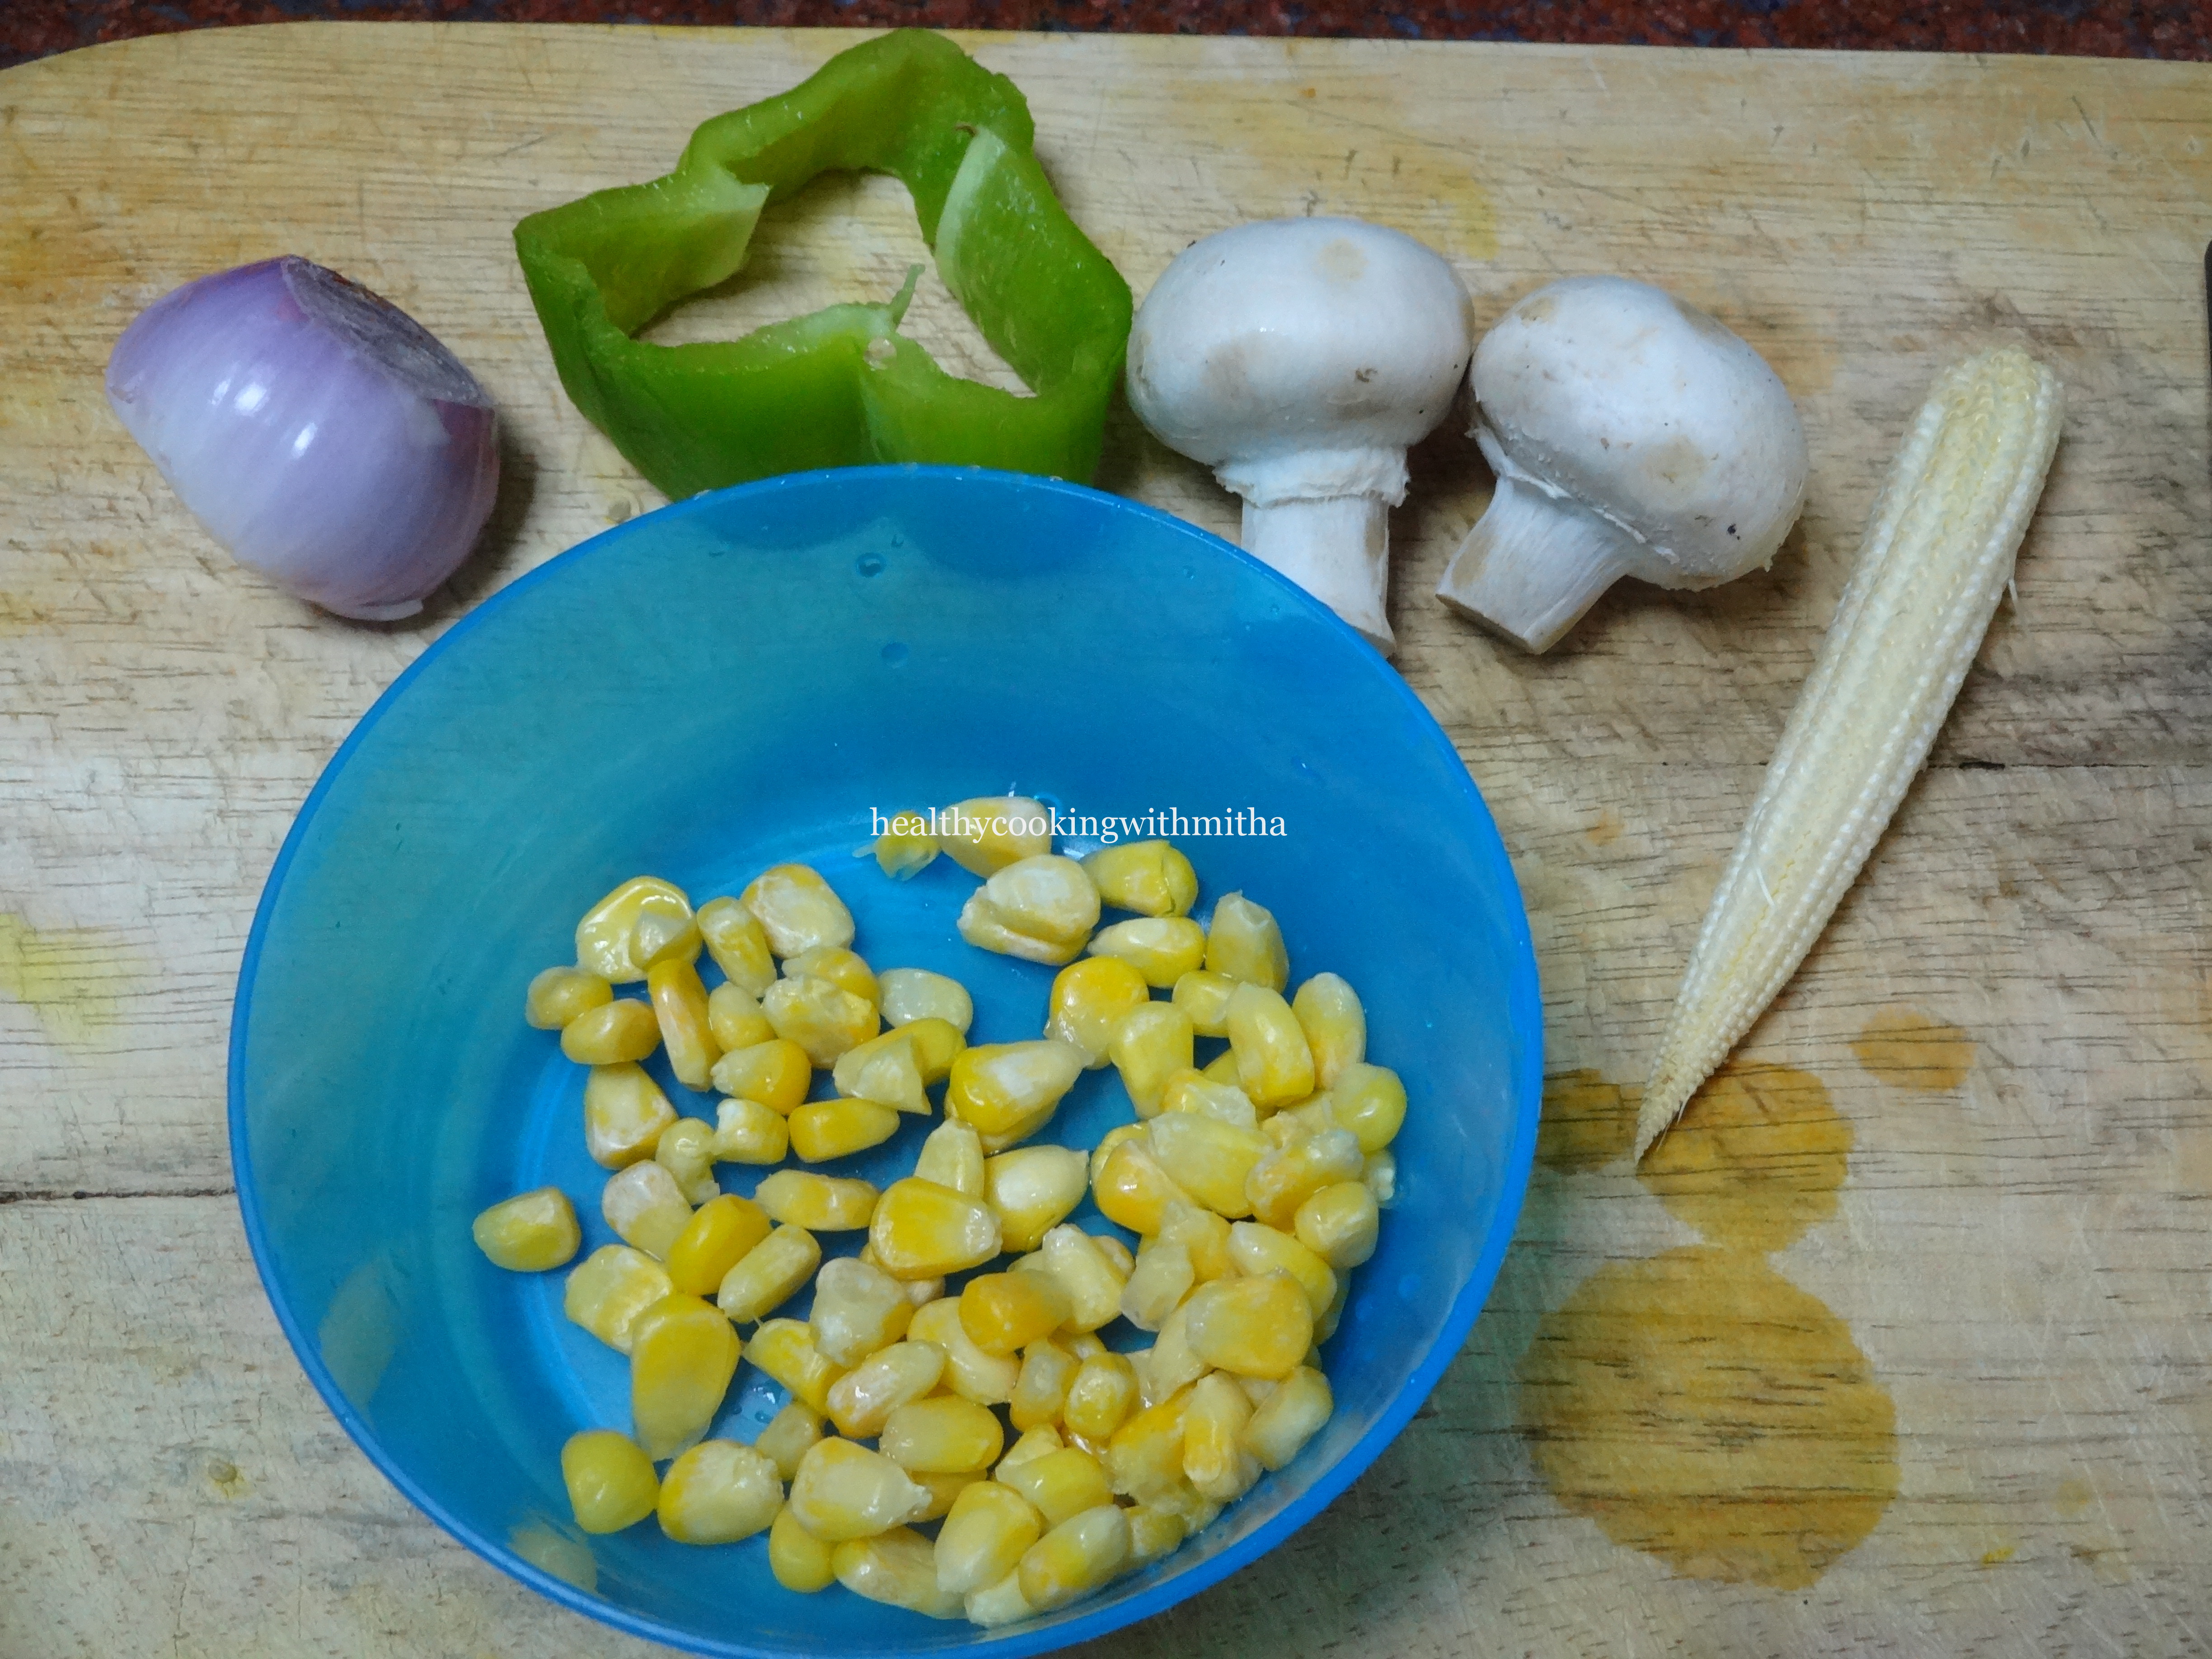
1 Cup of mixed vegetables (like Capsicum, Onion, sweetcorn, mushroom,babycorn)
A handful of chopped olives
Salt to taste
A dash of pepper powder
Olive oil or any oil to coat the dough surface.
Step by step recipe:
1. Take 1 Cup lukewarm water and add 1/2 tsp Cane sugar into it. Mix well and add 2 tsp instant yeast. Mix once and allow it to proof.{The water should NOT be very hot nor cold for the yeast to proof}
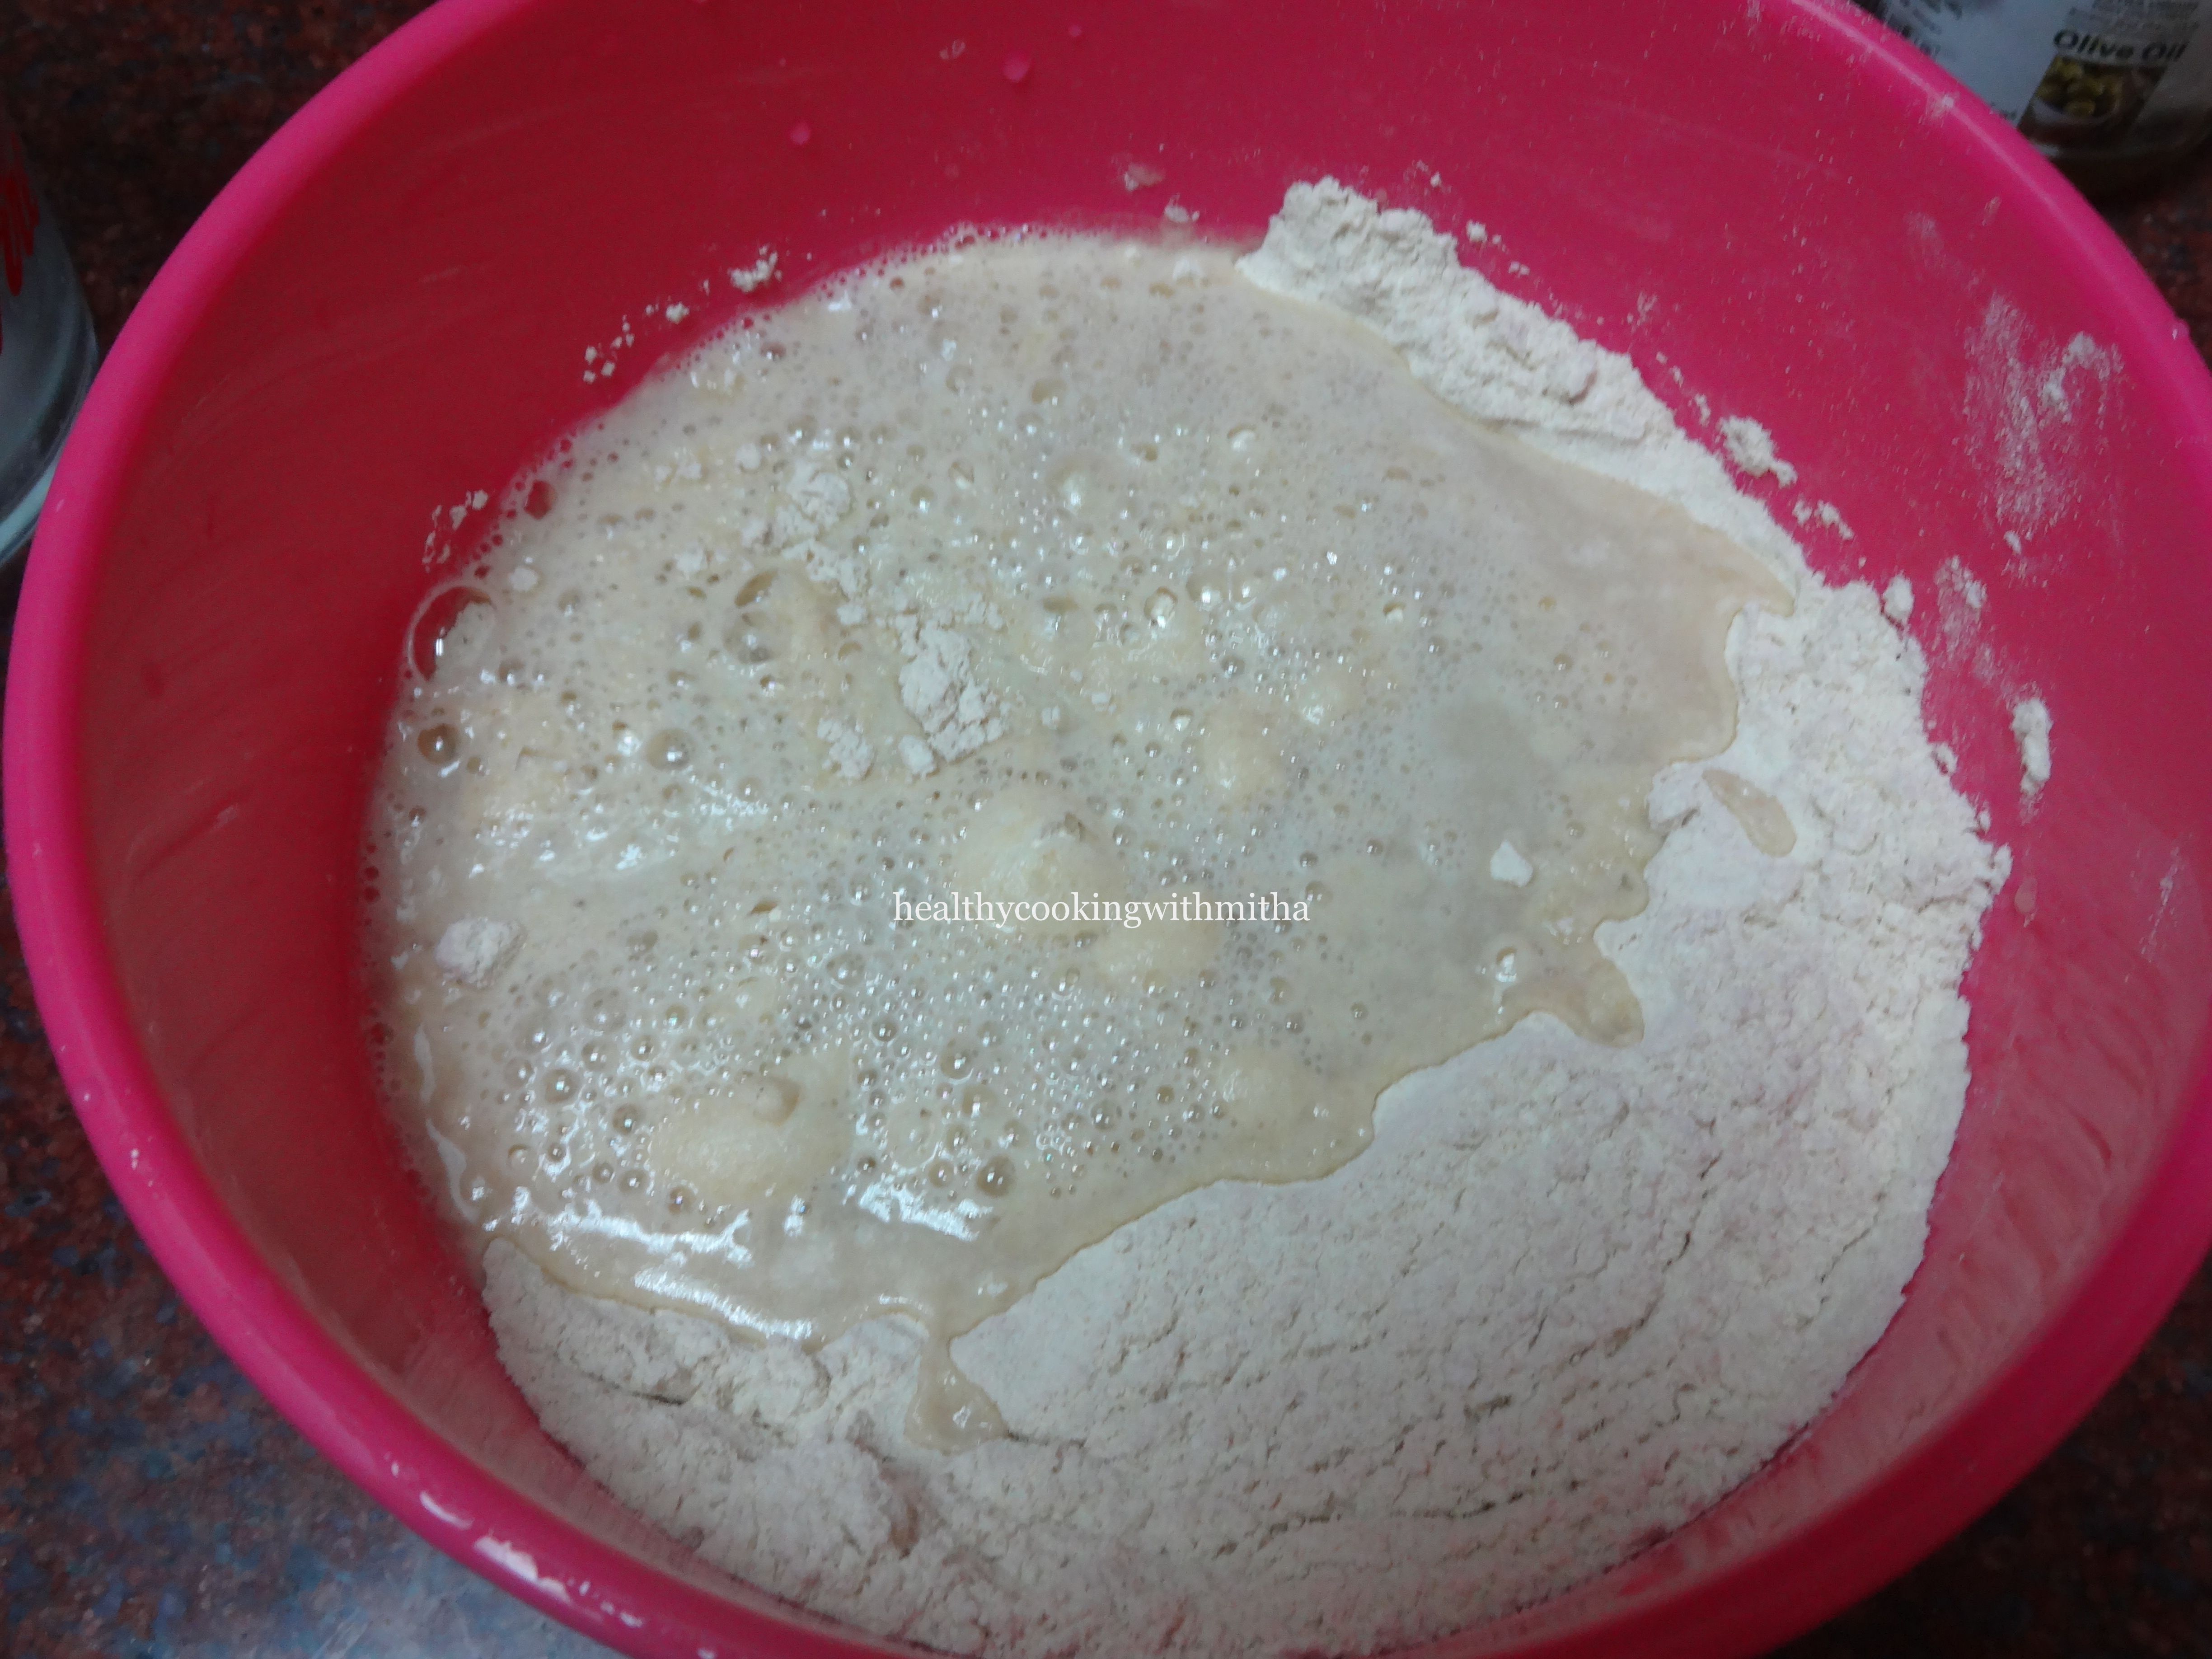
2. Meanwhile, take 3 cups of wheat flour in a large mixing bowl and add salt to it. Mix well.
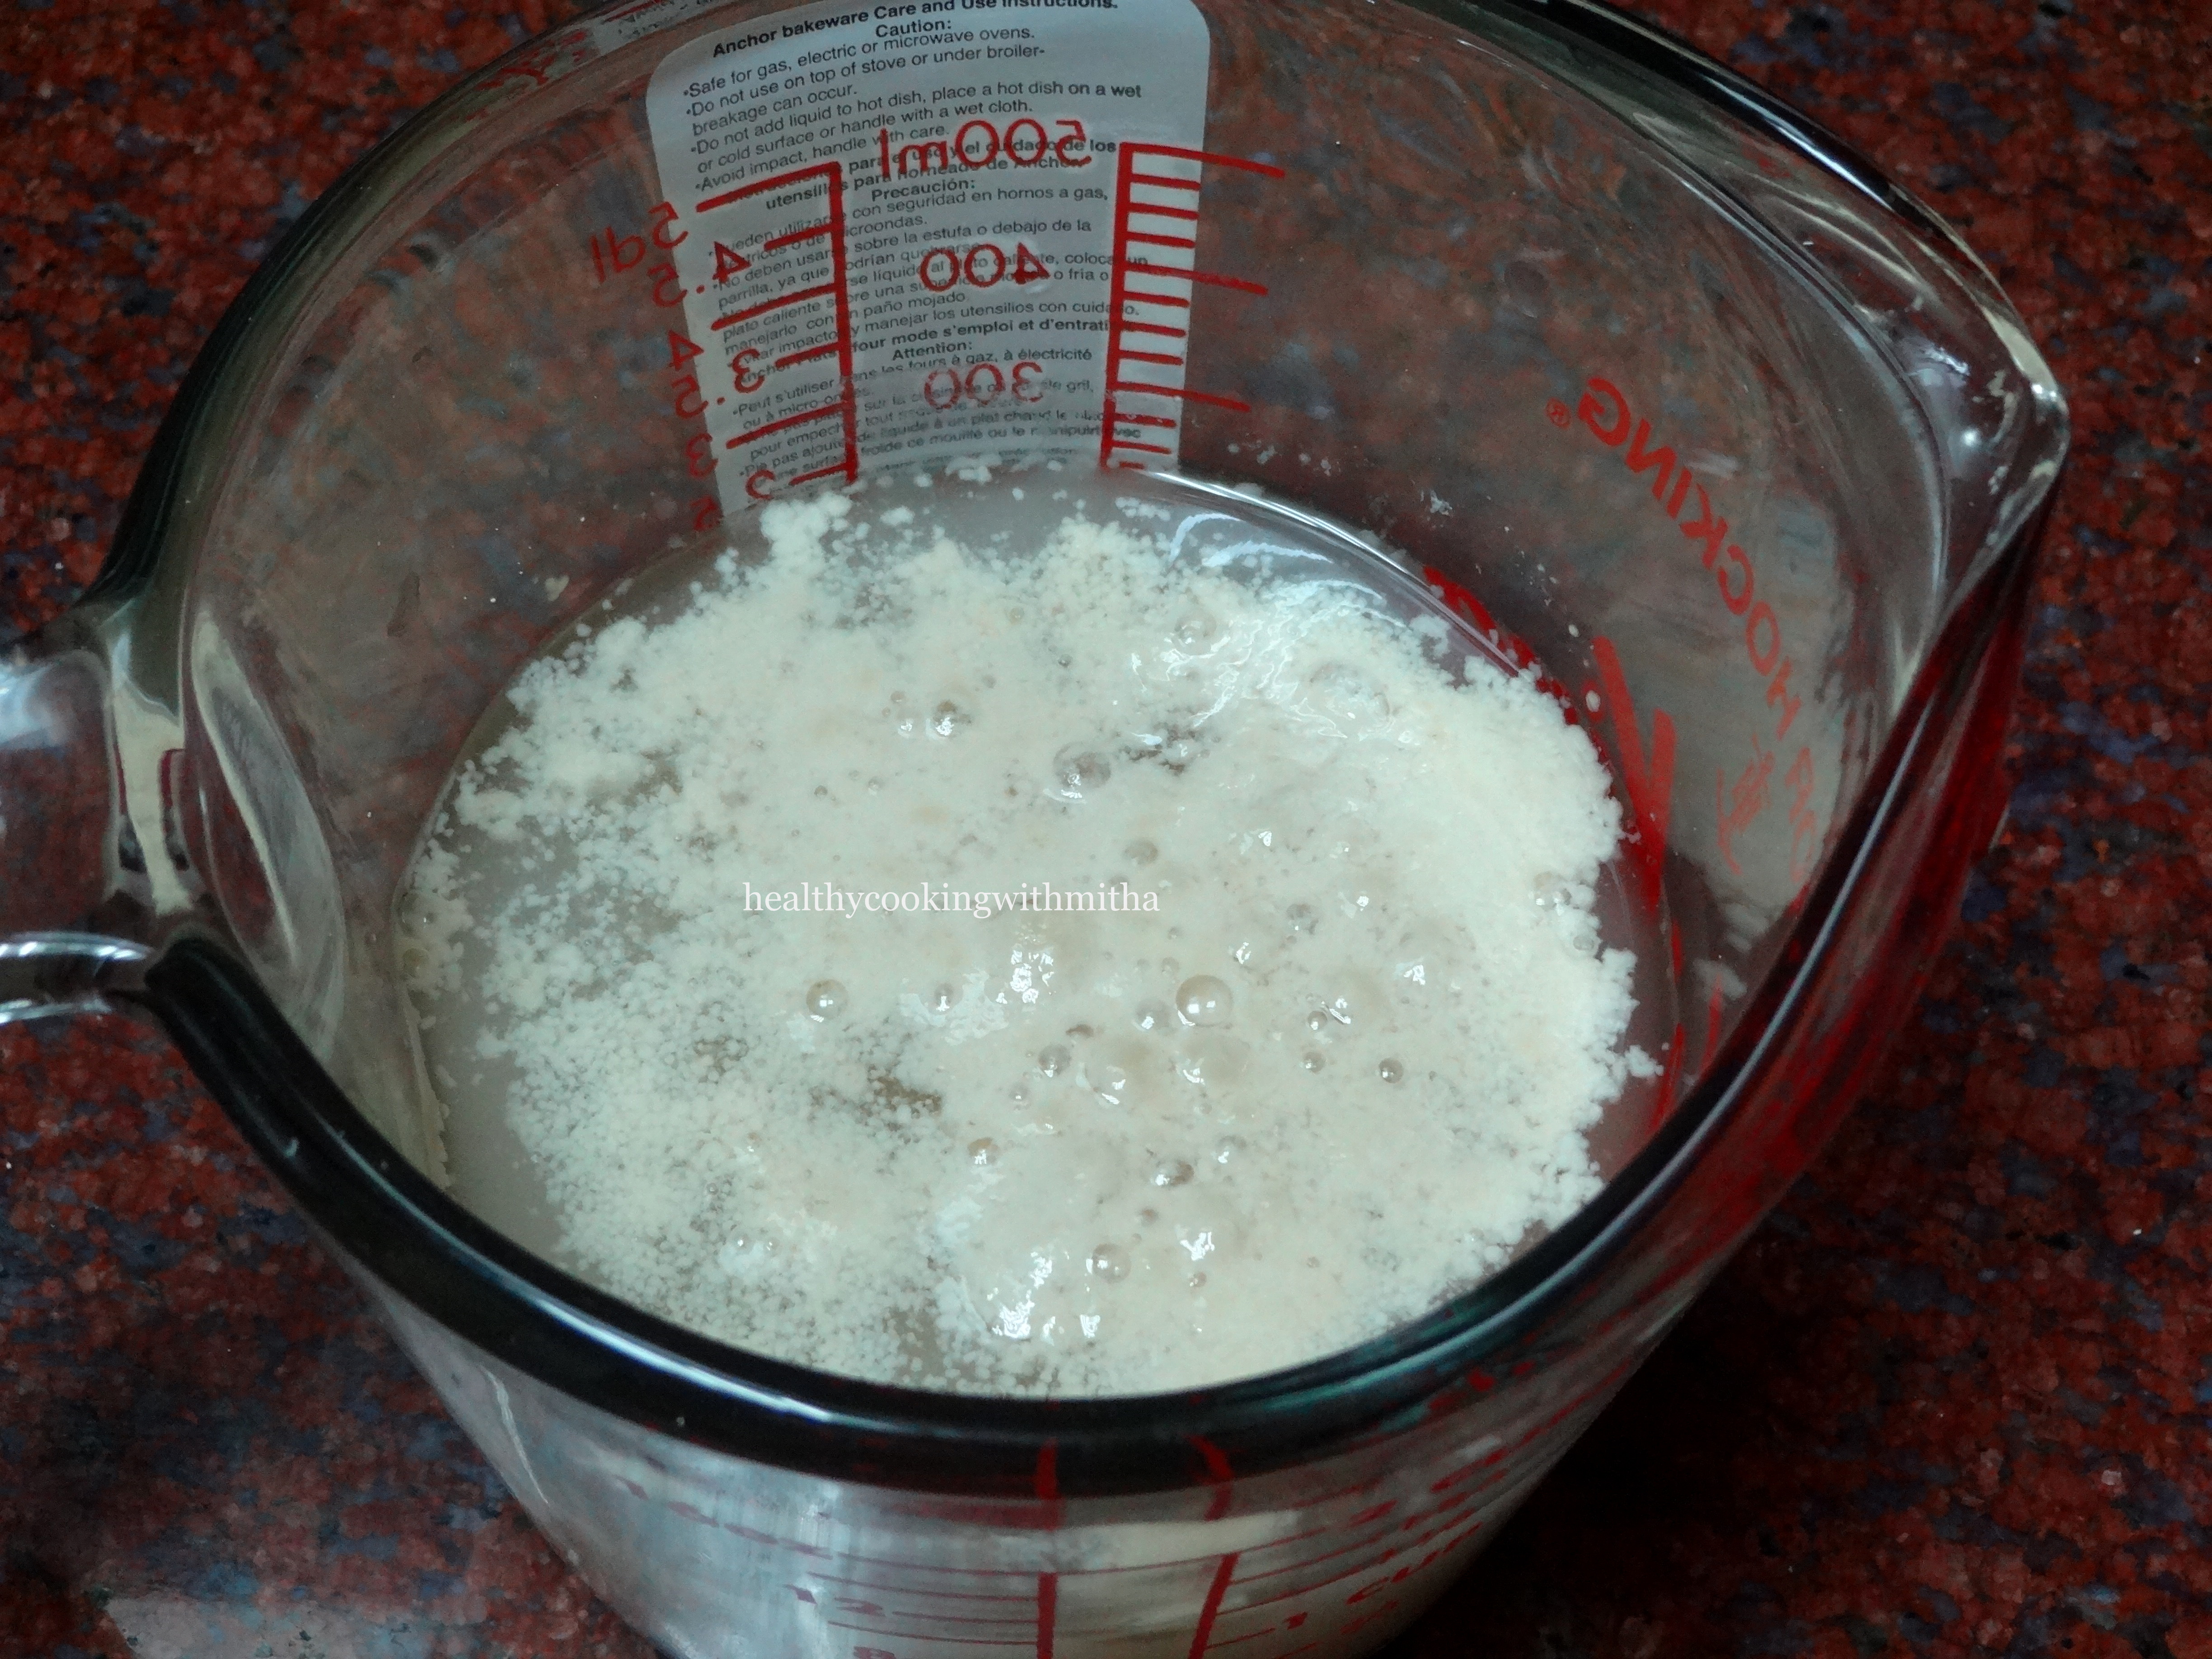
3. Now the yeast has proofed as shown. (If the yeast does not proof ie does not rise, discard it and do not follow the next steps as maybe the yeast has expired.)
See for the bubbles, yeasty aroma and a slight rise to check if the yeast is good or not.
4. Now add this to the flour- salt mixture and knead just like you knead normal dough for chapatis adding the extra 1/2 Cup water if necessary.
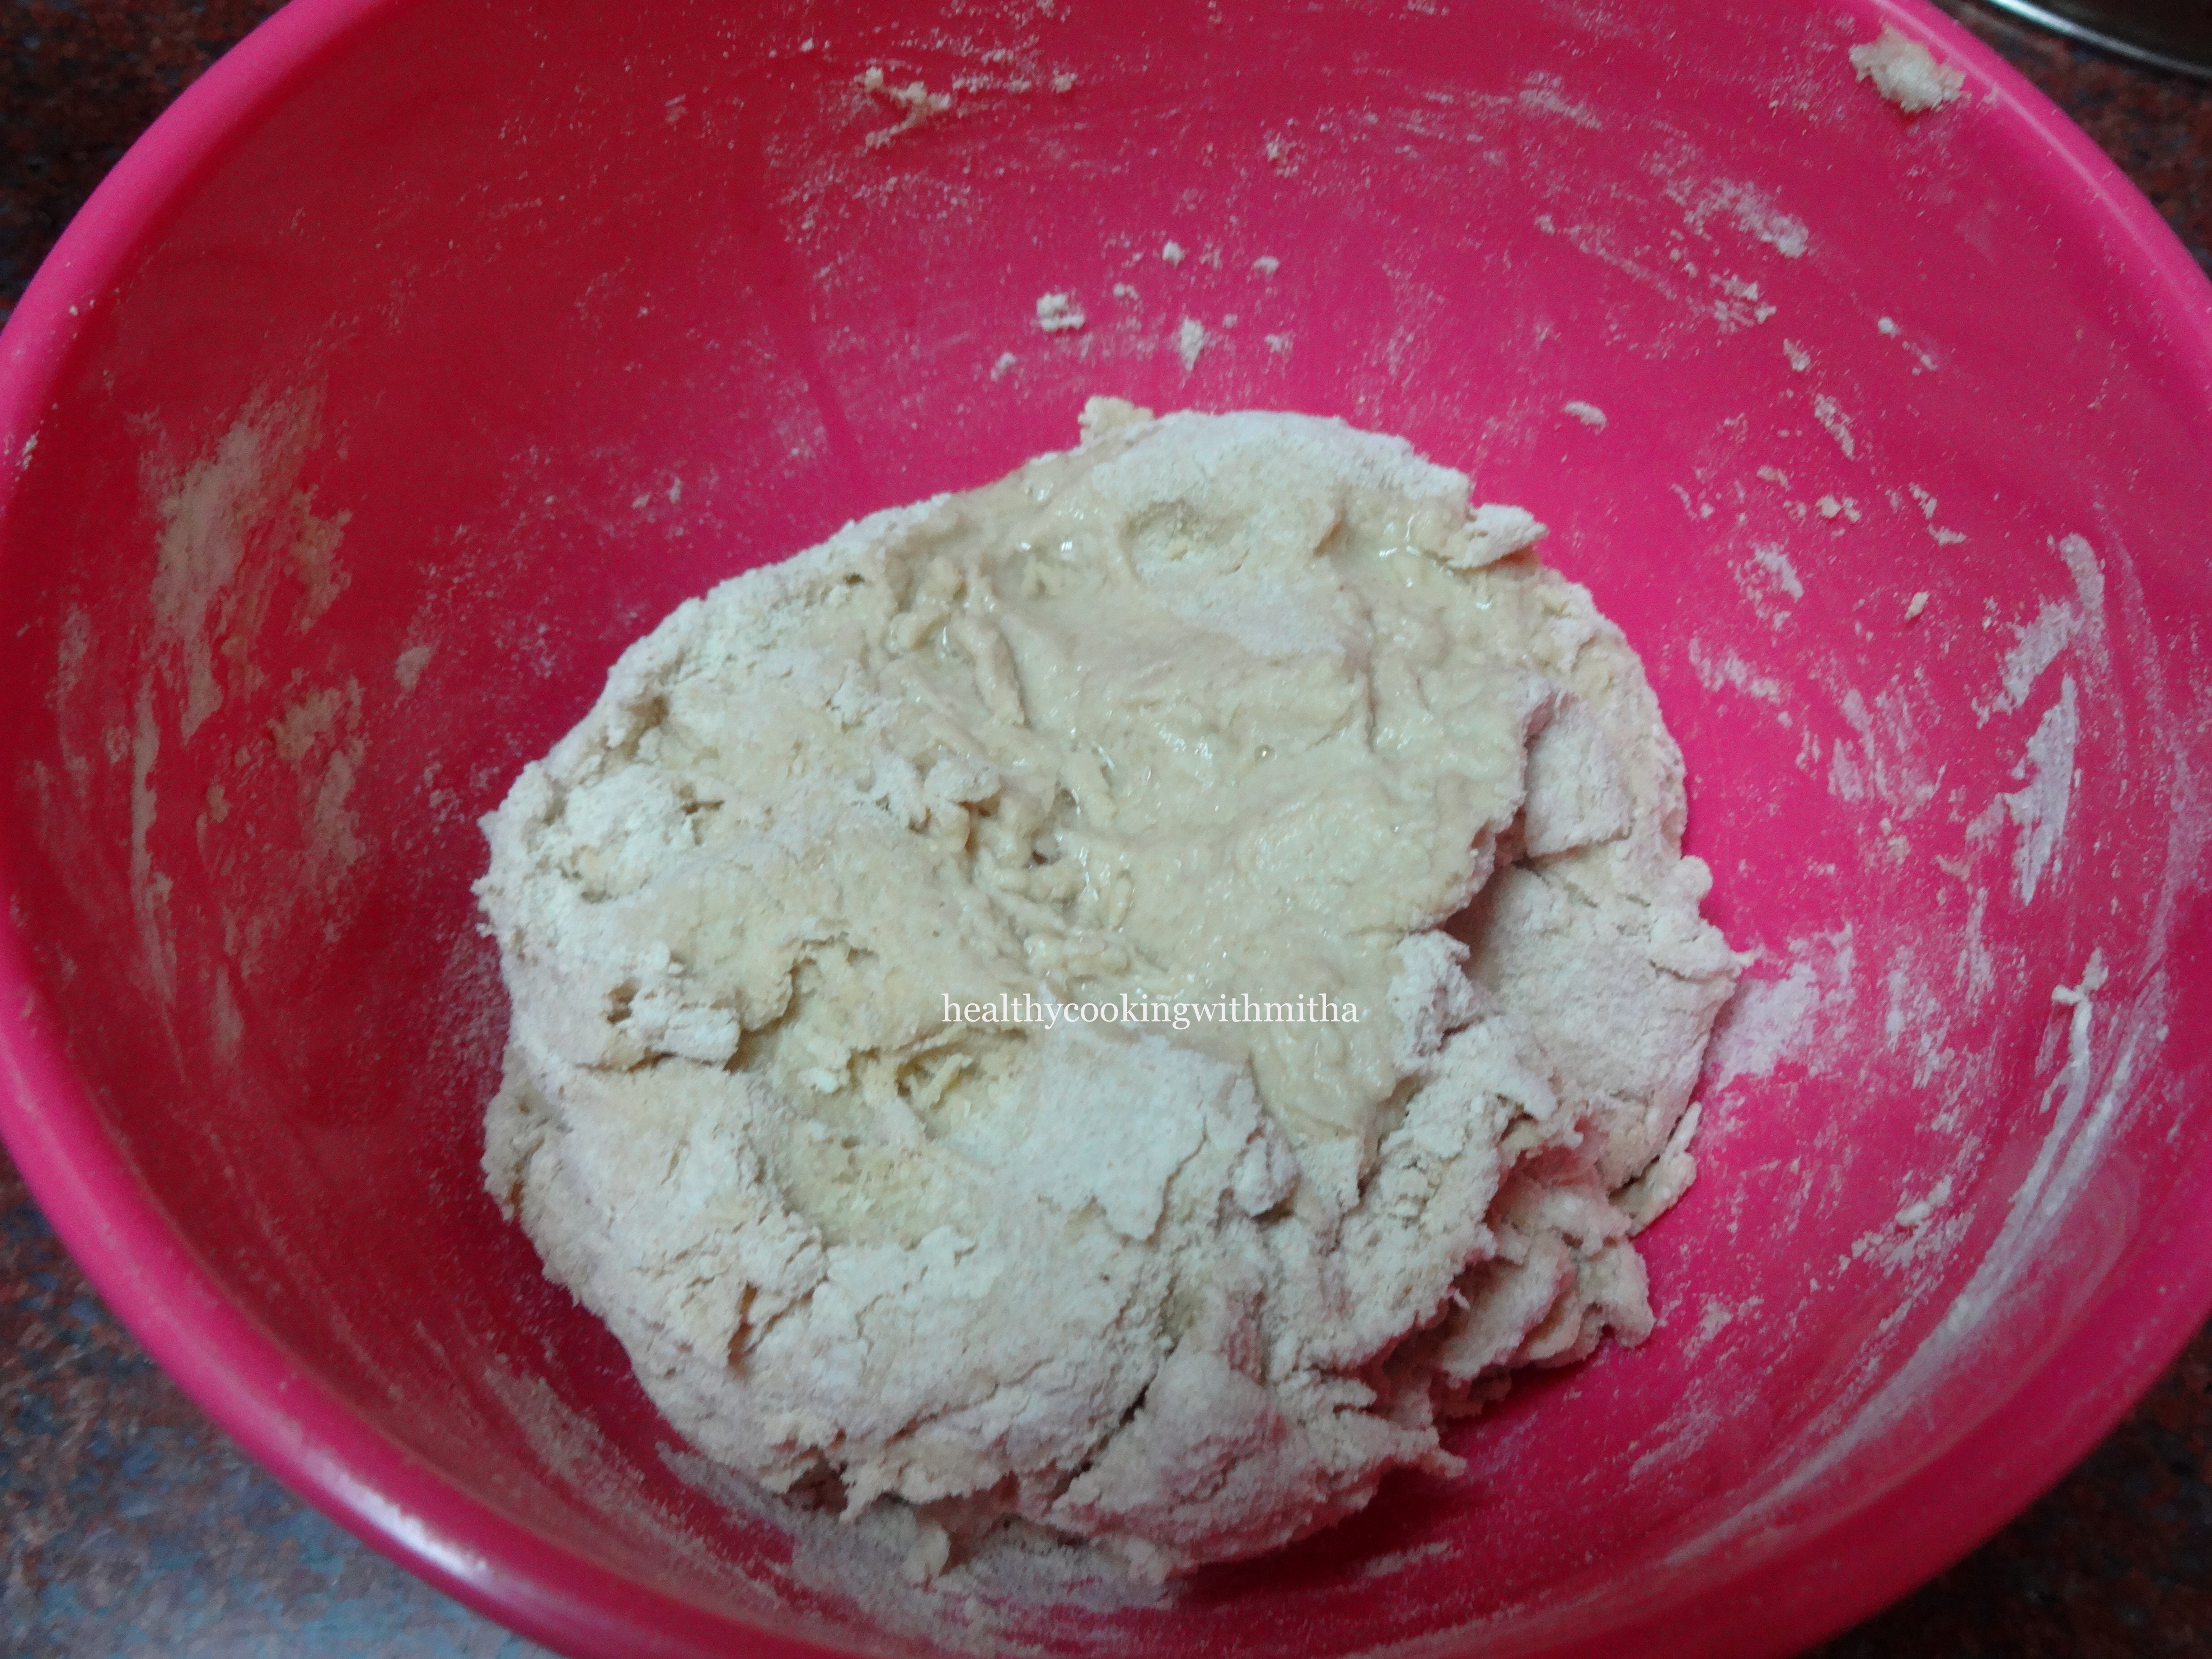
5. Now add olive oil towards the end of the kneading process and knead once again to form a smooth dough. ( If you don’t have olive oil, any oil like sunflower or coconut oil will do)
6. Keep the dough covered in a warm place for about 1.5 hours to 2 hours for the dough to rise and double the size. If the weather is cold, it might take even 3 hours.
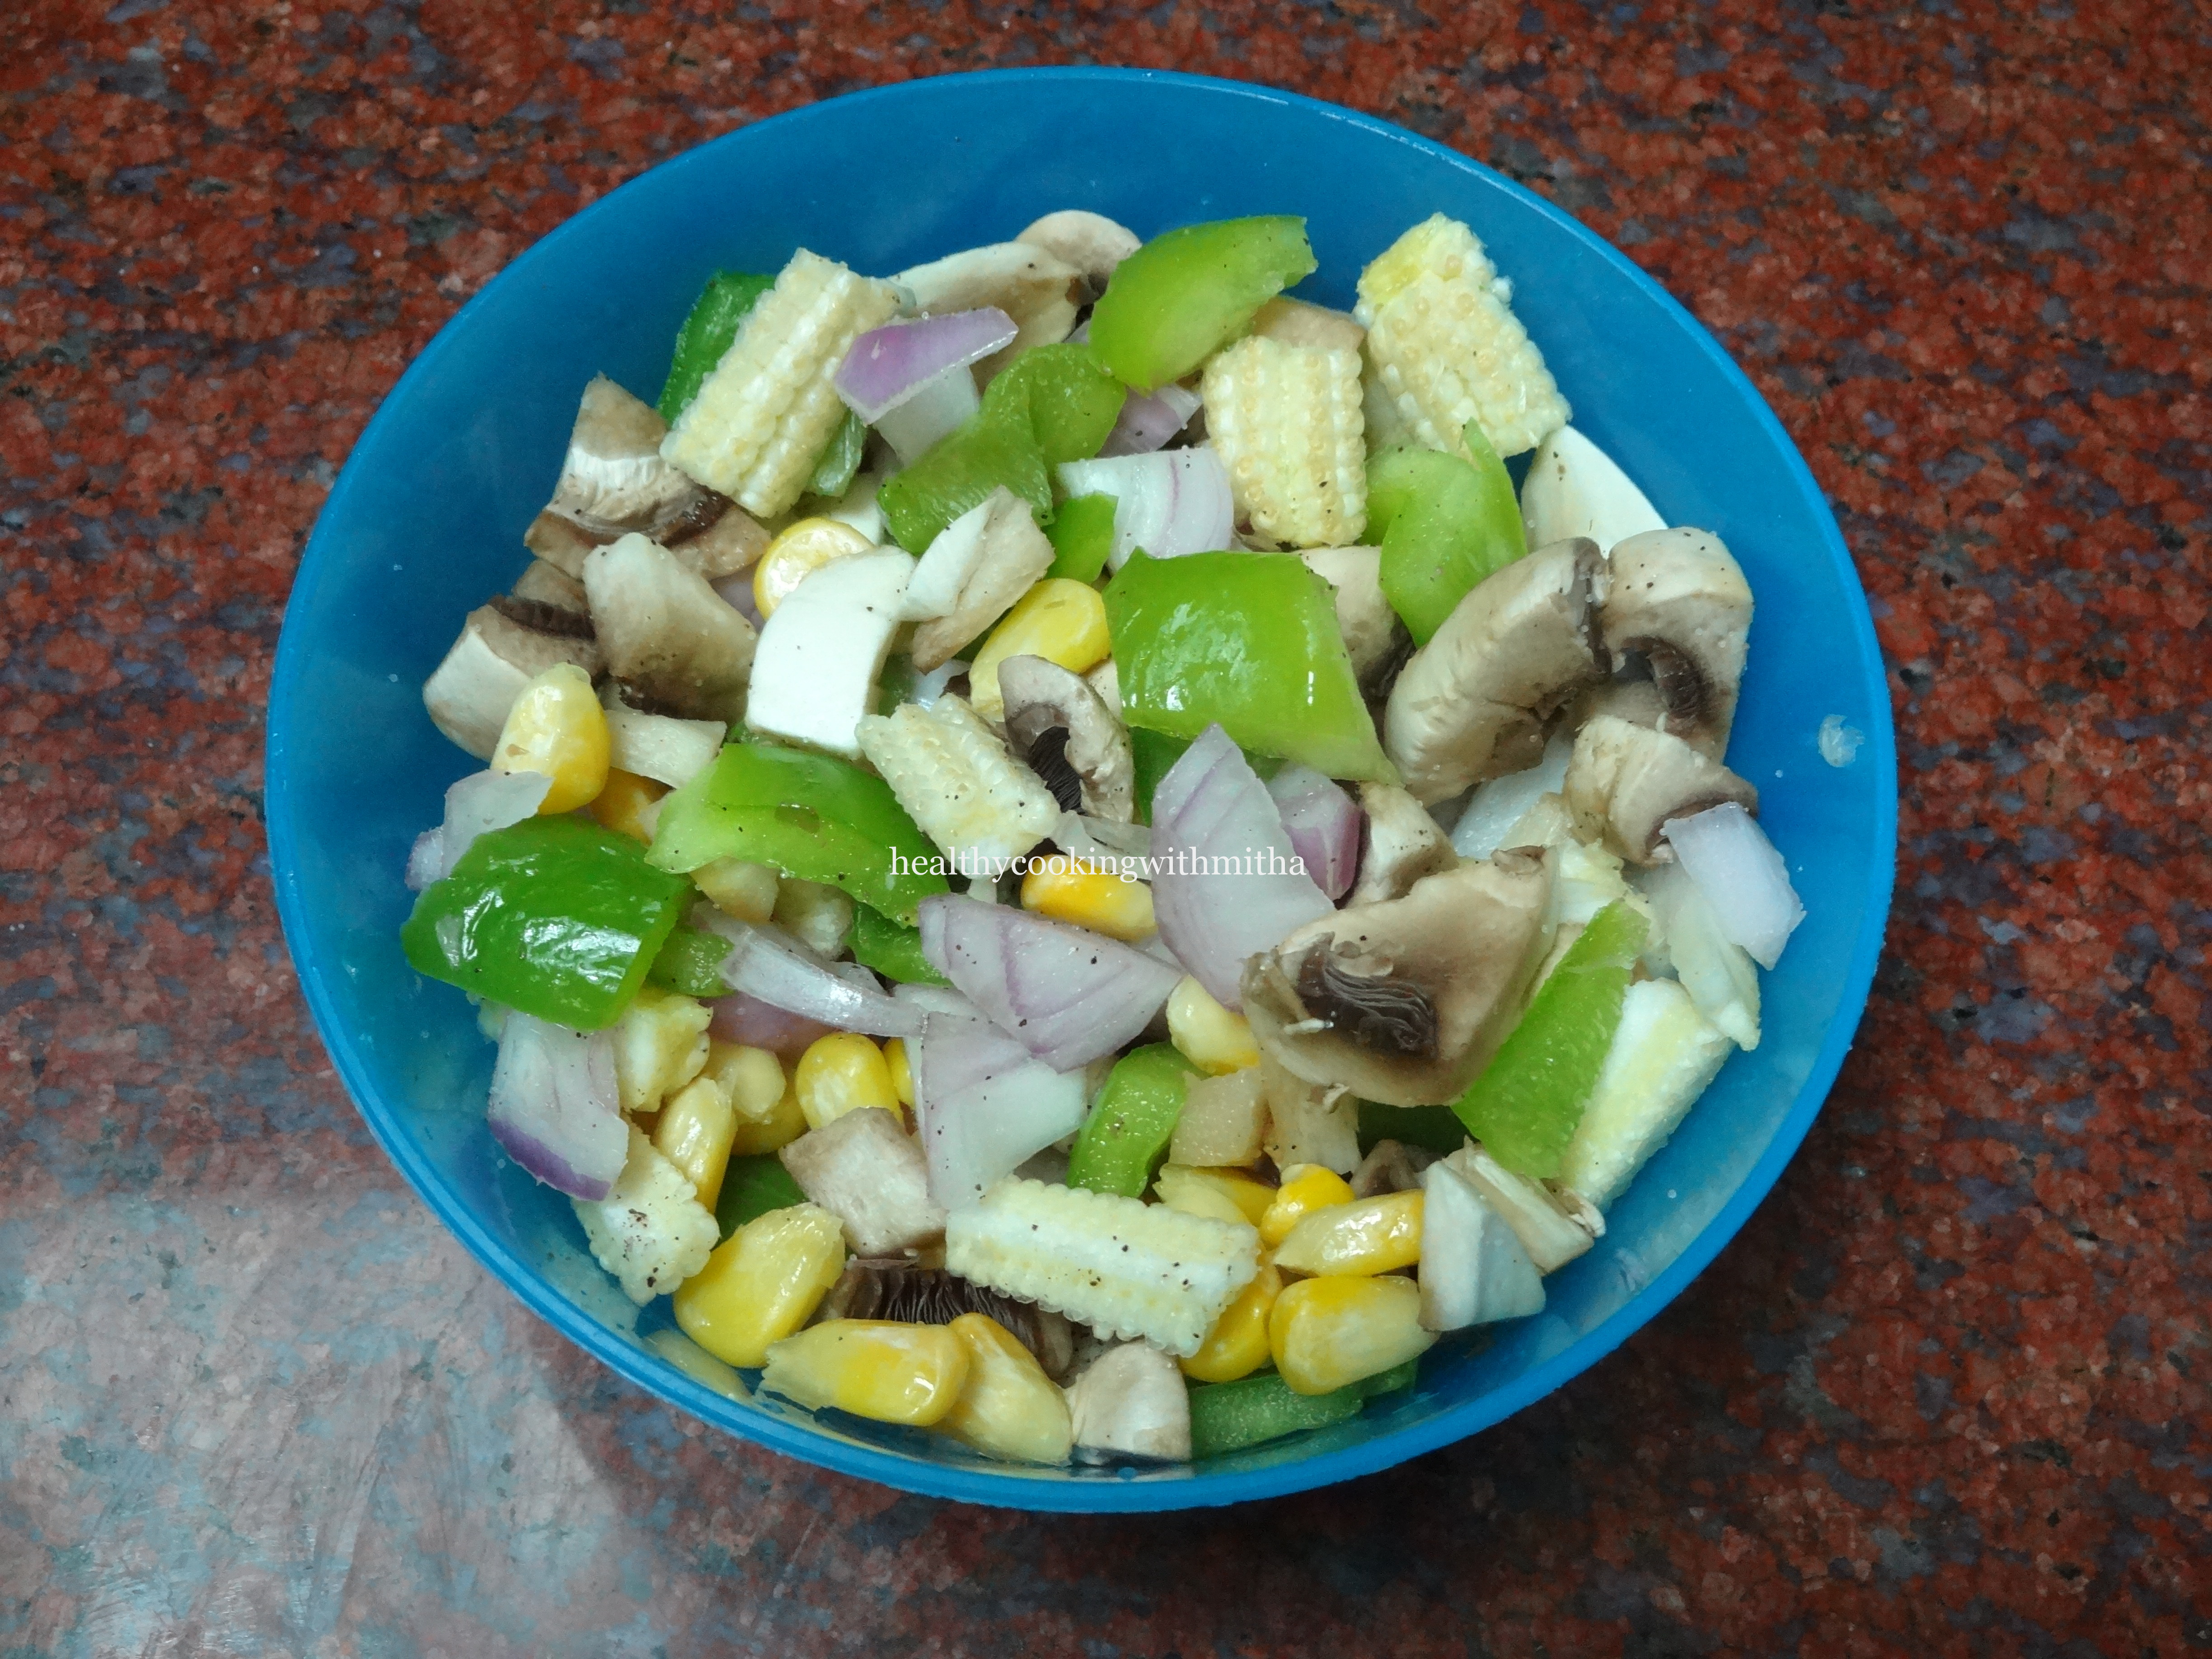
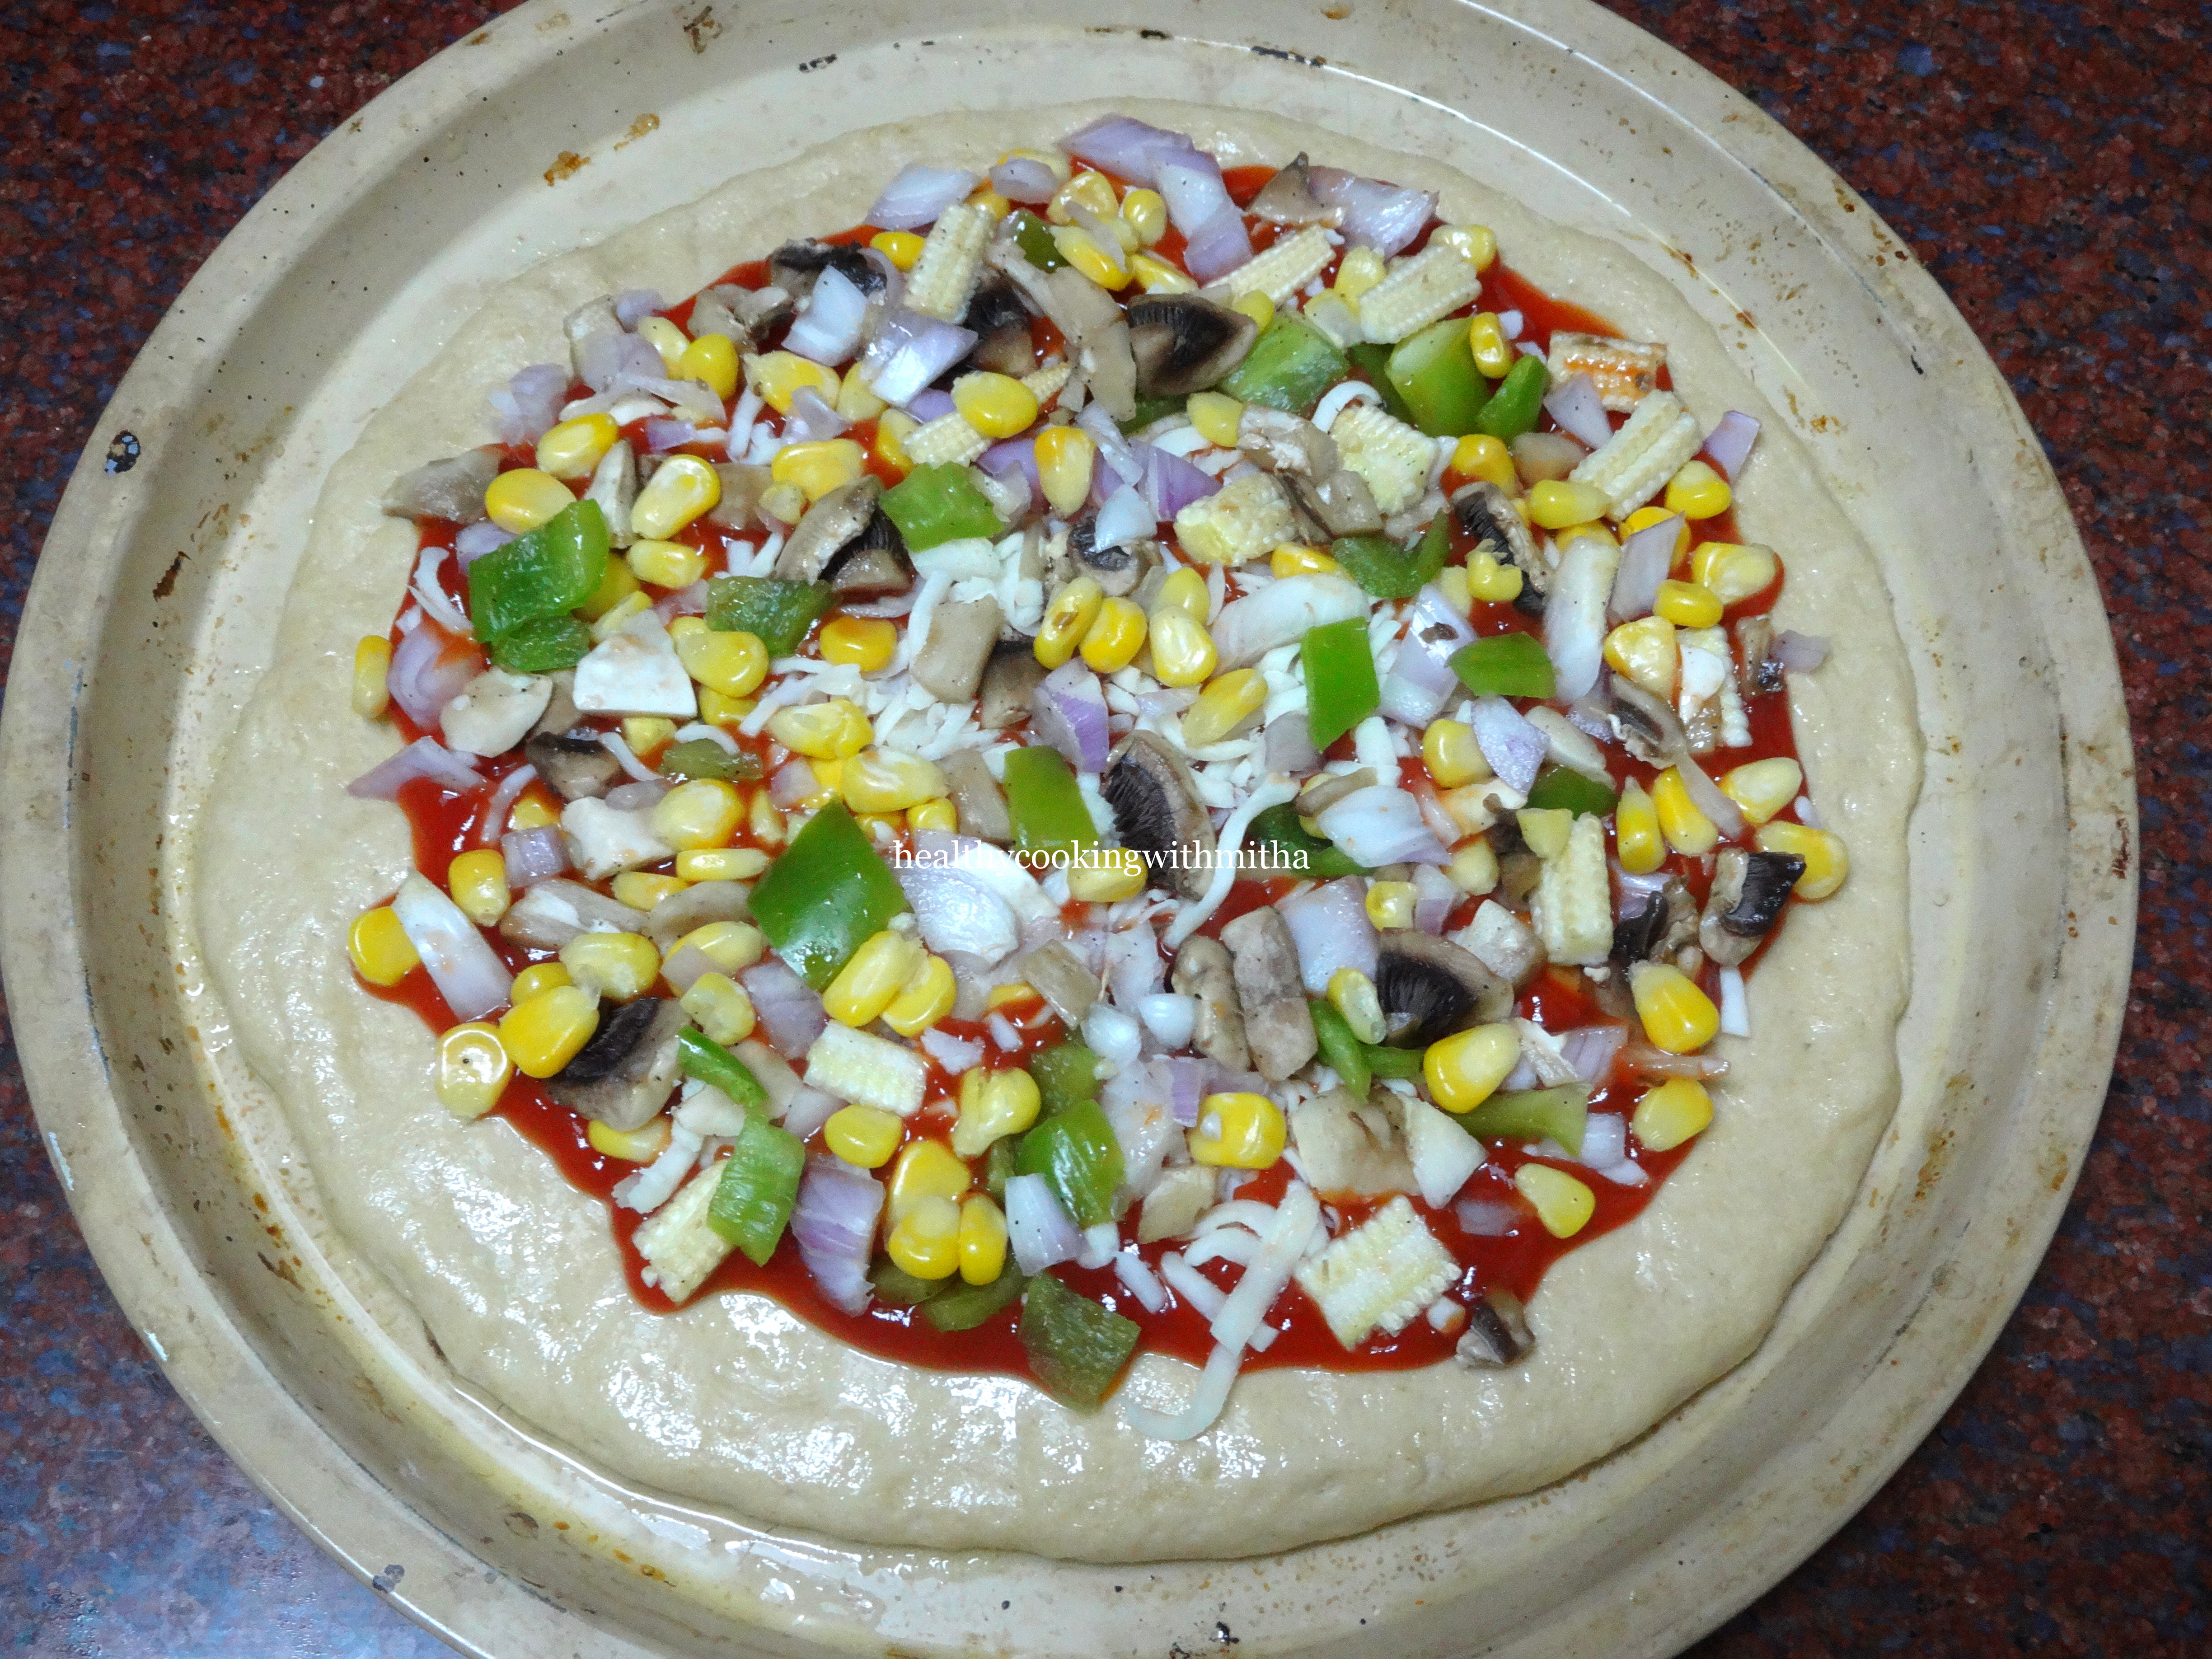
7. Meanwhile chop and prepare veggies for topping.
See the quantity of veggies I have taken. This much is enough for one medium pizza. Don’t add too many veggies which will spoil the taste. Add salt and pepper powder to the veggies
8. Now after 1.5 hours, check if the dough has risen and doubled. If so, remove and divide into two halves.
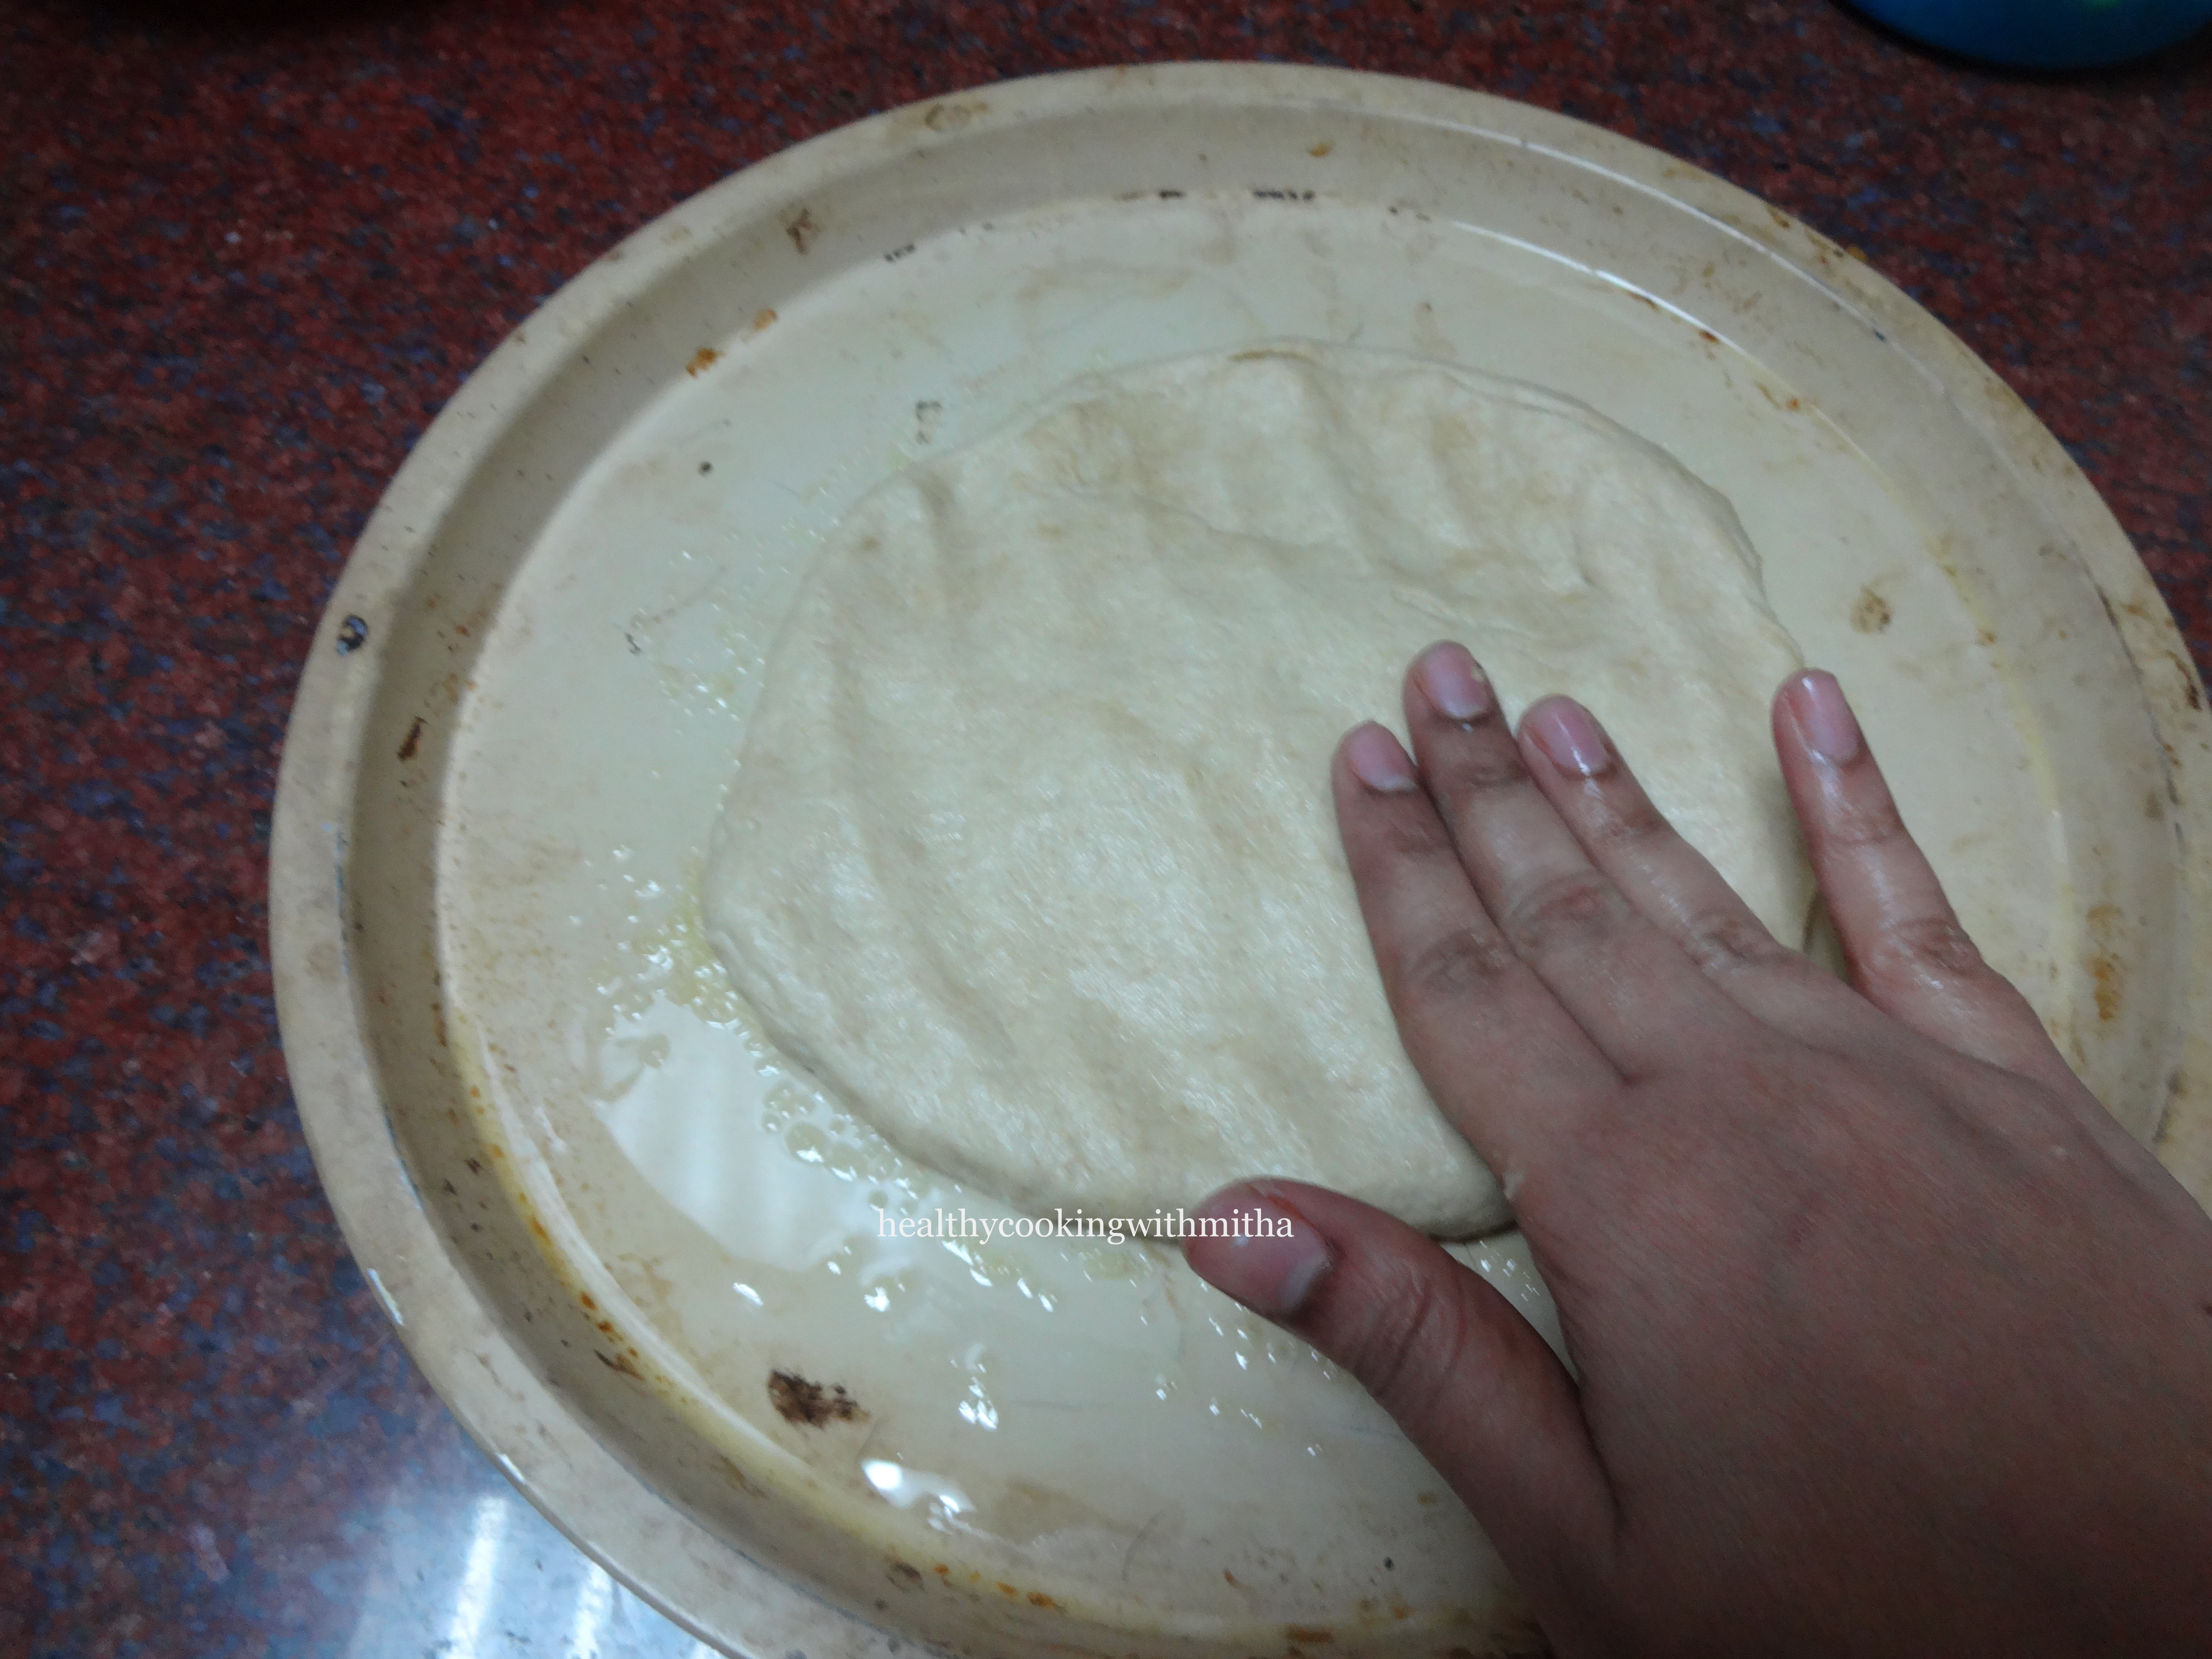
9. Spread one half of the dough over a well greased (with oil and dust little wheat flour) oven proof pizza plate with fingers as shown.
10. Spread evenly in a round shape if possible and then coat the dough with oil.
It should NOT be spread very thick as it won’t bake well. Spread as evenly as possible.
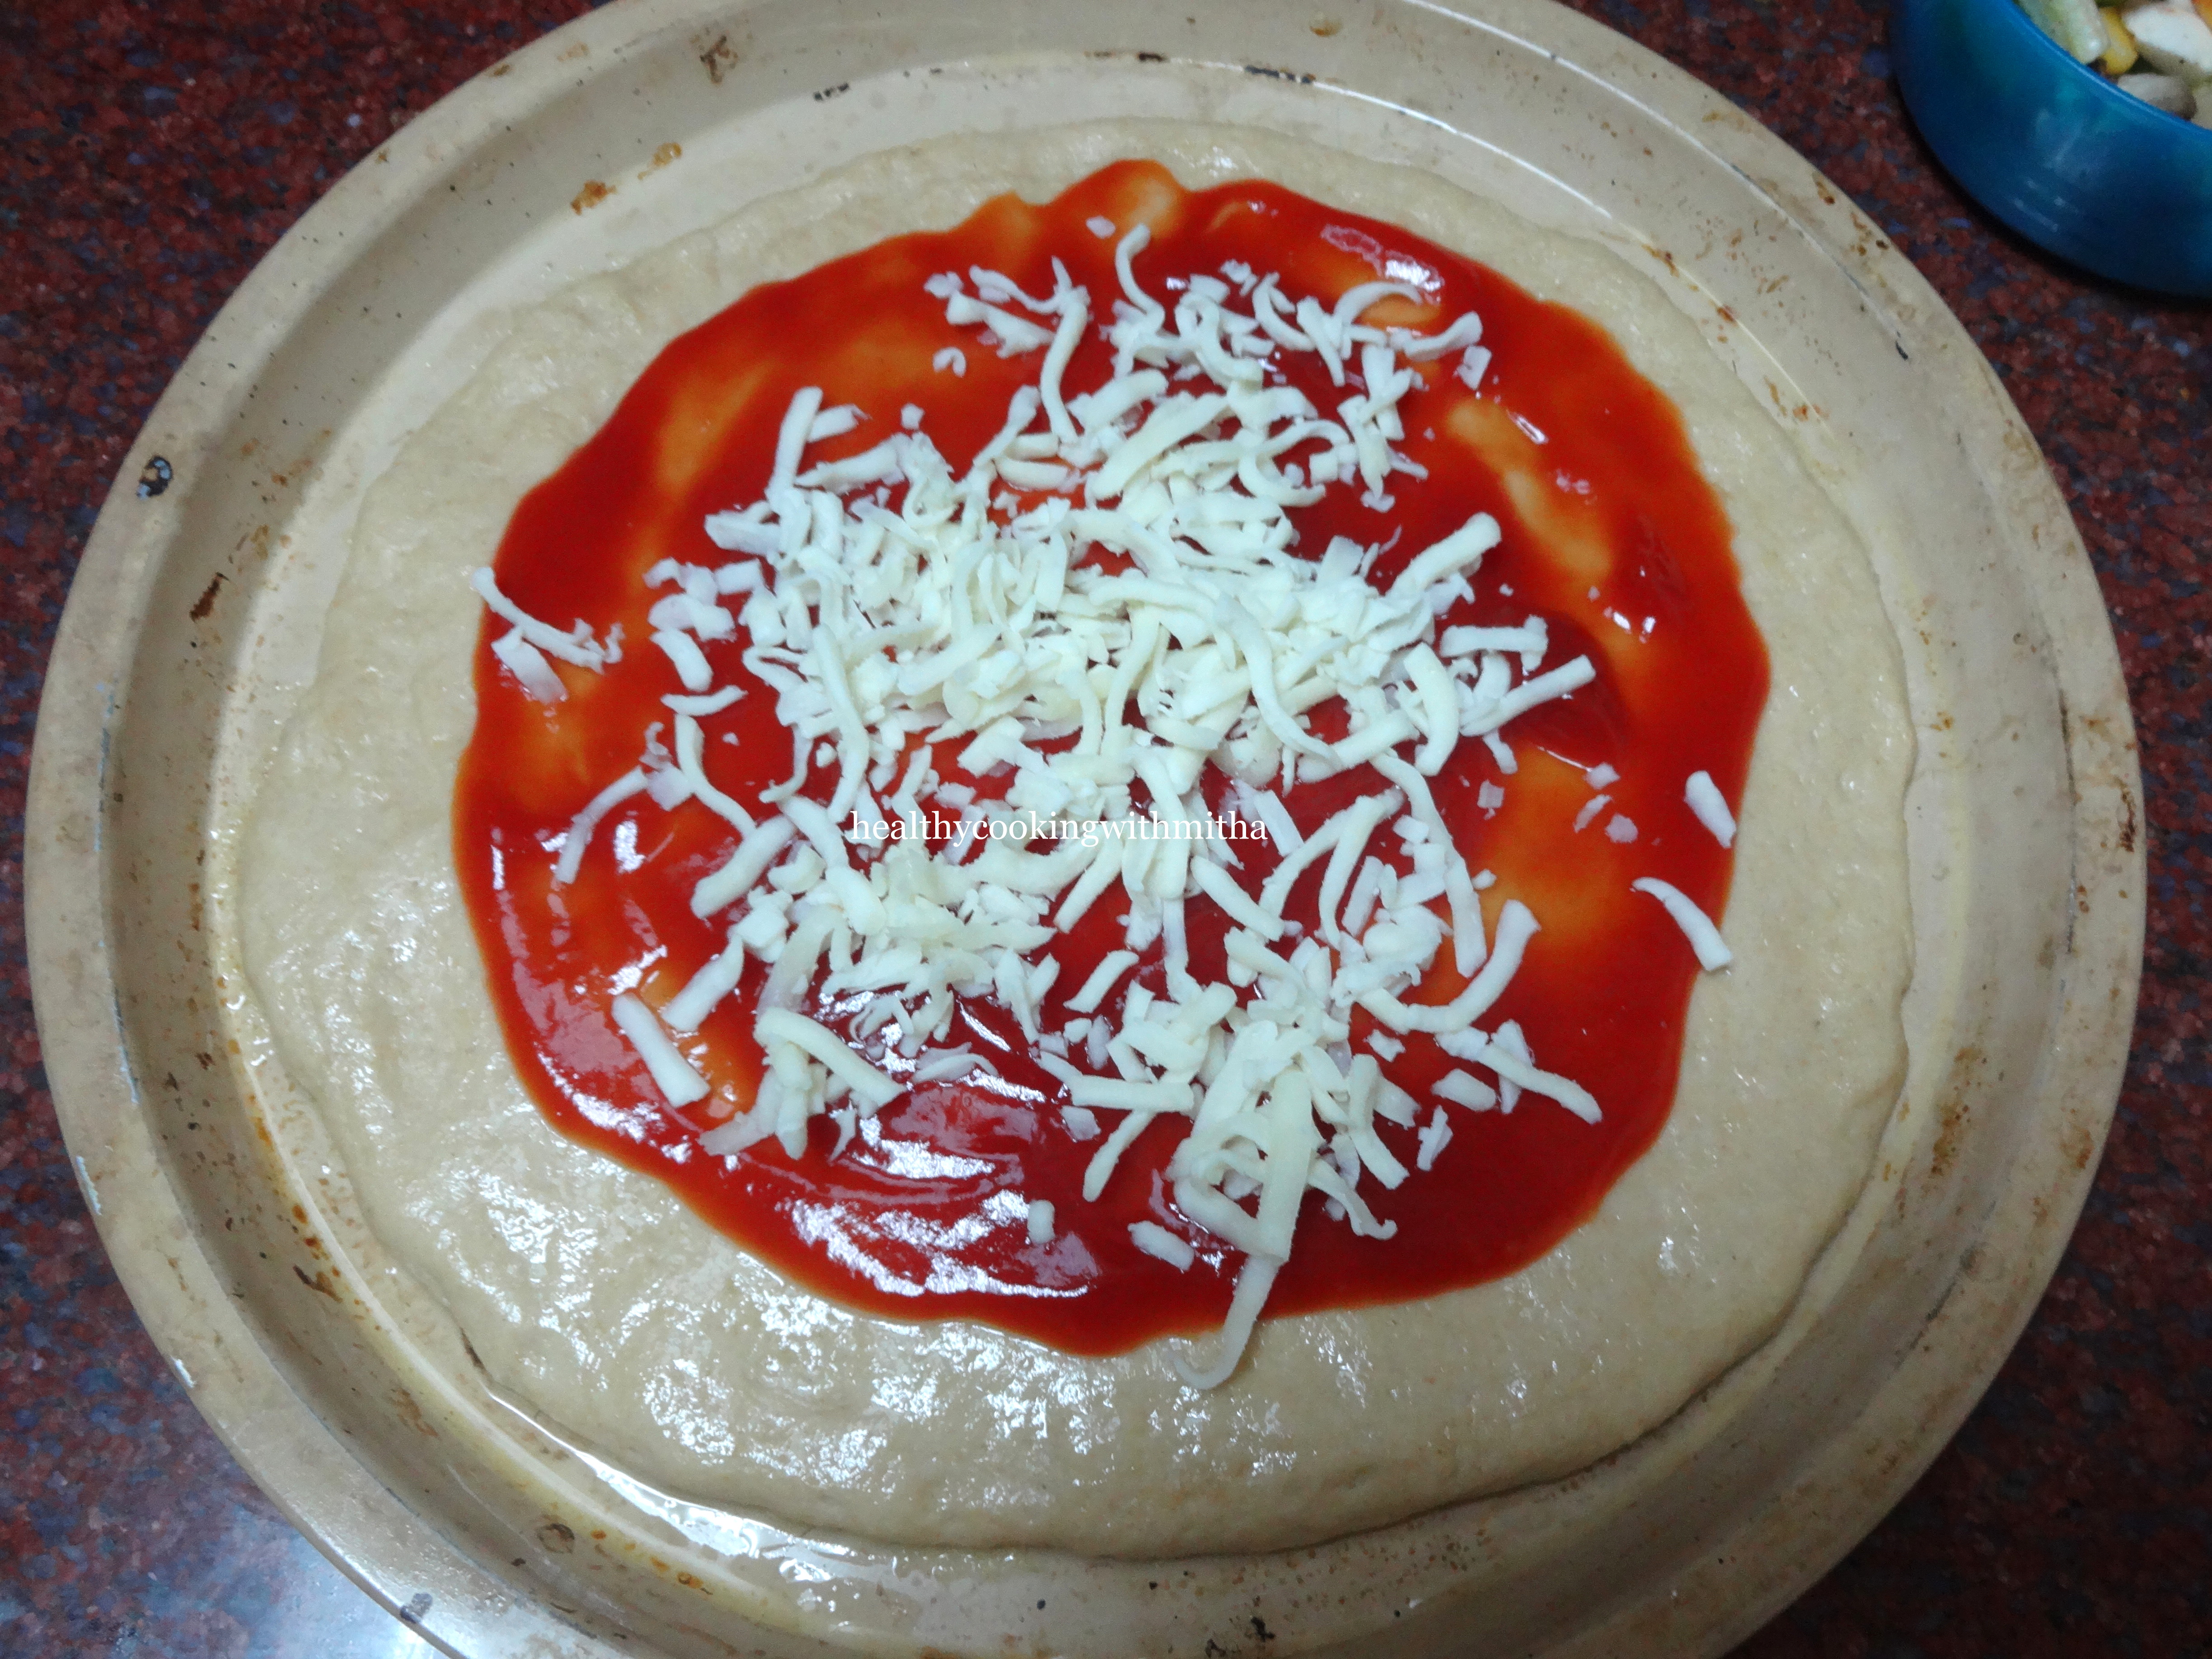
11. Add a layer of pizza sauce or ketchup and grated mozzarella cheese.
12. Add veggies and spread evenly.
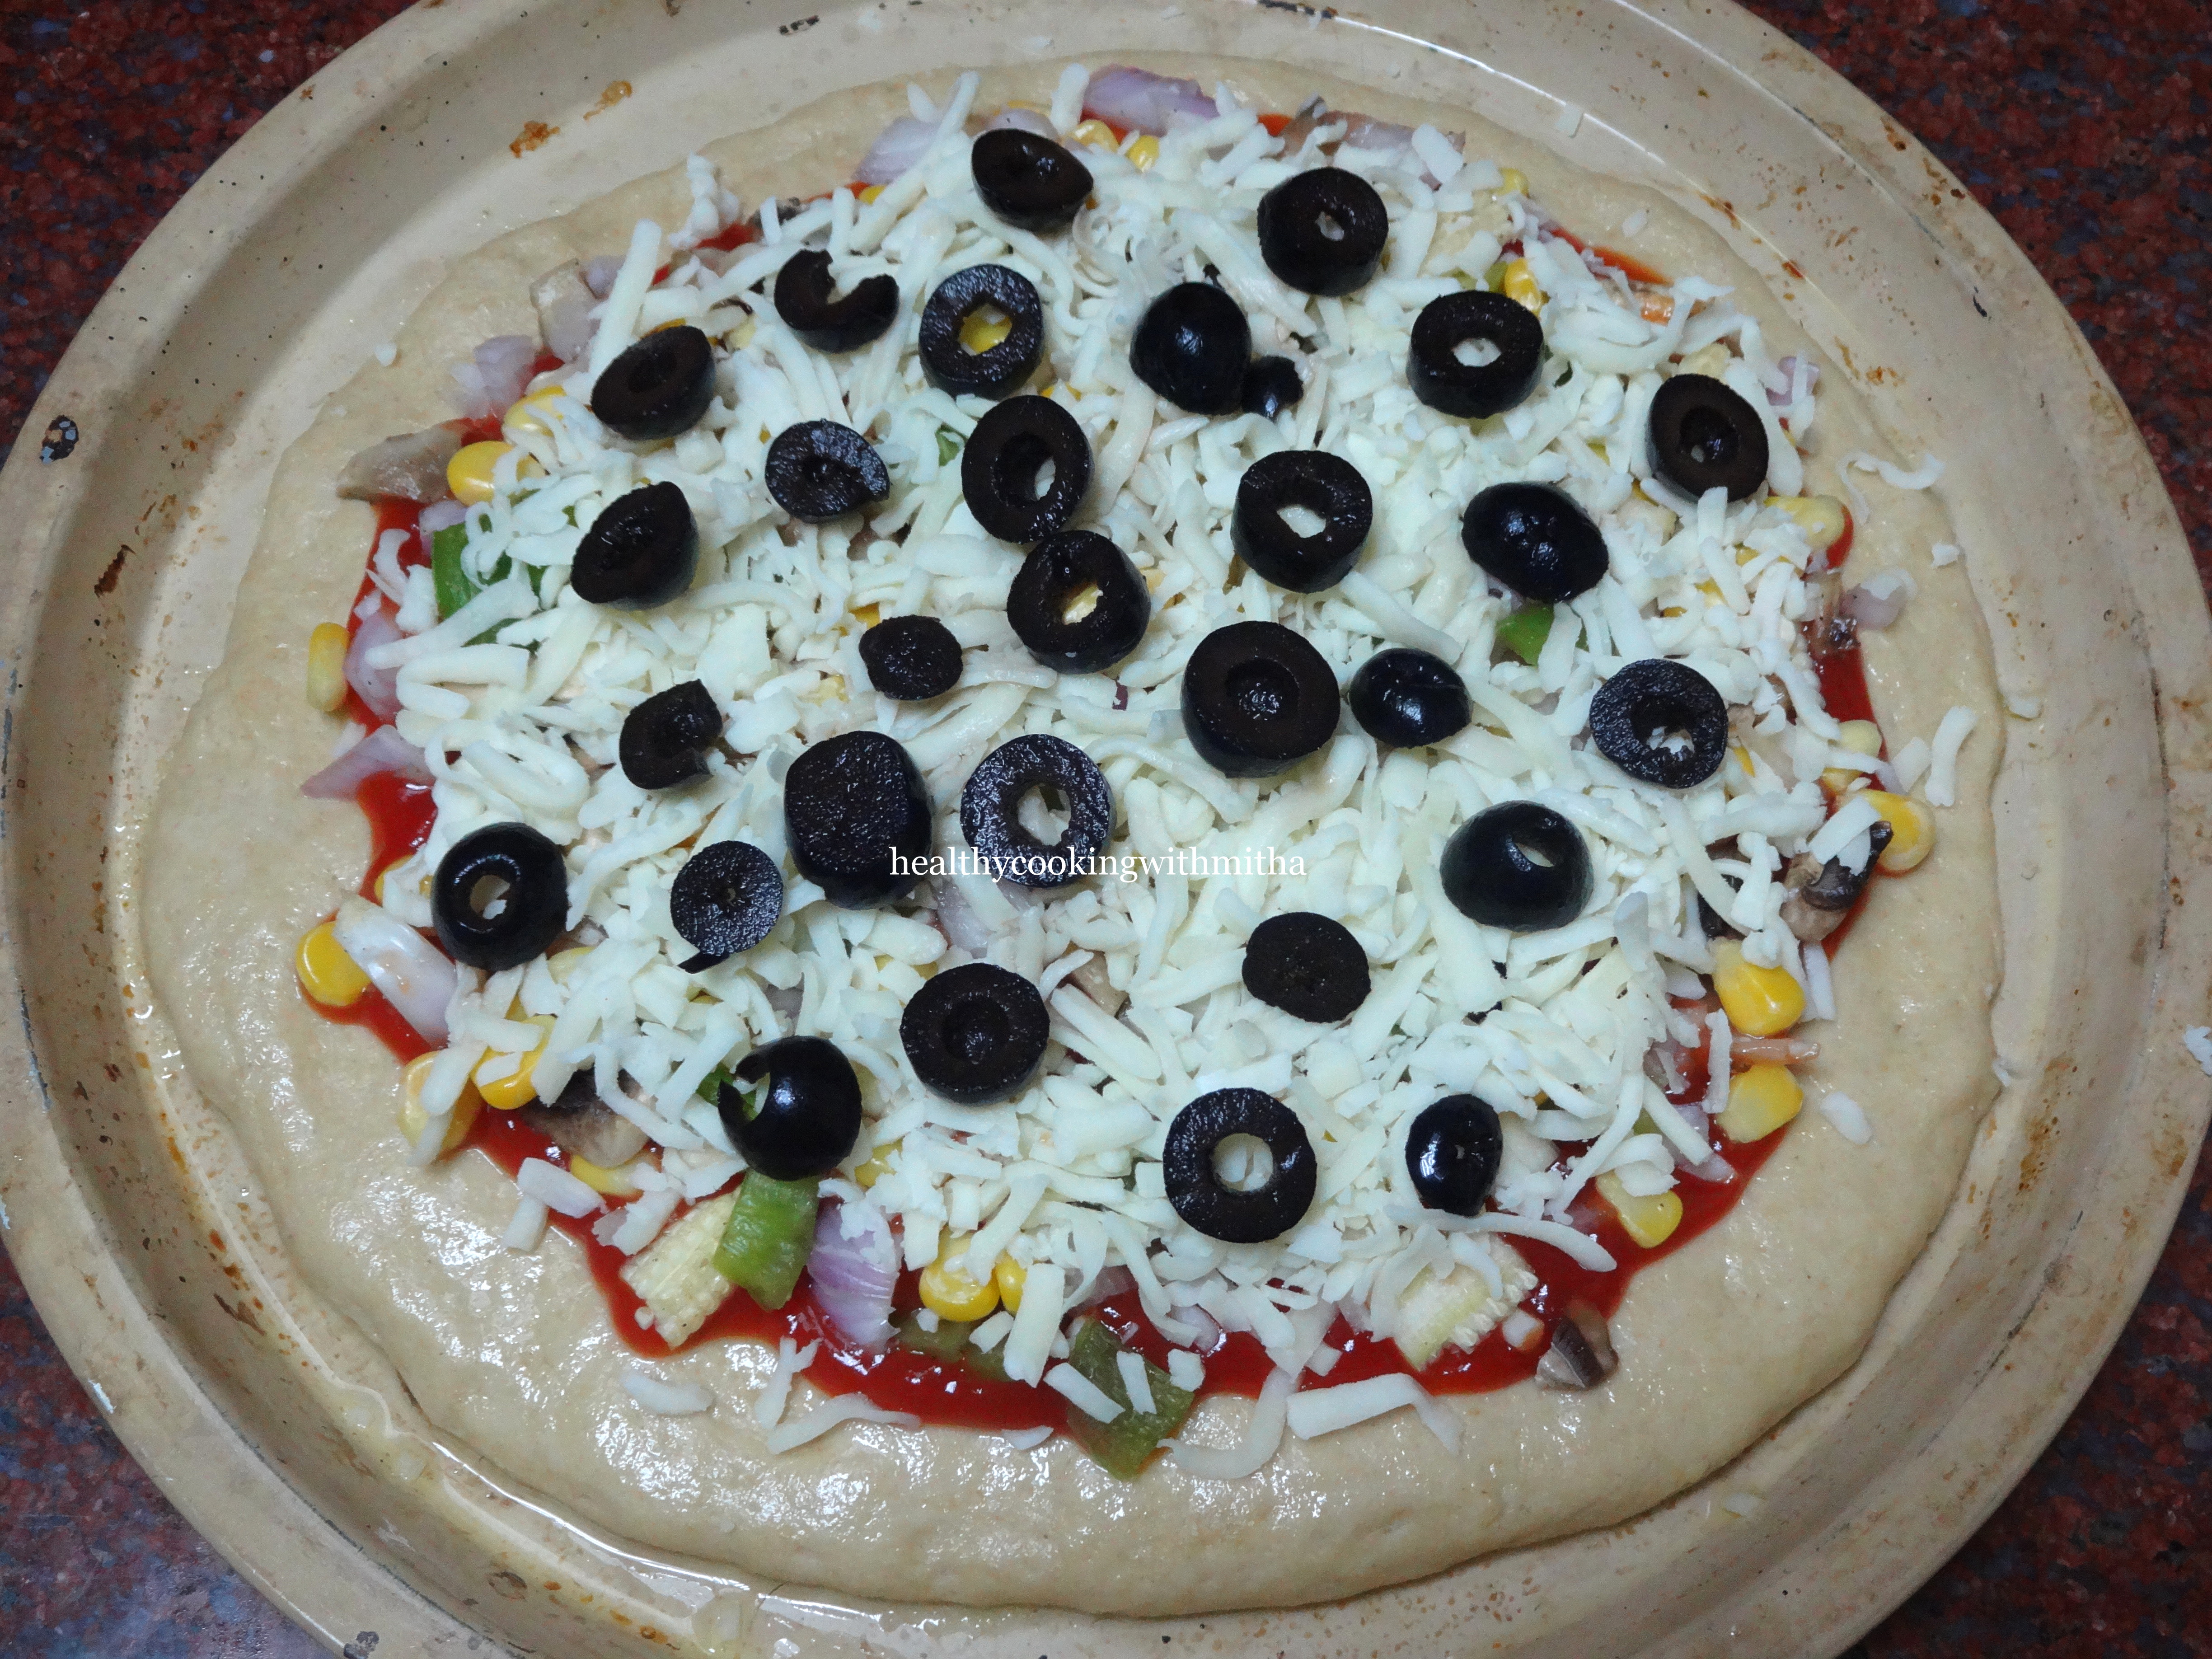
13. Add another layer of mozzarella cheese.
14. Now top with olive slices.
15. Preheat the oven at 200 C for 10 mins. ( Do this before you start topping your pizza. So by the time you finish topping, the oven is very hot. The oven needs to be very hot when you place the pizza in the oven.)
16. Now place the pizza in the center rack of the hot oven and bake for 15 mins at 200 C. Do NOT open the oven door in this time. After 15 mins, check if the cheese has melted and turned golden. If so, take it out.
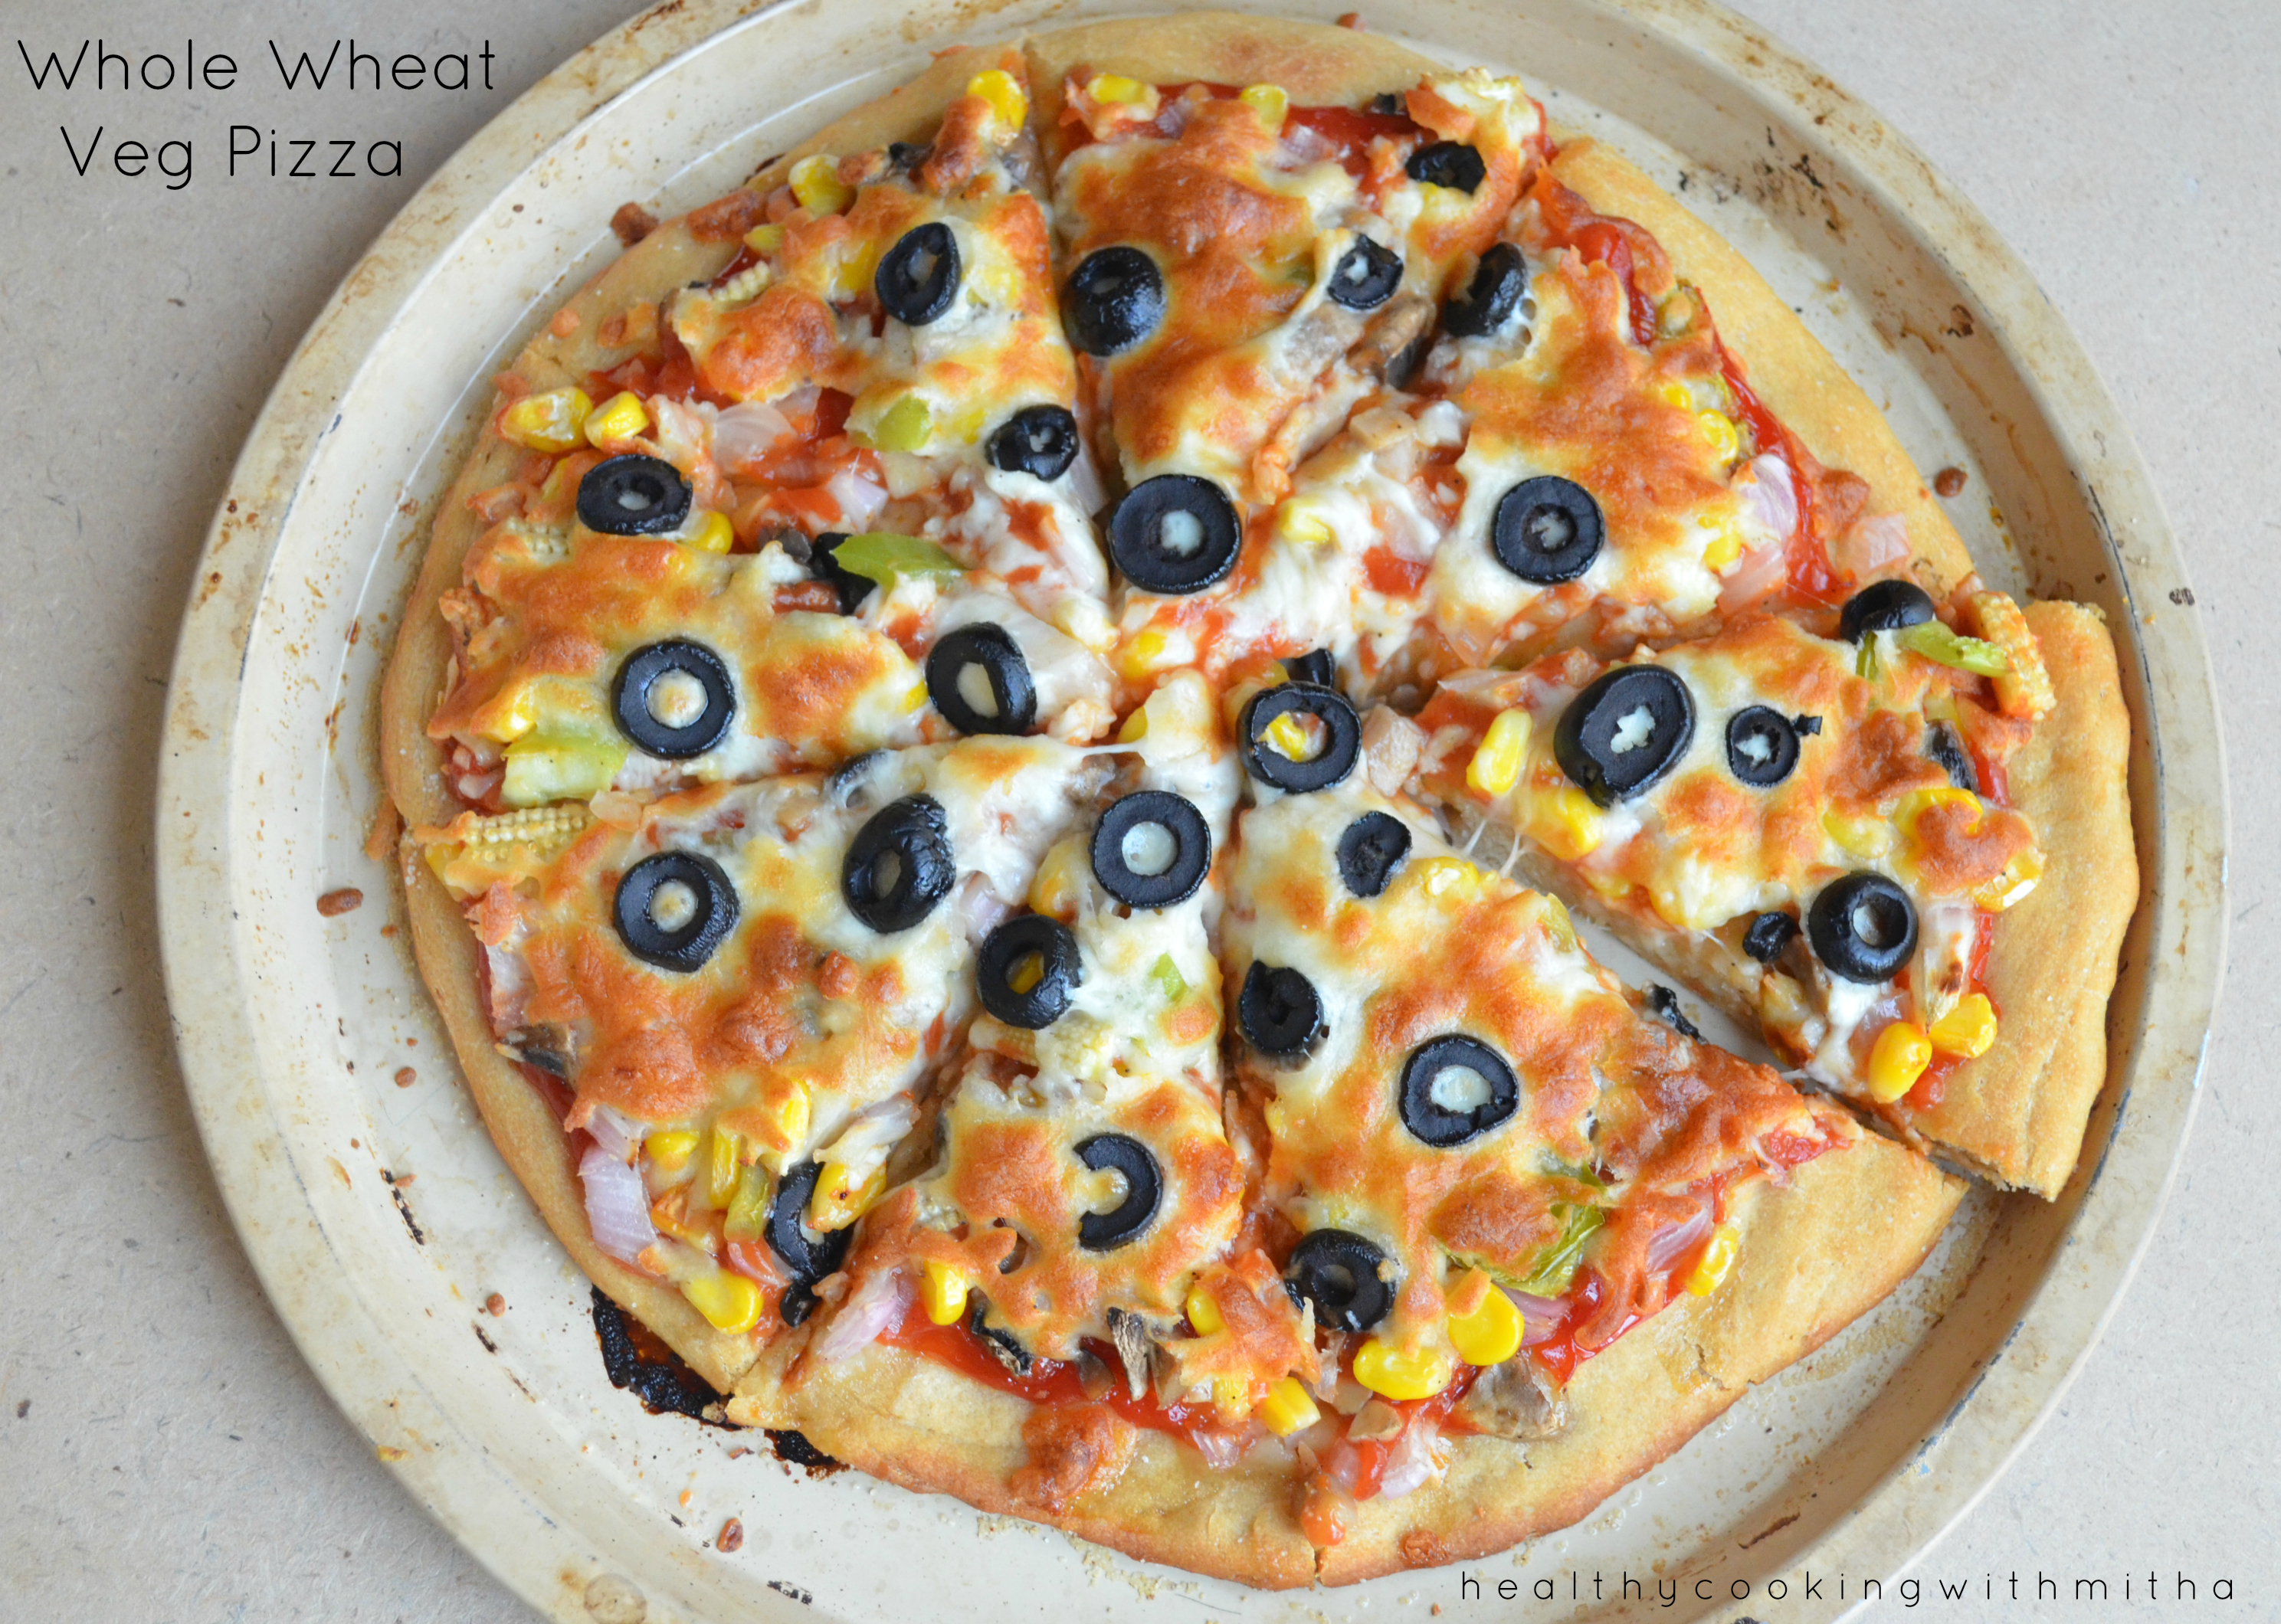
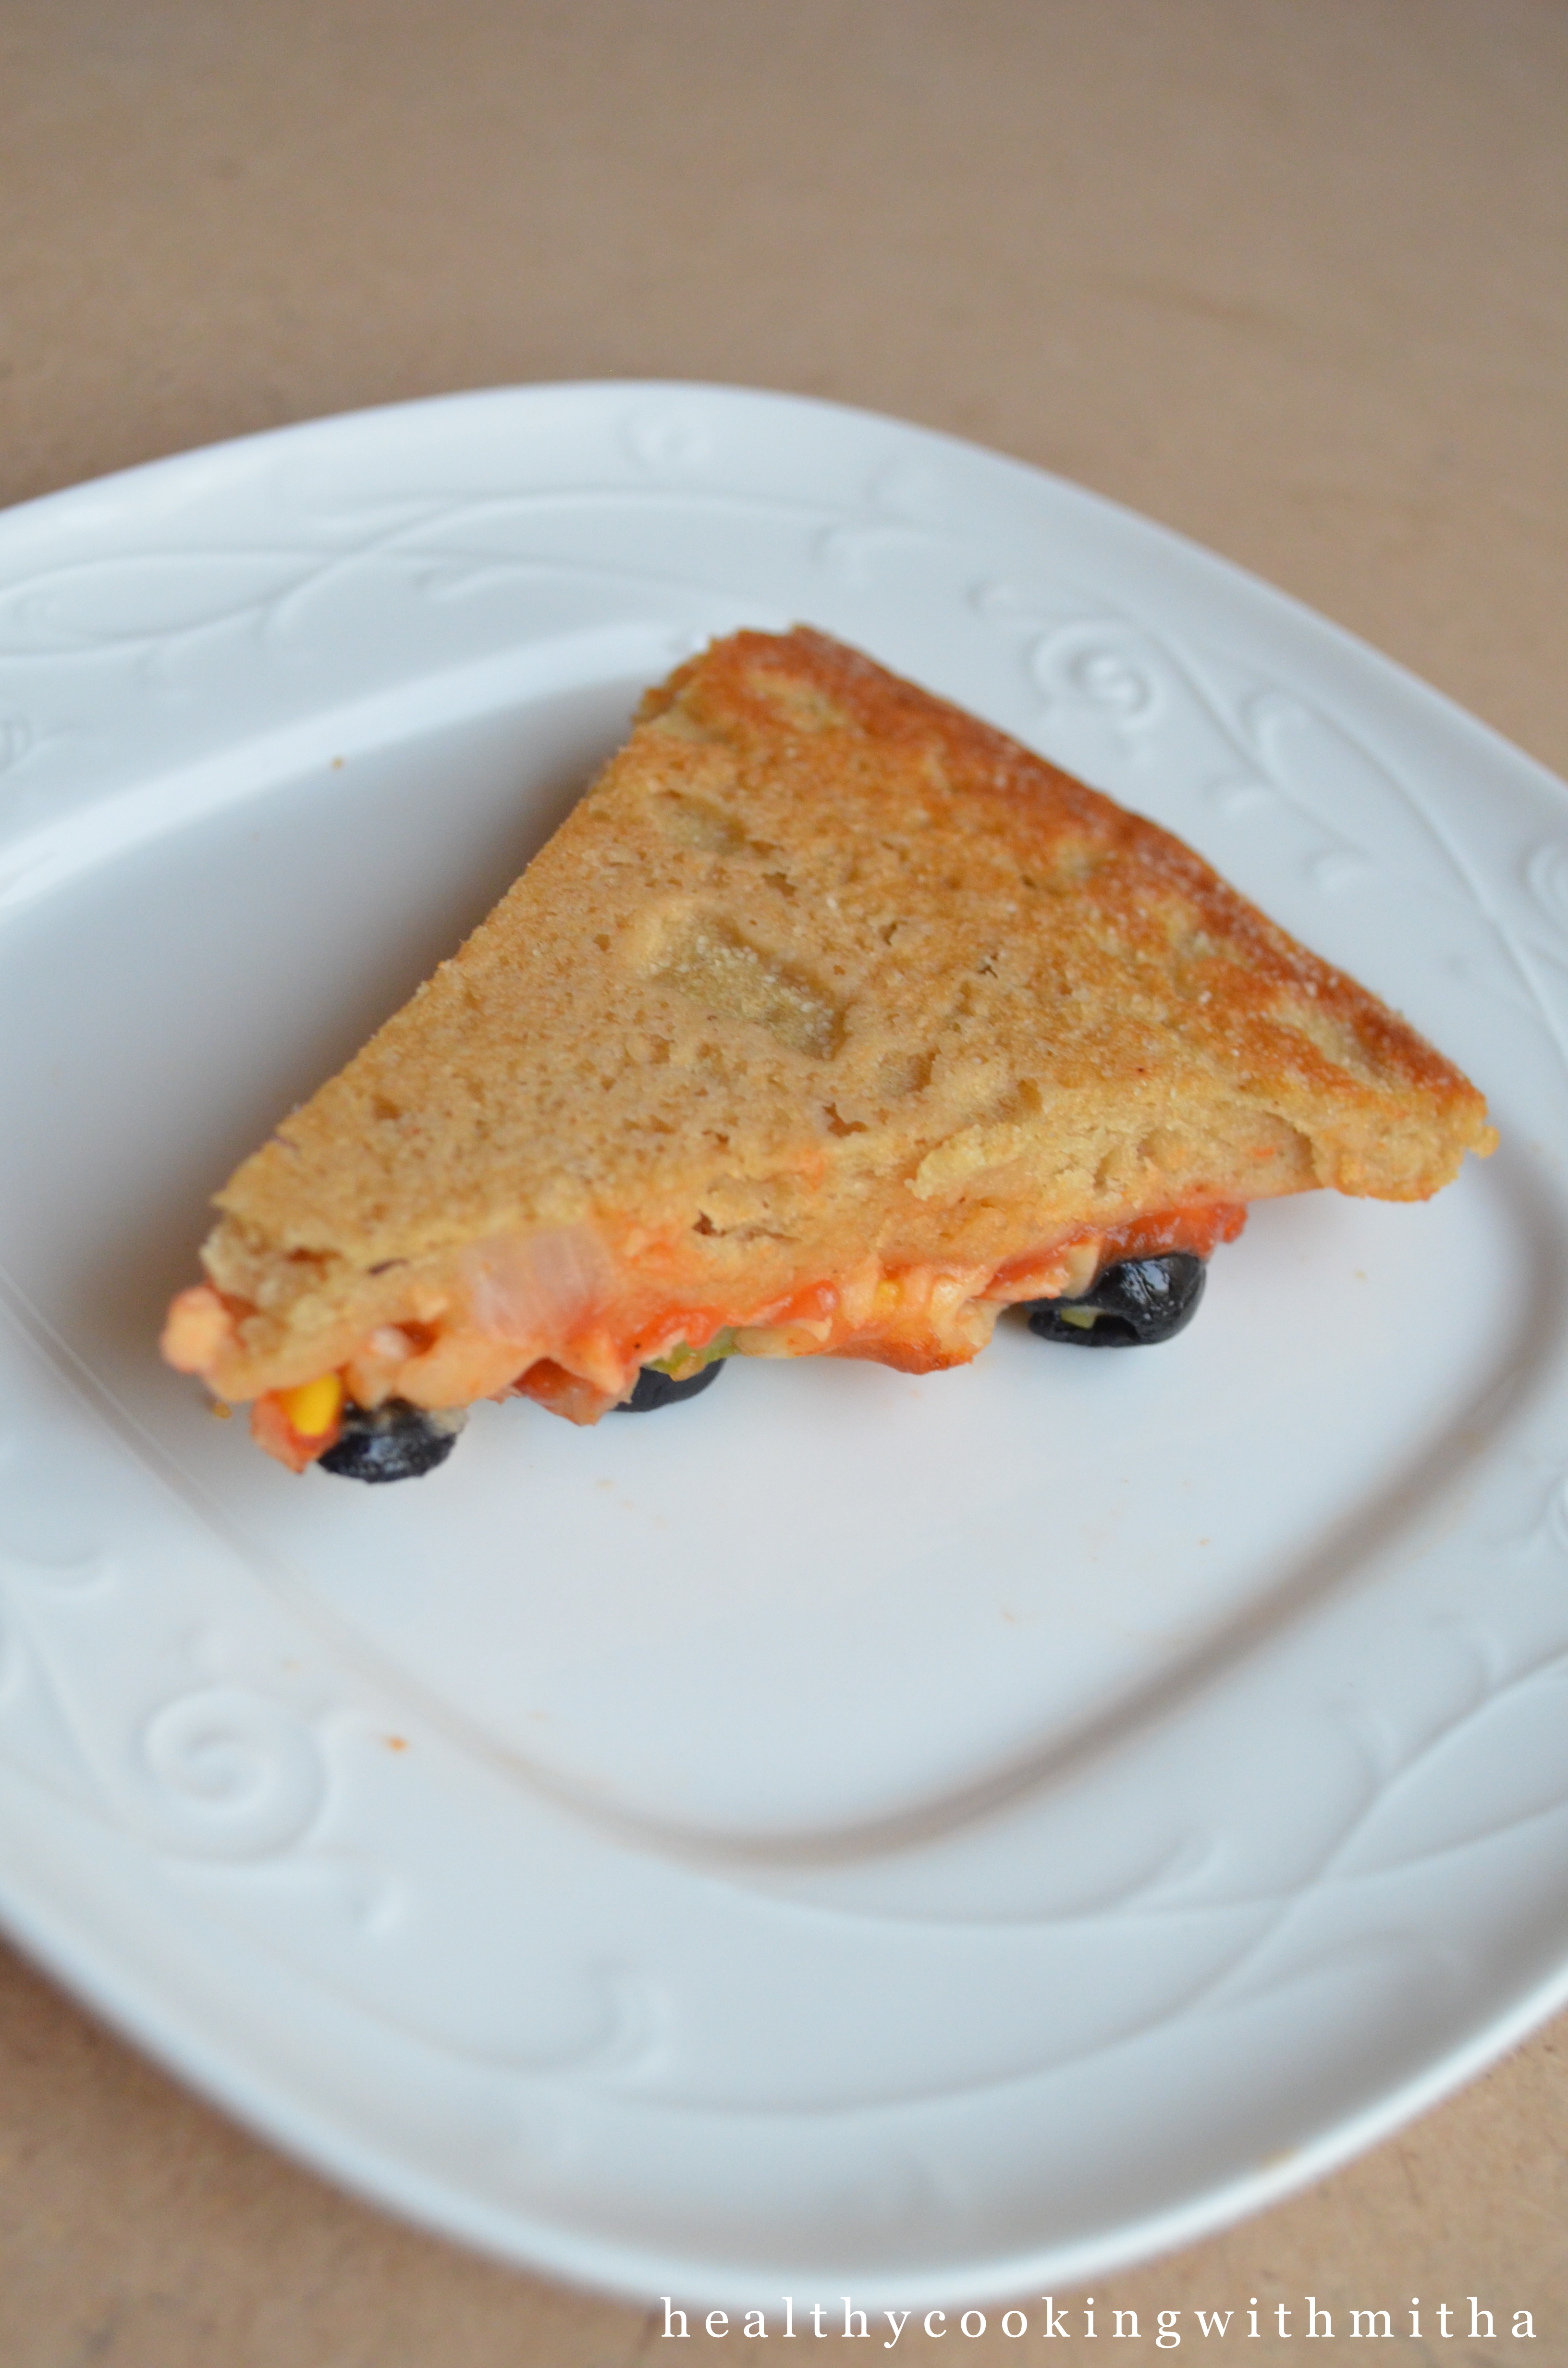
17. Slice and enjoy your hot homemade wheat pizza!
Click on the image to save the recipe on Pinterest
Notes:
* Very important to note that the 3 Cups of wheat flour we used yields two pizzas. So use only half the dough for one pizza. If you use the whole dough for one pizza, it will turn thick and won’t cook properly.
* Here is the other half of the dough. I refrigerate it in an airtight container and it lasts atleast 3 to 4 days in the fridge and I can make pizza again.
* Grease the pizza plate well with oil and dust wheat flour over it so that the pizza does not stick to the plate. Look at the under side of the pizza. Love the colour.
* Also always proof your yeast to check if it’s good or not. Else it’s a waste of ingredients. I have explained proofing in the first few steps.
* Every oven is different. So do keep an eye after 10 mins into the baking time. But don’t open the oven door many times as it disturbs the baking process.
* Do remember to preheat the oven atleast for 10 mins at 200 C so that the oven is very hot when pizza is placed which is very essential for proper baking.
I have tried to note down as much points as possible so that it’s easy for you all to follow but if you still have any doubts, either comment here or message me on my Facebook page Healthy cooking with mitha or on my Instagram handle and I would be happy to help. Happy baking!
If you are new to baking, you can check this article which I have written to help beginners in baking : Baking basics for Beginners
This post is dedicated to my father who’s favourite snack to make is Charmbure Upkari and my husband who’s only reply for “what’s for evening snack?” is Charmbure Upkari. My kids have gone after them and they love it a lot too.
It’s easy for me as well. Hardly takes time to mix everything and is so tasty that the whole family is happy with me. I am happy too since it’s a healthy snack to munch on.
Charmbure Upkari is most famous during temple festivals in South Canara regions and also available outside temples at other times. They give it in a paper cone and it’s so delightful to see them make it. Some also add raw mango to it but since we don’t get it here, I make it without it. Here’s sharing how we make our Charmbure Upkari.
RECIPE:
Ingredients:
2 Cups Puffed rice/ Charmburo/ Bhel
1/2 Cup Sev/ Bhujiya
3 Tbsp peeled and finely grated Carrot
1 small Onion, finely chopped
1 small Tomato, finely chopped
2 green chillies, finely chopped ( or to taste) *can skip if making for kids
3 Tbsp coriander leaves, finely chopped
1 Tbsp Peanuts
2 tsp Sambar powder
1/2 tsp Red chilli powder (or to taste) *can skip if making for kids
2 tsp Coconut oil (plus 1 tsp to fry peanuts)
1 Tbsp Lemon juice
Salt to taste
Step by step recipe:
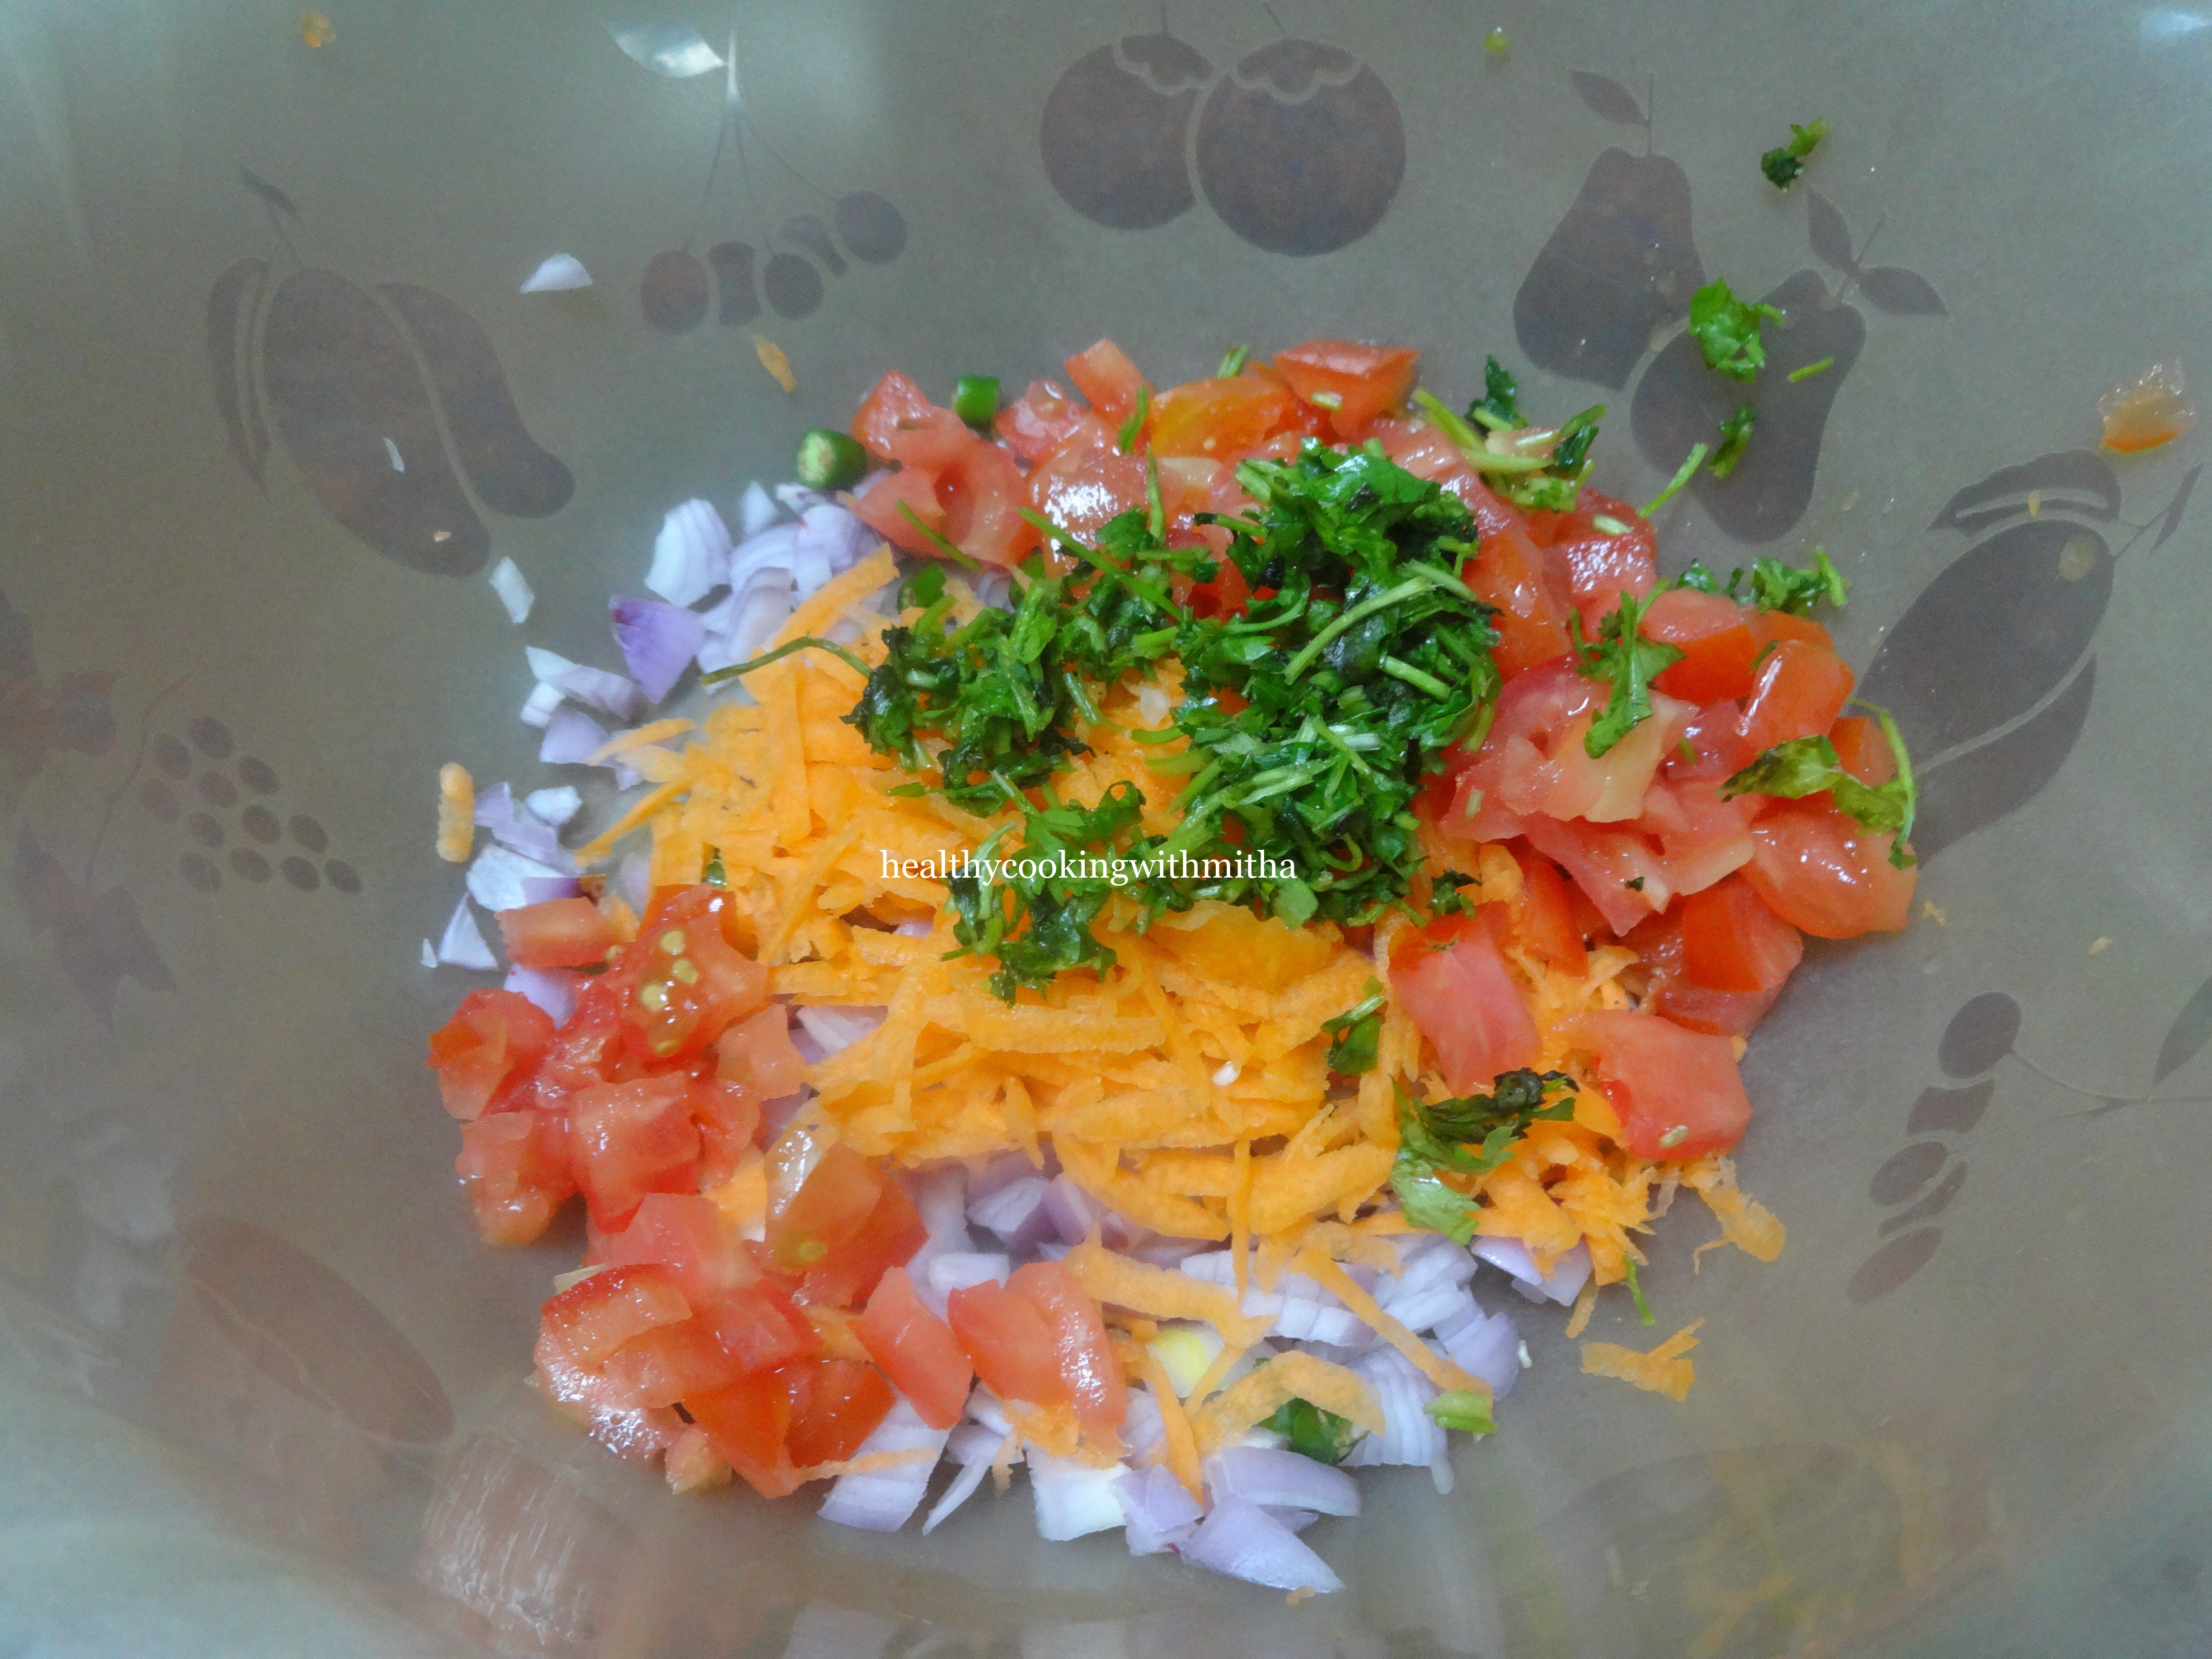
1. Add the finely chopped Onions, tomatoes, coriander leaves, green chillies, grated carrots in a large mixing bowl. (Add finely chopped raw mango too if available)
2. Add sambar powder, salt and red chilli powder( if adding).
3. Now fry peanuts in oil and add to the mixture along with sev/ bhujiya.
4. Now add the Bhel/ Charmburo along with coconut oil and lemon juice. Mix well.
5. To a taste test and add more sambar powder/ red chilli powder/ lemon juice if required. Serve Immediately. Else the Charmbure upkari turns soggy and not crisp.
Notes:
* If I have the time, I sometimes dry roast the Charmburo/ Bhel before adding to the upkari so that it does not turn soggy while serving.
* Do serve it immediately after mixing everything. Else it turns soggy.
* All the ingredients are to taste and you can make changes according to your family’s taste buds.
I am always on look out for variety dishes to feed my tantrum throwing 4 year old. She’s easily bored eating the same dish. I ate this just yesterday, she says looking at rice. Off late her favourite chapatis are also given a thumbs down sign while I get sleepless nights on how to feed her anything apart from dosas, dosas and more dosas.
Welcome momos!
Don’t know if it’s because of the exciting name or the gorgeous appearance or indeed it did taste delicious, she loved it. And I heaved a sigh of relief. Carbs for her ever lasting energy and veggies for the nutrients, a perfect win win situation.
I had got this idea when I made steamed wheat modaks during Ganesh Chaturthi but never thought it would turn out so yummy. A keeper of a dish this turned out to be.
Sharing the recipe with all of you. Happy and healthy cooking!
RECIPE:
Ingredients:
2 Cups whole wheat flour/ Atta
Salt to taste
Water to knead the dough
For the filling:
1 tsp Oil
1 medium sized Onion
1/4 Cup finely chopped Mushrooms
1/4 Cup finely chopped Capsicum
1/4 Cup finely chopped Carrots
1/4 Cup finely chopped Cabbage
1/2 tsp Soya sauce
1/2 tsp Chilli sauce (optional)
1 tsp Tomato ketchup
1/2 tsp Pepper powder
Salt to taste
Step by step recipe:
1. Take wheat flour and salt in a bowl and knead using water to a soft but firm dough. The dough should not be sticky.
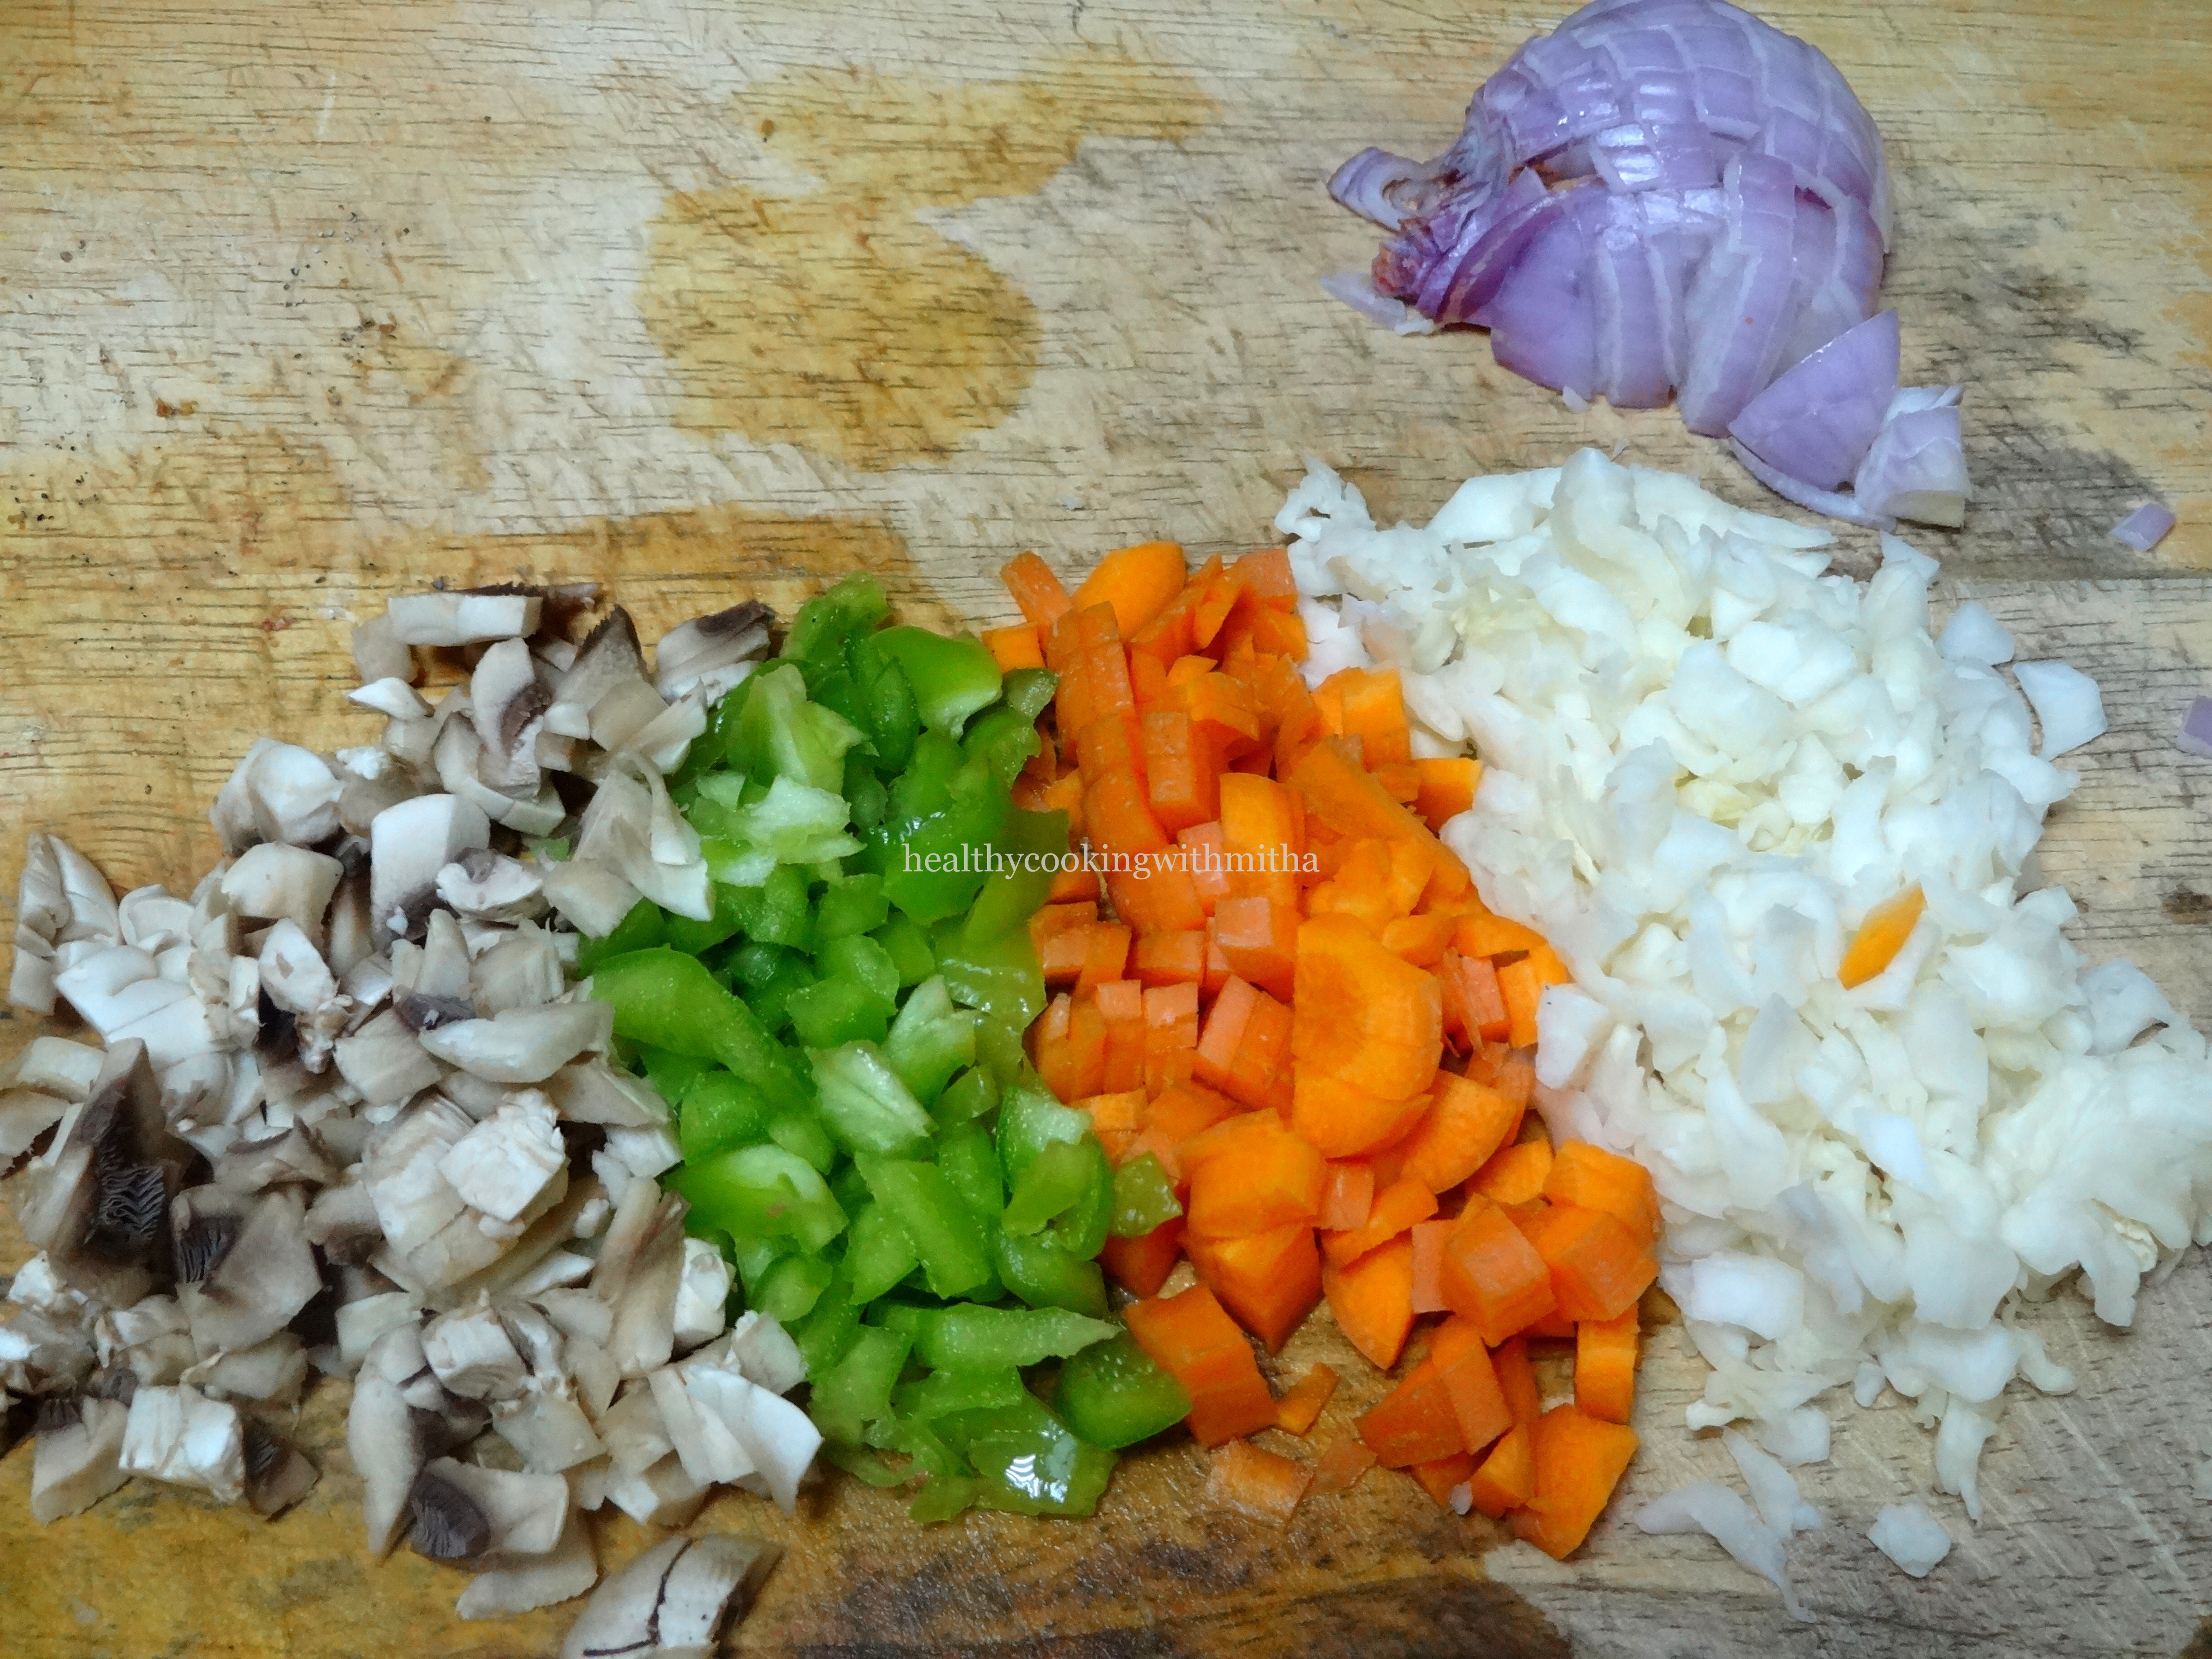
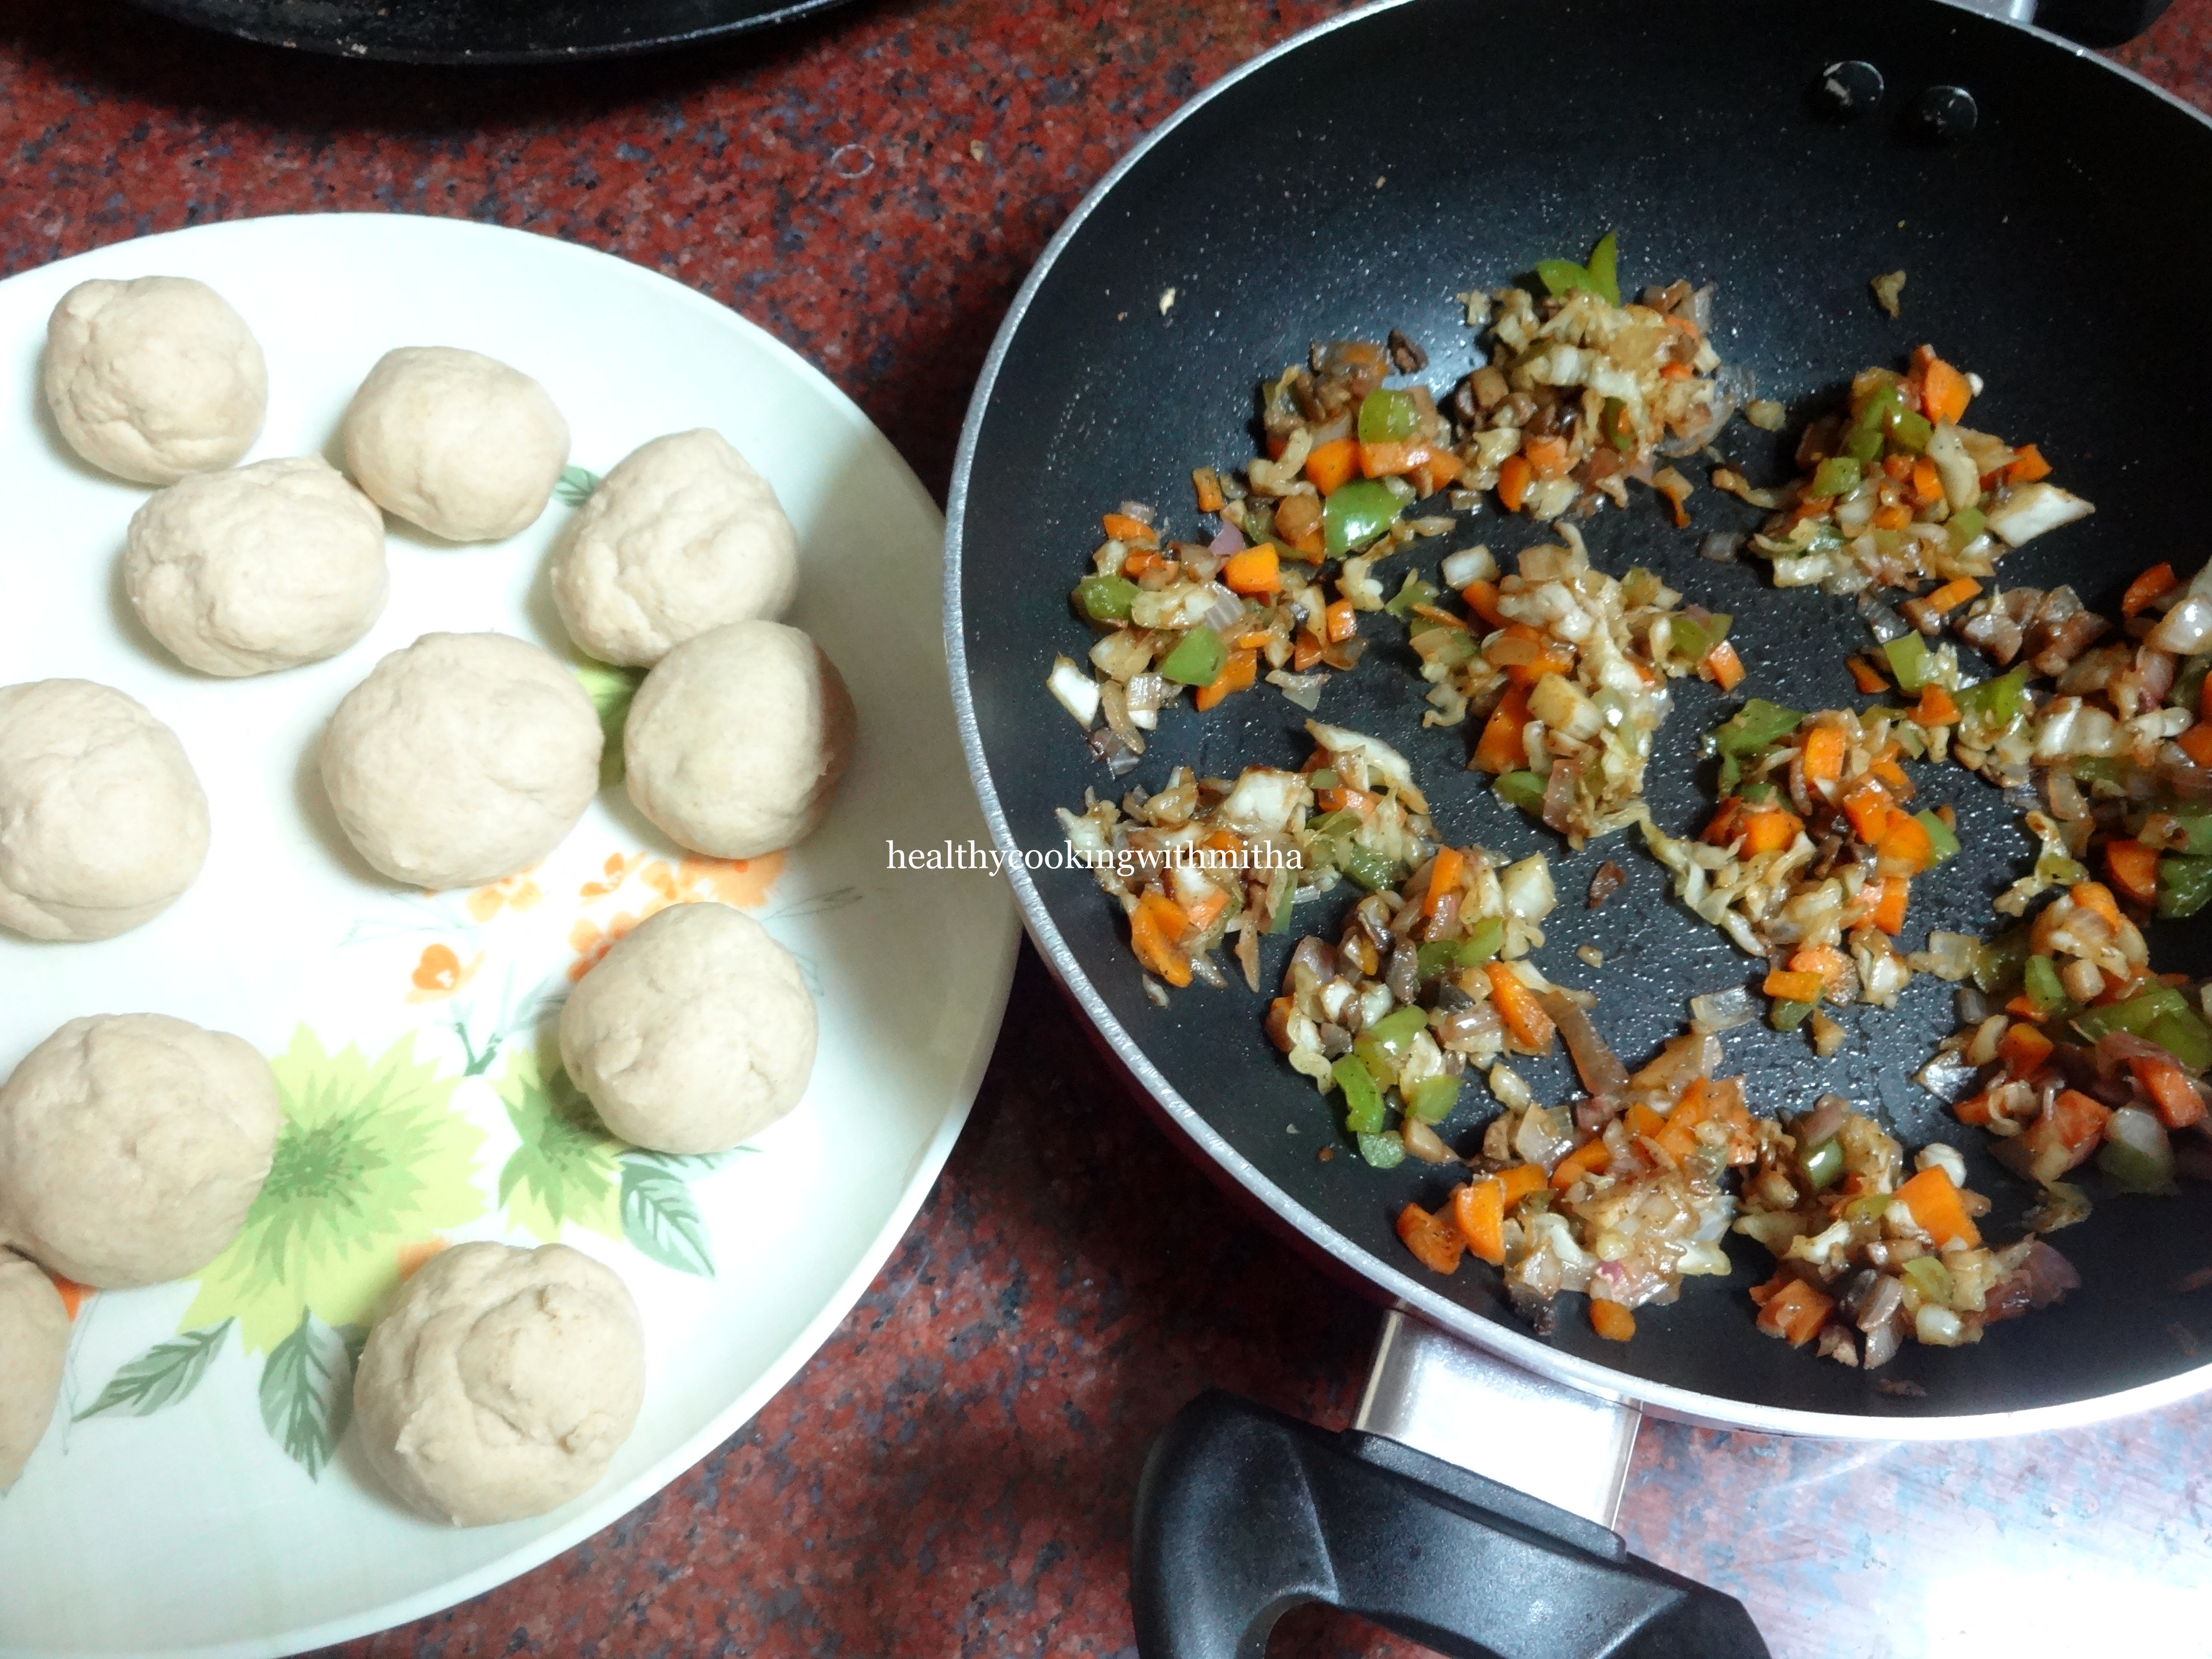
2. Take all the finely chopped veggies and keep it ready.
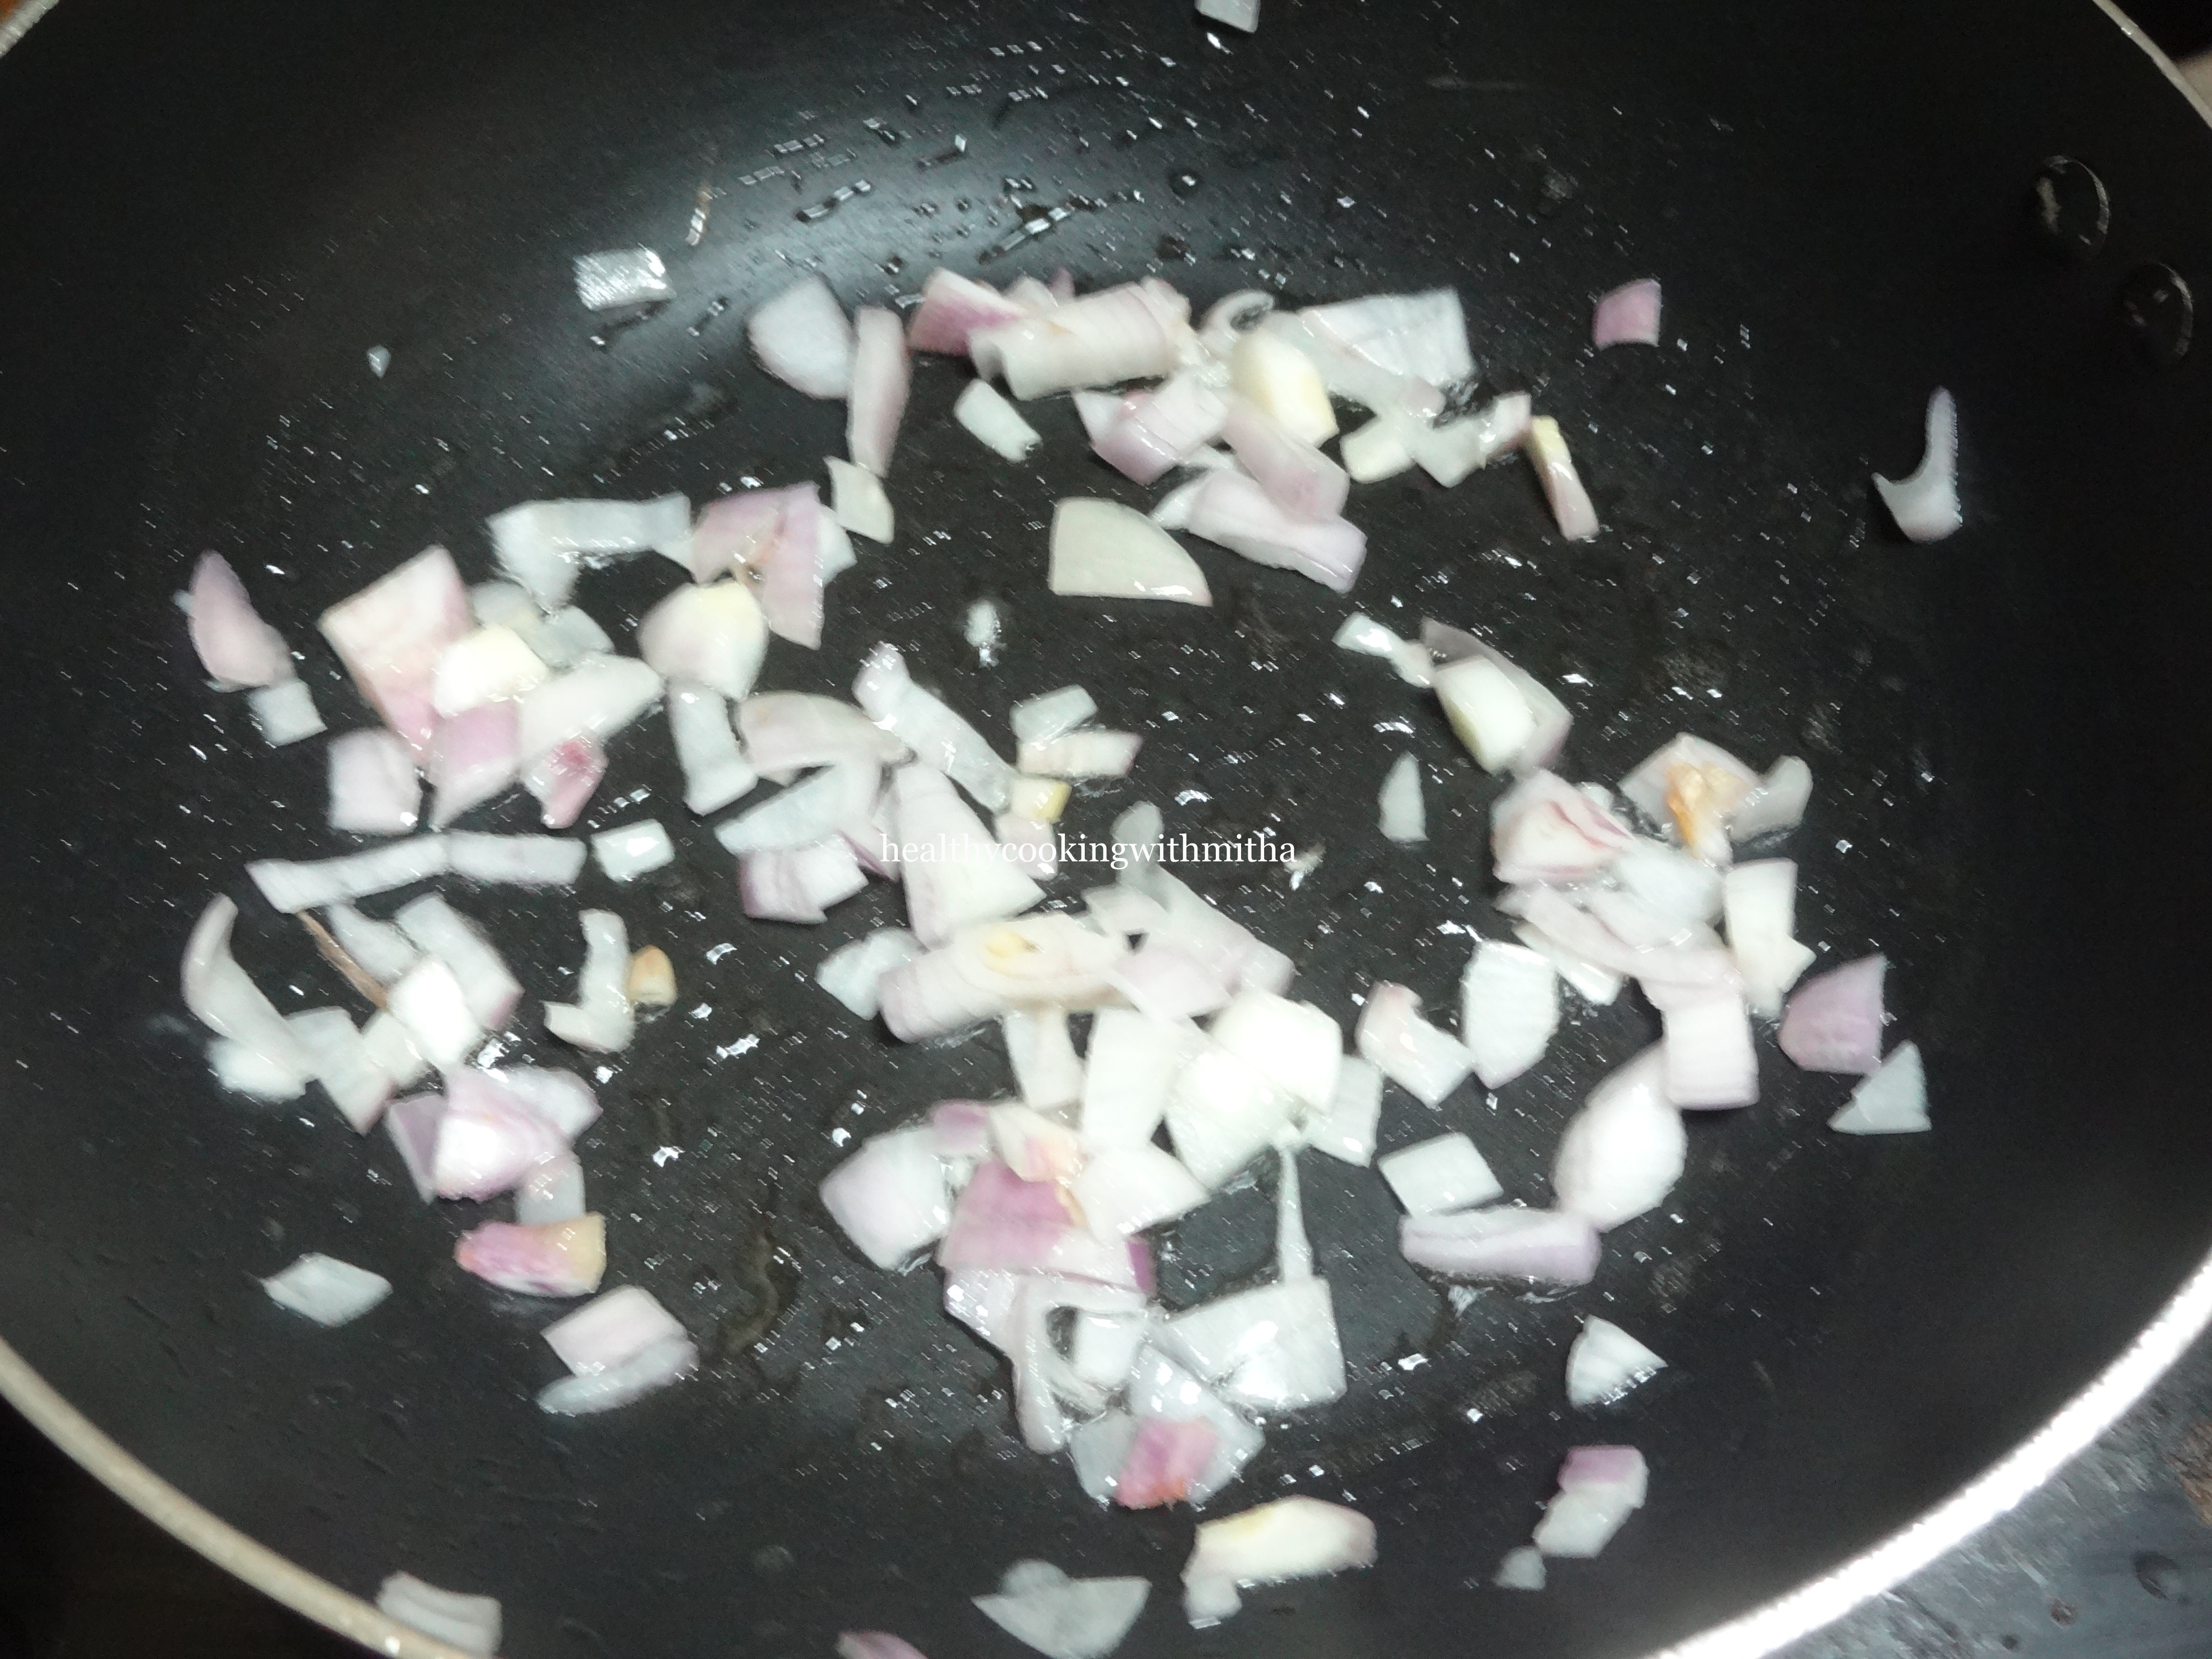
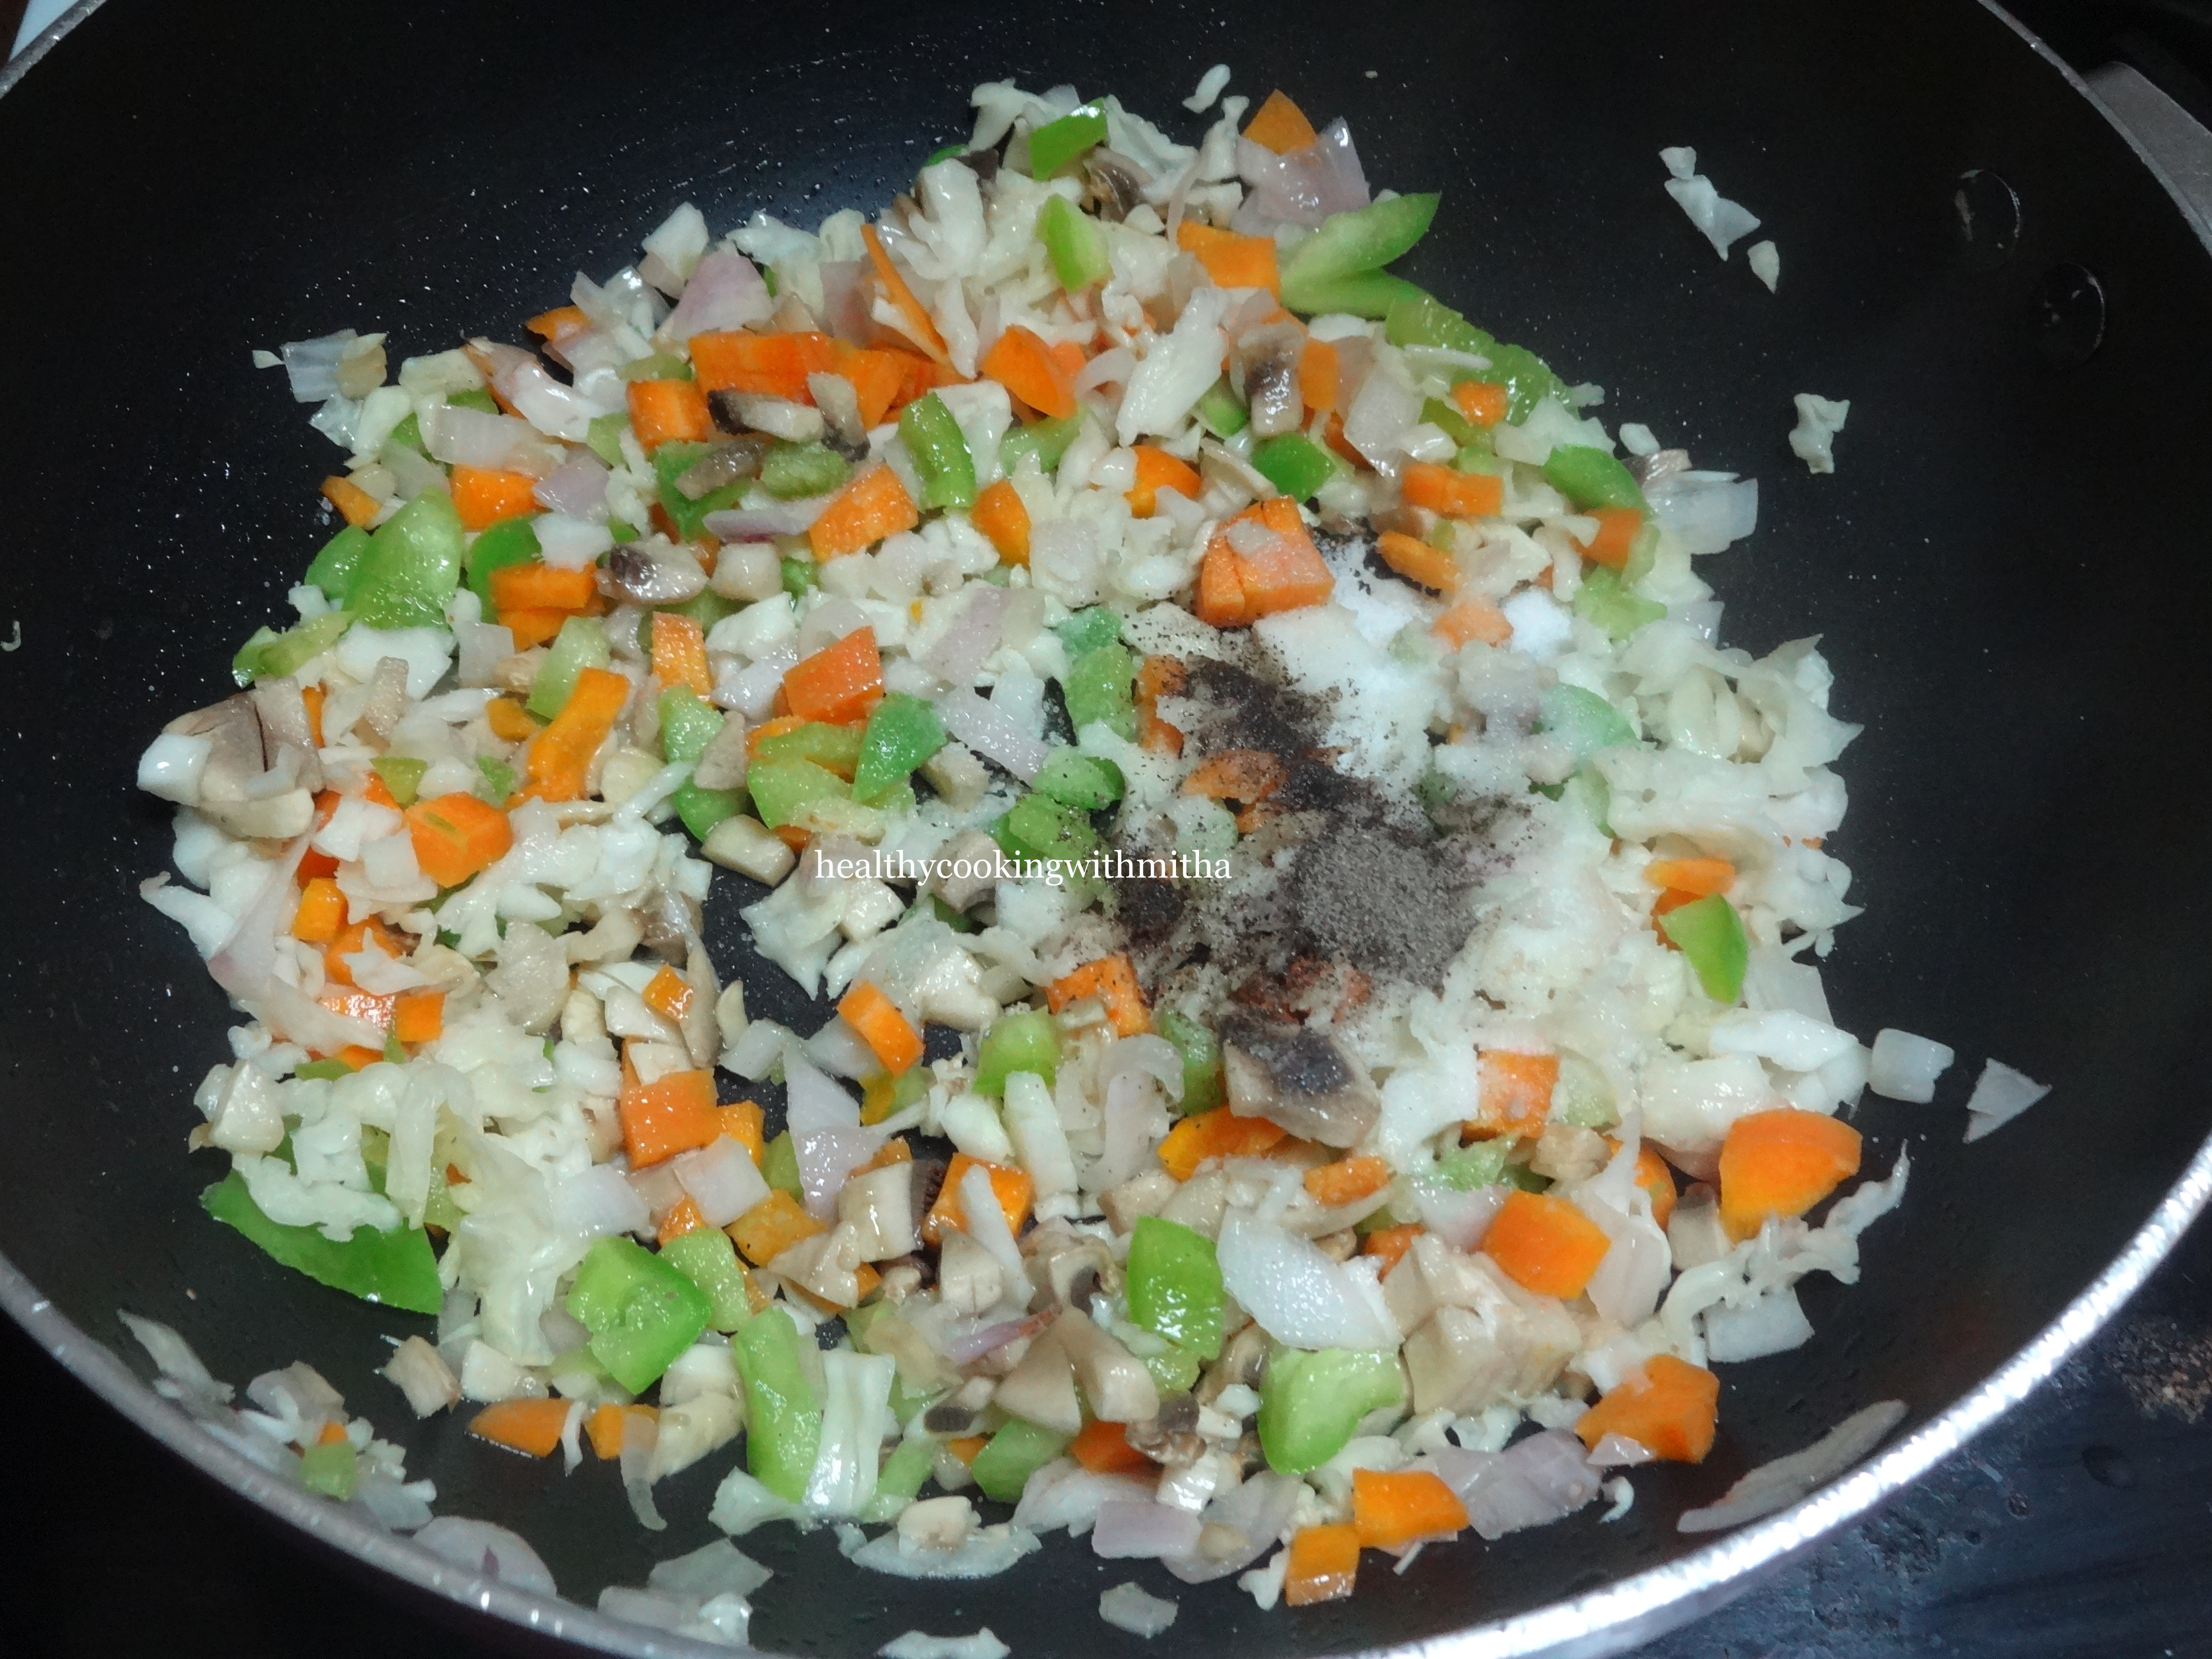
3. Heat oil in a pan and add onions. Fry them till turn translucent. Now add the rest of the veggies along with salt and pepper powder and keep frying on high flame.
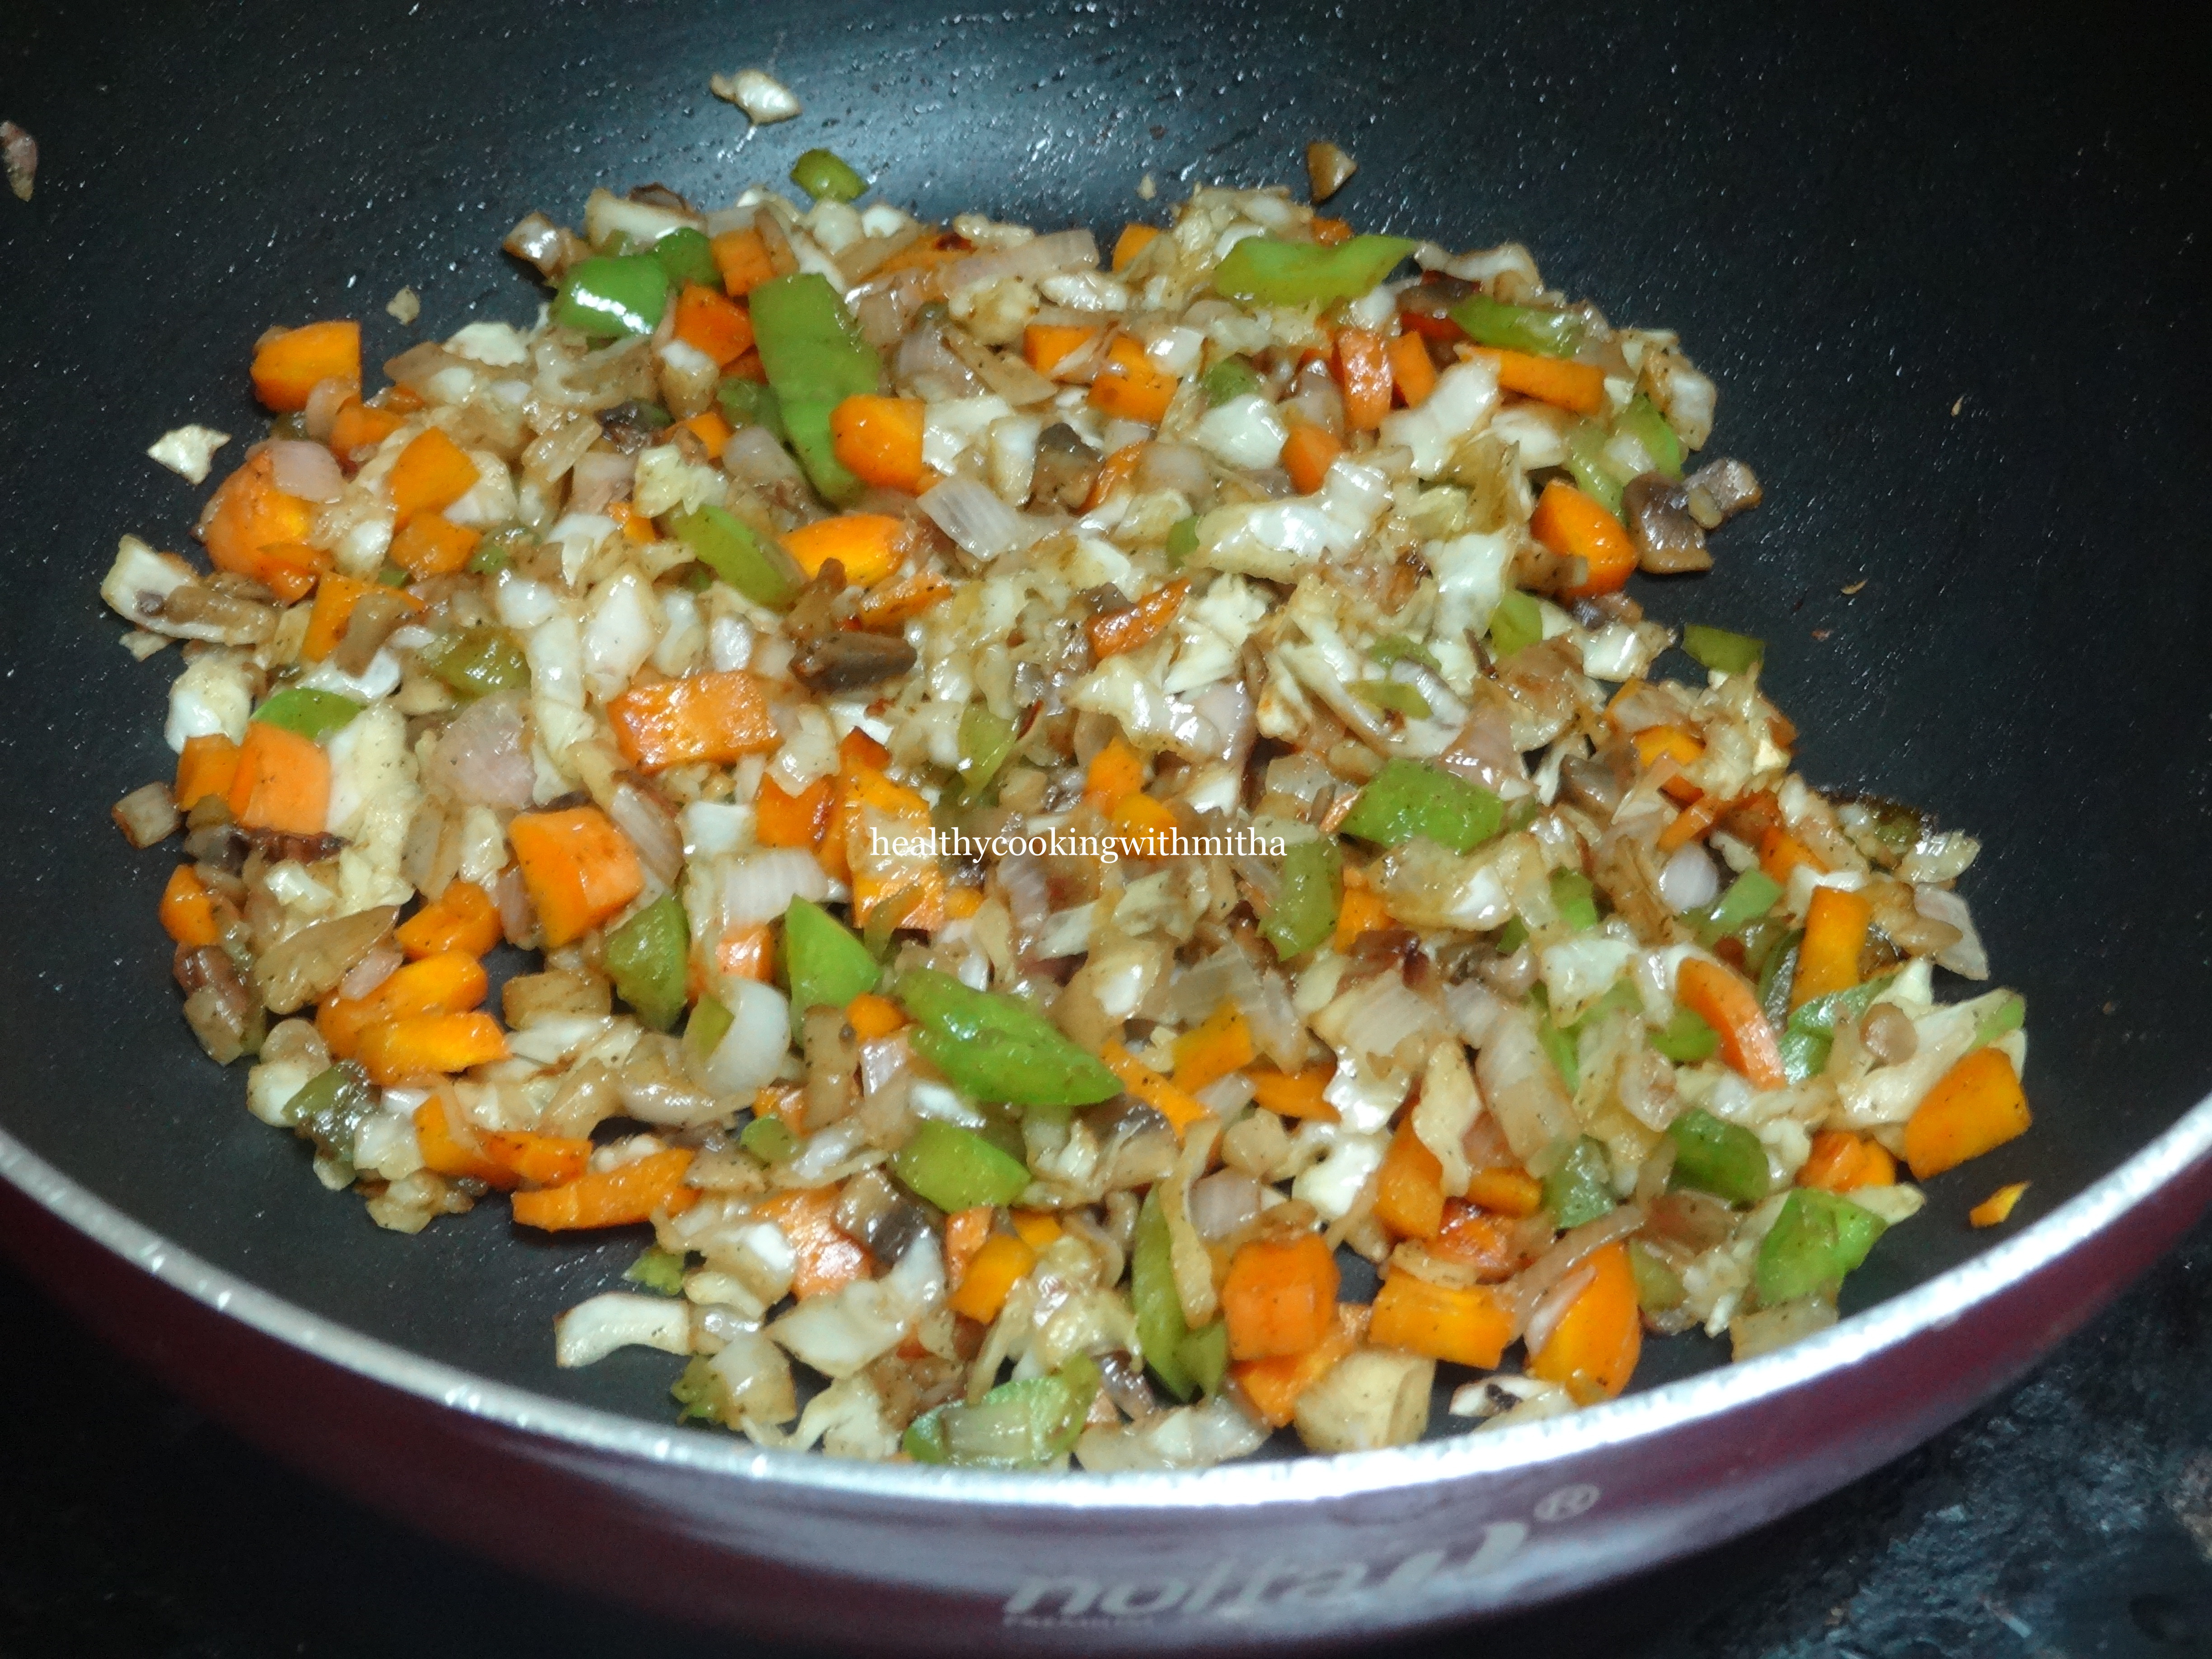
4. Keep frying while adding all the sauces and cook till they turn a little soft. Since we will steam them later, no need to cook them fully.
5. Divide the outer and inner filling into equal portions.
6. Now apply little oil in the your fingers and take a portion of the dough in your hands. Press them between your palms and then using the fingers, make a small roundel as shown.
A thinner version of puri
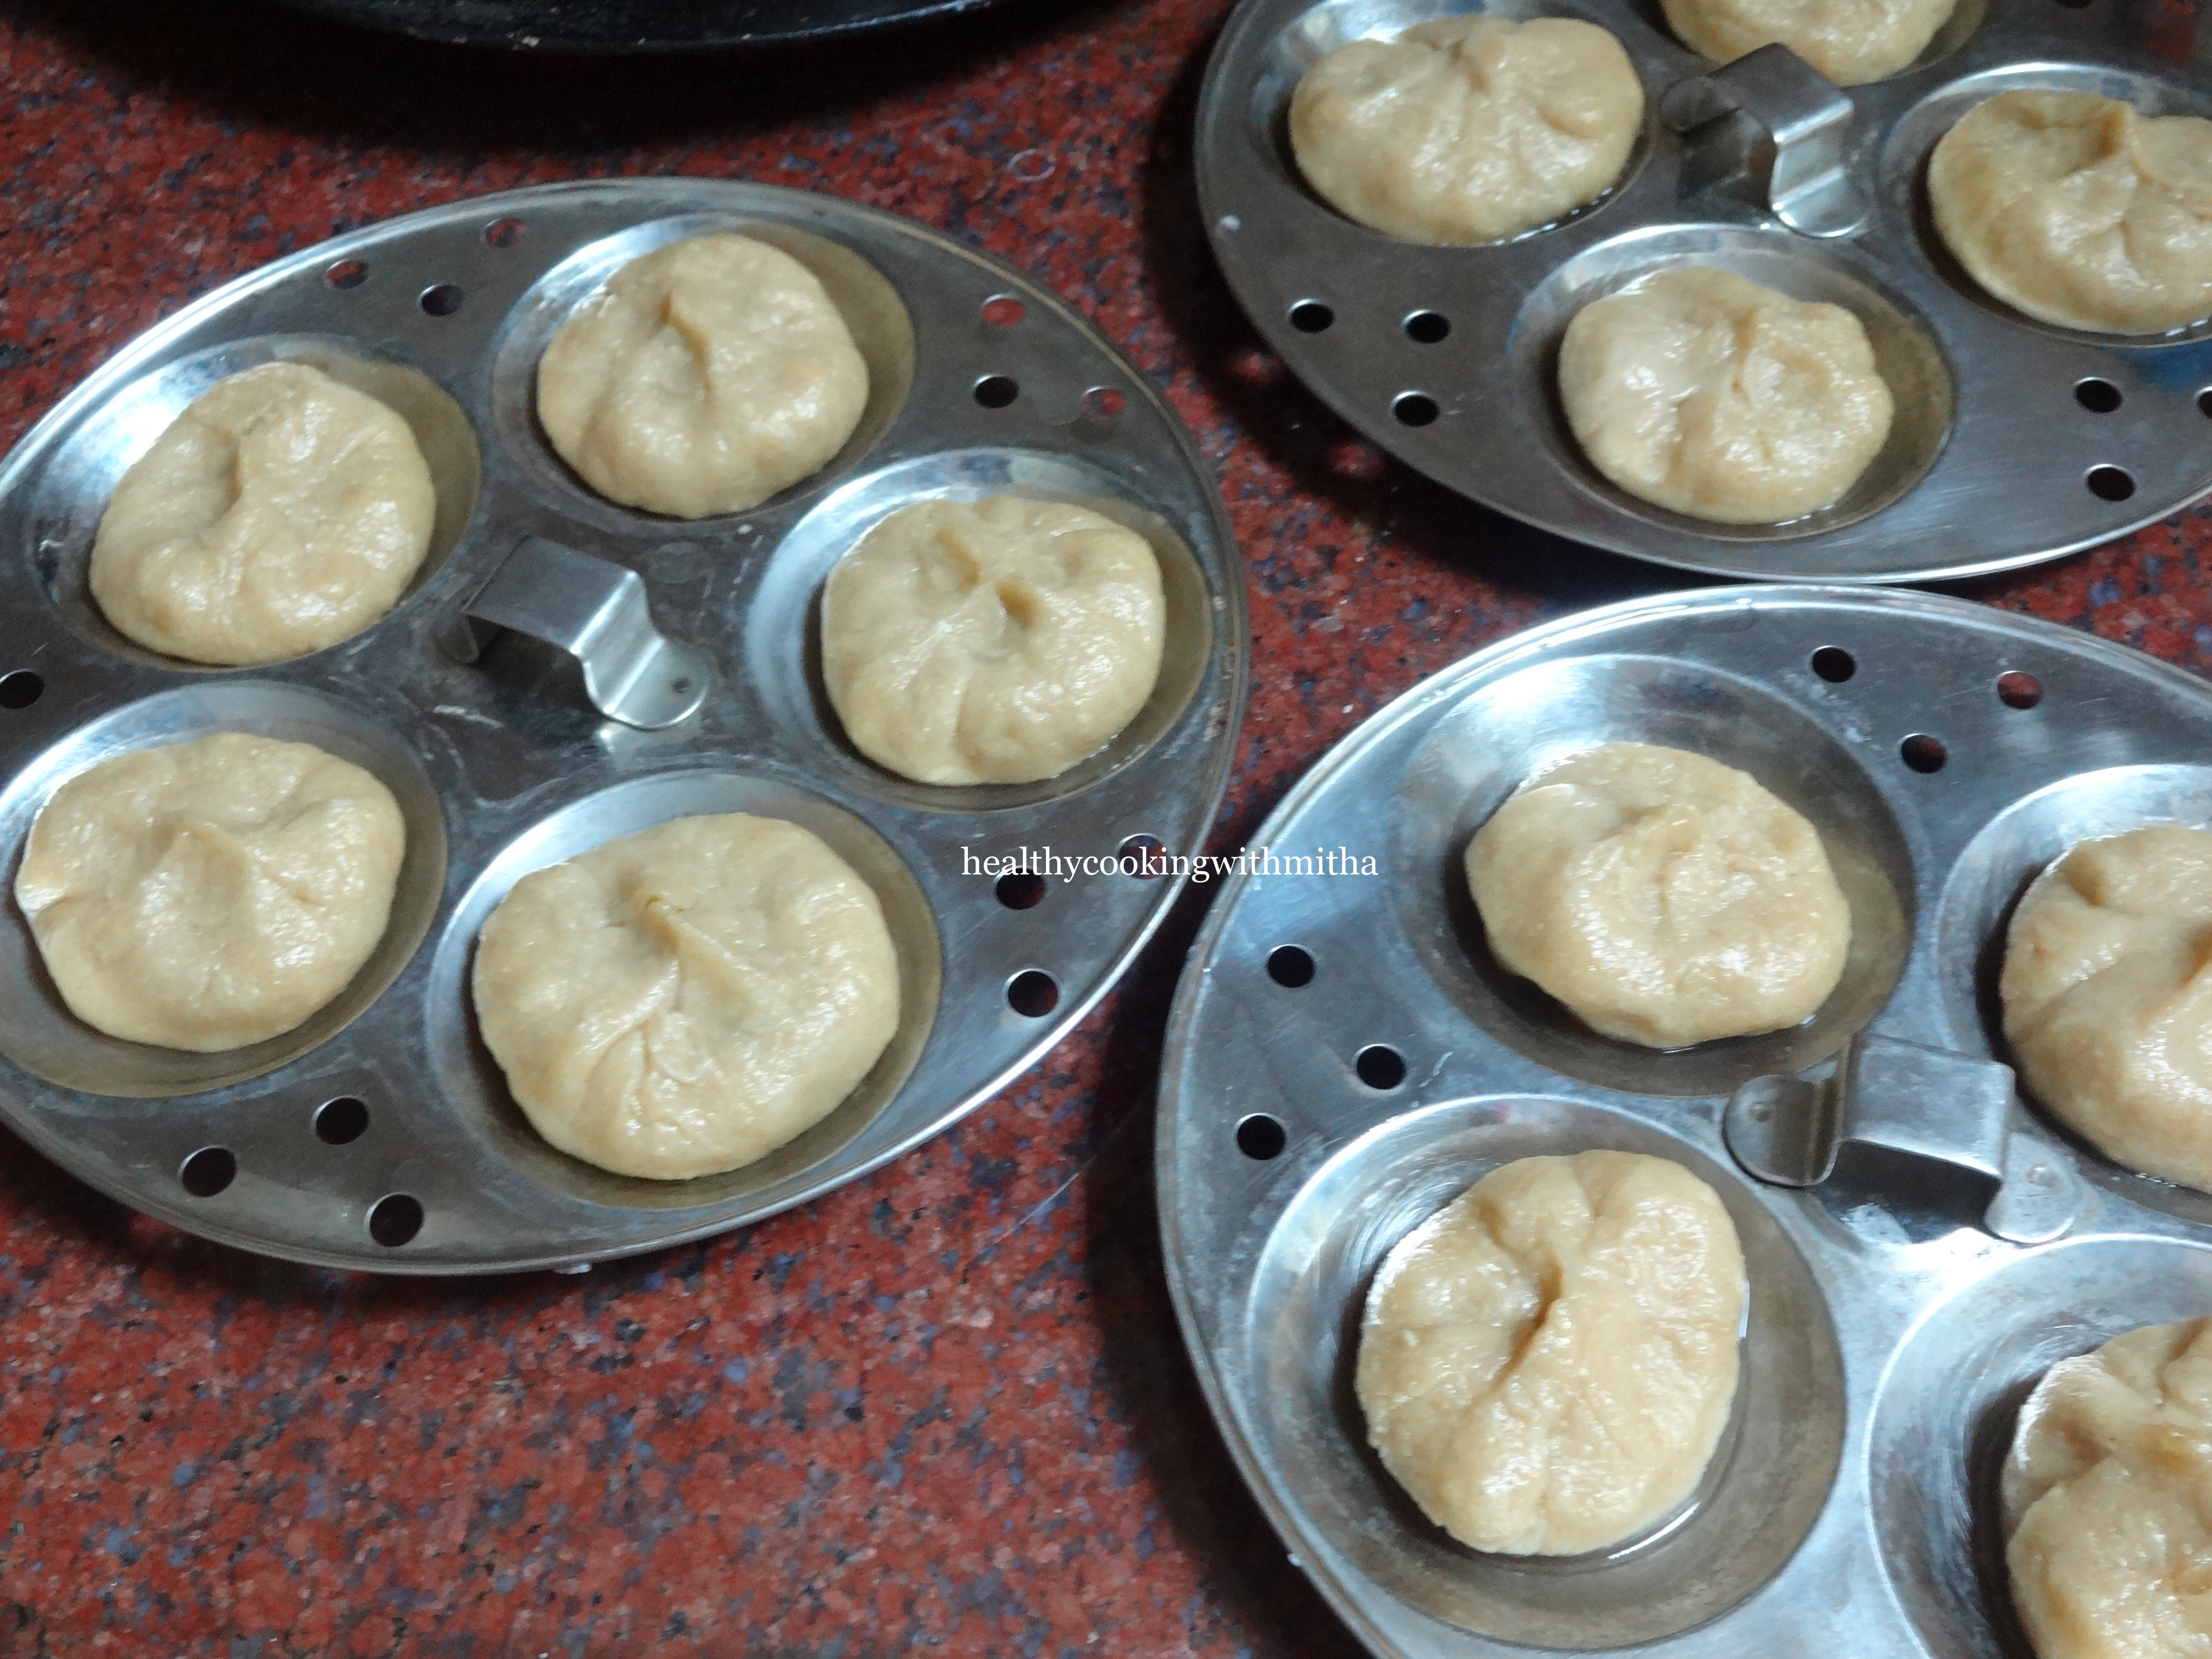
7. Now add a portion of the filling and seal the edges together as shown.
8. Now keep the water in the steamer to boil while you repeat the same with the rest of the dough.
I used my idli plates. Grease the plates with little oil.
8. Steam for 15 to 20 mins till the surface of the dough looks glossy and cooked. Remove and serve hot with ketchup or Schezwan chutney.
Notes:
* These have to be had hot to enjoy it just like regular momos. So leave all your works aside and enjoy them right after they come out of the steamer.
* You could spice up the filling by adding red chilli flakes too.
* I even add finely chopped broccoli and shredded paneer to the filling. They taste amazing too.
* Do not make the inner filling liquidy by adding more sauces as it will be difficult to hold the shape of momos.
* The outer roundel of wheat dough should be thinner than what we make for puris. Still it should be firm enough to hold the filling.
* After adding the filling and bringing the dough together to form the momo shape, make sure you pinch off the excess portion of dough if there is a lot of it.
Enjoy momo making!
Advertisements
Join me in my journey with a foodie husband and hungry kiddos while I make them eat healthy!