Tag Archives: Tomato

Paneer Pav Bhaji

Pav Bhaji has to be one of my favourite chaats. I have so many memories of Pav bhaji eaten at various joints during our travels to Bangalore, Mumbai, Delhi, Shimla, Gujarat and even in Singapore. I have to try pav bhaji from every place we visit.

While there is Mr husband who loves the pav bhaji I make so much that he never orders them when we eat out and sticks to bhel puri.

Anyhow, ever since I learned how to bake perfect Wheat pav at home, we have hardly had them from outside. Pav bhaji with homemade wheat pav is not only healthy but turns out amazingly delicious. Since we are a paneer loving family, I take it a notch higher and make Paneer Pav Bhaji.

Hope you all try it and love it too. Nothing like homemade food ♥️ Happy and healthy cooking!

Ingredients:

1 Cup dry/ fresh/ frozen Green peas (dried ones need to be soaked overnight)

1 Cup Cauliflower florets

1 medium sized Potato

1/2 Cup roughly chopped Carrot

2 Tbsp Butter

1 inch Ginger piece

3 cloves of Garlic

3 Green chillies

1 medium sized Onion

1/4 Cup finely chopped Capsicum

1 medium sized Tomato

1 tsp Red chilli powder or to taste

2 Tbsp Pav Bhaji Masala powder

1 Cup Paneer, cut into small cubes

4 Tbsp Coriander leaves

Salt to taste

1 tsp Lemon juice

For toppings, finely chopped onions, coriander leaves, lemon wedges, butter.

Step by step recipe:

1. Take peas, cauliflower, potato and carrot in a pressure cooker. Pressure cook till very soft.

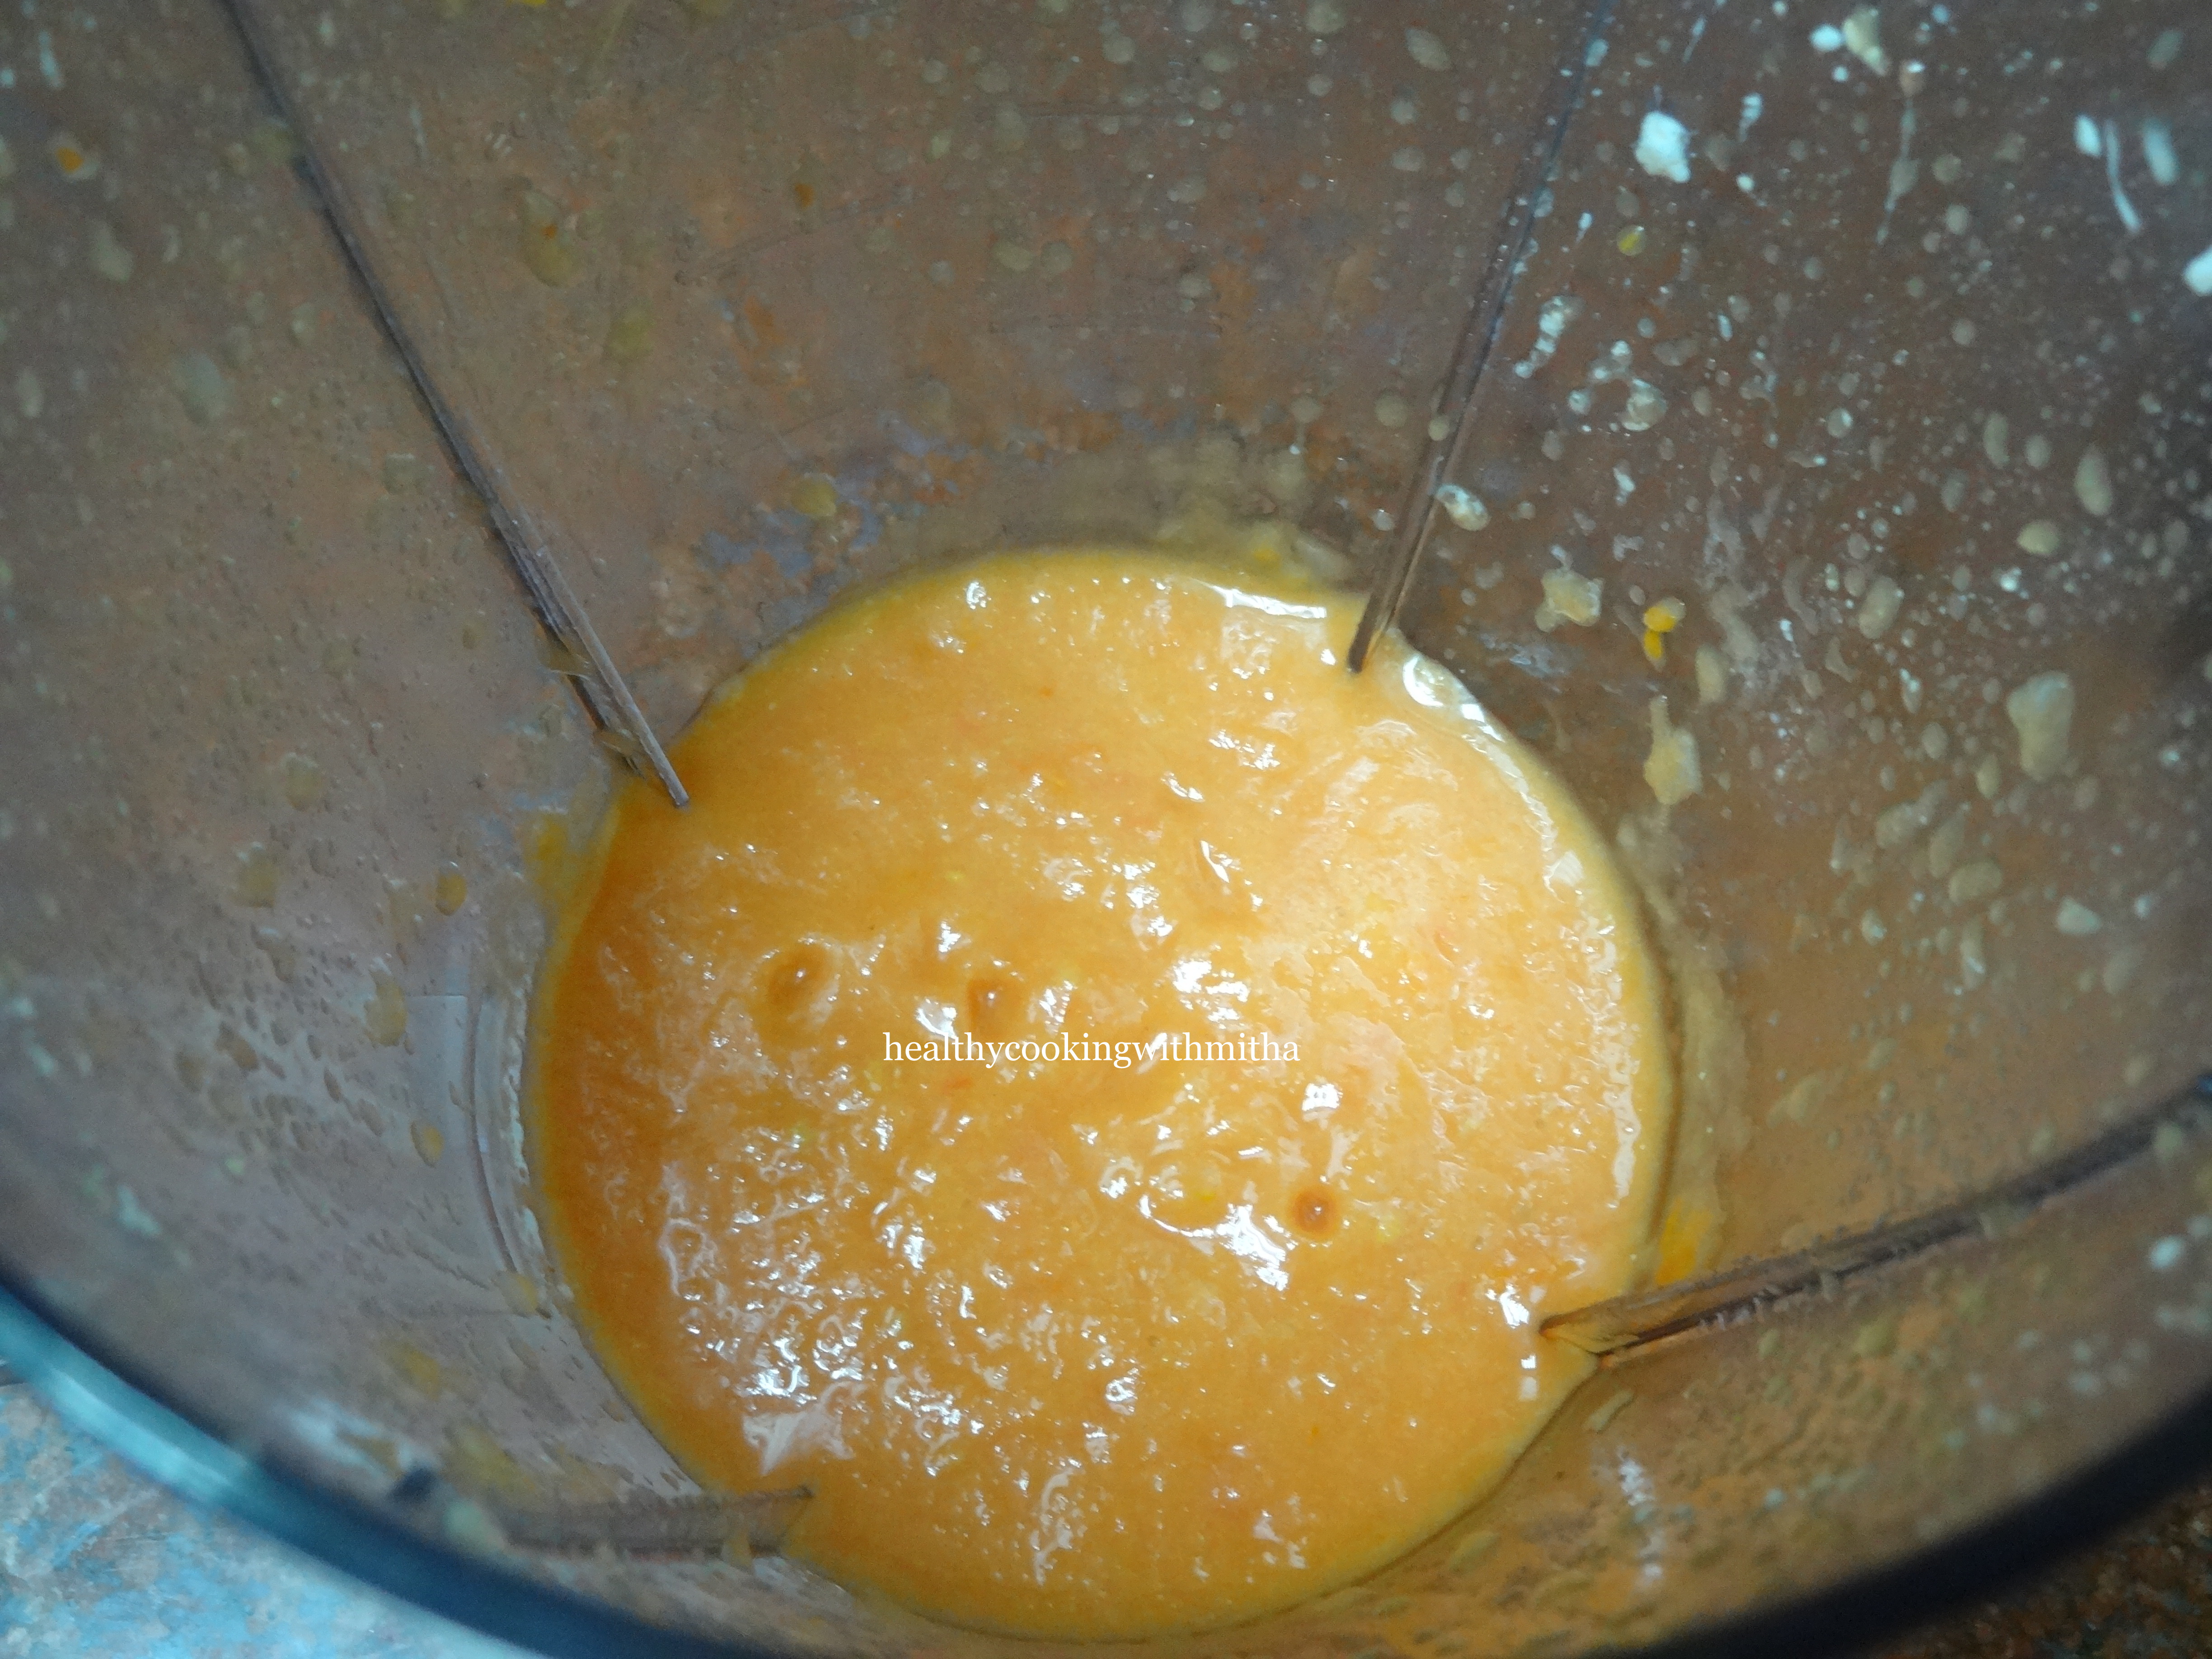
2. Mash using a potato masher or a ladle till there are no big chunks of veggies. Keep aside.

3. Heat a pan with butter. Add finely chopped ginger, garlic and green chillies. Saute till they give out an aroma.

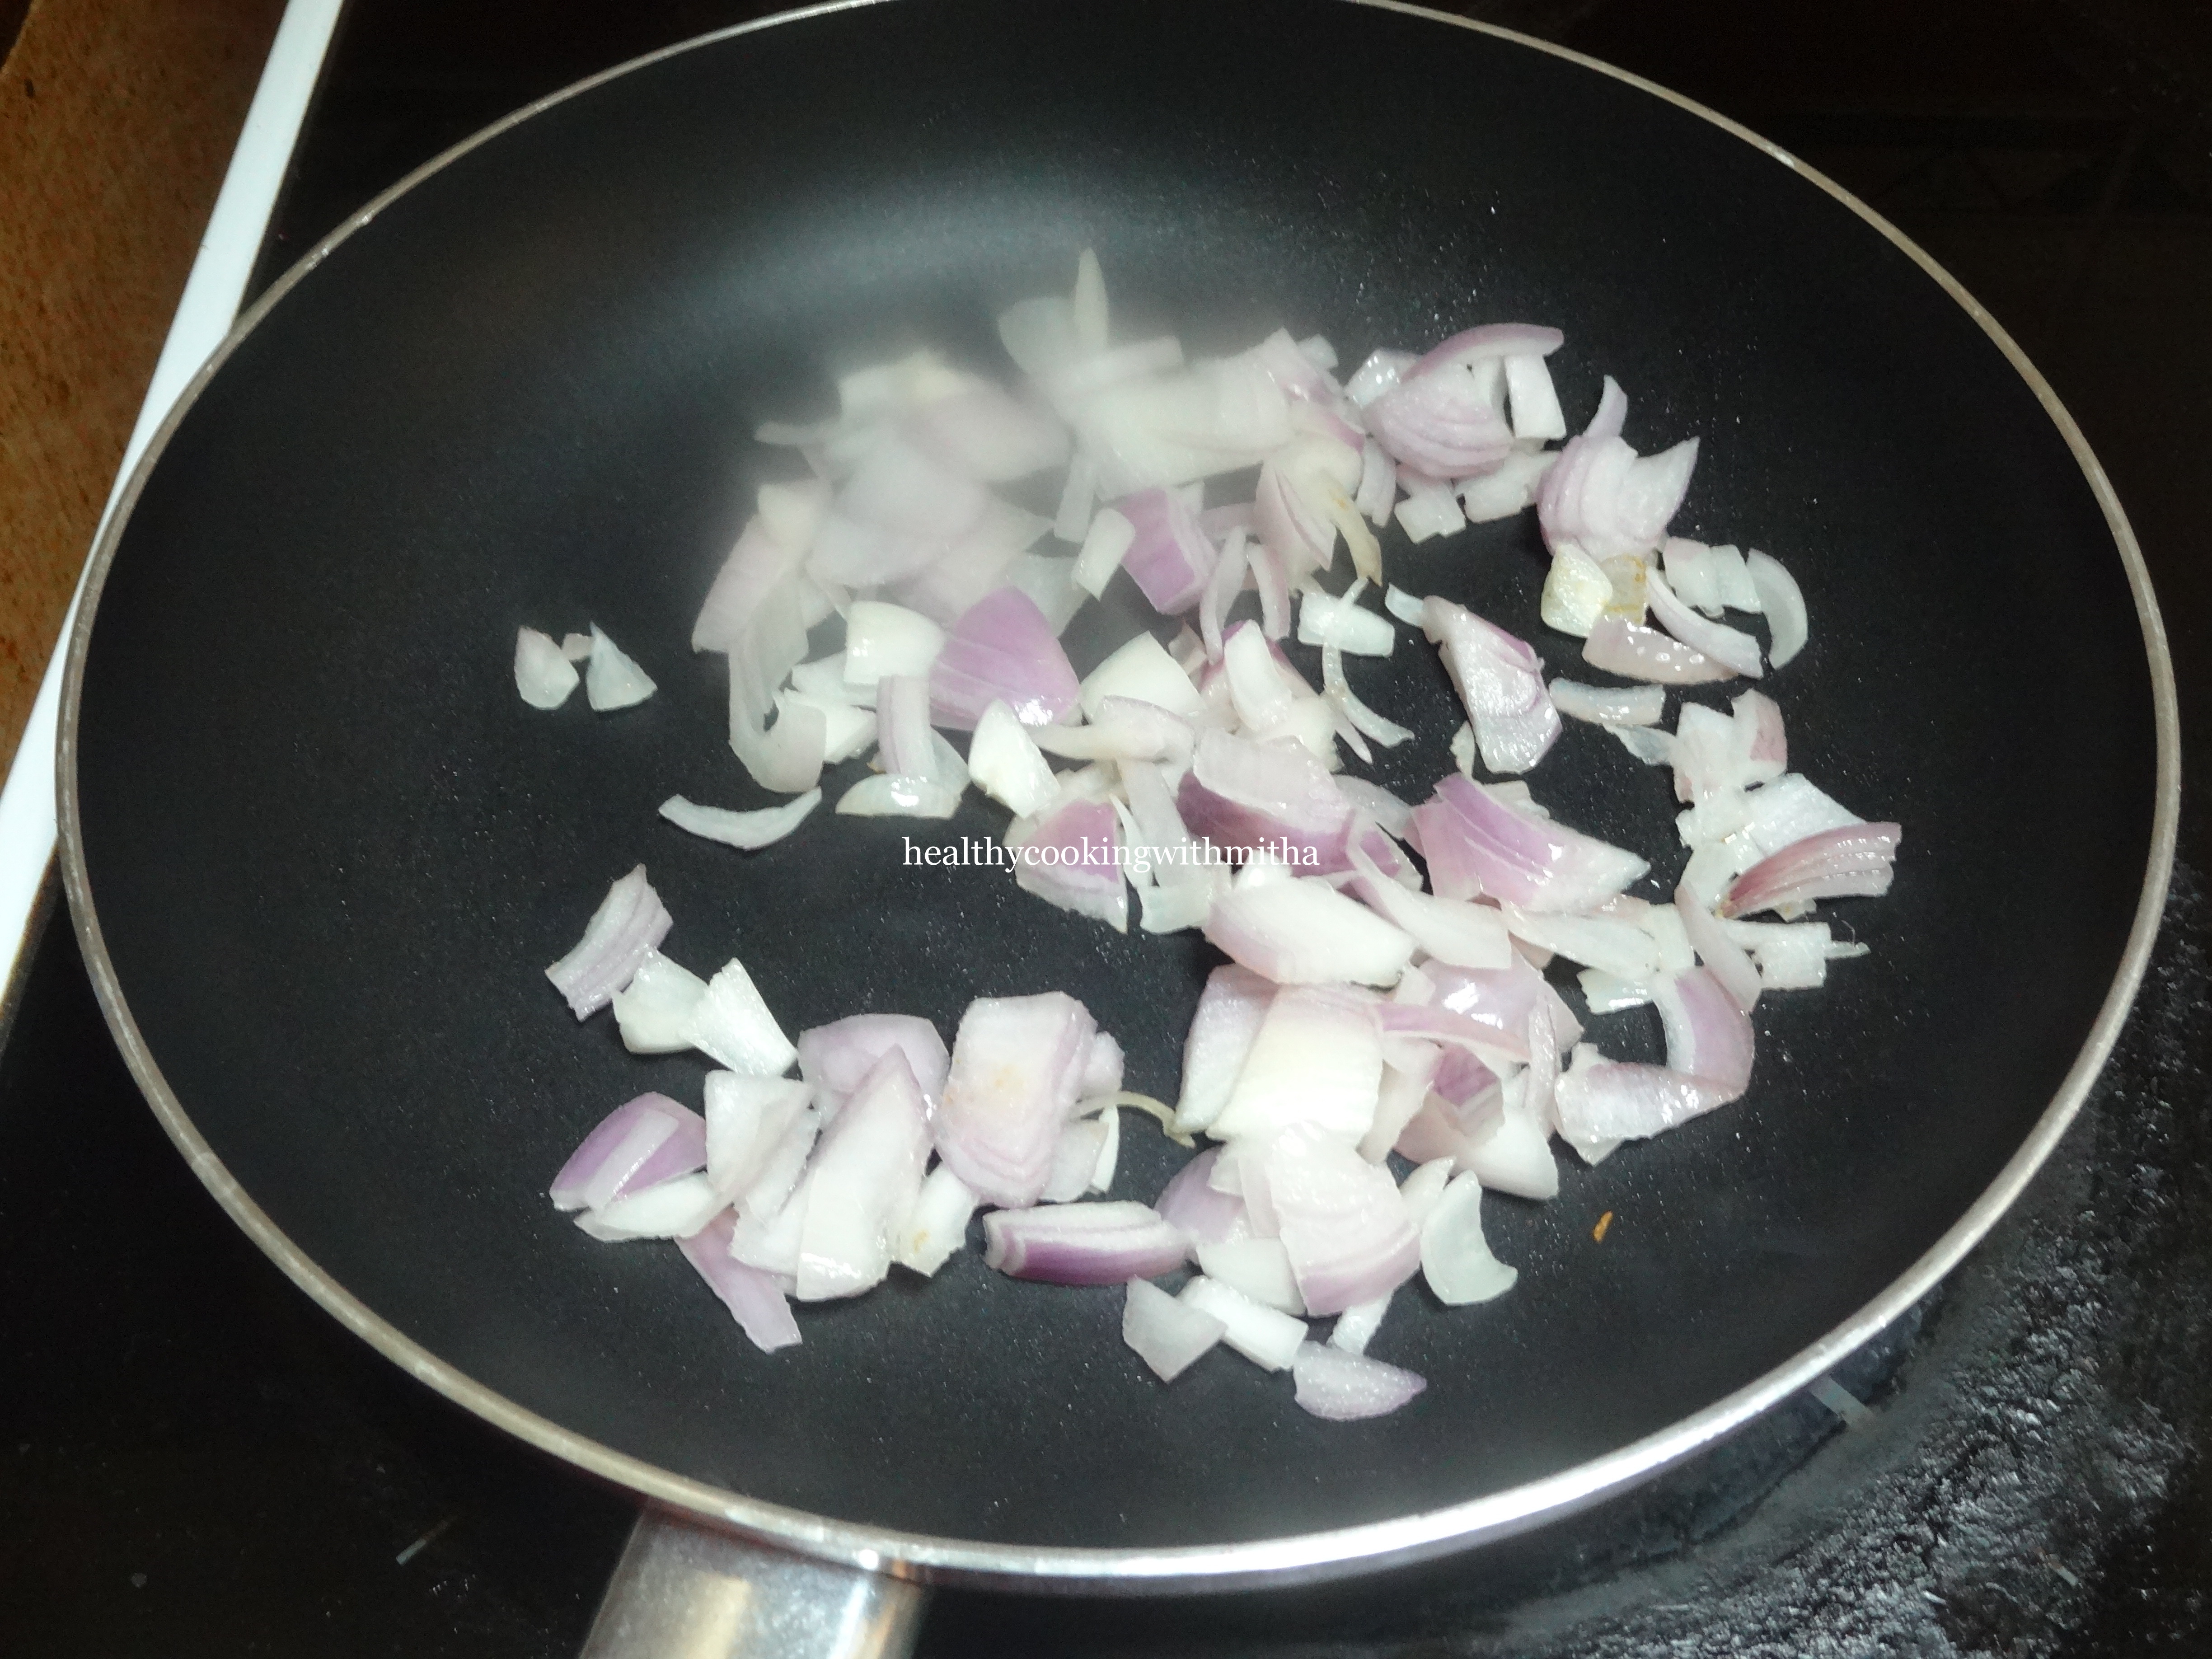
4. Add finely chopped onion. Fry till it turns translucent.

5. Add finely capsicum and fry for few seconds.

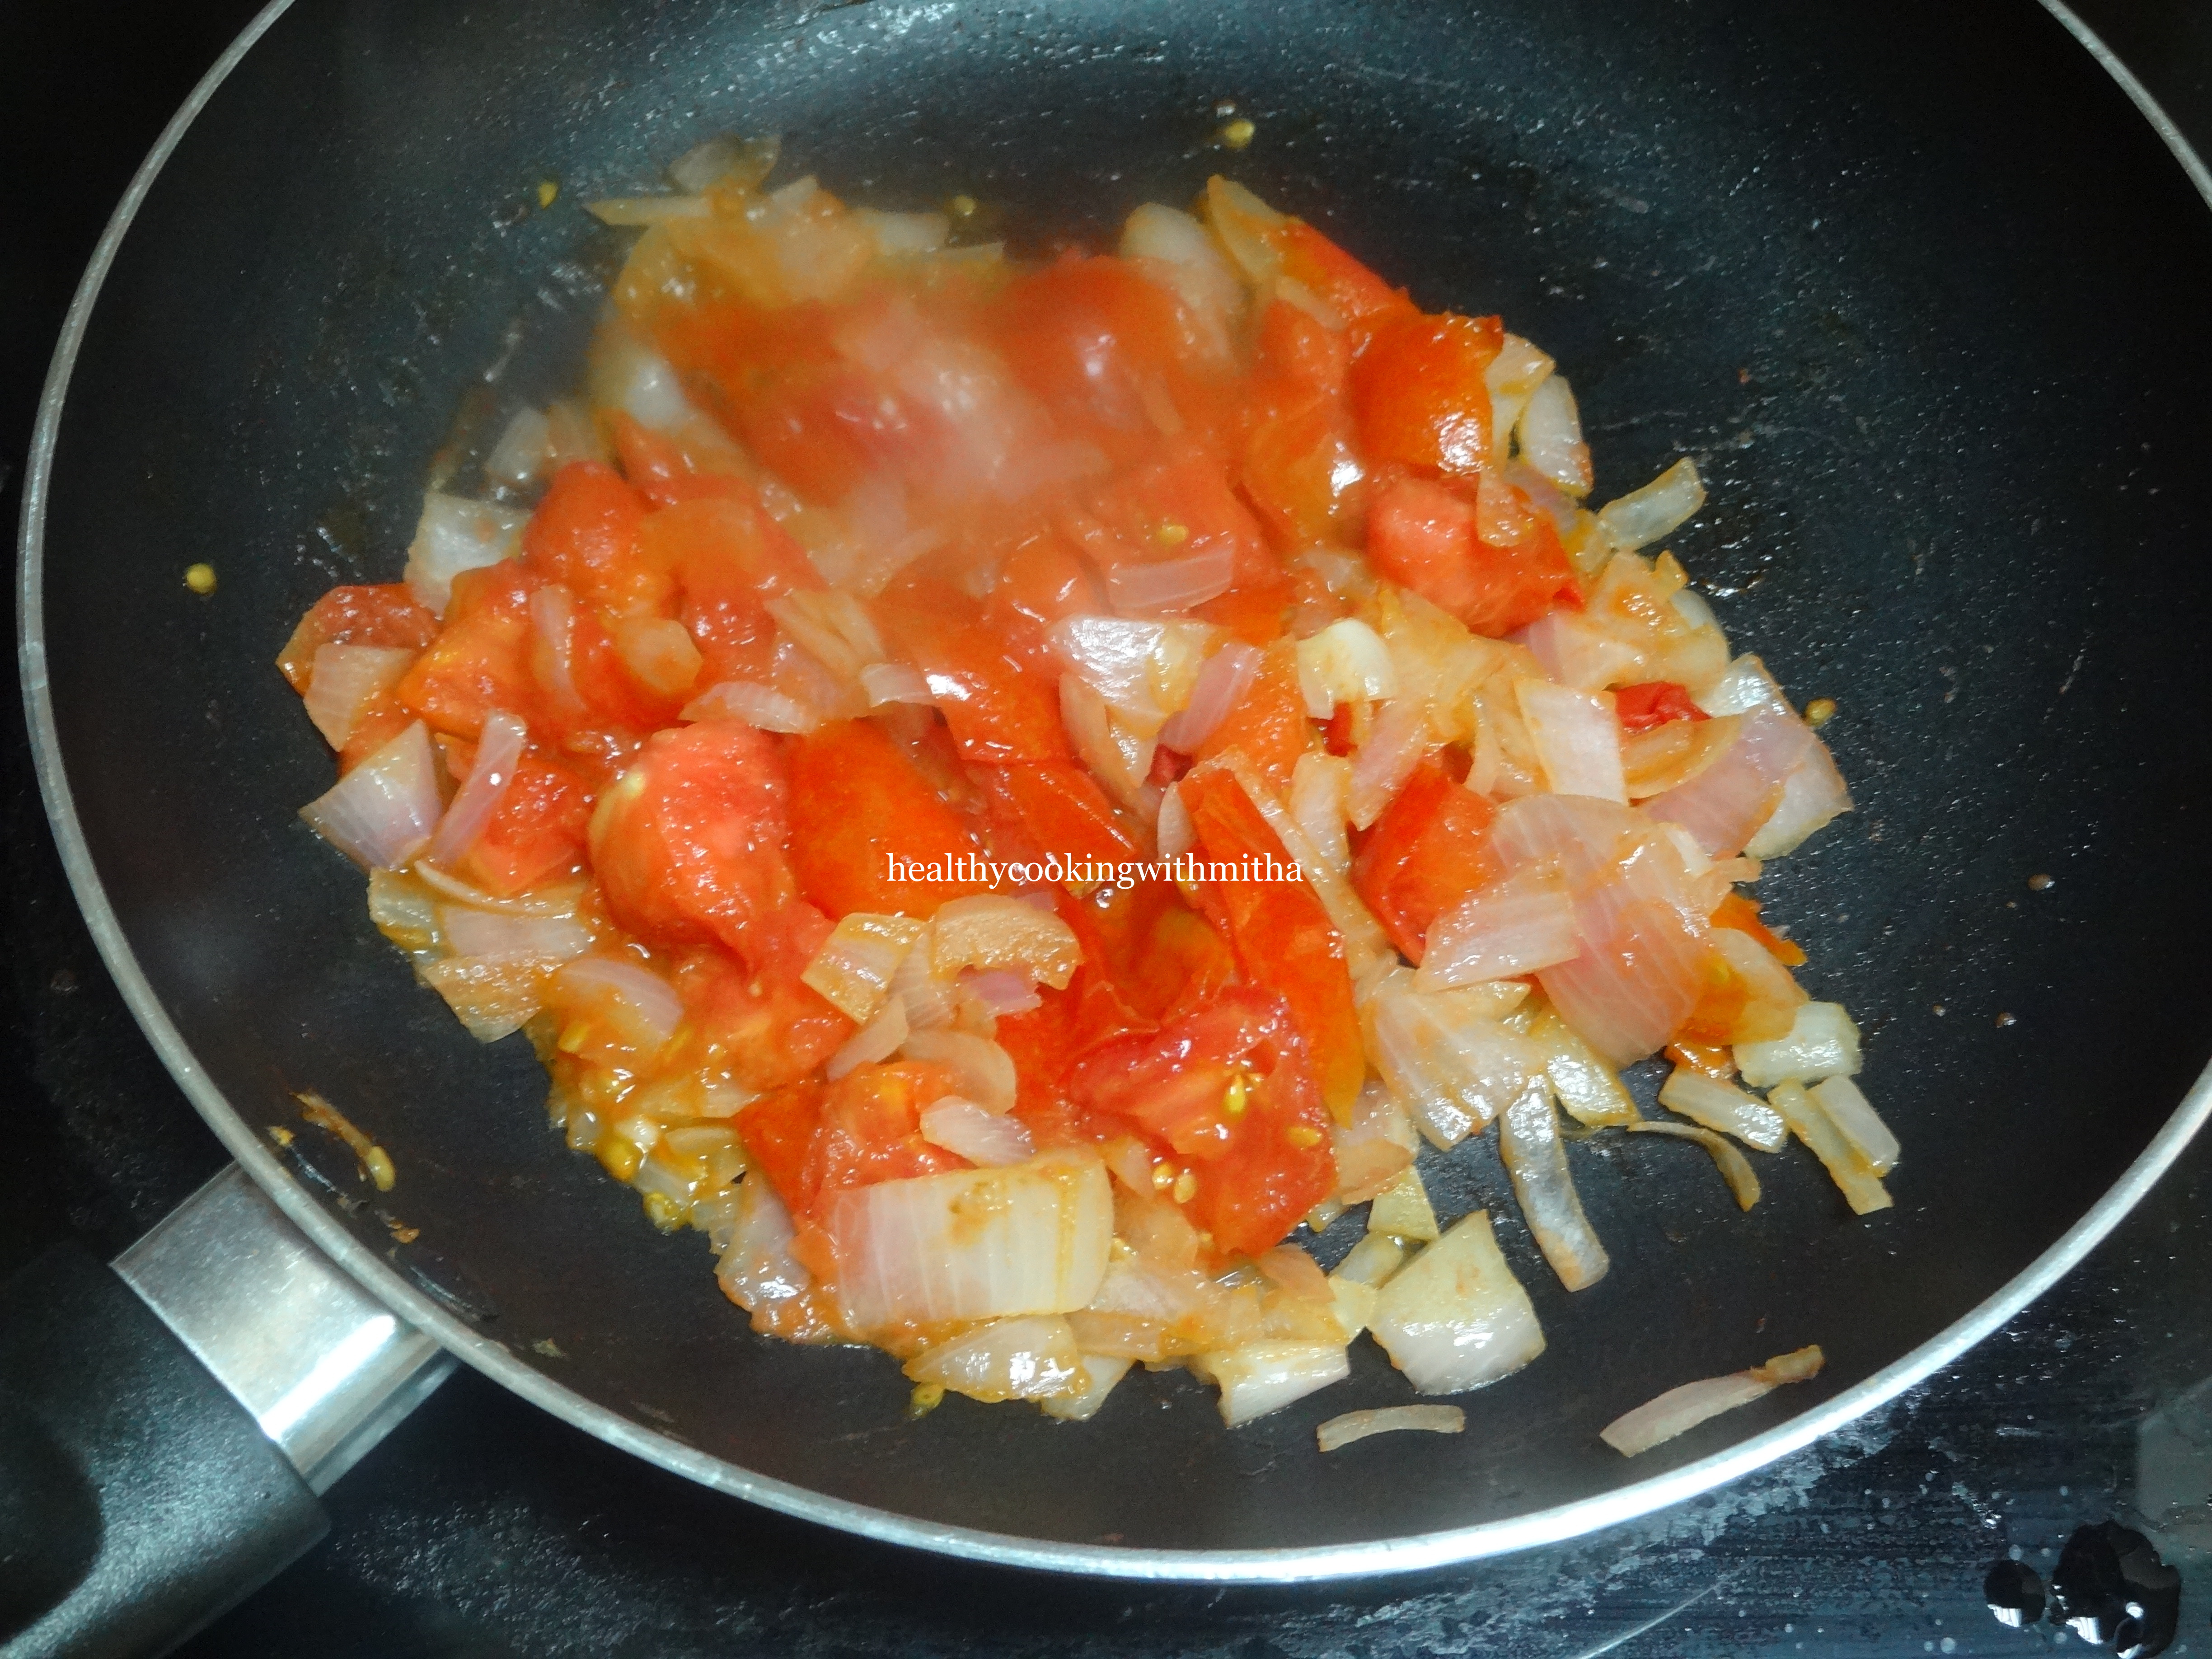
6. Add tomatoes and cook well.

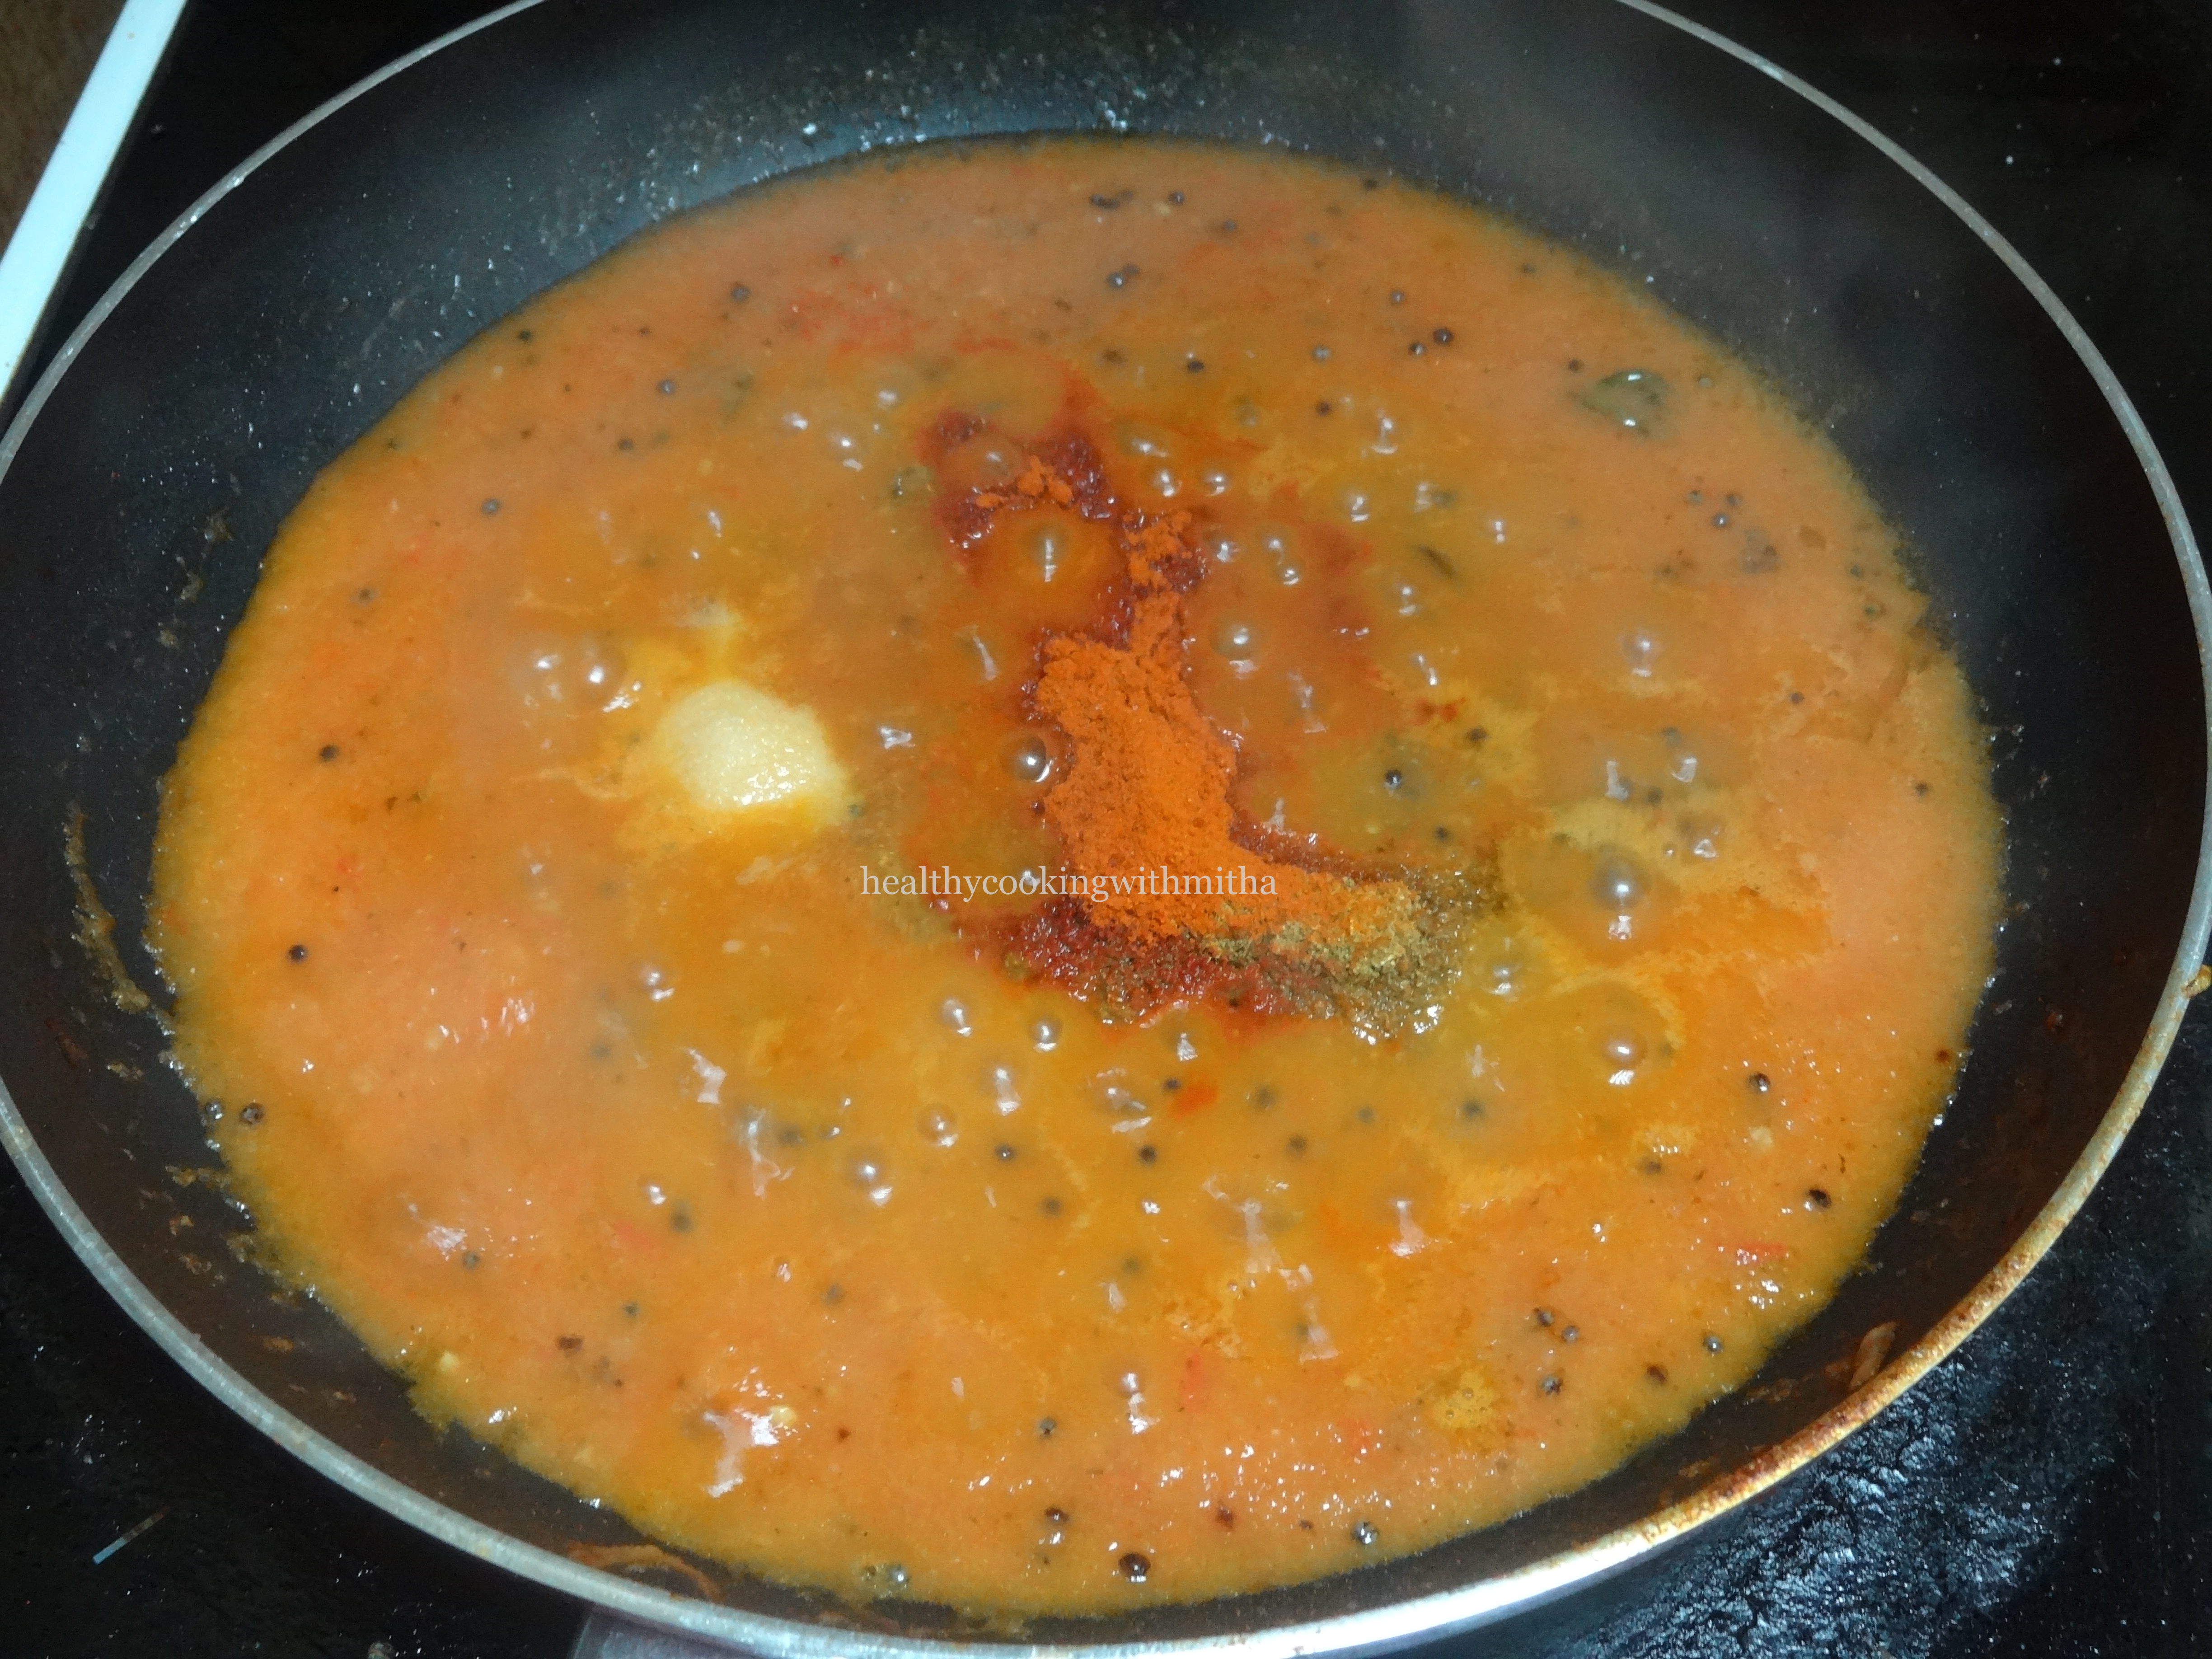
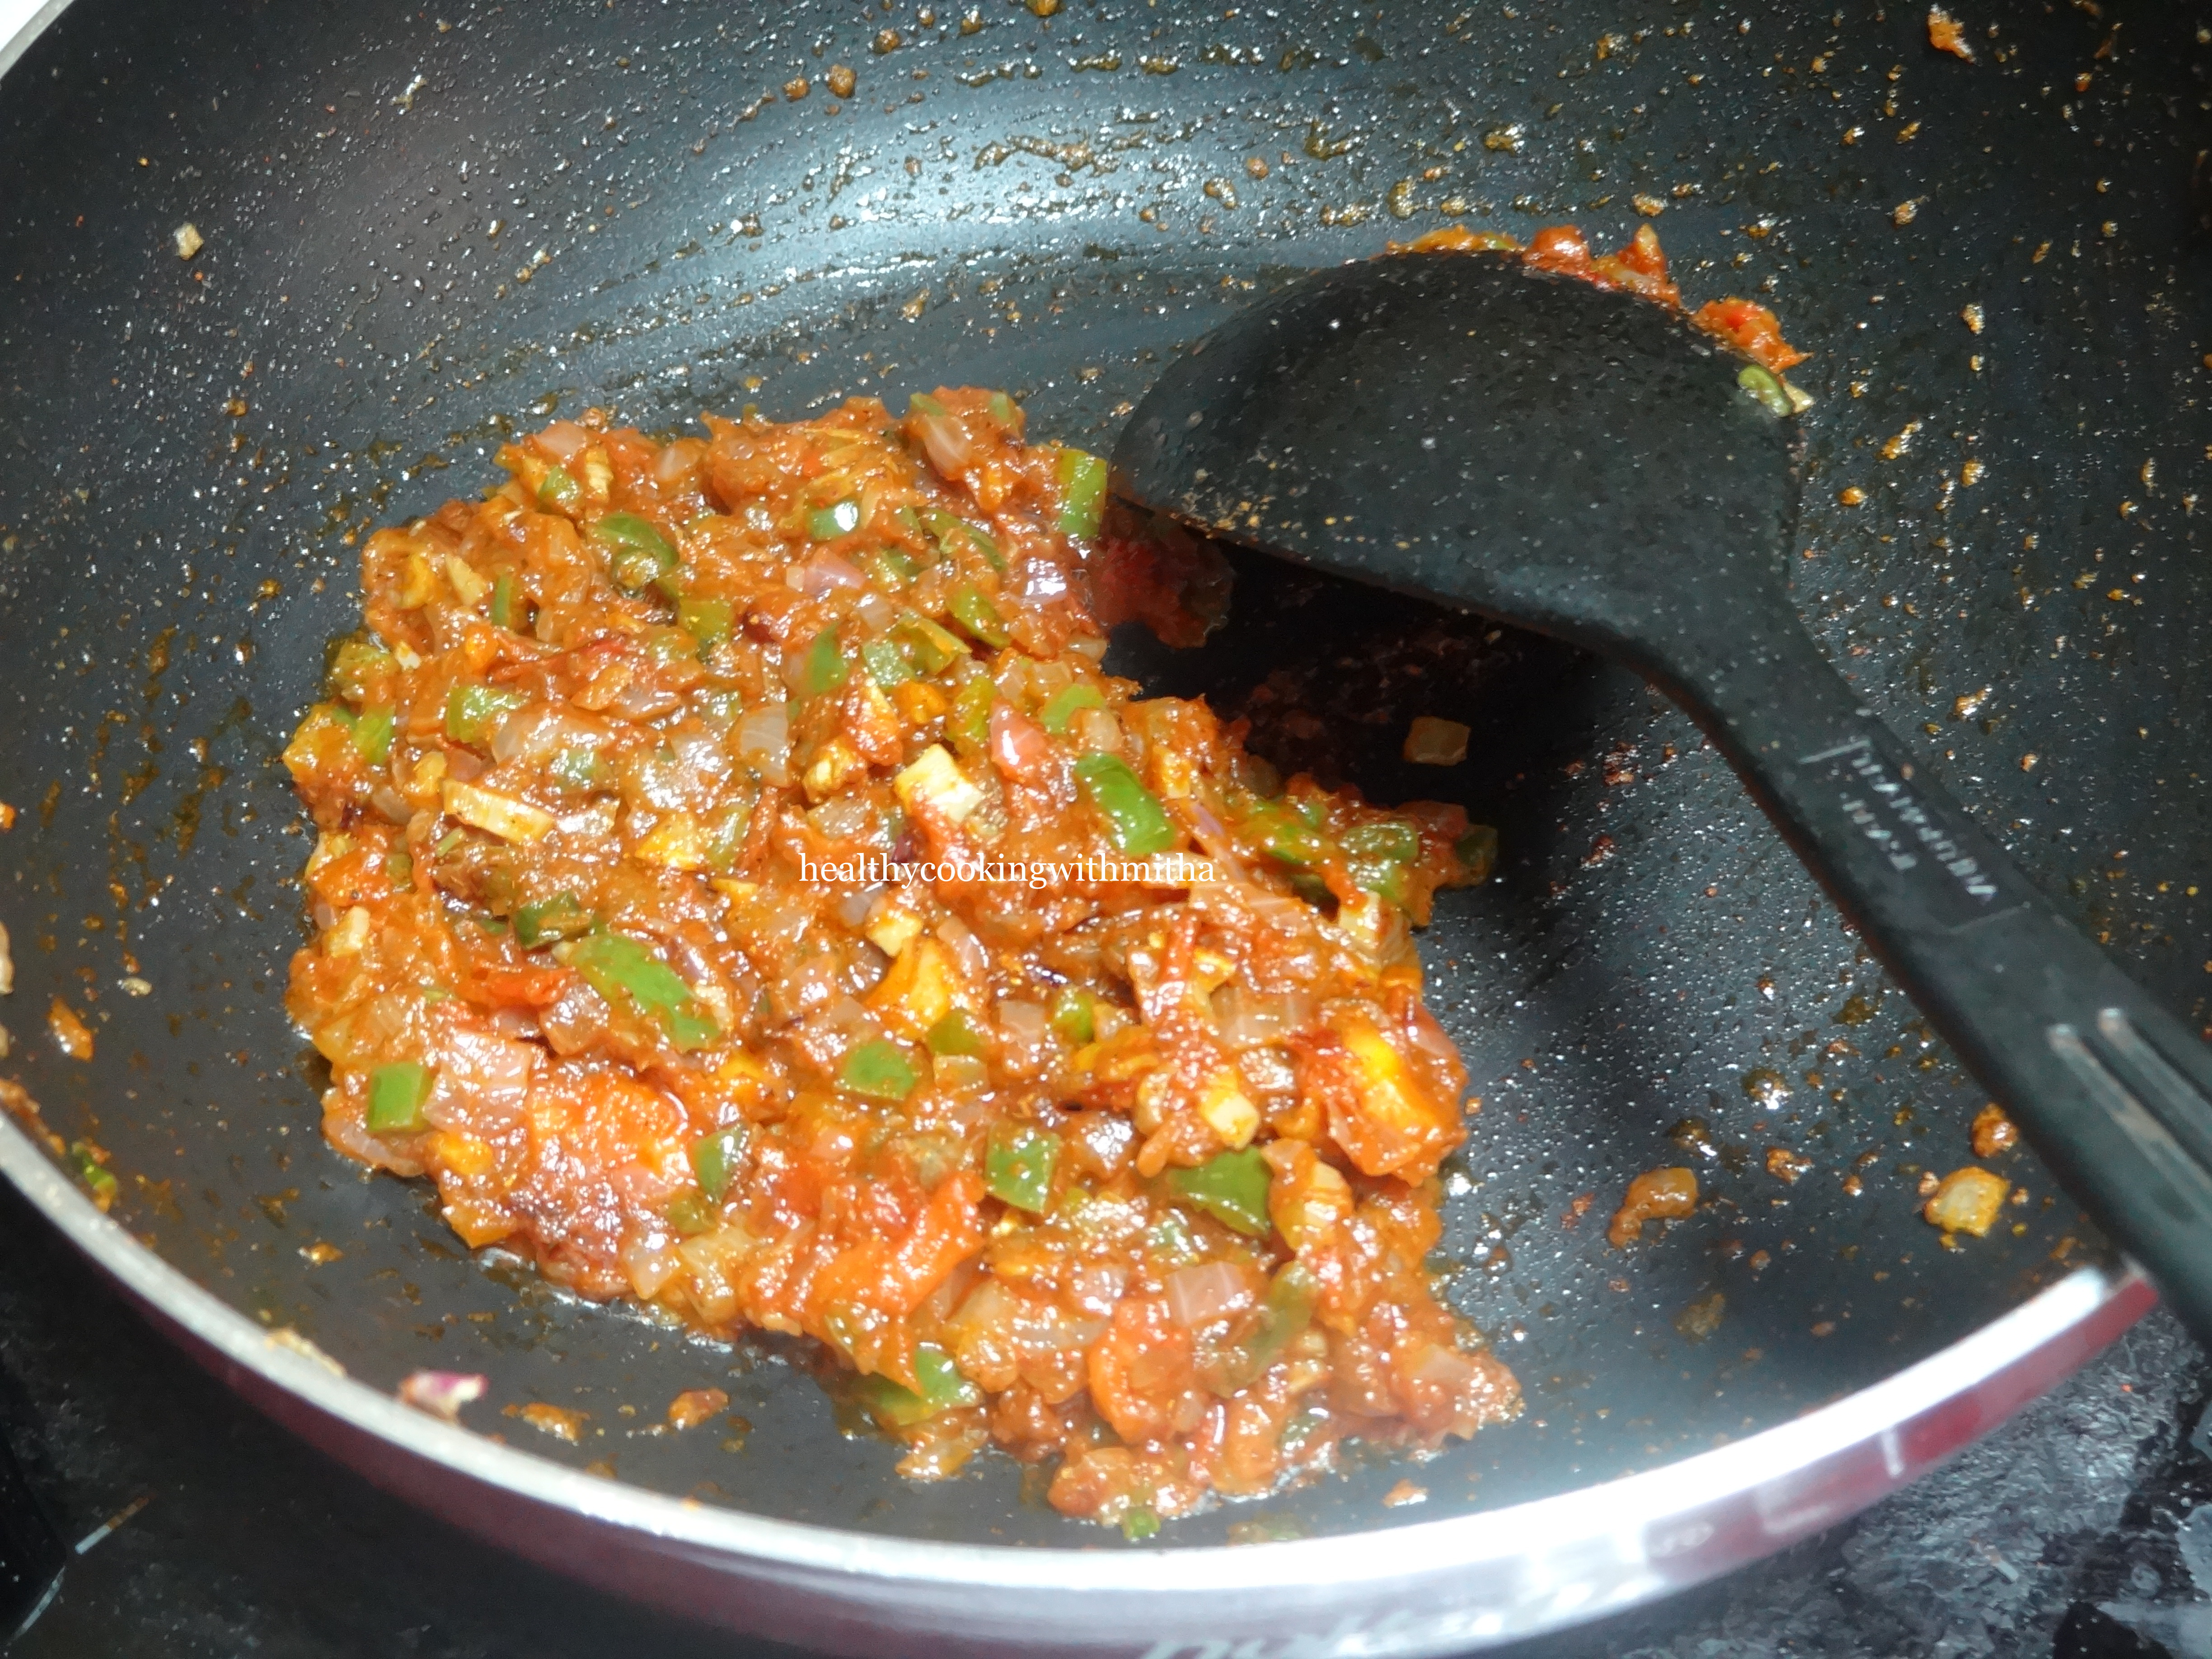
7. Now add pav bhaji masala powder and red chilli powder. Fry till all water evaporates and the mixture turns out dry as shown.

8. Now add the mashed veggies and mix well. Add little water if the mixture is too dry. Allow it to come to a boil.

9. Add paneer cubes along with salt and cook for 5 more mins. After that, check for spices if needed. Add more pav bhaji masala or red chilli powder if needed.

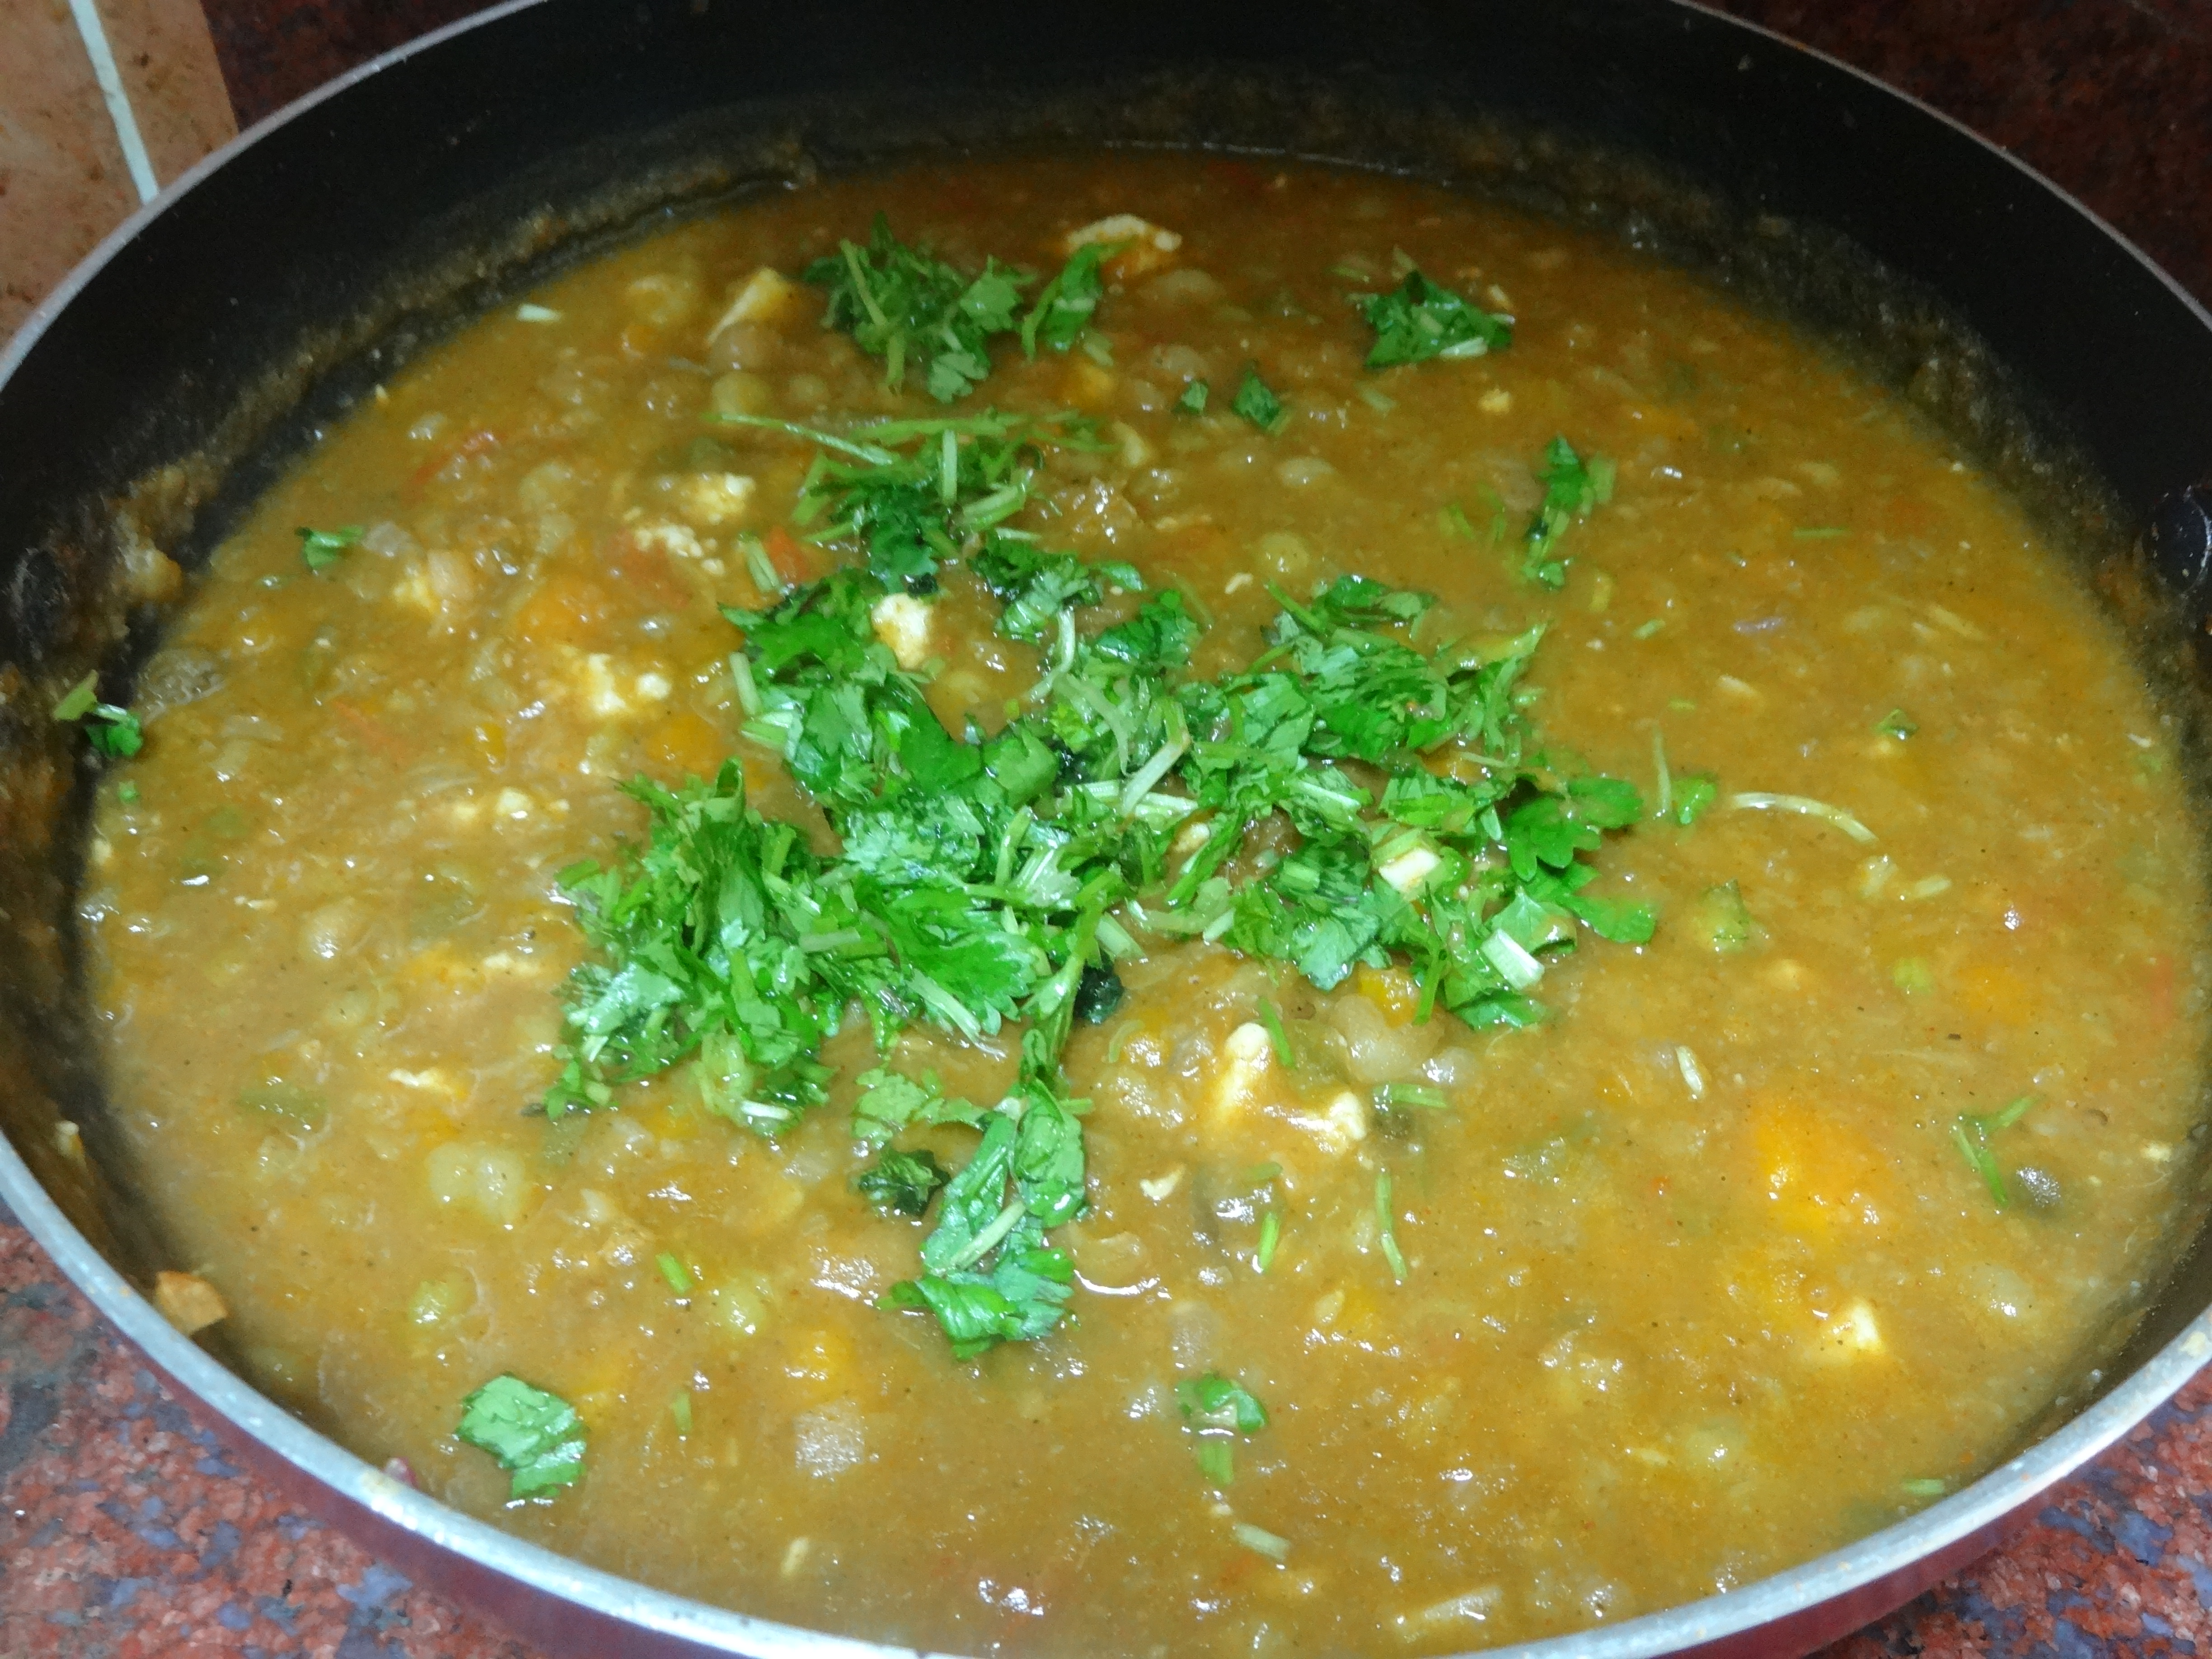
10. Now add lemon juice and coriander leaves. Mix well. Done.

11. Serve along with pav and top with onions, coriander leaves and lemon wedges. Add more butter on top.

Notes:

* You can skip paneer and make regular pav bhaji if you don’t like it but paneer Pav Bhaji is a delight for paneer lovers.

* Pav bhaji masala can be added as desired as per your taste buds. If unavailable, you can add any garam masala powder.

* Cook the veggies really well for a smooth texture of pav bhaji.

* Butter gives a wonderful flavour. So I recommend using butter to cook.

* I make Homemade wheat pav for pav bhaji. You can try too.

Mixed bean salad

Click on the image to save the recipe on Pinterest

We love salads with our meal. My kids specially love them. Dinner time is less hassle free when salad is available as they finish off without any fuss. So I make different varieties of salads everyday.

Since we are vegetarians, our protein comes from pulses and beans. So it is important to include them in our diet. And what better way that this salad. Also, love how gorgeous it looks. Mixed beans give a wonderful bite and is an amazing accompaniment to the meal.

I love eating this salad in itself too. Makes for an excellent snack option. Hope you all like this idea. Happy and healthy cooking!

RECIPE:

Ingredients:

2 Tbsp Kidney beans/ Rajma

2 Tbsp Pigeon peas/ Black eyed beans/Lobia

2 Tbsp White or black Chana/ chickpeas

1 medium sized Onion

1 medium sized Tomato

2 green chillies

1 tsp Chat masala

Salt to taste

2 Tbsp coriander leaves

Juice of half a lemon

Step by step recipe:

1. Wash well and soak the beans for 6 to 8 hours or overnight.

2. Pressure cook it together till it turns soft. Cool and refrigerate. Use when making salad.

Note: Kidney beans and chickpeas take the same time to cook. Pigeon peas cook quickly but still does not mash when cooked along with the other beans.

3. To the cooked mixed beans, add finely chopped onions, tomatoes, green chillies, coriander leaves, chat masala and salt.

4. Squeeze lemon juice, mix well and you are done.

5. Serve freshly made salad with your meal or make this a meal in itself.

Notes:

* You can also add moong sprouts to this salad.

* I sometimes add cucumber too.

* Green chillies are optional if making for kids. You can add a pinch of black pepper powder instead.

* Serve immediately after mixing onions in it as it will start smelling if kept for long.

* You can soak and cook the beans. Refrigerate and use when required.

Click on the image to save the recipe on Pinterest

Eggless Tomato Omelette

As a kid, I used to wait for Amma to make these tomato omelettes for me from leftover dosa batter. I loved a lot of tomatoes in them and Amma used to purposely give the omelettes which had the most tomato pieces to me and take the less ones for herself. Such is a mother’s selfless love and I understand it now being a mother myself.

These can be made even without the leftover batter by just adding the flours and mixing. I realised it during my pregnancy when I was craving for them a lot and did not have leftover batter. Quickly mixed this batter and there came out these beautiful tomato omelettes with Amma’s love in every bite.

Dedicate this post to you Amma. Love you very much 😍😘

RECIPE:

Ingredients:

2 Cups Besan/ chikpea flour

1 Cup Rava/ wheat semolina

1/2 Cup Rice flour

2 large Tomatoes

1 medium sized Onion

3 green chillies

2 Tbsp Coriander leaves

Salt to taste

Step by step recipe:

1. Take the besan, rava and rice flour in a large mixing bowl. Add salt too.

2. Now slowly add little by little water and whisk till it’s free of lumps and you get a smooth batter of slightly thick consistency.

Note: If you have leftover dosa batter. Add that to the dry flours and then add water as needed.

3. Add chopped tomatoes, onions, green chillies and Coriander leaves.

4. Mix well.

5. Heat a dosa pan and pour a ladle of this batter onto it. Cook on medium flame.

6. When the surface cooks, add oil or ghee and flip to cook for a minute.

7. Remove and repeat the same with the rest of the batter. Enjoy them hot with butter or chutney.

Notes:

* If using leftover dosa batter, add at step no 2 along with water to make a smooth batter.

* Do add loads of tomatoes and onions for a wonderful bite to these Omelette.

* You could also prepare this batter and refrigerate the previous night for breakfast the next day.

Charmbure upkari

This post is dedicated to my father who’s favourite snack to make is Charmbure Upkari and my husband who’s only reply for “what’s for evening snack?” is Charmbure Upkari. My kids have gone after them and they love it a lot too.

It’s easy for me as well. Hardly takes time to mix everything and is so tasty that the whole family is happy with me. I am happy too since it’s a healthy snack to munch on.

Charmbure Upkari is most famous during temple festivals in South Canara regions and also available outside temples at other times. They give it in a paper cone and it’s so delightful to see them make it. Some also add raw mango to it but since we don’t get it here, I make it without it. Here’s sharing how we make our Charmbure Upkari.

RECIPE:

Ingredients:

2 Cups Puffed rice/ Charmburo/ Bhel

1/2 Cup Sev/ Bhujiya

3 Tbsp peeled and finely grated Carrot

1 small Onion, finely chopped

1 small Tomato, finely chopped

2 green chillies, finely chopped ( or to taste) *can skip if making for kids

3 Tbsp coriander leaves, finely chopped

1 Tbsp Peanuts

2 tsp Sambar powder

1/2 tsp Red chilli powder (or to taste) *can skip if making for kids

2 tsp Coconut oil (plus 1 tsp to fry peanuts)

1 Tbsp Lemon juice

Salt to taste

Step by step recipe:

1. Add the finely chopped Onions, tomatoes, coriander leaves, green chillies, grated carrots in a large mixing bowl. (Add finely chopped raw mango too if available)

2. Add sambar powder, salt and red chilli powder( if adding).

3. Now fry peanuts in oil and add to the mixture along with sev/ bhujiya.

4. Now add the Bhel/ Charmburo along with coconut oil and lemon juice. Mix well.

5. To a taste test and add more sambar powder/ red chilli powder/ lemon juice if required. Serve Immediately. Else the Charmbure upkari turns soggy and not crisp.

Notes:

* If I have the time, I sometimes dry roast the Charmburo/ Bhel before adding to the upkari so that it does not turn soggy while serving.

* Do serve it immediately after mixing everything. Else it turns soggy.

* All the ingredients are to taste and you can make changes according to your family’s taste buds.

Amma’s Tomato Chutney

Everyone must have their own way of making the simple but lipsmacking tomato chutney. Here is how my mother made it and it’s my favourite way to make it.

She made it as an accompaniment to chapatis and Panpolos or Neeru dosas. It tastes heavenly with panpolos and to date, whenever I make them, it has to be tomato chutney for the dip.

My husband too is a huge fan of this chutney and asks me to make it quite often.

Thank you Amma for this amazing recipe.

RECIPE:

Ingredients:

2 medium sized Onions

4 medium sized Tomatoes

2 tsp Red chilli powder or to taste

1 tsp Coriander powder

2 tsp Coconut oil

1 tsp Mustard seeds

5 to 6 curry leaves

Salt to taste

Step by step recipe:

1. Heat 1 tsp oil in a pan and add roughly chopped onion to it. Fry well till it changes colour to translucent.

2. Now add roughly chopped tomatoes. Fry well and cook till the tomatoes turn mushy. Allow it to cool by removing from flame.

3. Once cooled, blend in a mixer to a smooth paste. It’s also okay if little bits of onion and tomato remain. Gives a bite to the chutney.

4. Now heat the same pan and add 1 tsp oil. When it gets heated, add mustard seeds and curry leaves. Let mustard seeds splutter.

5. Add the tomato onion paste along with coriander powder, red chilli powder and salt.

6. Add water if needed and bring to a boil. Let it cook for about 5 minutes.

Remove and serve with chapatis or Panpolos.

Notes:

* I also add hing (asafoetida) sometimes while adding mustard seeds as my husband loves hing flavour.

* This chutney lasts well for a day without the need to refrigerate as it does not use coconut and is heated well.

* You can also add a tsp of rasam powder for a different flavour which turns delicious as well.

If any doubts, do message me on my Facebook page Healthy cooking with mitha or on my Instagram handle and I would be happy to help. Happy cooking!