My husband loves gardening and that’s his most favorite pastime too. He waters the plants atleast 4 times everyday even during the peak summers here in Qatar and waters them as soon as he comes back from work even without entering the house (have to add: even after night shift 😬). That’s his dedication towards plants and I tease him that his first love are his plants and not me. 😅
Couple of years back, he had grown Mangalore Cucumbers out of the seeds that I discarded from store bought ones. The creeper had spread all over the garden and we had a yield of over 50 of them. It was really amazing and even our relatives were surprised to see them grow specially in a desert land like Qatar. All credits go to his green thumb. Here is a picture of some of them.

Since they were so many in number, we shared some with our friends who eat these. I also made Mangalore cucumber sweet dosas or Surnalis but still many were left. That’s when I got the idea of making Magge Sasam just the way we make Kuvale Sasam with Ashgourd. It tasted so yummy that it became a regular at our place and all the magges got over in no time.
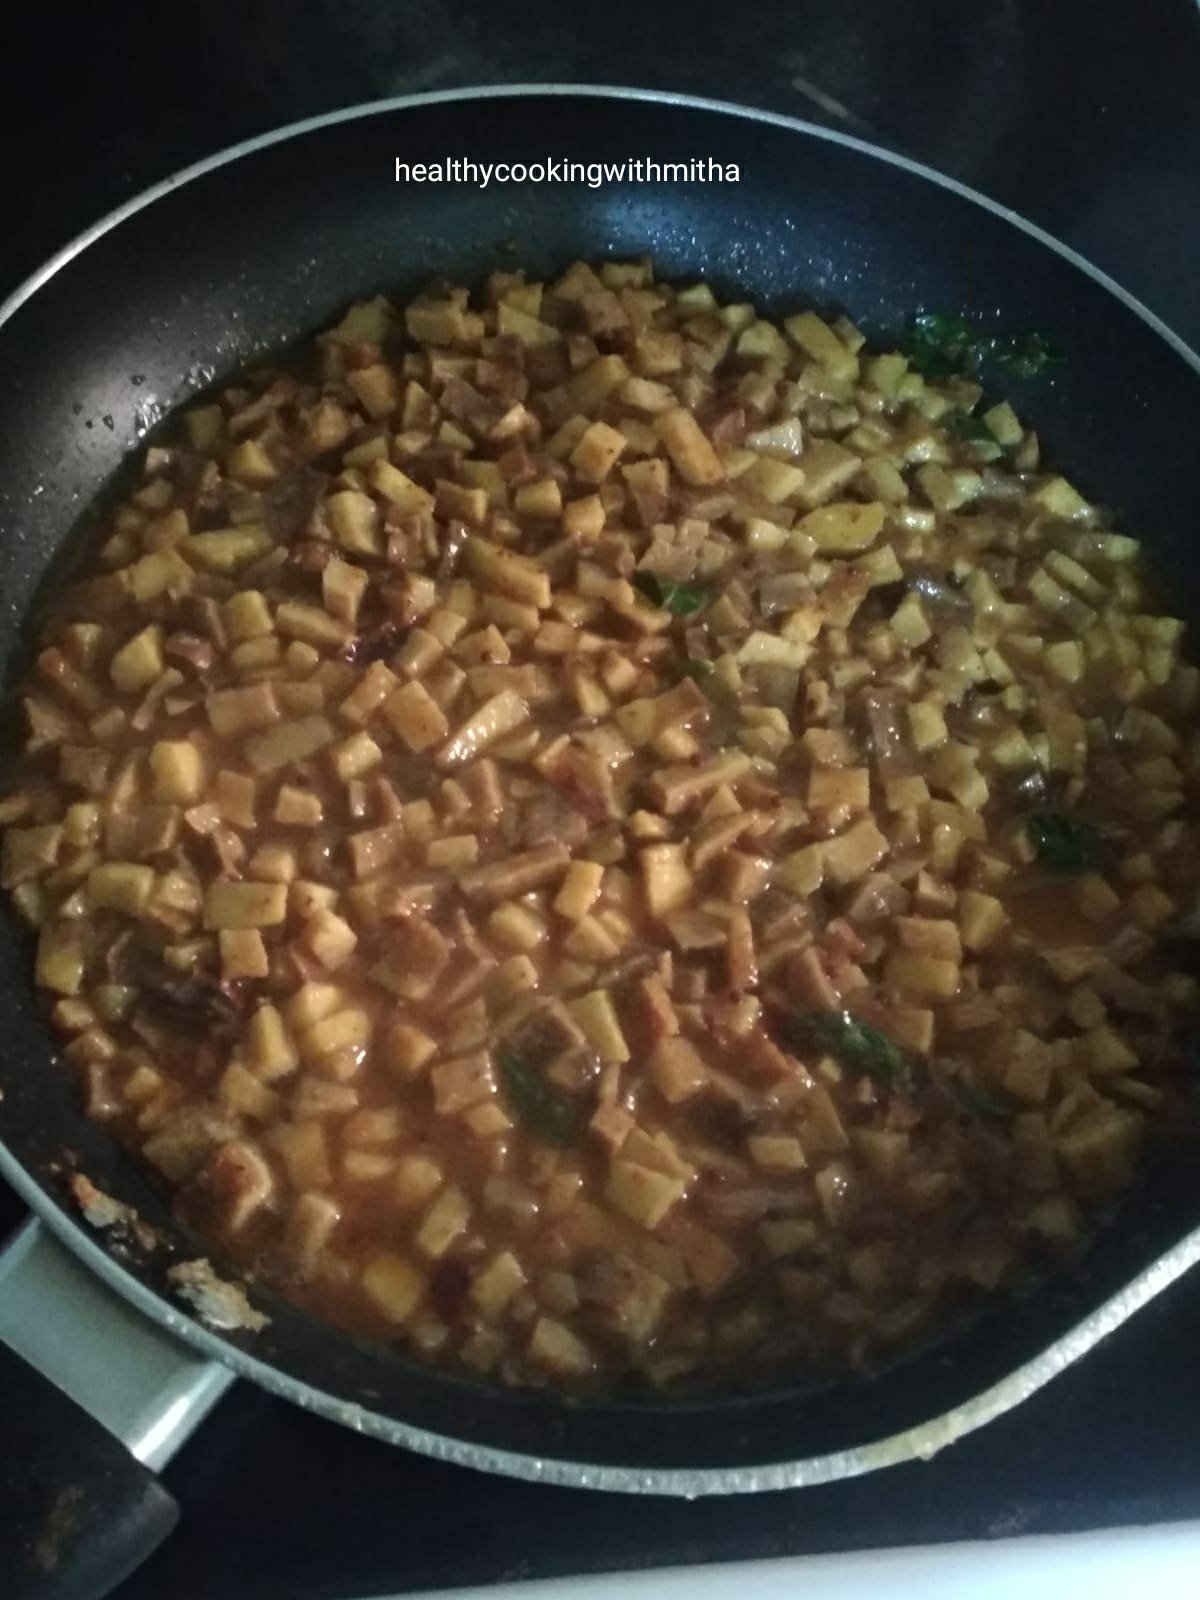
So, when I got Mangalore Cucumber from our grocery store last day, I thought I must share this recipe with my readers who have not tried this yet and clicked the pictures of this curry. With my husband on vacation, he too came and held the curry bucket and said it reminded him of the temple meals in our native which we missed this whole year. I loved the click and had to share it here.

Hope you all try and love this curry too. Tastes very good with white rice and lemon pickle. Happy and healthy cooking!
RECIPE:
Ingredients:
1 regular sized Mangalore cucumber/ Magge/ Vellarikka
1/2 tsp Turmeric powder
Salt to taste
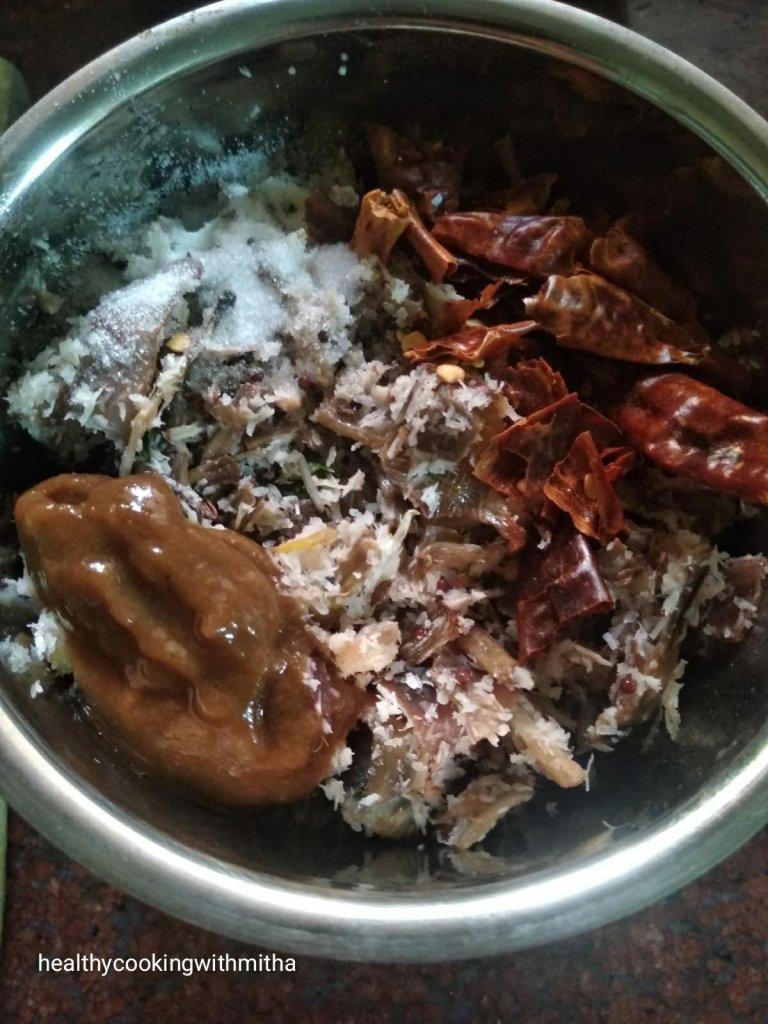
For the masala:
1 Cup fresh/ desiccated Coconut
4 Kashmiri long red chillies (OR 4 green chillies)
1 tsp Tamarind paste
1 tsp Mustard seeds (to be spluttered before adding)
For the seasoning:
1 Tbsp Coconut oil
1 tsp Mustard seeds
Few curry leaves
Step by step recipe:
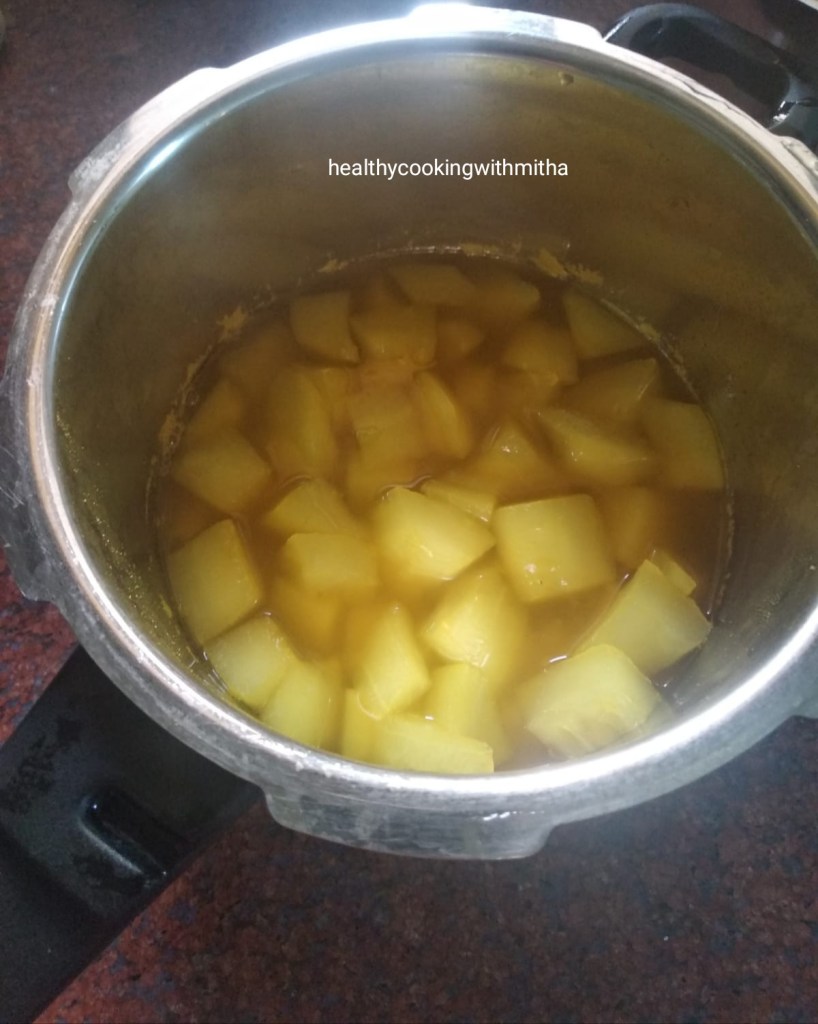
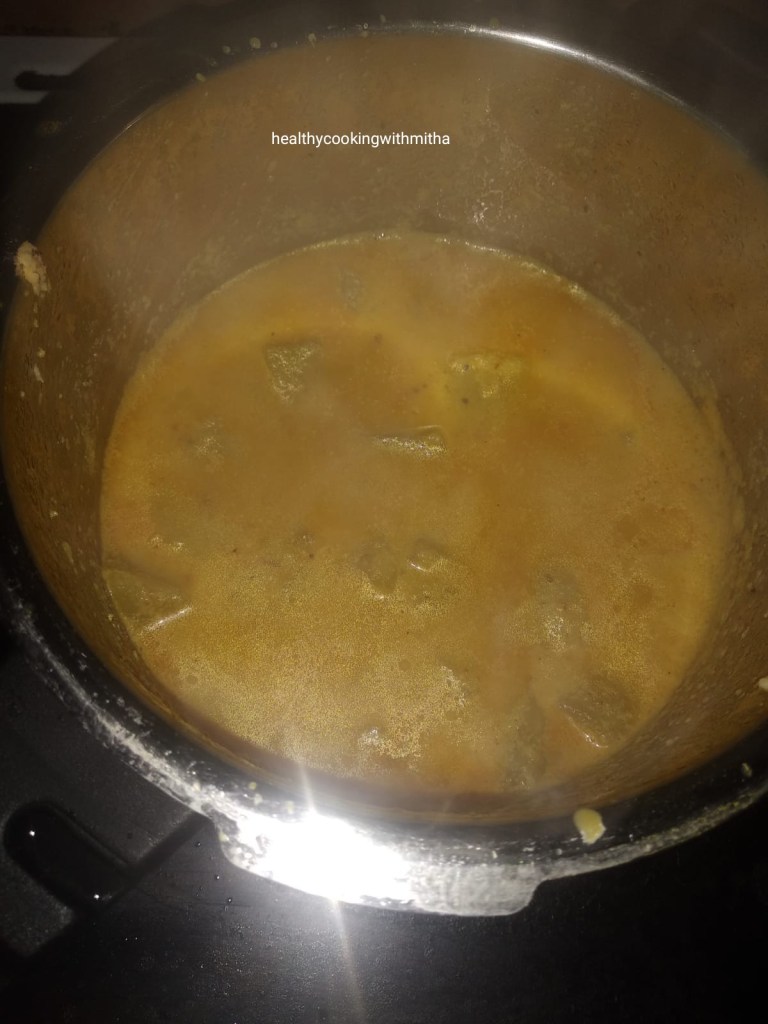
1. Cut both the ends of the mangalore cucumber and peel it’s skin off. Cut and discard it’s core. Chop it into cubes. Now pressure cook with turmeric powder, salt and water enough to soak it till it turns soft. It took two whistles for me in my electric stove top.
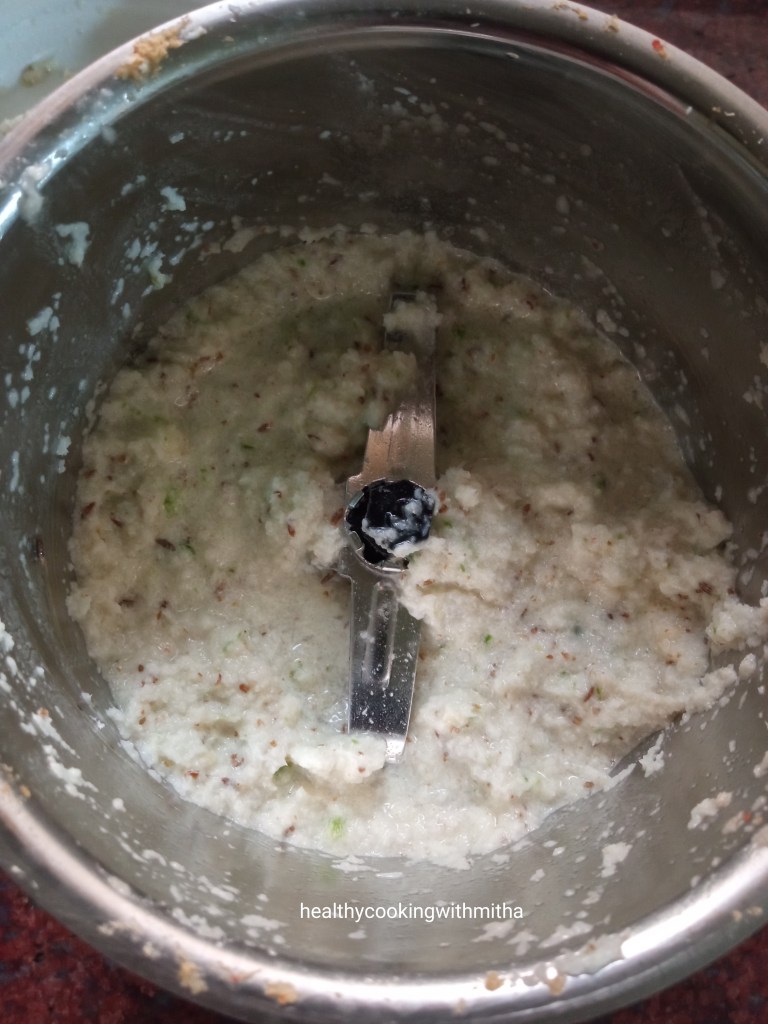
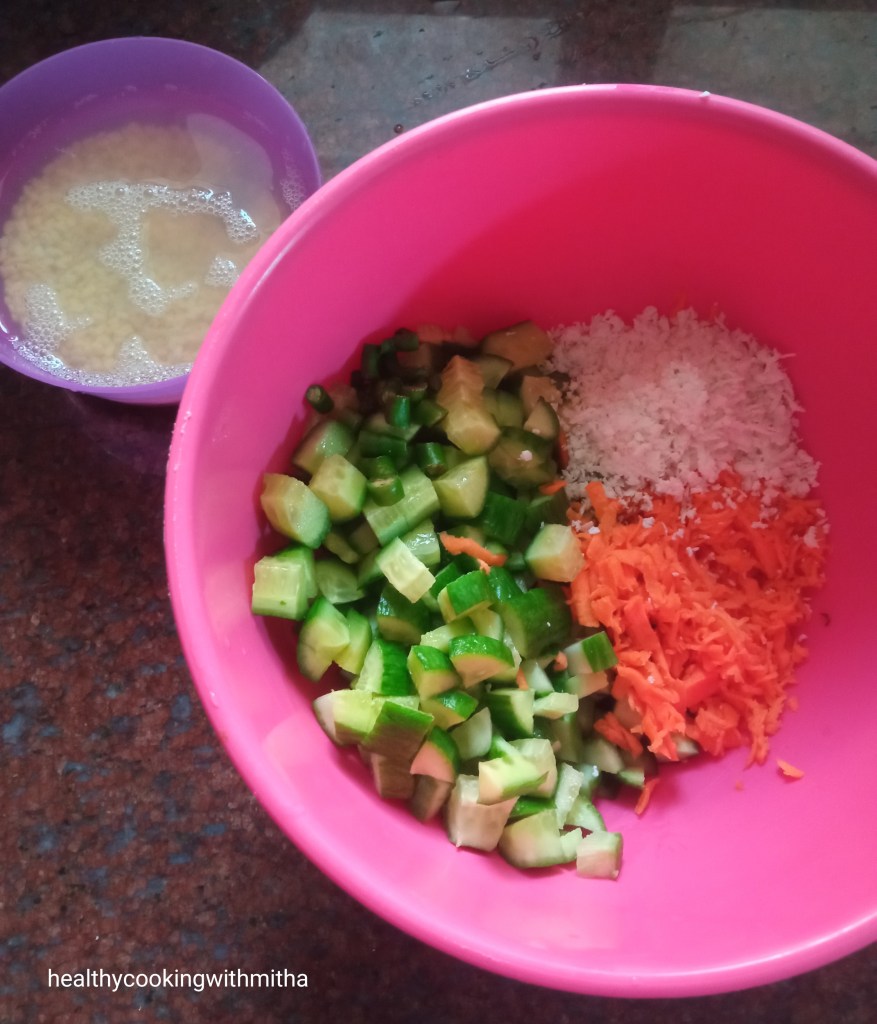
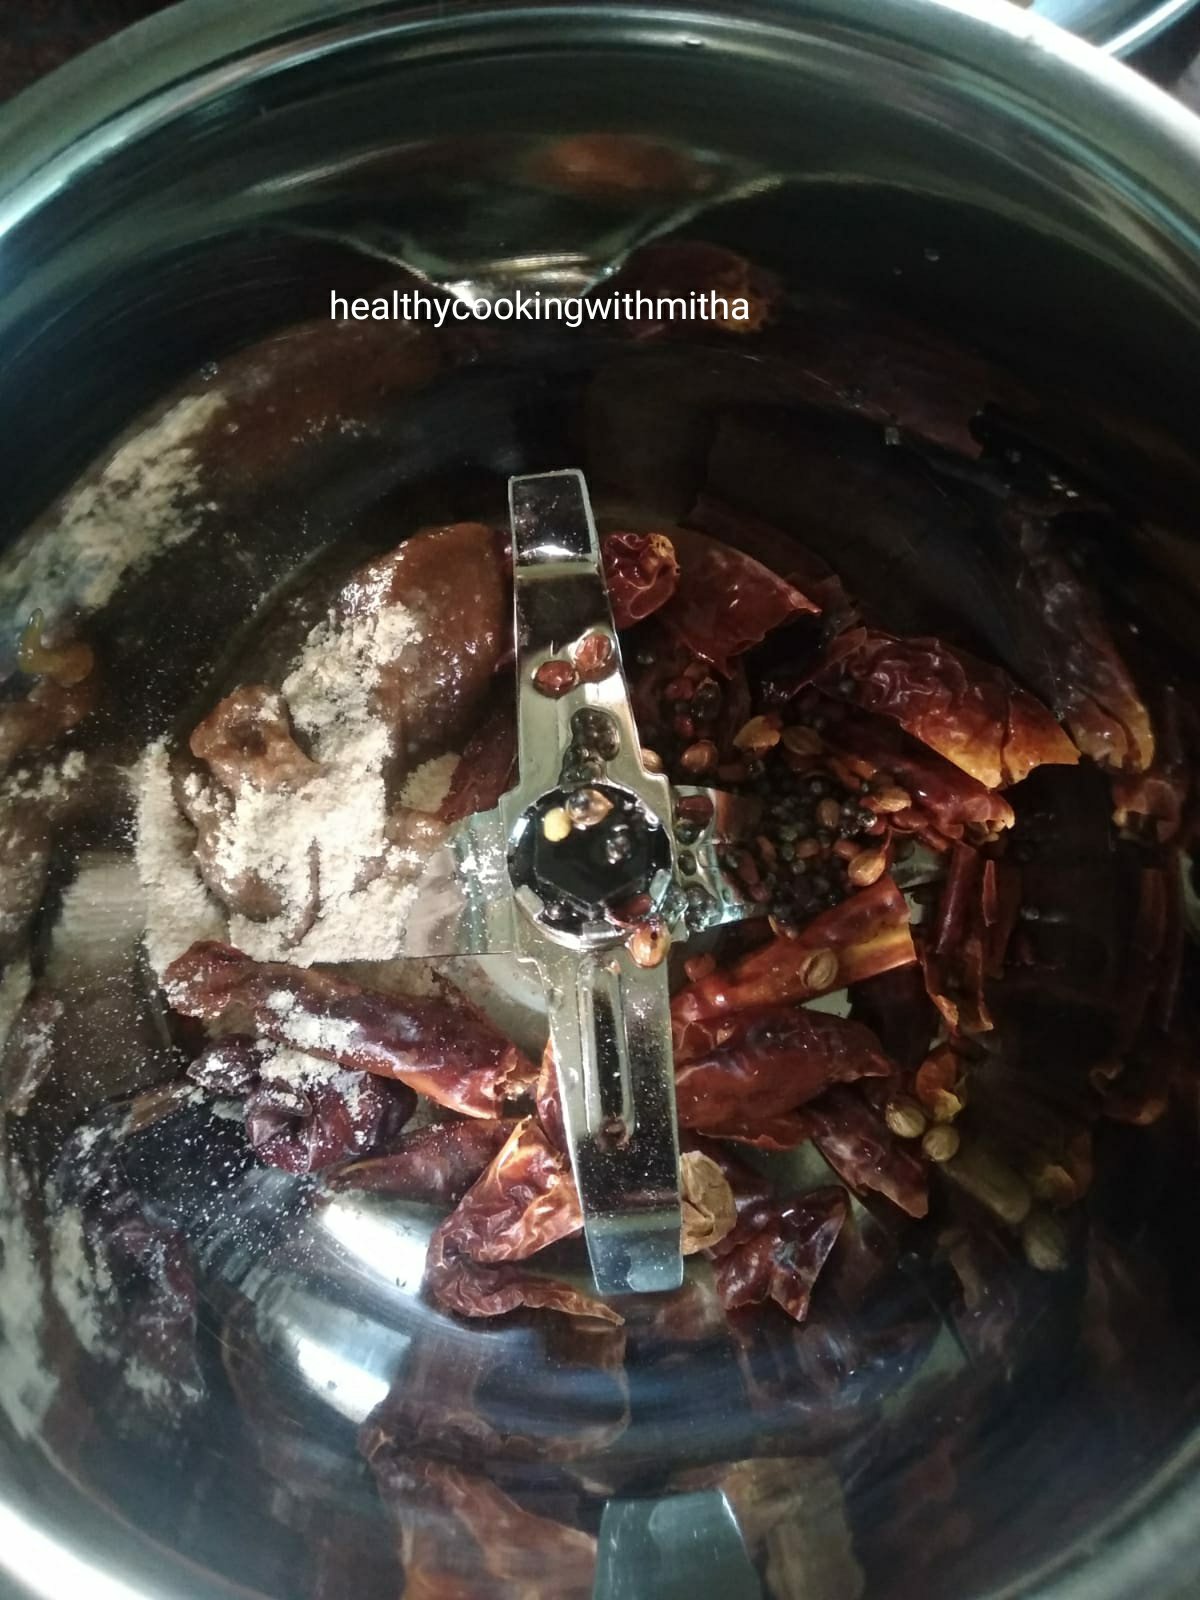
2. Take coconut, red chillies, tamarind in a mixer with little water. Grind to a coarse paste.

3. Now heat mustard seeds in a pan (without oil) and allow it to splutter. Add it to the masala.
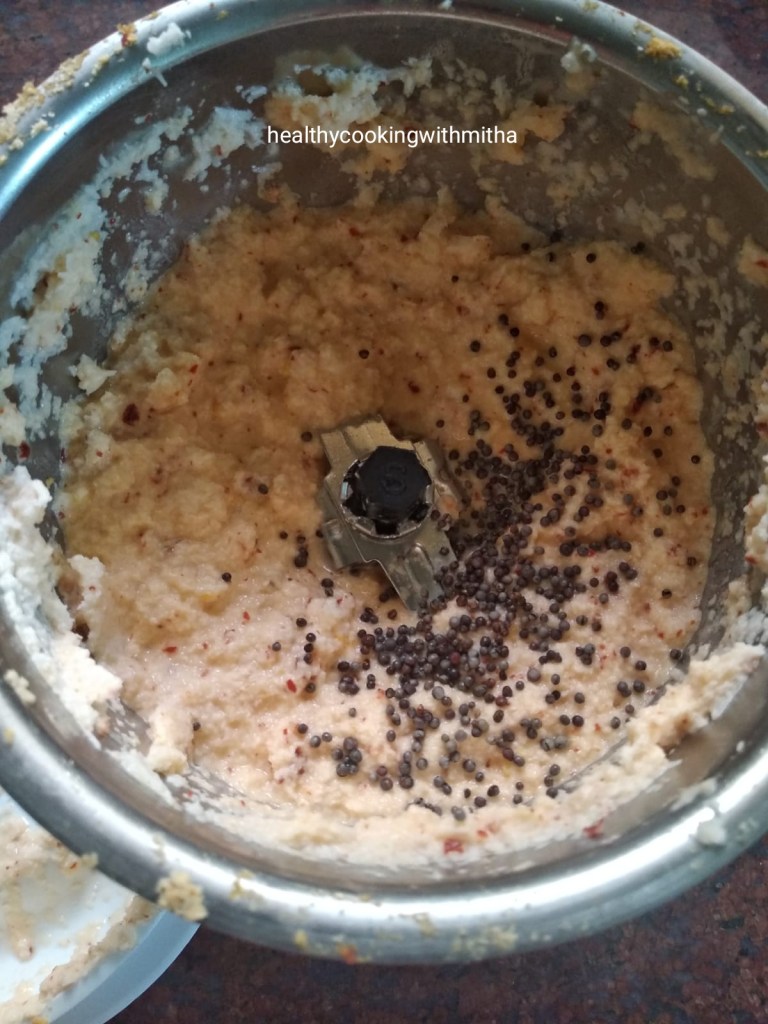
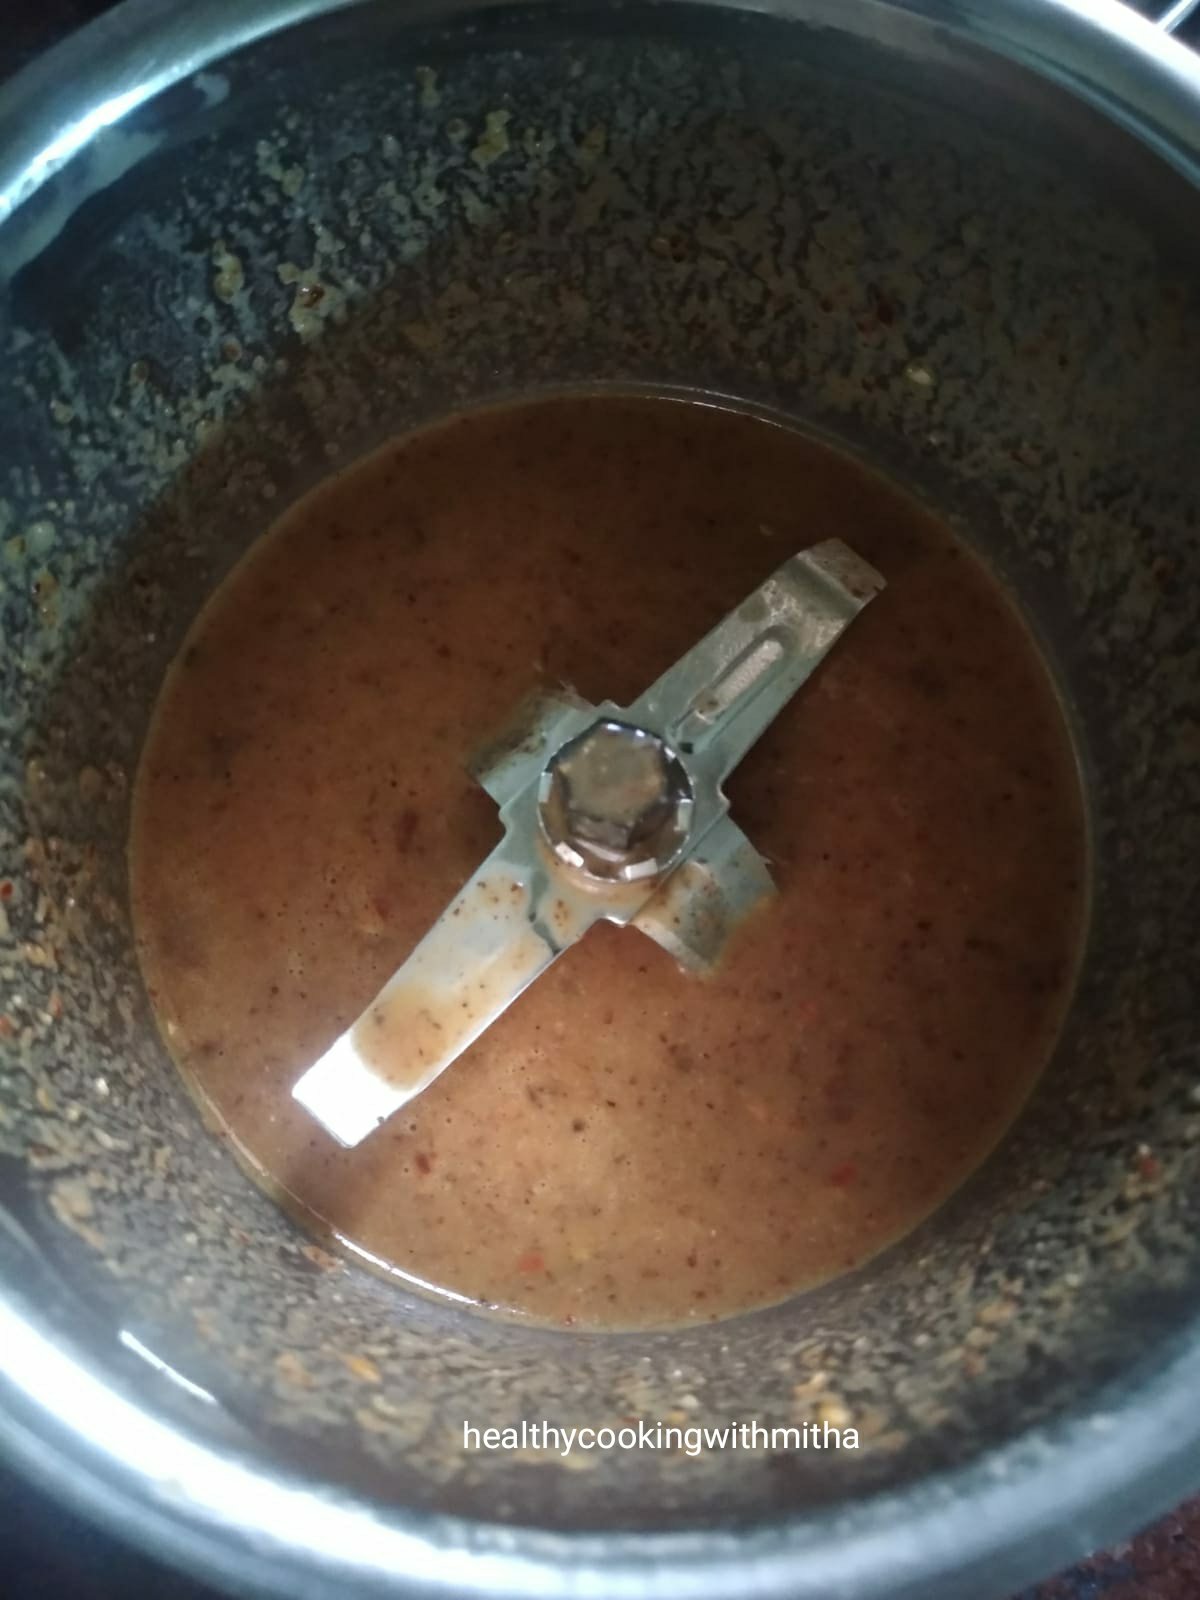
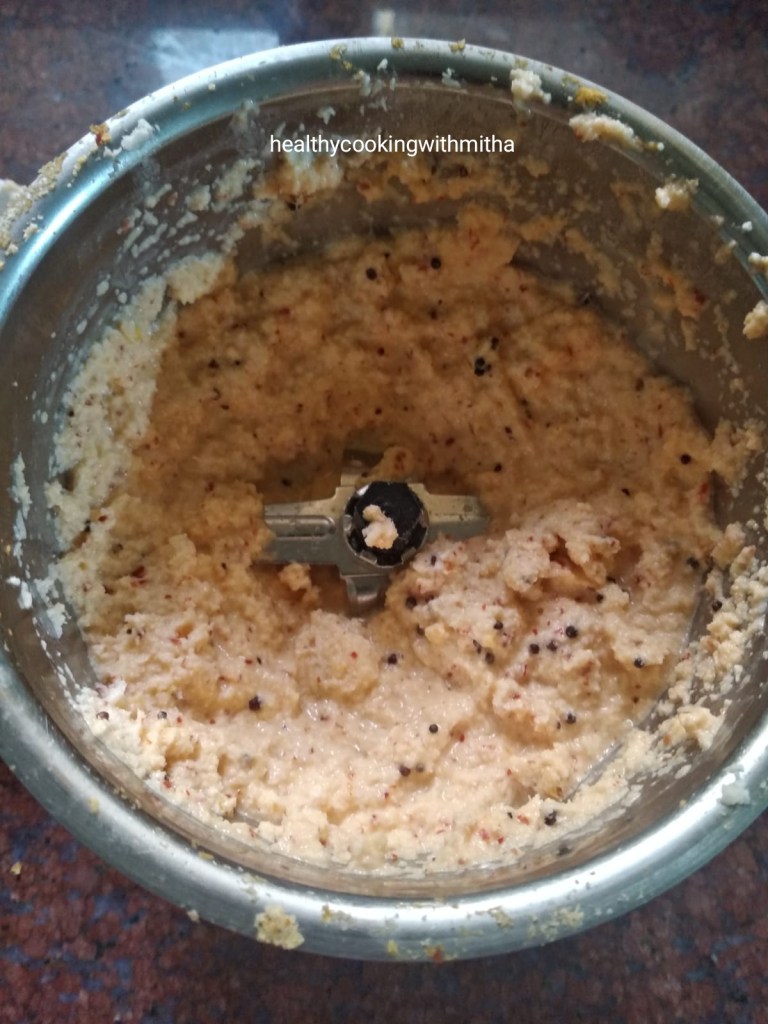
4. Pulse in the mixer two to three times. No need to grind to smooth paste after adding mustard seeds. Grind to a slightly coarse paste.
5. Now add this mixture to the cooked mangalore cucumber and bring it to boil. Cook for about 10 mins on medium flame. Also check for salt and add if needed.
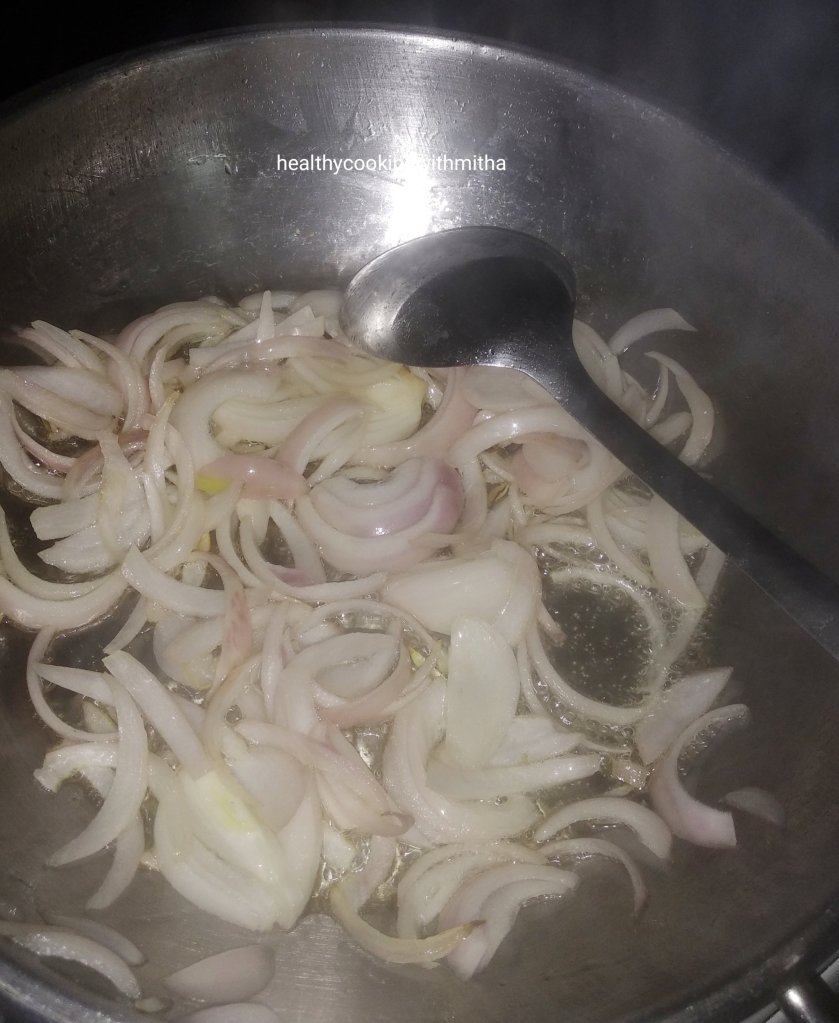
6. Now heat oil in a pan. Splutter mustard seeds. Add curry leaves and fry for few seconds. Pour the seasoning over the curry. Mix well. Remove from flame.
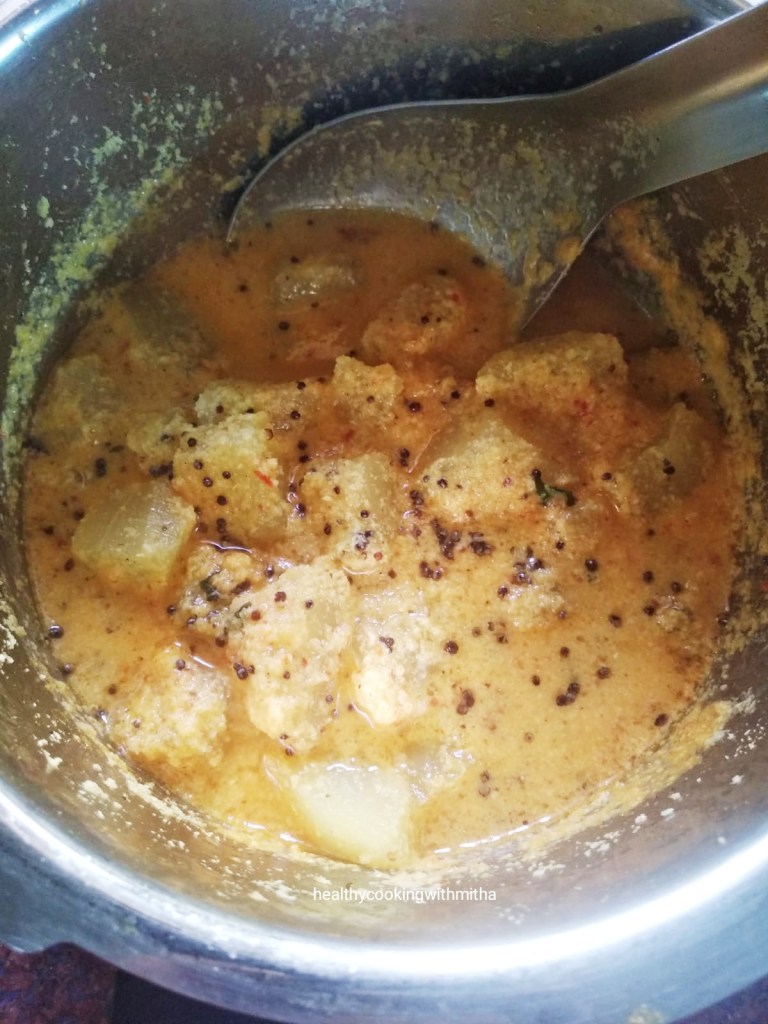
7. Serve hot with rice meals.
Notes:
* Don’t add a lot of water while pressure cooking the mangalore cucumbers or the curry turns watery. This is a thick curry. So add water only to soak it and pressure cook.
* Also, don’t overcook it. Mine gets done in two whistles on high flame in my electric stove top.
* I make this curry three ways. One is using green chillies alone which turns greenish white in colour. Second is this which I have shared ie using red chillies alone. Third is adding both green and red chillies in equal quantities. Three of these taste different and tasty. You can try the different variations each time for a change.
* Don’t grind the paste to smooth paste. Just add a little water and grind to a semi coarse paste. Also, don’t grind too much after adding the spluttered mustard seeds. Just pulse twice or thrice till it’s crushed.
* Remember that you have added salt while cooking the mangalore cucumber. So add only if needed later.
* This curry makes a good combination with white rice and lemon pickle.
* You can also make this Mangalore cucumber sweet dosas or Surnalis which taste very delicious.