Chow Chow Bath

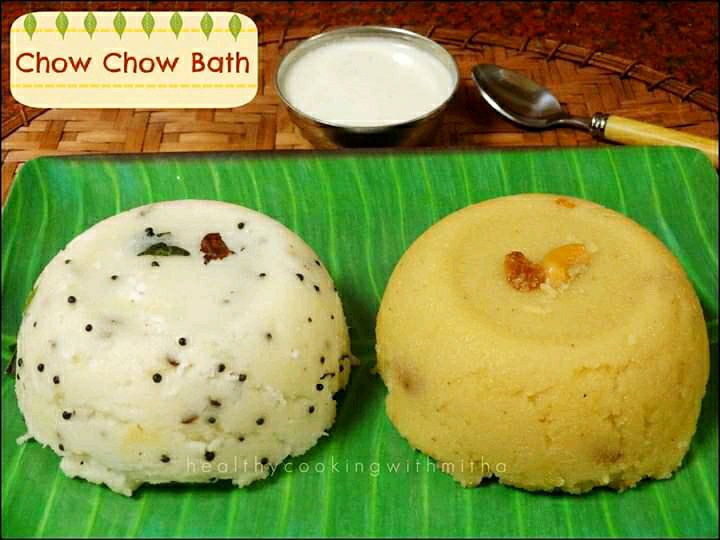
If you are wondering about the name Chow Chow Bath, let me tell you it’s nothing but upma, sheera and simple coconut chutney. It is easily available in hotels in Karnataka especially in the southern parts of Mangalore and Udupi where I belong to.

I first tasted it post marriage when I was very intrigued by the name and ordered it. To my surprise, it was just something so basic yet the overall combination tasted too heavenly for words. I fell so much in love with it that my eldest brother in law whom I fondly call Danthanna used to call me “Chow Chow Bath Ammi” (Ammi is the short form given by hubby’s family for the name they have put for me as part of marriage ritual – Amitha). I am so lucky to have such a loving family as in laws who love me like their own daughter.

Coming back to Chow Chow Bath, it became our special occasion breakfast apart from Masala dosas. Easy to make and starting the day with sweet on birthdays so that the whole year turns out as sweet. That is my intention. Maybe childish but still something I cherish a lot.

Hope you all those who have not tried this will try and love it. It turns out super delicious. Happy and healthy cooking!

RECIPE:

Ingredients:

For Upma:

1 Tbsp Coconut Oil

2 tsp Ghee (optional but gives great flavour)

1/2 tsp Mustard seeds

1/2 tsp Urad dal

1 Tbsp broken Cashews

Few curry leaves

3 green chillies

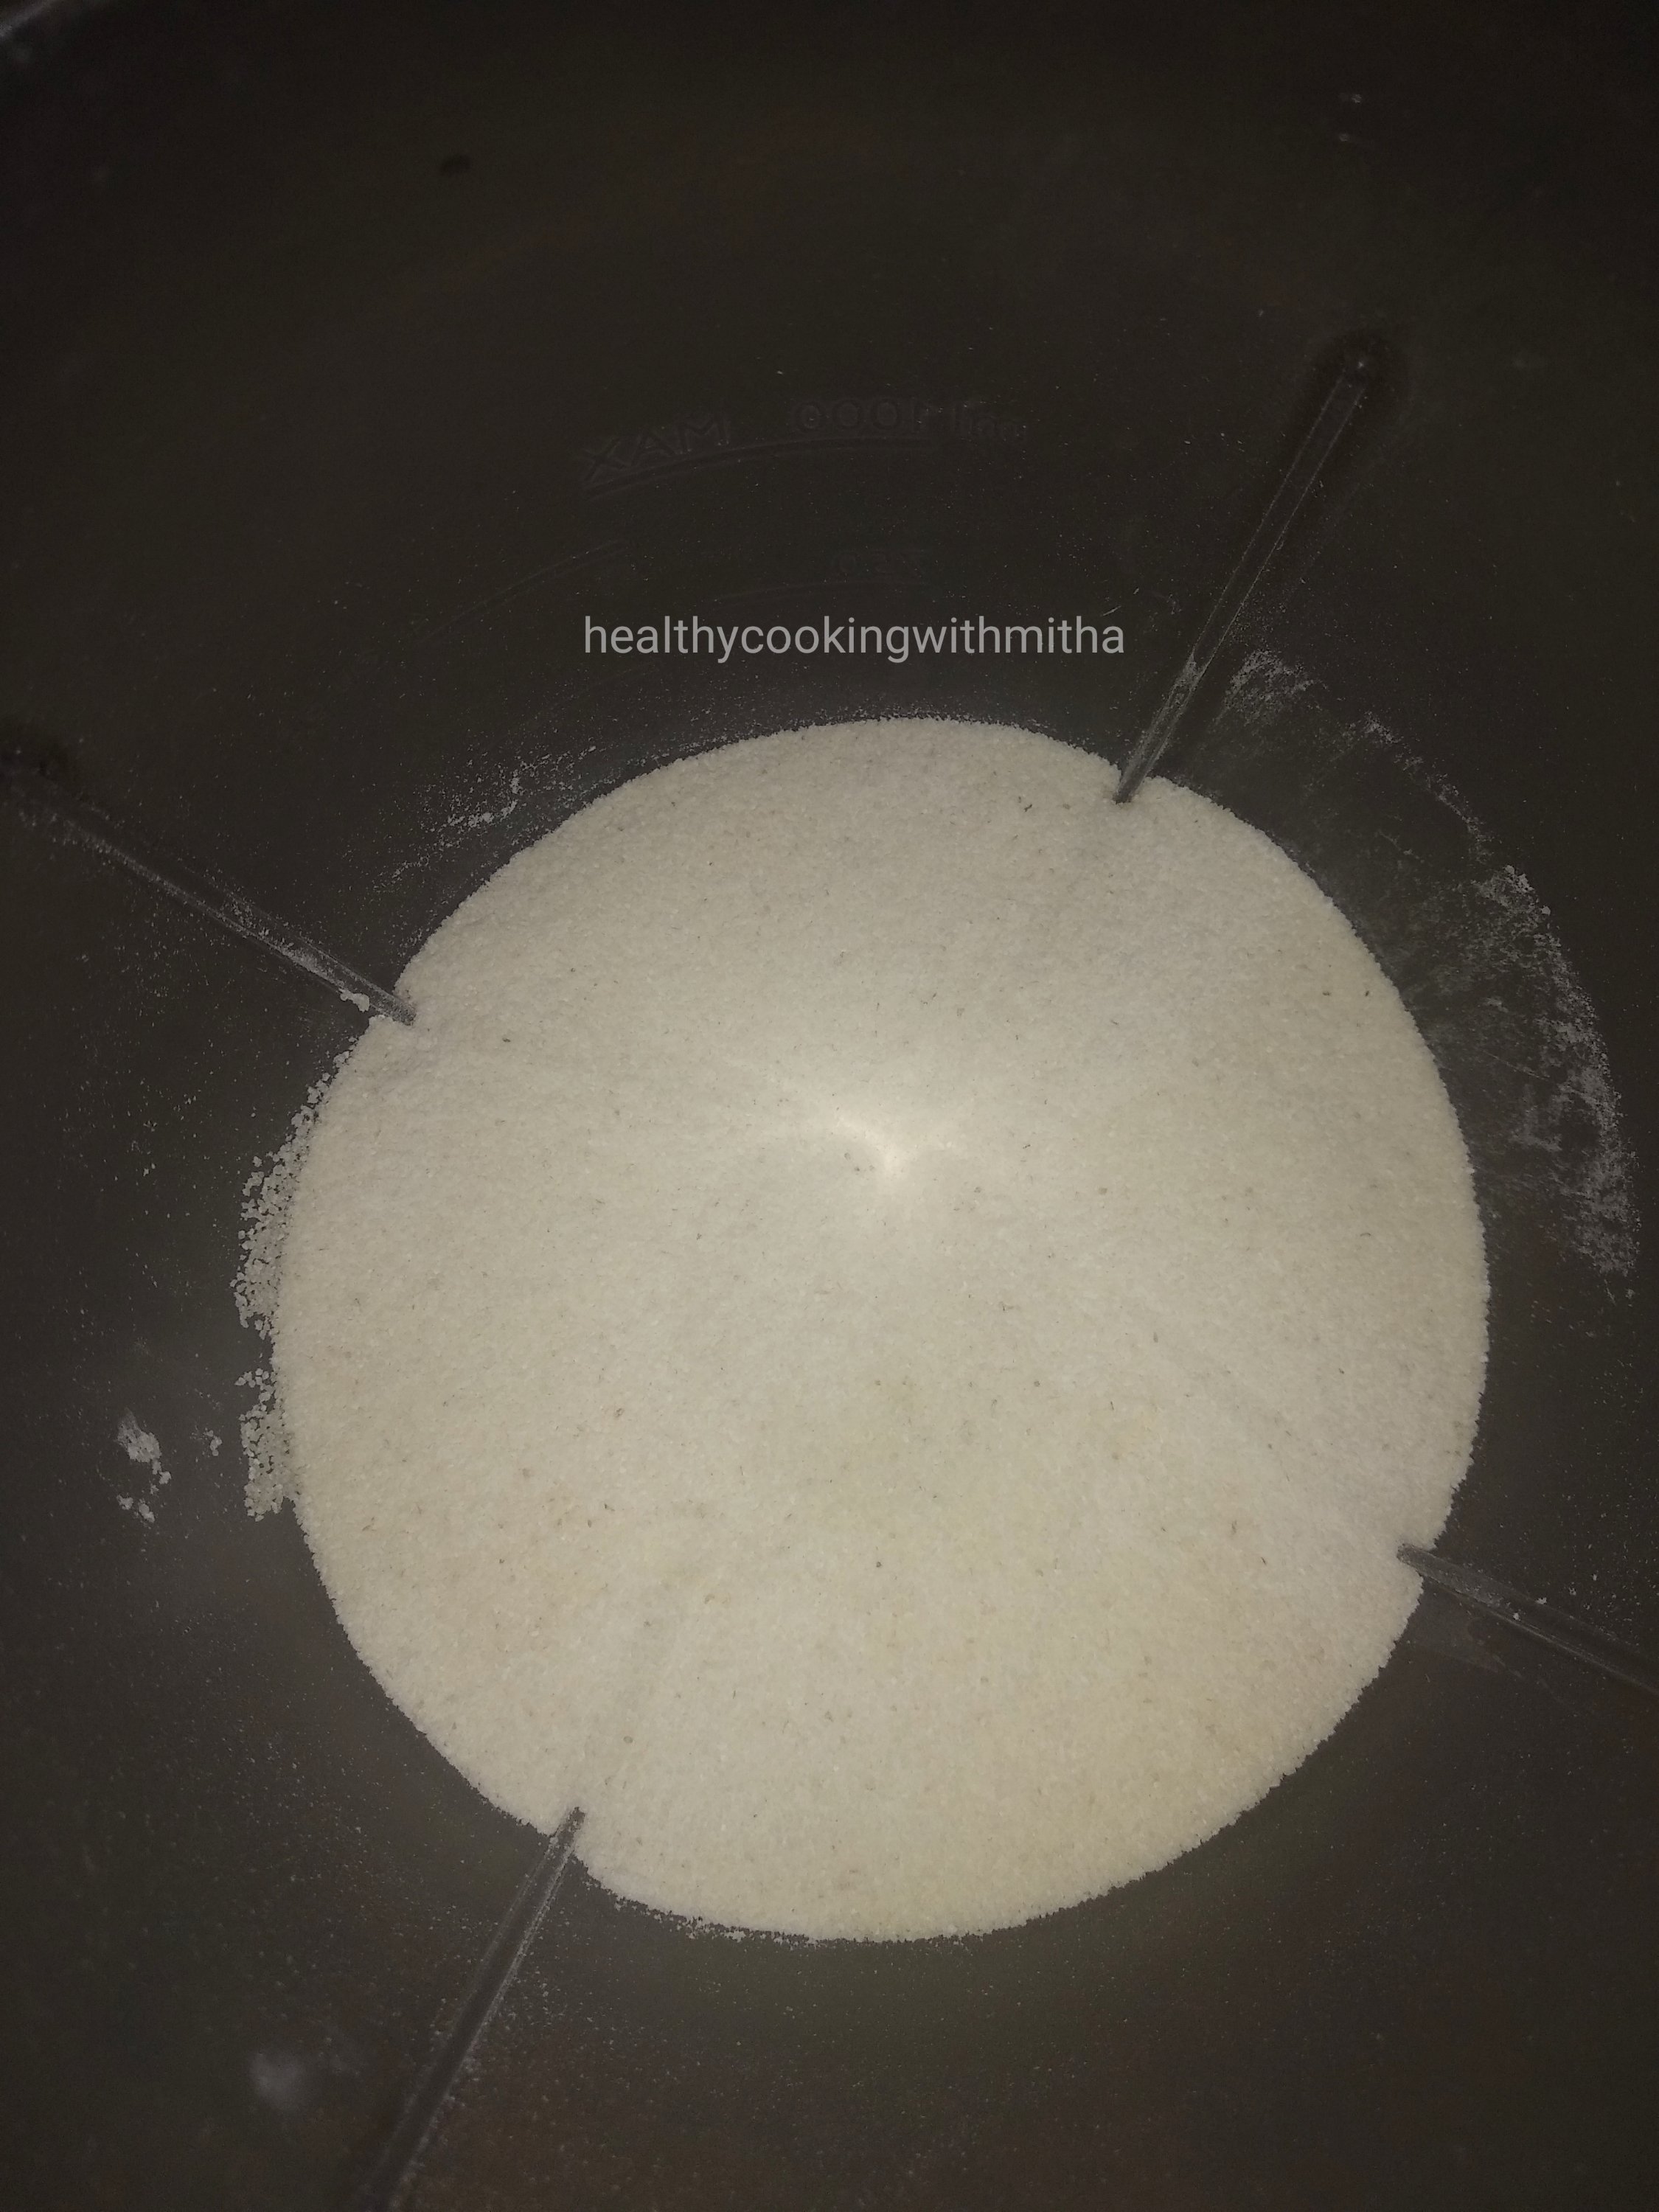
1 Cup wheat Semolina/ Rava/ Sooji

1 Tbsp Sugar

Salt to taste

2 to 2 1/2 Cups Water *(read notes)

2 Tbsp freshly grated coconut

For Sheera: Check the detailed recipe here.

For Chutney: Check Notes at the end

Step by step recipe:

1. Keep water to boil in a pan.

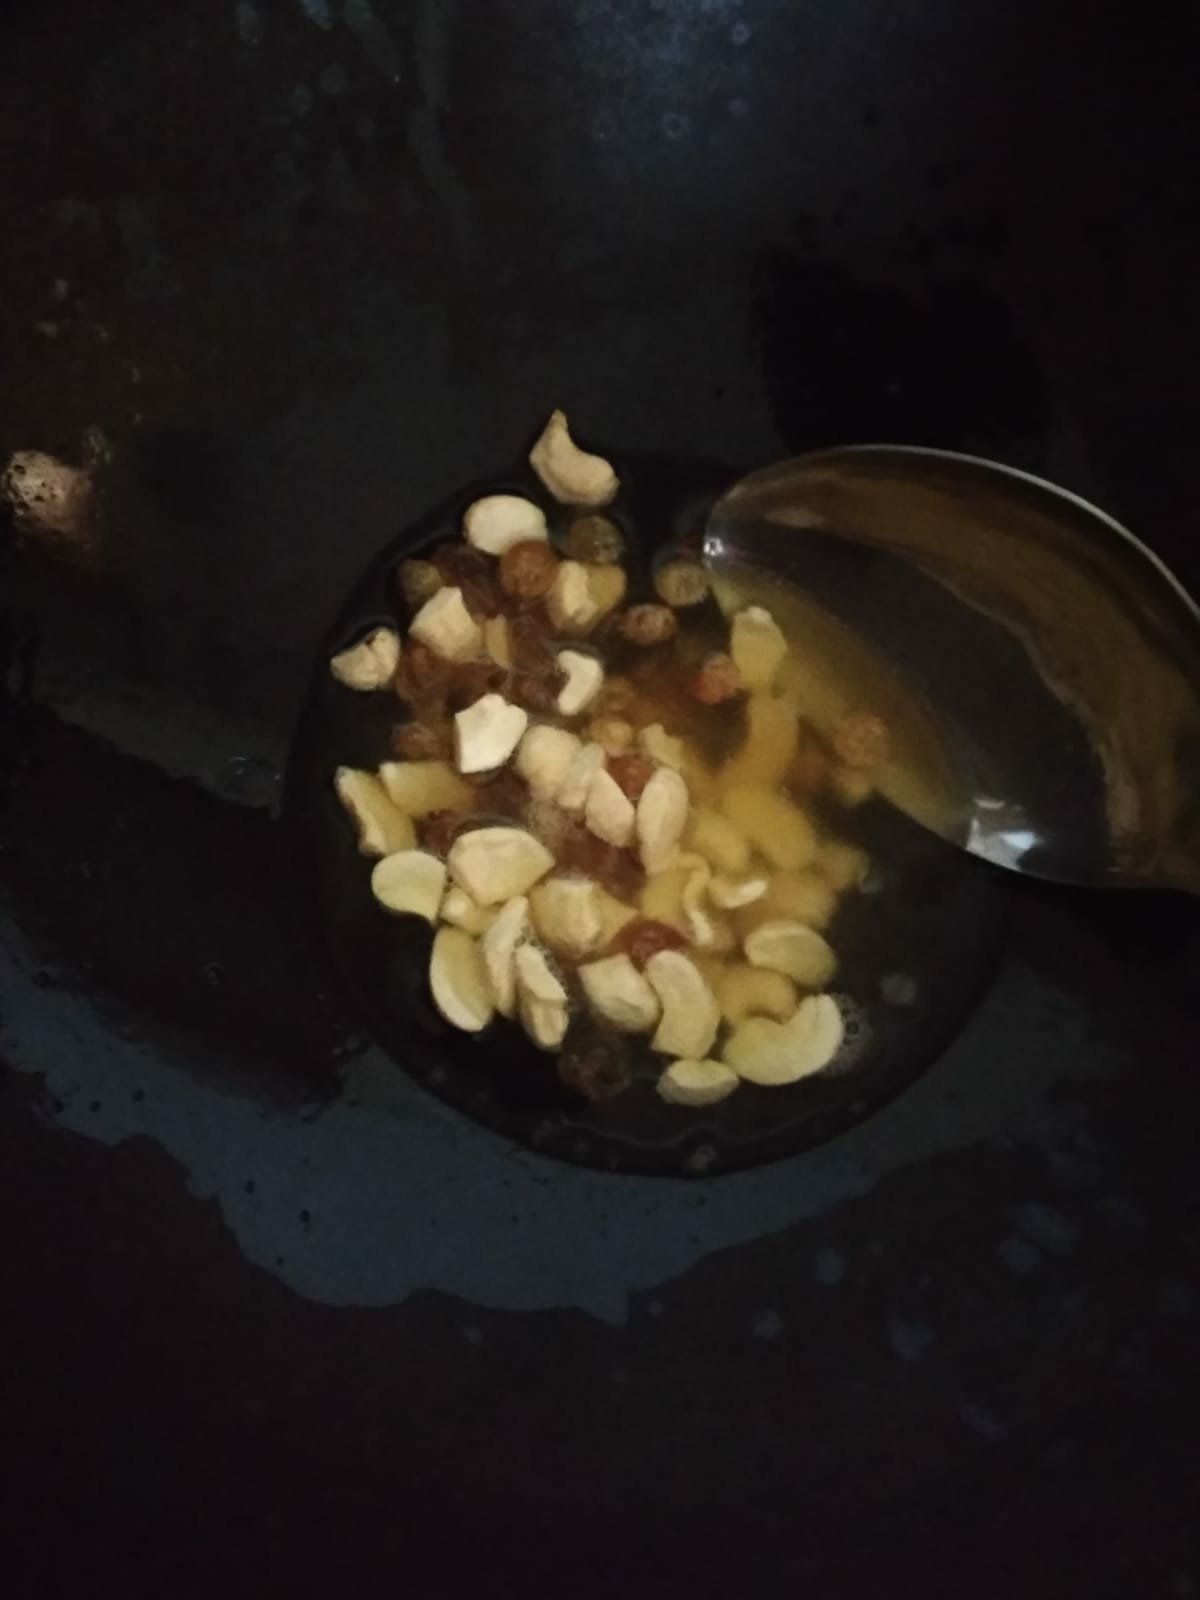
2. Heat oil and ghee together in another pan (I use my iron kadhai) and splutter mustard seeds. Add urad dal, curry leaves, cashews and green chillies. Fry till cashews turn light brown.

3. Now add semolina and roast continually on medium flame till it turns light brown in colour and turns aromatic. Takes about 3 to 5 mins.

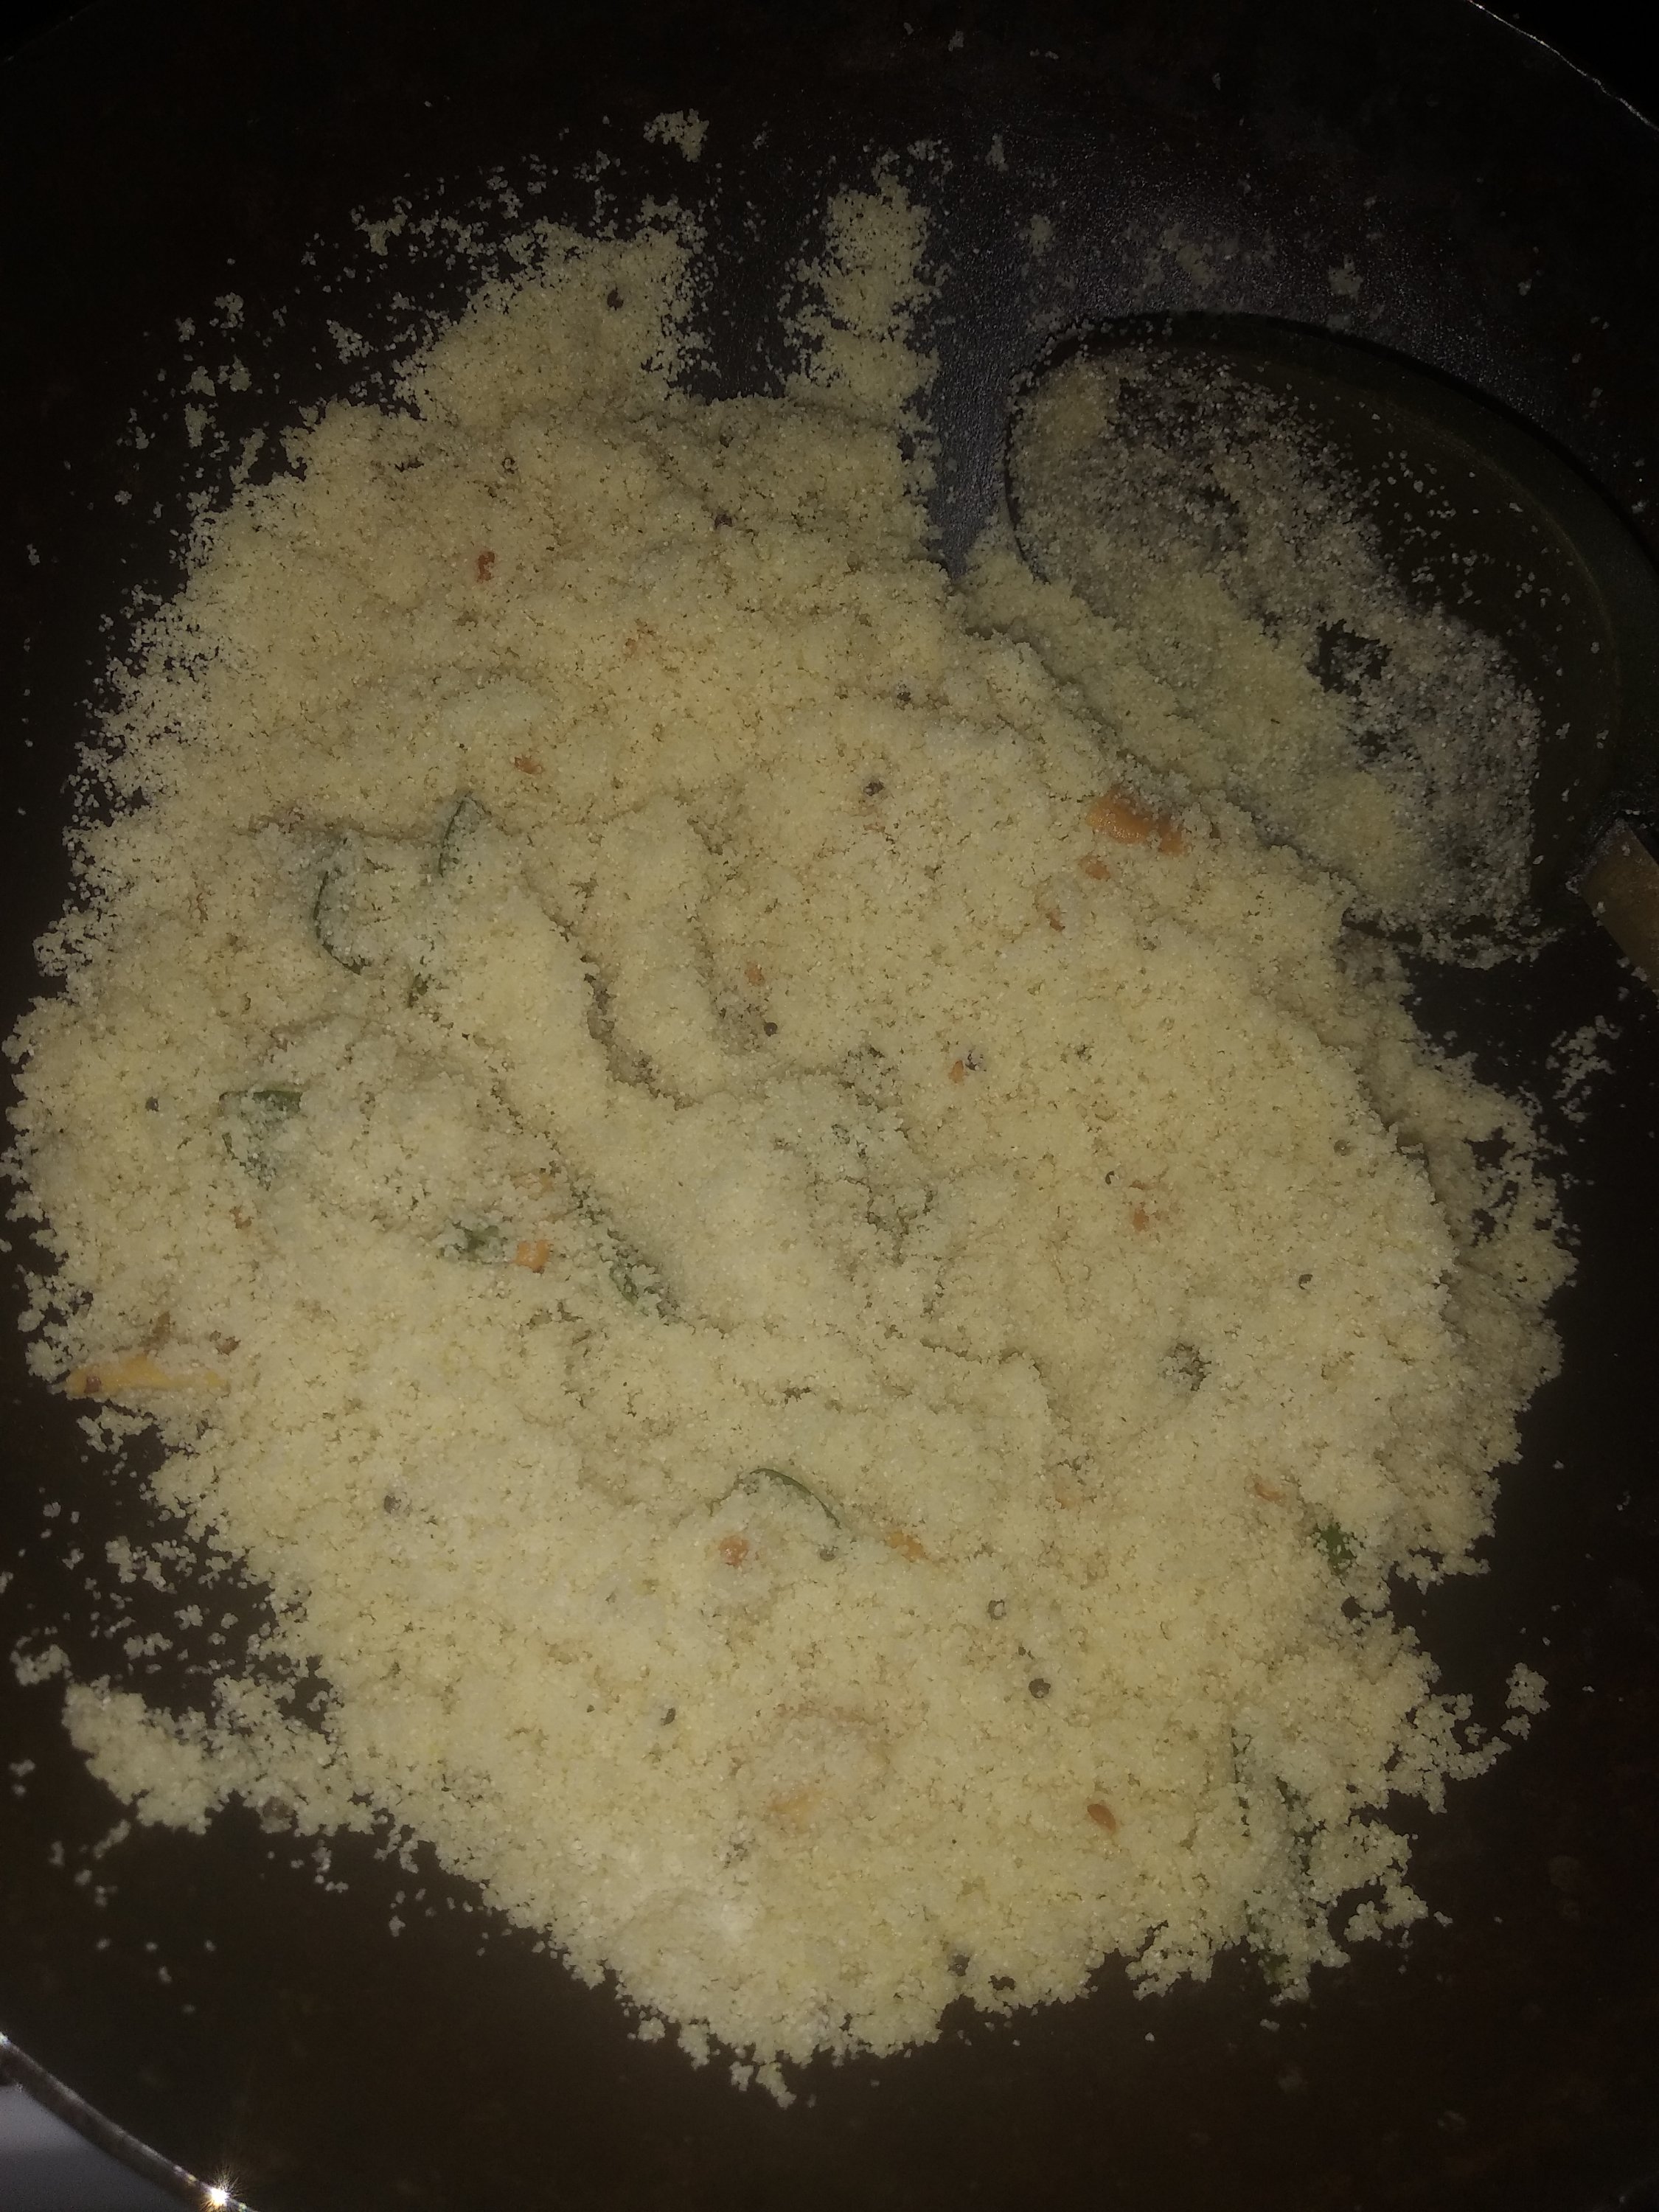
4. Add sugar and salt. Mix well.

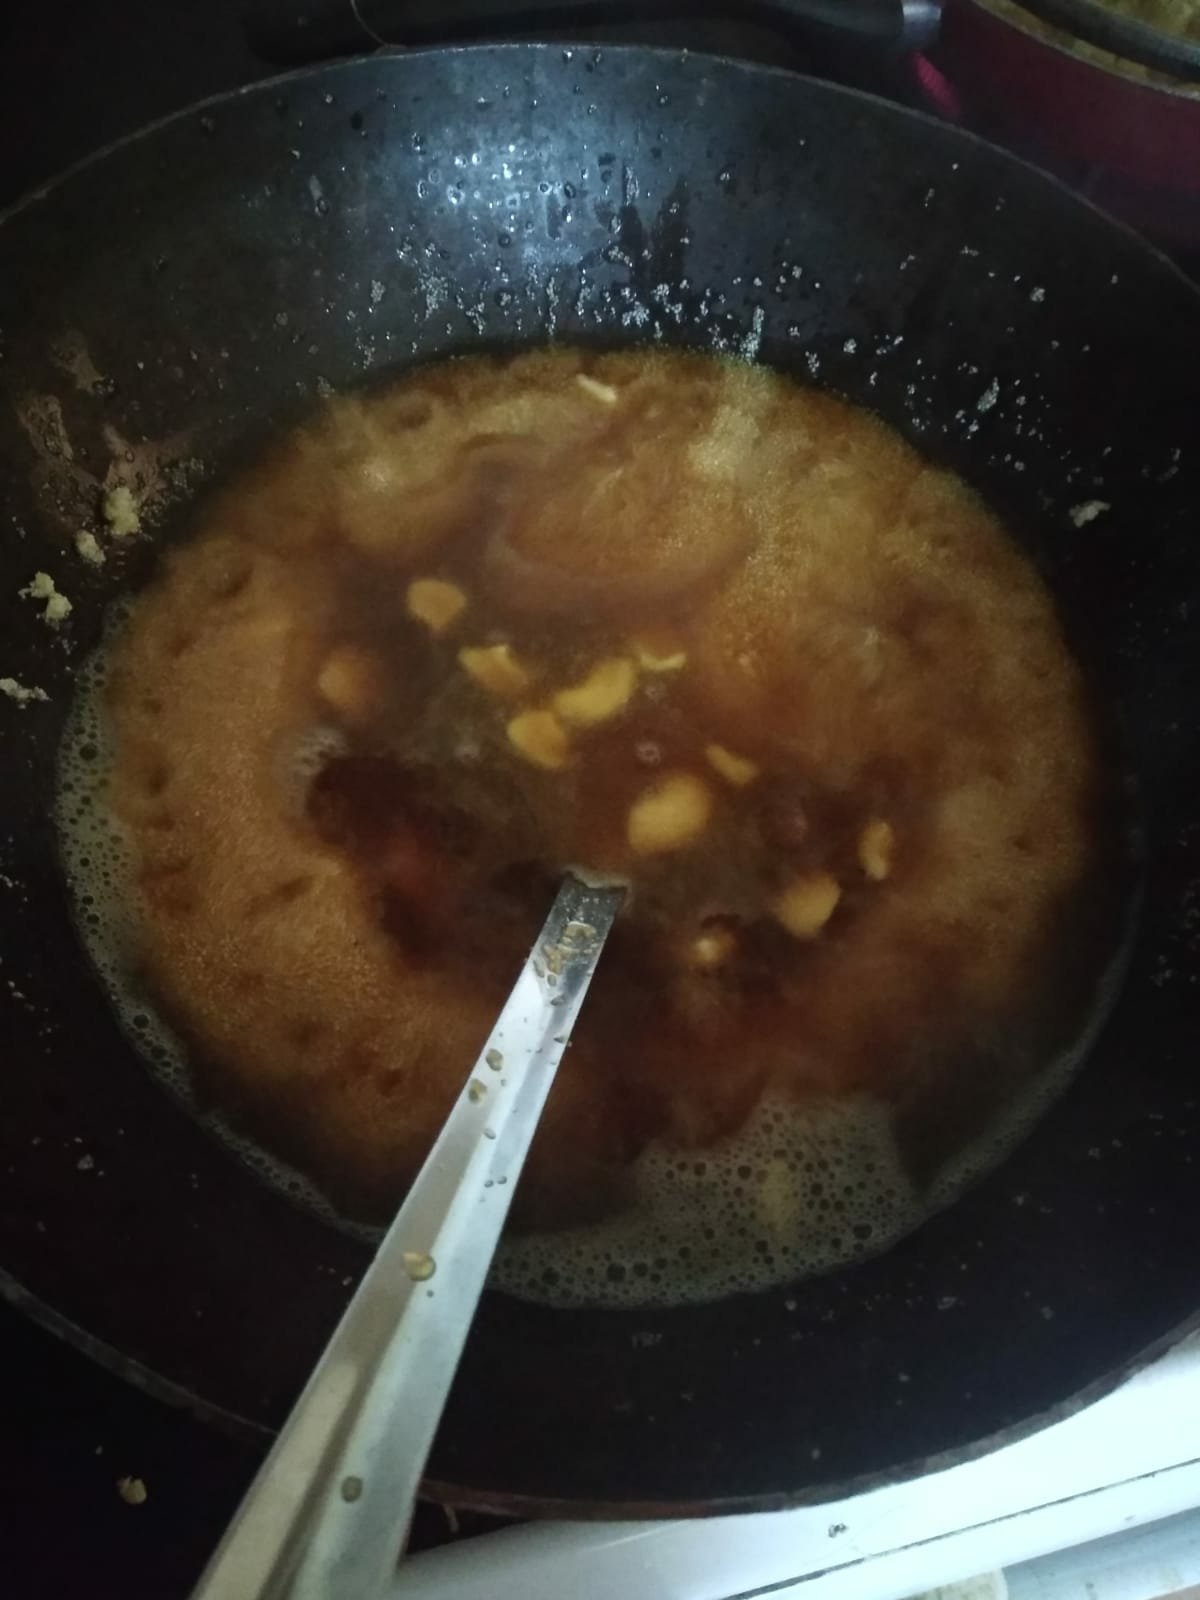
5. Now add the boiling water to this. Be sure to add very hot or boiling water else the upma won’t have desired texture.

6. Mix well continually with a ladle as you add the water so that there are no lumps in the mixture. Mix continuously on medium flame till the mixture cooks well and leaves the sides of the pan. Takes about 5 mins.

7. Cover and keep for 2 mins on low flame. Garnish with grated coconut and remove from the flame.

Notes:

* Remove the upma into a bowl and make Jaggery sheera in the same kadhai. Here is the detailed recipe.

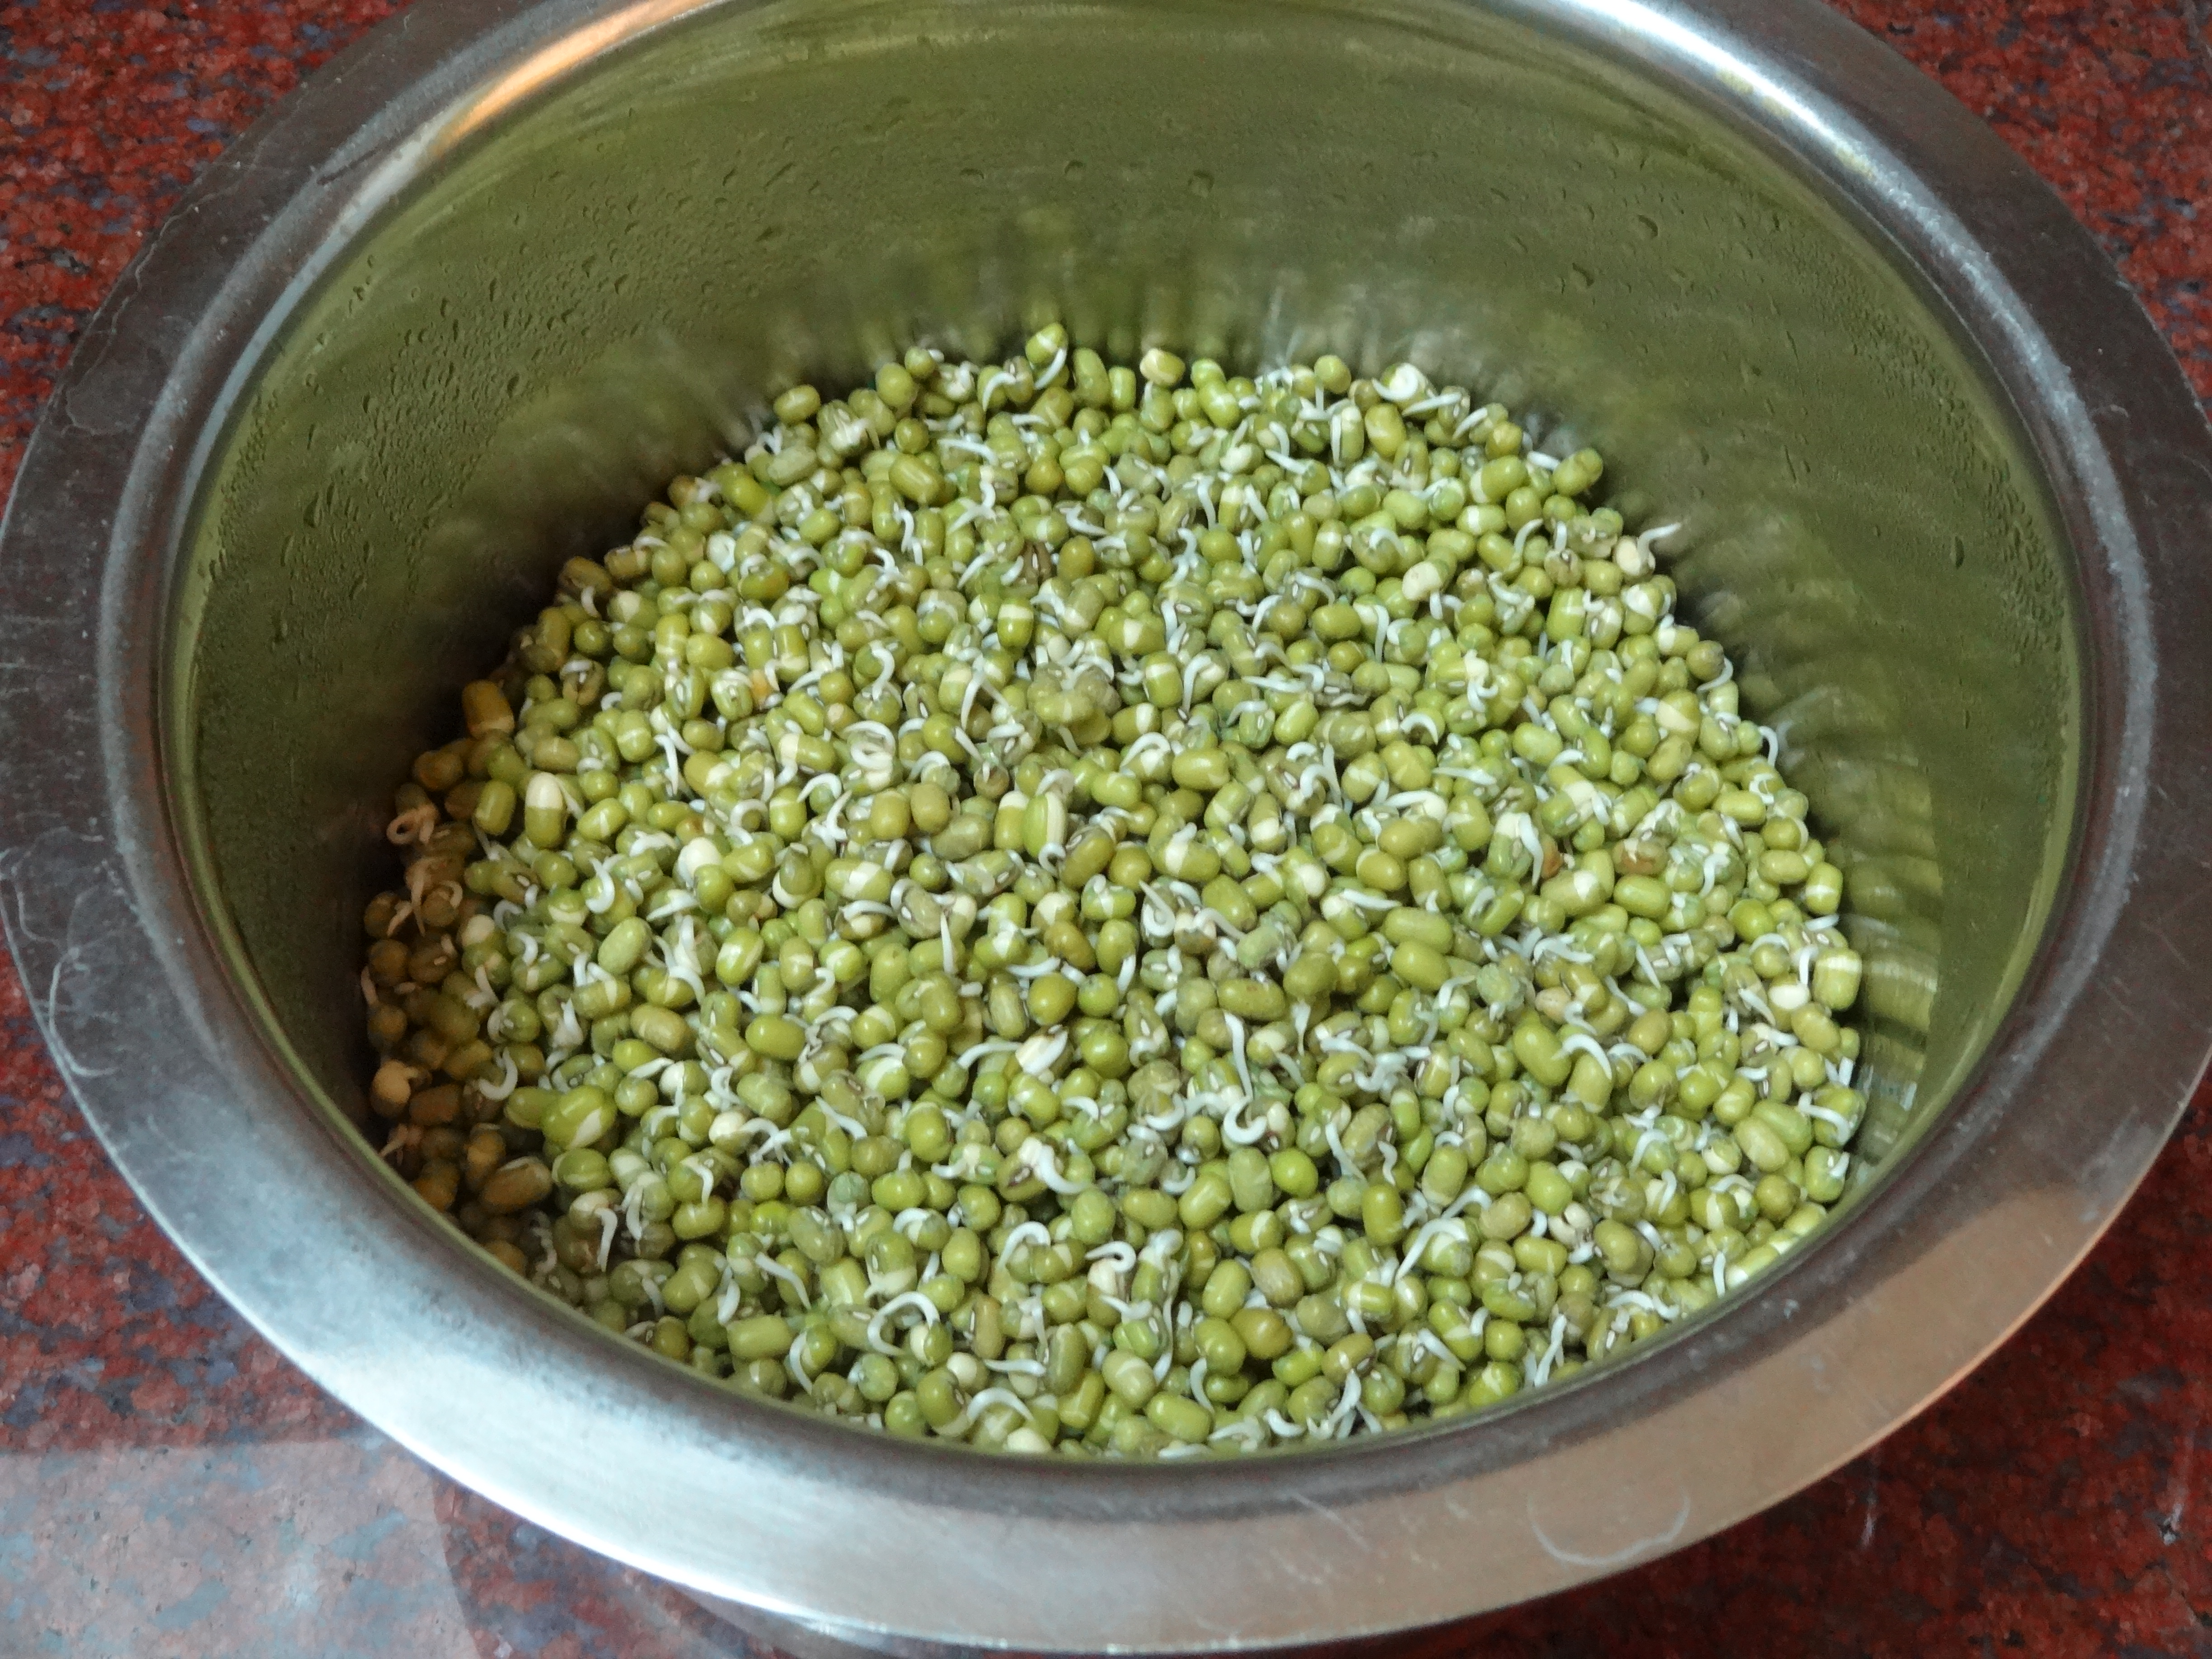
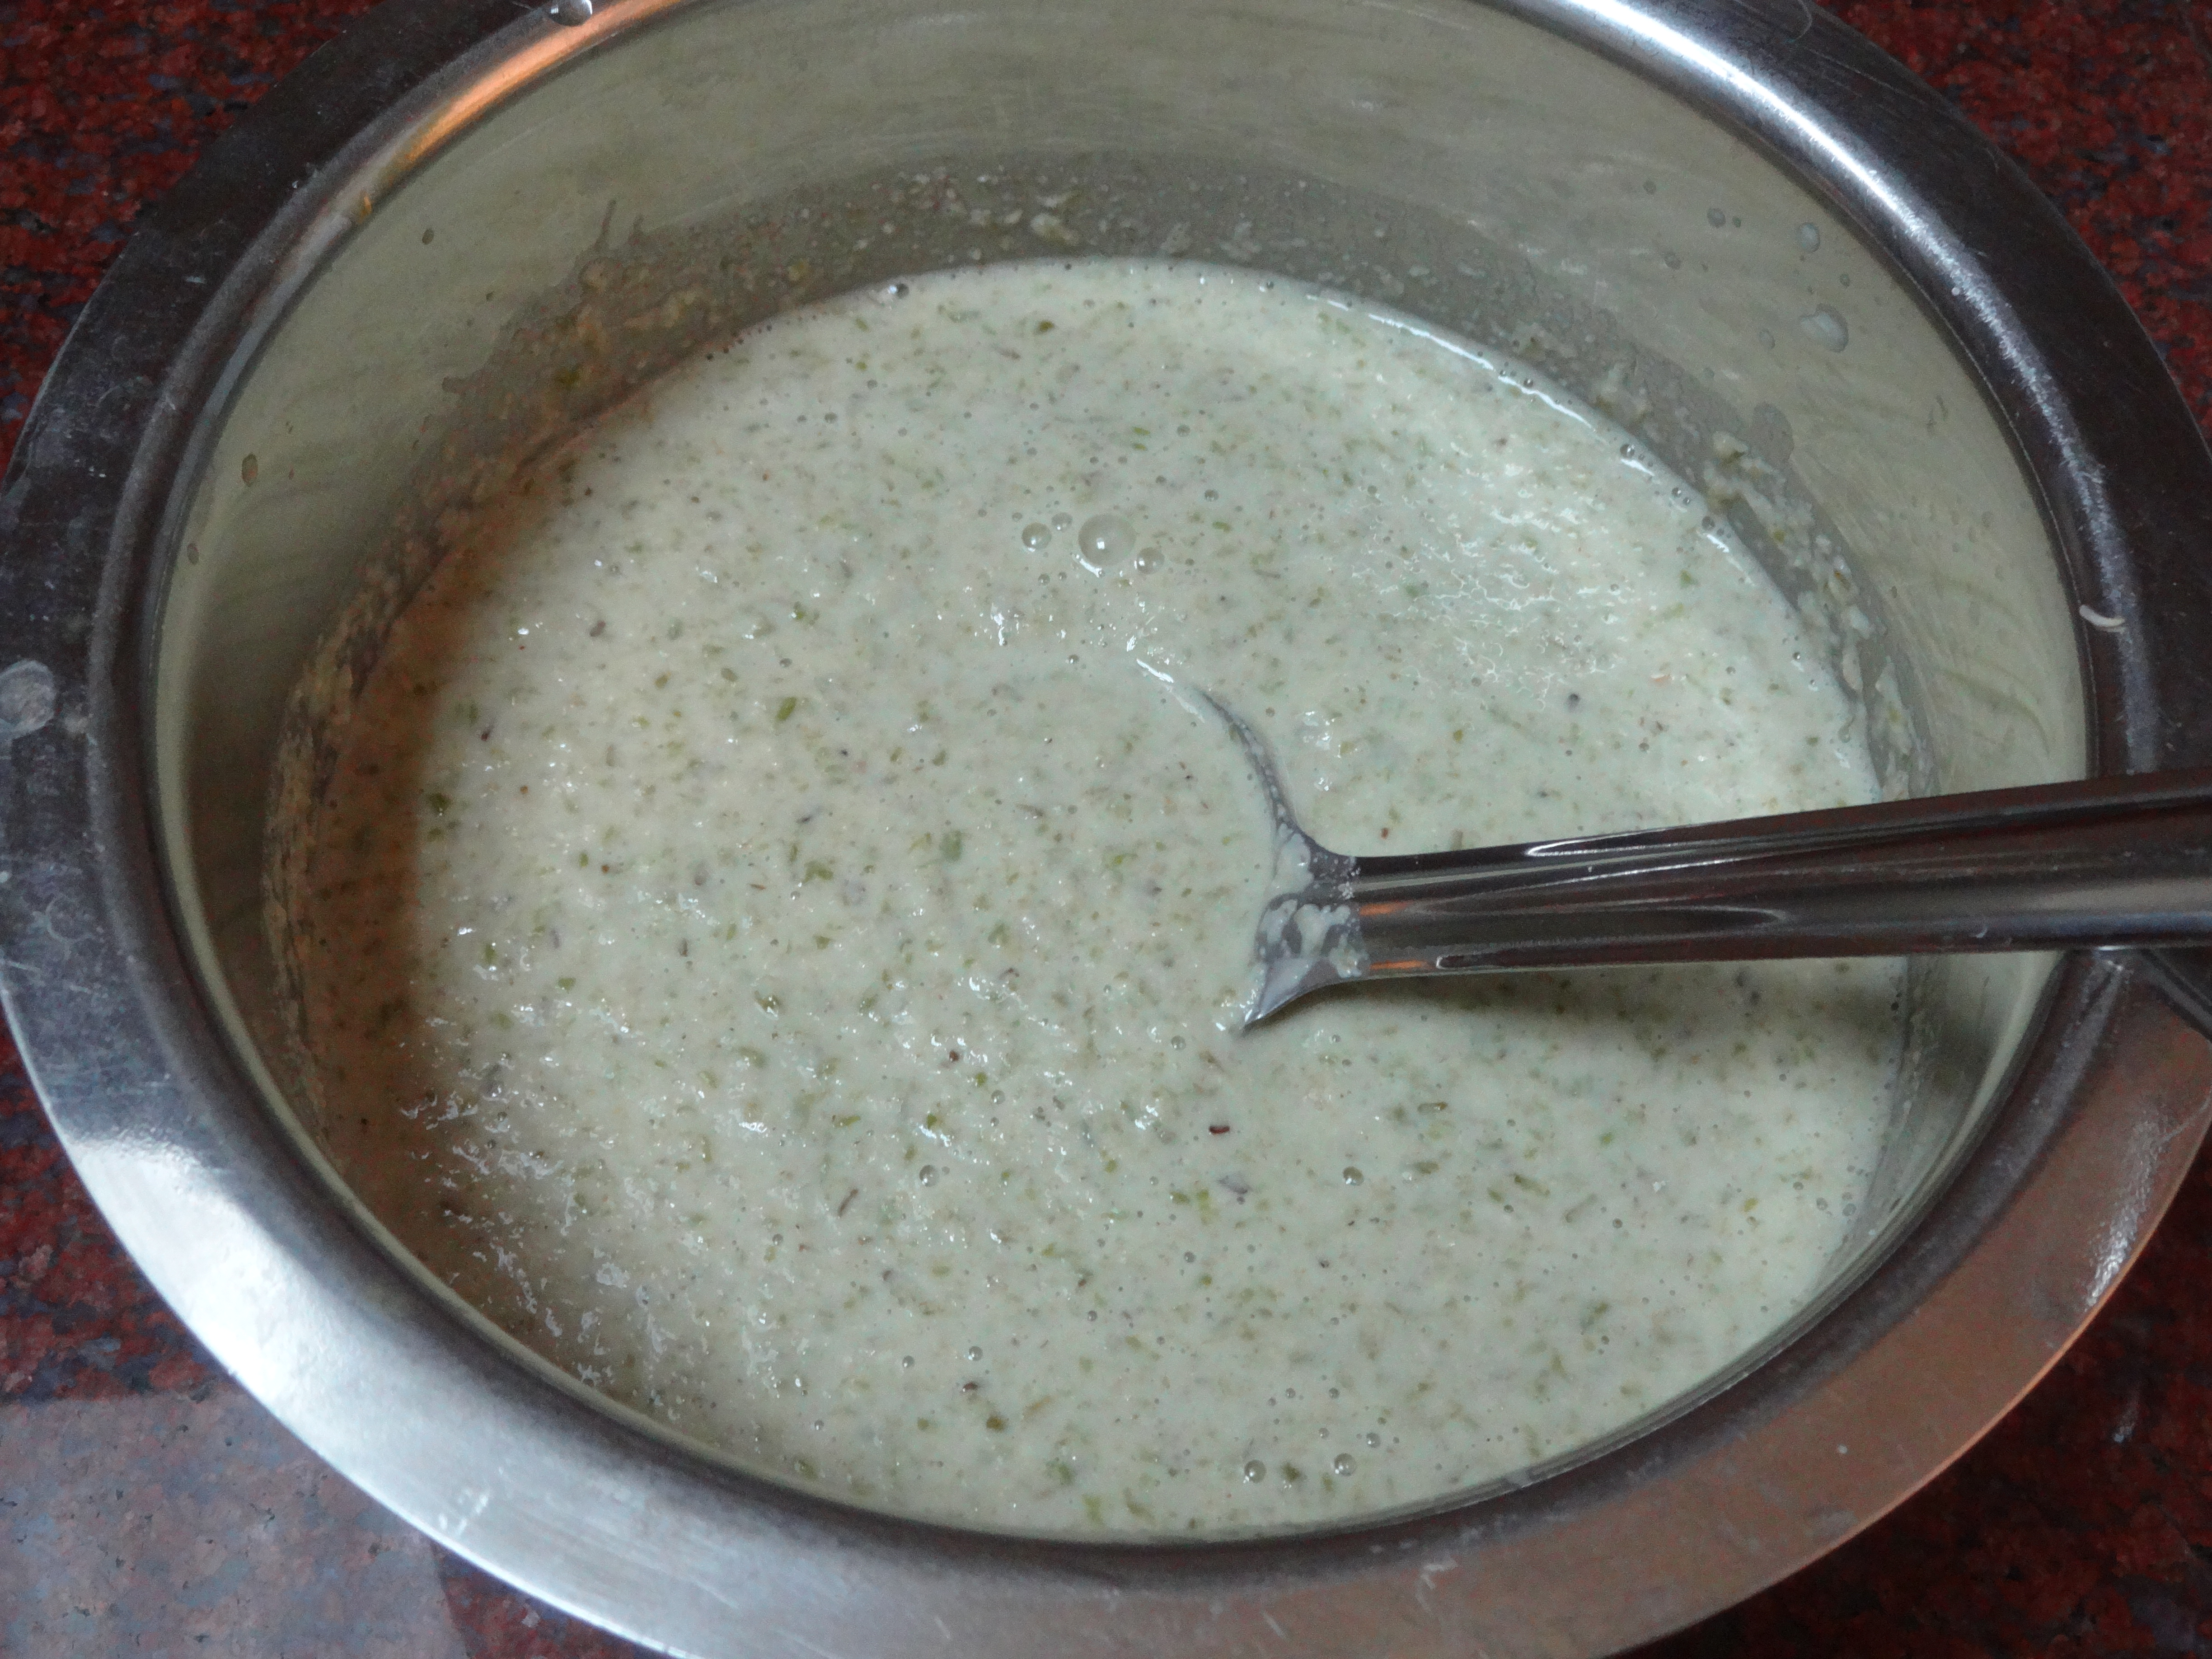
* For Coconut Chutney, just grind together coconut, green chillies, ginger and salt with little water to a smooth paste. Remove into a bowl.

* When making upma, if you want a really soft texture like a lump, add semolina to water ratio as 1 : 2.5 times. If you want fluffy texture, add semolina to water ratio as 1 : 2 ie twice the water as compared to semolina.

* You can also add ginger, onions and tomatoes in the seasoning along with little turmeric powder and sambar powder in the upma to make khara bath. That tastes good too but as Chow Chow Bath, we prefer this basic version of upma.

* While eating Chow Chow Bath, take one serving of each upma and sheera, dip in chutney and eat. Tastes so delicious!

Jaggery Sheera

Click on the image to save the recipe on Pinterest.

Sheera is the most common sweet made in Konkani households and ours is no less. My grandmother always made it to satisfy our sweet tooth and my mother’s ghee laden sheera is still in my taste buds. I used to tease her “Amma, have you made sheera in ghee or ghee in sheera?”. She used to add loads of ghee in it as much as she showered her love in the sheera.

Both of them used to make sheera with sugar and I did not mind all that when I was a kid or teenager. But after marriage, when I was struggling with weight and infertility issues, I started substituting sugar with the healthier jaggery in most desserts and sheera became one of them too. We loved jaggery sheera so much that it became our favourite sweet, much more than sugar based sheera.

Click on the image to save the recipe on Pinterest.

From then till now, it’s not changed and we have got two more miniature sweet lovers like us who love jaggery sheera very much too. I make it when they feel hungry even after dinner. It fills them up and to see them enjoy every bite of it is very satisfying to me as a mother who at one time had lost all hopes of motherhood.

Thus is my story with this favourite sweet of mine.. Emotional yet filled with beautiful memories..

Hope you all try it and your family loves it too. Happy and healthy cooking!

RECIPE:

Ingredients:

1 Cup wheat Semolina/ Sooji/ Rava

3/4 Cup Jaggery

2 and 1/2 Cups water

3 Tbsp Ghee

2 Tbsp broken Cashews

1 Tbsp Raisins

Step by step recipe:

1. Keep 3/4 Cup Jaggery to melt in 2 and 1/2 Cups water.

2. Heat ghee in a pan (I use iron kadhai for this) and fry cashews and raisins till cashews brown slightly.

3. Add semolina and roast on medium flame till it turns aromatic and changes colour. Takes about 3 to 5 mins.

4. Now see that jaggery is completely melted in the water and the water is really hot.

5. Add this boiling jaggery water through a sieve (to remove impurities if any) to the roasted semolina.

6. Mix well continuously on medium flame removing lumps till the mixture cooks well.

7. Serve warm.

Notes:

* You can also add cardamom powder if you love the flavour. I add sometimes too.

* Be sure to keep stirring continuously after you add jaggery water to the semolina. Else the mixture forms lumps.

* We are a sweet tooth family. So 3/4 Cup Jaggery for 1 Cup semolina is perfect for us. You can reduce if you don’t like your sheera extra sweet.

* I have purposely added more than double of water to semolina as it leads to the sheera turning super soft which we love.

* You can increase the ghee to 1/4 Cup if desired.

Click on the image to save the recipe on Pinterest.

Narangi Shorba | Orange flavoured Pumpkin soup

Pumpkin is a common vegetable in our home as we love making simple upkari (stir fry konkani style) with it to go with our matta rice congee (gruel) for dinner. It’s a simple soul food that we enjoy during week days. Kids too love pumpkin very much.

Along with upkari, I also make this soup regularly specially as evening snack for kids. It is filling, tasty and very healthy. Also since pumpkin is thick in texture, there is no need to add any thickening agent like corn flour or cream to this soup.

It not only turns thick but also delicious to slurp on. Orange juice gives it the tangy flavour and also the gorgeous colour. Hope you all try it too. Happy and healthy cooking!

RECIPE:

Ingredients:

2 Cups peeled and chopped Pumpkin

1/2 Cup peeled and chopped Carrot

1/2 Cup chopped Onion

1/4 Cup freshly squeezed Orange juice

3 Green chillies

1 Tbsp Butter

1/2 tsp Pepper powder

Salt to taste

Step by step recipe:

1. Add the pumpkin pieces, carrots, onions and green chillies with little water in a pot and cook till the veggies turn soft and water almost evaporates.

2. Grind to a fine paste adding water only if needed.

3. Pour into the pot and add water to bring it to pouring consistency (use water to clean the mixer). Add butter, salt and pepper powder.

4. Mix well and add orange juice. Bring to a boil.

5. Remove and serve hot.

Notes:

* Skip orange juice if you don’t have and add lemon juice instead after removing from flame to get the tangy flavour.

* You can garnish with cream too if needed but we prefer it plain.

* Enjoy with bread croutons or crisps.

Mango Ghee Cake | Using wheat flour and eggless

I really wish I could share this cake with all of you. It tastes so delicious and it is so soft that it literally melts in the mouth. A cake that made me so happy that I am glad I tried it.

After Mango Rava Cupcakes, my husband was behind me to try mango cake with wheat flour. So we tried couple of recipes but it did not work and I did not like the texture even though we enjoyed it. Then few days back, when I had taken a short break from social media (being the moody girl that I am 😄), he asked me to try this mango cake again.

Though I did not want to, I reluctantly agreed just for my kids who love cakes. And how glad I am that I baked such a beautiful and mouth watering cake. The kids kept asking for more and I was one happy mom. Sometimes I wonder what my life would have been without them. Even though their naughtiness keeps me on my toes the whole day, it also keeps me engaged which is very important too during these home bound times.

Hope you all try this mango cake. You can use both fresh mango pulp if available or canned like I used. Happy baking!

RECIPE:

Ingredients: ( 1 Cup = 240 ml)

Dry Ingredients:

1.5 Cups Wheat flour/ Atta (I use Pillsbury atta)

1 tsp Baking powder

1/2 tsp Baking soda

A pinch of salt

Wet ingredients:

1 Cup Mango pulp (fresh or canned) {I usually use Mother’s recipe Alphonso mango pulp.}

1/2 Cup Sugar

1/2 Cup Ghee

1 tsp Vanilla essence

Step by step recipe:

1. Preheat the oven at 180 C for 10 minutes in the centre rack if using an OTG.

2. Sift the dry ingredients together using a sieve into a bowl so that the ingredients are well mixed. Keep aside.

2. Now in another large bowl, add mango pulp, ghee, sugar and vanilla essence.

3. Mix well using a spatula.

4. Now add the dry ingredients mix to the wet ingredients mix and just combine using the spatula. Do NOT overmix. Just mix till you don’t see any flour specks.

5. Now grease the baking pan well with ghee and pour this mixture into the pan. Level it using the spatula.

6. Now bake at 180 C for 30 mins or till done in the center rack if using an OTG.

Note: Don’t forget to preheat the oven at 180 C for 10 mins which was the first step.

7. Allow it cool. Invert, slice and serve.

Notes:

* Insert a toothpick or knife in the center to check if the cake is done. If it comes out clear, it’s done. Else bake for 5 mins more or till done.

* If the top has already browned but inside is not done yet, cover with a aluminium foil and bake for the last 5 mins so that the top does not turn hard.

* I have used both fresh and canned Alphonso mango pulp depending on the availability and both work well for this recipe.

* You can replace sugar with cane sugar or fine jaggery powder. I also use it when I have and you won’t know the difference.

* This cake is very moist and soft due to ghee and mango pulp. So you don’t need any frosting or syrup for this cake.

* The proportions for sugar is such that it comes out very sweet. If you are not a sweet loving person, reduce the sugar. We love it this sweet though.

* Lasts well at room temperature for a day. After that if leftover, refrigerate in an airtight container and microwave when serving.

Alu Paratha

In my childhood, if there was something I used to wait from Amma’s special dishes, it was Puri bhaji that she made weekly once for breakfast and this Alu Paratha which was a weekend lunch speciality.

I used to buzz around her like a bee till she made hot hot parathas so lovingly that I can never match her taste in it. Though after marriage, potatoes are not common in my household as husband does not like it (can you believe it?? He hates my favourite potato 😑), he does love these alu parathas gratefully.

So I make them for his lunch box as they stay soft even after many hours along with Mint chutney and they make an amazing combination. Hope you all try these simple alu parathas too. Happy and healthy cooking!

RECIPE:

Ingredients: { makes about 10 parathas}

For the outer dough:

4 Cups of whole wheat flour/ Atta

Salt to taste

Water as required

For the filling:

4 medium sized Potatoes

3 Tbsp freshly grated Coconut

3 Green chillies

2 Tbsp Coriander leaves

1/2 tsp Hing or Asafoetida

Salt to taste

Ghee to cook the parathas

Step by step recipe:

1. Take wheat flour and salt in a bowl. Add water as required and form a smooth dough. Keep aside.

2. Pressure cook potatoes till they turn soft but don’t overcook them as it can lead them to leave water and will be difficult to stuff inside. Remove them and allow them to cool.

Note: I usually pressure cook for 4 whistles on my electric stovetop. May vary for gas tops.

3. After they cool down, peel and mash the potatoes well with a masher. Add coconut, green chillies, coriander leaves, hing and salt.

4. Mix well and keep aside.

5. When making parathas, divide both the doughs into equal portions.

Note: Keep the wheat flour dough size bigger than the filling so that you can roll easily.

6. Keep the pan to heat on the flame. Dip the wheat dough in dry wheat flour and roll into a small round shape as shown. Place the filling inside.

7. Close the dough from all sides and seal.

8. Dip again in dry wheat flour and roll as thin as you can.

9. Place this on the hot tawa and fry both sides using ghee.

Notes:

* Be careful while cooking the potatoes and if it does leave water and turn extra soft, add little oats for the mashed potatoes to absorb water. I do it too and you won’t know the difference.

* This tastes very simple but delicious especially those who love hing flavour.

* We love it curd or Mint chutney.

Easy Hummus recipe | Arabic chickpea dip

Hummus has very beautiful memories in my life. It was not something I had eaten before coming here to Qatar but became my instant favourite in Arabic cuisine along with falafel wraps. In fact during both my pregnancies, I used to get such strong cravings for hummus that I used to cry till I got it and poor hubby had to bear all my pregnancy hormonal tantrums 😅.

But when it finally arrived, I used to literally lick it clean. I did not even need any bread with it. Just me, my fingers and creamy hummus. Ah those pregnancy times! 😍

Now since many months, we have not ate out nor ordered in. So I learnt to make hummus and it’s so easy that now I wonder why we used to buy it from outside. Also tastes so delicious as you can alter according to your taste. Hope you all try and love it too.

One note though. Hummus is not for everyone’s tastebuds. My dad did not like it when he came here and we made him taste the storebought one. So if you are making for first time, make in less quantity and see if you like it. Then you can make more. This note is to save myself from your curses in case you don’t like it 😂.

Happy and healthy cooking!!

RECIPE:

Ingredients:

2 Cups dry white Chickpeas/ Kabuli Chana

2 Tbsp white sesame seeds/ Til

4 cloves of Garlic

1 tsp Red chilli powder

Salt to taste

1 Tbsp Lemon juice

1 Tbsp Olive oil

Step by step recipe:

1. Wash well and soak the dry chickpeas overnight or for atleast 6 hours in sufficient water.

2. Drain the soaked water and Pressure cook the chickpeas in enough water to soak it till it turns soft.

Note: It usually takes about 5 whistles in my electric cooking top on high flame.

3. Now dry roast the sesame seeds in a pan on medium flame till it turns light brown. Cool and powder in the mixer.

4. Add drained chickpeas ( save the water), garlic and salt.

5. Now add required amount of cooked chickpeas water and grind into a smooth paste.

6. Add red chilli powder, olive oil and lemon juice and grind again to a smooth paste. I also added little salt as I felt it was less.

7. Garnish with cooked chickpeas and coriander leaves or parsley leaves (optional) and drizzle olive oil again. Serve fresh or chilled.

Notes:

* Make sure the chickpeas is cooked till soft so as to make a creamy hummus.

* Use food processor if you have to grind. Does the job quicker than in mixer.

* If you have storebought tahini (sesame seeds paste), then skip adding sesame seeds. I add because I don’t have tahini.

* Red chilli powder, garlic, lemon juice, salt are to taste and you can make changes as per your taste.

* If you don’t eat garlic, you can skip but garlic gives the authentic flavour to hummus.

* Leftovers can be refrigerated and used when needed.

* I used to serve hummus with kuboos ( Arabic bread) but since lockdown, I bake my own bread and this Semolina Bread is very good with hummus.

Semolina Bread | Rava Bread | Sooji Bread

These home bound times have really improved my baking skills and I am sure all of yours too who love baking. For me, baking is therapy. The magic of flour converting into dough, rising beautifully and then baking into a tall loaf of bread is simply amazing. I love seeing beauty in the smallest of things and my bakes are one among those small pleasures which gives me happiness.

Though my usual bread is this Wheat bread, I happened to remember this semolina bread which I had tried long back but had not come out right. So I made changes till I got the perfect loaf. Now I am confident that I can bake this bread as well as I make my Wheat bread or Wheat Pav.

Semolina bread is a bread with crispy texture but still soft. It is so filling that two slices will make you feel full. Hope you all try and love it. Happy and healthy cooking!

RECIPE:

Ingredients:

3 1/4 Cups Wheat Semolina or Rava or Sooji (fine variety works best) (3 cups + 1/4 Cup)

1 1/2 cups Water

2 Tbsp Coconut oil

2 Tbsp Ghee

1 Tbsp Sugar

1 tsp Instant yeast

1 1/2 tsp Salt

{Little oil to grease the loaf pan, little milk to milk wash the dough and butter/ oil to apply on the surface of the bread}

Step by step recipe:

1. Grind the semolina in a mixer to a fine powder.

Note: Just pulse four to five times and that will be sufficient to powder it. No need to grind a lot.

2. Now take the powdered semolina in a large mixing bowl. Add ghee, coconut oil, yeast, sugar and salt.

3. Add water and mix well using spatula removing any lumps if formed.

4. Now start kneading using hands from 6 to 8 mins till it turns into a smooth dough as shown. This is a very important step as kneading gives a very good texture to the bread.

See how soft the dough has turned due to kneading

5. Allow it to rest in a warm place for 11/2 hours to 2 hours till the dough has doubled. It may take more time in cold temperatures.

6. Now grease a loaf pan well with oil and keep aside. Remove this dough and knead once. Place this inside the greased loaf pan and smoothen the surface.

7. Now keep this to rise in a warm place for 45 mins to 1 hour till the dough has risen above the surface of the pan as shown.

Rose almost double again

8. Now preheat the oven at 180 C for 10 mins. Bake the bread at 180 C for 30 to 40 mins till the surface turns golden brown in colour.

Note: At 30 mins into baking time, remove the bread from the oven, apply little milk over the surface of the bread and keep for 5 to 10 mins till the surface turns golden in colour. Milk wash helps get the colour.

9. As soon as the bread bakes, apply butter over the surface. Allow the bread to cool completely before you remove from the pan. Invert, slice and serve.

Notes:

* For those who have doubts regarding the semolina, it’s the normal rava that you use to make upma which is made of wheat. Do grind it to get the perfect texture for the bread.

* I add a combination of coconut oil and ghee because we like the flavour. You can add any oil that you like but the bread will have the flavour of that oil.

* Do knead well for atleast 5 mins for perfect bread.

* Both the rise times are very important. If you are in a hurry, then don’t try this. It needs proper rise times to get perfect texture of the bread.

* This bread is slightly crispy due to semolina but still soft.

* Do remember to:

grease the loaf pan well with oil before placing the dough.

milk wash the bread in the last 5 mins of bake to get the golden colour of the bread.

– apply butter over the surface as soon as the bread is baked so that the surface remains soft.

* I usually bake at night and keep it at room temperature covered overnight for breakfast the next day. It slices well that time.

* Serrated knife works best to slice bread. Use that if you have.

I have tried to note down as much points as possible so that it’s easy for you all to follow but if you still have any doubts, either comment here or message me on my Facebook page Healthy cooking with mitha or on my Instagram handle and I would be happy to help. Happy baking!

Urad Moong dal idli | No rice idli

Click on the image to save the recipe on Pinterest

After my last posts of Moong sprouts and Oats dosa and Ragi Urad Idlis, I got many messages about how they loved that the recipes avoided rice and were so healthy along with being delicious too. That’s when I was reminded of this idli/dosa batter which I made regularly and did not require rice.

It is these Urad dal – Moong dal Idlis which turn out so soft, fluffy and tasty. I make Idlis the first day after fermentation and refrigerate the remaining batter. They make the crispiest dosas the next day (check notes for photo). I love how this batter sorts two days breakfast and the whole family loves it.

When kids and husband praise how yummy the breakfast tastes, it really makes me very happy and gives a beautiful start to the day. 😊 Hope you all try it and love it too. Happy and healthy cooking!

RECIPE:

Ingredients: {Makes about 13 Idlis and 5 dosas}

1 Cup Urad dal

1 Cup Moong dal

Salt to taste

Step by step recipe:

1. Soak Urad dal and moong dal together for 4 hours.

2. Grind along with salt to a smooth paste.

3. Ferment the batter for 8 hours or overnight. It may need more time in cold weather. Here it’s summer and the batter ferments really well. This is after 10 hours of fermentation.

Love when the perfectly fermented batter welcomes me in the morning.

4. Grease the idli moulds very well with oil (it’s very important for these Idlis). Pour the batter and steam for 20 mins or till done.

5. Allow it to cool completely before you remove else it will stick to the idli moulds.

6. Serve with your favourite chutney.

Notes:

* I usually soak double the measurement mentioned above. Made Idlis the first day and dosas the next day. Look how crispy the dosas turn out.

* After making Idlis, refrigerate the remaining batter.

* These Idlis tend to stick to the moulds if not greased properly. So grease the moulds very well with oil before adding the batter.

* Also cool before removing the steamed Idlis so that they come out neatly.

* Once steamed, they last soft the whole day.

* Normally this batter does not need fermentation but I noticed that they turn very soft and spongy after fermenting. So I keep them like regular dosa batter and ferment overnight.

* You can also check all my Variety Idlis here :

Variety Idlis Collection

* You can check all my “no rice” dosa recipes here:

” No rice ” dosa recipes Compilation

Click on the image to save the recipe on Pinterest

Dry fruit bites

We are a sweet loving family where the discussion for post dinner dessert is more than the dinner itself. Especially my daughter who asks what treat she will get if she finishes her meal. 😅

Although I make many sugar and jaggery based sweets which you can see in my Desserts page, this one is the healthiest any sweet can get and I can guarantee you that it will get finished off in a jiffy too. When I make these dry fruit bites, it hardly lasts couple of days. Both the kids and the kids’ daddy steal the sweet and gobble it up whenever they see the sweet box. They team up and find it even if I hide it. 😁

These are the healthiest sweet because they don’t contain any form of refined sugar at all. The sweetness from dates, apricots and raisins along with the bites from nuts makes this sweet too delicious for words.

Hope you all try for your family too. Happy and healthy cooking! ❤️

RECIPE:

1 Cup Dates {seeds removed and halved}

10 dried Apricots, {soaked in warm water for 5 mins}

1/4 Cup golden Raisins

1/4 Cup Cashews

1/4 Cup Pistachios, shelled

1/4 Cup Almonds

2 tsp Ghee

Step by step recipe:

1. Add dates, apricots and raisins in a mixer or food processor. Grind till it turns into a coarse mixture. Do not add water at all while grinding .

Note: You can also grind it’s finely.. Check notes.

2. Now finely chop all the nuts using knife or use pulse mode in mixer or food processor. Add ghee in a pan and roast the nuts till it gives out an aroma. Do it on low flame.

3. Now remove this in a plate and fry the dates paste in little ghee for two mins till it binds together.

3. Add the roasted nuts and mix everything well. Keep mixing till they bind well.

4. Now remove to a plate. Allow to cool slightly.

5. Make small balls or rectangular shaped bites. Enjoy!

Notes:

* Store in an airtight container and refrigerate after one day at room temperature {if leftover 😅}.

* You can also finely chop the nuts in mixer or food processor which leads the nuts to get to almost powder form. Also grind the dates mixture to a fine paste. My kids love that more. I also spread it in a plate and cut into squares. Looks like this.

Dry fruit squares

* The ratio of dates, apricots and raisins to nuts is perfect in this recipe. Don’t alter. Or else you won’t get the desired texture.

*Don’t add water at while grinding both the dates mixture and nuts.

* Be careful to roast both times on low flame. Else it can turn black and get a burnt taste.

* In case you don’t have apricots, use 1 1/2 Cup Dates.

* Use 3/4 Cup nuts. It can be any of the combination of cashews, almonds and pistachios. You can skip any one or use only nut variety too.

* I do not use walnuts as my kids don’t like the flavour in this sweet.

** You can also shape them in ladoos like I have done here. I have also used black raisins here.

Moong sprouts and Oats dosa

Click on the image to Pin the recipe on Pinterest

As I have mentioned before, my kids love dosas and my two year old associates breakfast with “Bobbo” {dosa in baby language in Konkani}. So I get creative and make dosas of many varieties. 😊

This was one such experiment which I got inspired from the famous Pesarattu dosa which uses moong and rice. I thought why not sprout moong and use as sprouting increases the nutritional value so much. Also I substituted rice with oats as oats is a super food specially for lactating mothers. ❤️

So the super food combination gave birth to this dosa which is very tasty too. Its different than the regular dosa that you eat in restaurants but still tastes delicious. Importantly it’s approved by my kids and hence I make it atleast once in couple of weeks. What better way to feed them sprouts in the way they love the most – The dosa way! 😀

RECIPE:

Ingredients: { about 15 dosas}

4 Cups Moong sprouts {got by soaking 2 Cups dried whole moong /green gram}

1 Cup Instant Oats

Salt to taste

Ghee or Oil to cook the dosa

Step by step recipe:

1. Soak dried whole green gram or moong overnight or for 6 hours. This is what you get after soaking. Drain water completely now.

2. Keep covered in a dark place again for 8 hours or till you see sprouts come out. It takes more time in cold weather and very quick in hot weathers.

3. Now wash the sprouts well once and grind along with oats, salt and little water to a smooth batter of pourable consistency. Not very thick, nor thin. Just like any dosa batter.

Note: Be careful while adding water to the batter so that it does not become very thin.

4. You can make dosa instantly. No need to ferment the batter. Heat dosa pan and pour a ladle of the batter. Spread into a circle shape.

5. Cover and cook till the surface cooks and underside turns brown and crisp. Add ghee.

6. Repeat the same with the rest of the batter.

Notes:

* Refrigerate the remaining batter and use it whenever needed.

* No need to ferment this batter. Grind and use soon after.

* I had taken 2 Cups of dried whole moong to soak. After soaking and sprouting, I got 5 Cups of moong sprouts. I made dosas with 4 Cups of sprouts and used the rest 1 Cup to make salad.

* For making perfect dosas, heat the pan well. Else if the pan is not hot, the batter might stick. Also add ghee after spreading the dosa and not before.

* This dosa turns soft when cooked only one side but you can make it crispy but spreading the dosa very thin and cooking till the underside turns brown. Also add ghee and cook both sides to make it extra crispy.

* If using rolled oats instead of instant oats, soak for half an hour before grinding.

Click on the image to Pin the recipe on Pinterest

Join me in my journey with a foodie husband and hungry kiddos while I make them eat healthy!