In our weekly groceries, fruits are an important part as we all thrive on them for mid meal snacking. My kids love Apples, Bananas, Mangoes, Mandarins and Berries while I am a huge fan of Papaya. We also make sure we get our dose of Vitamin C by drinking orange juice everyday. So all these fruits are a regular in our place.
Now it’s the season of cherries here and we get them every week with our grocery. They are very sweet and we love to gobble them anytime. Just look at these beauties.
Apart from eating them as it is, my recipe finder of a husband saw that cherry compote can be made. So we made it just for a try with our favourite jaggery instead of sugar and fell in love with it. Now we buy cherries just to make this compote. It tastes so delicious that you can’t stop licking your fingers.
Hope you all try it if you get cherries in your place. Happy and healthy cooking!
RECIPE:
Ingredients:
1 1/2 Cups Cherries (whole and unseeded)
1/4 Cup Jaggery
1/4 Cup Water
Step by step recipe:
1. Remove seeds and stem from the cherries and halve it. Keep in a bowl aside.
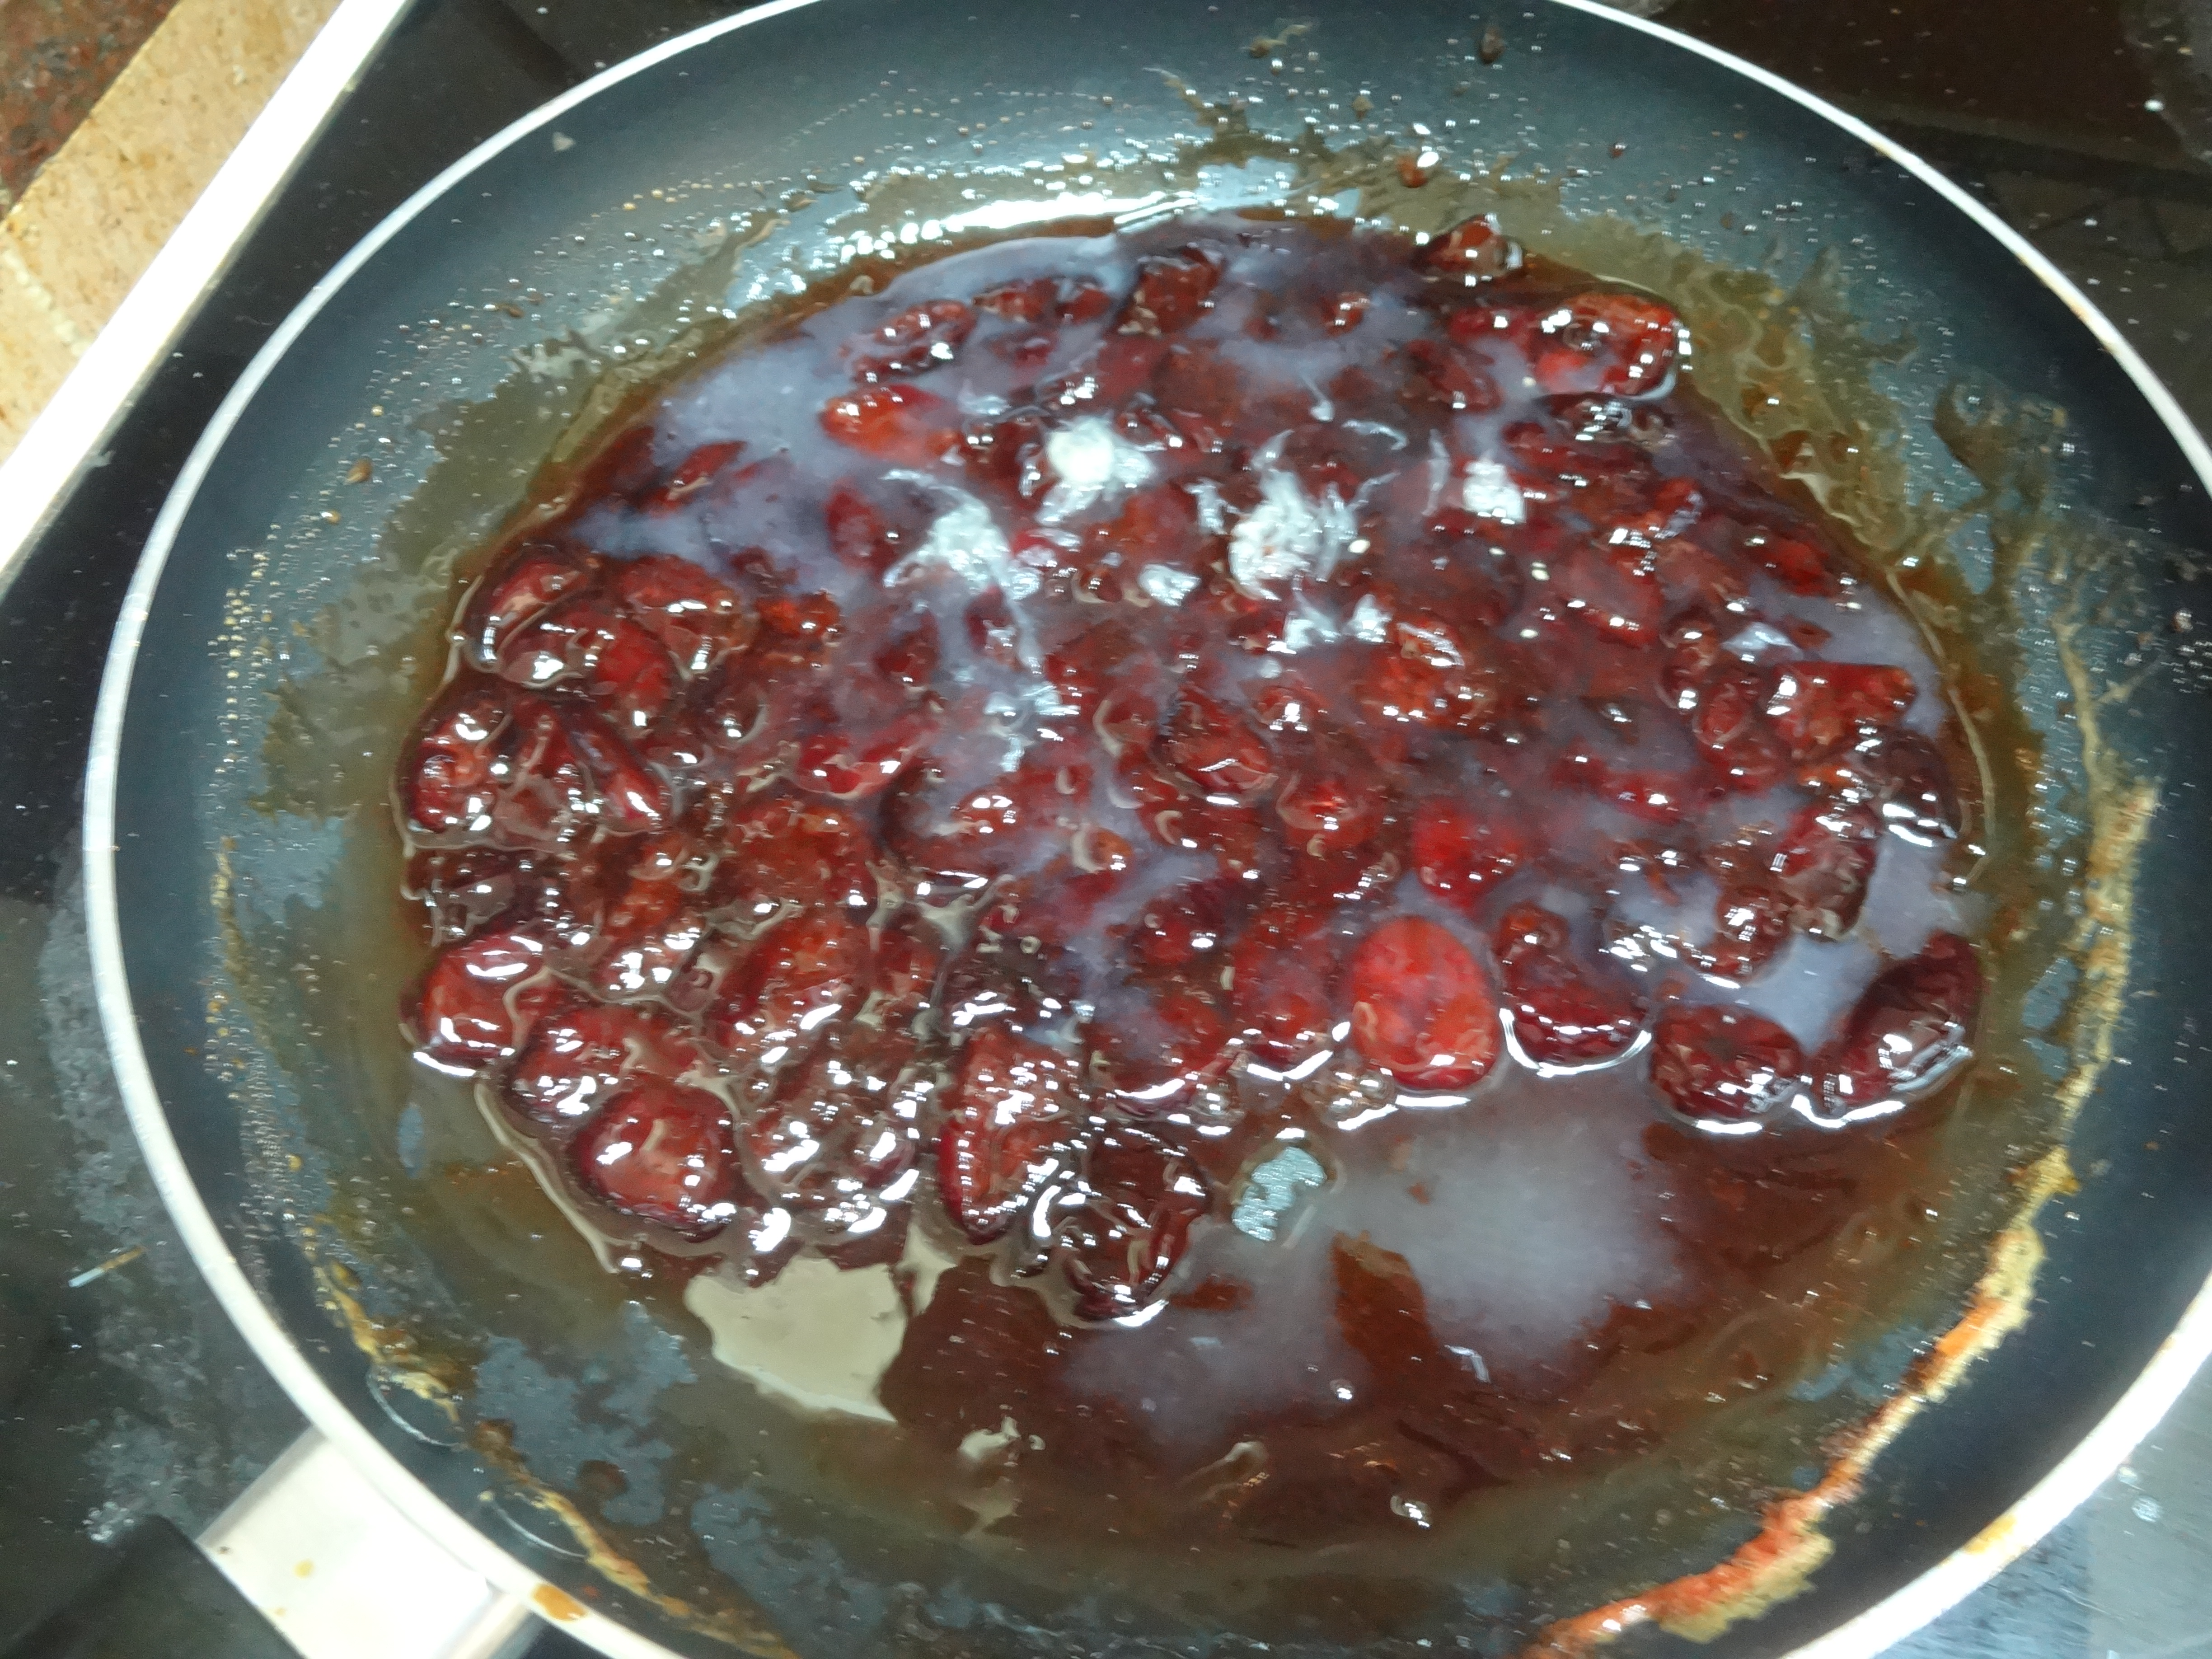
2. Now add water and jaggery (1/4 Cup each) to a preferably non stick pan and allow to come to a boil. Let it boil for about 5 mins till it turns thick. Now add the halved cherries to this. Mix well.
3. Use a masher to mash the cherries slightly. Cook on medium flame.
4. Cook till it turns thick and the mixture leaves the sides of the pan.
5. Cool down and enjoy it as it is or over a toast or with Yogurt.
Notes:
* Compote is actually served over cakes. We enjoy this compote as it is as a dessert or over a toast or with Yogurt.
* Compote is usually made with sugar but I love how yummy it tastes with jaggery. Also if you use pure jaggery, it is much healthier too.
* You can substitute cherries with other berries or ripe tomatoes but tomatoes need more cooking time.
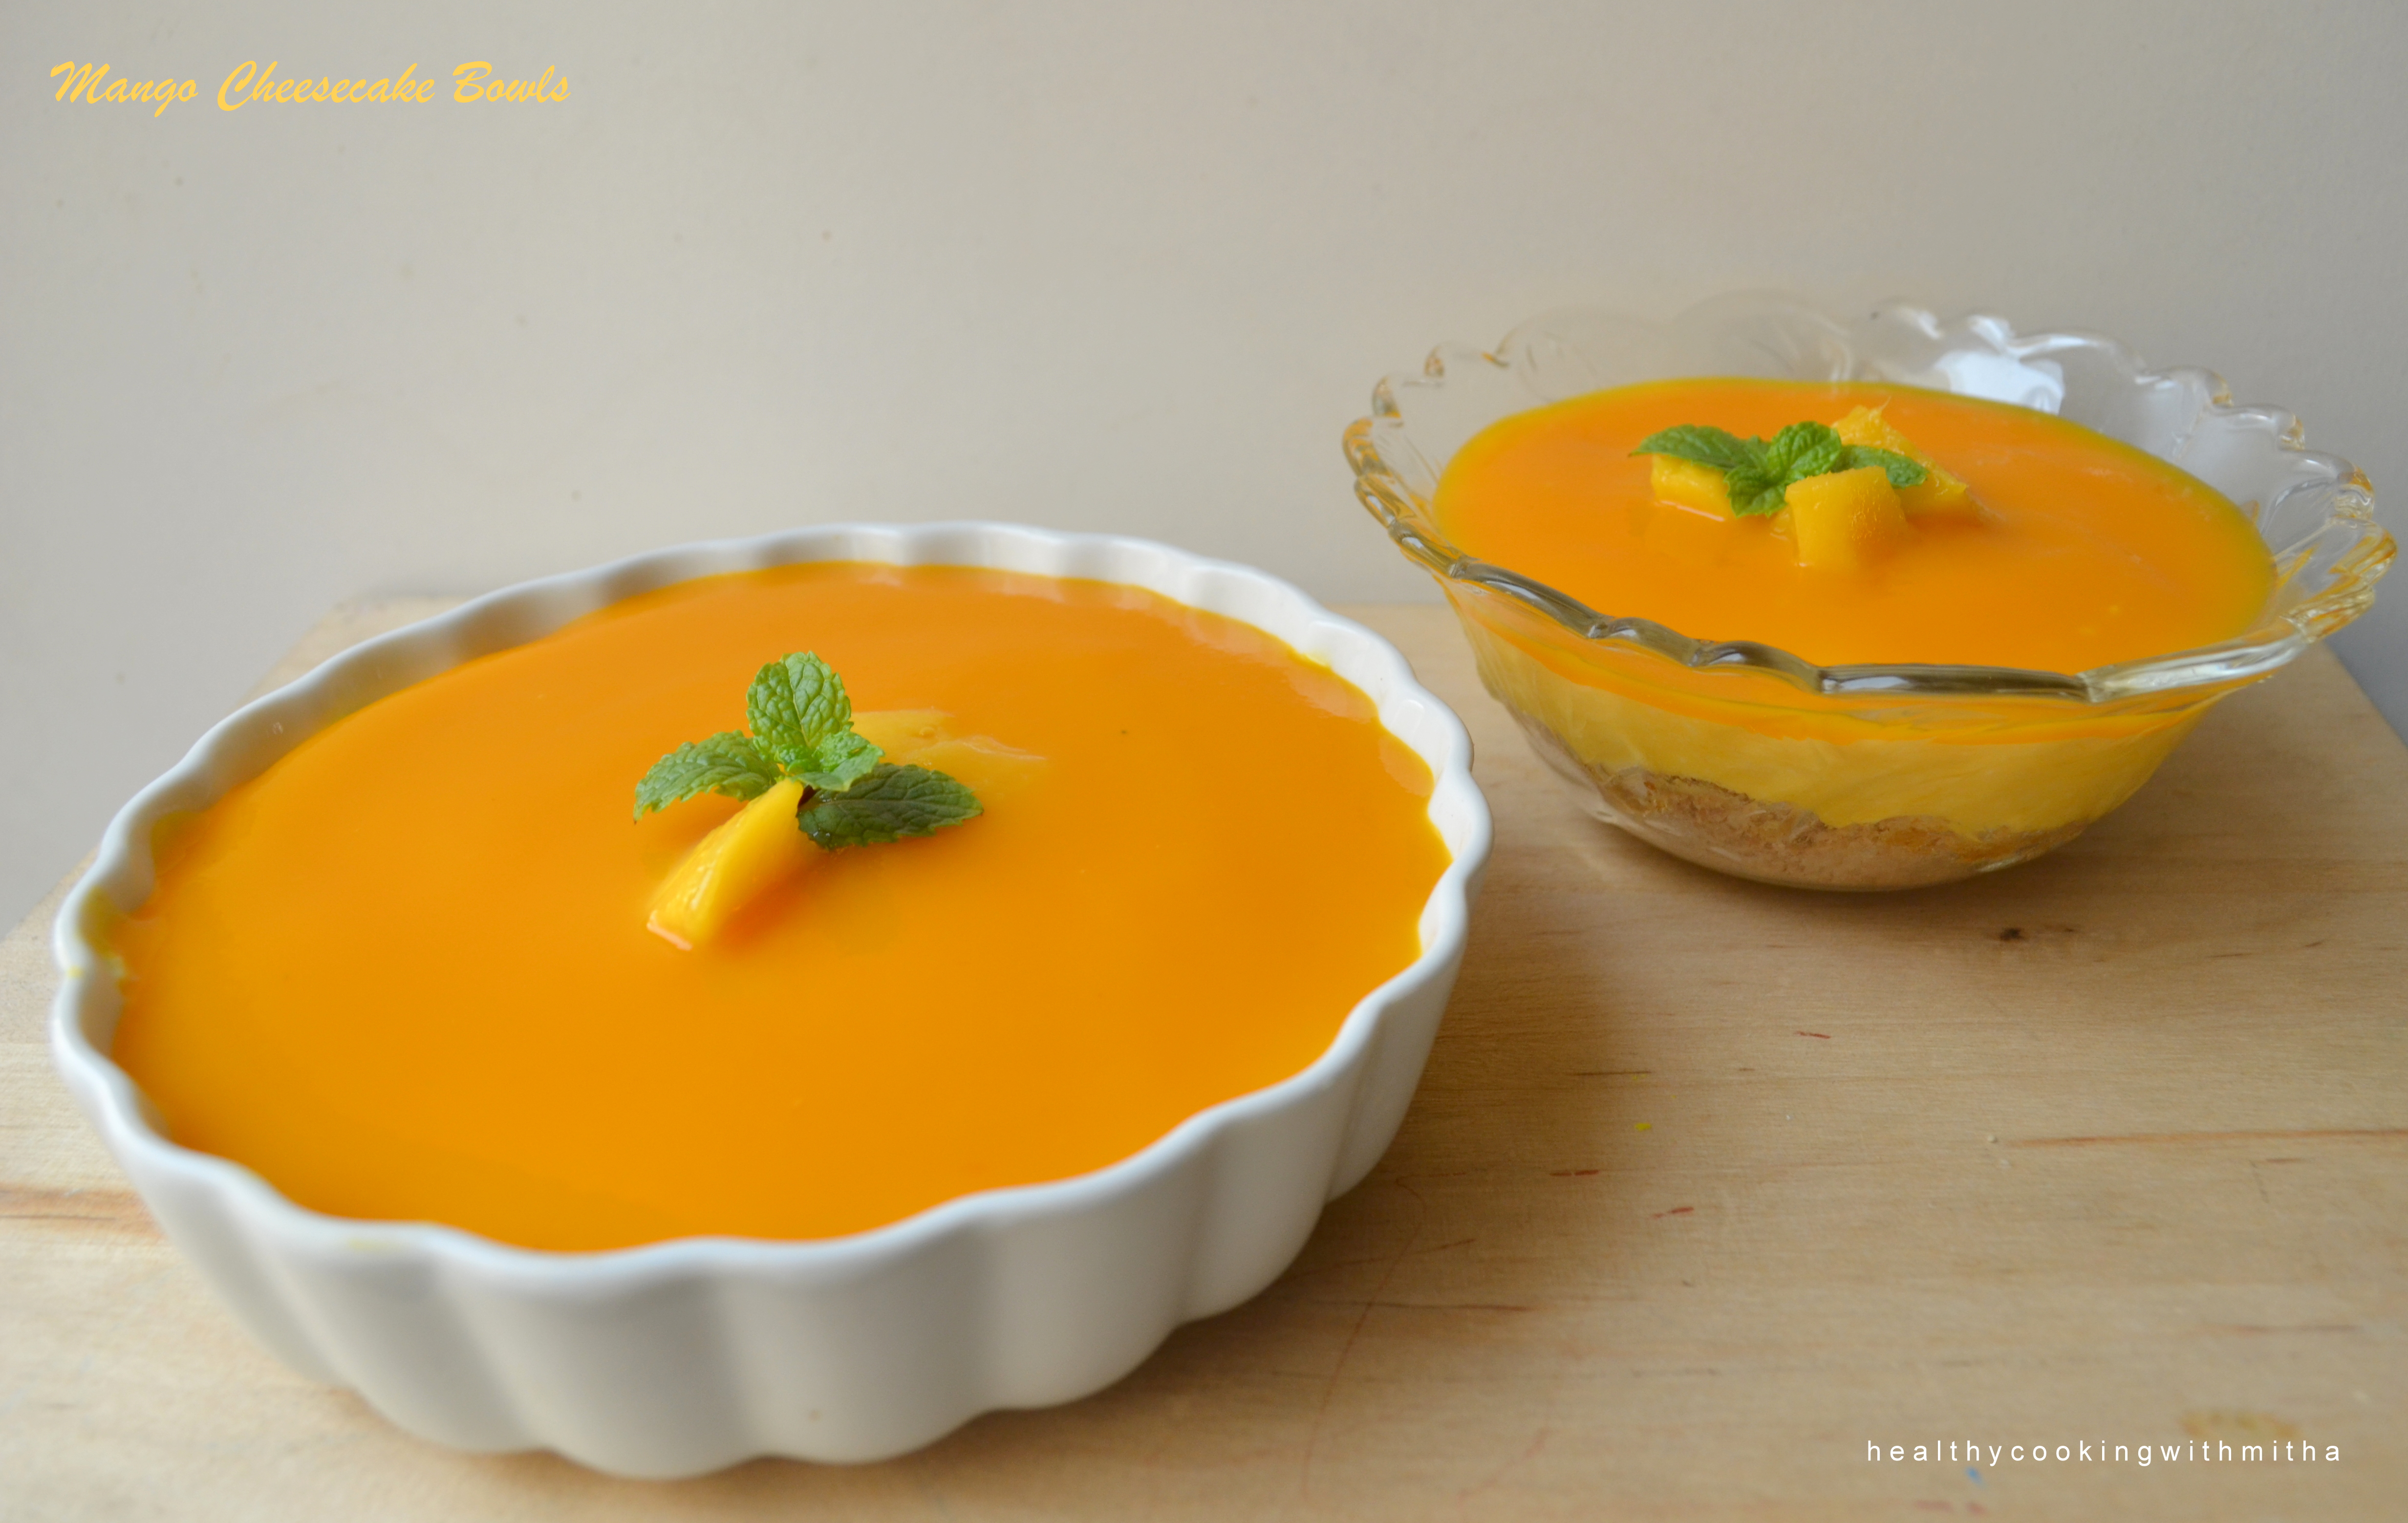
Here is the easiest cheesecake ever and definitely the tastiest too since it has mango in it. How can anything with mango not taste delicious?
Btw did you notice those hands holding the cheesecake? It is my husband’s and it is his photography too. I am very bad at pictures such as this and he helps me by clicking such unique captures.
I make Chocolate cheesecake well and he wanted me to make a mango version of it to see how it will come out. Even though I was hesitant as I was unsure whether it will set or not but it set so beautifully and tasted so yummy that we had a great time enjoying it for our weekend dessert (though we could not move out of our couch after that 😂).
But I guess some days are meant to be like that. To enjoy such sinful desserts just for a wonderful change from being health conscious always. Hope you all try and love it too. Happy cooking!
RECIPE:
Ingredients:
For the biscuit base:
100 grams Digestive biscuits (I used 8 McVities biscuits)
2 Tbsp Butter
For the cheesecake layer:
225 grams Cream cheese (can be substituted with hung curd)*check notes
1 tin sweetened condensed milk (397 grams)
1/3 Cup Lemon juice
2/3 Cup Mango pulp (fresh or canned)
For the mango topping:
About 1/2 Cup Mango pulp, fresh mango pieces and mint leaves
Step by step recipe:
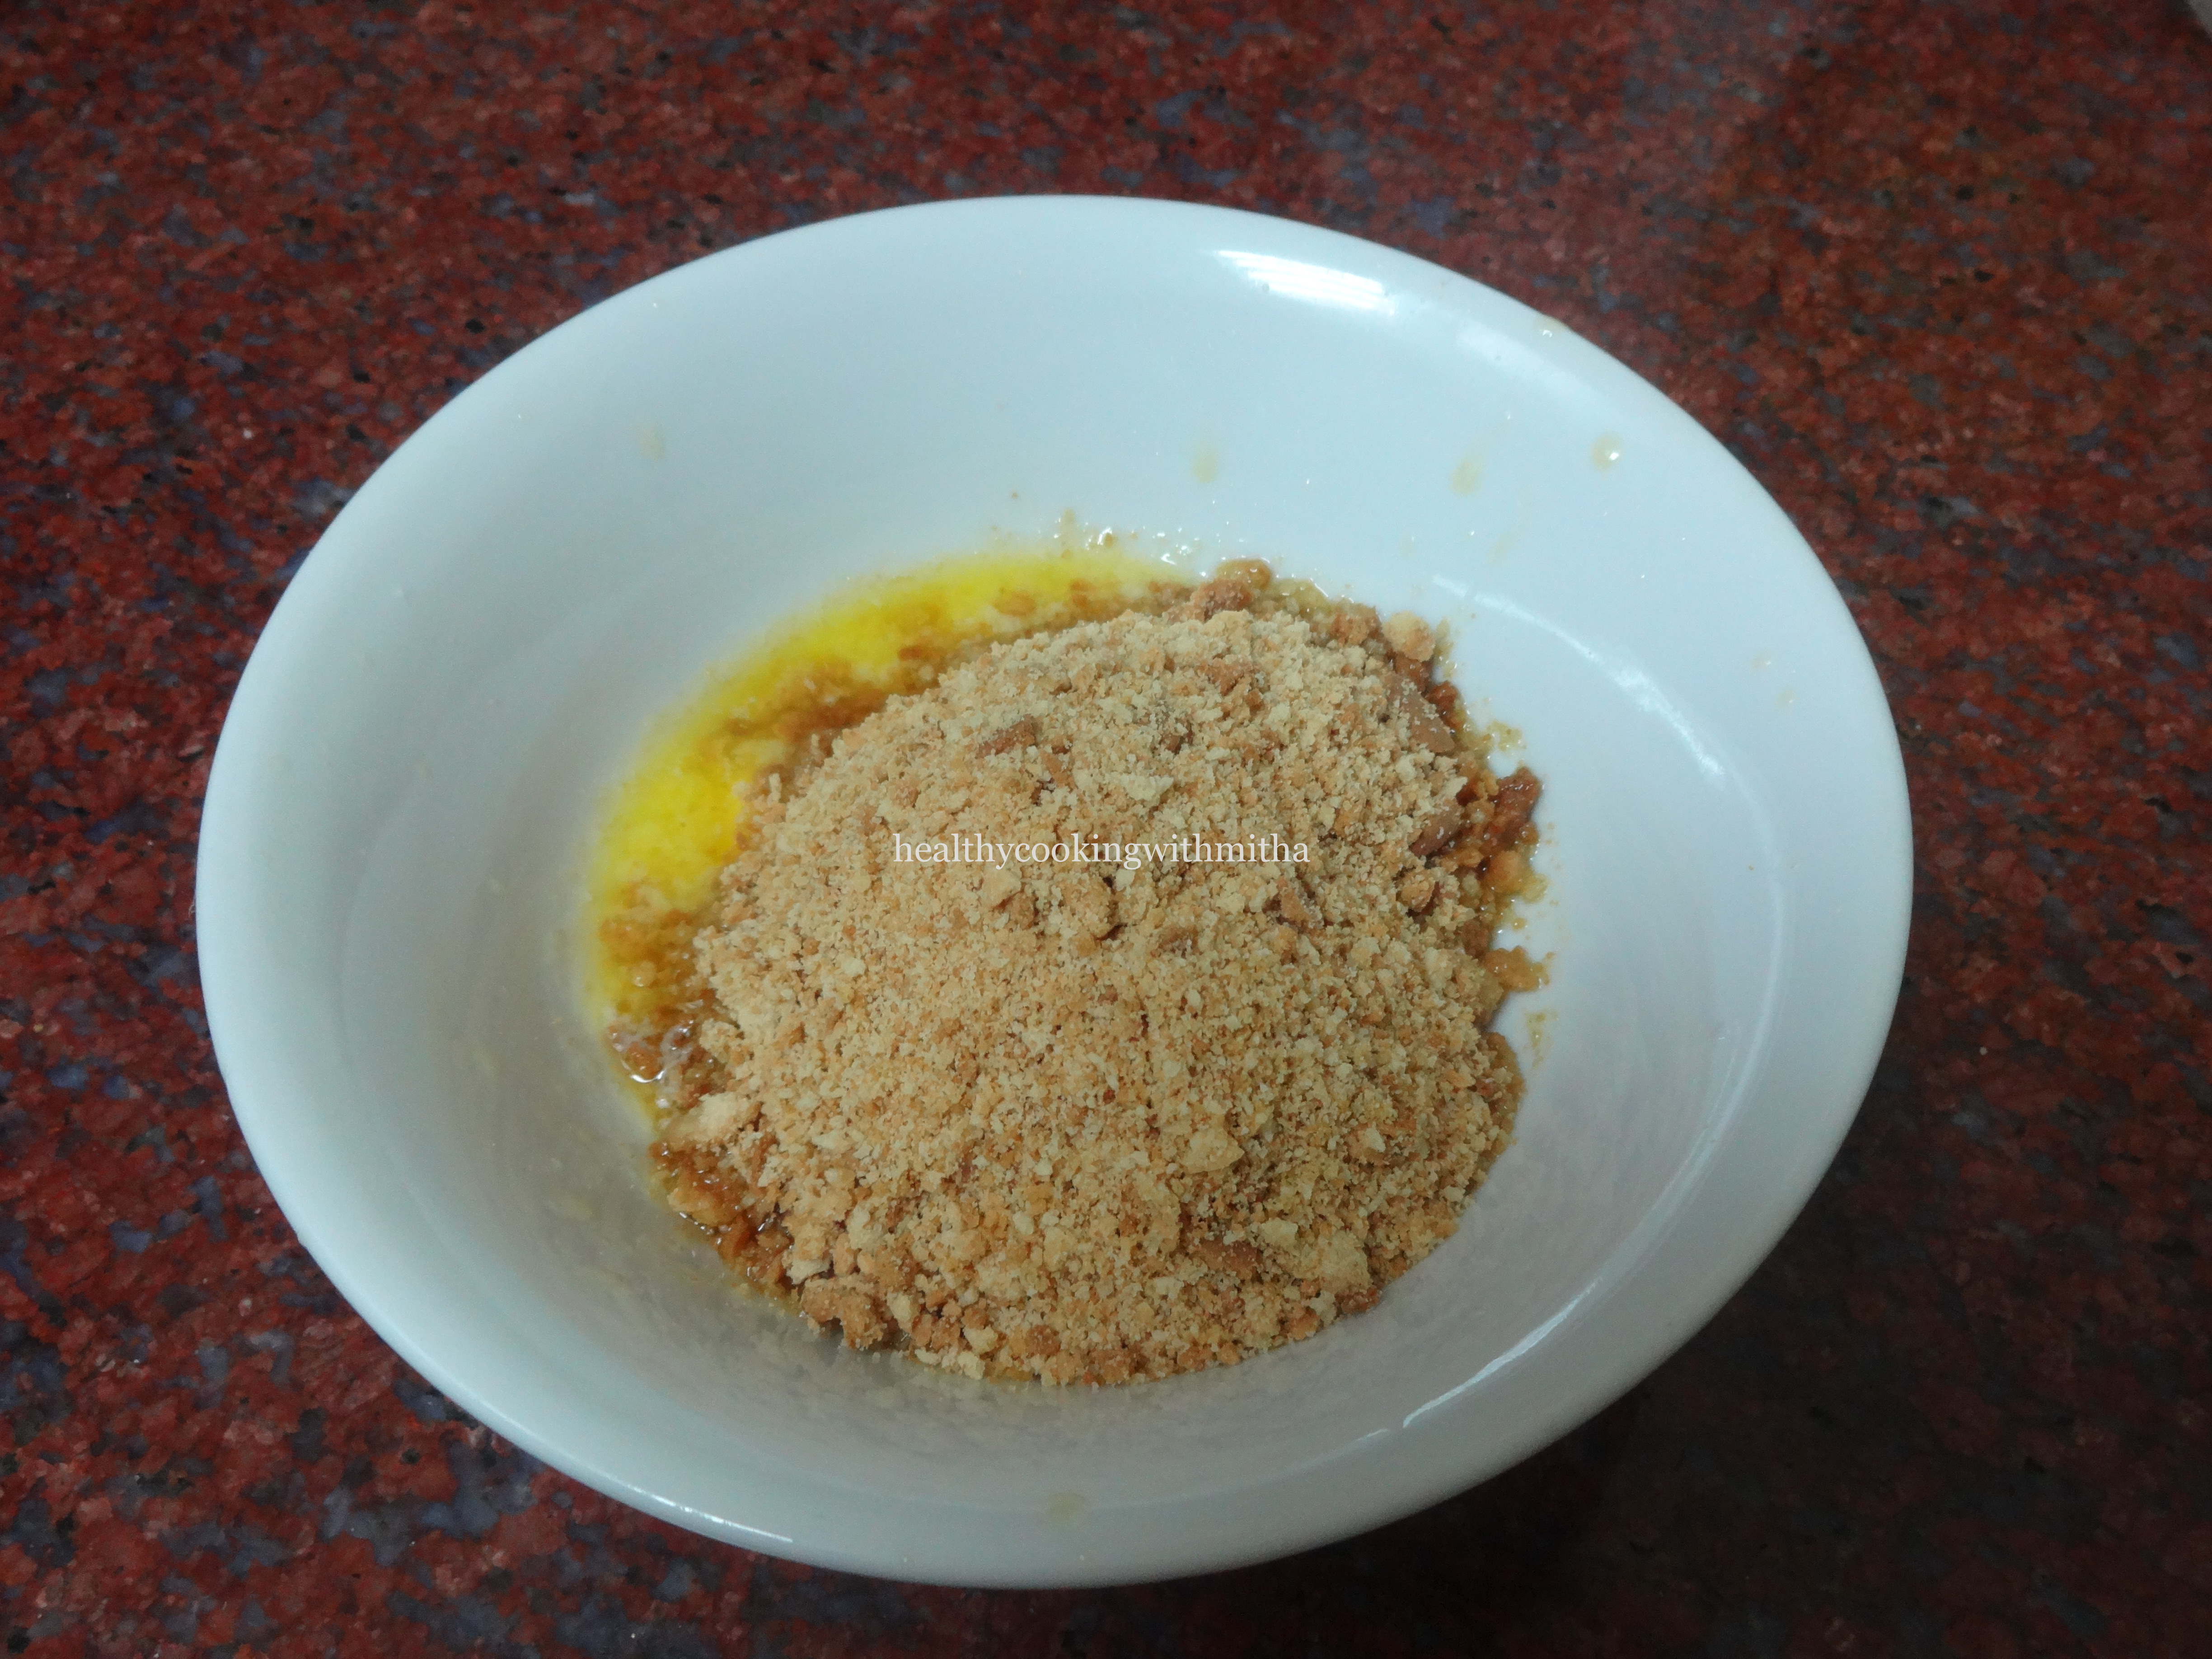
1. Powder the biscuits to a fine powder using a mixer or just add to a ziplock pouch and use a rolling pin to powder the biscuits. (My 5 year old daughter did this for me 😉)
2. Melt butter in a bowl and add this biscuit powder to it. Mix well.
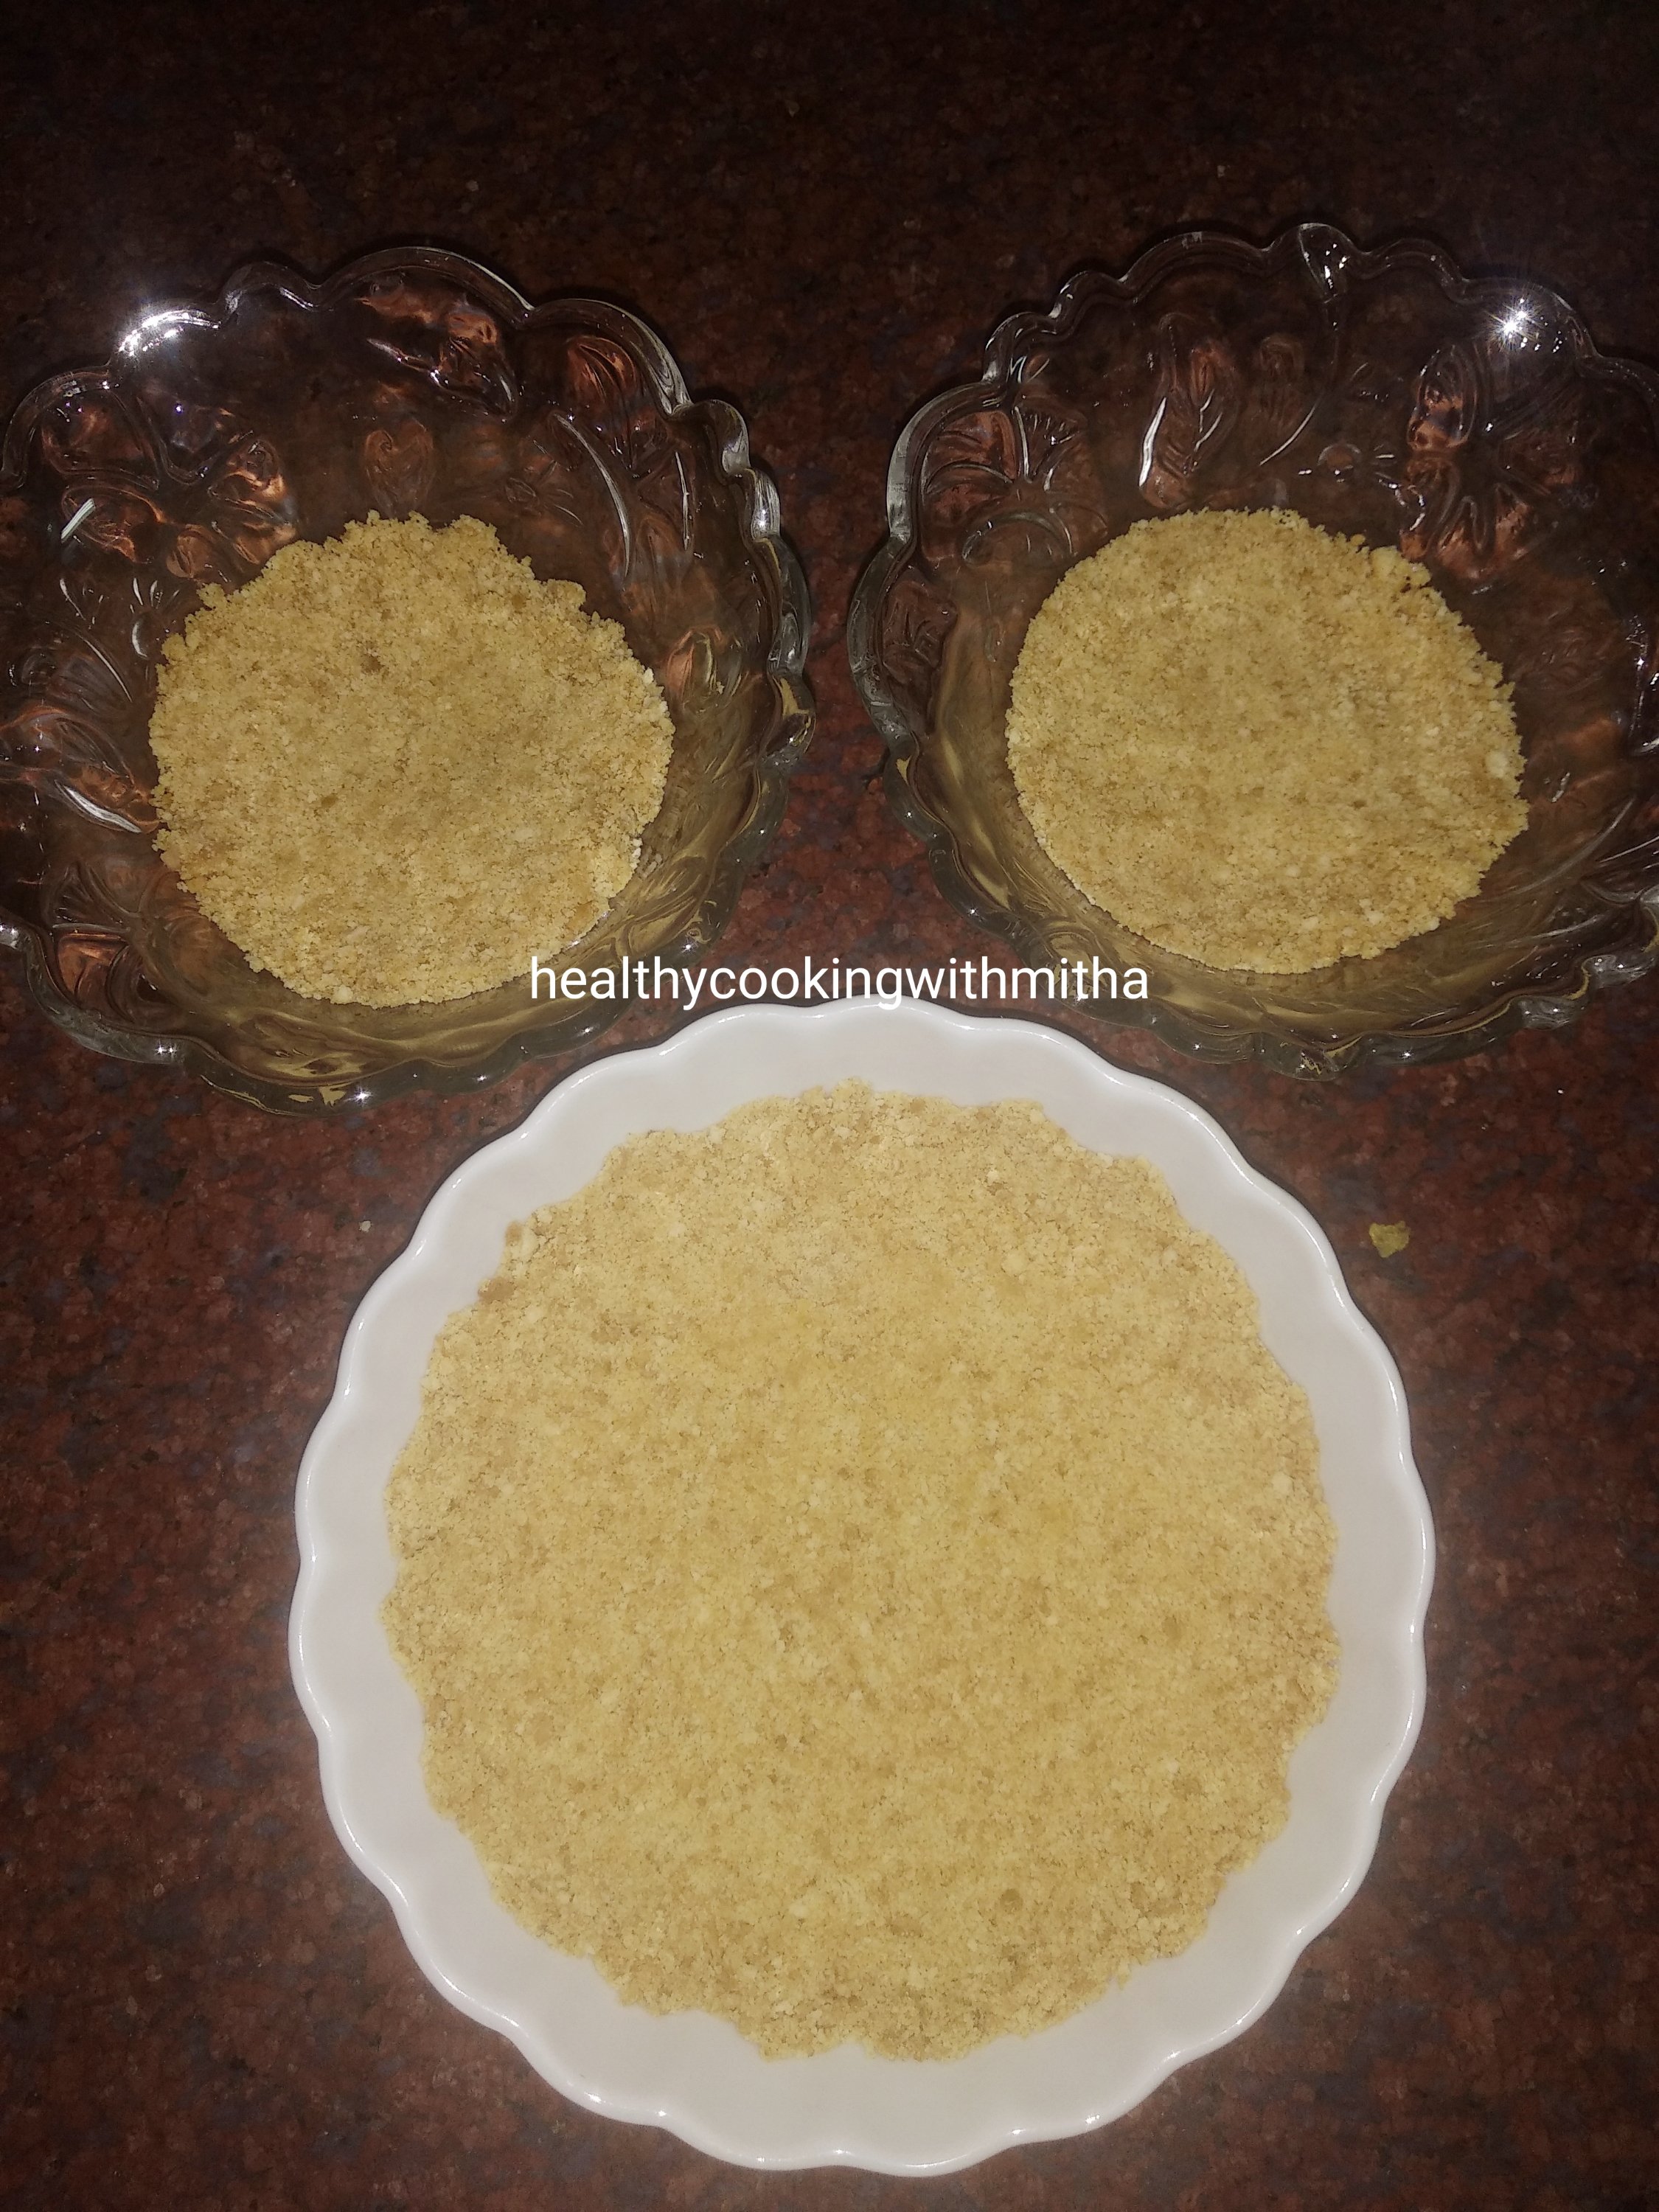
3. Put it in bowls to set as shown. Just a thin layer will do. Keep for refrigeration for 10 to 15 mins.
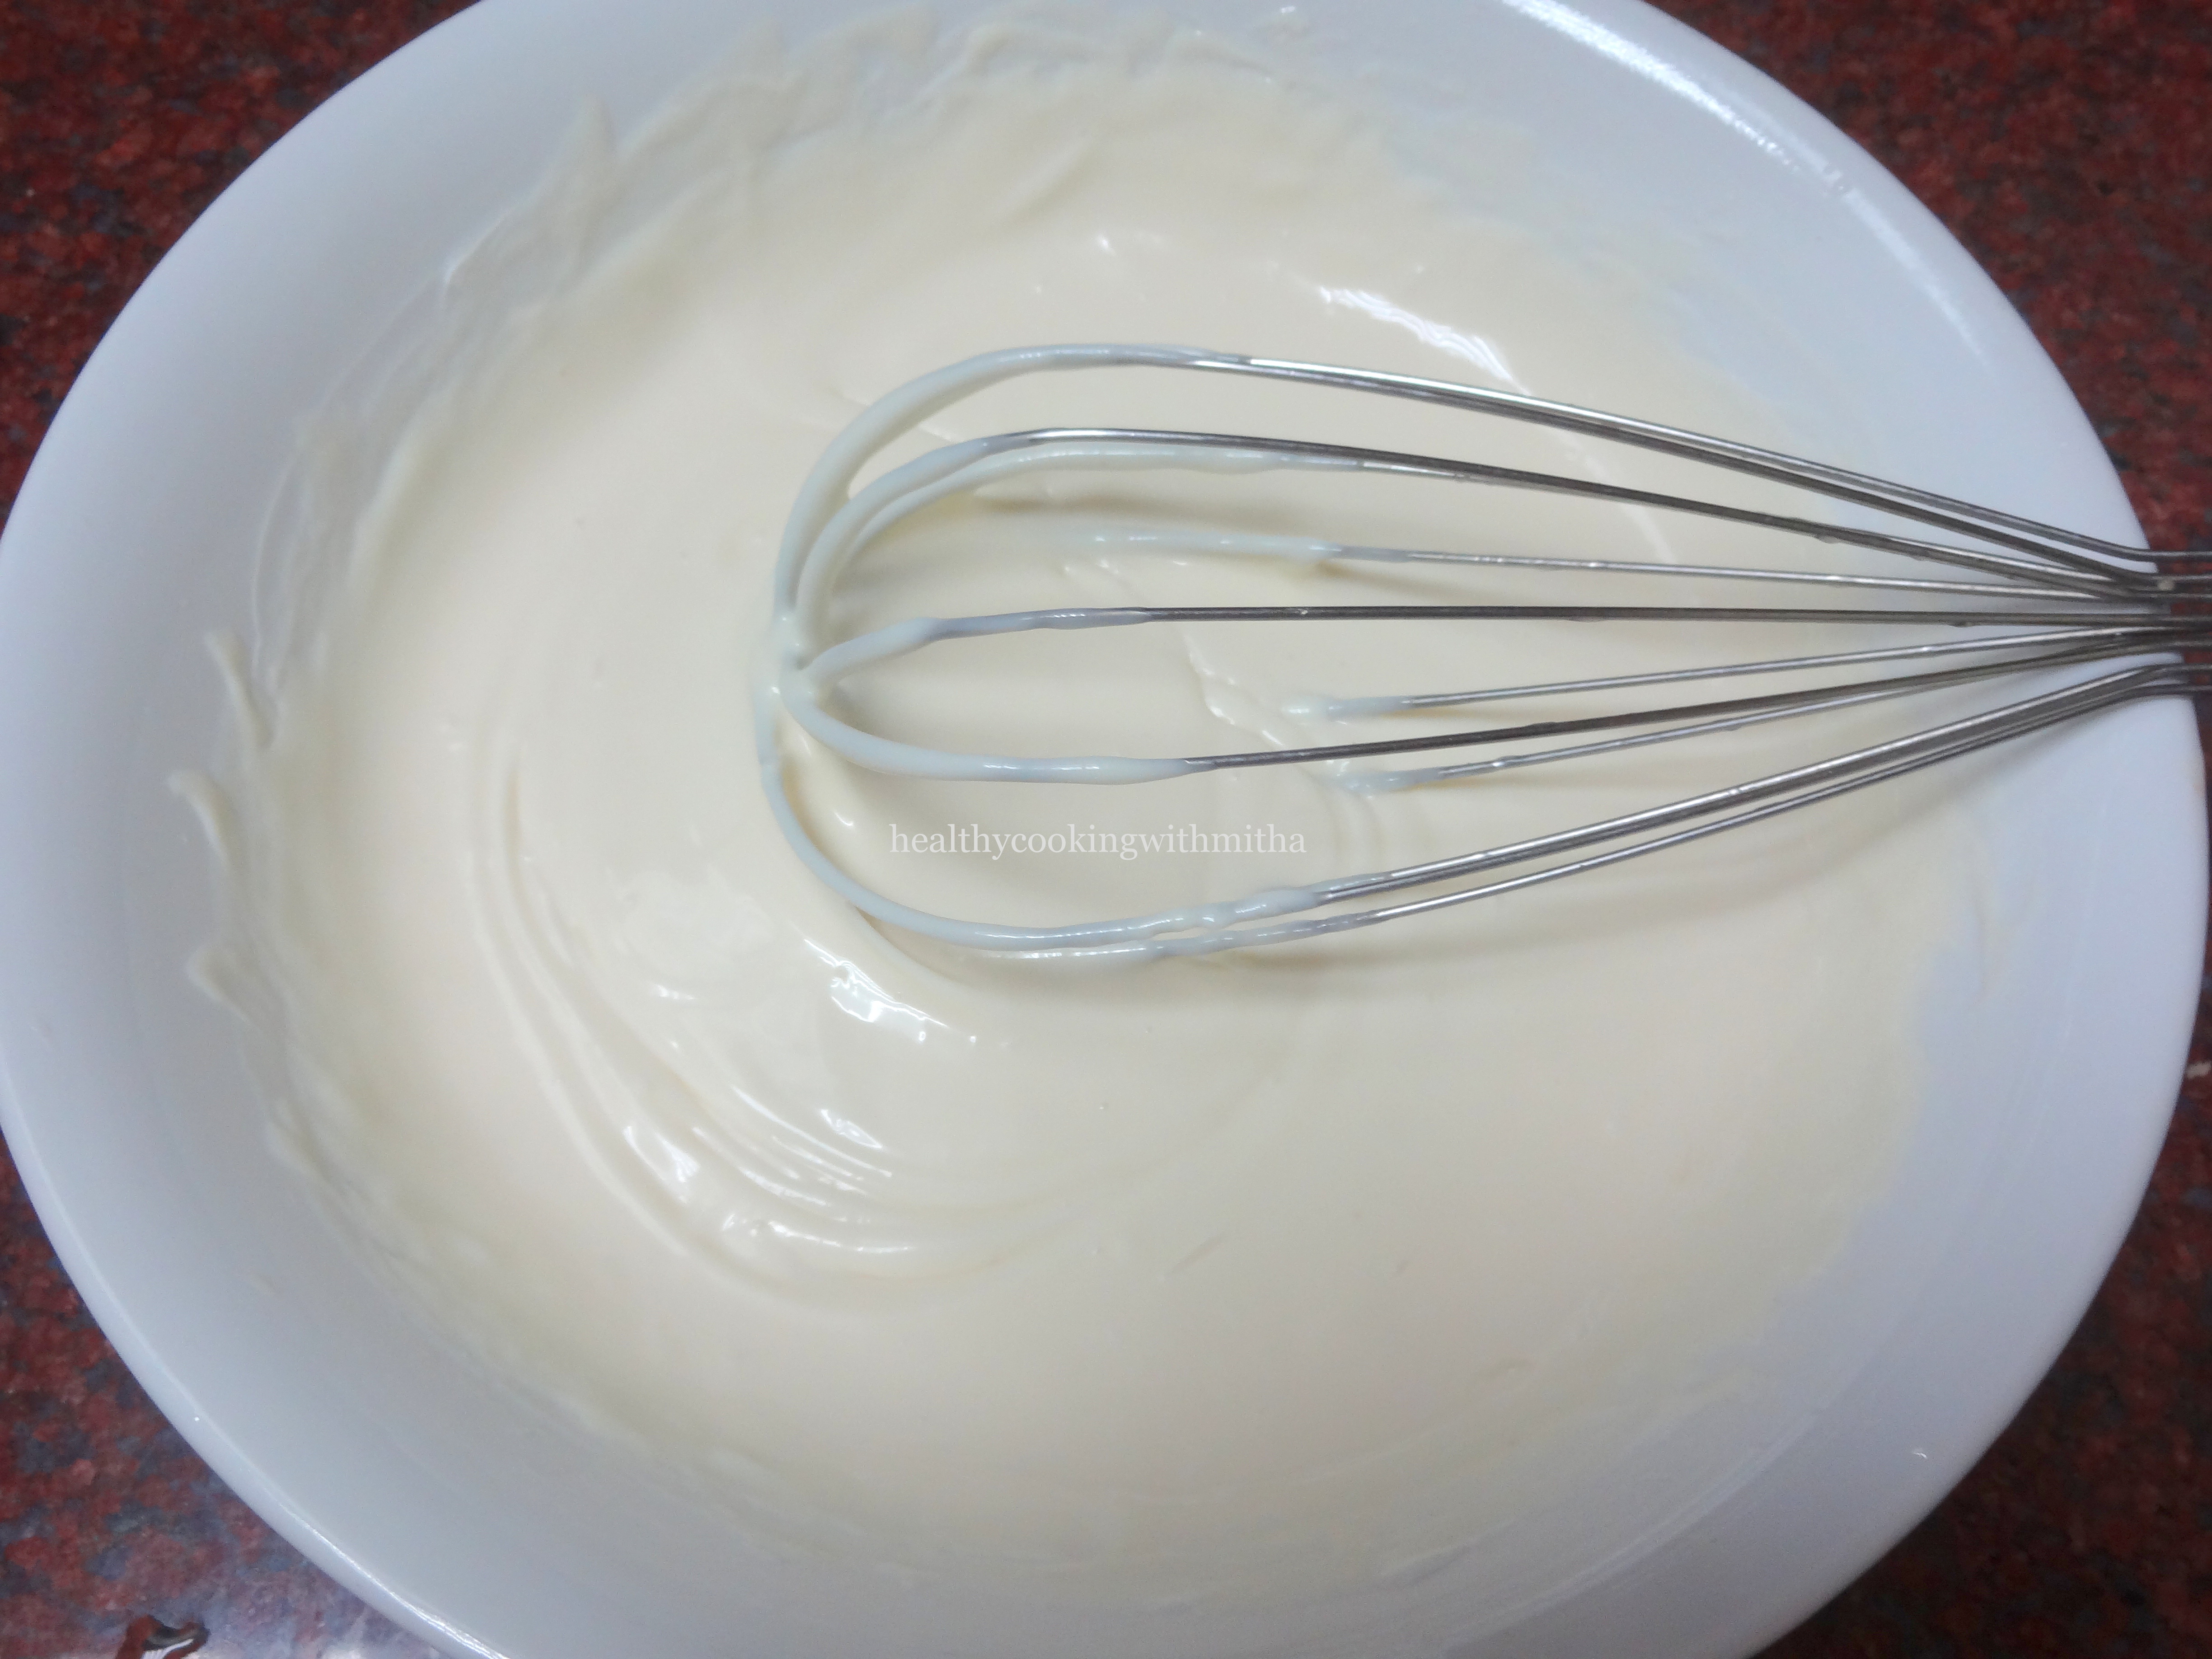
4. Meanwhile let us get the cheesecake layer ready. Whisk cream cheese till creamy just to remove lumps. No need to whisk a lot.
Note: You can also use hung curd instead of cream cheese. Whisk till smooth.
6. Now add mango pulp. Whisk again just to mix well.
7. Now remove the set biscuit mixture from the fridge. Add a layer of this cheesecake mixture evenly. Level using spatula.
8. Refrigerate for atleast 12 hours or overnight. (*Check notes) I usually set for one day or about 20 hours. See how well it sets then.
9. Now layer with mango pulp and serve chilled.
Notes:
* If you have time, refrigerate after adding the last mango pulp layer too. Else it’s okay as the last layer does not set anyhow.
* You can skip the last mango layer too if you don’t like cheesecakes very sweet.
* I usually make this a day ahead and refrigerate for 24 hours so that the cheesecake layer sets well. Then add mango pulp and refrigerate for another hour before serving.
* Lemon juice is an important ingredient for the cheesecake to set. So please don’t skip it.
* The benefit of serving in individual bowls is that you can save yourself the hassle of cutting into slices and enjoy your own cheesecake portion from a bowl.
* If you want to make a large cheesecake, double the measurements that I mentioned above, set it in a cheesecake pan and refrigerate for atleast 24 hours for the cheesecake to set. Remember that the mango pulp layer does not set. It’s just for flavour.
* My readers have successfully replaced cream cheese with hungcurd in the Chocolate cheesecake recipe. So it definitely works if cream cheese is not available and you are setting in individual bowls or glasses.
* For making hung curd, just keep a clean handkerchief or muslin cloth over a large sieve and add curd over it. Tie the cloth tightly and remove excess water. Now keep a heavy weight over it and keep it to rest in the fridge overnight till the curd becomes thick and all water drips in the bowl beneath it. The water can be used in gravies or chapati dough and hung curd can be used to make this cheesecake.
* I have used Mother’s recipe sweetened mango pulp. You can use fresh mango pulp too. Just make sure you blend well and the strands of mango are not in the pulp.
I have tried to note down as much points as possible so that it’s easy for you all to follow but if you still have any doubts, either comment here or message me on my Facebook page Healthy cooking with mitha or on my Instagram handle and I would be happy to help.
Click on the image to save the recipe on Pinterest.
Sheera is the most common sweet made in Konkani households and ours is no less. My grandmother always made it to satisfy our sweet tooth and my mother’s ghee laden sheera is still in my taste buds. I used to tease her “Amma, have you made sheera in ghee or ghee in sheera?”. She used to add loads of ghee in it as much as she showered her love in the sheera.
Both of them used to make sheera with sugar and I did not mind all that when I was a kid or teenager. But after marriage, when I was struggling with weight and infertility issues, I started substituting sugar with the healthier jaggery in most desserts and sheera became one of them too. We loved jaggery sheera so much that it became our favourite sweet, much more than sugar based sheera.
Click on the image to save the recipe on Pinterest.
From then till now, it’s not changed and we have got two more miniature sweet lovers like us who love jaggery sheera very much too. I make it when they feel hungry even after dinner. It fills them up and to see them enjoy every bite of it is very satisfying to me as a mother who at one time had lost all hopes of motherhood.
Thus is my story with this favourite sweet of mine.. Emotional yet filled with beautiful memories..
Hope you all try it and your family loves it too. Happy and healthy cooking!
RECIPE:
Ingredients:
1 Cup wheat Semolina/ Sooji/ Rava
3/4 Cup Jaggery
2 and 1/2 Cups water
3 Tbsp Ghee
2 Tbsp broken Cashews
1 Tbsp Raisins
Step by step recipe:
1. Keep 3/4 Cup Jaggery to melt in 2 and 1/2 Cups water.
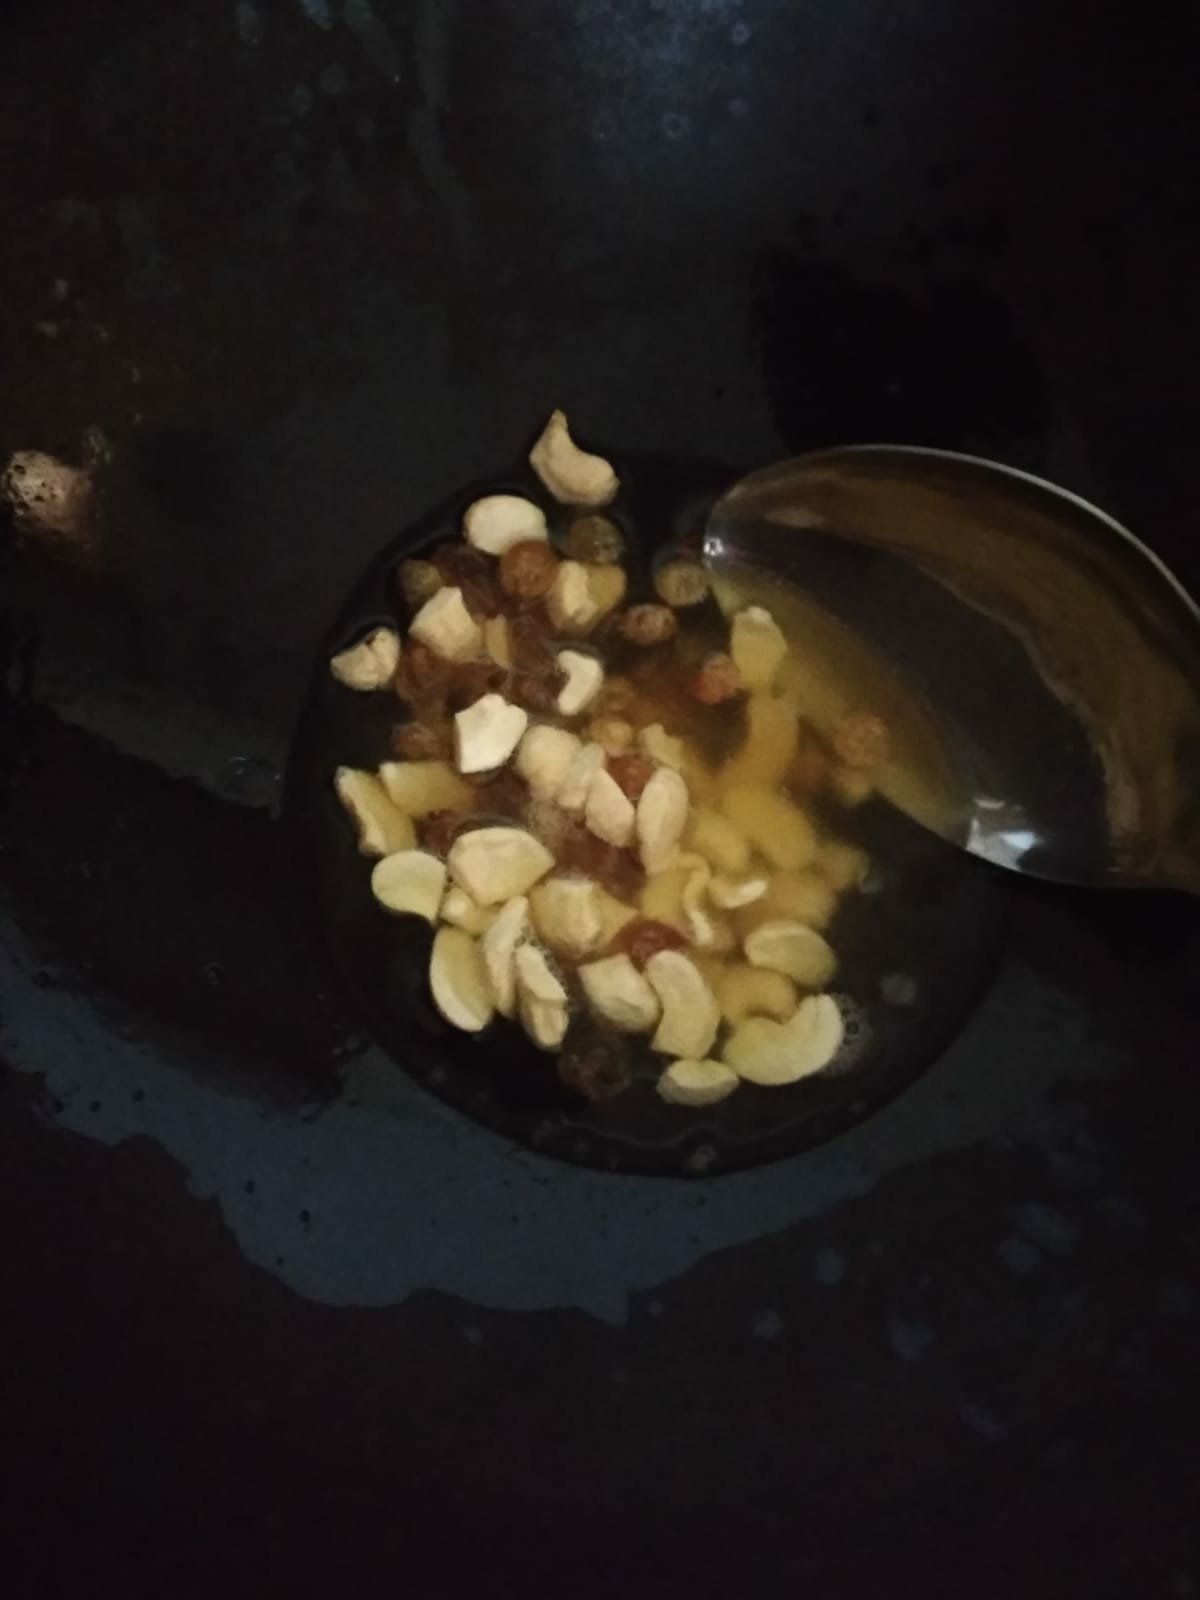
2. Heat ghee in a pan (I use iron kadhai for this) and fry cashews and raisins till cashews brown slightly.
3. Add semolina and roast on medium flame till it turns aromatic and changes colour. Takes about 3 to 5 mins.
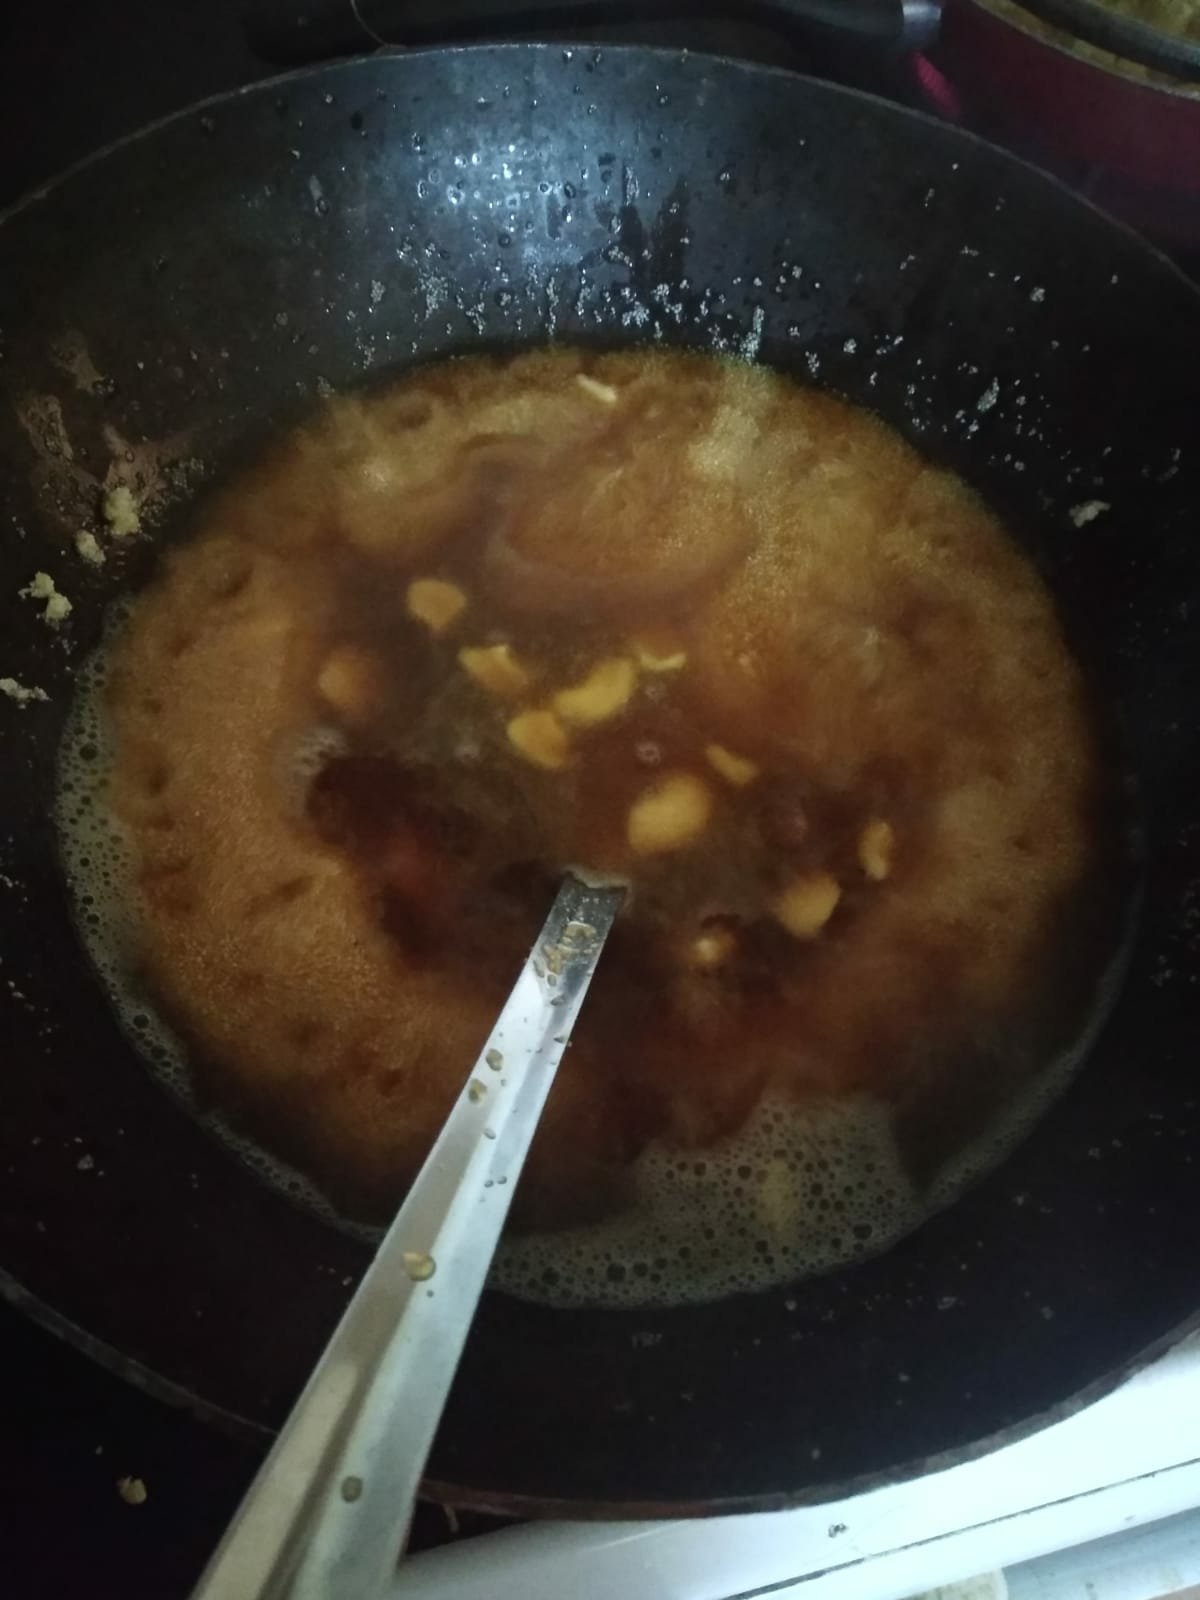
4. Now see that jaggery is completely melted in the water and the water is really hot.
5. Add this boiling jaggery water through a sieve (to remove impurities if any) to the roasted semolina.
6. Mix well continuously on medium flame removing lumps till the mixture cooks well.
7. Serve warm.
Notes:
* You can also add cardamom powder if you love the flavour. I add sometimes too.
* Be sure to keep stirring continuously after you add jaggery water to the semolina. Else the mixture forms lumps.
* We are a sweet tooth family. So 3/4 Cup Jaggery for 1 Cup semolina is perfect for us. You can reduce if you don’t like your sheera extra sweet.
* I have purposely added more than double of water to semolina as it leads to the sheera turning super soft which we love.
* You can increase the ghee to 1/4 Cup if desired.
Click on the image to save the recipe on Pinterest.
We are a sweet loving family where the discussion for post dinner dessert is more than the dinner itself. Especially my daughter who asks what treat she will get if she finishes her meal. 😅
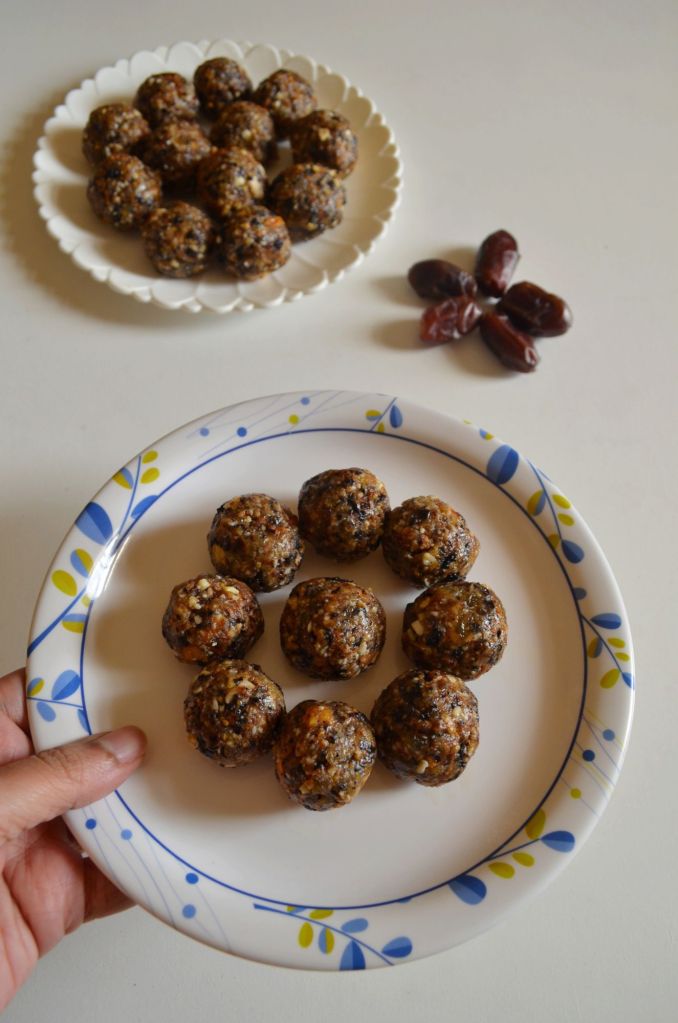
Although I make many sugar and jaggery based sweets which you can see in my Desserts page, this one is the healthiest any sweet can get and I can guarantee you that it will get finished off in a jiffy too. When I make these dry fruit bites, it hardly lasts couple of days. Both the kids and the kids’ daddy steal the sweet and gobble it up whenever they see the sweet box. They team up and find it even if I hide it. 😁
These are the healthiest sweet because they don’t contain any form of refined sugar at all. The sweetness from dates, apricots and raisins along with the bites from nuts makes this sweet too delicious for words.
Hope you all try for your family too. Happy and healthy cooking! ❤️
RECIPE:
1 Cup Dates {seeds removed and halved}
10 dried Apricots, {soaked in warm water for 5 mins}
1/4 Cup golden Raisins
1/4 Cup Cashews
1/4 Cup Pistachios, shelled
1/4 Cup Almonds
2 tsp Ghee
Step by step recipe:
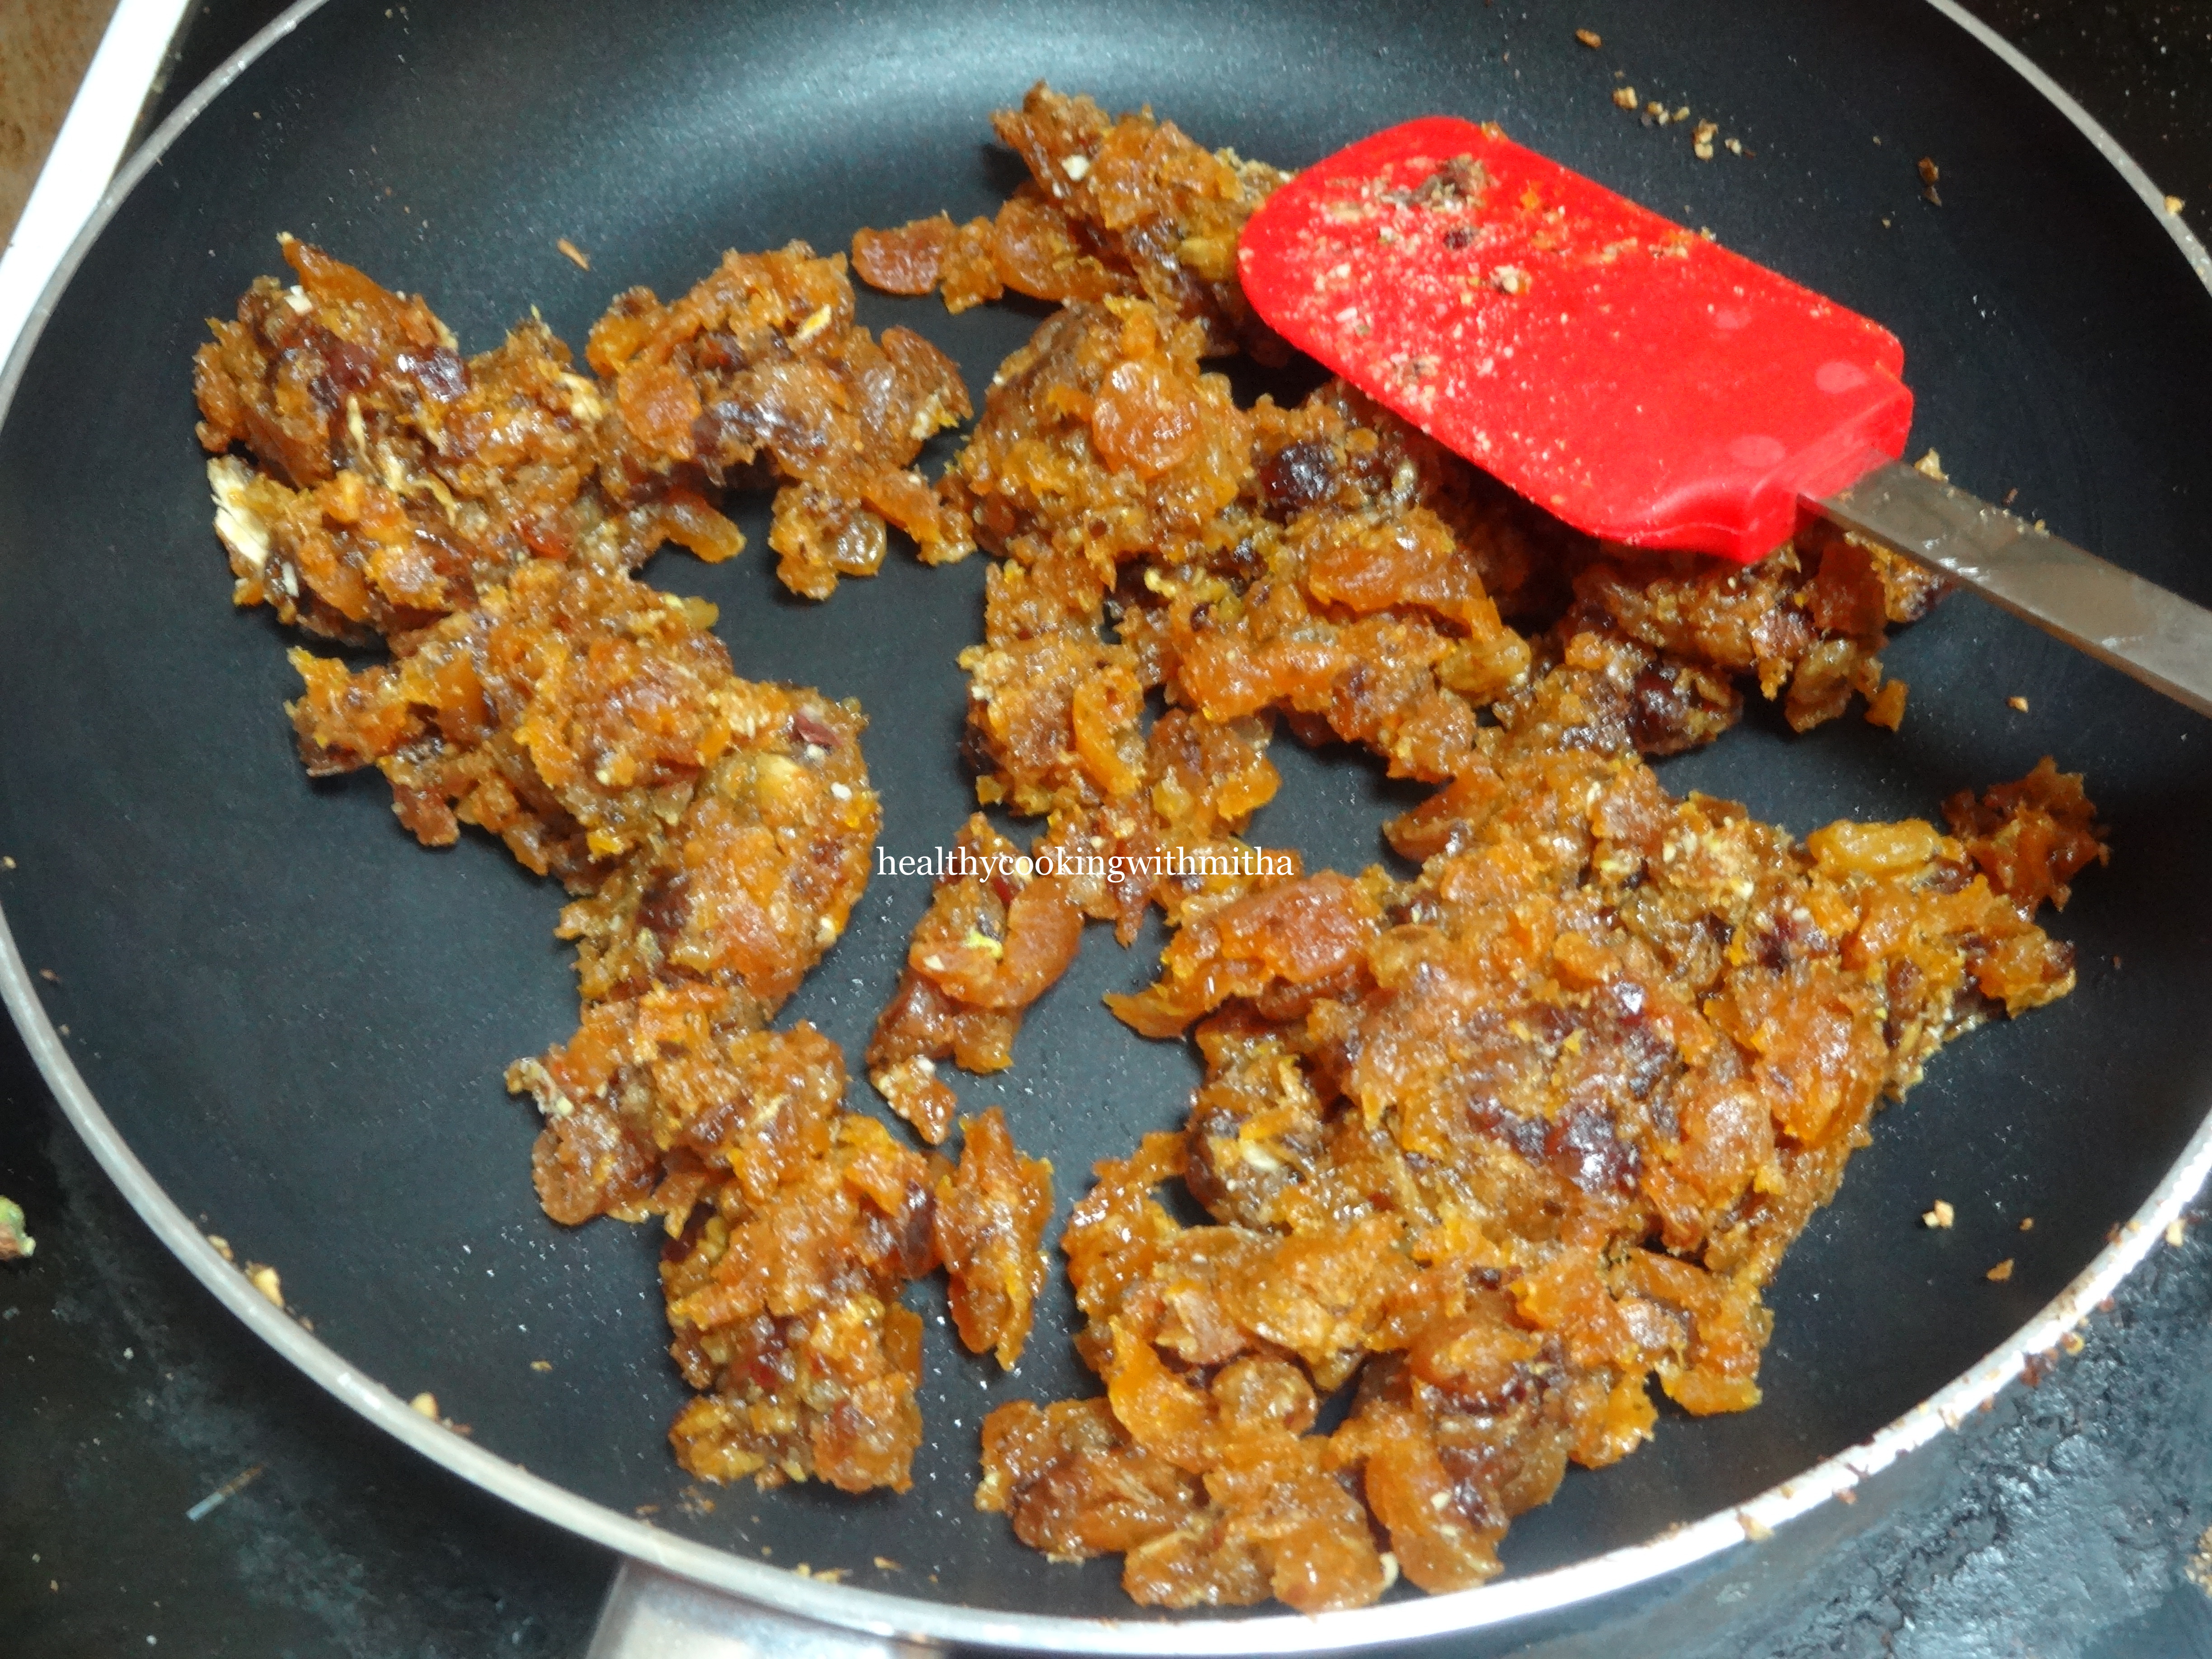
1. Add dates, apricots and raisins in a mixer or food processor. Grind till it turns into a coarse mixture. Do not add water at all while grinding .
Note: You can also grind it’s finely.. Check notes.
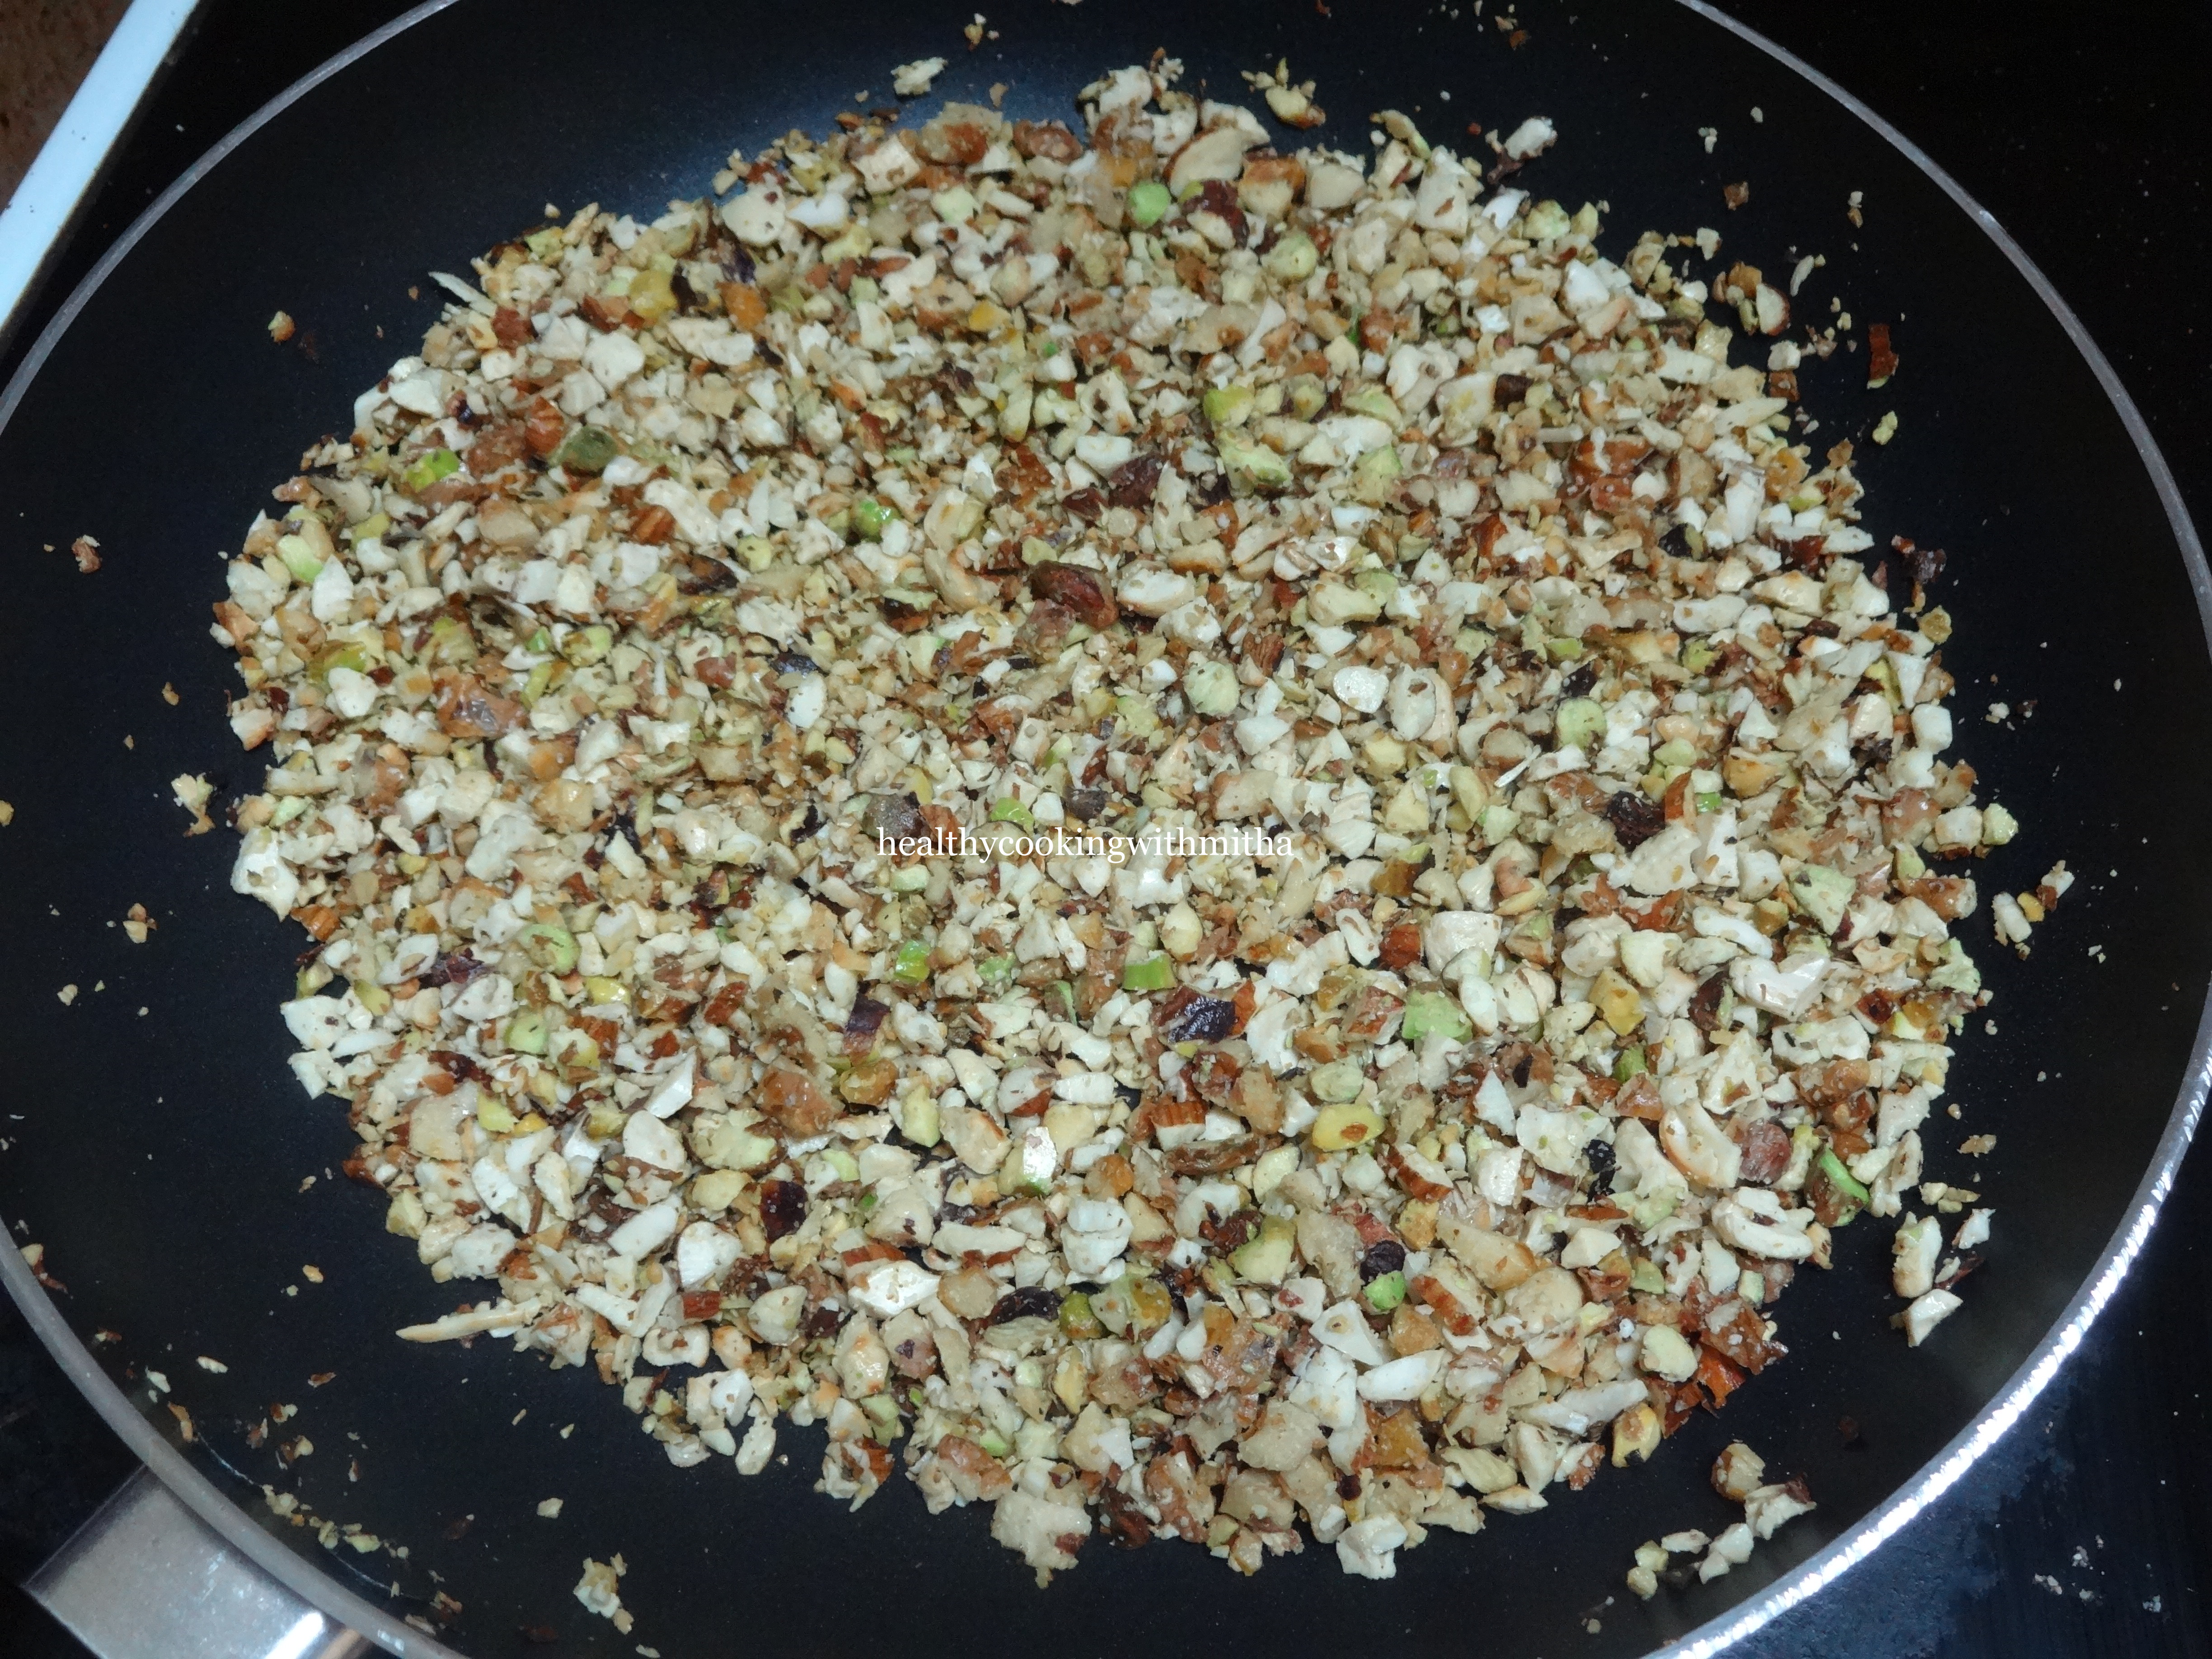
2. Now finely chop all the nuts using knife or use pulse mode in mixer or food processor. Add ghee in a pan and roast the nuts till it gives out an aroma. Do it on low flame.
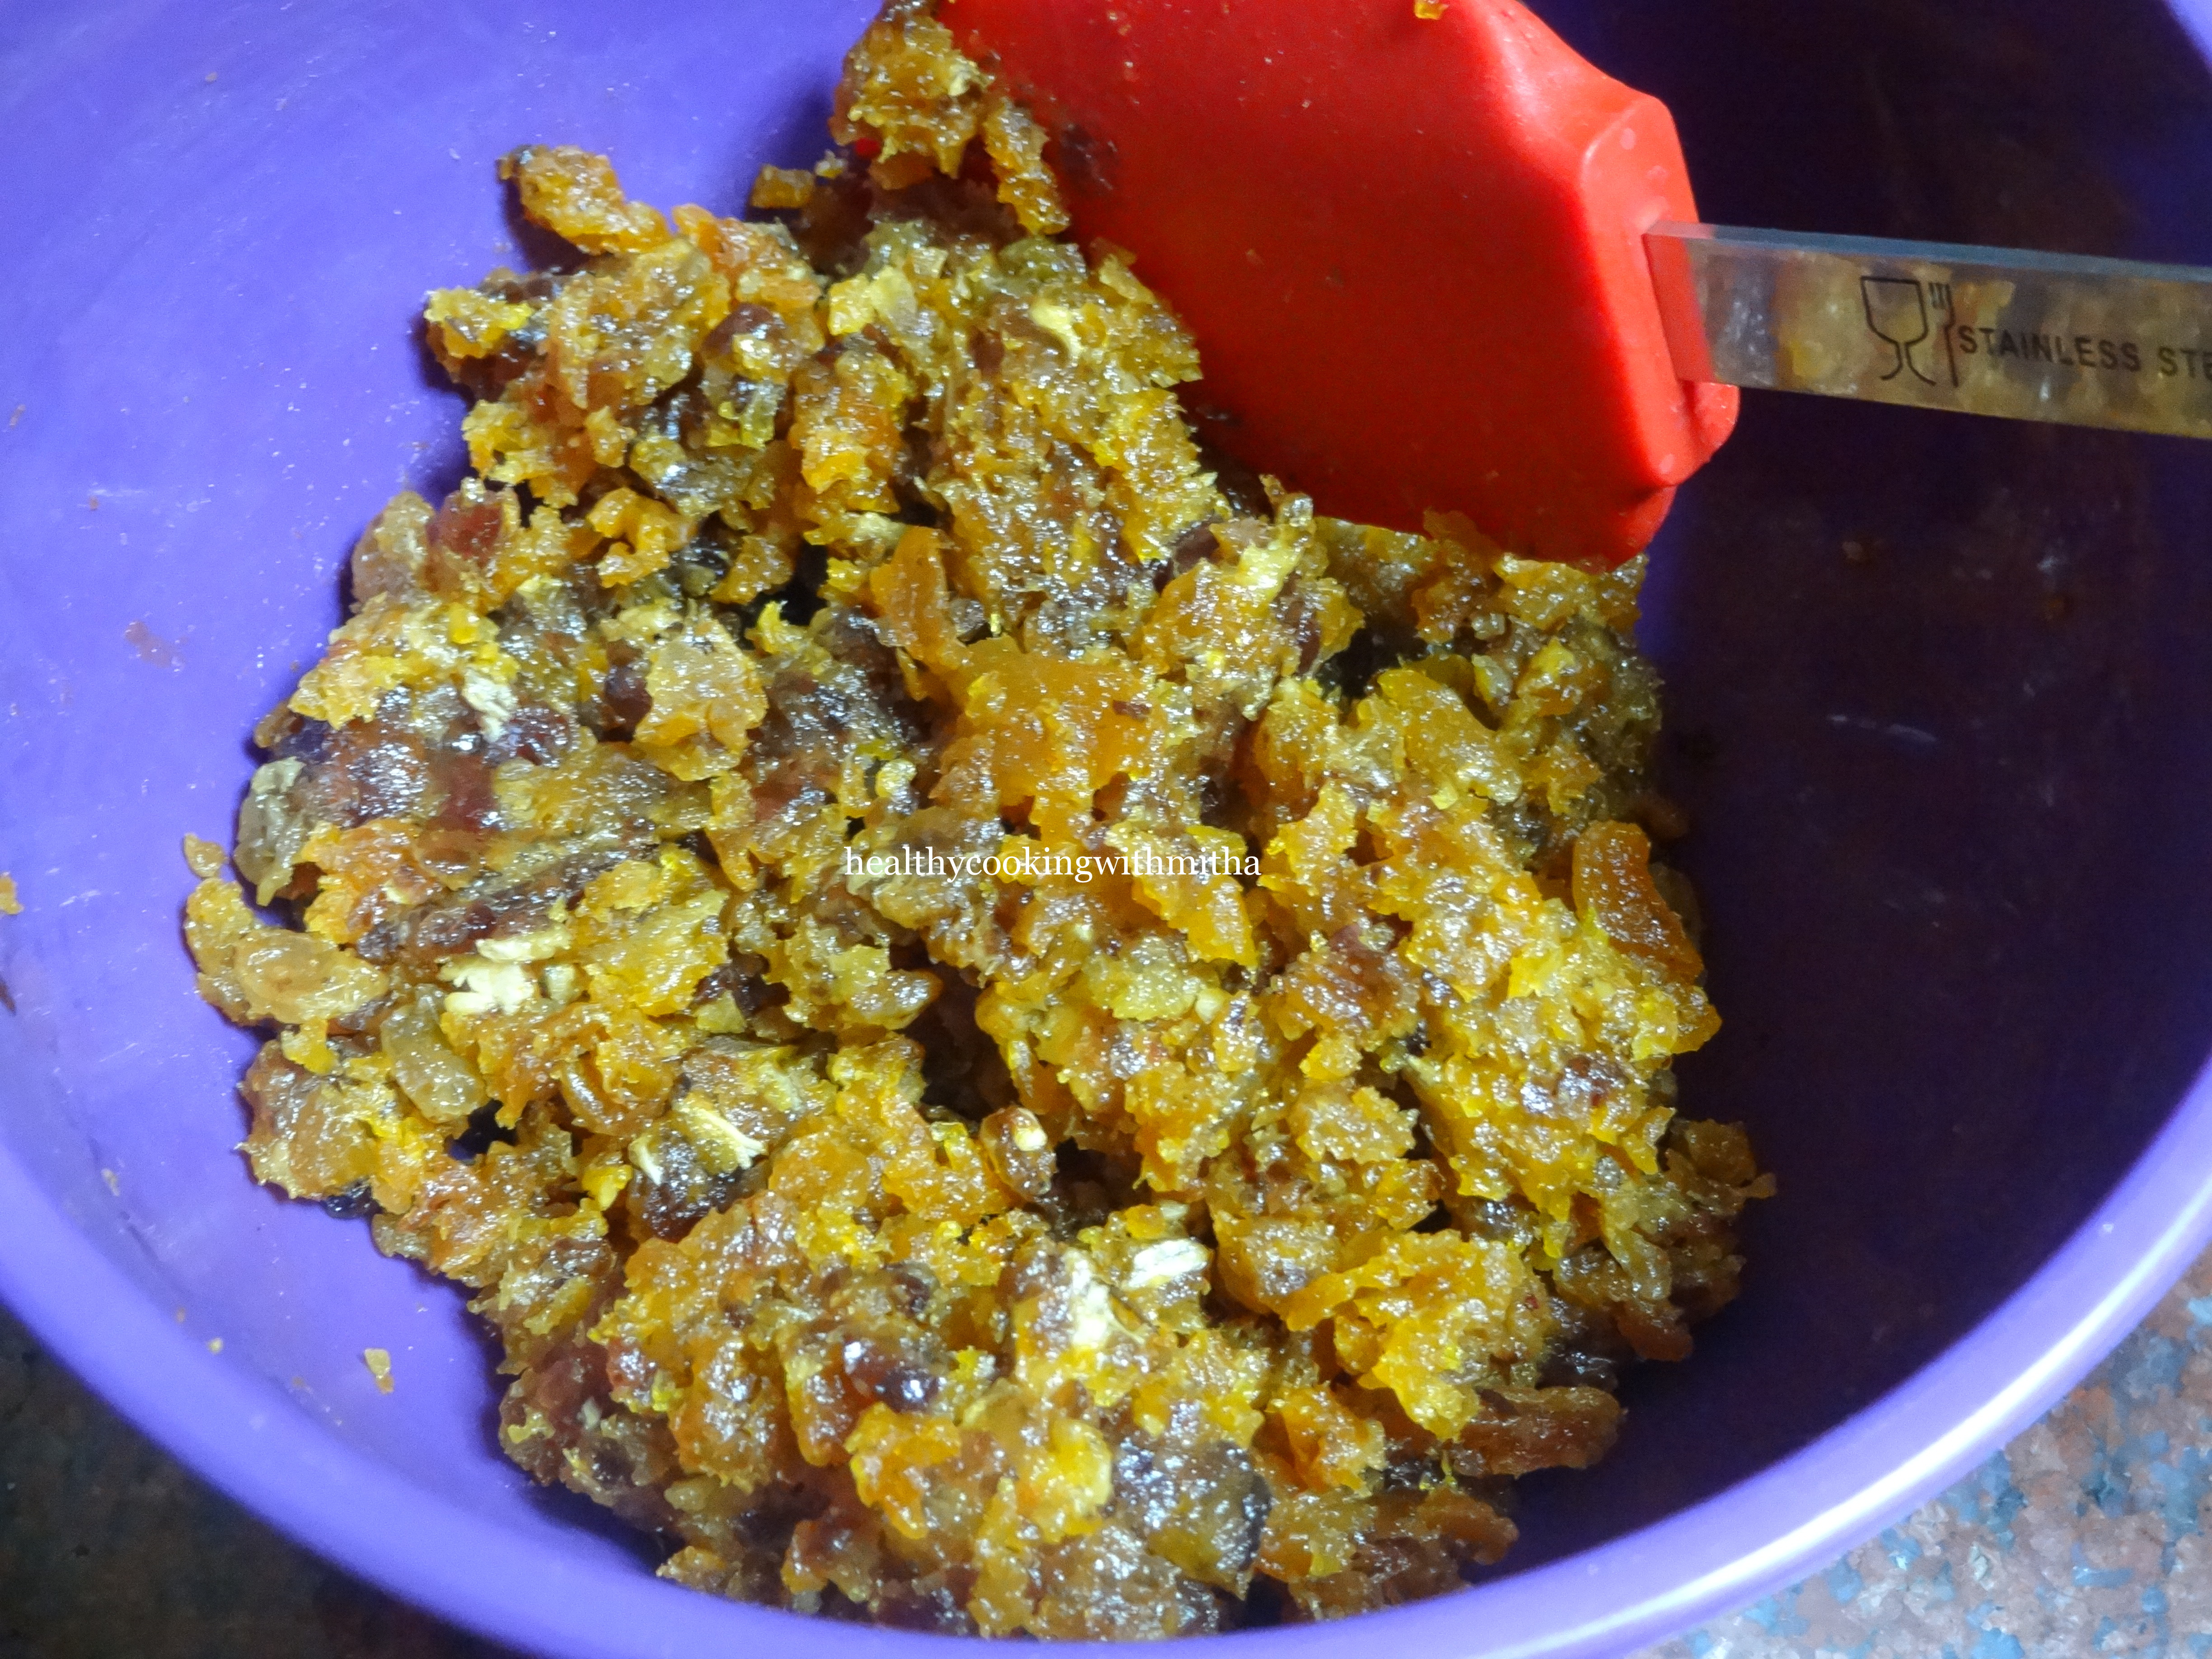
3. Now remove this in a plate and fry the dates paste in little ghee for two mins till it binds together.
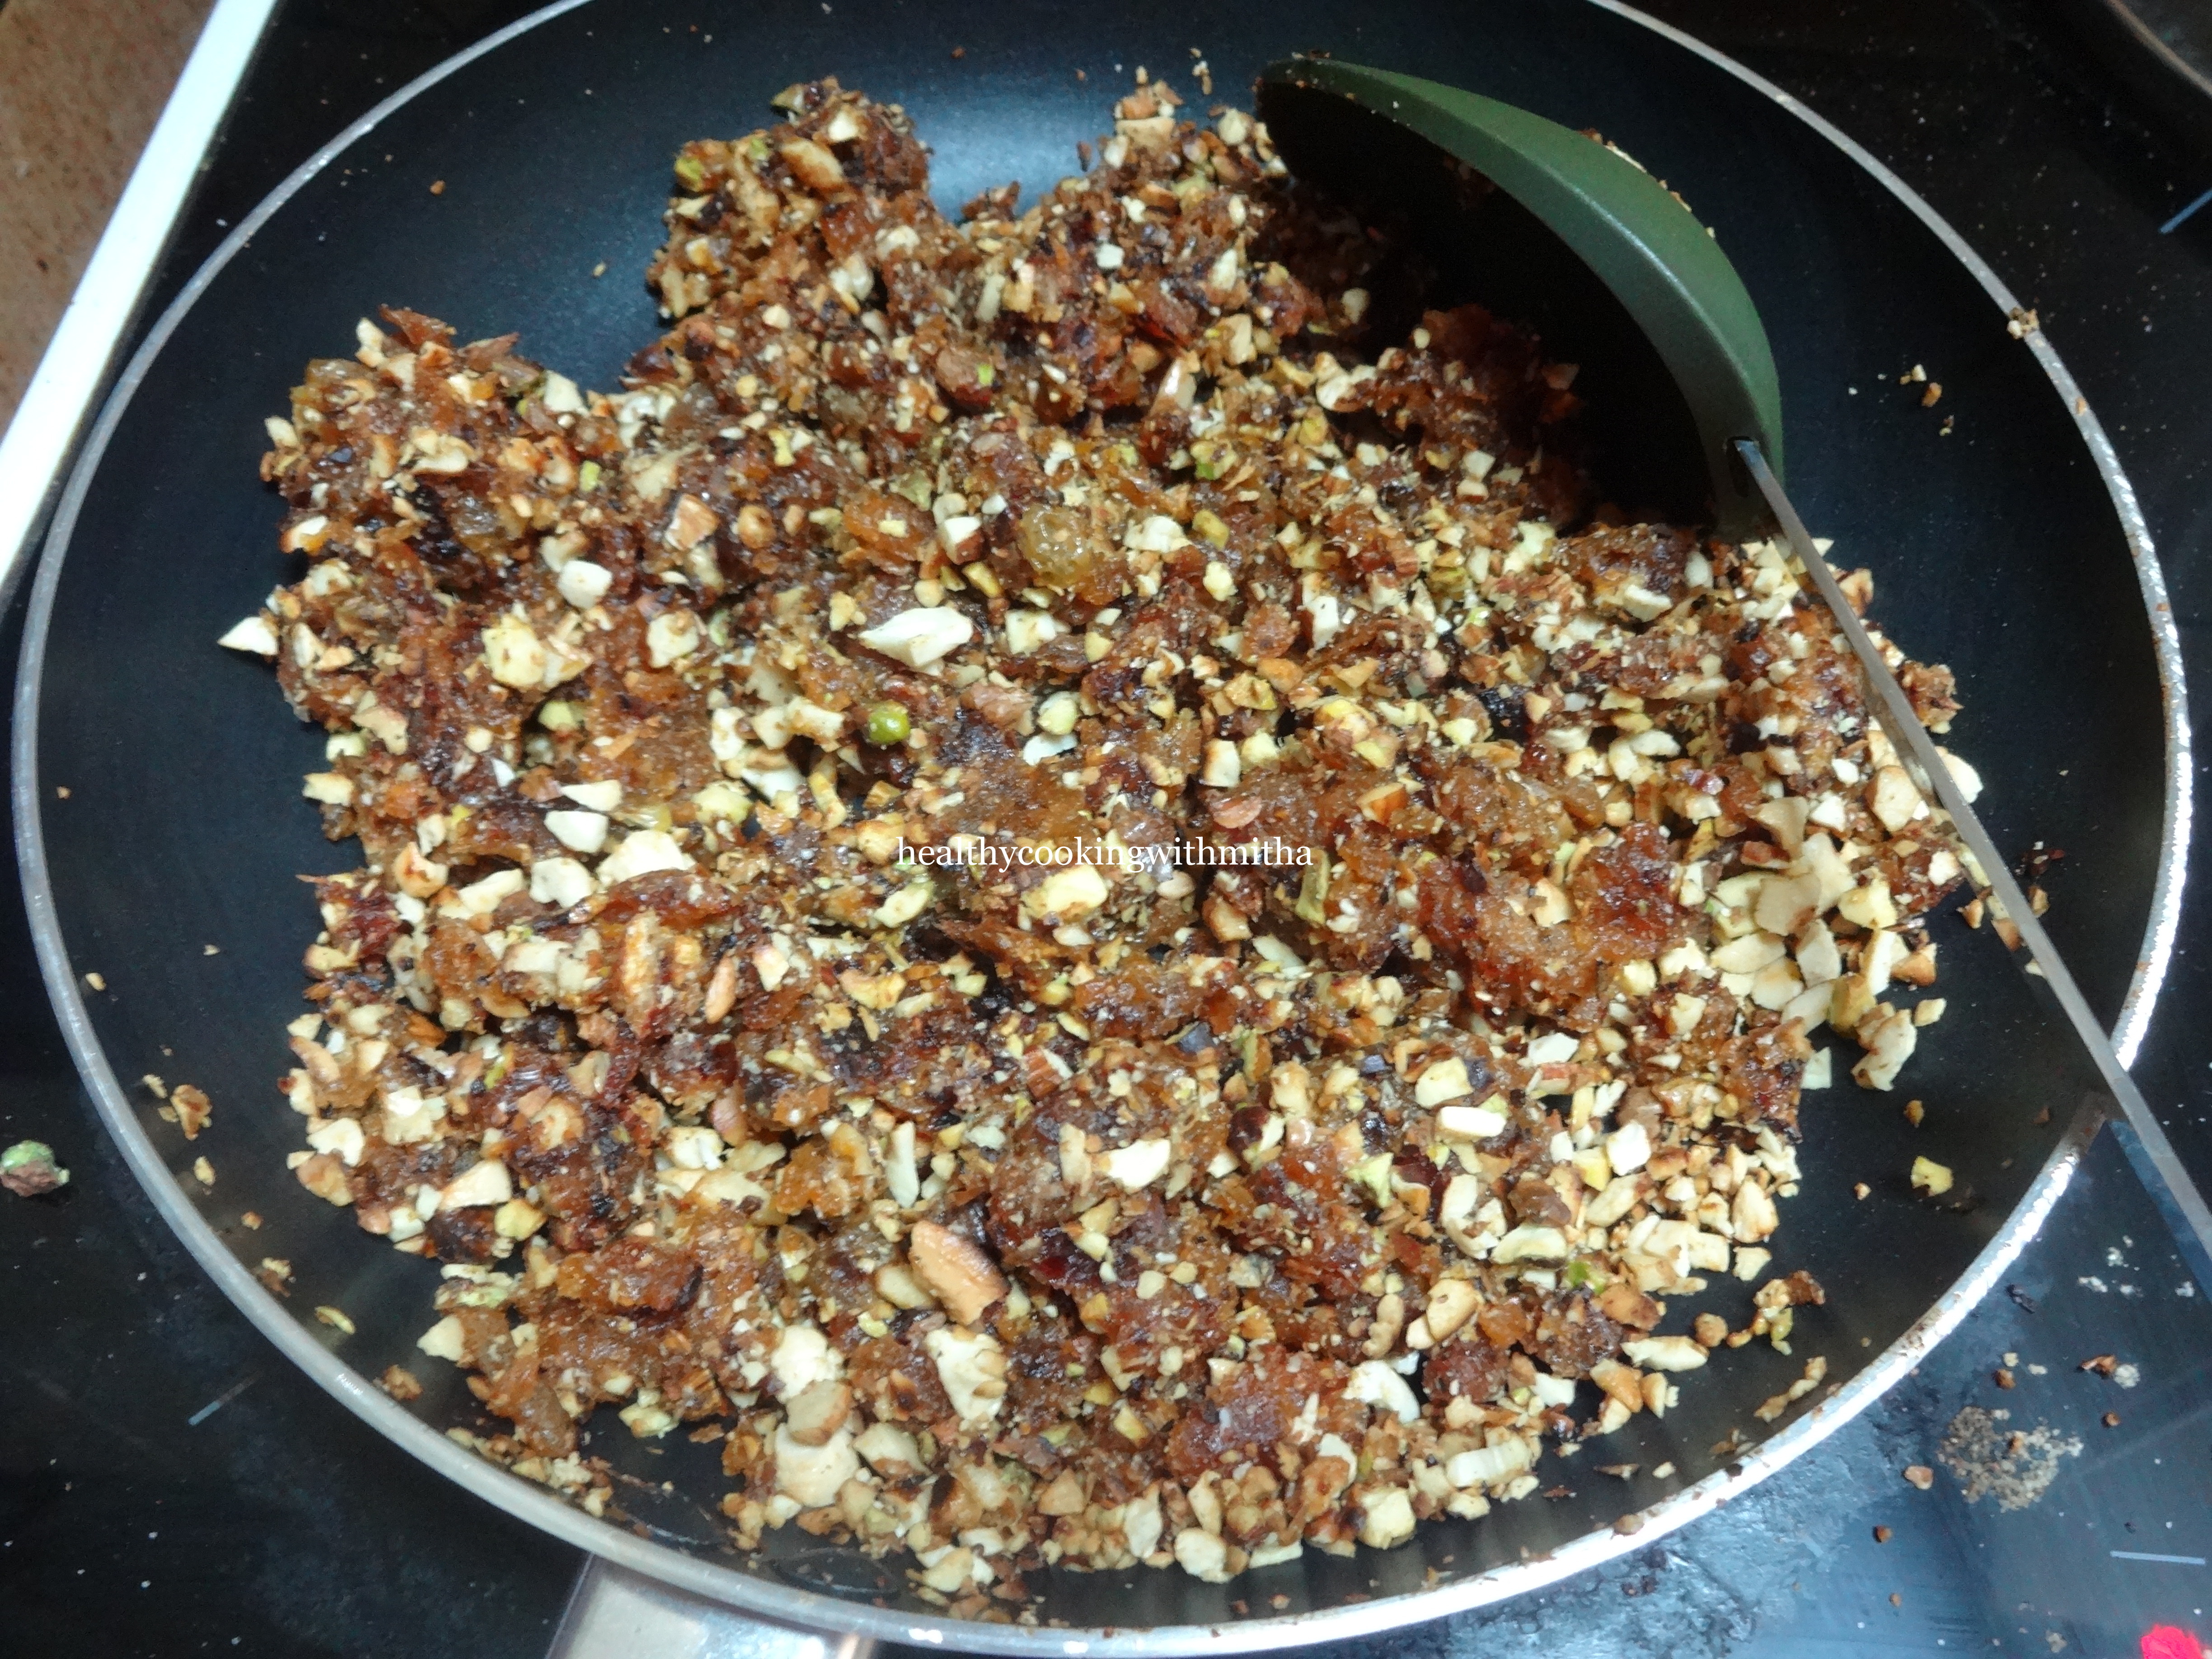
3. Add the roasted nuts and mix everything well. Keep mixing till they bind well.
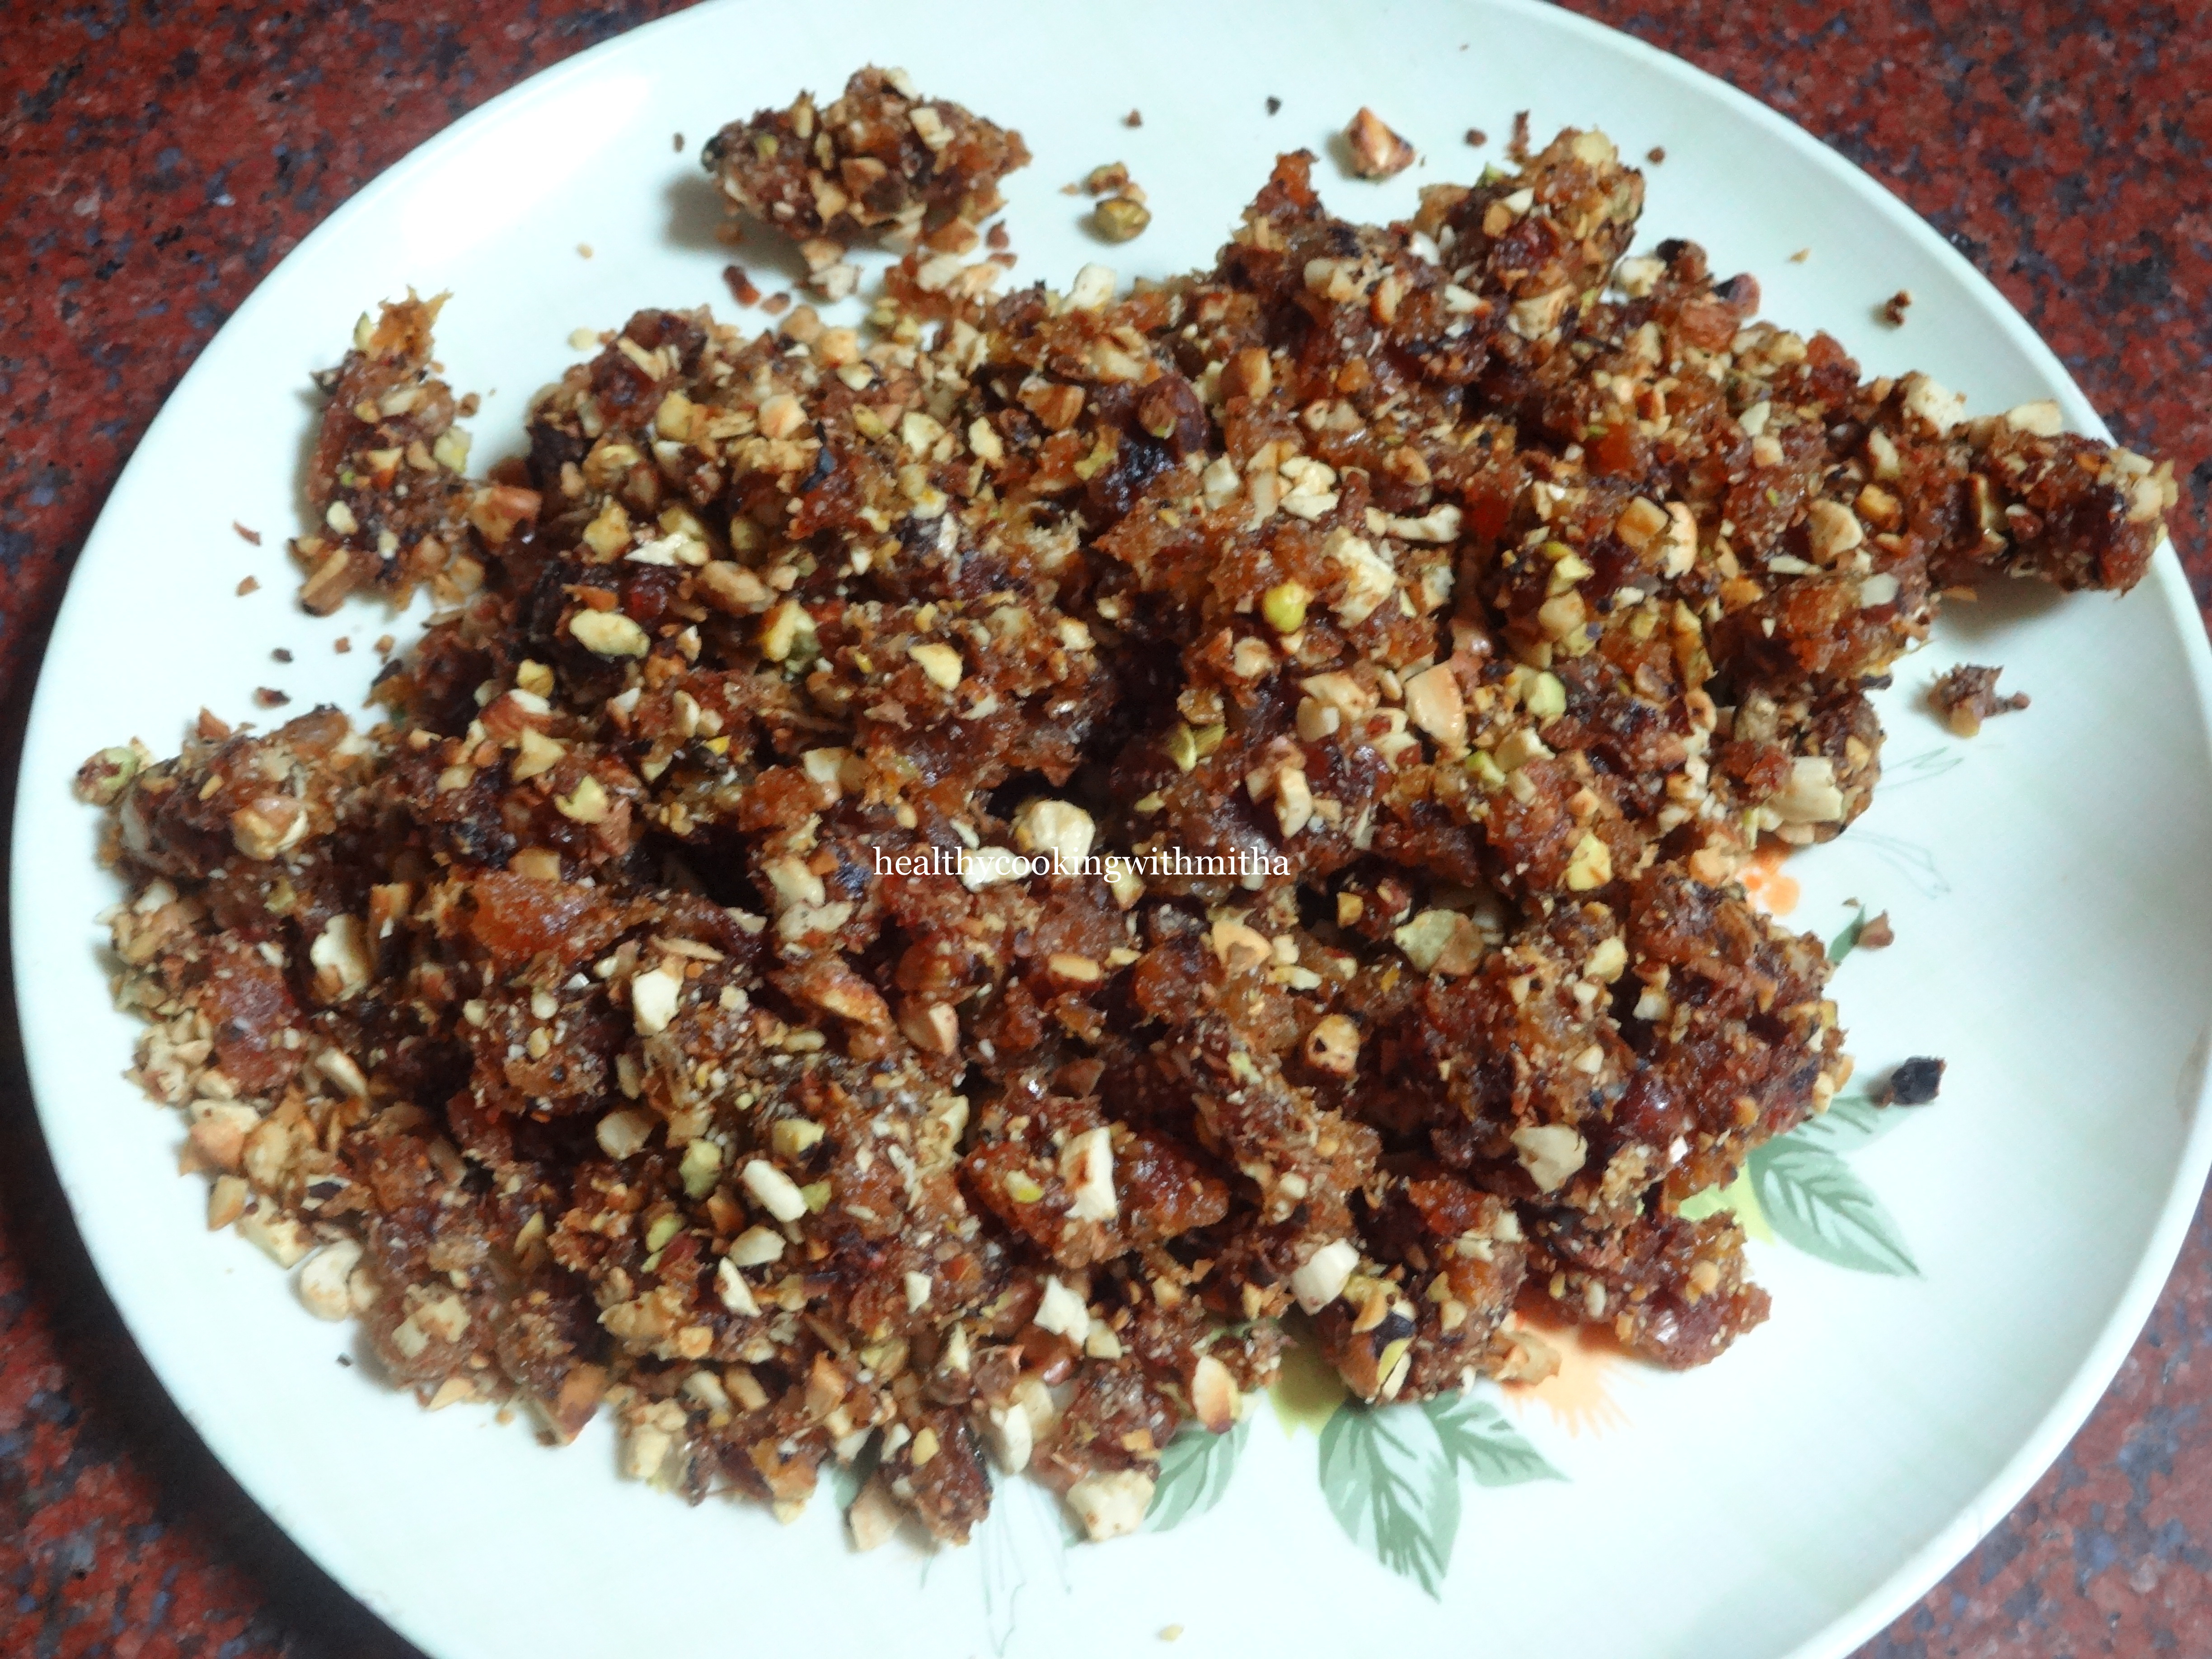
4. Now remove to a plate. Allow to cool slightly.
5. Make small balls or rectangular shaped bites. Enjoy!
Notes:
* Store in an airtight container and refrigerate after one day at room temperature {if leftover 😅}.
* You can also finely chop the nuts in mixer or food processor which leads the nuts to get to almost powder form. Also grind the dates mixture to a fine paste. My kids love that more. I also spread it in a plate and cut into squares. Looks like this.
Dry fruit squares
* The ratio of dates, apricots and raisins to nuts is perfect in this recipe. Don’t alter. Or else you won’t get the desired texture.
*Don’t add water at while grinding both the dates mixture and nuts.
* Be careful to roast both times on low flame. Else it can turn black and get a burnt taste.
* In case you don’t have apricots, use 1 1/2 Cup Dates.
* Use 3/4 Cup nuts. It can be any of the combination of cashews, almonds and pistachios. You can skip any one or use only nut variety too.
* I do not use walnuts as my kids don’t like the flavour in this sweet.
** You can also shape them in ladoos like I have done here. I have also used black raisins here.
We have a ritual of making sweets every weekend to enjoy post dinner and I love to try different healthy desserts. This bottlegourd halwa was just an experiment as I was not sure if the kids will like it or not.
But to my pleasant surprise, they loved it a lot and my daughter asks it to be made every weekend. And what better that she enjoys a vegetable without making a face at it. Feels very happy when the family enjoys it.
If you are a Konkani, you might have already tasted this gardudde halwa sometime in your life. It is a famous dessert for special functions and occasions. Hope you all can make it at home and enjoy too just like how we do. Happy and healthy cooking.
Here is a picture of bottle gourd for those who don’t know which vegetable it is.
RECIPE:
Ingredients:
1 medium sized Bottlegourd/Gardudde/ Lauki/ Sorekai/ Chorakka (around2 cups when peeled and grated)
3/4 Cup Jaggery
3 Tbsp Milk ( You can skip milk to make plain halwa)
2 Tbsp Ghee
1 Tbsp chopped Cashews
1 Tbsp Raisins
1/4 tsp Cardamom powder (optional)
Step by step recipe:
1. Wash well, cut the ends, peel and cut the bottlegourd into long slices. *Save the peels for a delicious upkari. Check notes at the end.
2. Grate the bottle gourd using a grater.
* If the bottlegourd is old and the seeds are huge, the seeds need to be discarded, else if the bottle gourd is fresh like in the above picture, you can grate along with the core and use the seeds too.
3. Heat ghee in a kadhai (I use ironkadhai to make this halwa). Fry cashews till it turns slightly brown and till raisins puff up.
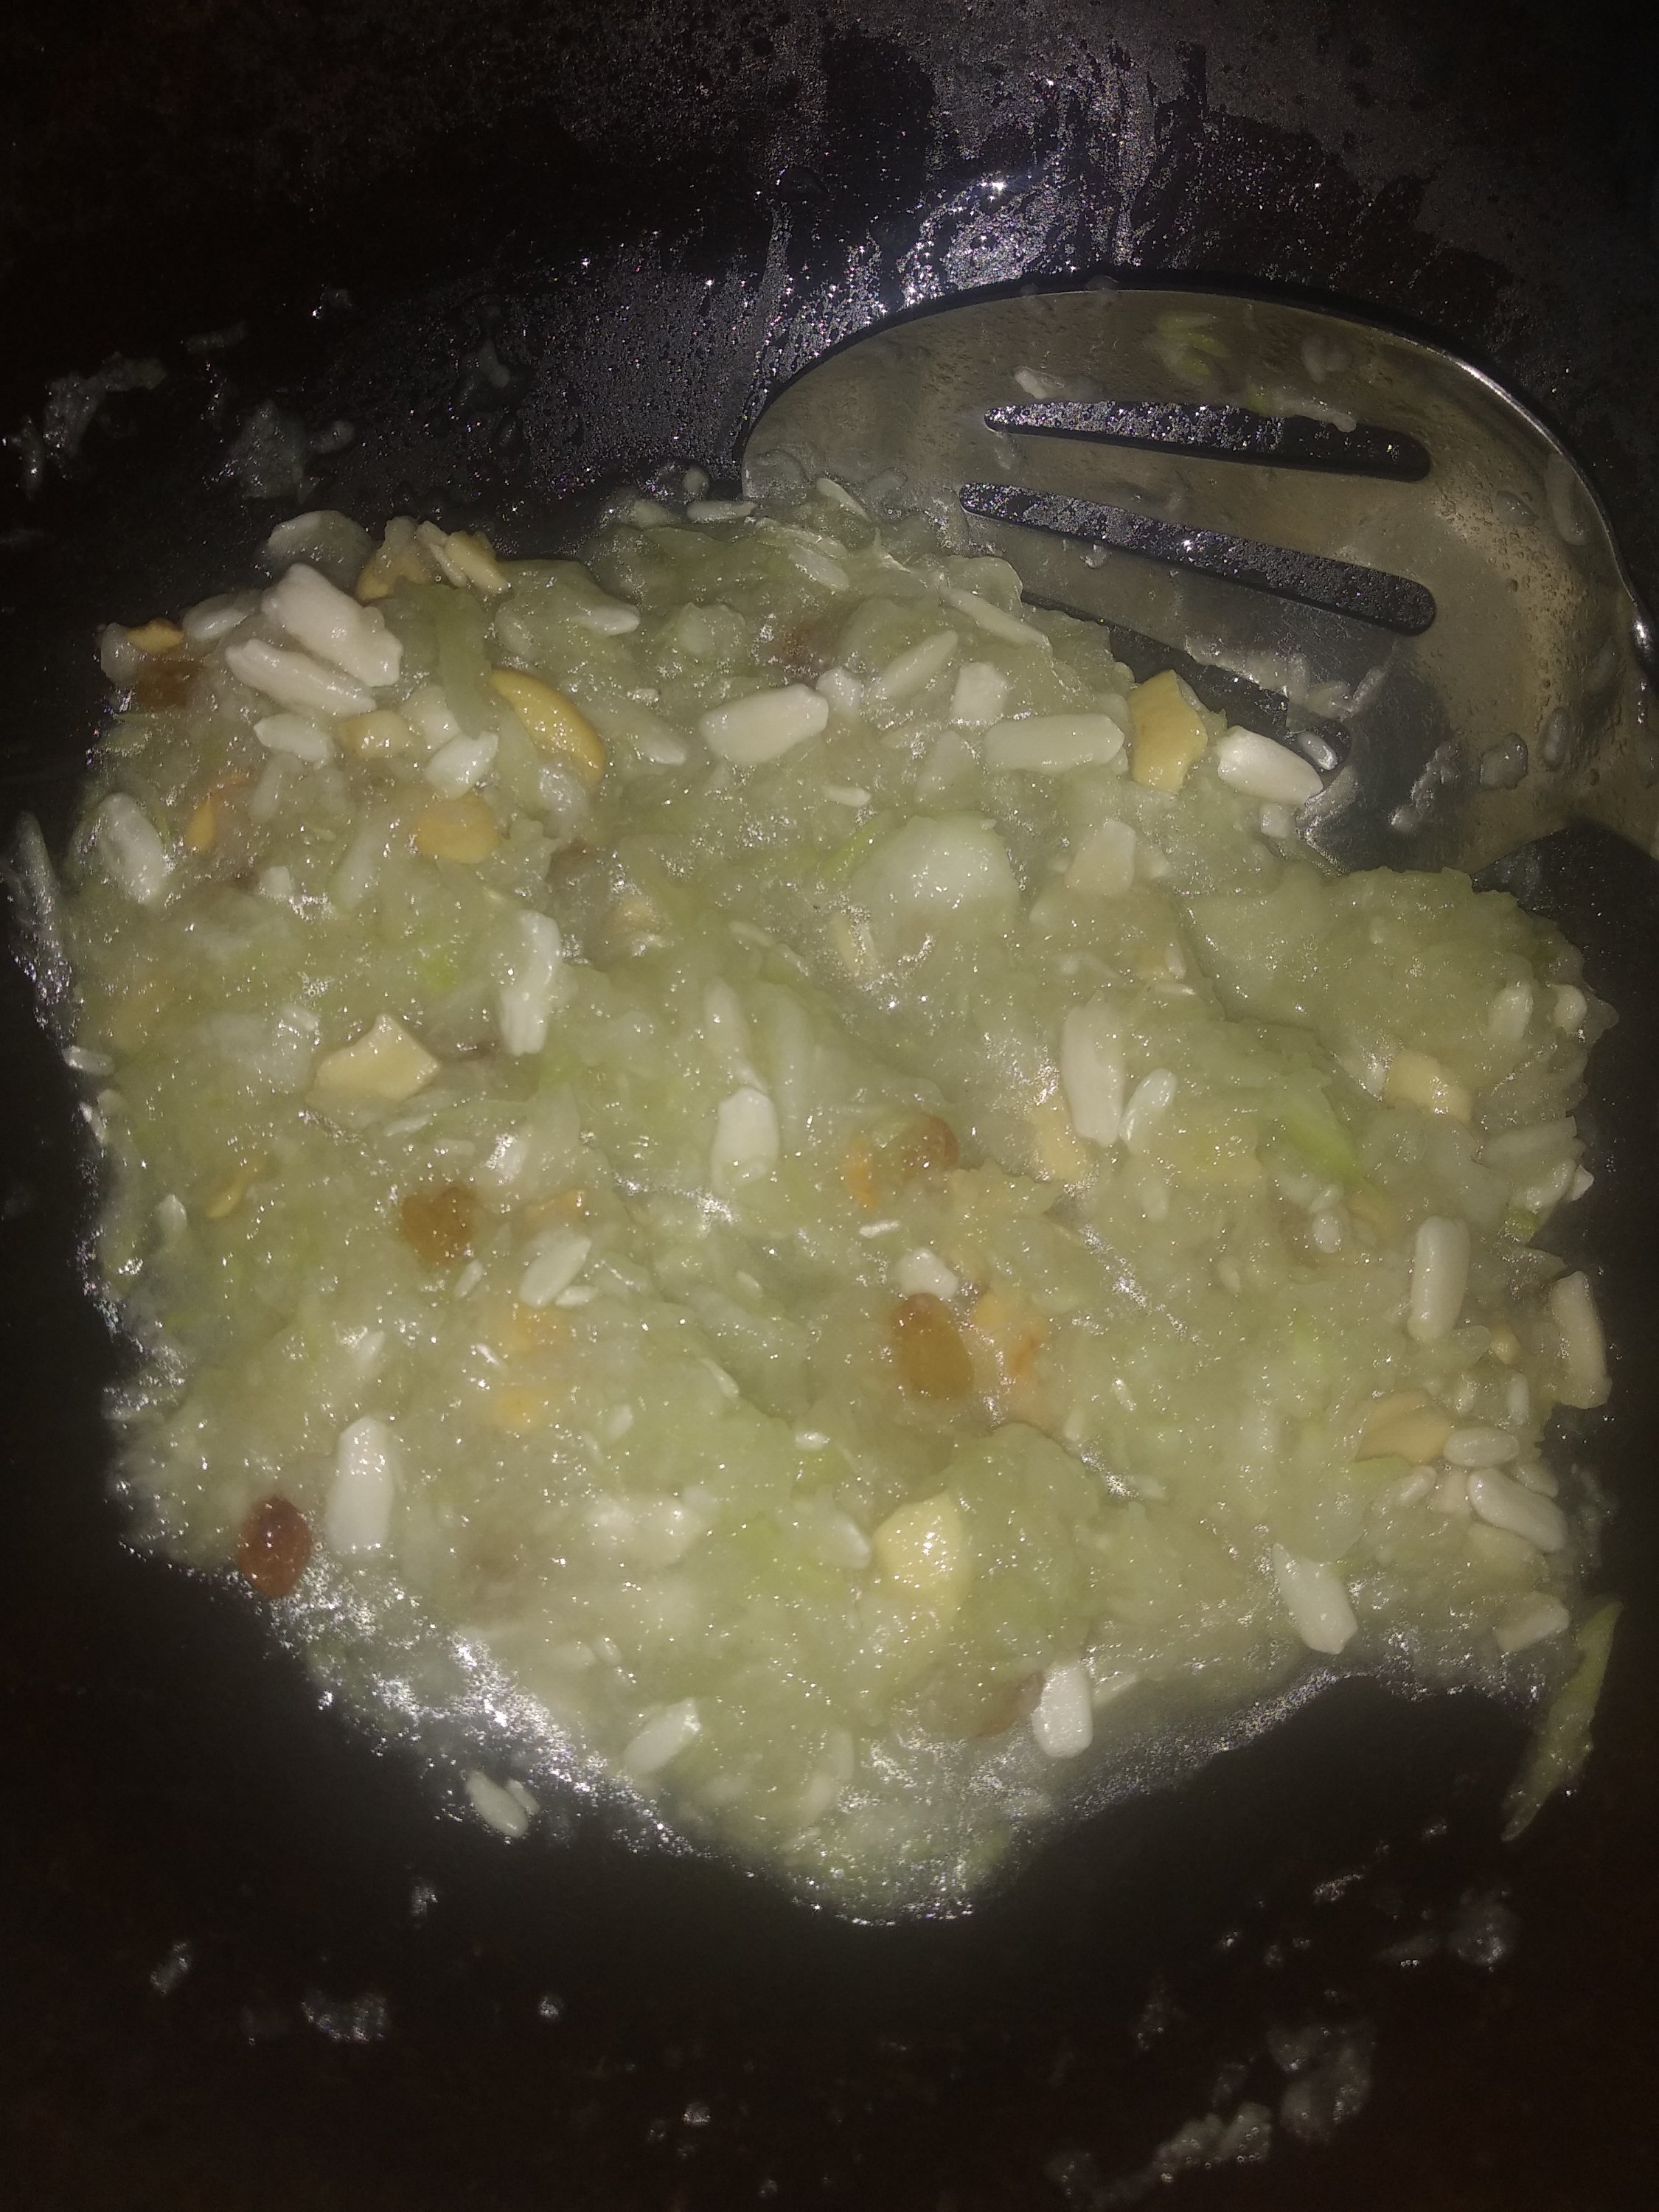
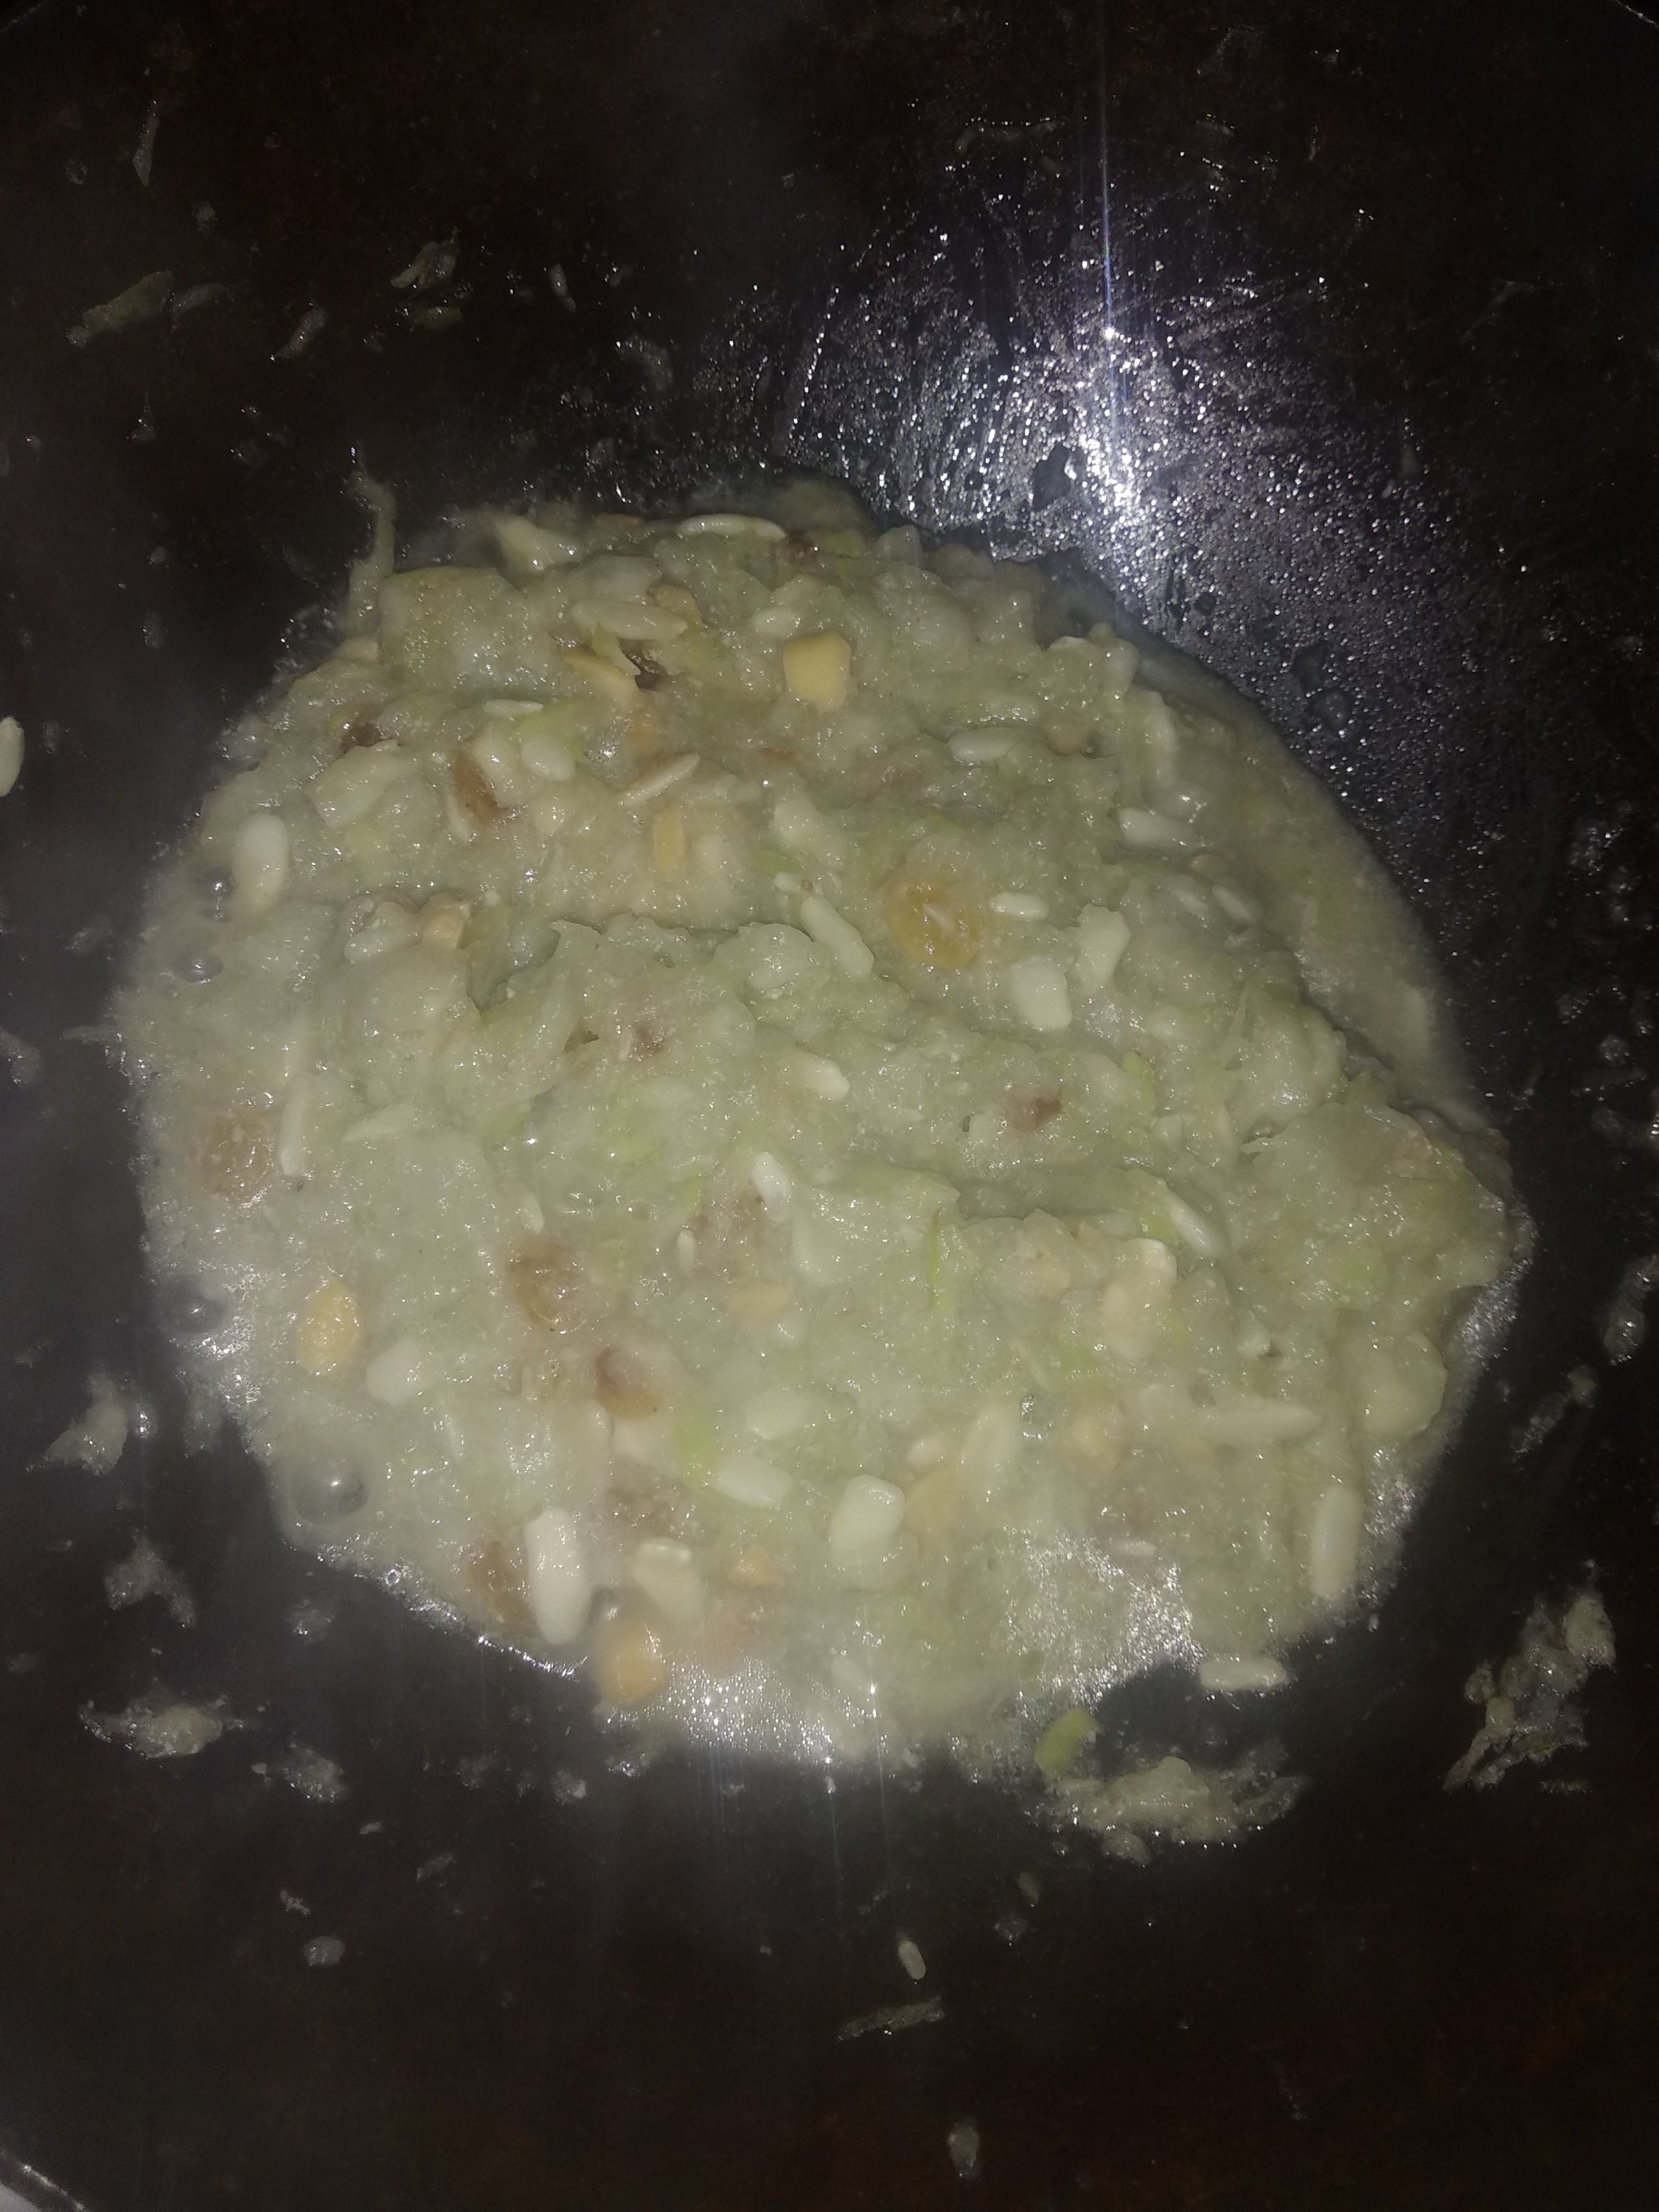
3. Add grated bottlegourd and fry for few minutes till the bottle gourd changes colour.
4. Add milk and cook till milk evaporates.
See how the milk has absorbed. Add jaggery only now.
6. Add jaggery (either powder or melted jaggery) and cook till the mixtures leaves the sides of the pan. Add cardamom powder. Mix well and remove from the flame.
Notes:
* For 2 Cups of grated bottle gourd, 3/4 Cup of jaggery turns out perfectly sweet for us. You can reduce or increase as per your taste.
* As mentioned above, if the bottlegourd has huge seeds, you will have to discard it while fresh bottlegourd can be grated along with the core.
* Please don’t discard the bottlegourdpeels. Just chop the peels into small pieces. And make upkari with chopped potatoes. (season oil with mustard seeds, hing, green chillies and add peels and potatoes. Add salt and little water. Cook till they turn soft. Add grated coconut on top.) Turns out delicious.
* Fry well and let it cook well with milk before you add jaggery. Once you add jaggery, it won’t cook much. So do a taste test if it is cooked well before adding jaggery.
* Also allow the milk to absorb fullybefore adding jaggery, else the jaggery can curdle the milk.
* I sometimes skip milk to make plain bottle gourd halwa. It tastes delicious too.
I am not very good at making sweets but there are few easy recipes that can be tried successfully by amateurs like me and it will definitely come out well. One is the Coconut burfis that I already posted and the second is these Mango Coconut burfis.
My kids love coconut based sweets. So I always make these instead of buying them from outside. I love the colour mango brings in this sweet.
You can make on stove top instead of microwave. Hope you all like it too. Happy cooking!
RECIPE:
Ingredients: { Makes about 20 ladoos}
2.5 Cups Desiccated coconut
1 Cup Sweetened condensed milk (about 300 grams)
1/4 Cup Mango pulp ( fresh/ tinned)
1 tbsp Ghee
1/2 tsp Cardamom powder
Step by step recipe:
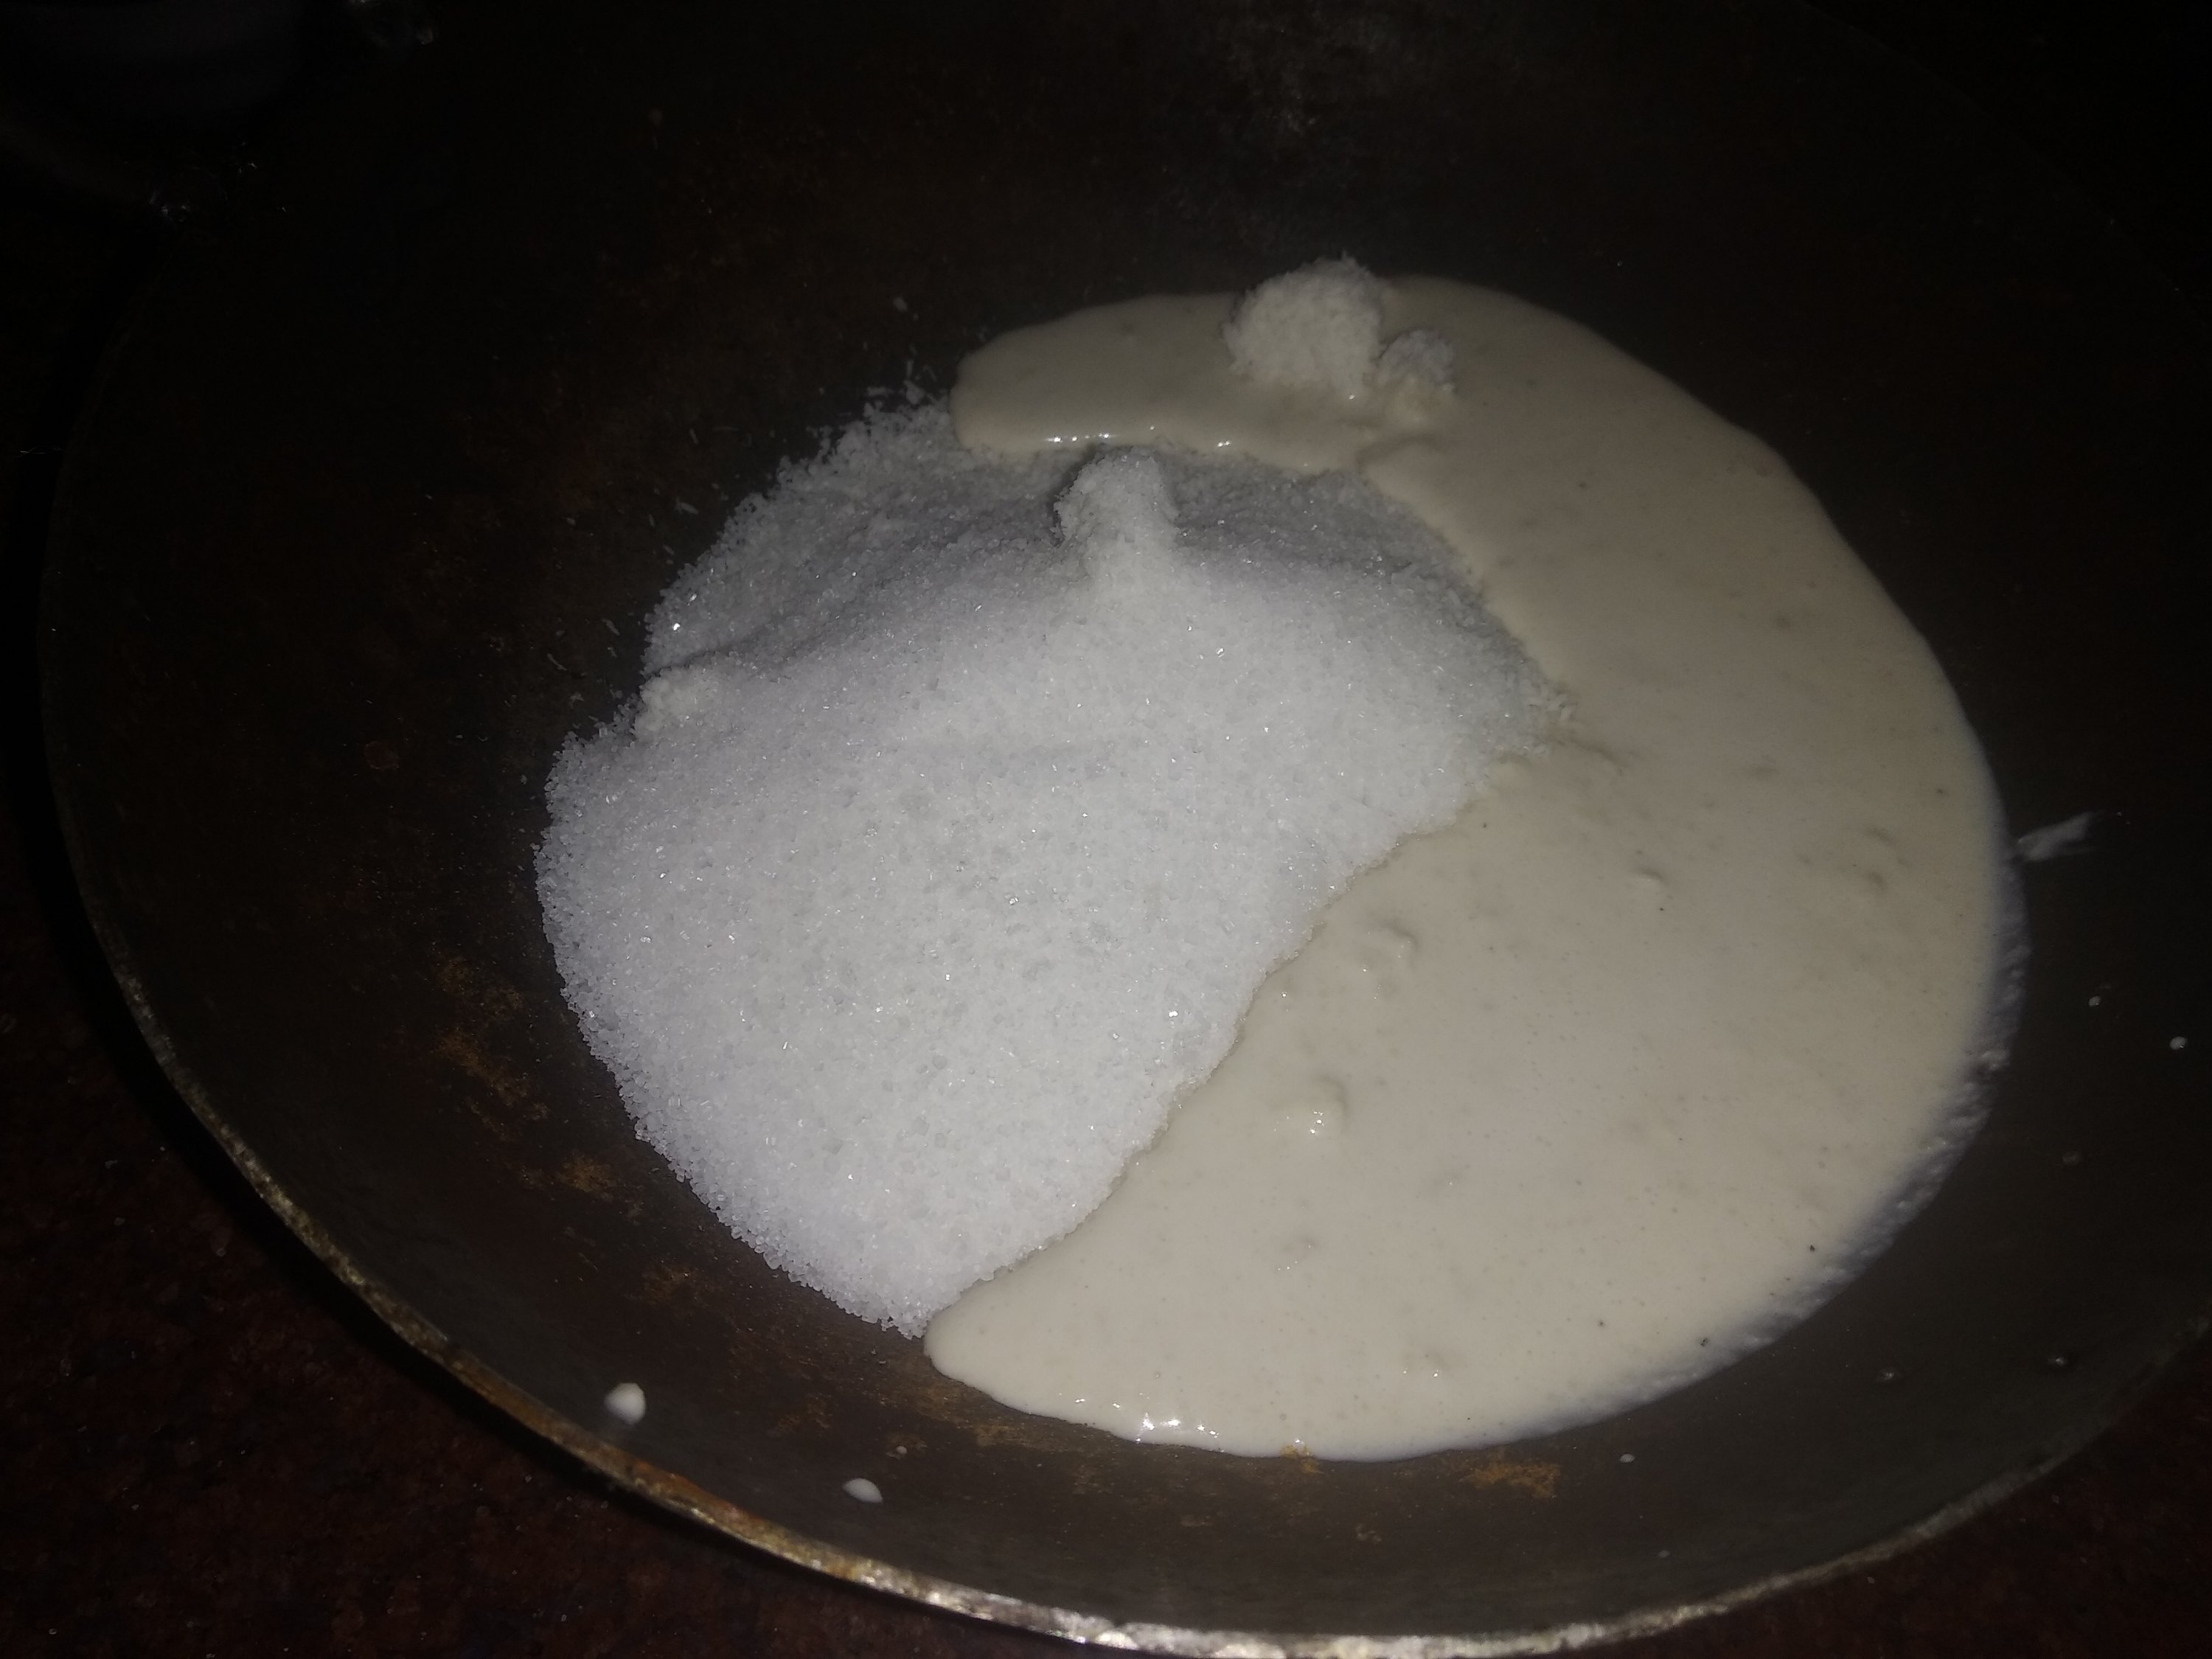
1. Take all the ingredients in a microwave safe bowl.
2. Mix well using a spatula so that it turns into a even mixture.
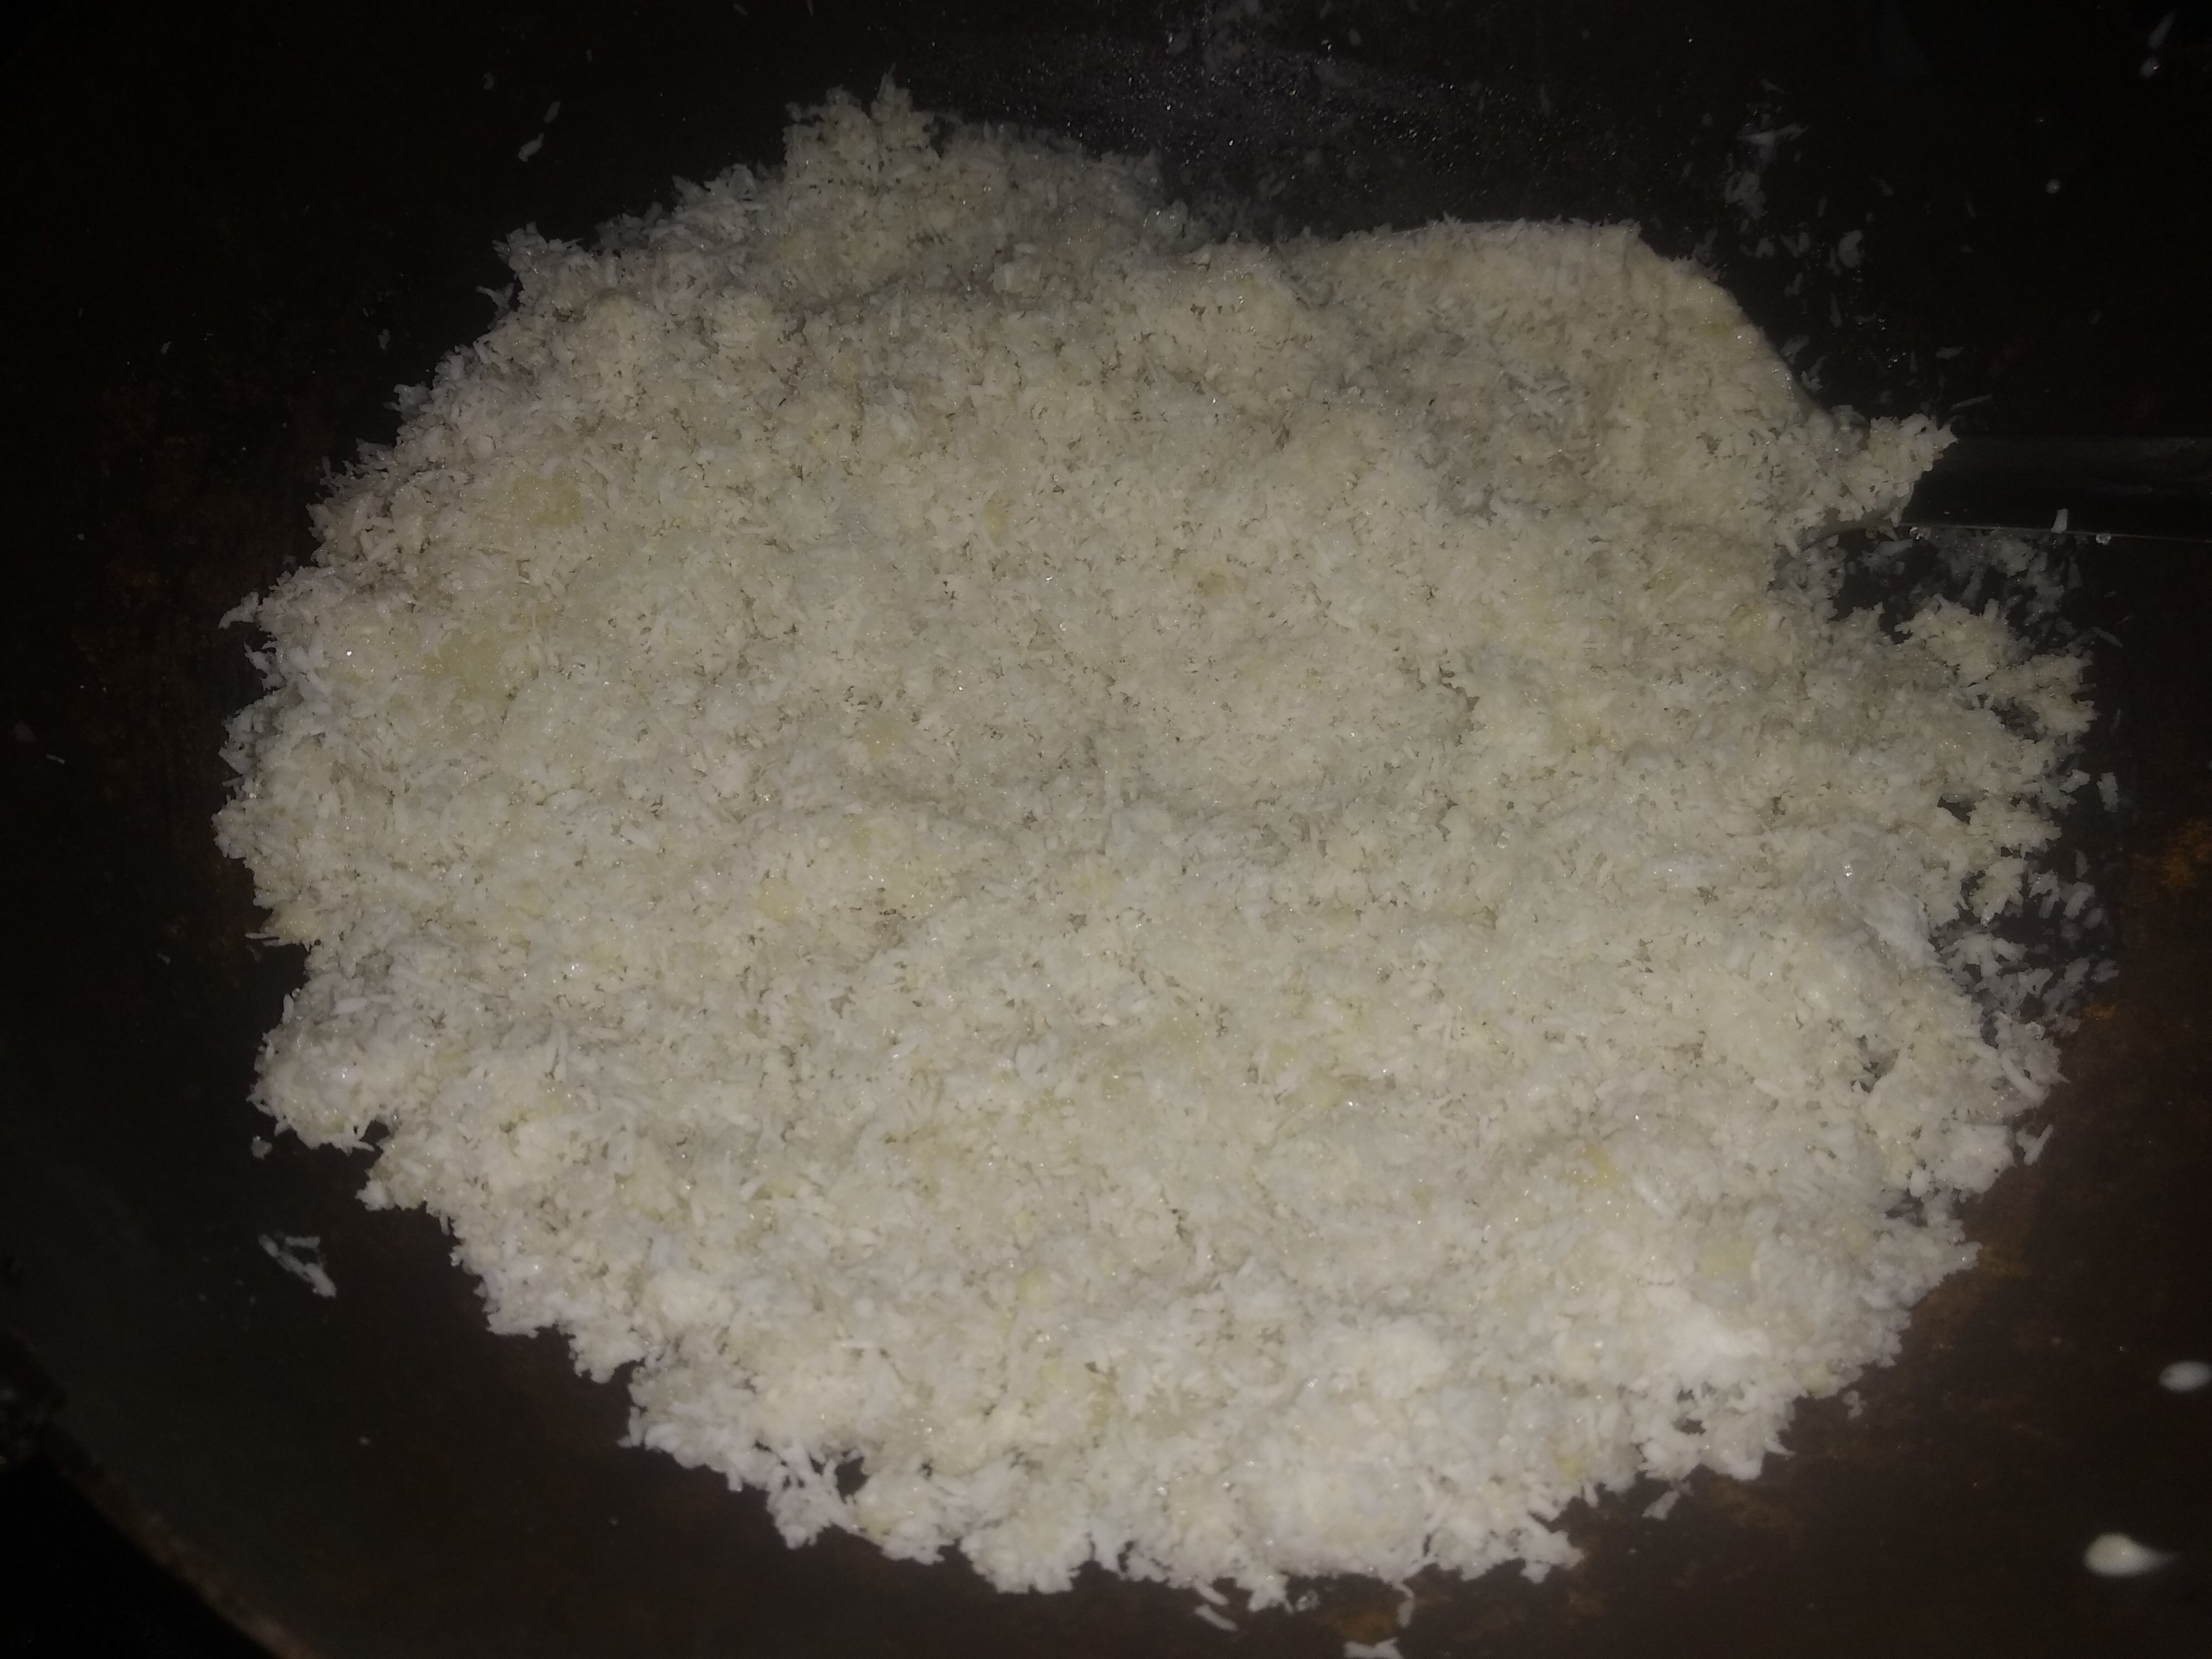
3. Microwave on HIGH (max power) for 6 to 8 mins (check at every 2 min intervals) till the mixture cooks and resembles the below mixture. It will come together and not sticky.
Check if you can make small balls which are smooth and non sticky. If you can, the mixture is perfect. Else cook for couple of mins more.
4. Allow it to cool slightly and then make ladoos.
Notes:
* Store in an airtight container. Lasts well at room temperature for a day. Then refrigerate as it might spoil during summers.
* As every microwave is different, check at every two mins so that the mixture does not burn.
* You can also do it in a pan on stove top instead of microwave. That is how I make Coconut Burfis.
* I always make these ladoos as they are very easy. Here is a picture of the ladoos when I made them sometime back. The colour of the ladoos depend on the colour of the mangoes.
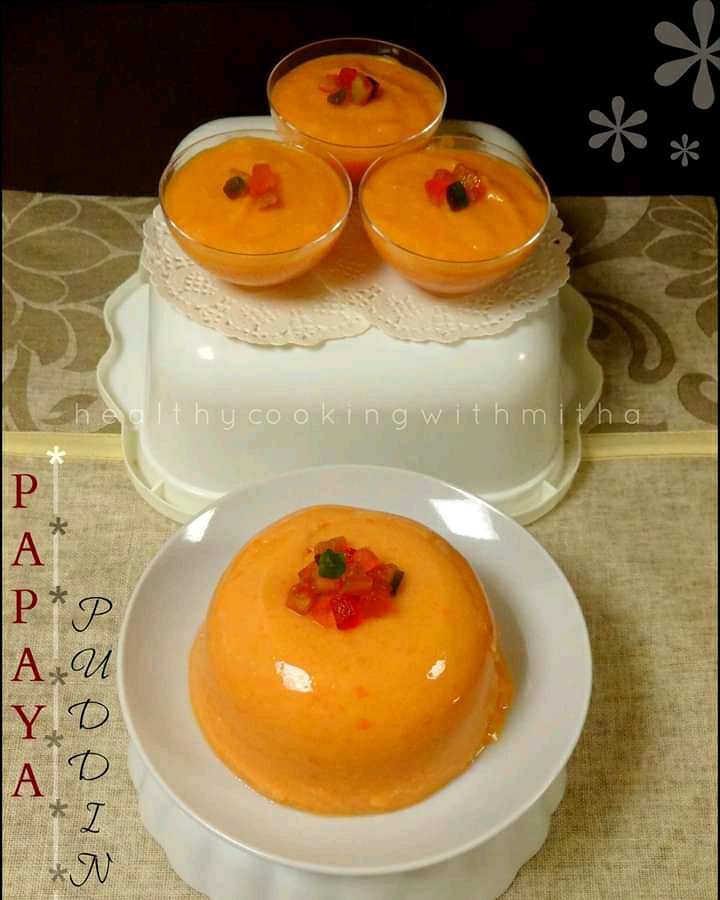
As easy as this pudding is, I was still having doubts whether I should share this or not. It does come out tasty and tastes like papaya jelly (without gelatin, of course) but since we are using fresh fruit instead of any artificial essence, a slight bit of peel can turn the pudding bitter.
I learned this pudding from my friend Sandhya Puranik who had shared it in a food group. Many had tried it after that and I was inspired by them. Papaya has a natural tendency to set when blended and refrigerated. This recipe makes good use of it while setting it like a pudding.
I make the pudding regularly when I get really ripe papaya and we are bored of eating it as it is. The kids, especially my toddler loves it a lot and thinks it’s ice cream. 😀
Do read the notes at the end to make successful papaya pudding. Hope you all enjoy it too. Happy and healthy cooking!
RECIPE:
Ingredients: {Serves 2}
2 Cups Papaya (ripe portion only)*read notes
1 Tbsp Milk
2 Tbsp Sugar
1/2 tsp Vanilla essence
Step by step recipe:
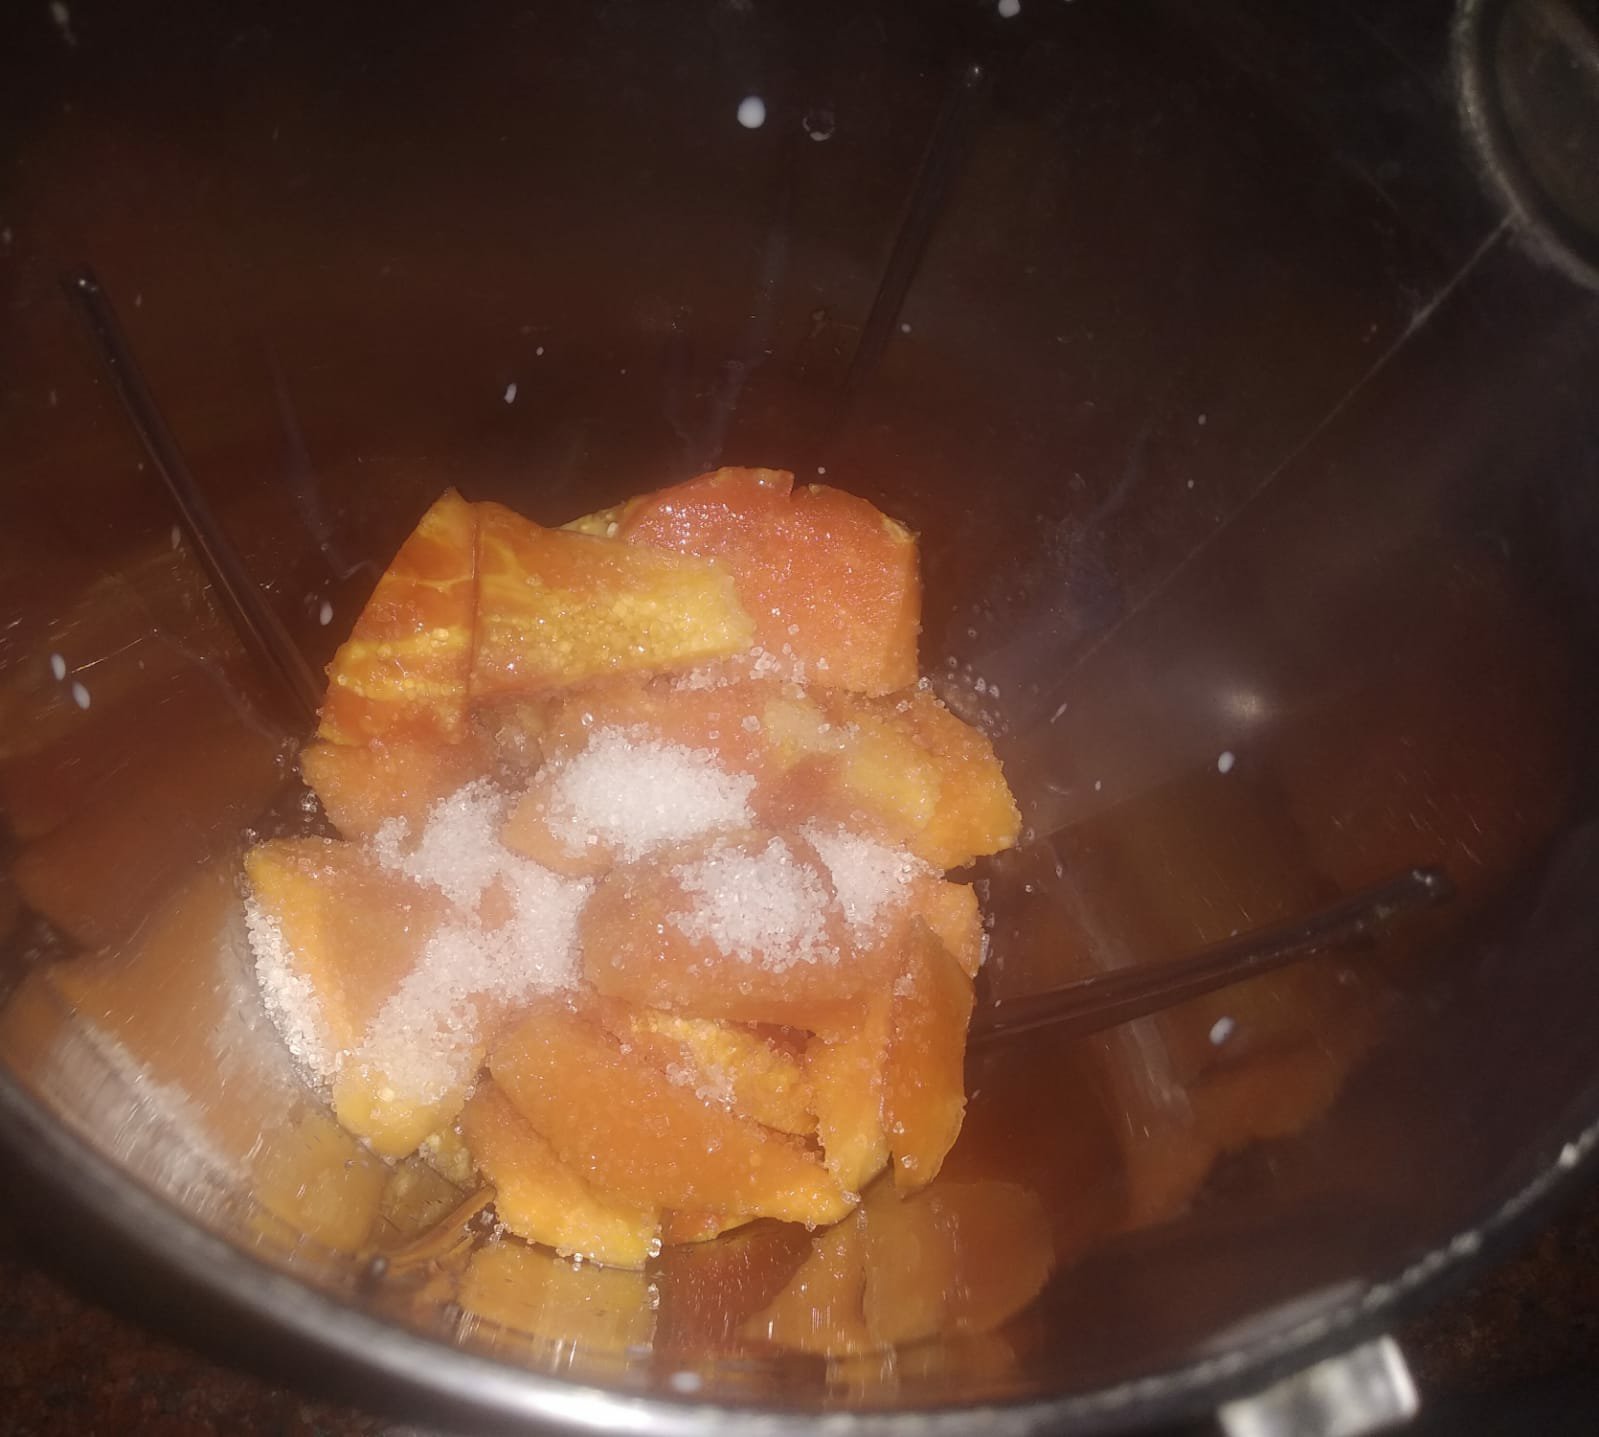
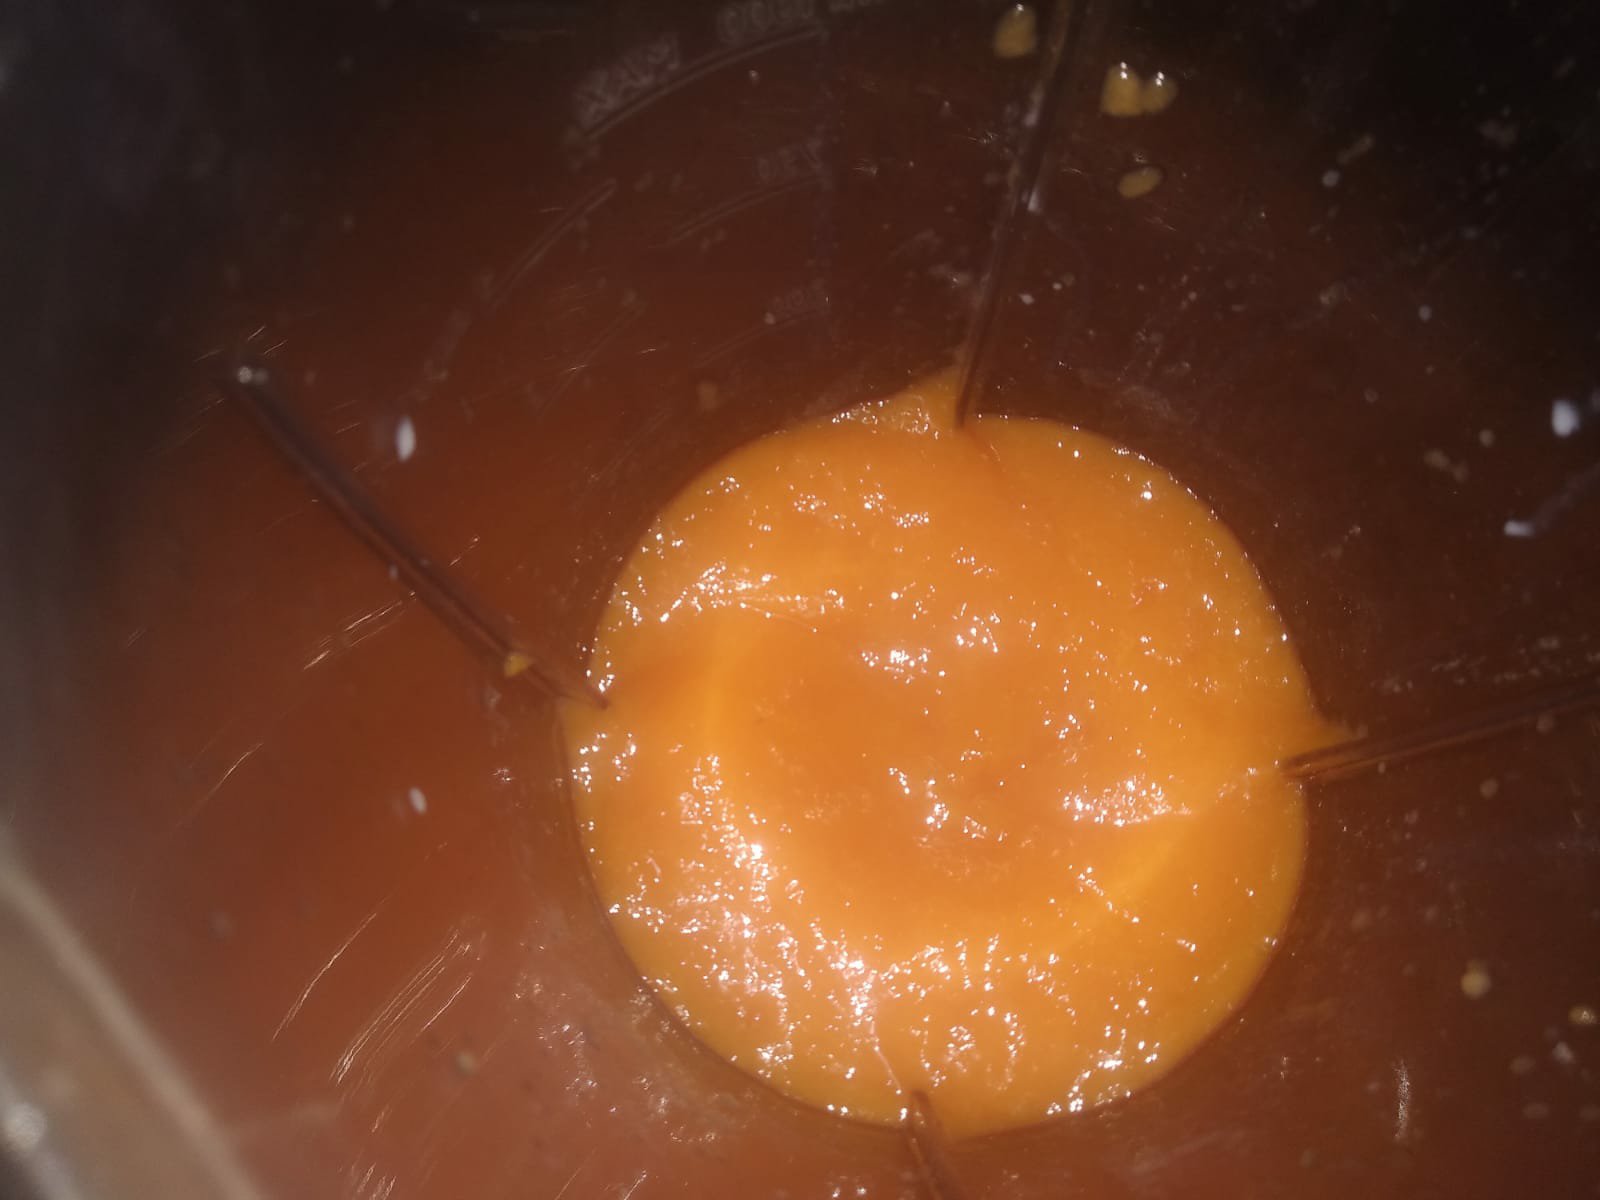
1. Put the chopped Papaya along with milk, sugar and vanilla essence in a blender.
2. Blend till it turns smooth. Please do NOT add water at all. Else the pudding won’t get the texture. Pulse and blend till smooth.
3. Pour into a bowl and refrigerate for two to four hours till it sets.
4. Unmold or enjoy from the bowl itself. Slice and enjoy if you are lucky enough to get the right texture!
Notes: {Important to read before you try so as to avoid the pudding getting bitter or not setting}
* Please be very careful to use only ripe and sweet tasting papaya for this recipe.
* Pick the ripest papaya and scoop the flesh of the fruit using spoon. Do NOT add the thick portion near the skin. If you take the papaya near to skin, the pudding tastes bitter.
* Do not add water at all while grinding. Also don’t use more milk than mentioned.
* If the papaya has more water content, you won’t be able to unmold the pudding and slice like I have shown in the picture above but you can eat directly from the bowl without unmolding it. Tastes same!!
* Sugar also depends to taste and the sweetness of papaya.
* Refrigerate for overnight too if it does not set but cover well so that the pudding does not leave water. Do NOT freeze it. It requires only refrigeration.
I love desserts that are easy to make and get ready quickly. After Easy Mango mousse, here is another super easy dessert which tastes so delicious that you will keep licking till the last drop.
It hardly takes 30 mins to make and involves no hard work. Just mix and refrigerate. You are done! Also it looks very beautiful.
Here’s sharing the step by step recipe. Hope you all make and enjoy it as much as we do. Happy cooking!
RECIPE:
Ingredients: ( Makes around 4 servings)
For the biscuit base:
100 grams Digestive biscuits (you can also use milk bikis)
2 Tbsp melted butter
For the cheesecake layer:
225 grams Cream cheese ( I use Puck or Kiri brand)
1 tin sweetened condensed milk (397 grams)
1/3 Cup Lemon juice
For the chocolate layer:
1 Cup full fat milk
1/4 Cup Sugar
2 Tbsp Cocoa powder
1 tsp Vanilla essence
Step by step recipe:
1. Take the biscuits and powder it either in a mixer or put it in a ziplock like this and crush it using a chapati roller.
2. Take it in a bowl and add melted butter.
3. Mix well and add into individual glasses or bowls as shown.
4. Refrigerate the glasses for 10 mins so that they set.
5. Now take cream cheese at room temperature. Whisk it well for a minute so that it turns creamy.
6. Now add sweetened condensed milk and whisk again till they blend well.
7. Add lemon juice and whisk again till the mixture is combined well.
8. Add into the glasses till three fourth of the rim.
9. For the chocolate layer, combine milk, cocoa powder, sugar and vanilla essence in a non stick pan. Whisk well. Cook on medium flame till it thickens as shown.
Note: In a non stick pan, it thickens very easily compared to steel vessel.
10. Pour into the glasses as shown.
11. Refrigerate for about 4 hours till the layers set well. You can also refrigerate overnight. Done!
Notes:
* If you don’t have cream cheese, you could try substituting with hung curd. Since the texture of both cream cheese and hung curd is same, it will do the work though the cheese flavour might be missing.
* I don’t use the biscuit layer most times as my kids don’t like it. I make only the cheese layer and chocolate layer.
* This cheesecake is very easy to make and hardly takes 30 mins to get things ready.
* Garnish with more chocolate shavings if needed. Enjoy!
#Update by my reader Sonali Baindur:
She doubled the measurements that I had given and set the cheesecake in a springform pan for almost 24 hours. It set beautifully and look how perfect it looks.
Click on the image to save the recipe on Pinterest
Although I don’t like making sugary sweets, this one is an exception as it is my kids’ favourite. So instead of store bought sweets where you don’t know what goes into it, I make coconut burfis for them.
These burfis are very easy to make and will hardly take 15 mins if you have desiccated coconut in hand. I always have it in my pantry as we use a lot of coconut in our cuisine. So it’s easy to make when the kids demand.
I thank Asha Mai a lot for her wonderful recipe from her amazing cookbook. Have made this countless times and each time, I thank her whole heartedly!
RECIPE: ( Adapted from The Konkani Saraswat Cookbook by Asha Satish Philar)
Ingredients:
2 1/2 Cups grated Coconut ( fresh/ desiccated)
3/4 Cup Sugar
1/2 Cup Cashews
1/2 Cup Milk
1/2 tsp Cardamom powder (optional)
Ghee to grease the pan
Step by step recipe:
1. Grind cashews with milk to a fine paste. Even if little pieces of cashews are left, it’s ok.
2. In a pan , add coconut, sugar and the cashew milk.
3. Start mixing on a medium to low flame. Be careful to keep the flame low, else it might burn.
4. Keep mixing till sugar melts and the mixture combines well. Takes about 8 to 10 mins. Add cardamom powder.
5. Grease a pan with ghee and add the burfi mixture to the pan. Flatten the surface. Cut and serve.
Notes:
* I have always made these burfis with desiccated coconut and they taste very good with it.
* The mixture is very soft initially but sets well after an hour.
* Refrigerate the remaining pieces.
Updated picture on October 14th 2024.
Since I have been making this since many years now, you can see the neatness in the burfis compared to the above picture. Loved it then, love it now and always ❤️
Click on the image to save the recipe on Pinterest
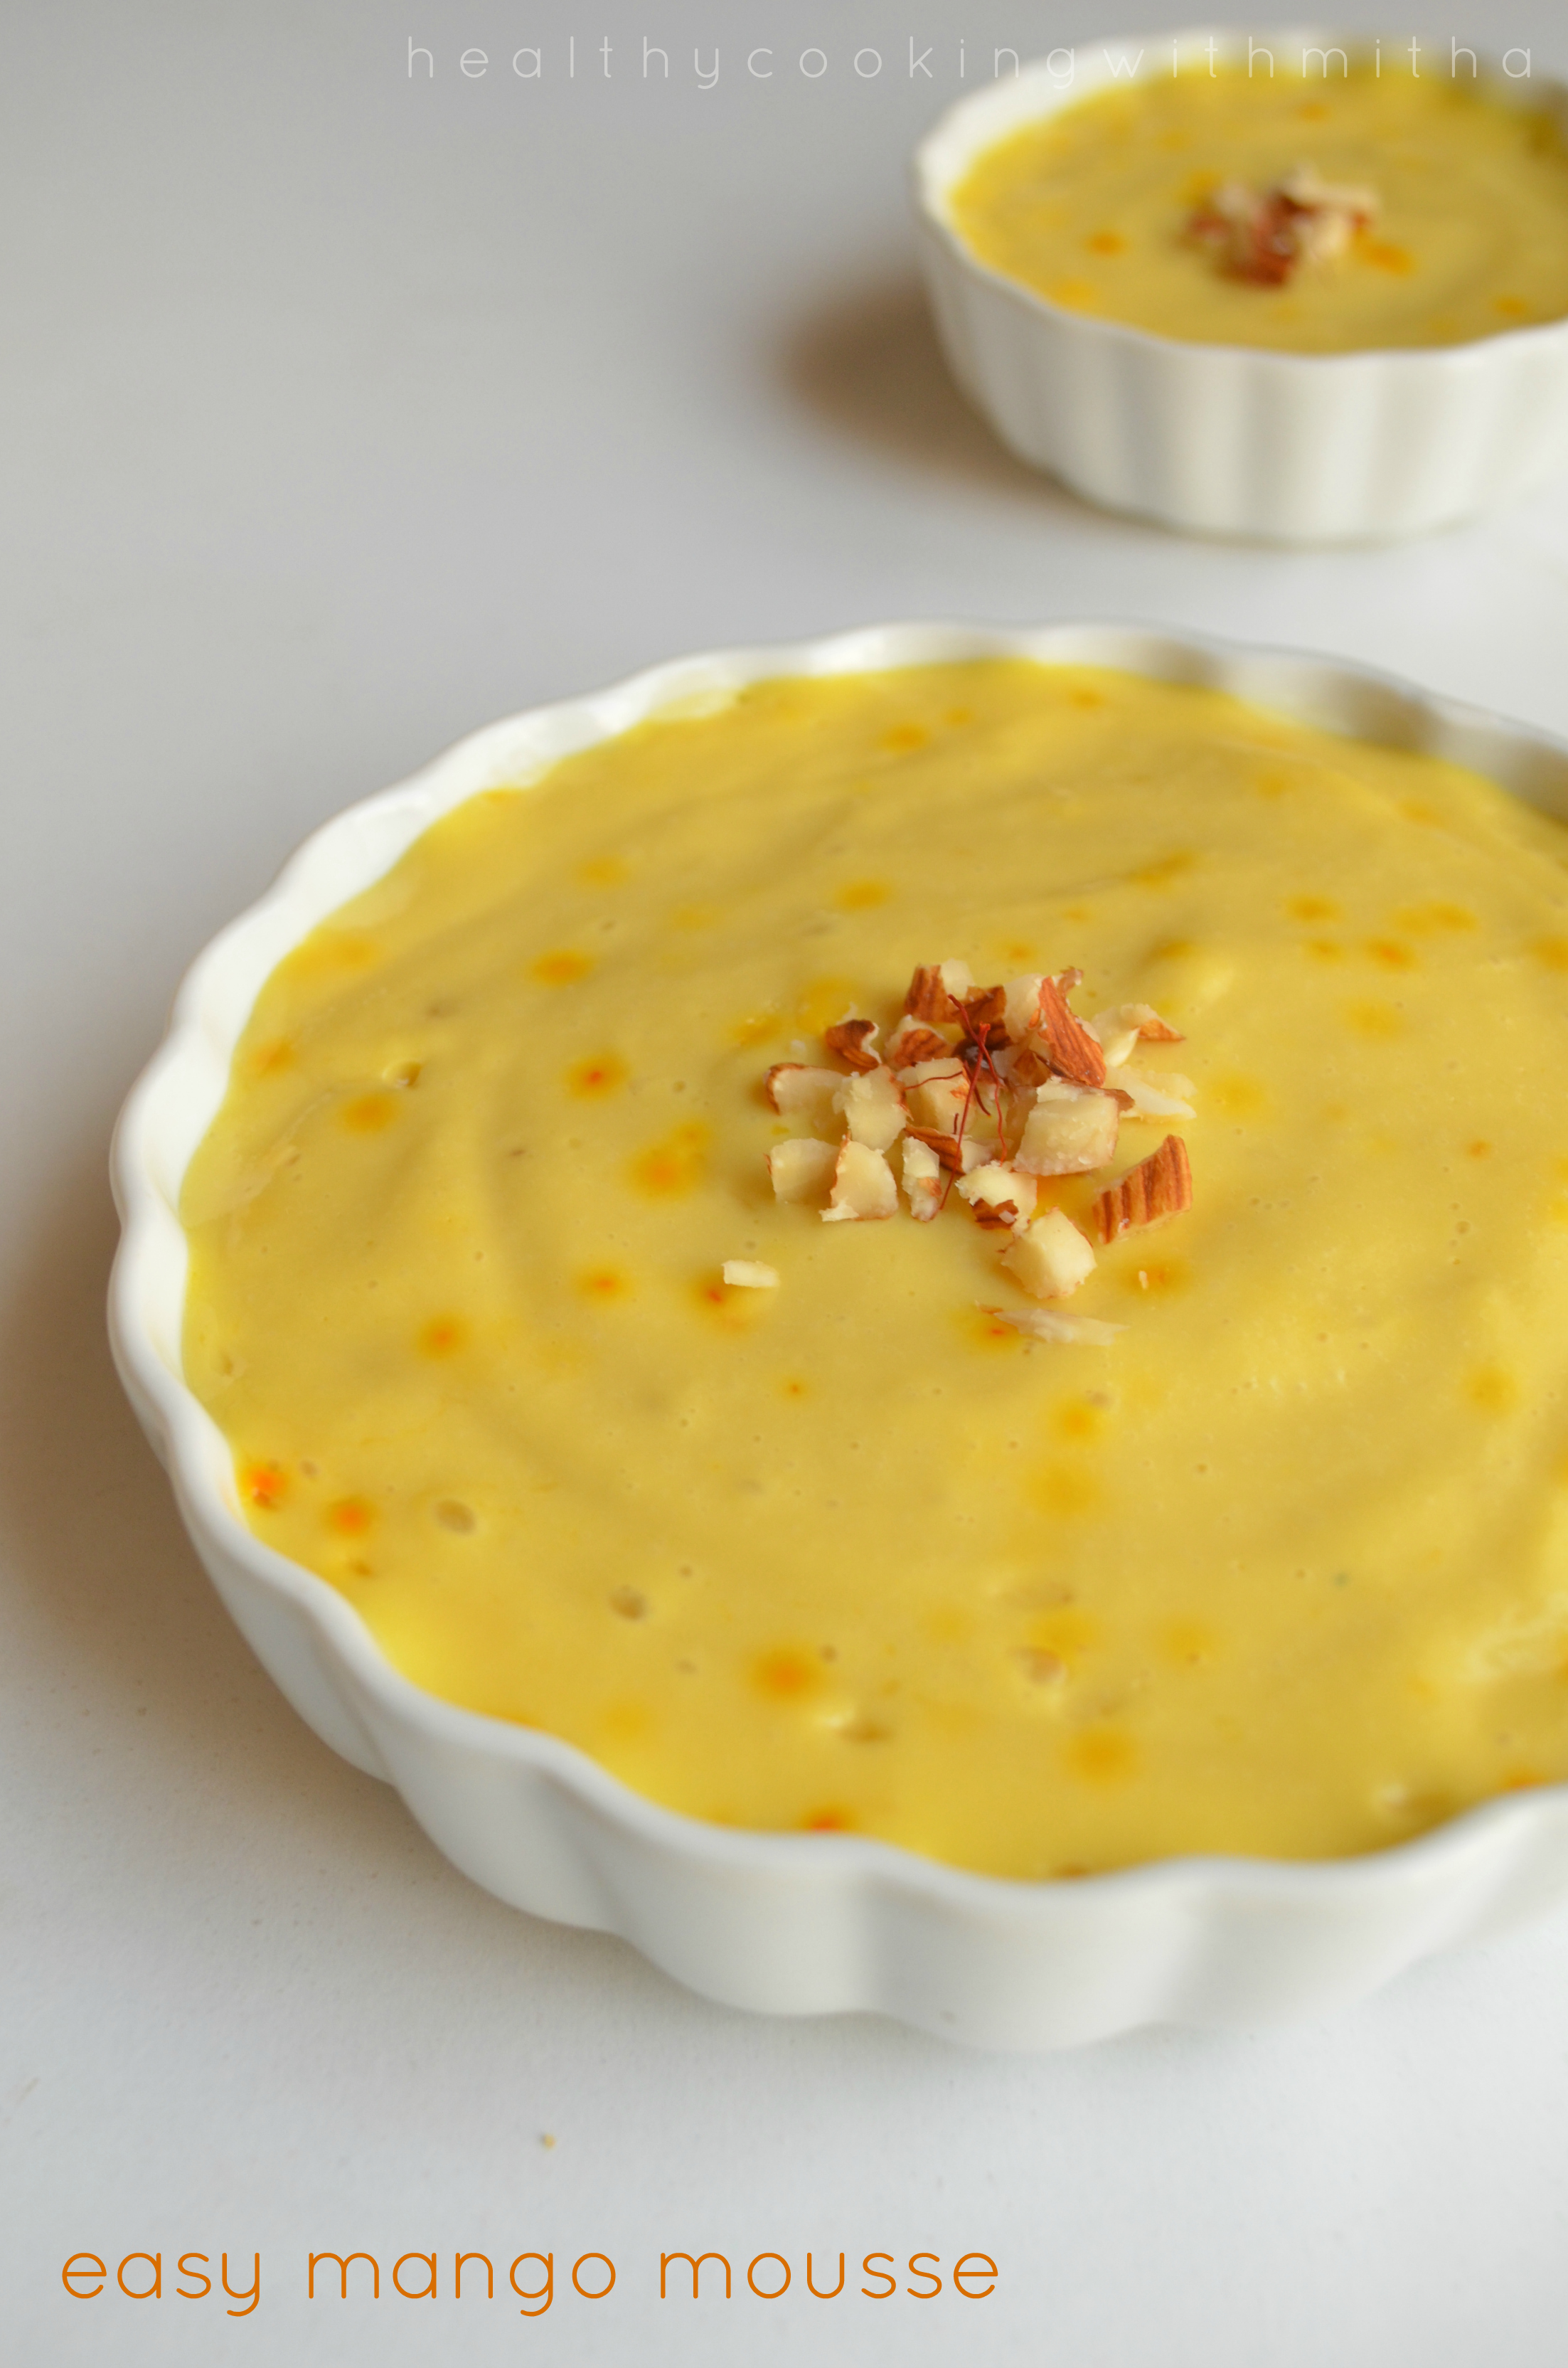
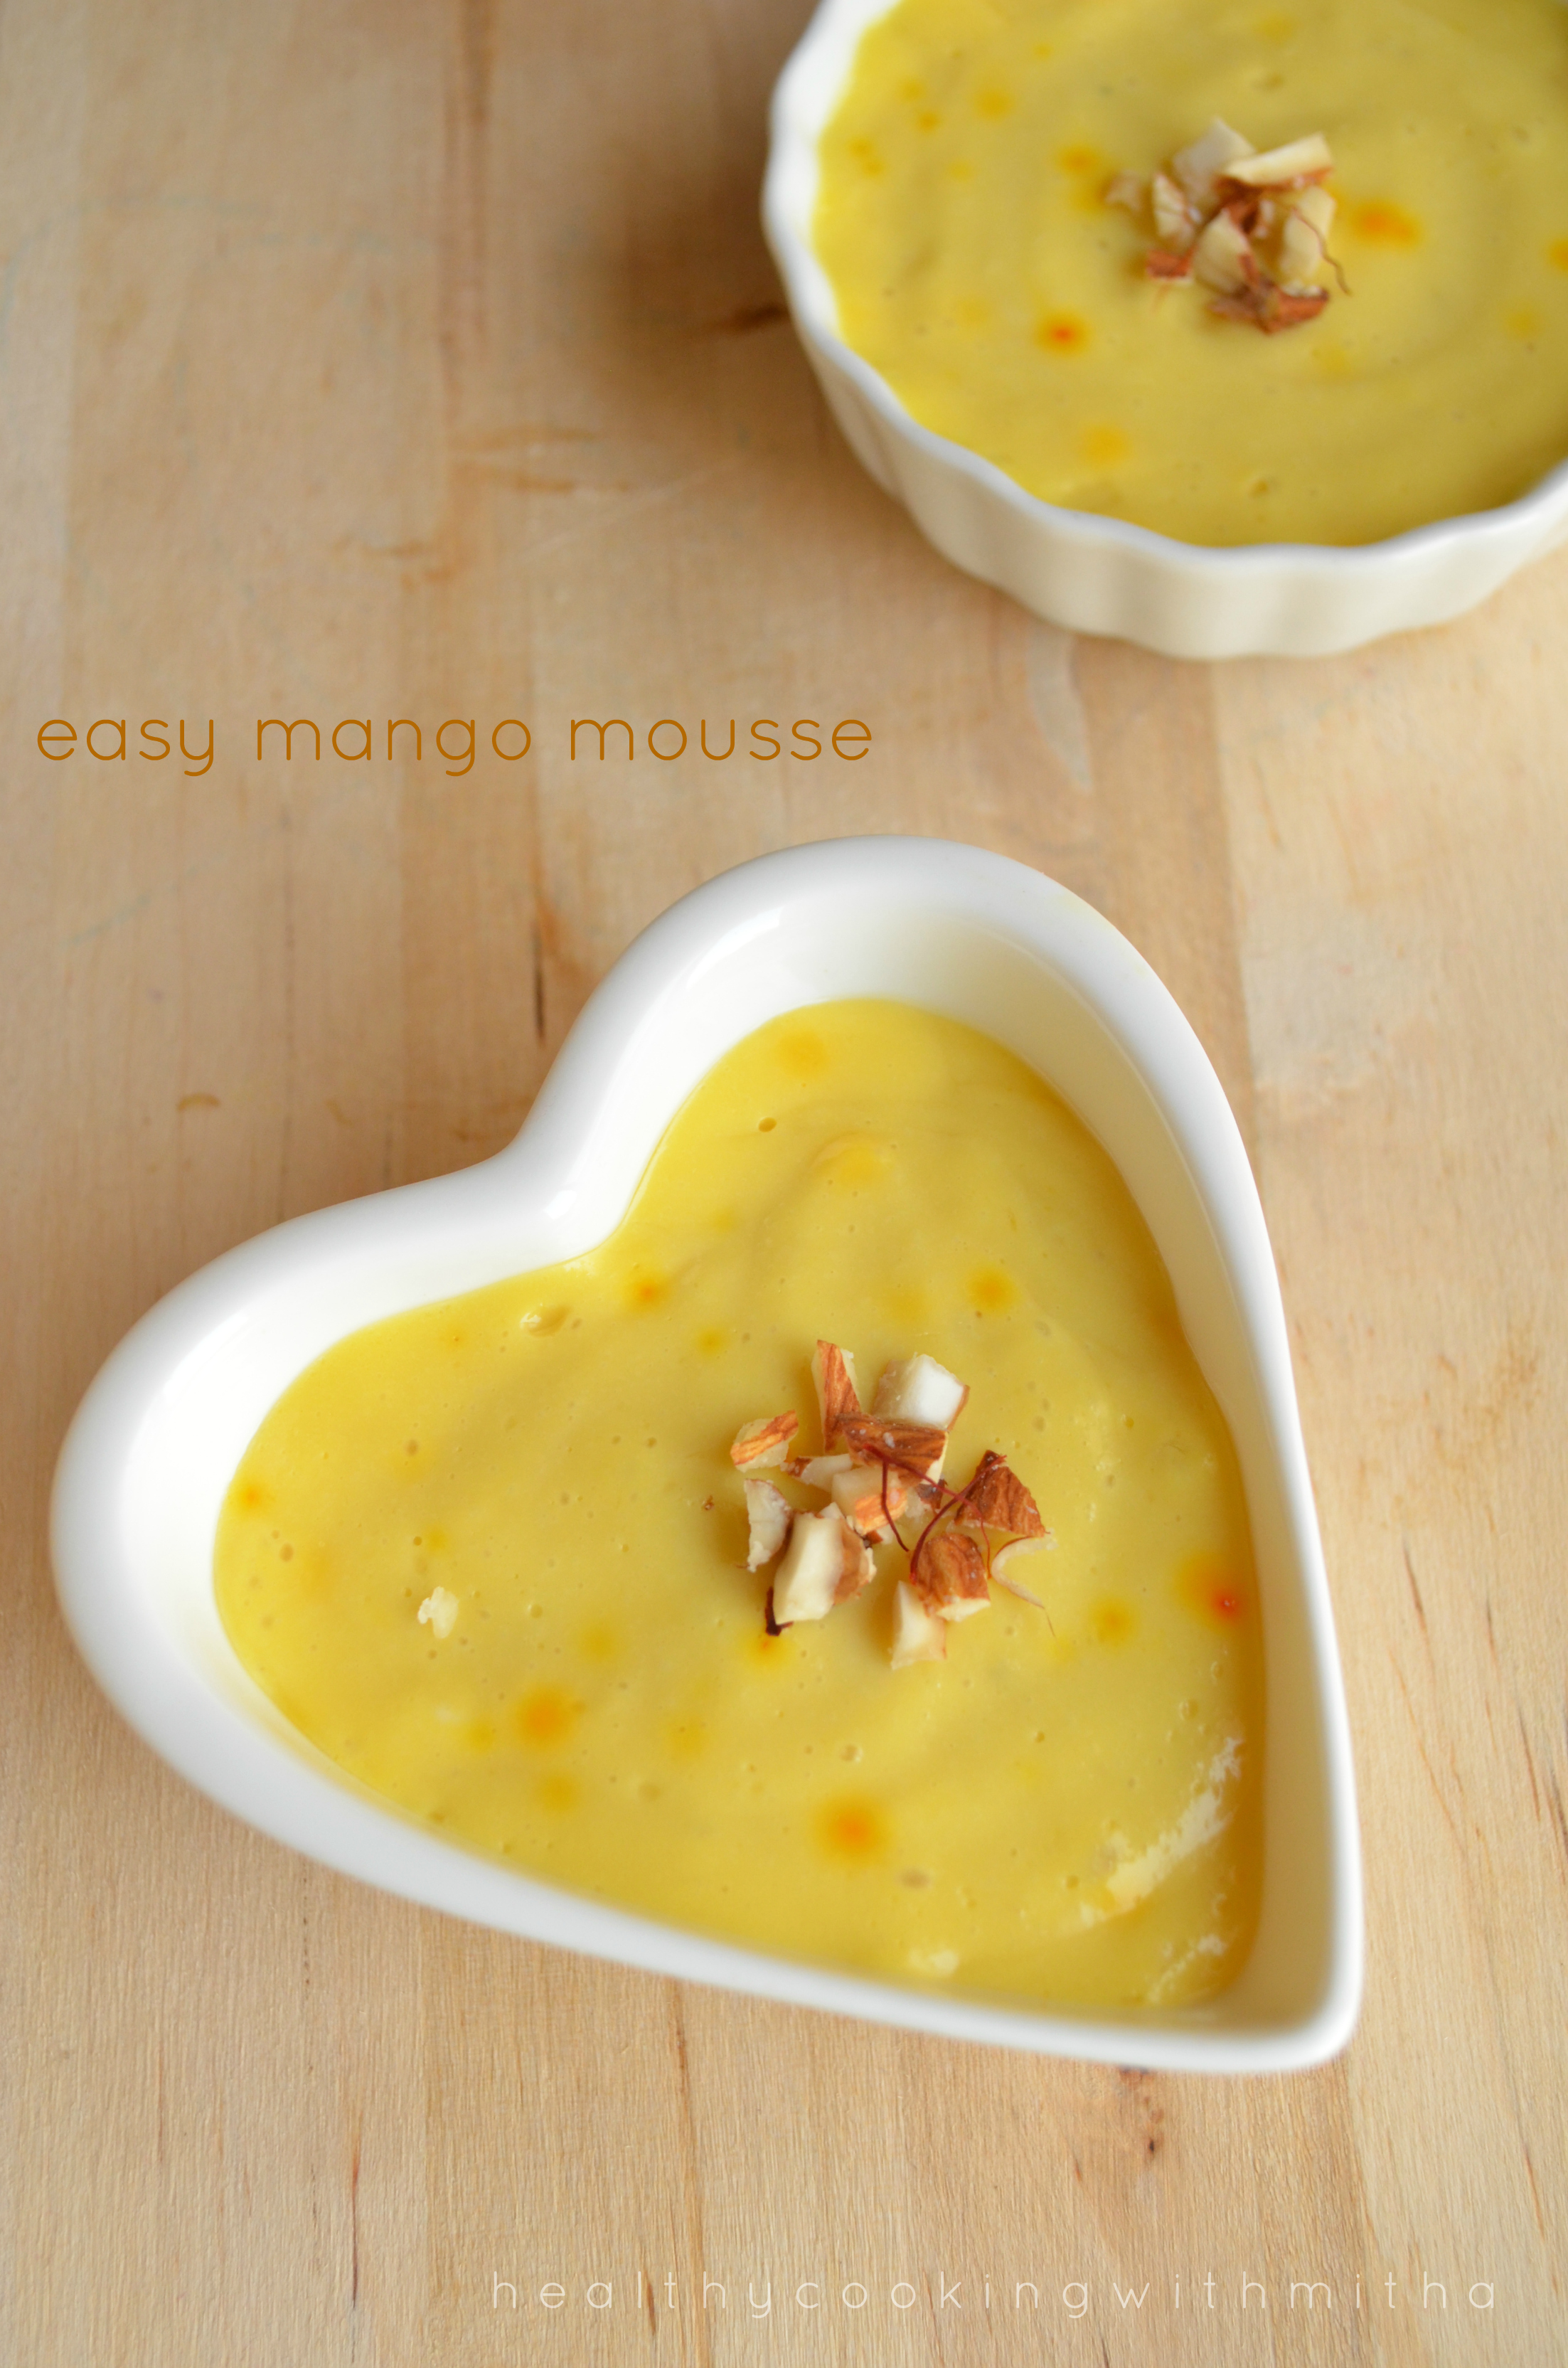
After easy Mango cupcakes, here is another easy mango mousse. I have made it for many parties and everyone have loved it a lot. The easiest dessert ever. Since this is mango season, I thought of sharing this as well. I have adapted this recipe from here.
My kids call it mango ice cream and love it very much.
Click on the image to save the recipe on Pinterest
RECIPE:
Ingredients: {serves 4}
1.25 Cups Mango pulp (fresh or canned)
1 Cup Yogurt/ thick curd
1/2 a tin sweetened condensed milk (around 200 grams)
Saffron strands/ Cardamom powder for flavour (optional)
Step by step recipe:
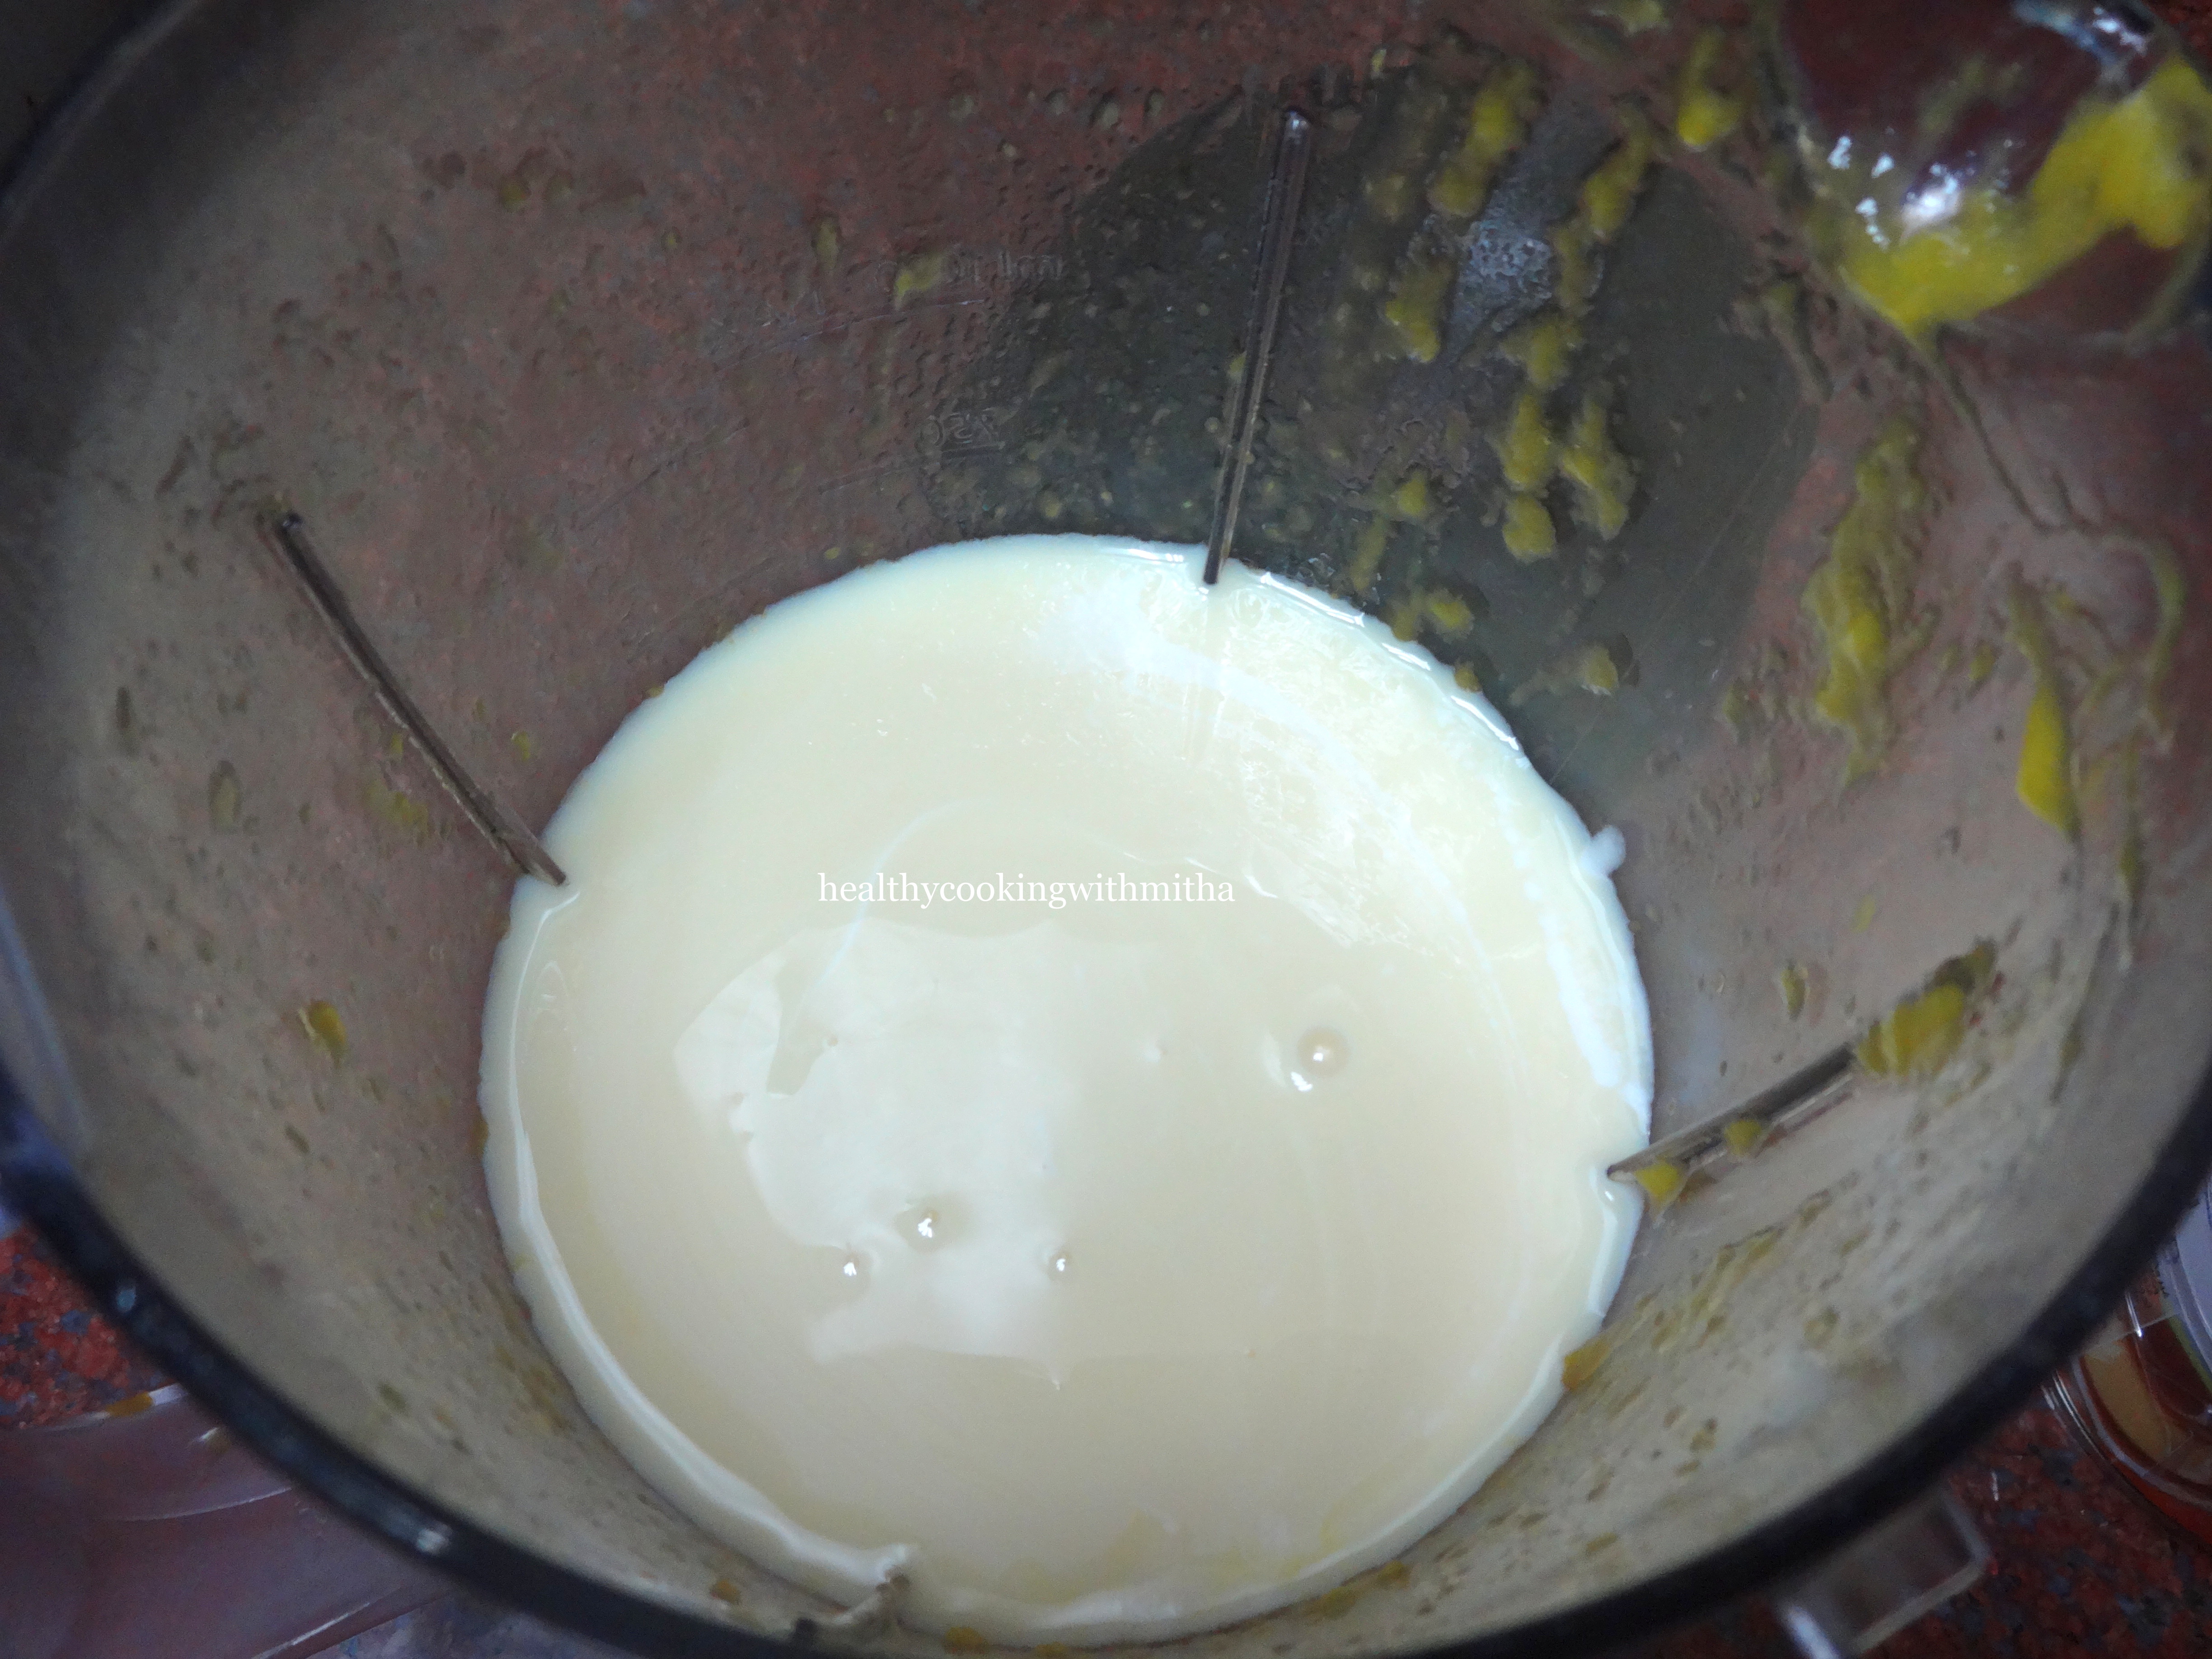
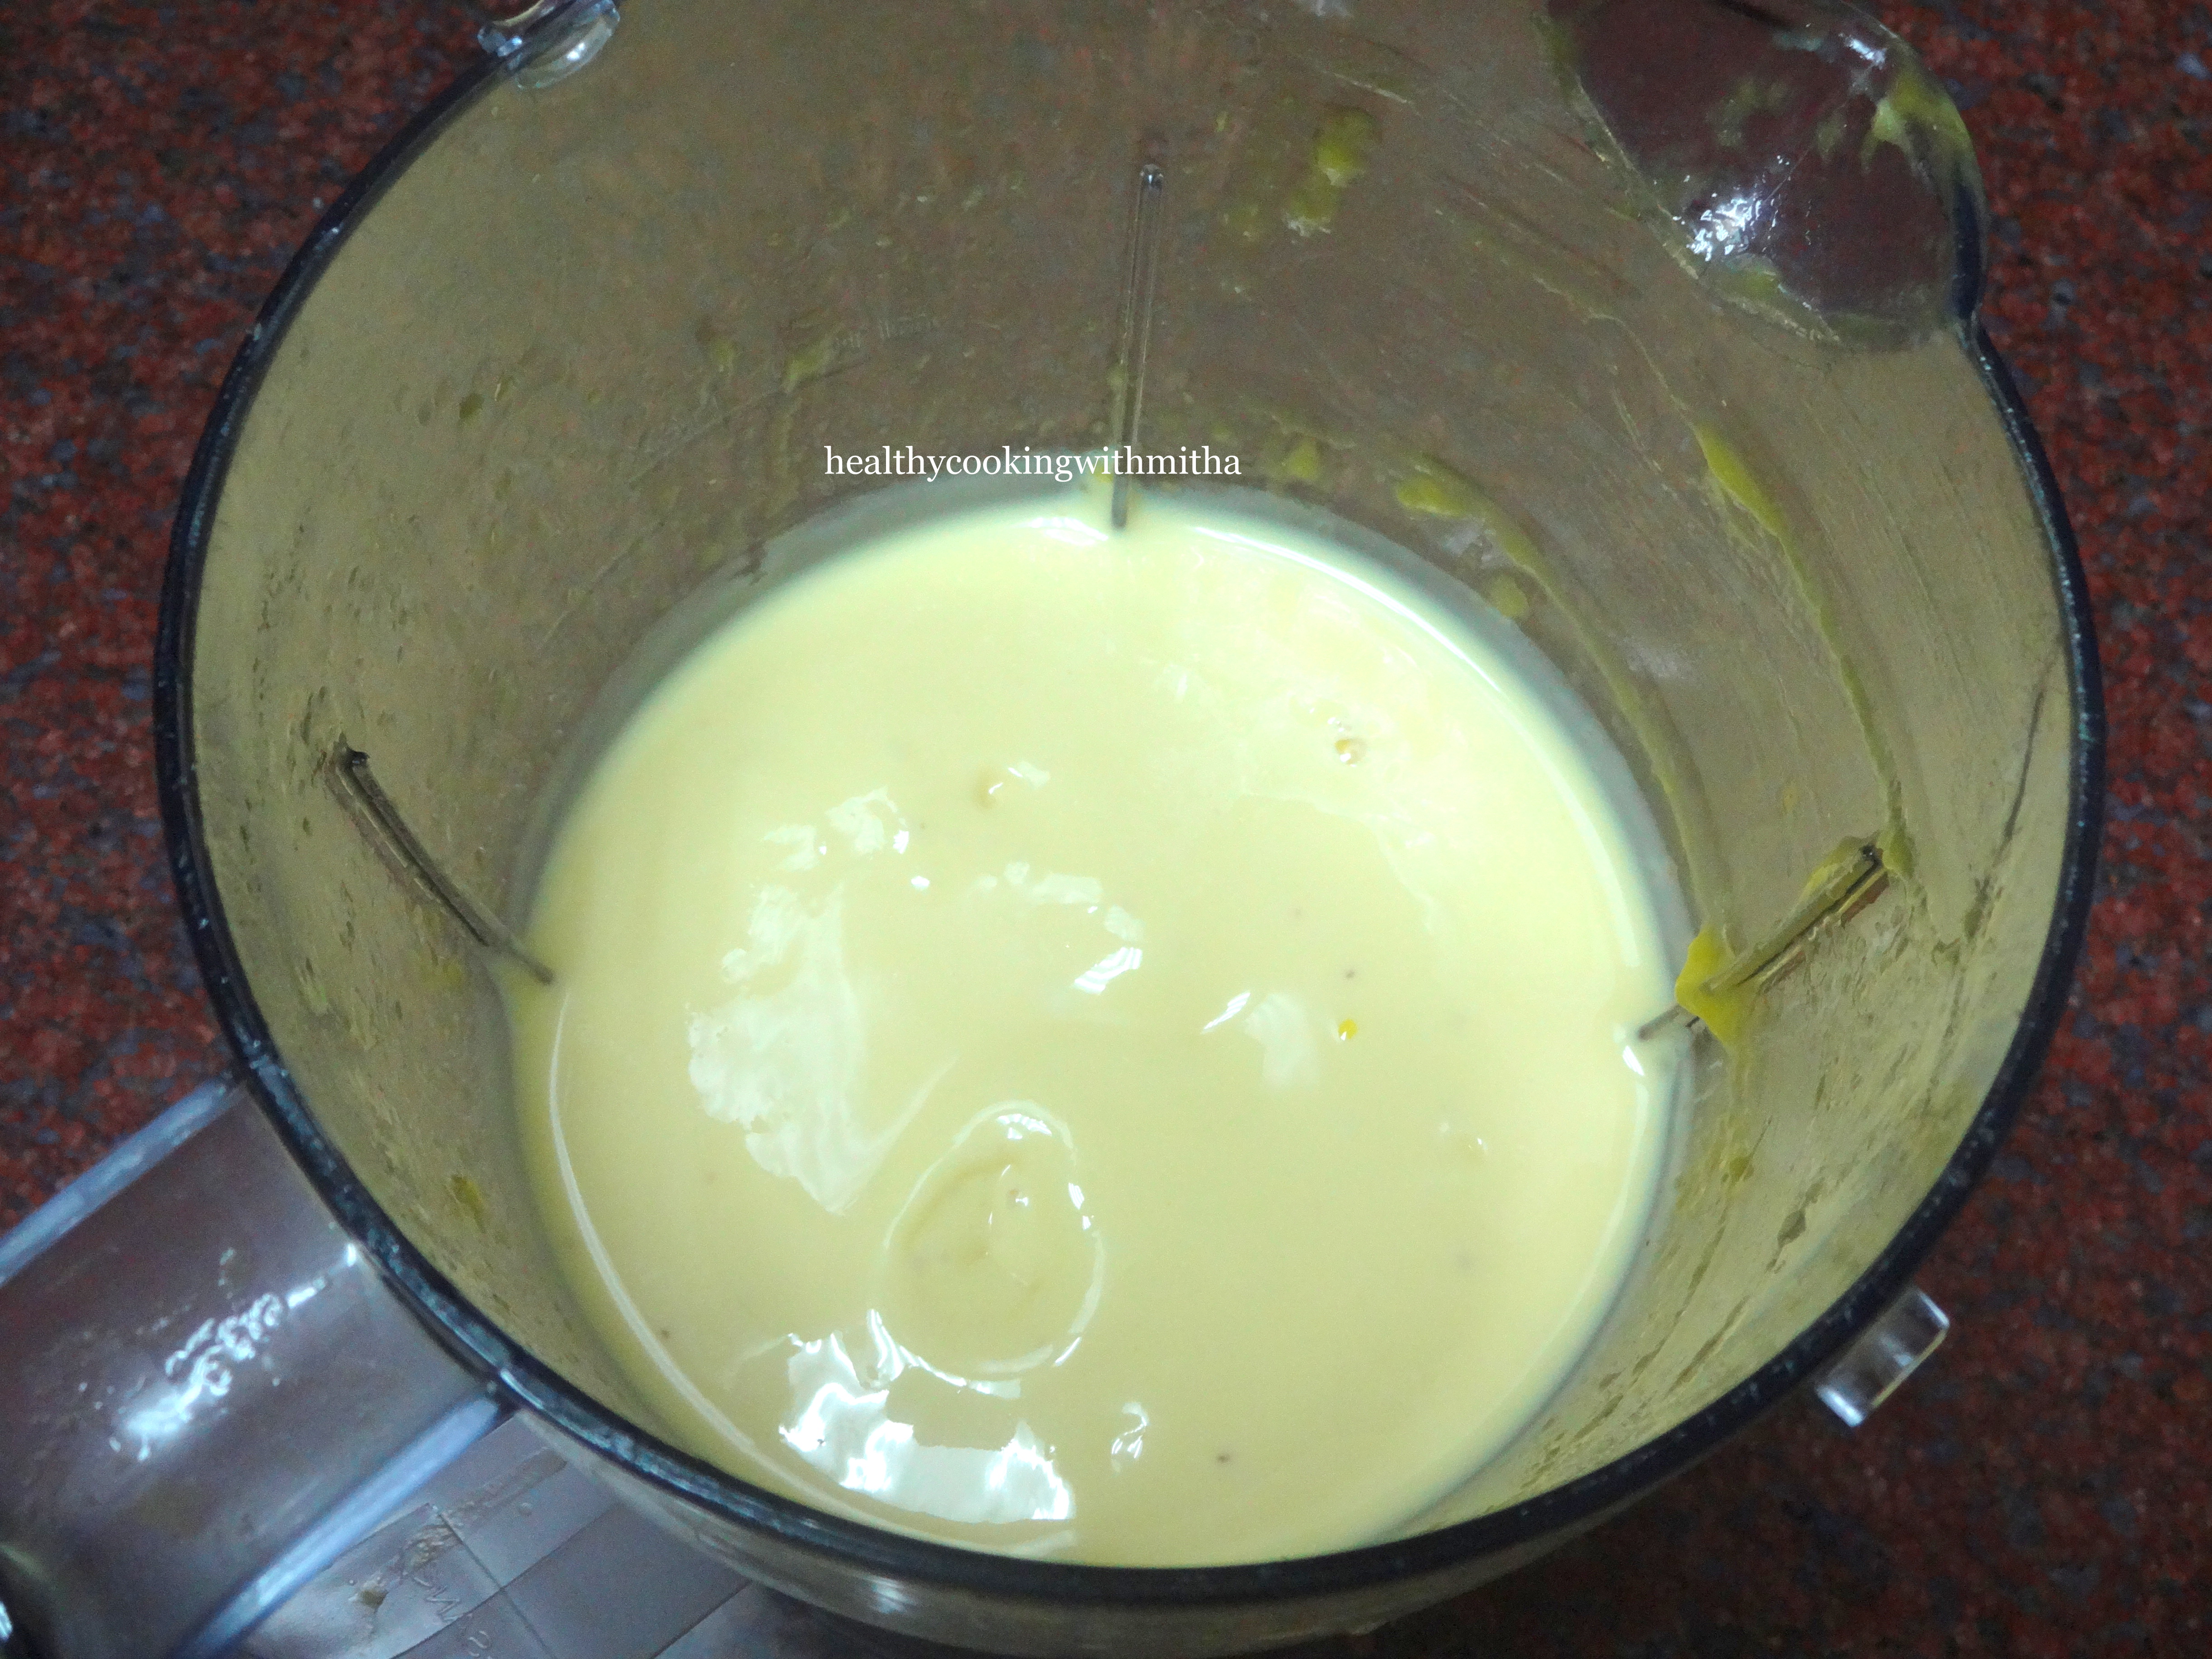
1. Add mango pulp in a blender jar.
2. Add Yogurt and sweetened condensed milk.
3. Add in saffron strands.
4. Blend for a minute until everything is combined well.
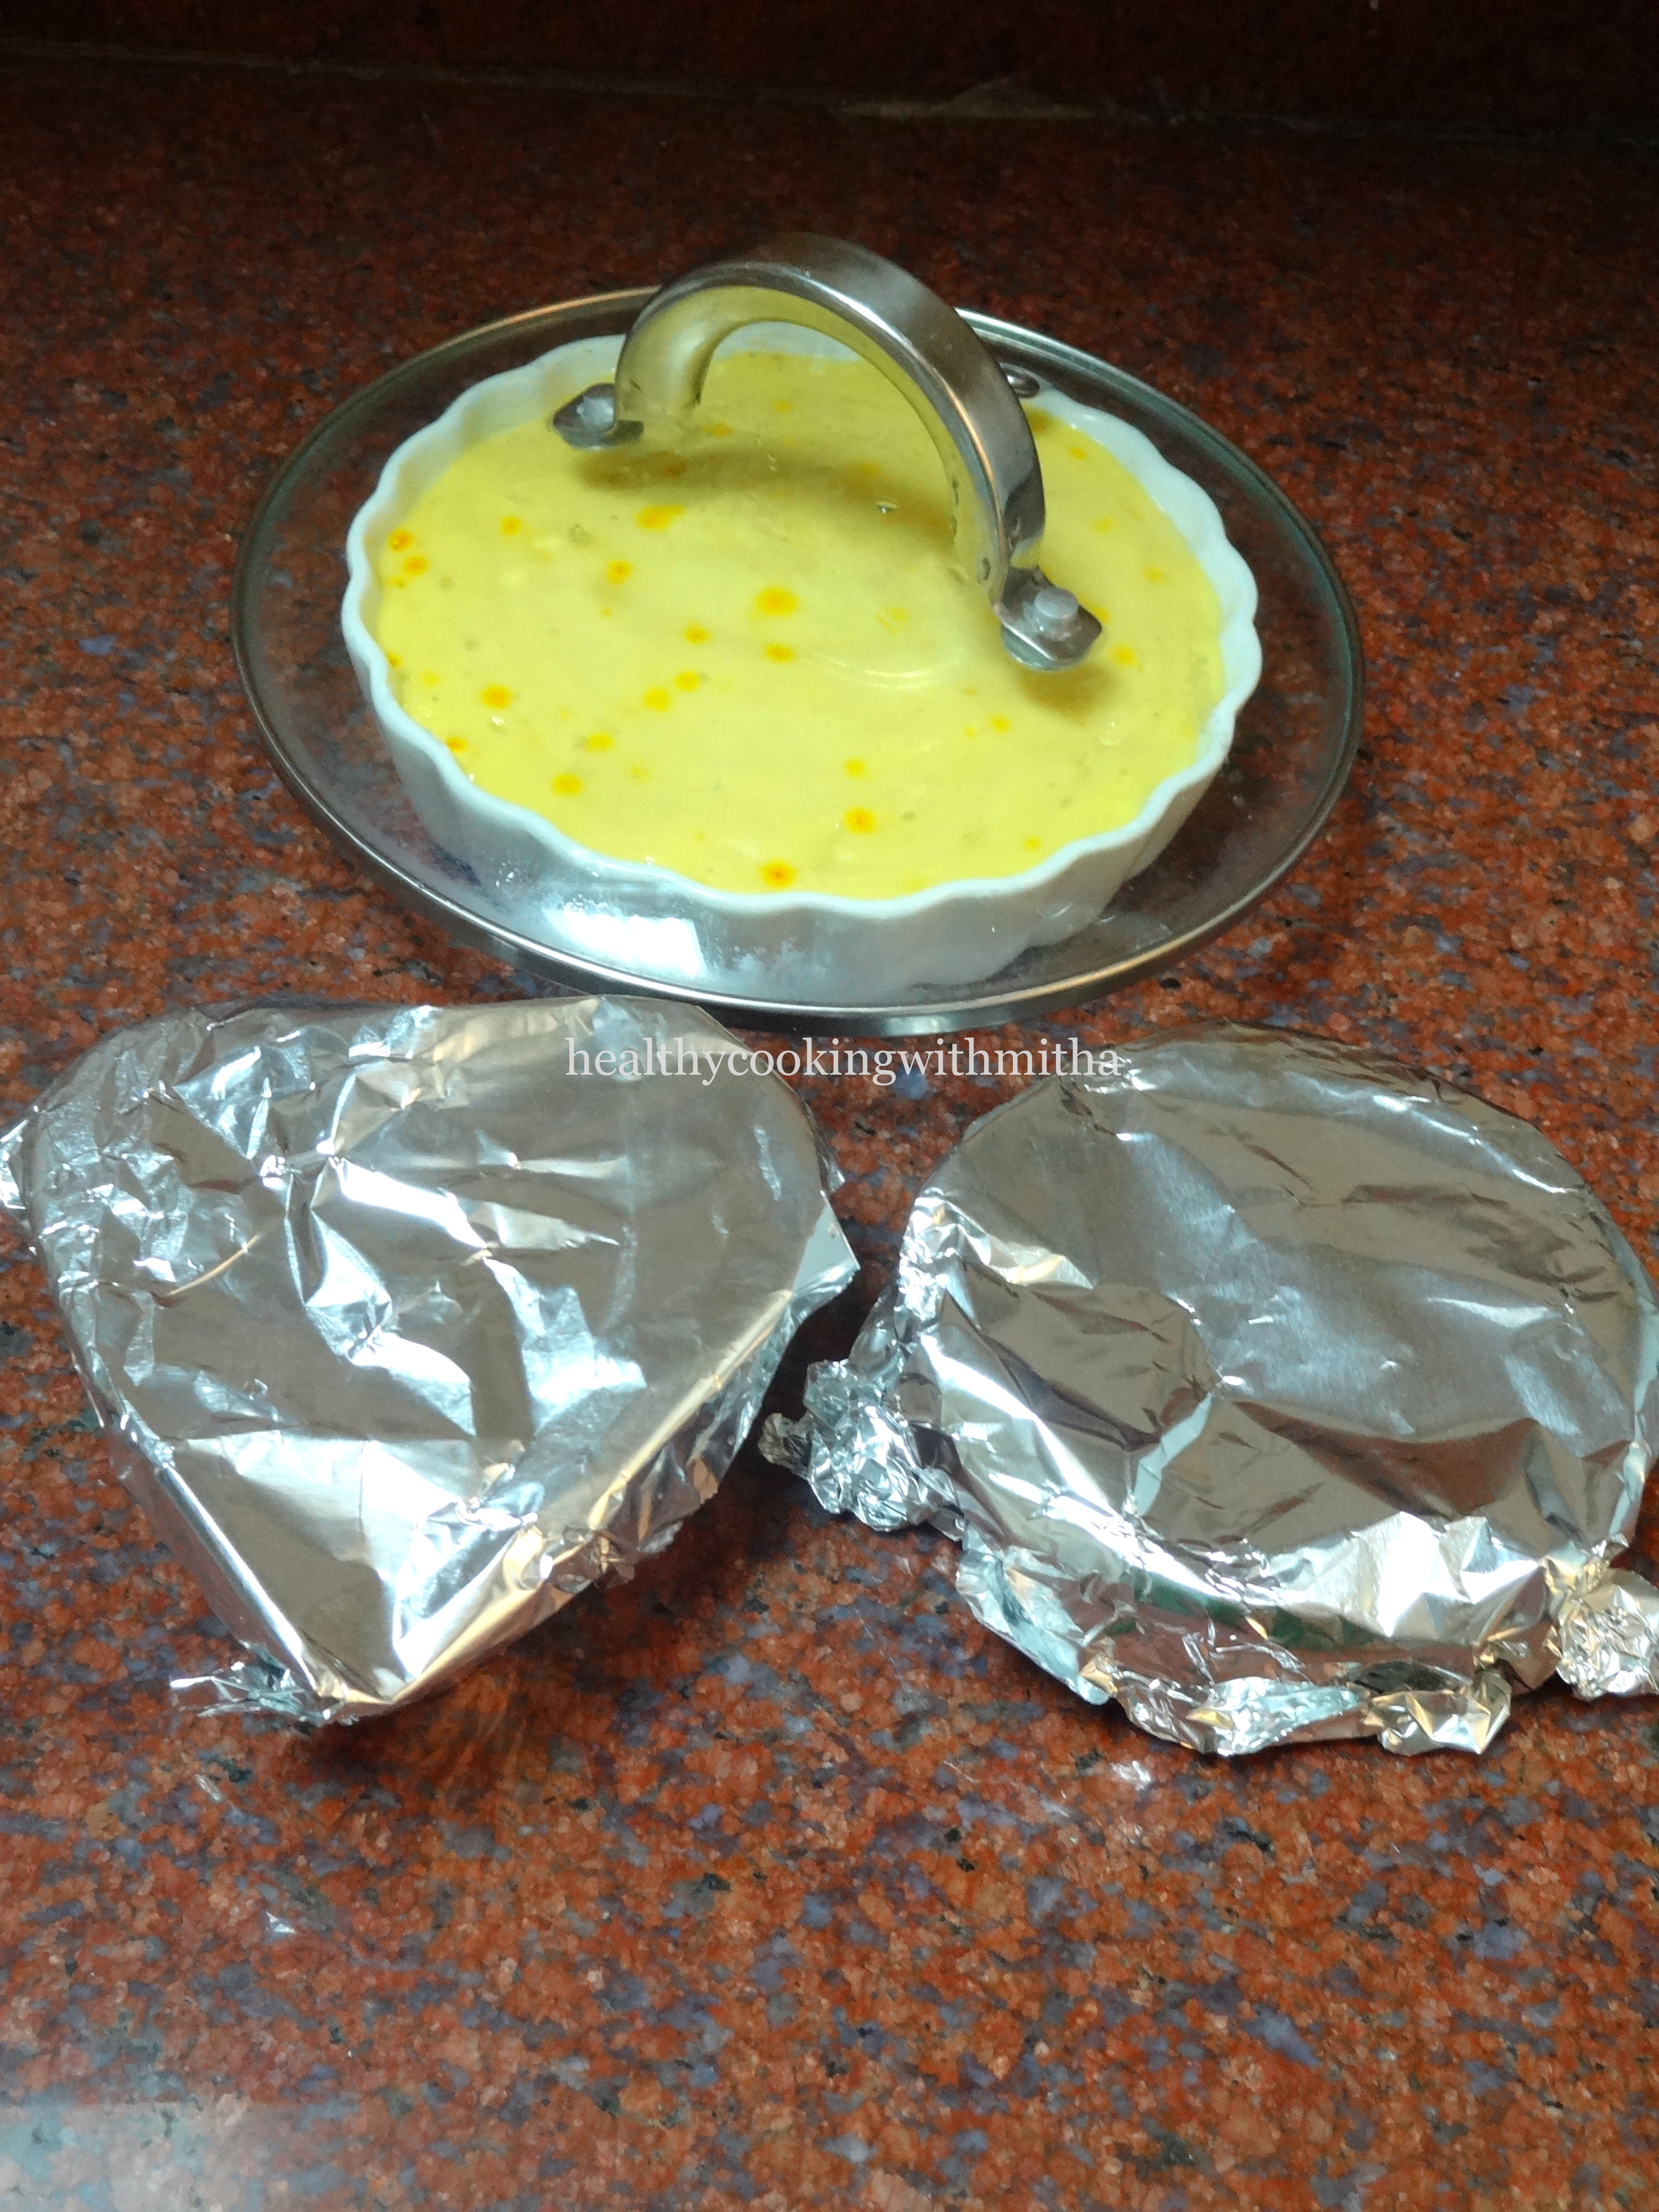
5. Pour into individual OVEN PROOF molds.
Please keep it to set in small bowls. These bowls are very small and largest one is only about the size of my palm.
6. Preheat the oven at 180 C for 10 mins. Then SWITCH IT OFF. We need only the warmth of the oven. No need to bake the mousse. So don’t forget to switch off the oven after preheating it.
7. Place the mousse inside the oven covered overnight or for 8 hours.
Cover with a foil when you keep. I have not shown in this picture. Please note that the oven is OFF before placing the bowls. OFF all night.
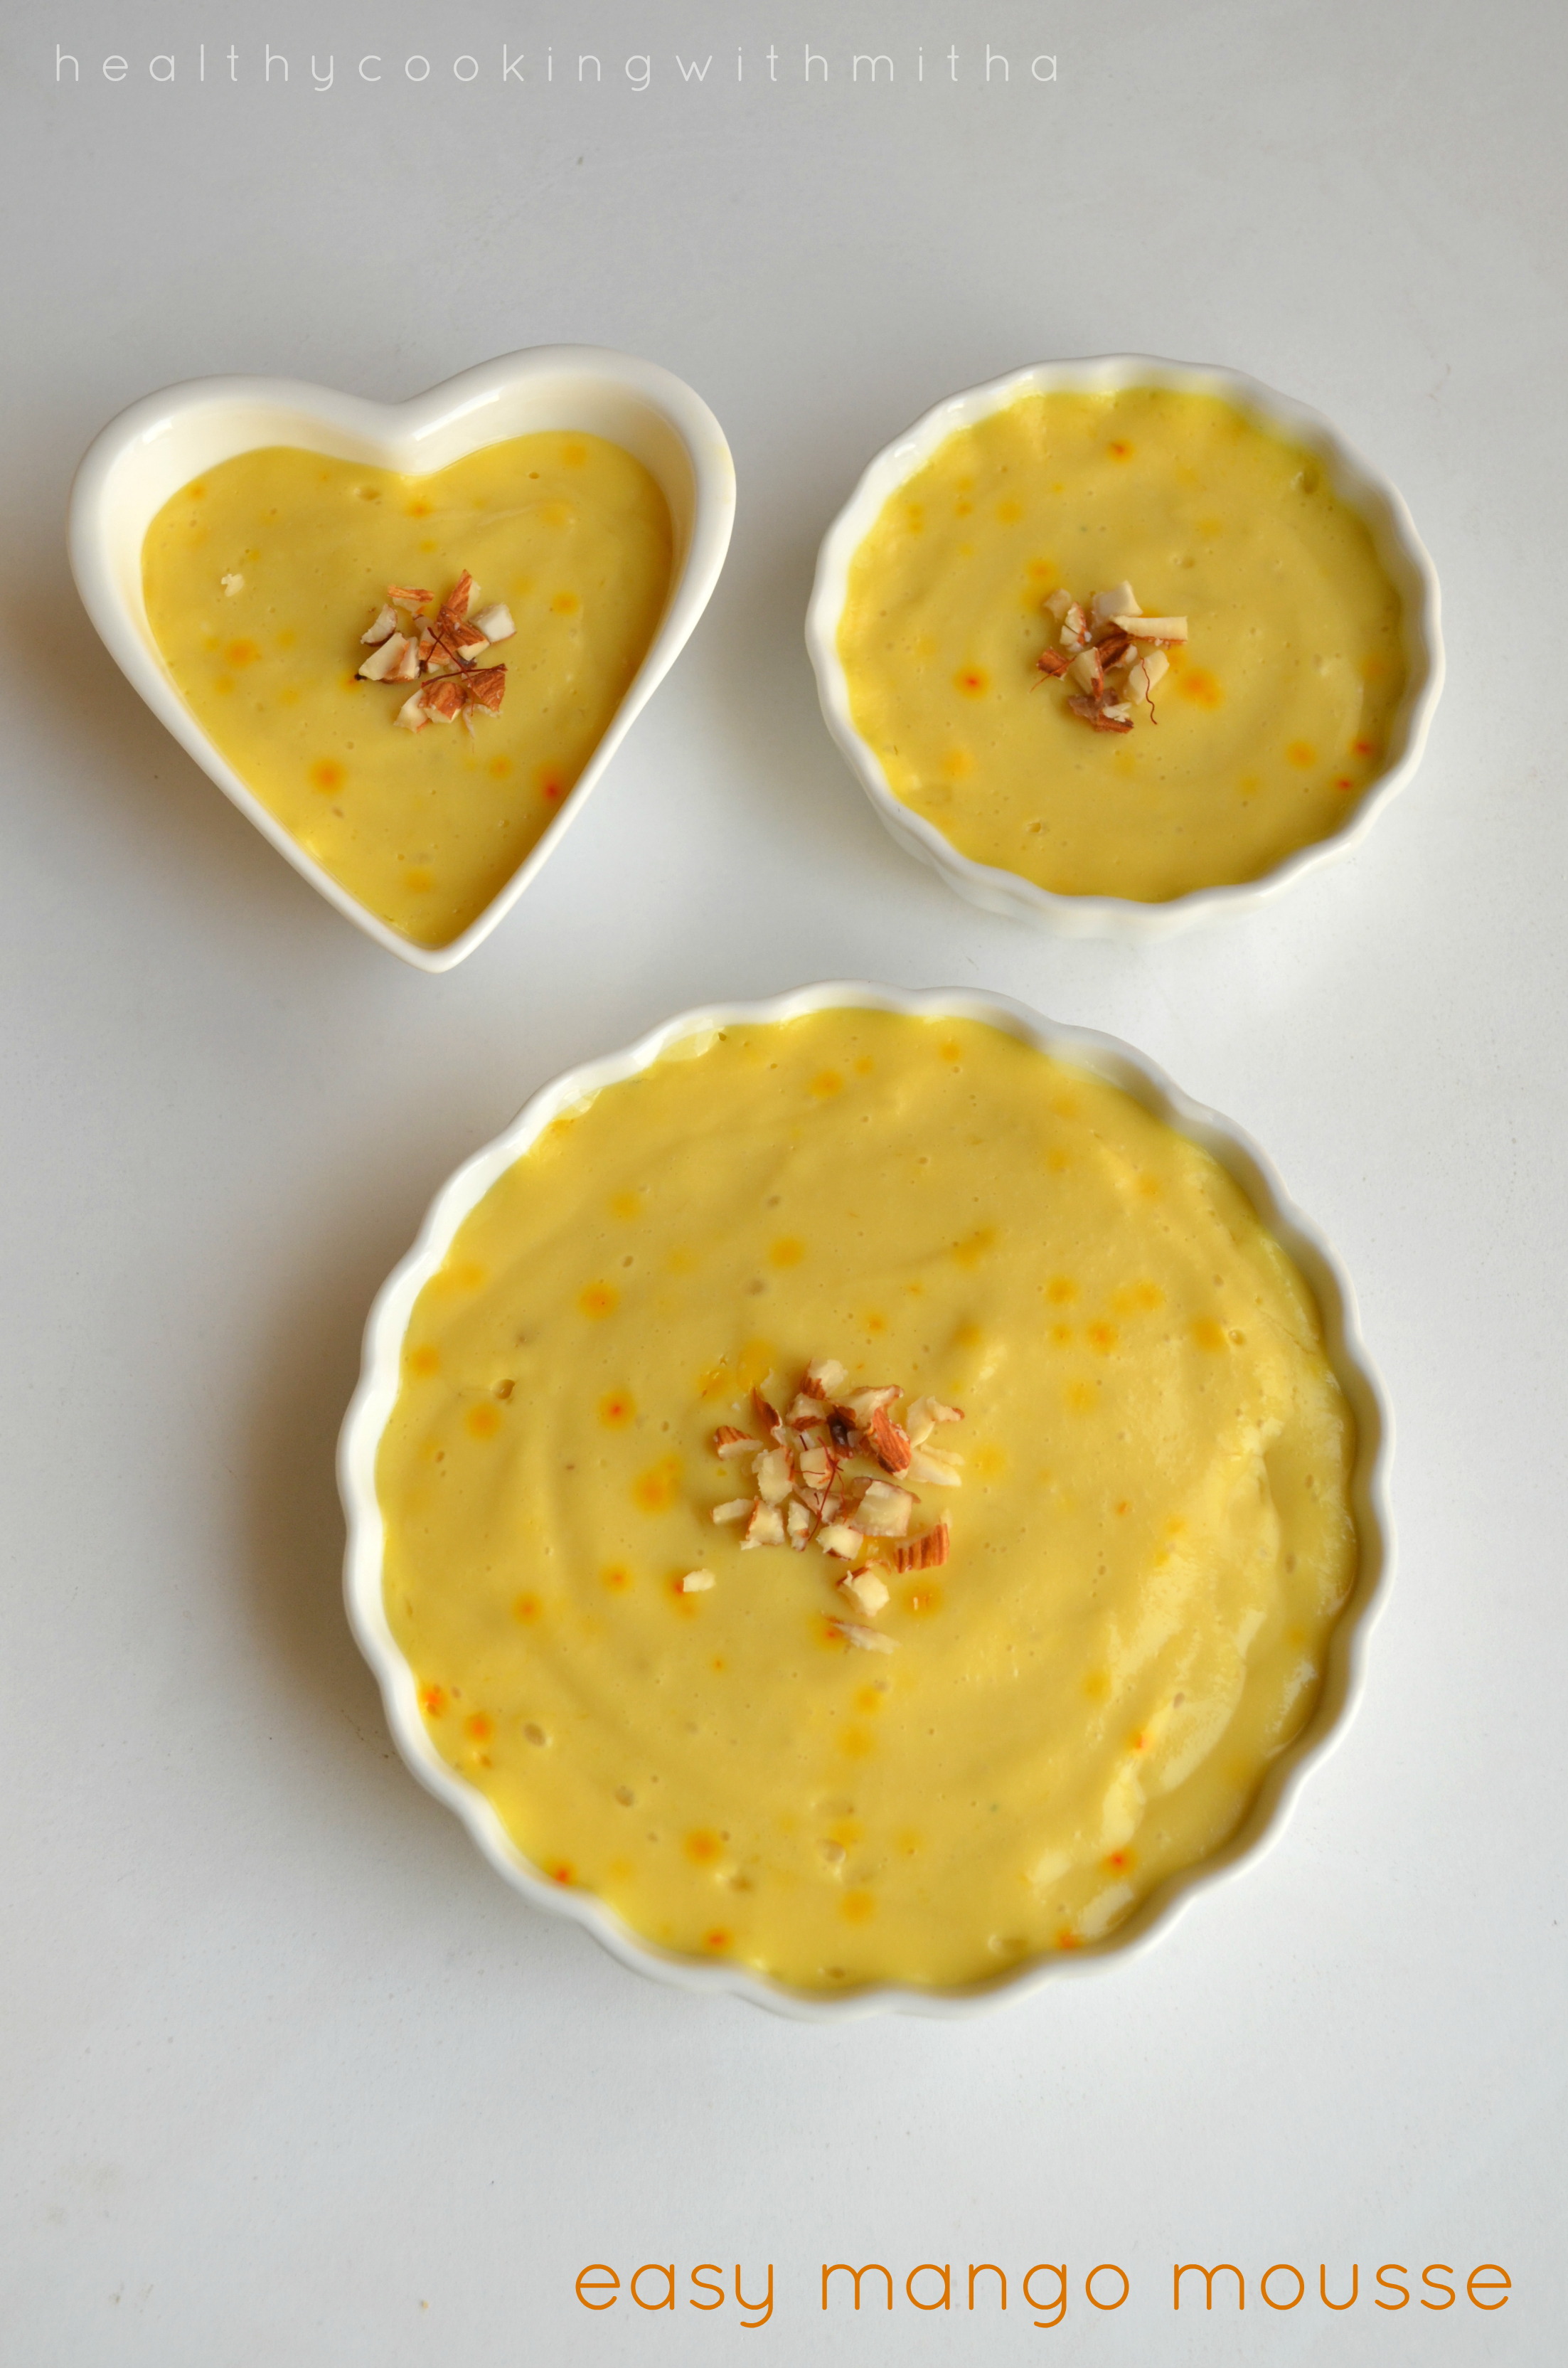
8. After keeping overnight, see how well it sets.
Perfect mousse
9. Now keep it in the fridge for couple of hours for it to cool.
Enjoy chilled mousse topped with little chopped dry fruits if needed!
Click on the image to save the recipe on Pinterest
Notes:
* If you don’t have oven, just keep them covered in the warmest place of your house and it will set overnight. Just that it may not turn set completely but still turns delicious.
* Make sure the mango pulp is thick and not watery. Alphonso mangoes or its canned pulp gives best taste to this mousse.
* The curd/ yogurt should be thick and not watery to be used in this recipe. If it is watery, sieve and use.
* Do NOT add water at all while blending.
* Both fresh mangoes or canned mango pulp can be used in this recipe.
* Do NOT bake this in the oven. Preheat the oven and SWITCH IT OFF. Then place it inside. Make sure the dishes are oven proof. Else may break in the heat.
* You can easily double or triple the measurements for making in bulk.
* I have also made in bulk for a party in disposable aluminium ware. You could use that too. Here is a picture:
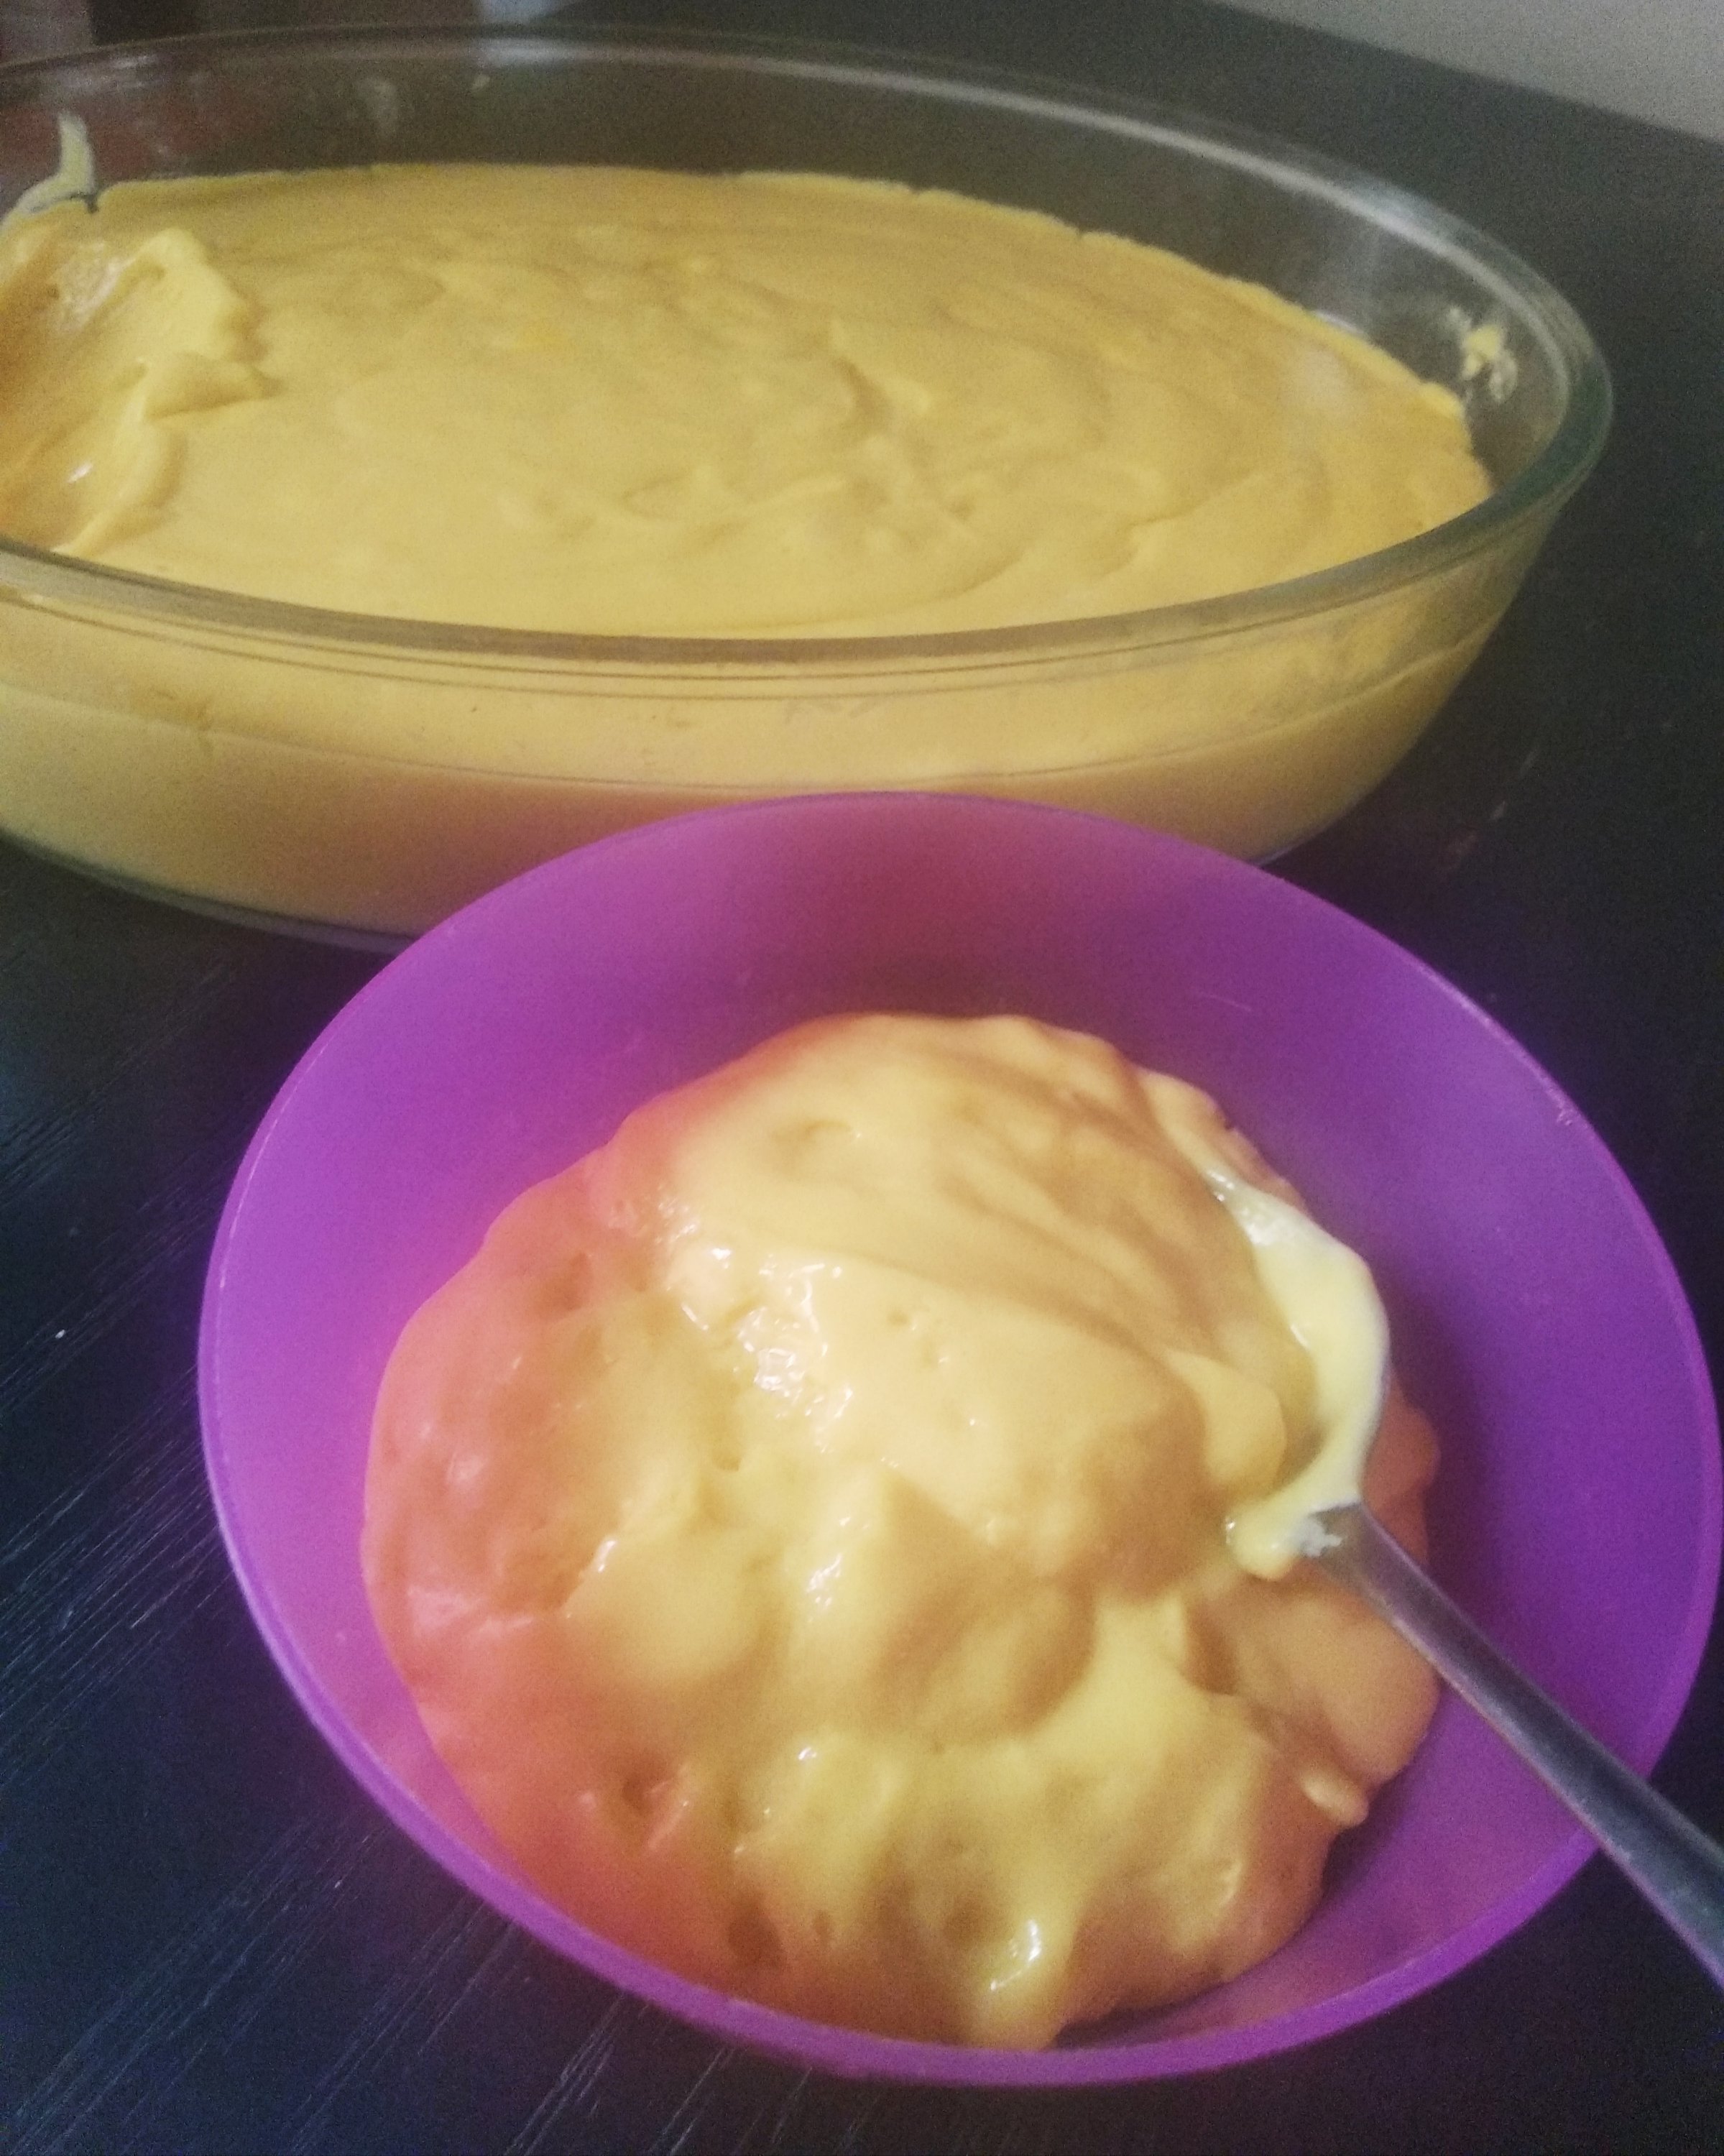
Easy to serve individual portions. Note that I have filled less than half of the bowl. If you put large quantity, it won’t set.
* If kept for setting in a large casserole or bowl instead of small bowls, it does not set as much but still tastes the same. But please keep it to set in small size bowls if you can.
Creamy and delicious!
I have tried to note down as much points as possible so that it’s easy for you all to follow but if you still have any doubts, either comment here or message me on my Facebook page Healthy cooking with mitha or on my Instagram handle and I would be happy to help.
I have compiled some of my easiest healthy sweet recipes so that people who don’t have time, yet wish to make some delicious sweets can try. They are all sweets that can be made within 15 mins. Hope it will be helpful for all of you.