I love cooking alone in the kitchen and look for the time when my kids are super busy with their naughtiness, then sneak myself into the kitchen to cook. When I cook, some dishes bring back such beautiful nostalgic memories that they bring so much happiness in my heart. Memories are really a wonderful way to relive those precious moments which can never come back but will be a treasure in us forever, bringing us joy when we think of them. ❤️
Sannamudhos were regularly made by my grandmother and I used to wait for it to be steamed to enjoy them as soon as it came out of the pedavan or steamer with coconut oil. Even now, when I make them, I eat them the same way just to relive those childhood memories. Here is a glimpse of the sannamudhos from the pedavan which my father had gifted me many years back when I was coming here to Qatar. Love it so much. Also, see how cute it looks. 😍

Here, even though we live in Industrial area, the residents have planted many variety of trees and one among them is drumstick tree. My husband plucks the leaves from a large tree near our house and I make sannamudhos as soon as I get them. The aroma of these idlis are one of it’s kind. The whole house smells heavenly when it steams. ❤️
Hope you all try and love them. Drumstick leaves are very healthy and medicinal. So I always try to add it regularly in our diet. Konkanis know this recipe but sharing for those who are new to it. Happy and healthy cooking! ❤️
RECIPE:
Ingredients: {Makes about 13 idlis}
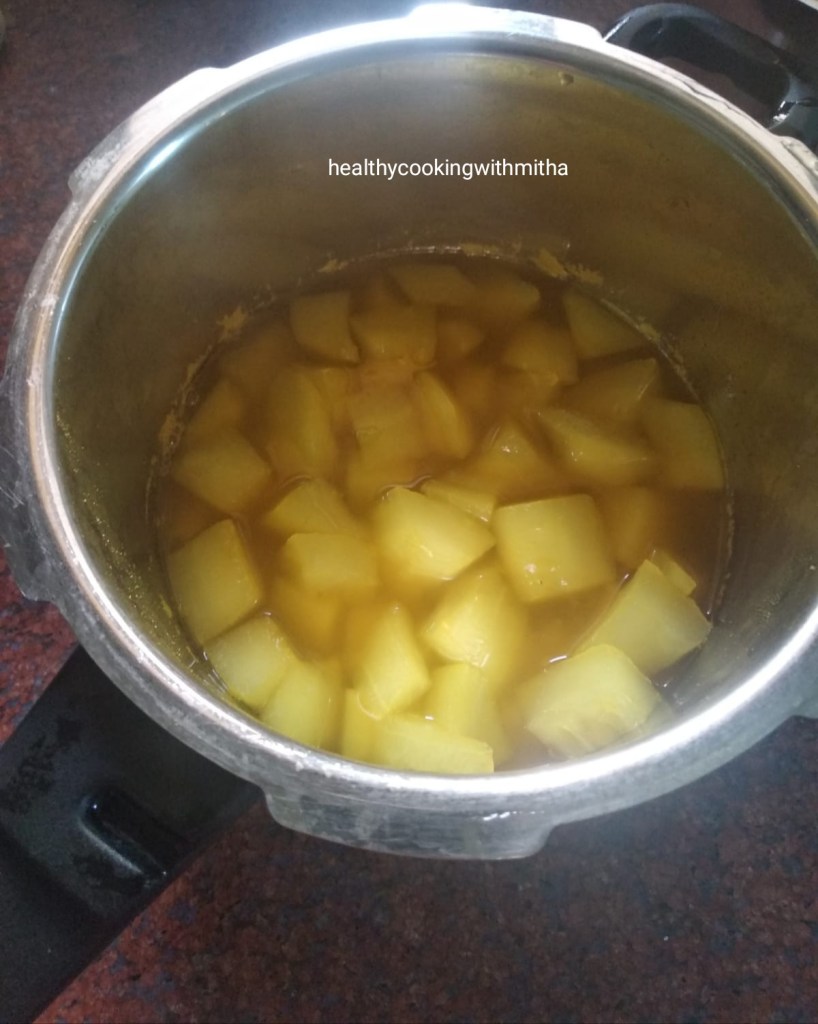
2 Cups Drumstick leaves/ Moringa leaves/ Mashinga pallo
1 Cup Idli Rava/ Rice Rava
Salt to taste
For the masala paste:
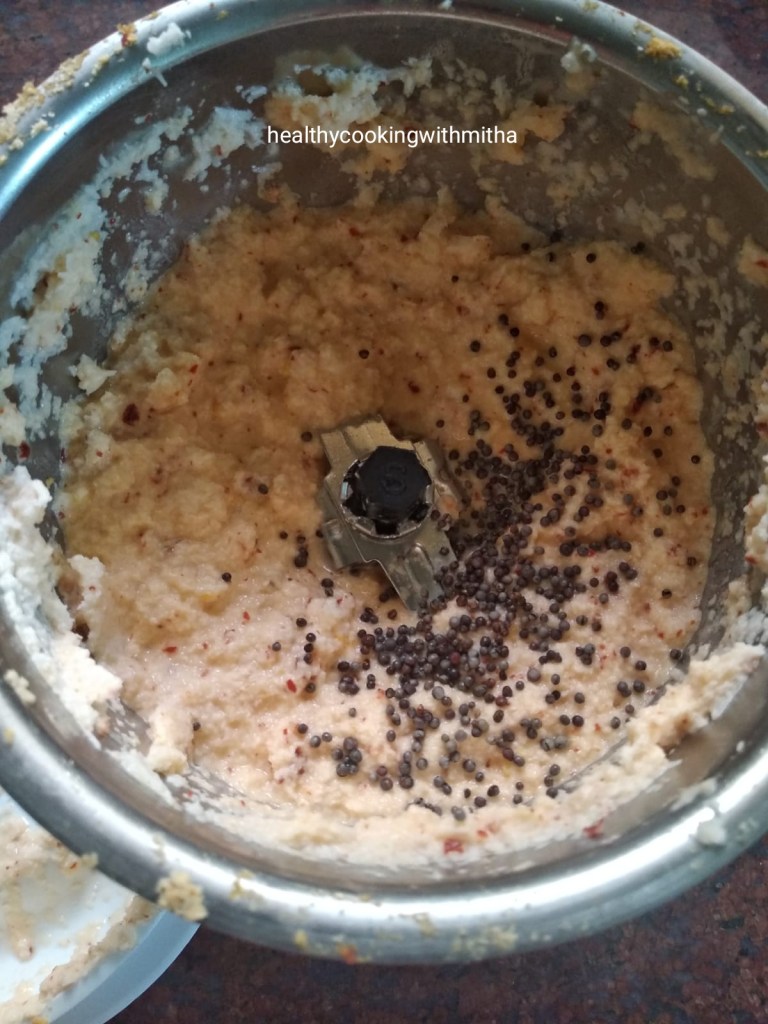
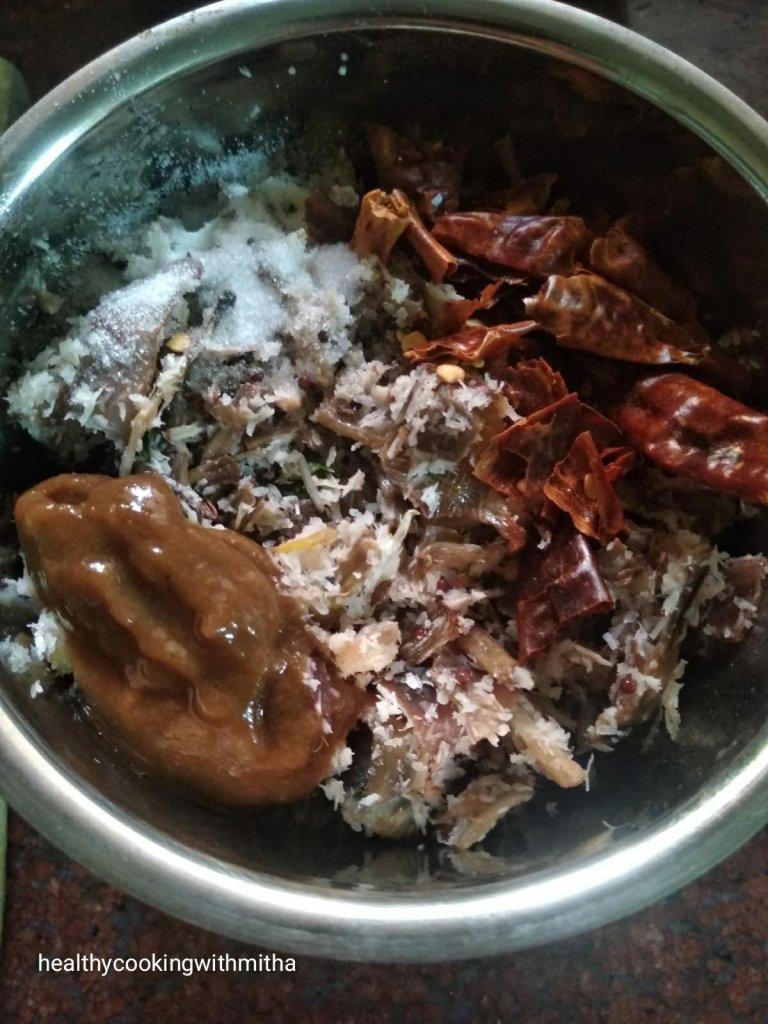
1/2 Cup fresh or desiccated Coconut
1 tsp Tamarind paste
5 to 6 Kashmiri long red chillies or to taste (fried in 1 tsp oil)
Coconut oil to grease the idli plates
Step by step recipe:
1. Remove the leaves from the stems. Add to a bowl. Wash well. Drain and keep aside.

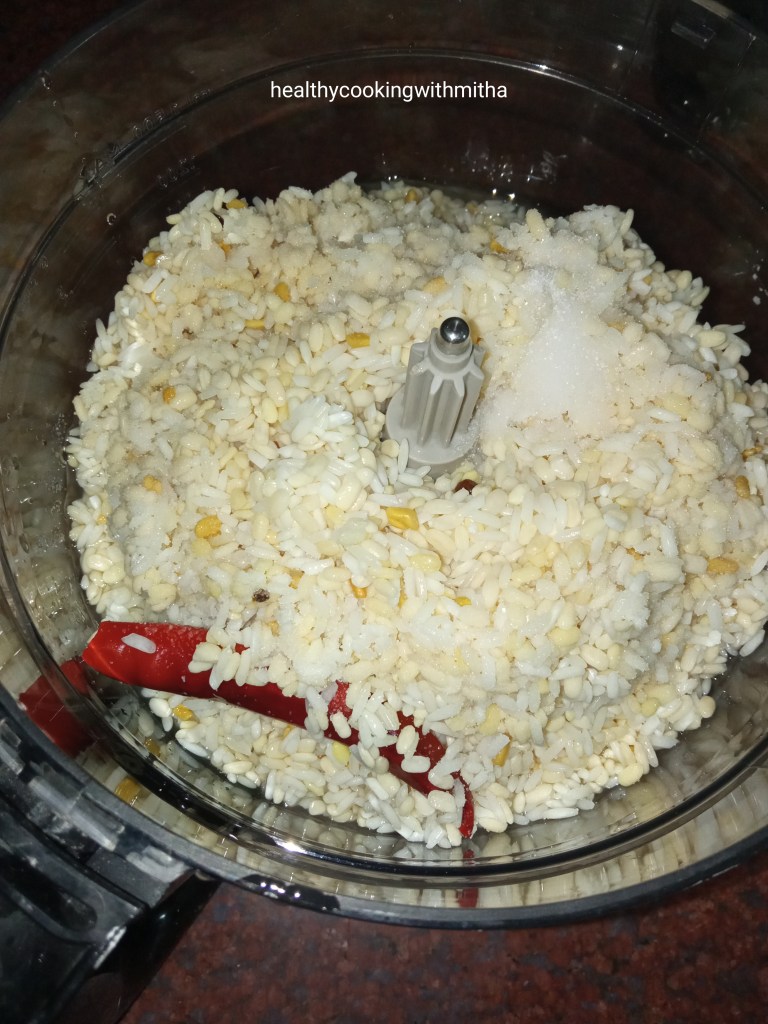
2. Take idli rava in a bowl. Wash well, drain and keep aside.
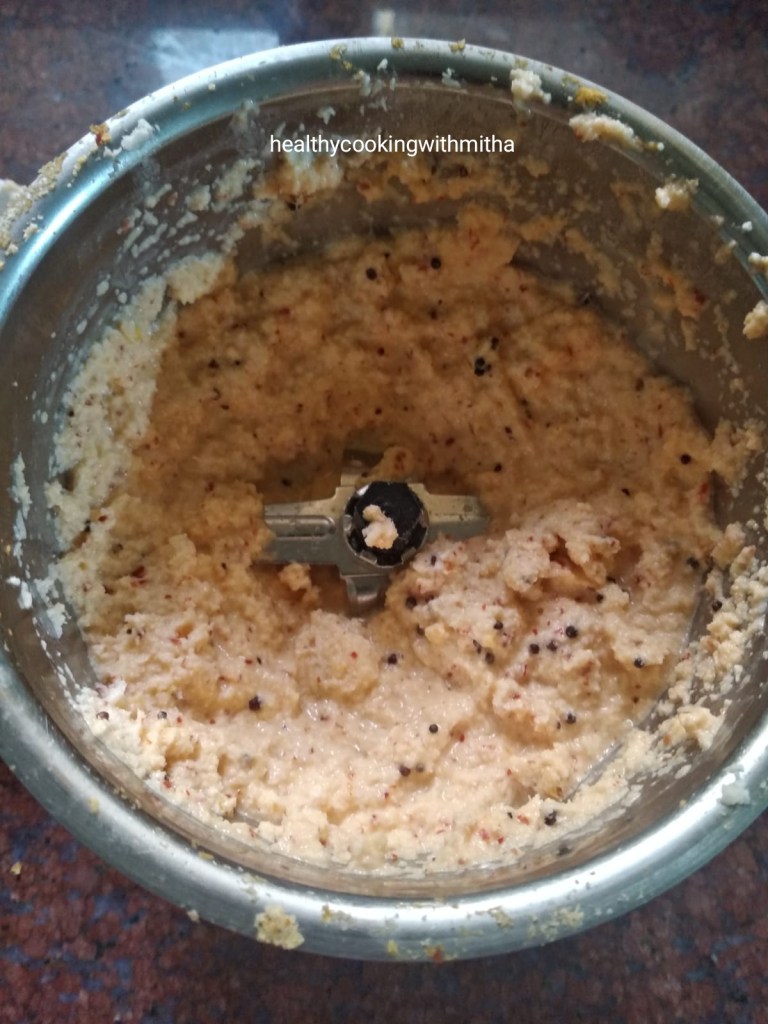
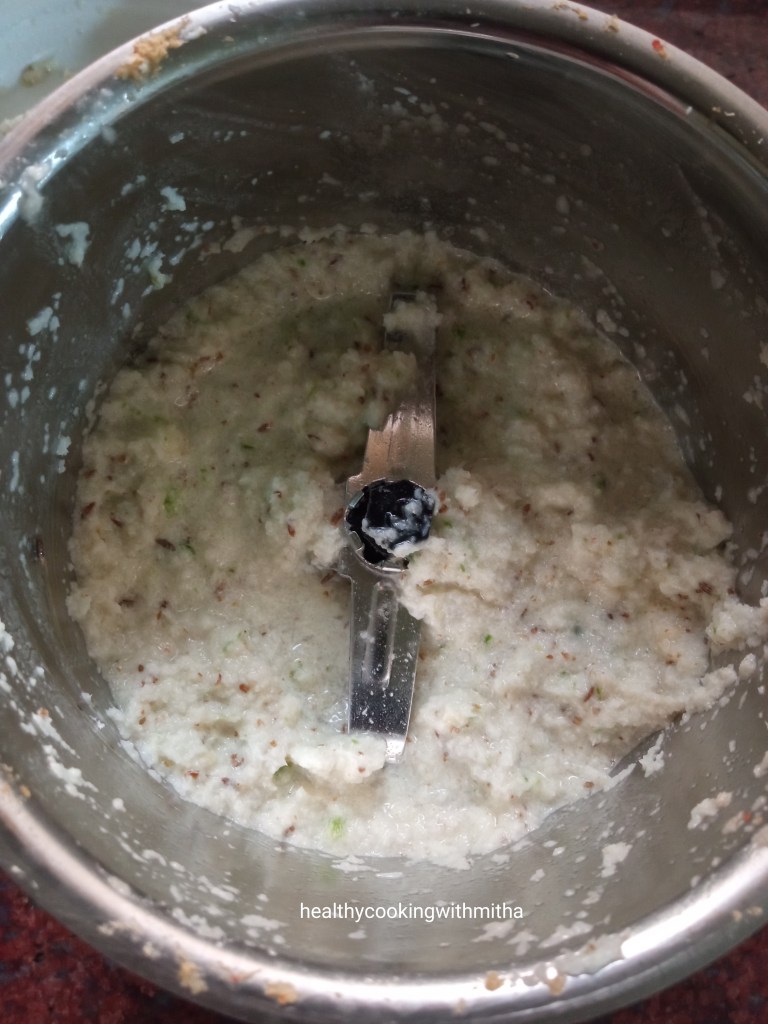
3. Now grind together coconut, fried red chillies and tamarind paste with little water to a smooth paste. Add this to the idli rava mixture.

4. Add about 1/2 Cup water (I wash the mixer and add that water.) to form a thick batter. Add salt and mix well.

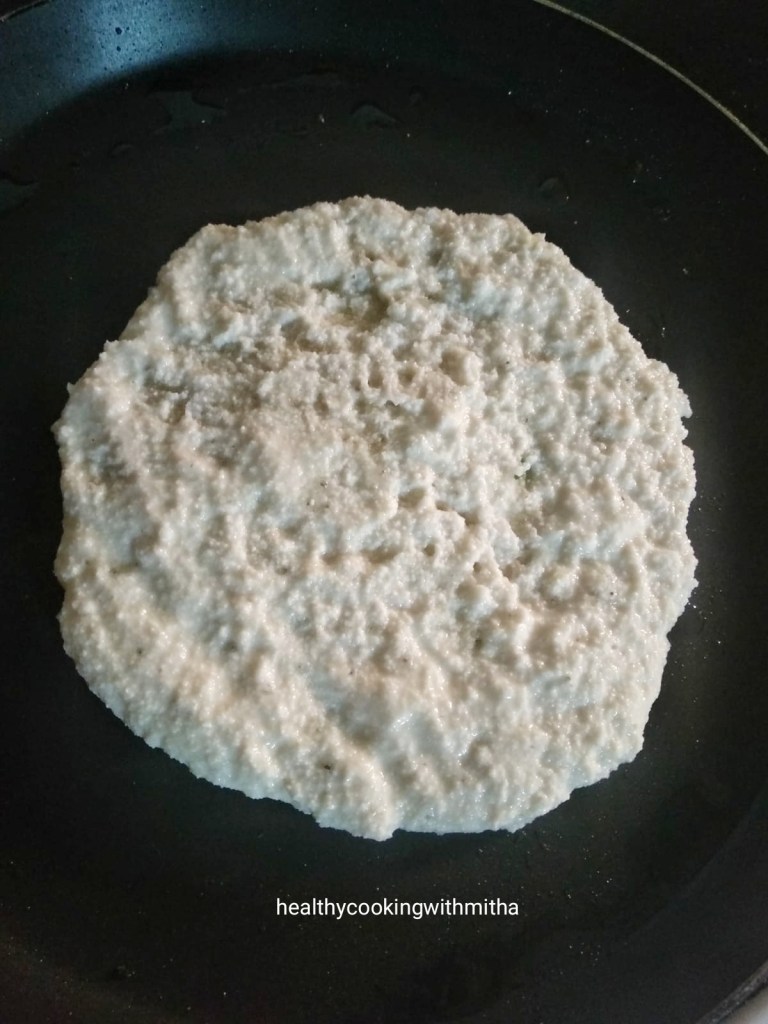
5. Now mix in the drumstick leaves. It is a thick mixture just like how it is shown below.

6. Grease idli moulds with coconut oil and add the mixture evenly in the moulds.
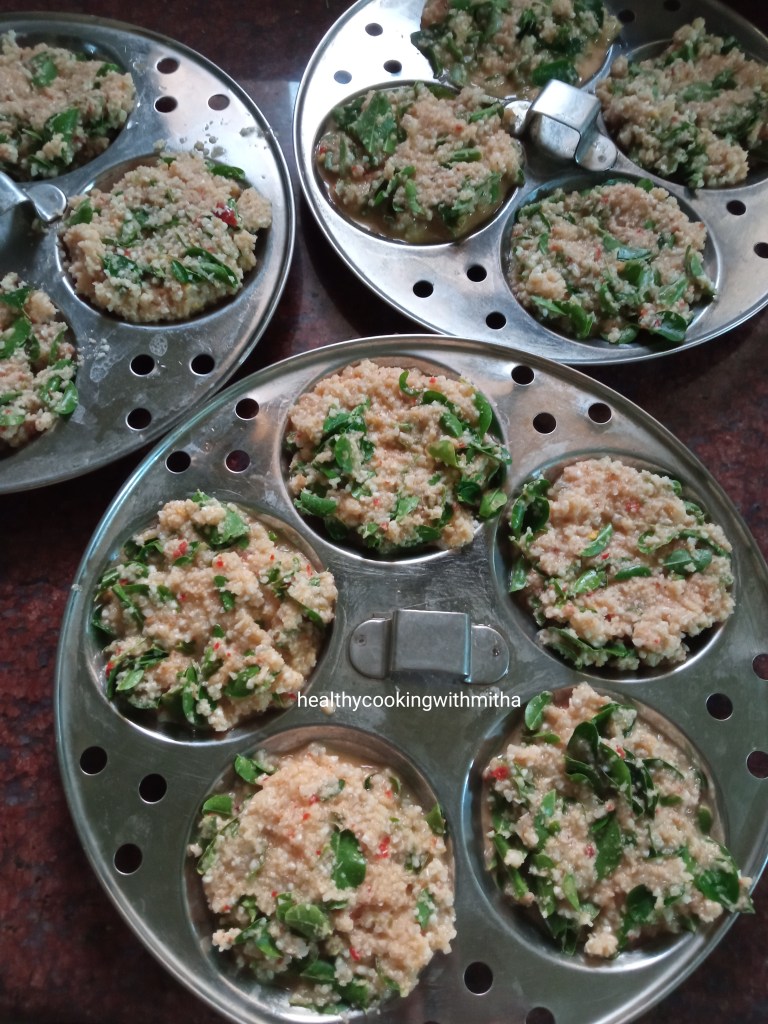
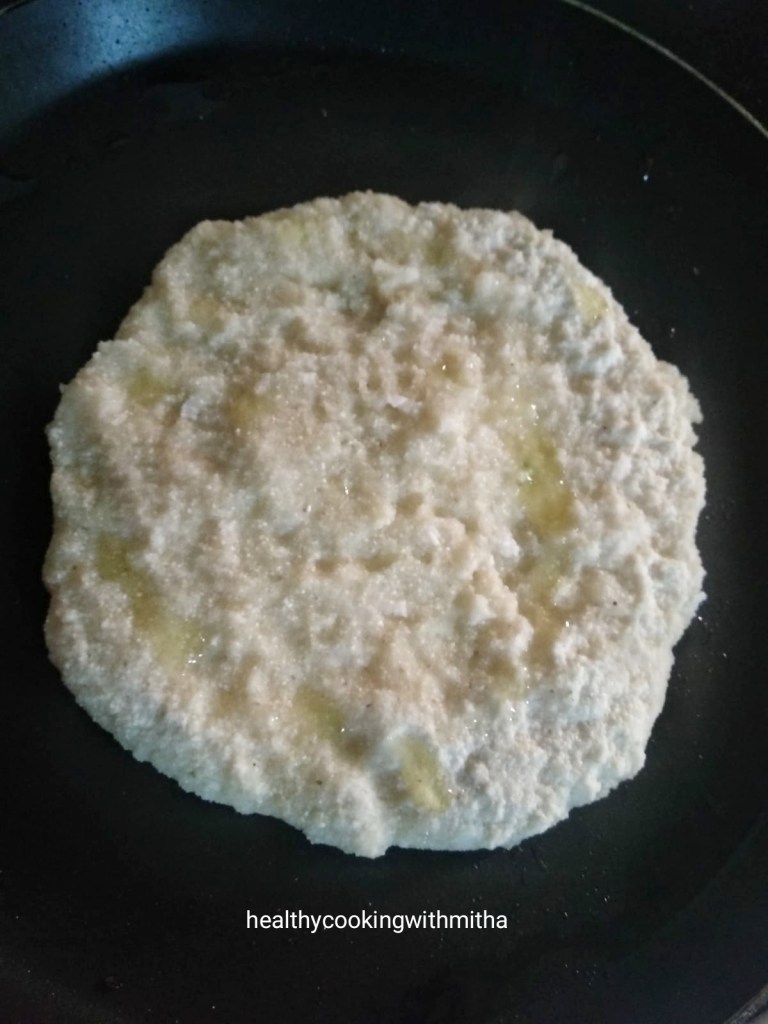
7. Steam for 20 to 25 minutes or till a knife inserted in the center of the idli comes out clear.
8. Enjoy it piping hot with coconut oil or with rice and dalitoy or rasam. Makes such an heavenly combo!
Notes:
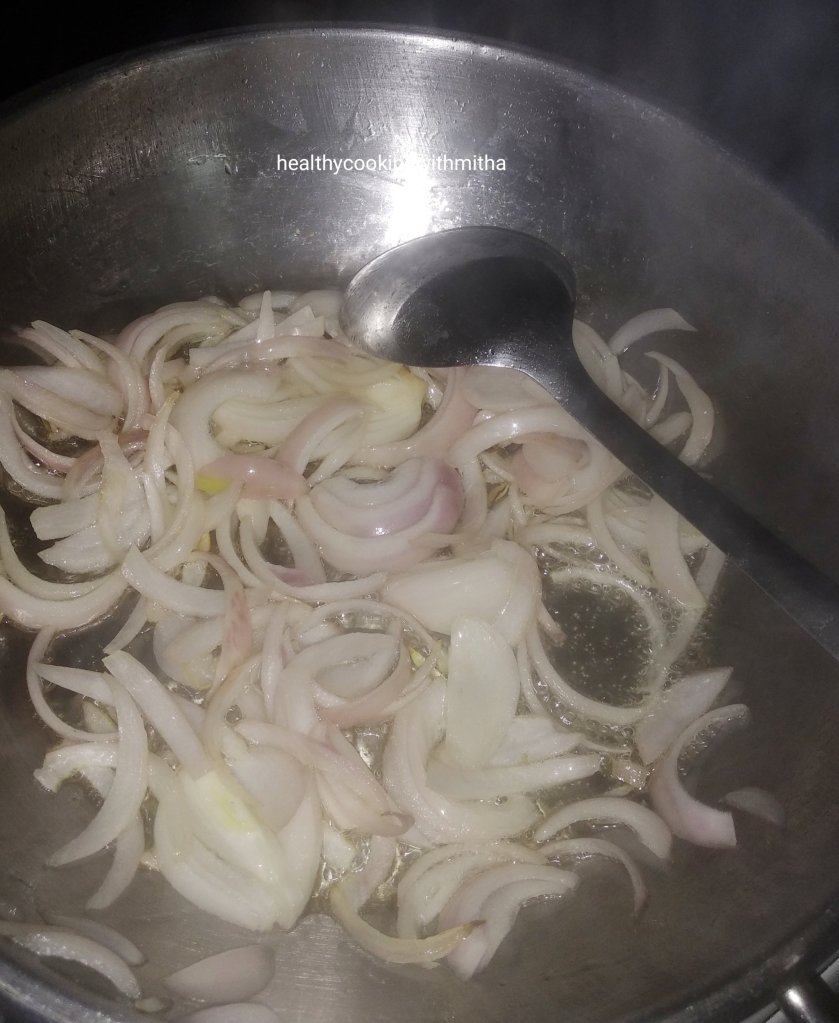
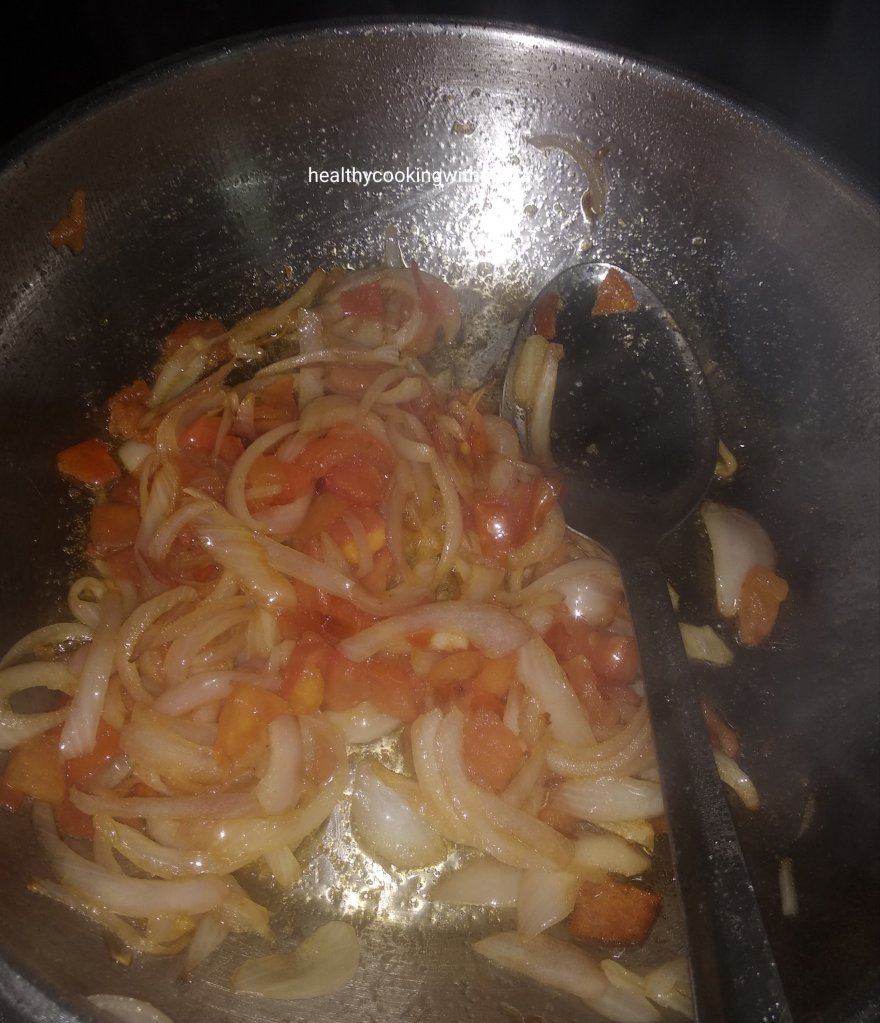
* You can substitute drumstick leaves with Methi leaves or finely chopped palak leaves. This sannamudho can be made adding only onion or a mix of onion plus cabbage too.
* I add two cups of leaves for 1 Cup of idli rava. You can reduce the amount of leaves if you don’t have that much available but this quantity gives an amazing aroma as well as flavour to these idlis.
* The amount of red chillies I have mentioned is apt for us as the idlis turn out medium spicy. If you like them more spicy, then you can also add chilli powder before you mix in the leaves.
* Do steam them well atleast for 20 mins on high flame, else there can be rawness in the idli rava.
* Idli rava absorbs water when kept for a while. So if you keep the mixture to rest, it will absorb all the water and you might need to add a little more water to bring it to thick consistency. If steamed immediately, only 1/2 Cup water is needed.
* These idlis are traditionally had with rice and any curry like dalitoy (Konkani style dal) or rasam. You can also enjoy them as it is but don’t forget to dip in it coconut oil or drizzle over it for that heavenly flavour.