Category Archives: Konkani Recipes

Jaggery Sheera

Click on the image to save the recipe on Pinterest.

Sheera is the most common sweet made in Konkani households and ours is no less. My grandmother always made it to satisfy our sweet tooth and my mother’s ghee laden sheera is still in my taste buds. I used to tease her “Amma, have you made sheera in ghee or ghee in sheera?”. She used to add loads of ghee in it as much as she showered her love in the sheera.

Both of them used to make sheera with sugar and I did not mind all that when I was a kid or teenager. But after marriage, when I was struggling with weight and infertility issues, I started substituting sugar with the healthier jaggery in most desserts and sheera became one of them too. We loved jaggery sheera so much that it became our favourite sweet, much more than sugar based sheera.

Click on the image to save the recipe on Pinterest.

From then till now, it’s not changed and we have got two more miniature sweet lovers like us who love jaggery sheera very much too. I make it when they feel hungry even after dinner. It fills them up and to see them enjoy every bite of it is very satisfying to me as a mother who at one time had lost all hopes of motherhood.

Thus is my story with this favourite sweet of mine.. Emotional yet filled with beautiful memories..

Hope you all try it and your family loves it too. Happy and healthy cooking!

RECIPE:

Ingredients:

1 Cup wheat Semolina/ Sooji/ Rava

3/4 Cup Jaggery

2 and 1/2 Cups water

3 Tbsp Ghee

2 Tbsp broken Cashews

1 Tbsp Raisins

Step by step recipe:

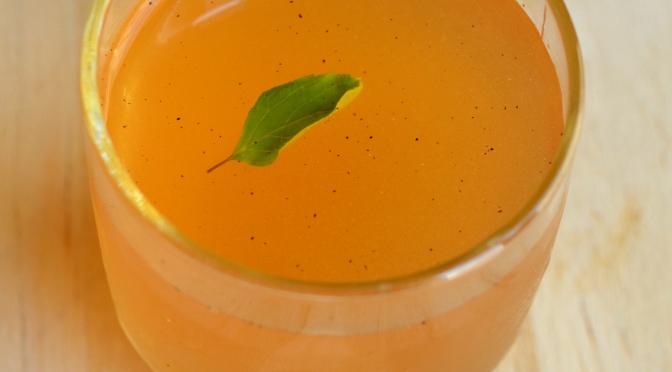
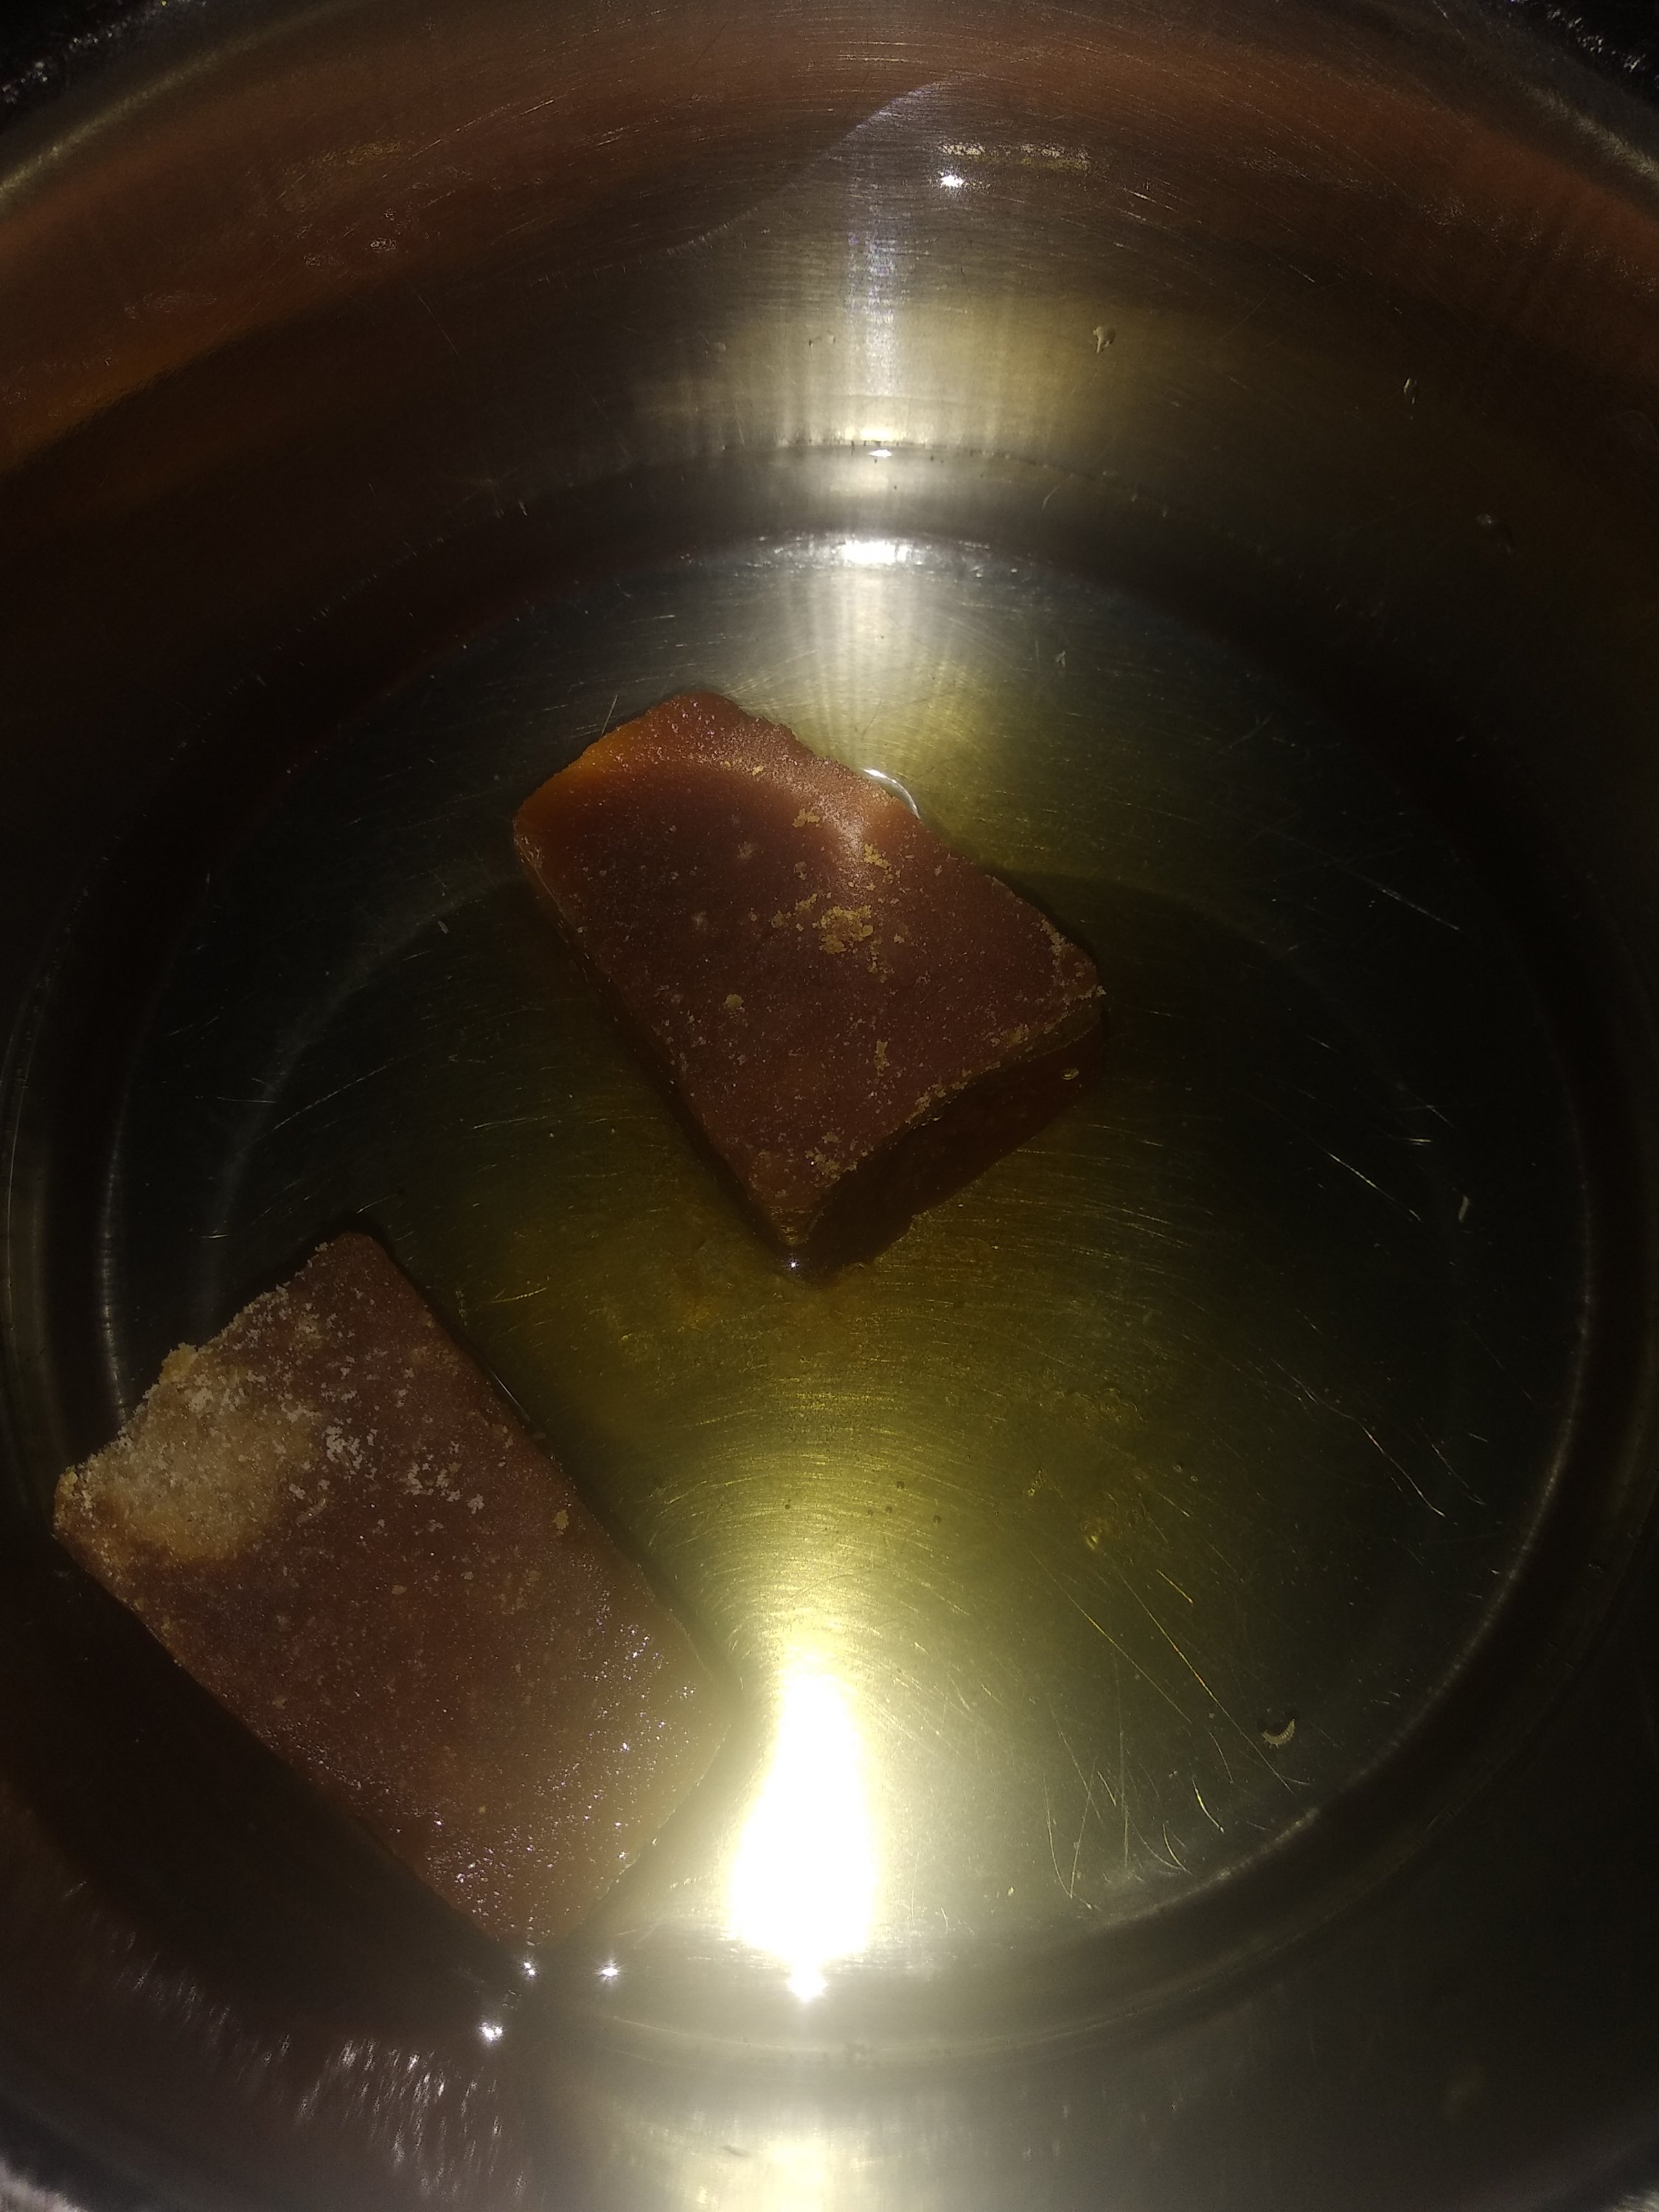
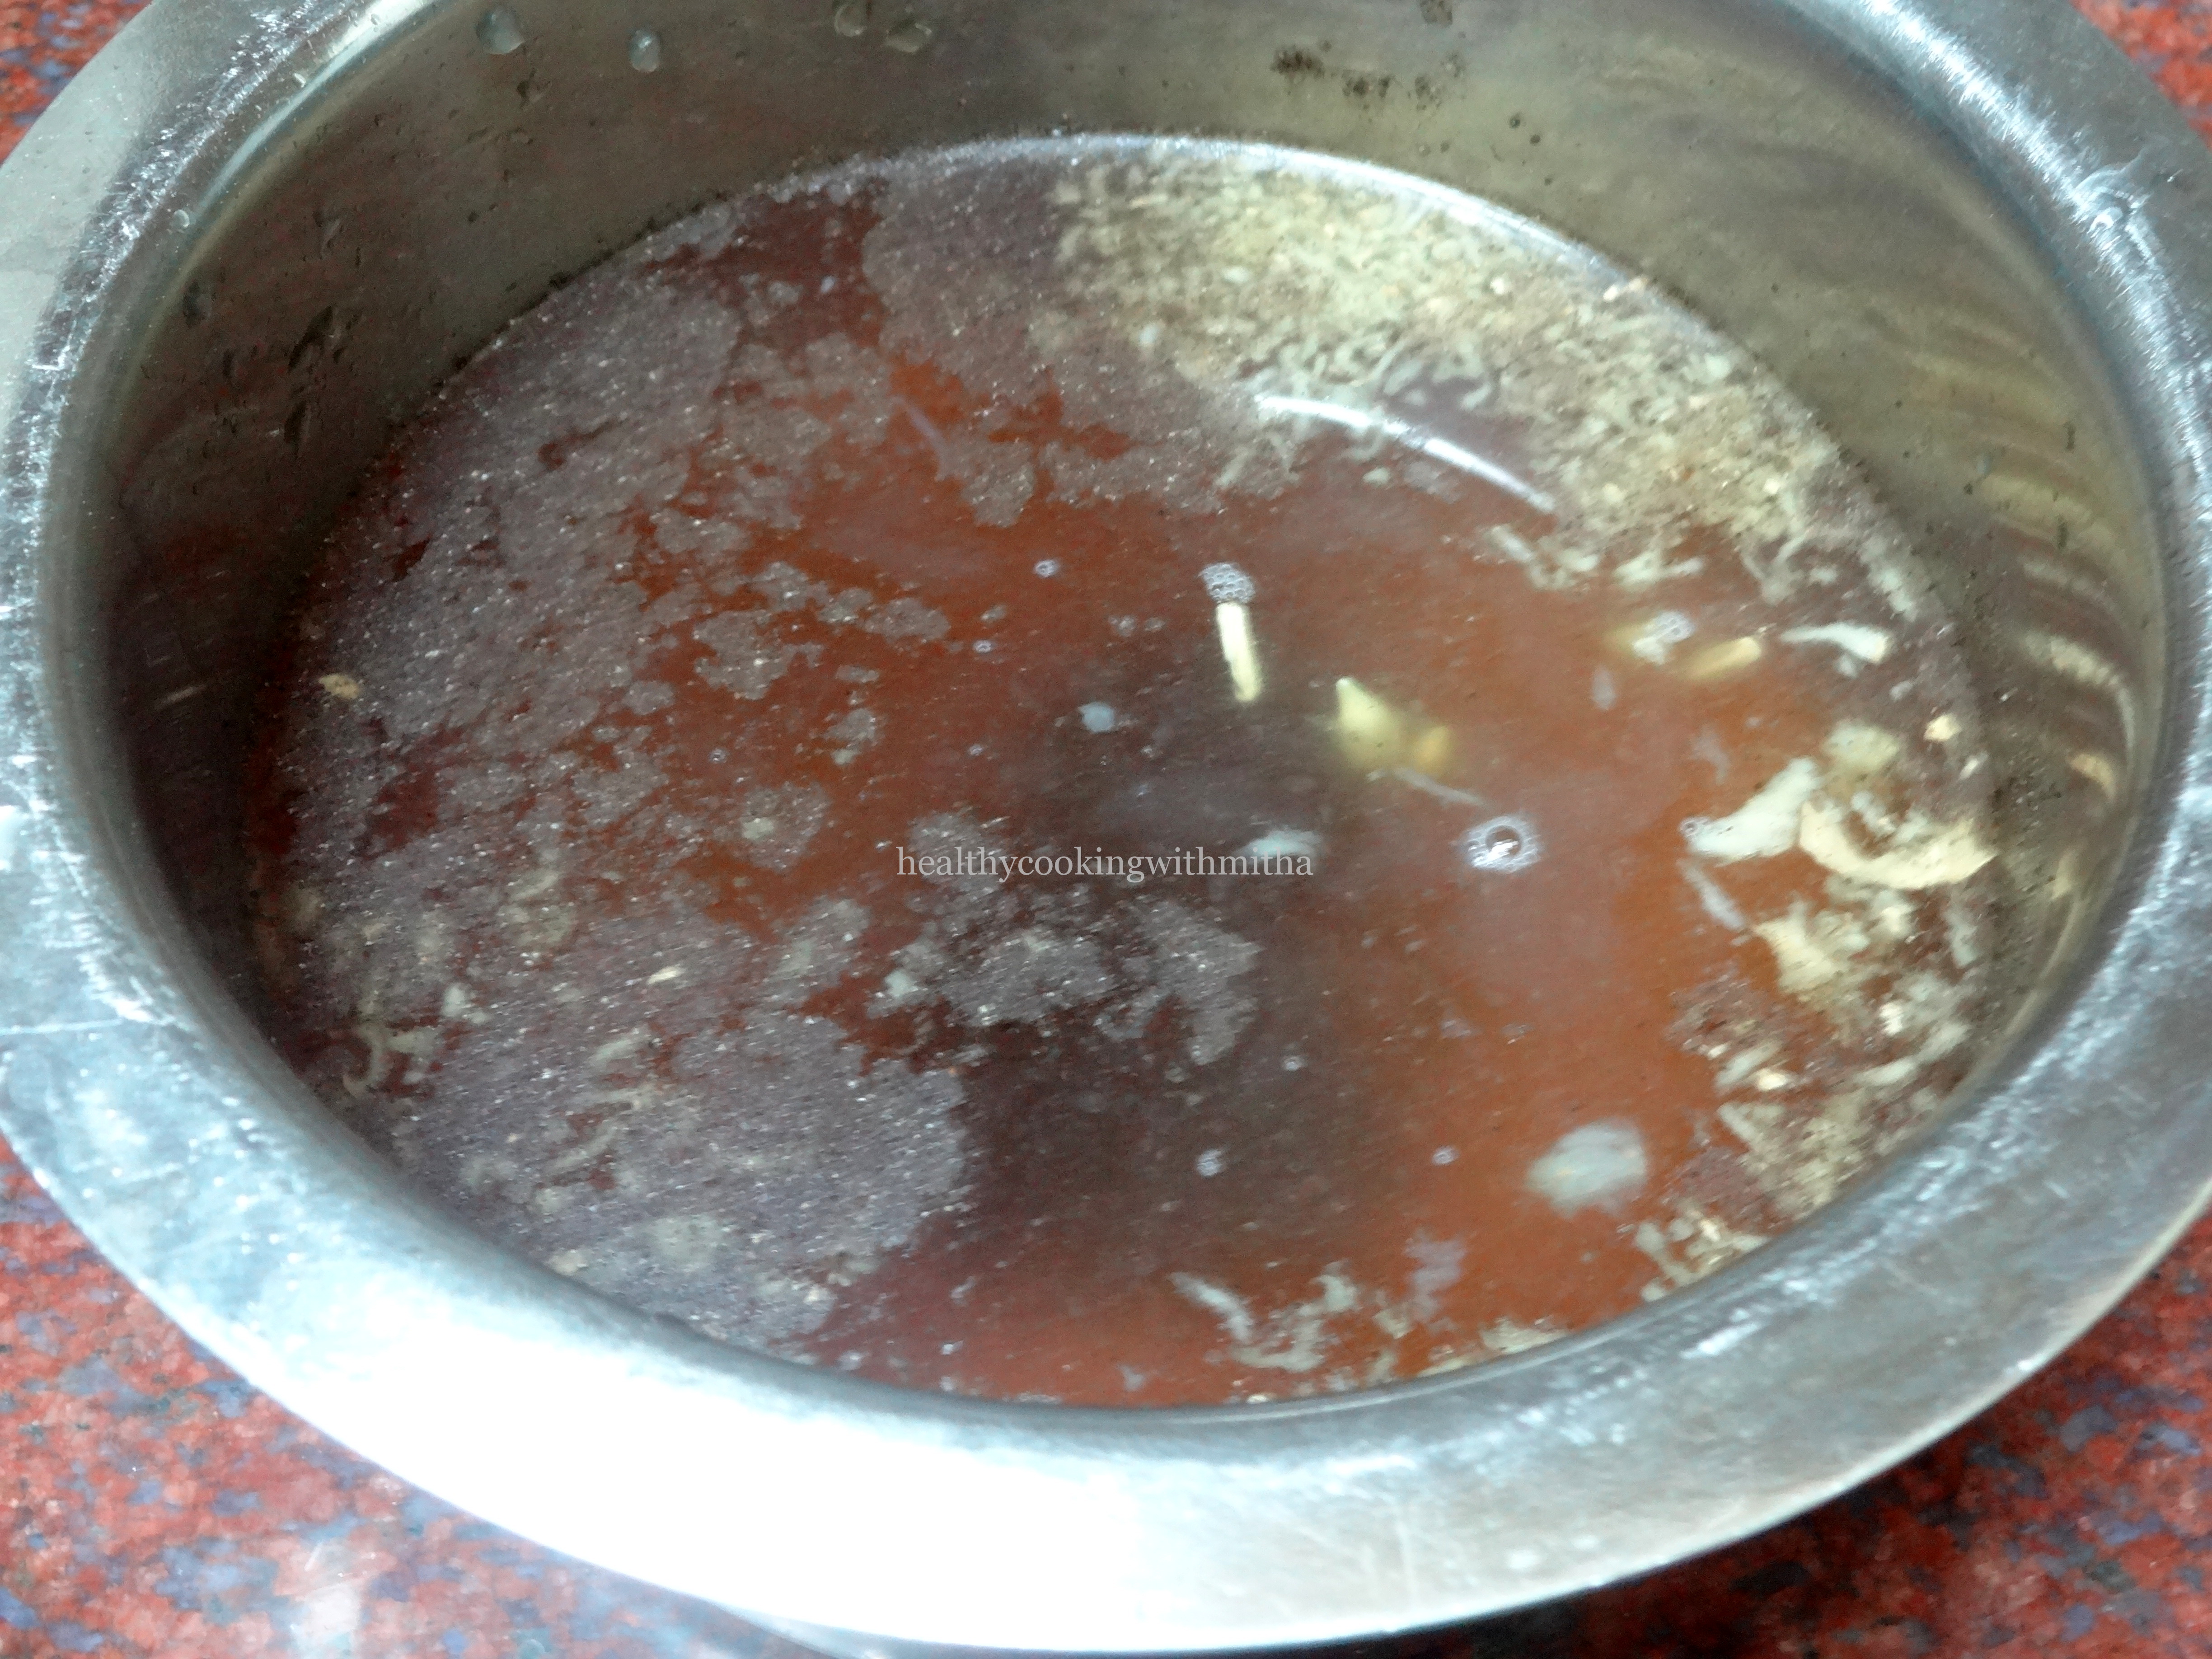
1. Keep 3/4 Cup Jaggery to melt in 2 and 1/2 Cups water.

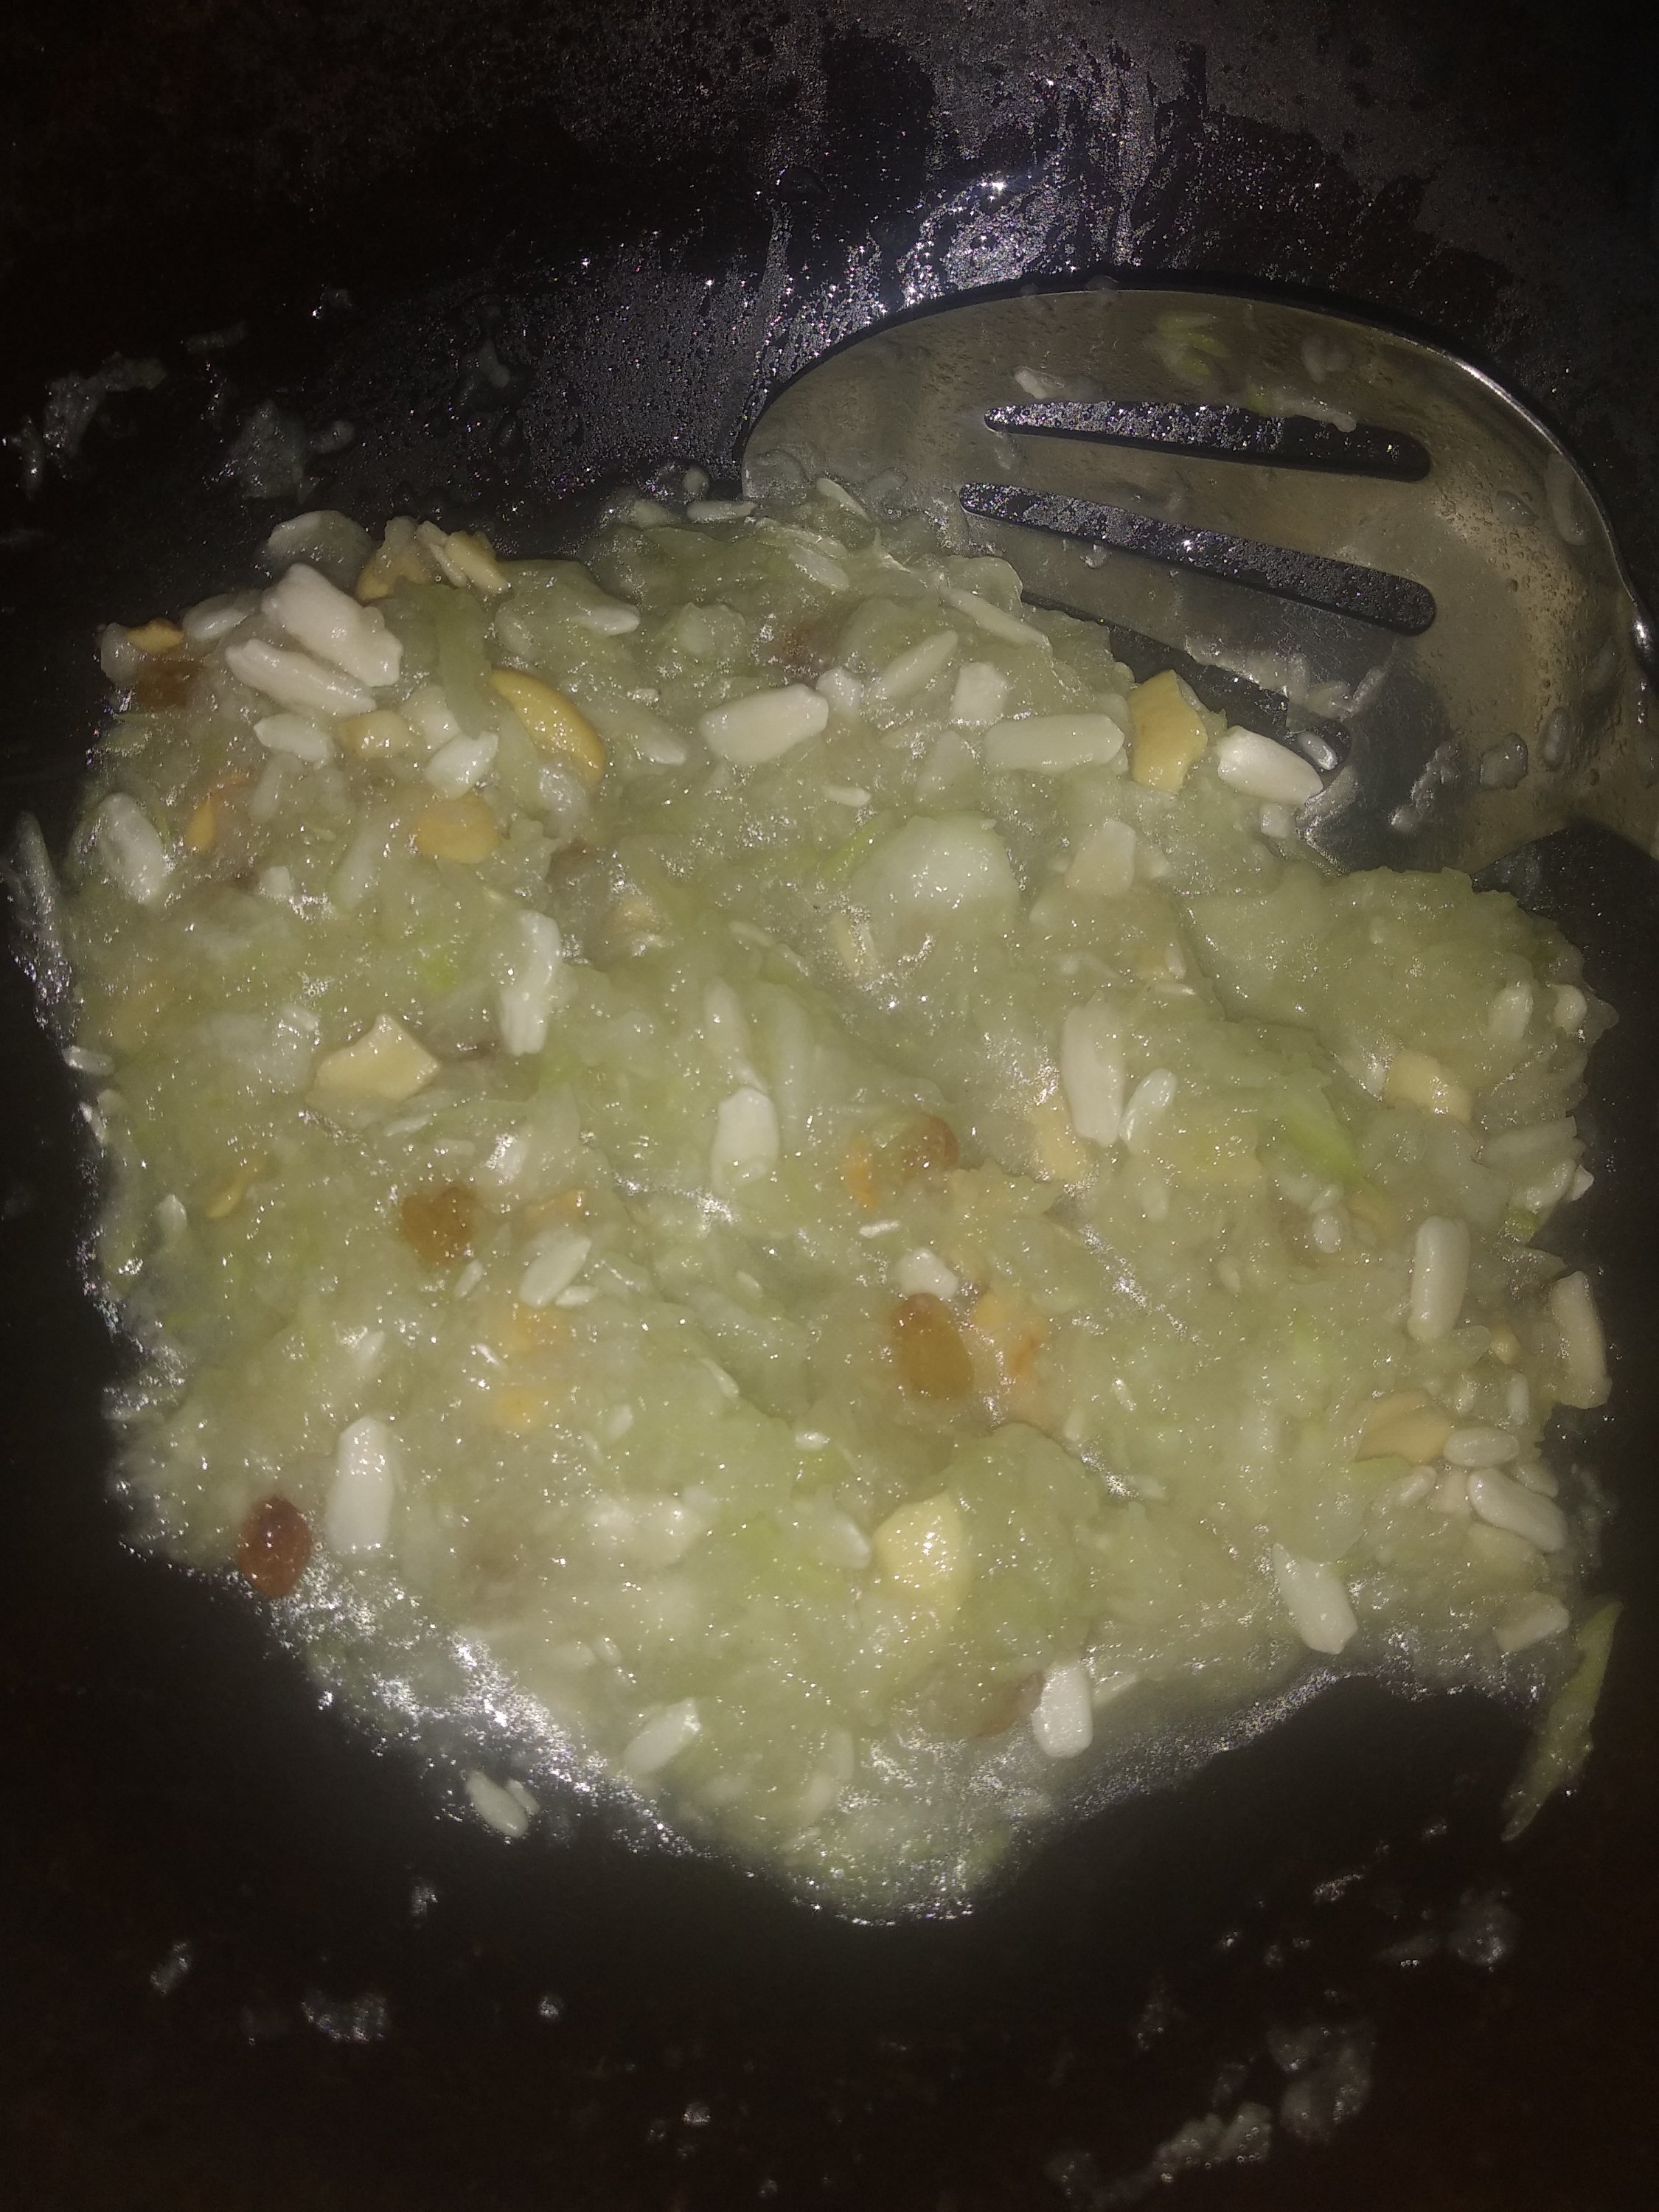
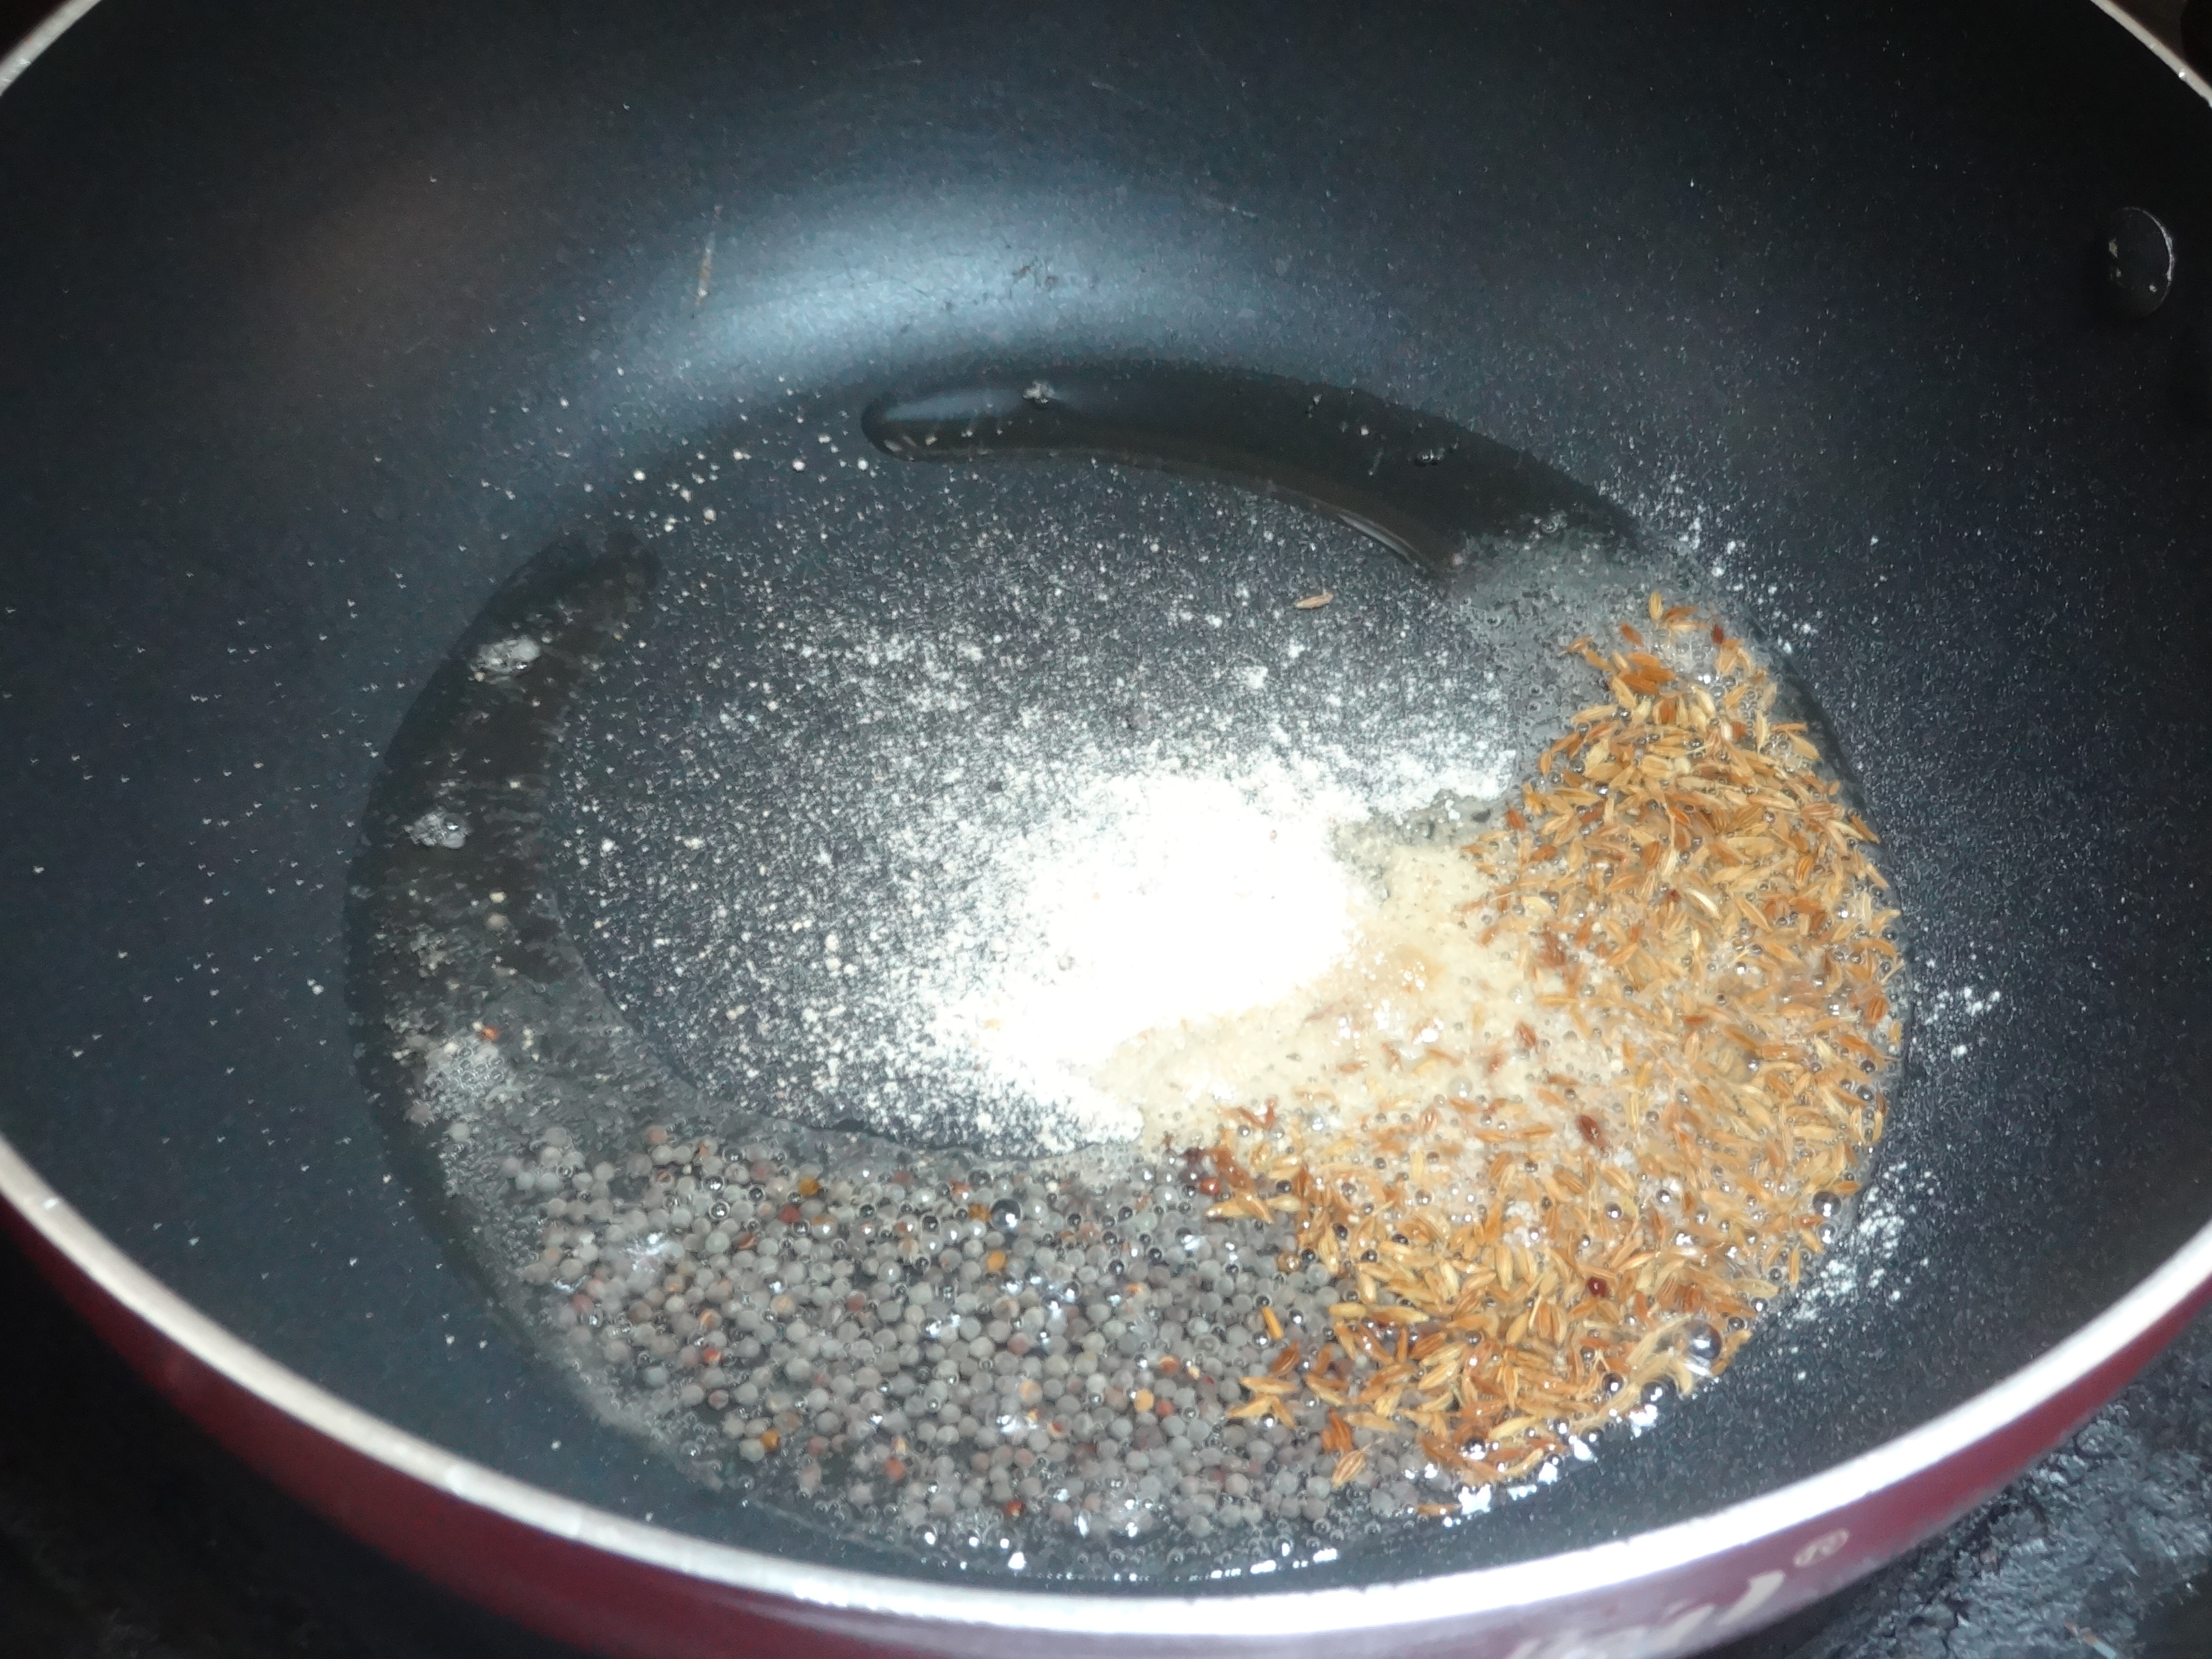
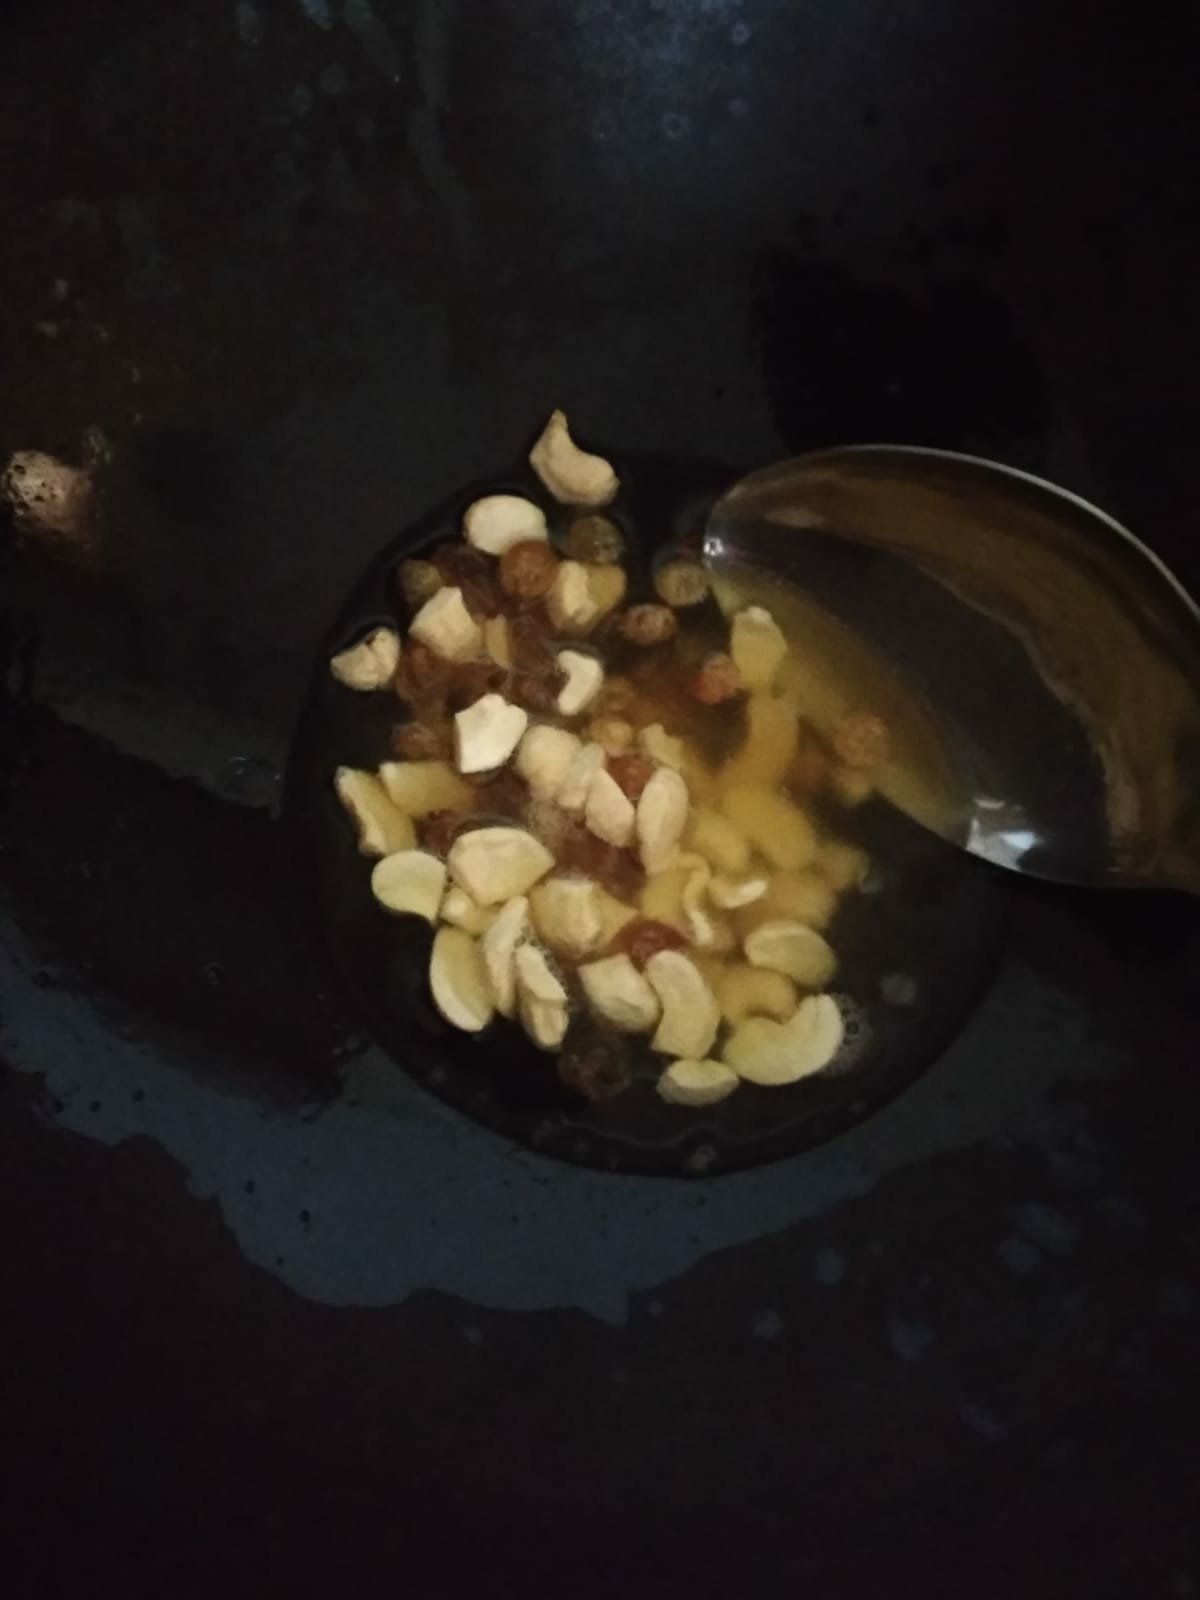
2. Heat ghee in a pan (I use iron kadhai for this) and fry cashews and raisins till cashews brown slightly.

3. Add semolina and roast on medium flame till it turns aromatic and changes colour. Takes about 3 to 5 mins.

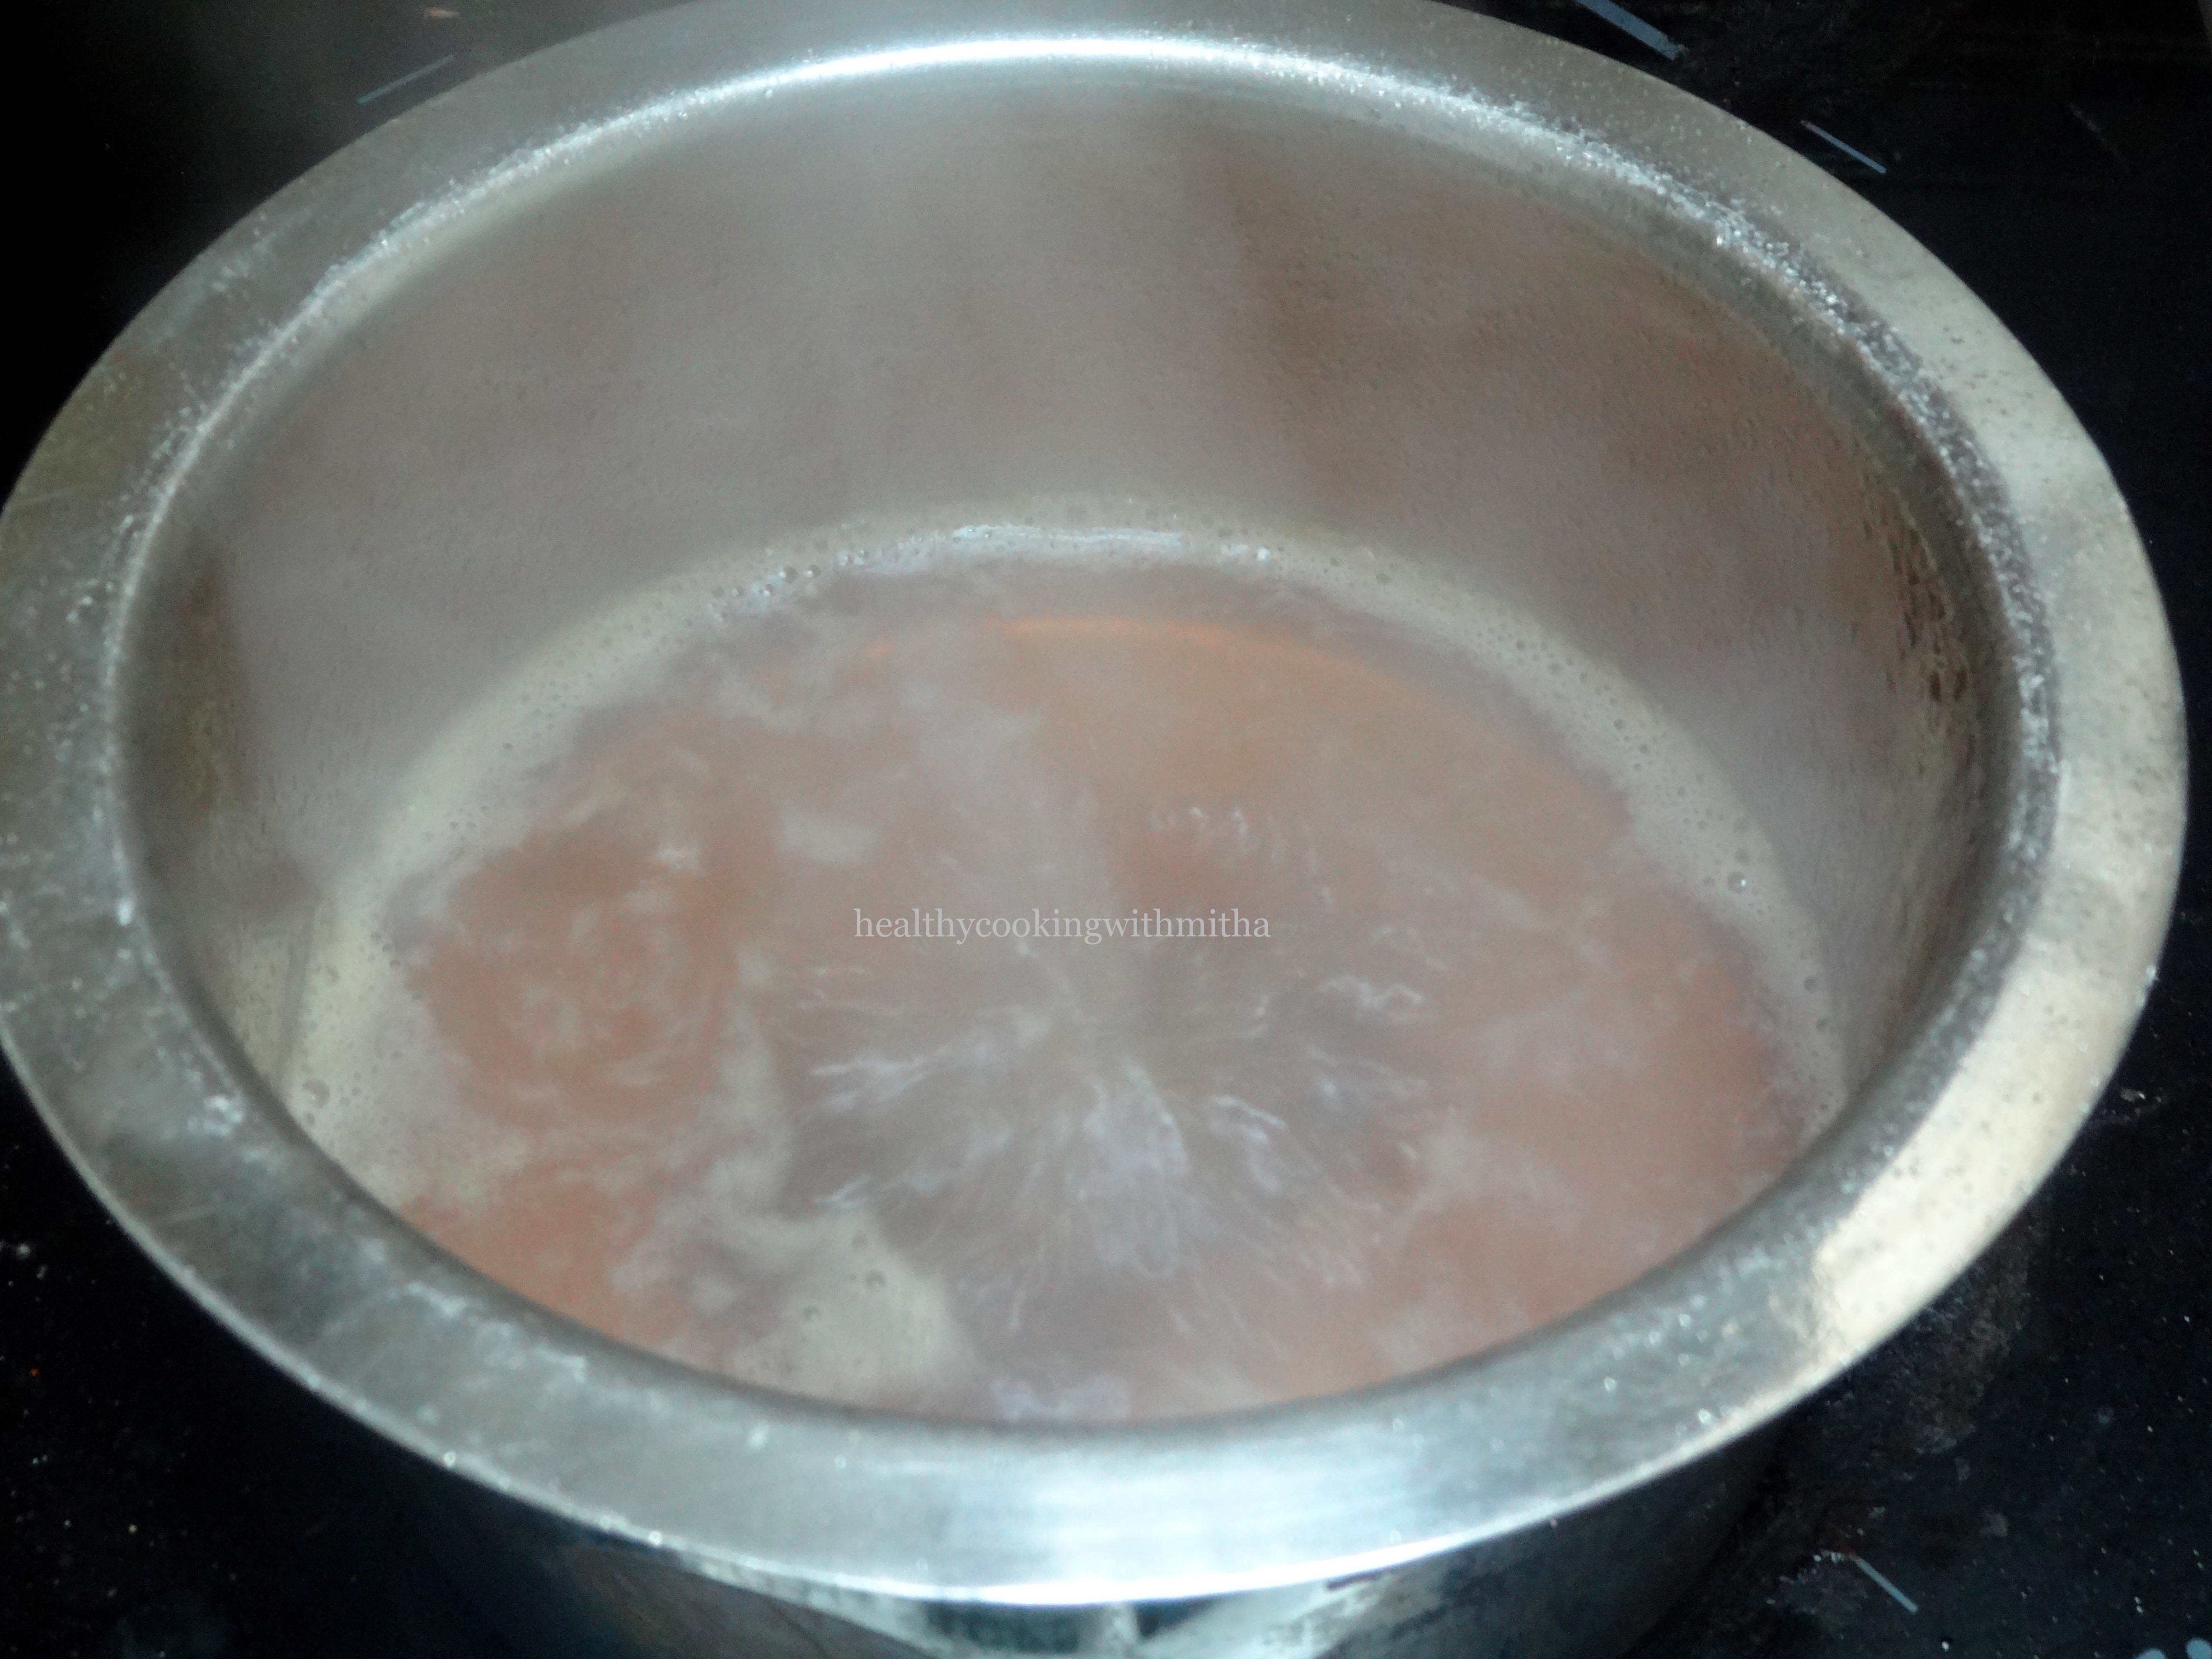
4. Now see that jaggery is completely melted in the water and the water is really hot.

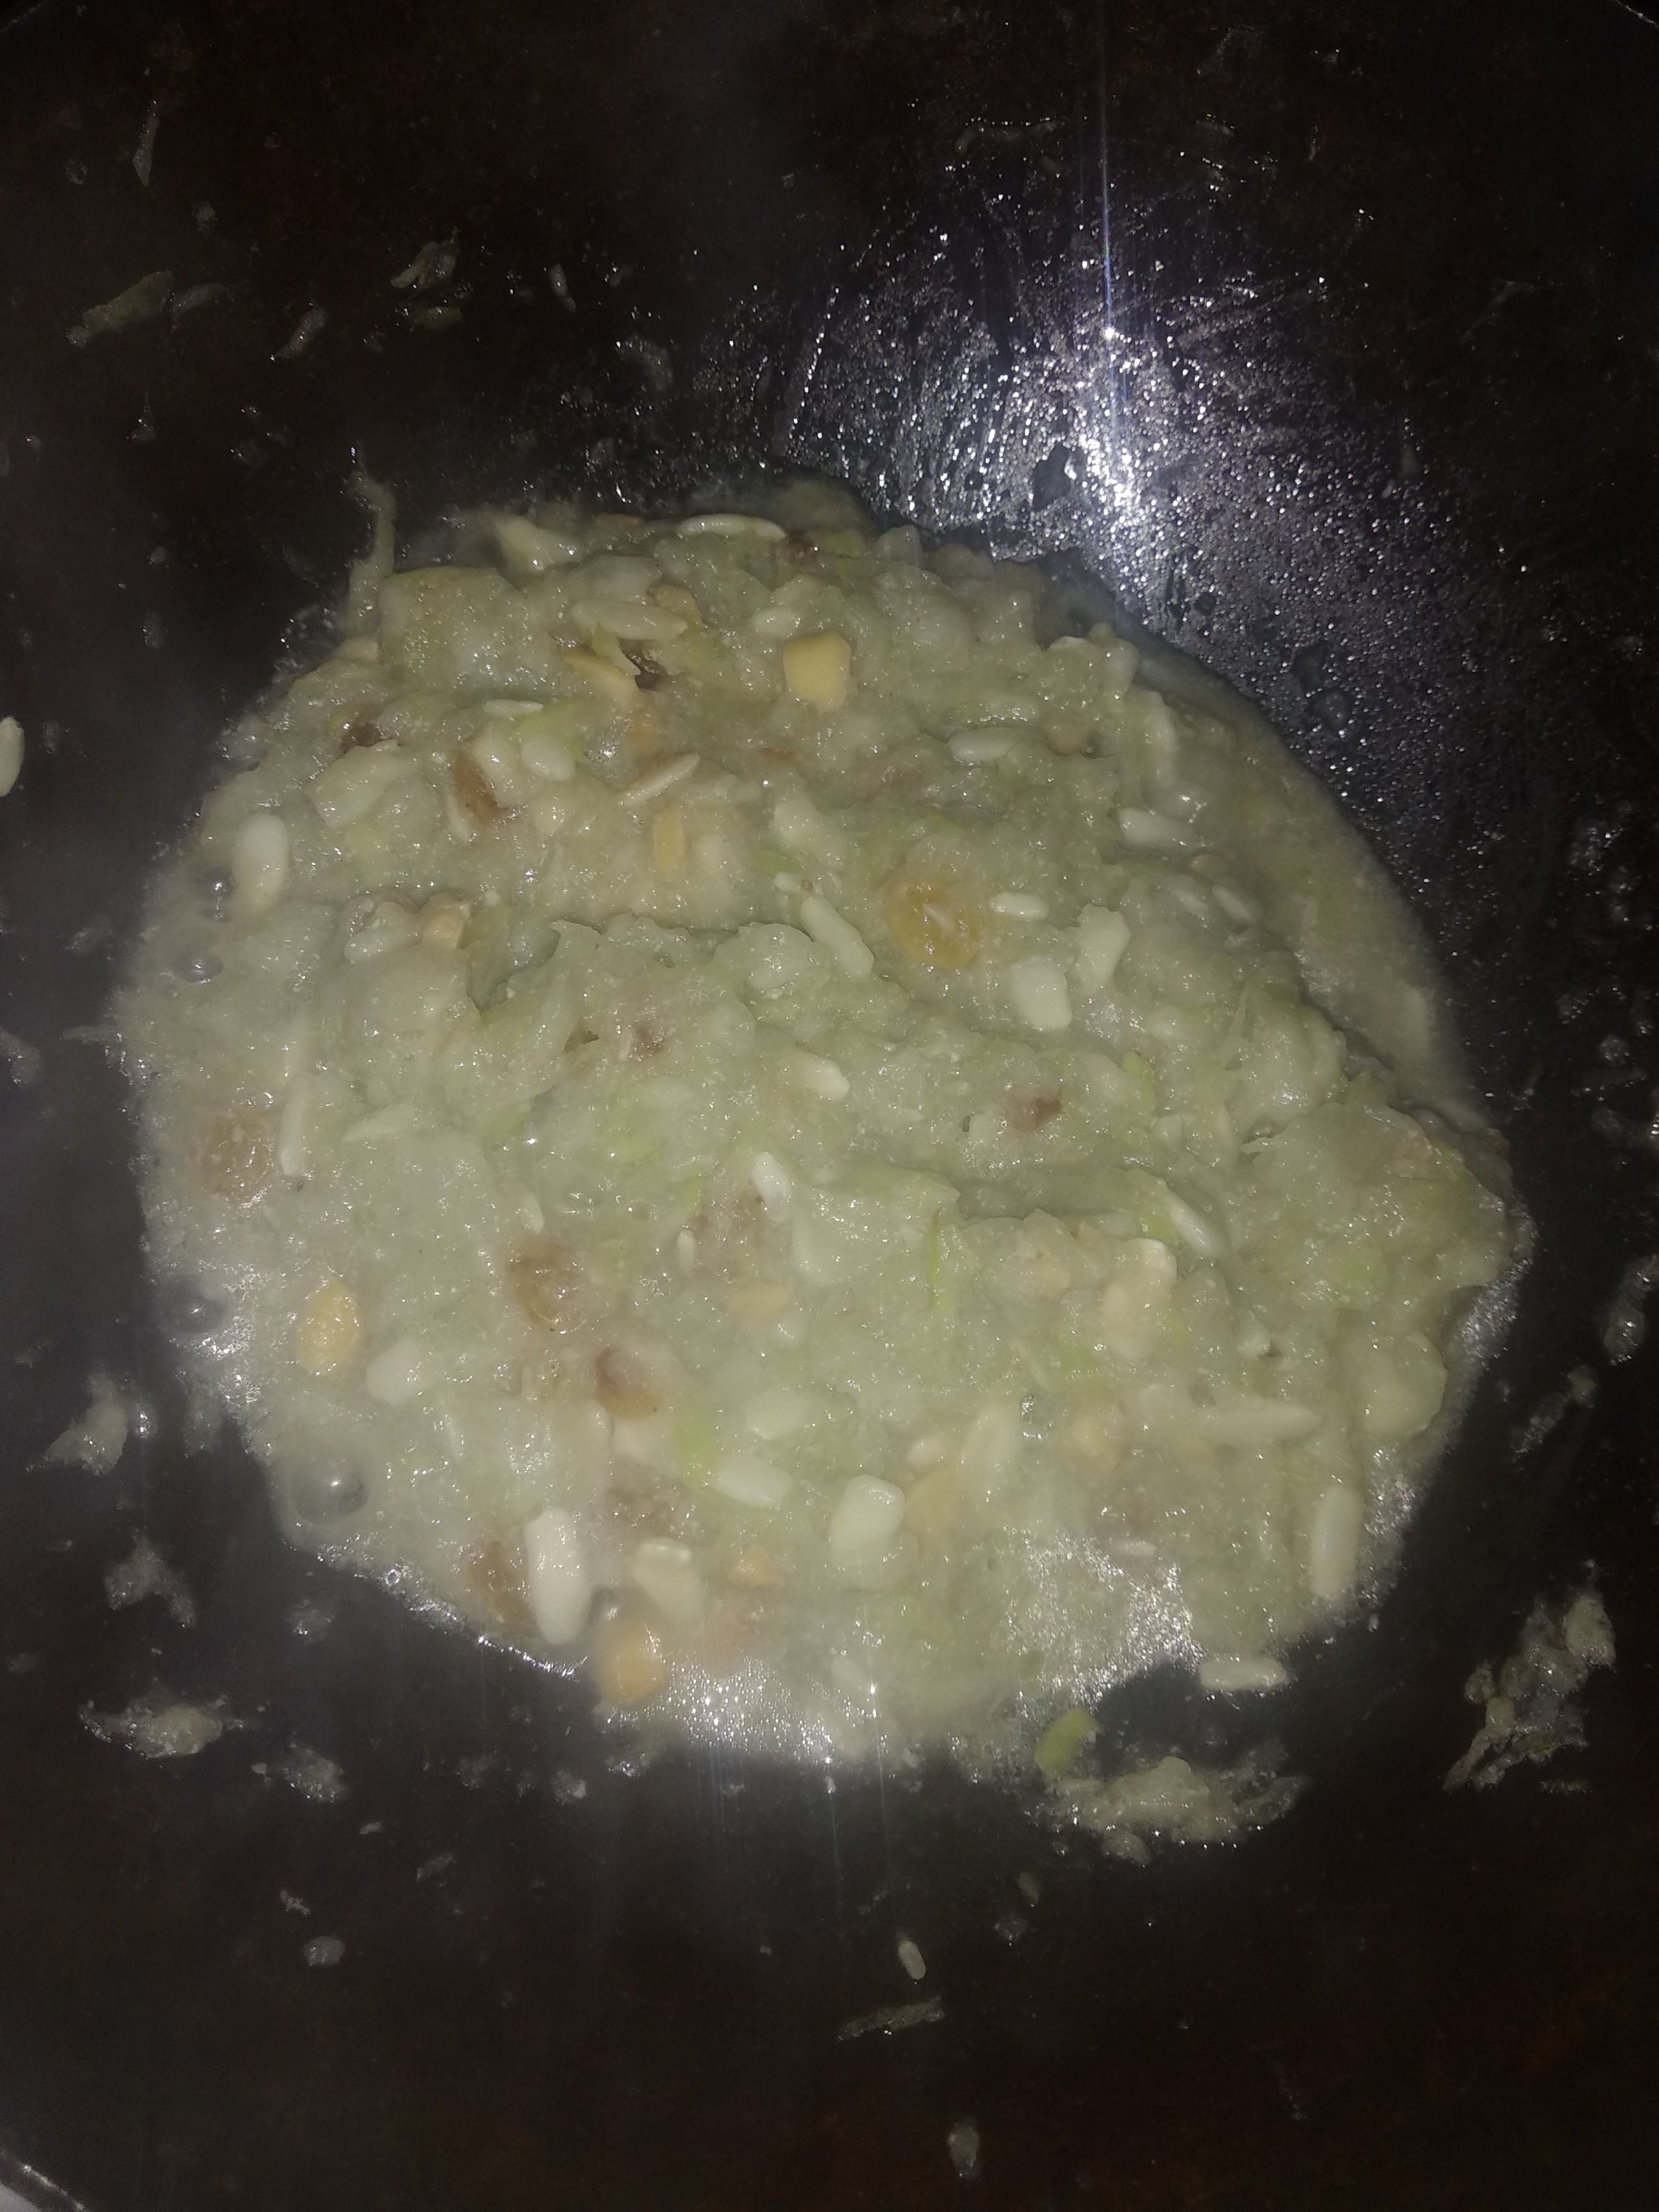
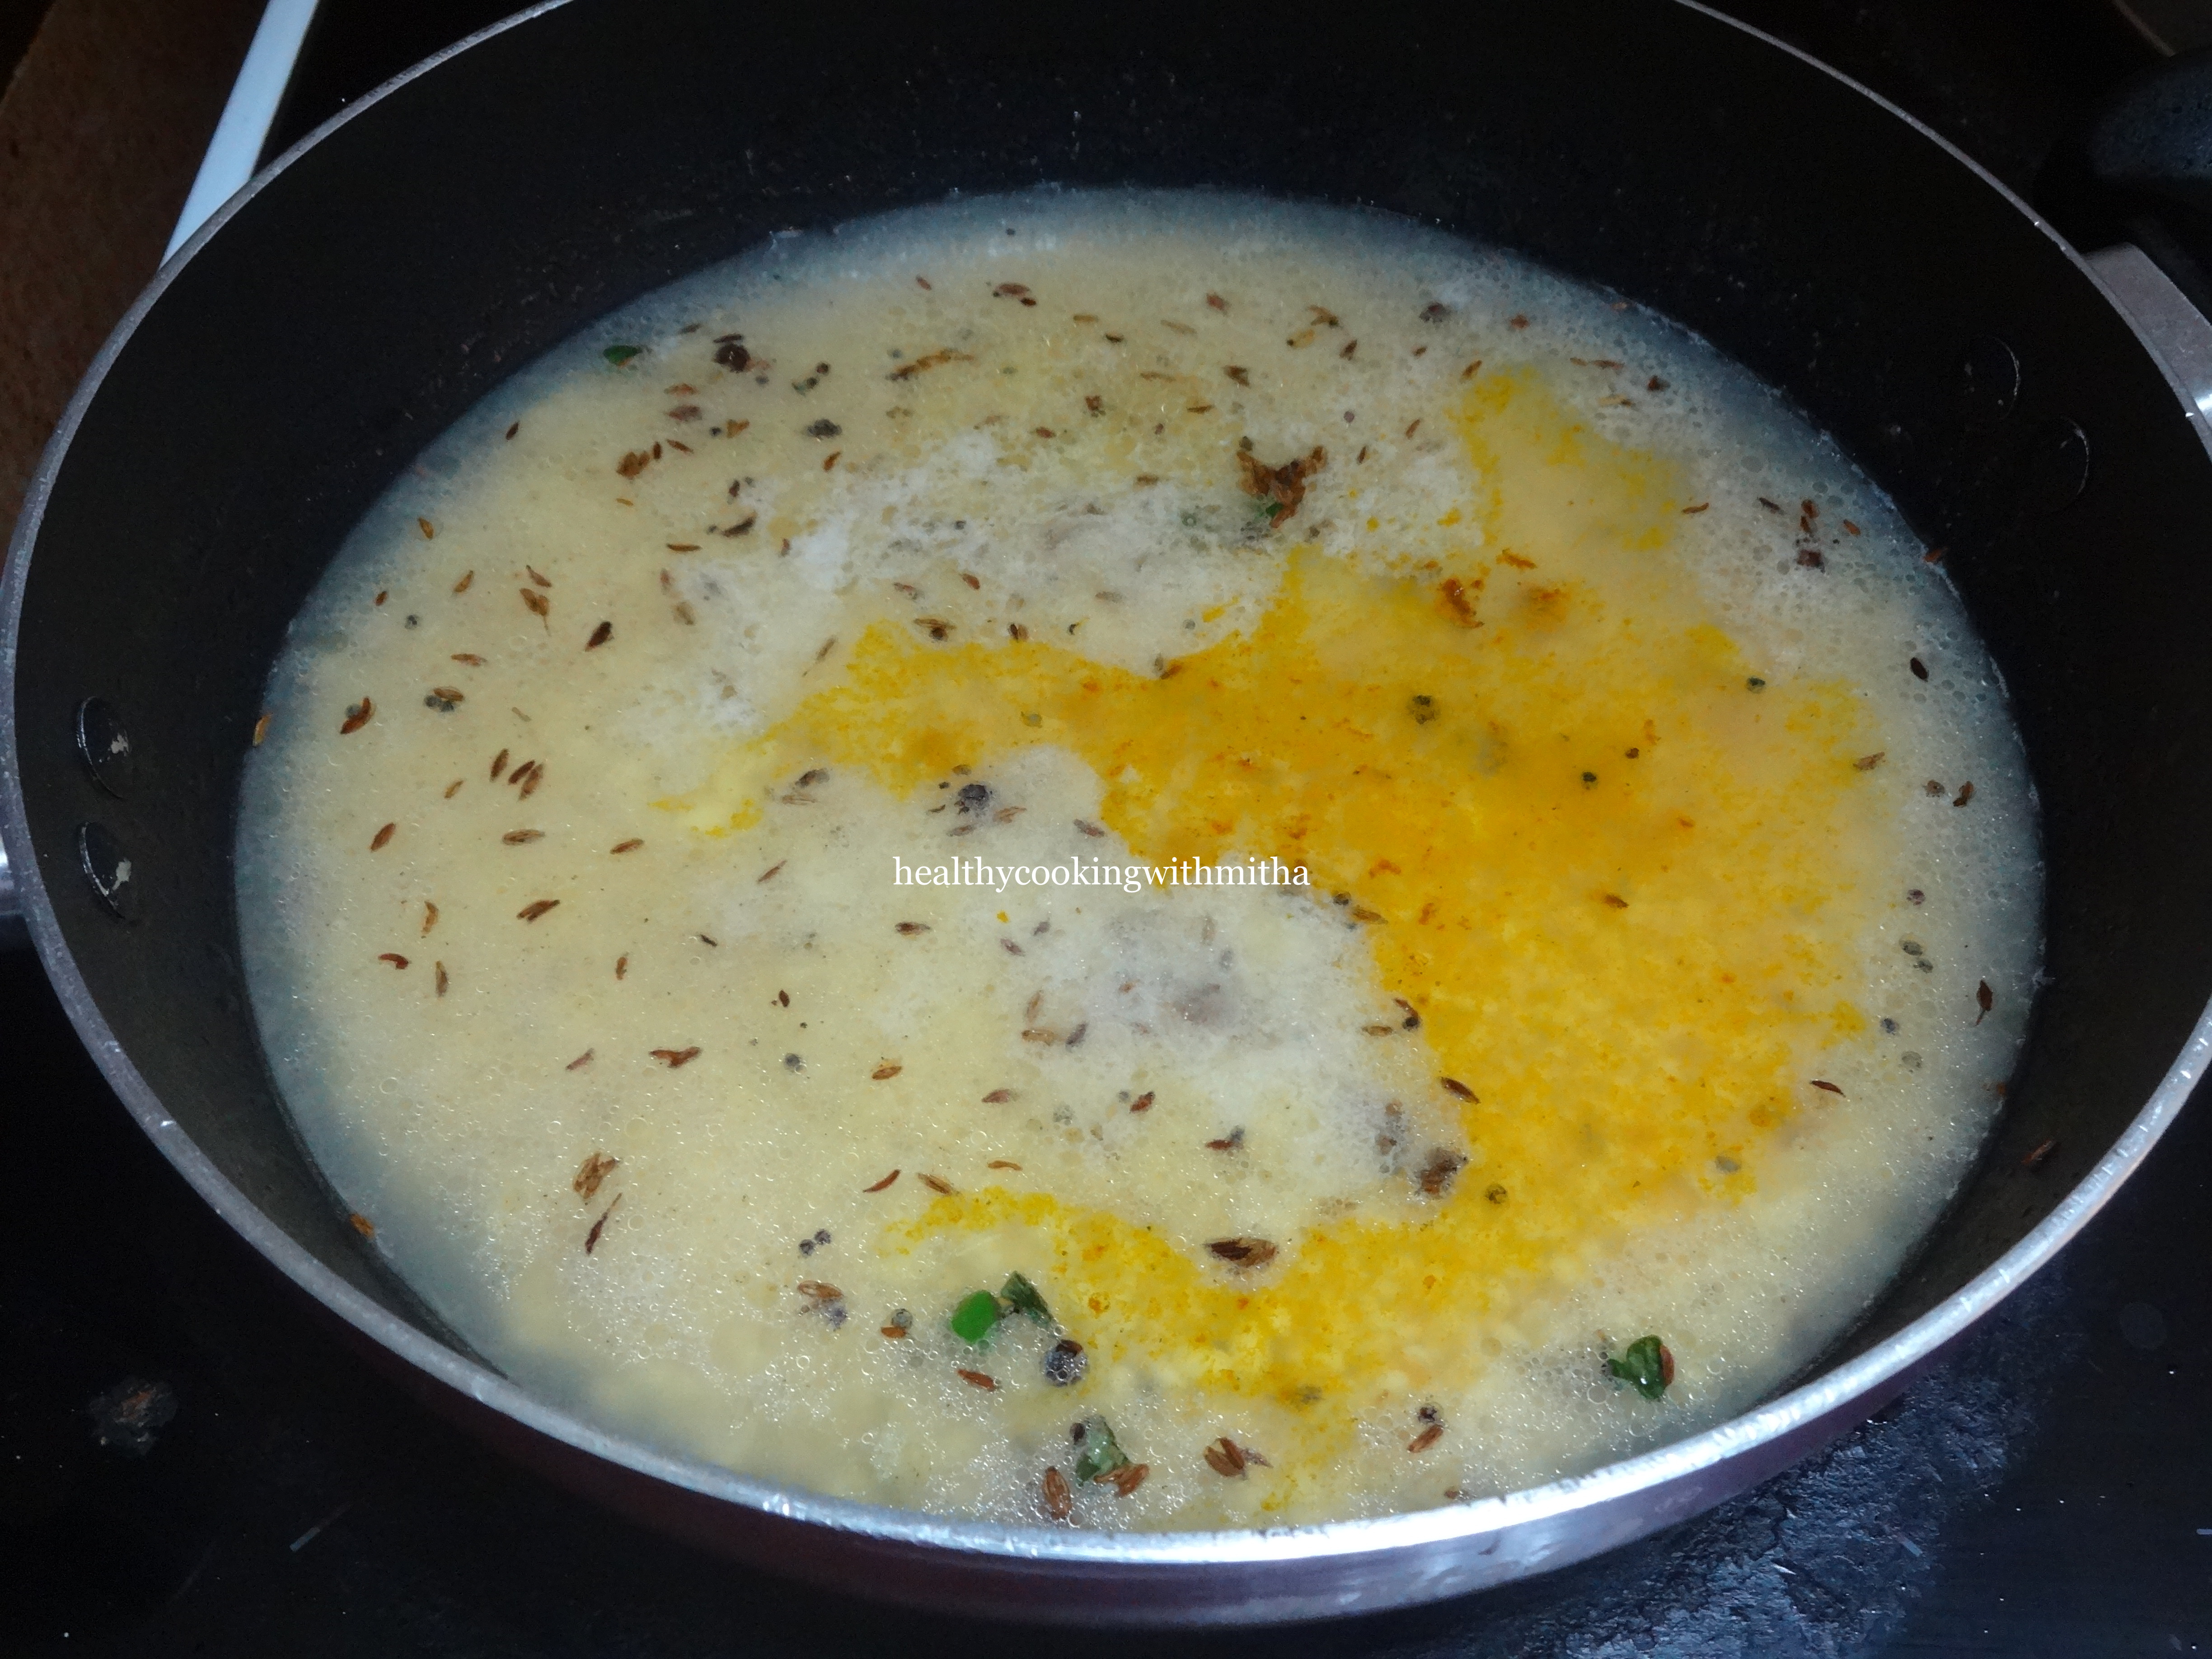
5. Add this boiling jaggery water through a sieve (to remove impurities if any) to the roasted semolina.

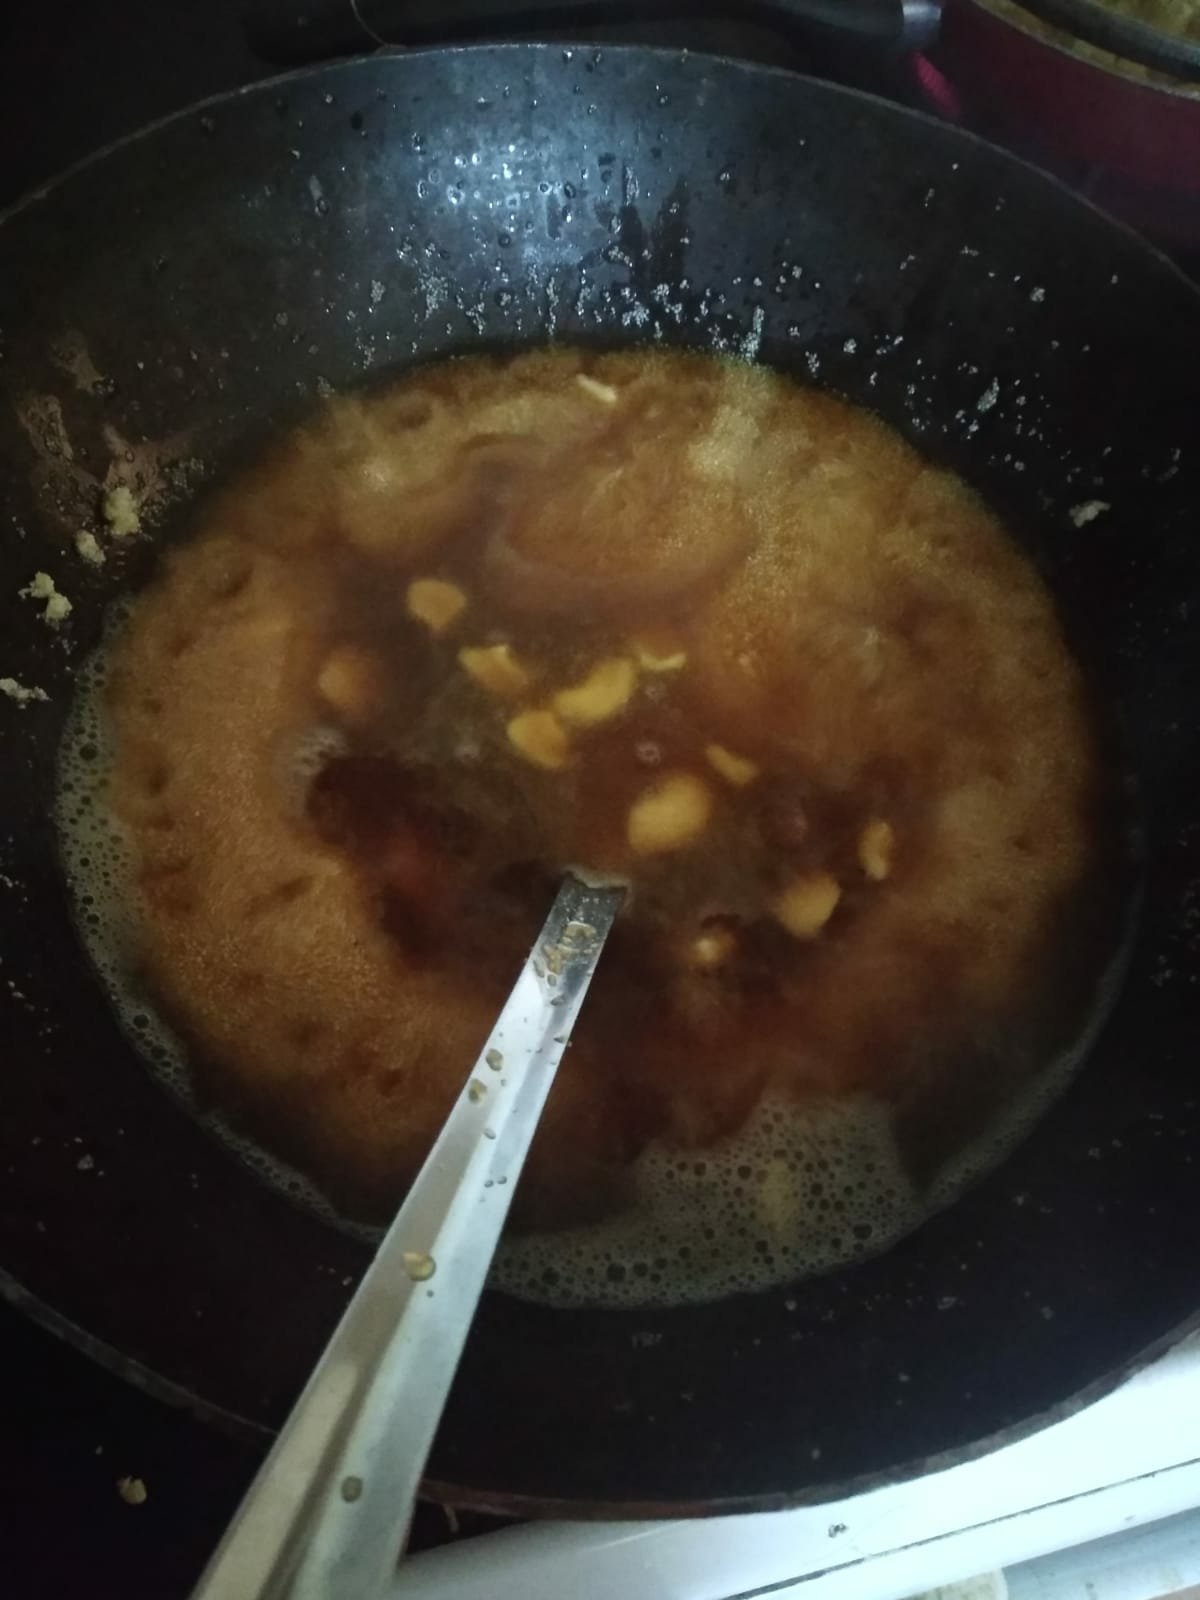
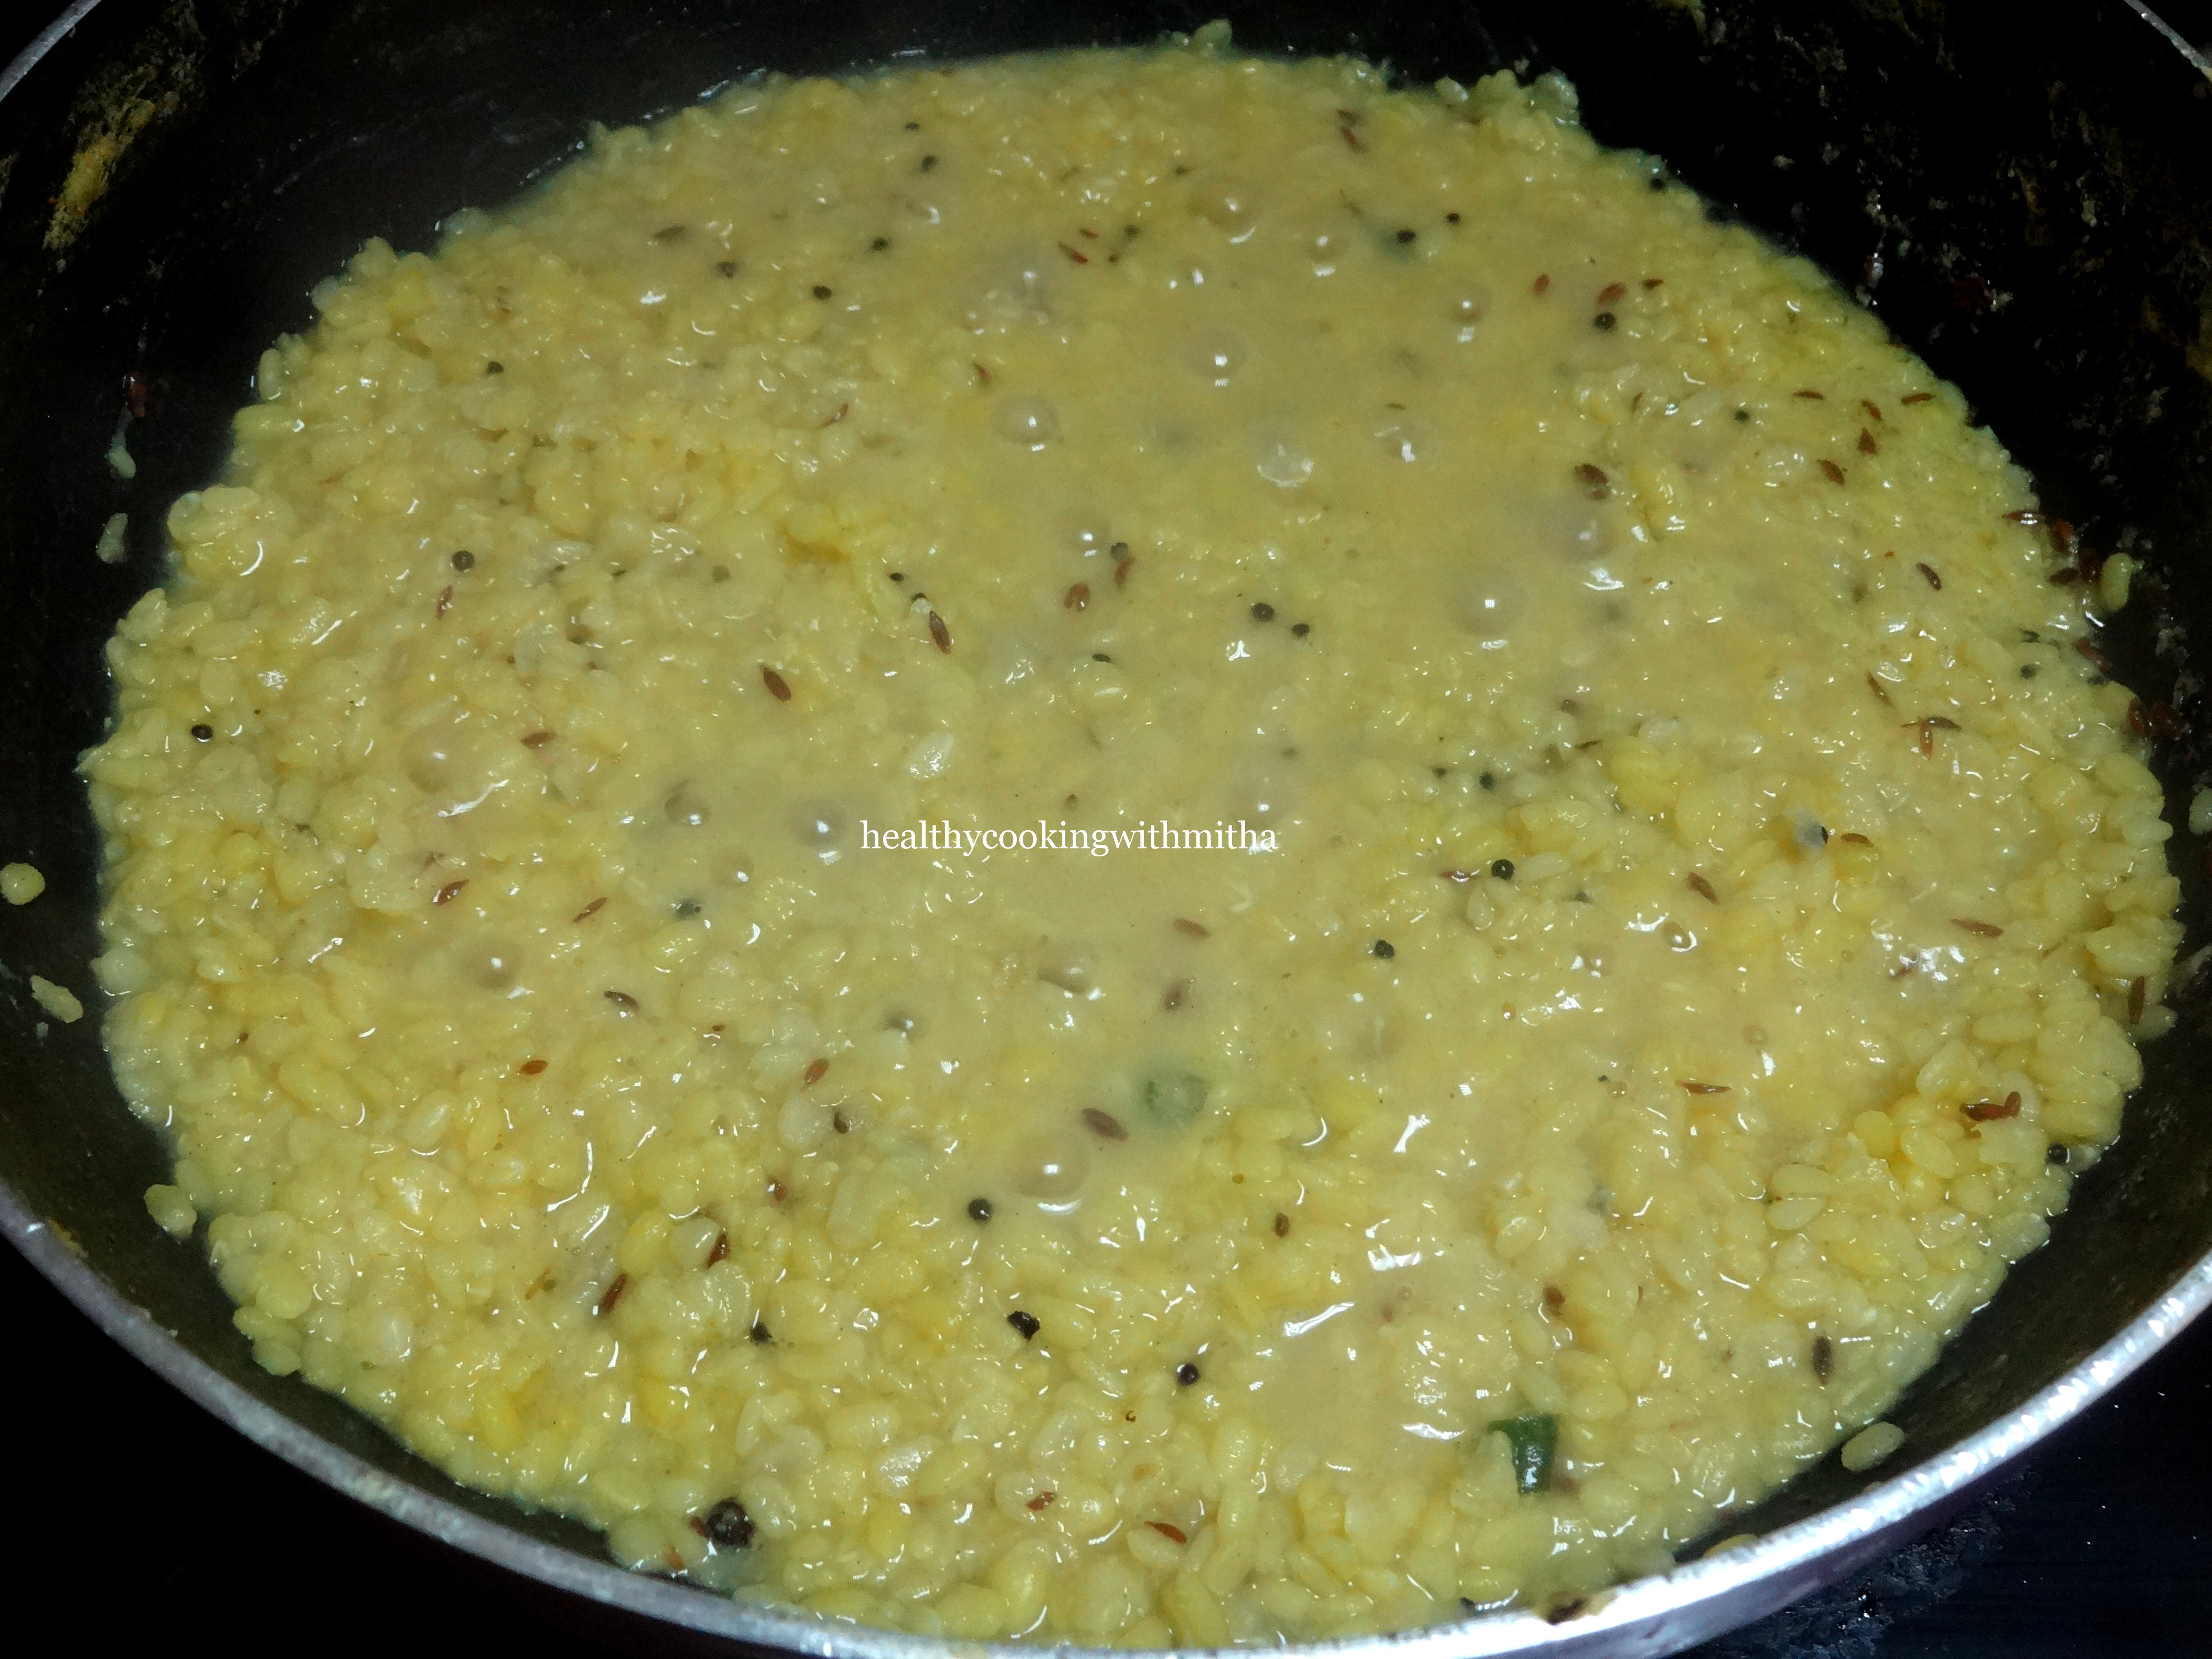
6. Mix well continuously on medium flame removing lumps till the mixture cooks well.
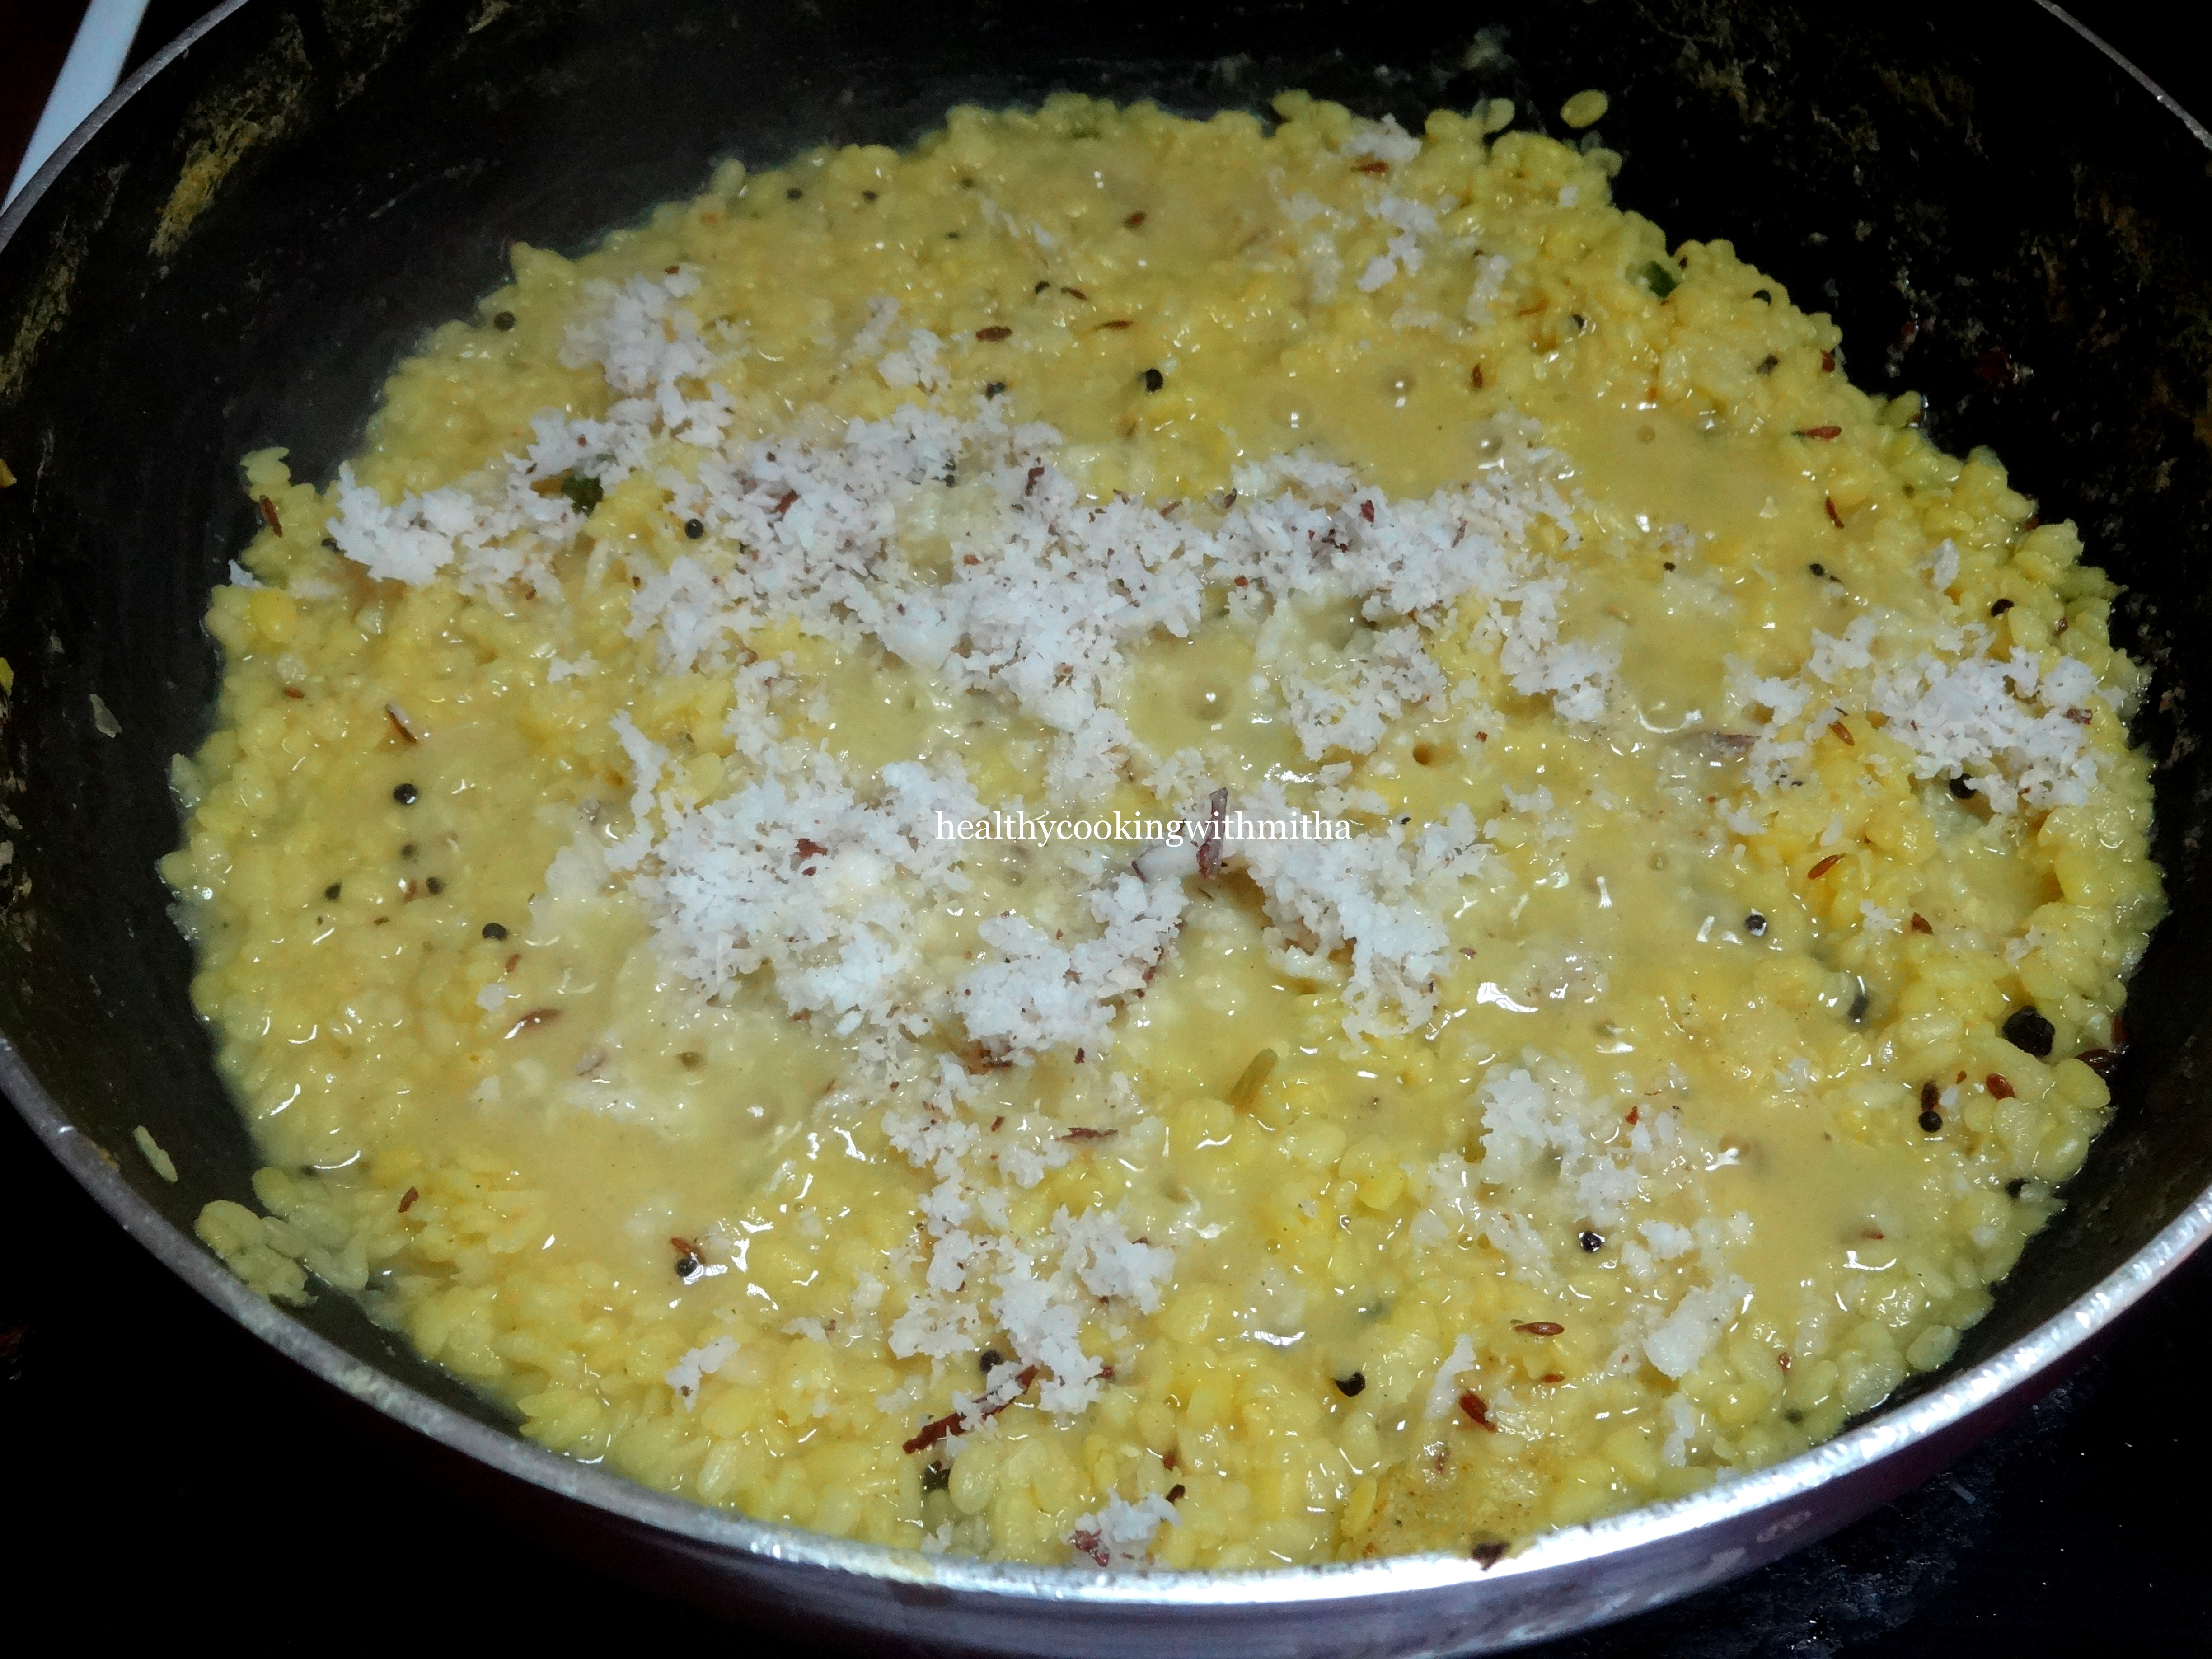
7. Serve warm.

Notes:

* You can also add cardamom powder if you love the flavour. I add sometimes too.

* Be sure to keep stirring continuously after you add jaggery water to the semolina. Else the mixture forms lumps.

* We are a sweet tooth family. So 3/4 Cup Jaggery for 1 Cup semolina is perfect for us. You can reduce if you don’t like your sheera extra sweet.

* I have purposely added more than double of water to semolina as it leads to the sheera turning super soft which we love.

* You can increase the ghee to 1/4 Cup if desired.

Click on the image to save the recipe on Pinterest.

Urad Moong dal idli | No rice idli

Click on the image to save the recipe on Pinterest

After my last posts of Moong sprouts and Oats dosa and Ragi Urad Idlis, I got many messages about how they loved that the recipes avoided rice and were so healthy along with being delicious too. That’s when I was reminded of this idli/dosa batter which I made regularly and did not require rice.

It is these Urad dal – Moong dal Idlis which turn out so soft, fluffy and tasty. I make Idlis the first day after fermentation and refrigerate the remaining batter. They make the crispiest dosas the next day (check notes for photo). I love how this batter sorts two days breakfast and the whole family loves it.

When kids and husband praise how yummy the breakfast tastes, it really makes me very happy and gives a beautiful start to the day. 😊 Hope you all try it and love it too. Happy and healthy cooking!

RECIPE:

Ingredients: {Makes about 13 Idlis and 5 dosas}

1 Cup Urad dal

1 Cup Moong dal

Salt to taste

Step by step recipe:

1. Soak Urad dal and moong dal together for 4 hours.

2. Grind along with salt to a smooth paste.

3. Ferment the batter for 8 hours or overnight. It may need more time in cold weather. Here it’s summer and the batter ferments really well. This is after 10 hours of fermentation.

Love when the perfectly fermented batter welcomes me in the morning.

4. Grease the idli moulds very well with oil (it’s very important for these Idlis). Pour the batter and steam for 20 mins or till done.

5. Allow it to cool completely before you remove else it will stick to the idli moulds.

6. Serve with your favourite chutney.

Notes:

* I usually soak double the measurement mentioned above. Made Idlis the first day and dosas the next day. Look how crispy the dosas turn out.

* After making Idlis, refrigerate the remaining batter.

* These Idlis tend to stick to the moulds if not greased properly. So grease the moulds very well with oil before adding the batter.

* Also cool before removing the steamed Idlis so that they come out neatly.

* Once steamed, they last soft the whole day.

* Normally this batter does not need fermentation but I noticed that they turn very soft and spongy after fermenting. So I keep them like regular dosa batter and ferment overnight.

* You can also check all my Variety Idlis here :

Variety Idlis Collection

* You can check all my “no rice” dosa recipes here:

” No rice ” dosa recipes Compilation

Click on the image to save the recipe on Pinterest

Vaingana Bajji | Konkani style mashed brinjal

After my last post of Vastad rotti (pan fried version of Mangalore Buns), I was reminded of another Konkani delicacy which I used to literally beg my grandmother to make. It is this Vaingana bhajji. She used to make with green brinjals (or gulla in Konkani/Kannada) and it tasted so heavenly that I could eat it as it is without rice.

Since we hardly get green brinjals here, I use purple ones for making Bajji. Also traditionally, the brinjal is roasted over gas or wood fire and then mashed after removing skin. If you have the option, then you can do it too. But since we have an electric cooking range, I boil it in water and mash it. My grandmother did this way too and as Amma says, this is much easier (mothers always want less work for their kids and Amma told me to try this way 😁). Life became easier after that and Bajji became our regular dish when we got fresh brinjals.

We love simple meals and this is an accompaniment which is very flavorful yet very basic. Hope you all try and love it too. Happy and healthy cooking!

RECIPE:

Ingredients:

1 large Purple Brinjal or 2 medium sized Green Brinjal or 3 small purple brinjals (about 2 cups chopped)

1 medium sized Onion, finely chopped

2 to 3 green chillies, finely chopped

1/2 tsp Hing or Asafoetida powder

2 tsp Tamarind paste

1 Tbsp Coconut Oil

Salt to taste

3 Tbsp chopped coriander leaves

Step by step recipe:

1. Take chopped brinjals in a vessel.

2. Add little water and cook till it turns very soft. Water should be absorbed too.

3. Mash the brinjal very well using a masher.

4. Now add chopped onions, green chillies, tamarind pulp, hing, salt and coconut oil.

I have used pink salt or rock salt or kaala namak here. Hence the colour pink.

5. Mix well and garnish with coriander leaves.

Serve immediately as an accomplishment with rice meals.

Notes:

* I have made it with all varieties of brinjals and it tastes great with any variety of them.

* Traditionally bhajji is made by roasted over gas or wood fire but my grandmother made this version too and I make this because I don’t have gas stove here (nor wood fire 😅).

* Don’t add a lot of water while cooking the brinjals and make sure the water is absorbed well and brinjal is cooked well too.

* You can skip onions if following satvik diet but onions does add a wonderful bite.

* I usually make this with our Matta rice congee and it tastes heavenly with it.

* With white rice and rasam, bhajji makes an excellent accompaniment.

Vastad rotti | Wheat Banana flatbread

Click on the image to save the recipe on Pinterest

I am sure if you are checking this recipe, it must be either due to the amazement of the unique name “Vastad rotti” or have savoured this delicious snack made by your grandmother and just wish to recreate it in your kitchen.

Anyhow for all of you, Vastad rotti is nothing but tava fried version of the famous Mangalore Buns. My grandmother made these rottis as evening snack when she did not want to deep fry the leftover buns dough again. They tasted so delicious that I loved it more than buns itself.

After marriage, when I tried it for the first time, my husband did not know about it but to my amazement, he too loved it very much. So now whenever there are leftover bananas, he asks me make these rottis. In fact, sometimes he brings bananas only for this. Such is the love for these cute small Vastad rottis. 😍

Hope you all try and love it too. Happy and healthy cooking! ♥️

RECIPE:

Ingredients:

3 Cups Wheat flour (or as required)

1 Cup mashed bananas

1/2 Cup Curd or Yogurt

1/4 Cup Powdered Jaggery or Sugar

2 Tbsp Besan/ chickpea flour

1 tsp Cumin seeds/ Jeera

A pinch of pepper powder

Salt to taste

1/2 tsp Baking soda (optional)* check notes

Step by step recipe:

1. Take mashed bananas in a large bowl. Add besan, jaggery or sugar, cumin seeds, pepper powder, salt and baking soda ( if adding).

This is an old picture. I add powdered jaggery now.

2. Add curd and mix well using a spatula.

3. Now slowly add wheat flour 1 Cup at a time and keep mixing till it forms a dough. Knead with hands lightly.

4. Coat the dough with oil and cover and keep overnight or for 6 to 8 hours to ferment at room temperature in a warm place.

5. When making vastad rottis, make equal portions of the dough.

6. Roll like you roll out puri into a thick circle. Use dry flour if needed.

7. Heat a tawa and place the rolled roti on it. Look at it puff up and form tiny bubbles on the surface.

8. Add ghee. Flip and cook the other side too.

9. Serve hot with chutney or dalitoy ( Konkani style dal).

Notes:

* Actually the measurements of this recipe can vary a lot depending on the variety of bananas, water content in curd and quality of wheat flour. So please go with the step by step recipe and follow accordingly.

* You can also make with leftover bananas even if you have only couple of them. Not necessarily 1 Cup mashed bananas are required.

* Add curd along with other ingredients and see how much wheat flour is needed to get it to form a dough.

* Please do not add water while forming this dough. The moisture should come only from bananas and curd.

* I skip baking soda sometimes and even though there is a difference in texture, taste is almost the same. With baking soda, the texture is flaky like a paratha and without it, the texture is like a thick chapati.

* After fermentation of the dough, the dough might leave water and turn very sticky. Just add more wheat flour and form a manageable dough.

* Roll the dough into a thick circle and cook well on medium flame. On high flame, the rotis can turn black due to the presence of bananas in it.

* You can use powdered jaggery or sugar in the dough. Does not make much difference.

Other Konkani breakfast recipes that you can try:

Urad Moong dal Idli | No rice idli

Urad Rava Idli | No rice idli

Batat Phovu

Kobi Pohe | No onion Pohe with cabbage

Chane Usli – Godu Phovu

Muga Dali usli| seasoned moong dal

Idli Usli | seasoned leftover idlis

Pejje polo | cumin flavoured dosa

Surnali | Sweet and spongy dosa

Magge Surnali | using Mangalore cucumber

Horsegram Idli

Instant Cucumber idlis | Thoushe mudho

Instant Cucumber Bhakri

Instant Rava bhakri

Undi with Piyava Gojju

Kharbas dosa

Mushti polo

Click on the image to save the recipe on Pinterest

Bottlegourd Halwa / Gardudde Halwo/ Lauki Halwa

We have a ritual of making sweets every weekend to enjoy post dinner and I love to try different healthy desserts. This bottlegourd halwa was just an experiment as I was not sure if the kids will like it or not.

But to my pleasant surprise, they loved it a lot and my daughter asks it to be made every weekend. And what better that she enjoys a vegetable without making a face at it. Feels very happy when the family enjoys it.

If you are a Konkani, you might have already tasted this gardudde halwa sometime in your life. It is a famous dessert for special functions and occasions. Hope you all can make it at home and enjoy too just like how we do. Happy and healthy cooking.

Here is a picture of bottle gourd for those who don’t know which vegetable it is.

RECIPE:

Ingredients:

1 medium sized Bottlegourd/Gardudde/ Lauki/ Sorekai/ Chorakka (around 2 cups when peeled and grated)

3/4 Cup Jaggery

3 Tbsp Milk ( You can skip milk to make plain halwa)

2 Tbsp Ghee

1 Tbsp chopped Cashews

1 Tbsp Raisins

1/4 tsp Cardamom powder (optional)

Step by step recipe:

1. Wash well, cut the ends, peel and cut the bottlegourd into long slices. *Save the peels for a delicious upkari. Check notes at the end.

2. Grate the bottle gourd using a grater.

* If the bottlegourd is old and the seeds are huge, the seeds need to be discarded, else if the bottle gourd is fresh like in the above picture, you can grate along with the core and use the seeds too.

3. Heat ghee in a kadhai (I use iron kadhai to make this halwa). Fry cashews till it turns slightly brown and till raisins puff up.

3. Add grated bottlegourd and fry for few minutes till the bottle gourd changes colour.

4. Add milk and cook till milk evaporates.

See how the milk has absorbed. Add jaggery only now.

6. Add jaggery (either powder or melted jaggery) and cook till the mixtures leaves the sides of the pan. Add cardamom powder. Mix well and remove from the flame.

Notes:

* For 2 Cups of grated bottle gourd, 3/4 Cup of jaggery turns out perfectly sweet for us. You can reduce or increase as per your taste.

* As mentioned above, if the bottlegourd has huge seeds, you will have to discard it while fresh bottlegourd can be grated along with the core.

* Please don’t discard the bottlegourd peels. Just chop the peels into small pieces. And make upkari with chopped potatoes. (season oil with mustard seeds, hing, green chillies and add peels and potatoes. Add salt and little water. Cook till they turn soft. Add grated coconut on top.) Turns out delicious.

* Fry well and let it cook well with milk before you add jaggery. Once you add jaggery, it won’t cook much. So do a taste test if it is cooked well before adding jaggery.

* Also allow the milk to absorb fully before adding jaggery, else the jaggery can curdle the milk.

* I sometimes skip milk to make plain bottle gourd halwa. It tastes delicious too.

Magge Surnali | Mangalore cucumber sweet dosa

I have already posted the basic version of Surnali / sweet and spongy dosa. This version is like an upgrade to it by adding Mangalore cucumber. The addition has so many benefits like:

* The dosa turns out very soft and porous as you can see from the pictures.

* The aroma that the mangalore cucumber gives out is simply heavenly.

* You are adding a vegetable in your diet even without your knowledge. (This is the main reason I make these dosas atleast once weekly. Kids love it and they don’t realise they are eating a vegetable hidden in it 😁)

There was one more reason last year why I made this dosa too often. My husband loves gardening had planted these Mangalore cucumbers from seeds that he got from the core of store bought ones and we had a yield of about 50 of them from our kitchen garden. Yes 50!!!! Here is a picture of some of them.

Since they have a very good shelf life, I kept it as such on counter top and it lasted us a good 6 months. Looking at them everyday made me so happy. ♥️

Sharing the dosa recipe for all of you to try and enjoy too. Happy and healthy cooking!

RECIPE:

Ingredients:

2 Cups of peeled, cored, cubed Mangalore cucumber / Magge/ Velarikka

2 Cups Raw Rice (Any variety of white rice)

1/2 Cup grated coconut ( fresh/ desiccated)

1 Cup Beaten rice/ Poha

1/2 Cup Curd

3/4 Cup Jaggery

1 tsp Turmeric powder

Salt to taste

Ghee to cook the dosa

Recipe:

1. Wash well and soak the raw rice for 2 to 4 hours.

2. Take the peeled, cored, cubed mangalore cucumber and grind to a fine paste.

3. Now add soaked rice along with Poha, jaggery, coconut, curd, turmeric and salt to a smooth paste. Add buttermilk instead of water while grinding for spongier surnalis. Pour into a steel vessel. Mix well with hands to start fermentation.

5. Keep aside covered for 8 to 12 hours or overnight.

6. Take a ladle full of the batter and pour a thick dosa. Add ghee on top.

7. Cover and cook on low flame till the dosa cooks. (This dosa requires low flame to cook. Else it will turn black due to jaggery in it.)

8. Remove and serve hot with butter.

Notes:

* Any variety of white rice ranging from Sona masoori to short grain white rice (used for eating) works well to make this dosa.

* You could substitute curd with buttermilk.

* Ensure the batter is a slightly thick ( not very thick) smooth paste and not watery to get perfect surnalis.

* The amount of jaggery is to taste. You could increase or decrease as per your taste. You can also skip jaggery and make plain dosas with Mangalore cucumber.

* I substitute Mangalore cucumber with watermelon rind ( the white part) sometimes and it tastes delicious as well.

For regular Surnali without Mangalore Cucumber, you can try this recipe:

Surnali

For more Dosa recipes, check my Dosa Corner page.

Cauliflower phannaupkari

First dish learnt after marriage is always special and I was lucky to learn this curry from hubby’s aunt who is an expert cook. She taught me so many dishes lovingly just like teaching a daughter. I never felt I was in my in law’s house even without my husband. He was in Qatar while I was living in his village home in midst of a farm. One of the best days of my life for sure.

So this cauliflower phannaupkari is one of the curries that mhave (aunty) made and I loved it very much. Even though very simple to make, it tasted so yummy.

Even now when we get cauliflower, hubby asks for this to be made. Such is the love for this simple curry. Hope you all try and love it too. Happy and healthy cooking!

RECIPE:

Ingredients:

3 Cups Cauliflower florets

1 large sized Onion, finely sliced

1 large Tomato, roughly chopped

2 tsp Red chilli powder or to taste

Salt to taste

2 tsp Oil

Step by step recipe:

1. Heat oil in a pan and add thinly sliced onions. Fry till it turns translucent.

2. Add tomatoes and cook till it mashes up completely.

3. Now add red chilli powder, salt and mix well.

4. Add cauliflower with little water and cook till cauliflower cooks completely. Done!

5. Serve hot with rice or rotis.

Notes:

* I over cook cauliflower since my family likes that way. You can cook till just done if needed.

* Don’t add much water while cooking or else the flavour will be lost.

* This curry is a spicy one and hence the colour. You can adjust red chilli powder as per your taste.

* I usually blanch cauliflower florets in turmeric water before using since it cleans the florets well.

Sambarpalli chutney | Oregano leaves chutney – Version 1

My husband loves gardening. He has grown a lot of plants in our kitchen garden which yields us different varieties of vegetables during winter and herbs like mint all year long. There are two plants among them which I adore as they are medicinal plants and helps us heal ourselves and our kids when they fall sick.

One is the most revered plant in Hindu tradition, Tulsi or holy basil. He has grown it all around the house and it feels so divine when we sit in our backyard filled with Tulsi plants. The second is these Sambarpalli leaves or Cuban oregano. They are very good to cure cold and stomach problems in both kids and adults. Sharing a picture of our plant.

Though people make so many dishes with these leaves including pakoras, my favourite is this simple chutney ad it not only tastes delicious but is easy to make as well. I try to make this chutney atleast once a week so that we consume the leaves regularly in this way.

Hope you all try this chutney too. Happy and healthy cooking!

RECIPE:

Ingredients:

5 to 7 leaves of Sambarpalli/ Panikoorka/ Doddapatre / Cuban oregano

1 Cup Coconut (freshly grated or desiccated)

1 small Onion

1/2 inch Ginger piece

3 green chillies

Salt to taste

Step by step recipe:

1. Wash well and heat the leaves in a pan till it changes colour and starts oozing water.

2. Allow it to cool down.

3. Meanwhile, add coconut, onion, green chillies and salt in a blender.

4. Add the cooled sambarpalli leaves too.

5. Using water as required, grind to a fine paste.

Notes:

* If you don’t have these leaves, skip it and you get simple raw onion chutney which I make regularly.

* Add coriander leaves instead of Sambarpalli leaves and you get coriander leaves chutney.

* You can skip onion if you are making during vrat days or are a Jain.

* Do not add more than the mentioned leaves as it does not taste good.

* This chutney makes a good combination with Instant Rava idlis.

* These leaves are very healthy and I use them in two ways apart from making chutney:::

1. I put couple of leaves in a vessel along with water. Heat it and take steam inhalation when even having the slightest of cold symptoms.

2. Heat the leaves in a pan as shown in the first picture. Then when it starts oozing water, remove it and crush it using mortar and pestle. Sieve the juice and mix honey (for kids above one year old) . Give as medicine for kids and adults when suffering from cold or stomach ache. Works very well. Take about 6 to 8 leaves for one dose.

Hope these home remedies are helpful to you too. These leaves are really magic!

Muga Dali usli | Seasoned moong dal

Click on the image to save the recipe on Pinterest.

I love dishes that does not require much of chopping especially when the husband works extra hours and the kids are extra clingy. Chopping becomes very difficult when they are pulling my legs and pushing my hands.

But I am still hungry. What to do? Welcome muga dali usli or seasoned moong dal. Hardly takes 5 mins to dump everything into the pan, I can keep it on medium to low flame and go play with the kiddos.

After a while, healthy and delicious protein packed usli is ready for me to enjoy! How can I not love this usli! Hope you all enjoy too. Happy and healthy cooking!

RECIPE:

Ingredients:

2 Cups Moong dal

3 Green chillies

1 Tbsp Ghee or Oil

1/2 tsp Mustard seeds

1/2 tsp Cumin seeds

1/2 inch Ginger

A pinch of Hing/ Asafoetida

1/4 tsp Turmeric powder

1 tsp Sugar

Salt to taste

Freshly grated coconut for garnish

Step by step recipe:

1. Soak the moong dal for an hour if you have time. Else you can just wash well and use straight away.

2. Now heat a pan with ghee or oil. Splutter mustard seeds, cumin seeds and add hing.

3. Now add finely chopped ginger and green chillies. Fry for few seconds.

4. Now add the soaked moong dal along with tumeric powder,sugar, salt and enough water to cook the moong dal.

5. Cover and cook on medium flame till the moong dal cooks really well and turns soft.

6. Garnish with freshly grated coconut.

7. Serve hot!

Notes:

* We like it mushy and over cooked. So I cook the moong dal till really soft and add a lot of water while cooking. If you don’t like it overcooked, remove when the dal is just cooked while adding only sufficient water when cooking.

* The seasoning is to taste. You can skip ginger if you don’t like it but I love the bite of ginger in this usli.

* I also add few peppercorns and curry leaves when I have it.

* Hing gives a very good flavour to the usli. So don’t skip it.

Click on the image to save the recipe on Pinterest.

Paanak | Jaggery Lemonade

Click on the image to save the recipe on Pinterest.

Paanak is a drink made at temples and homes on the occasion of Ram Navami celebrating the birth of Lord Rama. I remember how I used to wait for this drink when they distributed at our local temple at Katapadi and the flavour is still afresh in my memories. That flavour is difficult to recreate at home just like all temple foods as they are filled with divinity.

At my house, I make Paanak for Ram Navami and along with that, it’s a regular during the summer months here in Qatar. We don’t drink carbonated drinks and this is a healthy replacement. When my husband comes back tired after work, Paanak makes him refreshed.

Hope you all try this drink too!

RECIPE:

Ingredients:

1 large block or 2 small blocks of Jaggery (about a cup of powdered jaggery)

1 large Lemon or to taste

1/2 inch Ginger, grated

1/4 tsp Pepper powder

1/4 tsp Cardamom powder (optional)

A few leaves of Tulsi / holy basil leaves

Step by step recipe:

1. Melt jaggery with little water in a vessel. (Just melt, don’t make it into a syrup.)

2. Strain to remove any impurities. Now let it cool down.

3. After cooling down, add lemon juice, grated ginger, pepper powder, cardamom powder. Also add little more water to dilute the juice as per your taste.

4. Now add Tulsi leaves on top and refrigerate till it cools down.

5. Strain using a sieve and serve chilled. Enjoy!

Notes:

* Refrigerate the remaining drink and sieve and use when needed.

* You can skip Tulsi leaves if not available but it adds a wonderful flavour and also good for health.

* You can add all ingredients to taste as there is no specific measurement while making this.

Click on the image to save the recipe on Pinterest.