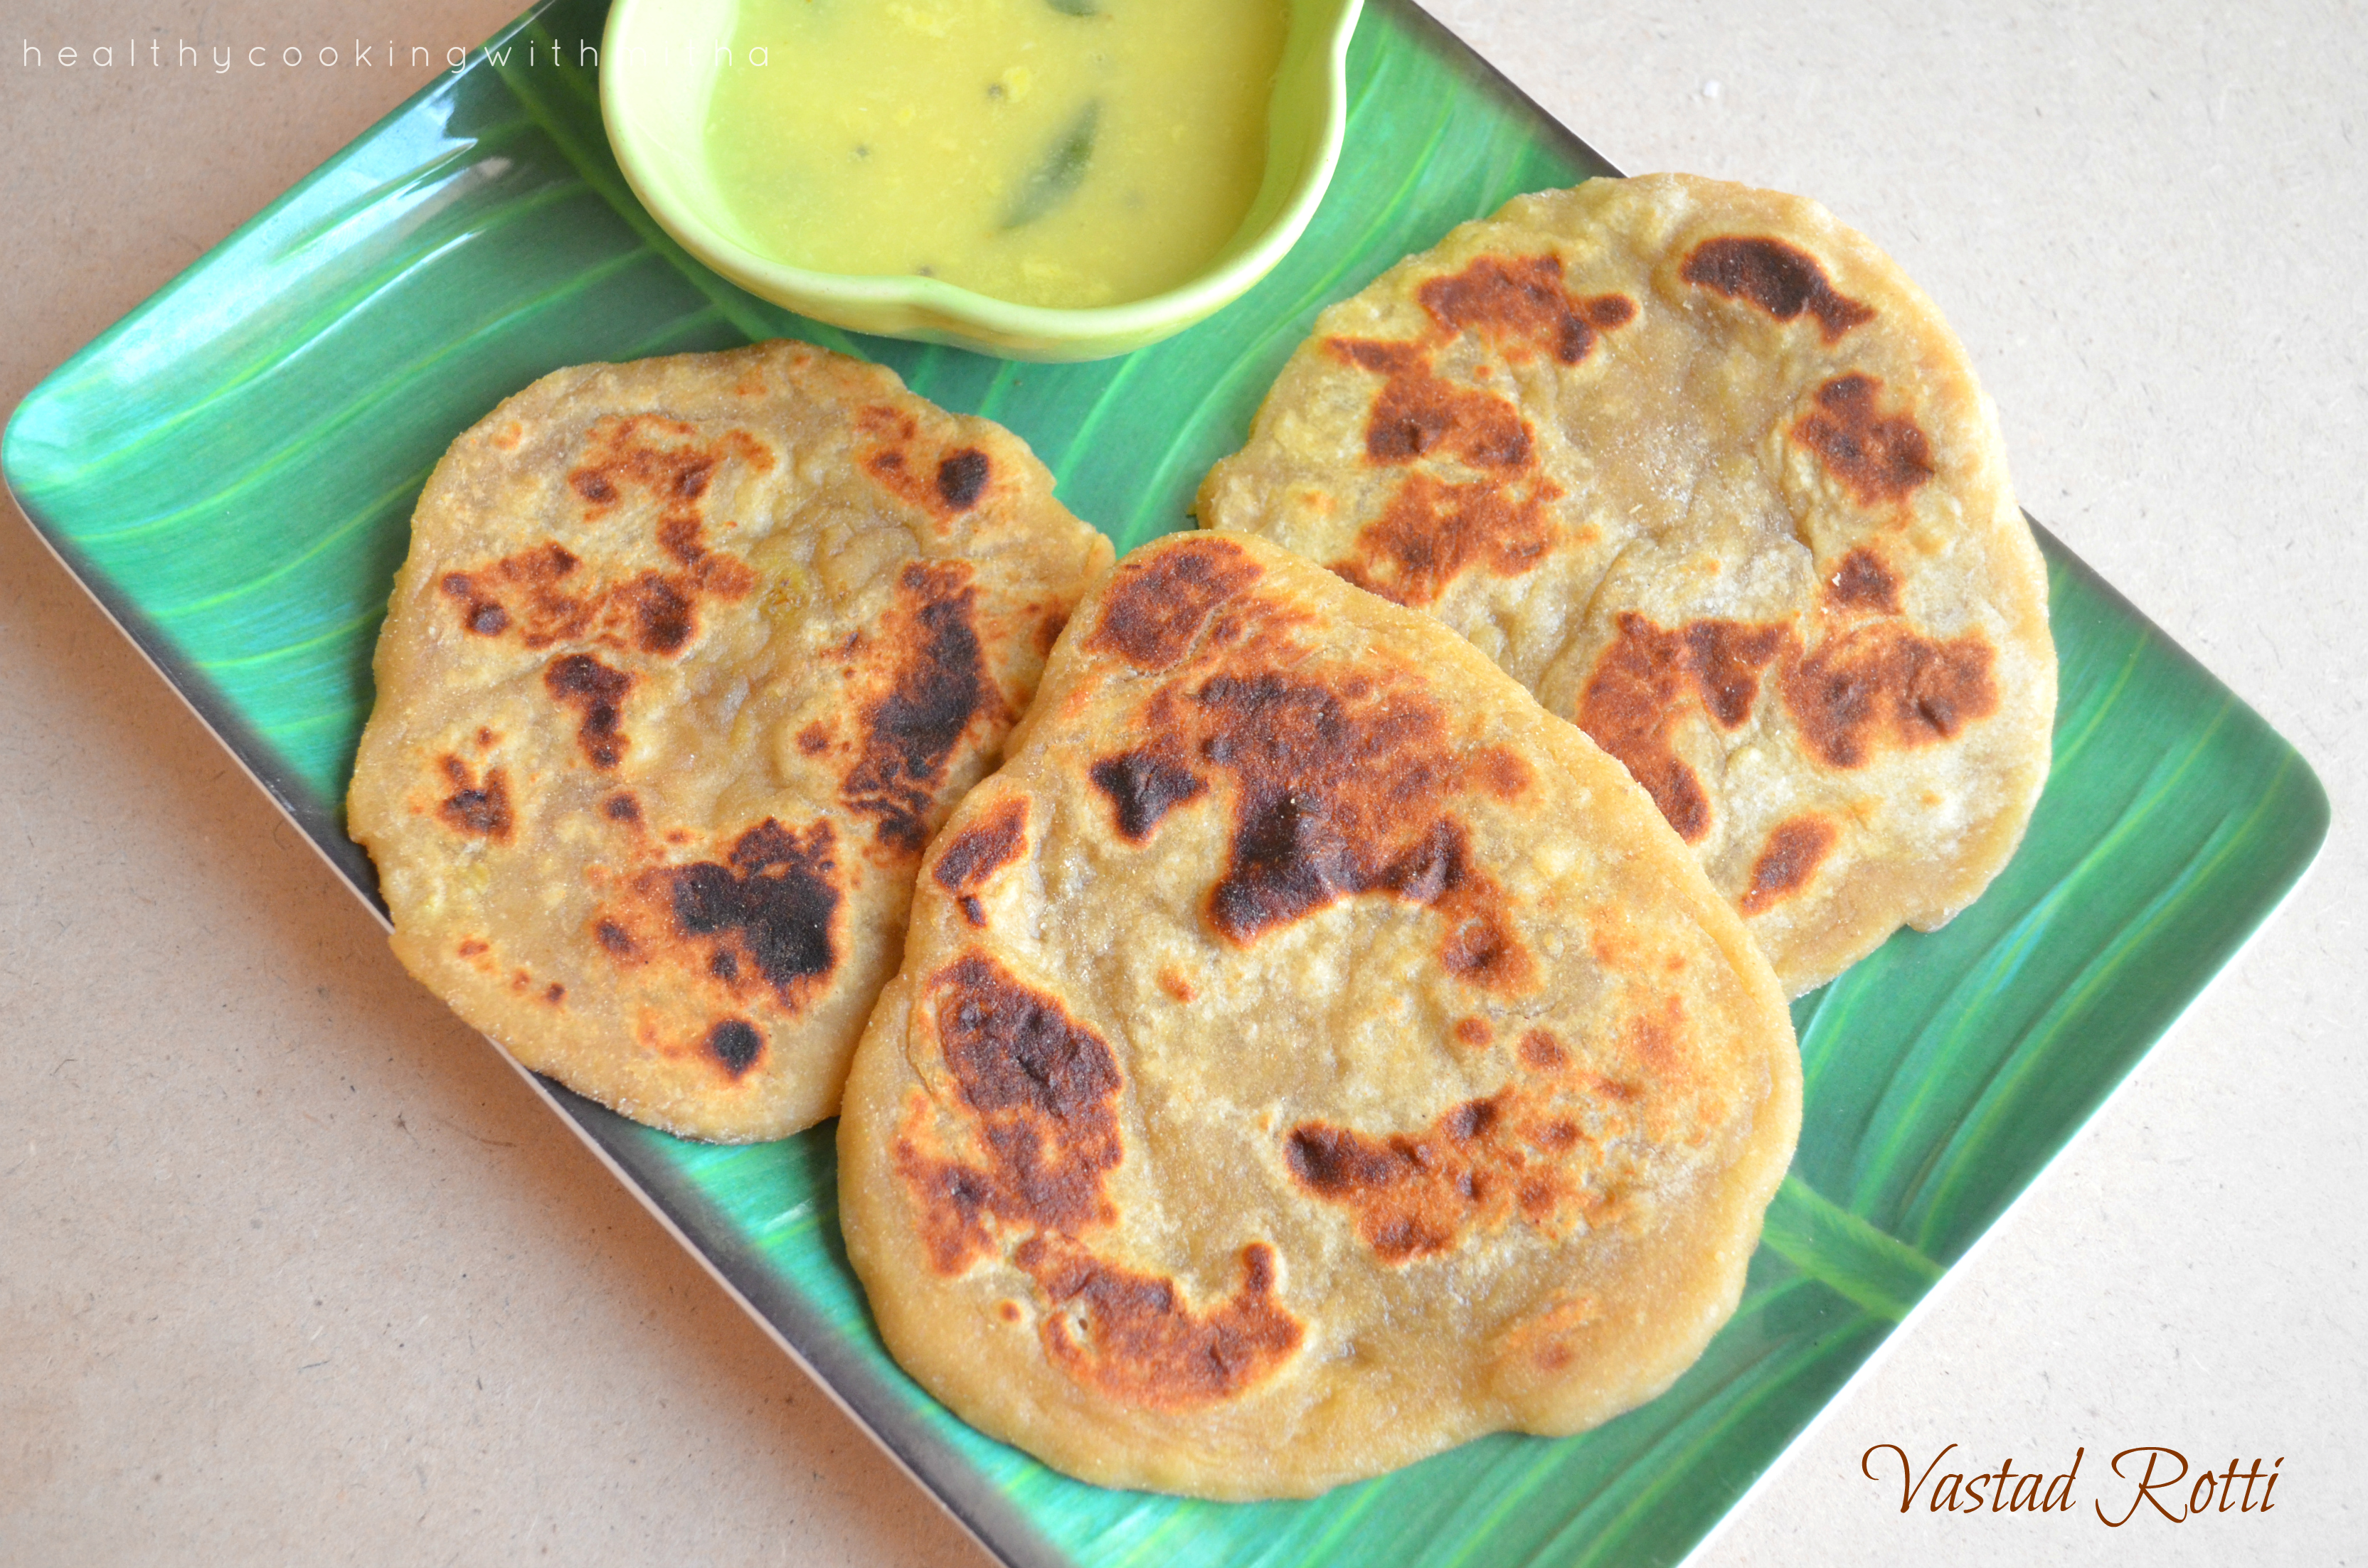
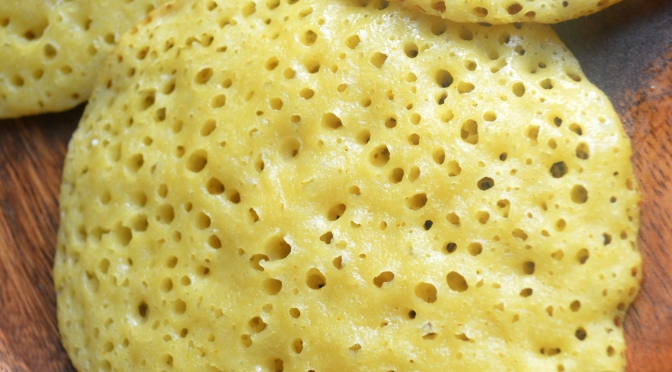
As you all already know, we are a dosa loving family and on most days, our breakfast is any variety of dosa. I have already shared 15 varieties of dosas which I make regularly. Here’s sharing a dosa which my grandmother made atleast once a week – Pejje Polo.
This thick cumin flavoured dosa is actually served as prasad or offering to Lord Venkataramana in a temple in Karkala which is a place in south Karnataka. Though homemade ones can’t match the divine flavours of temple offering, it does taste very delicious. The aroma of cumin seeds take this dosa to another level.

I feel so happy to be sharing my Anama‘s (grandmother’s) recipe on the site. Hope my kids too read this recipe someday and prepare with love for their family just like how my Anama and Amma made it and taught me.
My family loves these soft on the inside yet crispy dosas very much. Hope you all try and love it too. Happy and healthy cooking!
RECIPE:
Ingredients: {About 18 small sized dosas}
2 Cups Raw white rice (any variety works well)
1 Cup Urad dal
1 Tbsp Cumin seeds/ Jeera
Oil or ghee to cook the dosa
Step by step recipe:
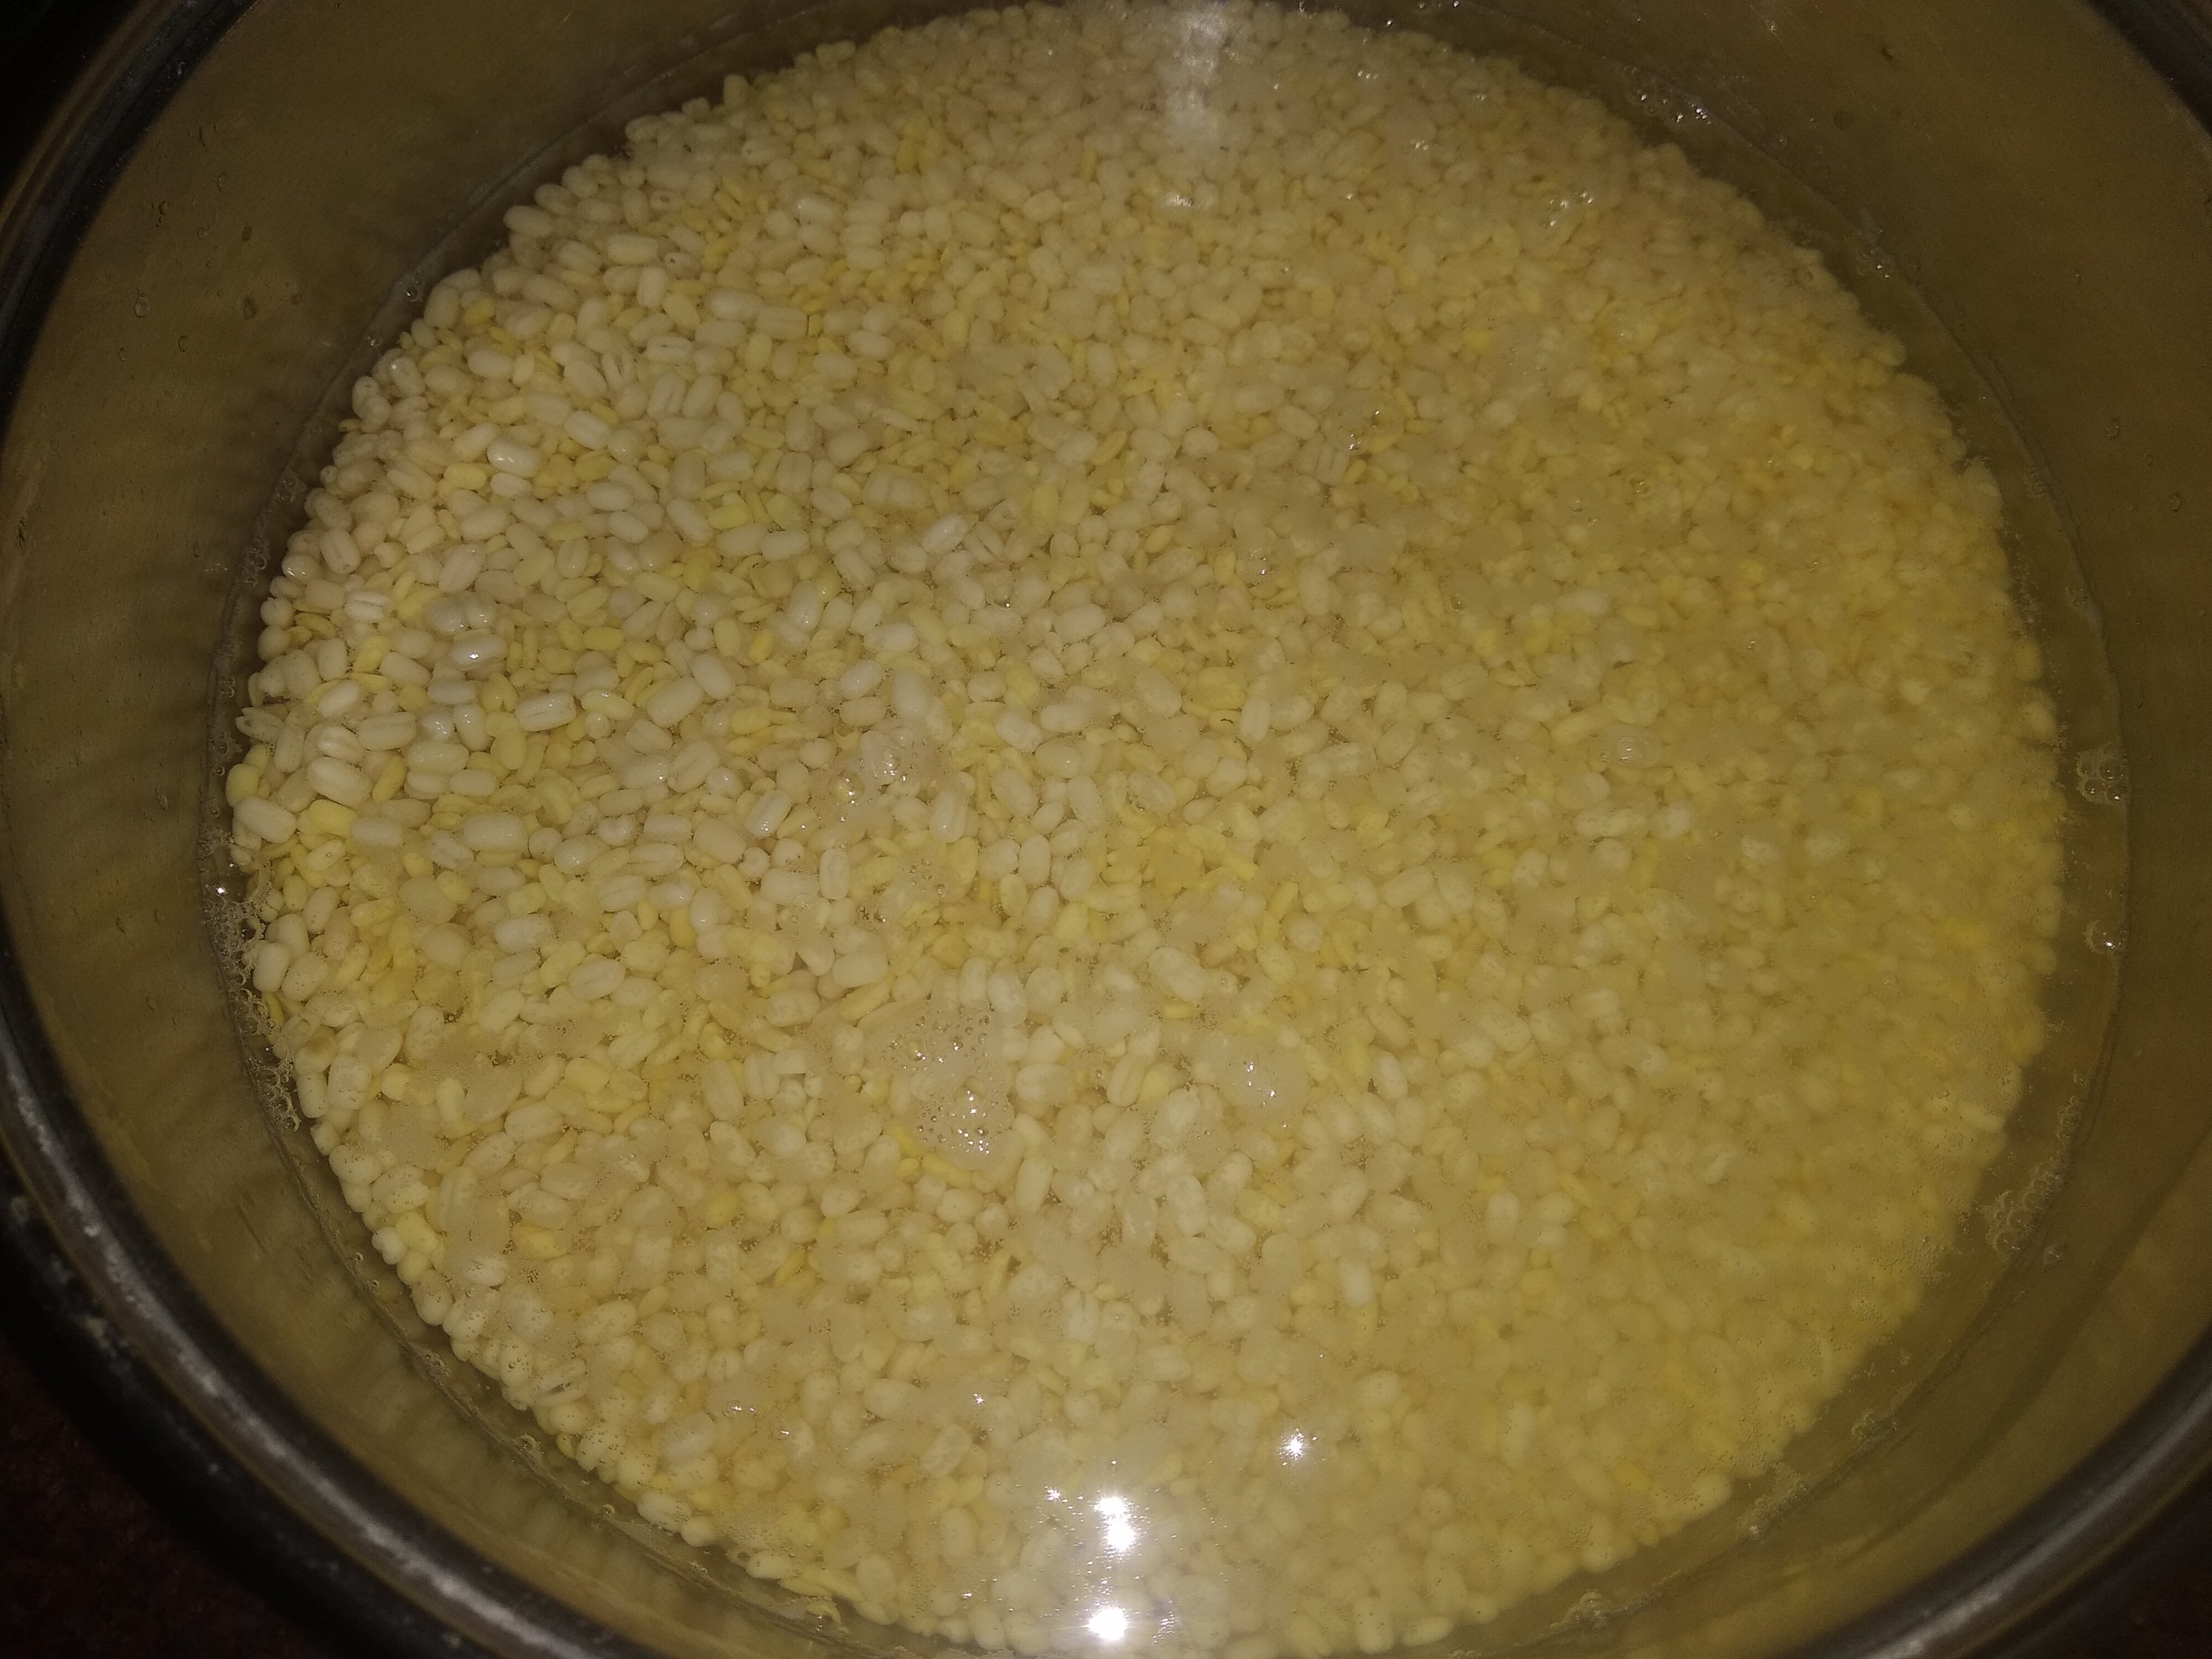
1. Wash well and soak urad dal and rice together for about 4 hours.

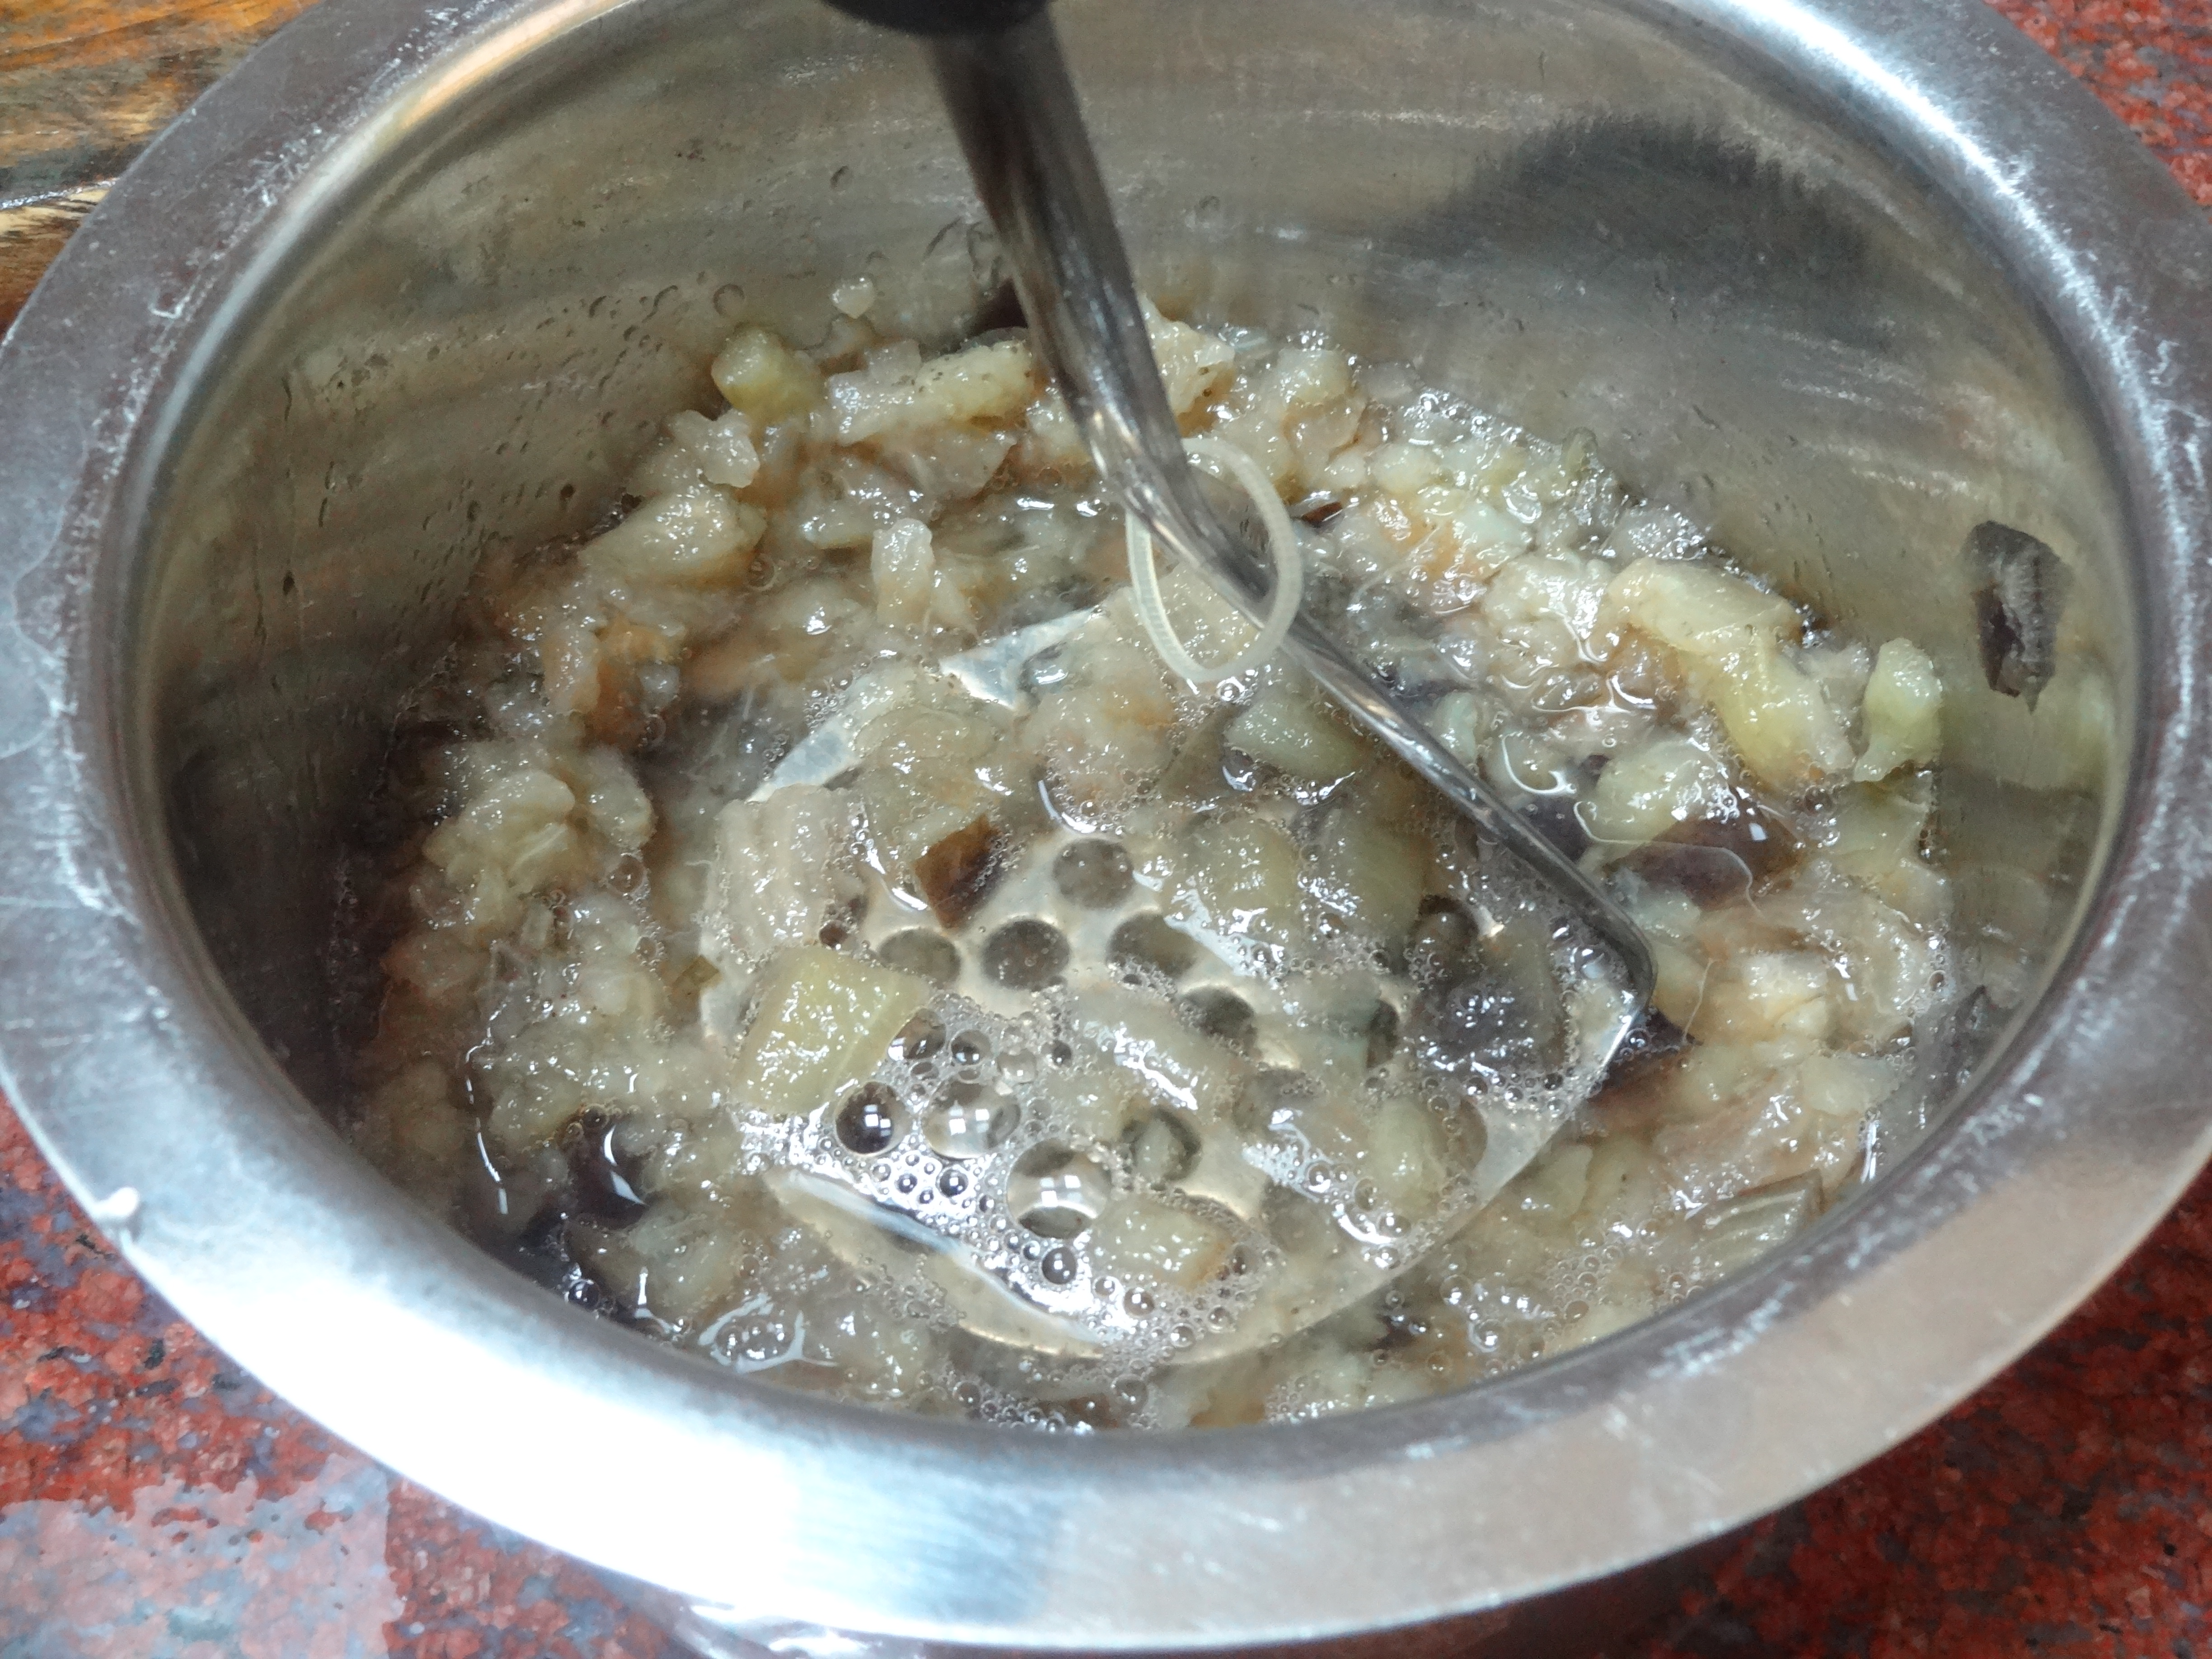
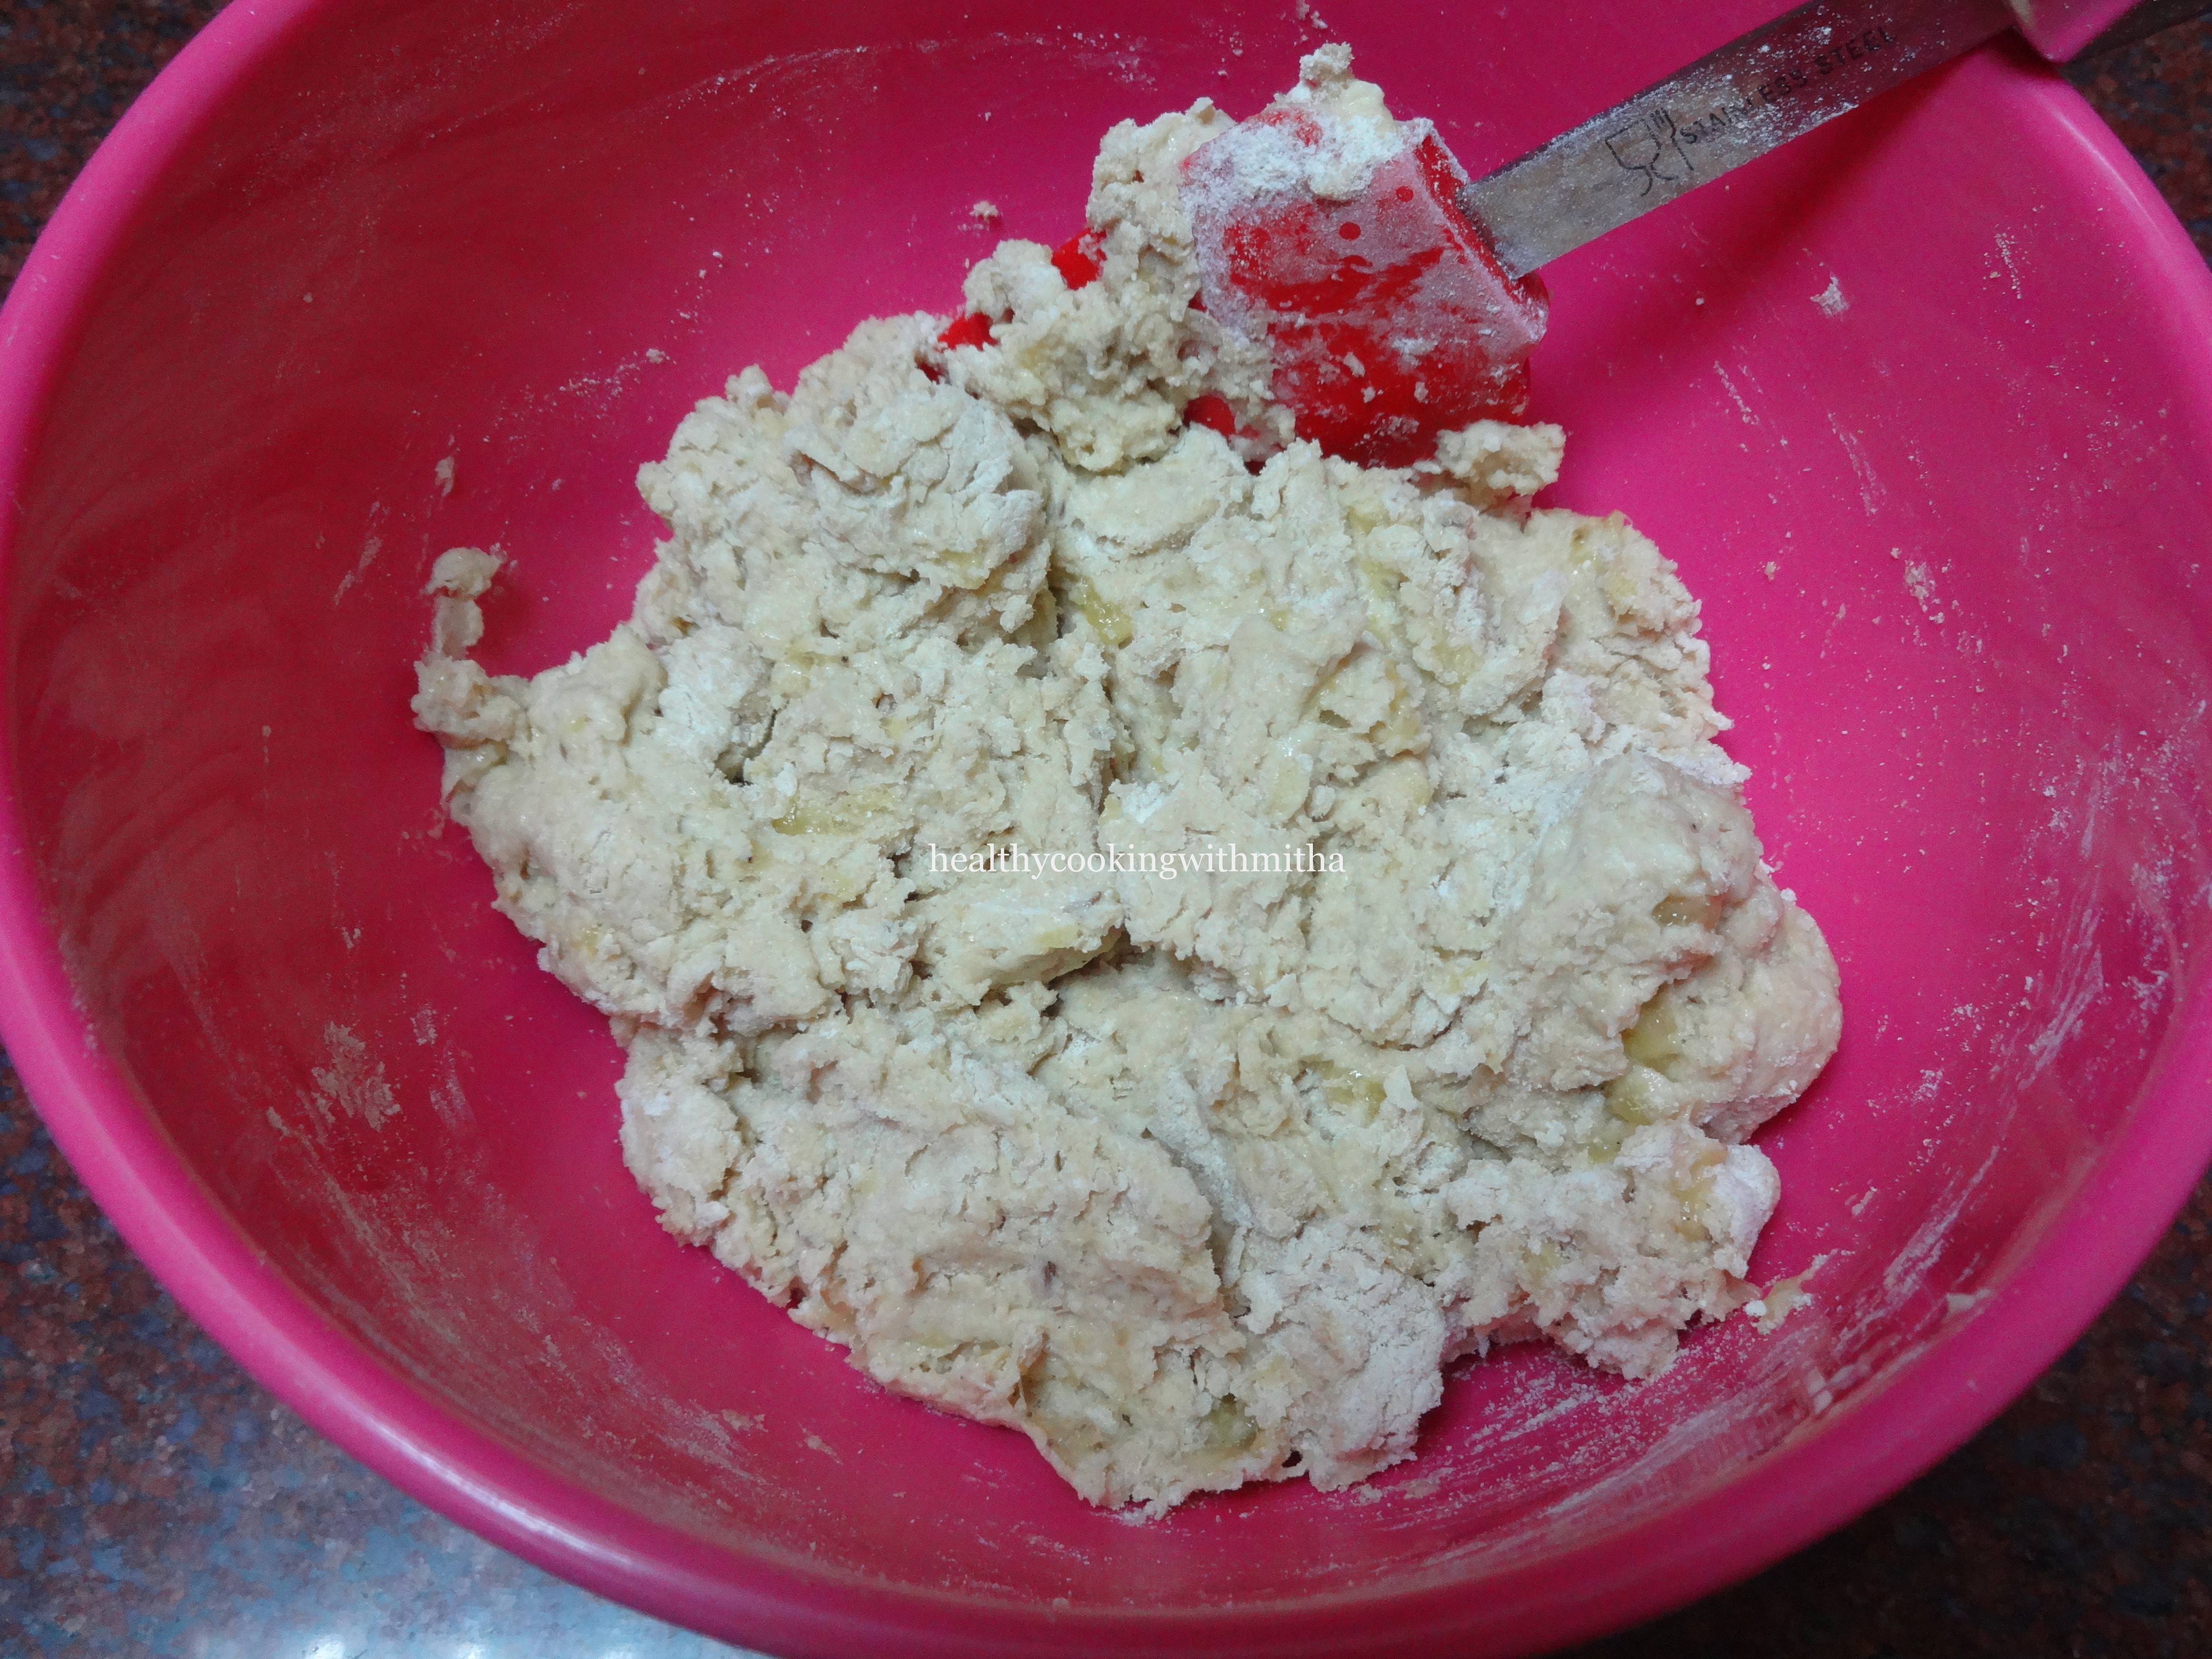
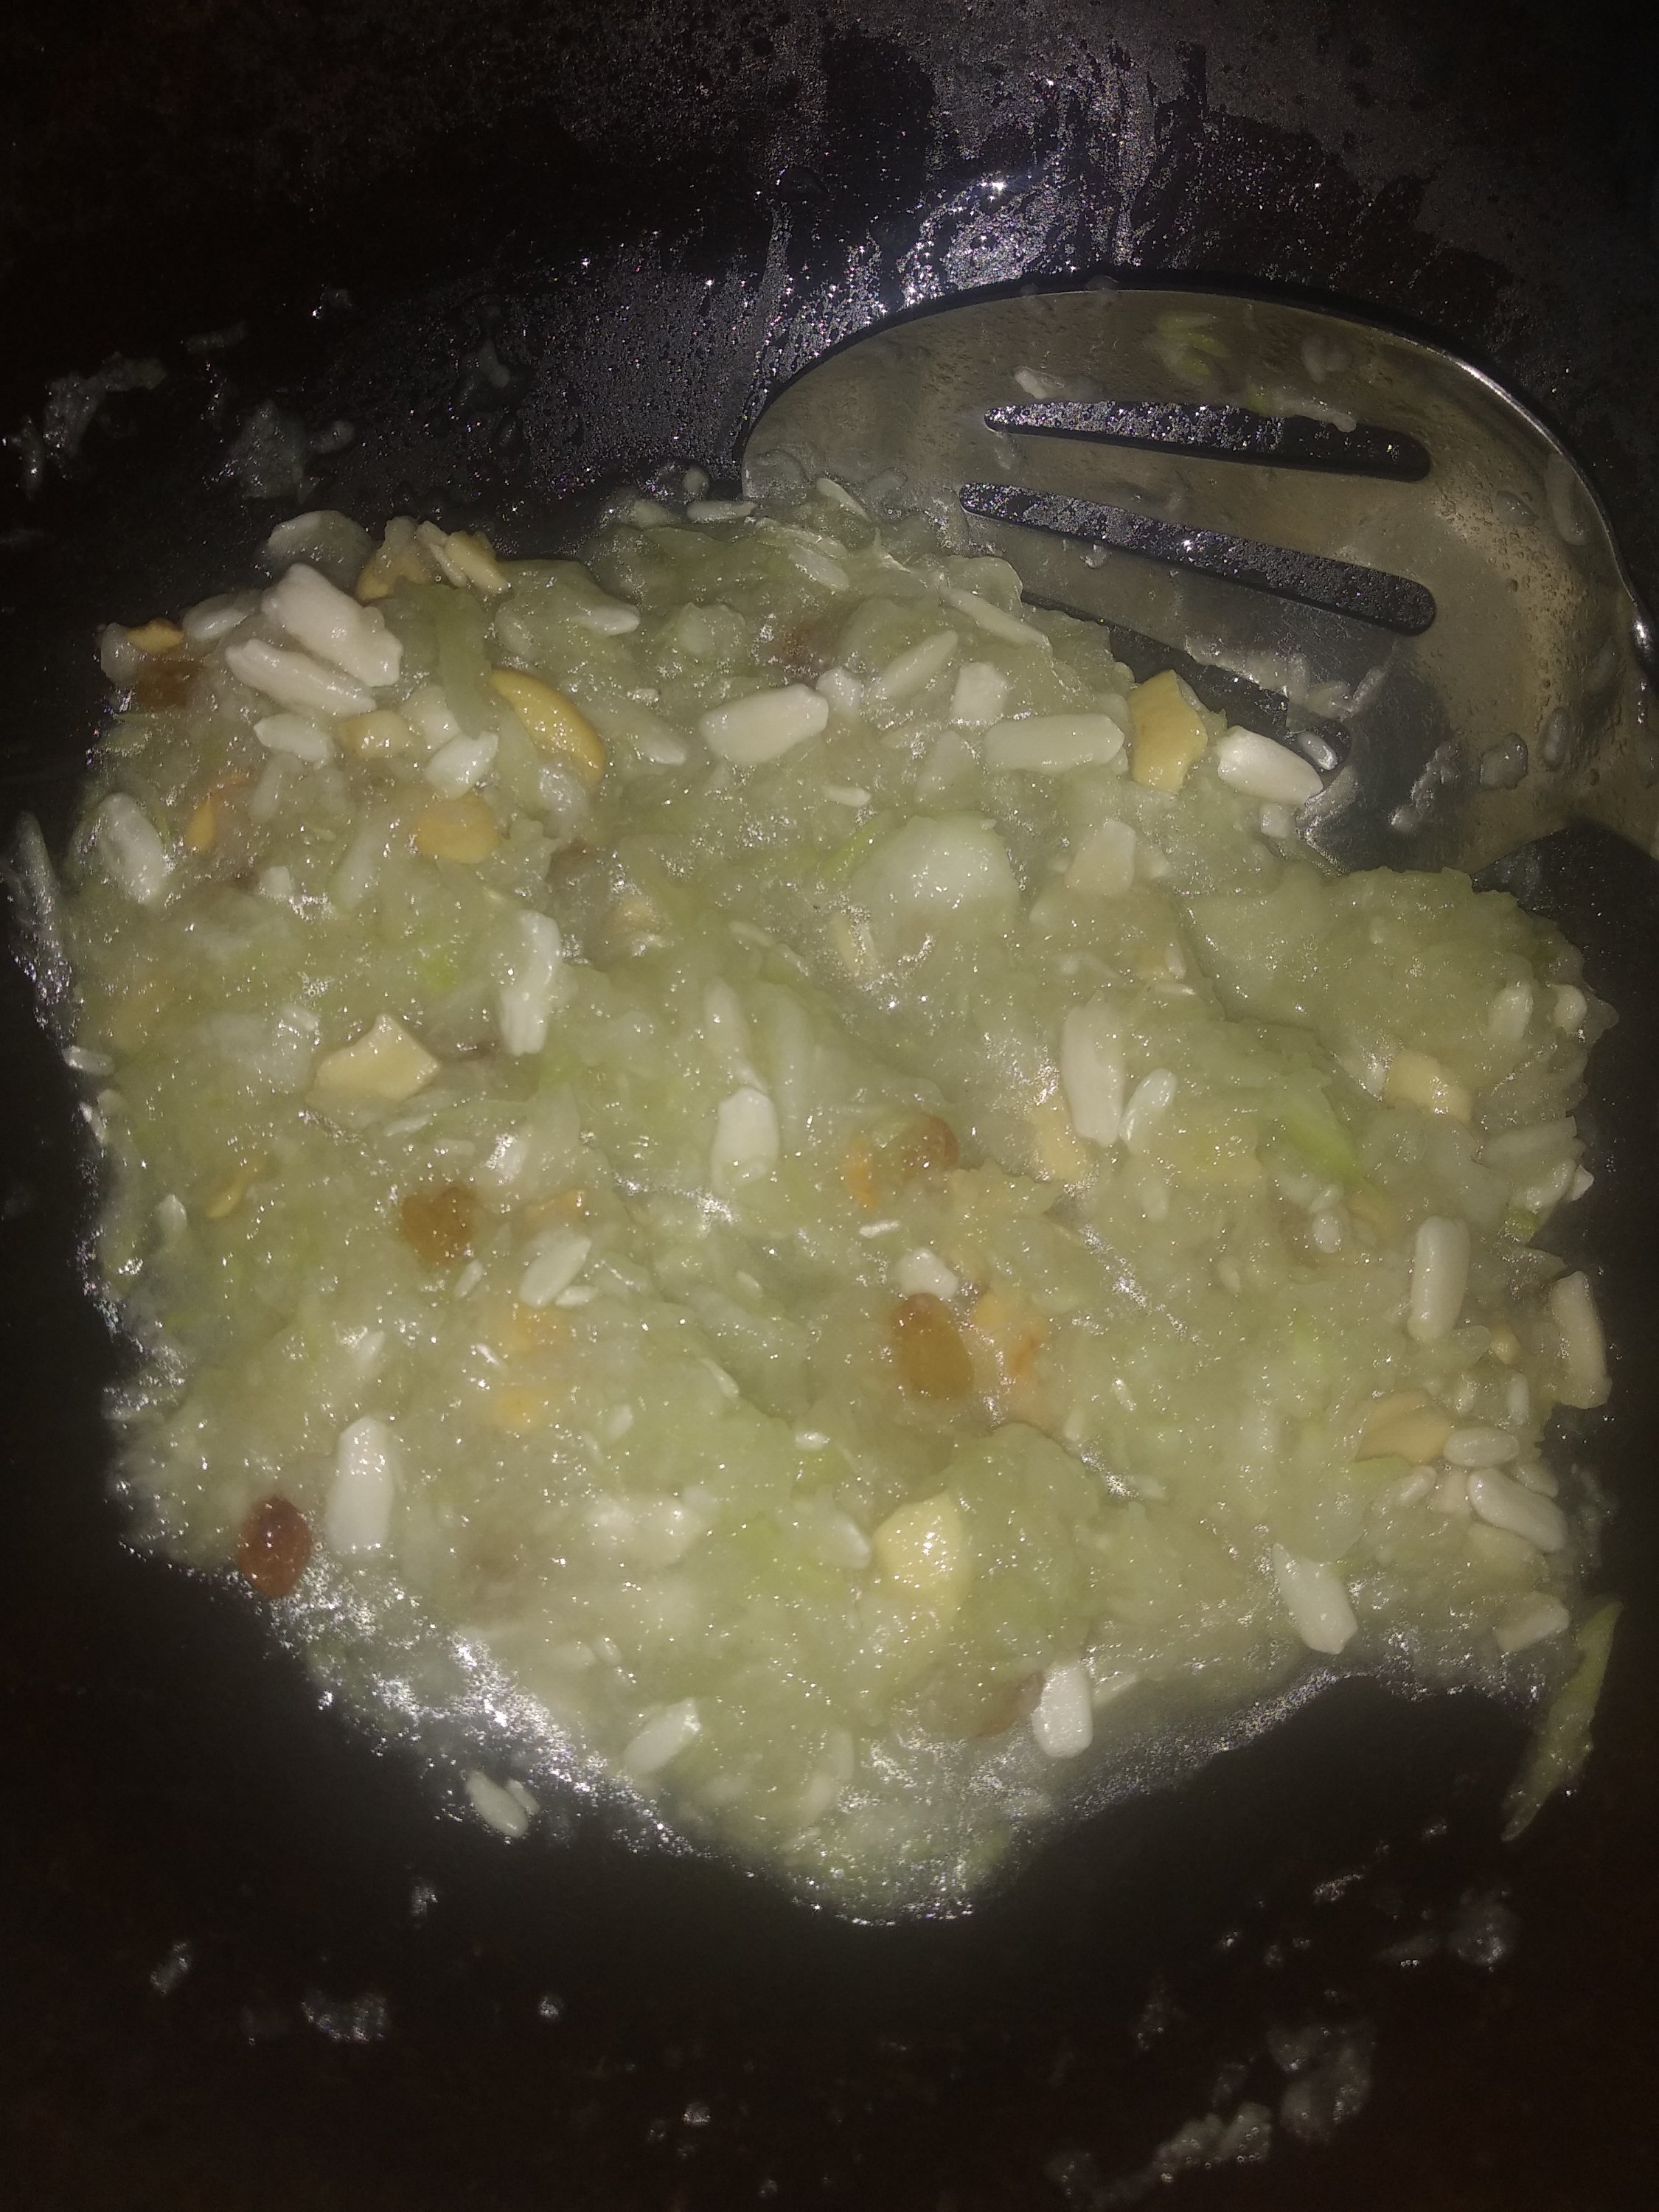
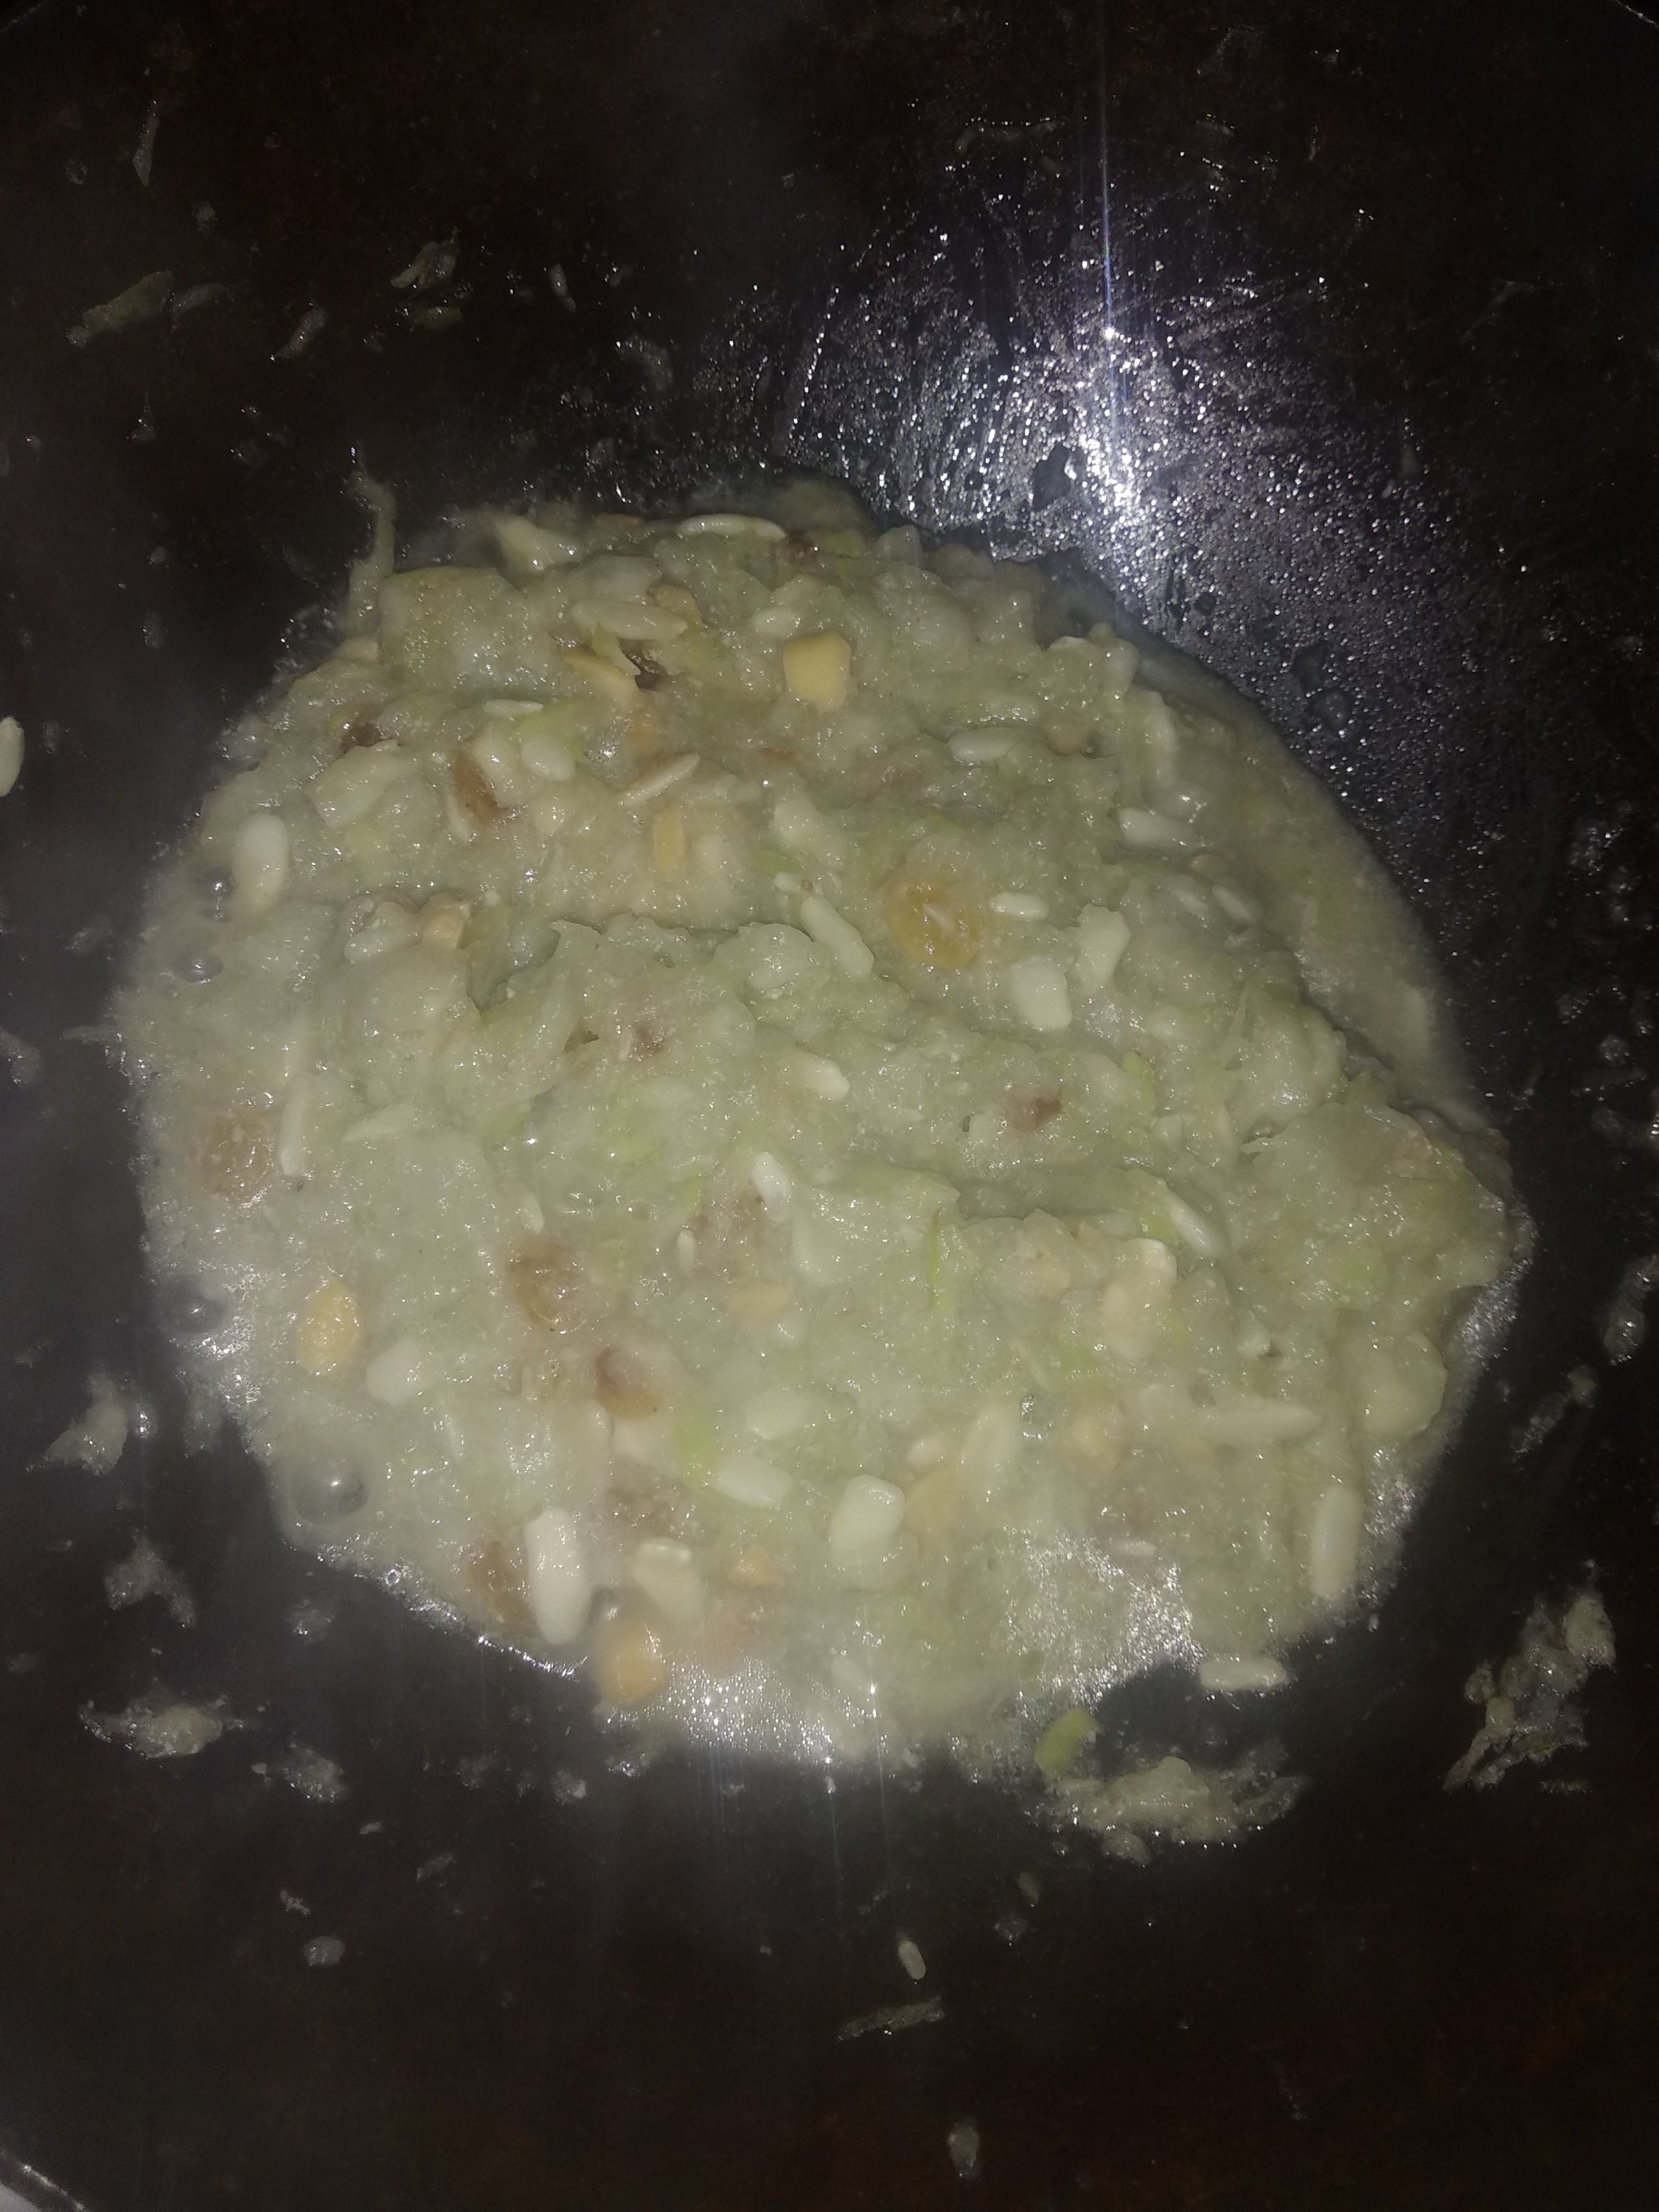
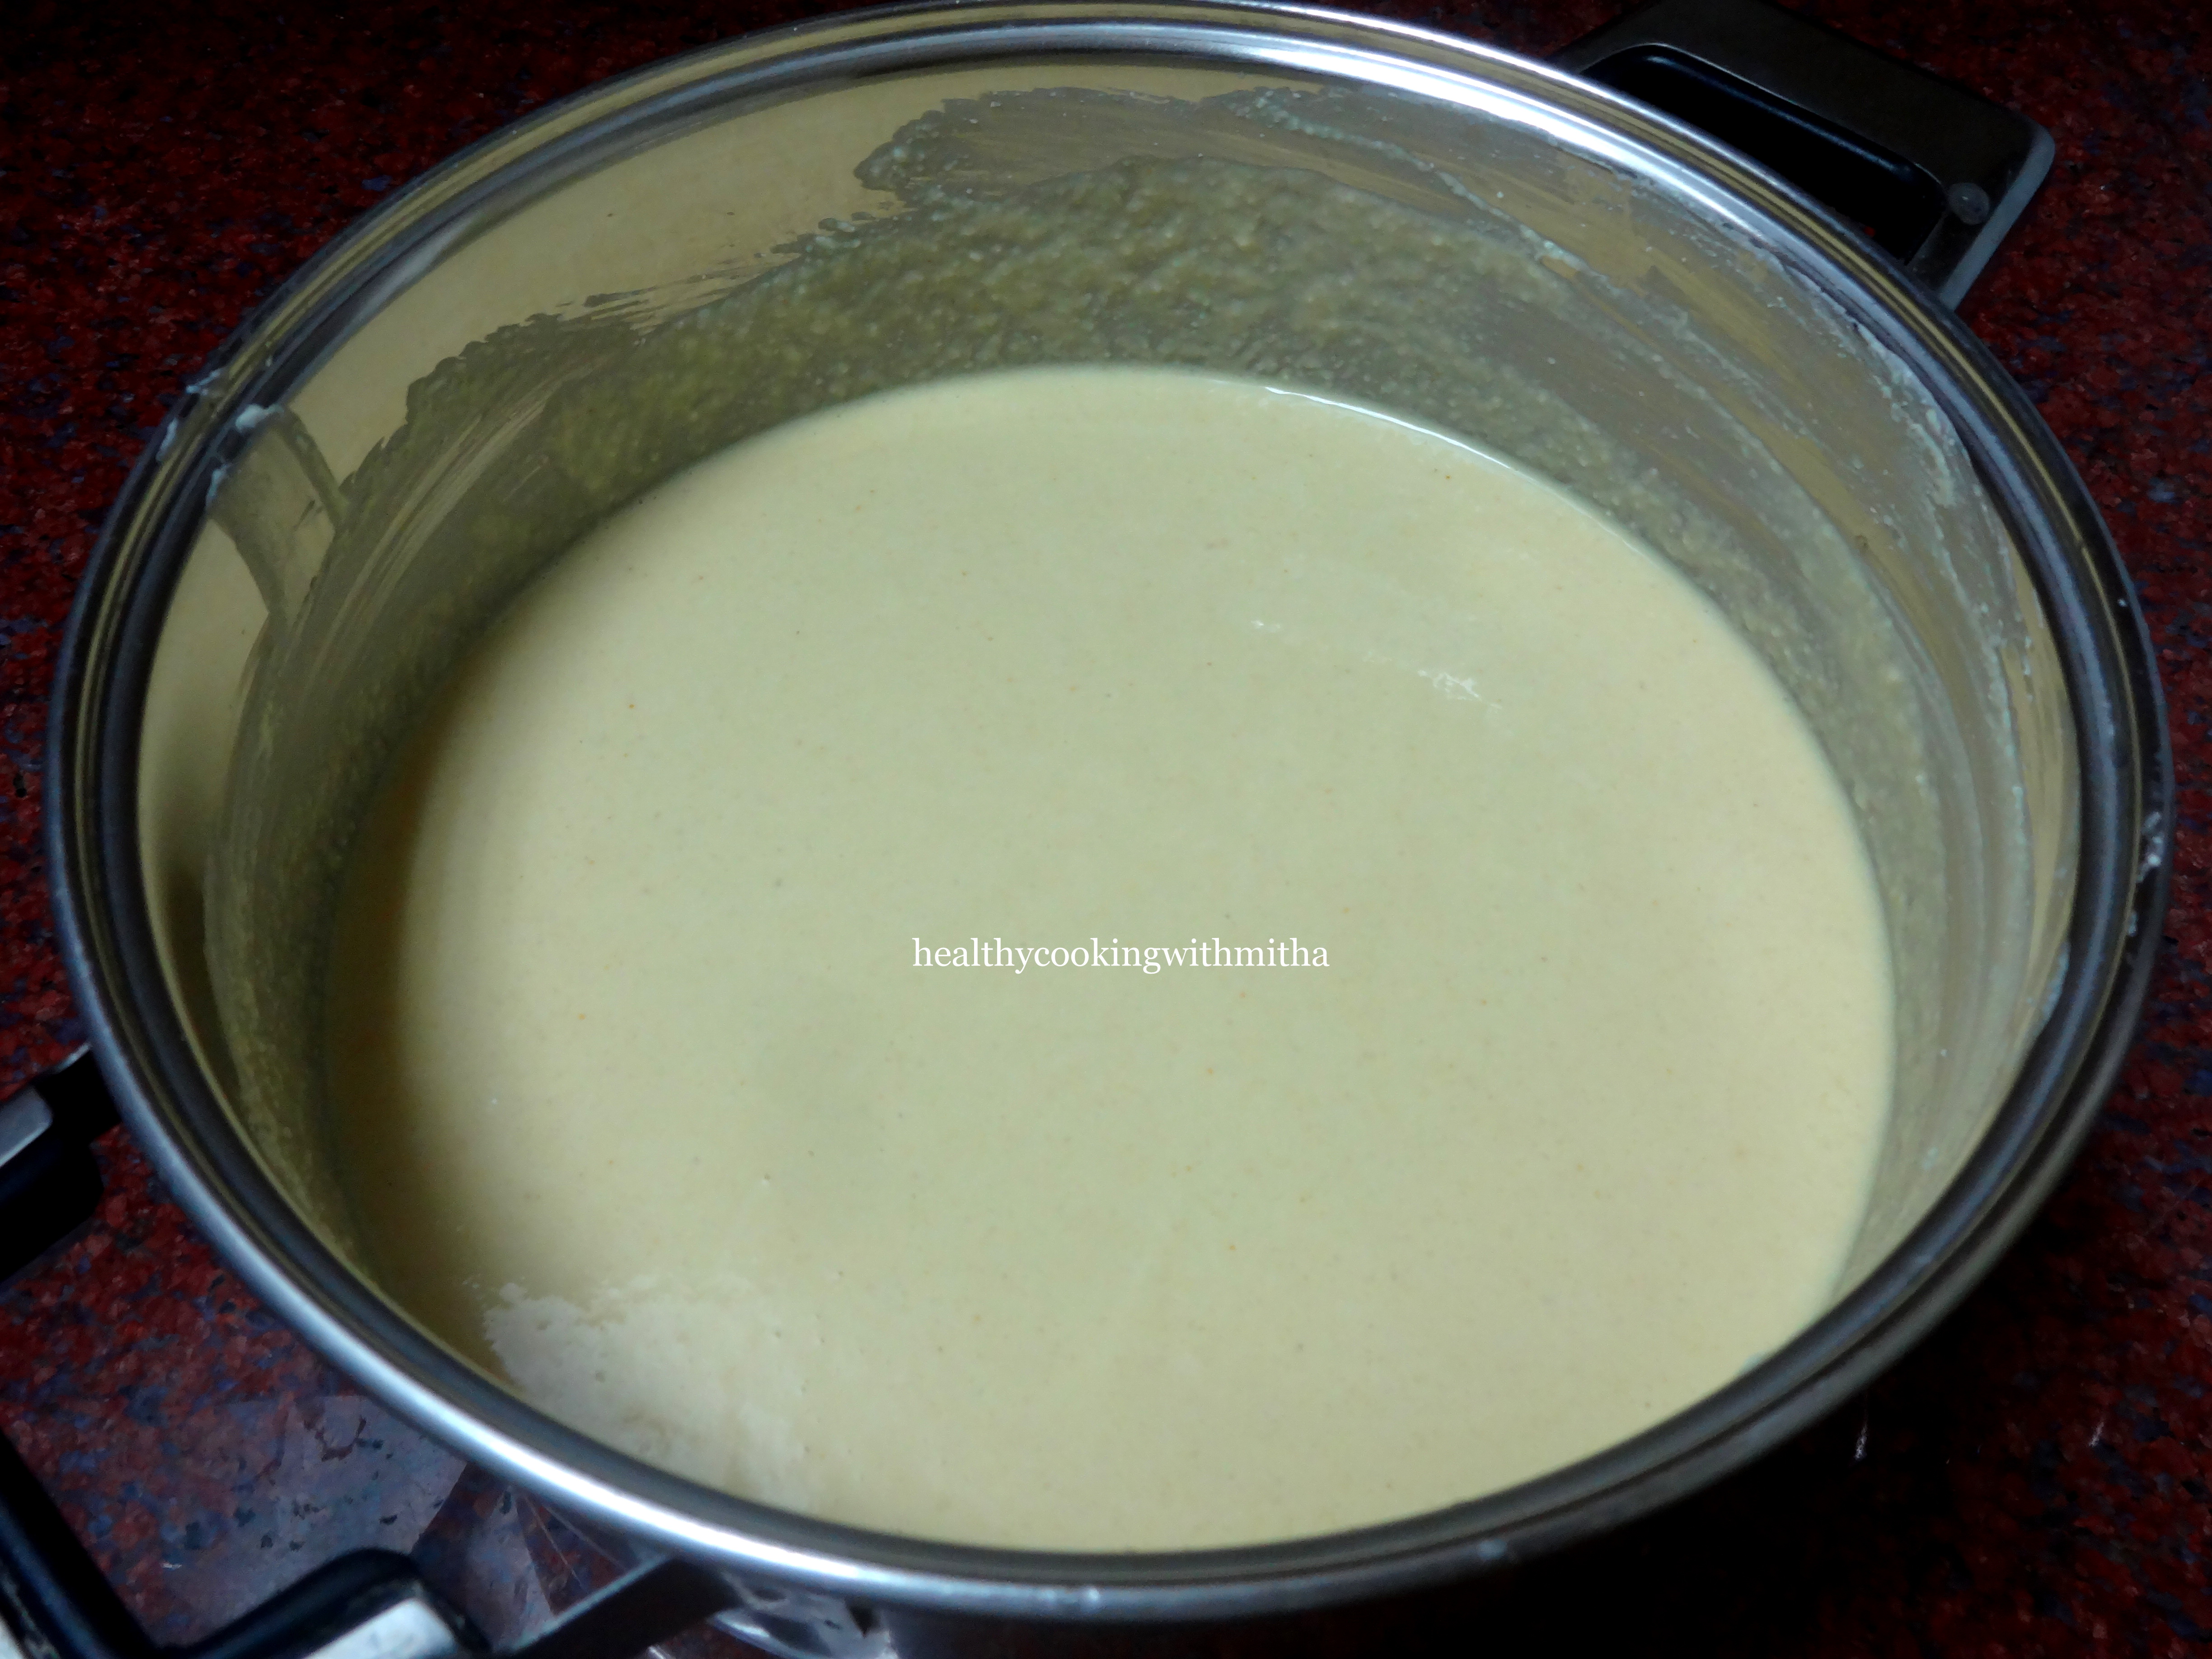
2. Drain the water and grind along with little water to a slightly coarse paste. Add cumin seeds and salt.

3. Now grind to a almost smooth but little grainy batter. (It’s okay to grind smooth too but this dosa has a little grainy texture)
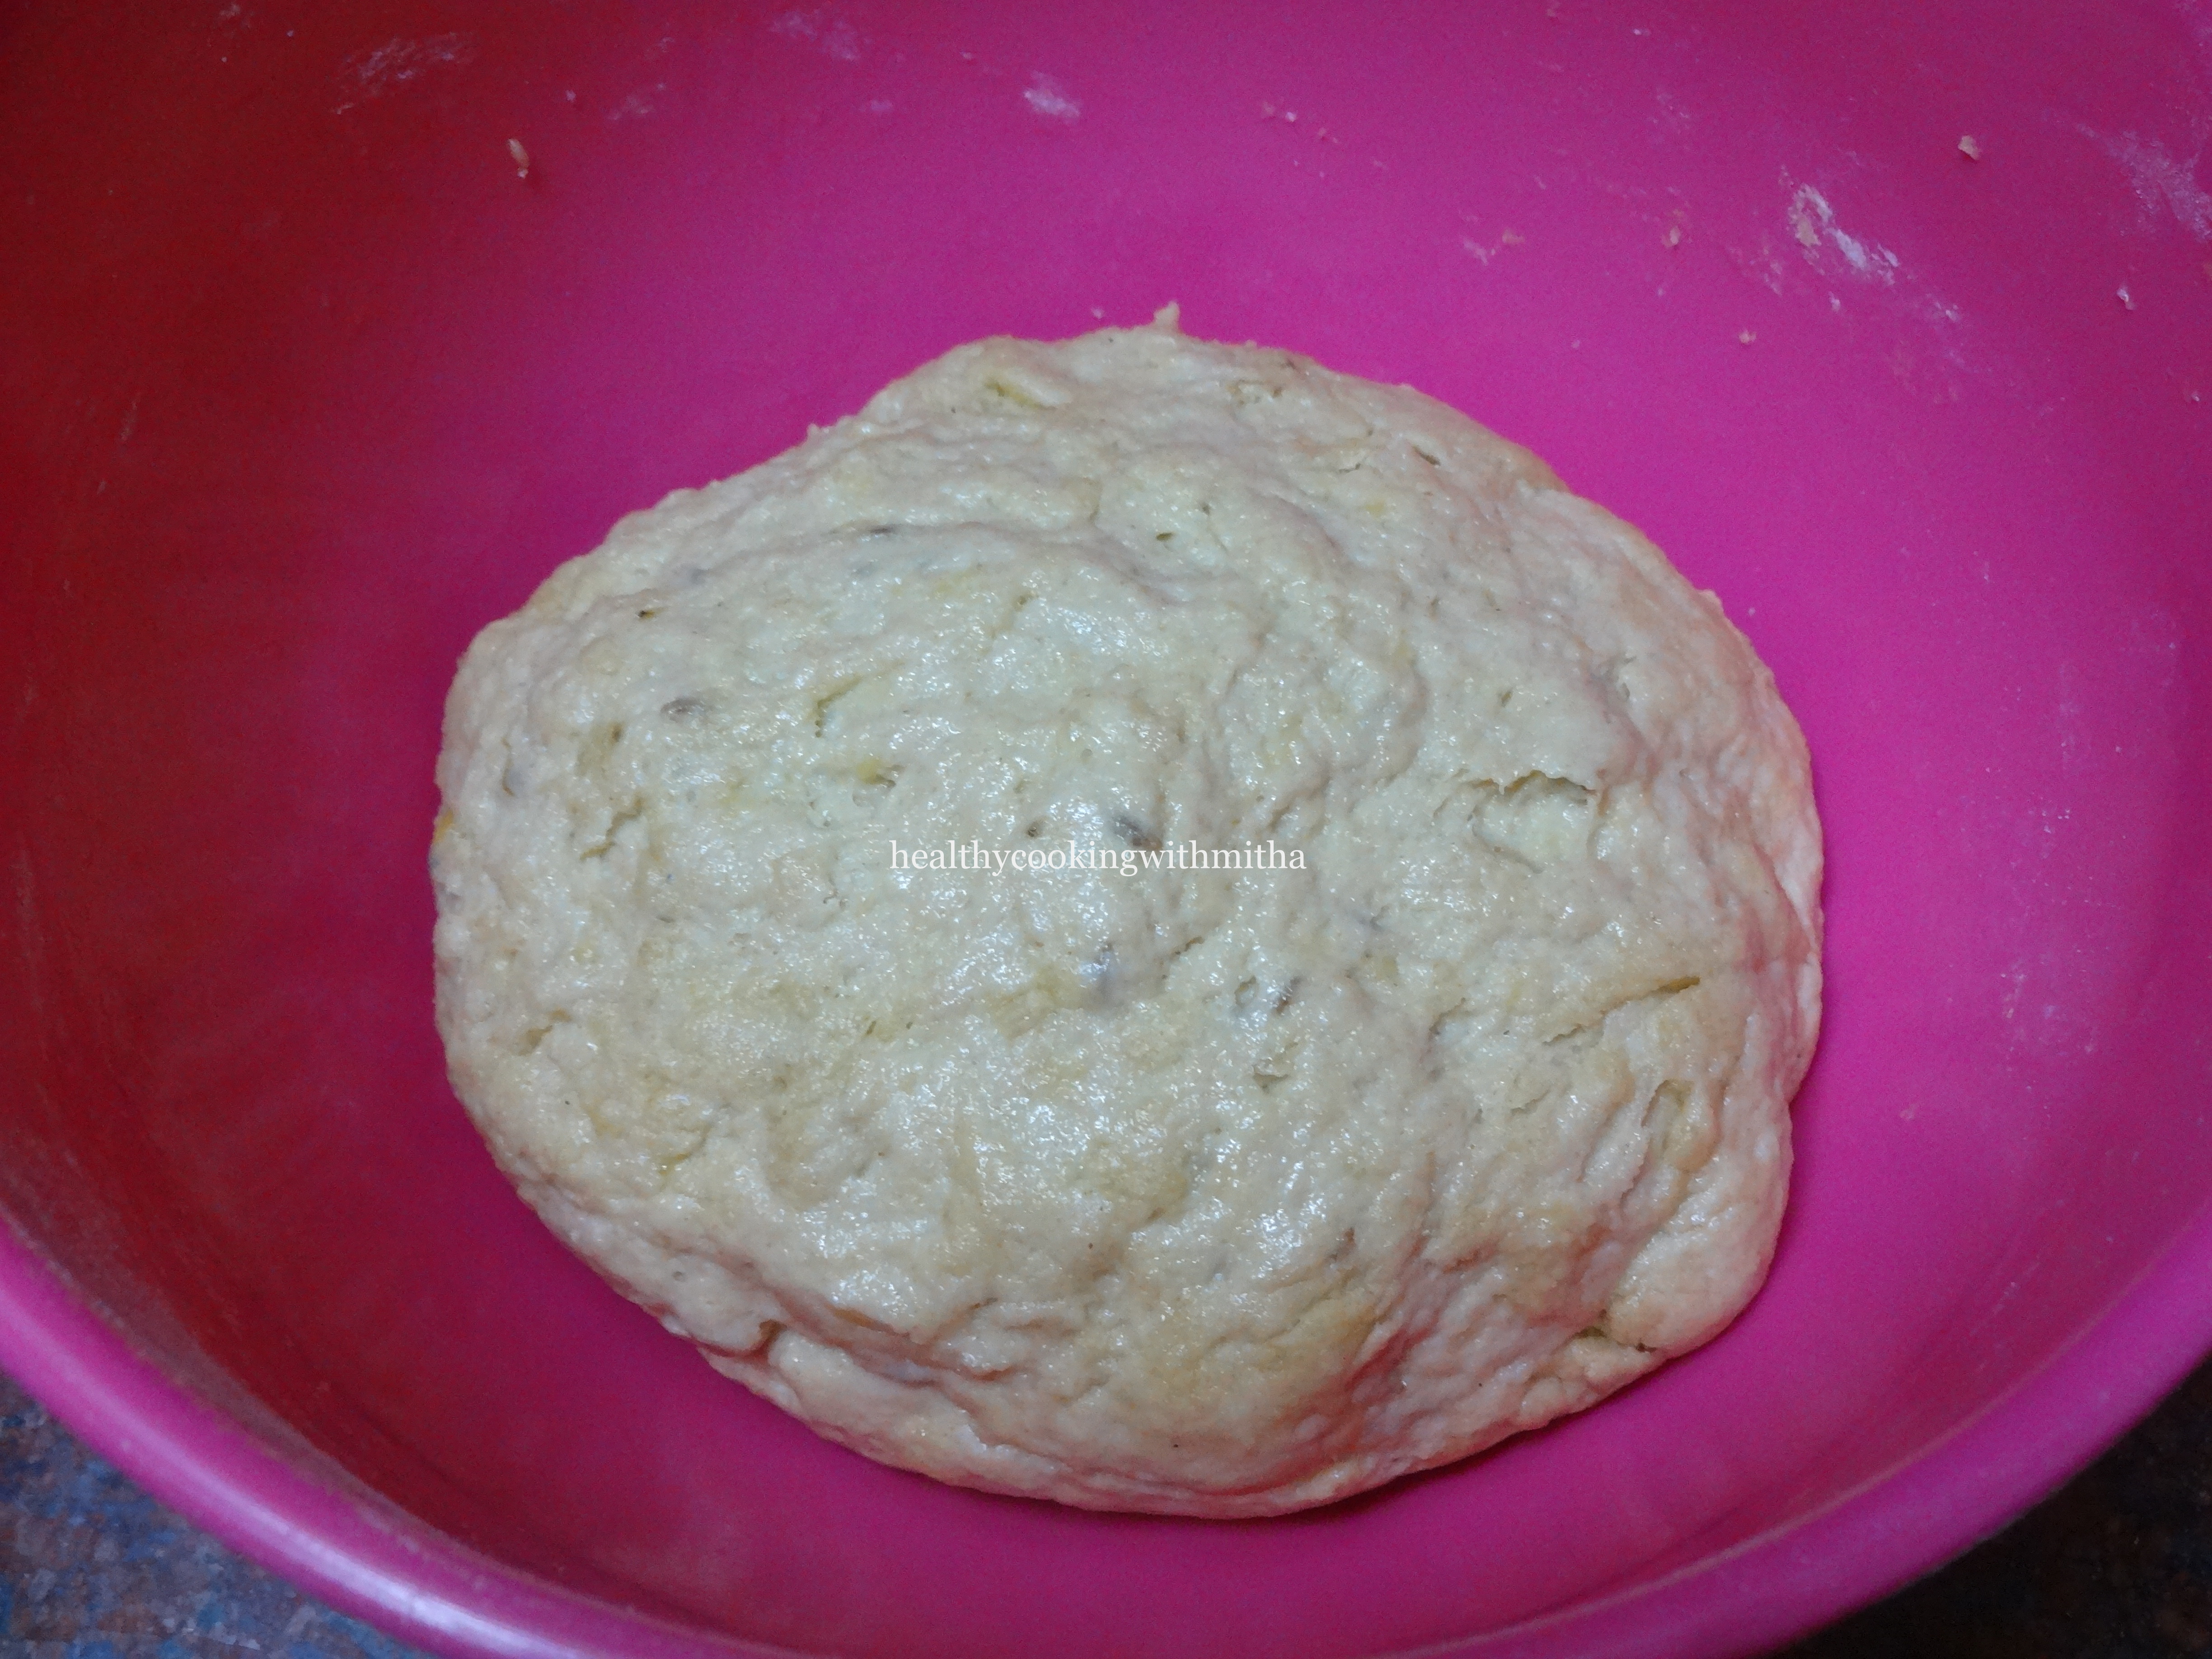
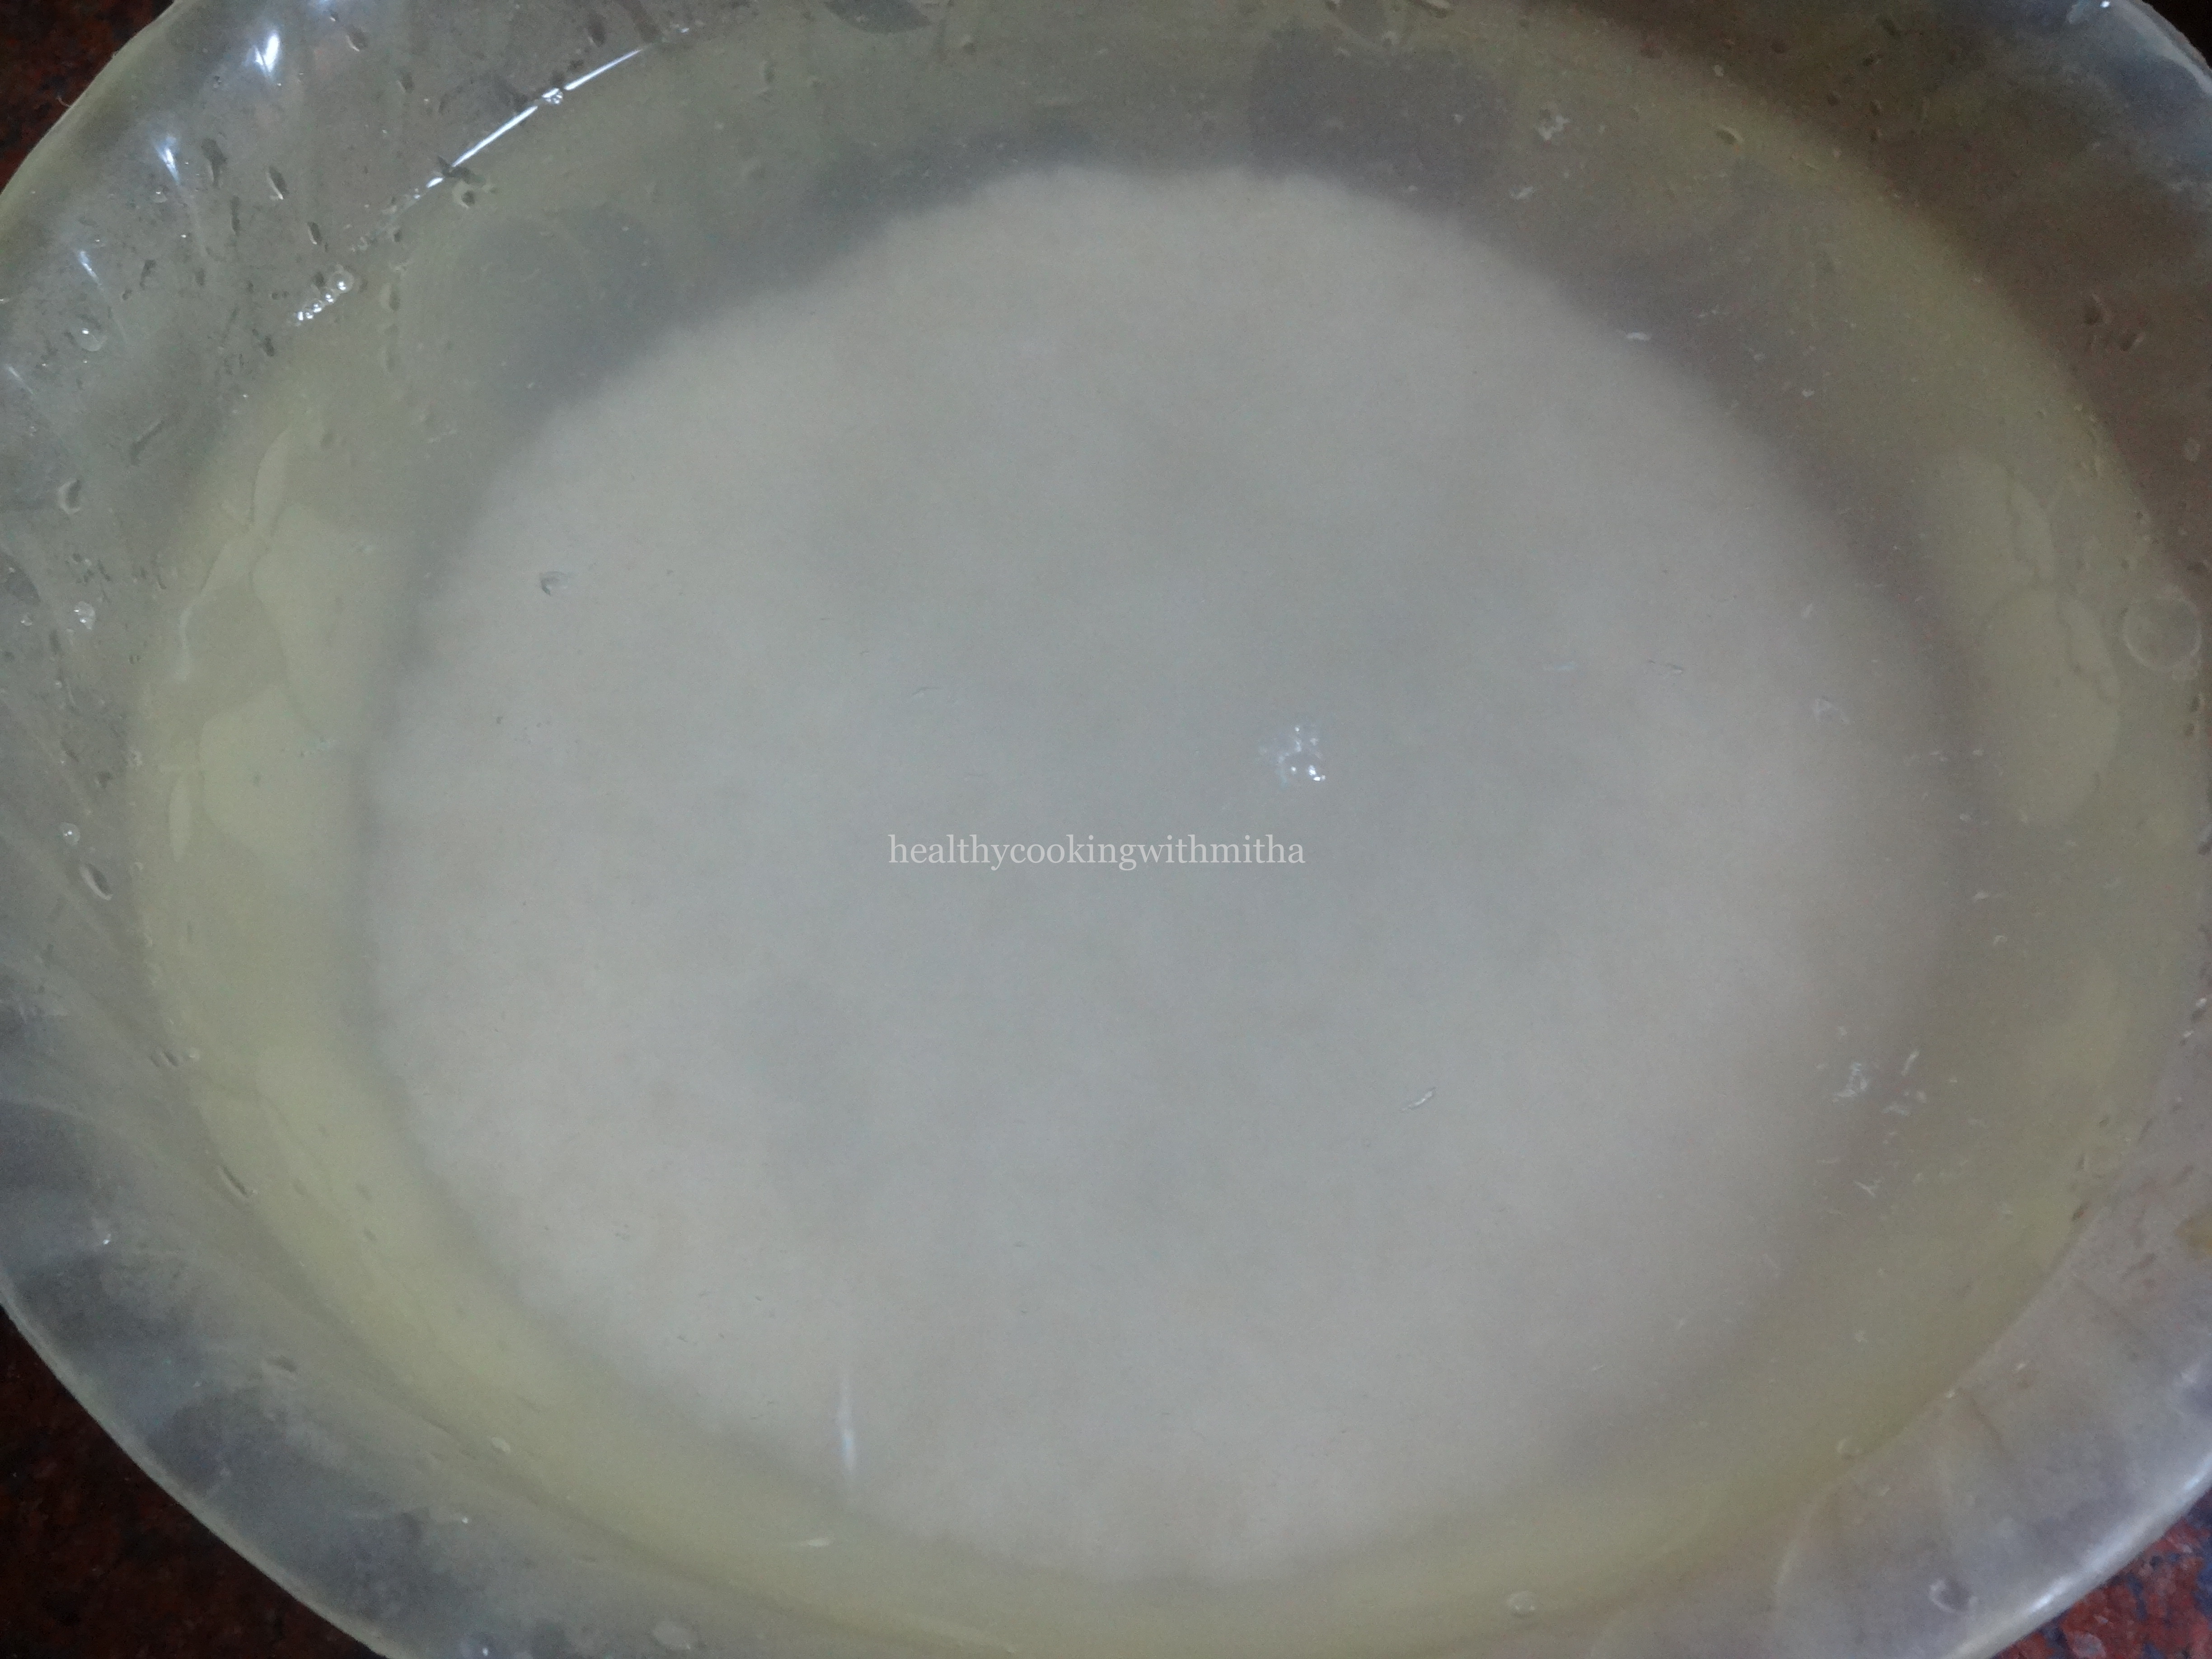
Note: Consistency is like regular dosa batter (a thick batter but still pouring consistency).

4. Ferment the batter overnight or for 8 to 10 hours.
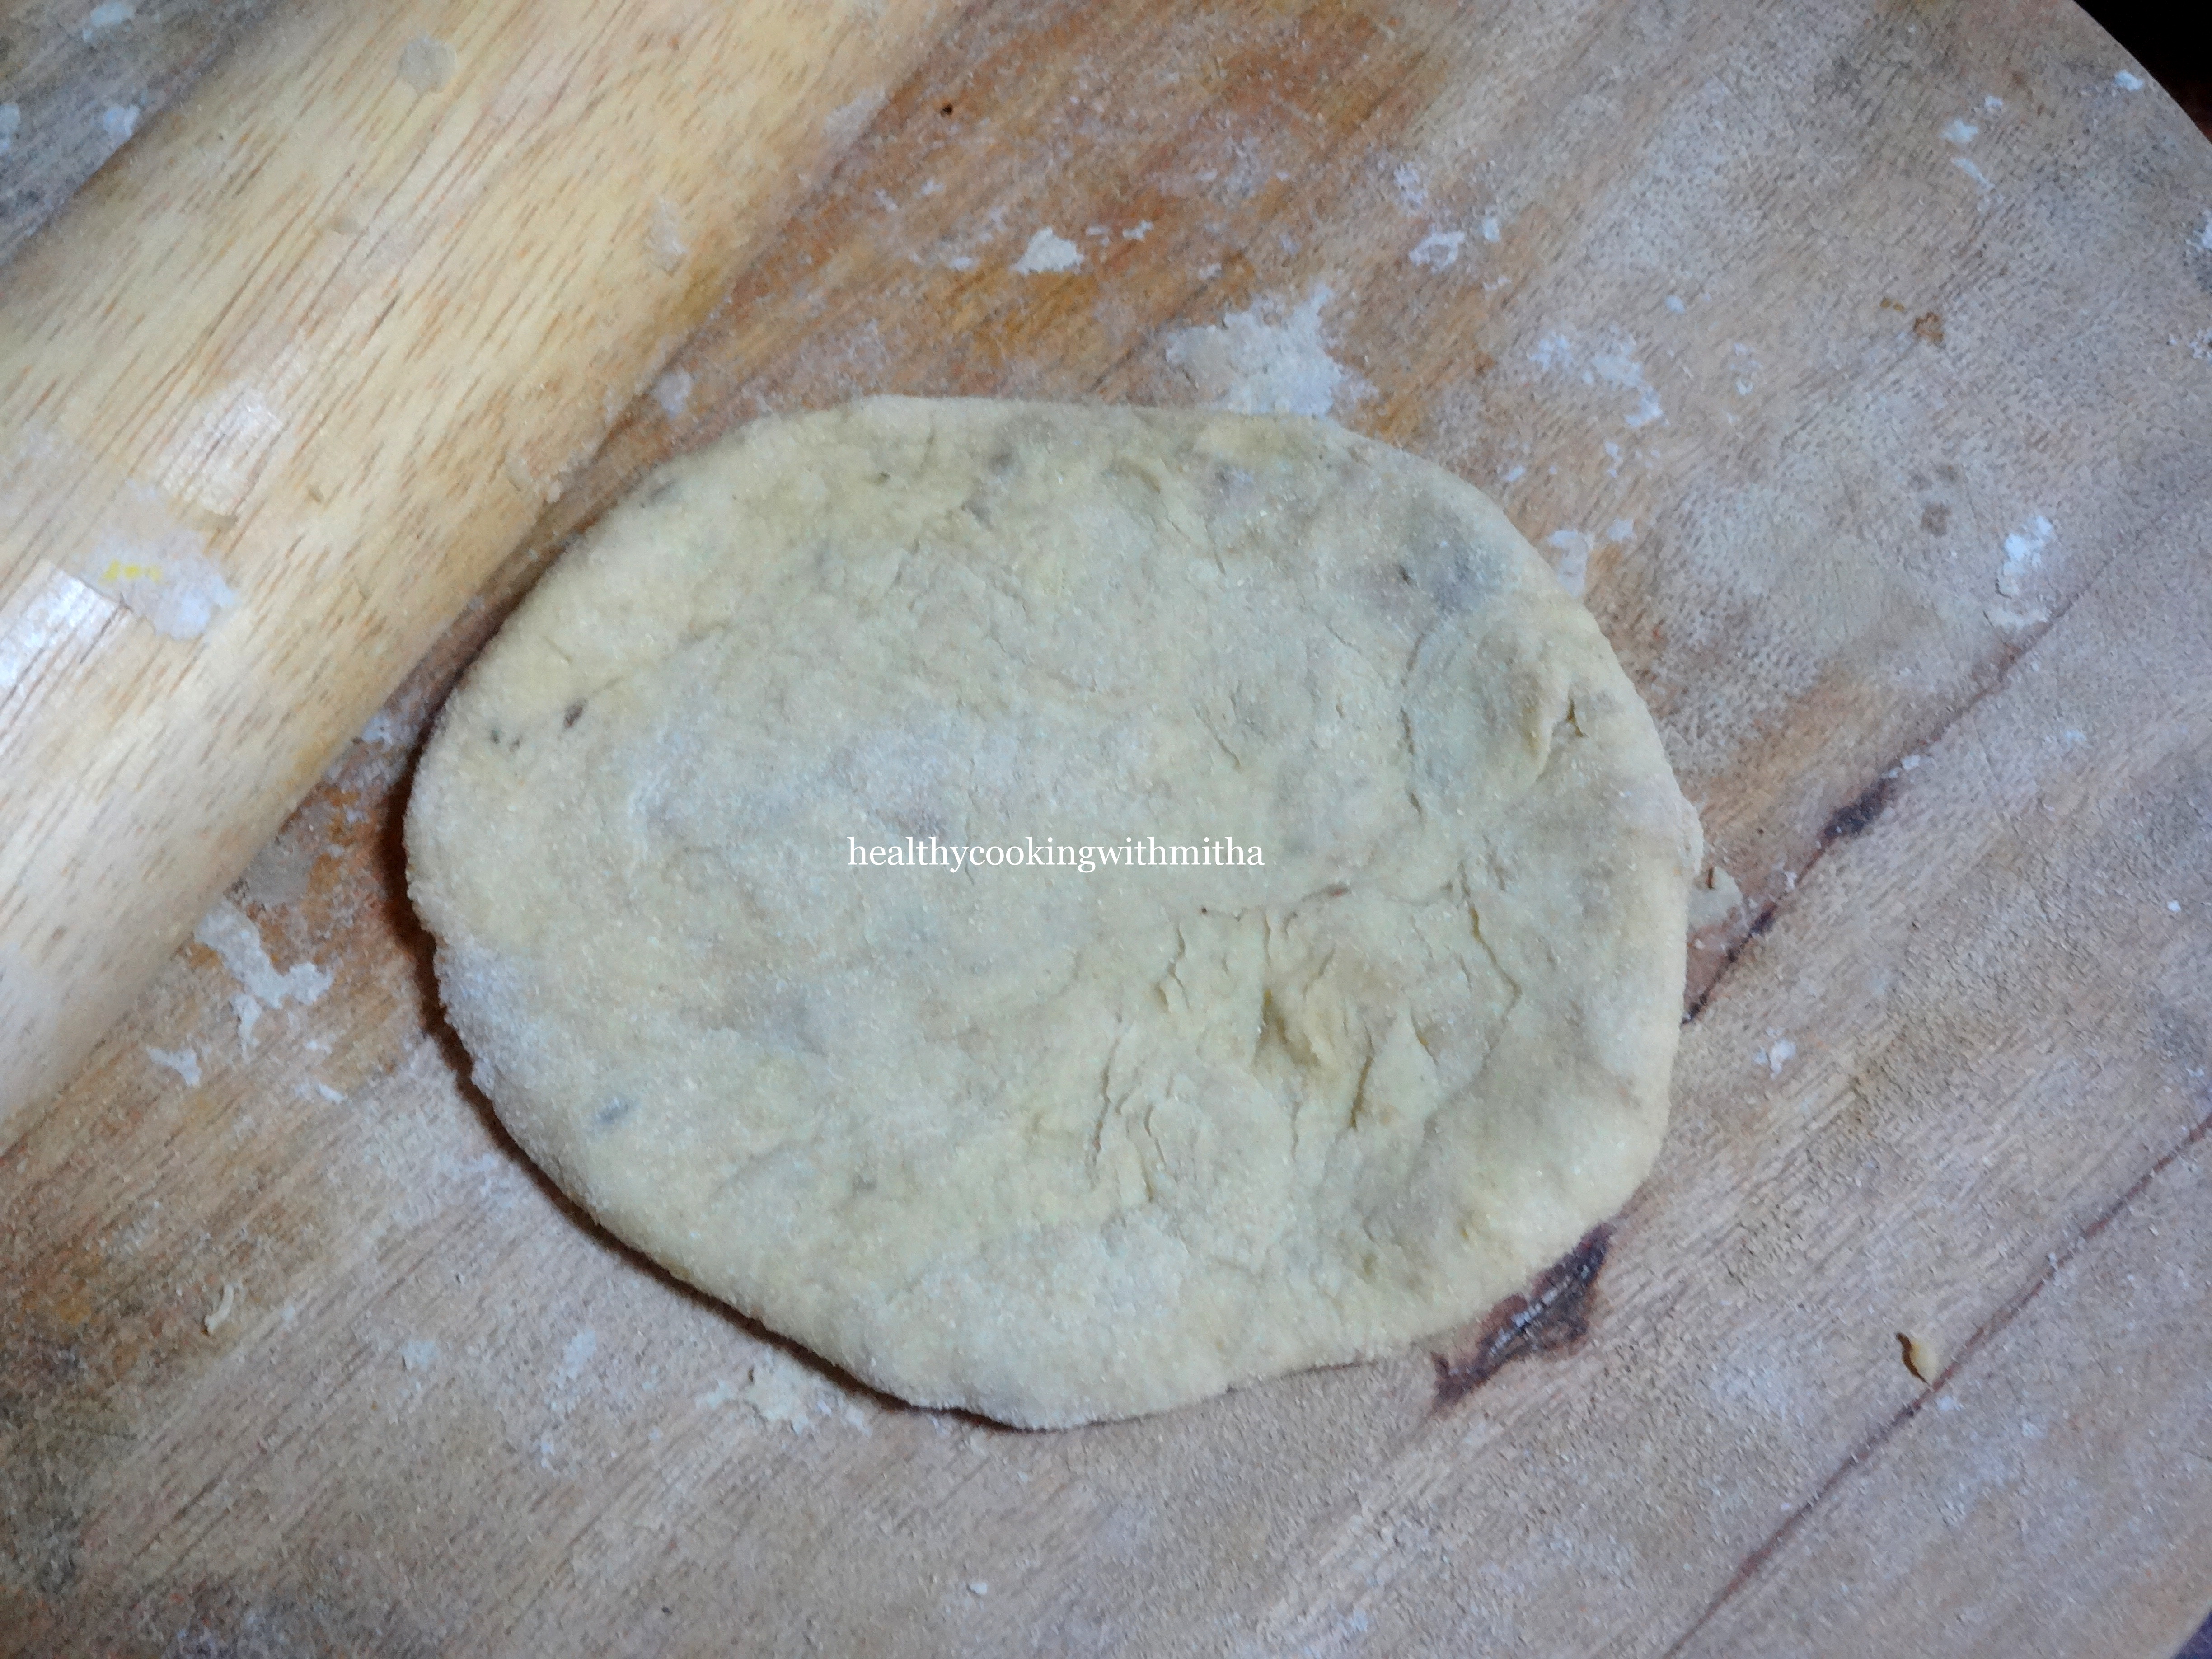
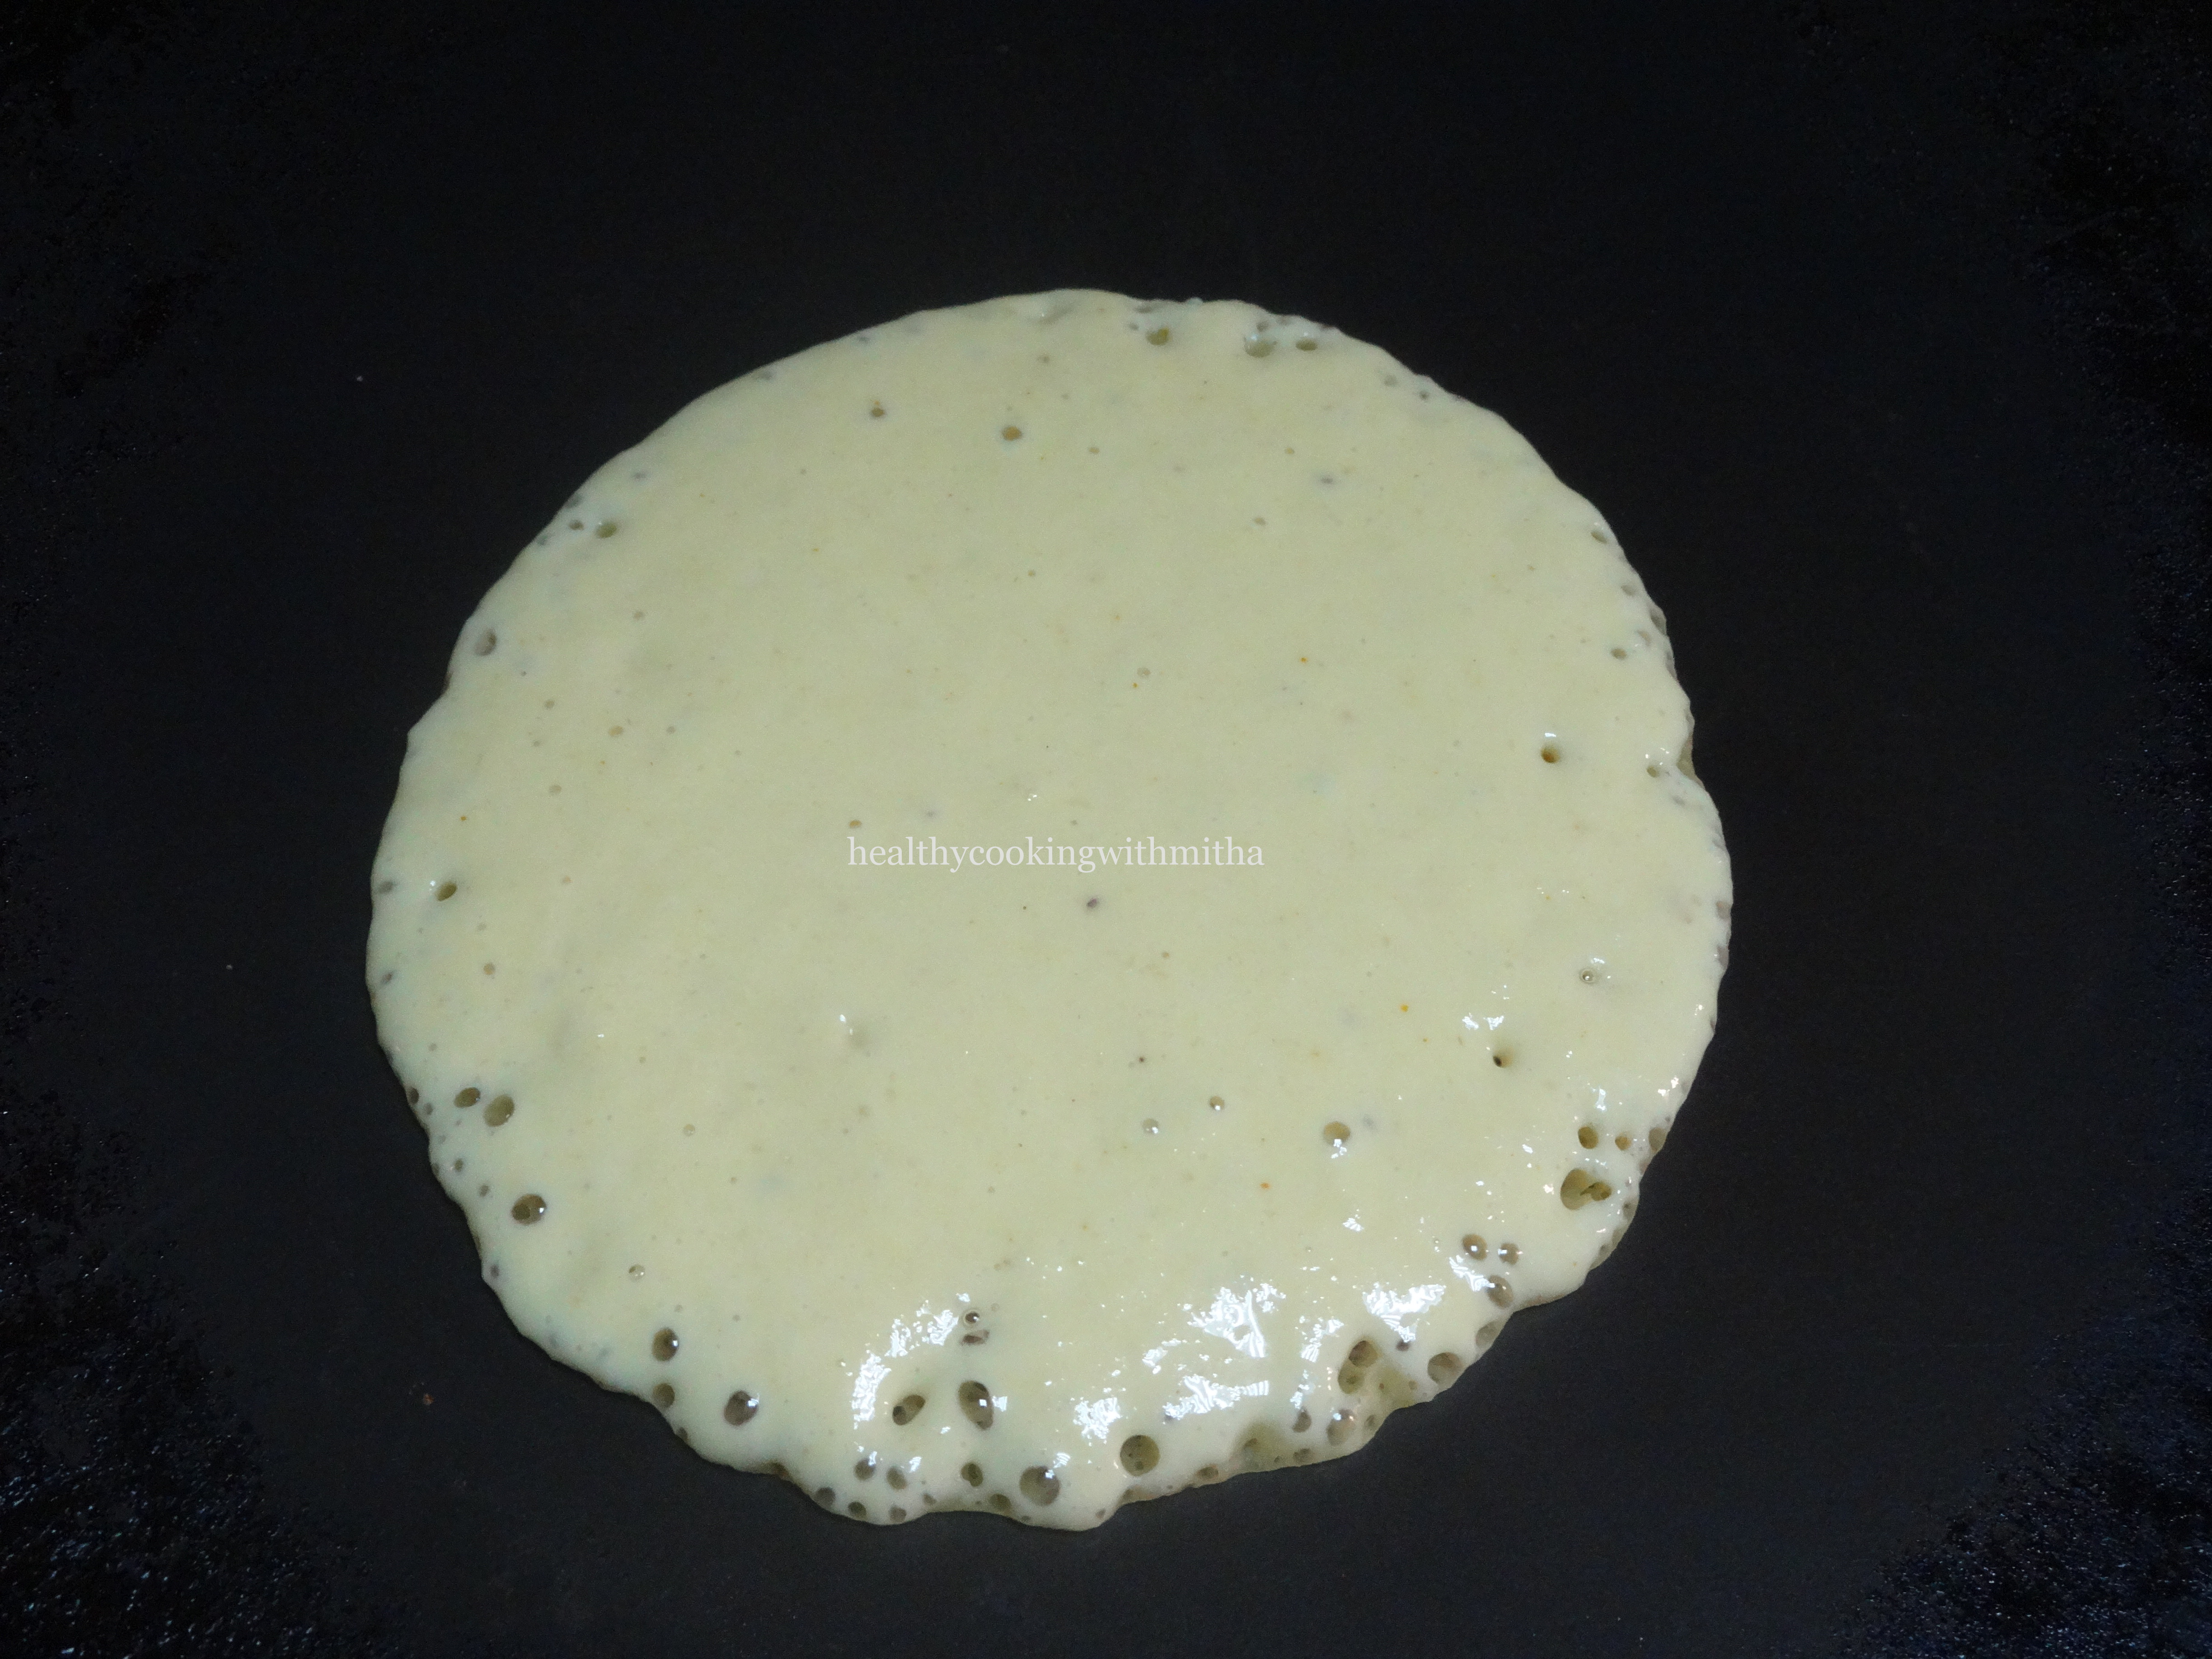
5. Now when making dosas, heat a dosa pan and pour a ladle of batter in the center of the pan. The dosa is small and slightly thick. No need to spread the dosa.
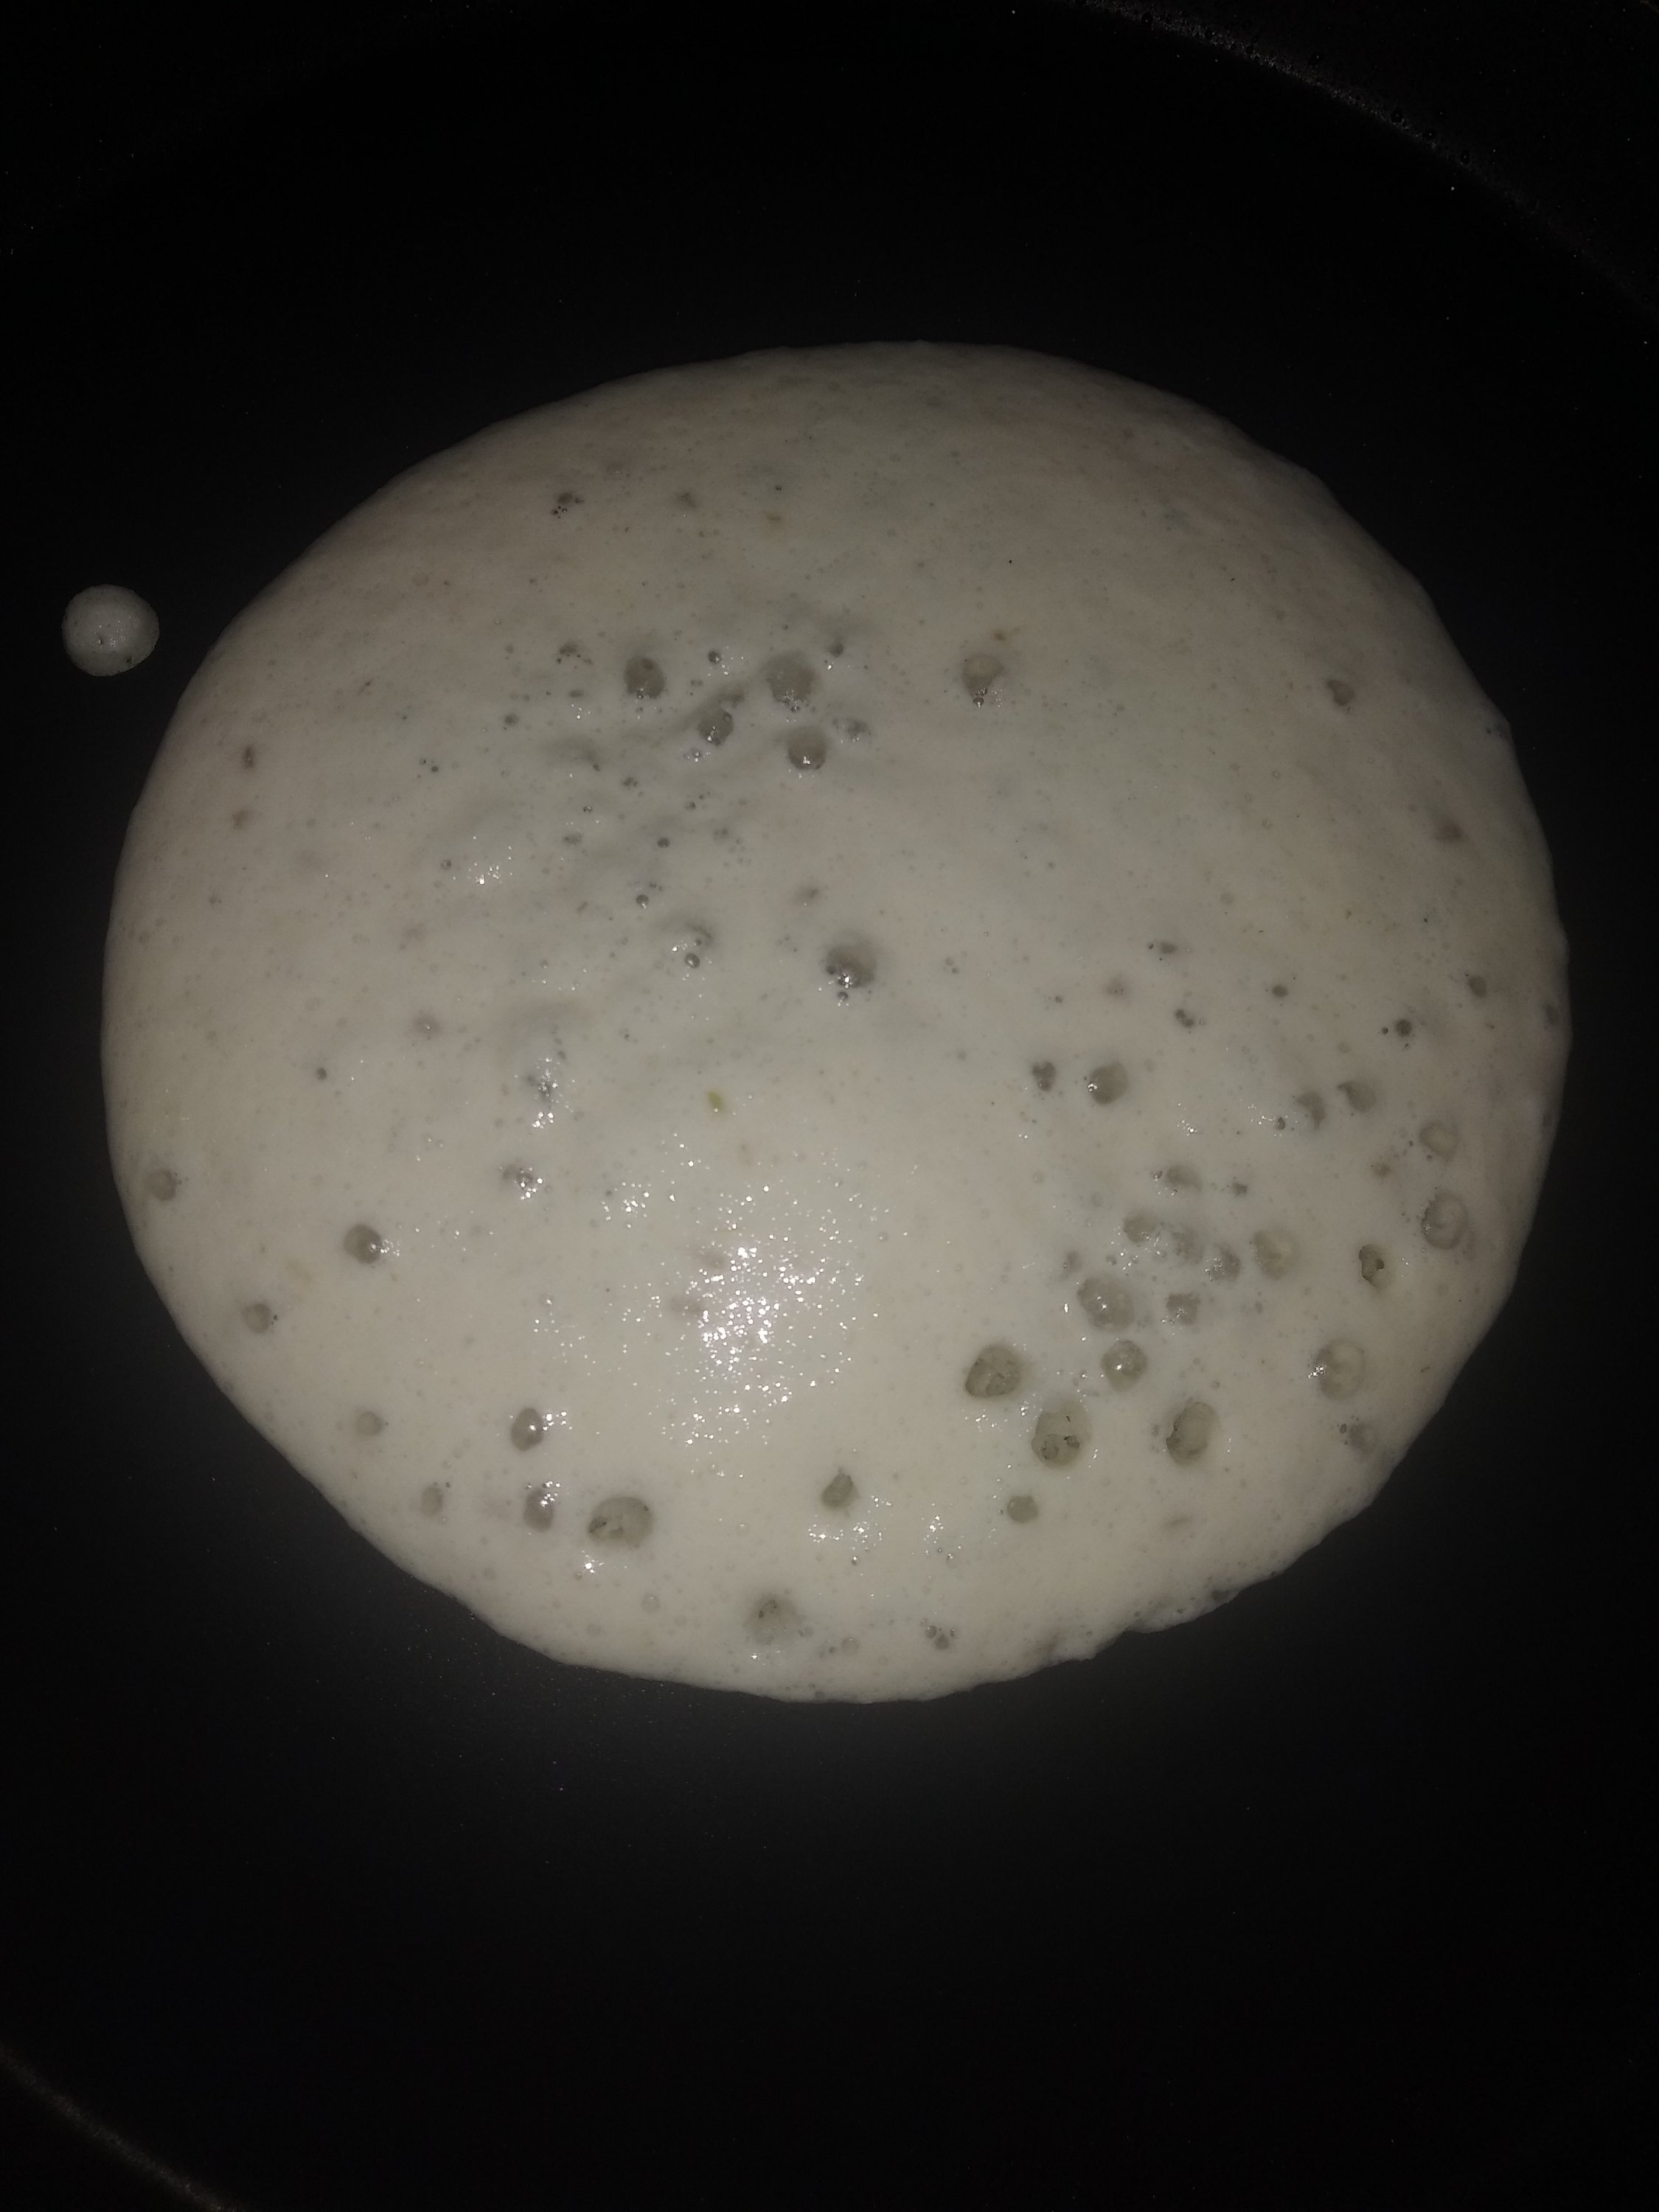
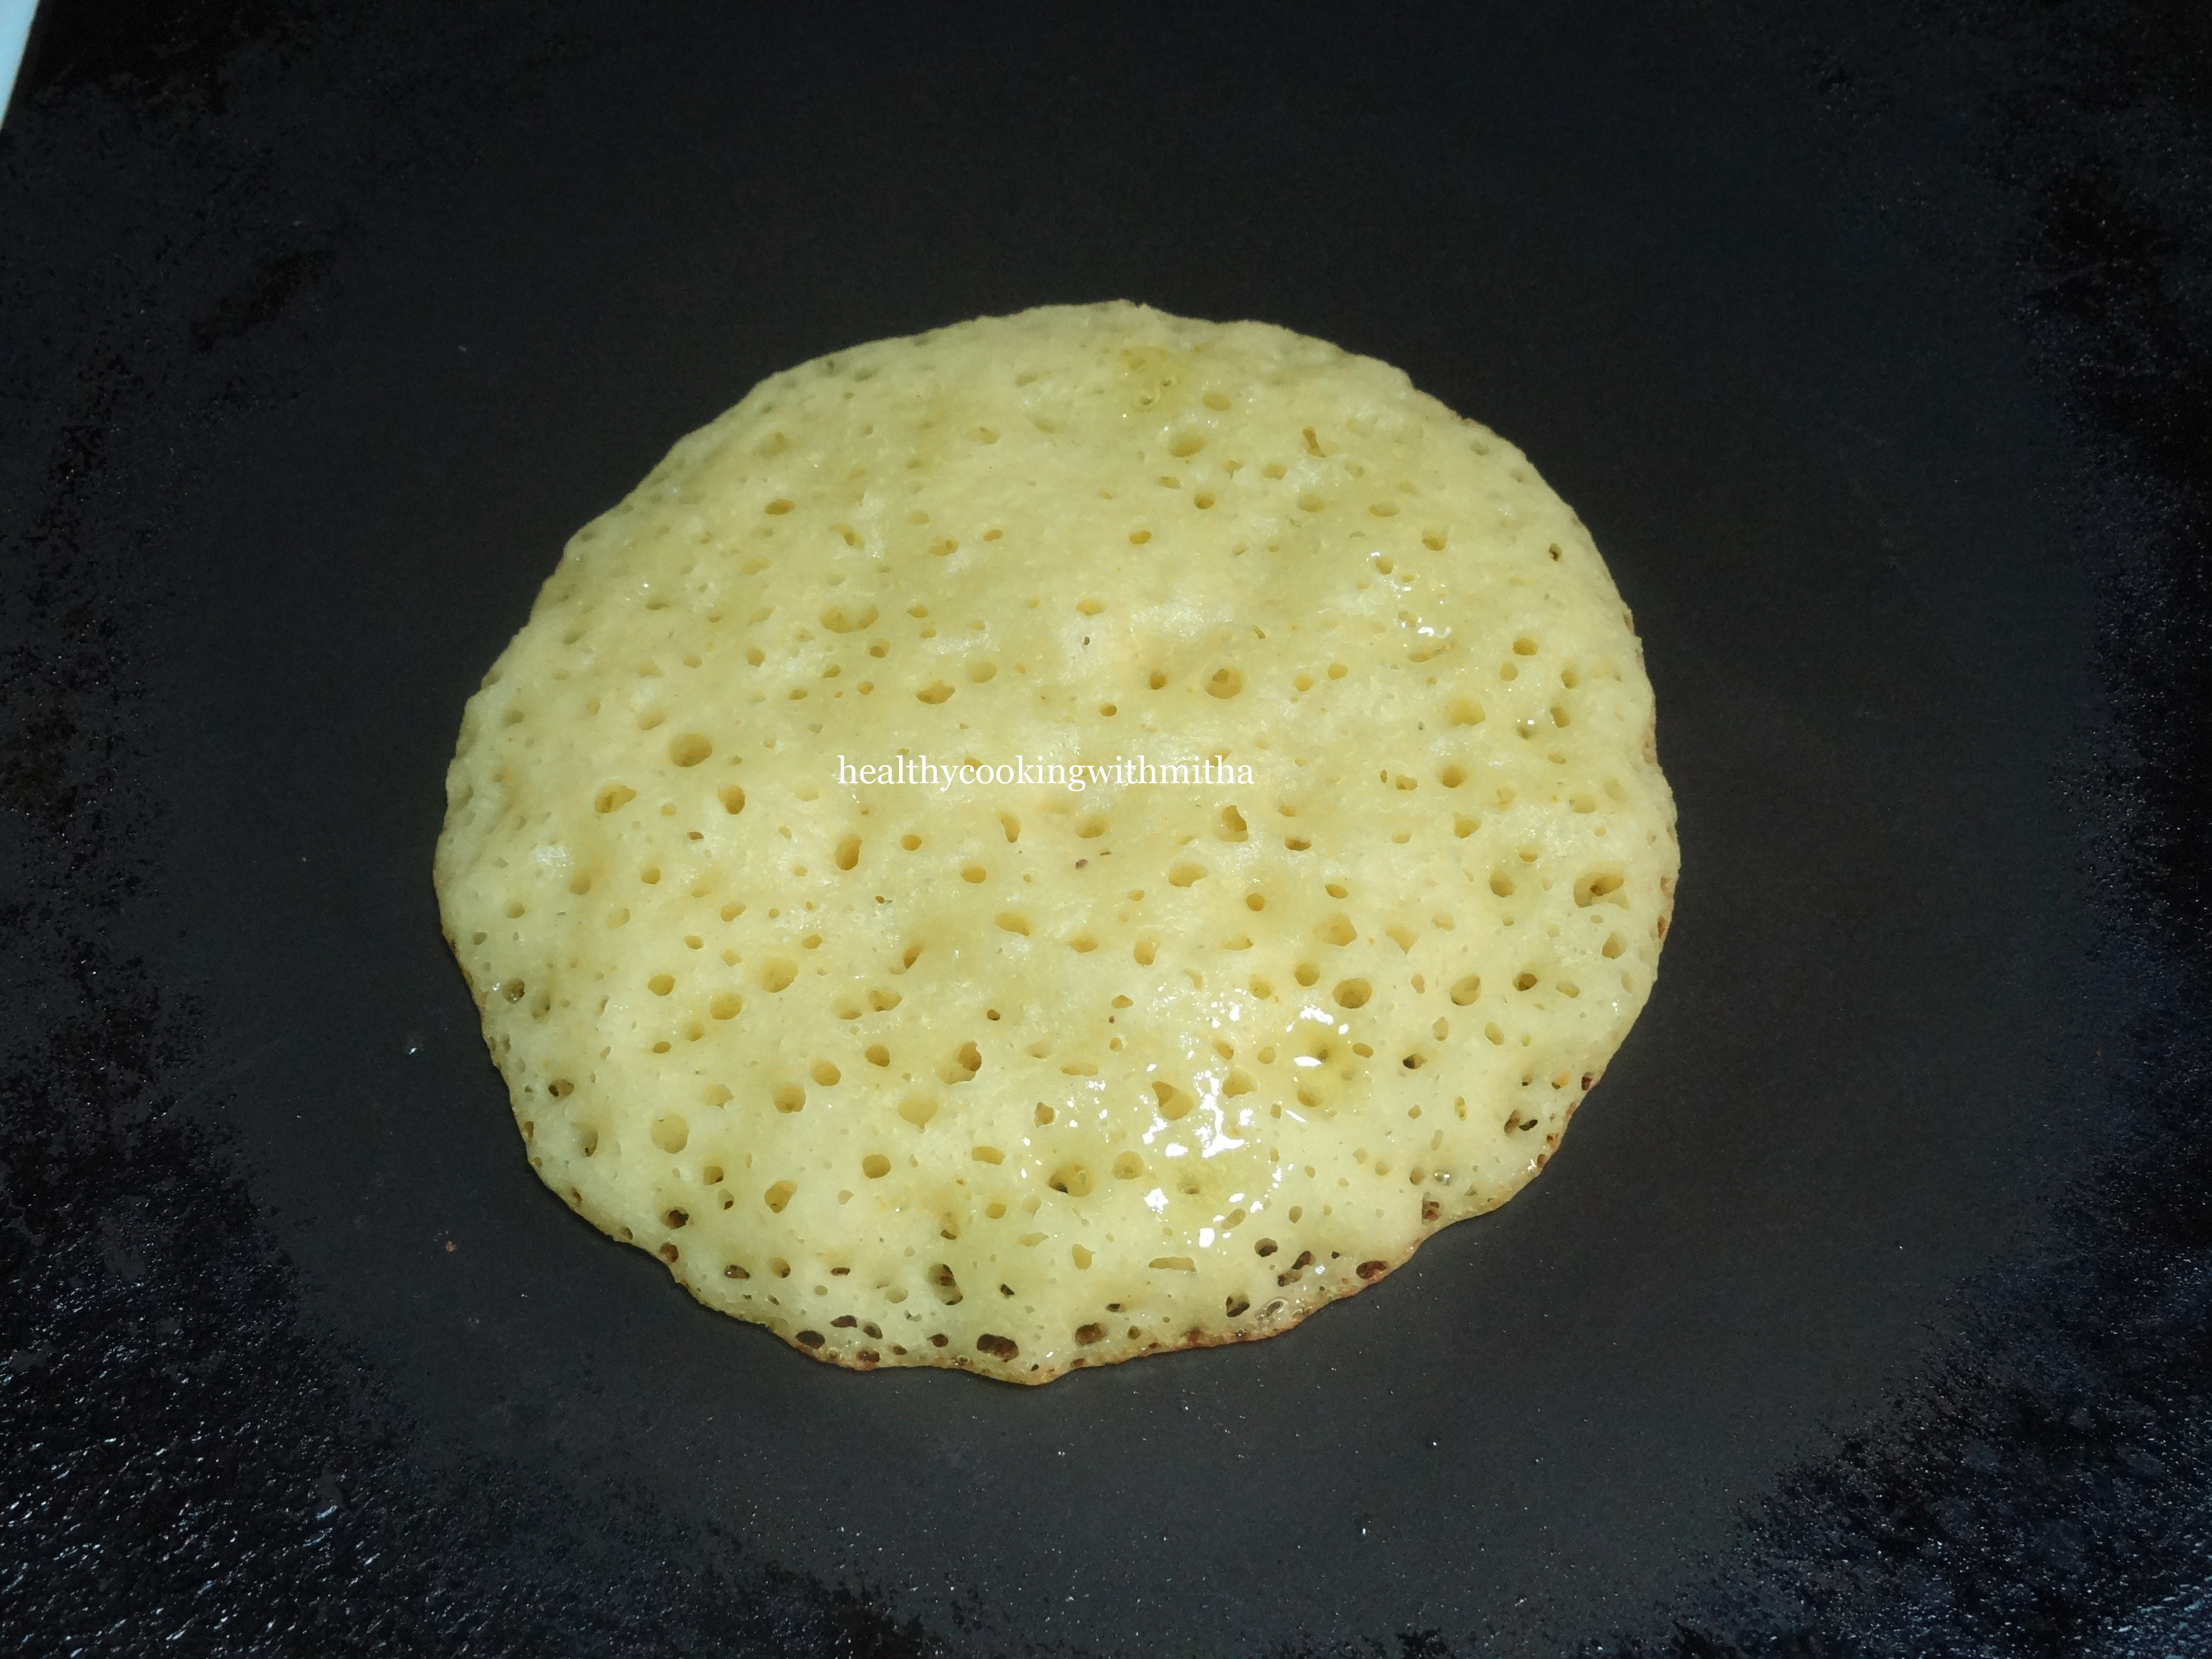
6. When the surface looks almost cooked, drizzle oil or ghee over the dosa. Flip and cook for a minute or so.


7. Serve hot with a chutney of your choice.
Notes:
* Cumin seeds are the highlight of this dosa. Don’t skip it. It gives a wonderful aroma and flavour to this dosa.
* Keep the batter consistency thick (like regular dosa batter) and slightly coarse for authentic texture of the dosa.
* Also cook both sides crisp for best taste.
* I serve this dosa with simple coconut chutney. Just grind coconut gratings with ginger, green chillies and salt with little water to a smooth paste. I don’t season this chutney. You can also season in coconut oil with mustard seeds, hing and curry leaves.