As a kid, I used to wait for Amma to make these tomato omelettes for me from leftover dosa batter. I loved a lot of tomatoes in them and Amma used to purposely give the omelettes which had the most tomato pieces to me and take the less ones for herself. Such is a mother’s selfless love and I understand it now being a mother myself.
These can be made even without the leftover batter by just adding the flours and mixing. I realised it during my pregnancy when I was craving for them a lot and did not have leftover batter. Quickly mixed this batter and there came out these beautiful tomato omelettes with Amma’s love in every bite.
Dedicate this post to you Amma. Love you very much 😍😘
RECIPE:
Ingredients:
2 Cups Besan/ chikpea flour
1 Cup Rava/ wheat semolina
1/2 Cup Rice flour
2 large Tomatoes
1 medium sized Onion
3 green chillies
2 Tbsp Coriander leaves
Salt to taste
Step by step recipe:
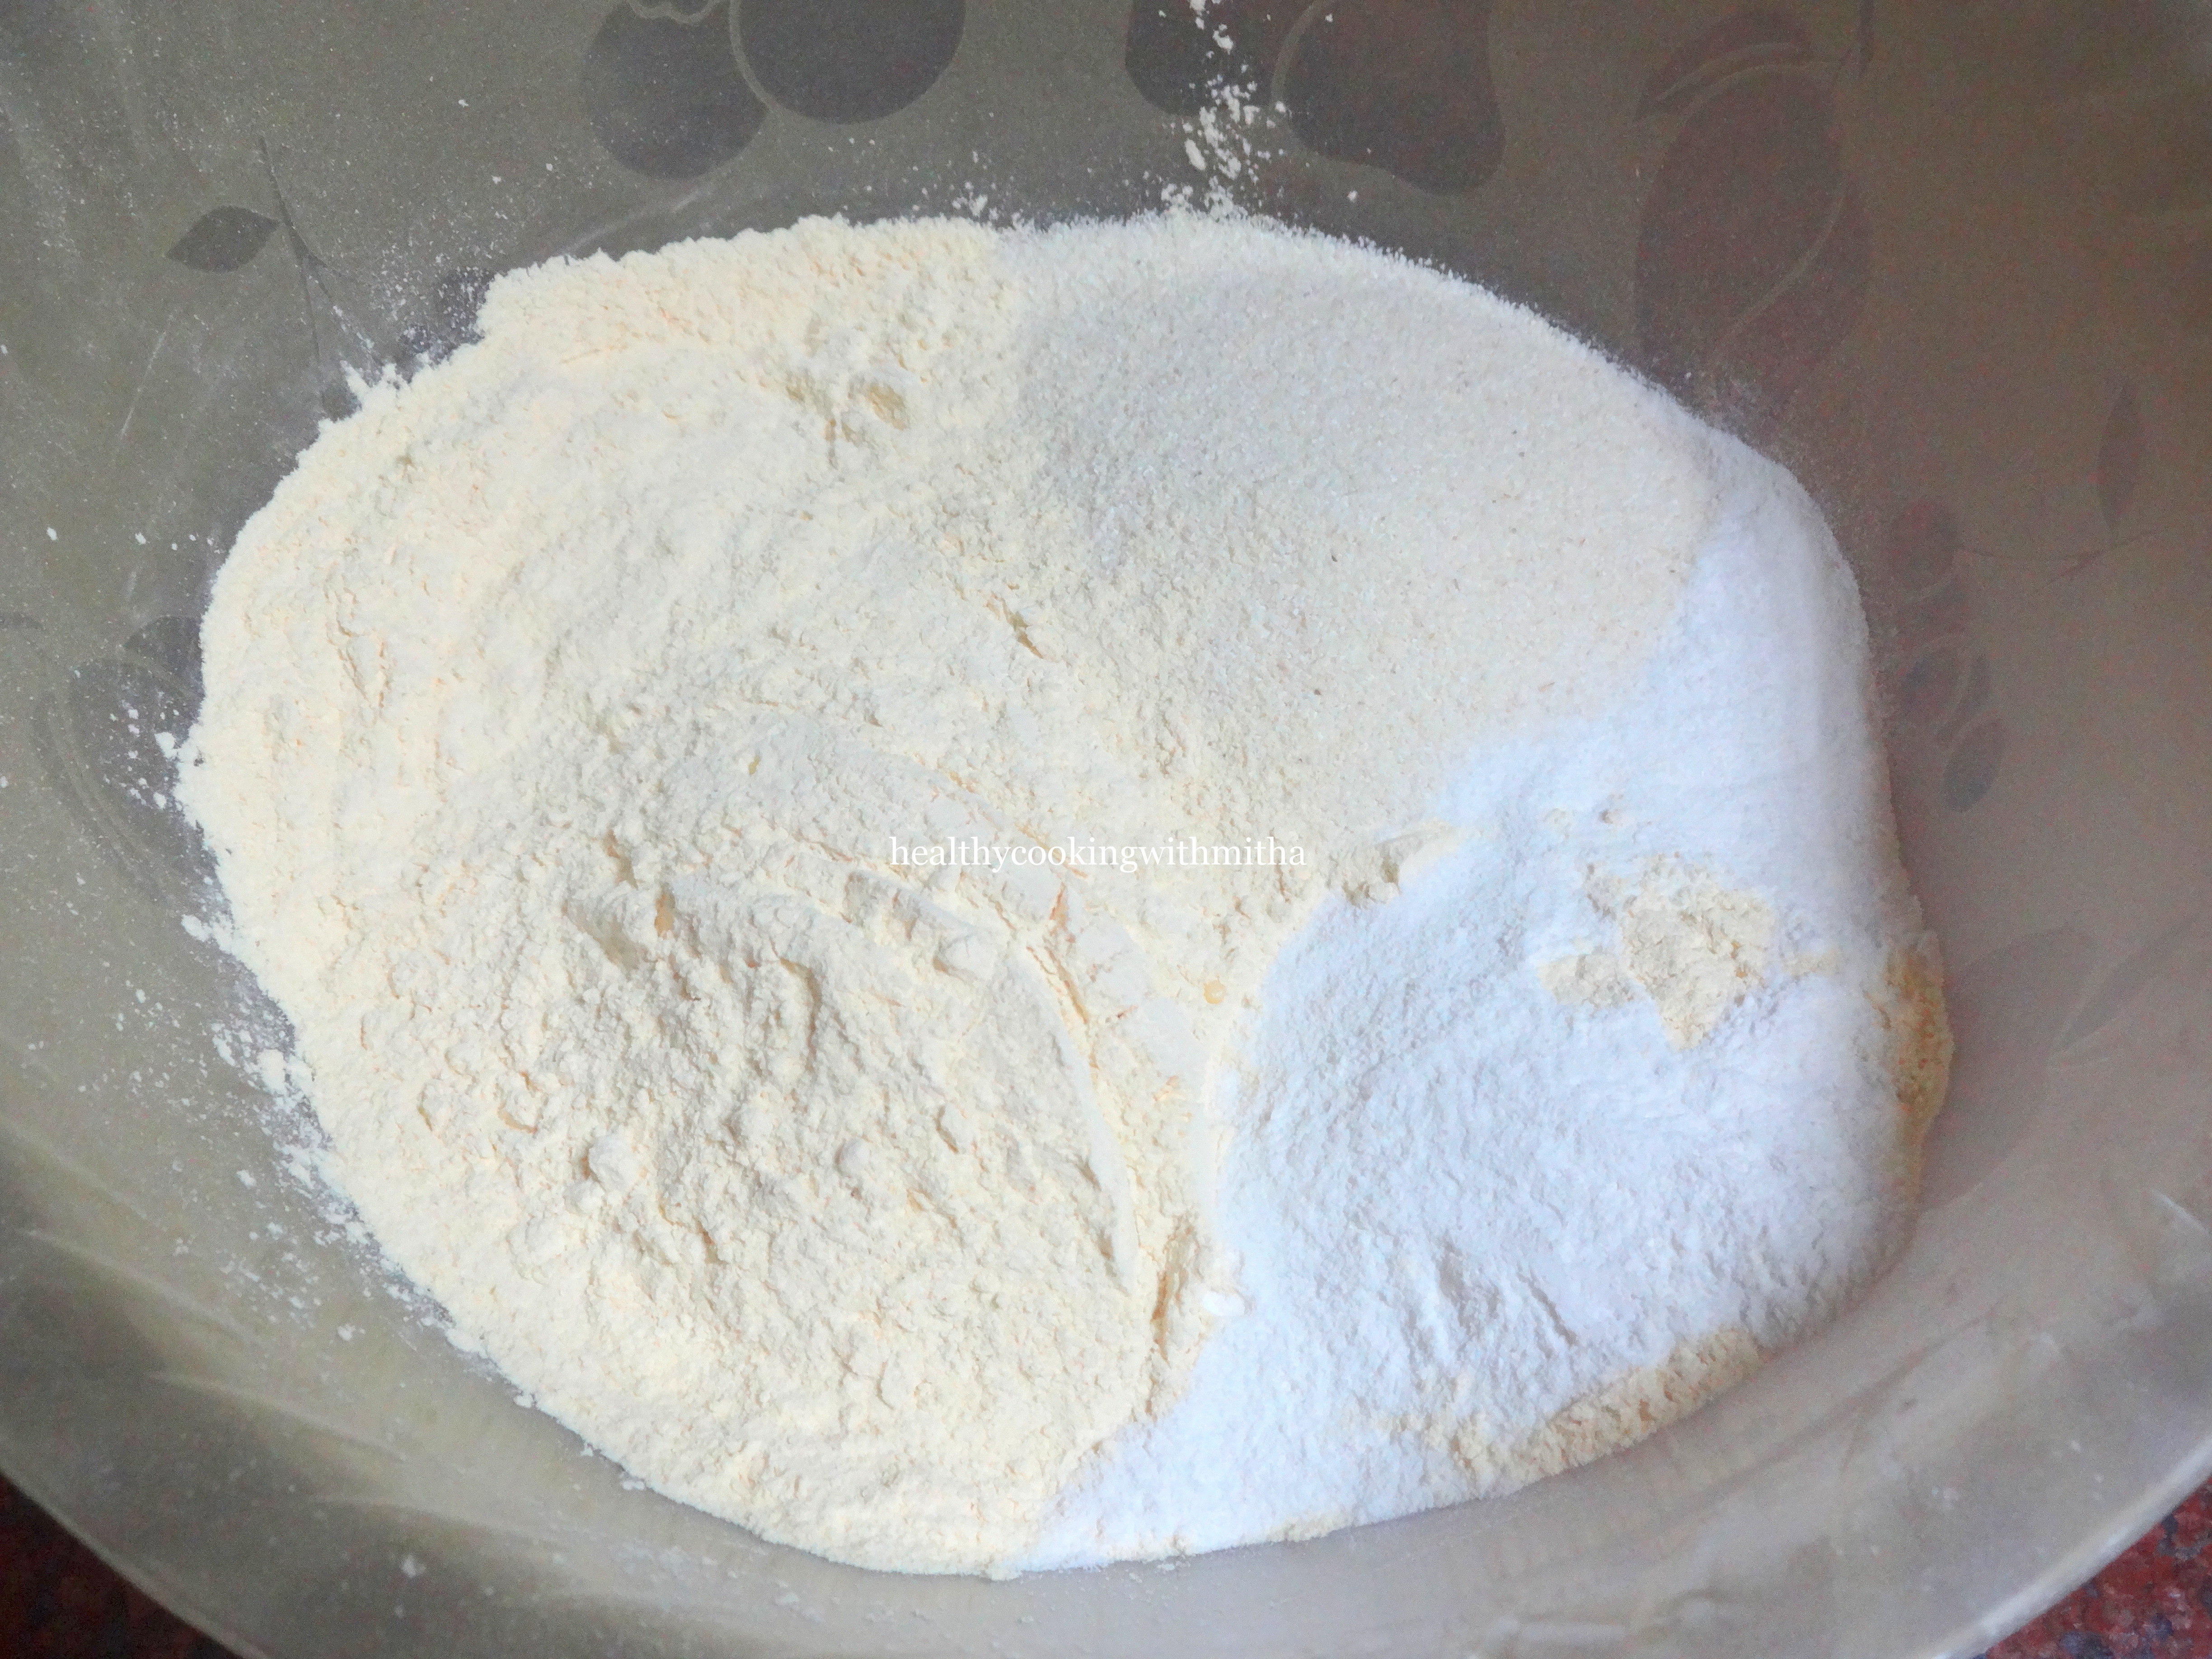
1. Take the besan, rava and rice flour in a large mixing bowl. Add salt too.
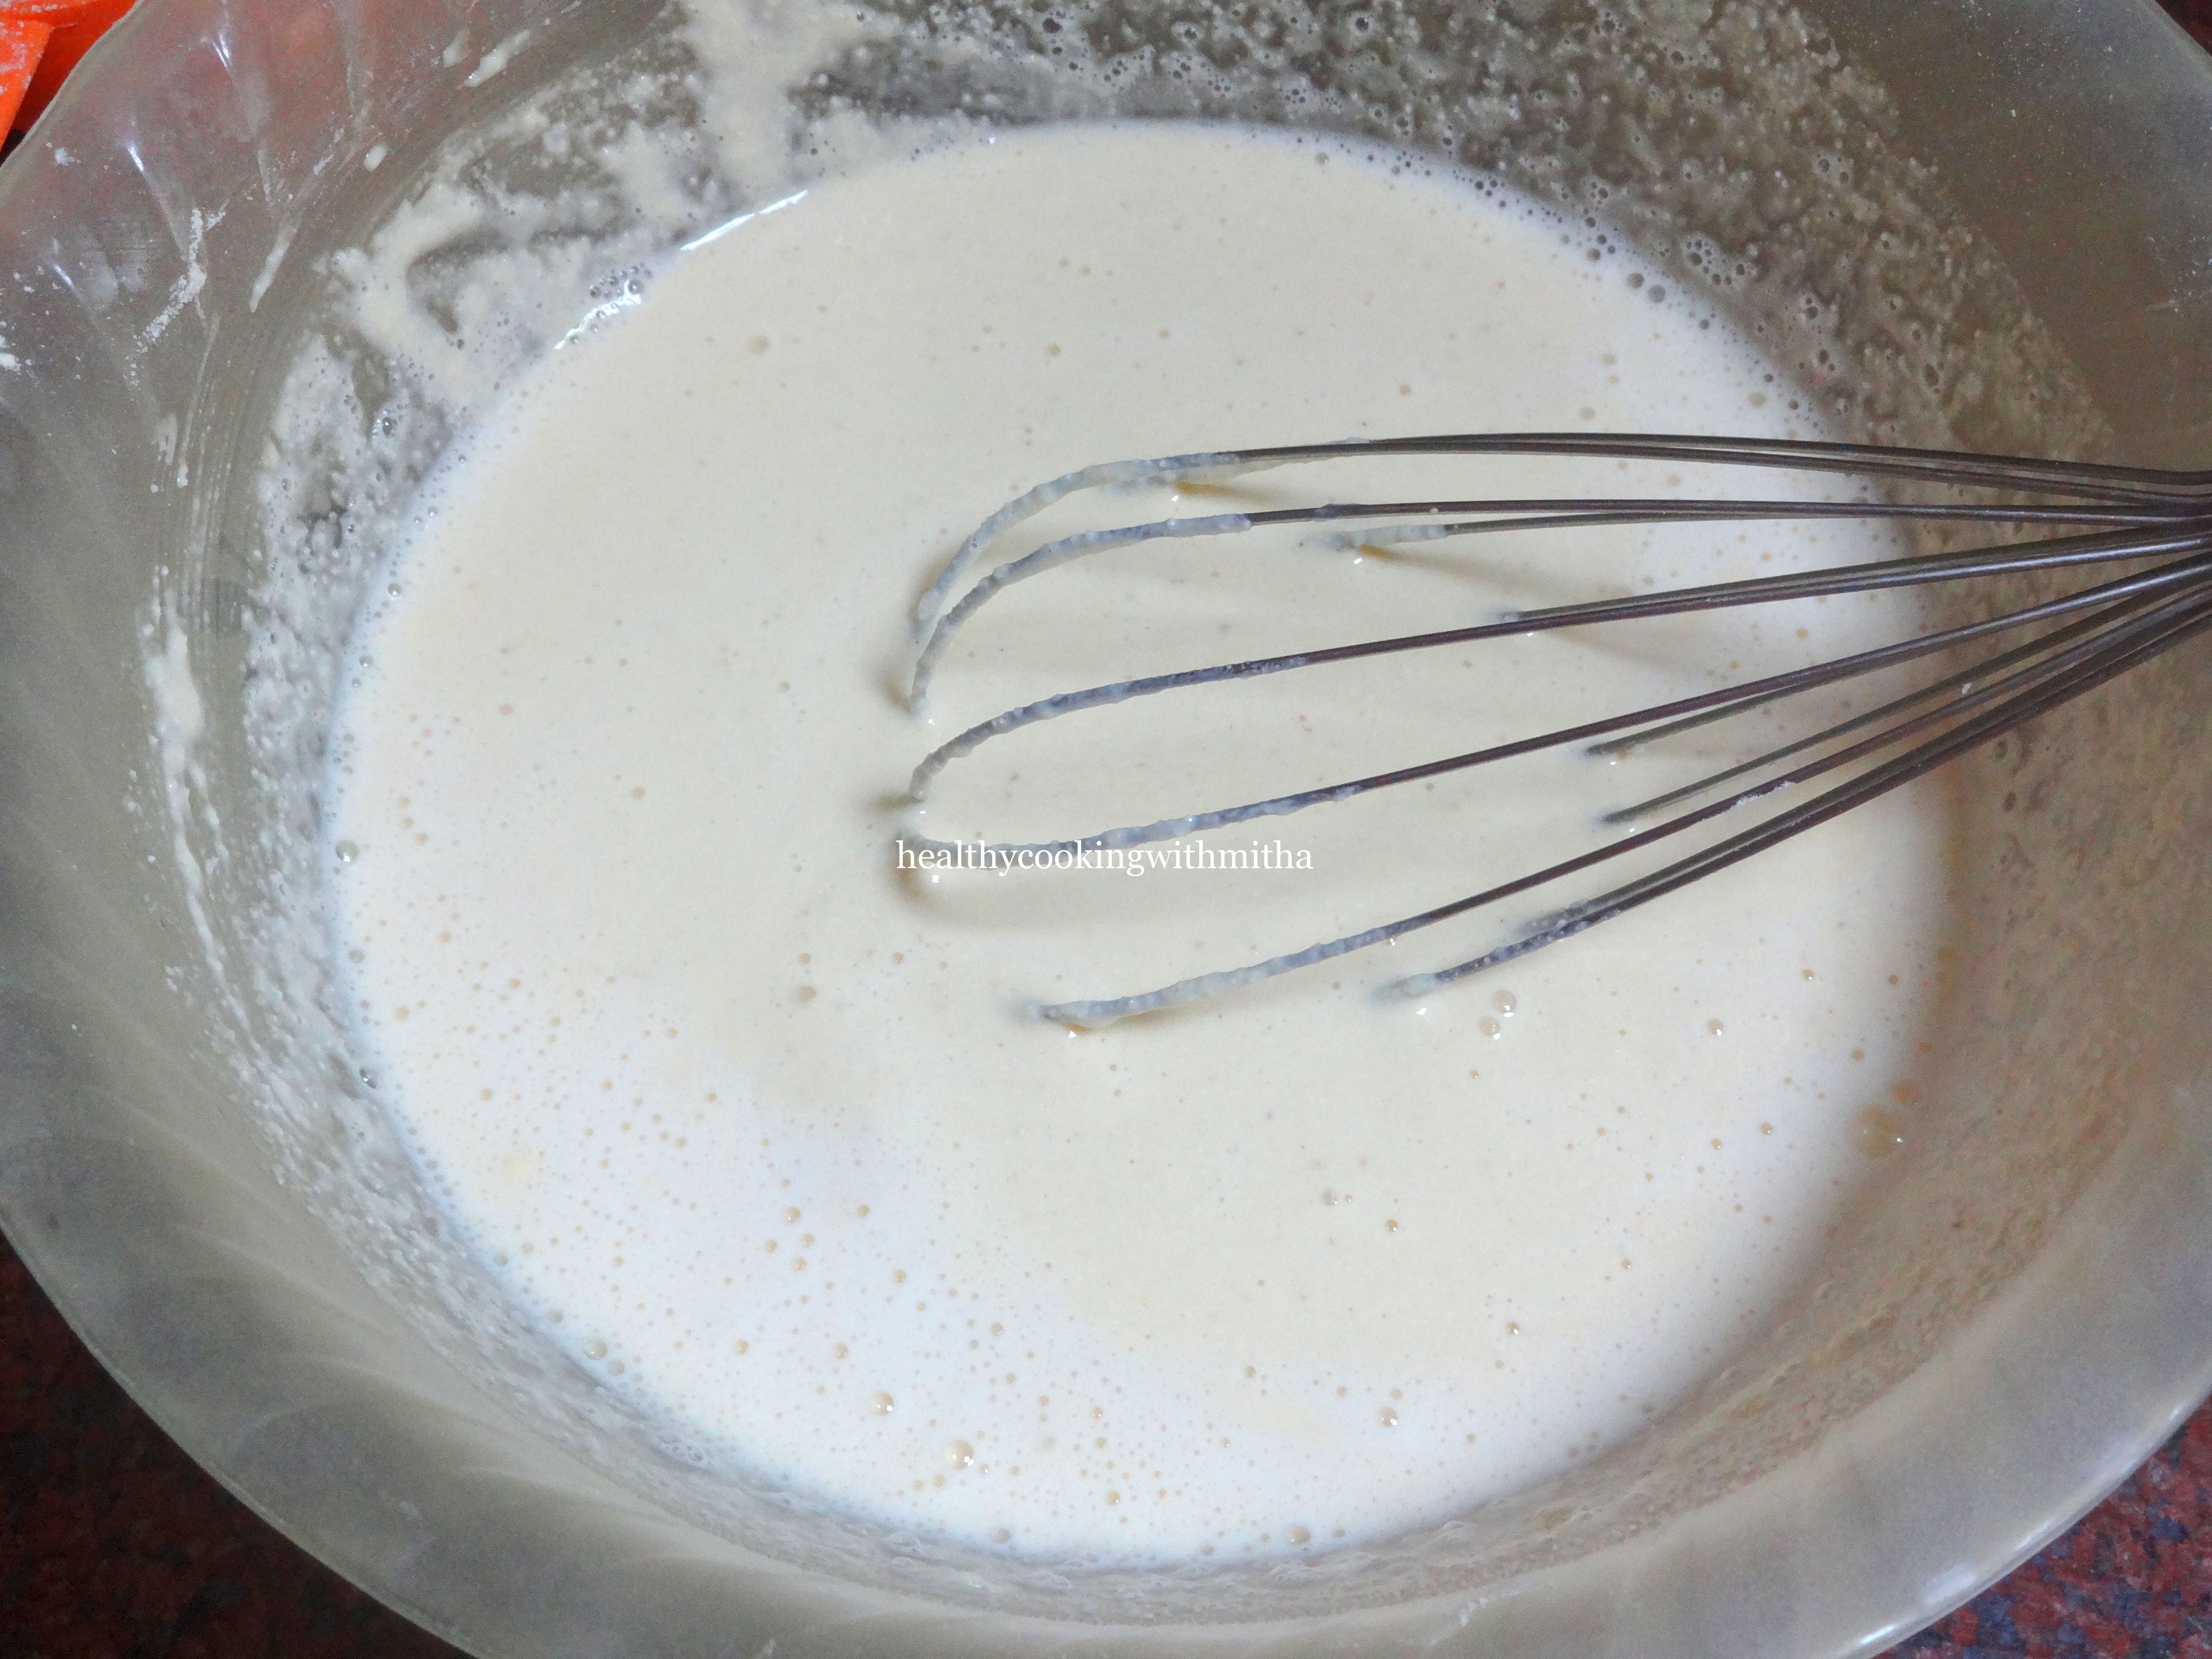
2. Now slowly add little by little water and whisk till it’s free of lumps and you get a smooth batter of slightly thick consistency.
Note: If you have leftover dosa batter. Add that to the dry flours and then add water as needed.
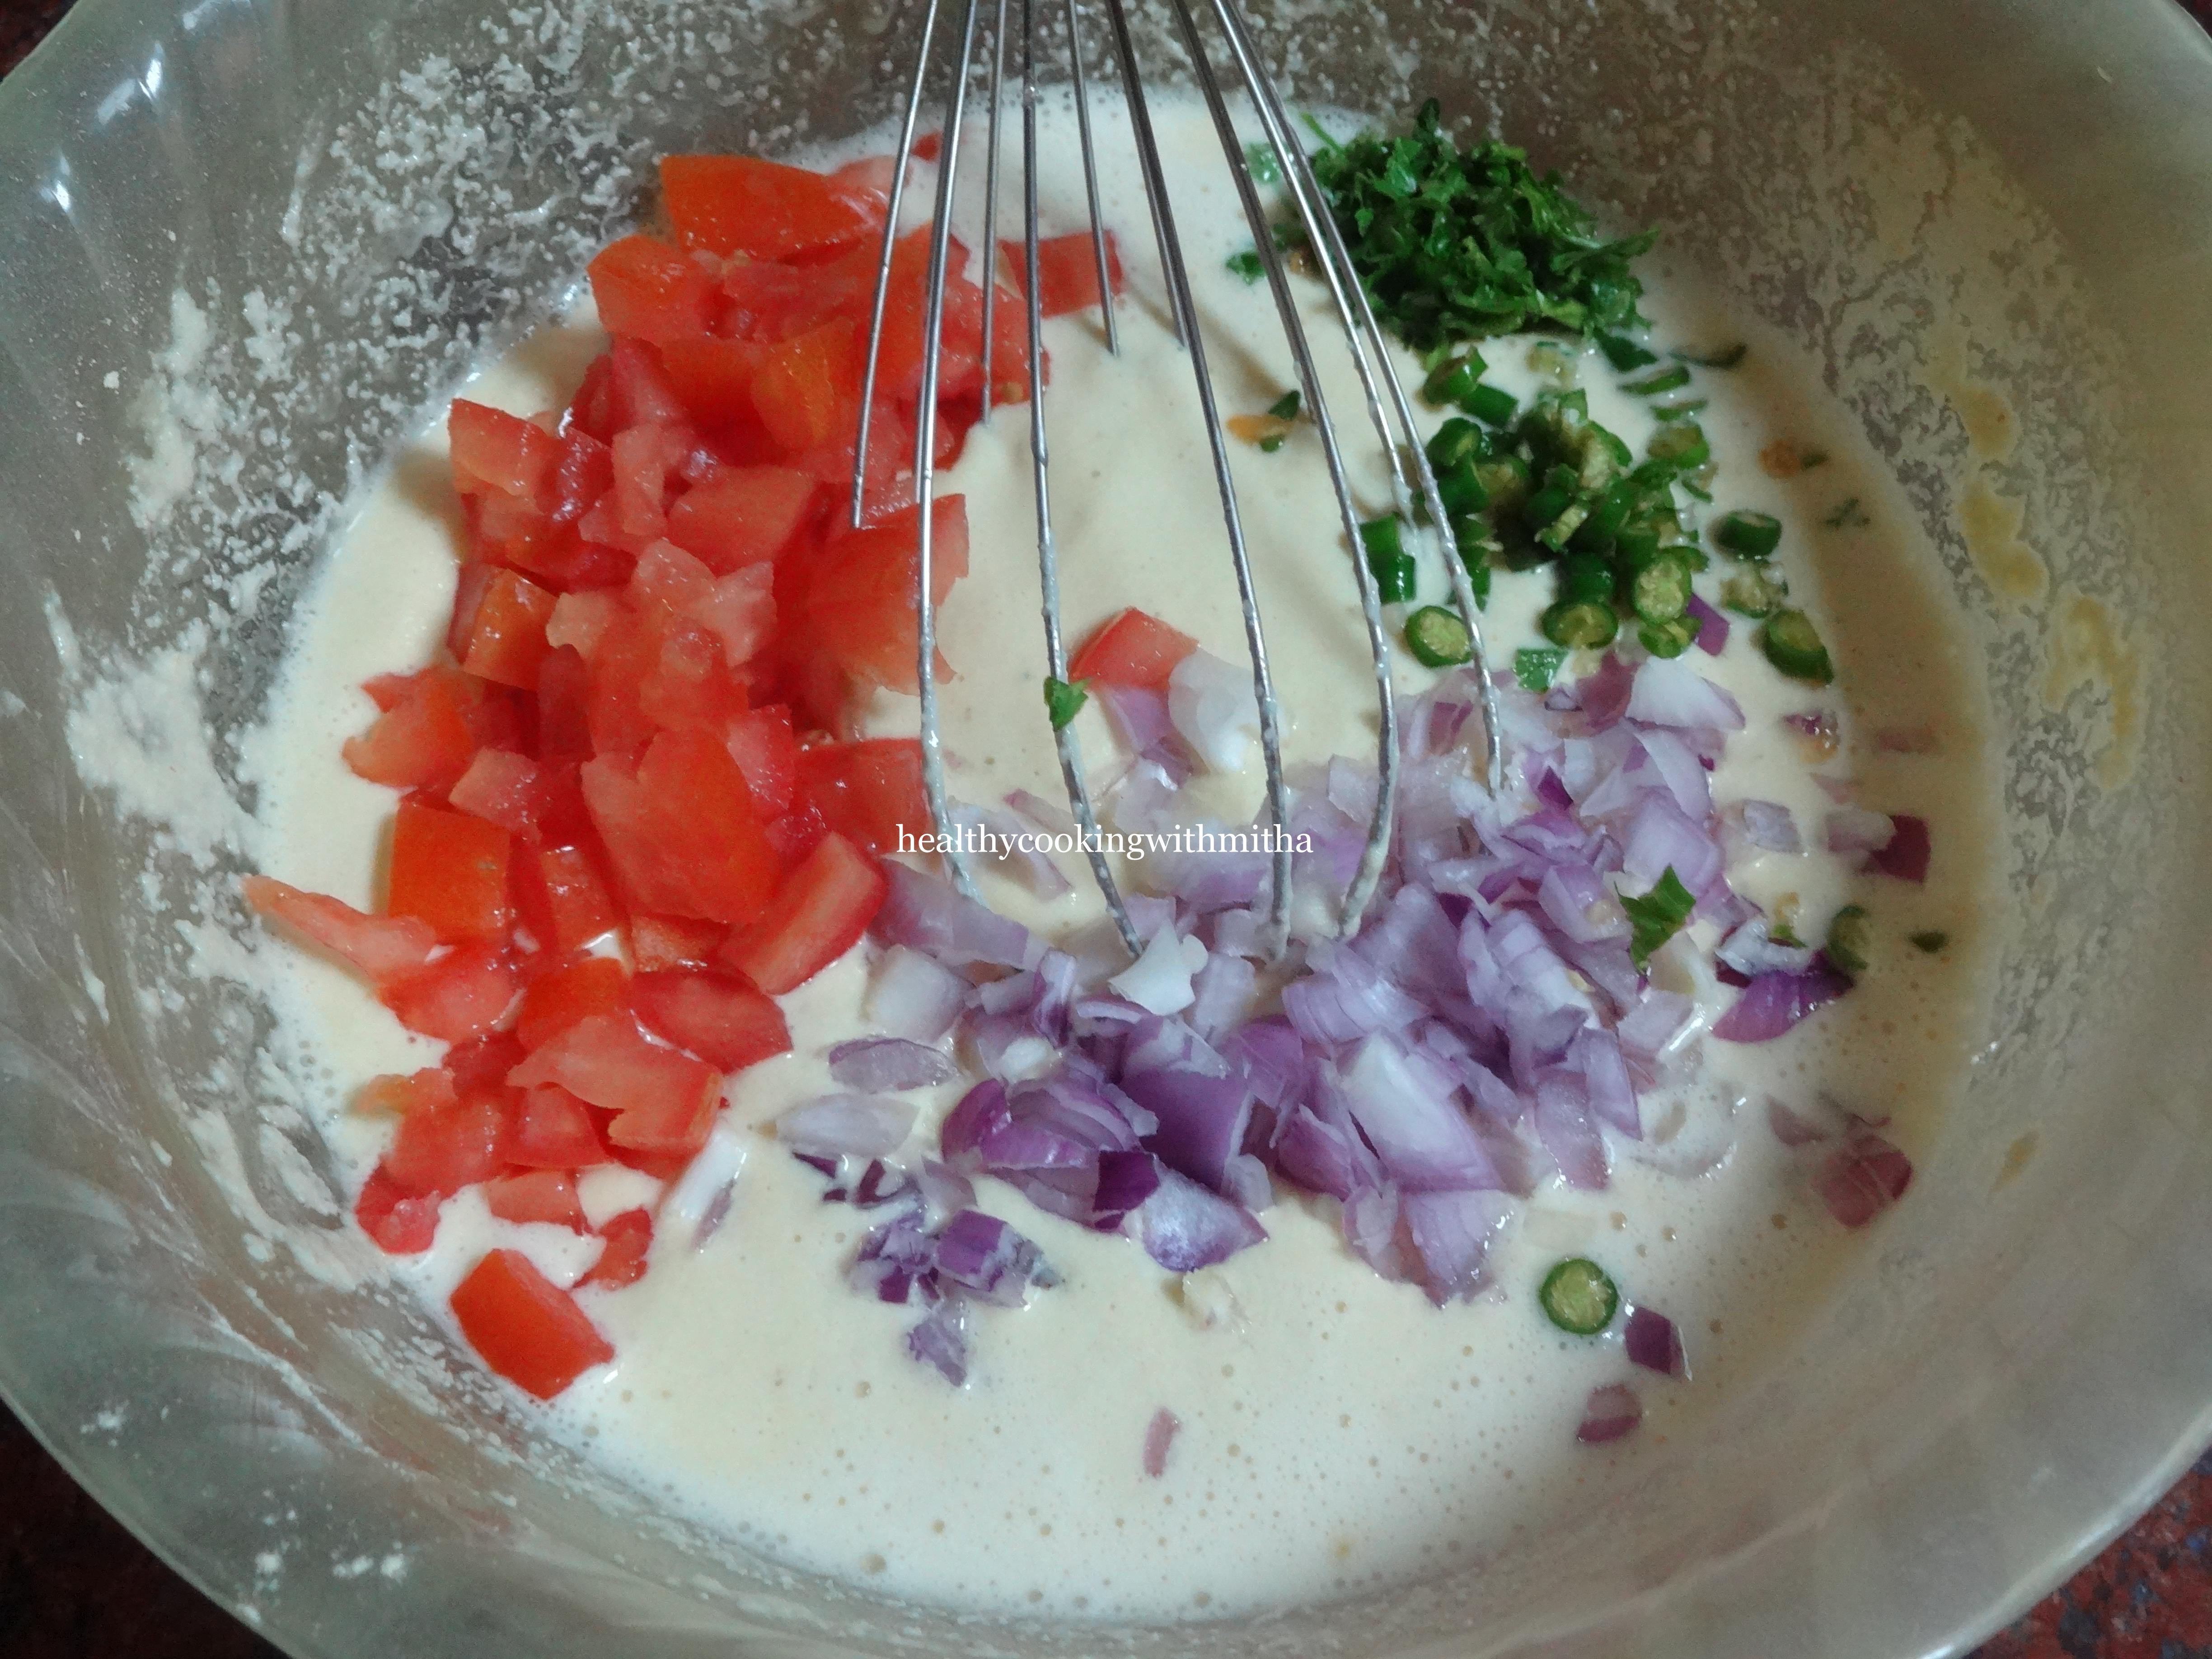
3. Add chopped tomatoes, onions, green chillies and Coriander leaves.
4. Mix well.
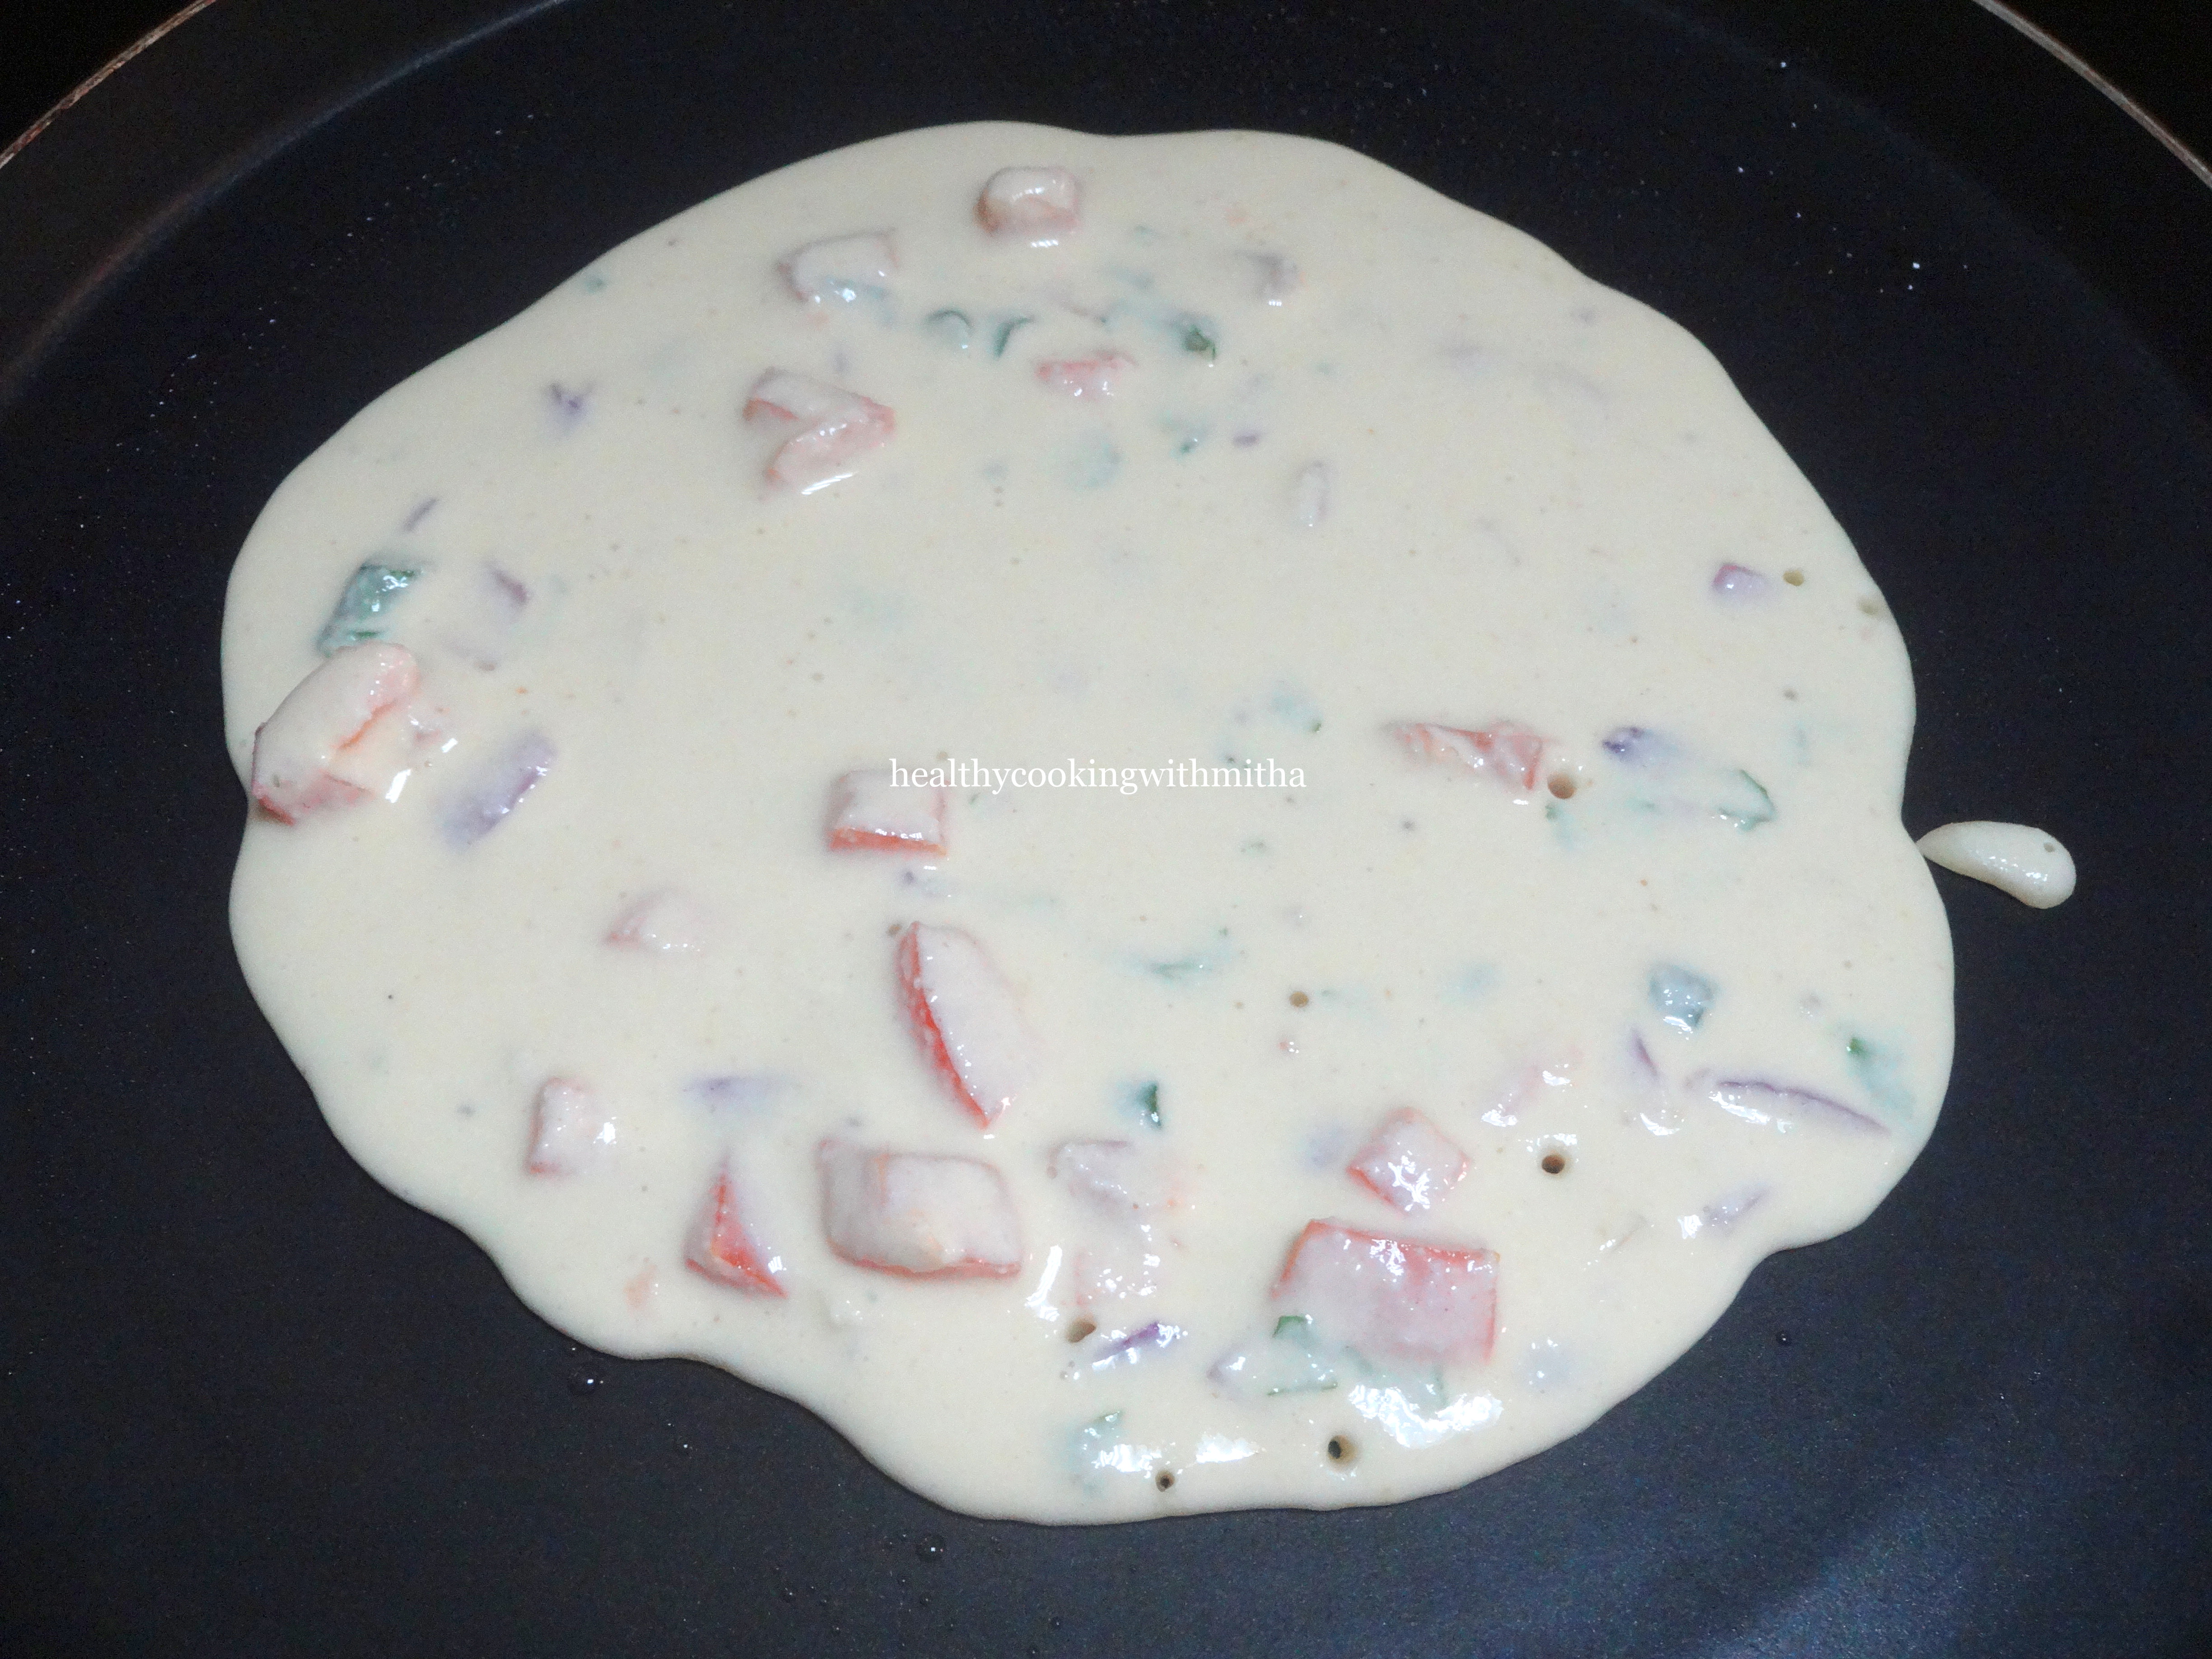
5. Heat a dosa pan and pour a ladle of this batter onto it. Cook on medium flame.
6. When the surface cooks, add oil or ghee and flip to cook for a minute.
7. Remove and repeat the same with the rest of the batter. Enjoy them hot with butter or chutney.
Notes:
* If using leftover dosa batter, add at step no 2 along with water to make a smooth batter.
* Do add loads of tomatoes and onions for a wonderful bite to these Omelette.
* You could also prepare this batter and refrigerate the previous night for breakfast the next day.
Click on the image to save the recipe on Pinterest
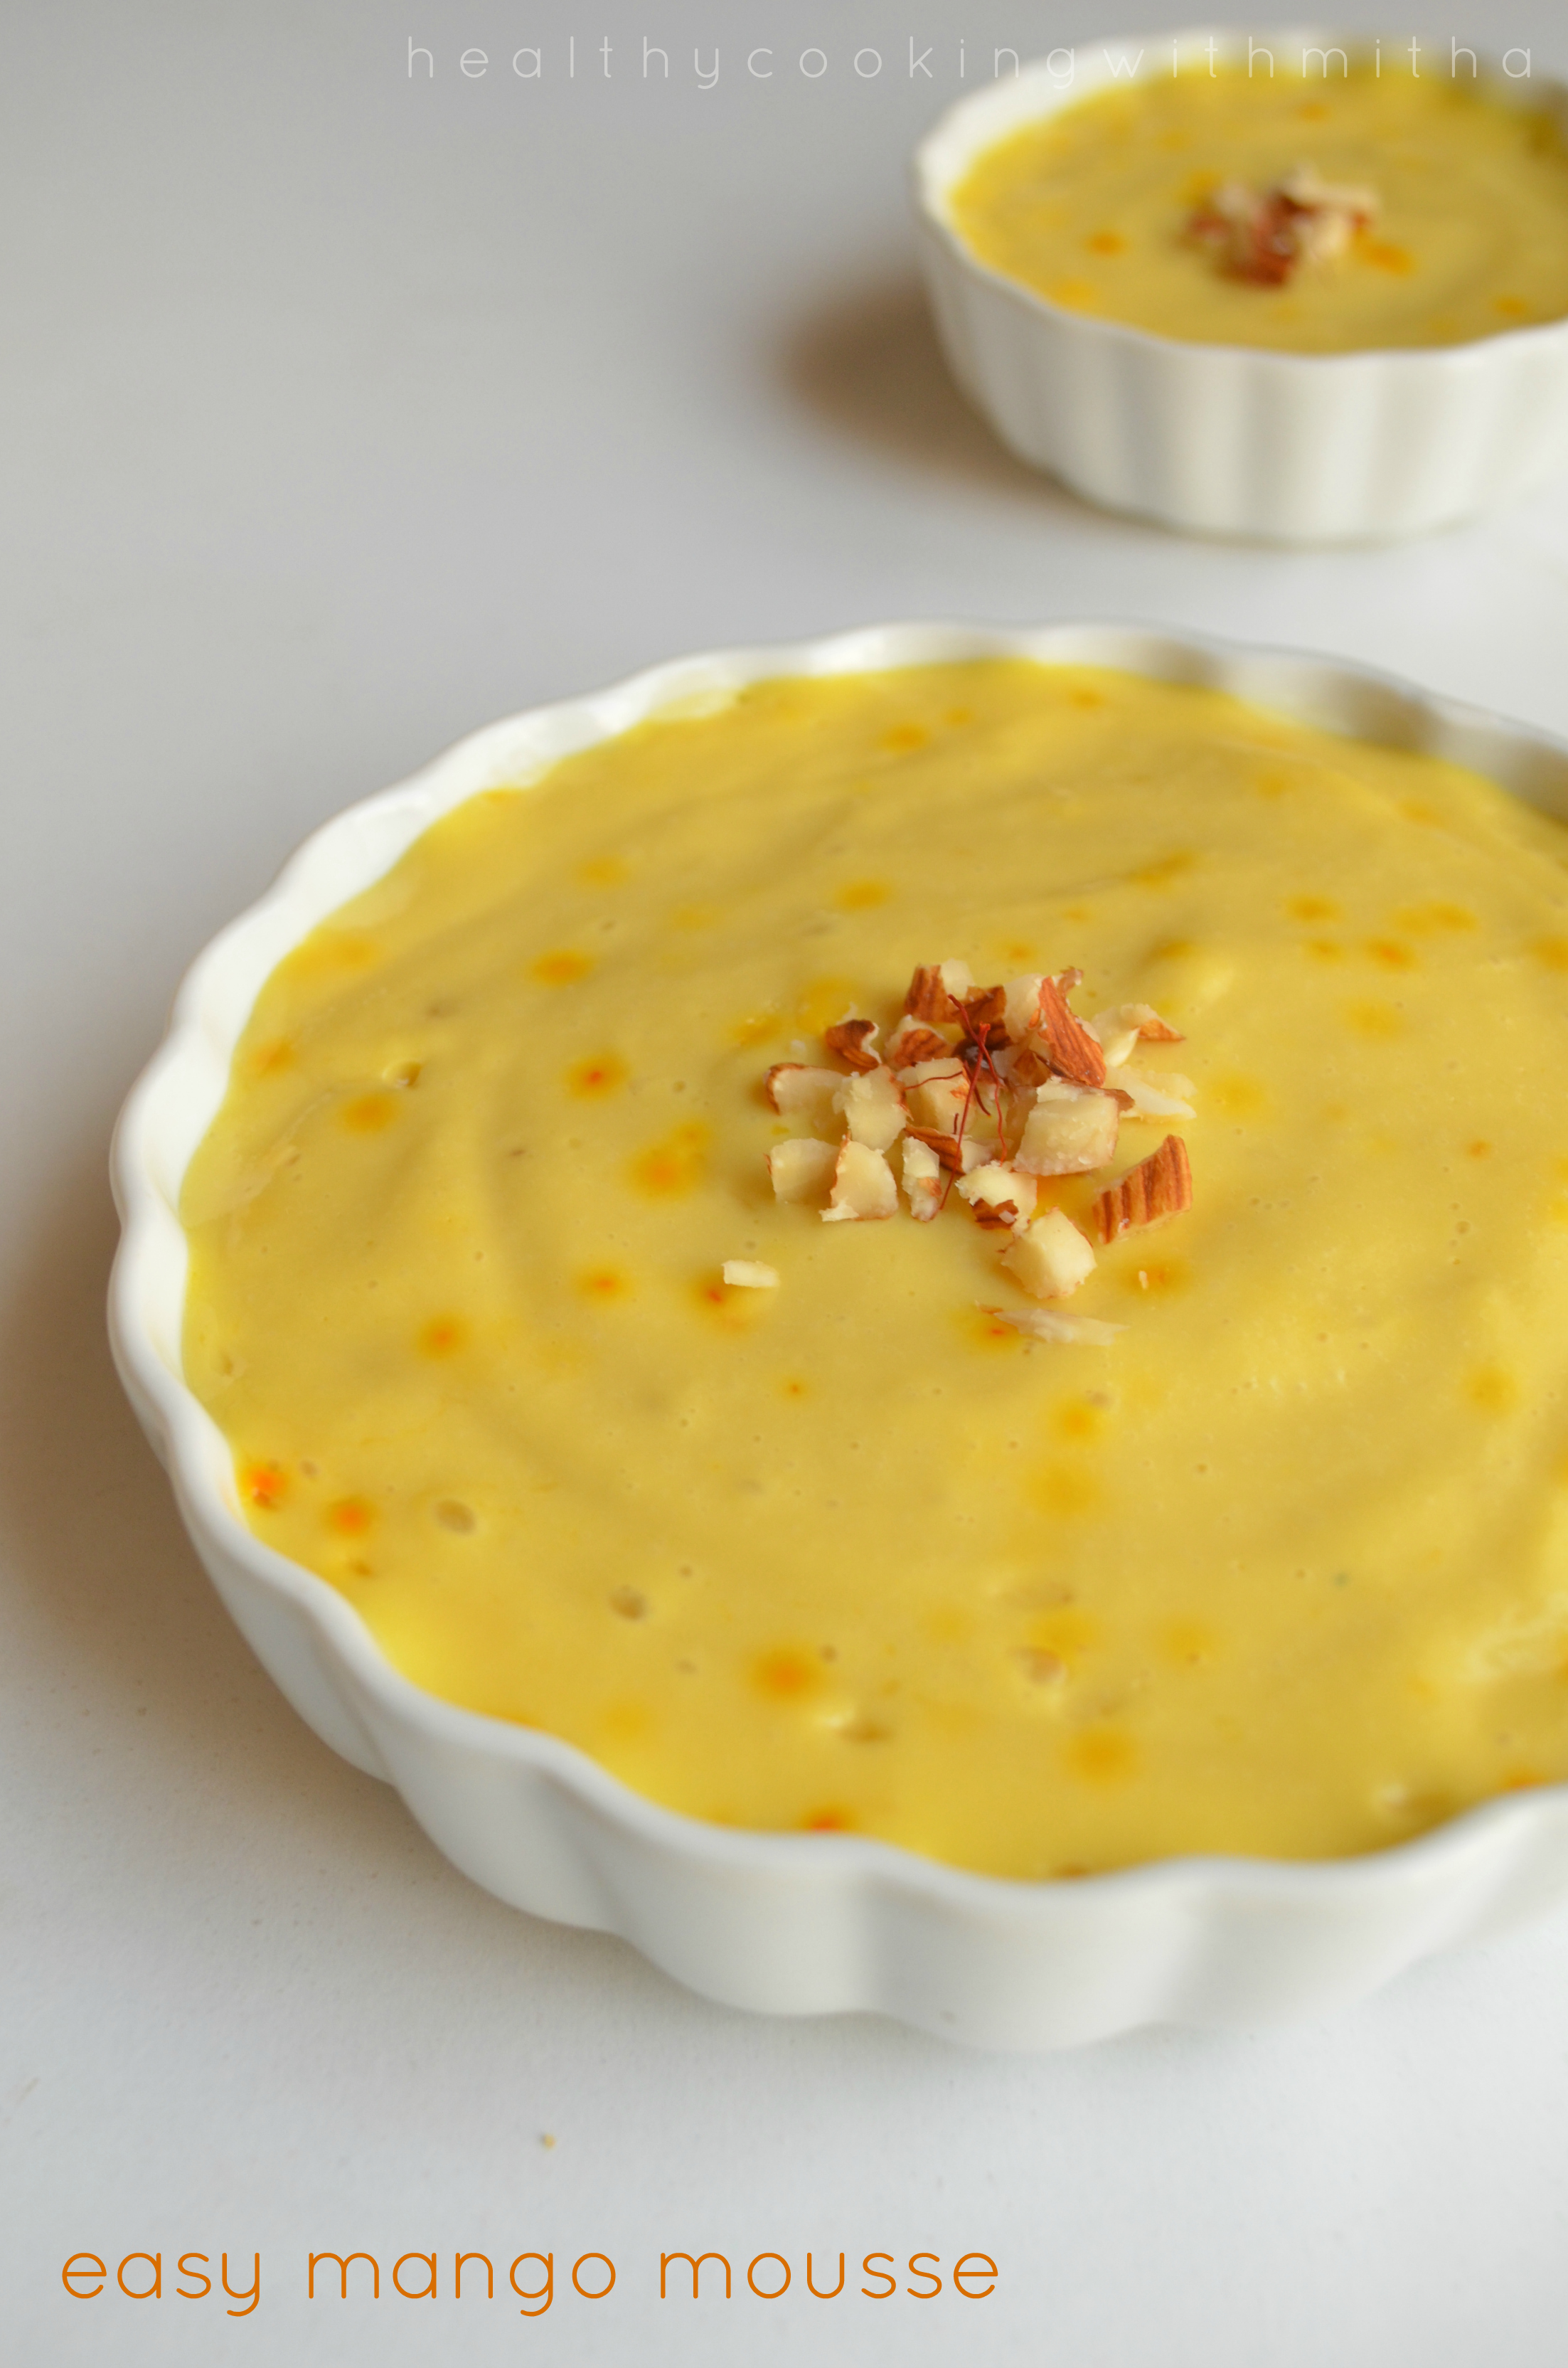
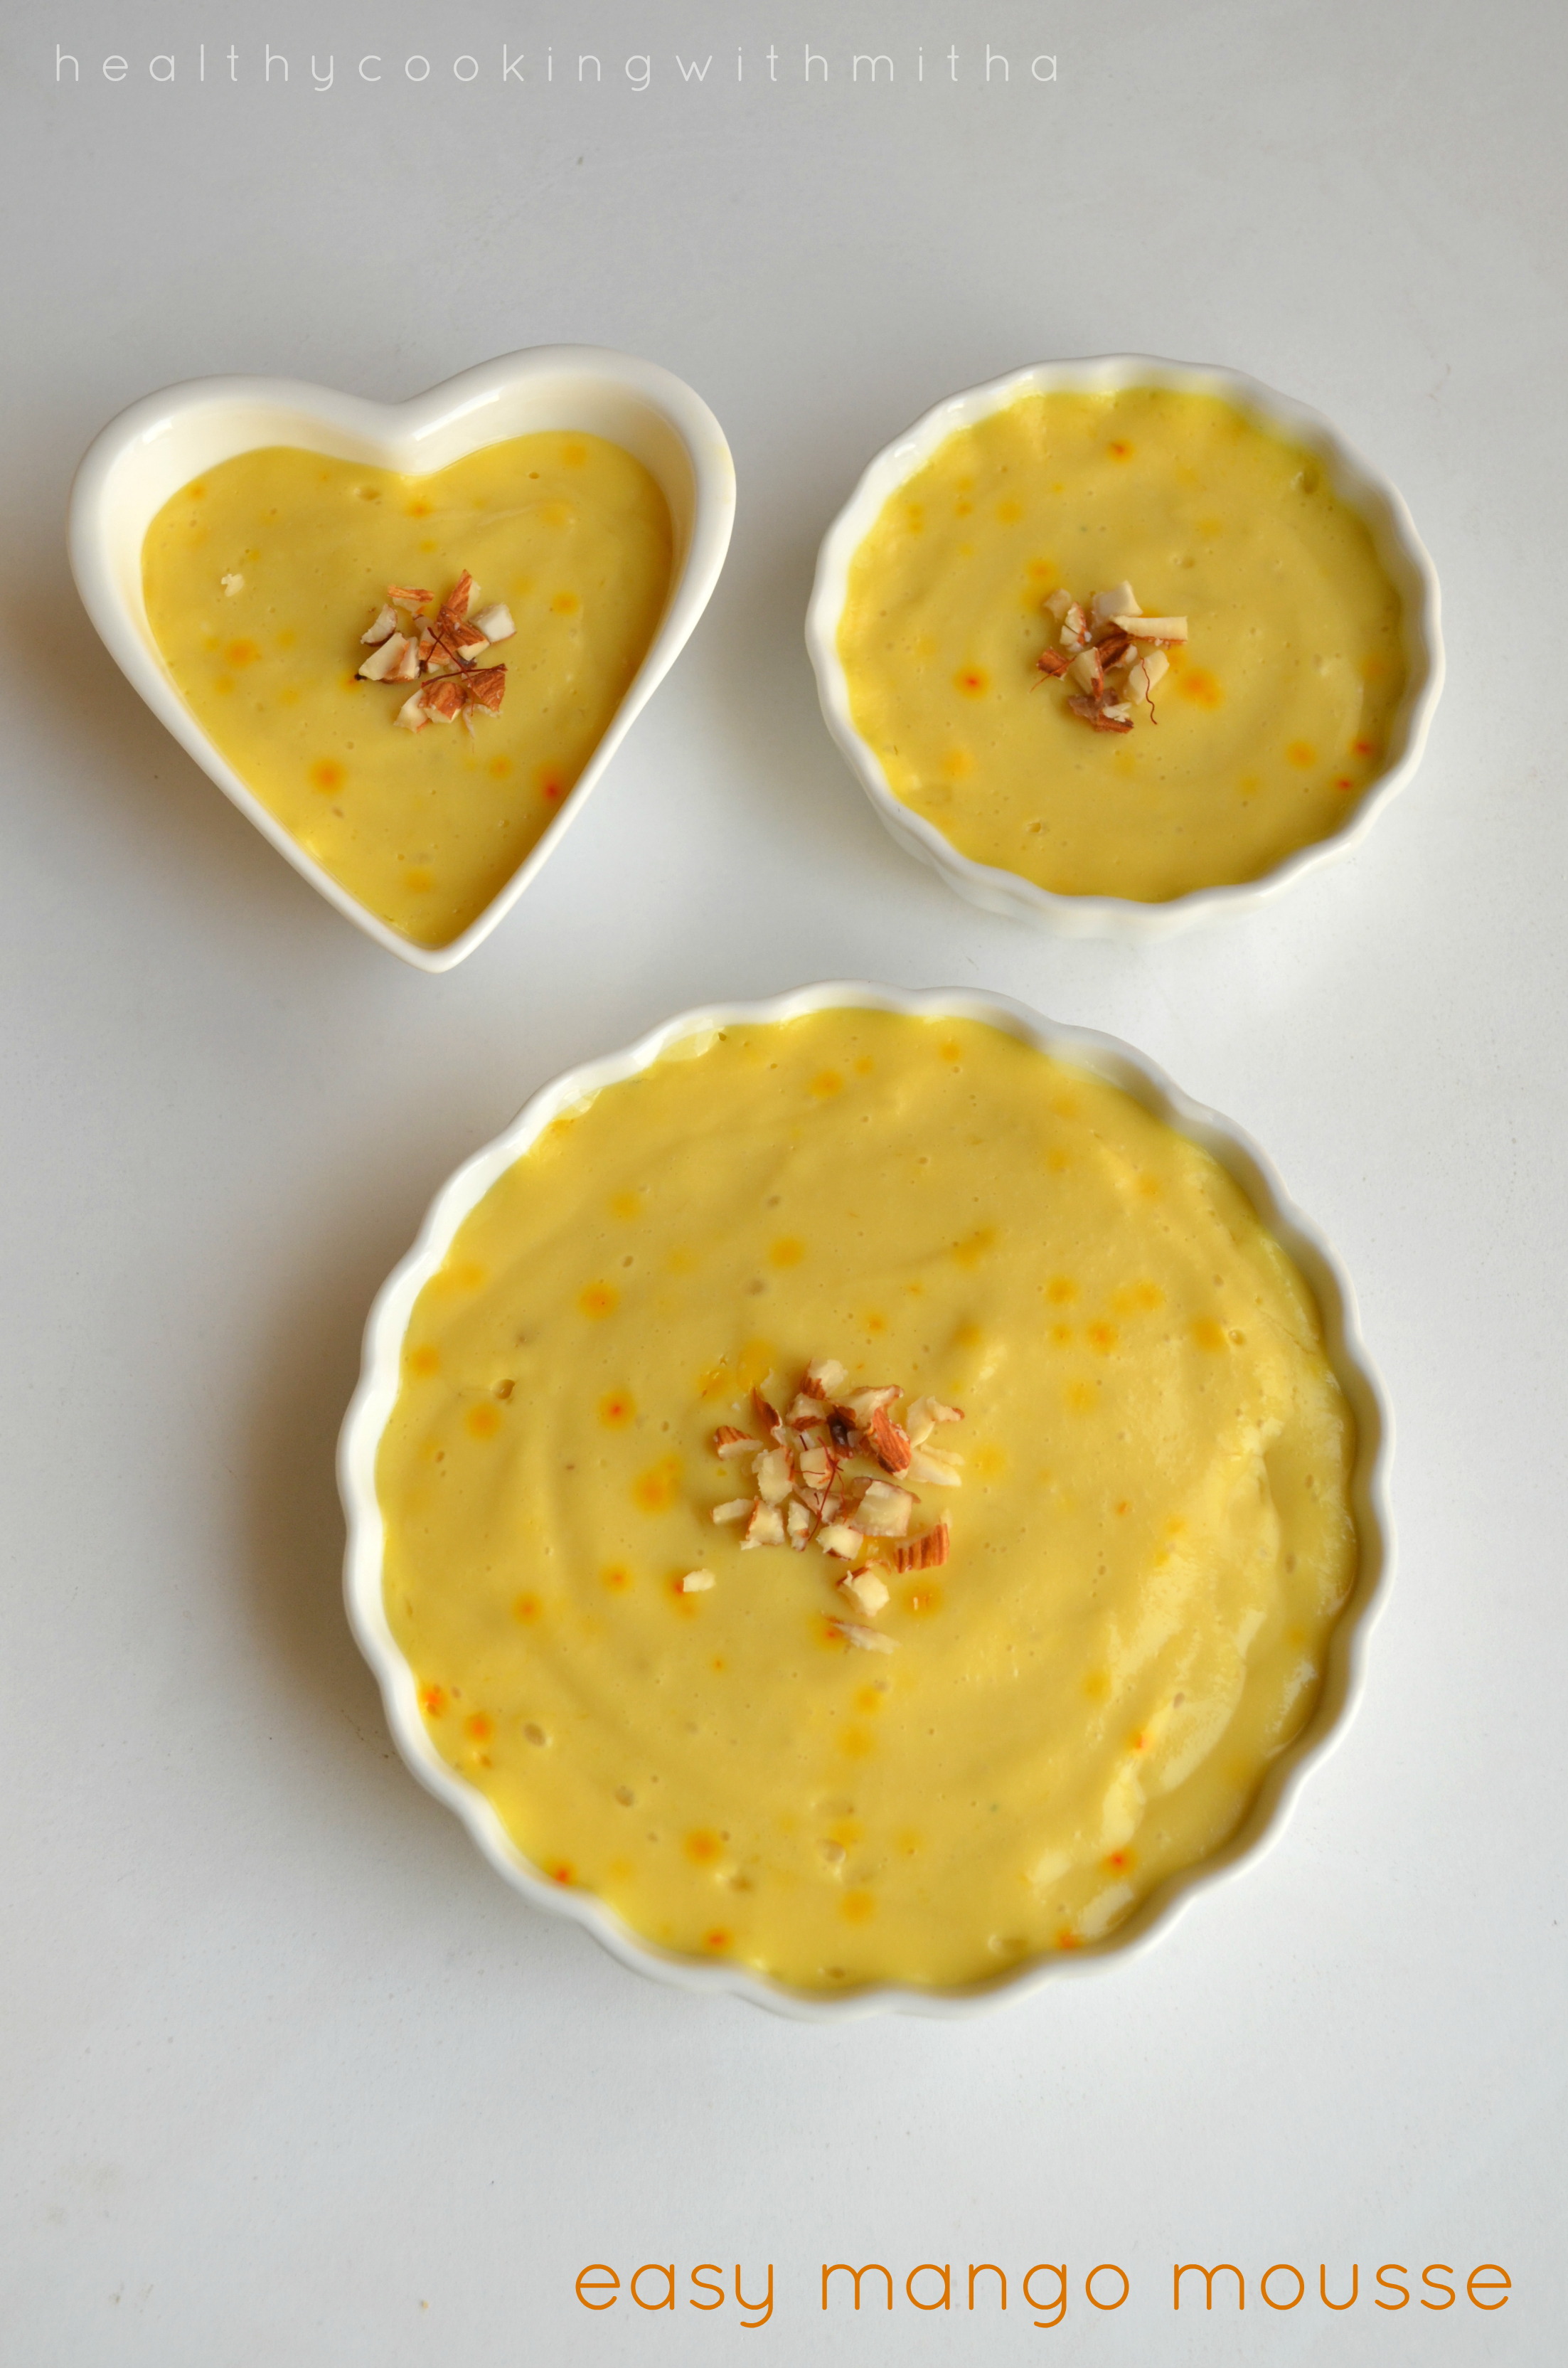
After easy Mango cupcakes, here is another easy mango mousse. I have made it for many parties and everyone have loved it a lot. The easiest dessert ever. Since this is mango season, I thought of sharing this as well. I have adapted this recipe from here.
My kids call it mango ice cream and love it very much.
Click on the image to save the recipe on Pinterest
RECIPE:
Ingredients: {serves 4}
1.25 Cups Mango pulp (fresh or canned)
1 Cup Yogurt/ thick curd
1/2 a tin sweetened condensed milk (around 200 grams)
Saffron strands/ Cardamom powder for flavour (optional)
Step by step recipe:
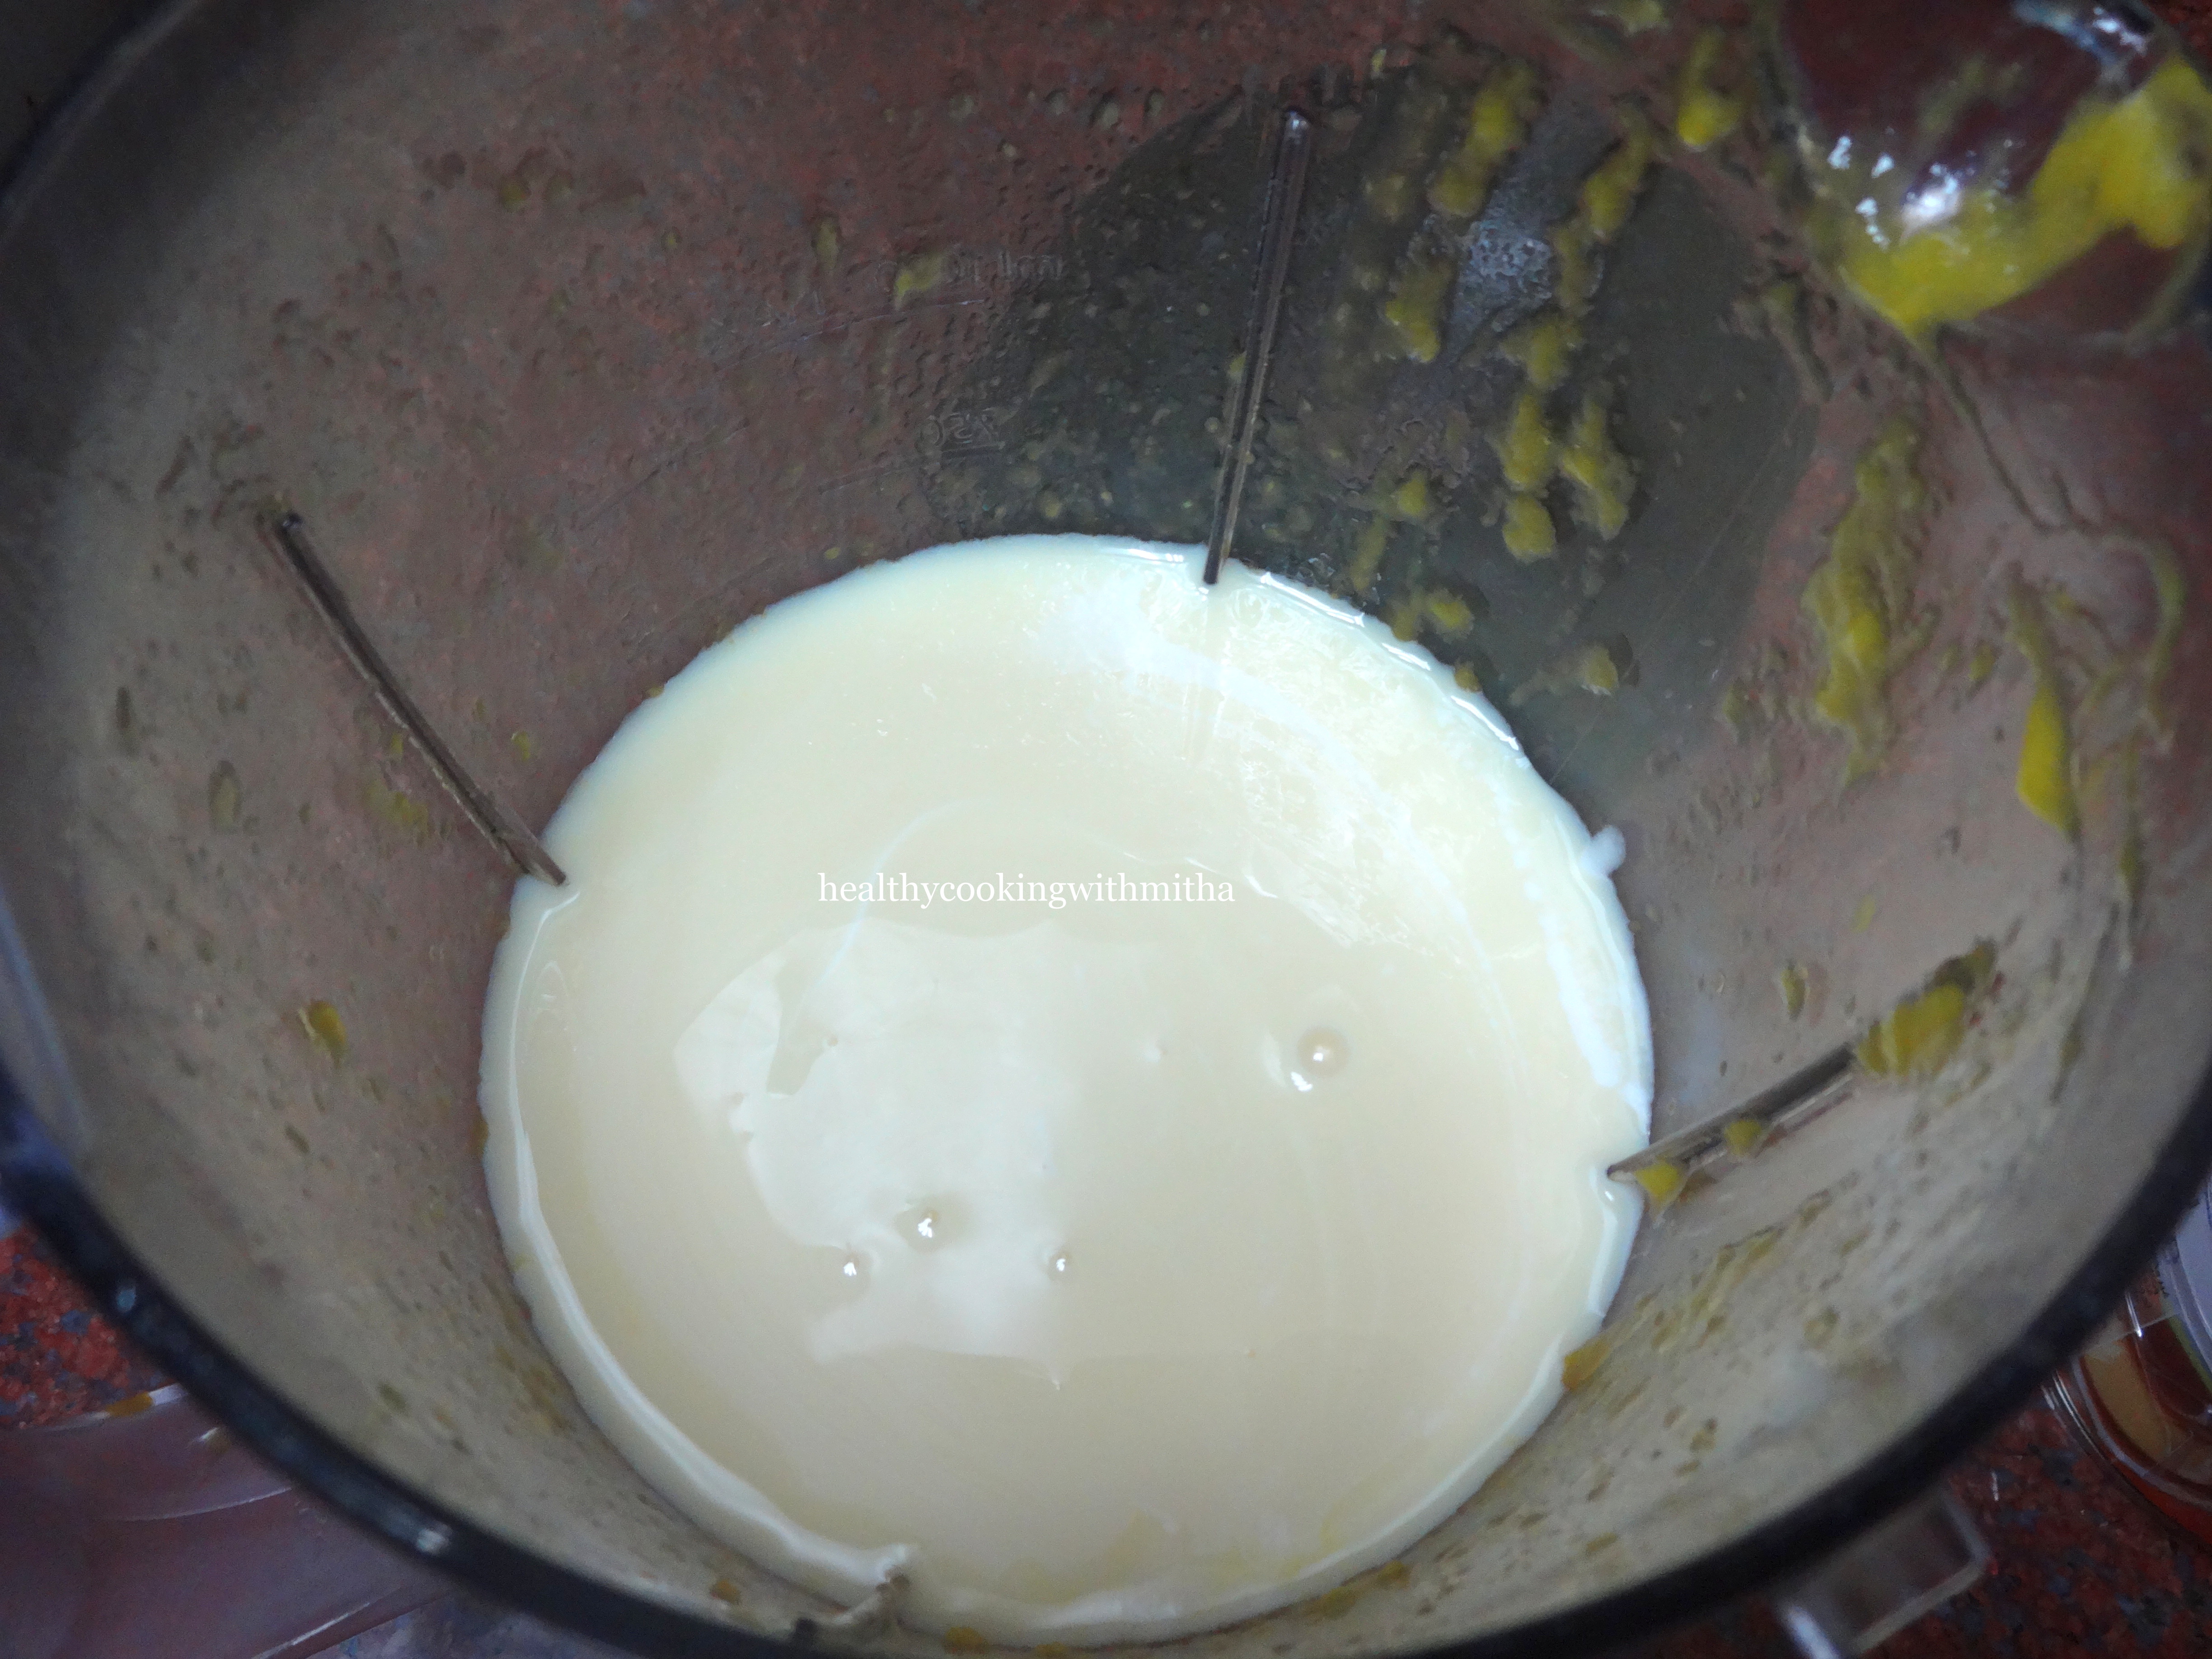
1. Add mango pulp in a blender jar.
2. Add Yogurt and sweetened condensed milk.
3. Add in saffron strands.
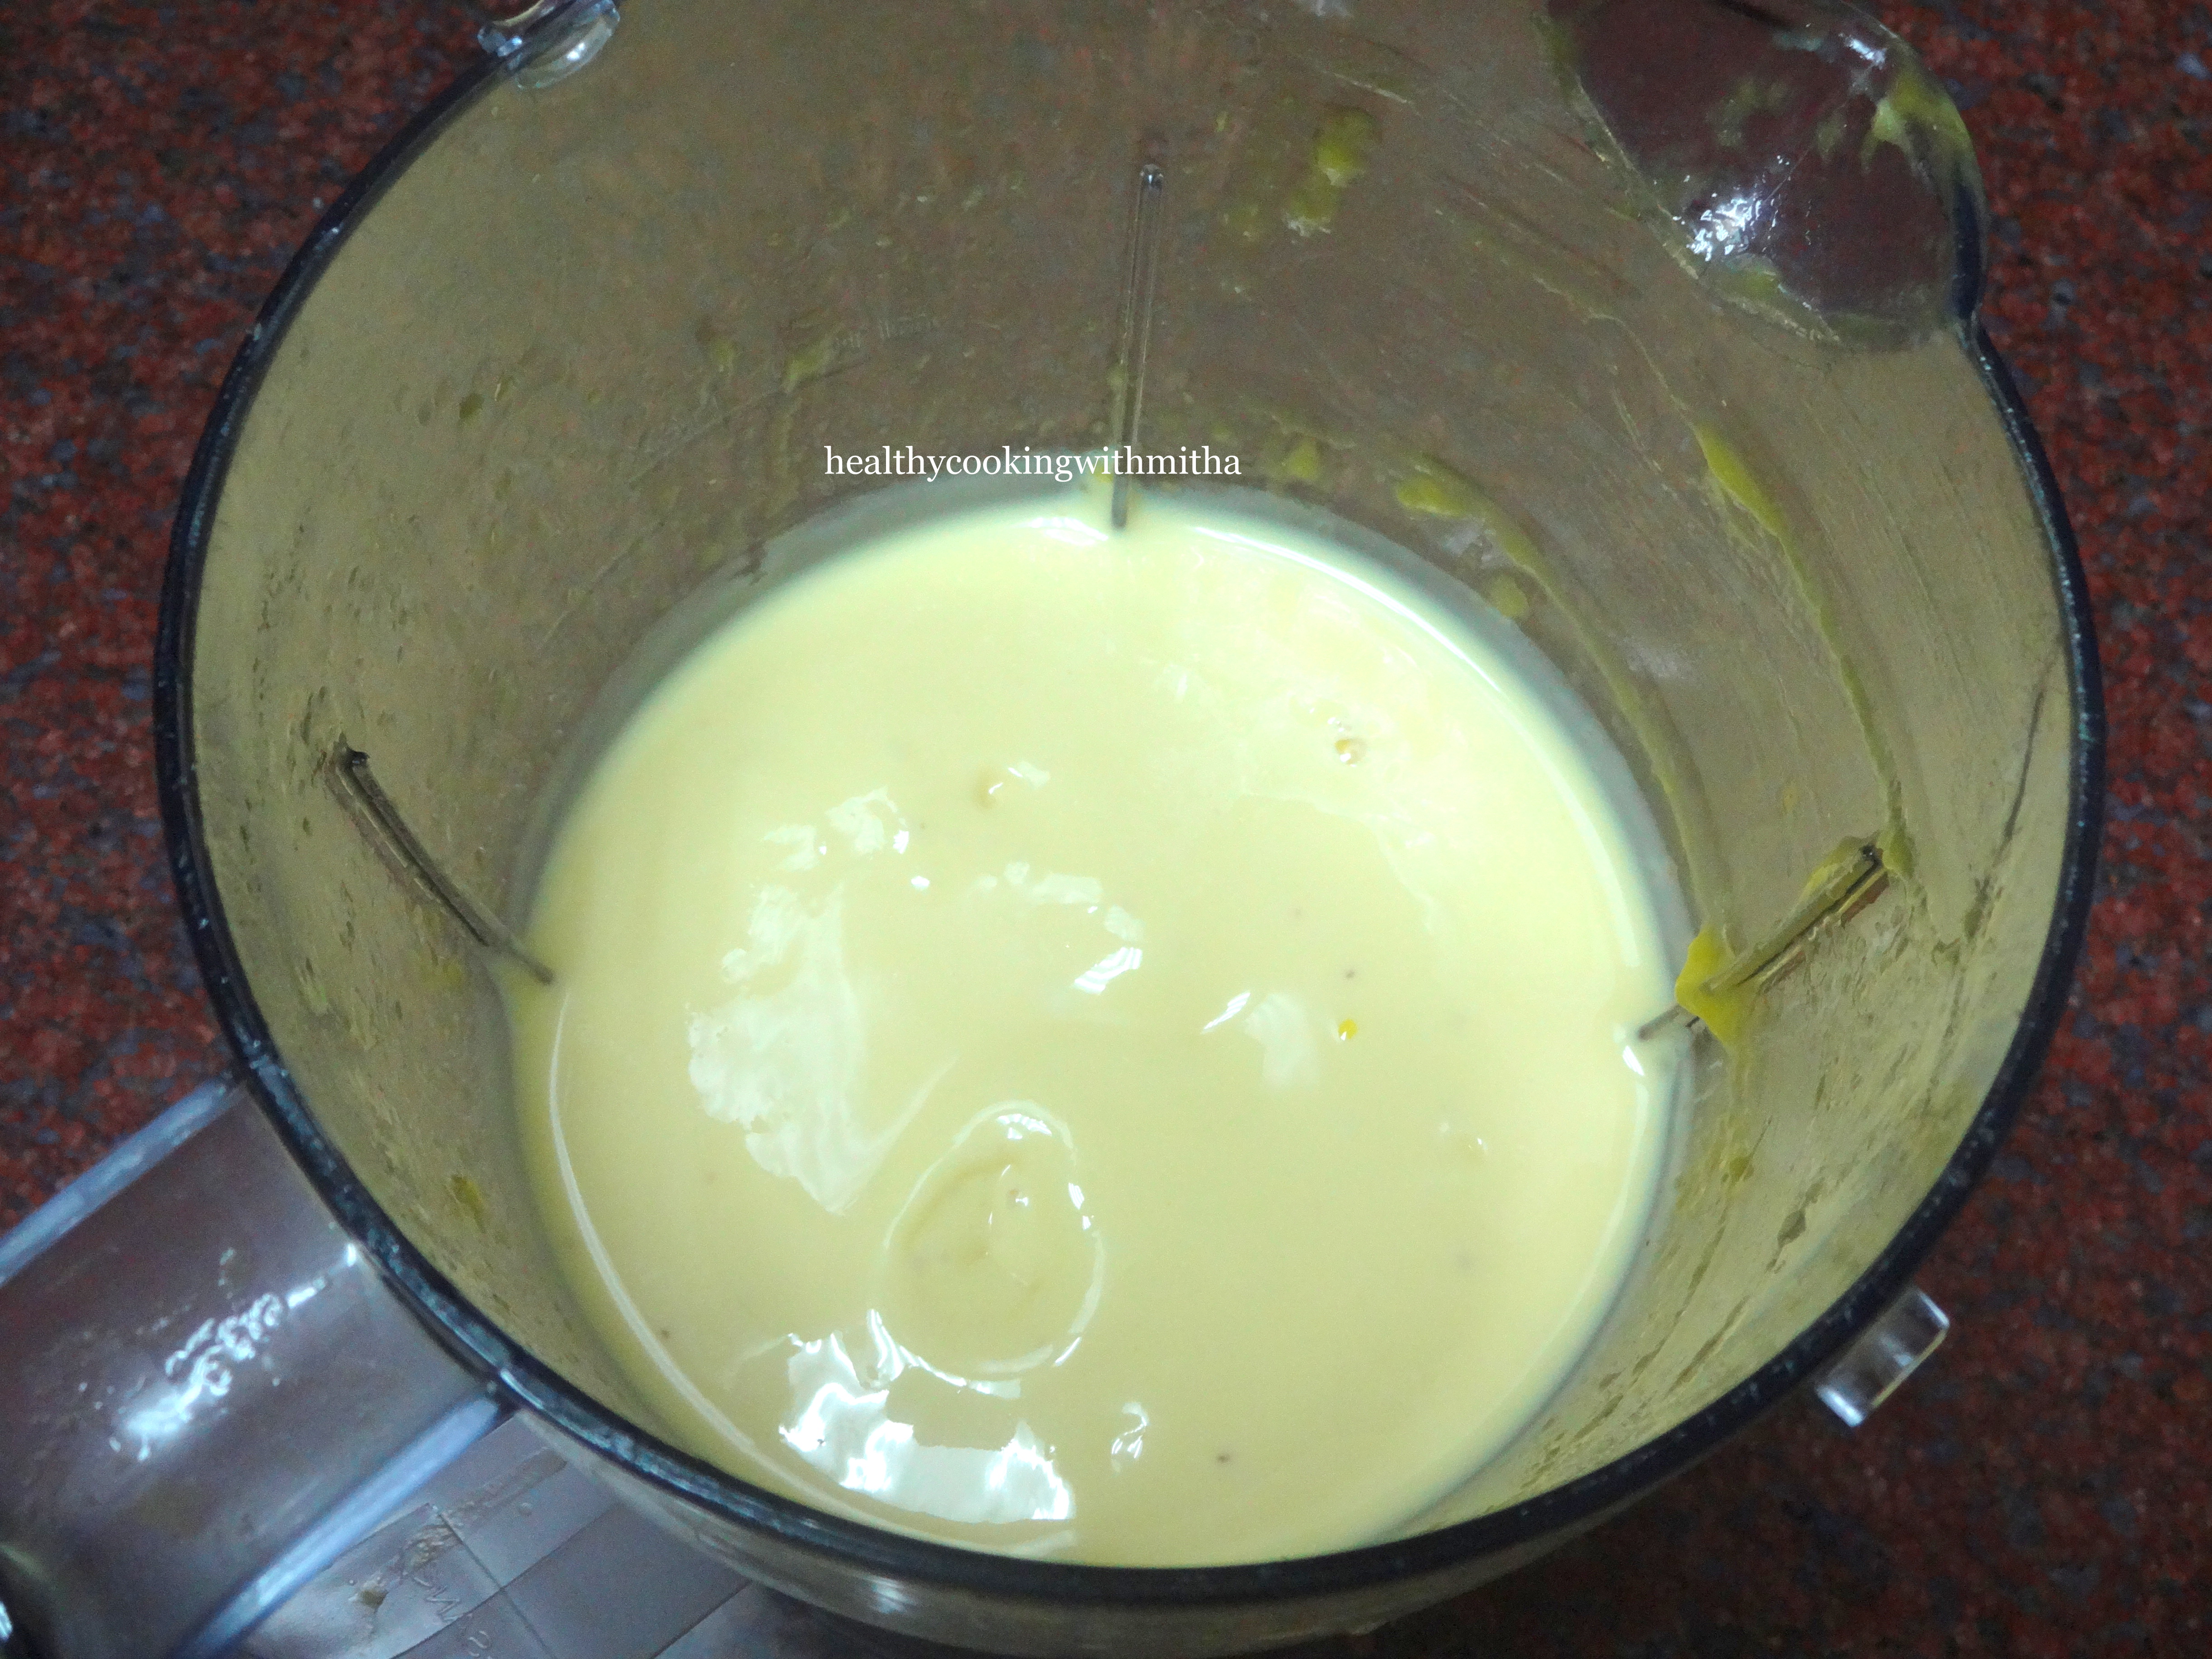
4. Blend for a minute until everything is combined well.
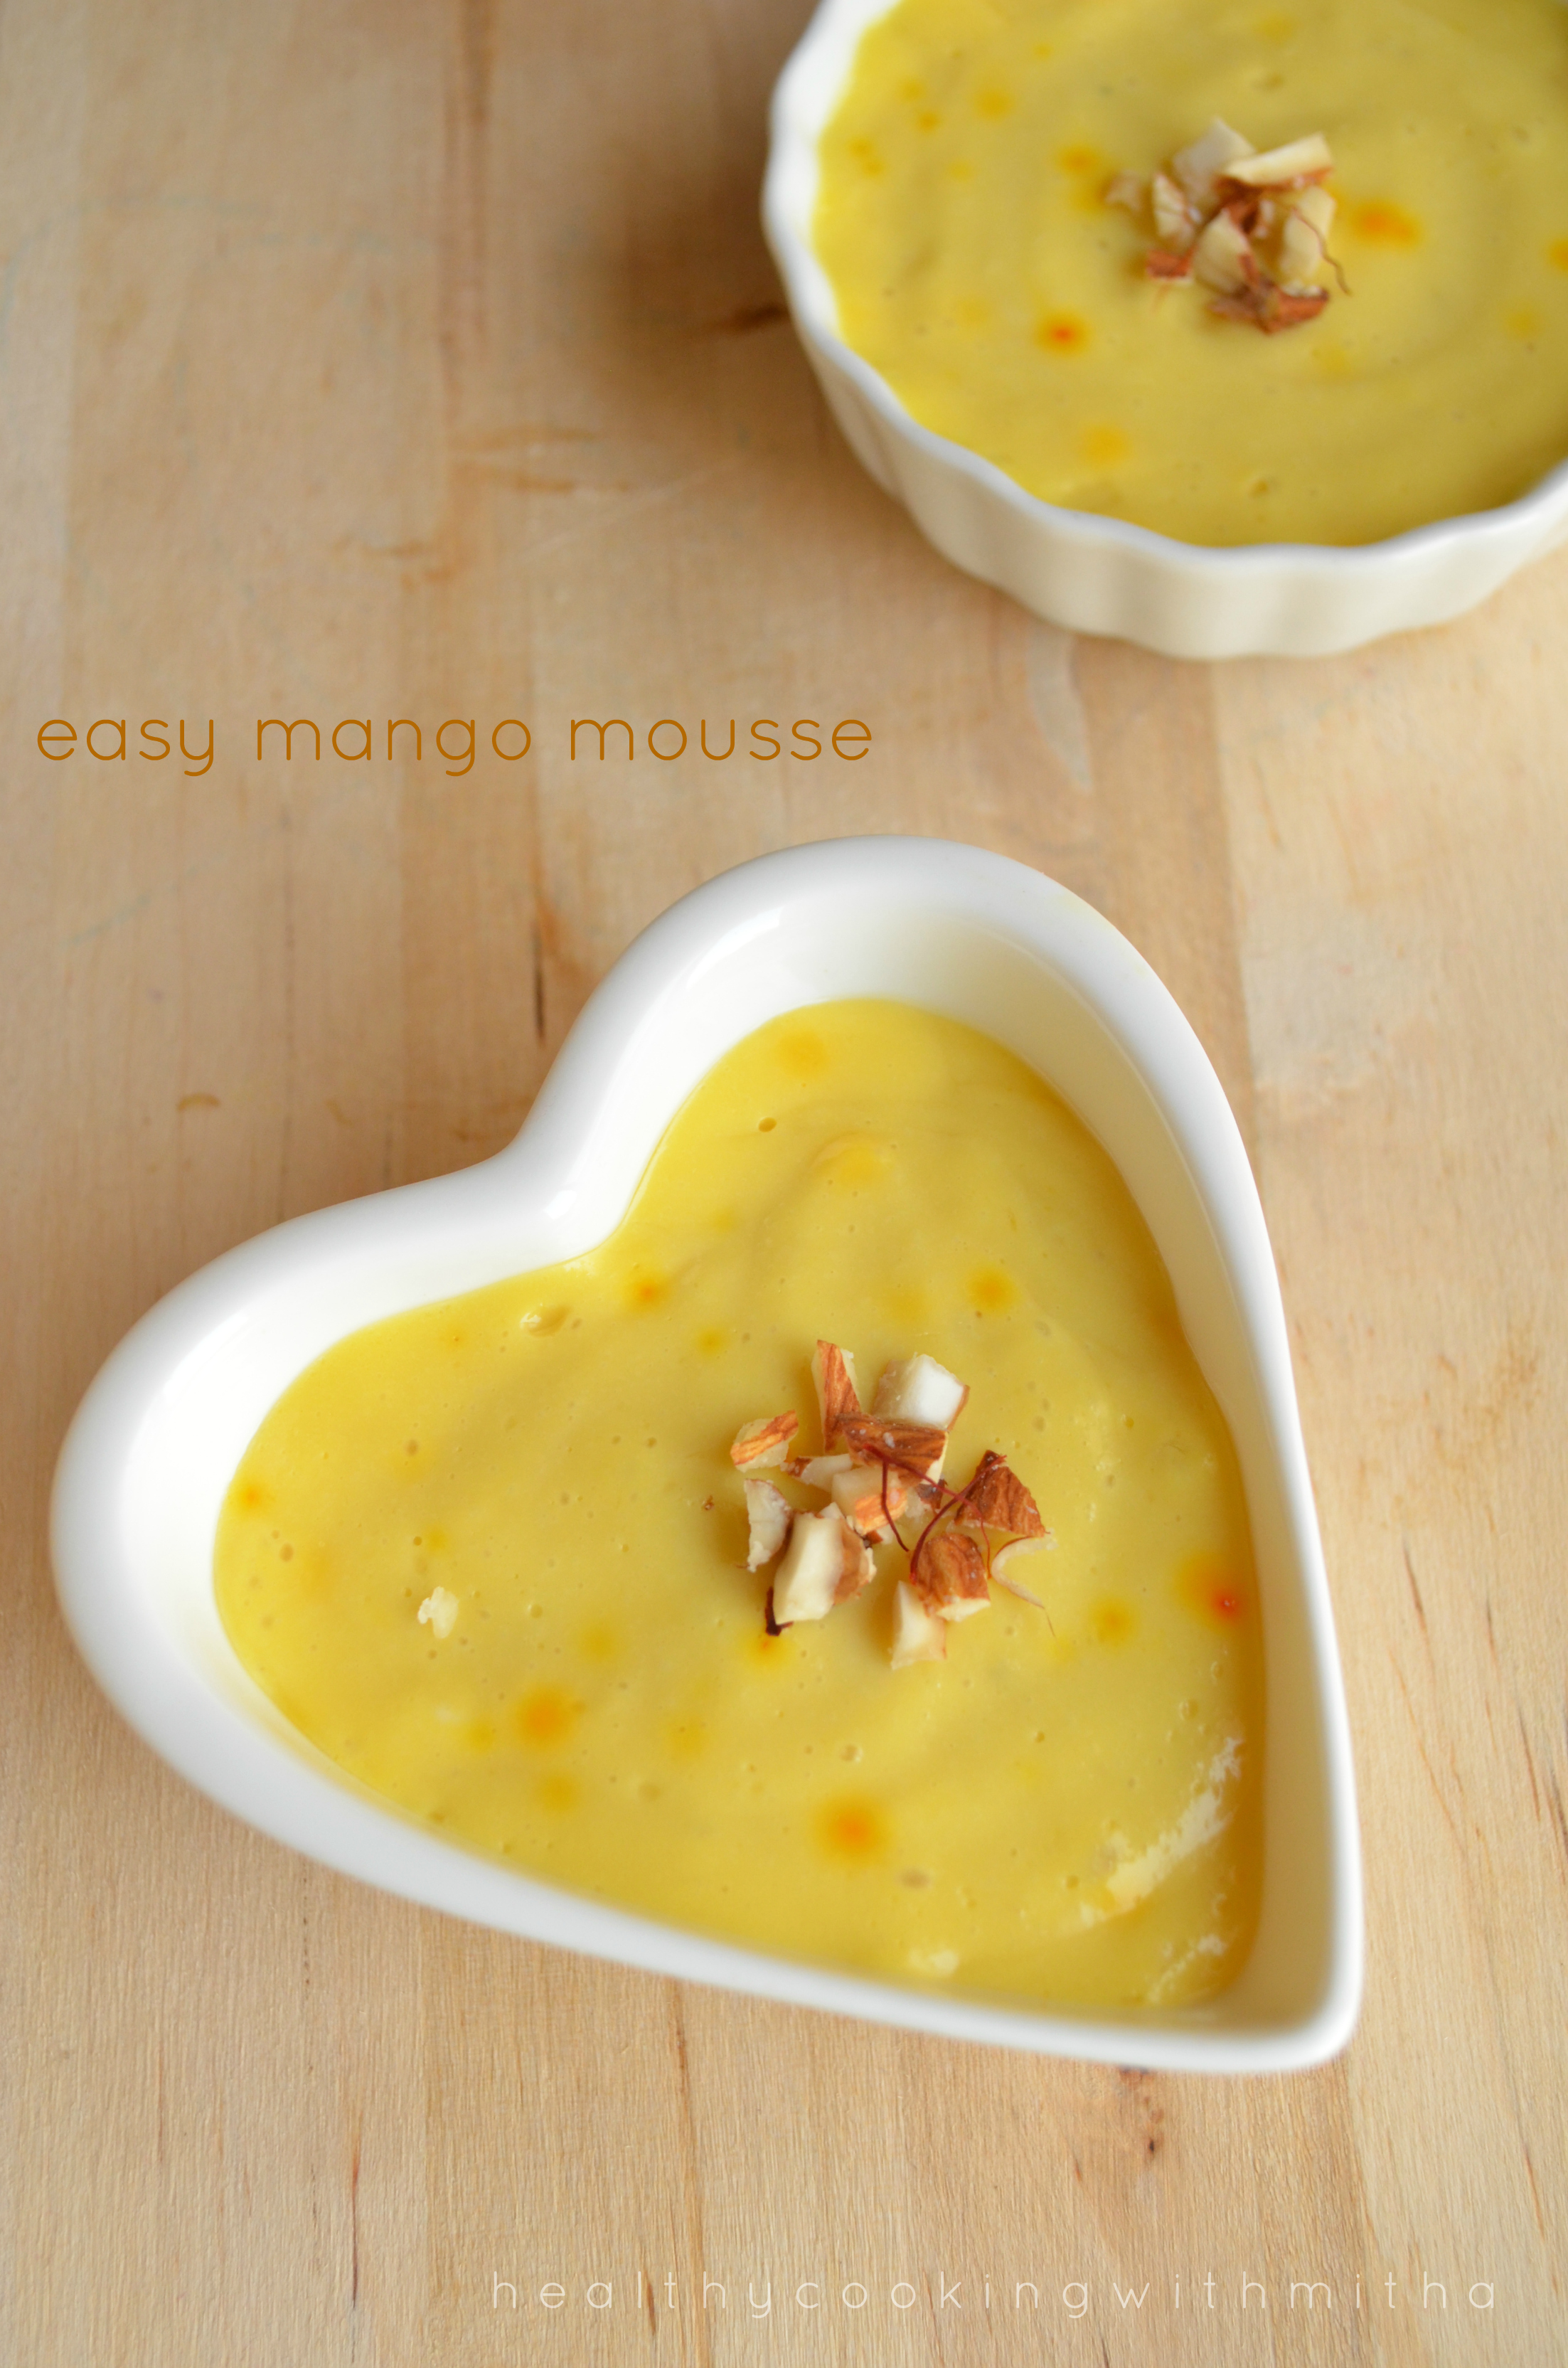
5. Pour into individual OVEN PROOF molds.
Please keep it to set in small bowls. These bowls are very small and largest one is only about the size of my palm.
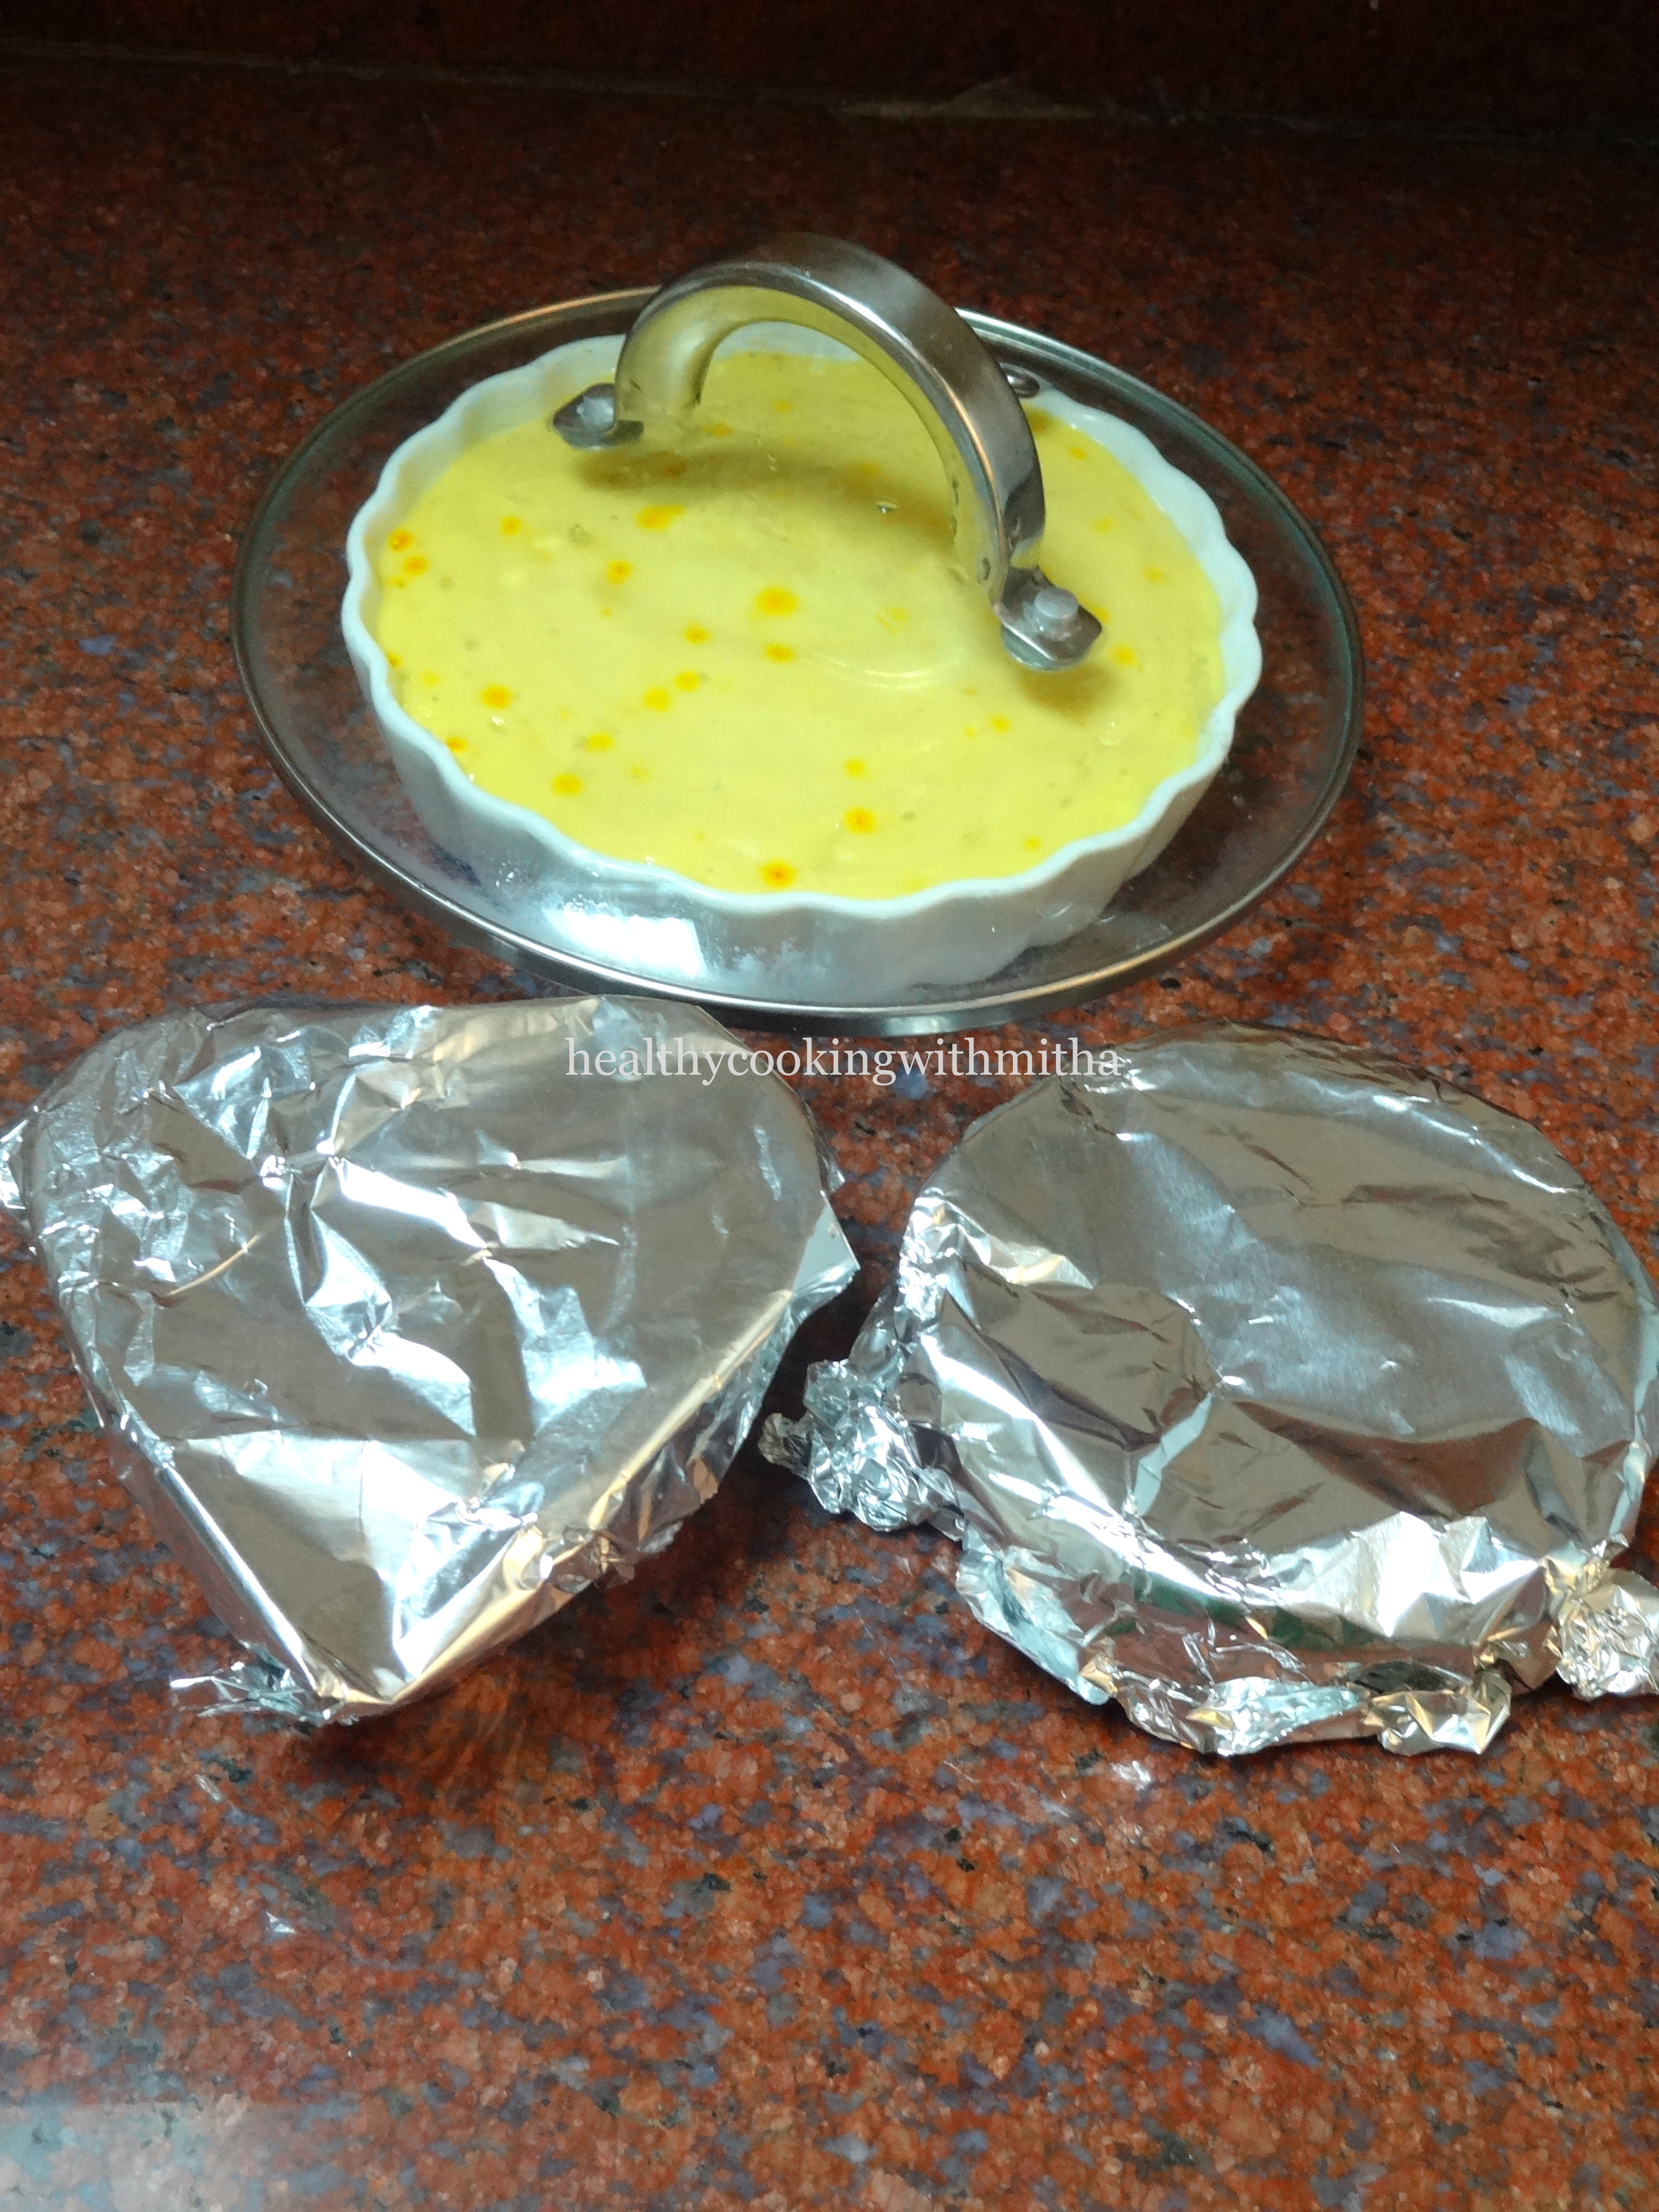
6. Preheat the oven at 180 C for 10 mins. Then SWITCH IT OFF. We need only the warmth of the oven. No need to bake the mousse. So don’t forget to switch off the oven after preheating it.
7. Place the mousse inside the oven covered overnight or for 8 hours.
Cover with a foil when you keep. I have not shown in this picture. Please note that the oven is OFF before placing the bowls. OFF all night.
8. After keeping overnight, see how well it sets.
Perfect mousse
9. Now keep it in the fridge for couple of hours for it to cool.
Enjoy chilled mousse topped with little chopped dry fruits if needed!
Click on the image to save the recipe on Pinterest
Notes:
* If you don’t have oven, just keep them covered in the warmest place of your house and it will set overnight. Just that it may not turn set completely but still turns delicious.
* Make sure the mango pulp is thick and not watery. Alphonso mangoes or its canned pulp gives best taste to this mousse.
* The curd/ yogurt should be thick and not watery to be used in this recipe. If it is watery, sieve and use.
* Do NOT add water at all while blending.
* Both fresh mangoes or canned mango pulp can be used in this recipe.
* Do NOT bake this in the oven. Preheat the oven and SWITCH IT OFF. Then place it inside. Make sure the dishes are oven proof. Else may break in the heat.
* You can easily double or triple the measurements for making in bulk.
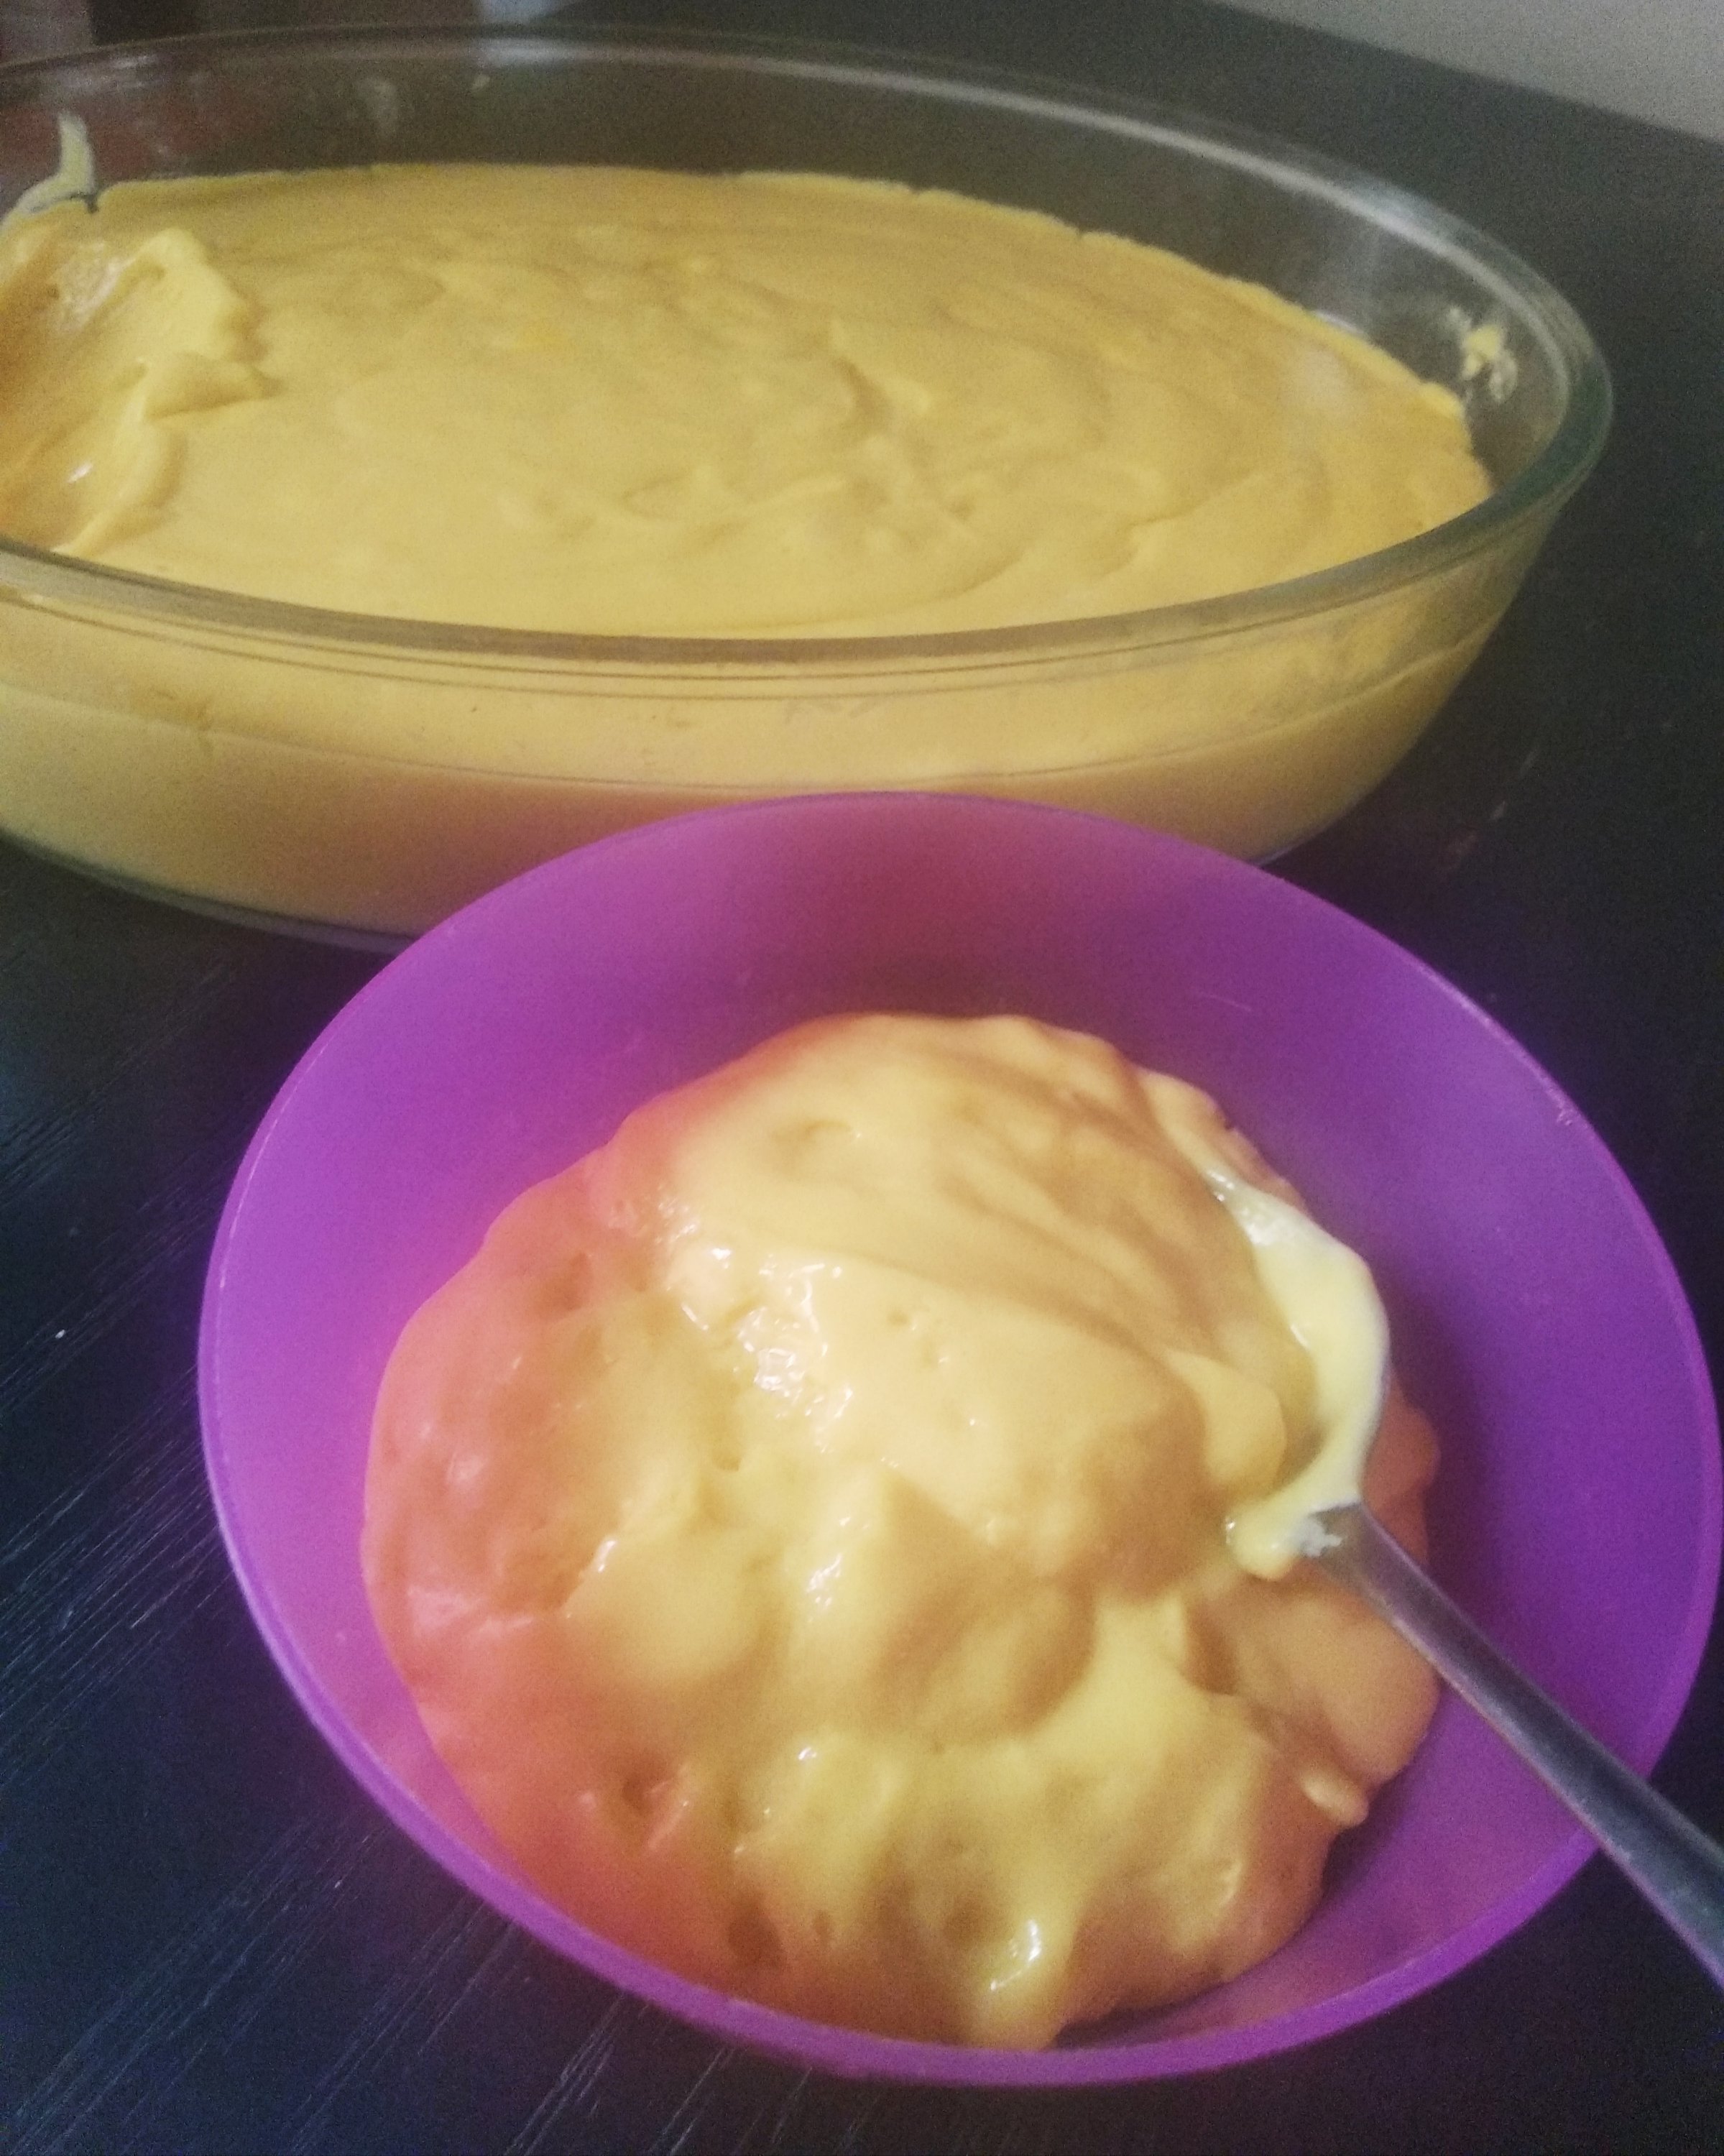
* I have also made in bulk for a party in disposable aluminium ware. You could use that too. Here is a picture:
Easy to serve individual portions. Note that I have filled less than half of the bowl. If you put large quantity, it won’t set.
* If kept for setting in a large casserole or bowl instead of small bowls, it does not set as much but still tastes the same. But please keep it to set in small size bowls if you can.
Creamy and delicious!
I have tried to note down as much points as possible so that it’s easy for you all to follow but if you still have any doubts, either comment here or message me on my Facebook page Healthy cooking with mitha or on my Instagram handle and I would be happy to help.
I have compiled some of my easiest healthy sweet recipes so that people who don’t have time, yet wish to make some delicious sweets can try. They are all sweets that can be made within 15 mins. Hope it will be helpful for all of you.
I am so happy to be able to share this amazing recipe finally. A soft mango cake with heavenly cardamom flavour and the aroma of ghee. A delicious package altogether. And it’s so easy to make. Just mix few ingredients in a bowl and bake. The easiest cake ever!
I also love this recipe for the fact that it uses very less and easily available ingredients. Also, it gets ready in about 30 mins in total. What else do we need? Easy, quick, no fuss recipe. Do try and you are sure to love it. Happy Baking!
RECIPE:
Ingredients:
1 Cup Wheat Rava/ Sooji/ Semolina (use the finest variety available)
1 Cup Mango pulp( fresh/ canned)
1/2 Cup Sugar
1/4 Cup Ghee
1 tsp Baking powder
1/4 tsp Cardamom powder
1/8 tsp Salt
Step by step recipe:
1. Preheat the oven at 180 C for 10 mins.
2. Take 1 Cup semolina/ rava in a large mixing bowl.
3. Add 1 Cup mango pulp, 1/4 Cup ghee, 1/2 Cup sugar, 1/8 tsp salt, 1 tsp baking powder and 1/4 tsp cardamom powder. Mix well with a spatula.
4. Grease the muffin pan with ghee or line them with cupcake liners. Add a spoon of the batter into each mould. It won’t rise much. So you can add 3/4th of the muffin mould.
5. Bake at 180 C by keeping the pan at the center rack of the oven for 20 to 30 mins or till a toothpick inserted in the center comes out clear. In my OTG, it took exactly 30 mins.
6. Allow it to cool slightly. Remove and enjoy!
Notes:
* I have also used Mother’s recipe sweetened Alphonso mango pulp for this recipe when it was not mango season and it was perfect too.
* Please make sure the mango pulp is thick and not watery. If watery, then rest the batter for about 15 mins till the rava absorbs the mango pulp.
* Ghee gives a wonderful flavour to this cake so don’t substitute it with oil. I have tried this cupcake with both oil and ghee and ghee ones are really heavenly.
* I have used regular upma rava for this cake.
* Don’t skip cardamom powder if you can. It is the soul of this cake.
* This cake does not brown much at top. So don’t wait for it. Check at 5 min intervals after 20 mins into baking time. DO NOT open oven door before 20 mins.
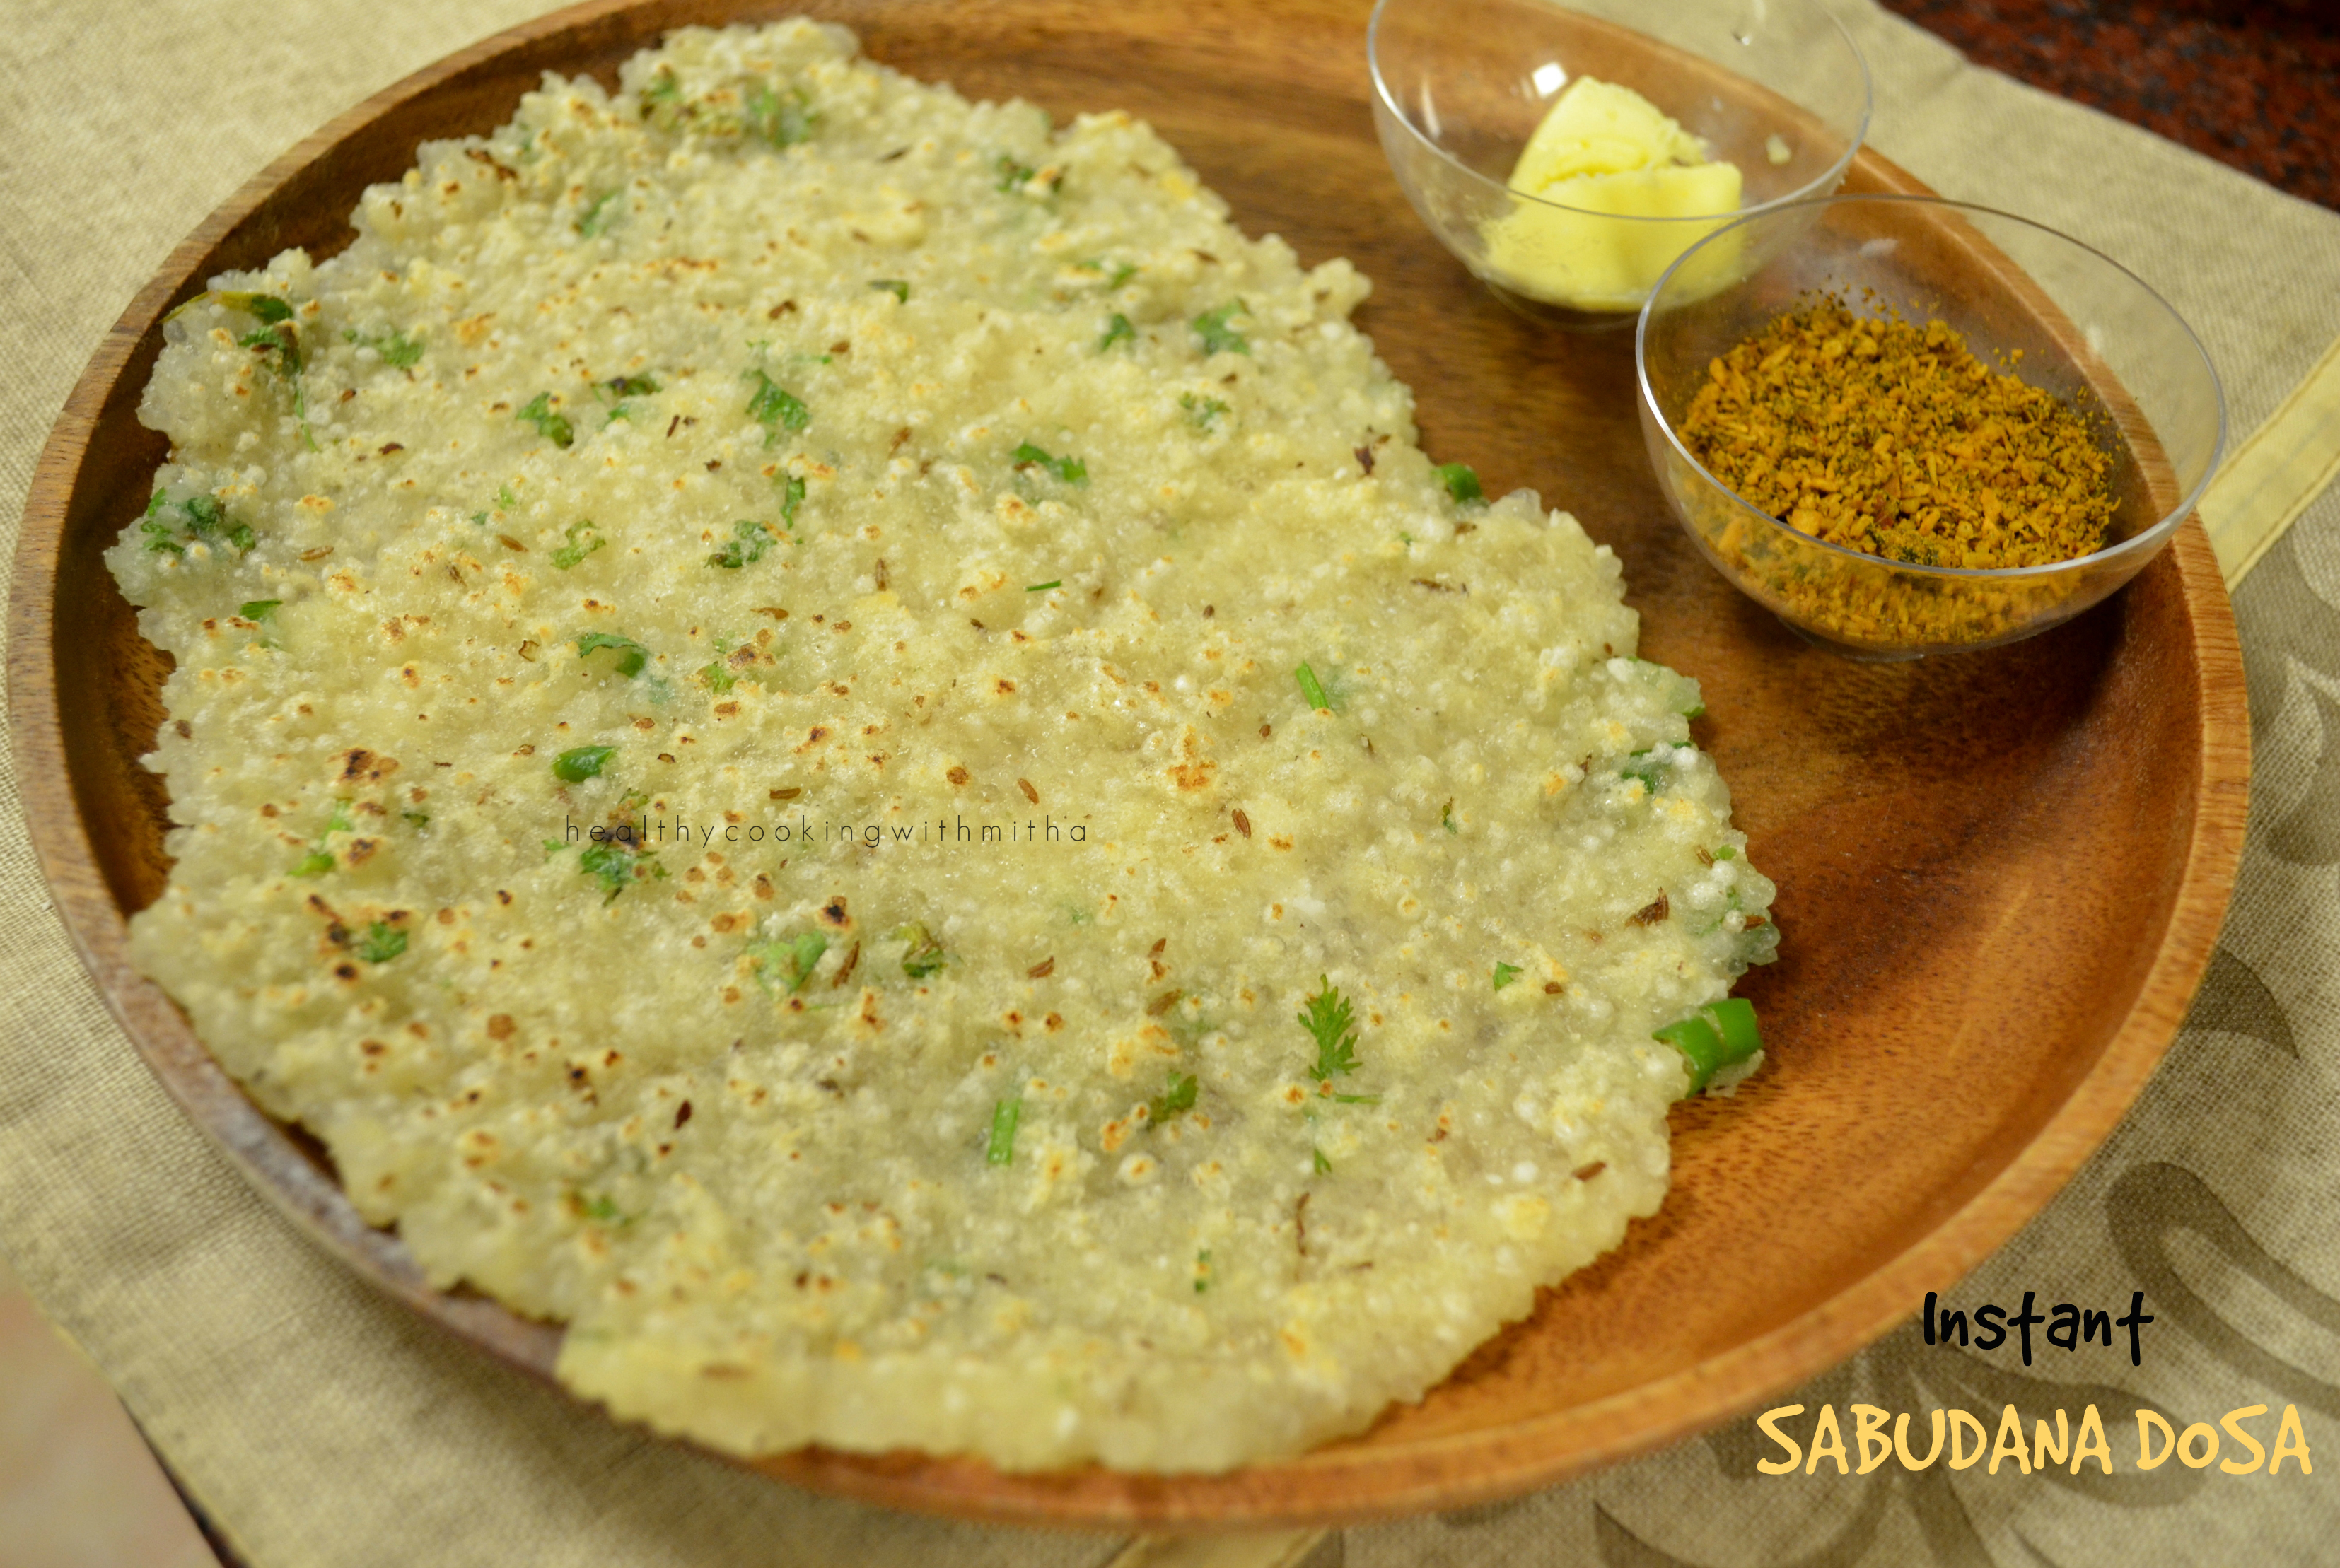
I am always on the look out for instant breakfast recipes and even though there are many seasoned breakfast ideas in our Konkani cuisine like rullav, phovu and uslis, I have to make variety dosas or idlis for my kids as they love it. And what better than this instant Sabudana dosa.
Sabudana is used a lot in Konkani and Marathi households especially during fasting or vrat days. Even though we don’t get good Sabudana here, I bring some from India just to make this dosa. I love these dosas just with butter and they make such a filling breakfast.
Thank you Jayashri Baleri for this recipe and Durga Arvind Hegde for requesting this recipe to be put up in this new blog.
Happy cooking!
RECIPE:
Ingredients:
1 Cup Sabudana/ Sago
1 Cup Wheat Rava/ Semolina/ Sooji
1/2 Cup grated Coconut
3 green chillies, finely chopped
3 Tbsp finely chopped Coriander leaves
2 tsp Cumin seeds
1 tsp Sugar
Salt to taste
Oil or ghee to cook the dosa
Step by step recipe:
1. Wash the Sabudana well and soak for two hours in enough water to soak it.
Note: I have used mini or small Sabudana. If you have big sized ones, it will need overnight soaking.
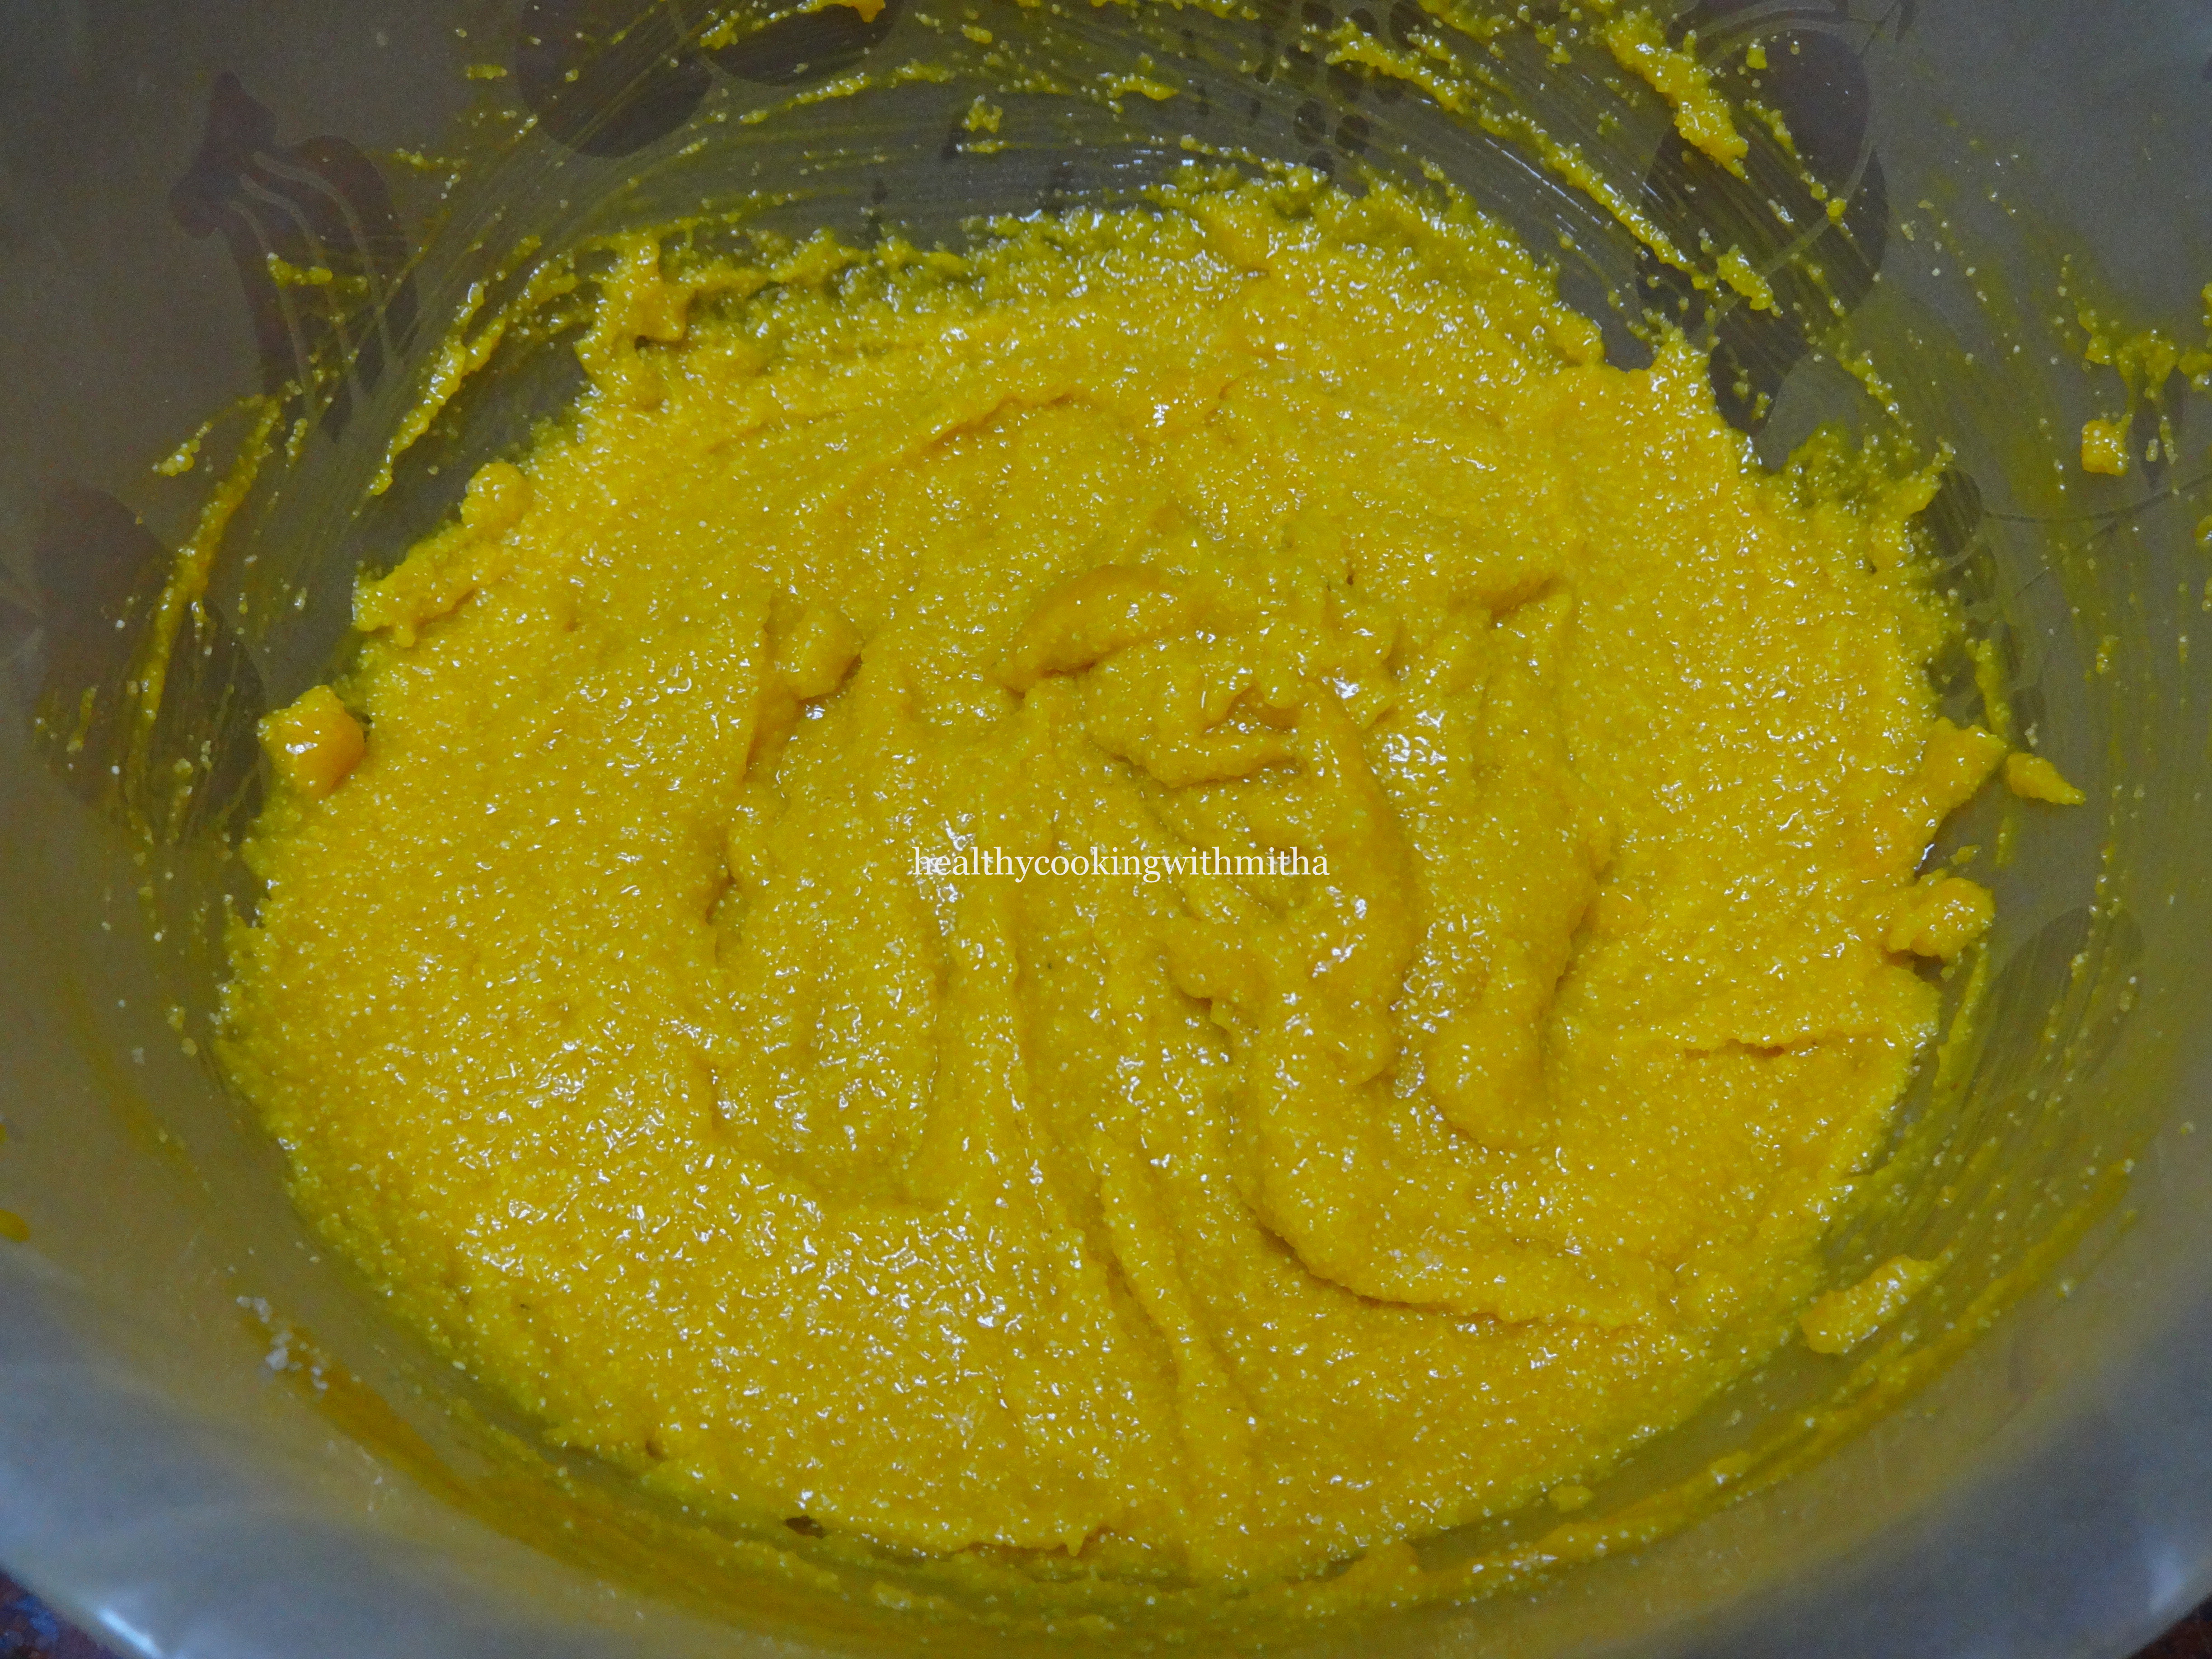
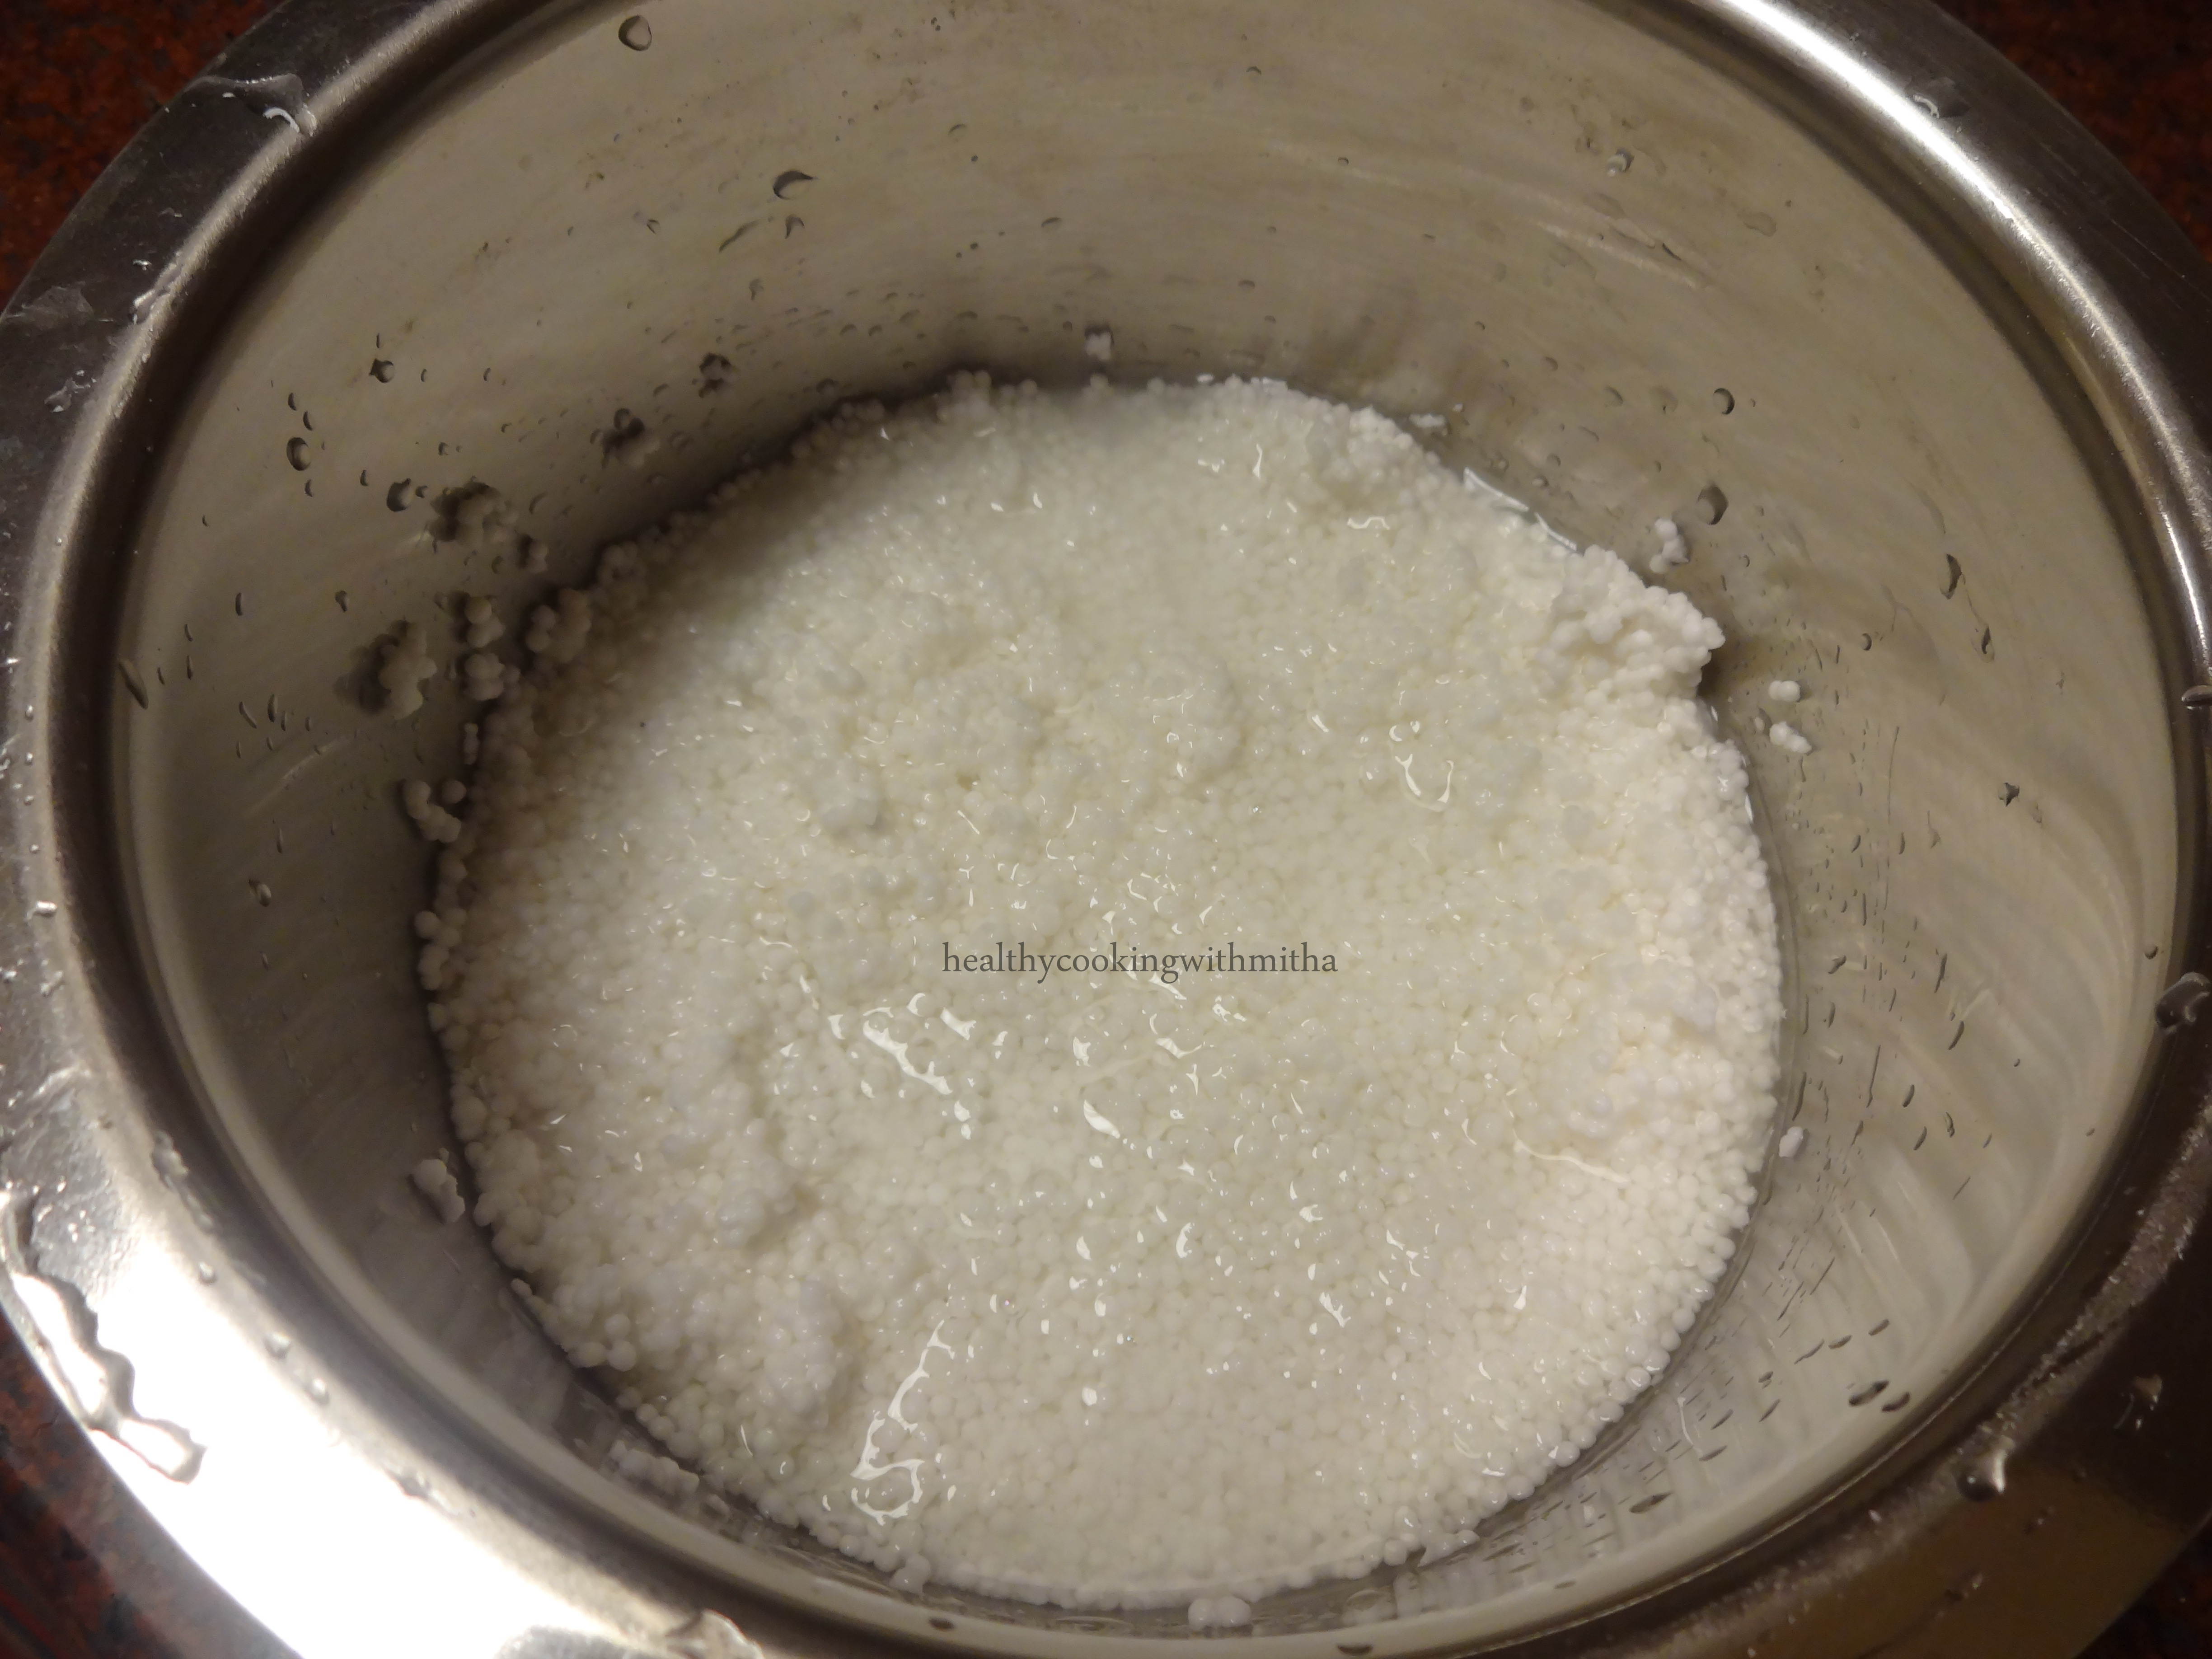
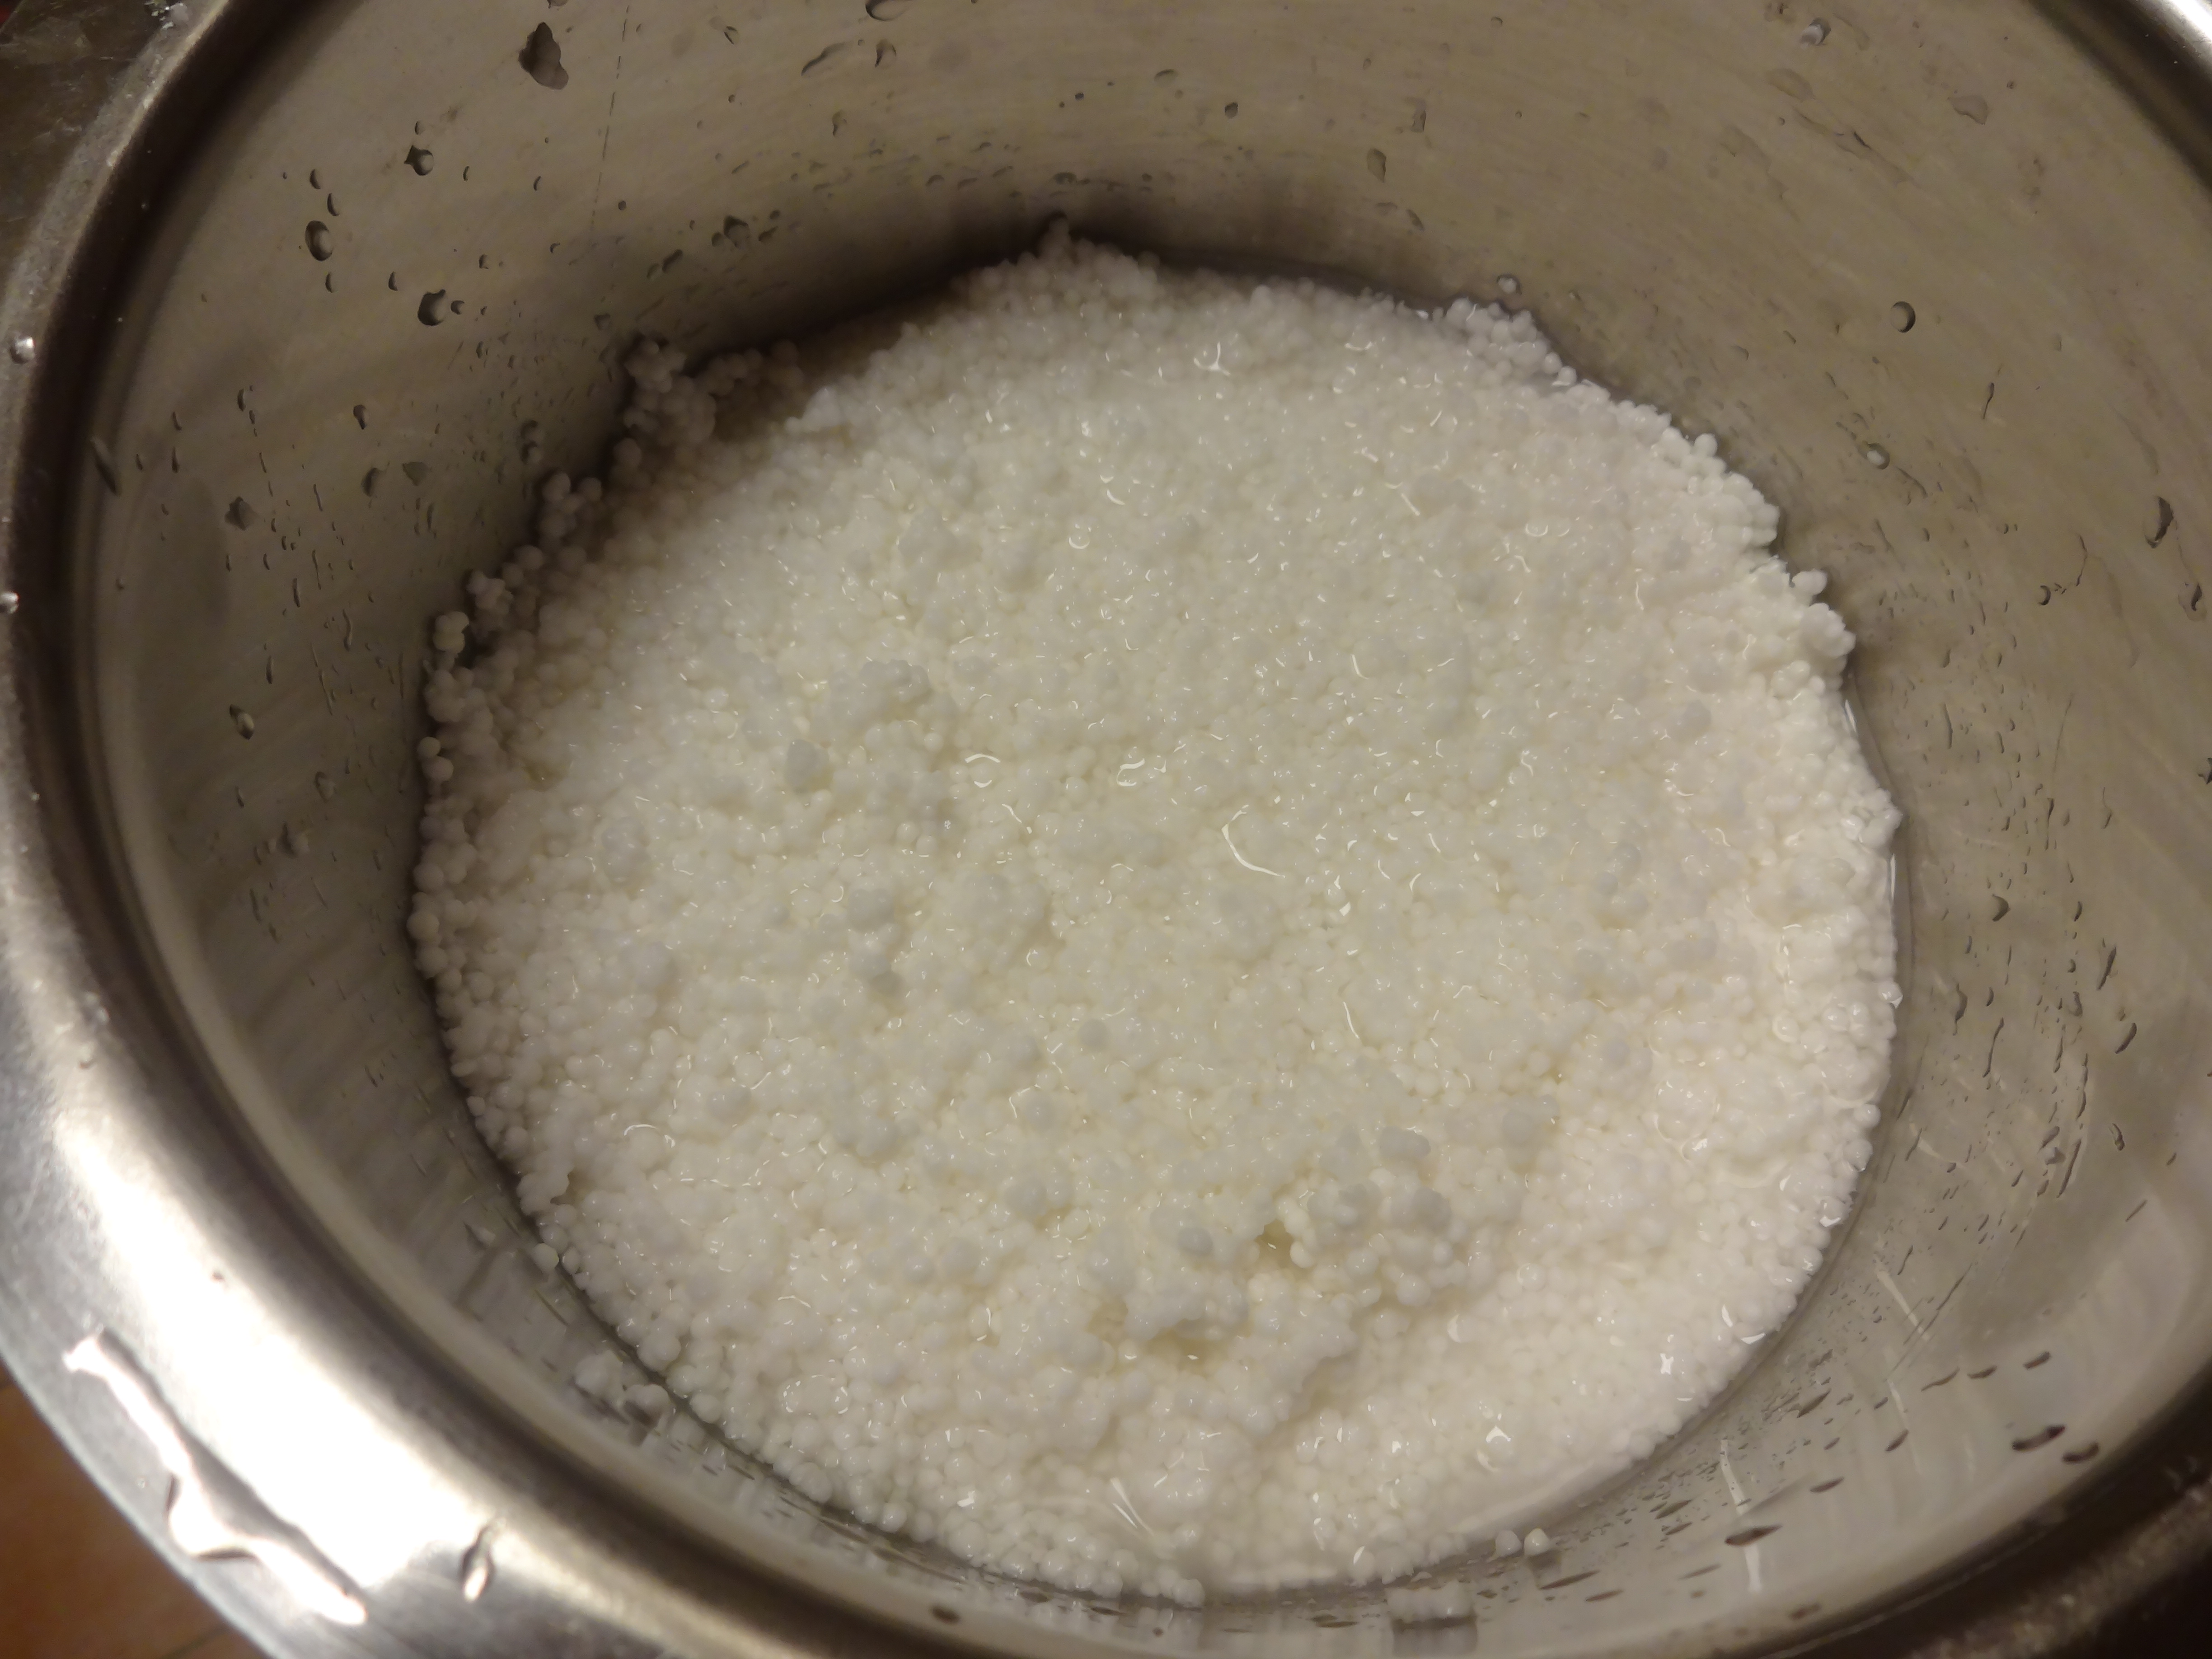
Wash well in water and drain. This is after soaking for 1 hour. Fluff it with a fork like this. Soak in enough water for another 1 hour.It will swell like this and become soft.
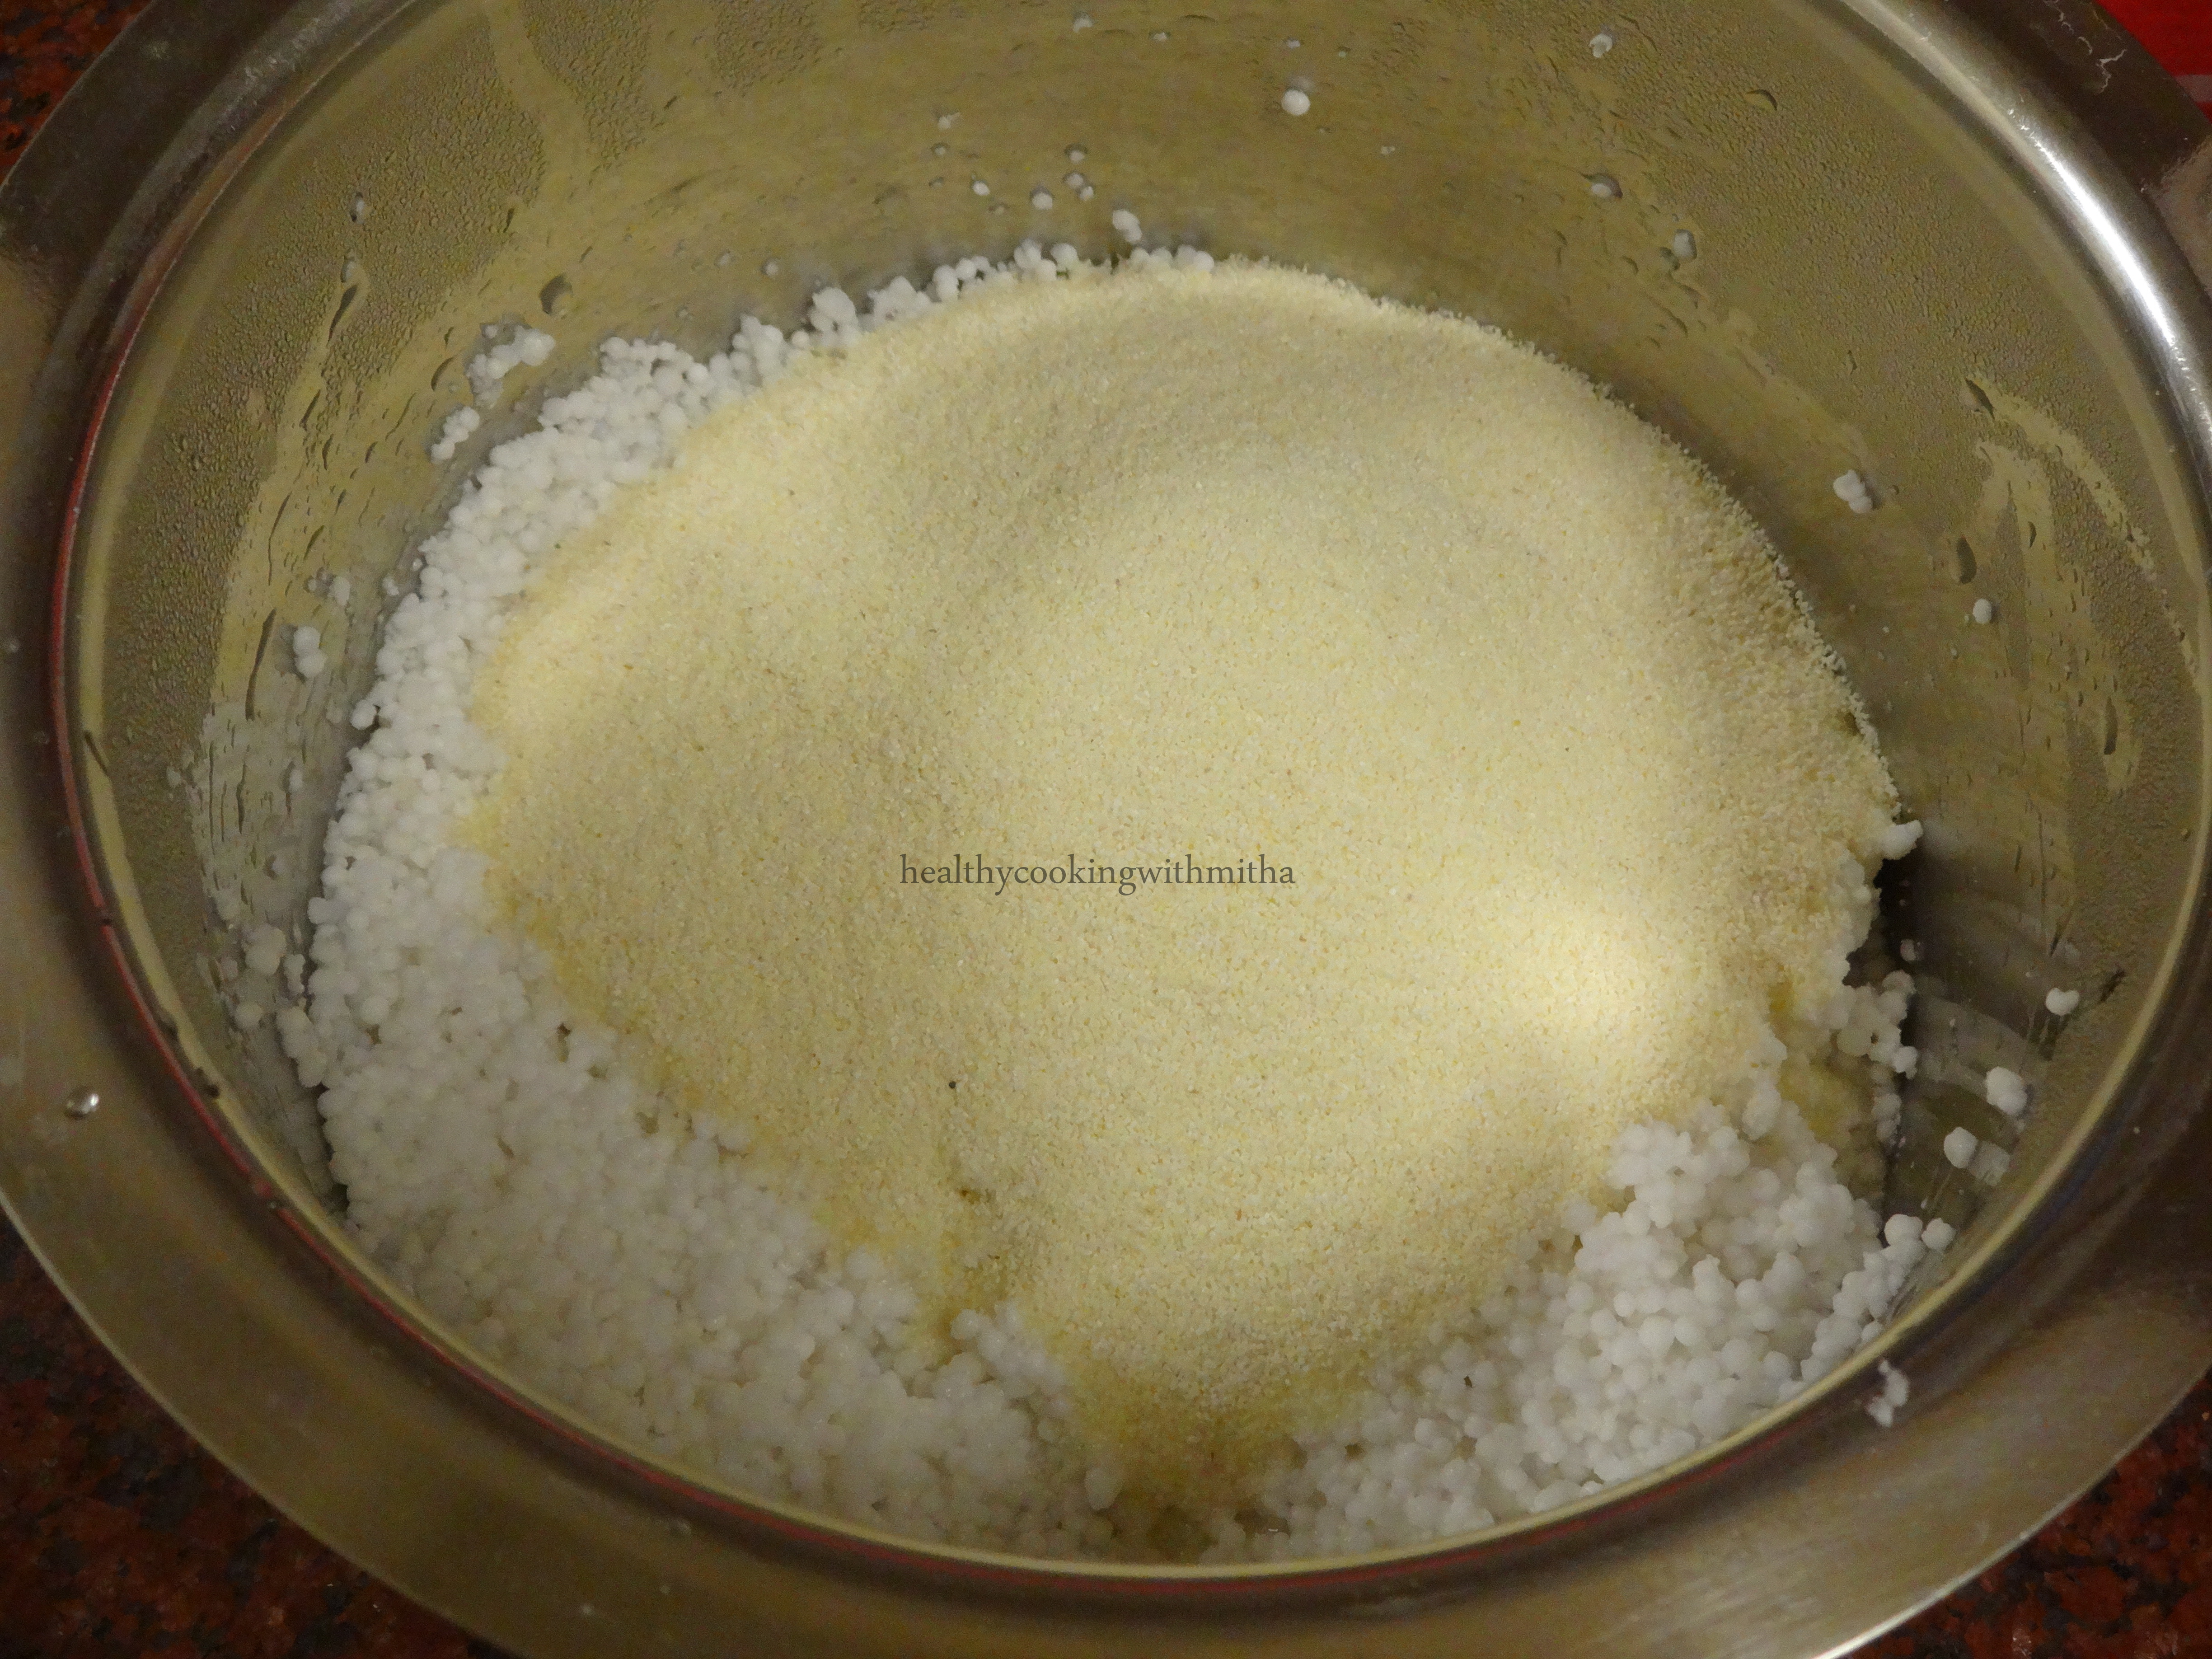
2. Now add rava to this.
3. Add cumin seeds, coriander leaves, green chillies, grated coconut, sugar and salt to this.
4. Now mix well adding little water to make a thick batter.
5. Heat a dosa pan and pour a ladle full of the batter to the pan. Spread it into a circle as shown.
6. Cover and cook on medium flame till top portion looks cooked. Add oil or ghee while cooking.
7. Flip and cook for a minute.
8. Serve hot with butter or chutney of your choice.
Notes:
* If you don’t have Sabudana, just make plain thick rava dosa adding the rest of the ingredients. We call it rava bhakri in Konkani.
* This dosa is crisp on the outside and soft inside.
In our house, we live on dosas and Idlis for breakfast. So anyday it’s either of these to kick-start our mornings. My kids love them instead of upma and poha. So I make these seasoned breakfast items only when I have a dosa batter in hand for them.
Mixed dal Idlis are very good for kids who don’t like dals in their “dal” form (like my kids). And it makes things easier when they love Idlis or dosas. High in protein and filled with nutrition, they are so soft and delicious that you will fall in love with them.
And this batter is very versatile. Apart from soft Idlis, you can make soft dosas or crispy dosas, the way your family likes them. That’s why these are my favourite. I grind the batter enough for two days. Make Idlis the first day and dosas the following day.
Hope you all try it too. Happy cooking!
RECIPE:
Ingredients:
1 Cup white Rice
1/2 Cup Urad dal
1/2 Cup Moong dal
1/2 Cup Toor dal
1/2 Cup Chana dal
Salt to taste
Oil to grease the idli stand
Note: Skip any dal if you don’t have. I usually don’t have chana dal. So I add 1 Cup Moong dal and 1/2 Cup Toor dal.
So basically 1 Cup rice. 1/2 Cup Urad dal and 1 1/2 Cups mixed dals.
Step by step recipe:
1. Wash well and soak the rice and dals together for 4 hours.
2. Drain the water and grind along with little water and salt to a fine paste.
3. Ferment this batter by keeping in a warm place for 8 hours or overnight. In cold places, it will take atleast 12 hours to ferment well to make soft Idlis.
The well fermented batter
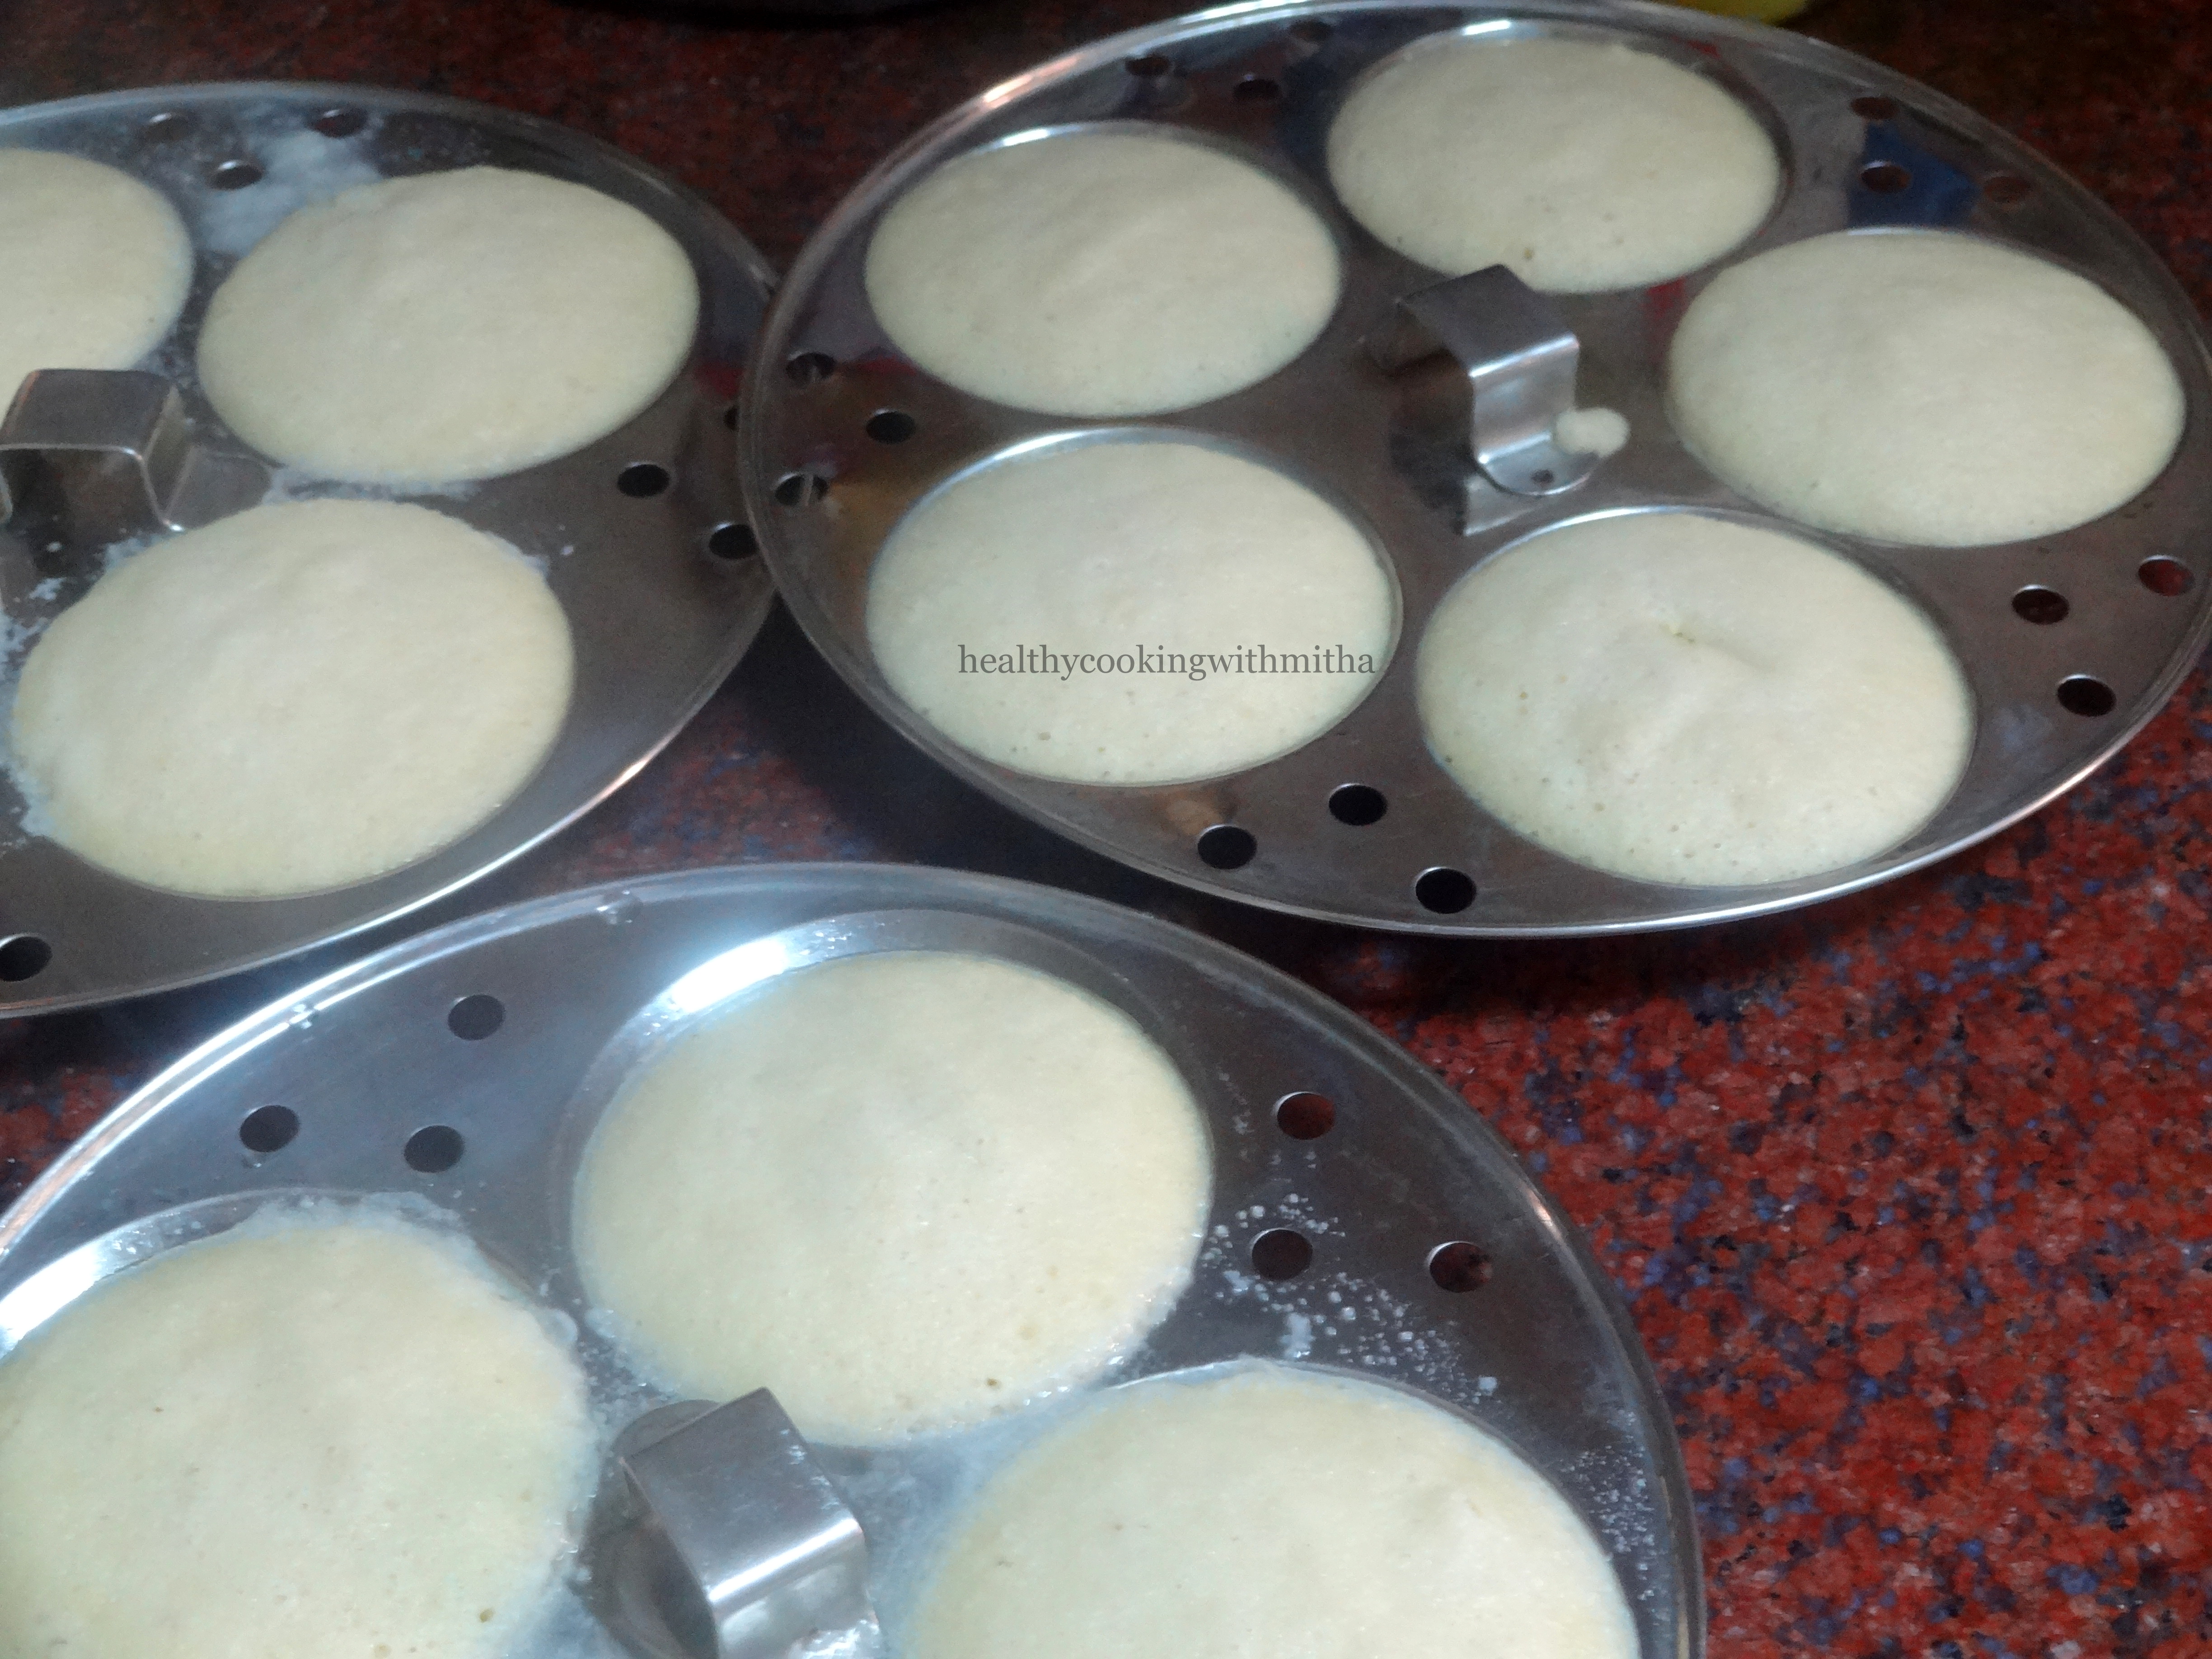
4. Grease the idli plates very well with oil. Else the Idlis will stick to the pan since it’s a mixed dal Idli. Pour the batter into the plates.
5. Steam for 20 mins or till done.
6. Allow it to cool slightly before you remove the Idlis as else it will stick to the idli plates. Enjoy Idlis with chutney of your choice.
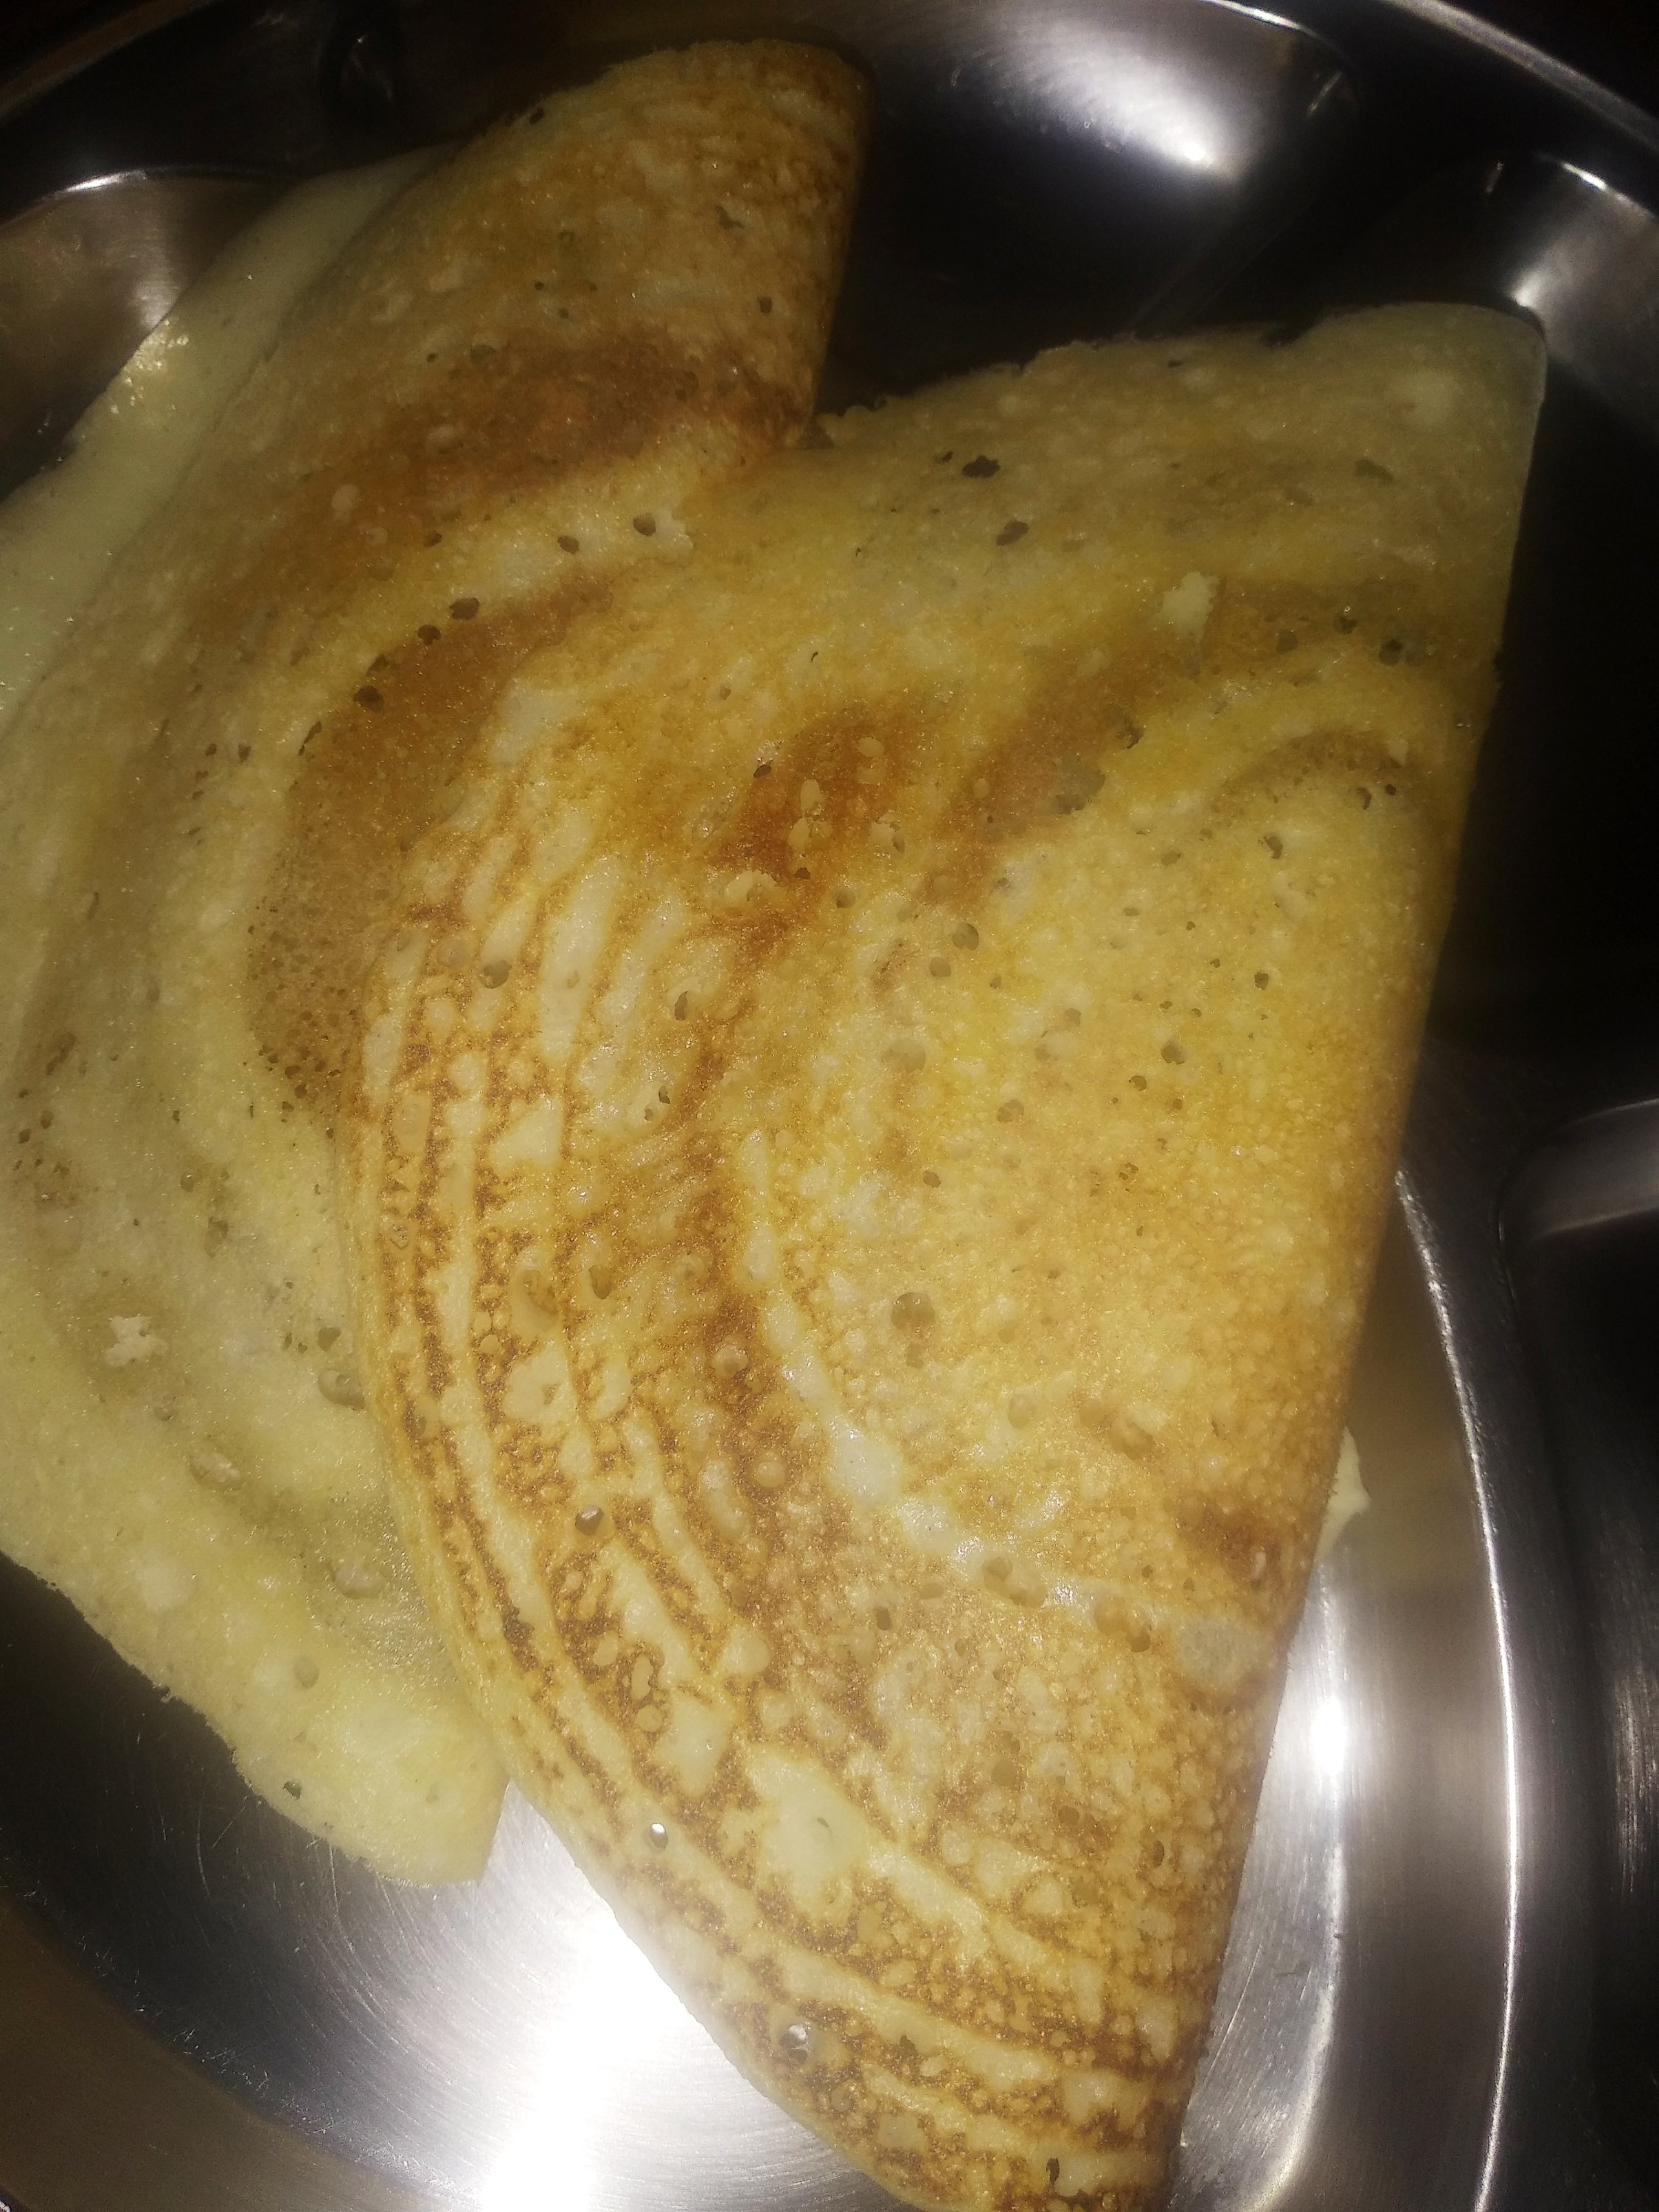
7. If making soft dosas, spread them thick and you will get dosas like these.
8. For making crispy dosas, spread them like regular dosas and cook till the underside turns brown and add ghee or oil to cook till it turns crisp.
See how crispy they turn out. My daughter loves these crispy dosas.
Notes:
* As I mentioned earlier, if you don’t have any particular dal then just skip it and add 1 Cup of the other dal. Like
1 Cup Rice, 1/2 Cup Urad dal, 1 1/2 Cups of mixed dals.
This should be the ratio.
* For dosas, you need not ferment the batter so much. Even 6 hours will suffice but for Idlis, they should ferment really well for soft Idlis.
* I make Idlis the first day. Refrigerate the batter and make dosas the second day. So breakfast for two days sorted.
* Also, grease the idli plates well with oil before steaming and allow to cool a bit before removing the Idlis. Else they will stick to the plates.
Click on the image to save the recipe on Pinterest
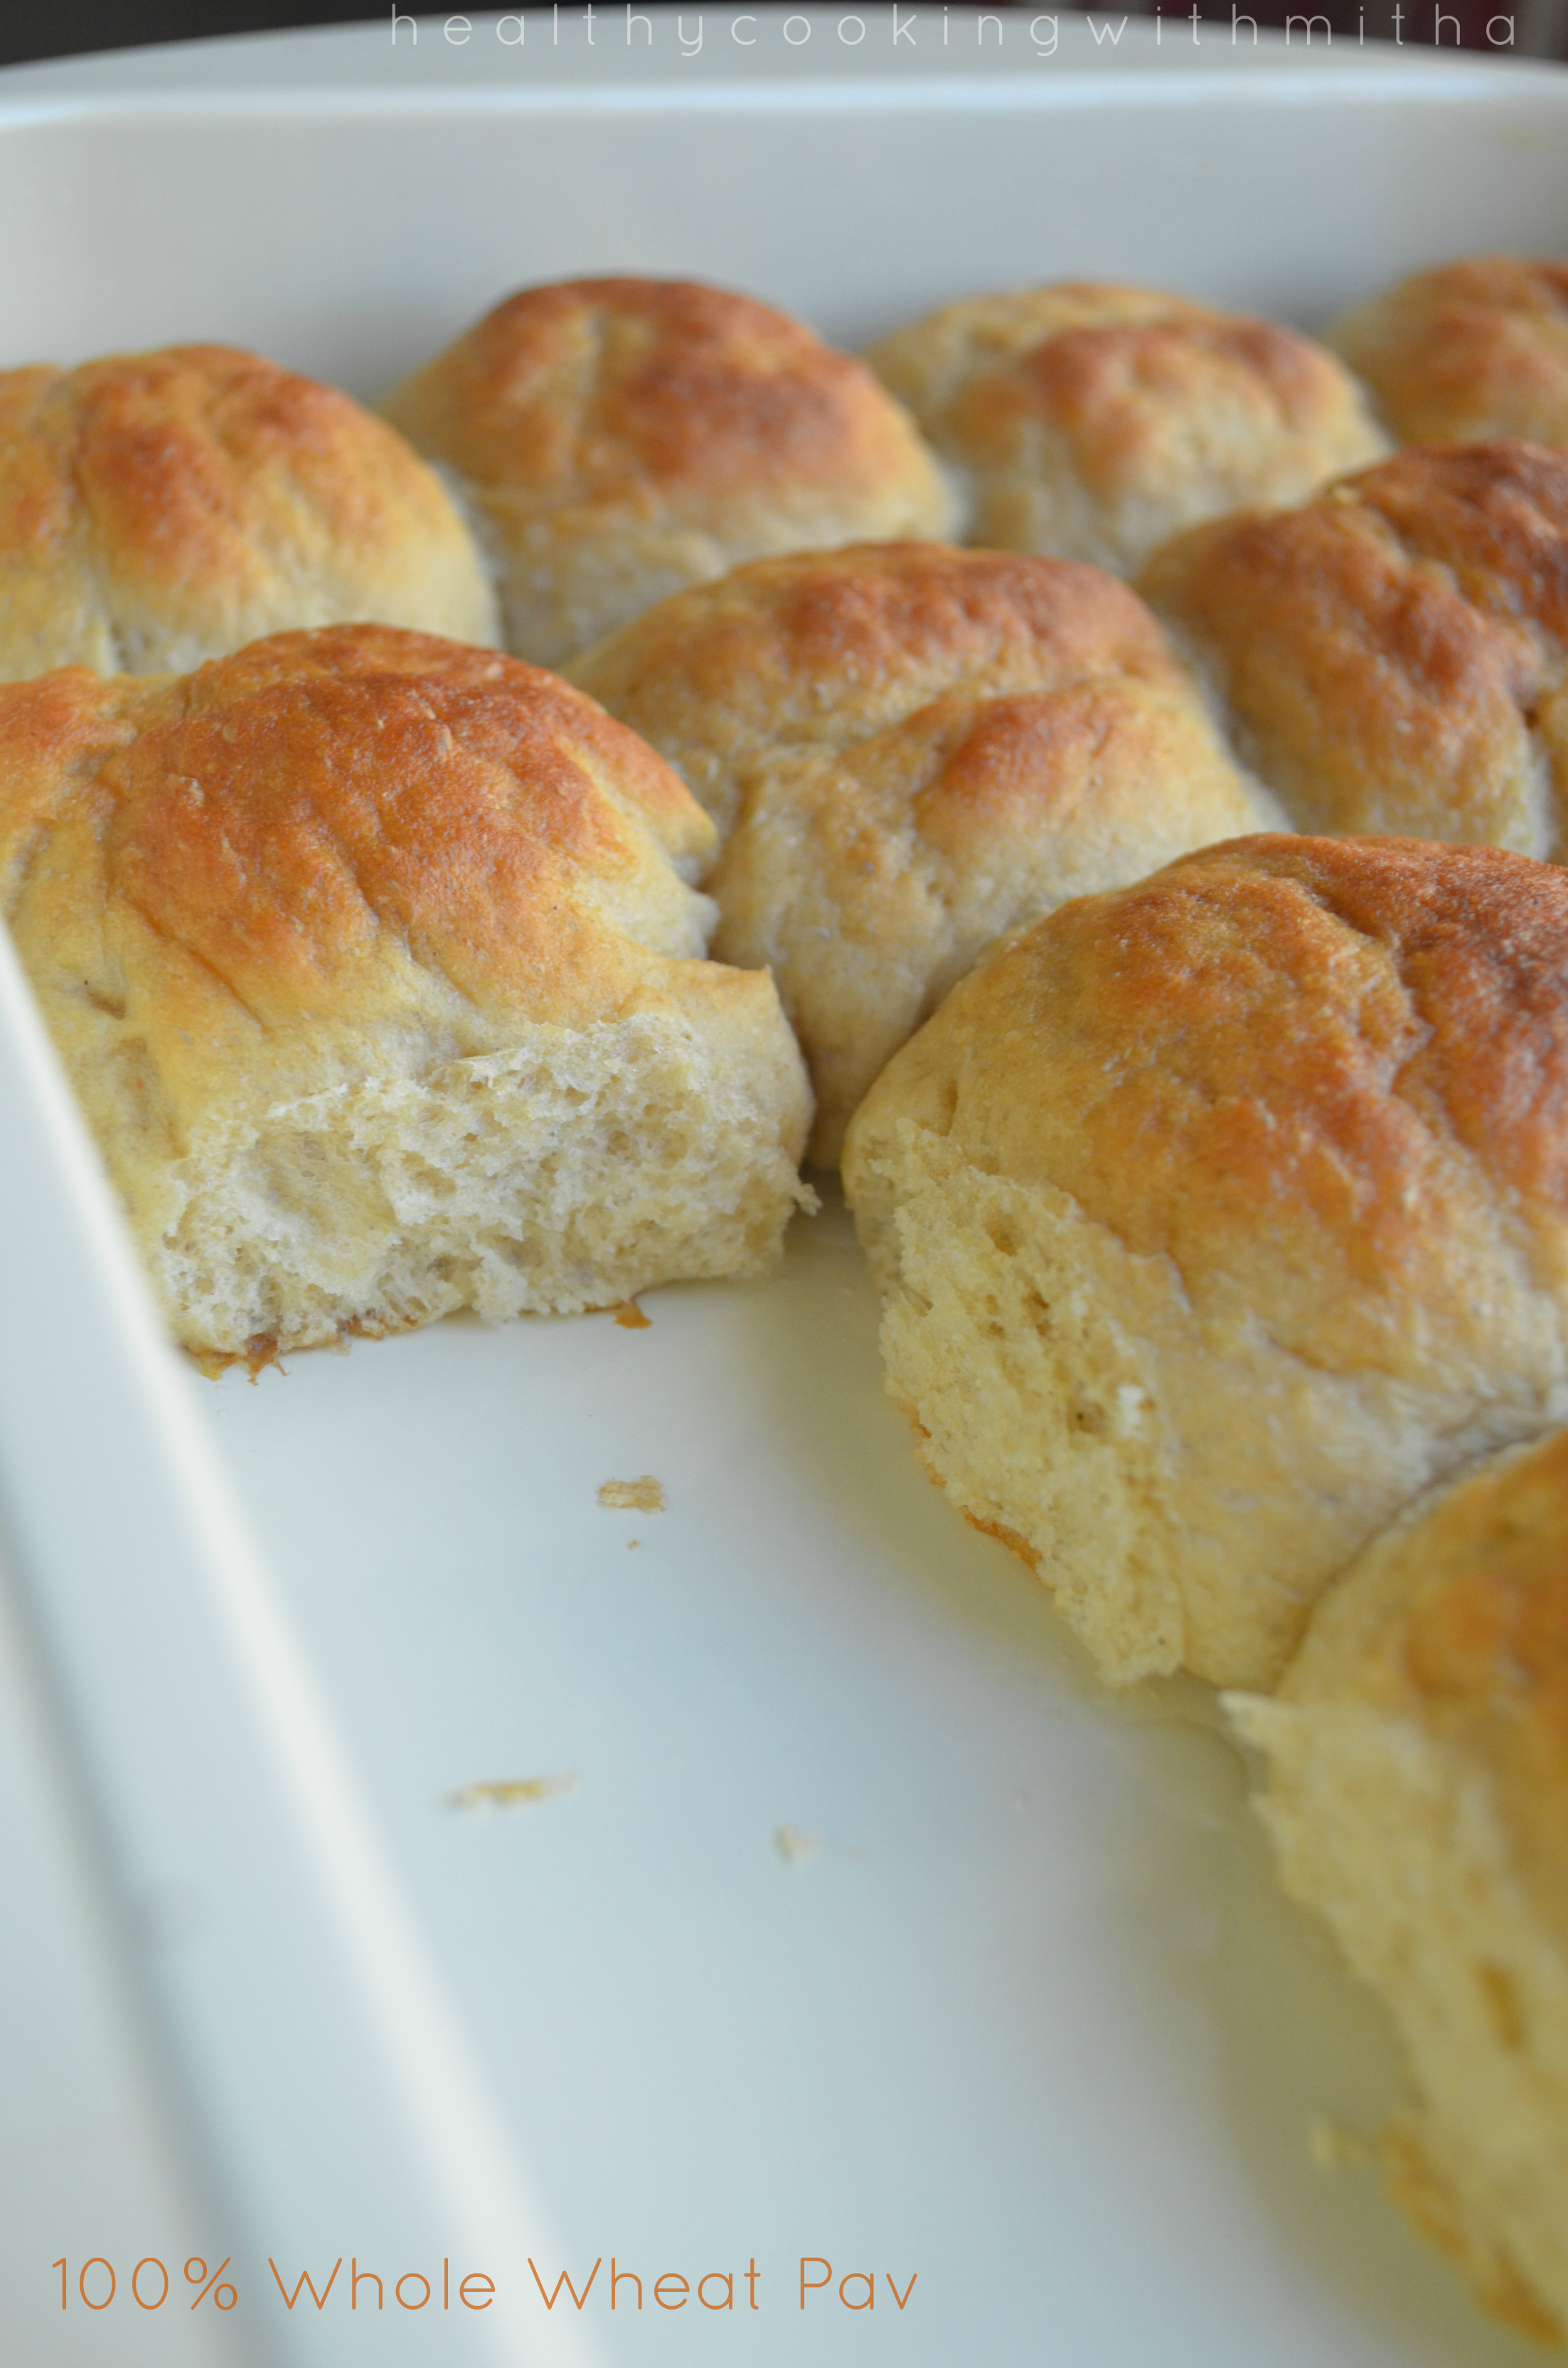
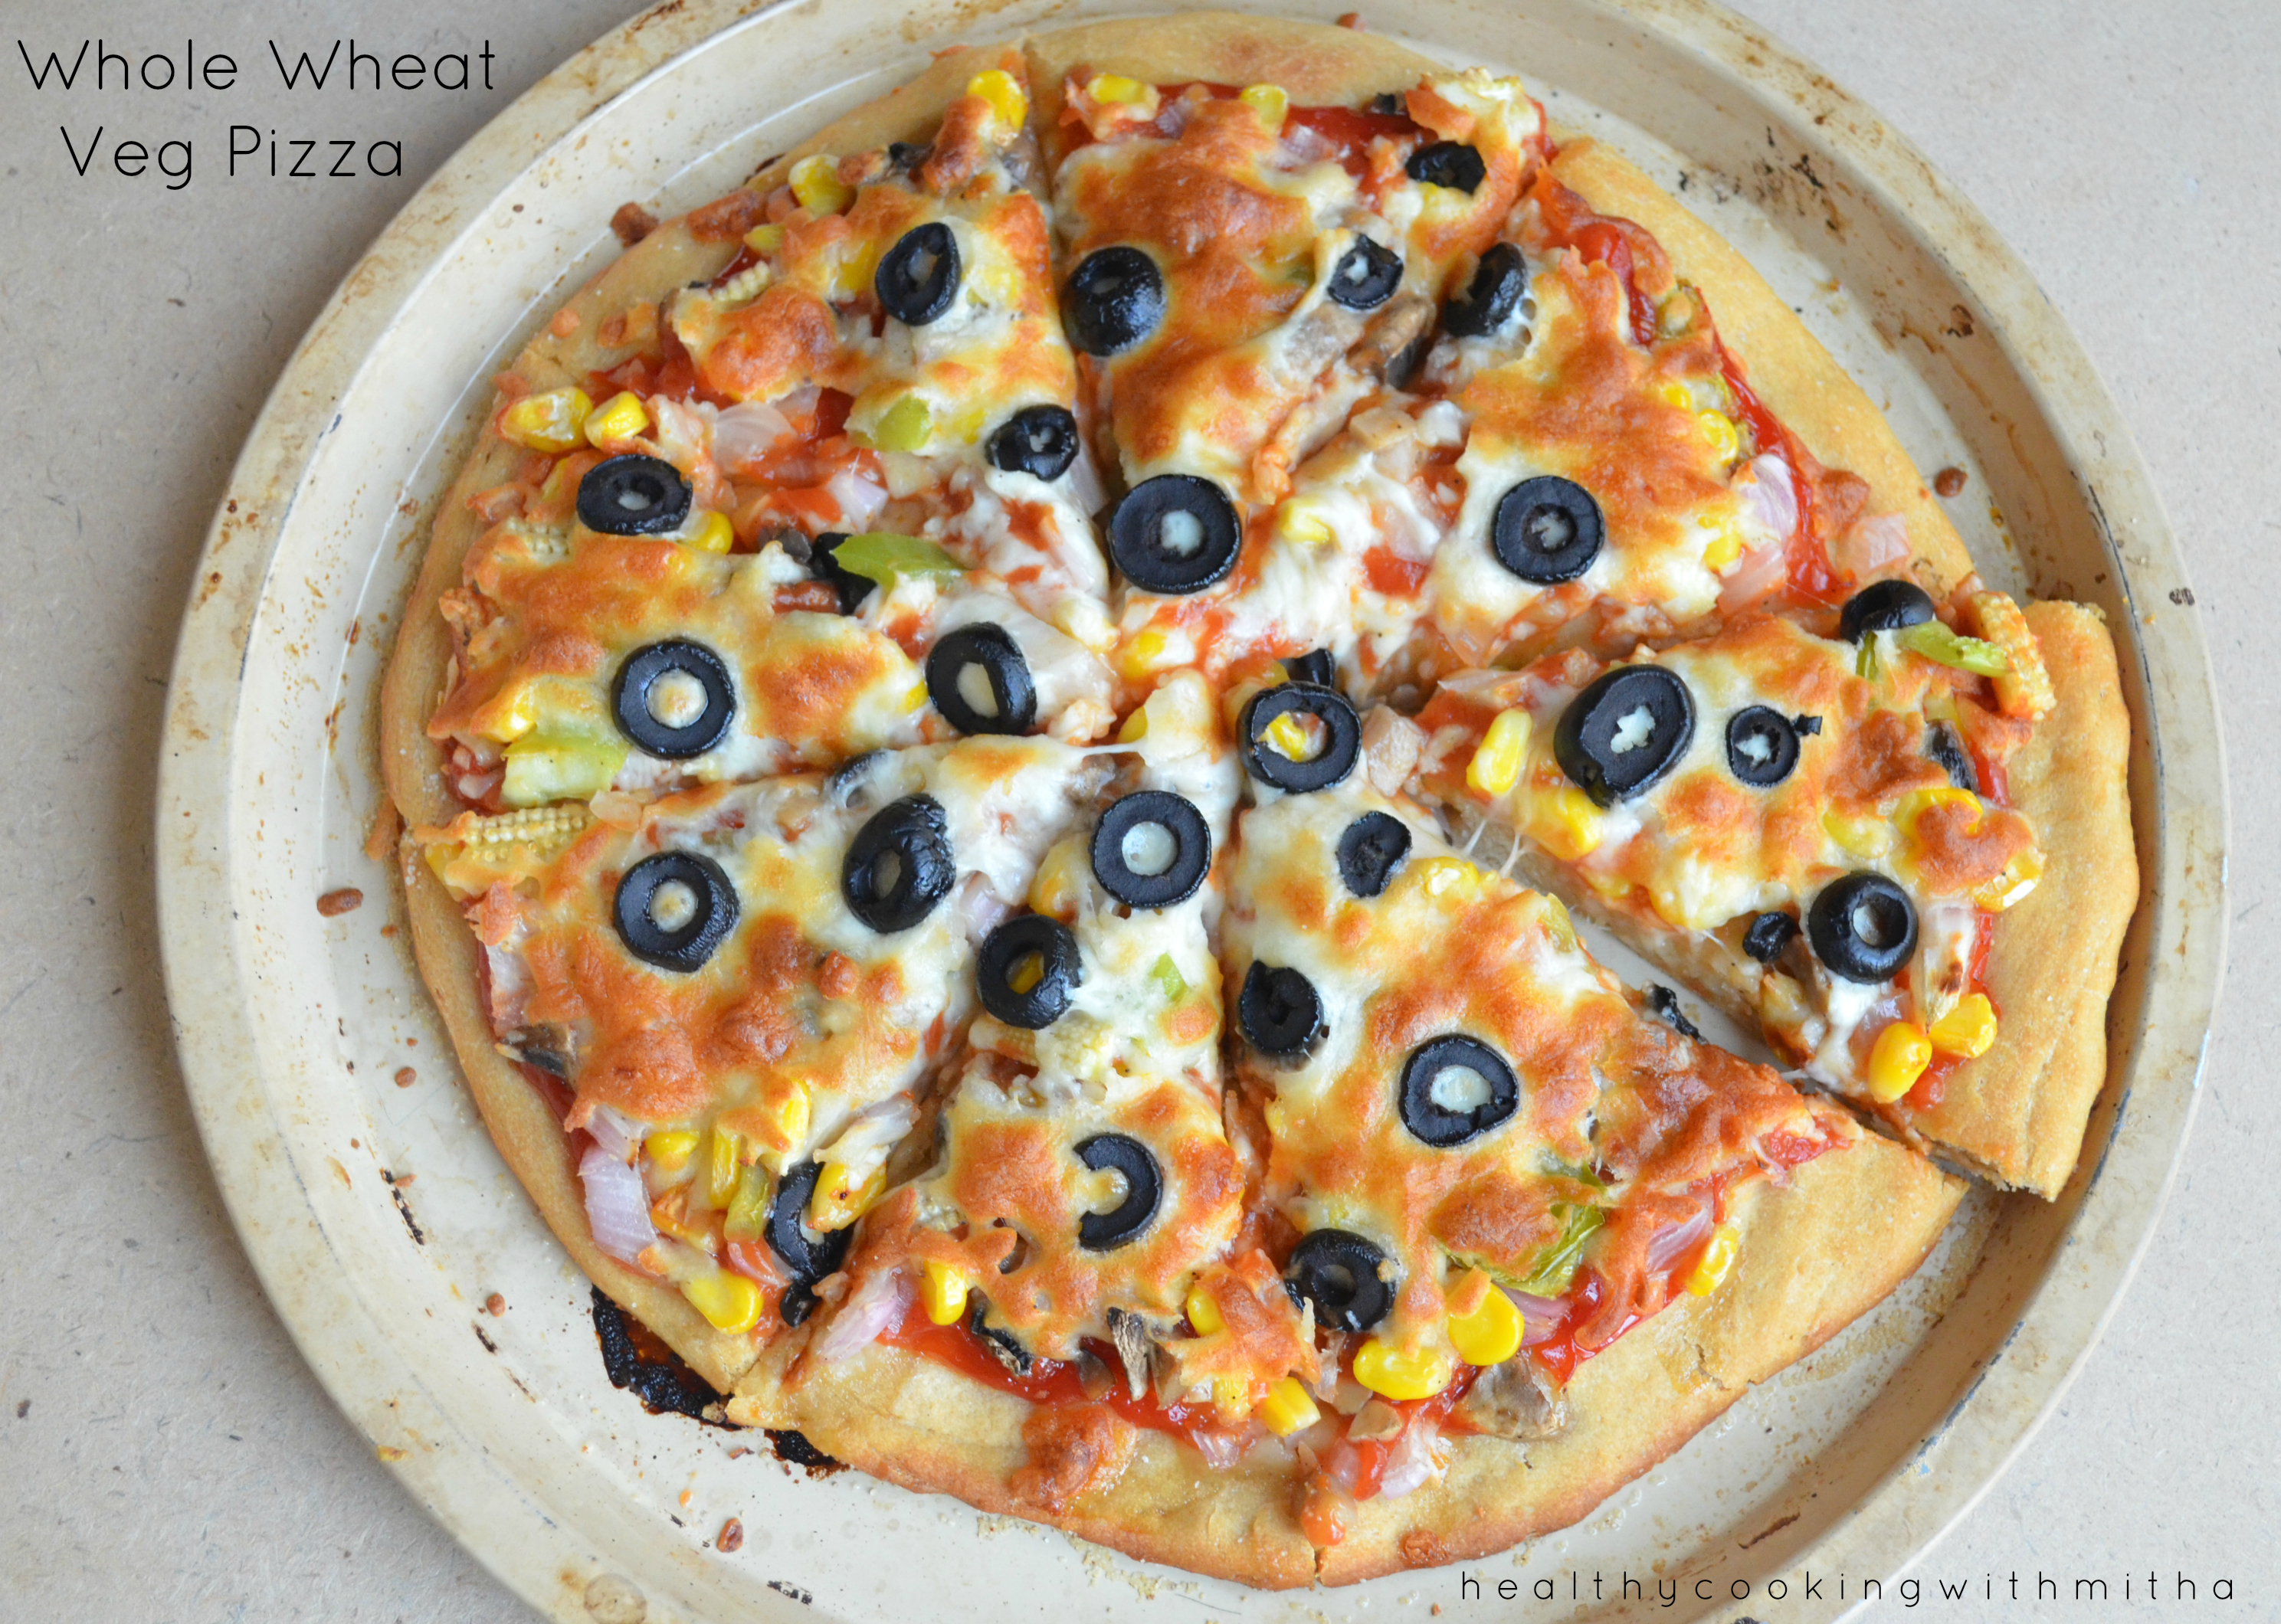
After Whole wheat Vegetable Pizza, if there is one bake I am confident that I can bake well not only for my family, but for others too, it’s these whole wheat Pav. There have been many of our friends who have enjoyed these Pav and they could not believe it’s homemade and made of wheat flour. I have baked a batch of 32 Pavs once for a dinner get together and even though it was a magnitude of hard work, their words of praises and just seeing them eat made me so happy.
These are very filling unlike maida ones which are softer in texture but contain no nutritional value. Especially after two kids, I have to think twice before I cook whether they will like it or not and it should be healthy as well. These Pavs are loved by both kiddos and that’s why, I regularly bake them.
Click on the image to save the recipe on Pinterest
I thank my readers for always requesting recipes which forces me to write them down. Else I would never add them here. My motive is, if it helps atleast one, then my blogging is worth it. Hope you all bake these Pav for your family. Do let me know if any doubts. Happy baking!
RECIPE:
Ingredients: { Makes 10 Pavs}
2 Cups whole wheat flour/ Atta ( I use Pillsbury brand as it works best)
1 Cup Milk (may require a little more depending on the brand of wheat flour)( can also use milk powder+water)
20 grams Butter
1 1/2 Tbsp Milk powder
1 Tbsp Cane Sugar (can substitute with regular sugar)
2 tsp Instant yeast OR 2 1/2 tsp dry active yeast
1 tsp Salt
Little milk and butter for brushing over the pav
Oil to brush the pan and dough
Step by step recipe:
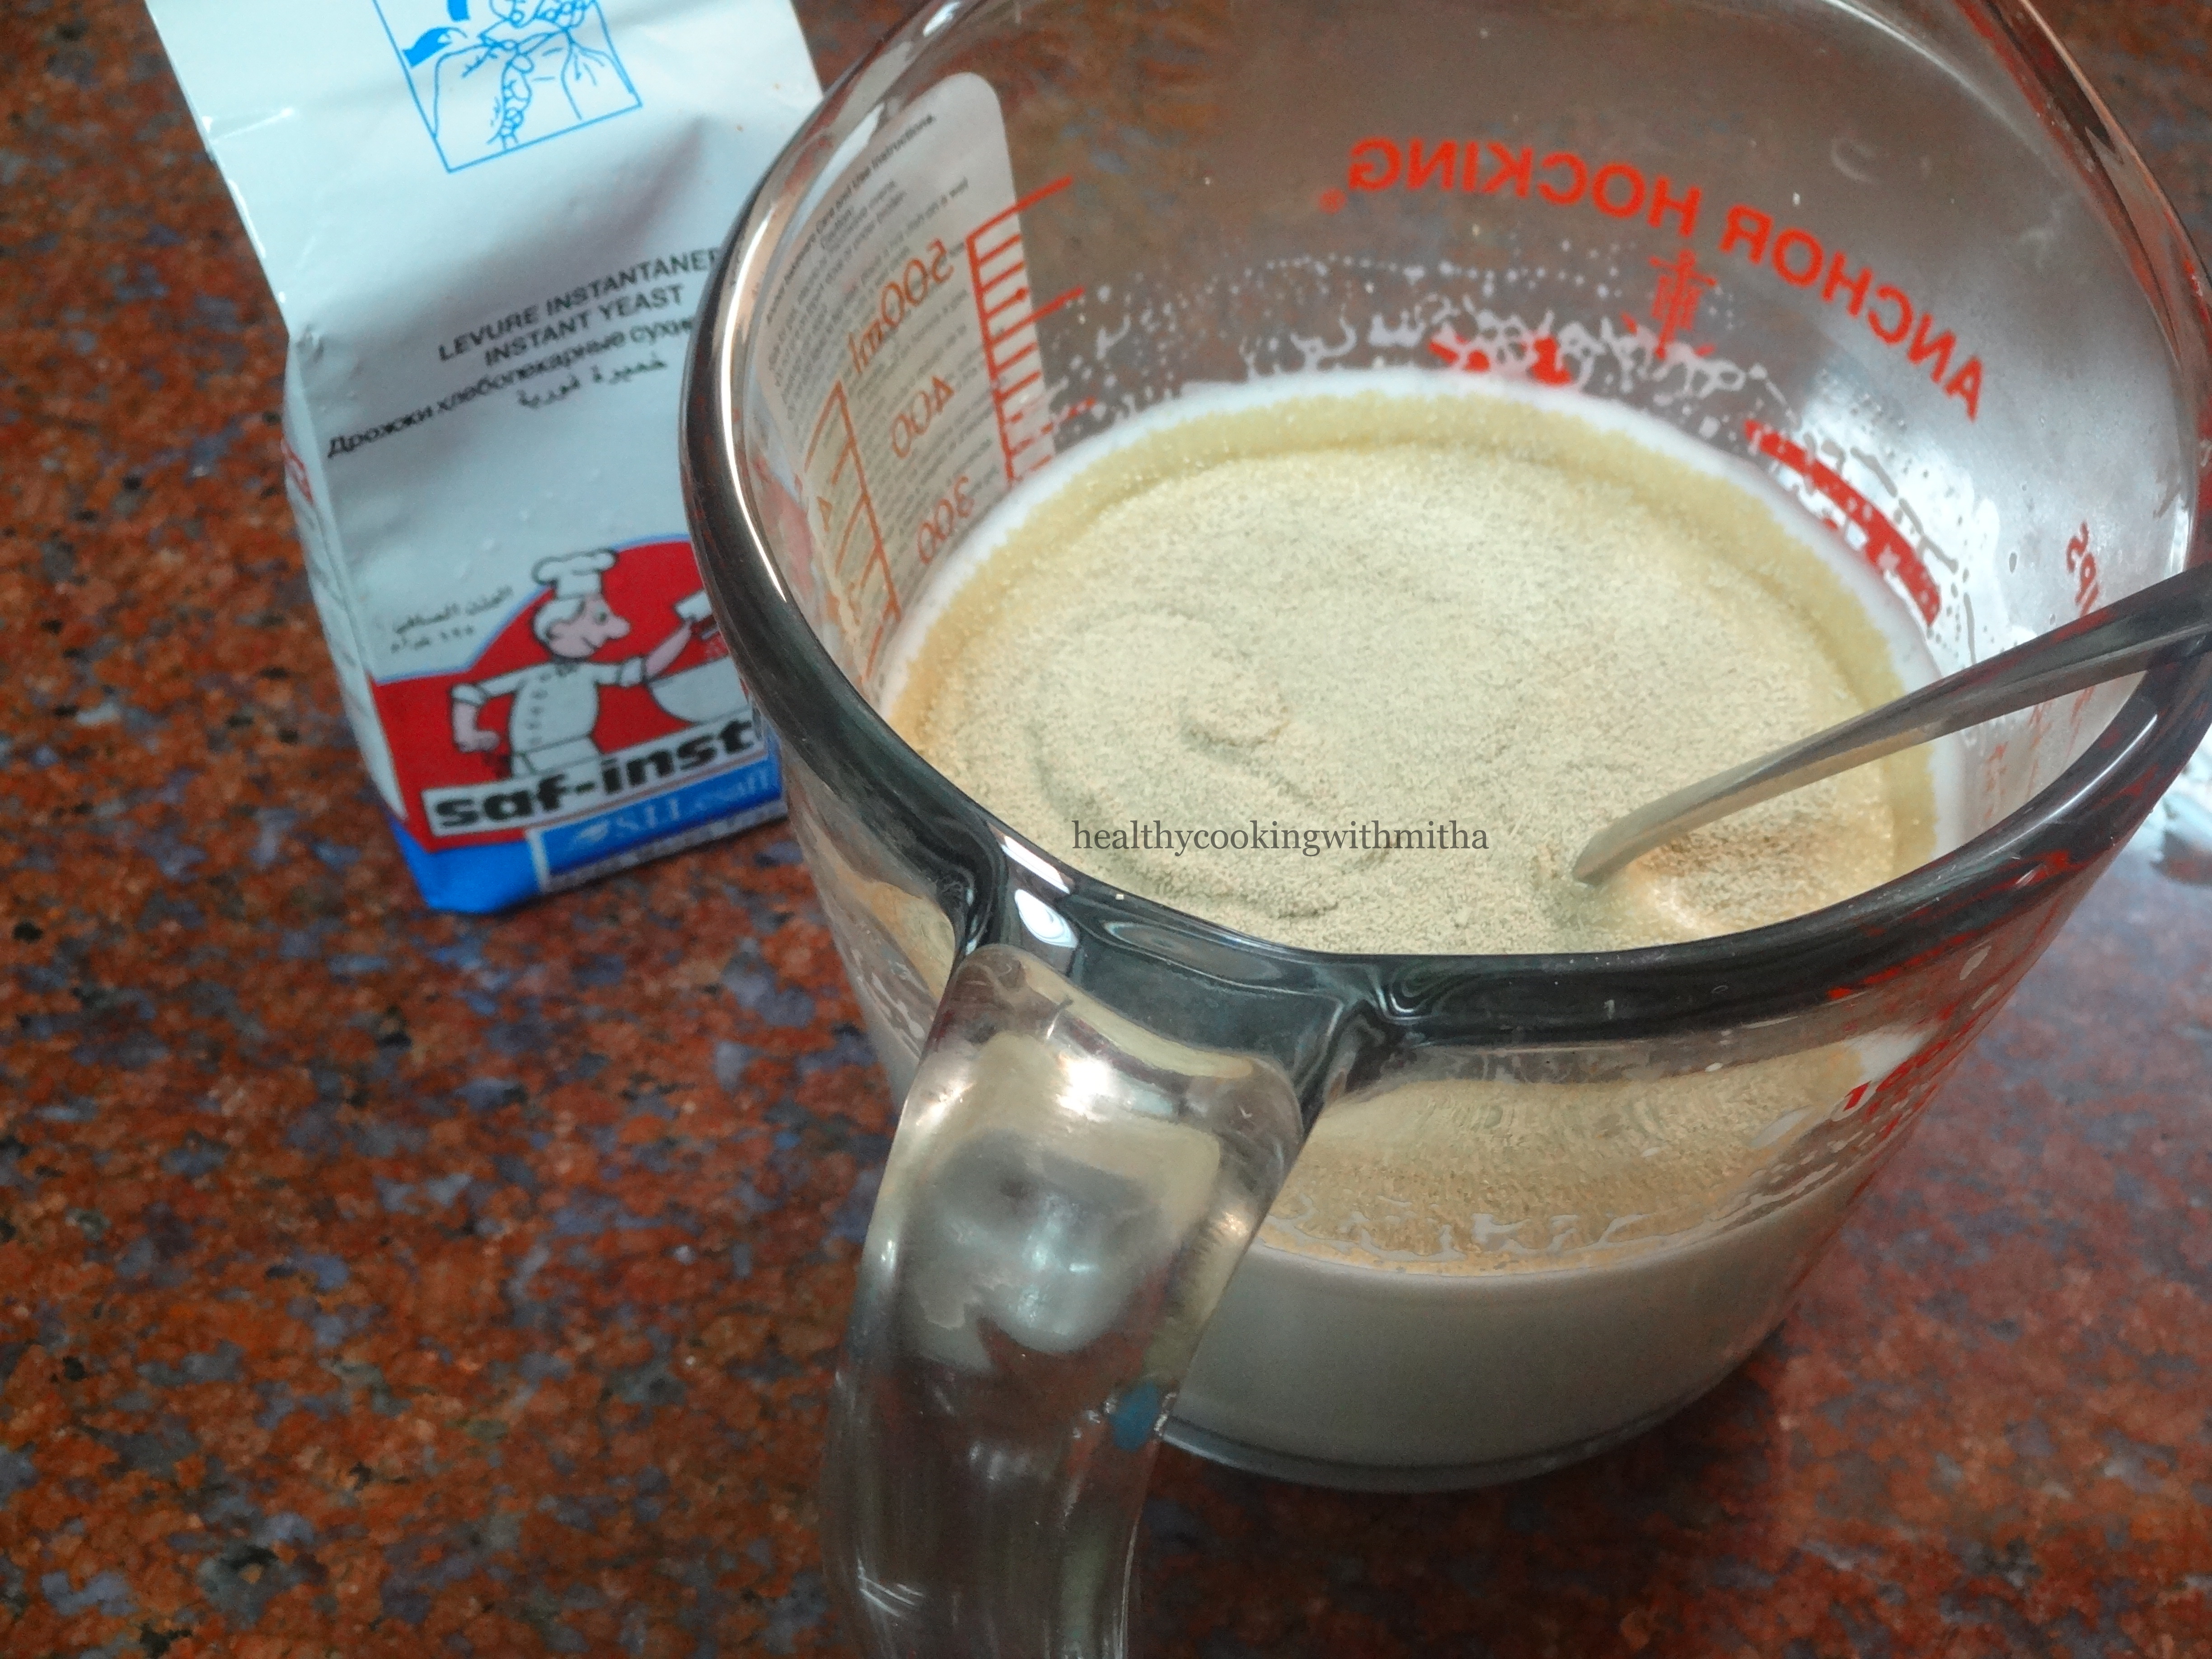
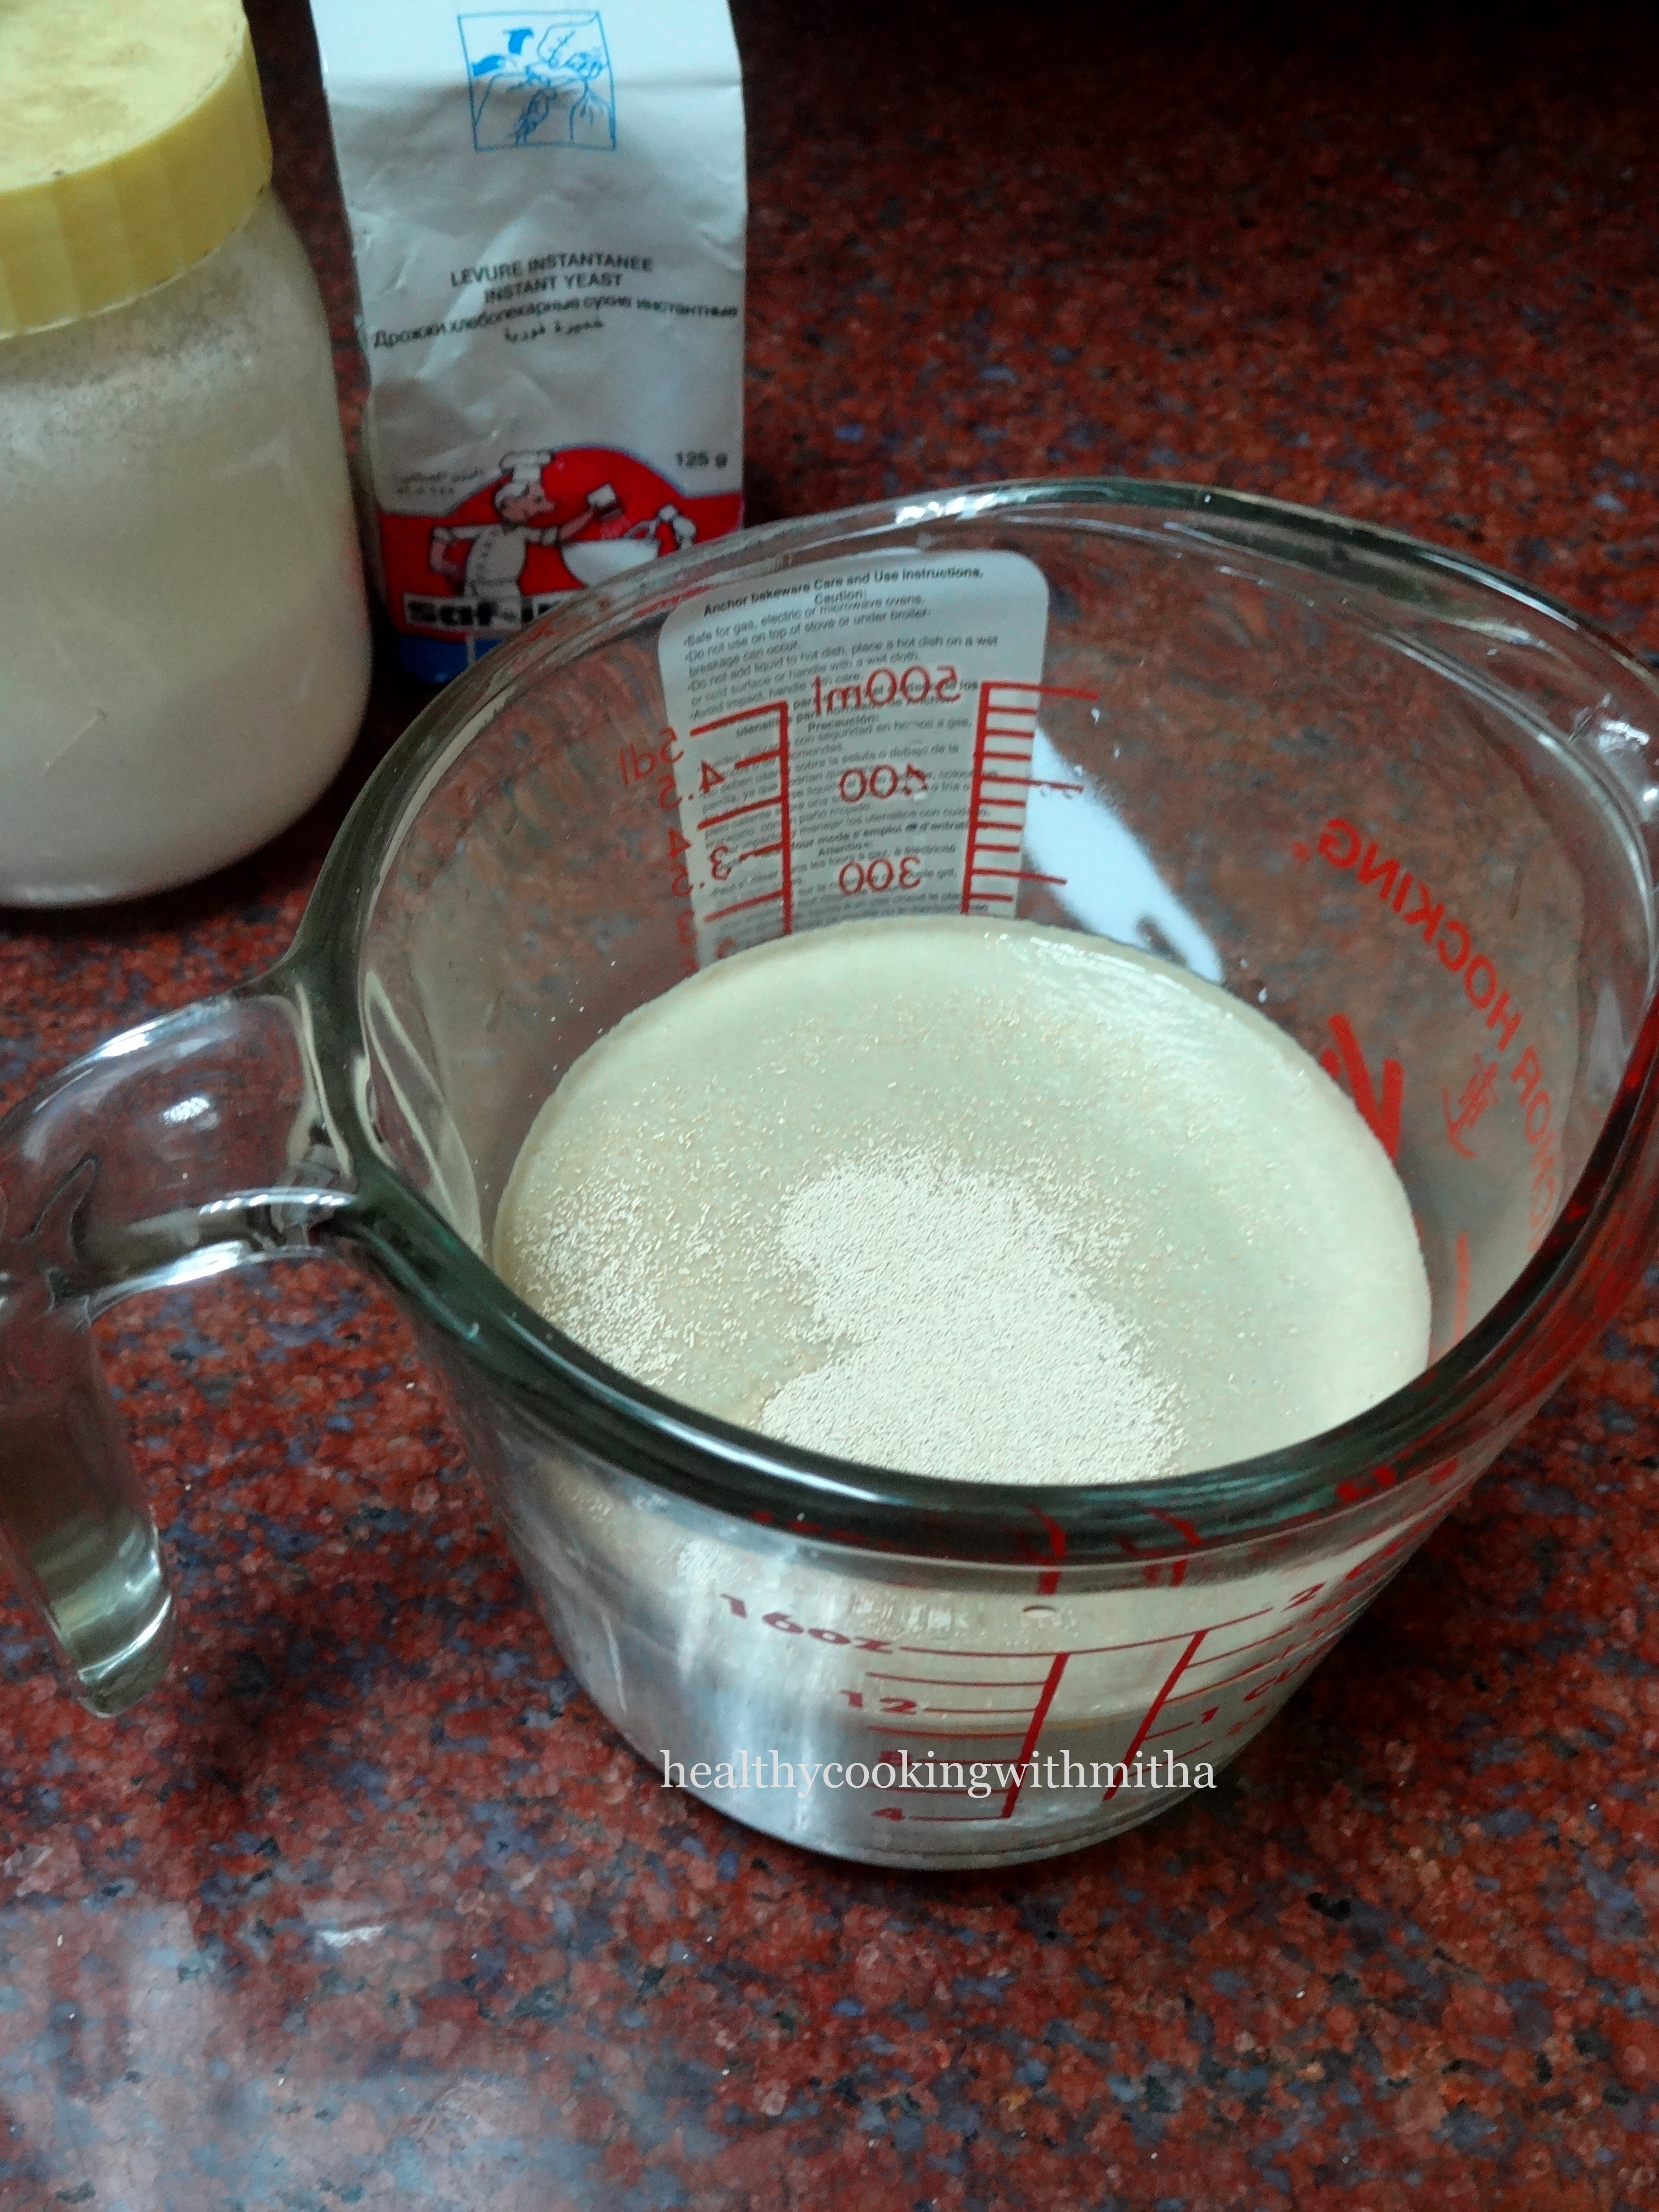
1. Warm milk in a pan or microwave. It should NOT be very hot or cold. Just lukewarm. Add in cane sugar and yeast. Mix once and allow to proof (ie keep aside for about 10 mins).
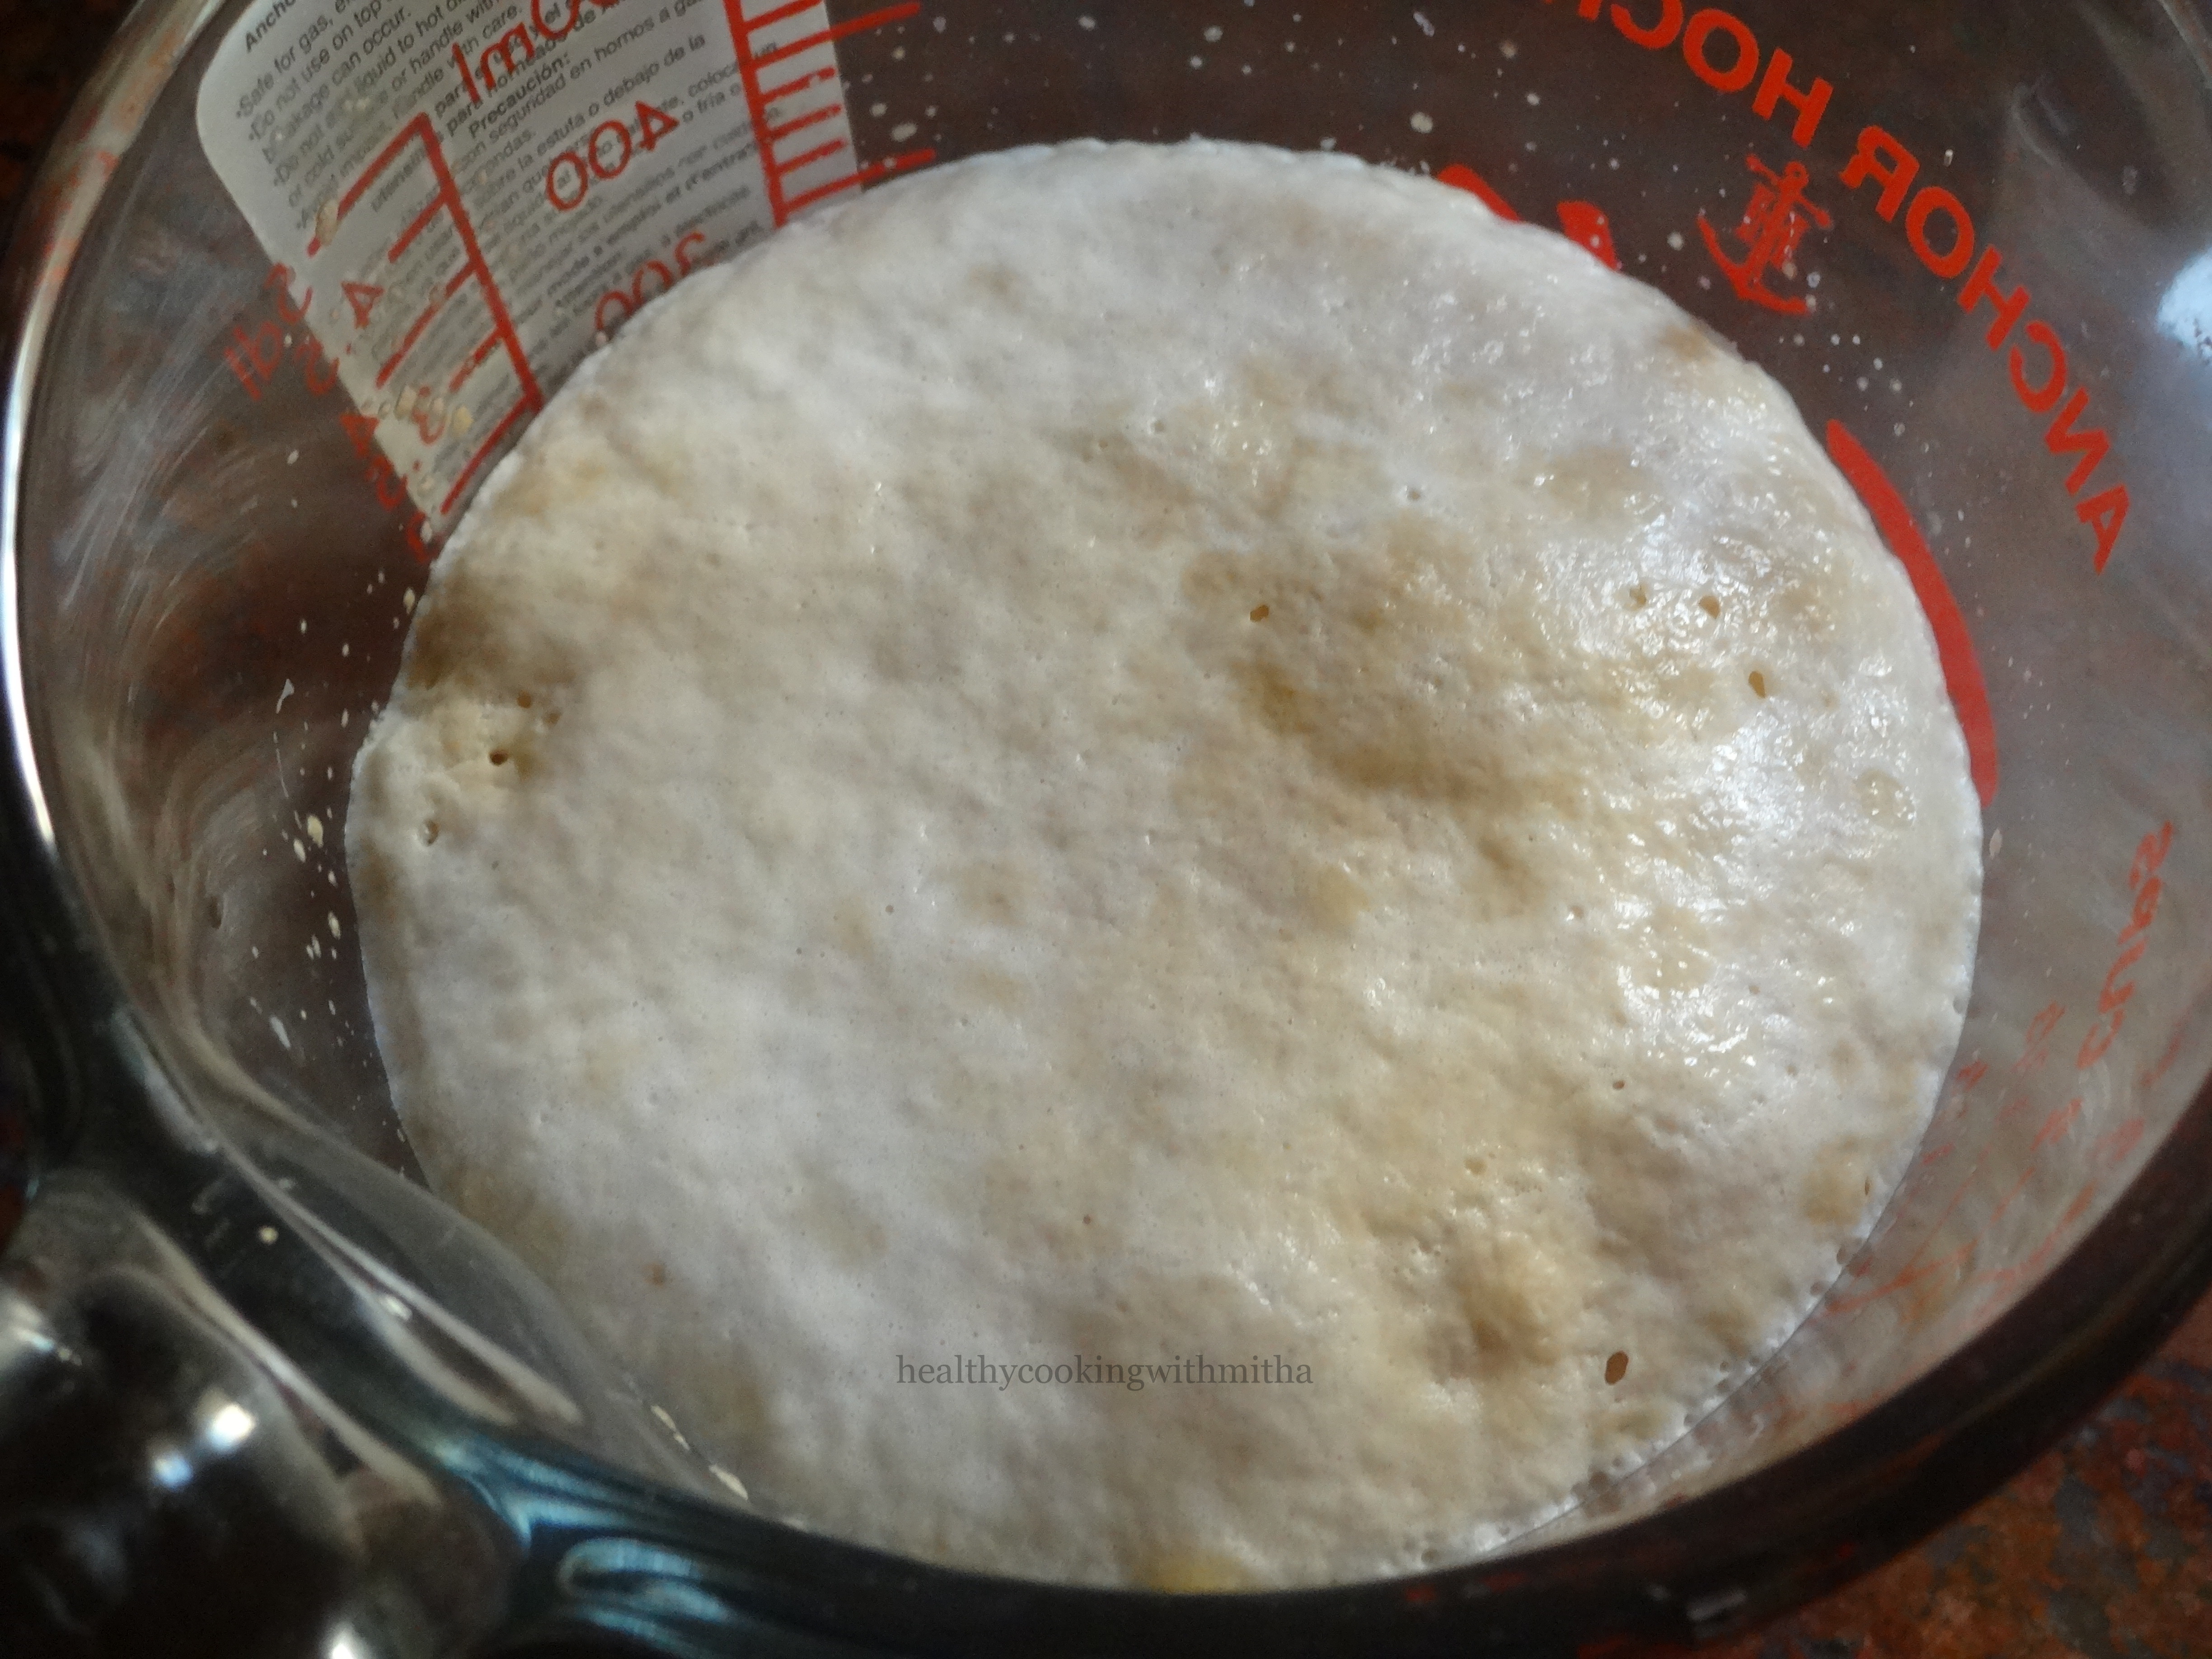
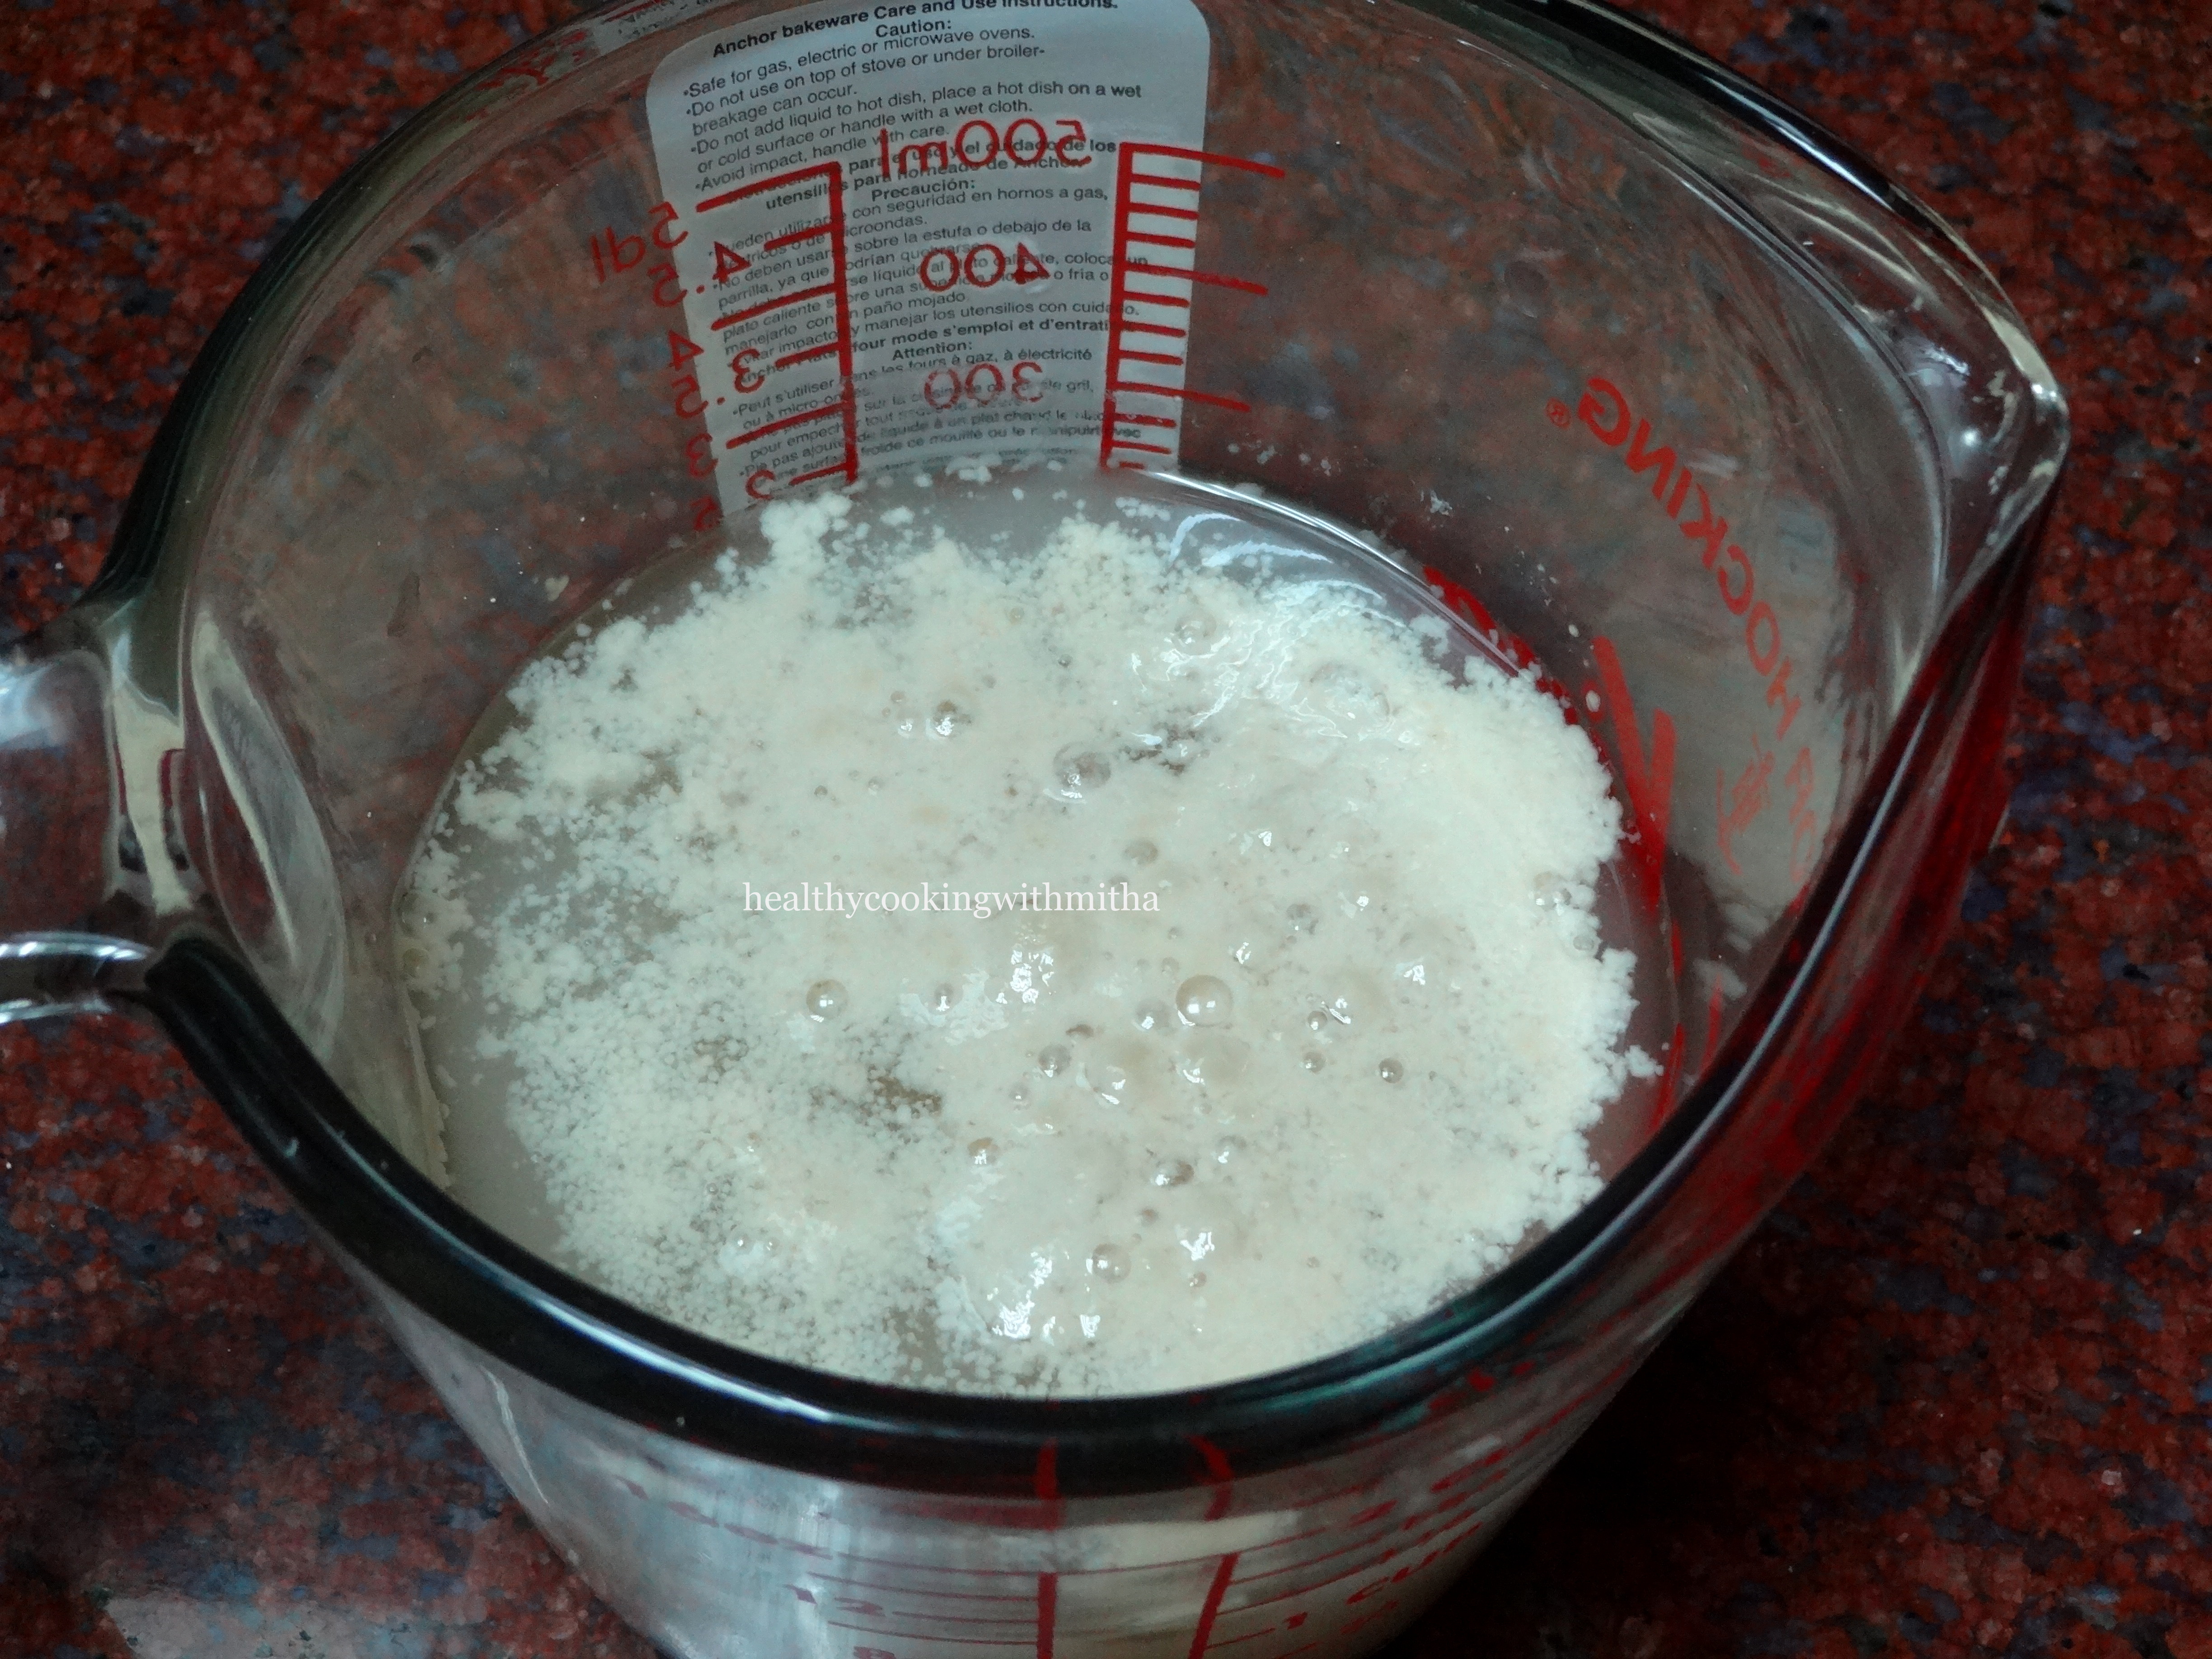
Yeast after proofing. It should rise like this with bubbles and have a yeasty aroma.
Note: If it does not proof, discard the batch. It means the yeast has expired or the milk was too hot or cold. Don’t use it to make Pav as the pav will turn hard.
Tip: When in doubt, best is to use the yeast in lukewarm water first and see if it proofs instead of wasting milk.
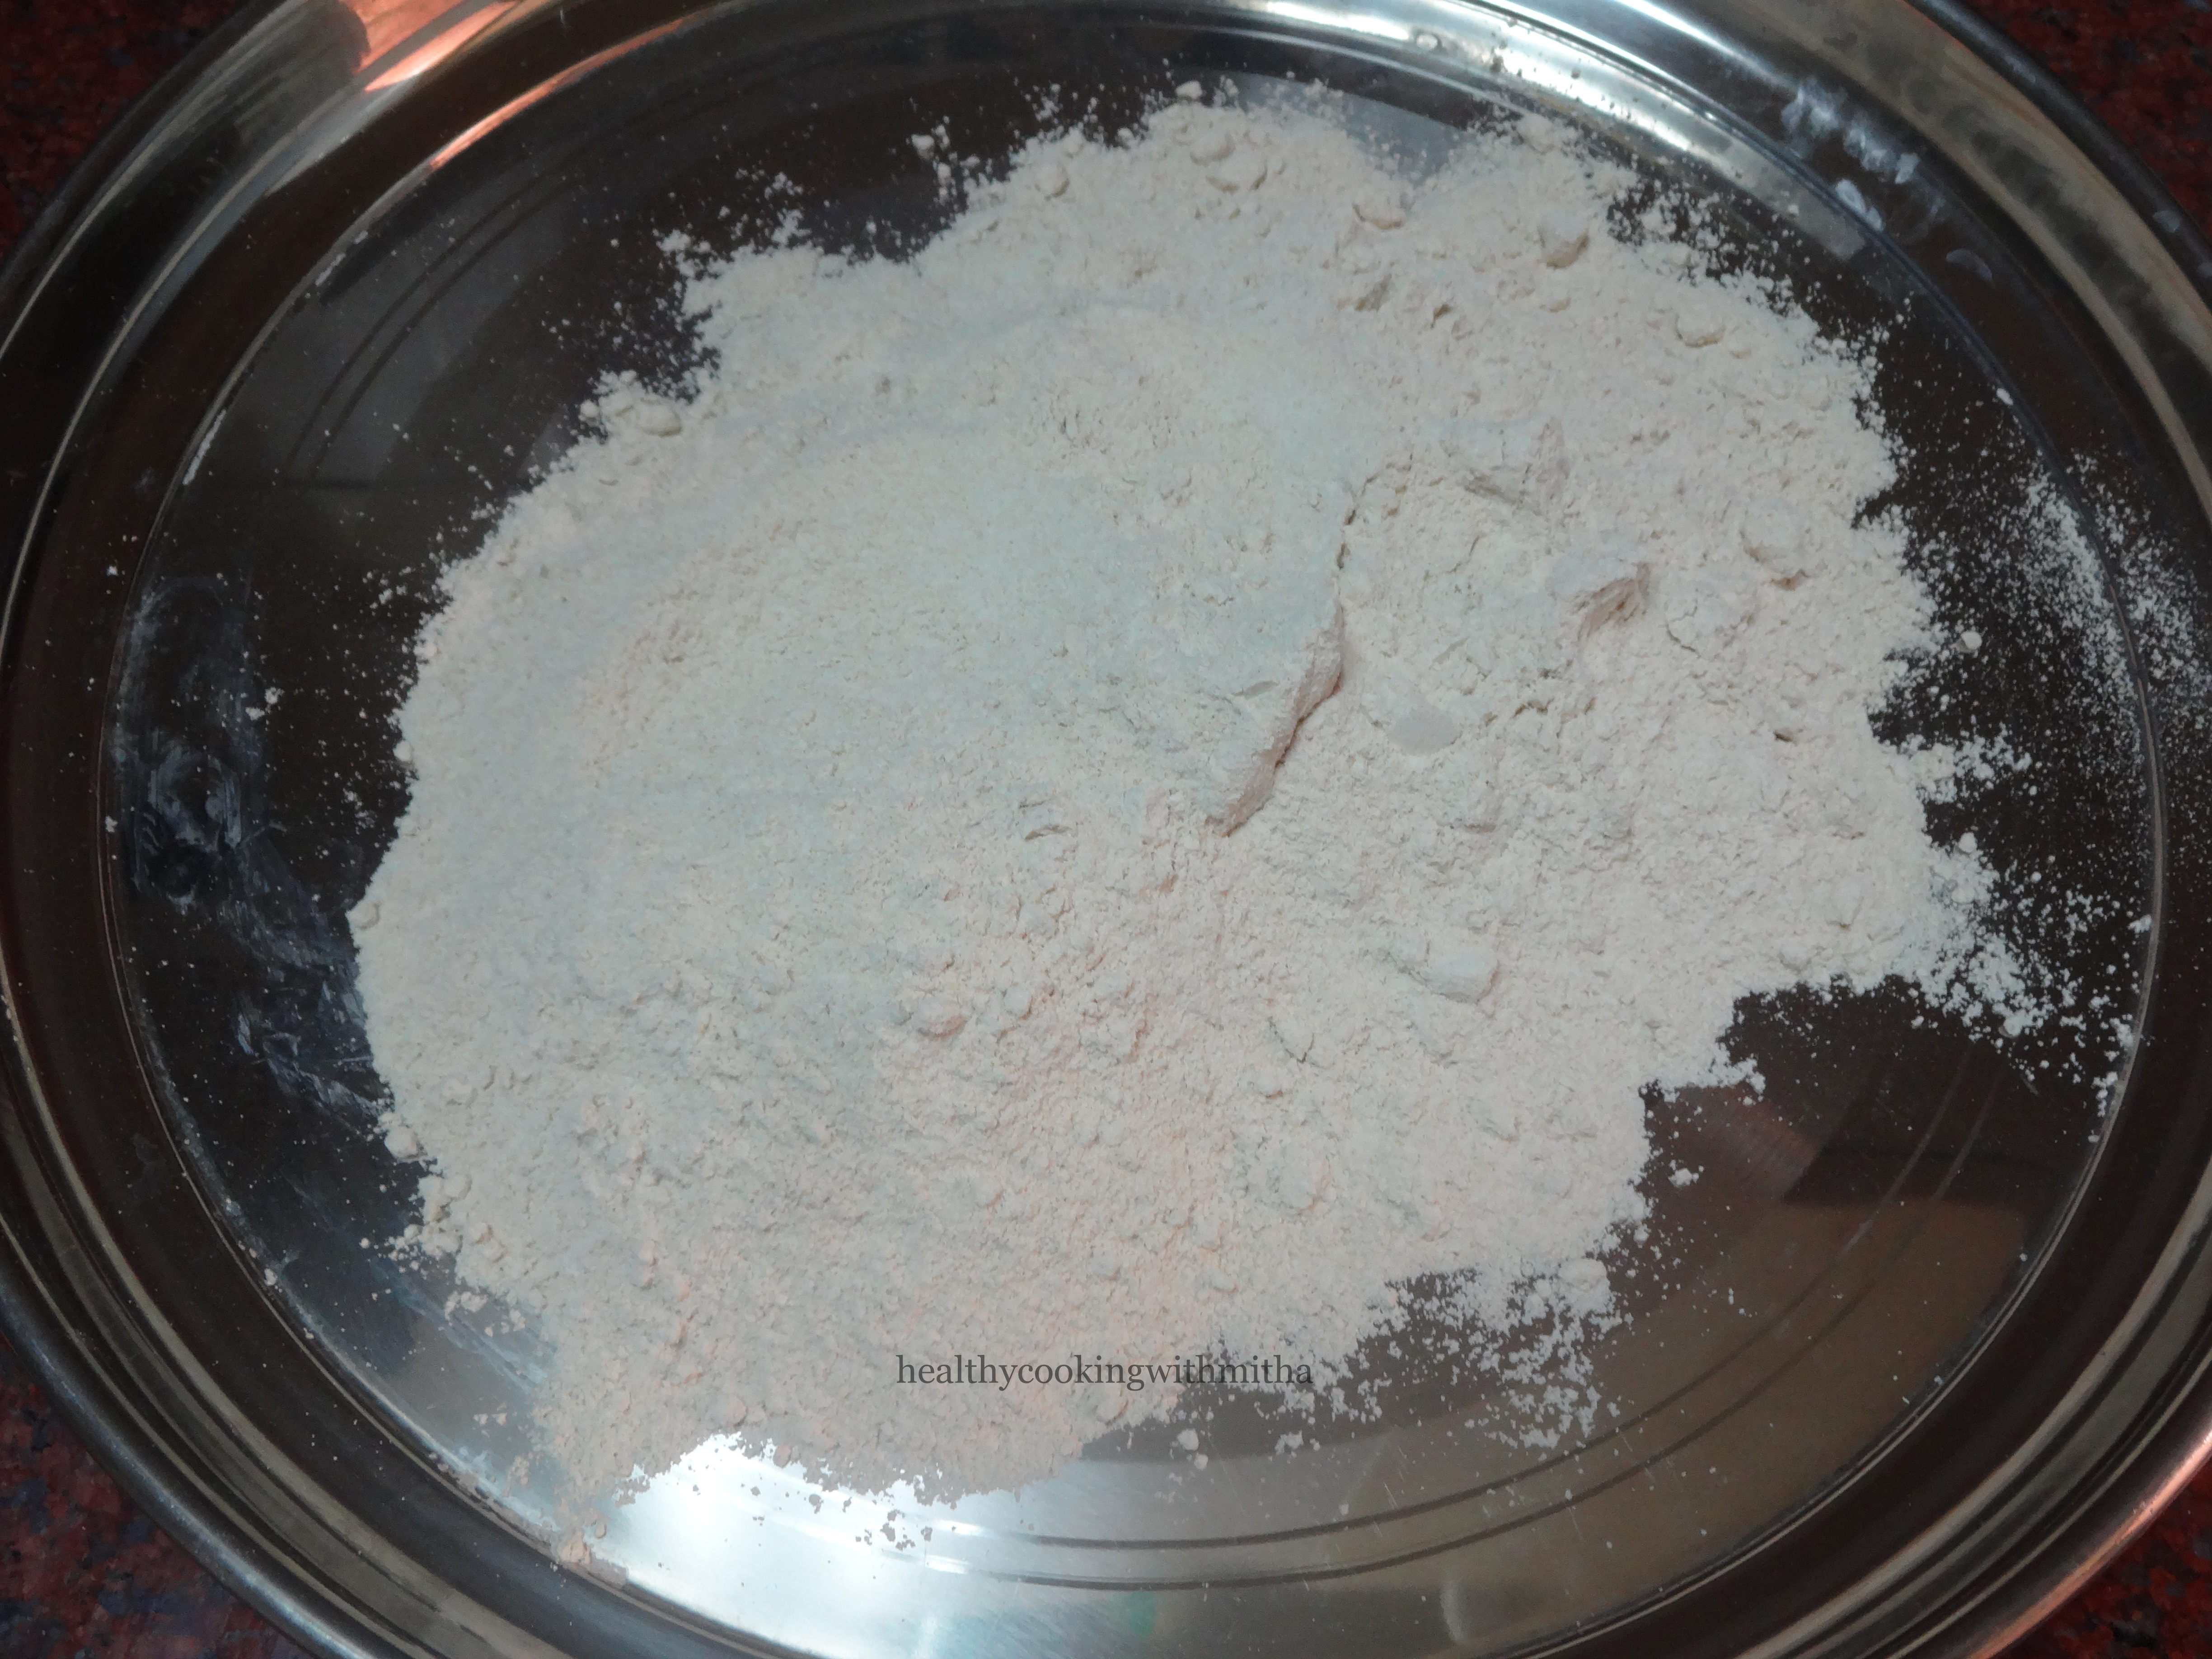
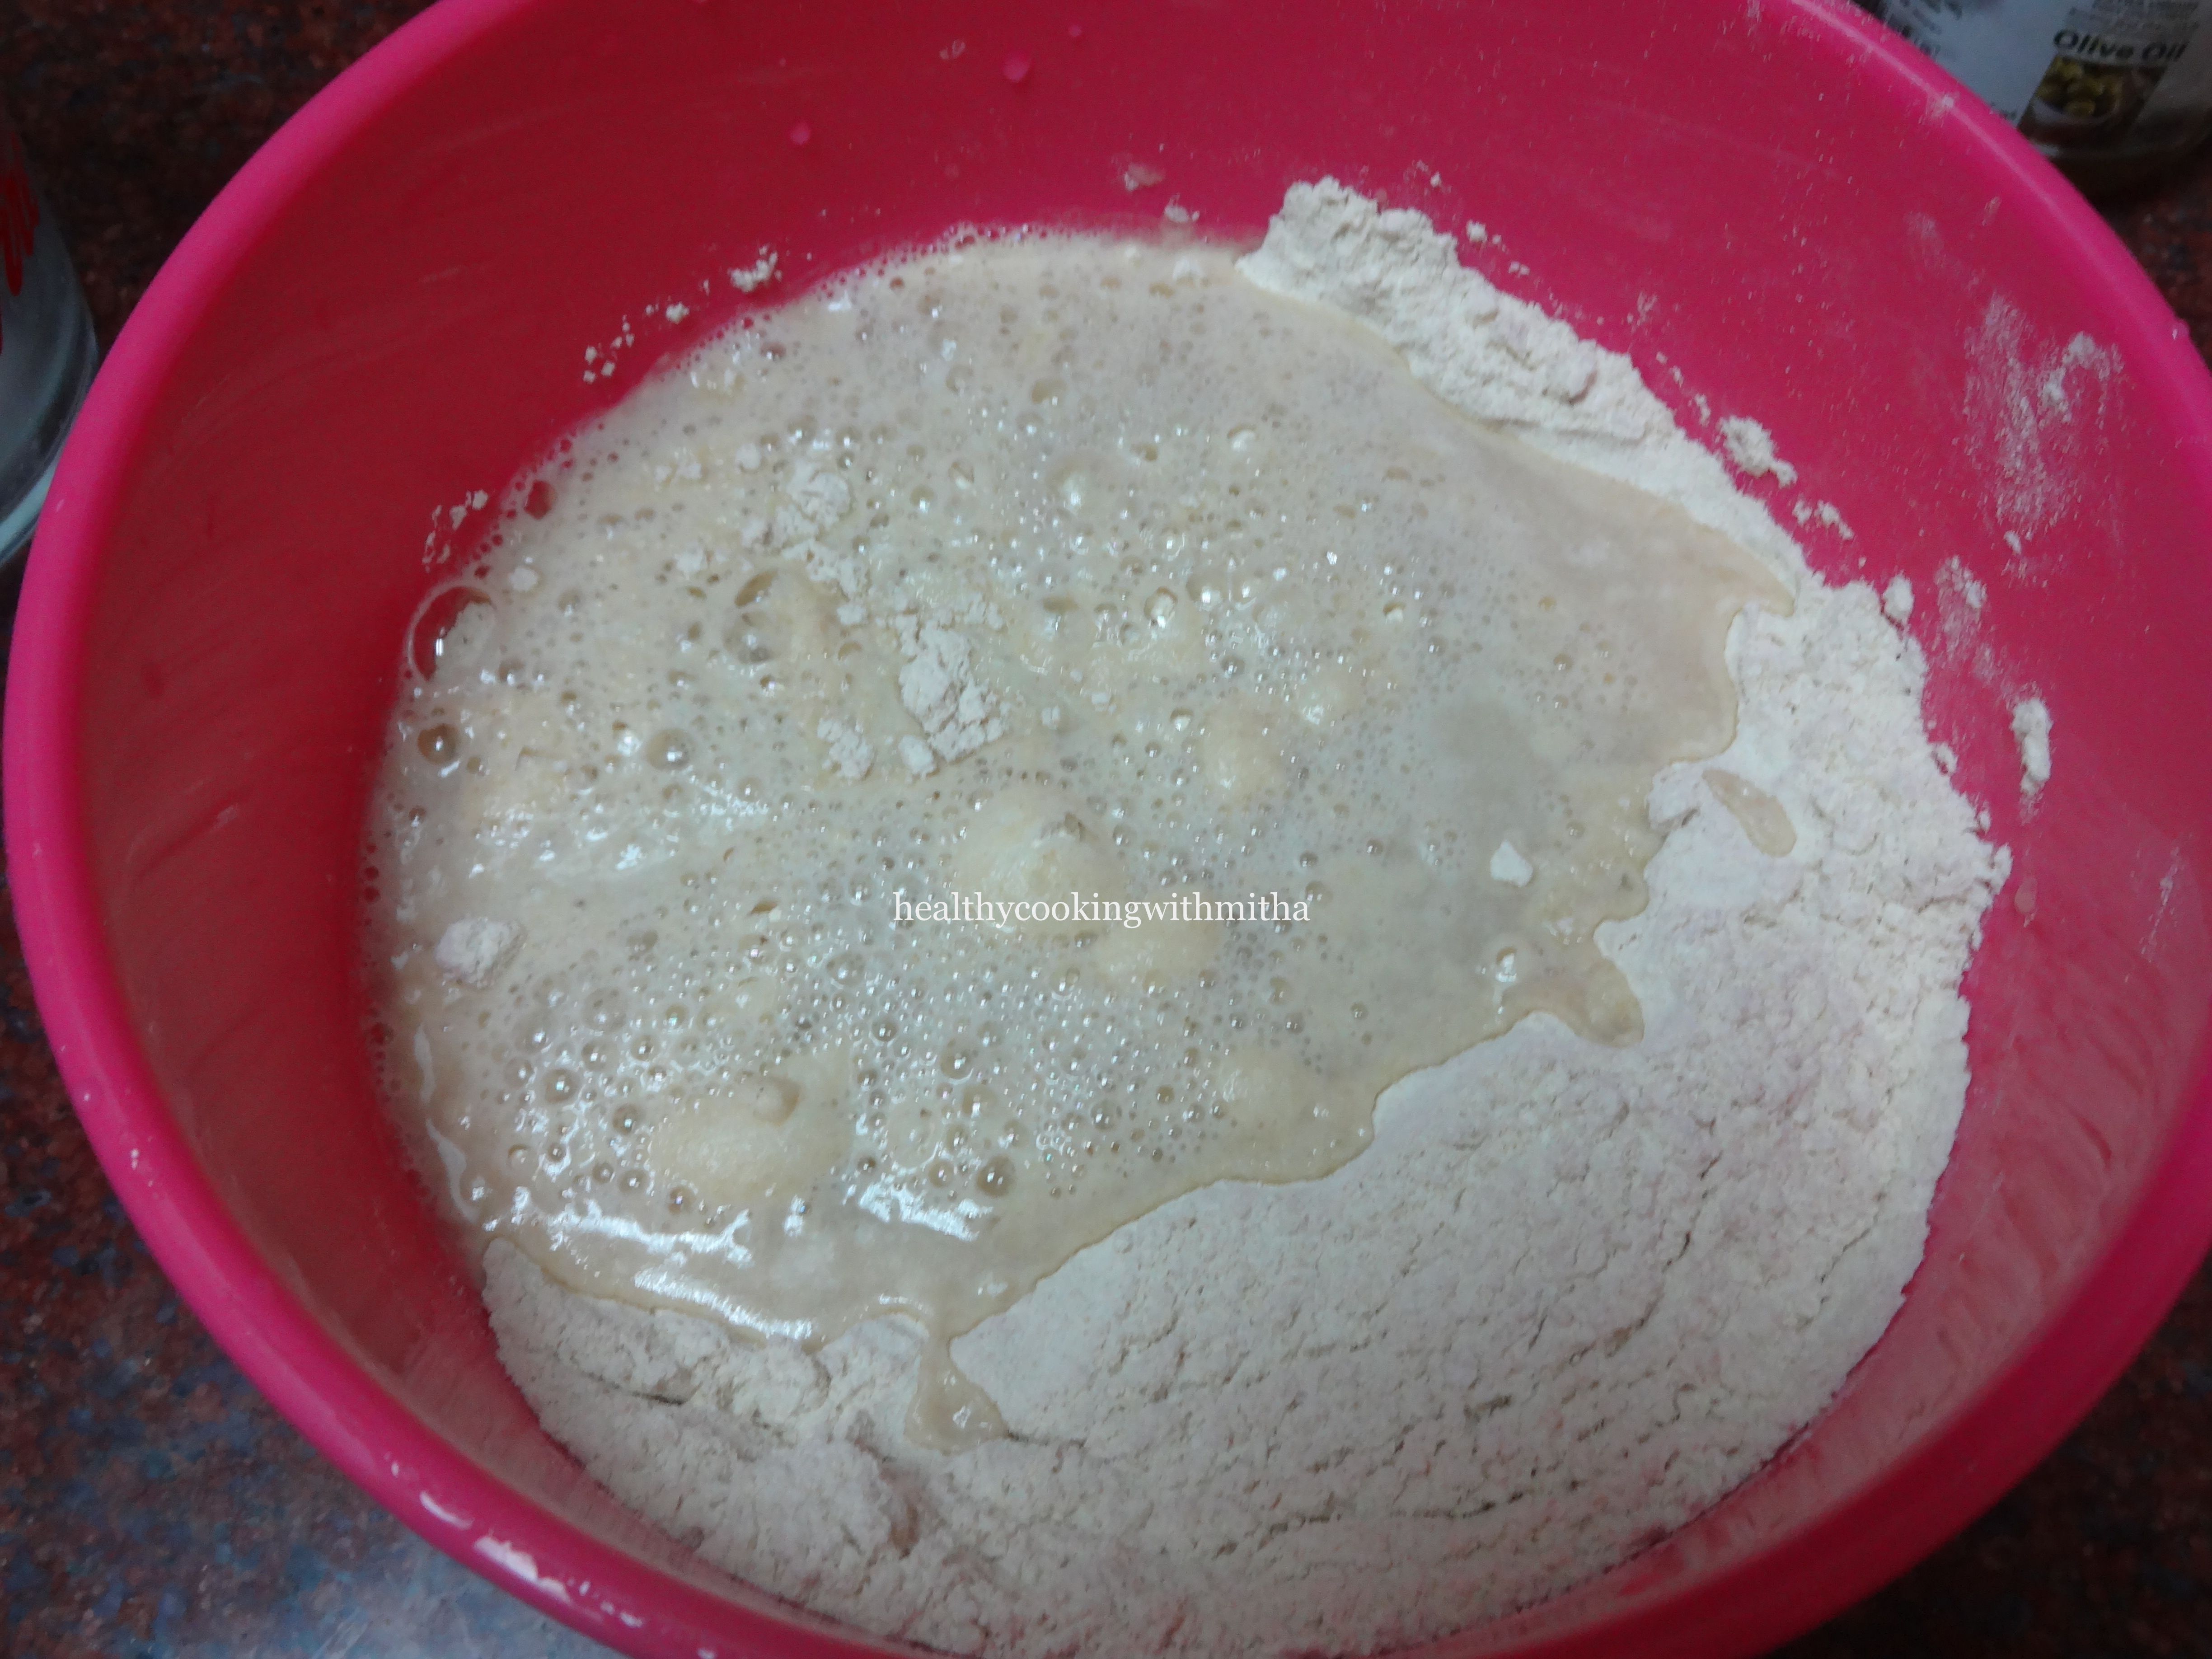
2. In a big bowl or plate, take wheat flour. Add in salt and milk powder.
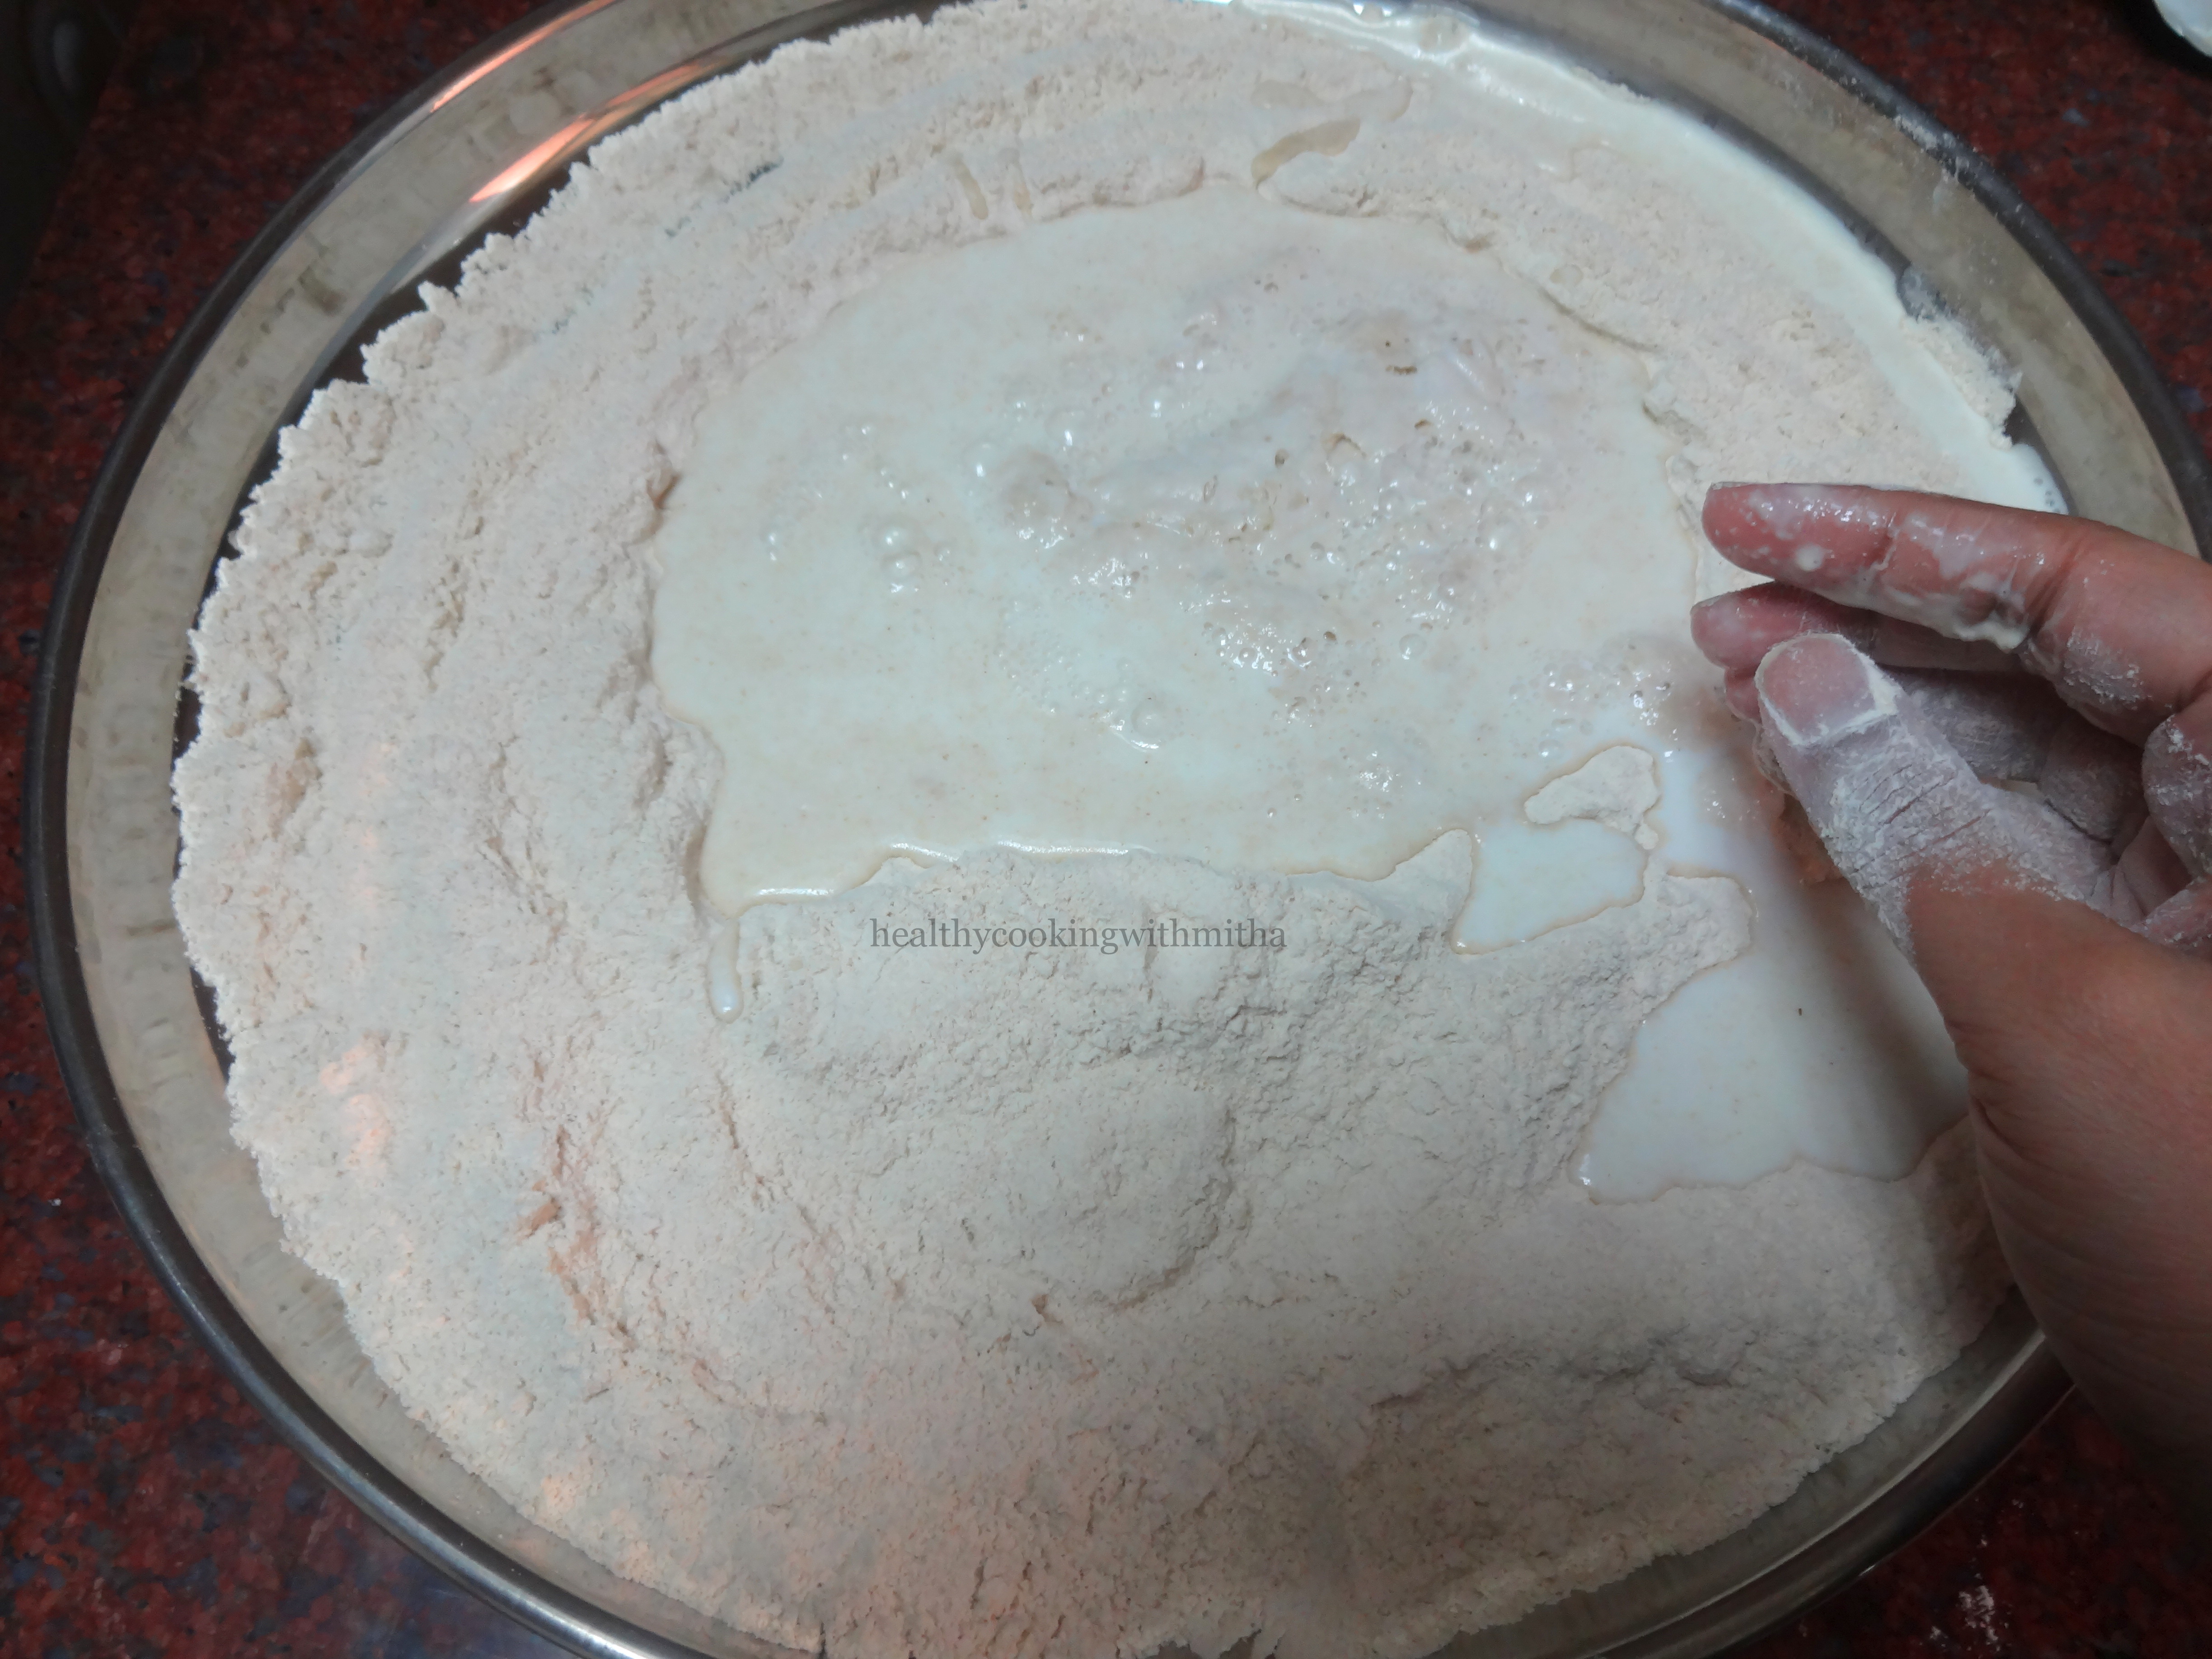
3. Now make a well in the center and add the proofed yeast milk.
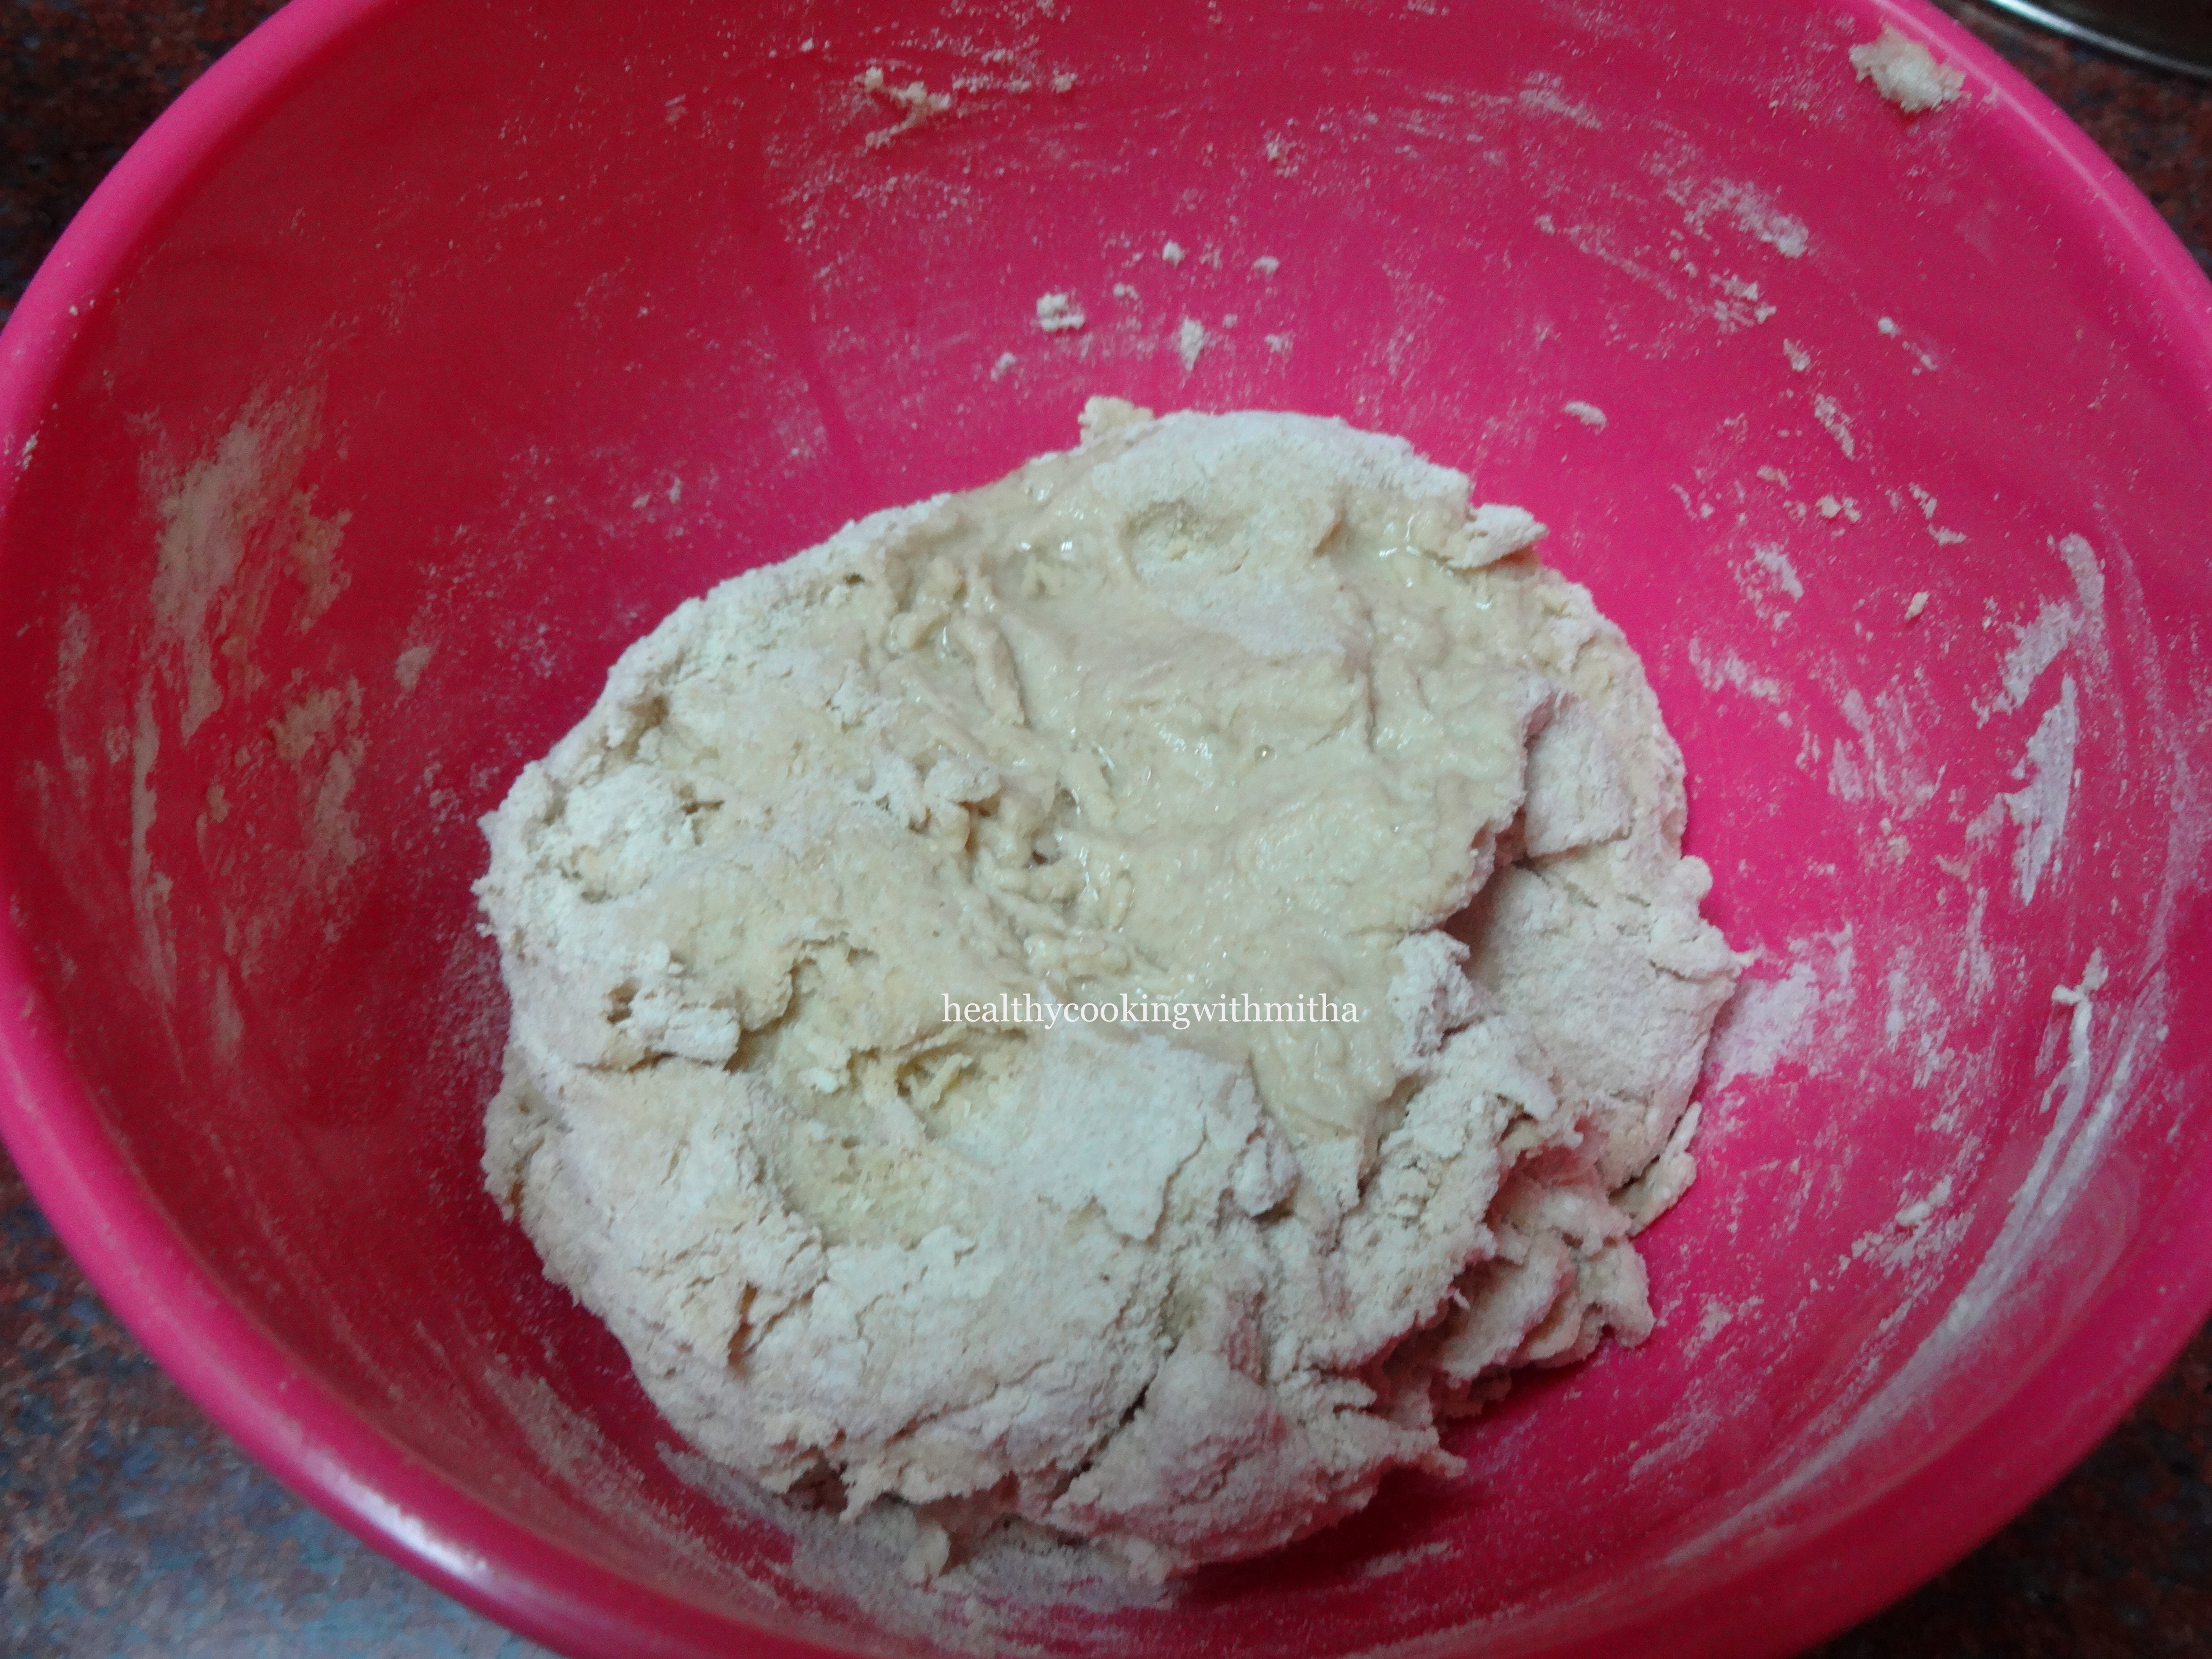
4. Now mix together like you would do for chapati dough and form a dough. It should be very sticky and not dry. If dry, add more milk to make it sticky.
Not sticky as the wheat flour brand is good. Add more milk (around 3 Tbsp) to make the dough stickyPerfect texture. Very sticky dough.
5. Add in butter and mix together.
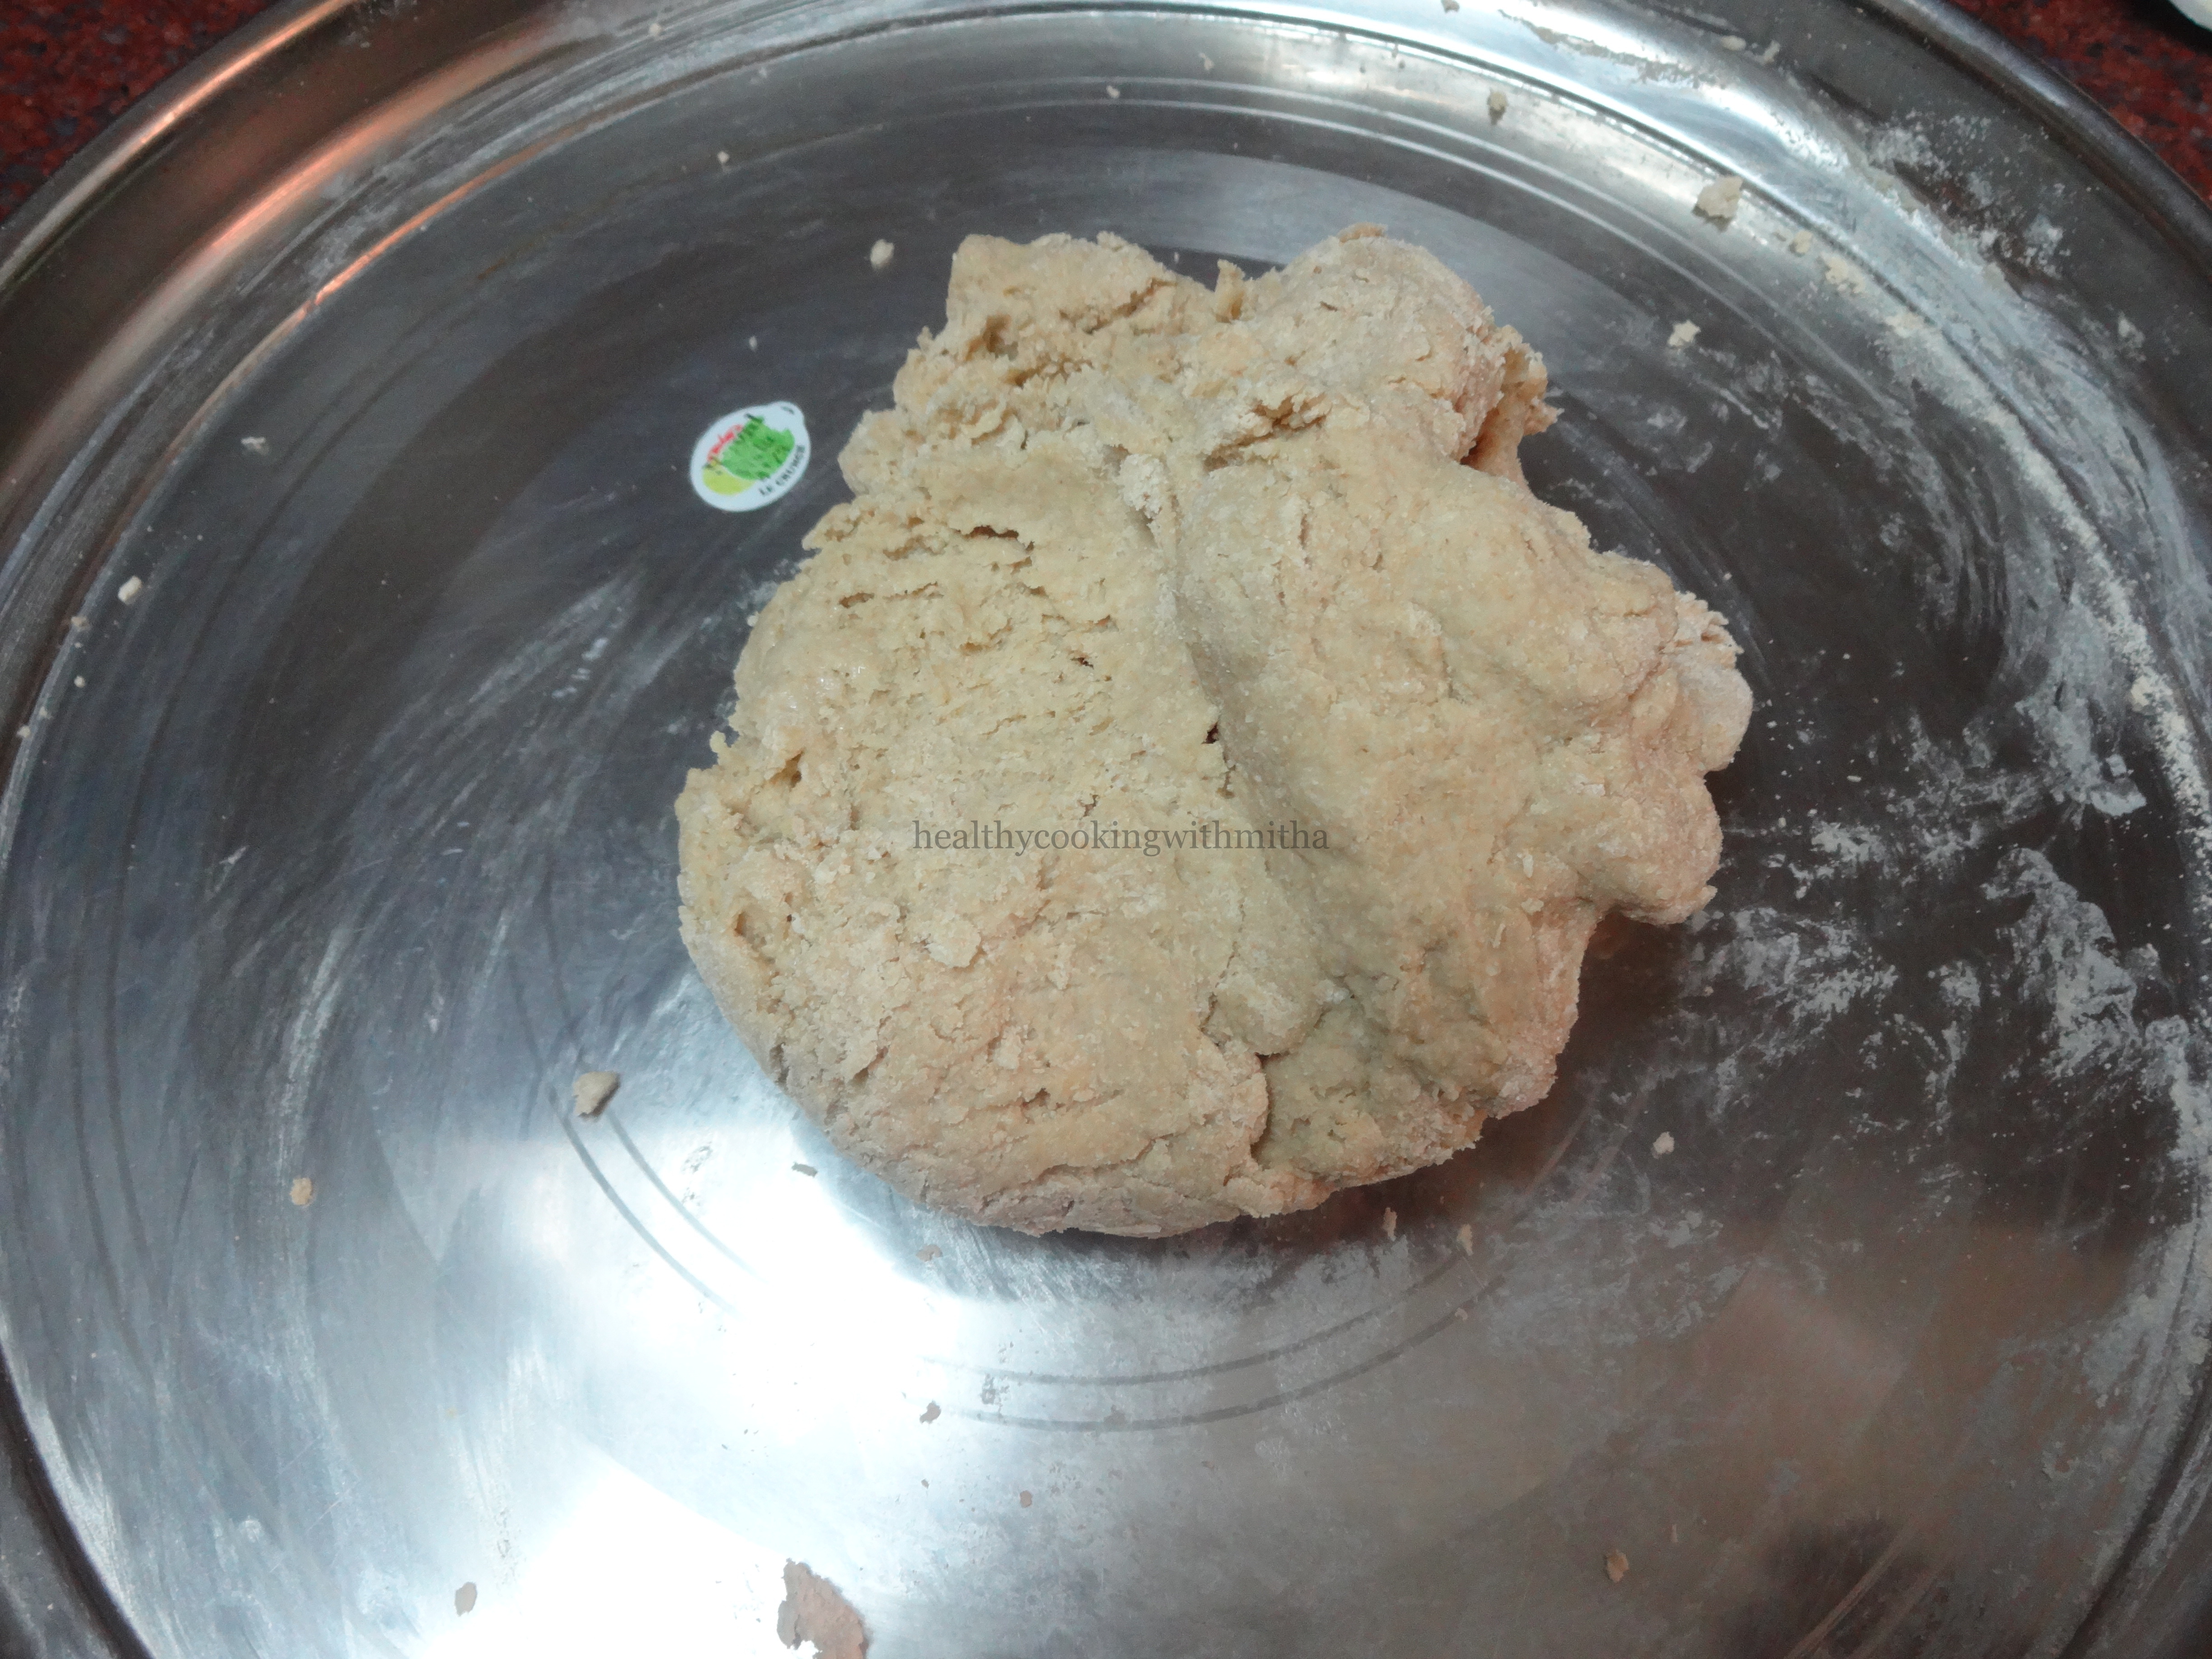
6. Now knead together for atleast 10 mins. This is very important and very necessary for soft pavs. I keep a timer so that I don’t knead less. Here I have shown the kneading process in steps.
Step 1: Spread the doughStep 2. Punch it with your fingersStep 3: Bring it all together
Note: Keep doing this for 10 to 12 mins.
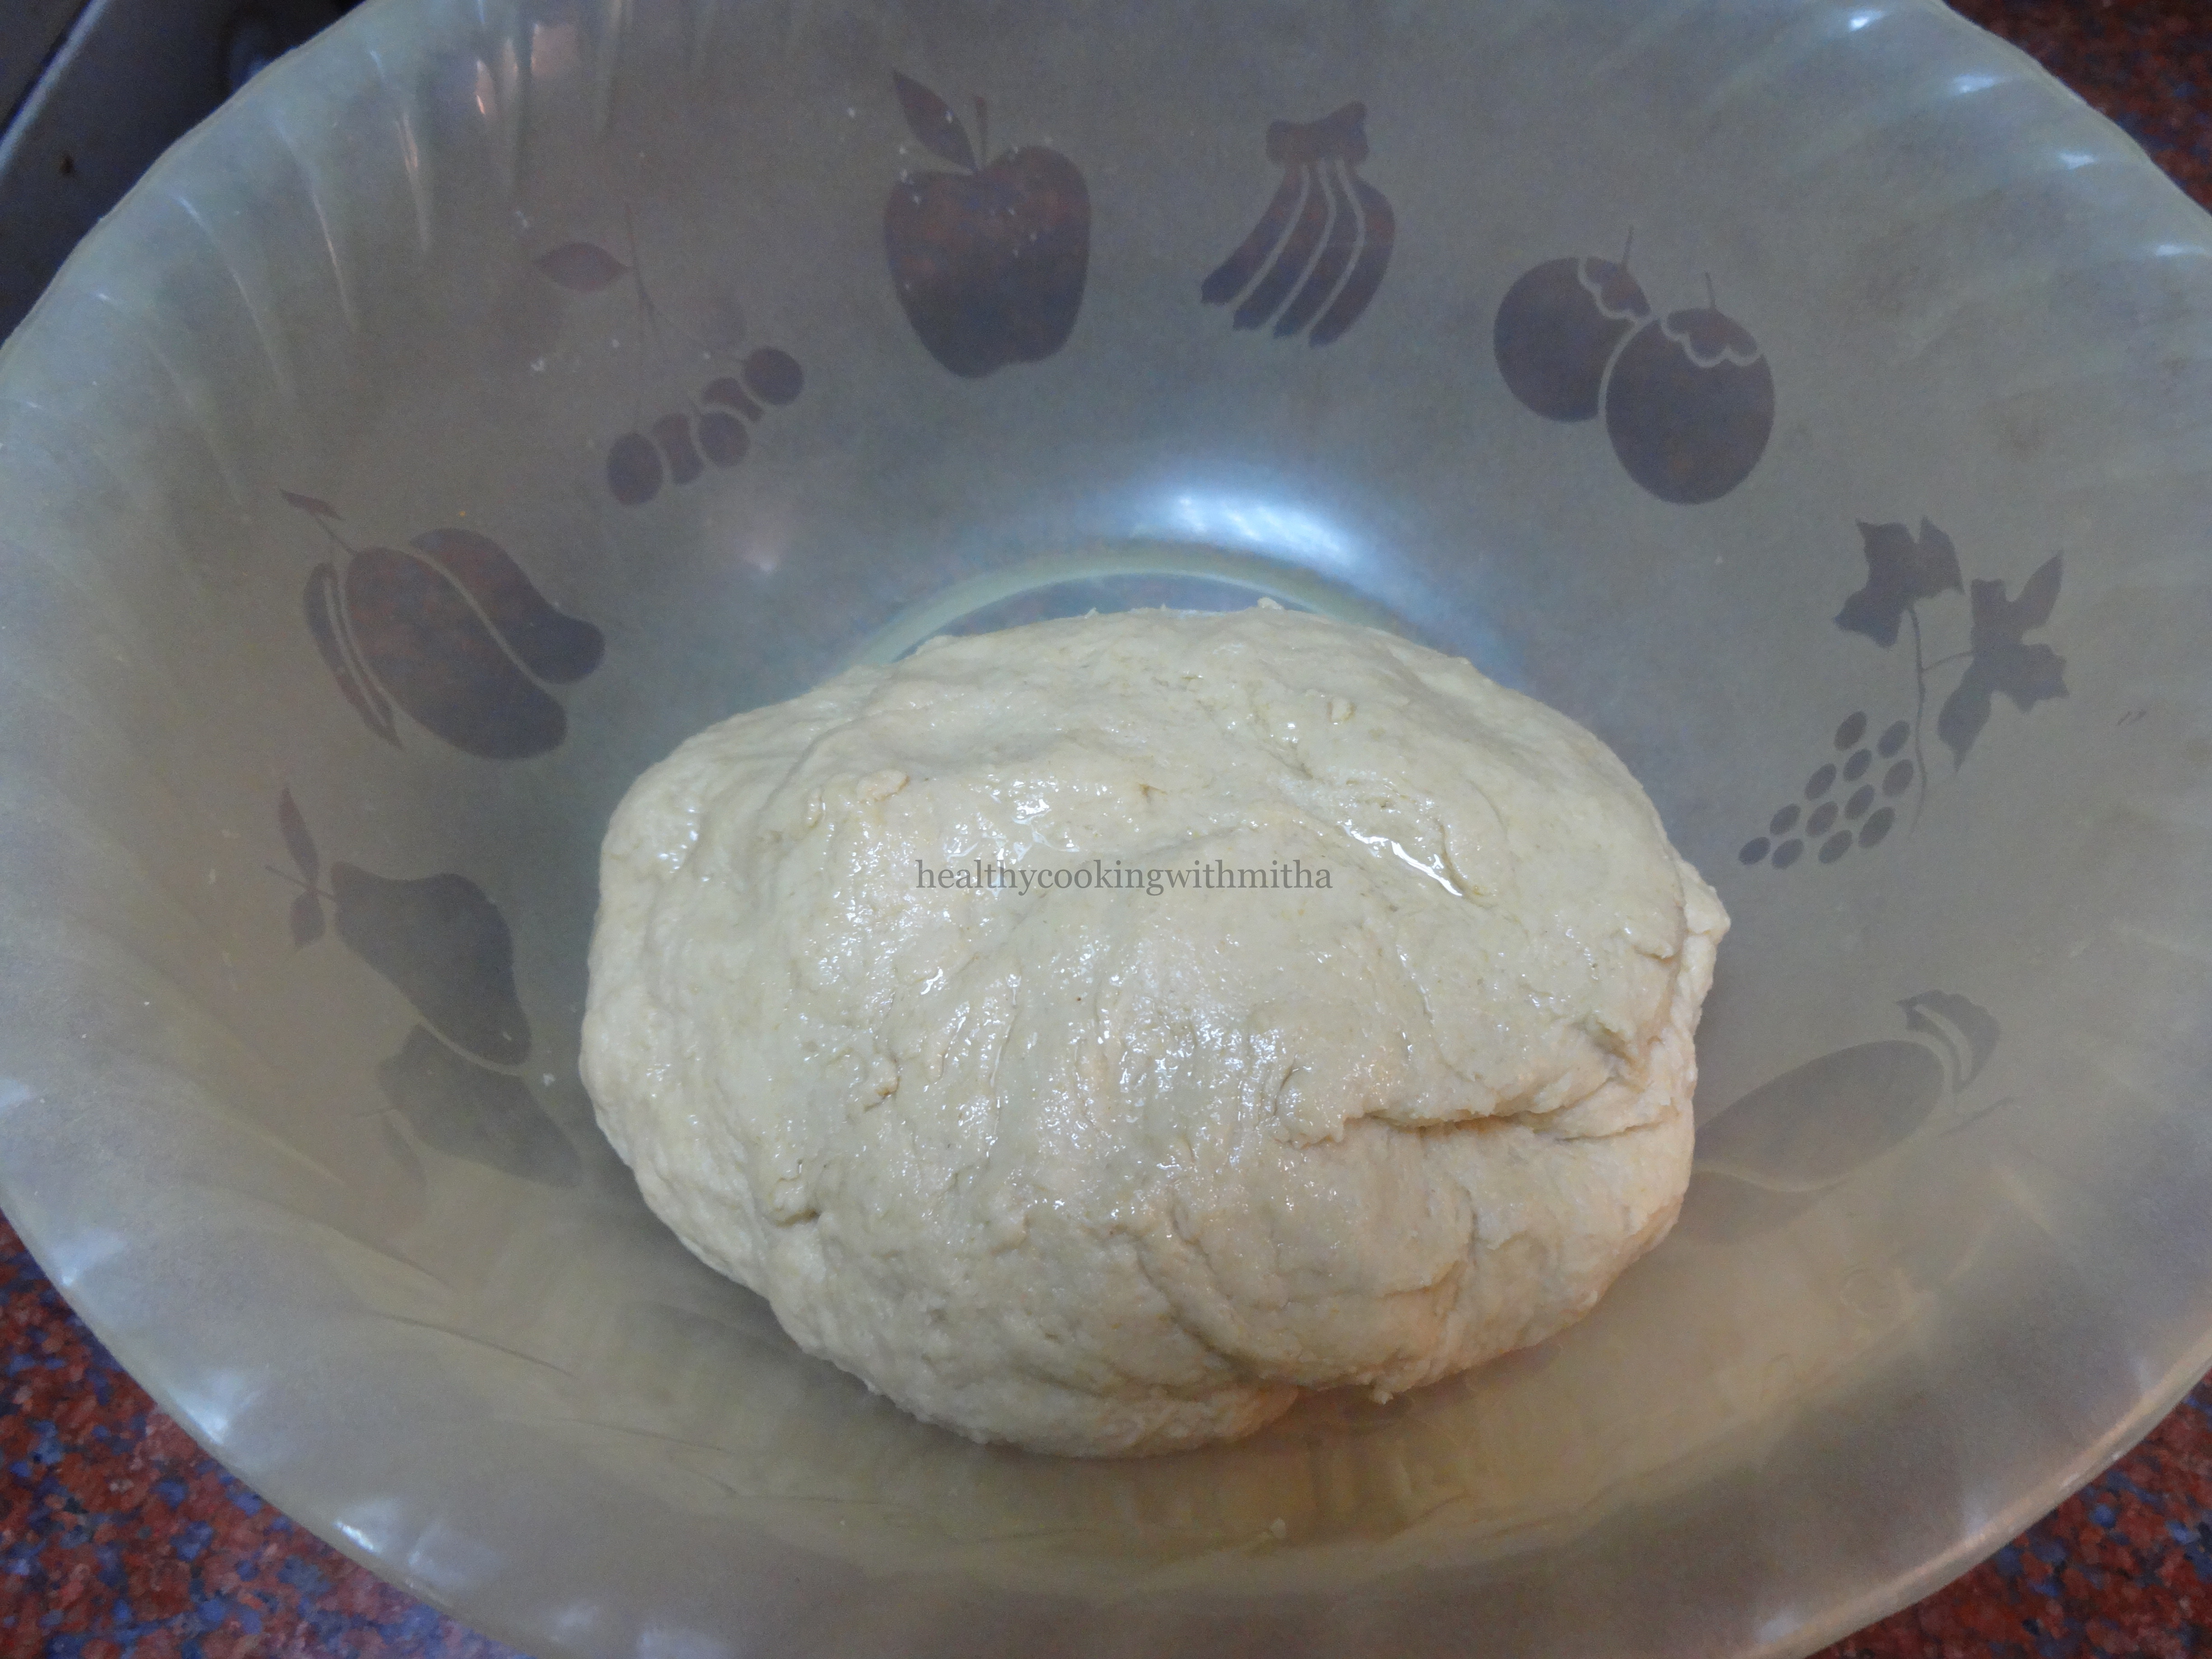
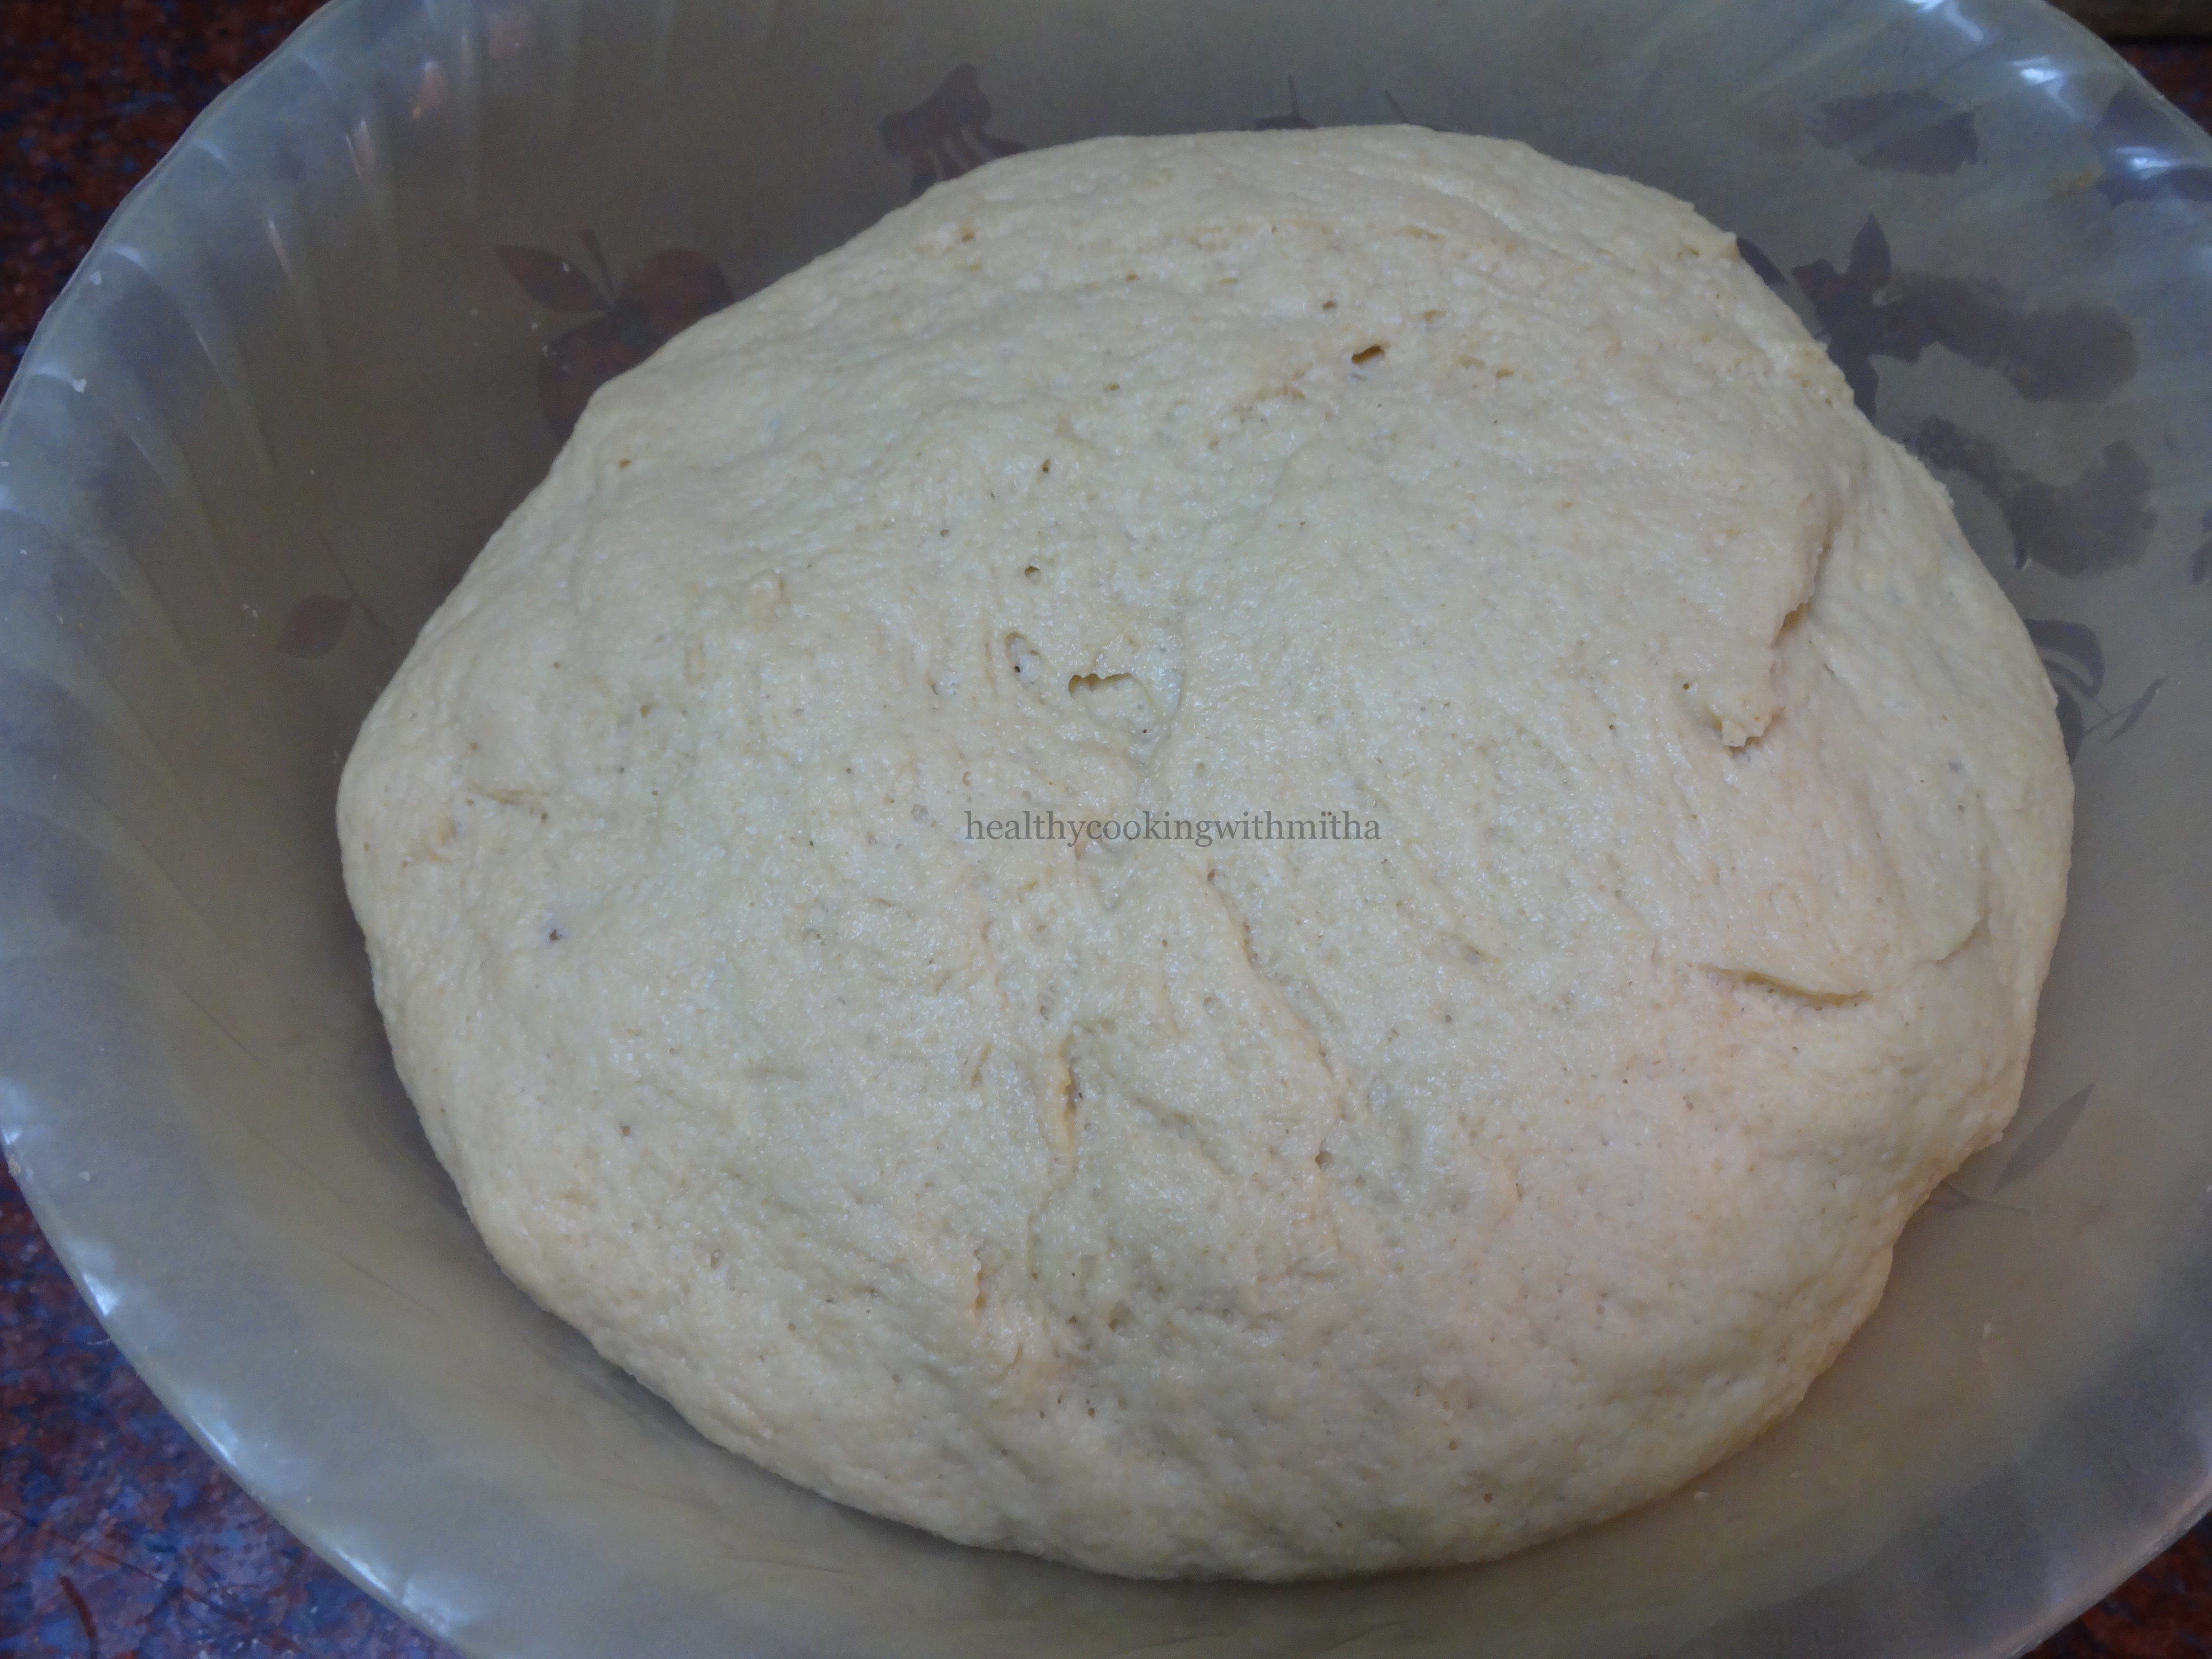
7. After kneading for 10 mins, the dough becomes very smooth and easily handle able. Coat it with any oil and Keep it to rise for 1 hour in a warm place.
8. After 1 hour, the dough rises and becomes double the size.
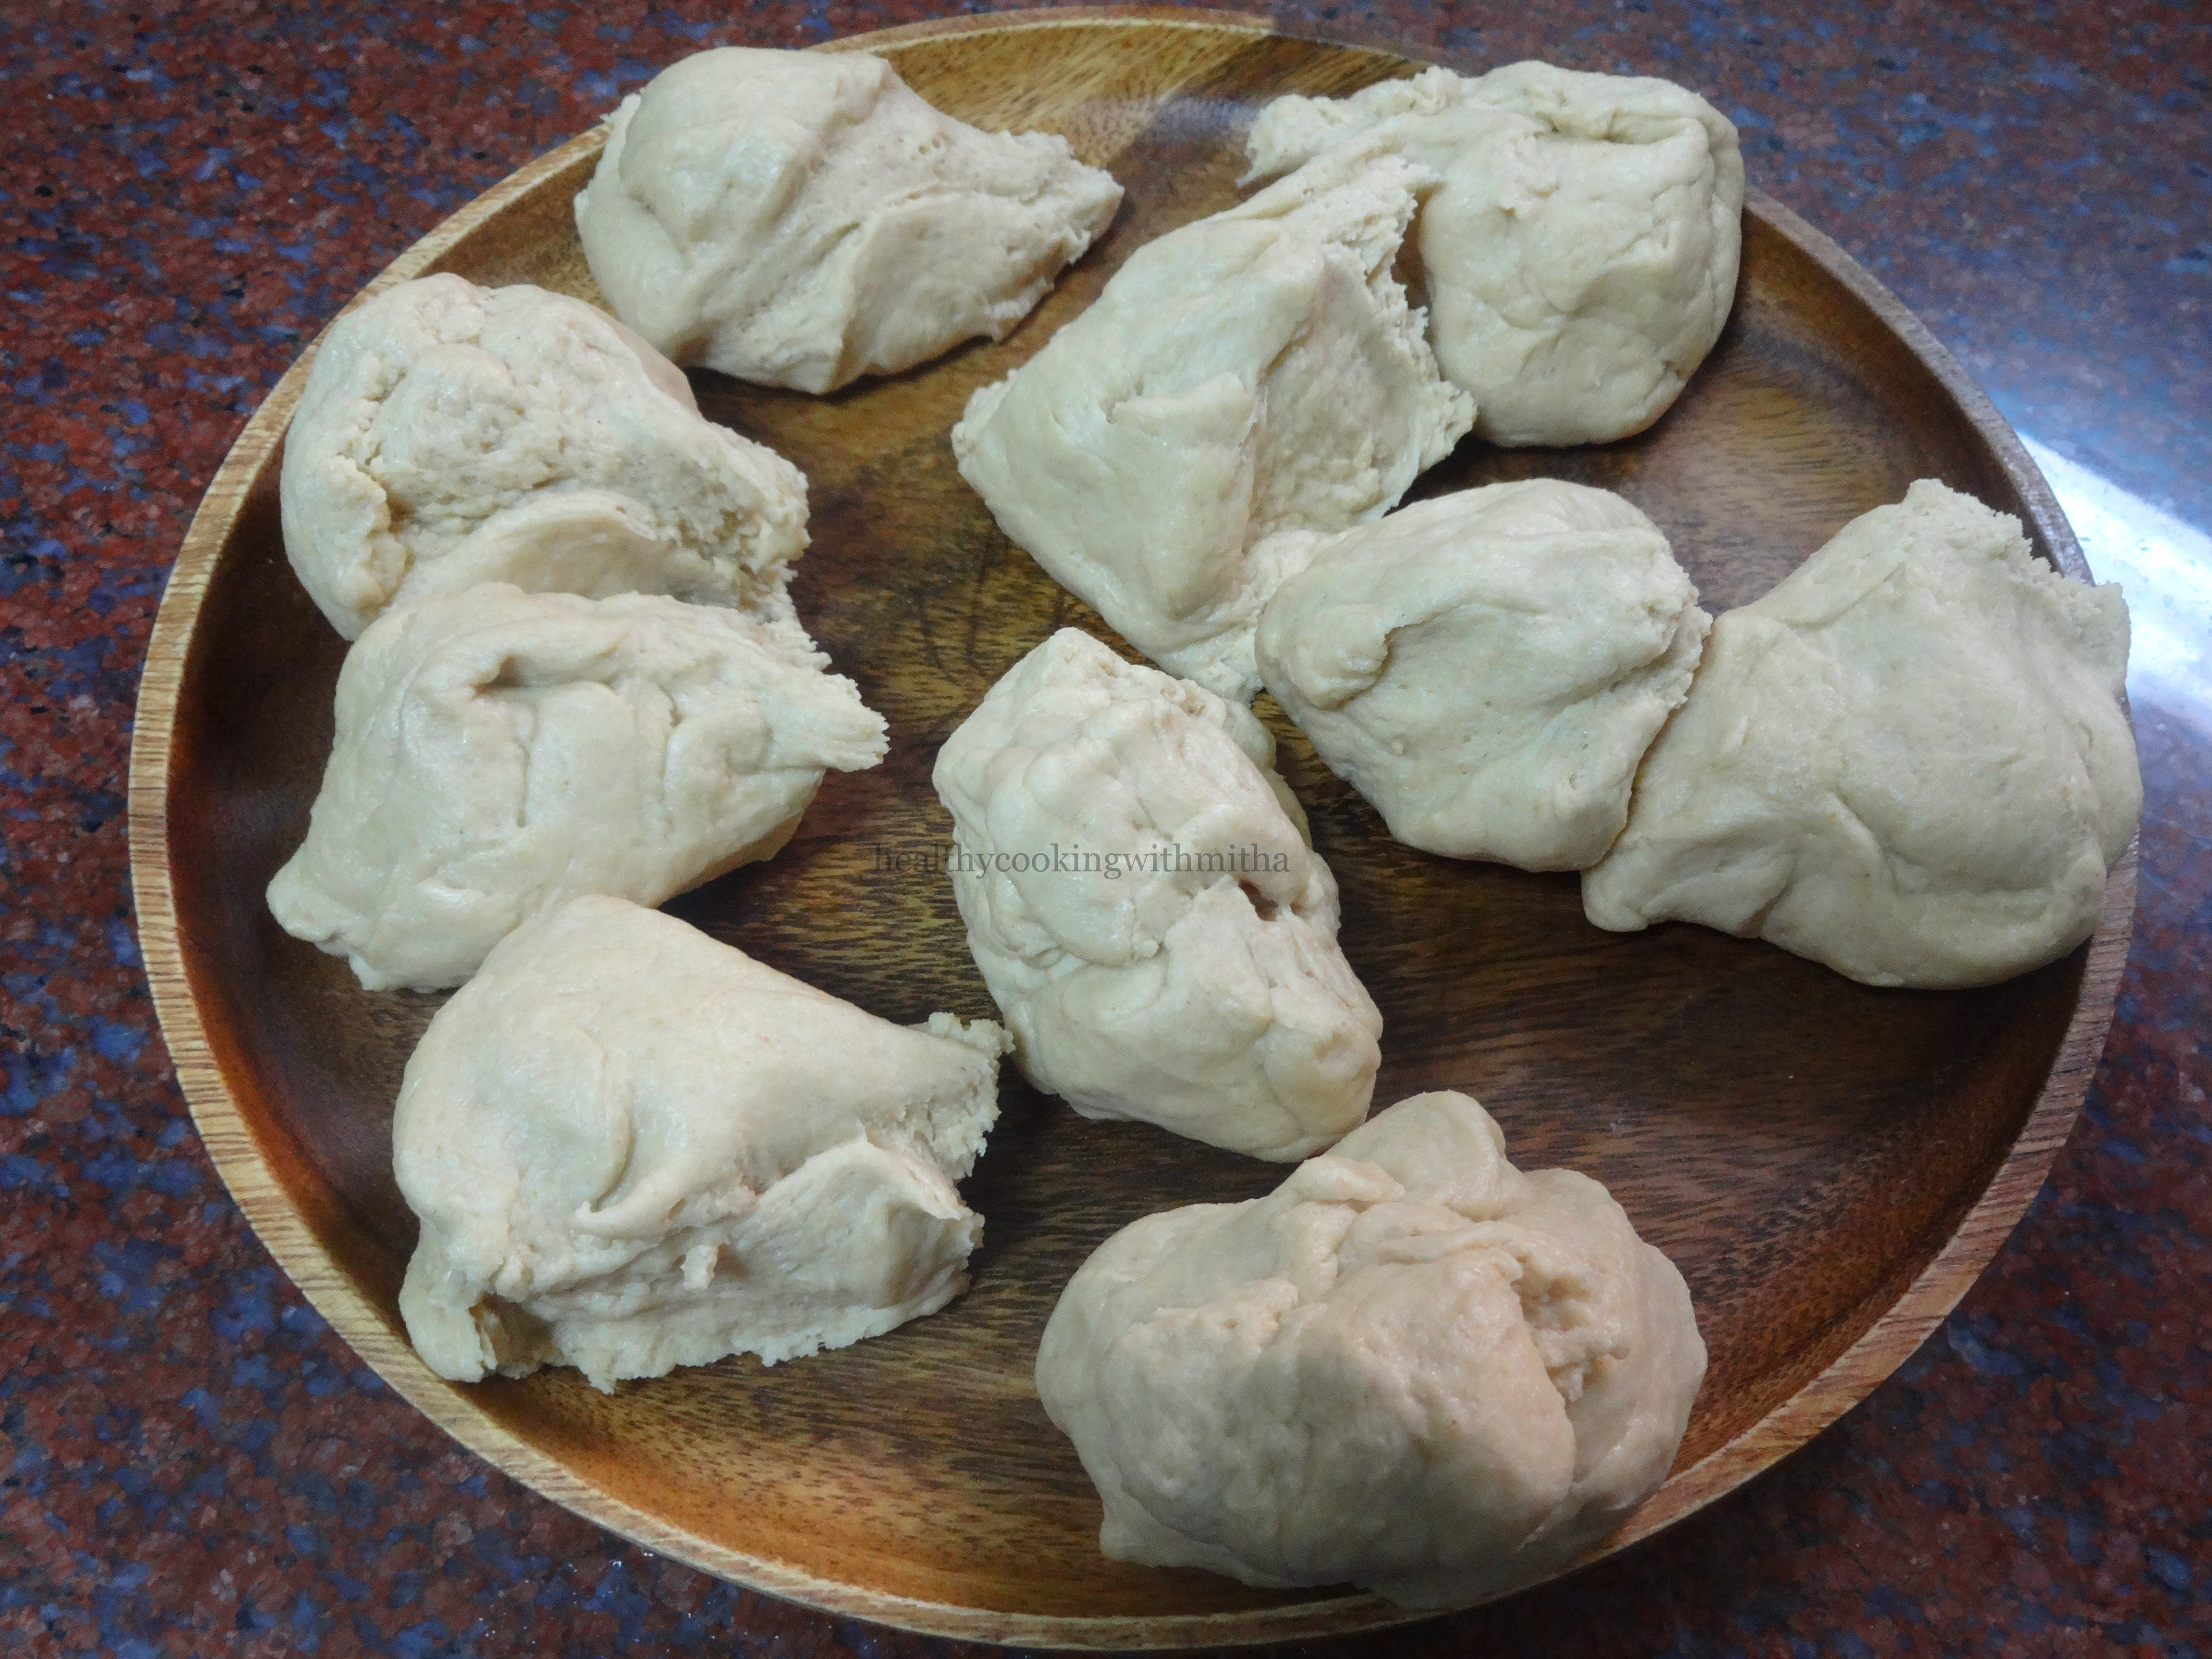
9. Now punch it down and divide into equal portions.
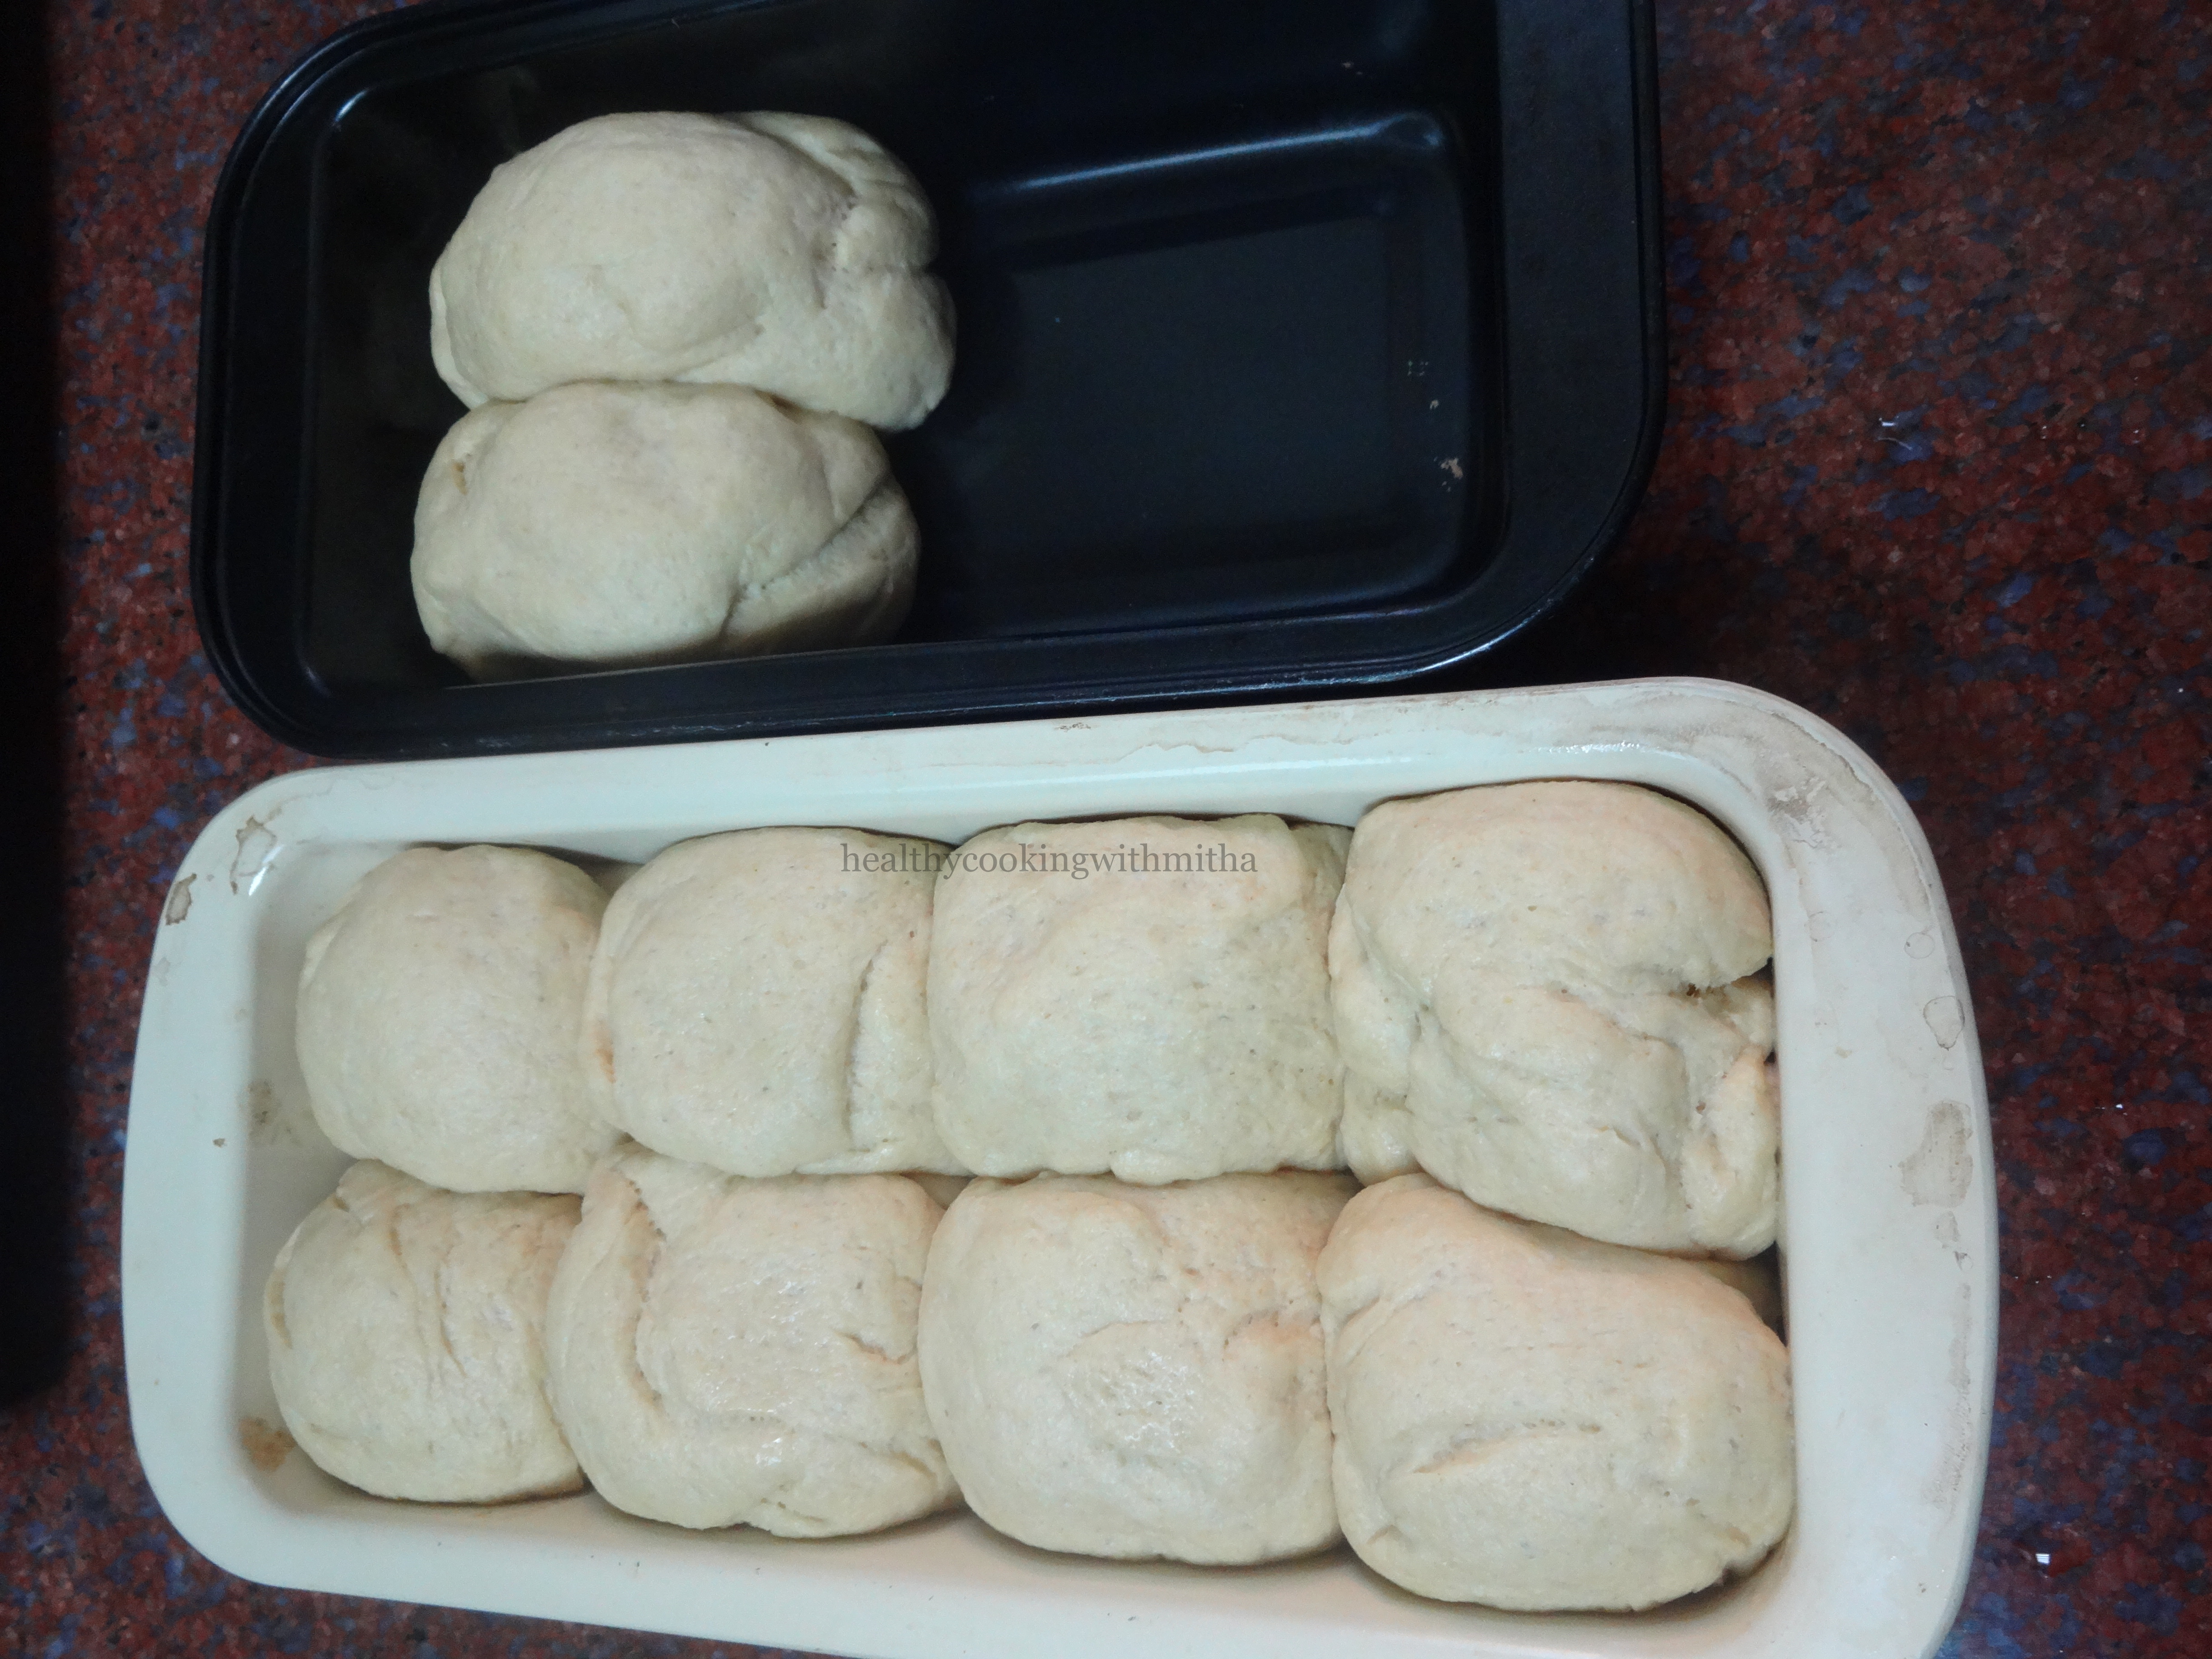
10. Make a ball and keep in a greased cake pan close to each other.
Note: It is very important to keep the dough balls close to each other, else it will rise sideways and you will get flat pavs.
11. Keep this to rise for 1 hour in a warm place. Once risen, brush the surface with milk.
See how well they have risen
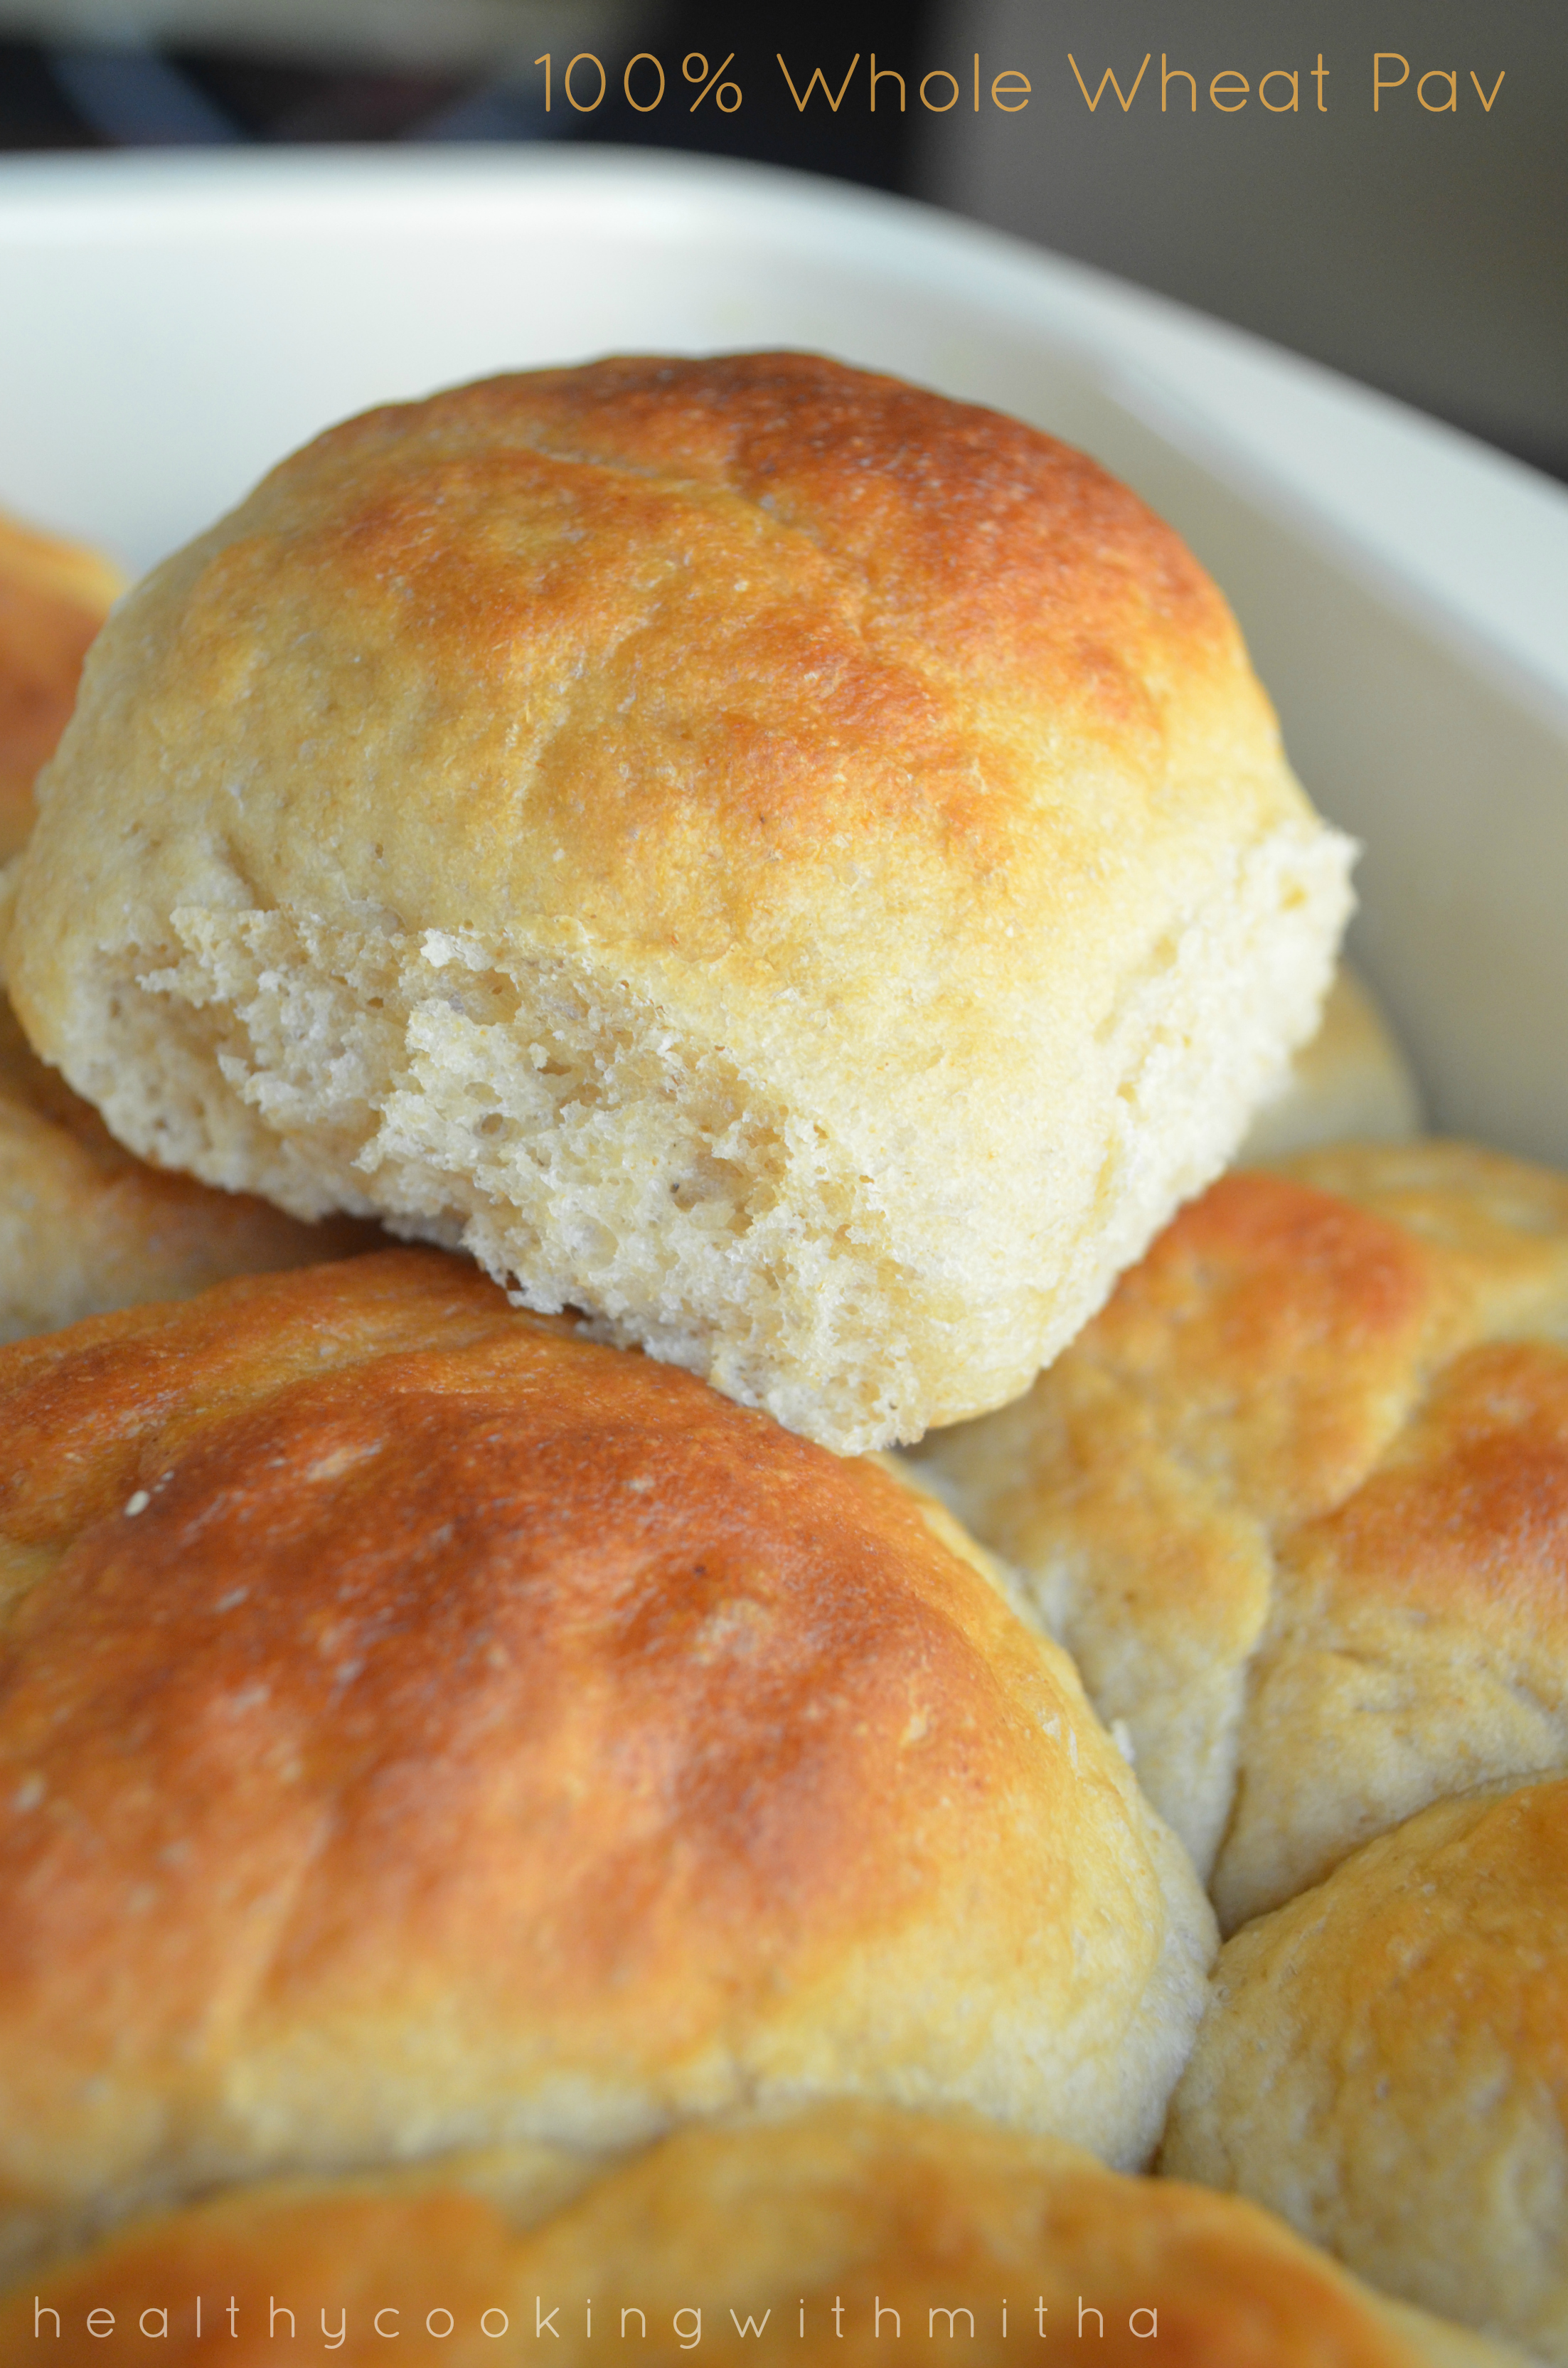
12. Preheat the oven at 200 C for 10 mins. Make sure to preheat well before placing the pan in the oven. Bake for 15 to 20 mins at 200 C in the center rack of the oven till the surface of the pav turns brown like this.
13. Brush butter on the surface of the pav as soon as it is out of the oven.
Enjoy homemade wheat pavs as pav bhaji, Vada pav or the way you wish to!
Click on the image to save the recipe on Pinterest
Notes:
* First and foremost, if you don’t have milk or don’t want to waste it for making pavs, use milk powder mixed in water. It works the same way. I have done it many times and makes no change in the flavour of the pavs.
* The most important step is that the yeast should be right and not expired one. So proof properly with warm milk to check. If it does not form bubbles or does not give a yeasty aroma, discard it. Else it will be a waste of ingredients.
* To make perfect wheat pavs, the dough should be very sticky first and then after continually kneading for 10 mins, it should turn into a smooth dough. Though it may seem like a bit of hardwork, the result will be soft wheat pavs.
* The dough balls should be kept very close during second rise. This is also very important as other wise you will get flat pavs and not fluffy pavs. Do remember while keeping for second rise.
* The milk brush before baking gives a nice golden colour to the pavs. So don’t forget it.
* Also the butter brush after the pavs are out gives a soft texture. Don’t forget this too.
*Update: I am getting many queries asking if milk powder is necessary. It’s okay if you don’t add it since it’s not available now. It’s just for flavour and you can skip it. Just make a sticky dough with milk and knead really well. And make sure the yeast is proofed well and active.
I have tried to note down as much points as possible so that it’s easy for you all to follow but if you still have any doubts, either comment here or message me on my Facebook page Healthy cooking with mitha or on my Instagram handle and I would be happy to help. Happy baking!
Click on the image to save the recipe on Pinterest
Baking pizzas at home have become more of a necessity than hobby in the present scenario when we are all home bound. I am so glad that I started baking wheat pizzas long back that now it’s as easy as making chapatis for me. My kids relish them as much as they enjoy store bought ones and it gives me immense happiness to see them eat healthy.
Click on the image to save the recipe on Pinterest
I had been getting many requests for this recipe. So here it is for all of you. Do let me know if you have even the tiniest doubt and I would be happy to help you. I know baking is as easy as it can be but equally difficult for some and I love helping as much as I can.
Happy baking!
RECIPE:
Ingredients:
For the pizza dough: (makes two medium size pizzas)1 Cup = 240 ml
3 Cups whole wheat flour/ Atta ( I use Pillsbury most times)
1 to 1 1/2 Cups Water (depending on the flour brand)
2 tsp Instant yeast ( or 2 1/2 tsp dry active yeast) (I use saf instant yeast brand)
1/2 tsp Cane sugar (can replace with regular sugar)
1/2 tsp Salt
1 Tbsp Olive oil/ or any oil to coat the dough
For the toppings: (for 1 pizza)
Around 5 Tbsp Pizza sauce or Tomato ketchup
Approx 1 Cup grated mozzarella cheese or as required
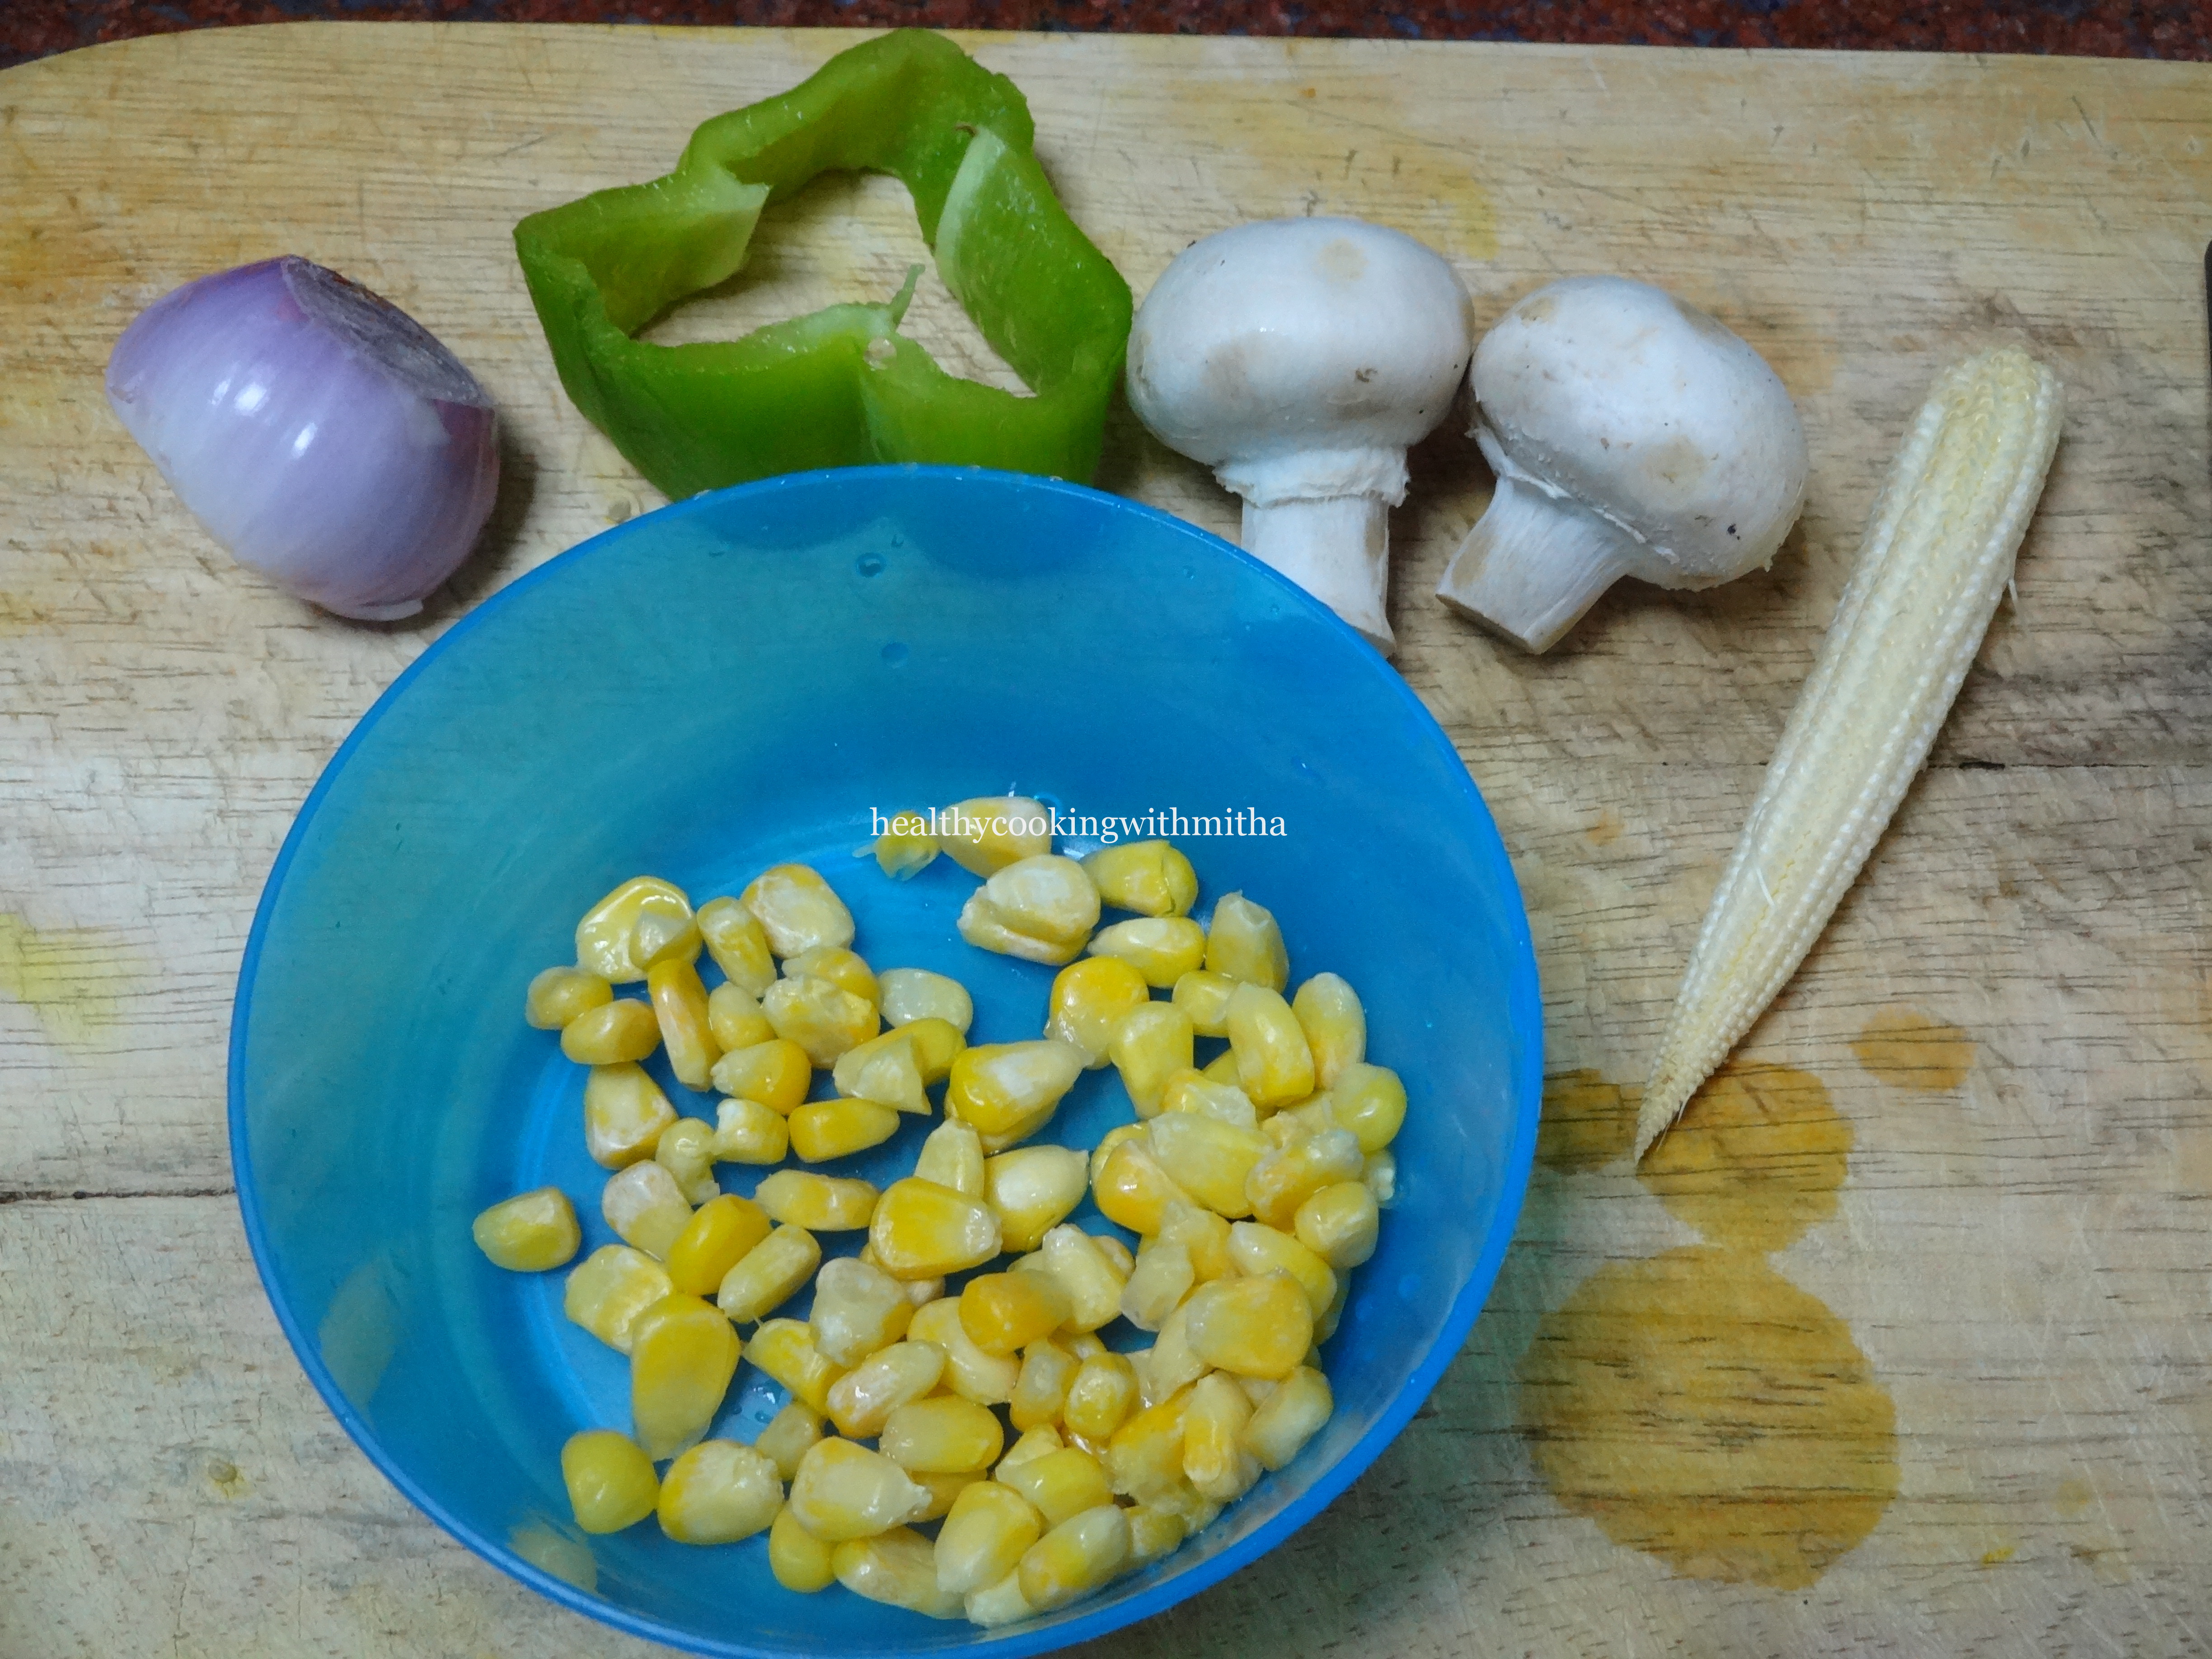
1 Cup of mixed vegetables (like Capsicum, Onion, sweetcorn, mushroom,babycorn)
A handful of chopped olives
Salt to taste
A dash of pepper powder
Olive oil or any oil to coat the dough surface.
Step by step recipe:
1. Take 1 Cup lukewarm water and add 1/2 tsp Cane sugar into it. Mix well and add 2 tsp instant yeast. Mix once and allow it to proof.{The water should NOT be very hot nor cold for the yeast to proof}
2. Meanwhile, take 3 cups of wheat flour in a large mixing bowl and add salt to it. Mix well.
3. Now the yeast has proofed as shown. (If the yeast does not proof ie does not rise, discard it and do not follow the next steps as maybe the yeast has expired.)
See for the bubbles, yeasty aroma and a slight rise to check if the yeast is good or not.
4. Now add this to the flour- salt mixture and knead just like you knead normal dough for chapatis adding the extra 1/2 Cup water if necessary.
5. Now add olive oil towards the end of the kneading process and knead once again to form a smooth dough. ( If you don’t have olive oil, any oil like sunflower or coconut oil will do)
6. Keep the dough covered in a warm place for about 1.5 hours to 2 hours for the dough to rise and double the size. If the weather is cold, it might take even 3 hours.
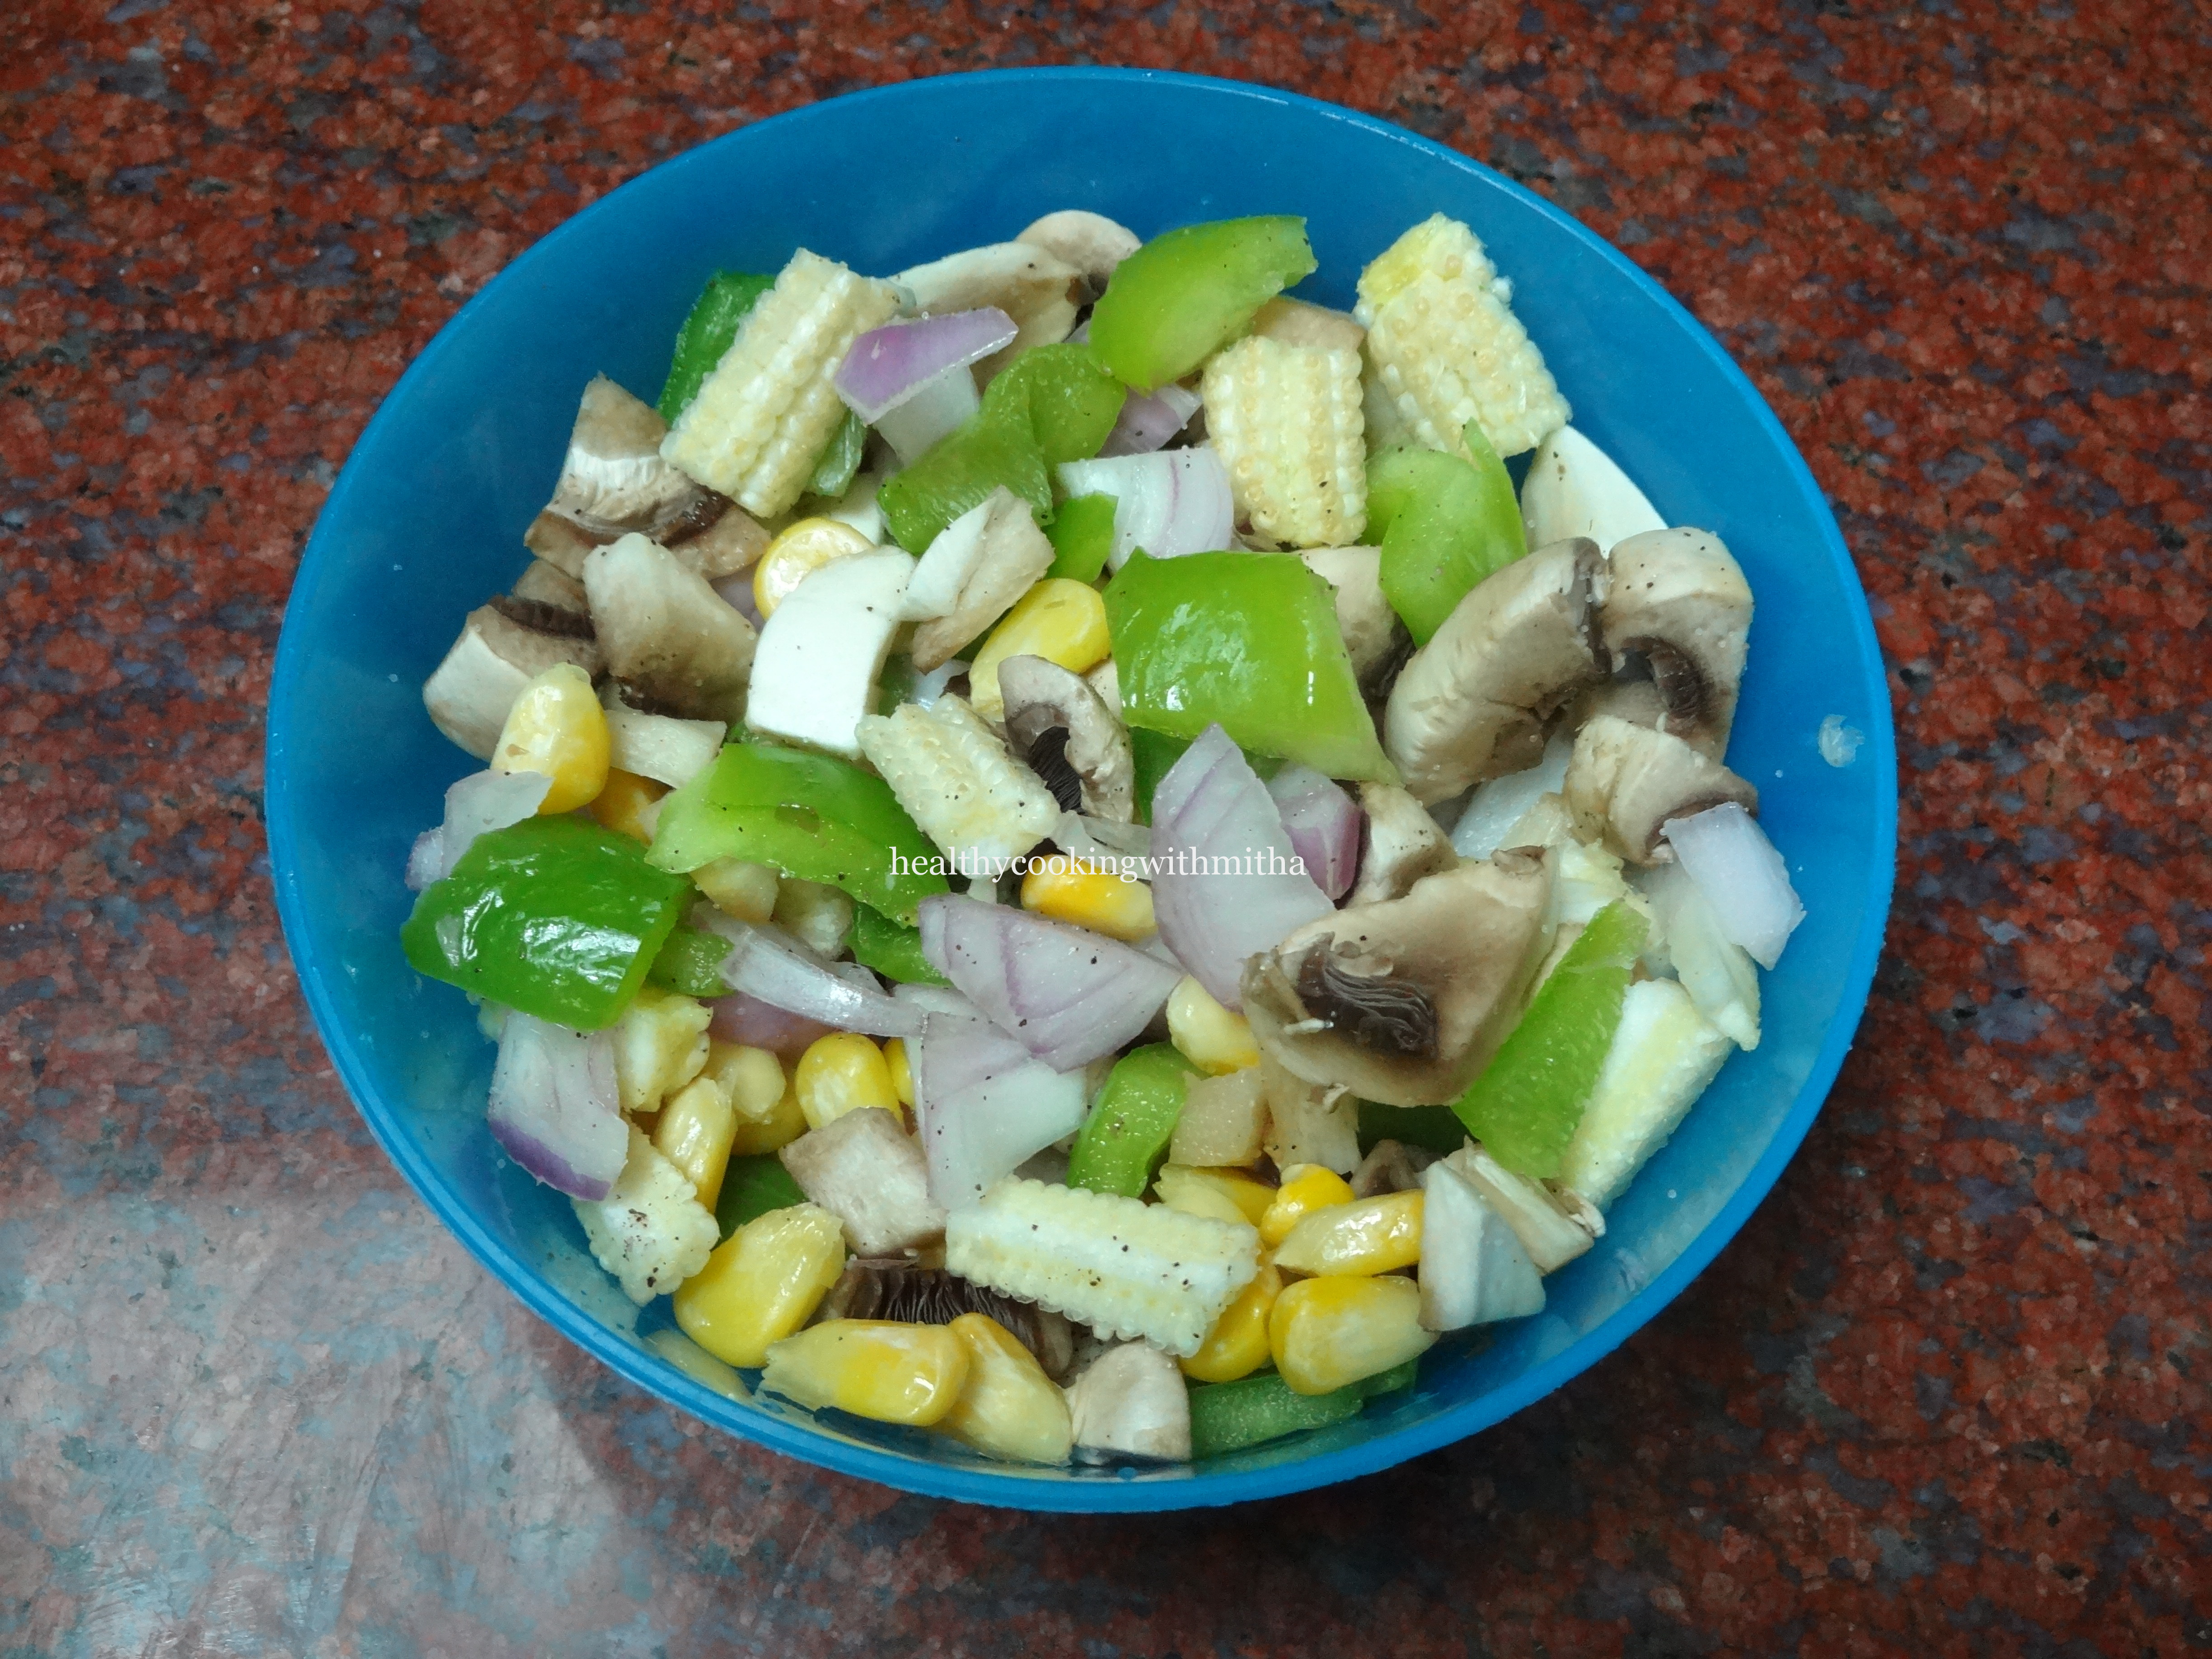
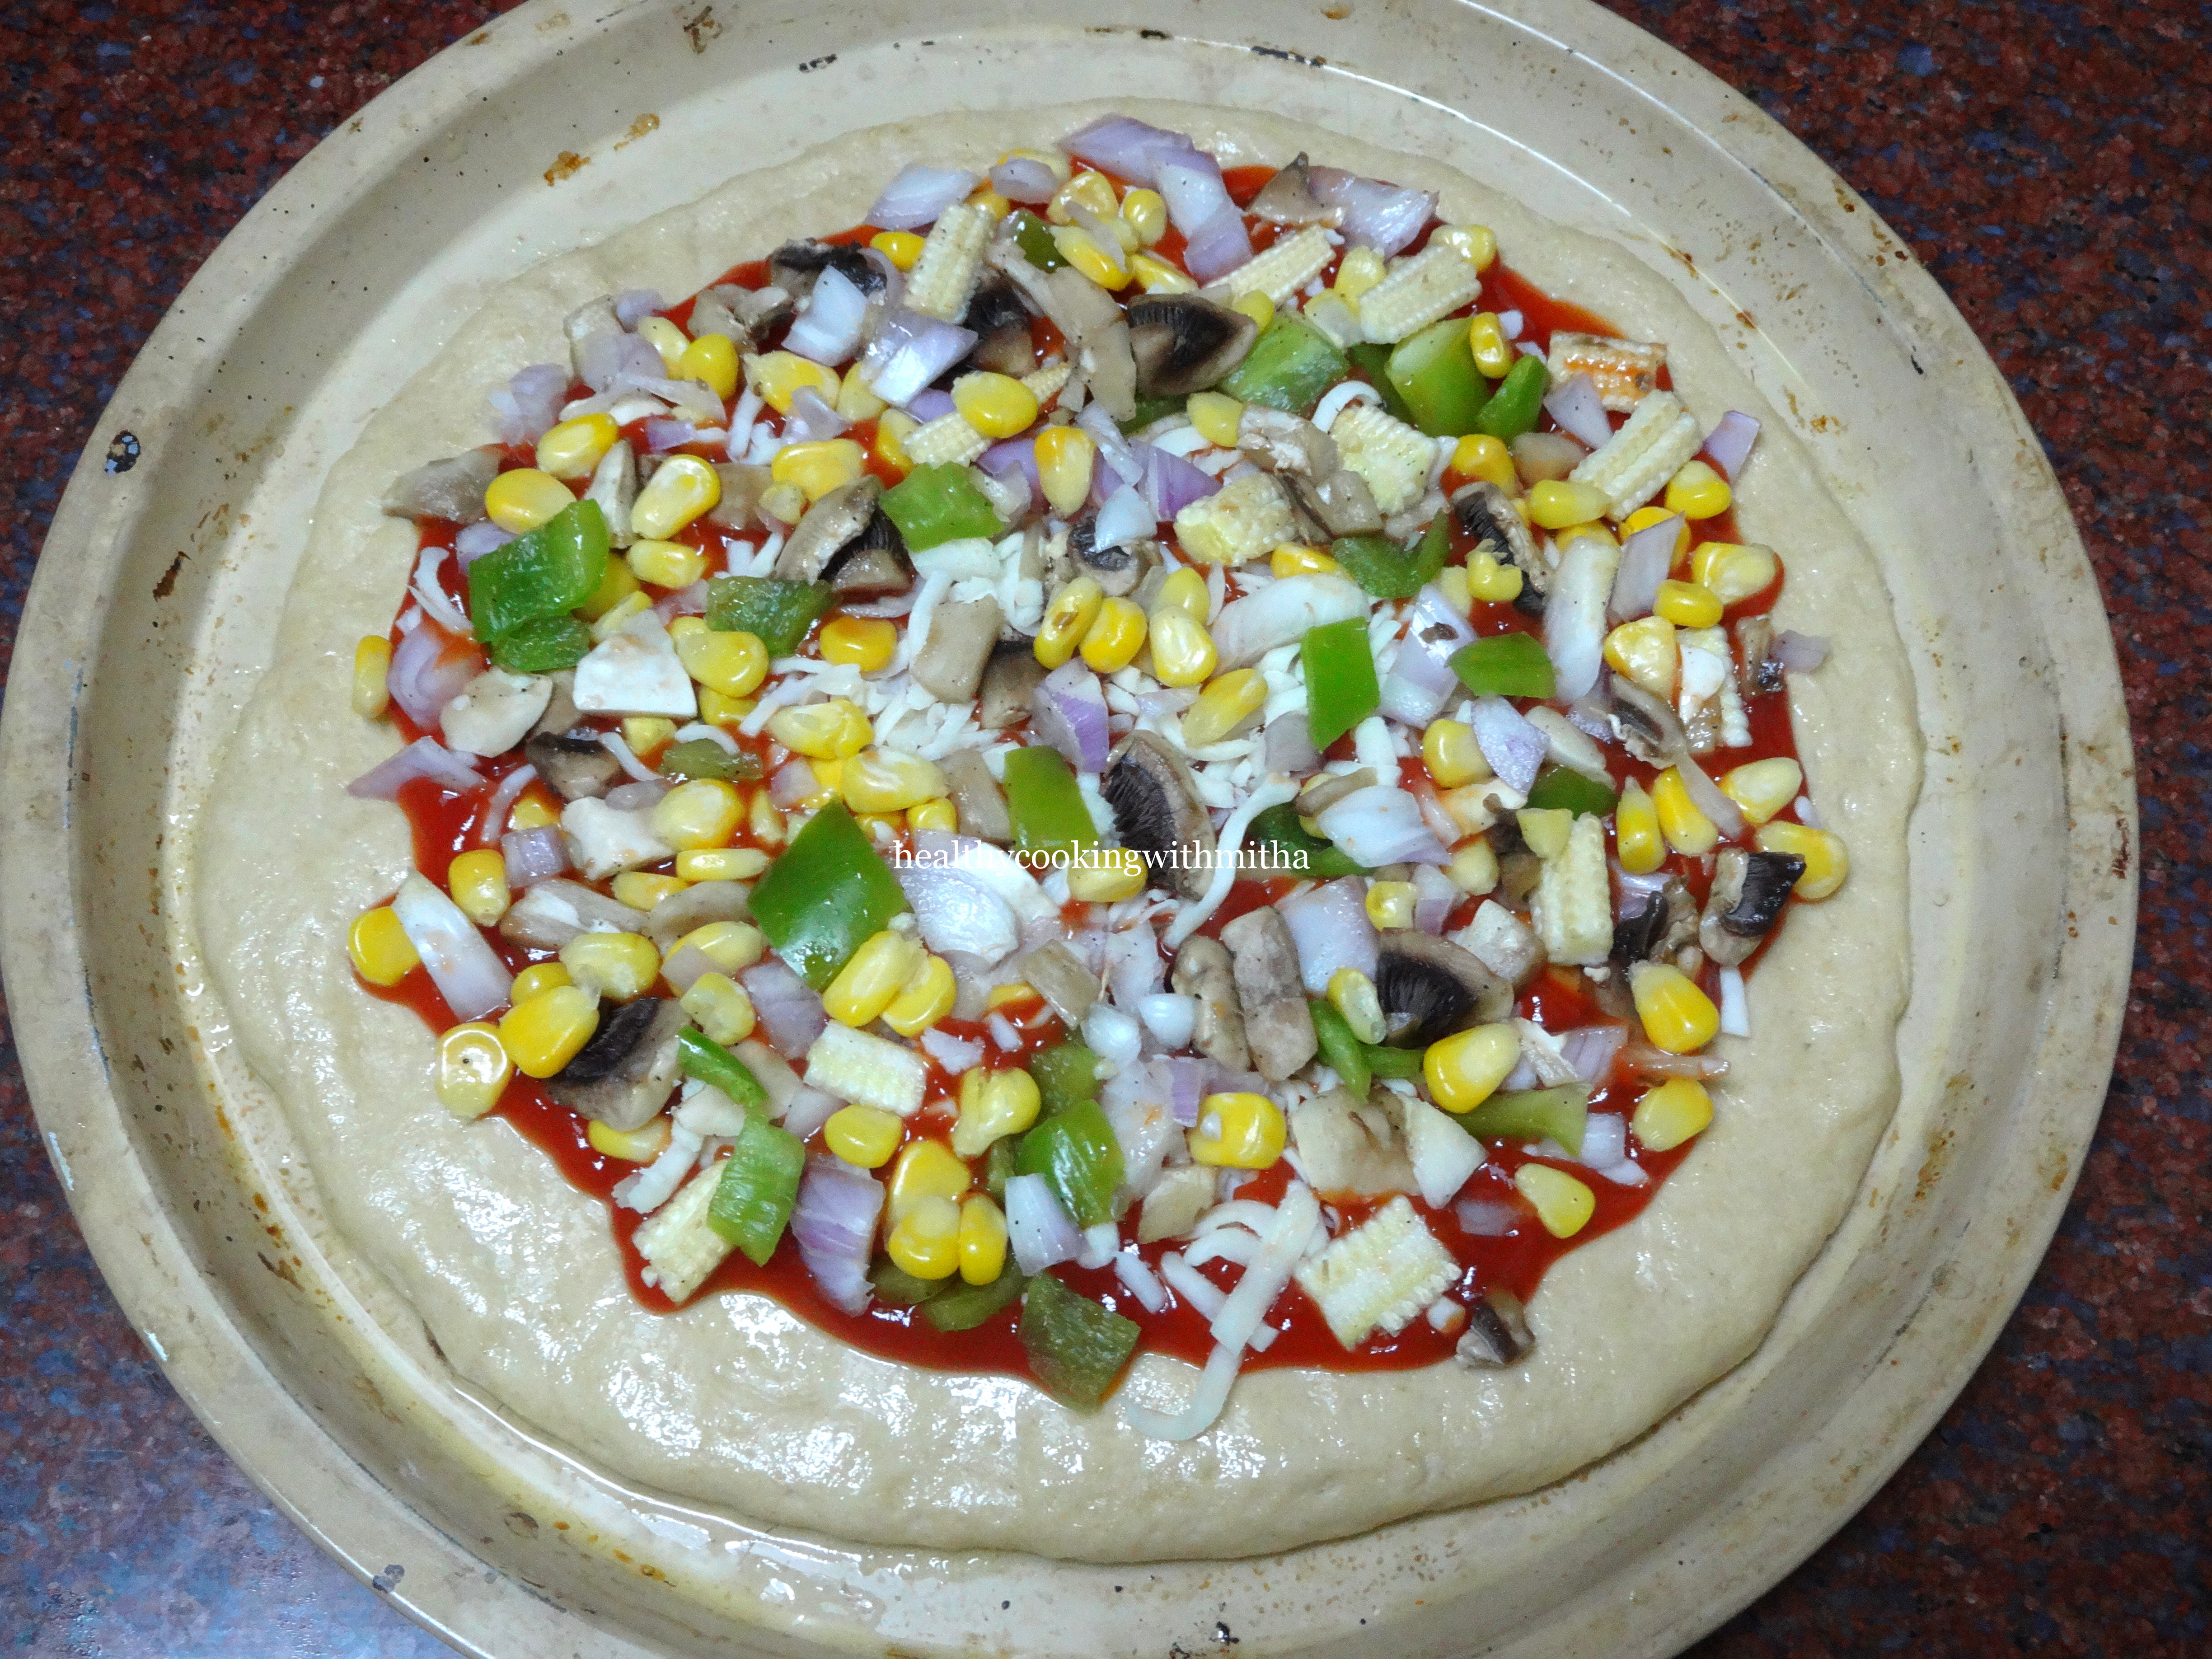
7. Meanwhile chop and prepare veggies for topping.
See the quantity of veggies I have taken. This much is enough for one medium pizza. Don’t add too many veggies which will spoil the taste. Add salt and pepper powder to the veggies
8. Now after 1.5 hours, check if the dough has risen and doubled. If so, remove and divide into two halves.
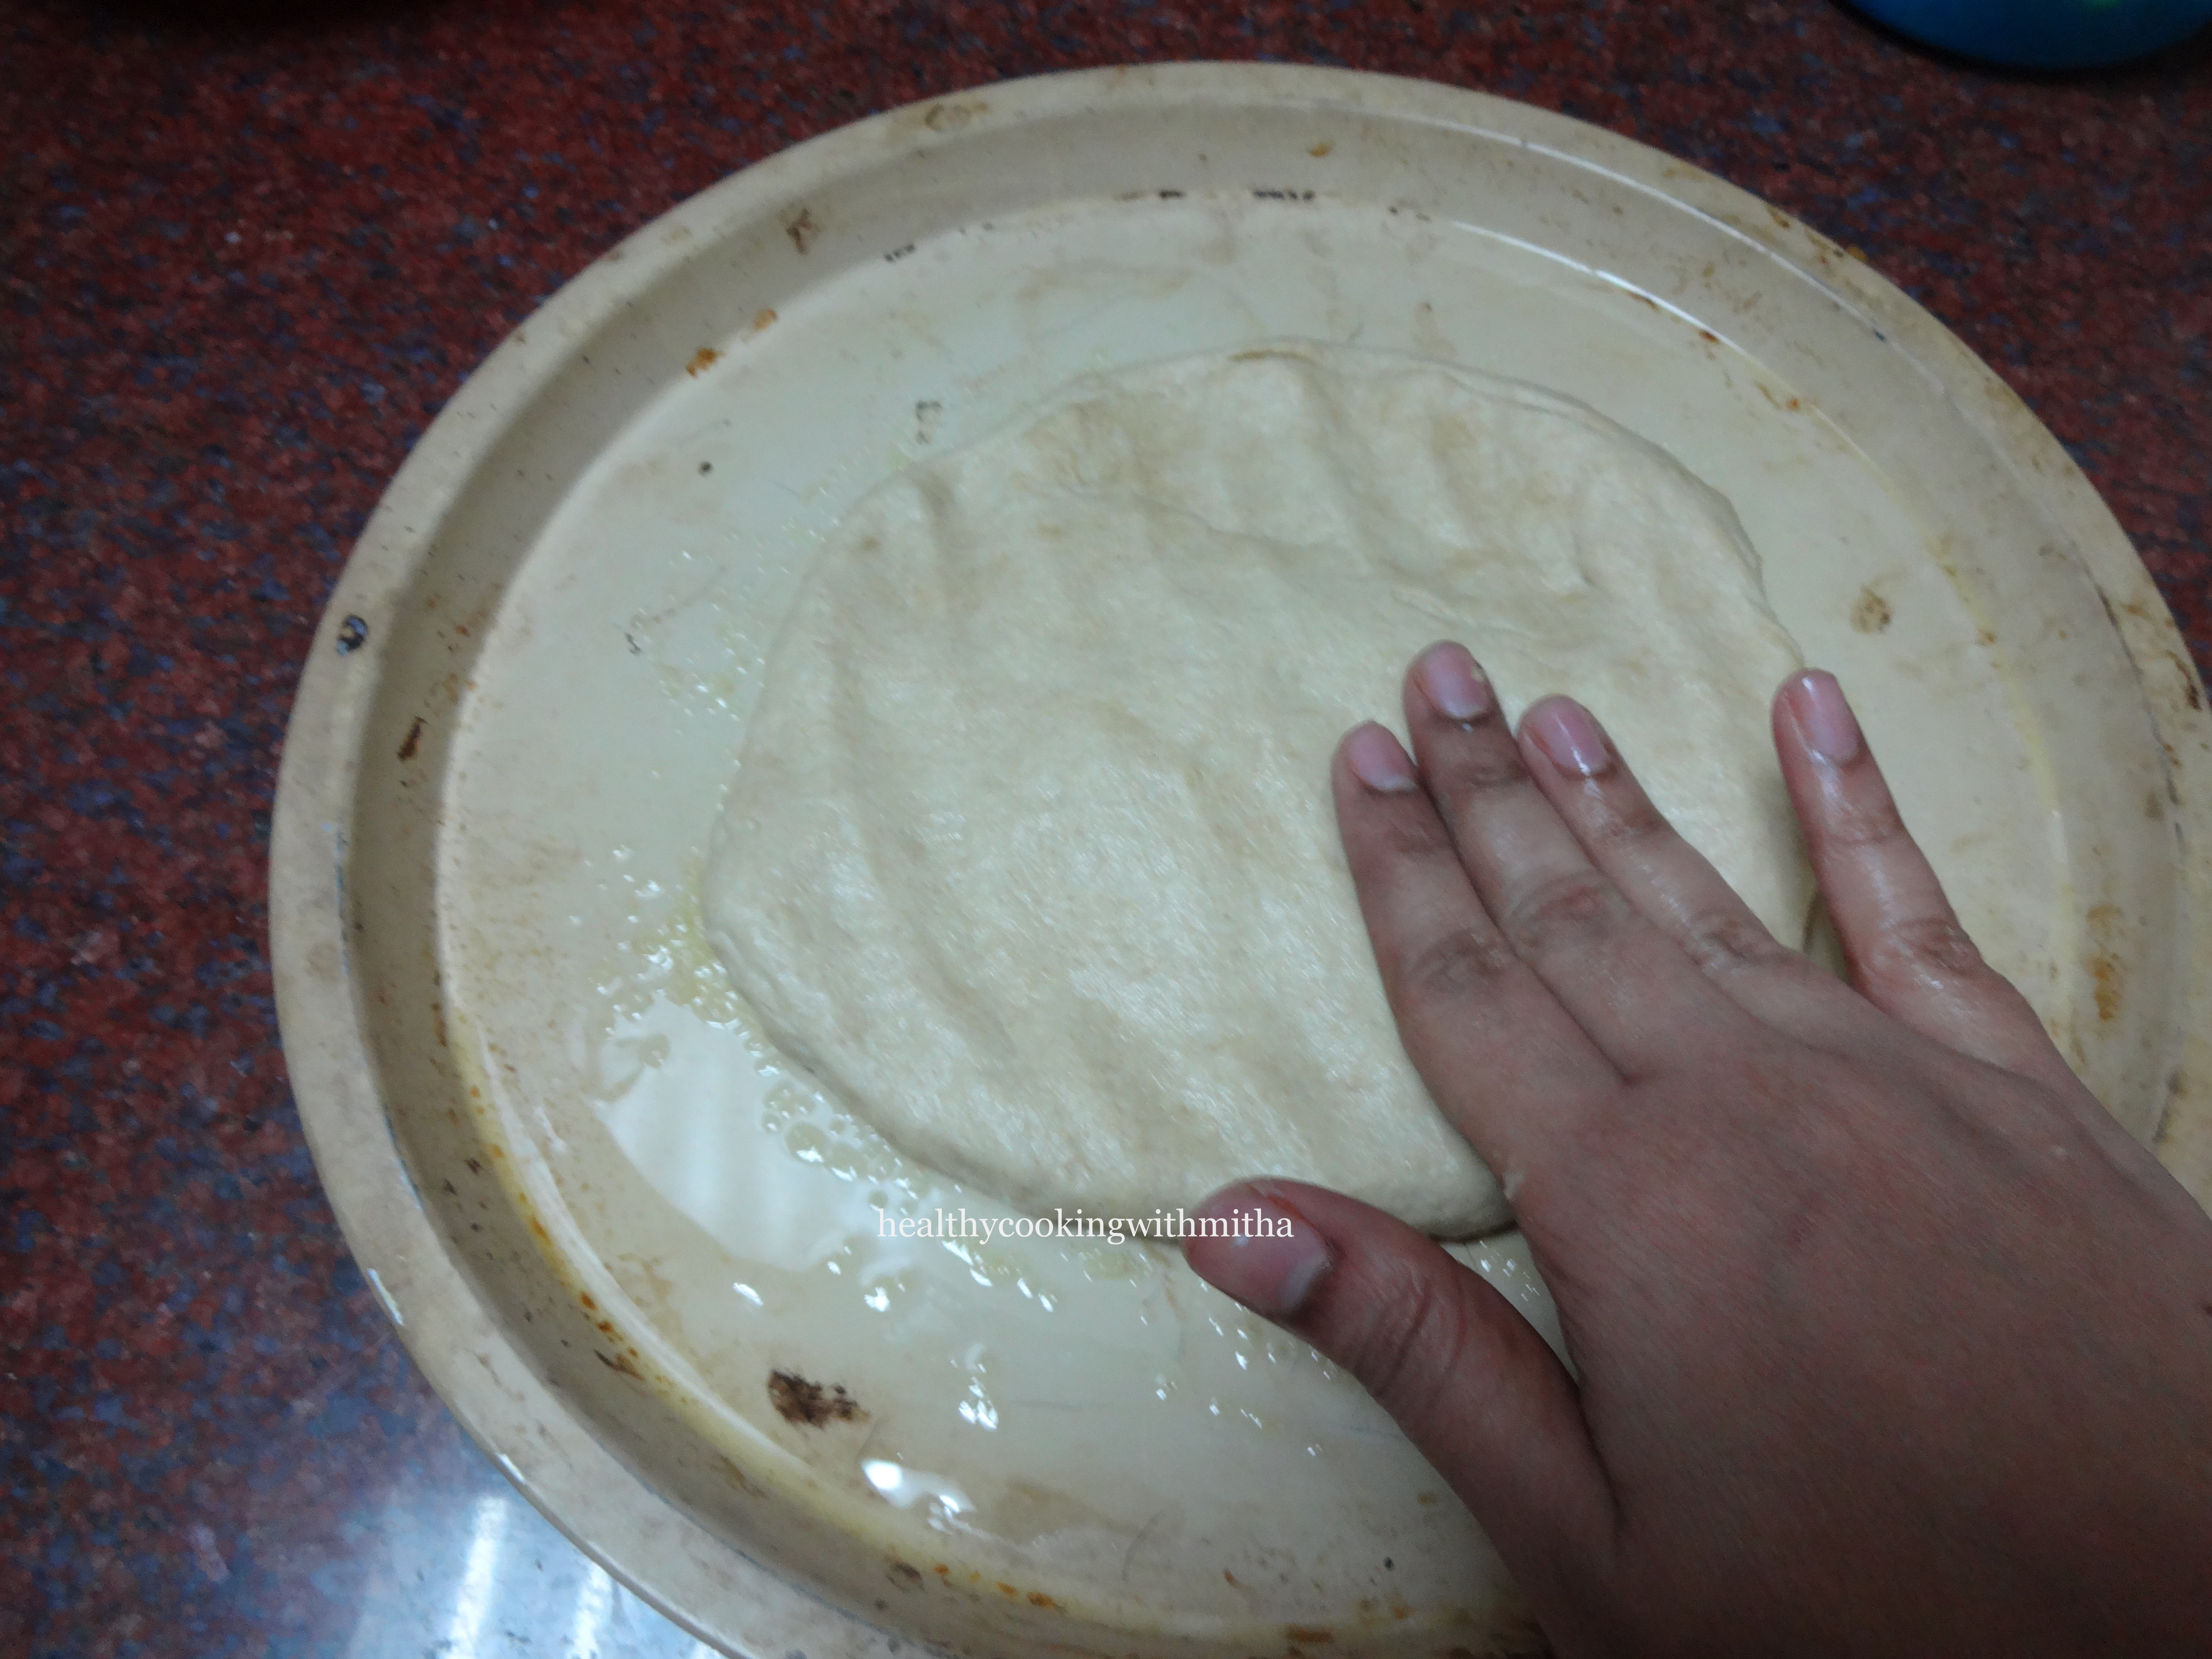
9. Spread one half of the dough over a well greased (with oil and dust little wheat flour) oven proof pizza plate with fingers as shown.
10. Spread evenly in a round shape if possible and then coat the dough with oil.
It should NOT be spread very thick as it won’t bake well. Spread as evenly as possible.
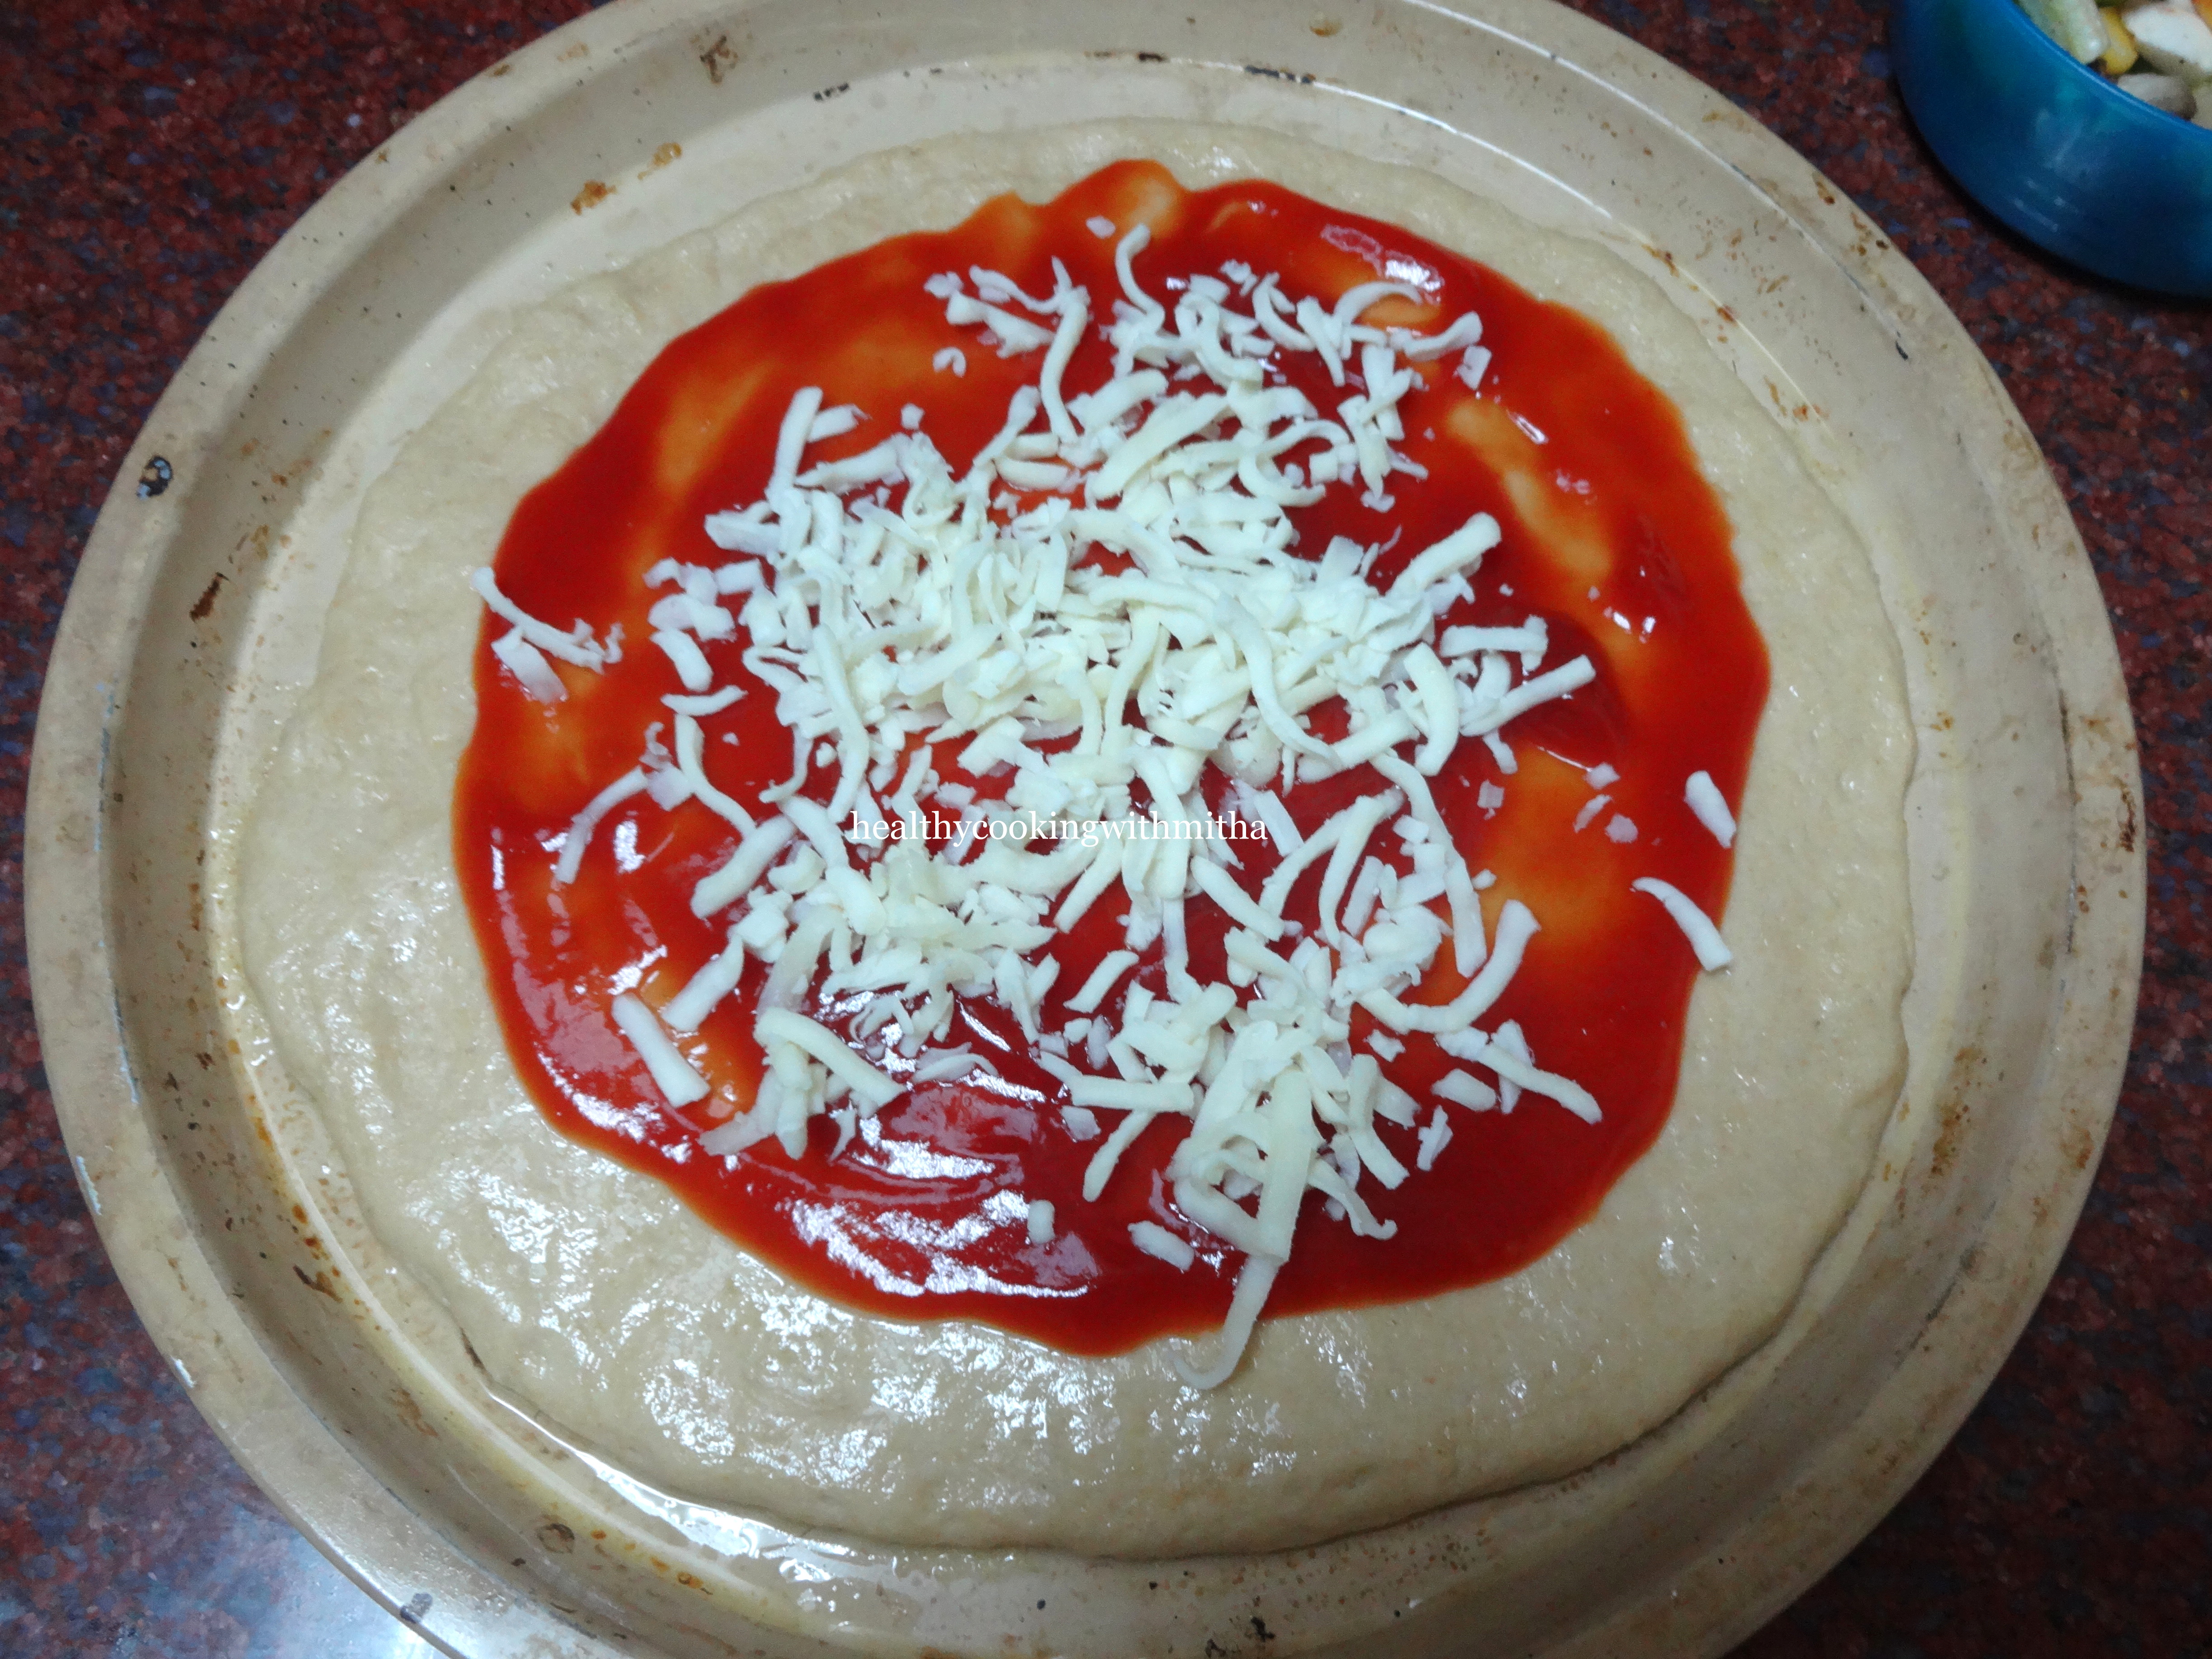
11. Add a layer of pizza sauce or ketchup and grated mozzarella cheese.
12. Add veggies and spread evenly.
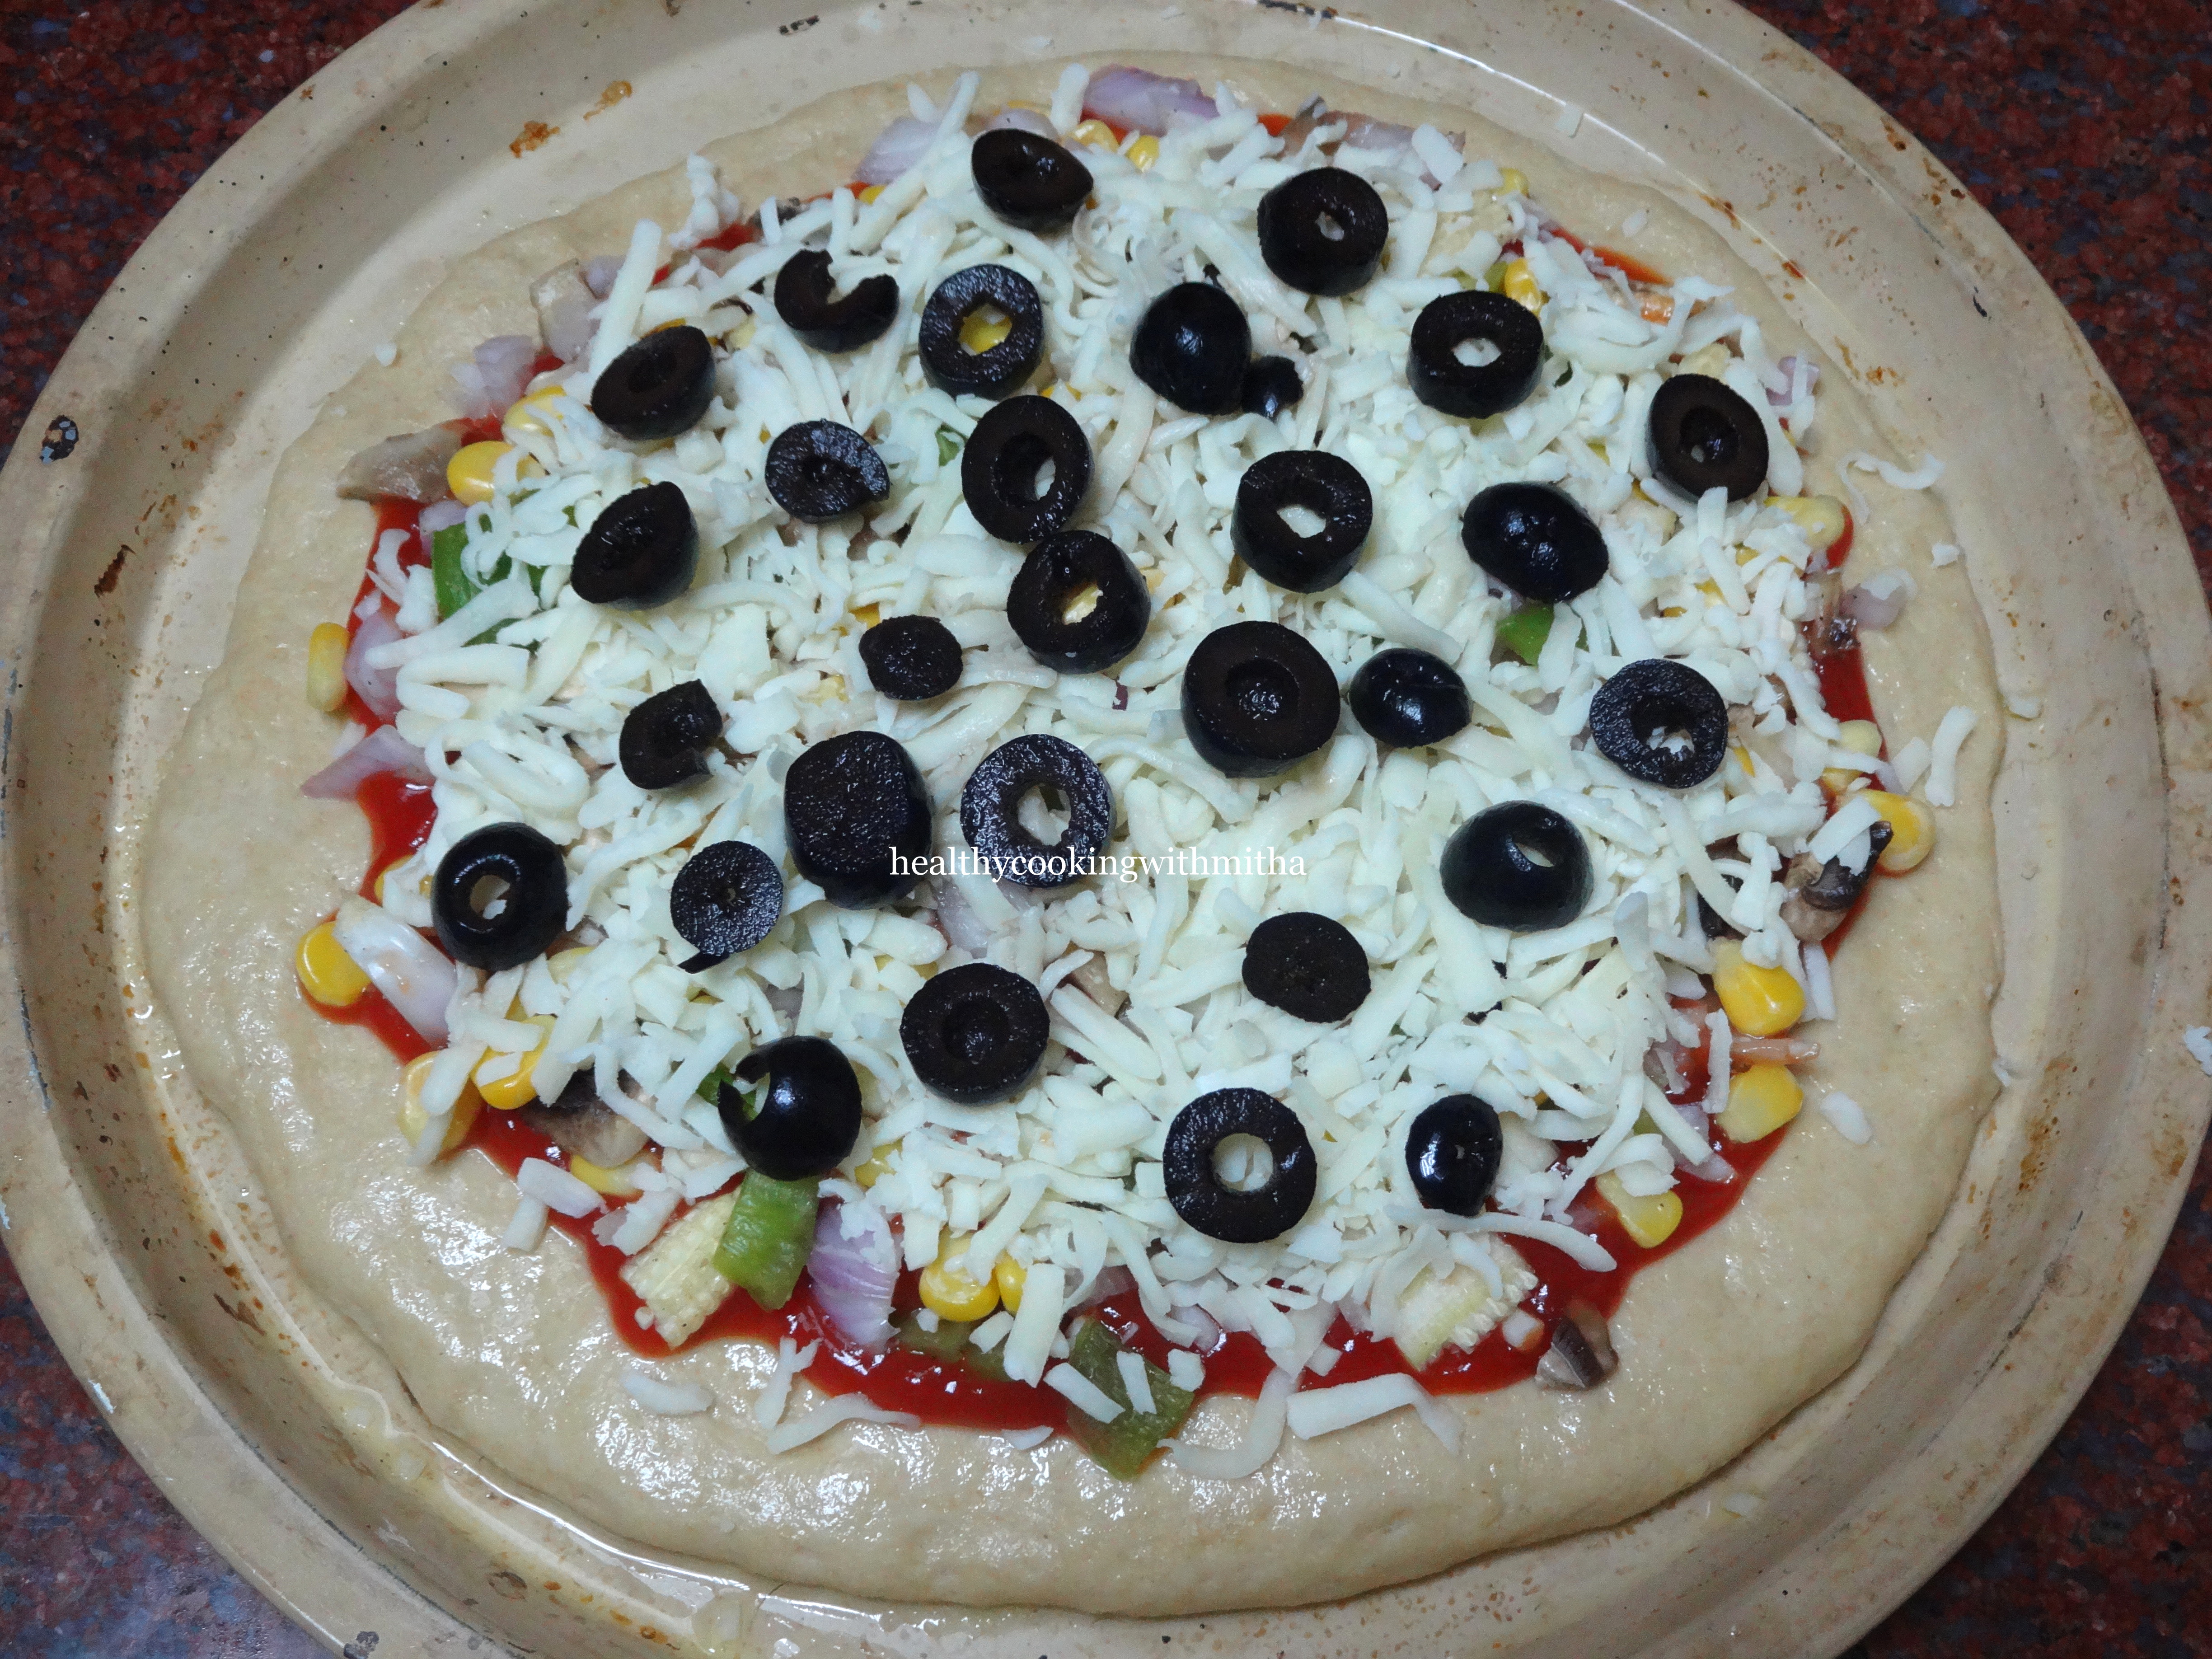
13. Add another layer of mozzarella cheese.
14. Now top with olive slices.
15. Preheat the oven at 200 C for 10 mins. ( Do this before you start topping your pizza. So by the time you finish topping, the oven is very hot. The oven needs to be very hot when you place the pizza in the oven.)
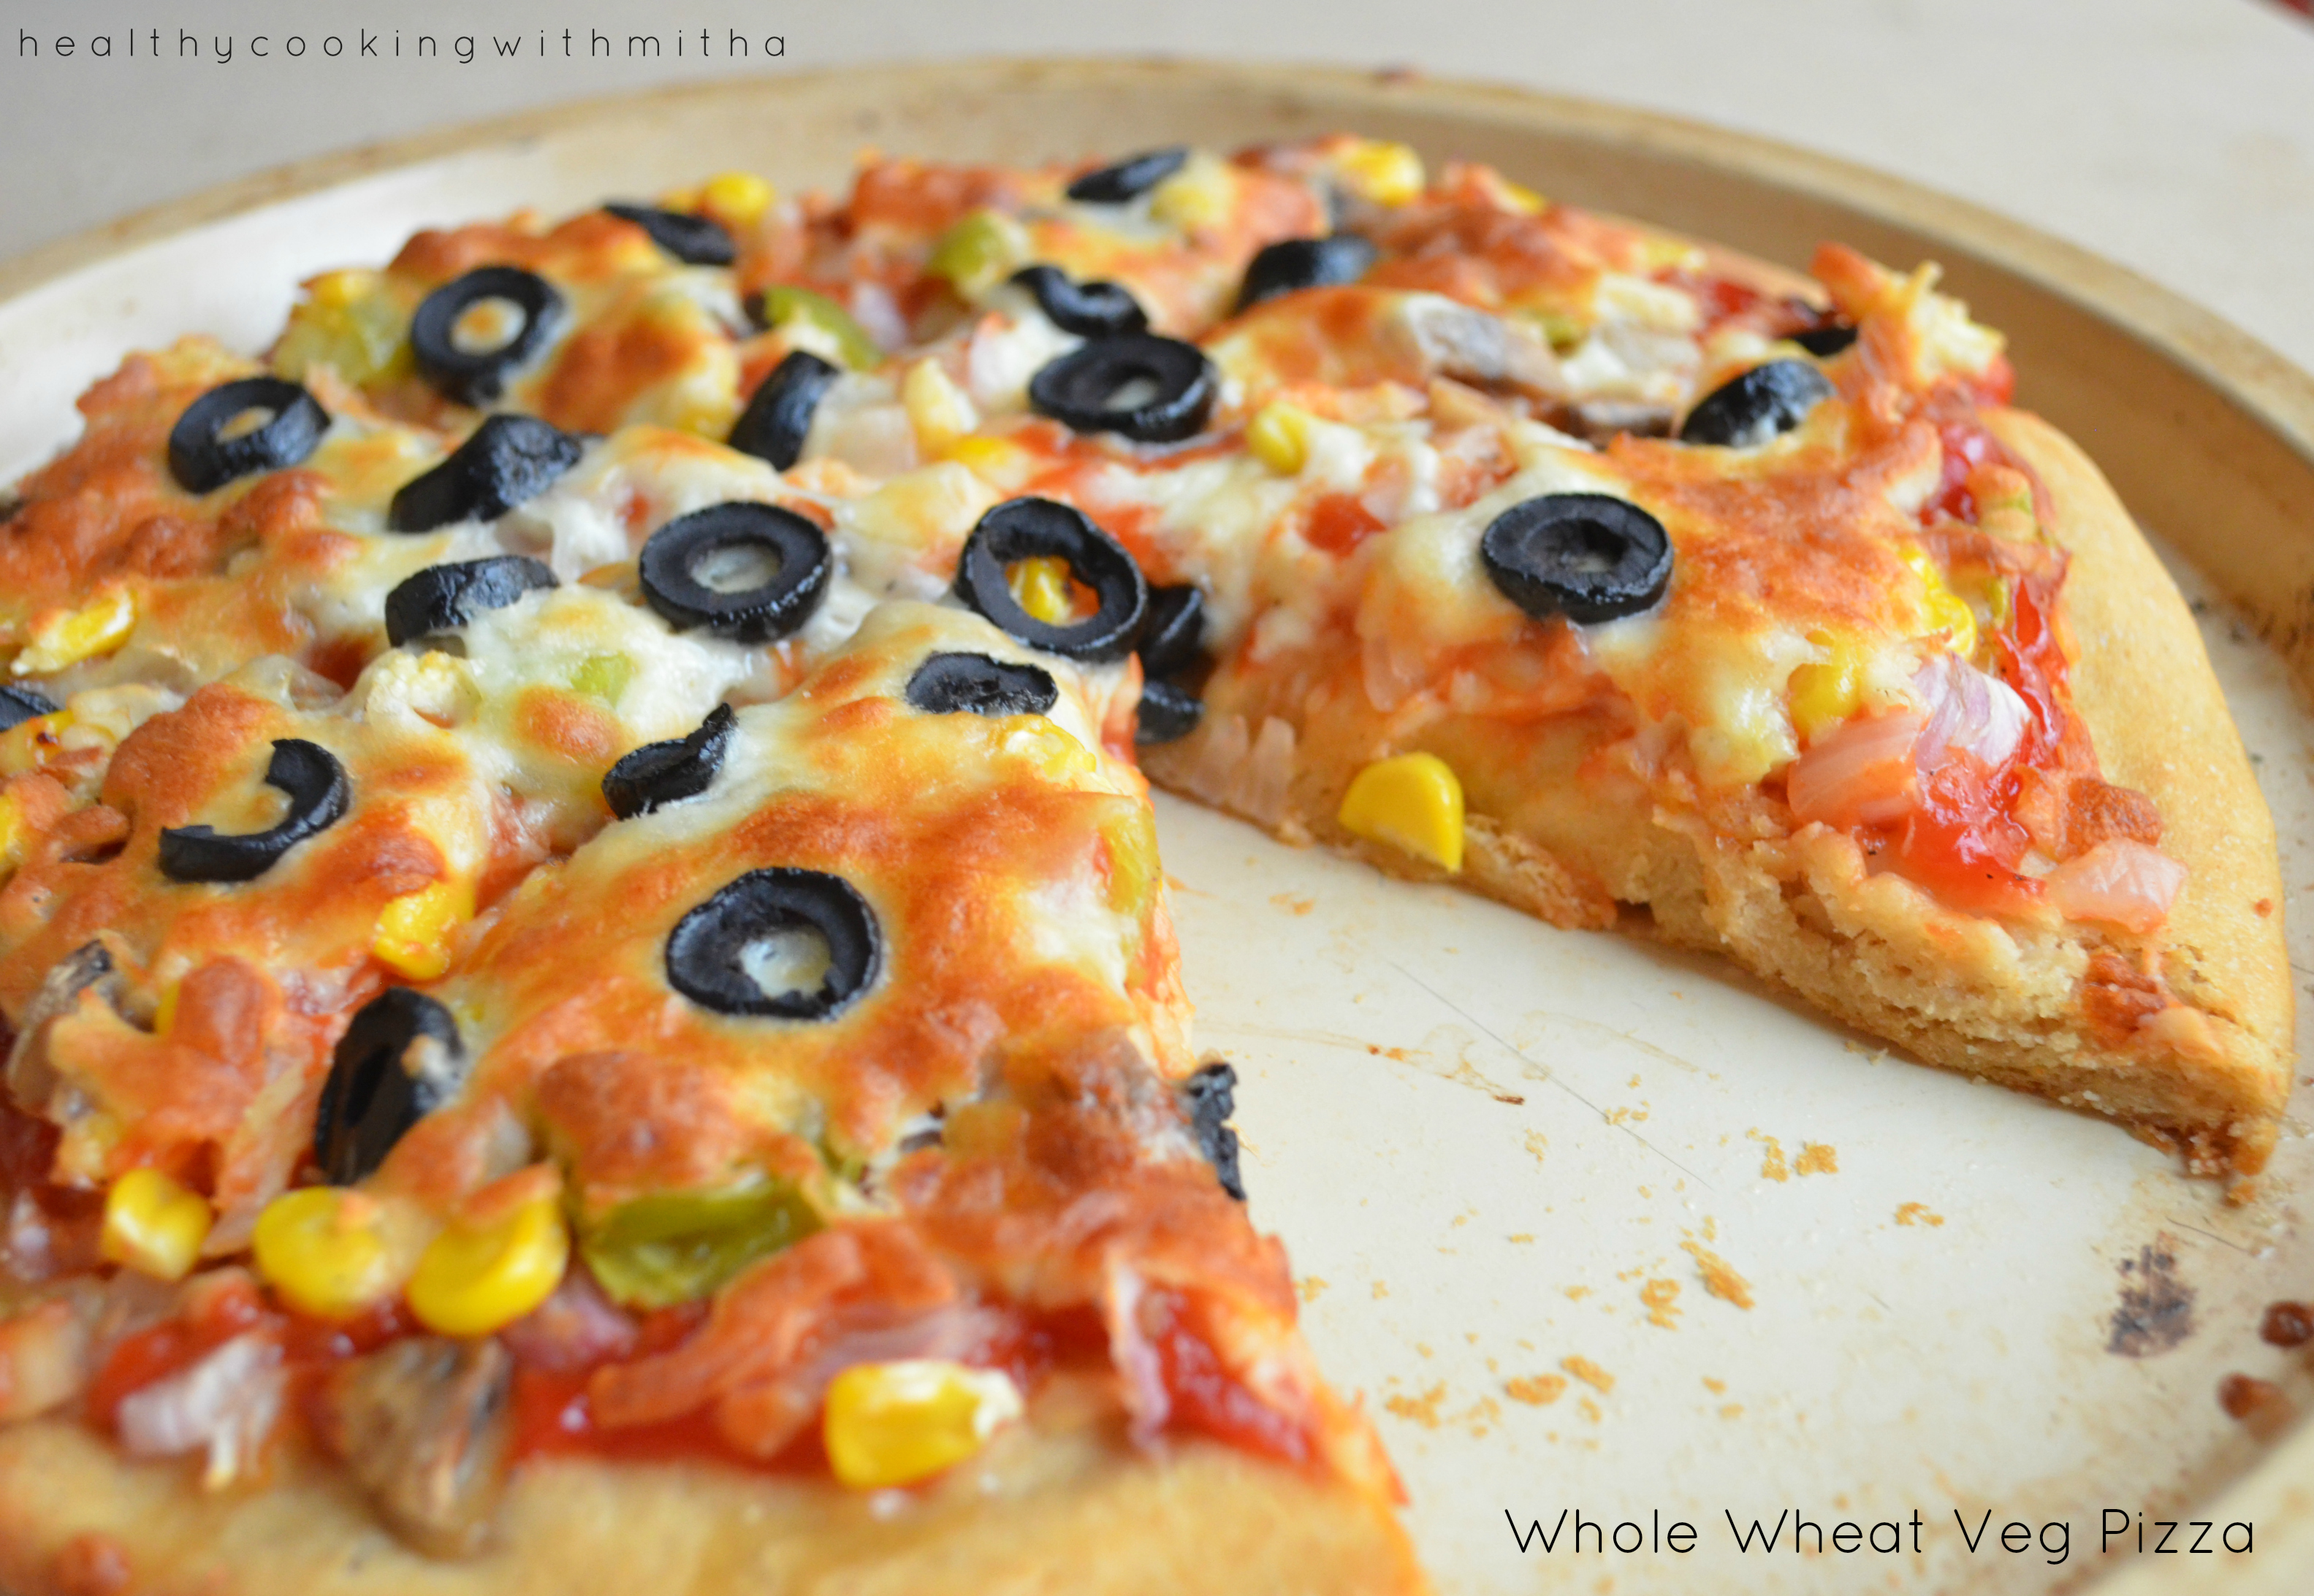
16. Now place the pizza in the center rack of the hot oven and bake for 15 mins at 200 C. Do NOT open the oven door in this time. After 15 mins, check if the cheese has melted and turned golden. If so, take it out.
17. Slice and enjoy your hot homemade wheat pizza!
Click on the image to save the recipe on Pinterest
Notes:
* Very important to note that the 3 Cups of wheat flour we used yields two pizzas. So use only half the dough for one pizza. If you use the whole dough for one pizza, it will turn thick and won’t cook properly.
* Here is the other half of the dough. I refrigerate it in an airtight container and it lasts atleast 3 to 4 days in the fridge and I can make pizza again.
* Grease the pizza plate well with oil and dust wheat flour over it so that the pizza does not stick to the plate. Look at the under side of the pizza. Love the colour.
* Also always proof your yeast to check if it’s good or not. Else it’s a waste of ingredients. I have explained proofing in the first few steps.
* Every oven is different. So do keep an eye after 10 mins into the baking time. But don’t open the oven door many times as it disturbs the baking process.
* Do remember to preheat the oven atleast for 10 mins at 200 C so that the oven is very hot when pizza is placed which is very essential for proper baking.
I have tried to note down as much points as possible so that it’s easy for you all to follow but if you still have any doubts, either comment here or message me on my Facebook page Healthy cooking with mitha or on my Instagram handle and I would be happy to help. Happy baking!
If you are new to baking, you can check this article which I have written to help beginners in baking : Baking basics for Beginners
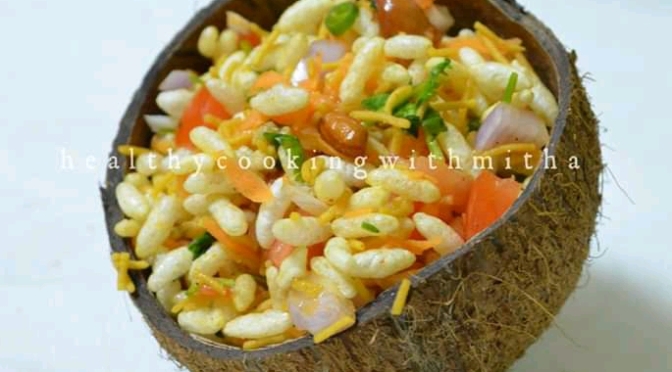
This post is dedicated to my father who’s favourite snack to make is Charmbure Upkari and my husband who’s only reply for “what’s for evening snack?” is Charmbure Upkari. My kids have gone after them and they love it a lot too.
It’s easy for me as well. Hardly takes time to mix everything and is so tasty that the whole family is happy with me. I am happy too since it’s a healthy snack to munch on.
Charmbure Upkari is most famous during temple festivals in South Canara regions and also available outside temples at other times. They give it in a paper cone and it’s so delightful to see them make it. Some also add raw mango to it but since we don’t get it here, I make it without it. Here’s sharing how we make our Charmbure Upkari.
RECIPE:
Ingredients:
2 Cups Puffed rice/ Charmburo/ Bhel
1/2 Cup Sev/ Bhujiya
3 Tbsp peeled and finely grated Carrot
1 small Onion, finely chopped
1 small Tomato, finely chopped
2 green chillies, finely chopped ( or to taste) *can skip if making for kids
3 Tbsp coriander leaves, finely chopped
1 Tbsp Peanuts
2 tsp Sambar powder
1/2 tsp Red chilli powder (or to taste) *can skip if making for kids
2 tsp Coconut oil (plus 1 tsp to fry peanuts)
1 Tbsp Lemon juice
Salt to taste
Step by step recipe:
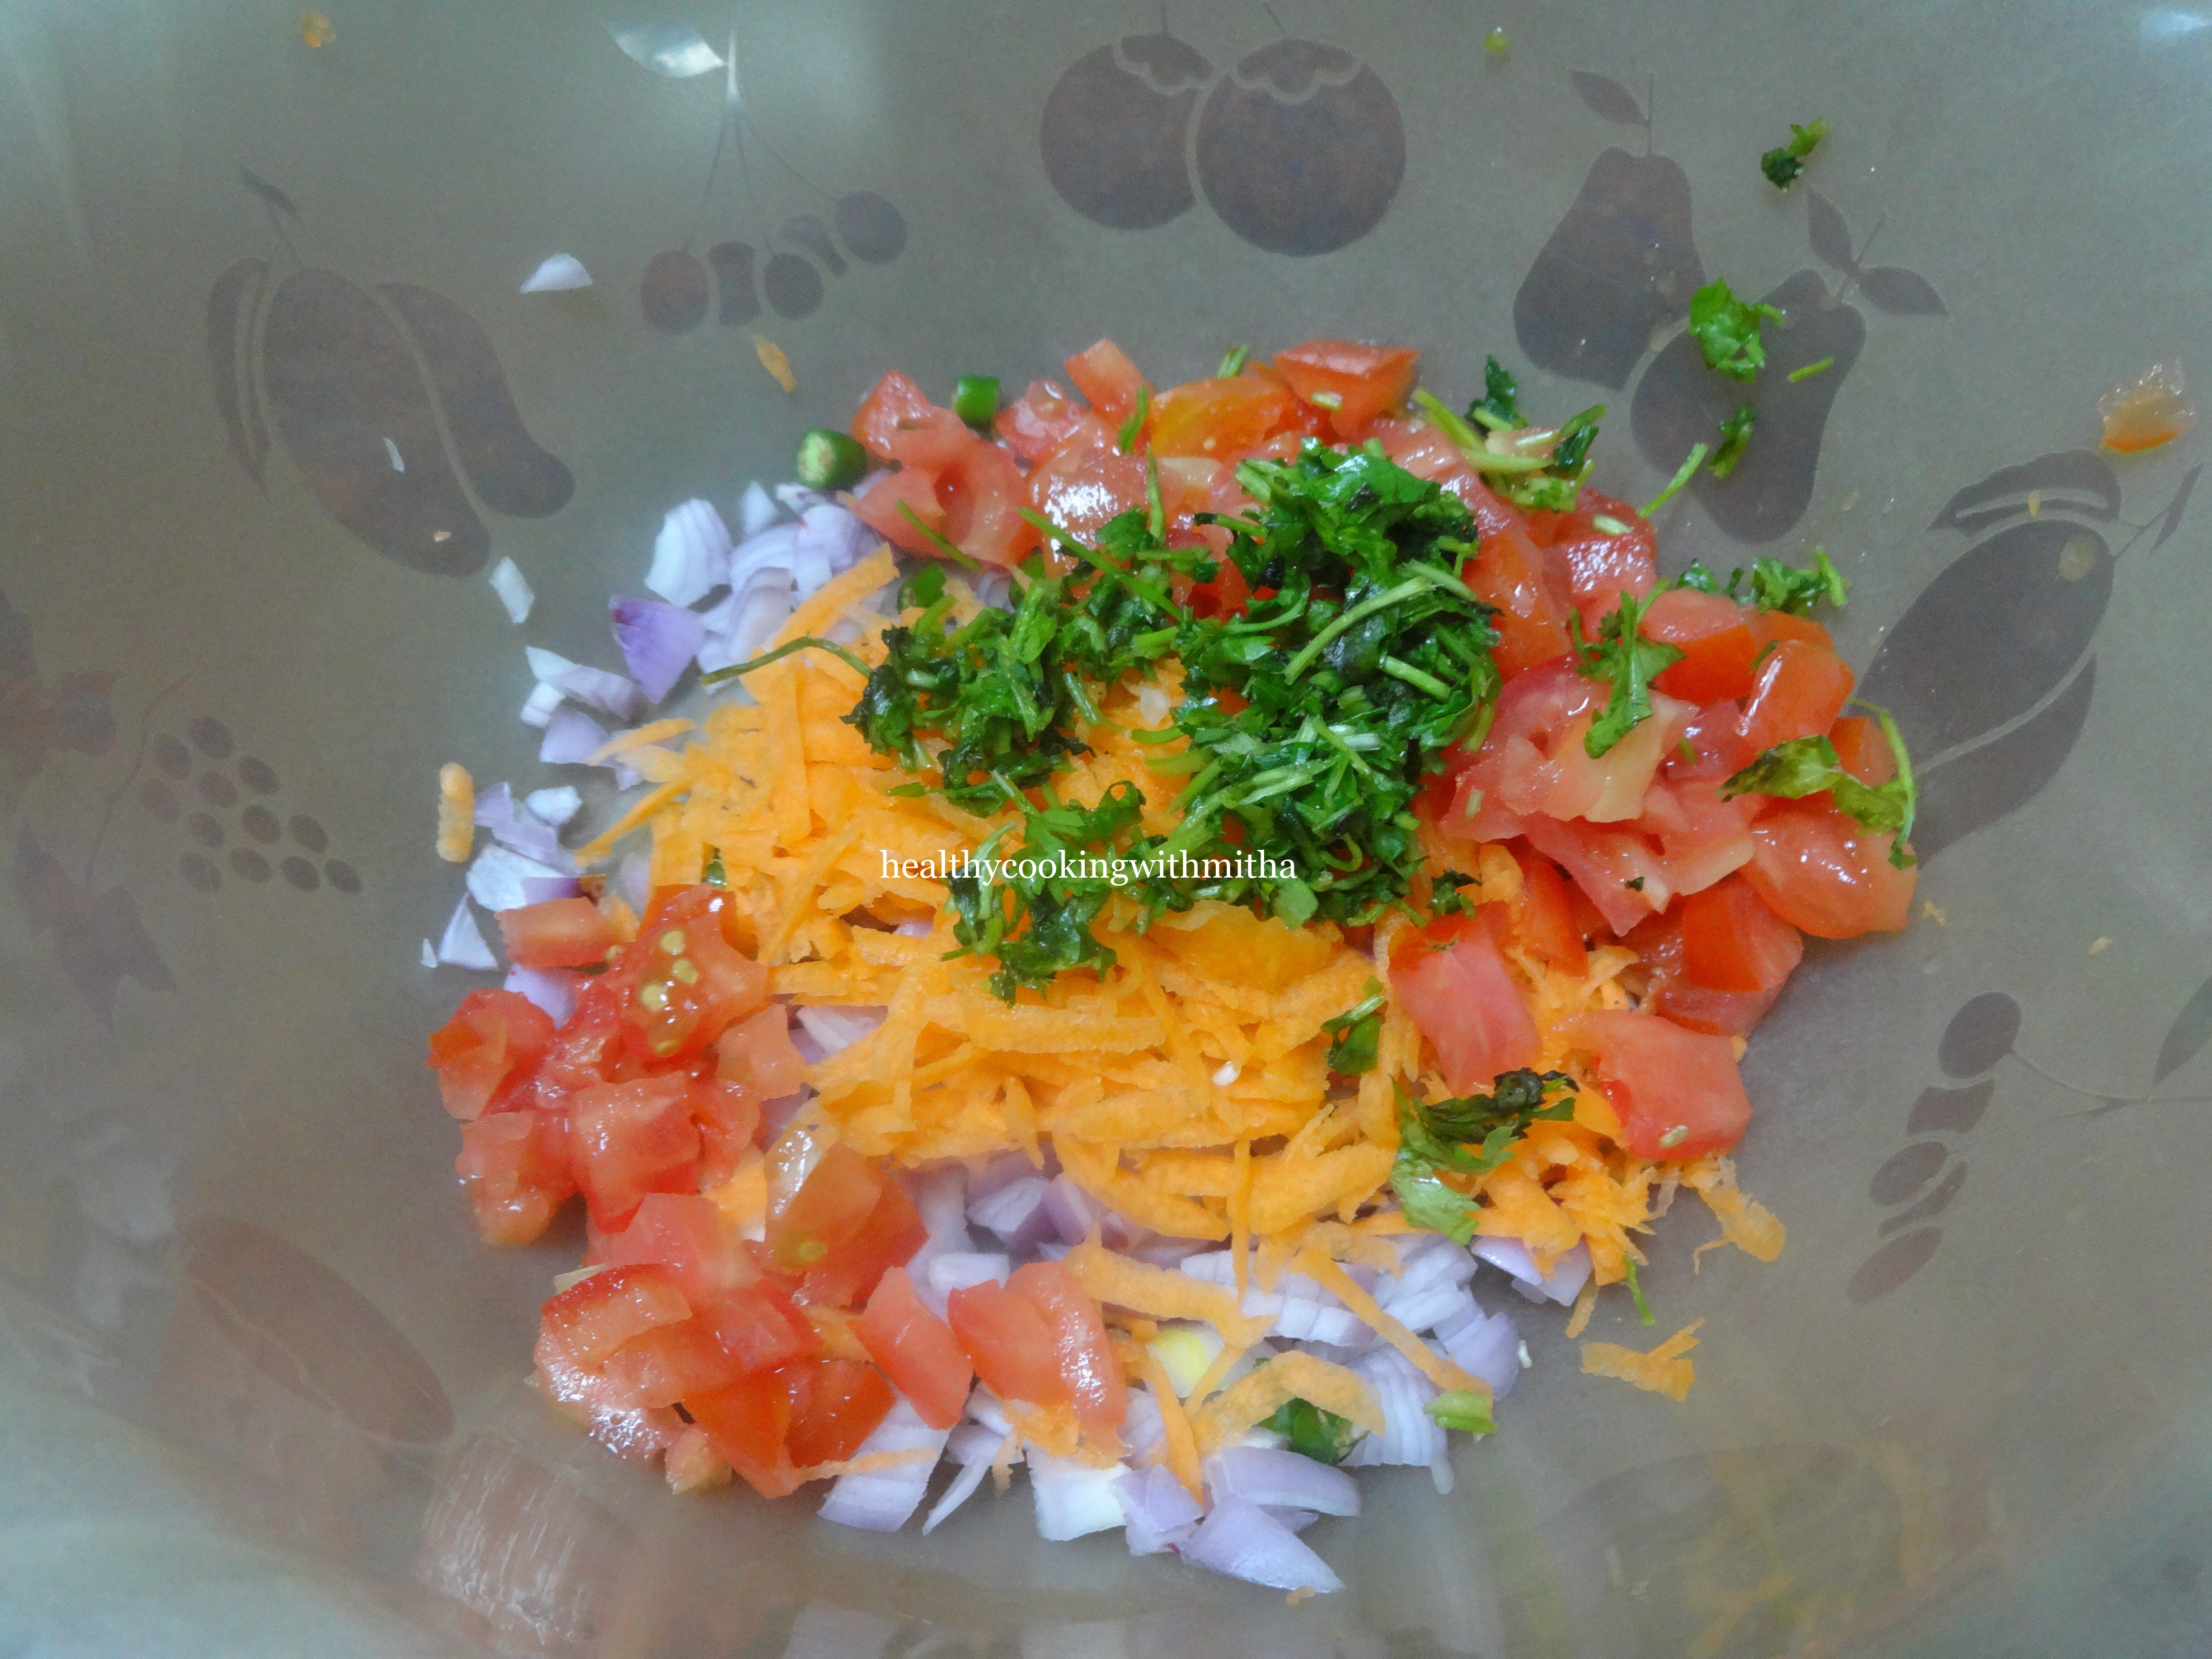
1. Add the finely chopped Onions, tomatoes, coriander leaves, green chillies, grated carrots in a large mixing bowl. (Add finely chopped raw mango too if available)
2. Add sambar powder, salt and red chilli powder( if adding).
3. Now fry peanuts in oil and add to the mixture along with sev/ bhujiya.
4. Now add the Bhel/ Charmburo along with coconut oil and lemon juice. Mix well.
5. To a taste test and add more sambar powder/ red chilli powder/ lemon juice if required. Serve Immediately. Else the Charmbure upkari turns soggy and not crisp.
Notes:
* If I have the time, I sometimes dry roast the Charmburo/ Bhel before adding to the upkari so that it does not turn soggy while serving.
* Do serve it immediately after mixing everything. Else it turns soggy.
* All the ingredients are to taste and you can make changes according to your family’s taste buds.
Click on the image to save the recipe on Pinterest
I am always on the lookout for healthy cake recipes and so far have had great success in baking with wheat flour, ragi flour and oats. I add jaggery powder in all the cakes and it tastes so good that you can never say it’s a jaggery cake.
Click on the image to save the recipe on Pinterest
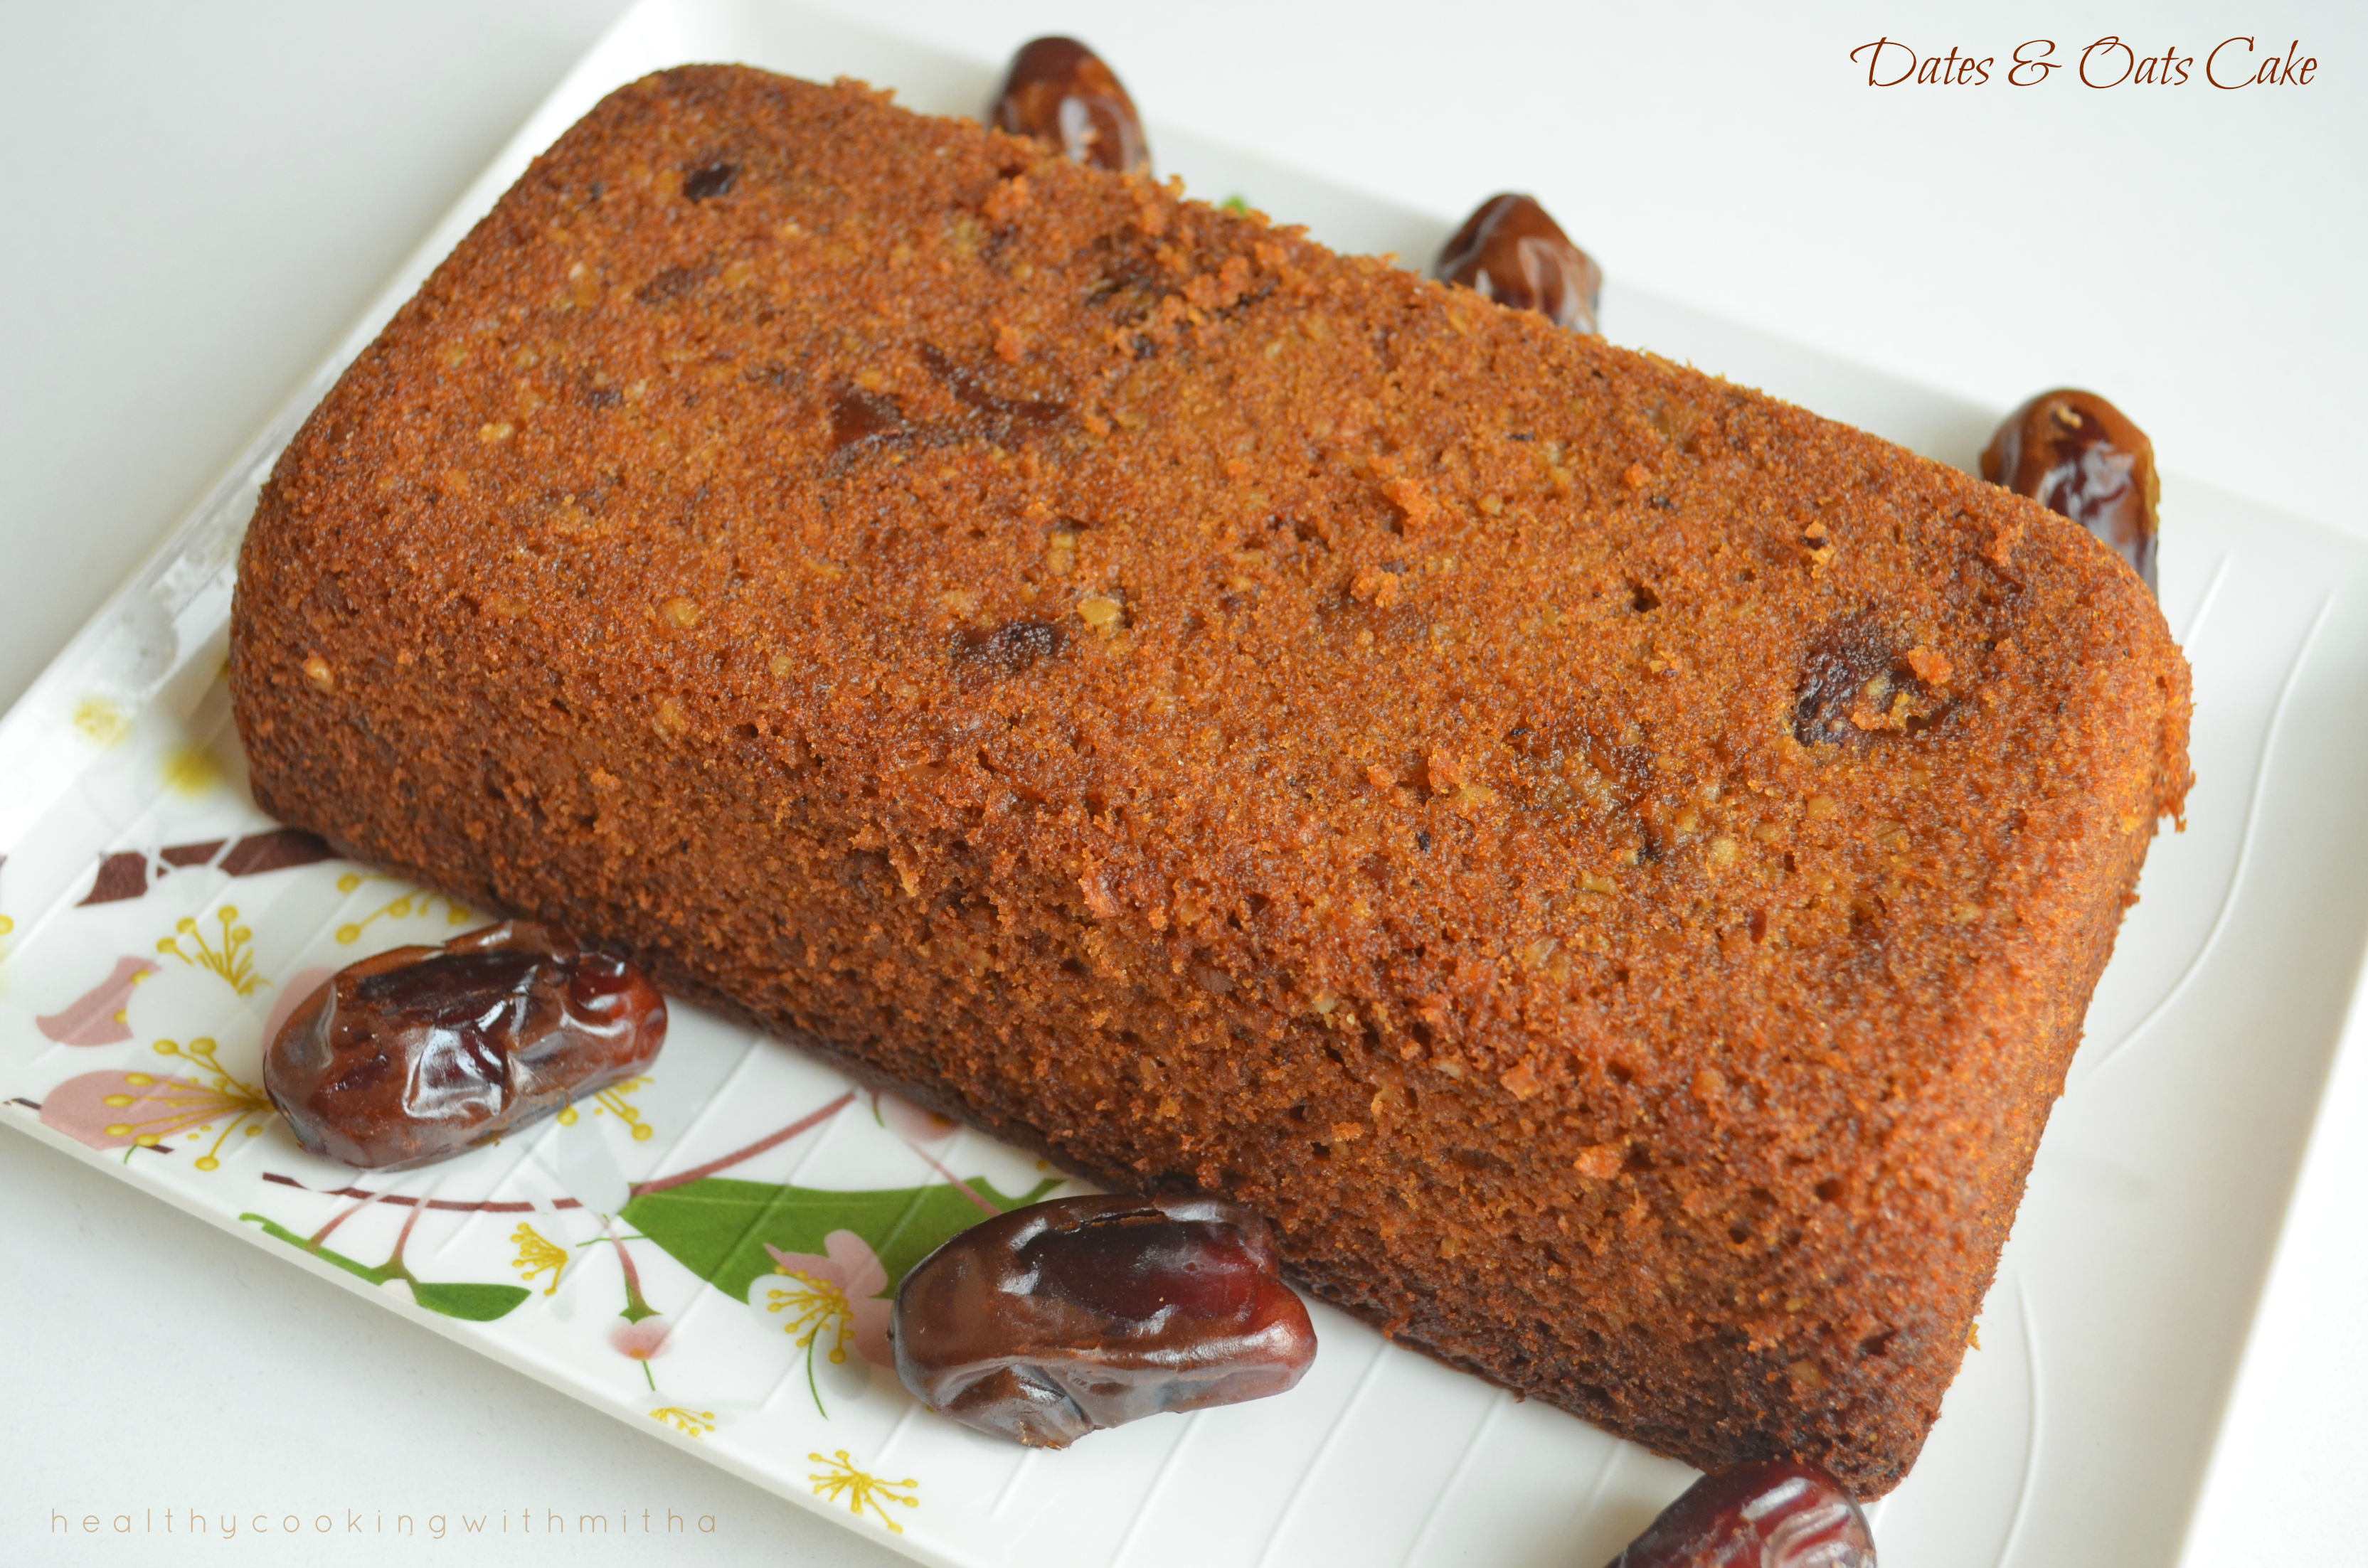
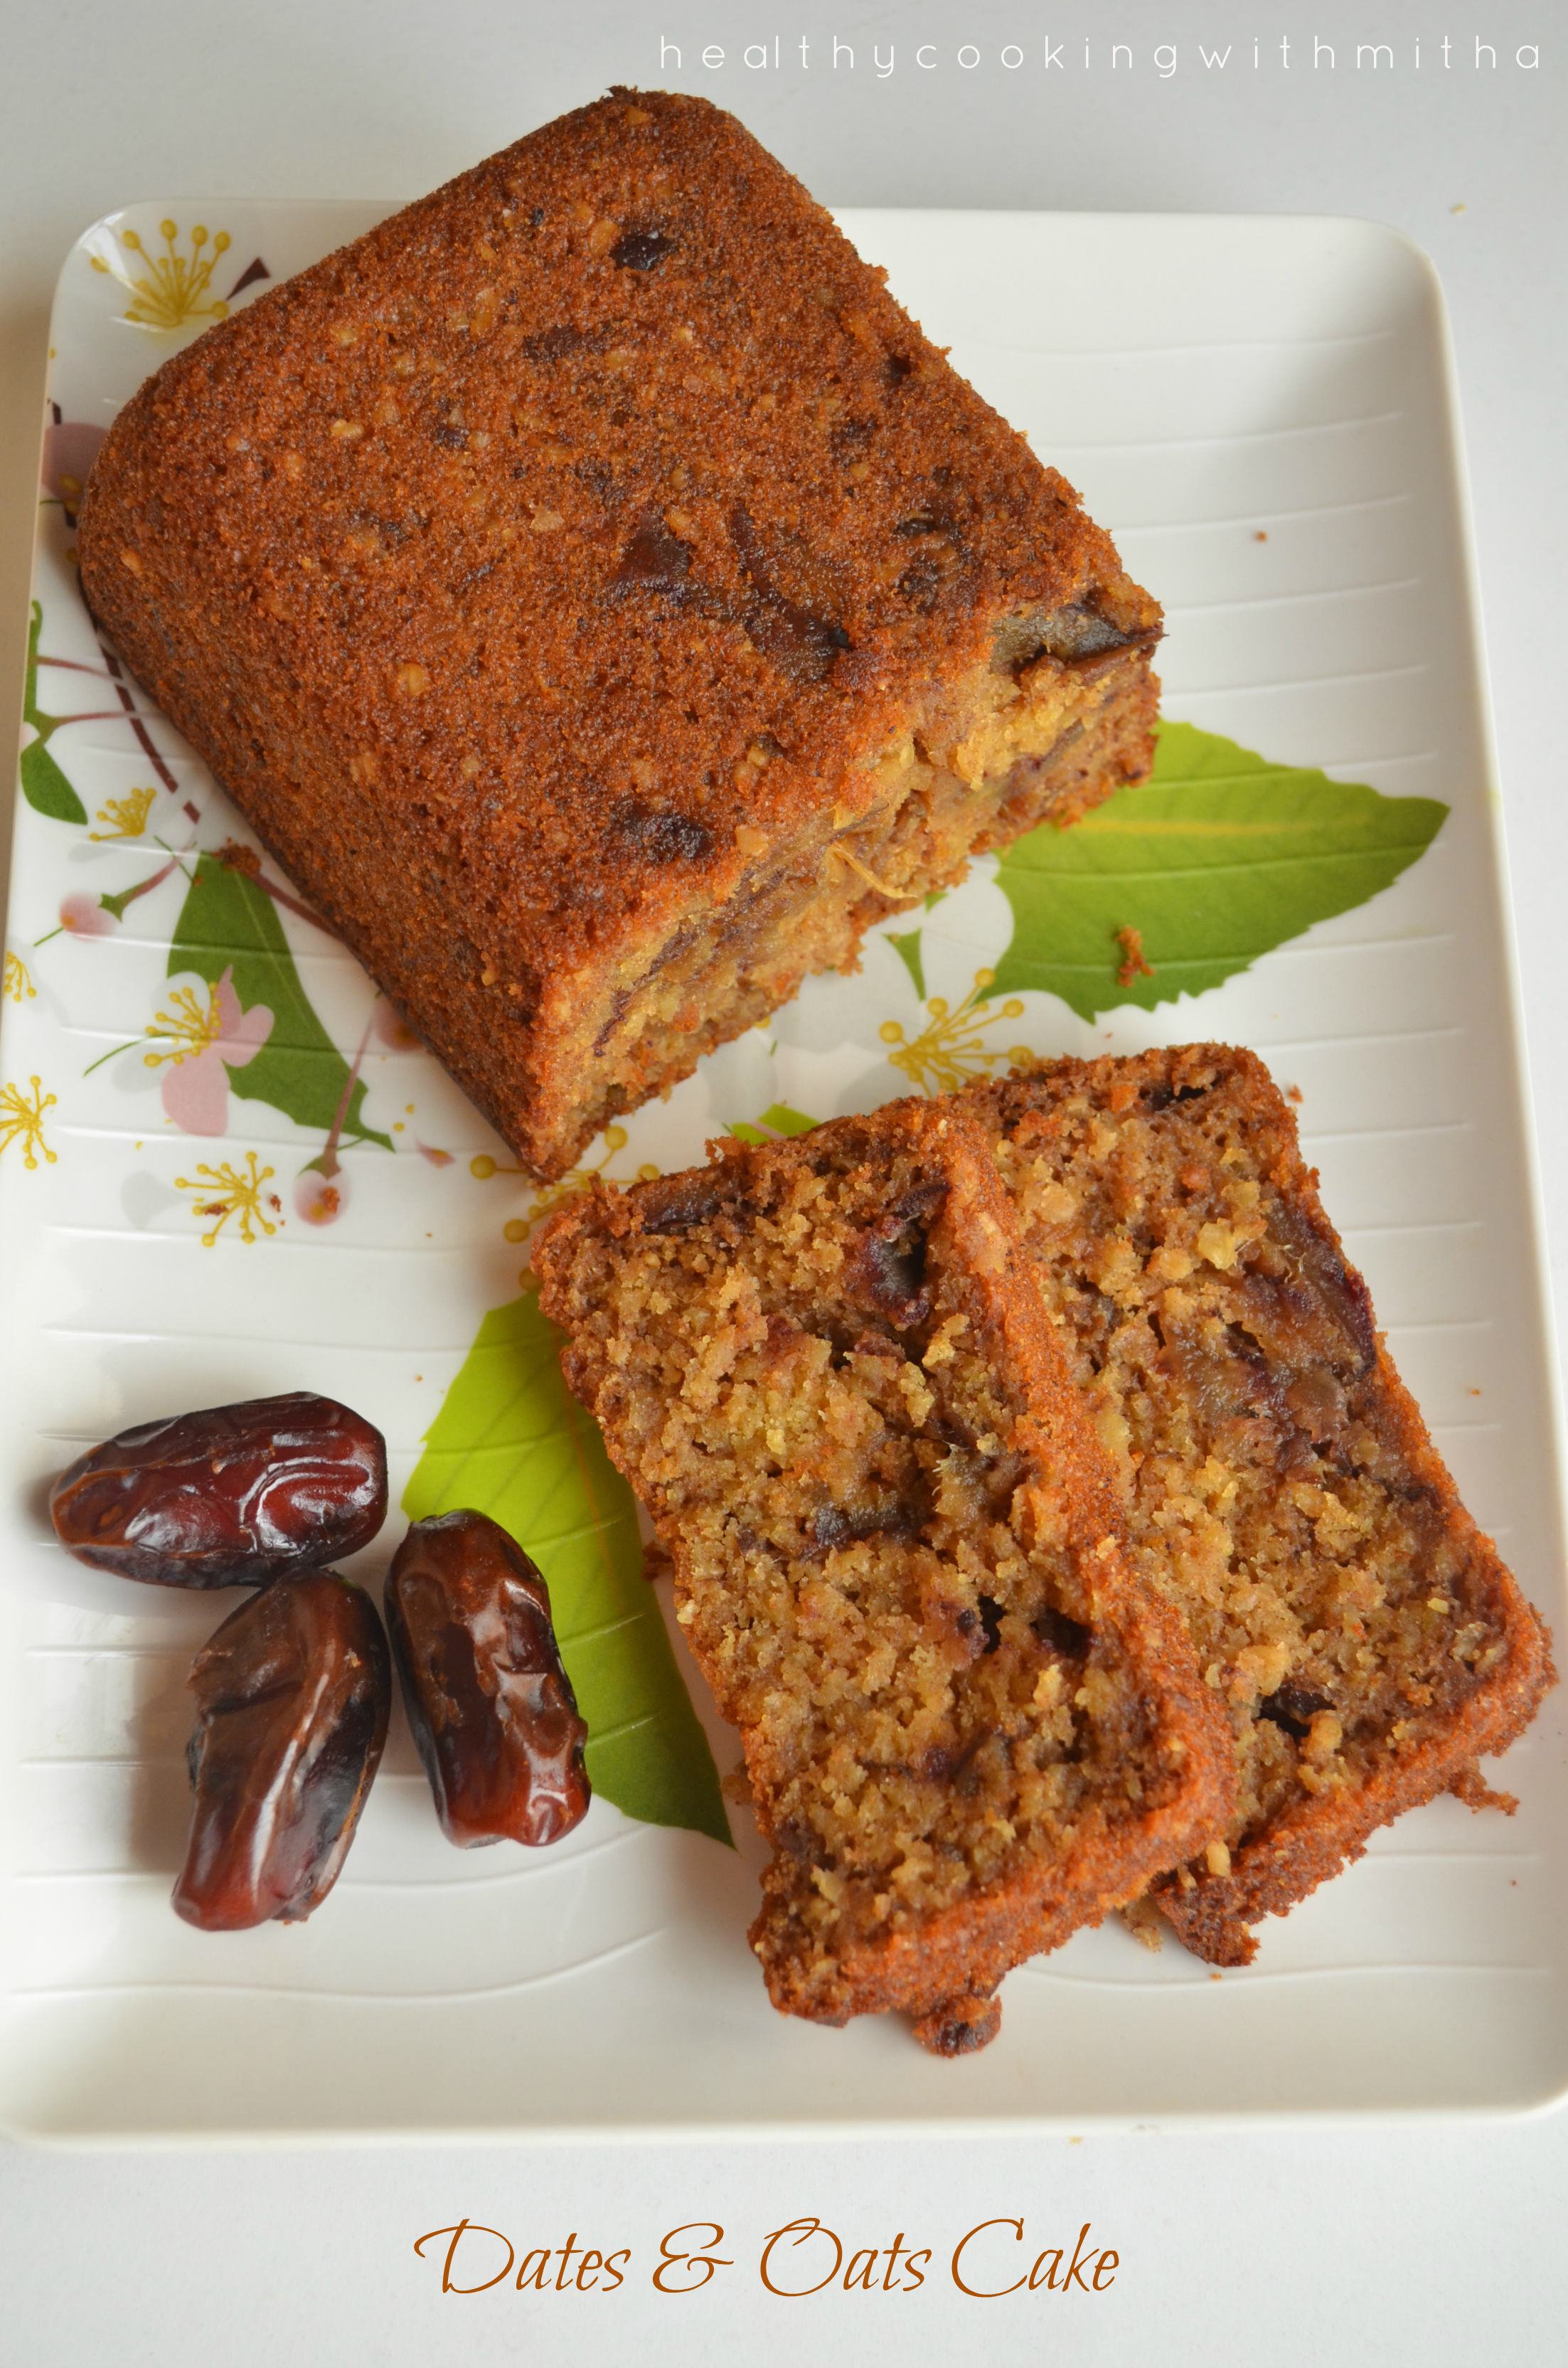
When I first made the cake, I could not believe that Oats in a cake could taste so yummy. But you could never say it has oats in it. The dates and milk hides the nuttiness quite well. In fact so well that my kids never know that it’s actually a healthy cake.
Look at the moistness!
This cake is a perfect example that healthy food can be delicious too. The exact principle on which I started writing this blog. Hope you all try this cake. Happy and healthy cooking!
RECIPE:
Ingredients:
1 Cup = 240 ml
Dry Ingredients:
3/4 Cup Whole wheat flour/ Atta
3/4 Cup Instant Oats
1 tsp Baking powder
1 tsp Baking soda
1/4 Cup Jaggery powder or brown sugar or cane sugar or regular sugar
Wet Ingredients:
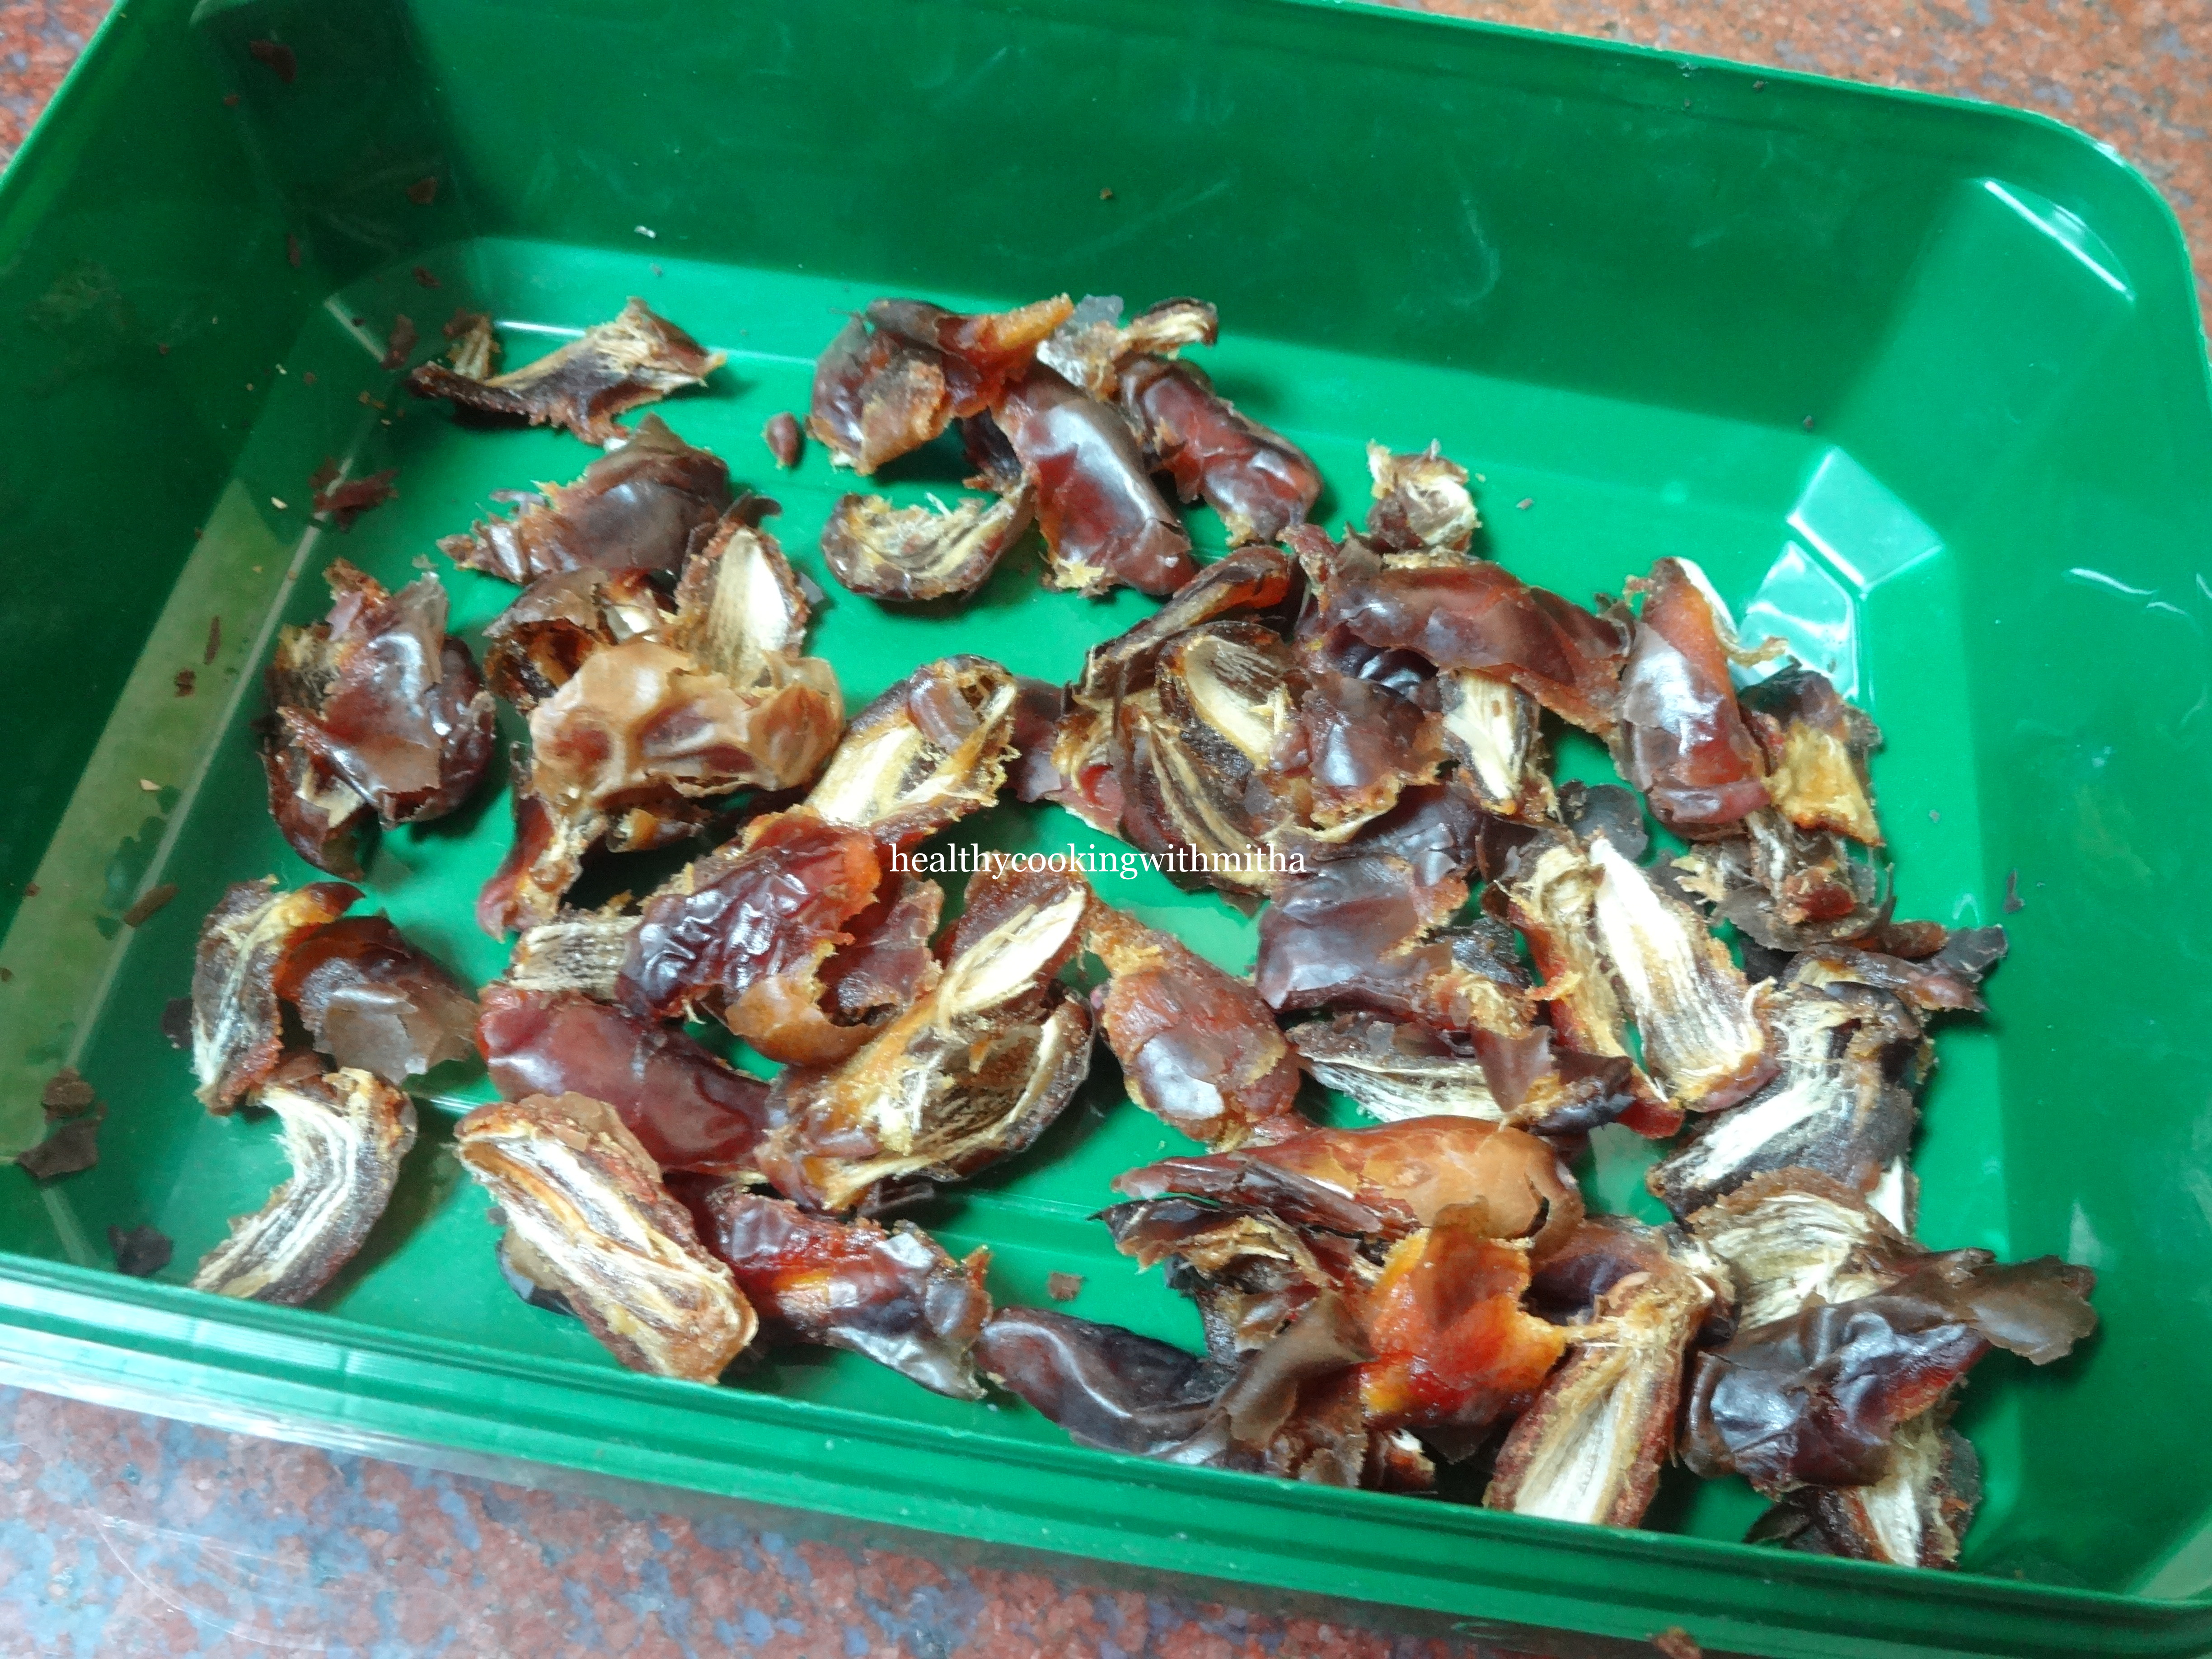
Around 20 Dates (Deseeded and roughly chopped)
1 1/2 Cups Milk
1/2 Cup (113 grams) Butter
1 tsp Vanilla essence
Step by step recipe:
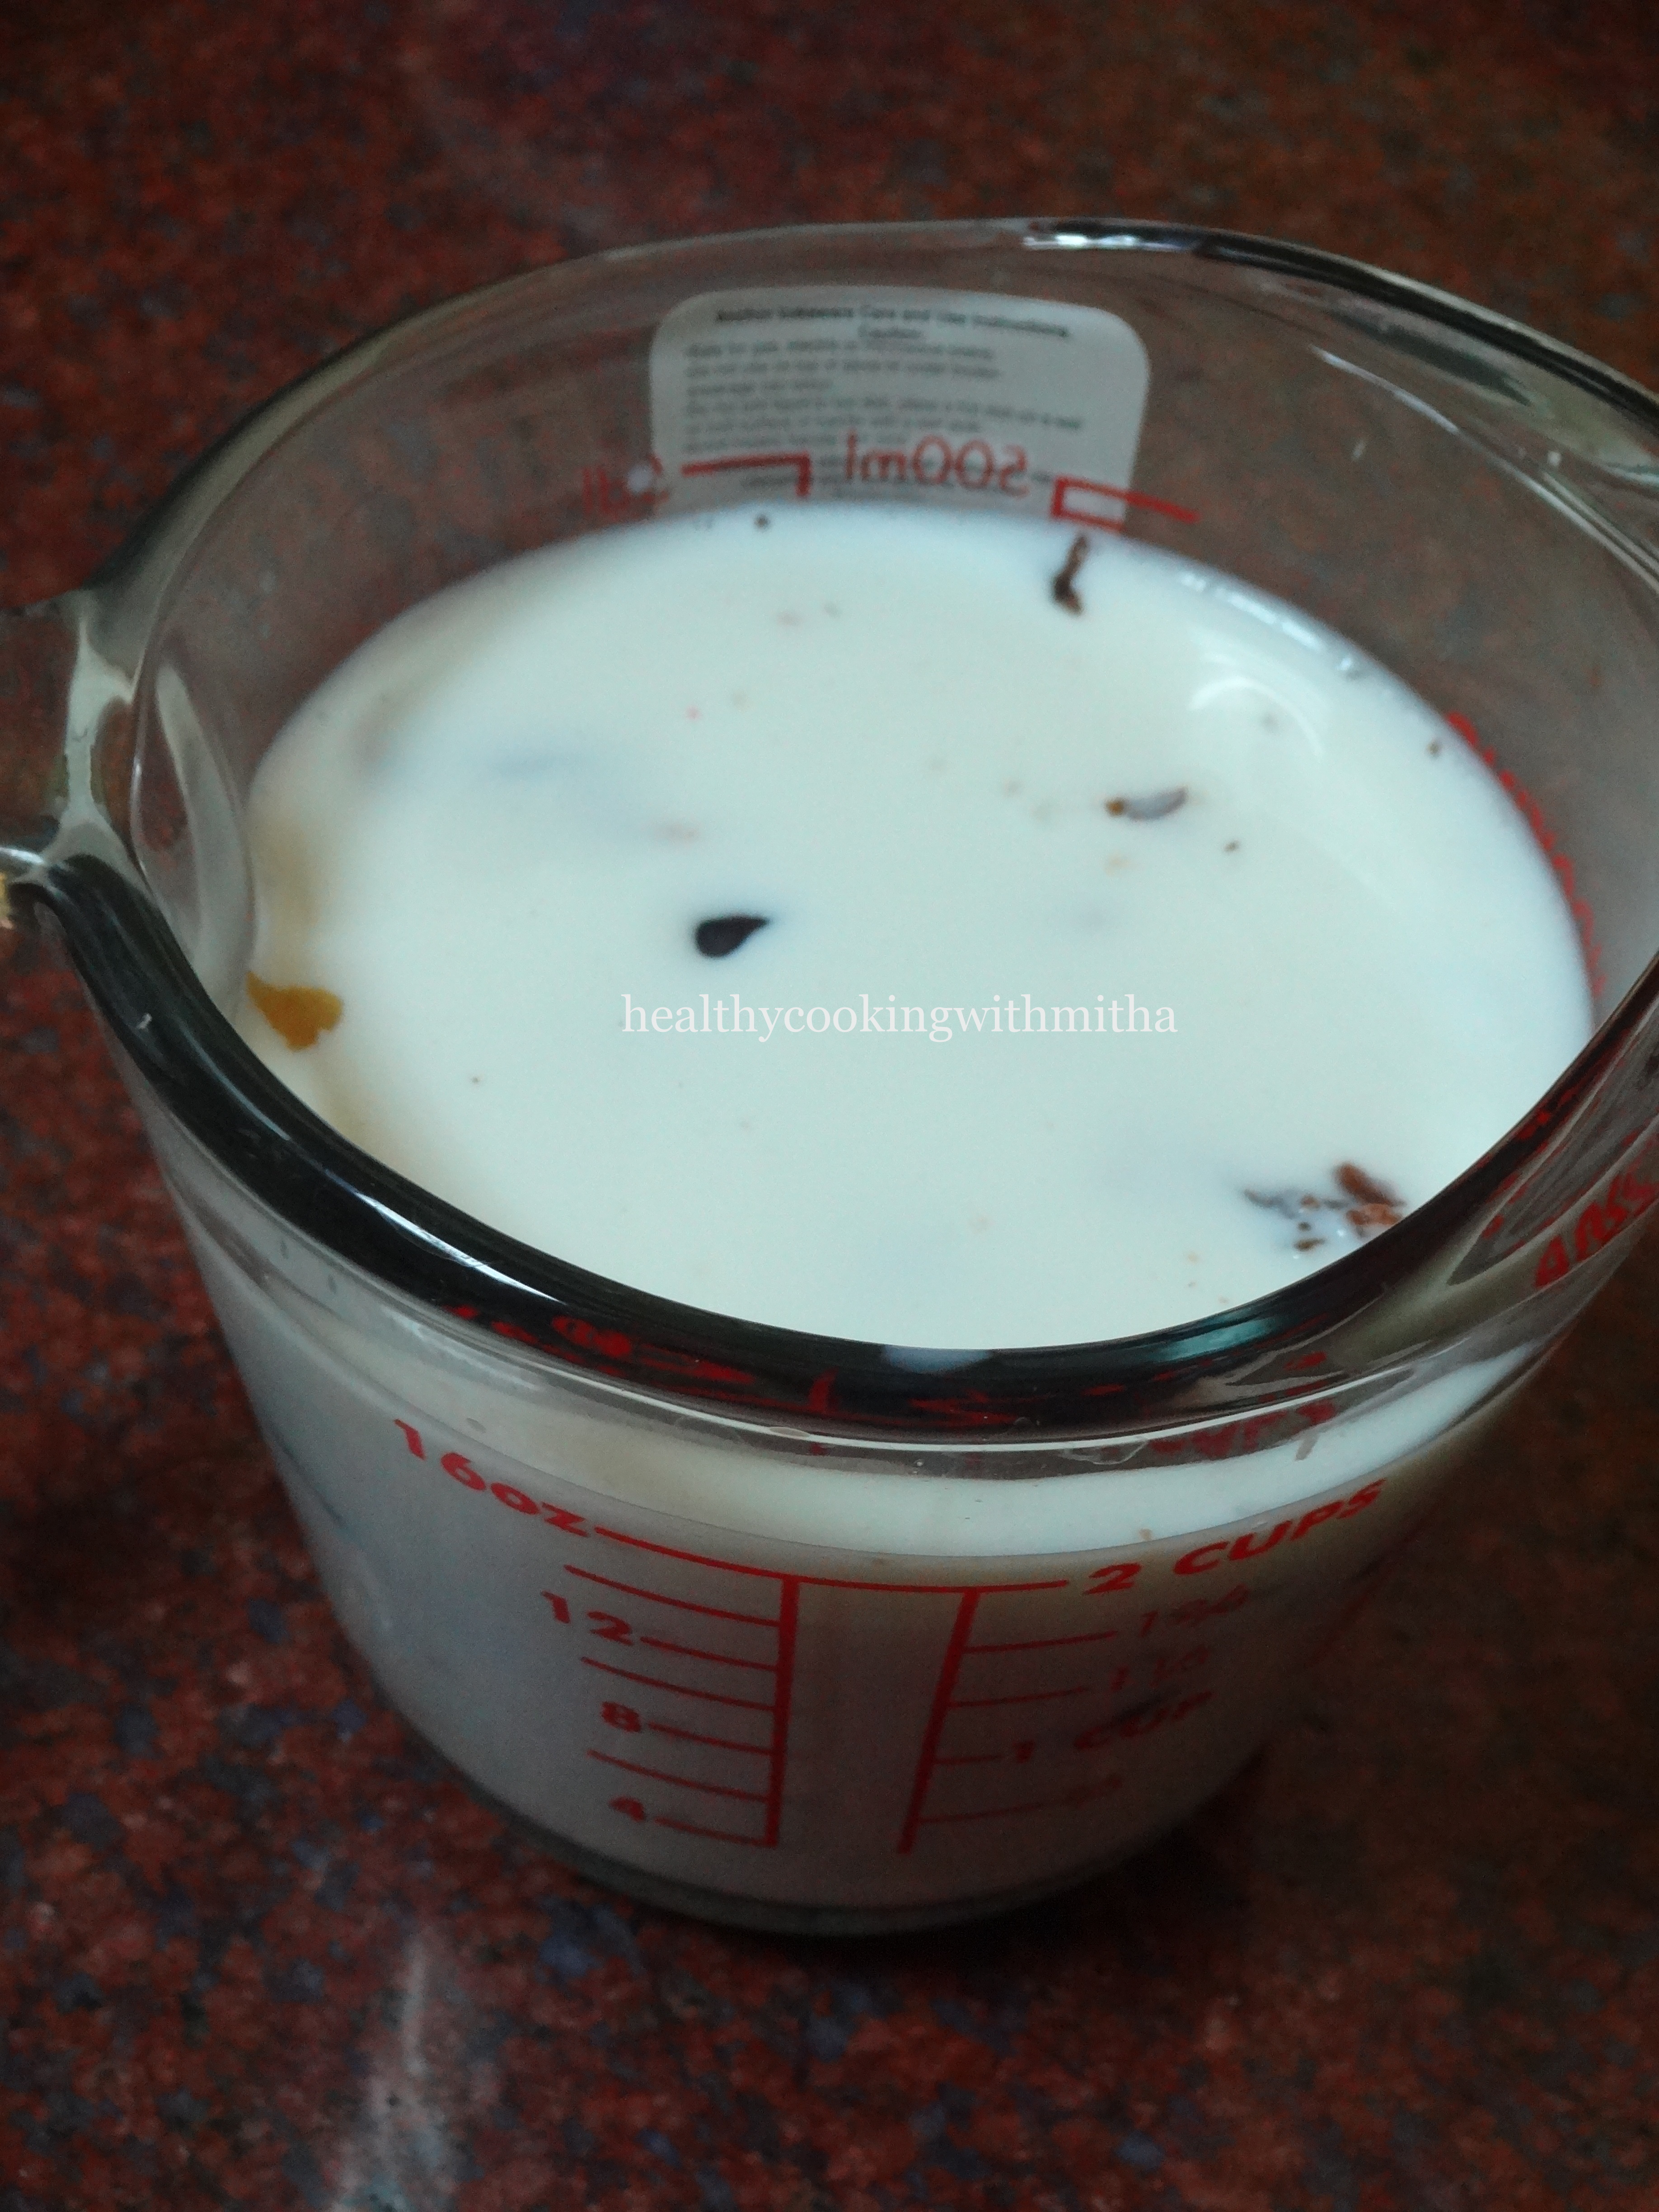
1. Soak the chopped dates in hot milk for an hour.
2. Measure 3/4 Cup Instant Oats in a bowl.
3. In the same bowl, sieve together whole wheat flour, baking powder and baking soda. Mix everything well.
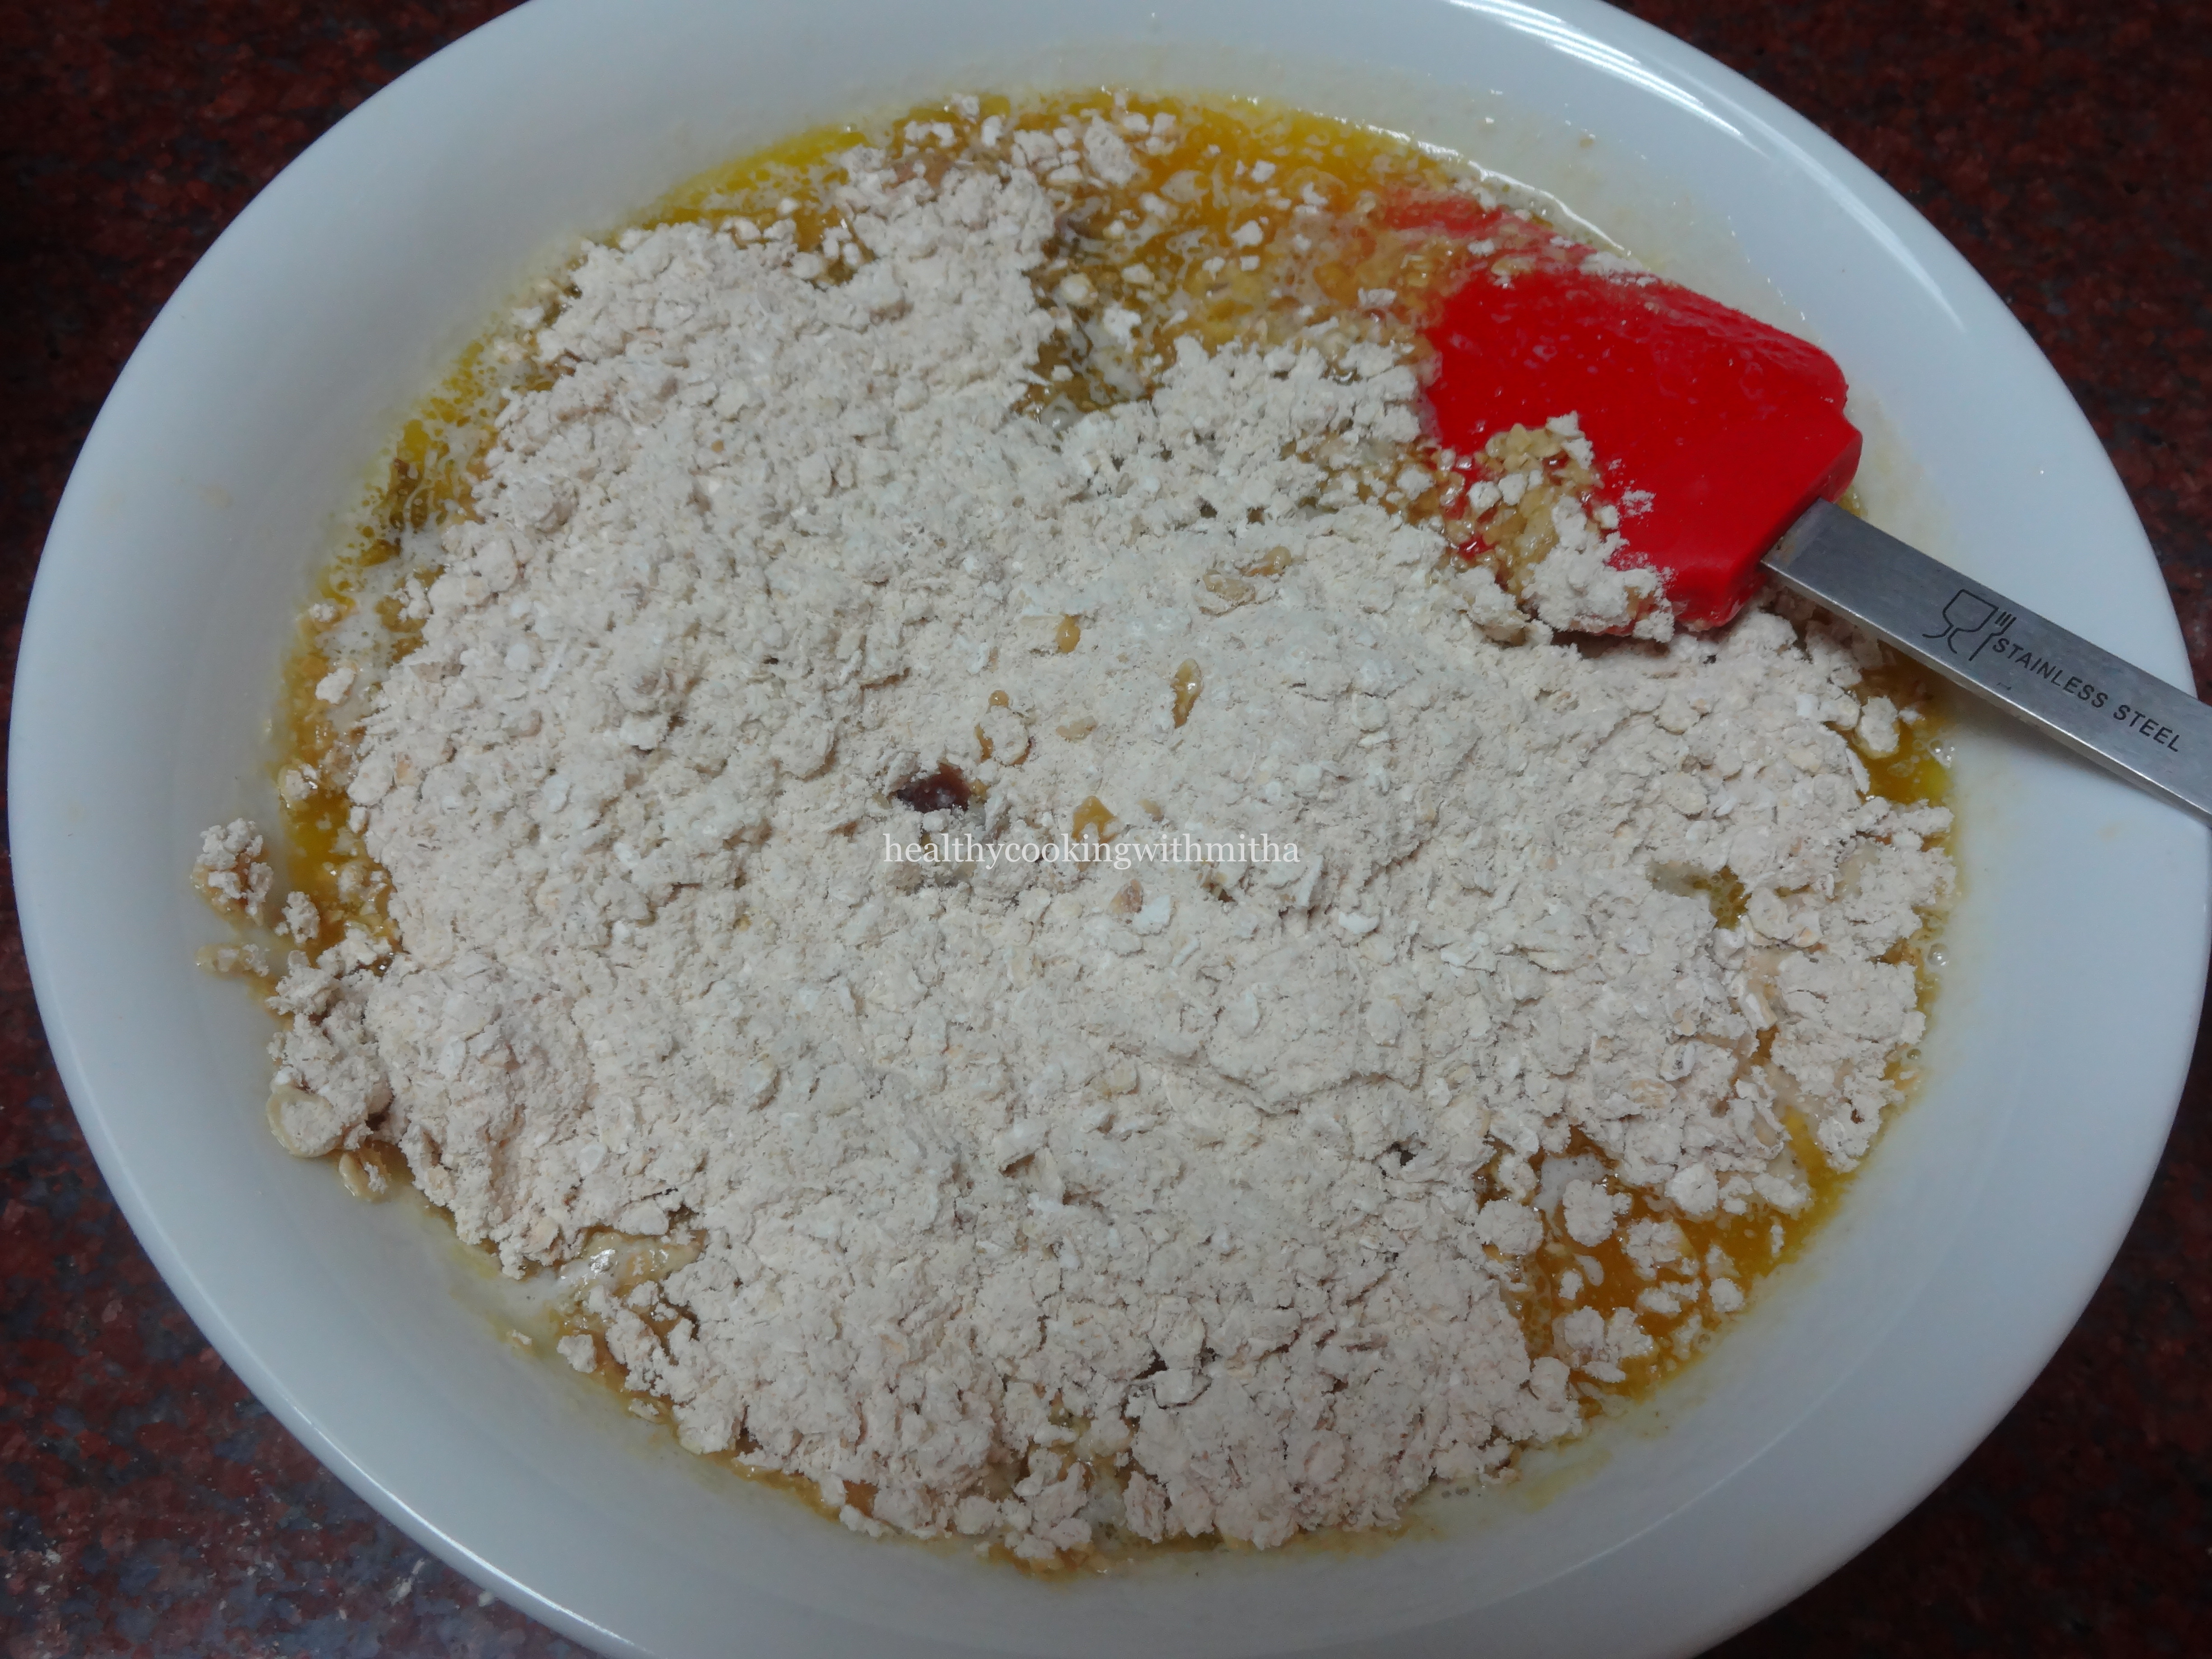
4. Melt butter in a bowl and add the dates- milk mixture to this. Also add vanilla essence.
5. Add the dry flour mix to this and mix till the flour specks can’t be seen.
6. Add 1/4 Cup Jaggery powder to this and mix everything once. Do NOT overmix.
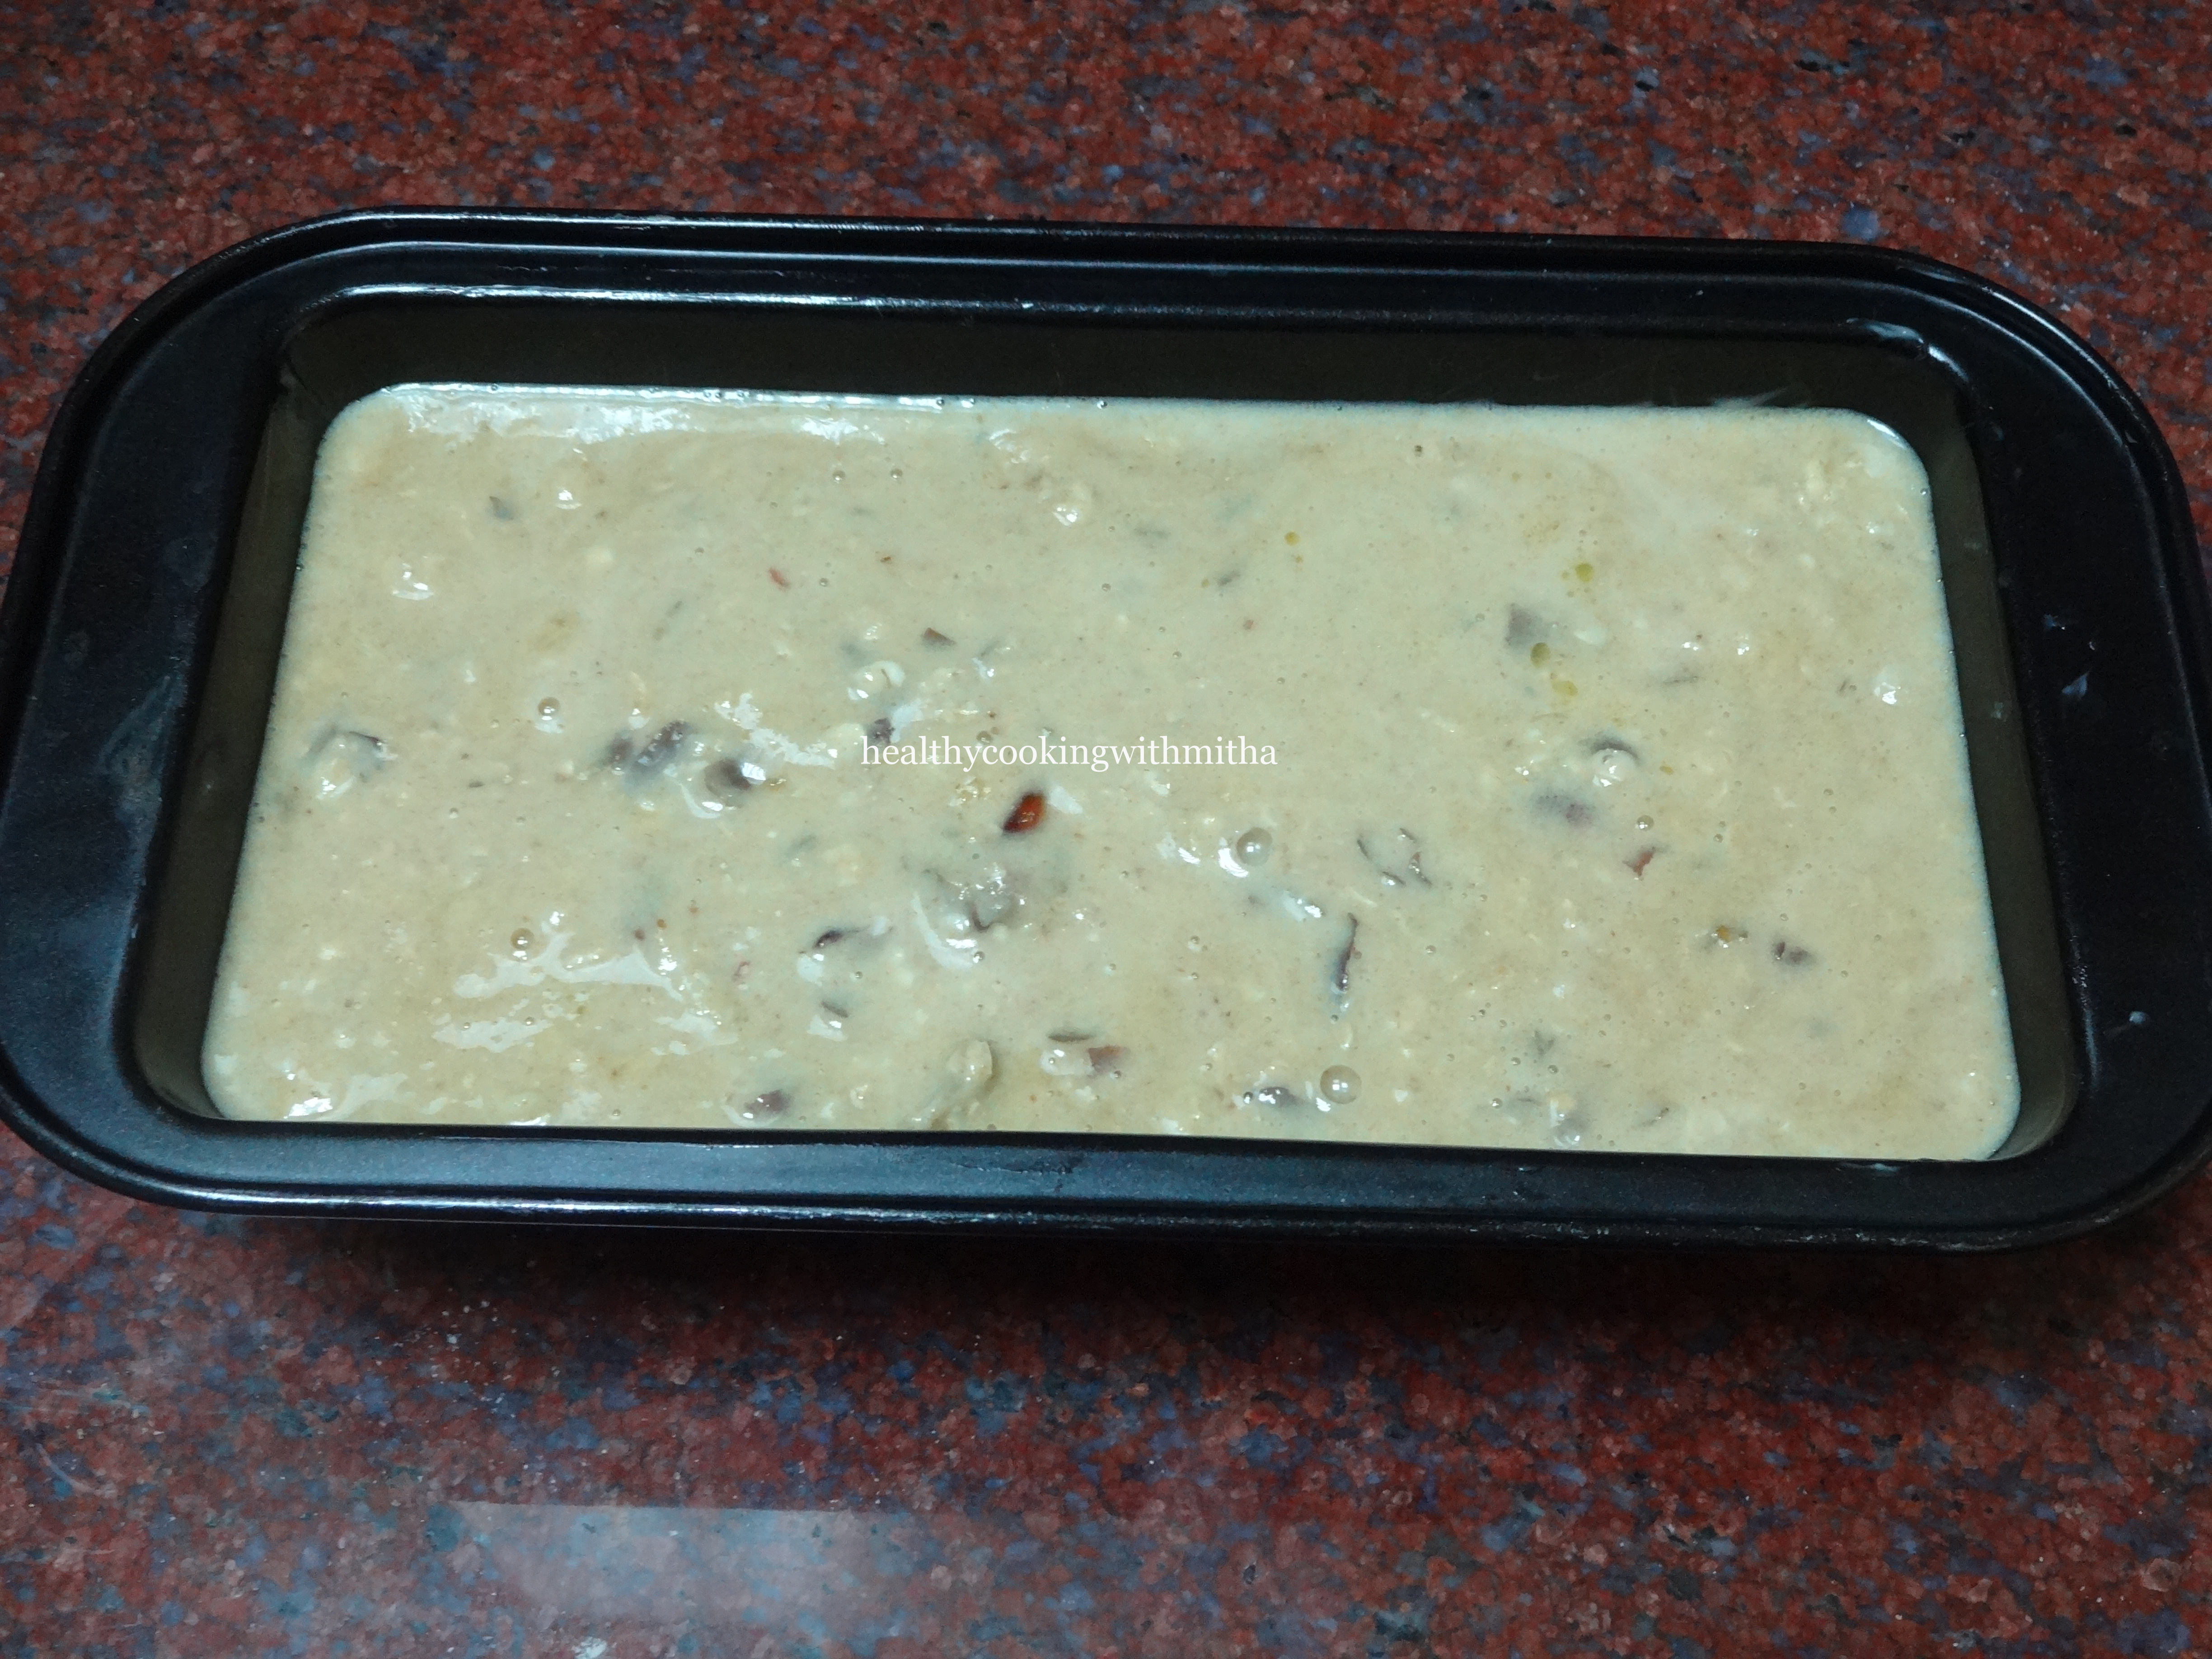
7. Preheat the oven for 10 mins at 180 C. Line the cake pan with parchment paper. Else with oil or butter. Pour the batter into the pan.
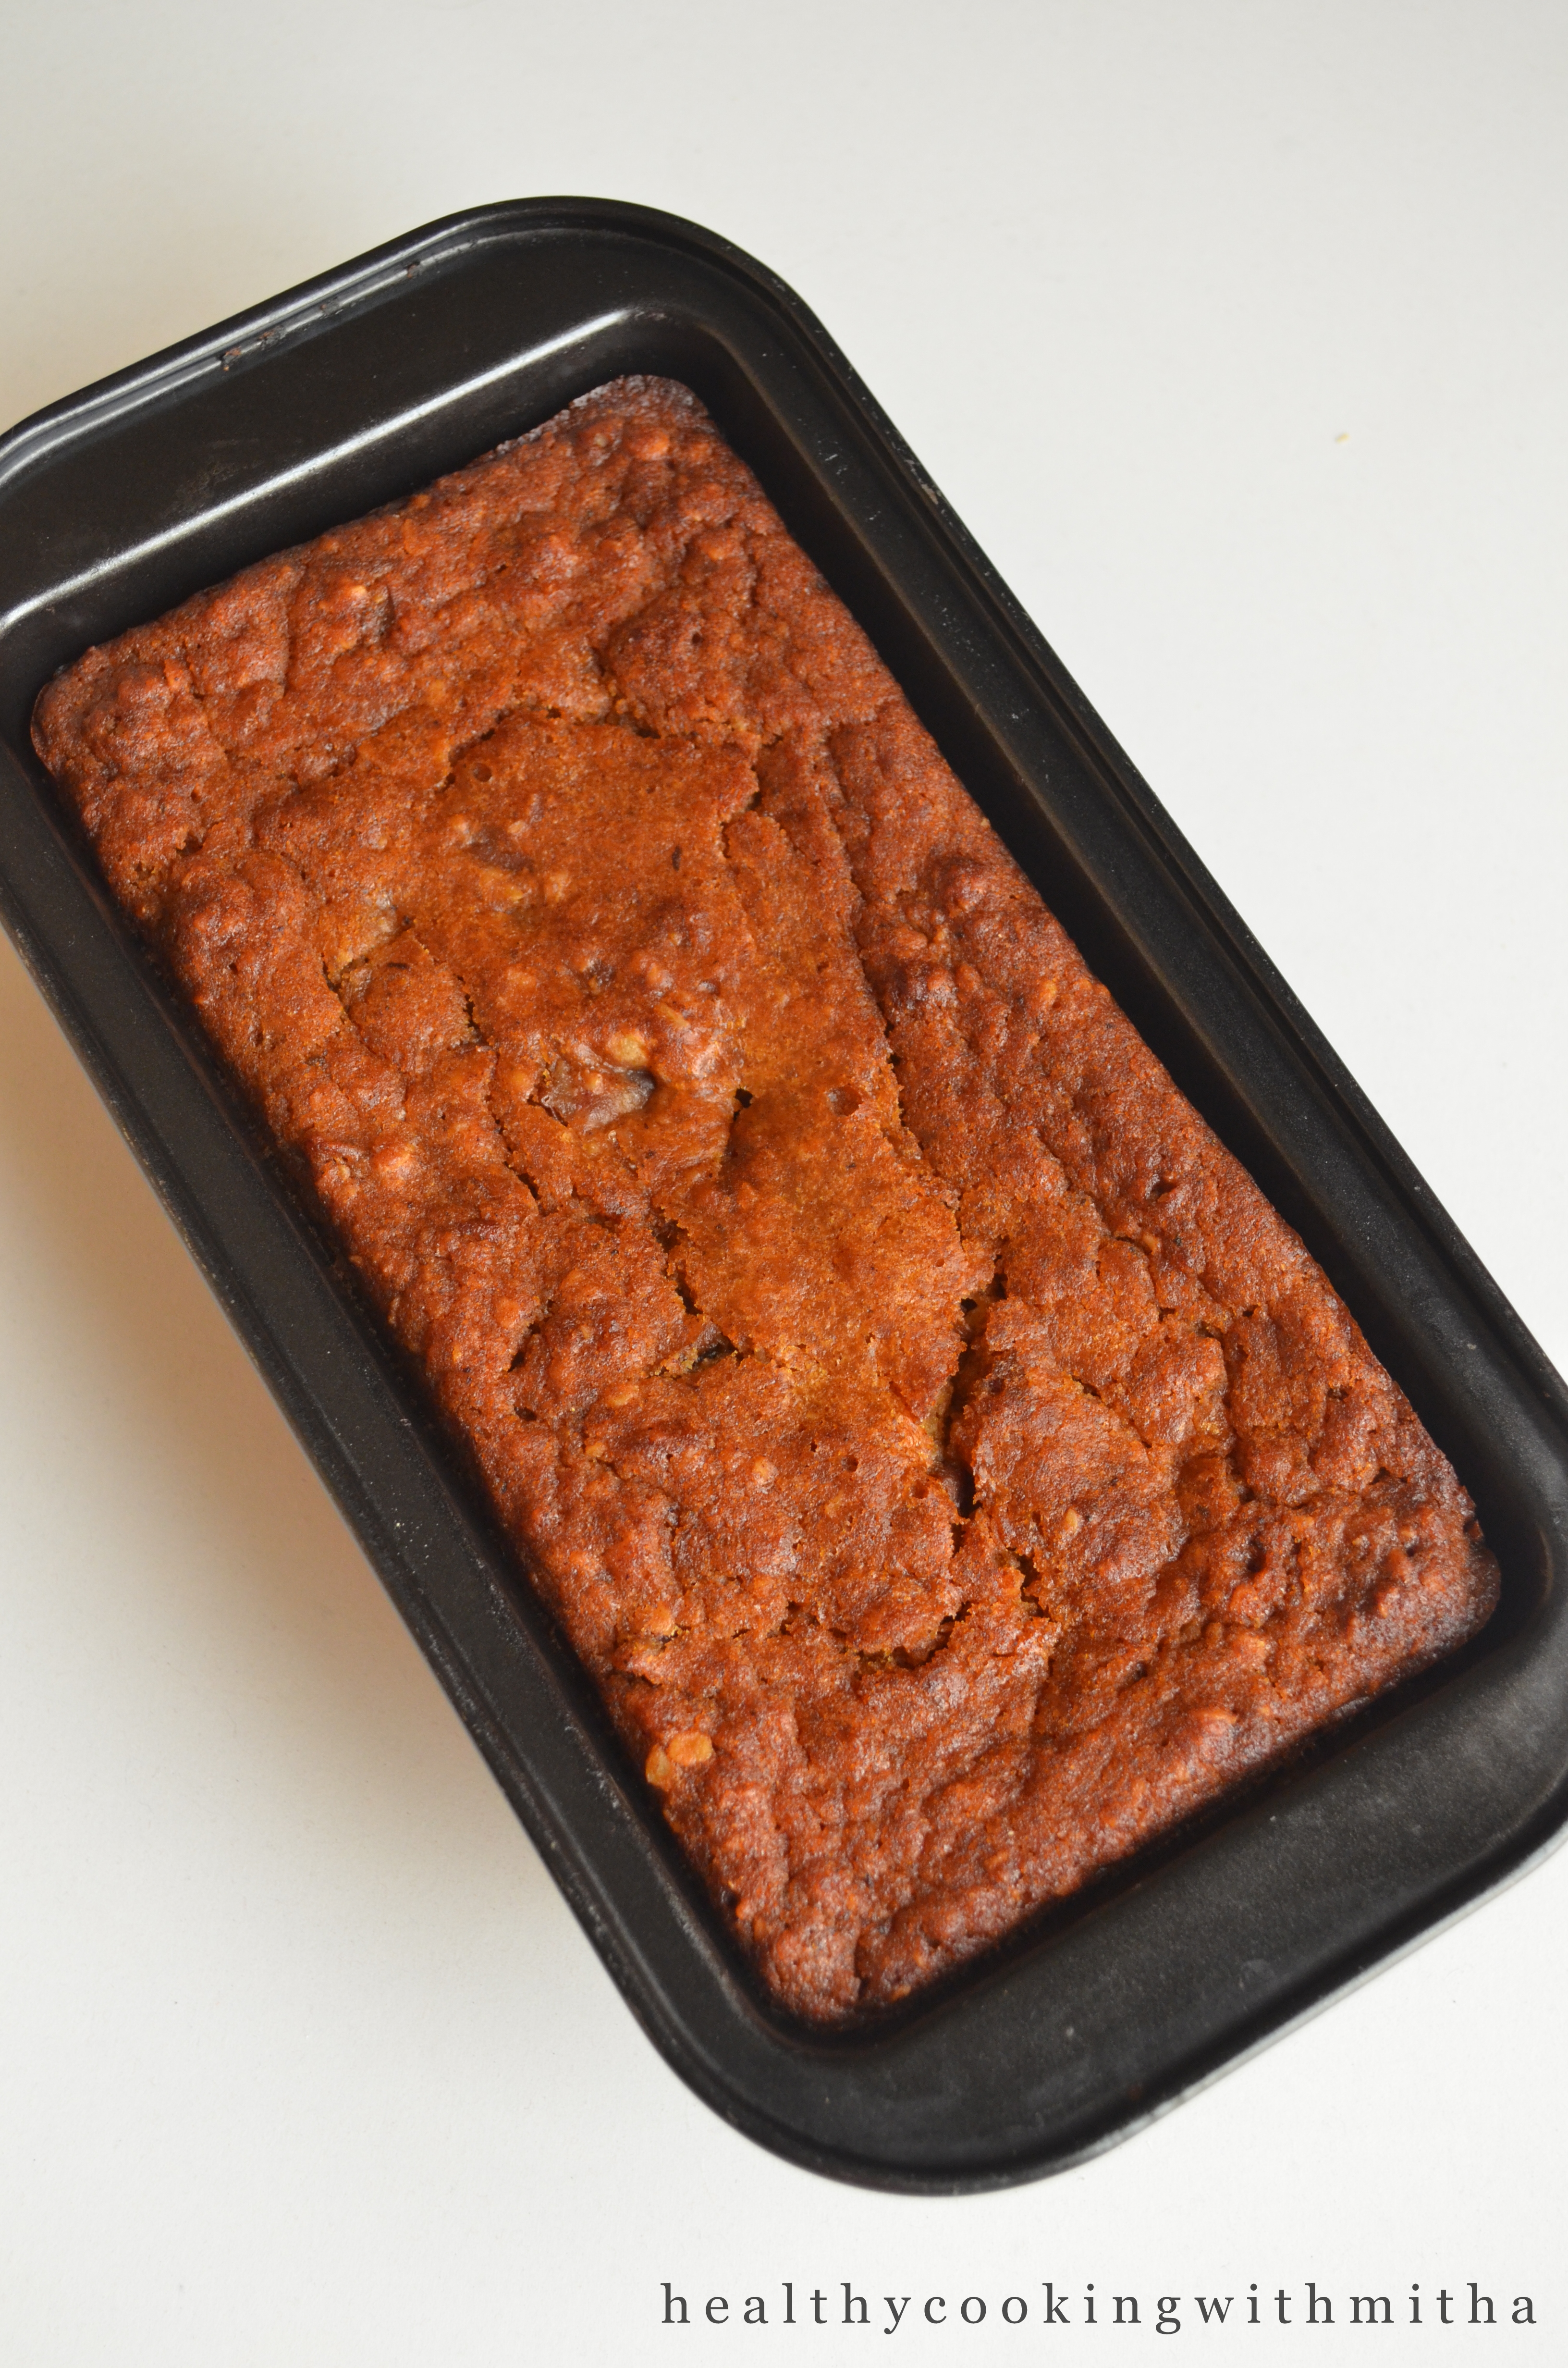
8. Bake at 180 C for 30 to 35 mins. I baked for 30 mins and then checked. Since the inside had to cook a little but the top surface had baked, I covered with parchment and baked for 5 mins more.
9. Allow it to cool completely. Invert onto a plate. Slice and enjoy!
Click on the image to save the recipe on PinterestClick on the image to save the recipe on Pinterest
Notes:
* Since every oven is different, keep an eye after 20 mins into baking time so that the cake doesn’t burn.
* Towards the last 5 mins, cover the cake pan with a parchment paper/ aluminium foil and bake so that the top surface does not form a crust.
* You can use any dates for this recipe but the soft ones work best. You can even grind them with little milk if you don’t like the bite of dates in your cake.
* Butter can be substituted with oil but I personally love butter in my cakes as oil cakes does not taste good after a while.
* This cake lasts well for a week if refrigerated and handled well.
If any doubts, do message me on my Facebook page Healthy cooking with mithaor on my Instagram handle and I would be happy to help. Happy cooking!
You can check all my healthy cakes and cookies recipes in this page:
Editing to add: You can also bake them as cupcakes. I baked then for my kids’ snack box to school and they turned out amazing. Perfect for the little hands to handle. Just use the same measurement and bake at 180 C for 25 to 30 mins or till done. The measurement yields 12 medium sized cupcakes.
Post kids, our cooking changes a lot and whatever we make has to be “kid friendly” and “kid approved”. So all of my blog posts will be dishes which my kids love.
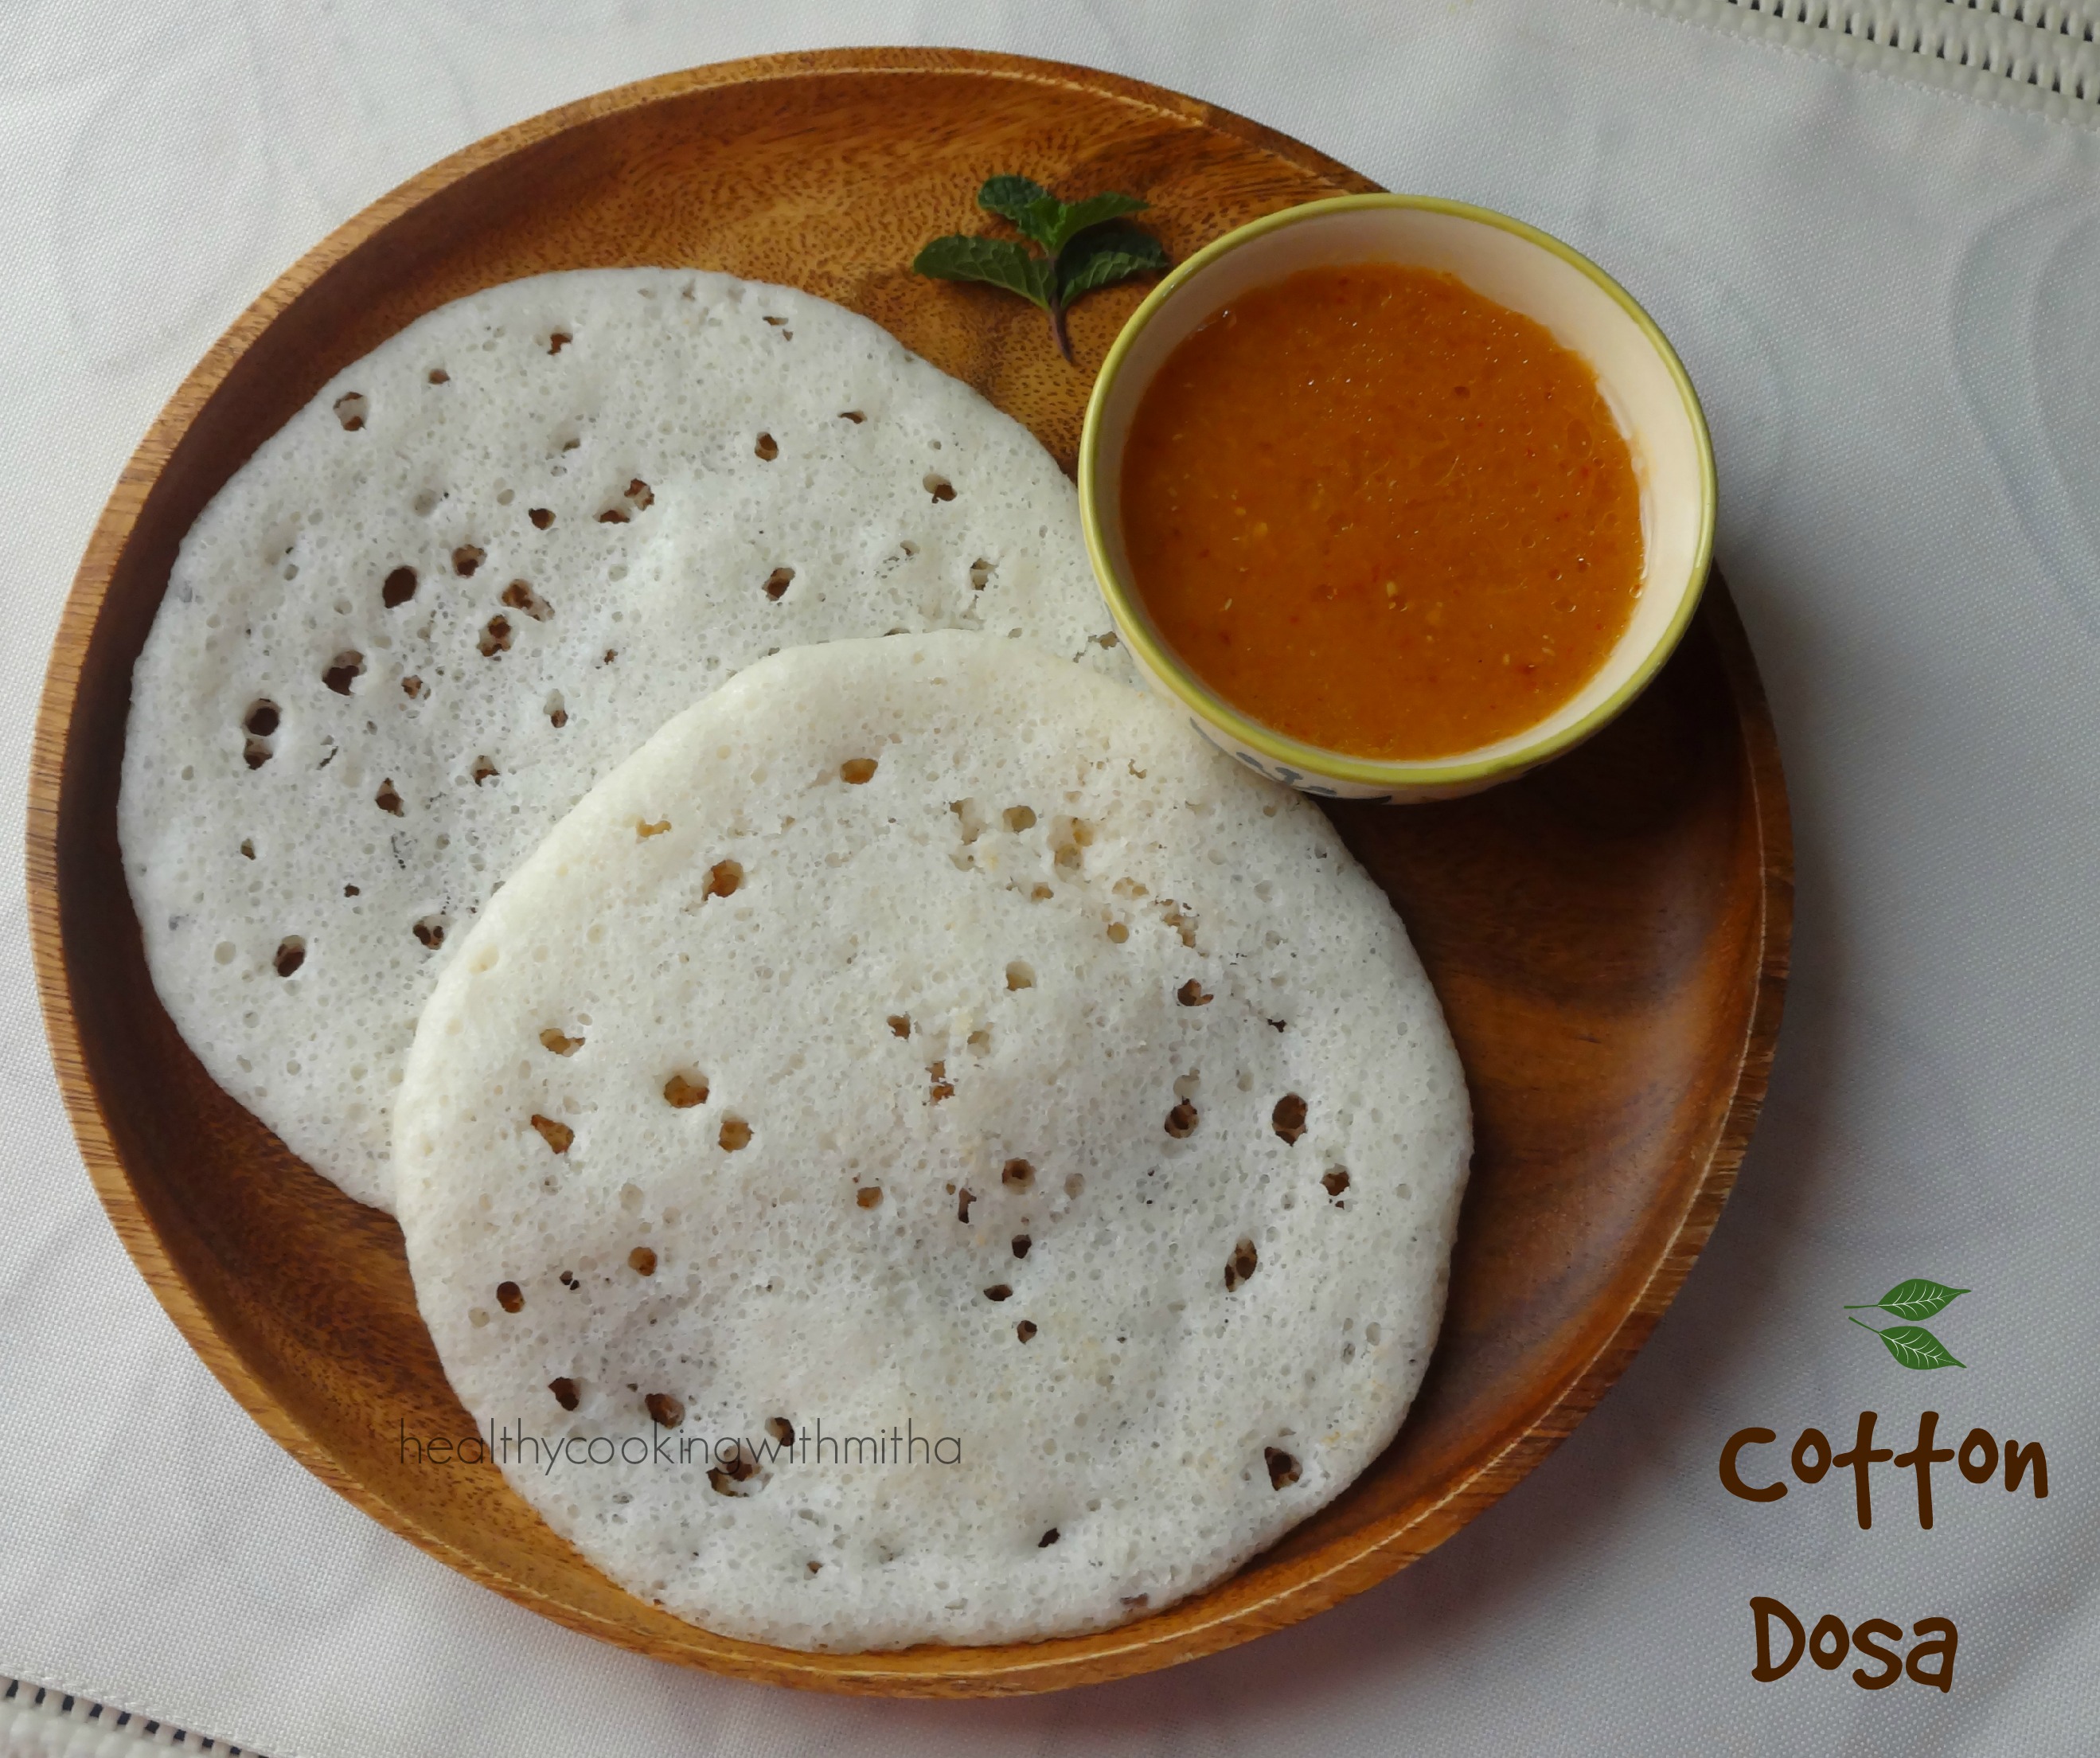
Dosa love is in their genes and we as a family love dosas almost everyday for breakfast. So weekly there would be a sweet dosa called Surnali and Panpoles or neeru dose and this cotton dosa which I am sharing now.
These dosas got famous and everyone started trying them as they looked so beautiful and soft just like cotton. When I read as to who tried it first, it was Ashwini Kamath who by chance got this proportion for cotton dosa when she had very less urad dal one day. But when she made the dosas, it turned out very soft. So she shared her “eureka” recipe with everyone. Thank you Ashwini. This recipe is amazing.
RECIPE:
Ingredients:
3 Cups Dosa rice
1 Cup thick Poha/ flattened rice/rice flakes
1/4 Cup Urad dal
Salt to taste
Step by step recipe:
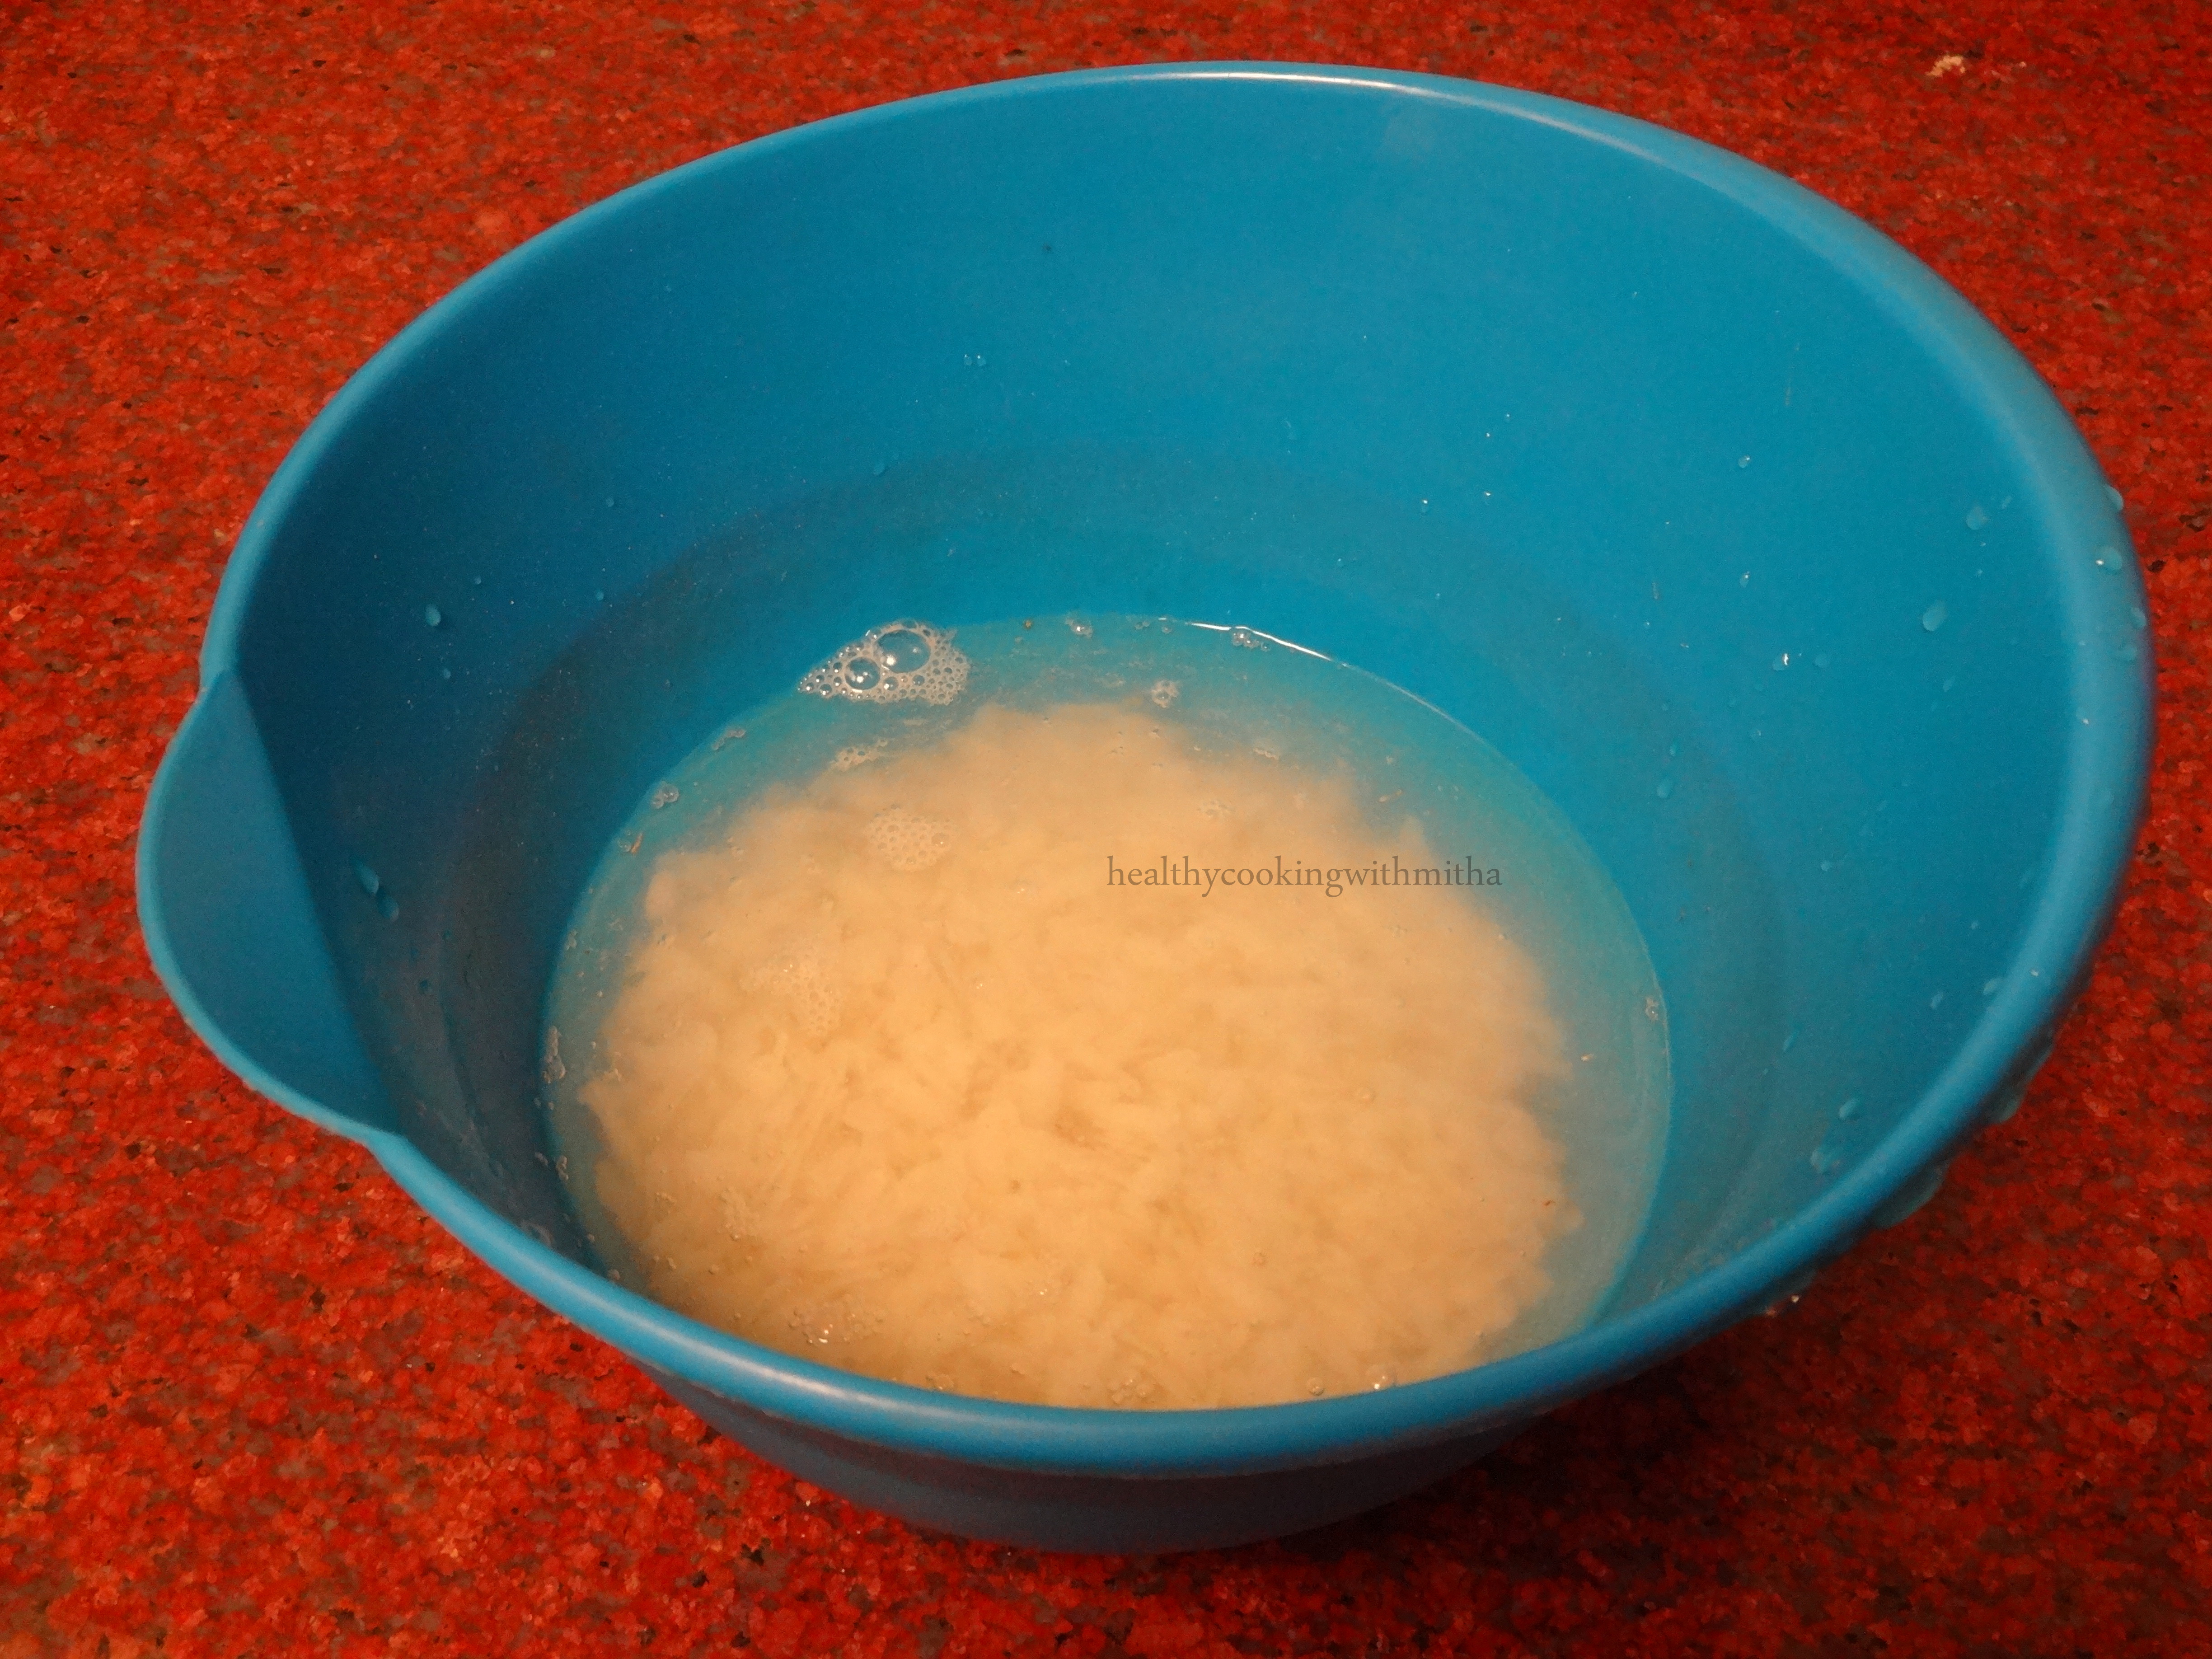
1. Wash well and soak rice and urad dal together for 3 to 4 hours.
2. Wash once and soak thick Poha separately for 3 to 4 hours too.
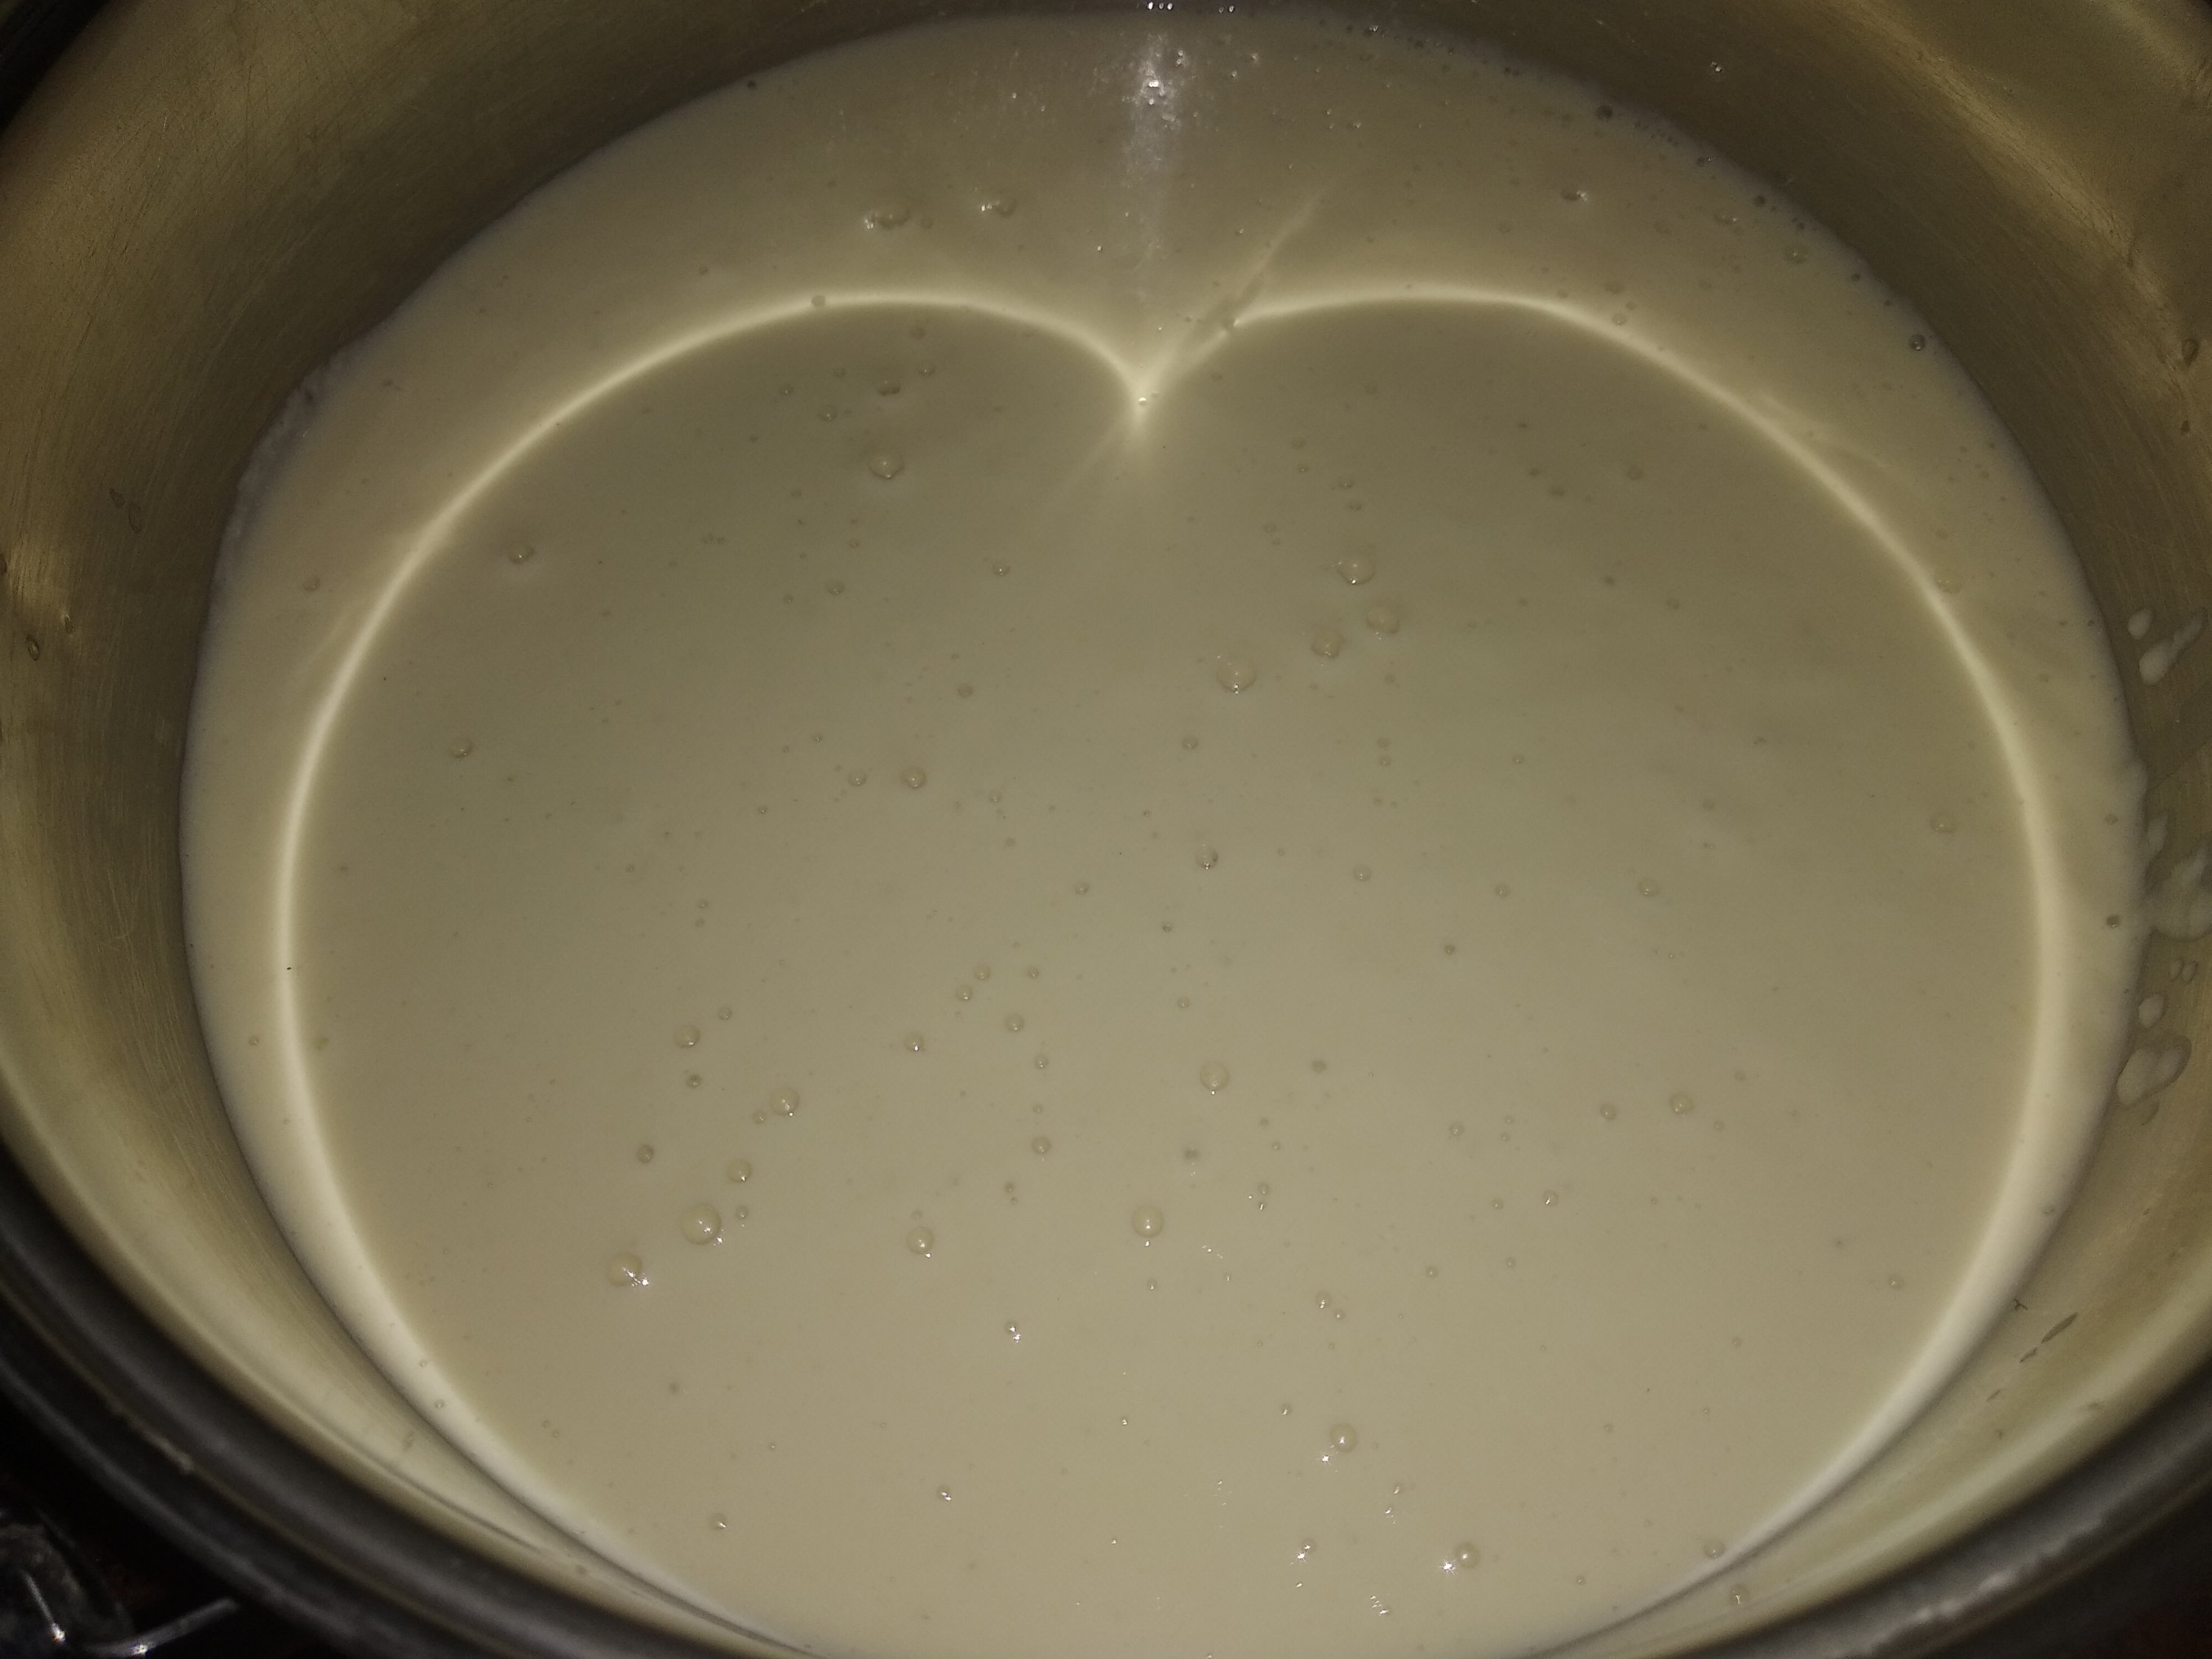
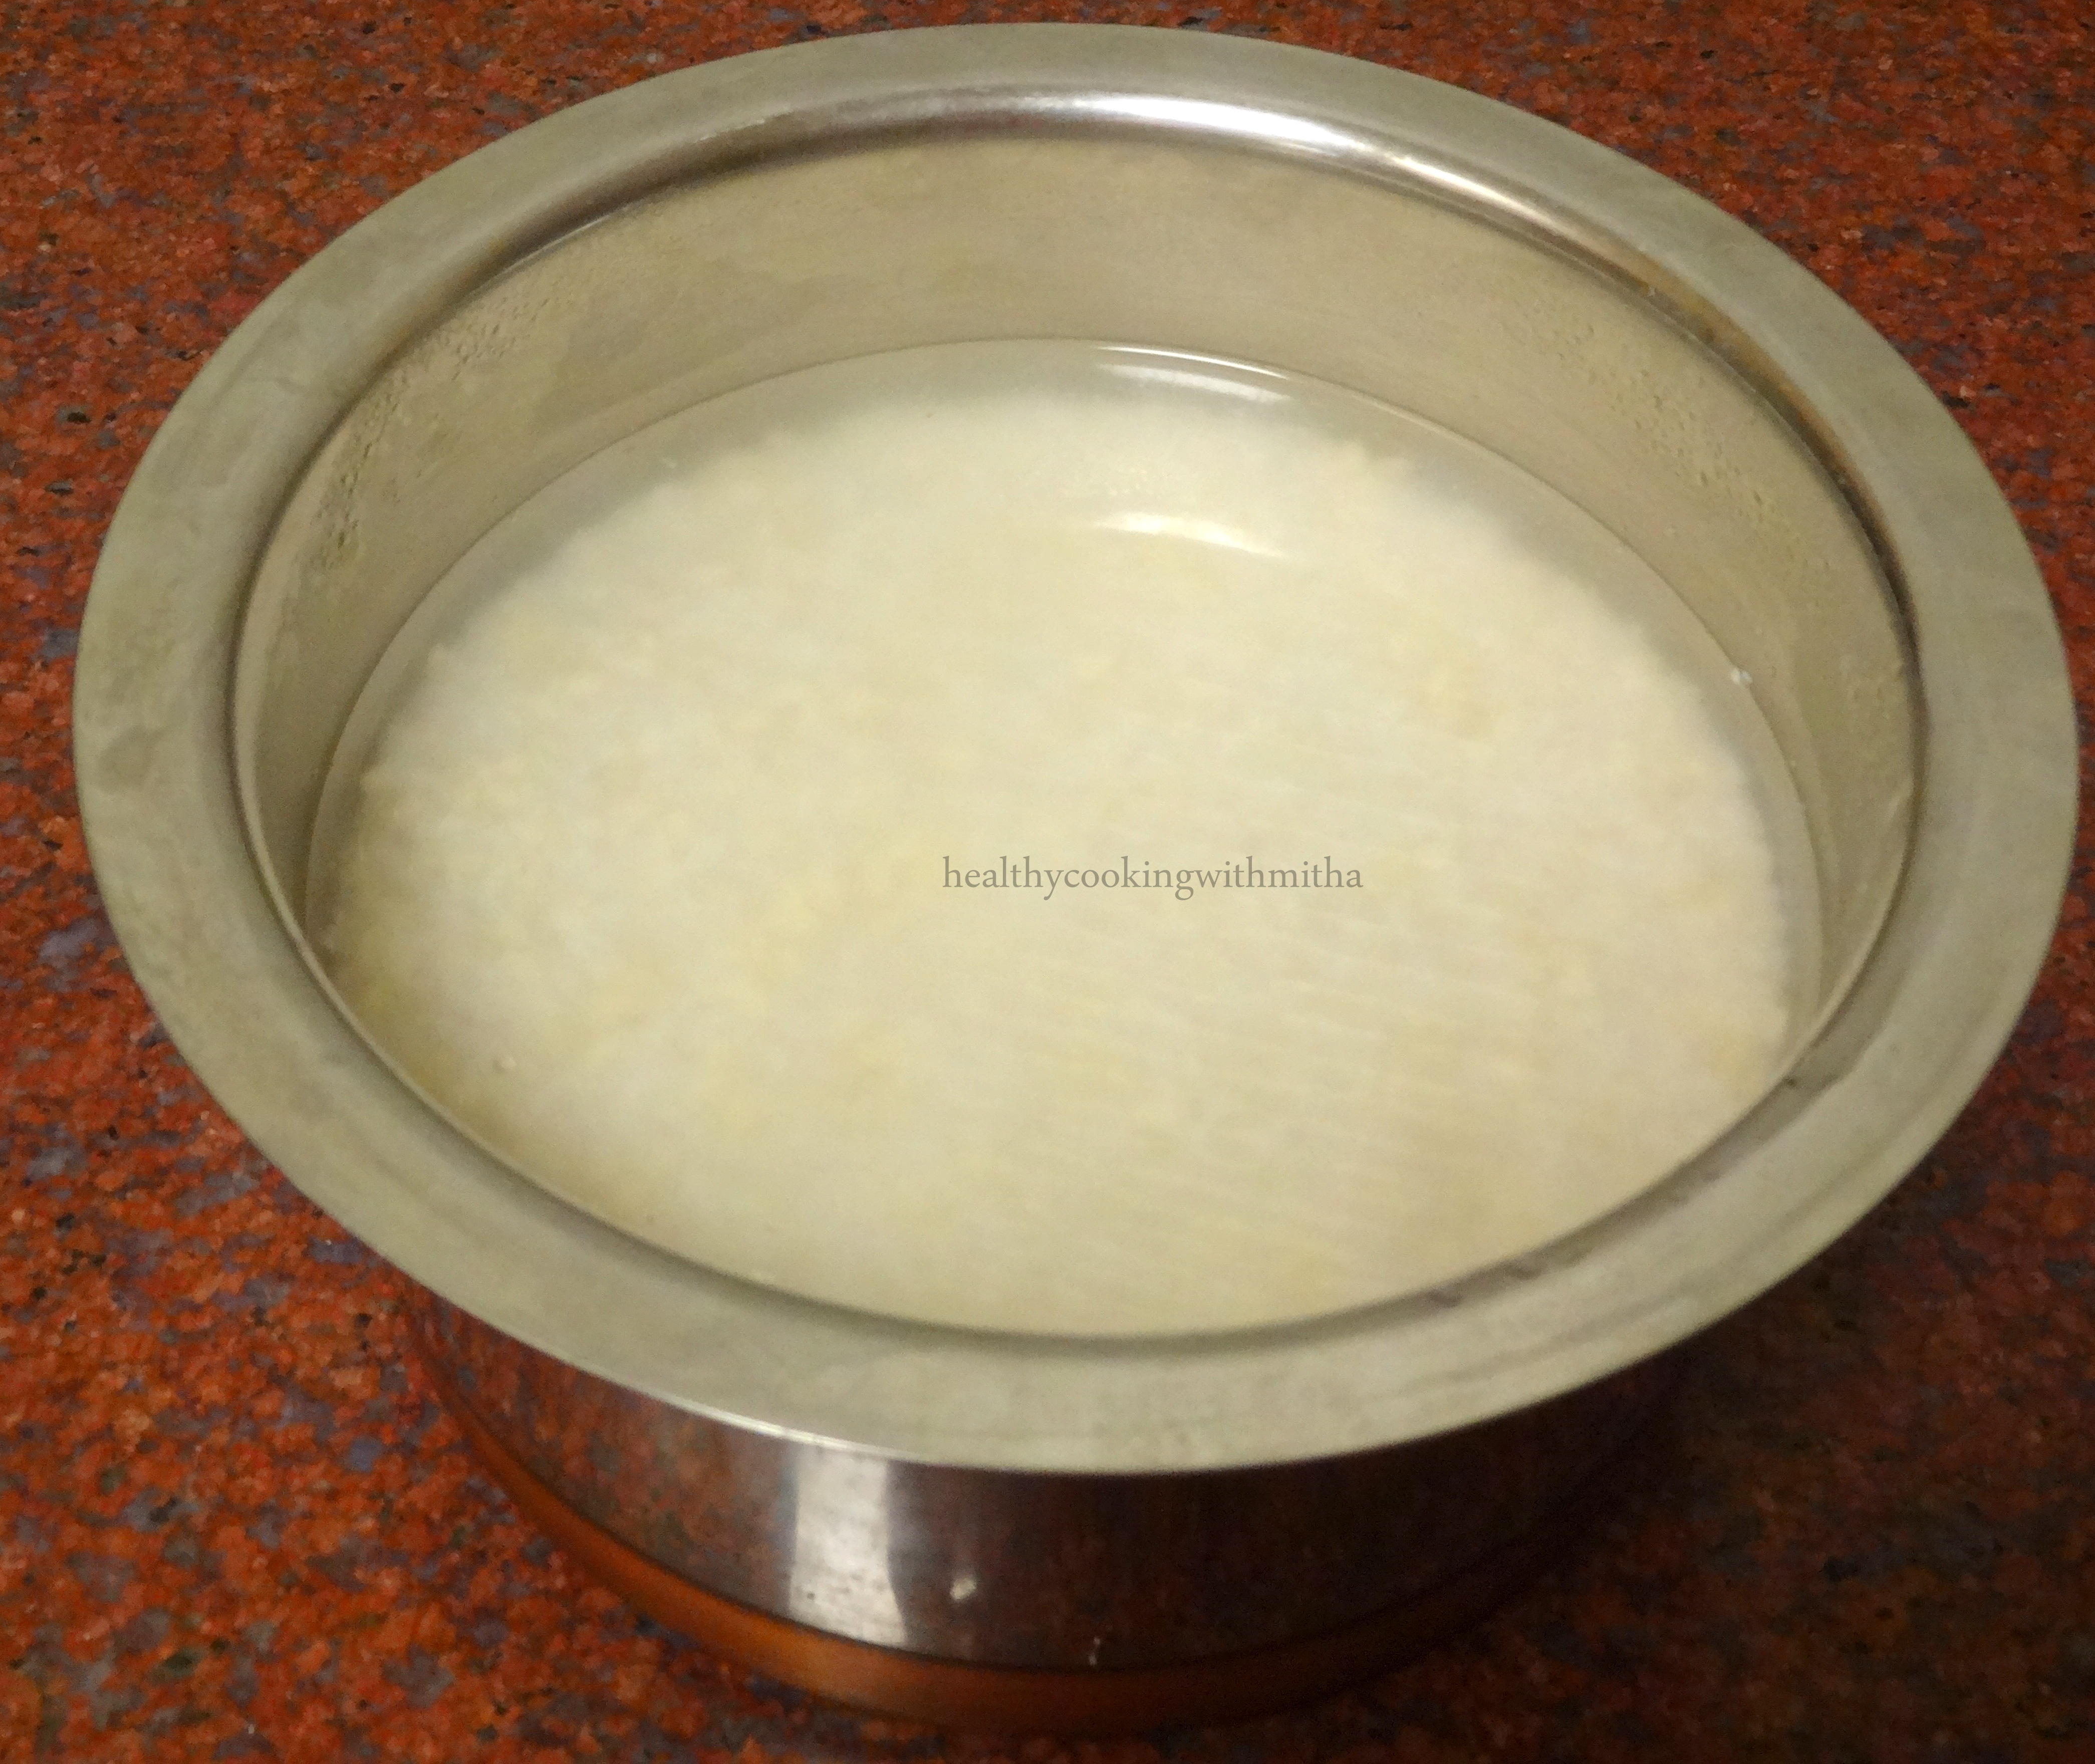
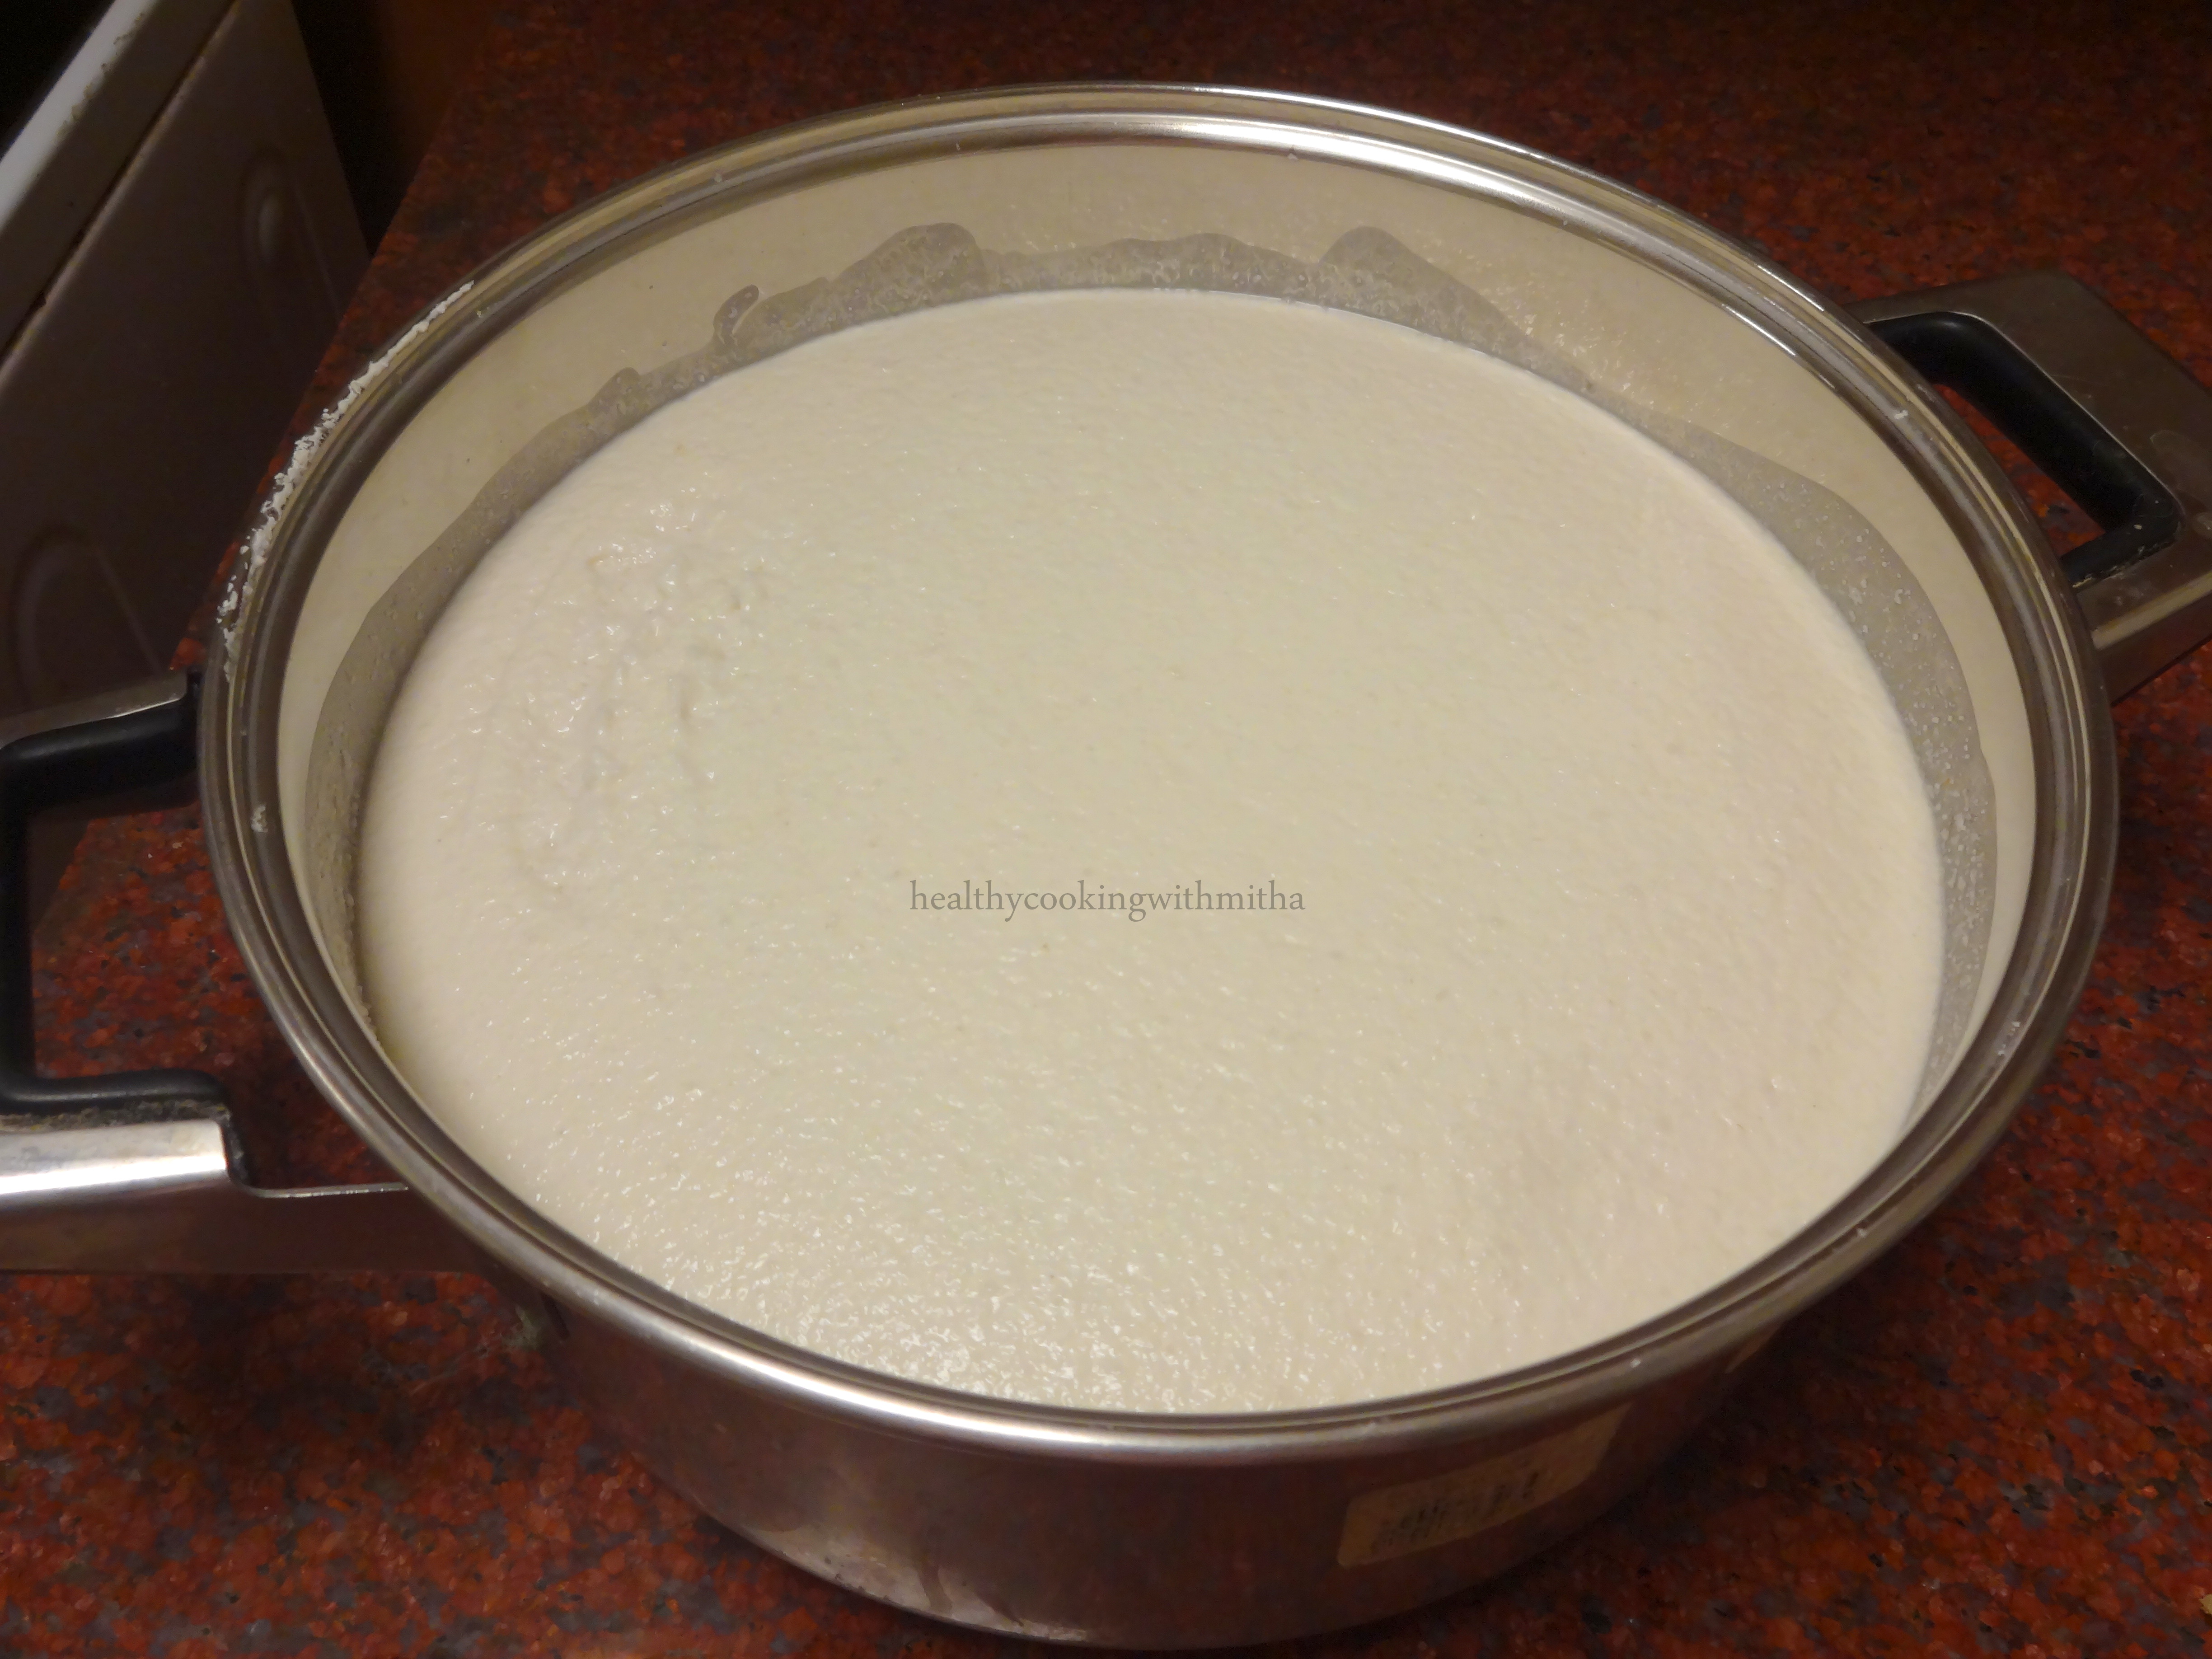
3. Drain water from the soaked rice and urad dal and grind along with Poha and salt to a smooth paste. Allow the batter to ferment overnight or for atleast 8 hours.
The well fermented batter always makes me happy!
4. Heat a dosa griddle and add a ladle full of dosa batter in the centre of the pan. Keep the flame on medium hot.
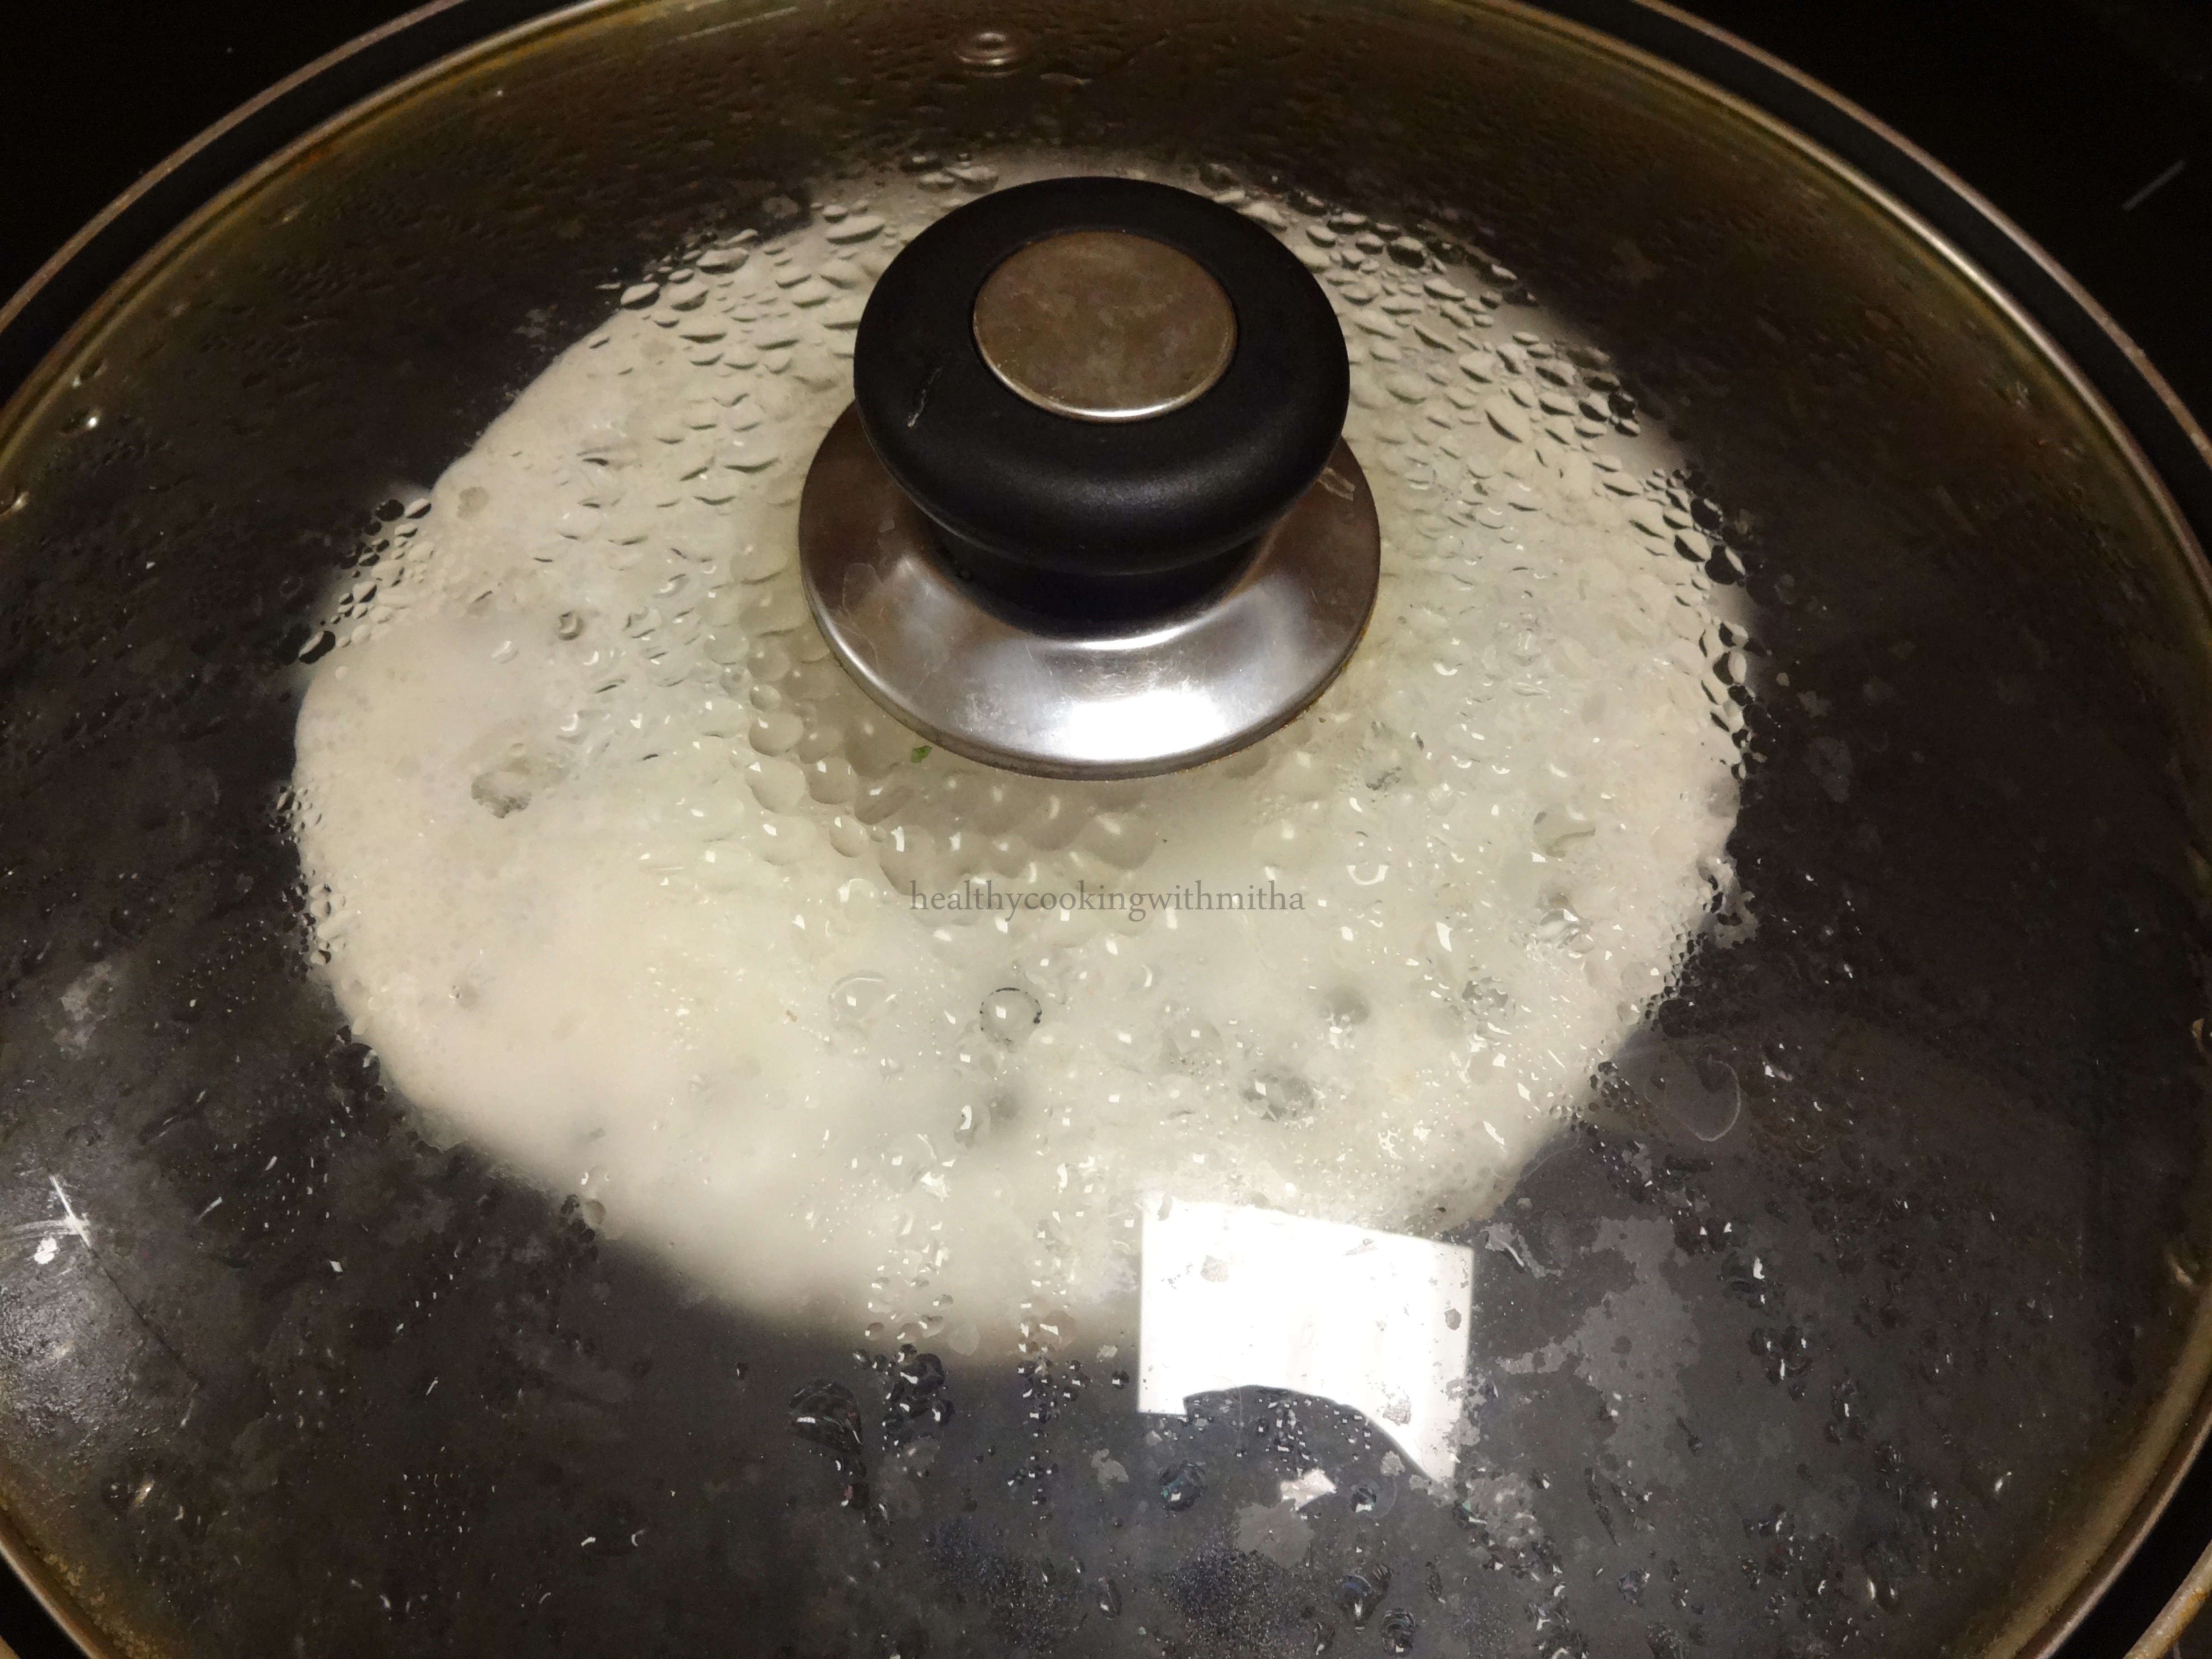
5. Cover and cook till the surface cooks. Add ghee or oil if needed.
6. Remove the dosa and serve hot with a chutney of your choice. No need to flip the dosa.
Note:
* If the weather in your place is cold, then keep the batter for fermentation for atleast 12 hours. Else the dosas won’t turn out as soft and porous.
If any doubts, do message me on my Facebook page Healthy cooking with mithaor on my Instagram handle and I would be happy to help. Happy cooking!
Advertisements
Join me in my journey with a foodie husband and hungry kiddos while I make them eat healthy!