Tag Archives: Easy

Cream of mushroom soup

My family is a huge fan of mushrooms and it is on our shopping list every week. I love to try out variety of dishes with mushrooms and apart from the finger licking delicious Mushroom Chettinad, I always make this soup specially for the kids.

They both love it very much and my daughter tells me, Amma you become a chef when you grow up okay. You make such delicious foods for us. Her innocence melts my heart. As much as a naughty girl that she is, her compliments keeps me going.

This soup is very easy to make and hardly takes 15 mins. I make this in the evenings for them as a healthy, tummy filling snack. Hope you all try it too. Happy and healthy cooking!

RECIPE:

Ingredients: { Serves 2}

1/4 Cup thinly sliced Mushrooms

1 Cup full fat Milk

1/2 inch Ginger piece, finely chopped

2 cloves of Garlic (optional), finely chopped

1/2 a medium sized Onion, finely chopped

Pepper powder to taste

Salt to taste

1 Tbsp fresh Cream (or substitute with 1 Tbsp corn flour with 1 Tbsp milk)

1 Tbsp Butter or oil

Step by step recipe:

1. Heat butter in a pan and add ginger, garlic and onions. Fry till the onions turn translucent.

2. Now add thinly sliced mushrooms and keep sauteing till mushrooms cook ie for about 5 mins.

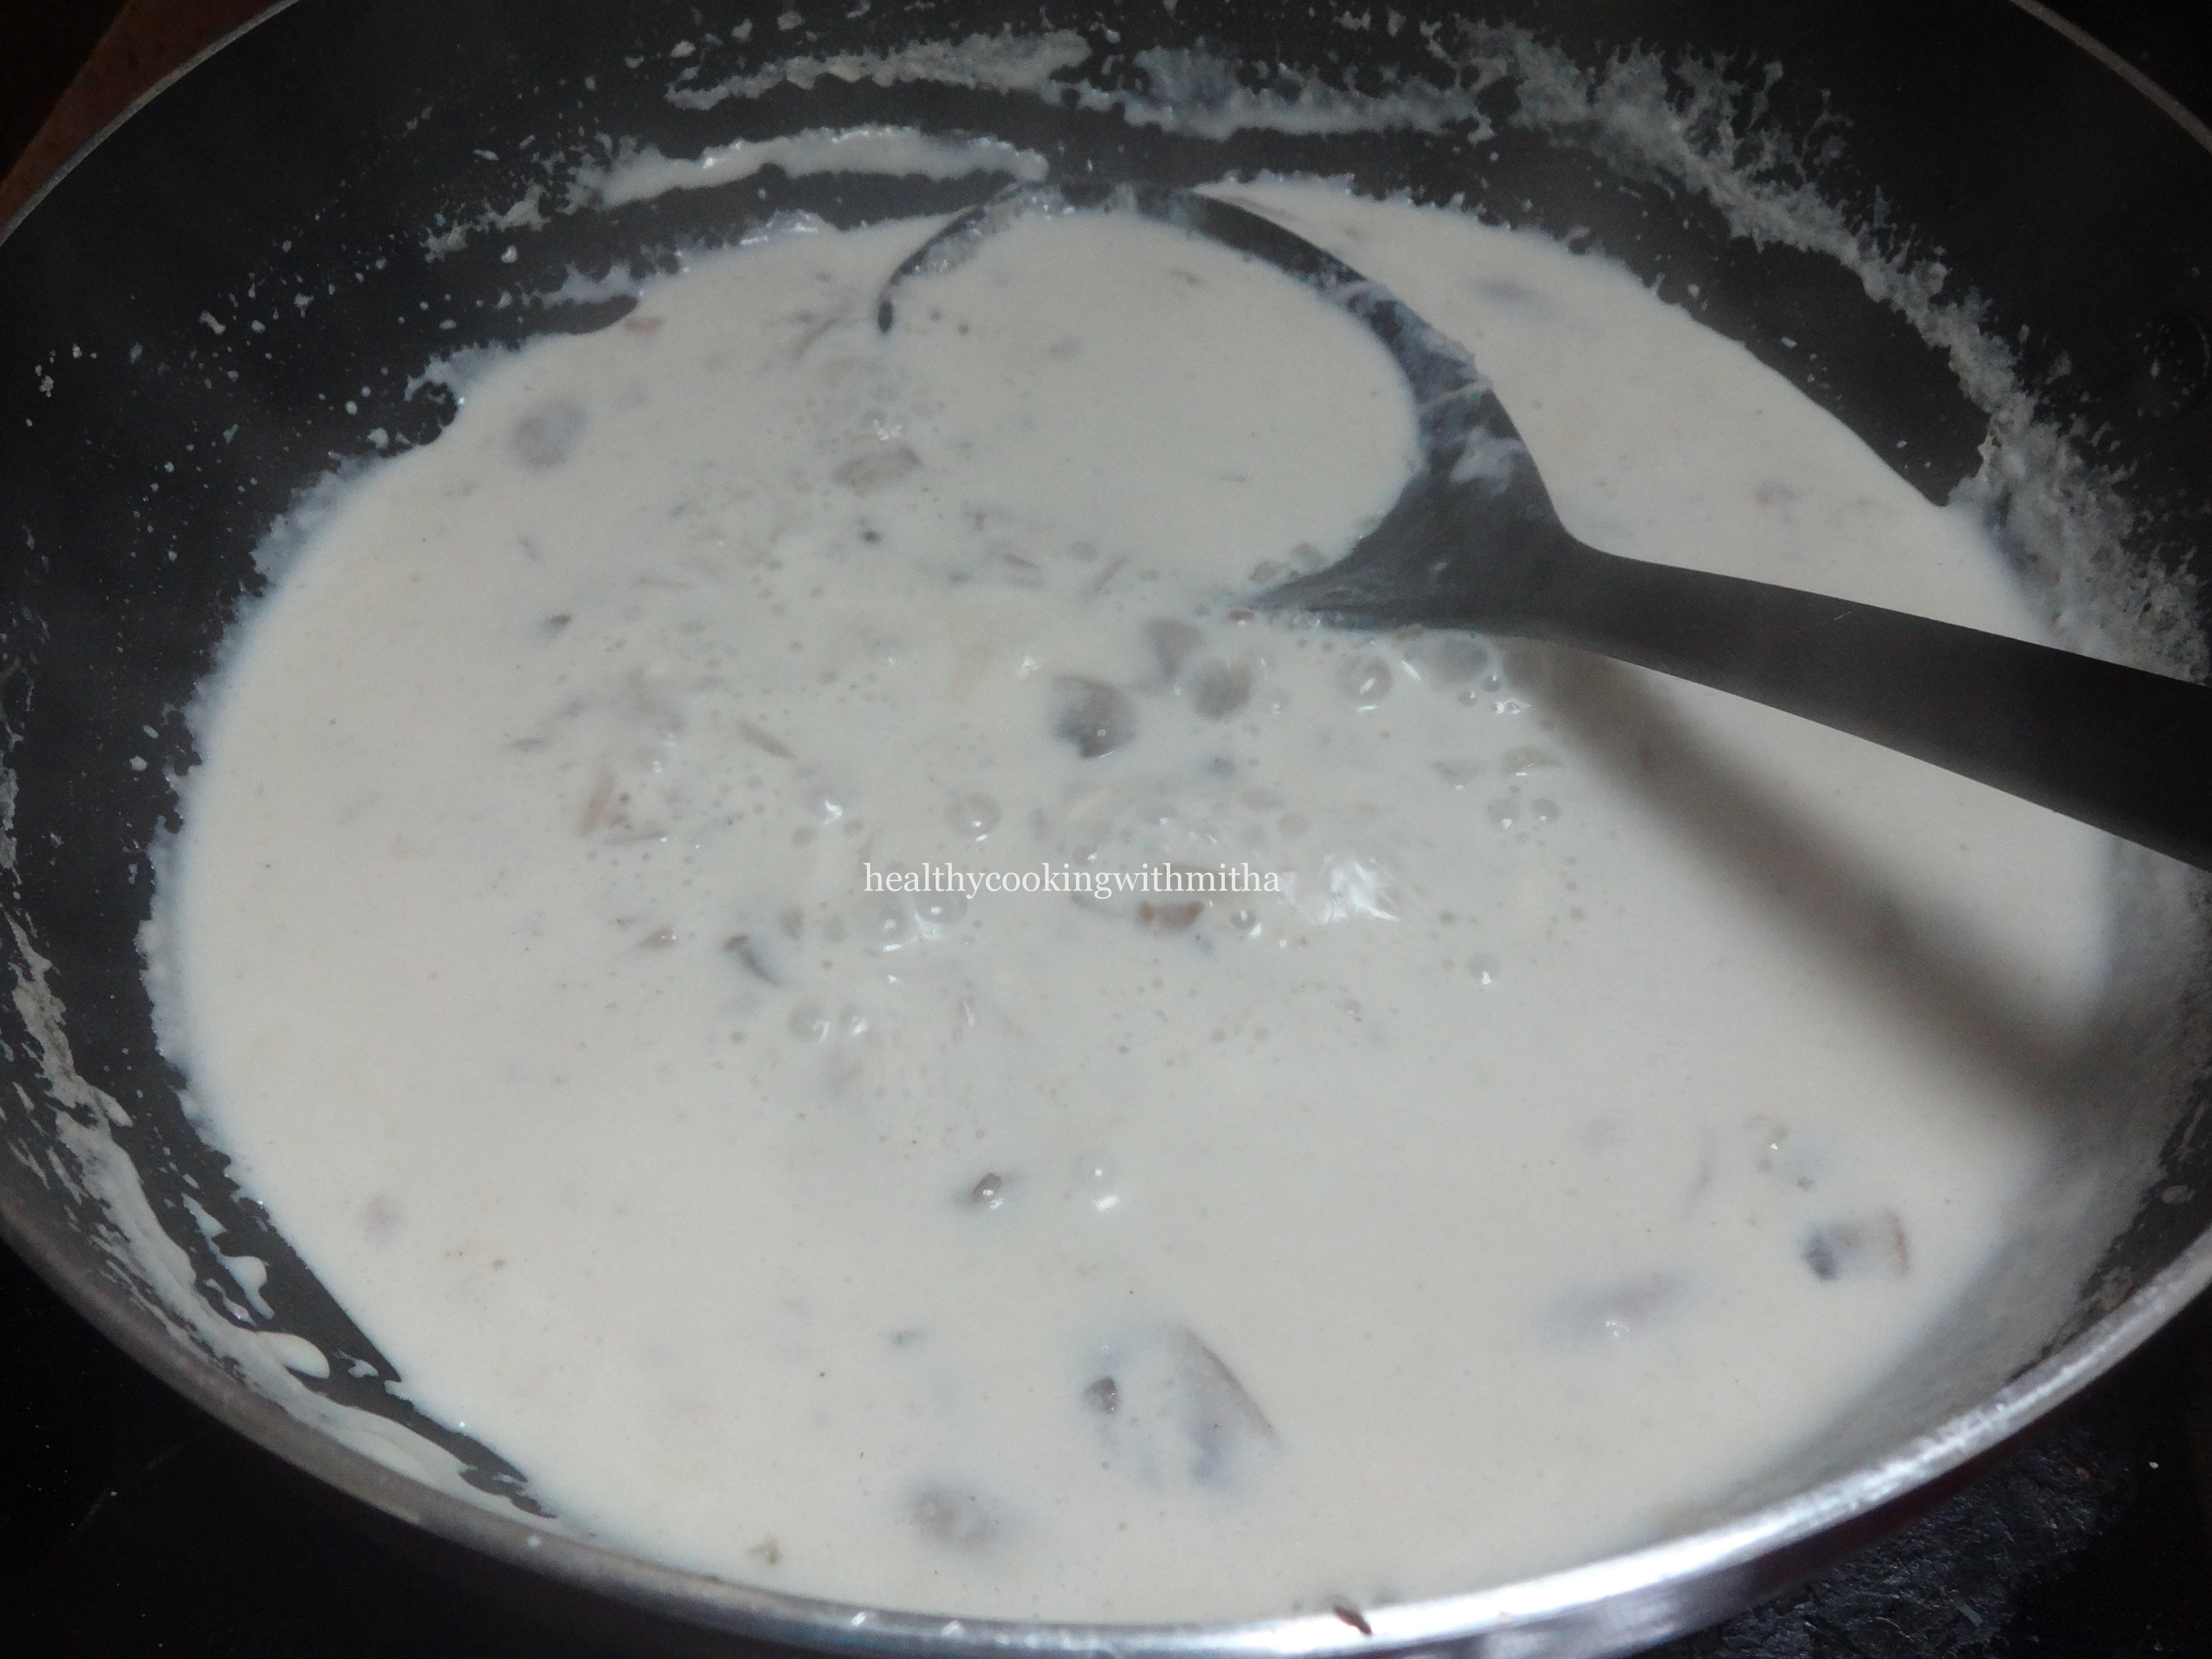
3. Pour in milk after keeping the flame to low and allow the soup to come to a boil on low flame. Else the milk might burn.

4. Now add cream and mix well. Allow it to cook on medium flame till it thickens which will take 5 to 10 mins.

5. Add salt and pepper. Mix well and serve hot.

Notes:

* I sometimes skip garlic if I don’t have. Ginger and onions give a wonderful flavour to it. So don’t skip it.

* Don’t add more mushrooms than mentioned for 1 cup milk. Else it will be a curry instead of soup.

* If you want to make in more quantity, just double the measurements.

* Be sure to cook the mushrooms before adding milk. Also, low flame is important after adding milk so that the soup does not burn.

* I don’t have cream in my pantry most times. So I substitute with 1 Tbsp corn flour + 1 Tbsp milk. Just mix together without lumps and add when the milk boils instead of cream. Gives the same texture and taste.

* Please use full fat milk for this recipe. Else the soup will be watery.

* Garnish with coriander leaves if available.

* I used button mushrooms for this recipe. You can also try Mushroom Chettinad.

Schezwan Vegetable fried rice

Being newly married, I was always conscious of my husband’s food preferences and I saw that he always chose Schezwan fried rice over regular one when we ate out. So I had to try it at home and perfect it till he says it tastes exactly like restaurant ones.

And it is not really that easy to impress him and that’s how I improved with every try. Finally when he did say that the Schezwan fried rice tastes perfect, he said it tastes even better than restaurant ones. It made me feel happy and out of the world.

So I had to share this recipe and here I am. Love how the colour turns out gorgeous even without store bought Schezwan sauce.

Homemade with love ♥️ Happy and healthy cooking!

RECIPE:

Ingredients:

2 Cups long grain White rice

1/2 Cup Carrots, finely chopped

1/2 Cup Capsicum, finely chopped

1 medium sized Onion, finely chopped

1/4 Cup spring onion bulbs, finely chopped

1 inch Ginger piece, finely chopped

4 cloves of garlic, finely chopped

3 green chillies, finely chopped

6 to 8 Kashmiri red chillies (long variety) – or to taste

1 Tbsp Tomato ketchup

1 tsp Pepper powder

2 Tbsp Oil

Salt to taste

1 tsp Vinegar

Spring onion greens, for garnish

Step by step recipe:

1. Cook white rice till almost done and the grains are still separate.

2. Soak red chillies in warm water for 10 mins or more time if you have.

3. Grind the red chillies with little water to a semi coarse paste like shown. Keep aside.

4. Heat oil in a large wok and add ginger, garlic and green chillies. Saute till they turn brown in colour.

5. Add spring onions and onions. Saute till onions turn brown.

6. Now add capsicums and carrots. Saute on high for five mins.

7. Add tomato ketchup, pepper powder and salt. Mix well.

8. Next add the red chilli paste and saute for five mins more till the paste cooks.

9. Now add the cooked rice and mix till the rice mixes well with the Schezwan sauce. Take care to do so gently as else the rice grains may break.

10. Add vinegar and garnish with spring onions. Serve hot!

Notes:

* For plain Vegetable fried rice, skip the red chillies paste. Rest process is the same.

* Don’t overcook the rice or you will get a mushy fried rice. Cook till almost done, drain and keep the lid open so that it stops cooking in the steam.

* You can also use leftover rice for this recipe as long as it is not over cooked.

Instant Ragi Idlis

I have already posted two varieties of instant Idlis, Instant Oats Idlis and Instant Rava idlis. This is the third variety, Instant Ragi Idlis. Since these Idlis use Eno fruit salt (which is equivalent to baking soda), I make any one of these variation only once a week as it is considered not as healthy compared to naturally fermented idlis.

My kids love these Ragi Idlis as I have called them chocolate Idlis since they were babies. Used to make their idli without Eno and still they loved it. So now whenever the idli steamer is up on the stove top, my daughter comes running to ask if it’s chocolate idli. 😁

So glad they both love Ragi. It is full of calcium and very good for bone health. Though not people’s favourite because of its colour and distinct flavour, we love this millet as we have been using it is our regular cooking since many years now. Ragi Chocolate cake is our favourite and also a hit among my readers. So many have tried and posted feedbacks that their kids too loved it.

Anyhow, hope you all love these Idlis too. Happy and healthy cooking!

RECIPE:

Ingredients: { Makes about 12 to 14 Idlis}

1 Cup = 240 ml

1 Cup Ragi flour/ Finger millet flour

1 Cup Semolina/ Rava/ Sooji

1 Cup Curd

Salt to taste

1 tsp Eno fruit salt

Step by step recipe:

1. Take Sooji, ragi flour, curd and salt in a bowl. Add water little by little to make a thick batter whisking constantly to avoid lumps.

2. Add eno fruit salt to the batter and mix once.

3. Steam for 20 mins or till done.

Poke a knife to see if it is done. If the knife comes out clear, the Idlis are done.

4. We love these Idlis with Tomato chutney but you can make any chutney of your choice.

In the picture is shown Sambarpalli or ajwain leaves chutney. The colour of the chutney is not bright green as I have added only couple of leaves.

Notes:

* These Idlis are made exactly like I make Instant Oats Idlis. I just substitute oats with ragi powder.

* Don’t make the idli batter very thick nor very thin. It should be thicker than regular dosa batter consistency. Else the Idlis won’t come out well.

* 1 tsp Eno fruit salt can be substituted with 1/2 tsp baking soda plus 1/2 tsp lemon juice.

Pudina Lehsun chutney | Mint garlic chutney

We are a dosa/ idli loving family as you already know and is evident from my Dosa corner and Idli stand pages. So we need to make different chutneys to go with it. Pudina lehsun chutney is one among them. You can check the other variety chutney recipes here.

My husband has grown mint in our garden and I always make use of it in our day to day dishes. Apart from chutney, I also add it to pulav, biryani, and salads which not only enhances the flavours of the dish but also improves digestion.

Lemon juice with crushed fresh mint leaves also tastes so refreshing. Anyhow here’s sharing the recipe. Hope you all try and love it too. Happy and healthy cooking!

RECIPE:

Ingredients:

1 Cup fresh/ desiccated Coconut

5 to 6 sprigs of Coriander leaves

8 to 10 Mint leaves

5 to 6 curry leaves

3 Green chillies

5 to 6 Garlic cloves

1 tsp Tamarind paste

Salt to taste

Step by step recipe:

1. Add all the ingredients mentioned above in a mixer blender.

2. Grind with little water to a smooth paste.

3. Serve with dosas or Idlis or with pulav.

I served this chutney as a combination with Instant Oats idlis.

Note:

* You can skip any of the leaves if you don’t have. It still tastes delicious.

* If you don’t like garlic, skip it and add onion and ginger instead. Tastes good too.

Microwave Mango Coconut ladoos

I am not very good at making sweets but there are few easy recipes that can be tried successfully by amateurs like me and it will definitely come out well. One is the Coconut burfis that I already posted and the second is these Mango Coconut burfis.

My kids love coconut based sweets. So I always make these instead of buying them from outside. I love the colour mango brings in this sweet.

You can make on stove top instead of microwave. Hope you all like it too. Happy cooking!

RECIPE:

Ingredients: { Makes about 20 ladoos}

2.5 Cups Desiccated coconut

1 Cup Sweetened condensed milk (about 300 grams)

1/4 Cup Mango pulp ( fresh/ tinned)

1 tbsp Ghee

1/2 tsp Cardamom powder

Step by step recipe:

1. Take all the ingredients in a microwave safe bowl.

2. Mix well using a spatula so that it turns into a even mixture.

3. Microwave on HIGH (max power) for 6 to 8 mins (check at every 2 min intervals) till the mixture cooks and resembles the below mixture. It will come together and not sticky.

Check if you can make small balls which are smooth and non sticky. If you can, the mixture is perfect. Else cook for couple of mins more.

4. Allow it to cool slightly and then make ladoos.

Notes:

* Store in an airtight container. Lasts well at room temperature for a day. Then refrigerate as it might spoil during summers.

* As every microwave is different, check at every two mins so that the mixture does not burn.

* You can also do it in a pan on stove top instead of microwave. That is how I make Coconut Burfis.

* I always make these ladoos as they are very easy. Here is a picture of the ladoos when I made them sometime back. The colour of the ladoos depend on the colour of the mangoes.

Mango Tangy

We don’t buy carbonated drinks since many years now. During summer months, we prefer our age old drink Paanak or Jaggery Lemonade and other fruit juices. My husband loves mix matching fruits while making juices and I love his combinations.

This juice and the name too is my husband’s idea. Instead of making mango milkshake always, he suggested I add orange juice to mangoes. I was like what are you thinking?? He then compelled me to try it once and hence Mango Tangy was invented.

The citrusy flavour of oranges takes the sweetness of mangoes to another level altogether. I love how this juice needs no refined sugar at all.

Hope you all love it too. Happy and healthy cooking!

RECIPE:

Ingredients:

1 Cup Mango pieces

1/2 Cup freshly squeezed Orange juice

Step by step recipe:

1. Take Mango pieces in a jar or blender.

2. Add orange juice in the jar or blender.

3. Blend till smooth without adding water. I used my hand blender. You can use the regular mixer or juicer.

4. Chill and drink or drink as it is. We enjoy it freshly blended.

Notes:

* The ratio of mango to orange is as per taste. I usually do it 1 : 0.5 cups of mango : orange. It tastes delicious with the tangy flavours of Orange enhancing the sweetness of mango.

* This recipe is specially useful when the mango is not as sweet as you would like it and the easiest way to use it up would be to make this juice.

* I don’t add water at all while making this juice. Orange juice thins it down very well.

* I don’t add sugar too. Since the orange juice enhances the sweetness of mango, the juice is sweet enough for us.

Cabbage Aloo Sabzi

Cabbage Aloo sabzi is among my first memories of hotel food from Cochin when I was hardly 12 years old. Since both my parents were working, Saturday used to be our “eating out” night. Me and my brother used to wait eagerly for Saturday to get a break from home food (the value of which we realise now).

Anyhow, so daddy used to bring these soft rotis with delicious dal and lipsmacking cabbage aloo sabzi from a north indian dhaba style restaurant in a place called TD road which was near his office. I can never forget the flavours of roti with their dal and sabzi. It makes my mouth water even now.

Many years later, I make the sabzi with rotis as reminiscence of those childhood memories when even a simple meal from the small little restaurant would make our day. My husband likes this sabzi and asks it to be made whenever we buy cabbage. So here’s sharing the recipe. Happy and healthy cooking!

RECIPE:

Ingredients:

3 cups of chopped Cabbage

1 medium sized Potato, peeled and chopped

Red chilli powder to taste

Salt to taste

1 tsp Ghee or oil

1/2 tsp Cumin seeds

1/4 tsp Hing

1 Tbsp Lemon juice

Finely chopped coriander leaves for garnish

Step by step recipe:

1. Heat ghee or oil in a pan. Add cumin seeds and hing.

2. When cumin seeds change colour, add chopped Cabbage and potato. Mix well once.

3. Cover and cook on medium flame till half done. Don’t add water at all. Allow it to cook in its steam. When half done, add red chilli powder.

4. Cover and cook again on medium flame till done. If needed only, sprinkle little water. But I usually cook this without water.

5. Add lemon juice and garnish with coriander leaves. Done! Serve with rotis or rice.

Notes:

* I have noted that if the cabbage is fresh, the curry does not need water at all while cooking. But as it turns old and dries, you may require little sprinkle of water while cooking. But minimal amount of water makes this dish very tasty.

* You can add garam masala powder if you feel the need, but we love this curry in its simple form with just the combination of cumin, hing, chilli powder and lemon with fresh coriander leaves.

Easy Papaya pudding

As easy as this pudding is, I was still having doubts whether I should share this or not. It does come out tasty and tastes like papaya jelly (without gelatin, of course) but since we are using fresh fruit instead of any artificial essence, a slight bit of peel can turn the pudding bitter.

I learned this pudding from my friend Sandhya Puranik who had shared it in a food group. Many had tried it after that and I was inspired by them. Papaya has a natural tendency to set when blended and refrigerated. This recipe makes good use of it while setting it like a pudding.

I make the pudding regularly when I get really ripe papaya and we are bored of eating it as it is. The kids, especially my toddler loves it a lot and thinks it’s ice cream. 😀

Do read the notes at the end to make successful papaya pudding. Hope you all enjoy it too. Happy and healthy cooking!

RECIPE:

Ingredients: {Serves 2}

2 Cups Papaya (ripe portion only)*read notes

1 Tbsp Milk

2 Tbsp Sugar

1/2 tsp Vanilla essence

Step by step recipe:

1. Put the chopped Papaya along with milk, sugar and vanilla essence in a blender.

2. Blend till it turns smooth. Please do NOT add water at all. Else the pudding won’t get the texture. Pulse and blend till smooth.

3. Pour into a bowl and refrigerate for two to four hours till it sets.

4. Unmold or enjoy from the bowl itself. Slice and enjoy if you are lucky enough to get the right texture!

Notes: {Important to read before you try so as to avoid the pudding getting bitter or not setting}

* Please be very careful to use only ripe and sweet tasting papaya for this recipe.

* Pick the ripest papaya and scoop the flesh of the fruit using spoon. Do NOT add the thick portion near the skin. If you take the papaya near to skin, the pudding tastes bitter.

* Do not add water at all while grinding. Also don’t use more milk than mentioned.

* If the papaya has more water content, you won’t be able to unmold the pudding and slice like I have shown in the picture above but you can eat directly from the bowl without unmolding it. Tastes same!!

* Sugar also depends to taste and the sweetness of papaya.

* Refrigerate for overnight too if it does not set but cover well so that the pudding does not leave water. Do NOT freeze it. It requires only refrigeration.

Sambarpalli chutney | Oregano leaves chutney – Version 1

My husband loves gardening. He has grown a lot of plants in our kitchen garden which yields us different varieties of vegetables during winter and herbs like mint all year long. There are two plants among them which I adore as they are medicinal plants and helps us heal ourselves and our kids when they fall sick.

One is the most revered plant in Hindu tradition, Tulsi or holy basil. He has grown it all around the house and it feels so divine when we sit in our backyard filled with Tulsi plants. The second is these Sambarpalli leaves or Cuban oregano. They are very good to cure cold and stomach problems in both kids and adults. Sharing a picture of our plant.

Though people make so many dishes with these leaves including pakoras, my favourite is this simple chutney ad it not only tastes delicious but is easy to make as well. I try to make this chutney atleast once a week so that we consume the leaves regularly in this way.

Hope you all try this chutney too. Happy and healthy cooking!

RECIPE:

Ingredients:

5 to 7 leaves of Sambarpalli/ Panikoorka/ Doddapatre / Cuban oregano

1 Cup Coconut (freshly grated or desiccated)

1 small Onion

1/2 inch Ginger piece

3 green chillies

Salt to taste

Step by step recipe:

1. Wash well and heat the leaves in a pan till it changes colour and starts oozing water.

2. Allow it to cool down.

3. Meanwhile, add coconut, onion, green chillies and salt in a blender.

4. Add the cooled sambarpalli leaves too.

5. Using water as required, grind to a fine paste.

Notes:

* If you don’t have these leaves, skip it and you get simple raw onion chutney which I make regularly.

* Add coriander leaves instead of Sambarpalli leaves and you get coriander leaves chutney.

* You can skip onion if you are making during vrat days or are a Jain.

* Do not add more than the mentioned leaves as it does not taste good.

* This chutney makes a good combination with Instant Rava idlis.

* These leaves are very healthy and I use them in two ways apart from making chutney:::

1. I put couple of leaves in a vessel along with water. Heat it and take steam inhalation when even having the slightest of cold symptoms.

2. Heat the leaves in a pan as shown in the first picture. Then when it starts oozing water, remove it and crush it using mortar and pestle. Sieve the juice and mix honey (for kids above one year old) . Give as medicine for kids and adults when suffering from cold or stomach ache. Works very well. Take about 6 to 8 leaves for one dose.

Hope these home remedies are helpful to you too. These leaves are really magic!

Instant Rava Idli

I had not even heard of rava Idlis before marriage. For me, Idlis meant either the regular idlis or sweet/ plain Idlis that we konkanis call mudho. Rava idli came into the picture as I started going to hotels with hubby and I became a huge fan of these unique kind of Idlis.

Little did I know that it would be so easy to make them at home. One try and I have never ordered them in restaurants after that. Almost 9 years later, I can now make these Idlis even in my dreams 😀 and it is in our regular breakfast menu.

I am sure most of you must be knowing the recipe but this is for those like me who did not know about it. Even if it helps one, I will feel it’s worthwhile. Happy cooking!

RECIPE:

Ingredients: (Makes around 8 to 10 Idlis)

1 Cup = 240 ml

1 Cup Rava / Sooji / Semolina

1/2 Cup Curd / Yogurt

1 tsp Oil

1/2 tsp Mustard seeds

1/2 tsp Cumin seeds/ Jeera

1/2 tsp split Urad dal

Few Cashews, chopped

Salt to taste

1 tsp Eno fruit salt (Substitute with 1/2 tsp baking soda + 1/2 tsp lemon juice)

Step by step recipe:

1. Heat oil in a pan and splutter mustard seeds. Add cumin seeds, urad dal and cashews. Fry for few seconds.

2. Now add rava and fry on medium flame till it changes colour slightly and turns aromatic.

3. Immediately transfer to a bowl and allow it to cool.

4. Once cooled, add curd, salt and about 1/2 Cup water and mix well.

The consistency of the batter should be slightly thick to make good rava Idlis.

5. Now add eno fruit salt and mix once. Do not mix a lot. Just one even mix will do.

6. Put the batter into greased idli moulds and steam for 20 mins or till done.

7. Serve with a chutney of your choice or sambar.

Notes:

* Don’t make the batter very thick nor thin. For 1 Cup rava, it took me 1/2 Cup curd and 1/2 Cup water to get the perfect batter.

* After adding Eno fruit salt, you must immediately steam the batter. The batter cannot be stored after adding Eno fruit salt.

* You can however fry the rava in the seasoning and store in the fridge or freezer. Add curd, salt, water, Eno fruit salt when making Idlis and steam.

* Allow the fried rava to cool before adding curd. Else it might form lumps.

* As already mentioned above, you can substitute 1 tsp Eno fruit salt with 1/2 tsp Baking soda plus 1/2 tsp lemon juice.

* You can also add grated carrots and coriander leaves to the batter, like I have added here.