Tag Archives: wheat flour

Mango Ghee Cake | Using wheat flour and eggless

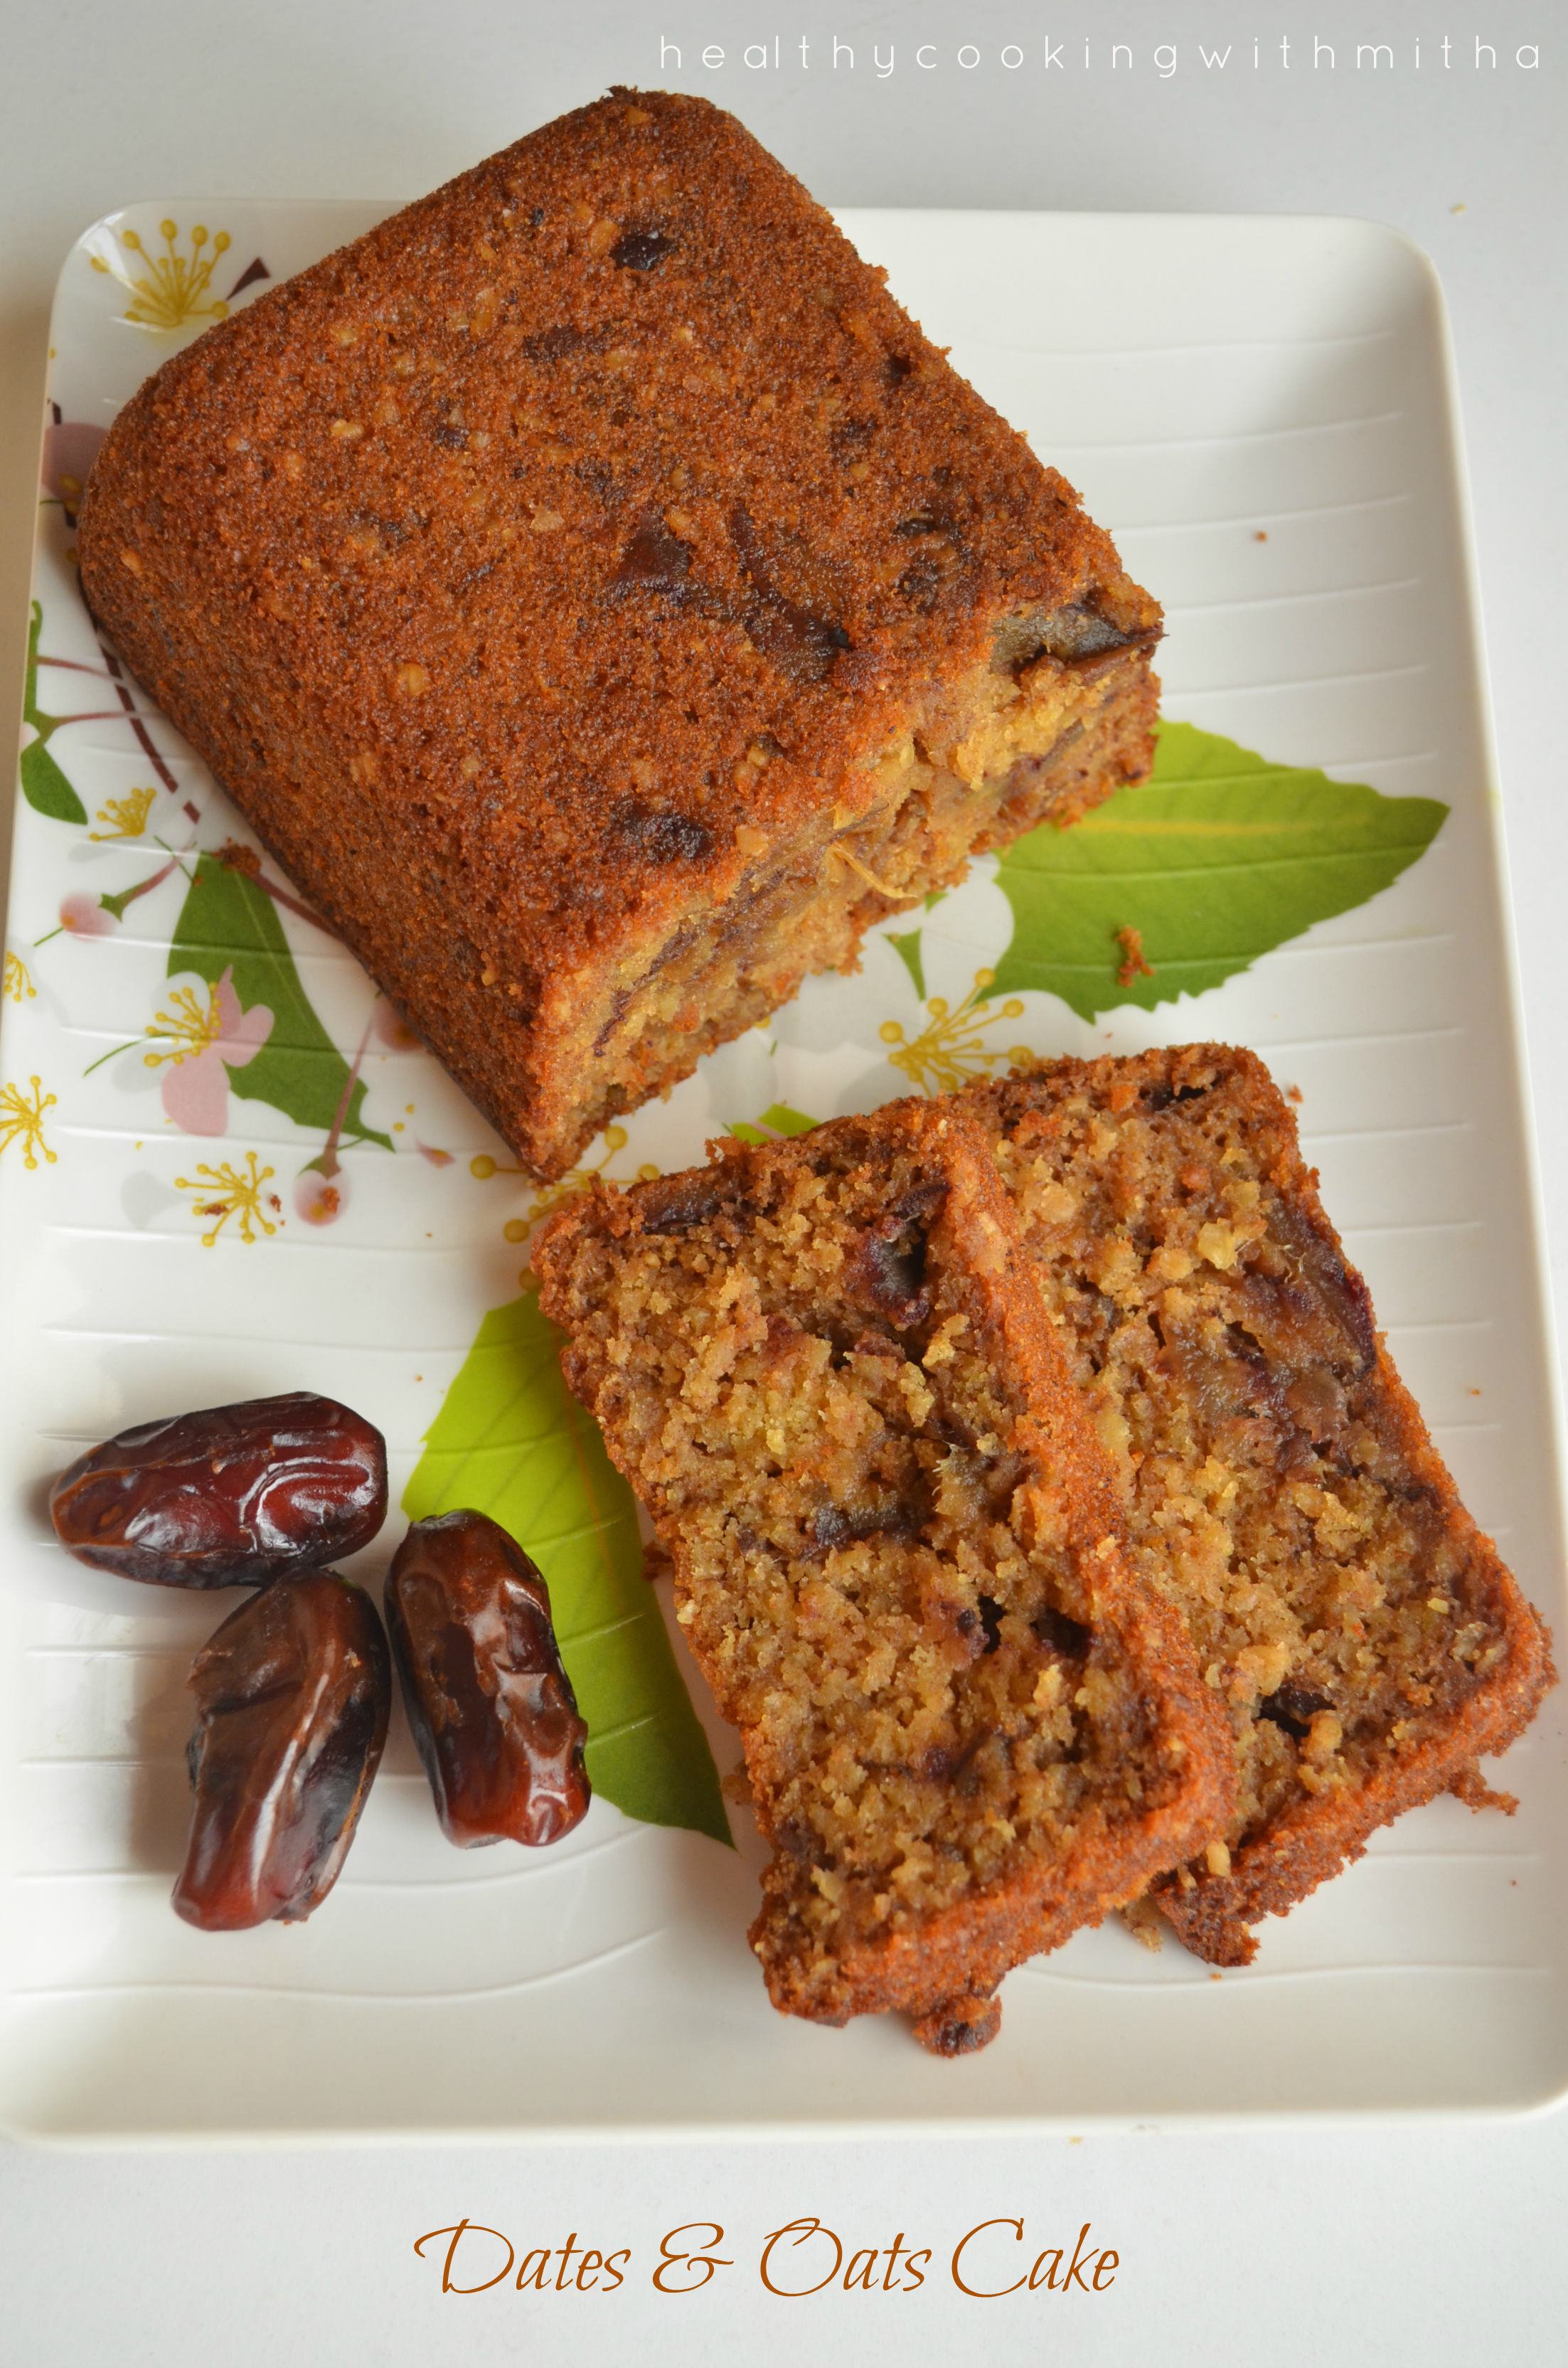
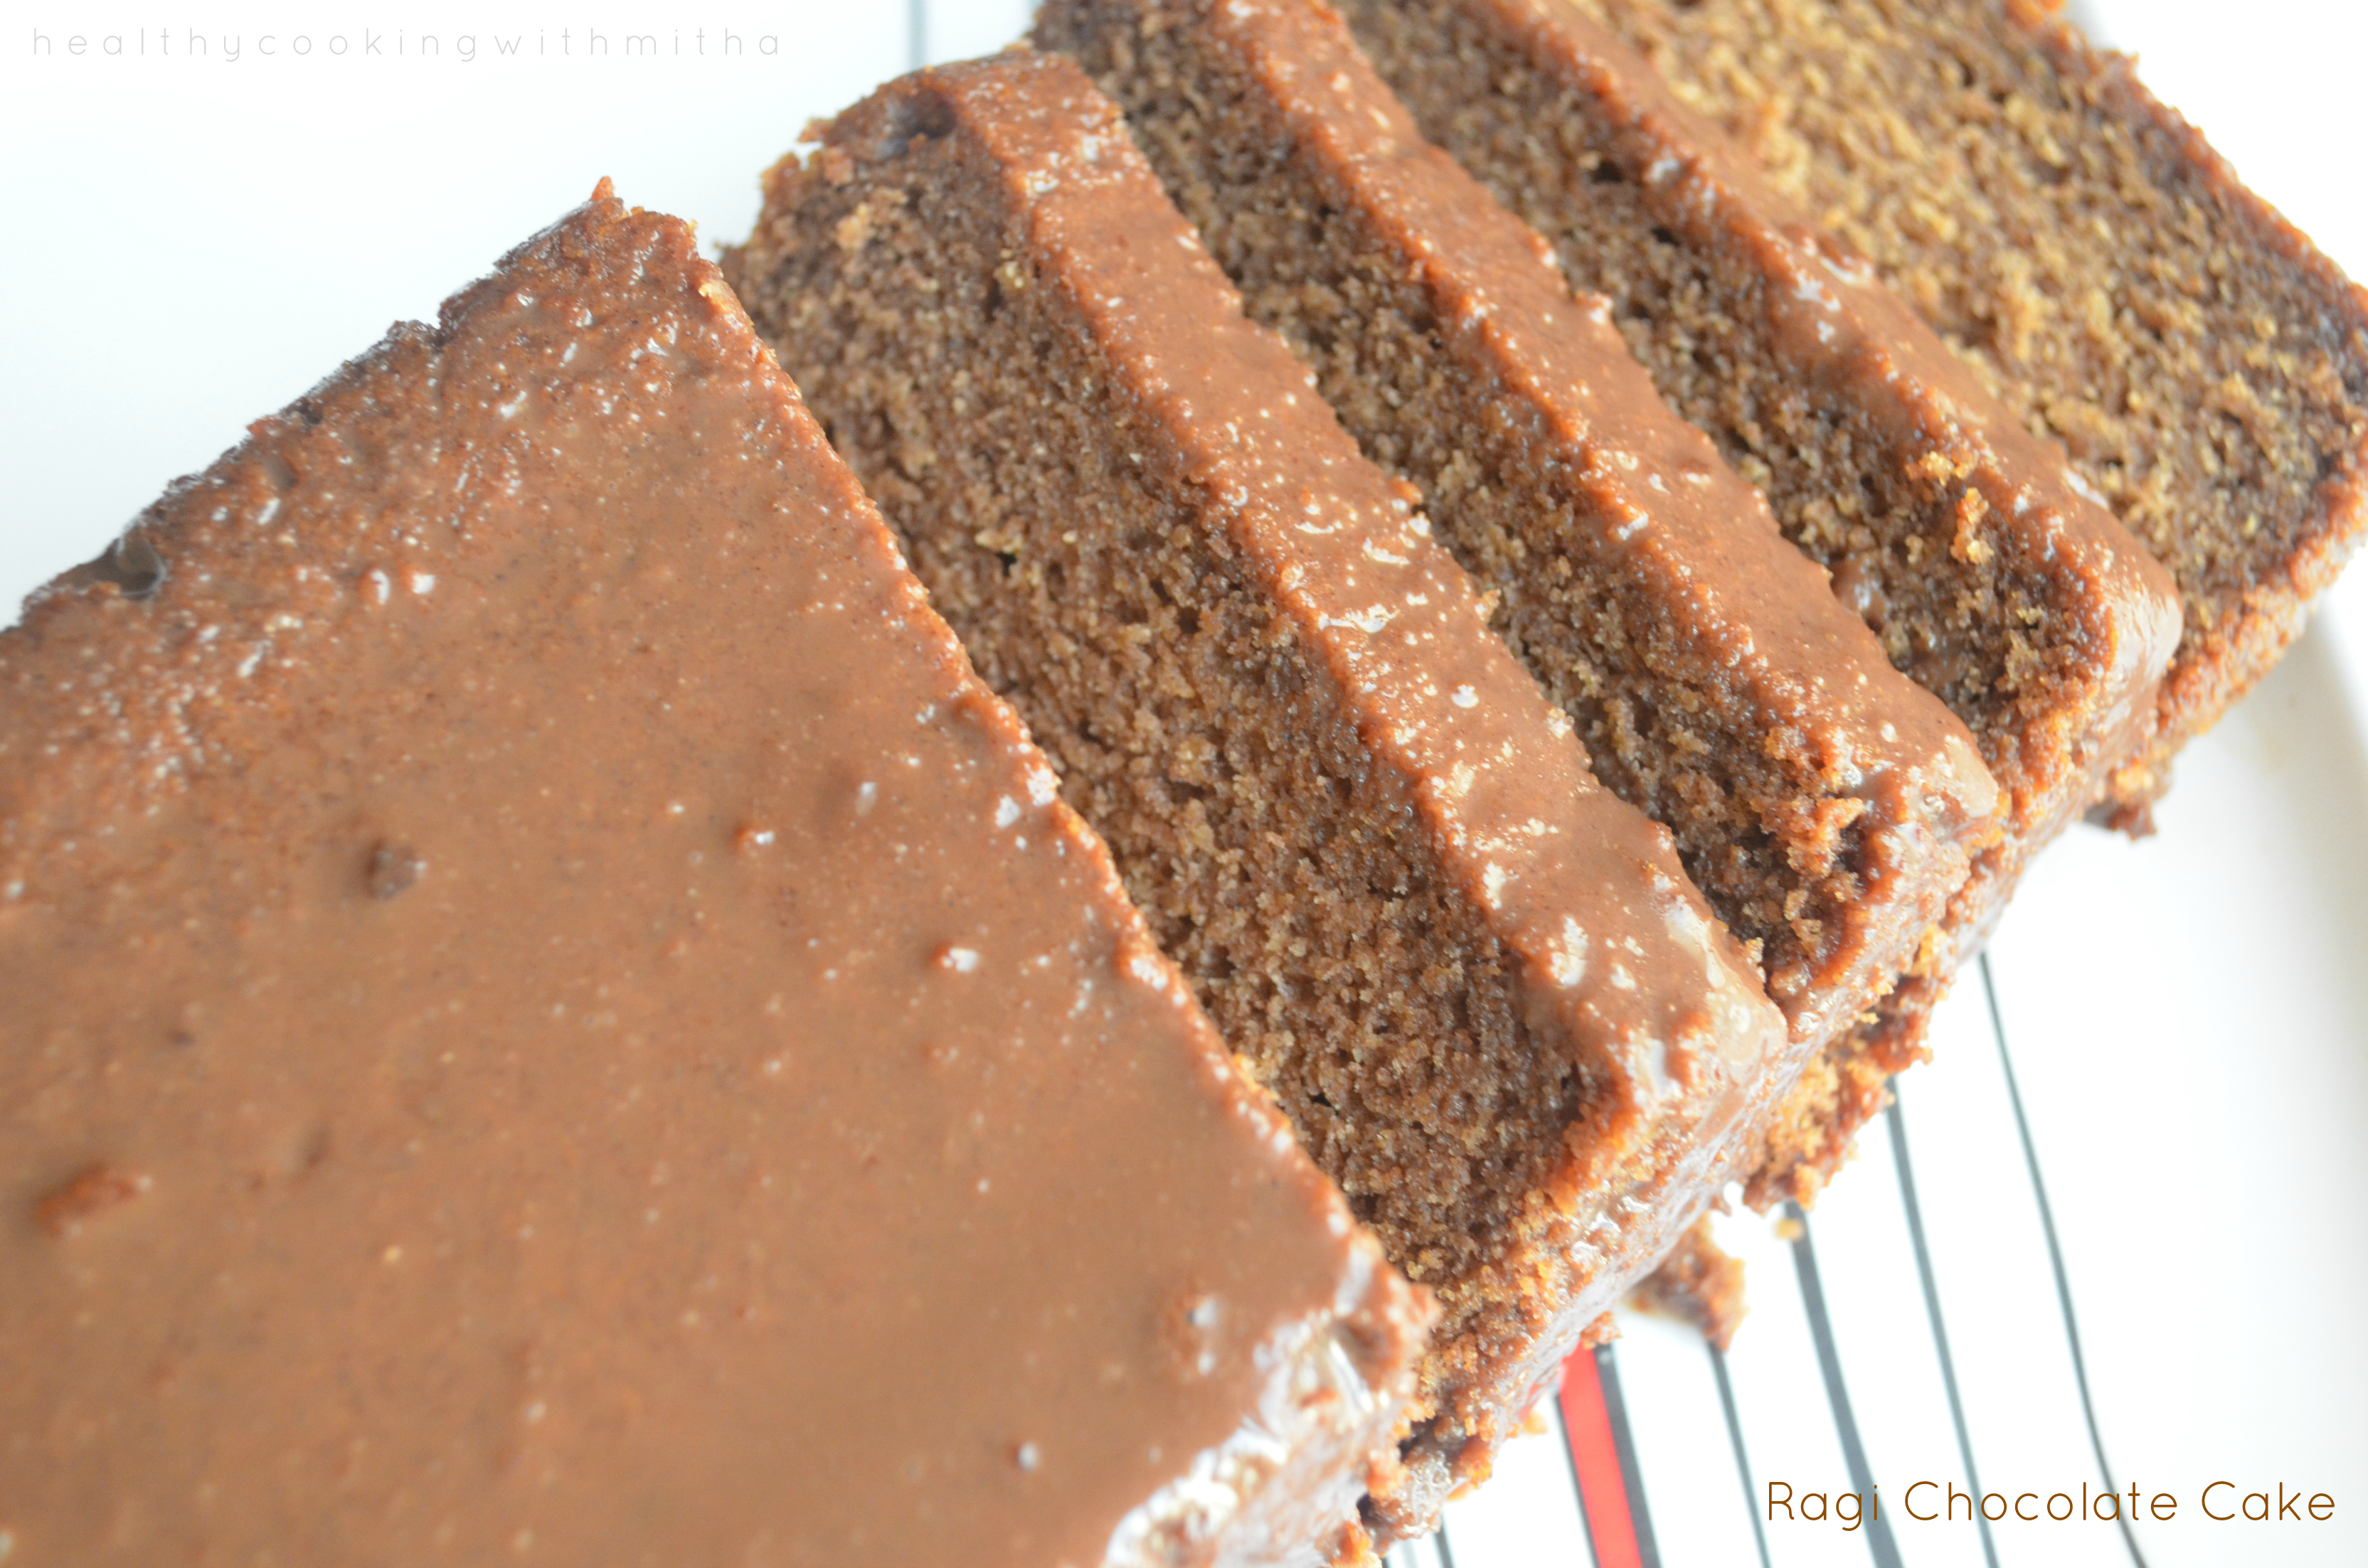
I really wish I could share this cake with all of you. It tastes so delicious and it is so soft that it literally melts in the mouth. A cake that made me so happy that I am glad I tried it.

After Mango Rava Cupcakes, my husband was behind me to try mango cake with wheat flour. So we tried couple of recipes but it did not work and I did not like the texture even though we enjoyed it. Then few days back, when I had taken a short break from social media (being the moody girl that I am 😄), he asked me to try this mango cake again.

Though I did not want to, I reluctantly agreed just for my kids who love cakes. And how glad I am that I baked such a beautiful and mouth watering cake. The kids kept asking for more and I was one happy mom. Sometimes I wonder what my life would have been without them. Even though their naughtiness keeps me on my toes the whole day, it also keeps me engaged which is very important too during these home bound times.

Hope you all try this mango cake. You can use both fresh mango pulp if available or canned like I used. Happy baking!

RECIPE:

Ingredients: ( 1 Cup = 240 ml)

Dry Ingredients:

1.5 Cups Wheat flour/ Atta (I use Pillsbury atta)

1 tsp Baking powder

1/2 tsp Baking soda

A pinch of salt

Wet ingredients:

1 Cup Mango pulp (fresh or canned) {I usually use Mother’s recipe Alphonso mango pulp.}

1/2 Cup Sugar

1/2 Cup Ghee

1 tsp Vanilla essence

Step by step recipe:

1. Preheat the oven at 180 C for 10 minutes in the centre rack if using an OTG.

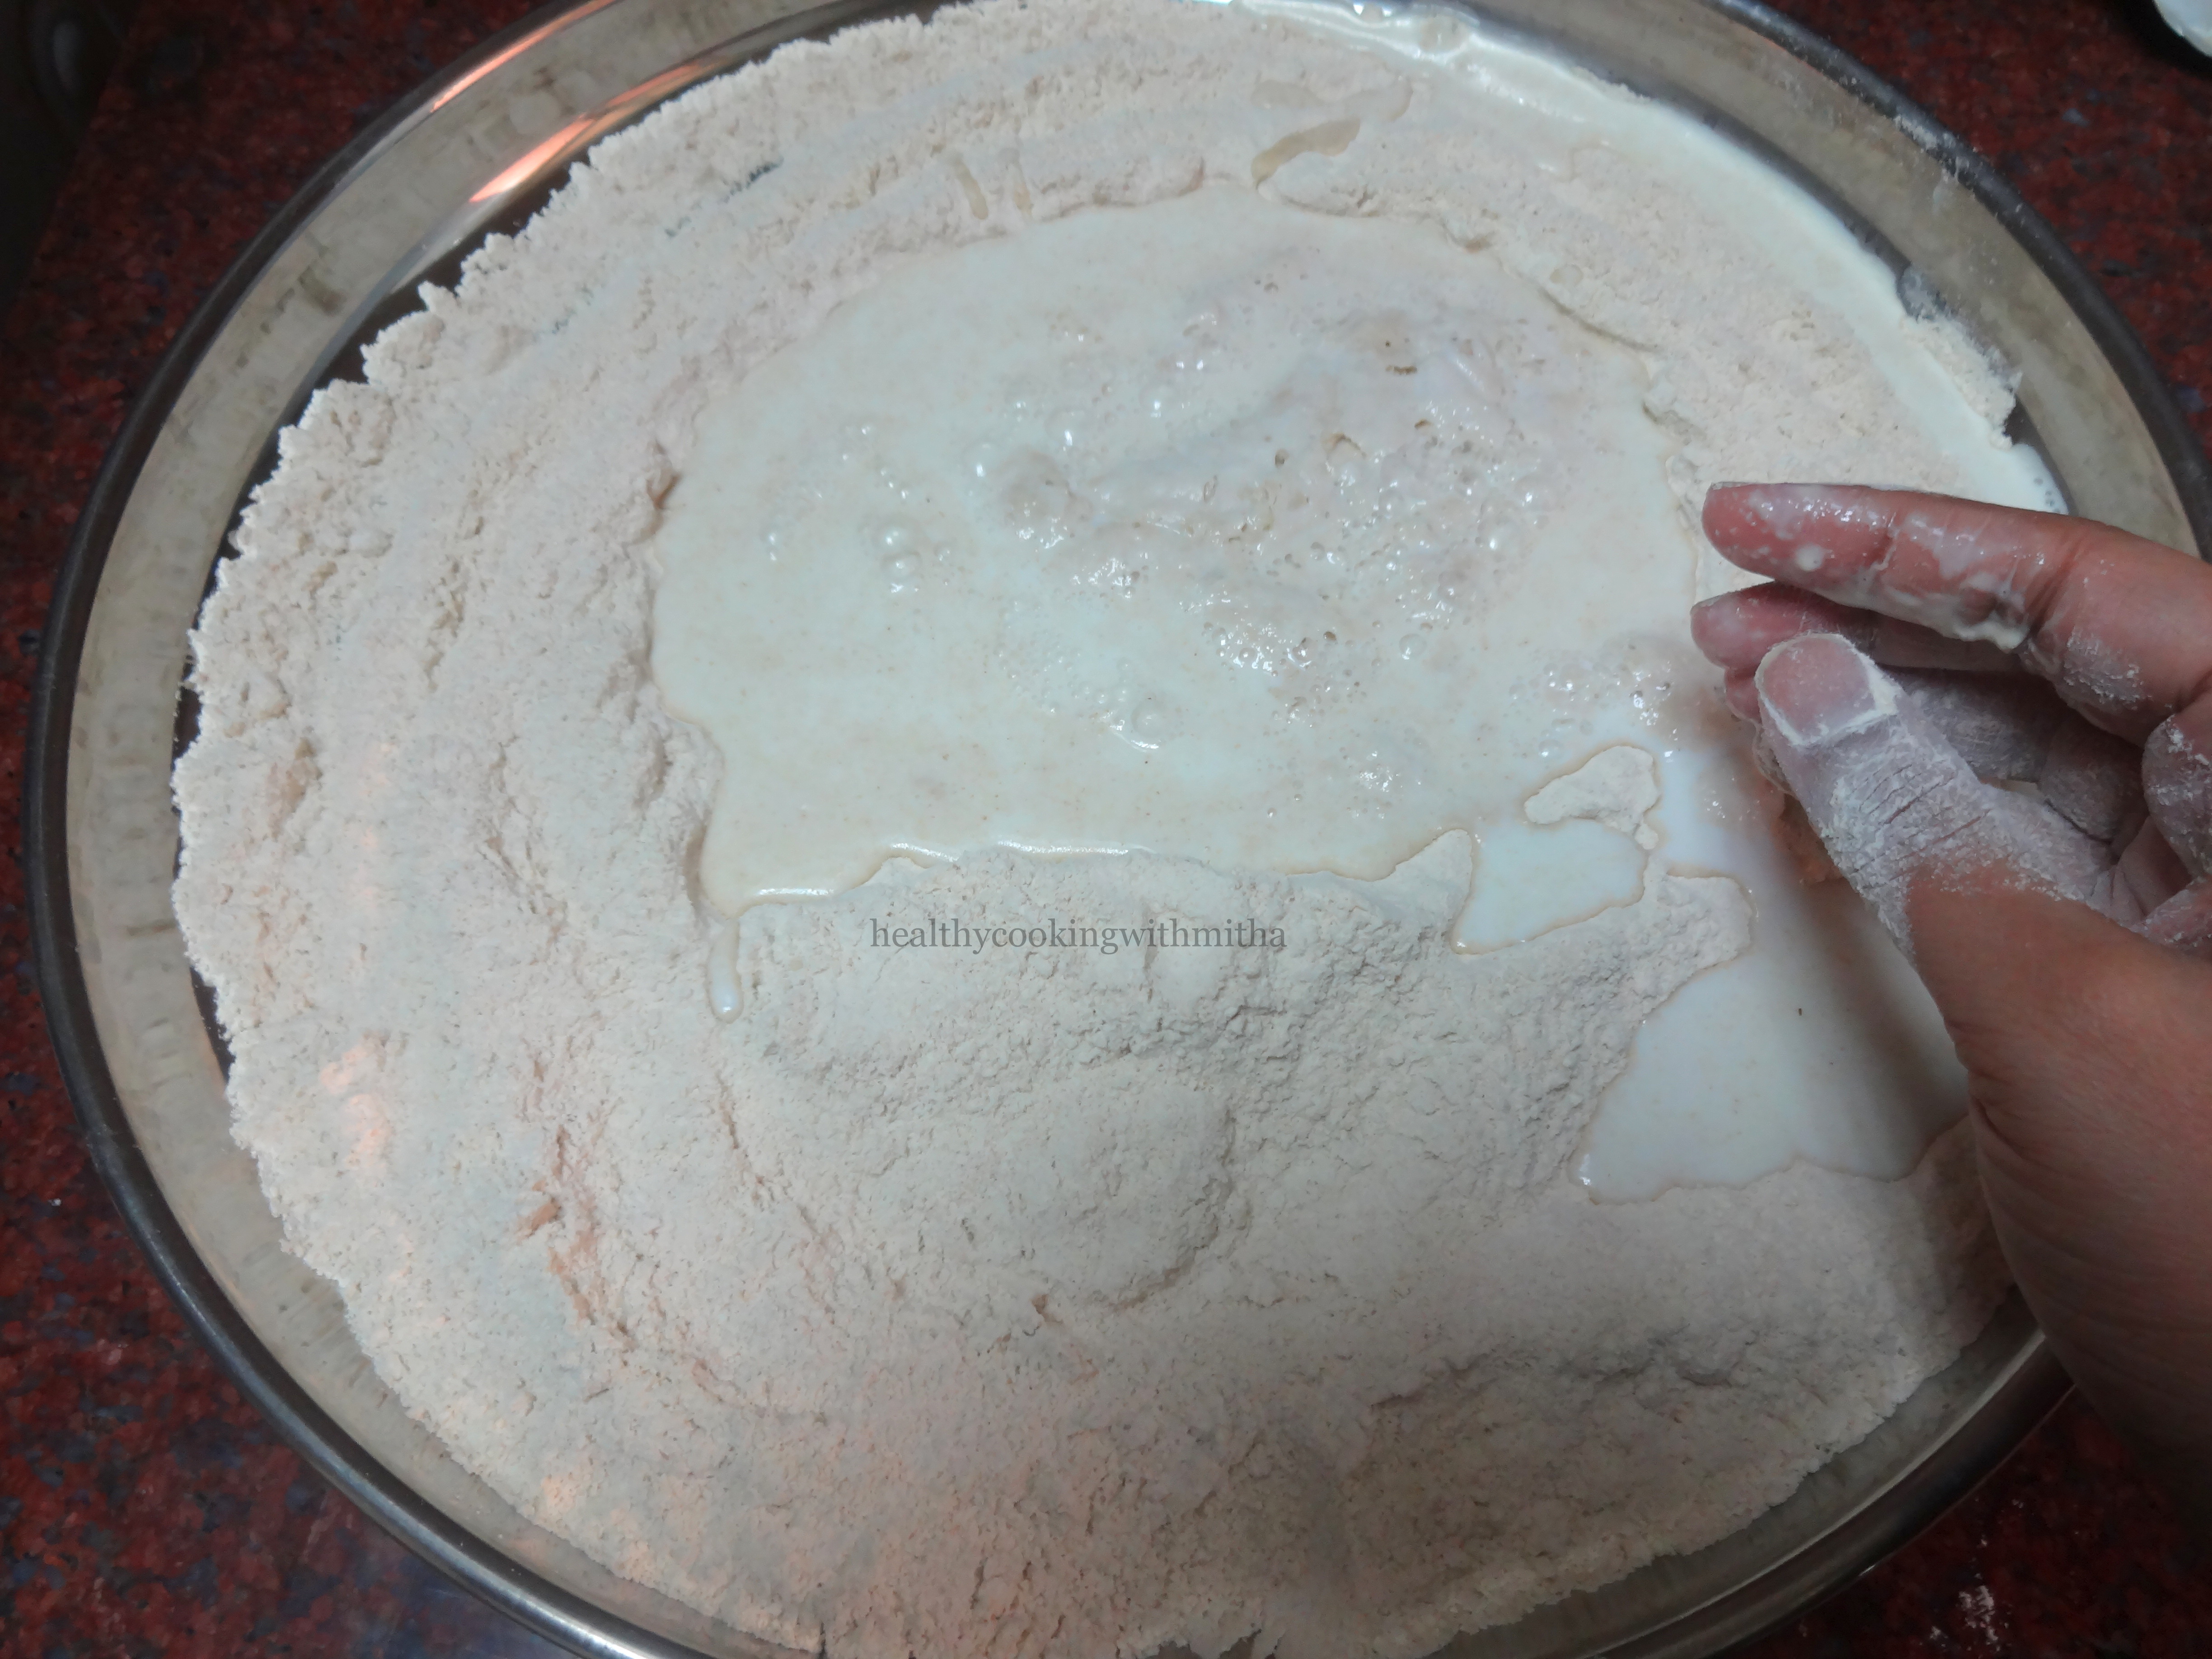
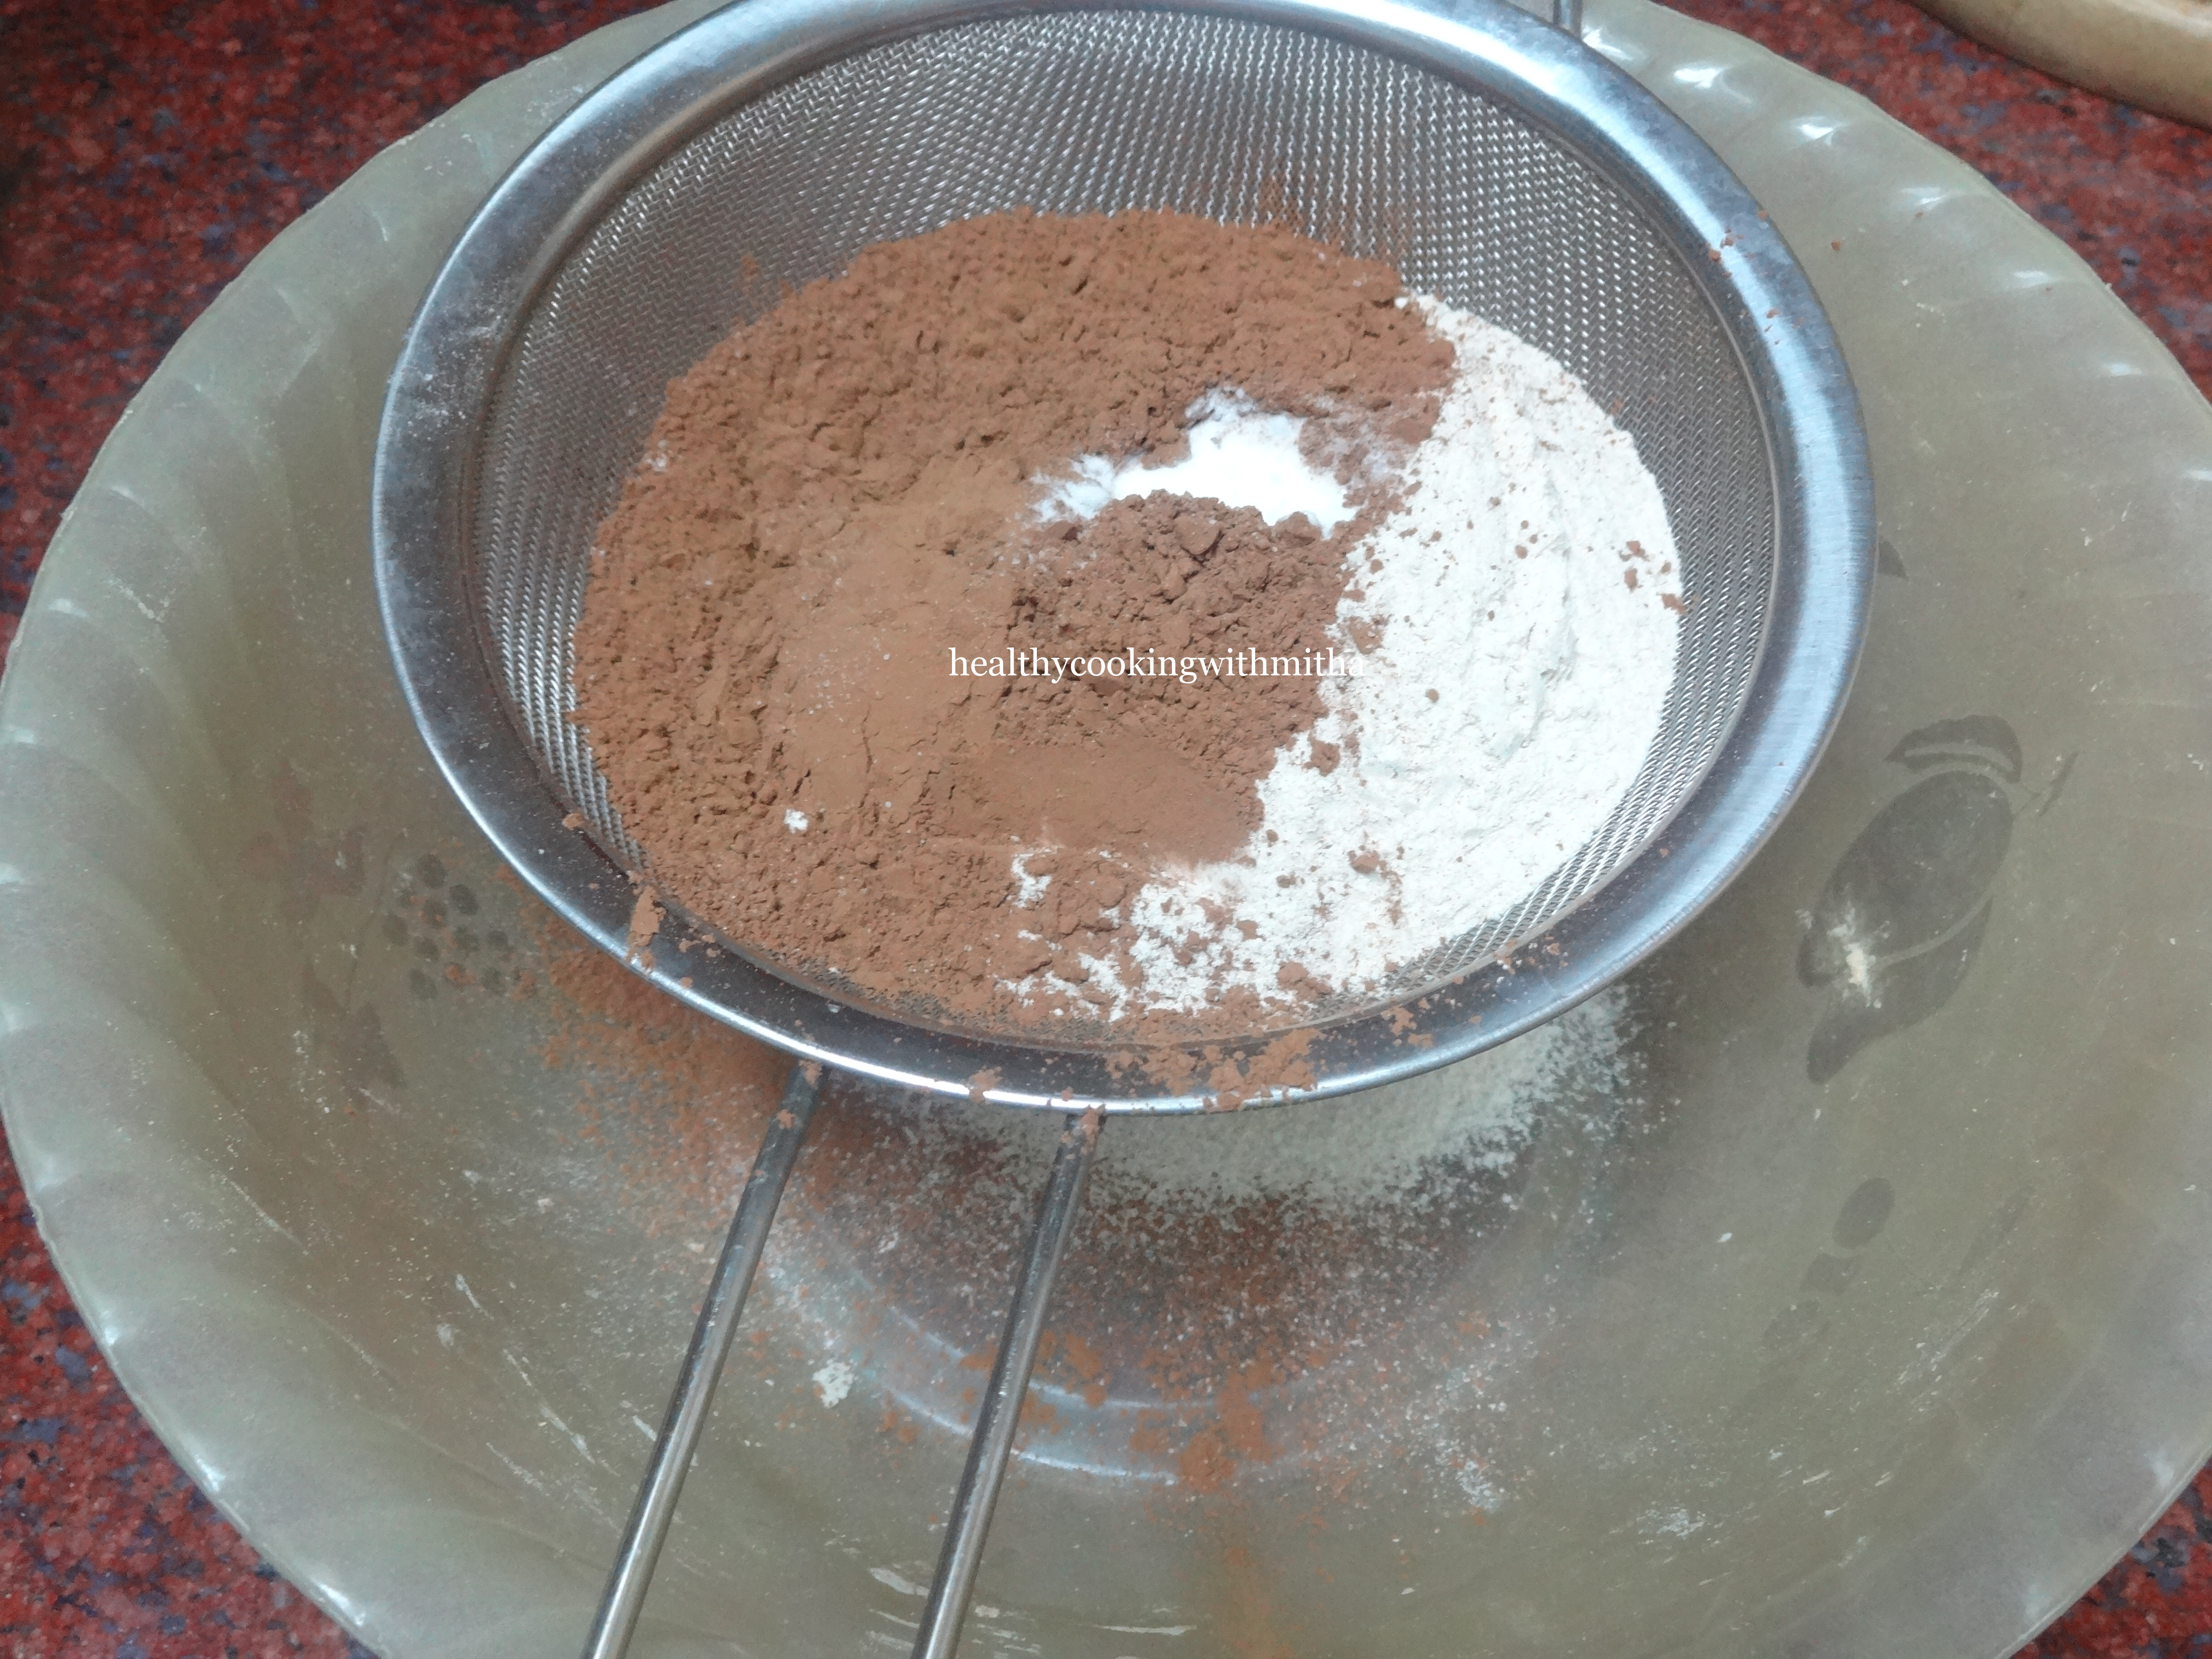
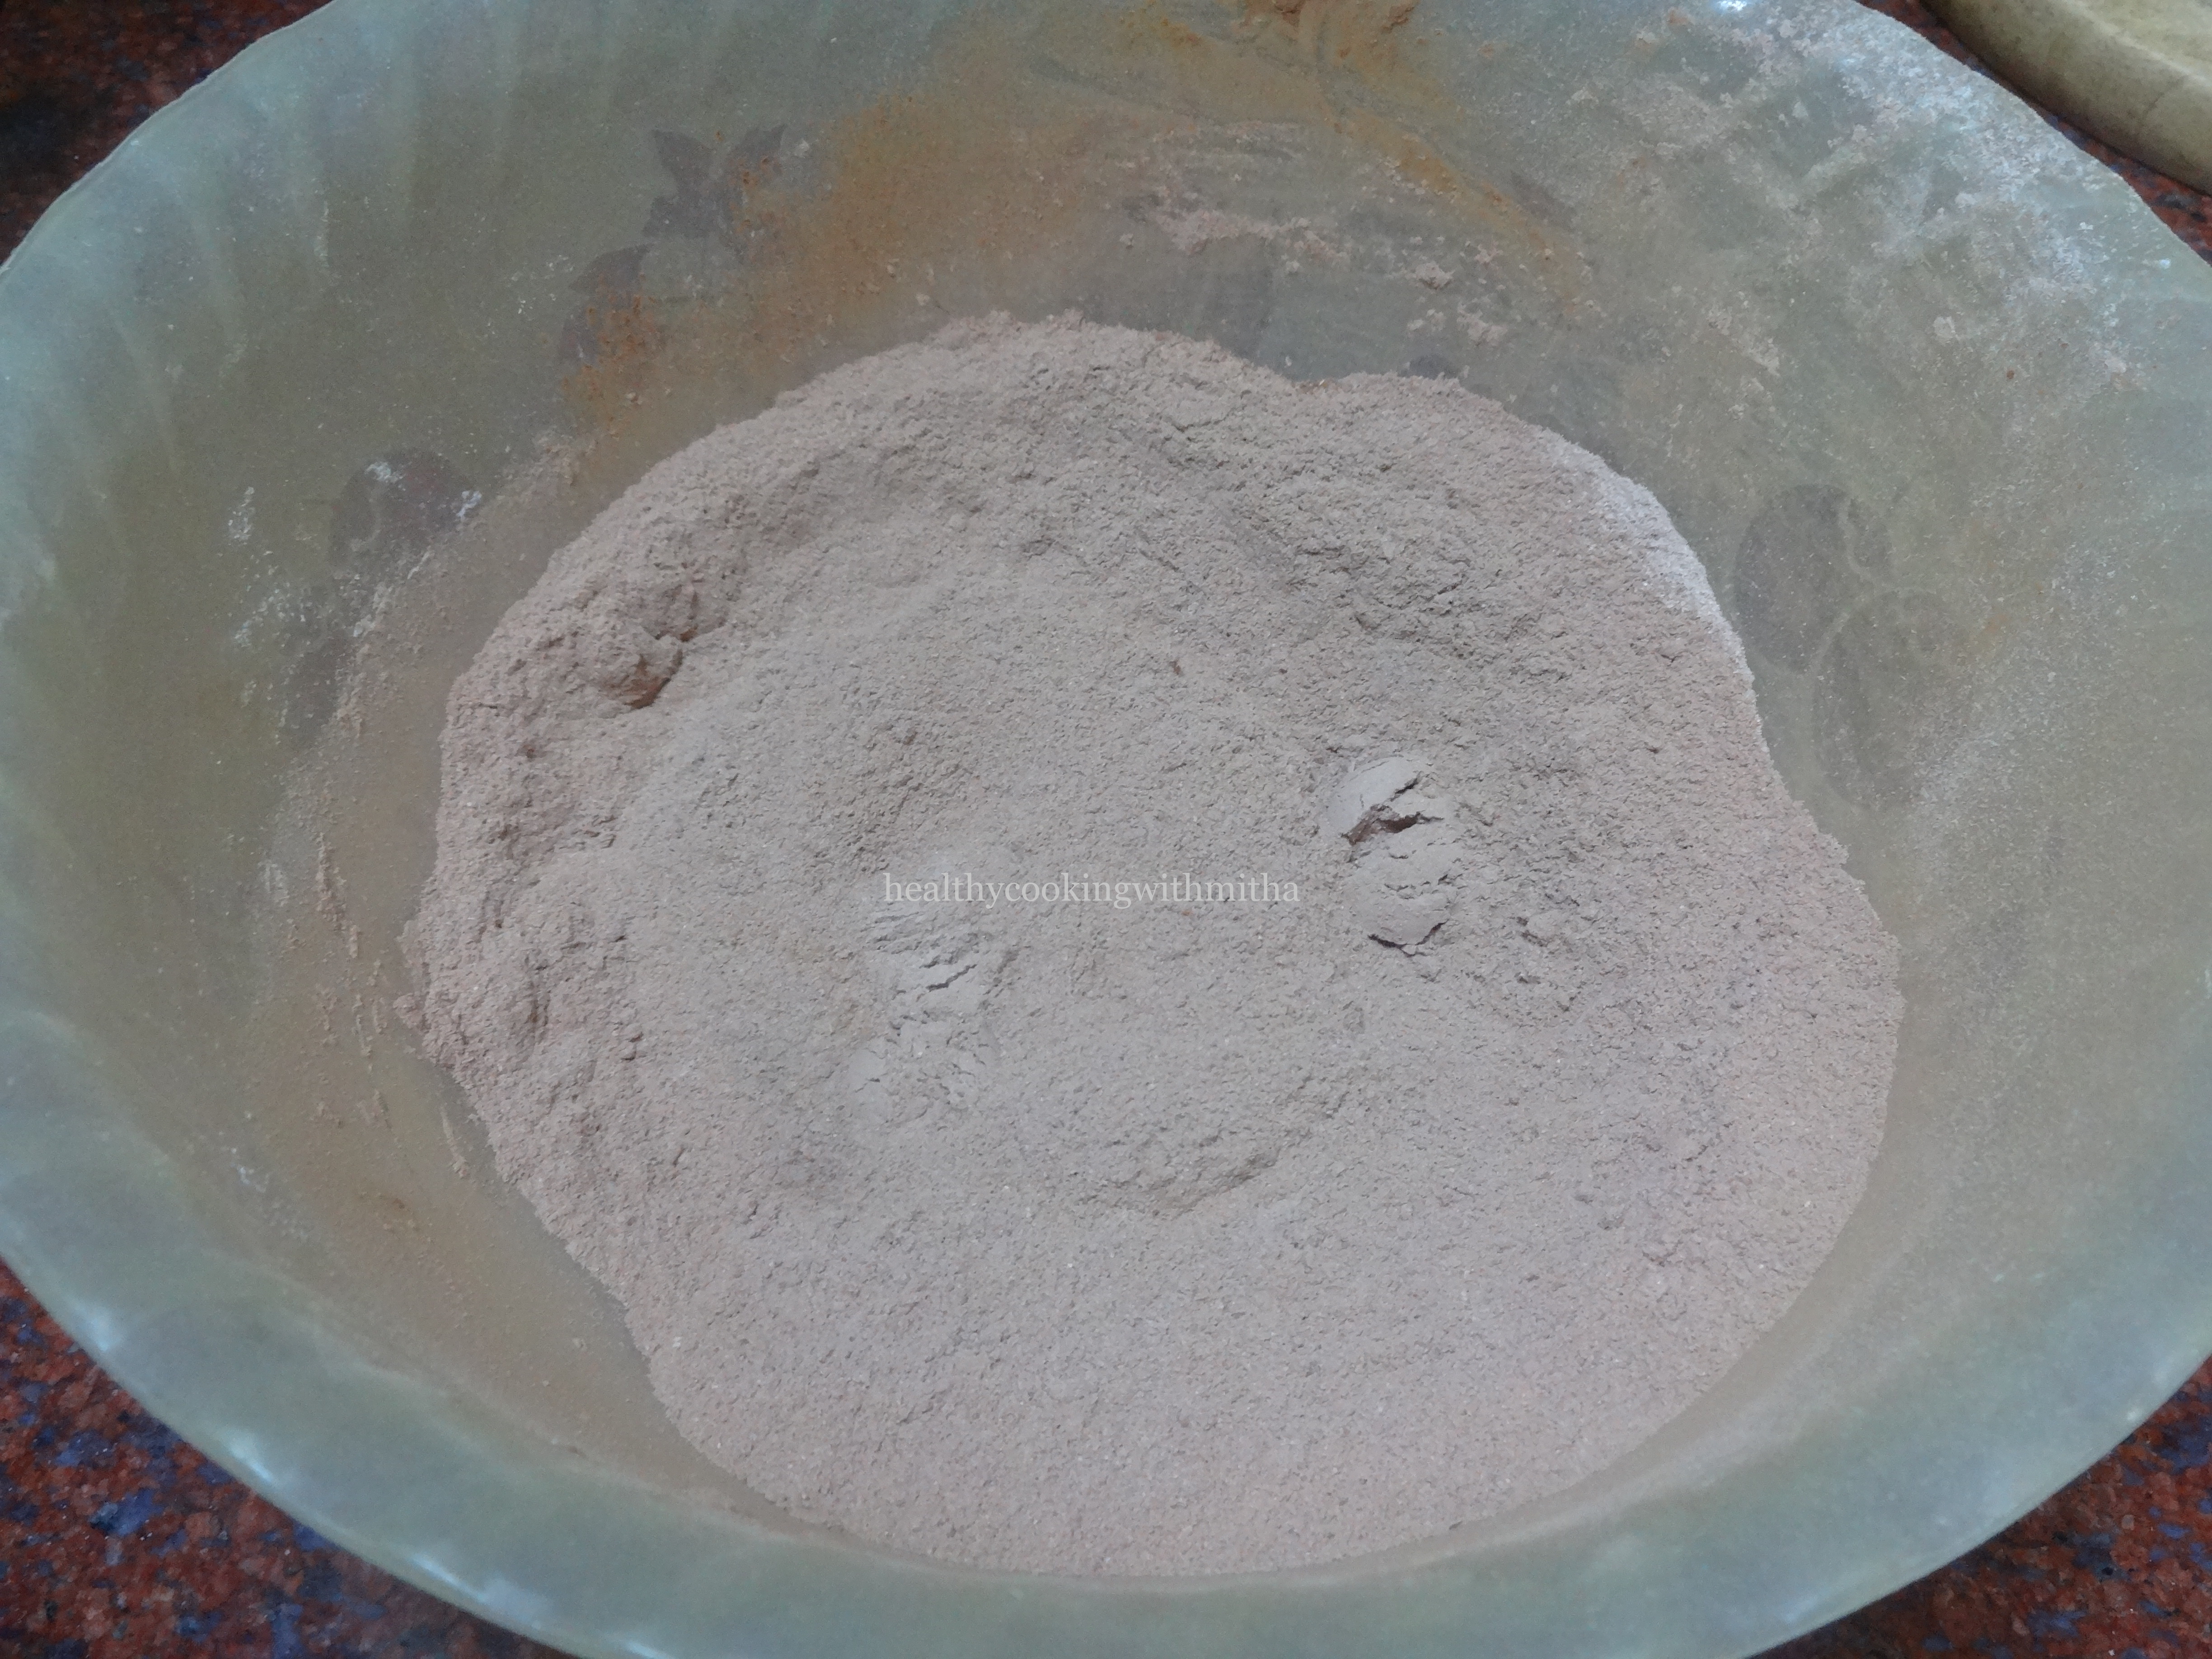
2. Sift the dry ingredients together using a sieve into a bowl so that the ingredients are well mixed. Keep aside.

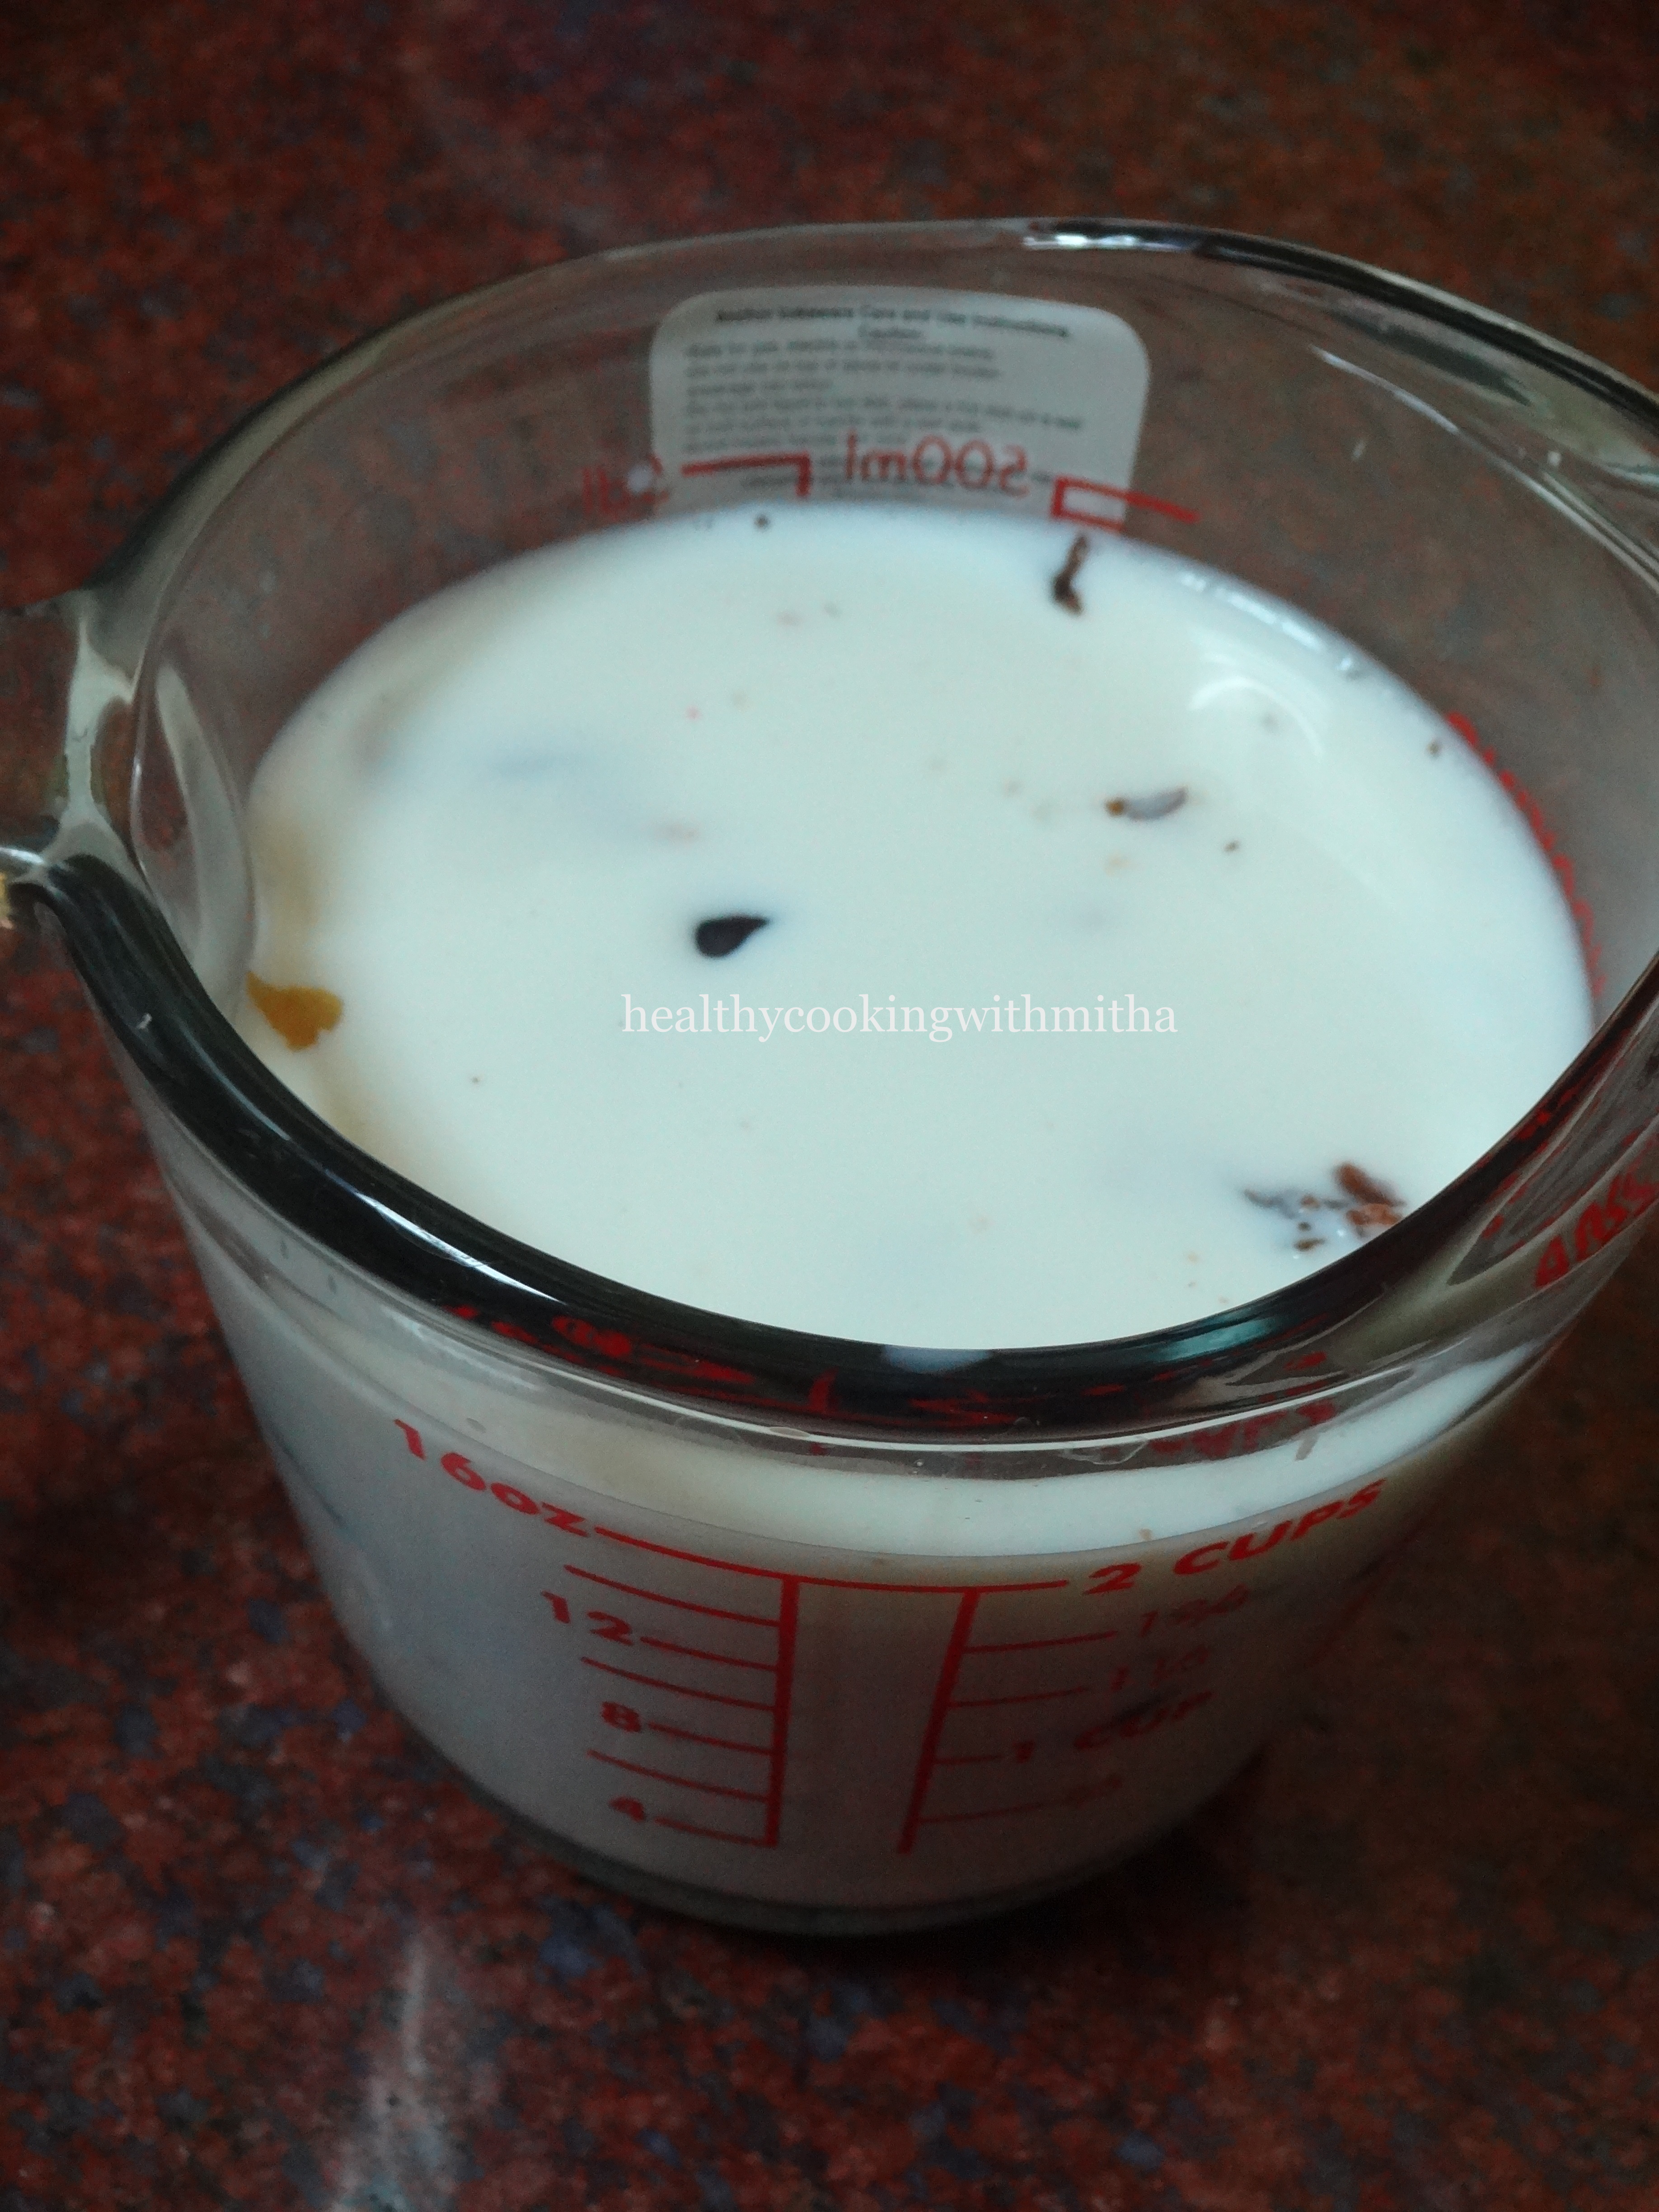
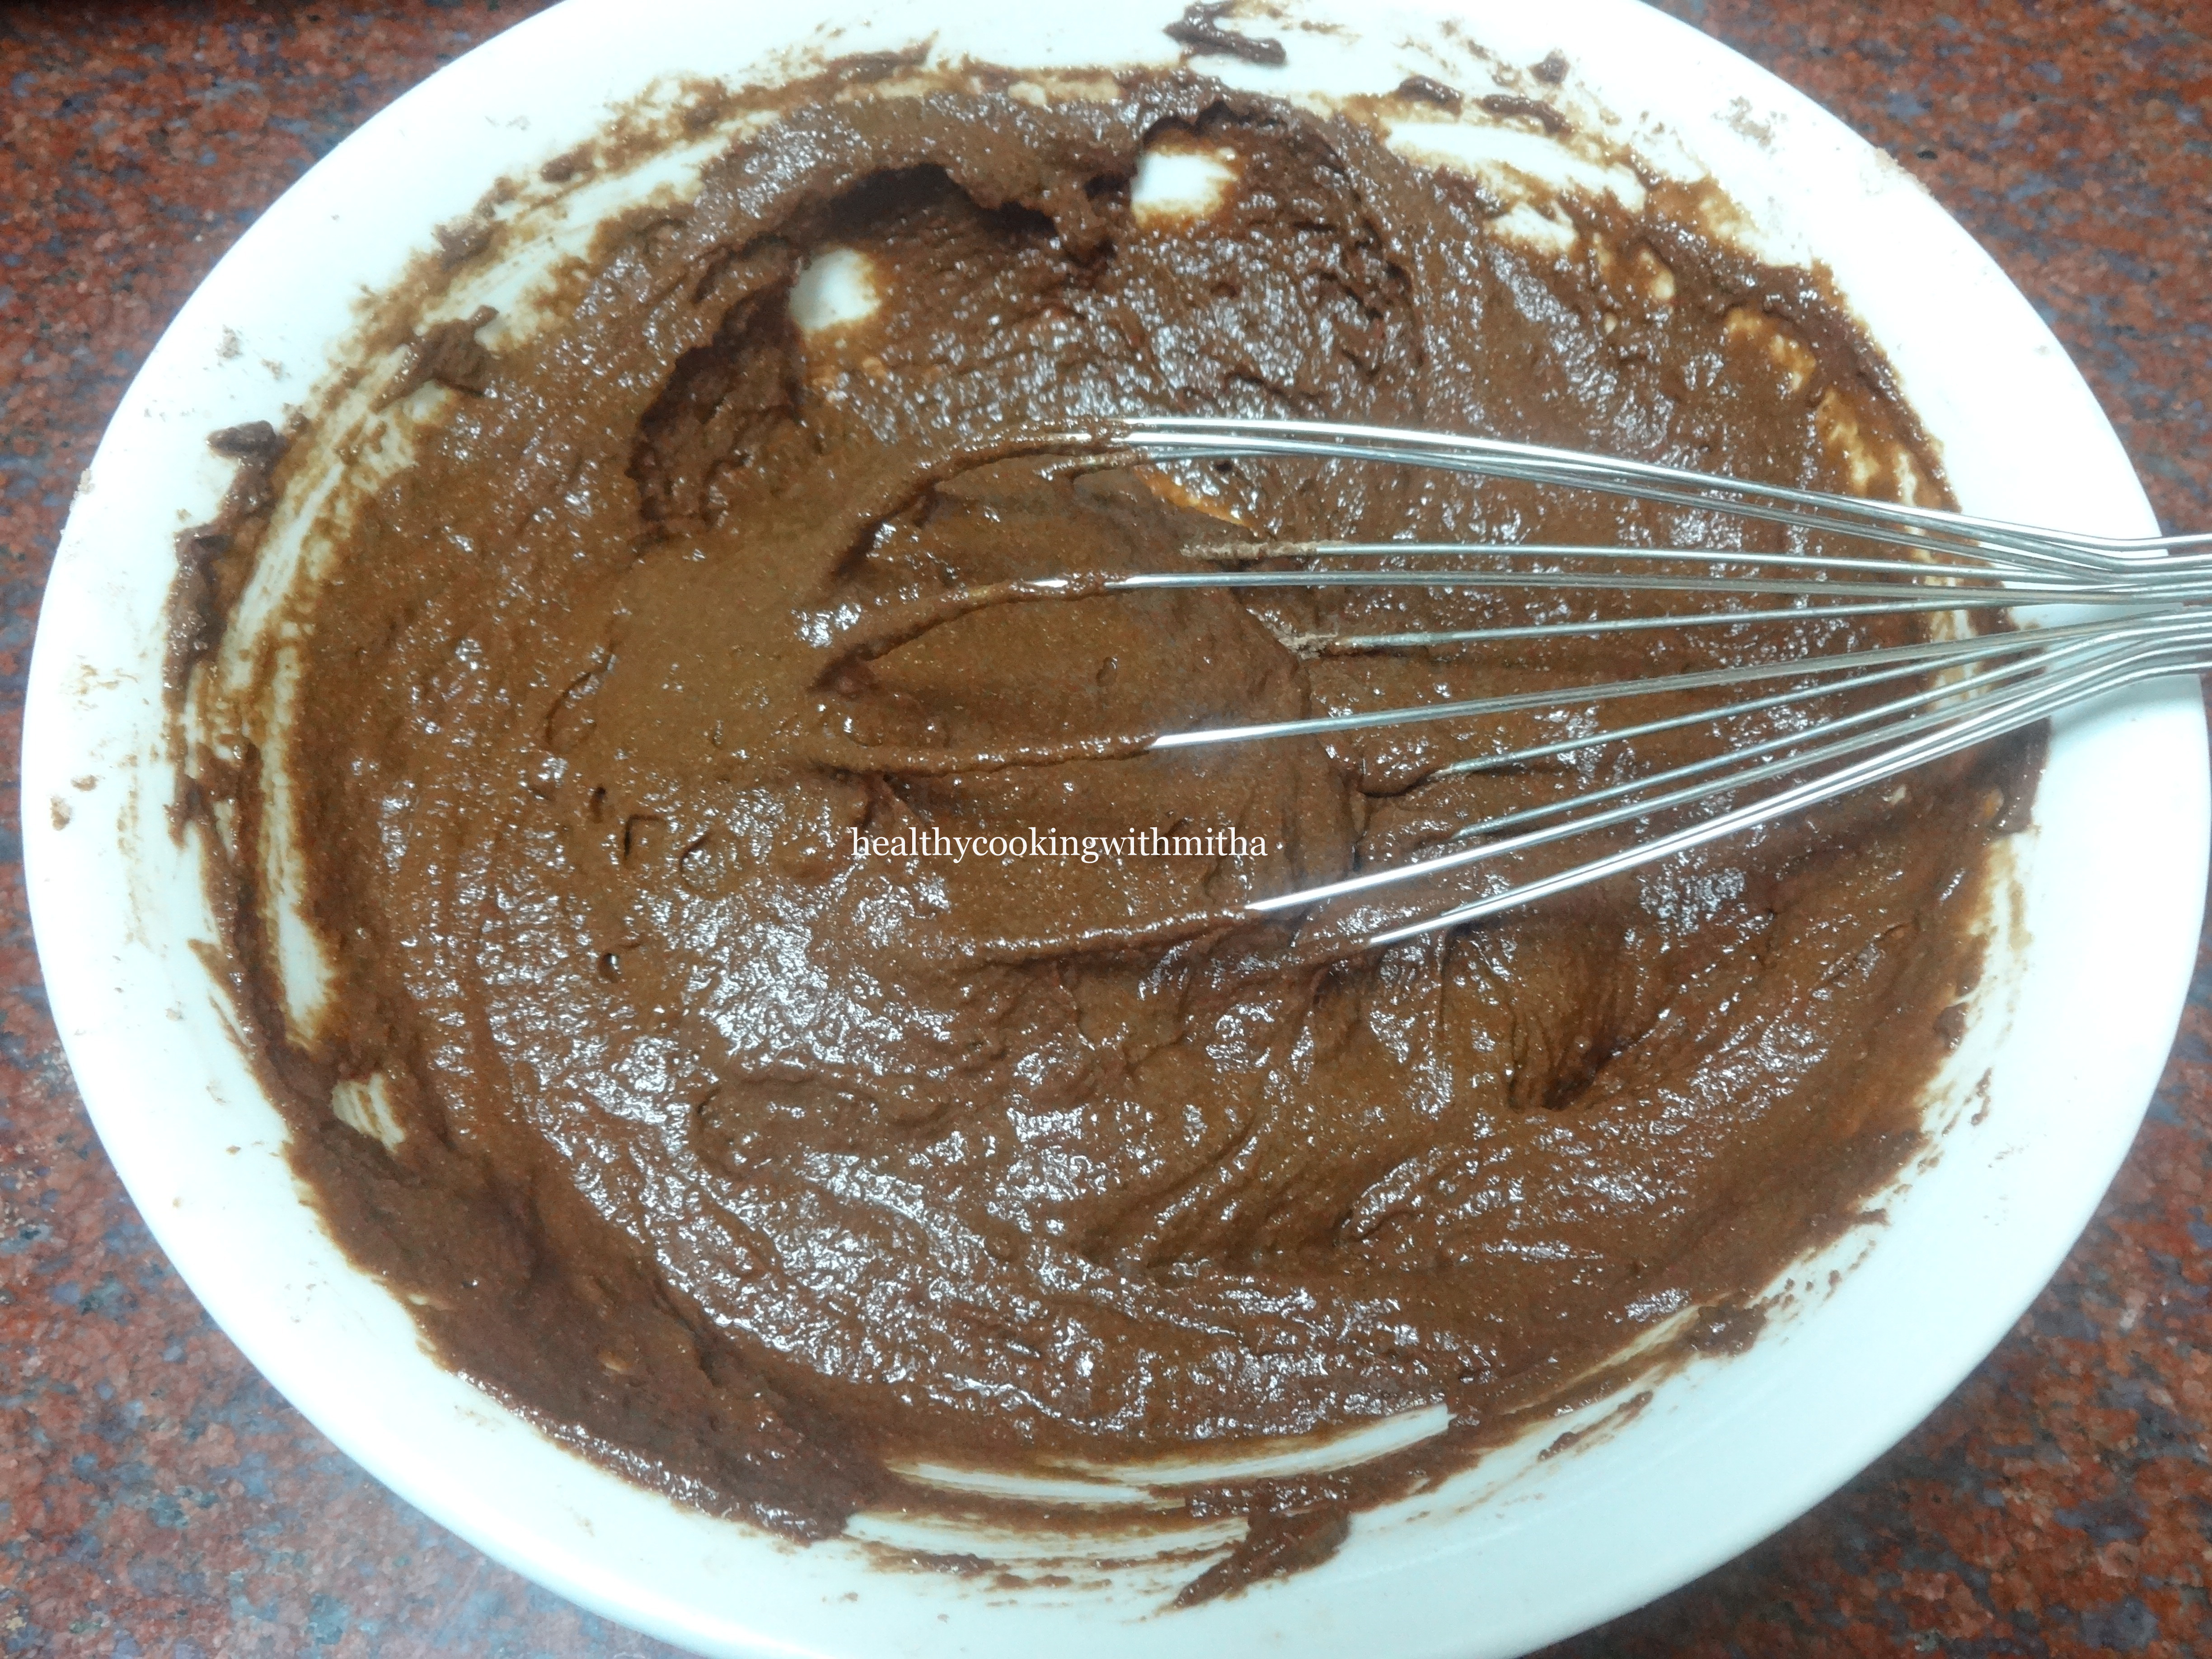
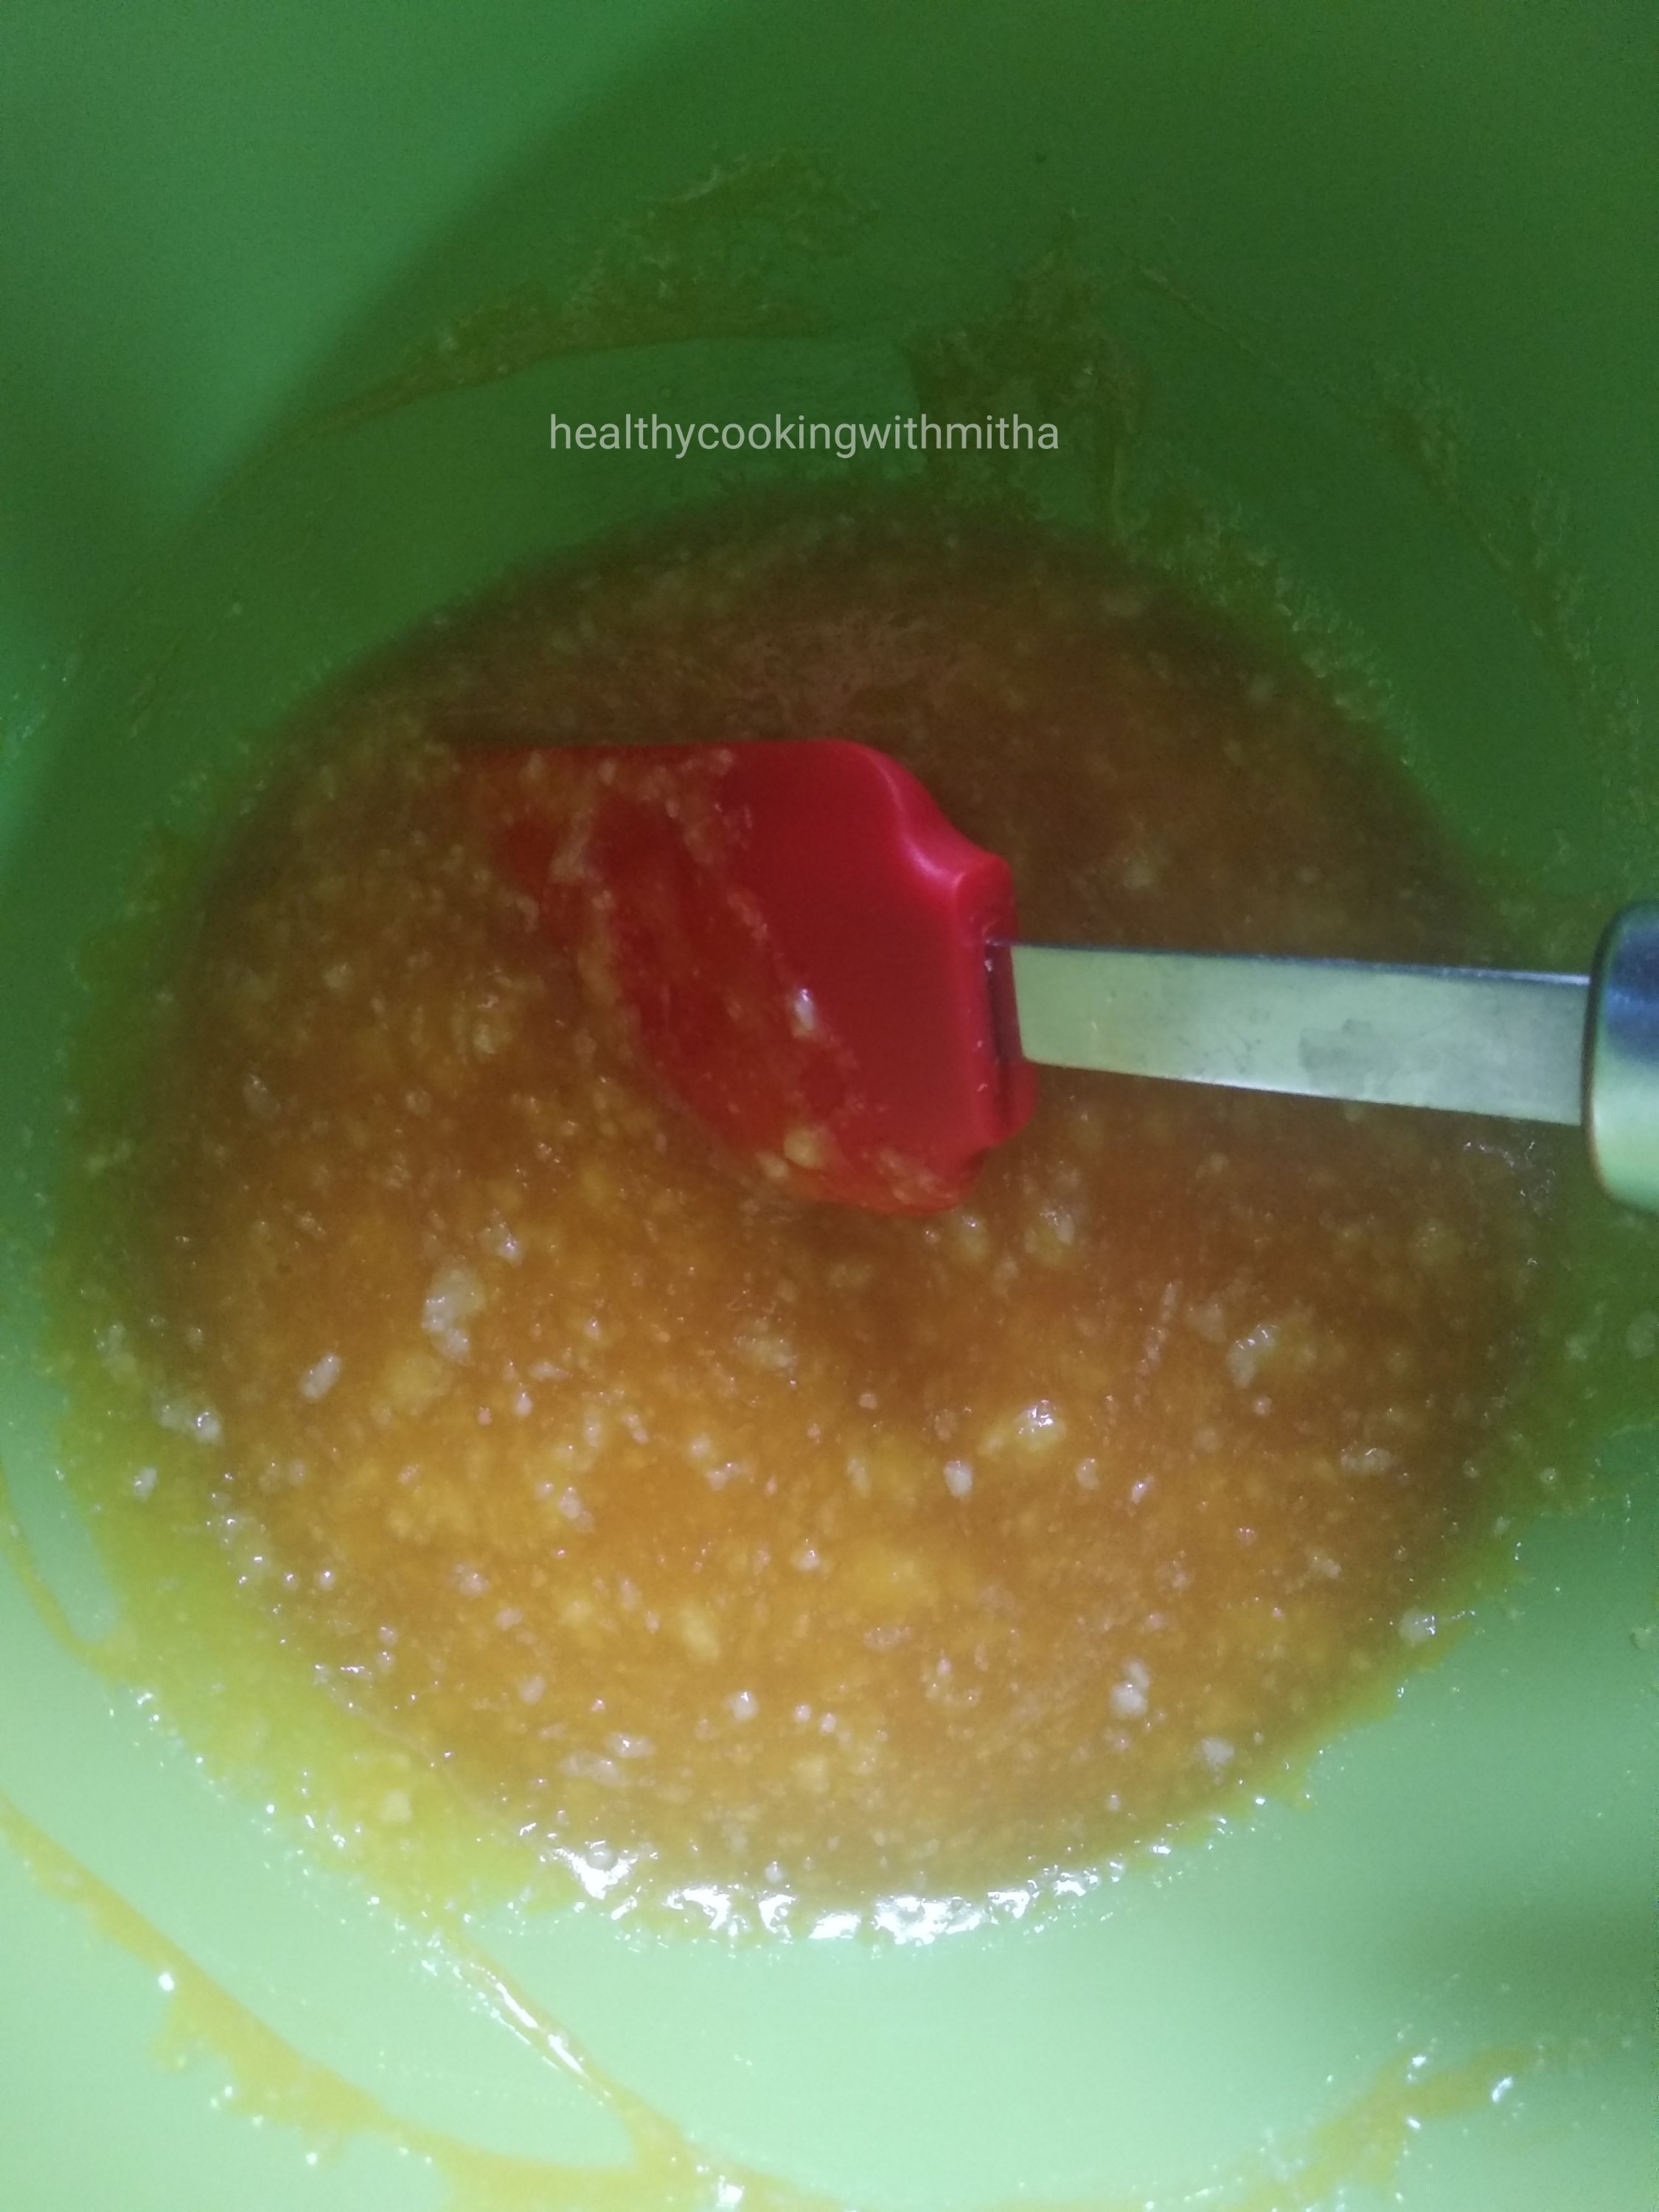
2. Now in another large bowl, add mango pulp, ghee, sugar and vanilla essence.

3. Mix well using a spatula.

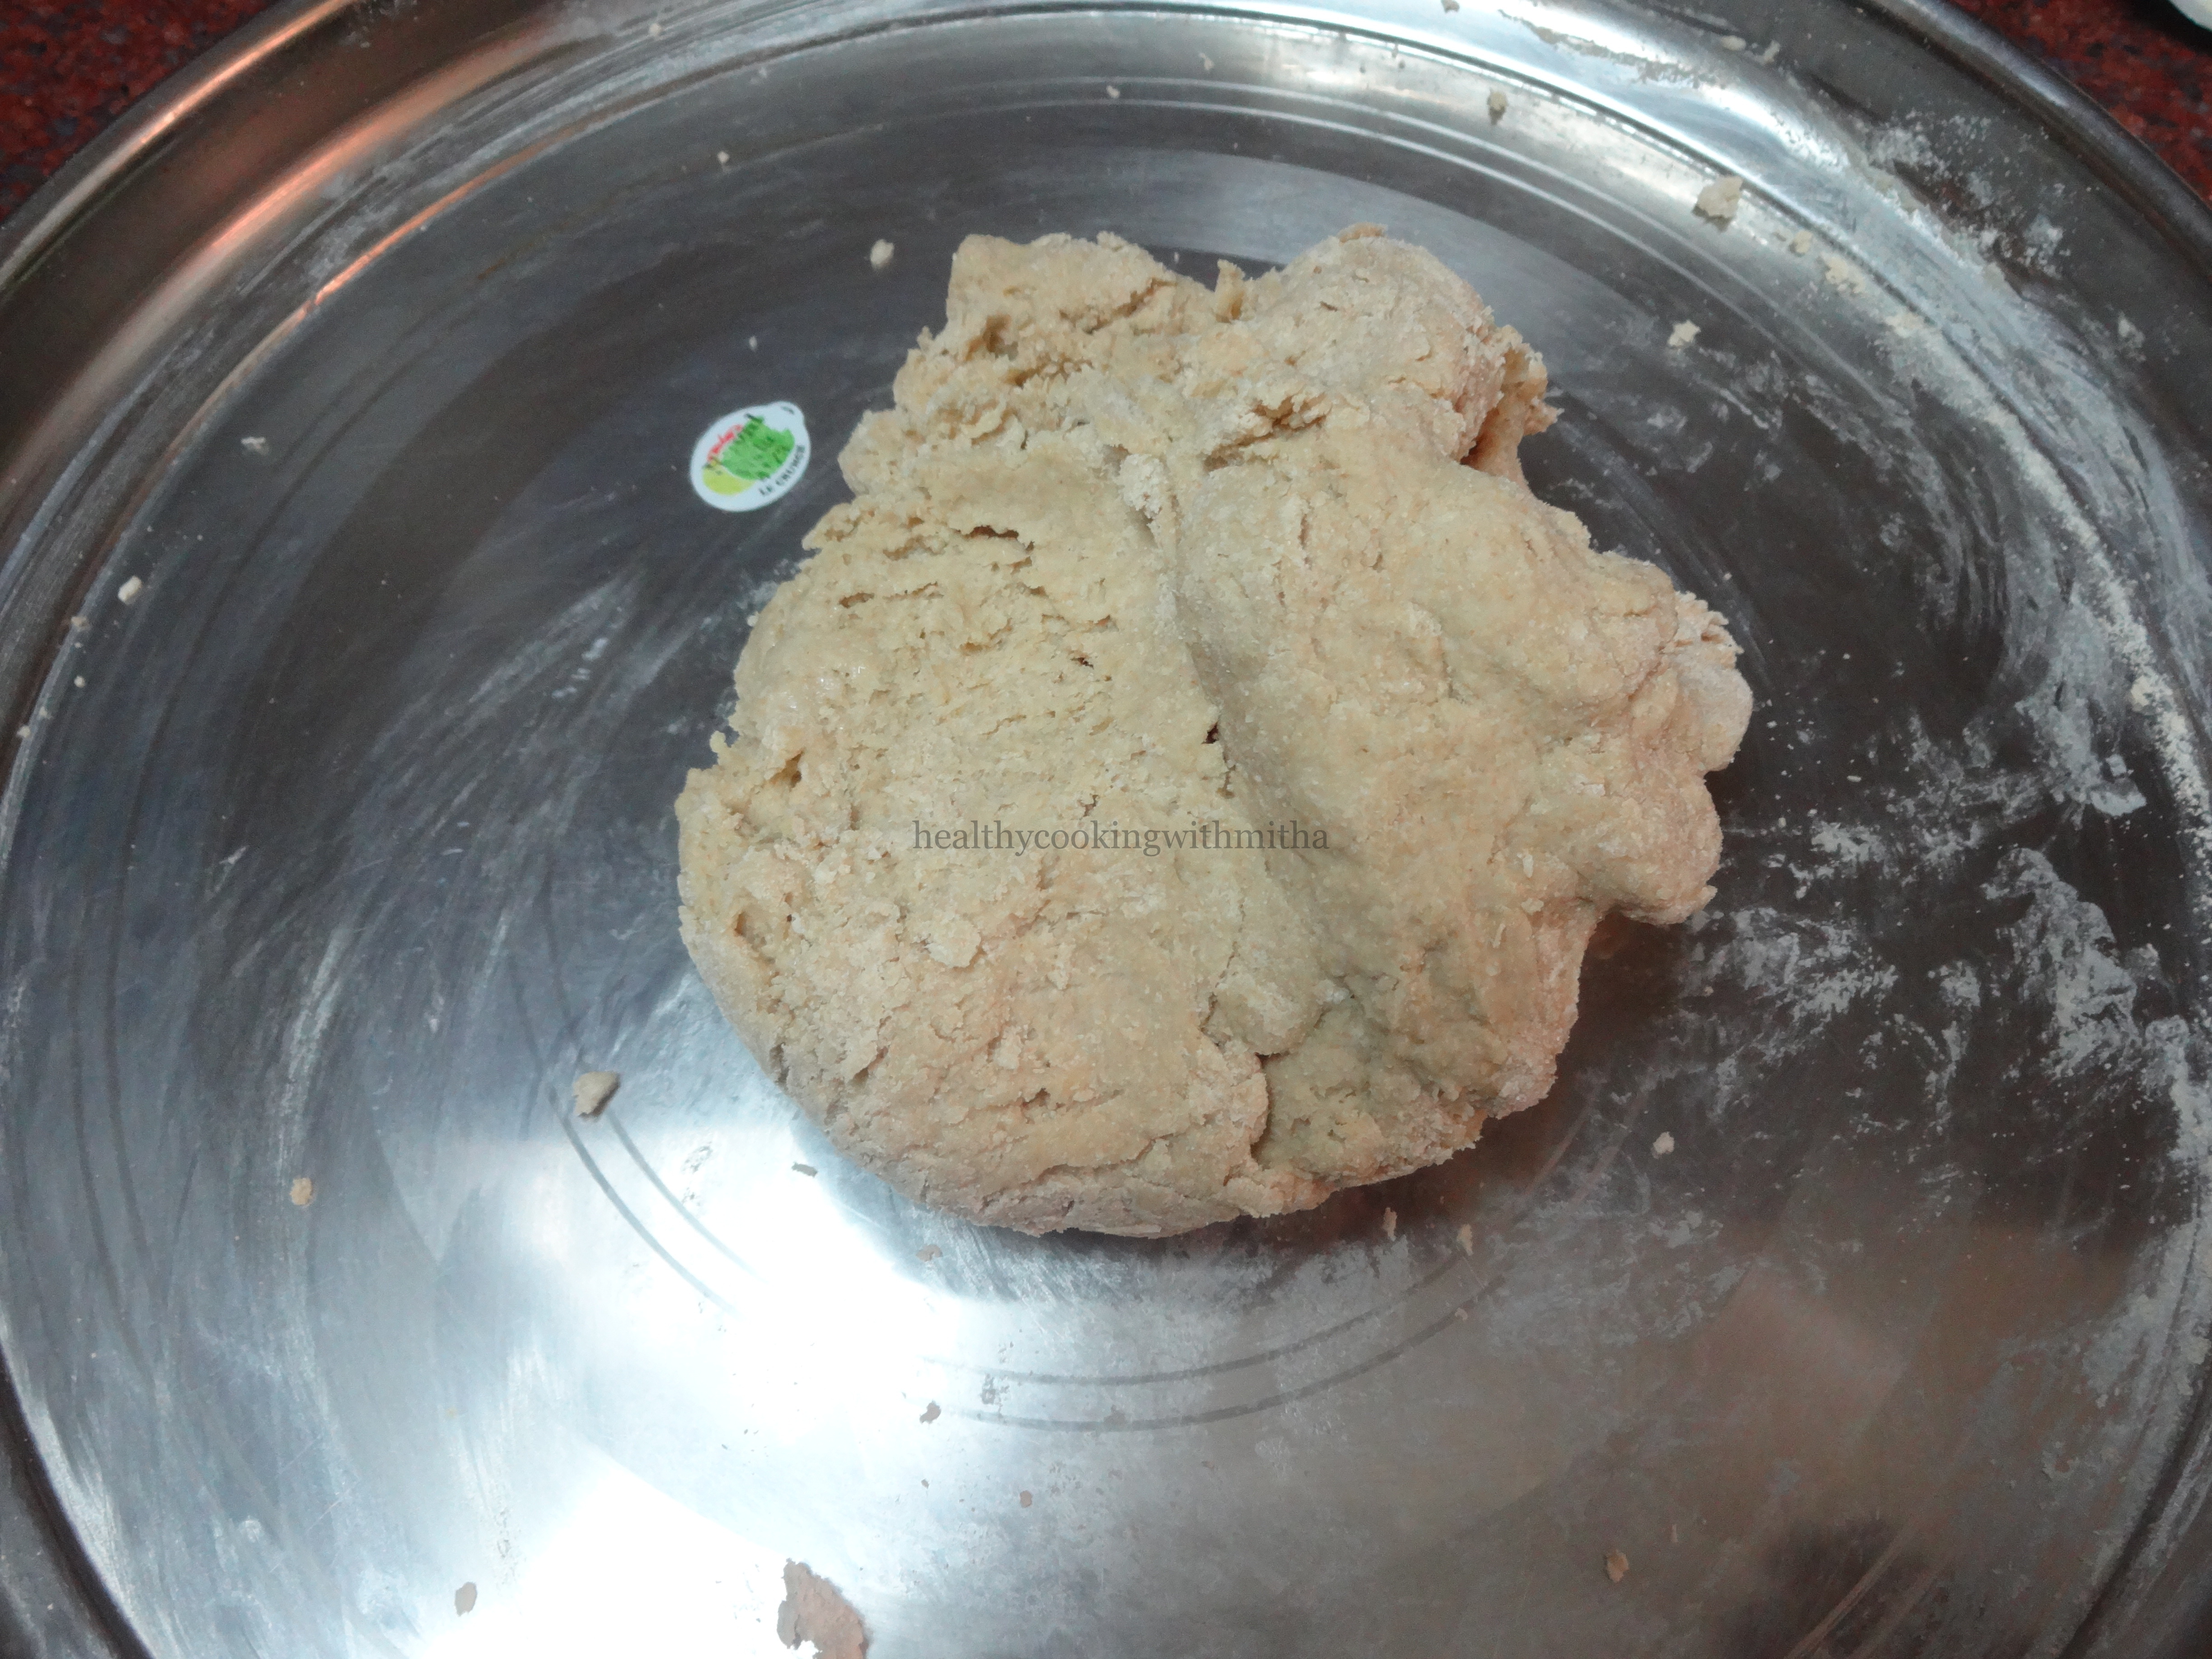
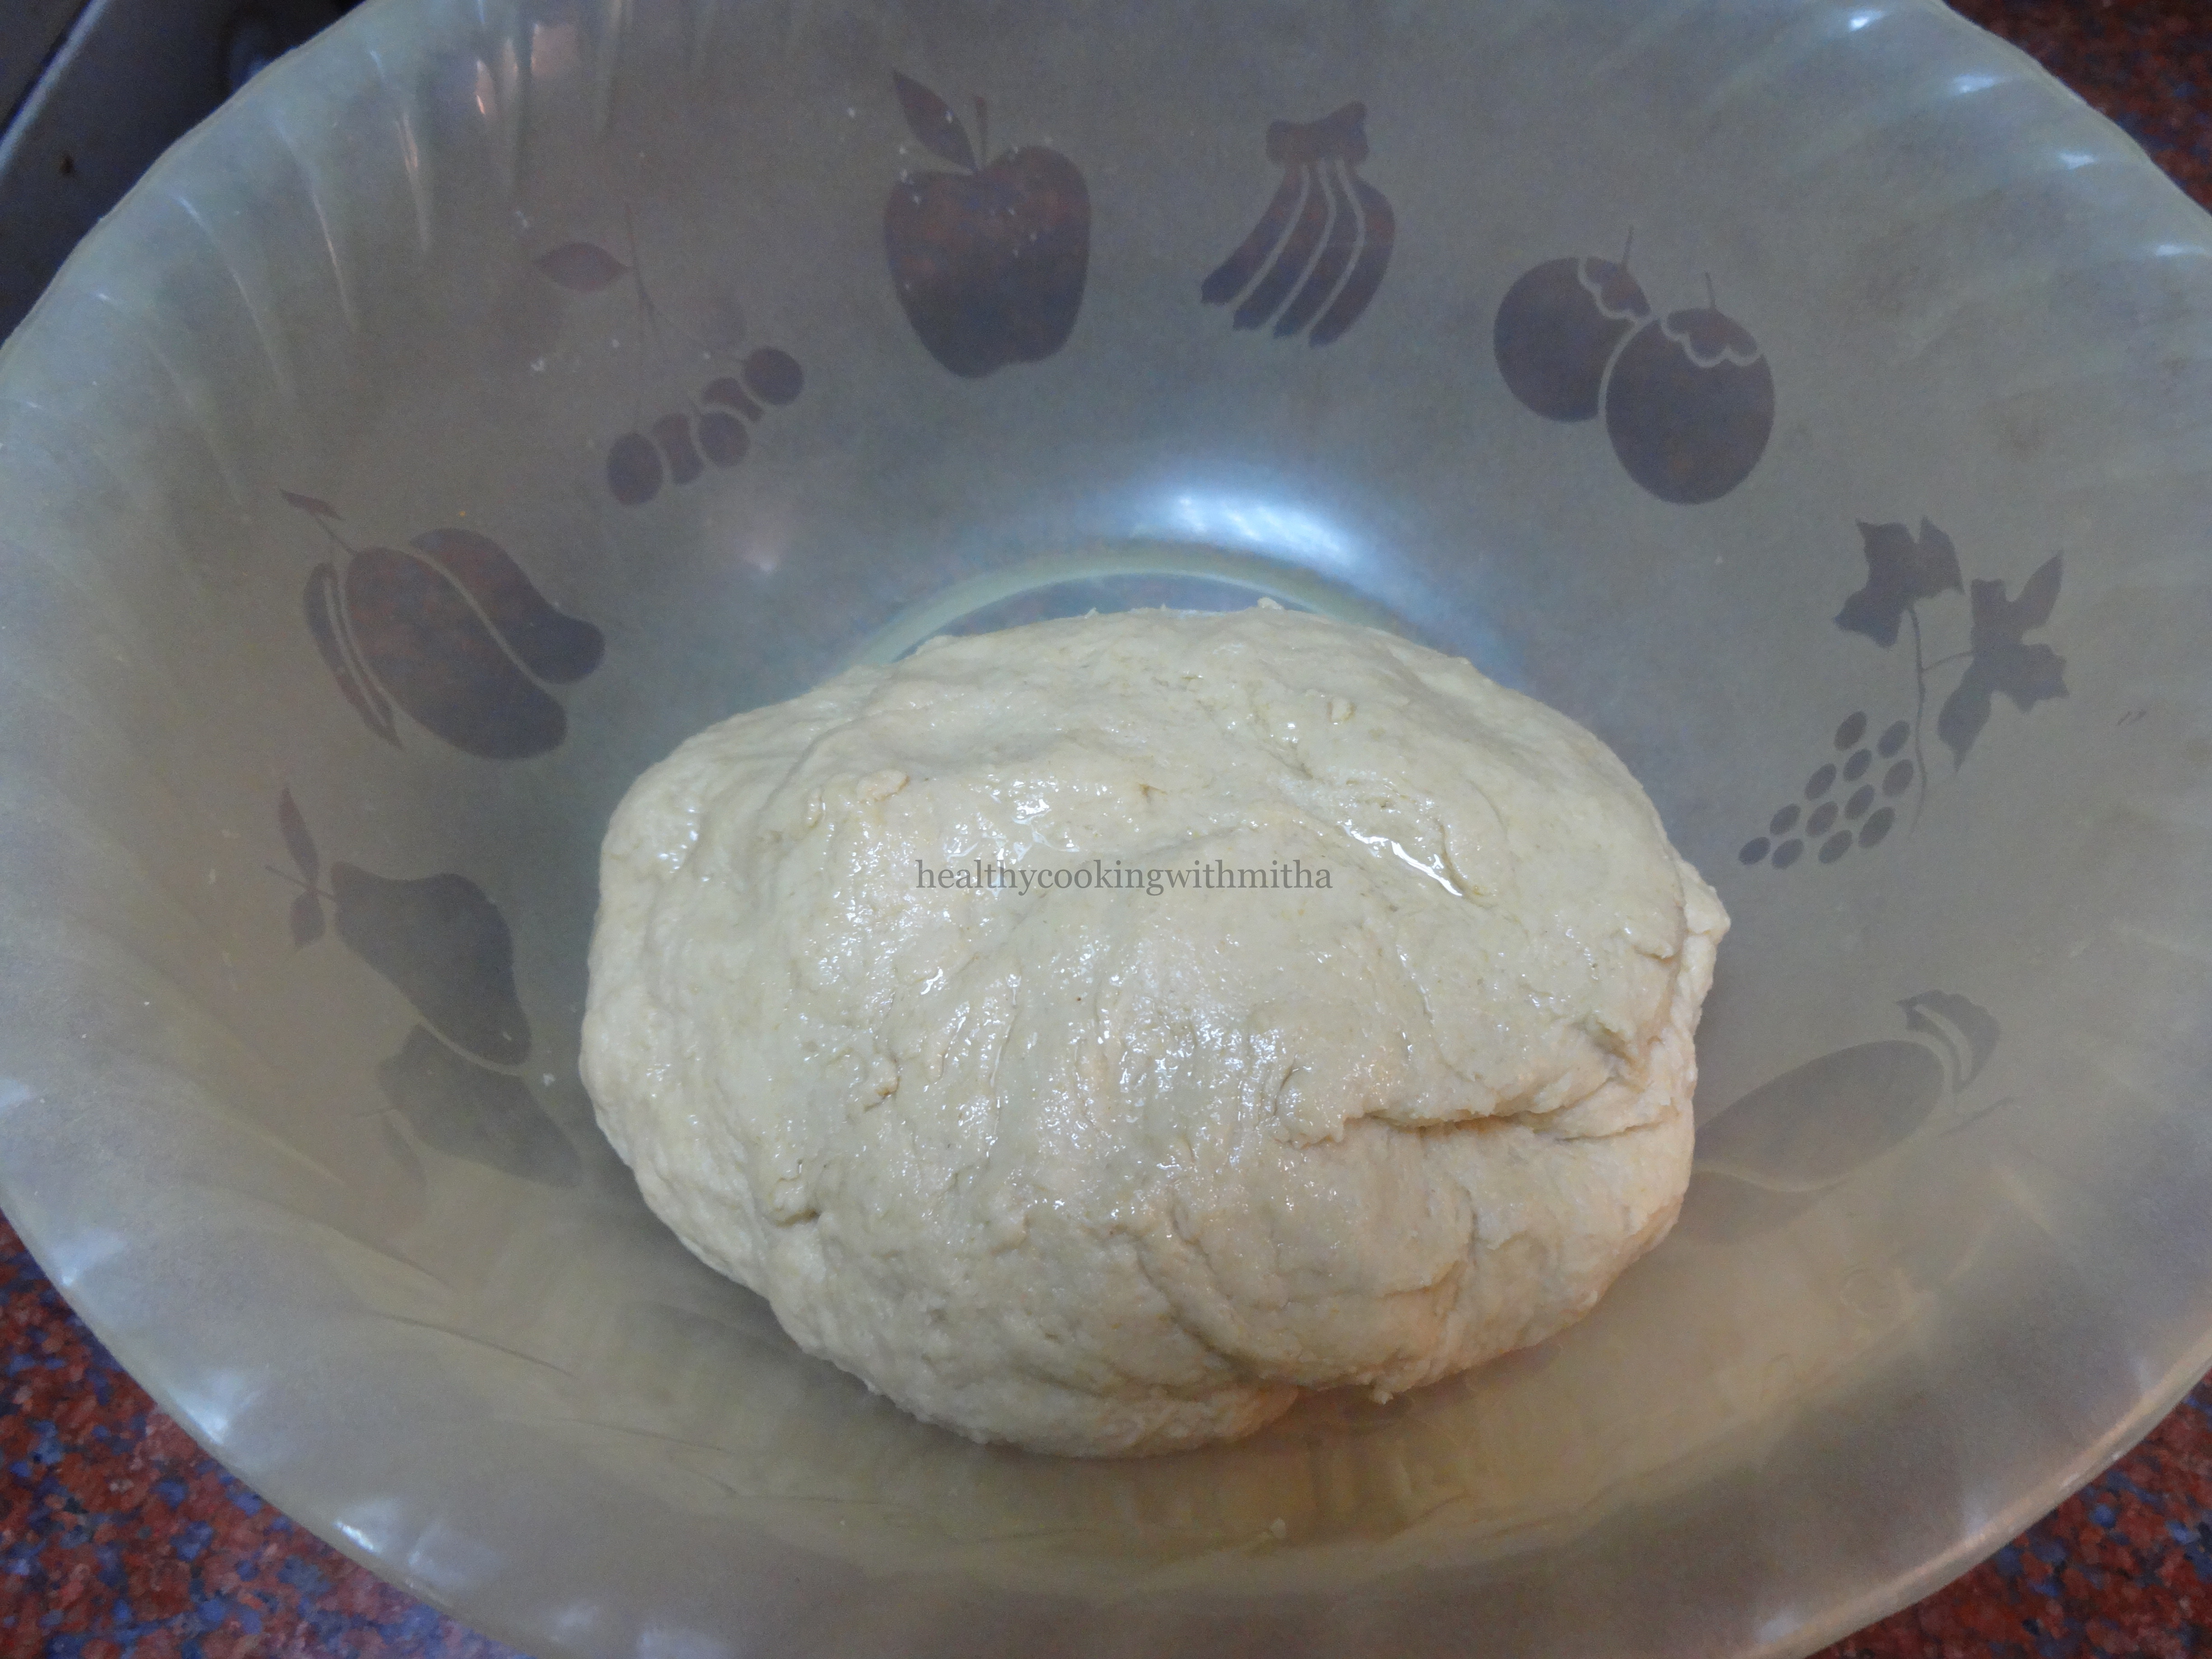
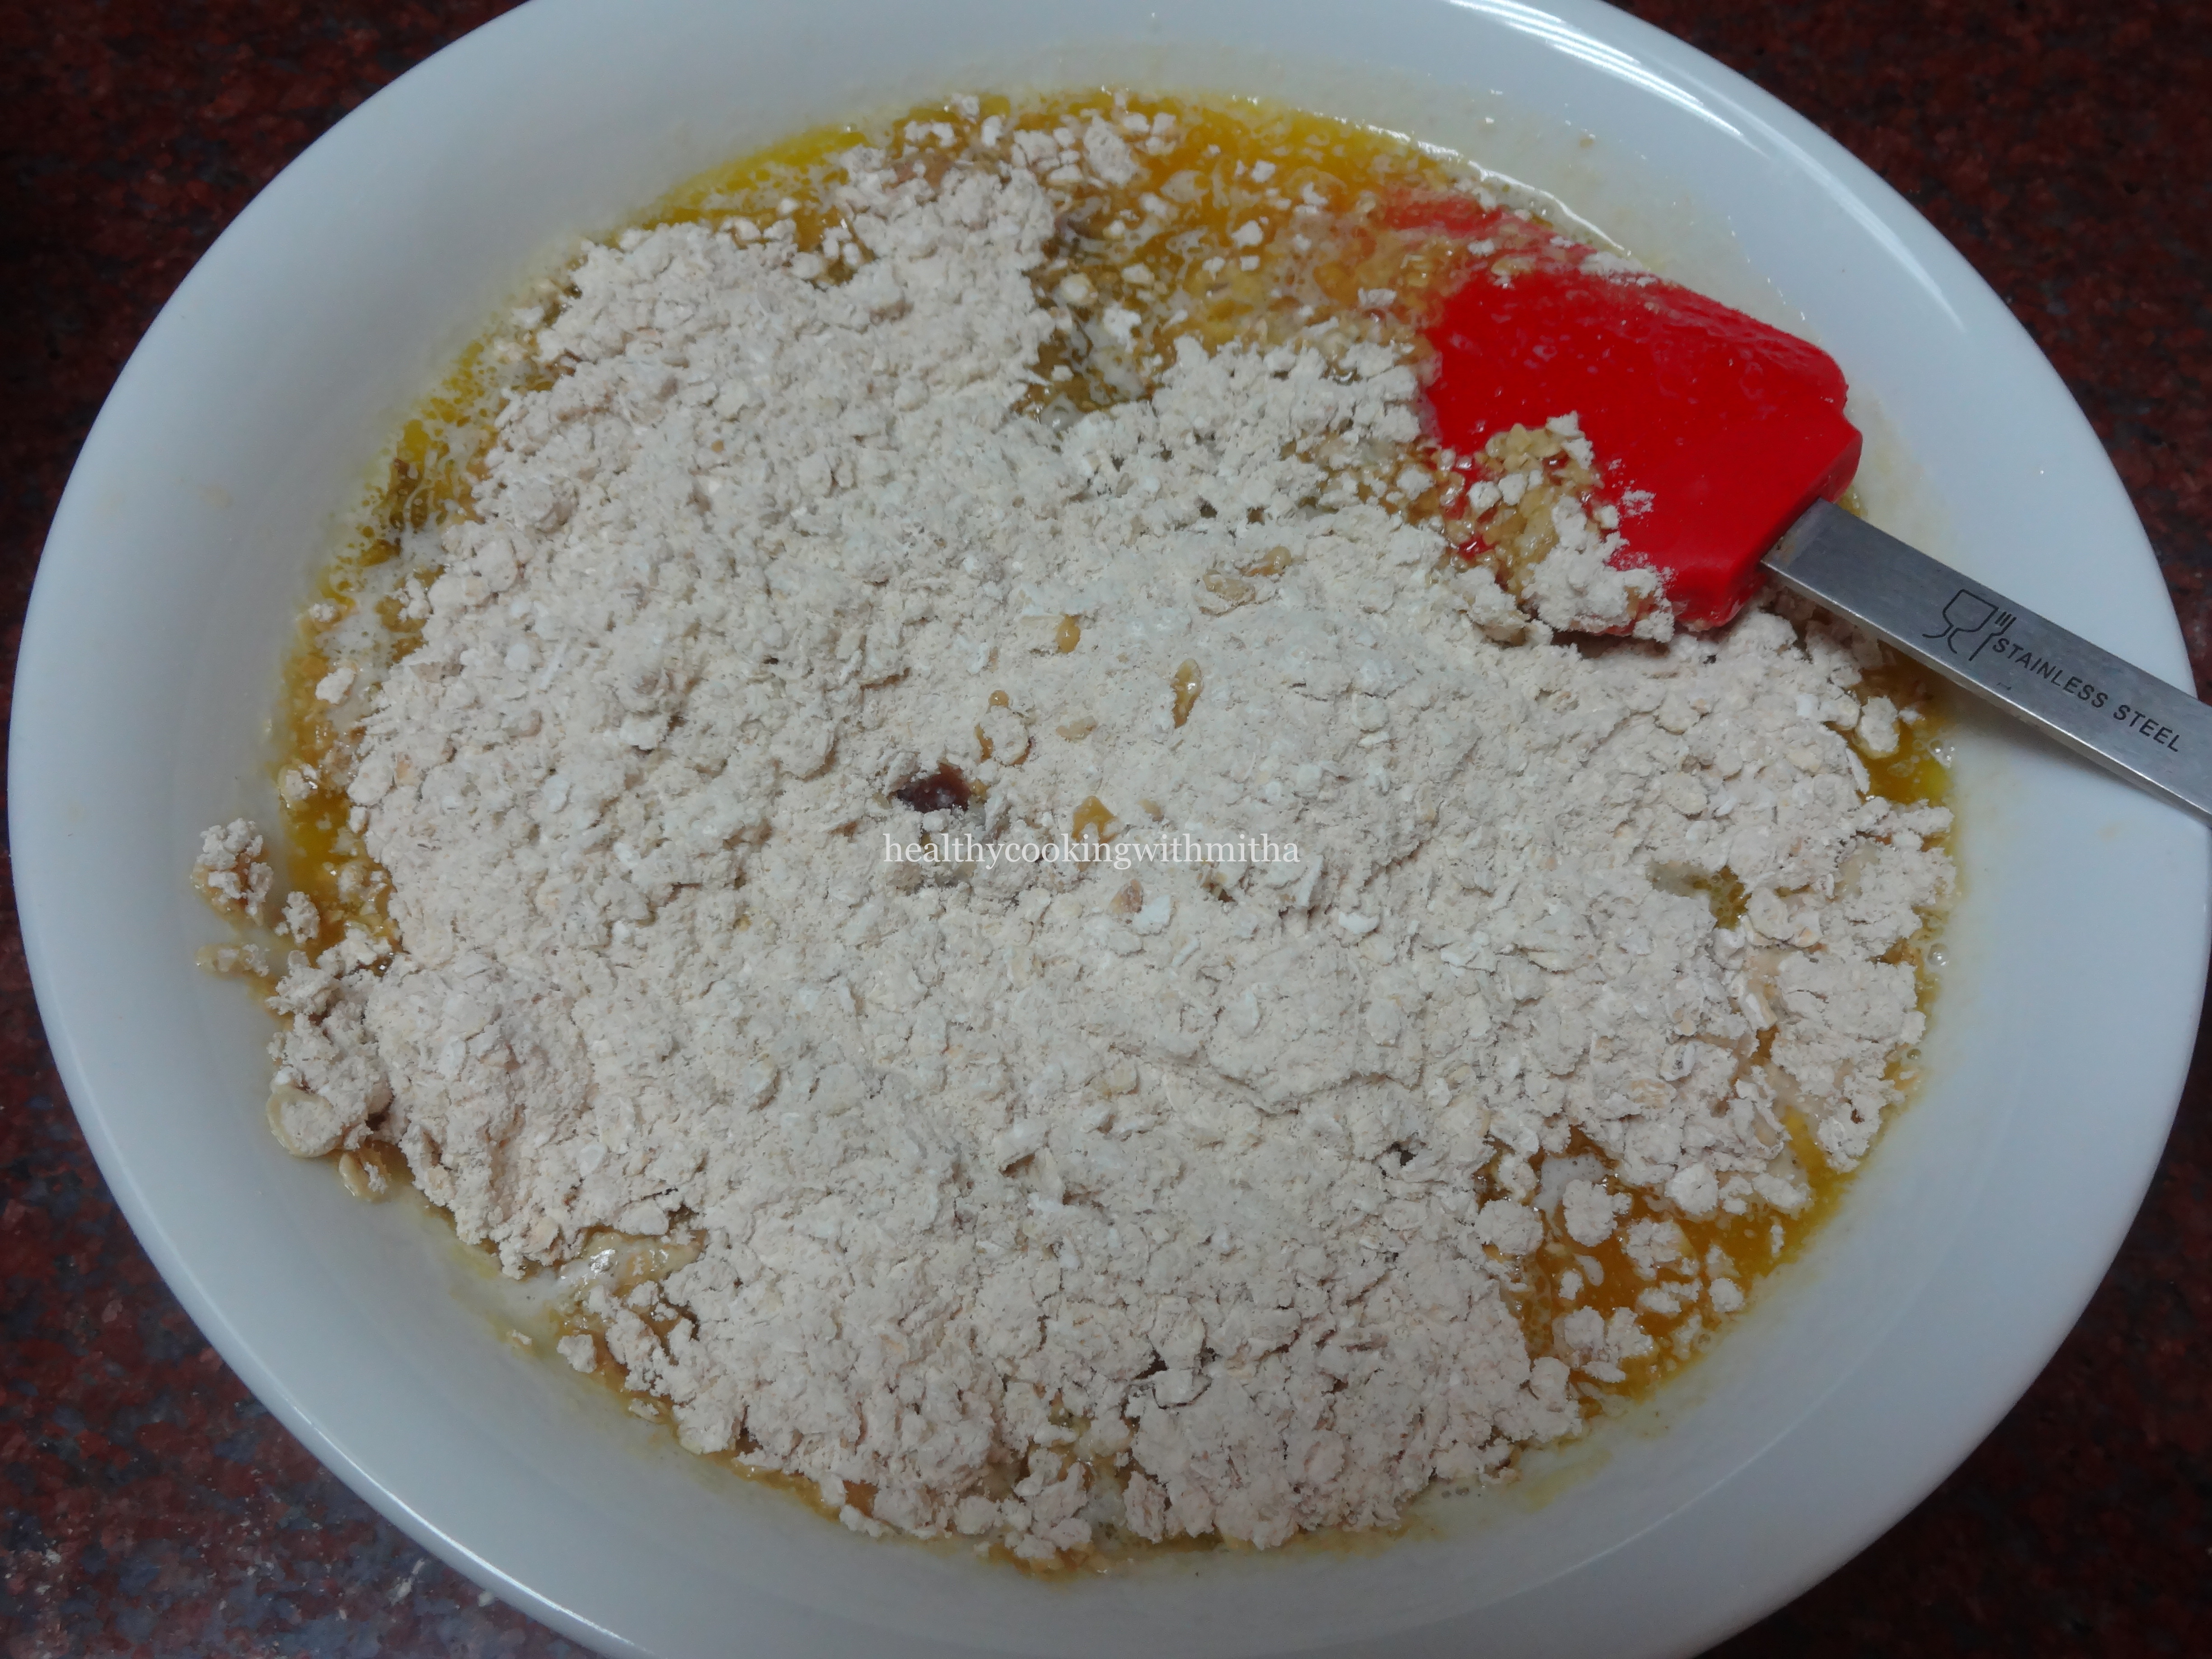
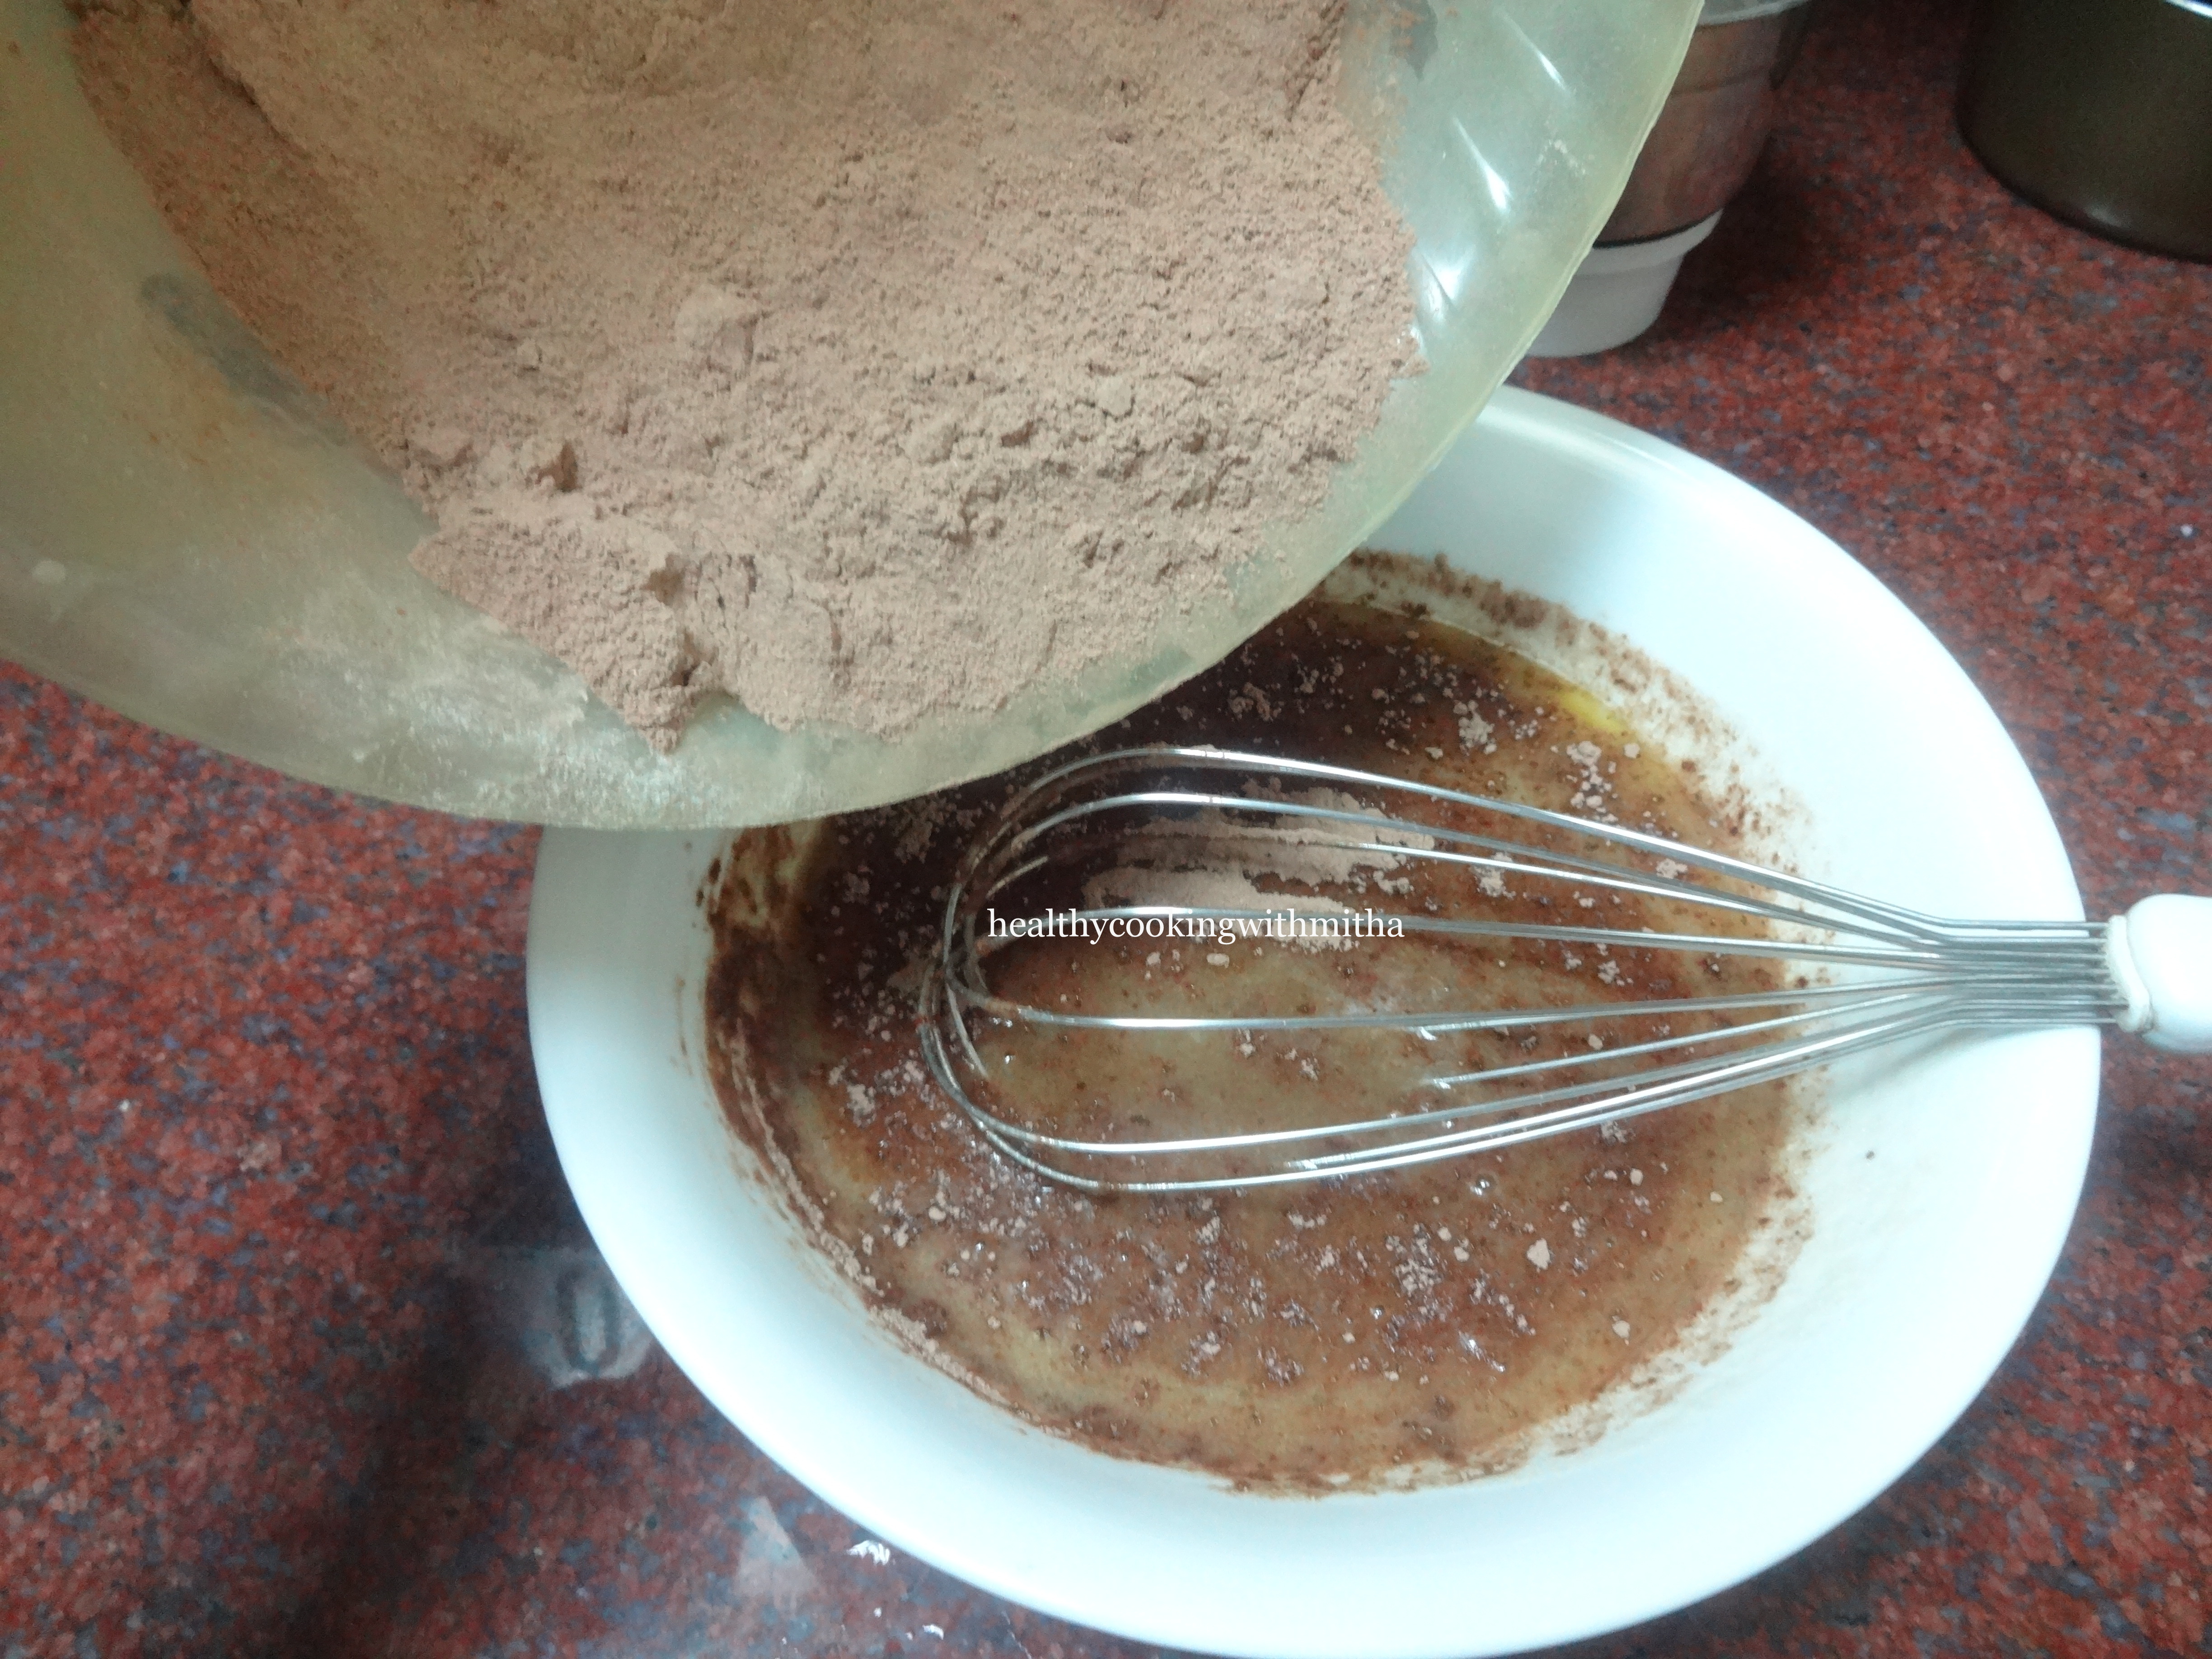
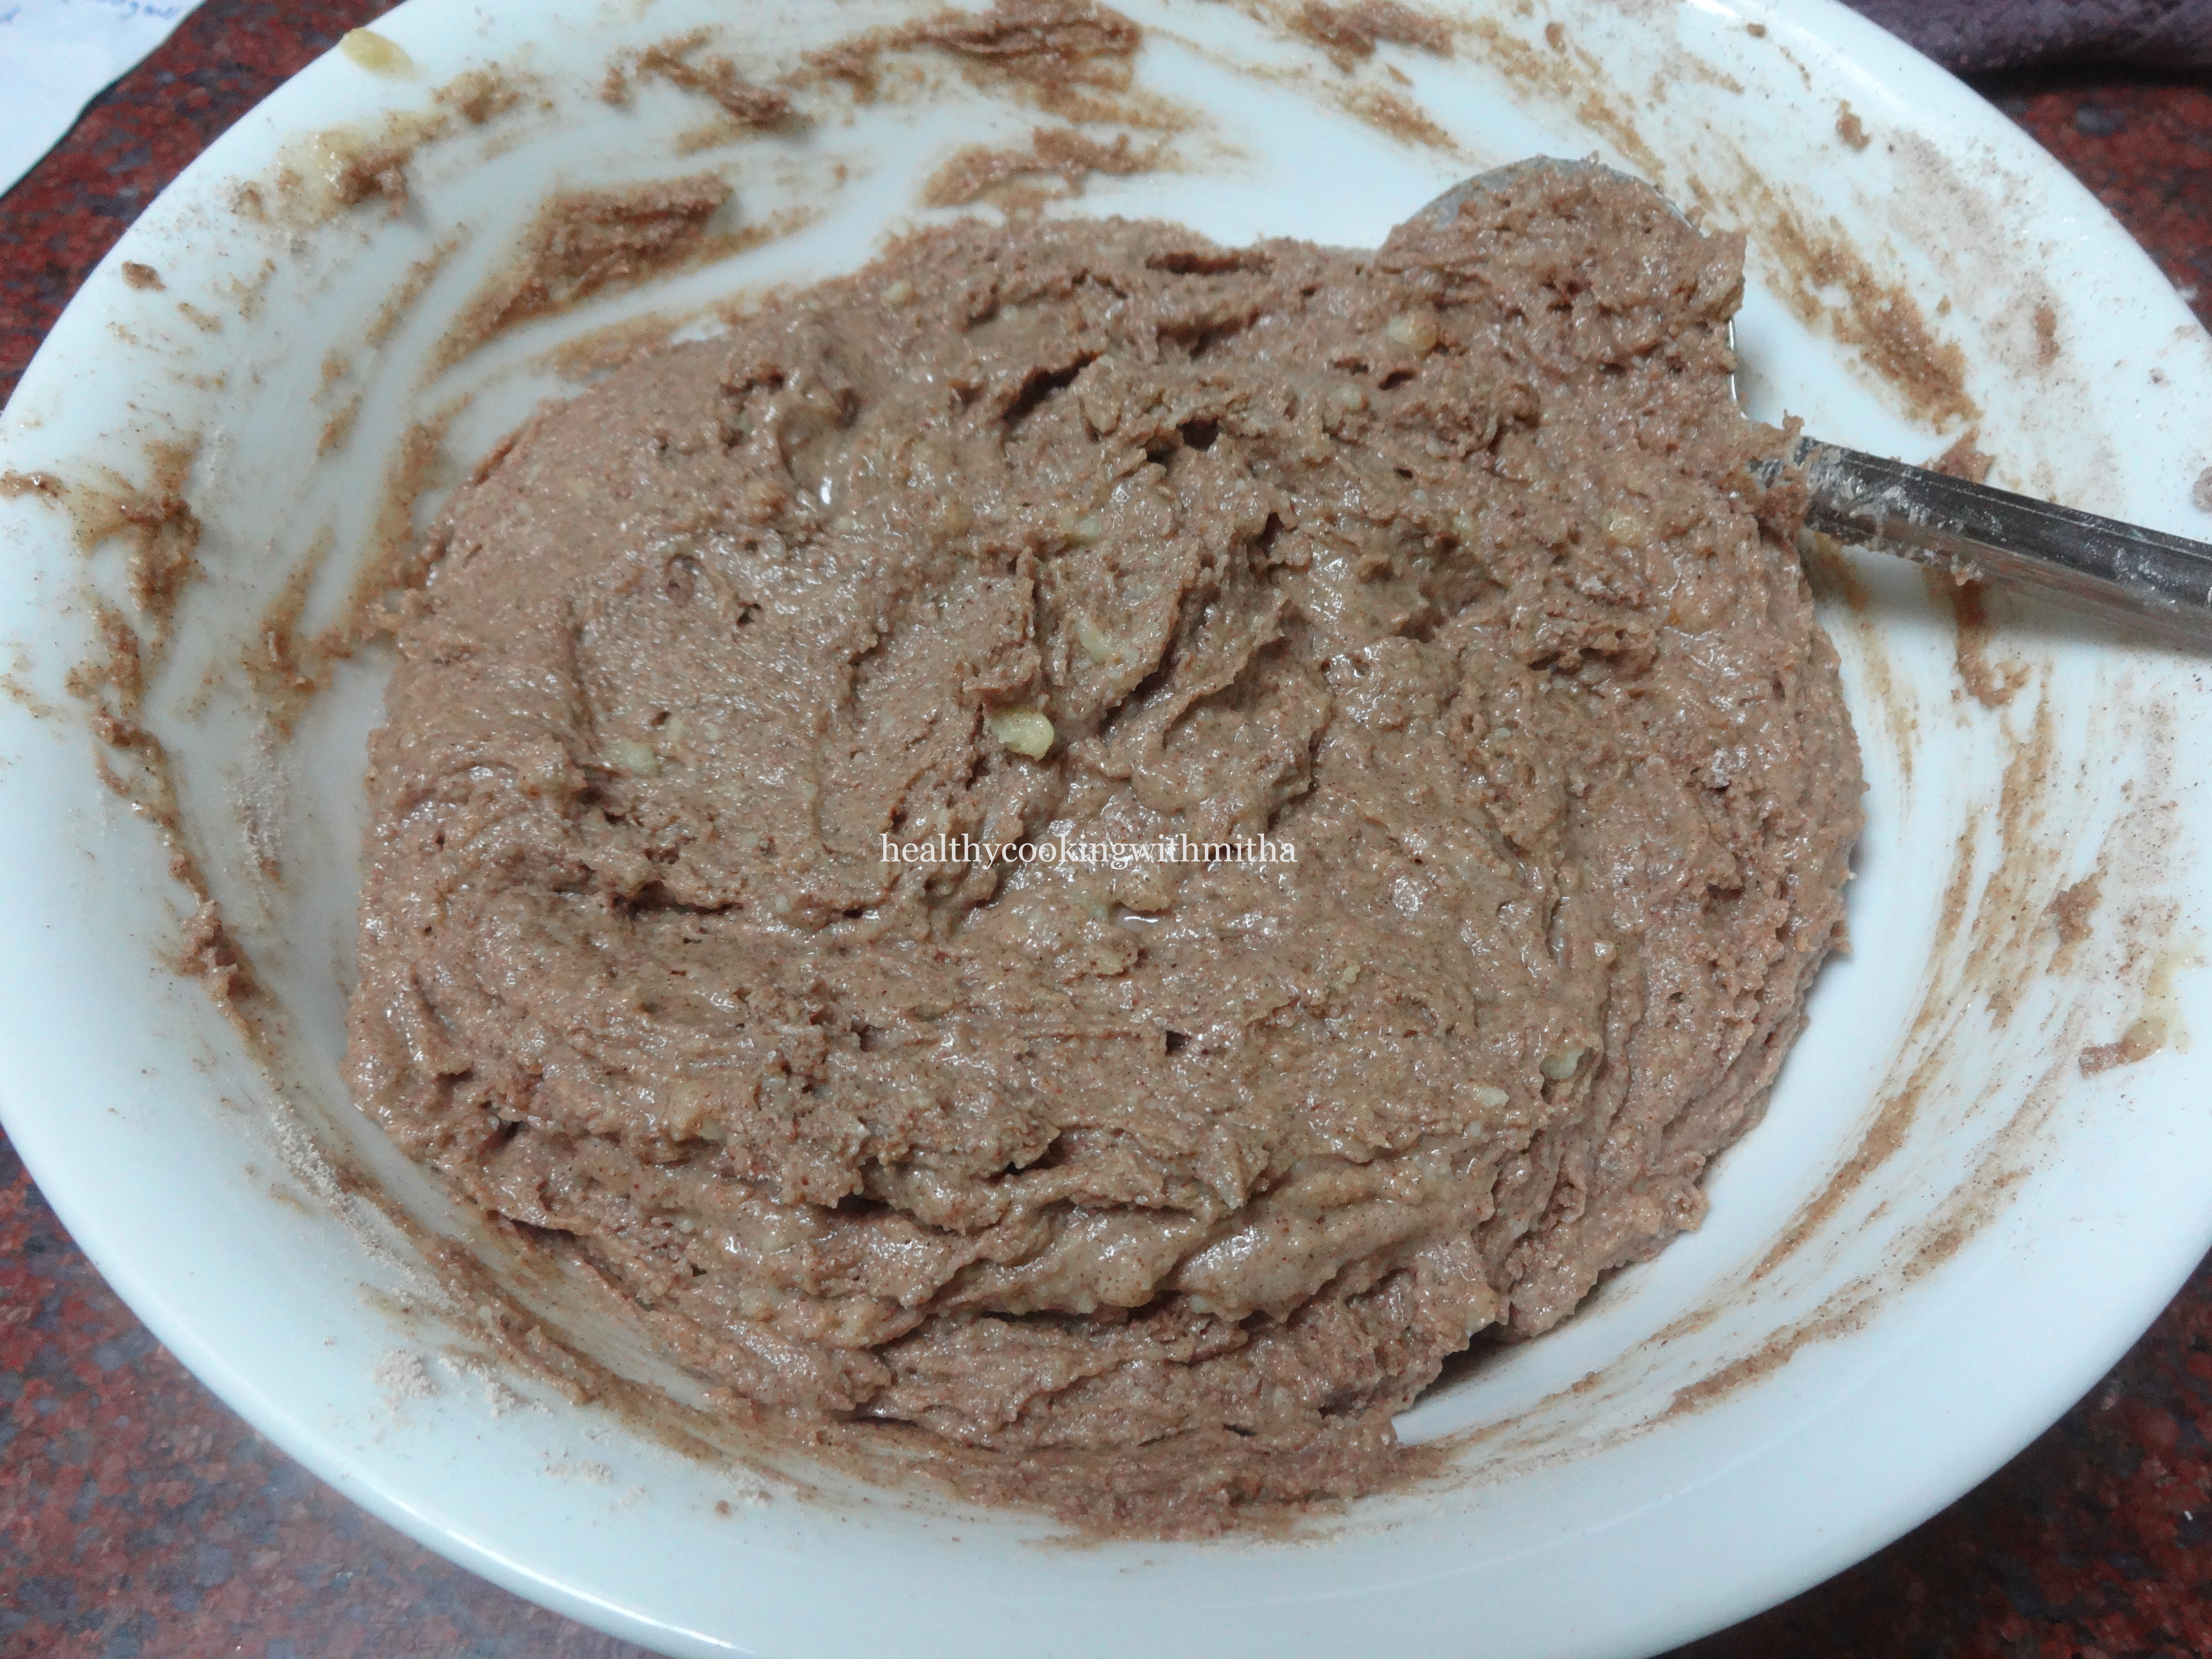
4. Now add the dry ingredients mix to the wet ingredients mix and just combine using the spatula. Do NOT overmix. Just mix till you don’t see any flour specks.

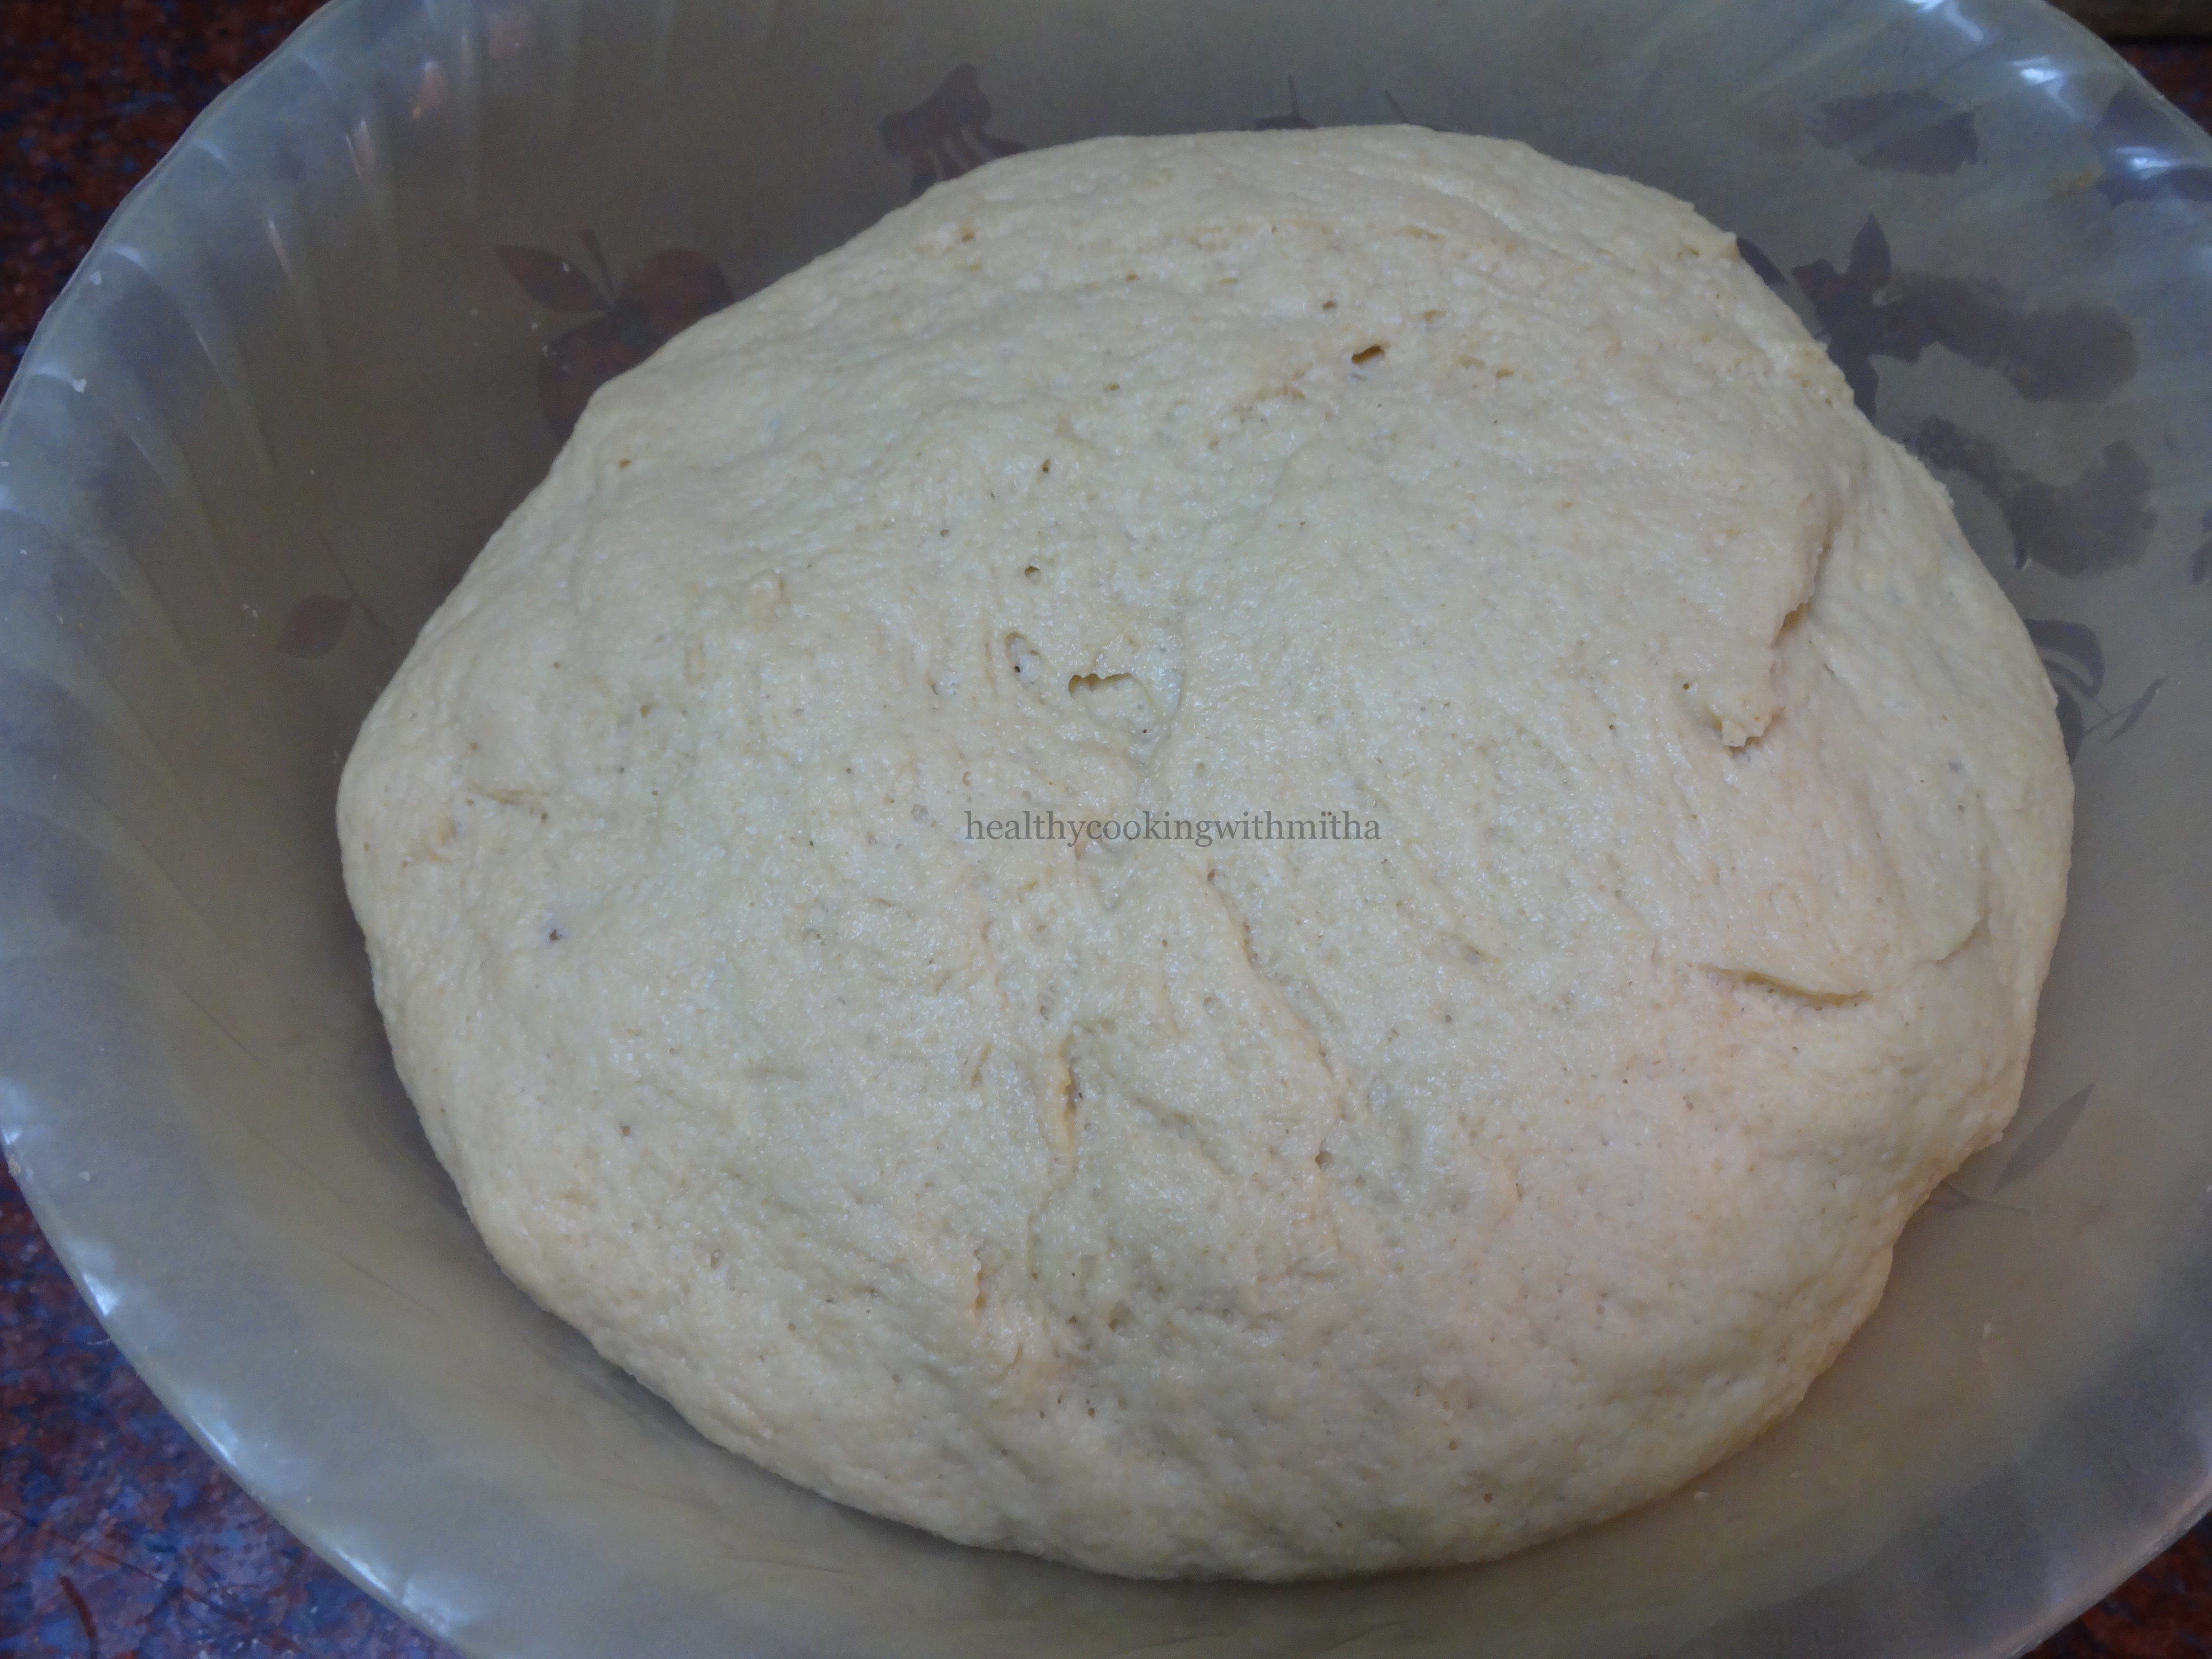
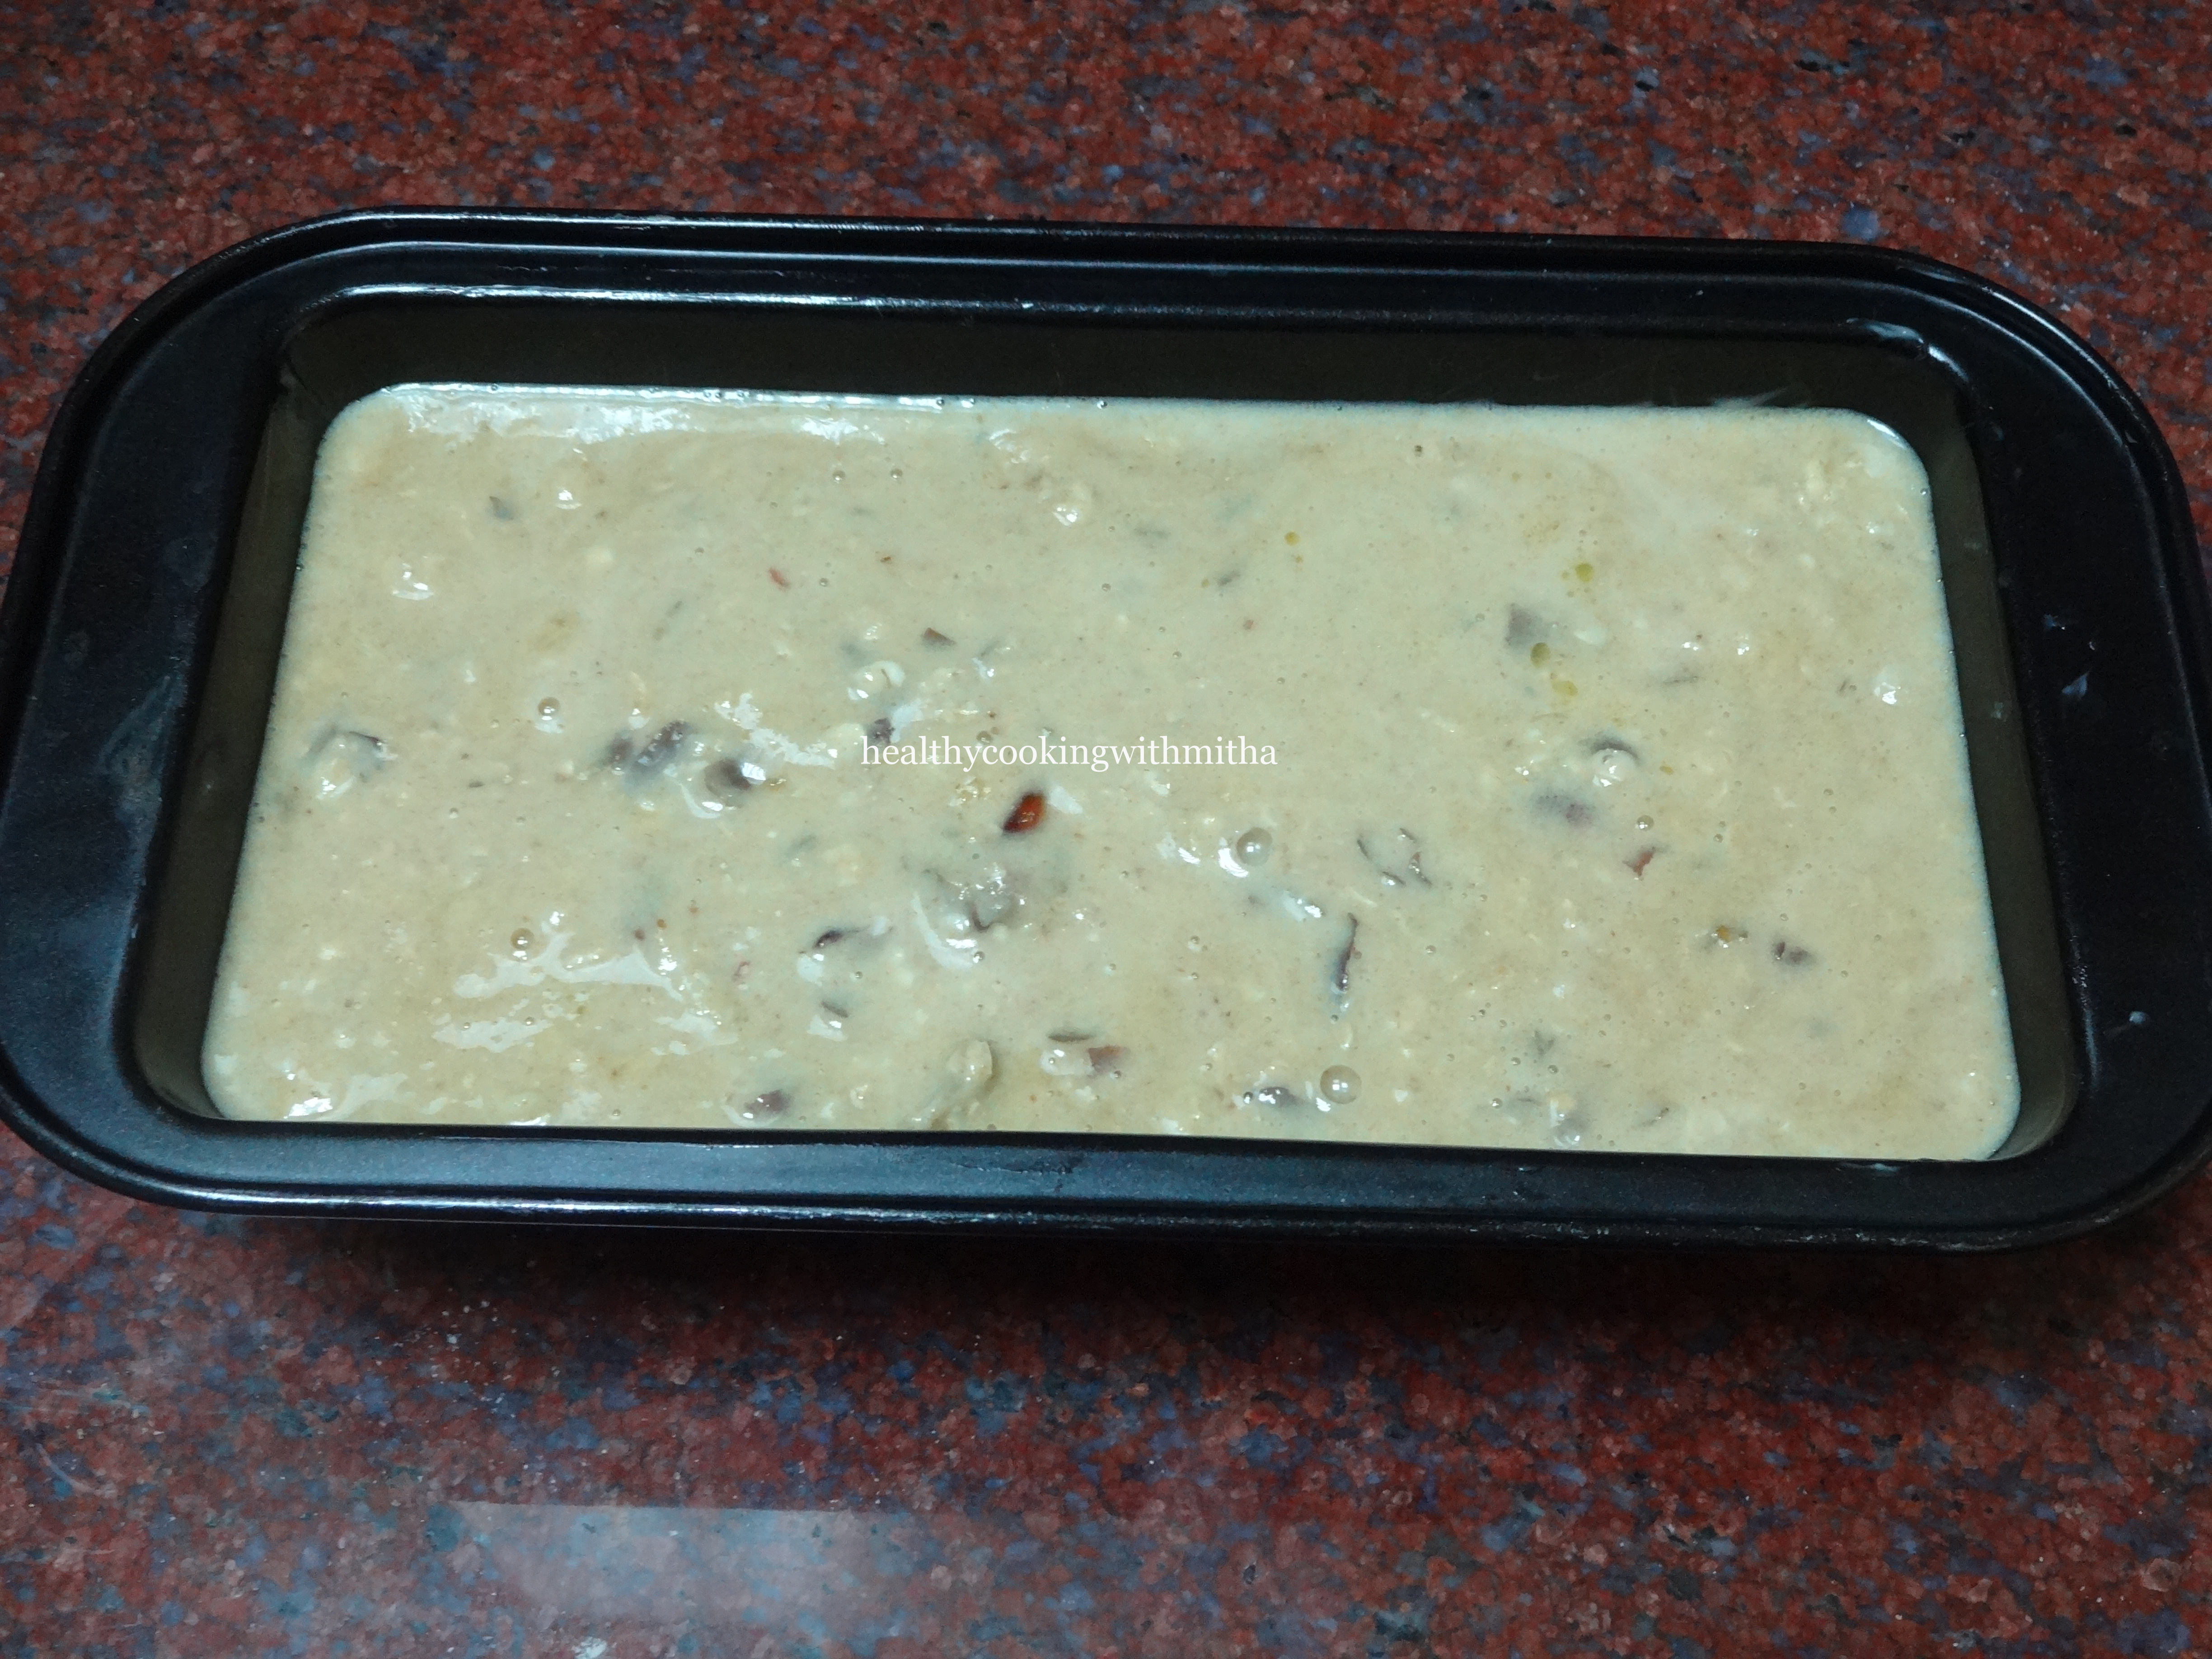
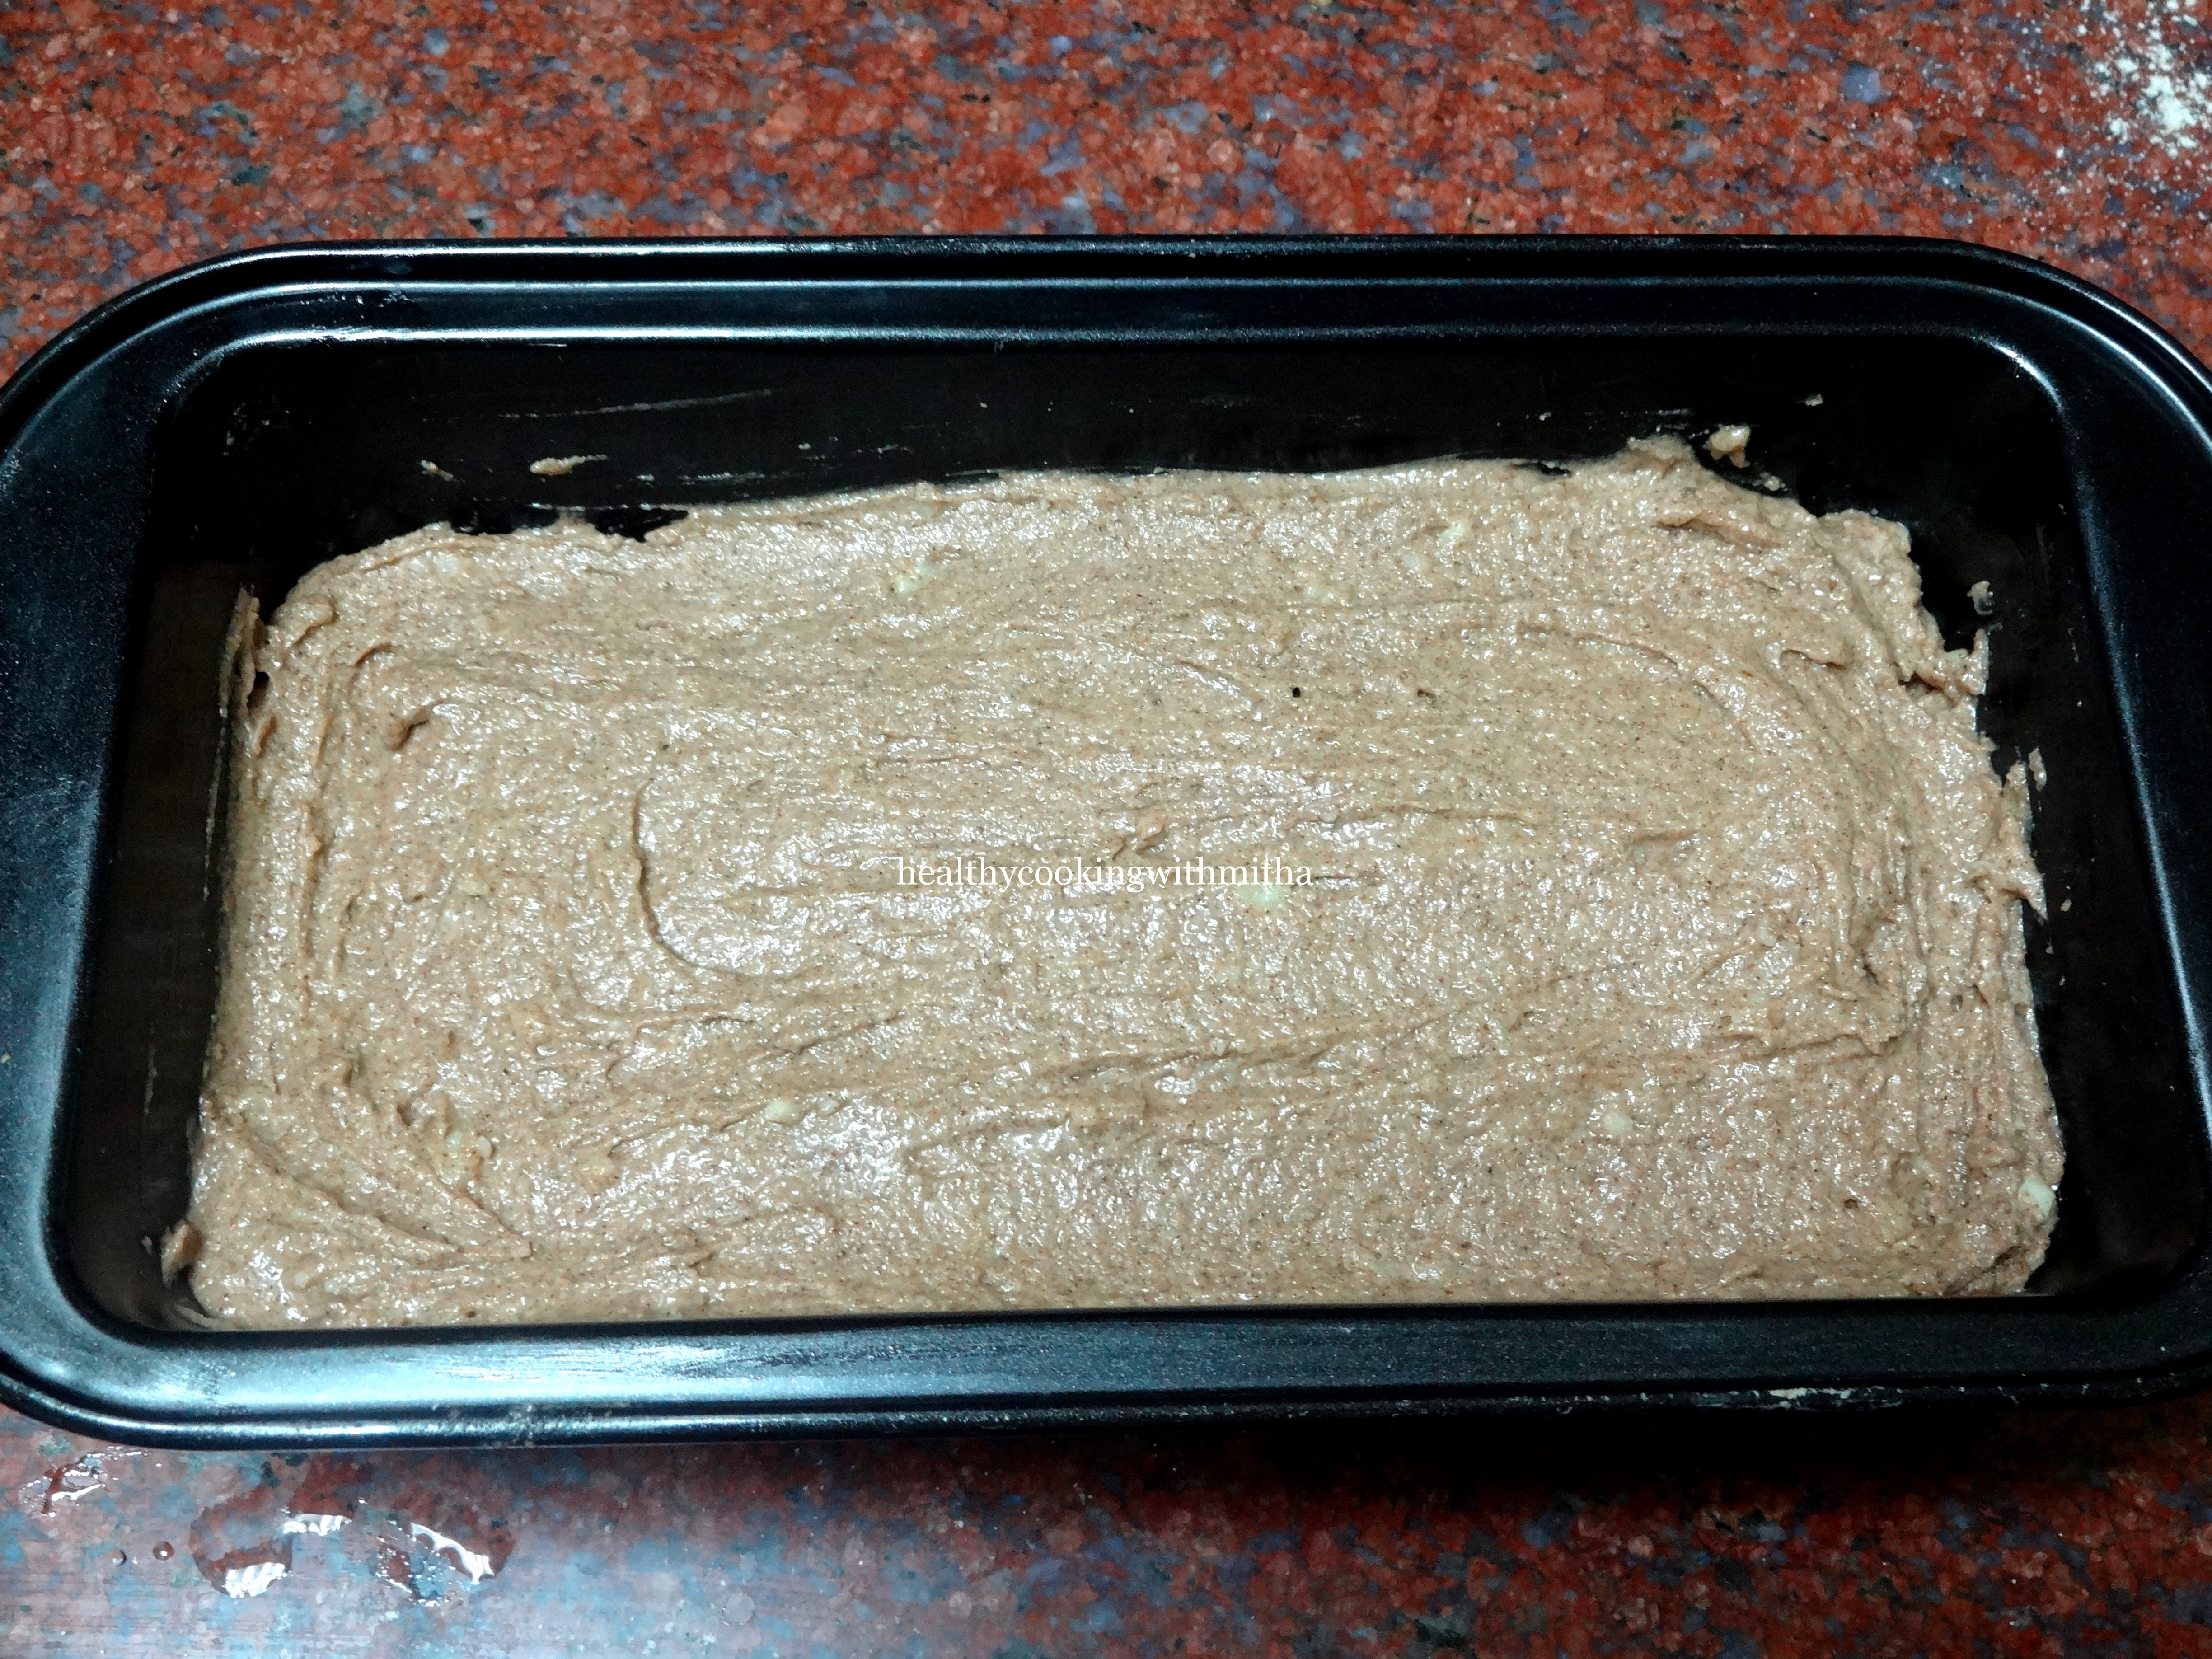
5. Now grease the baking pan well with ghee and pour this mixture into the pan. Level it using the spatula.

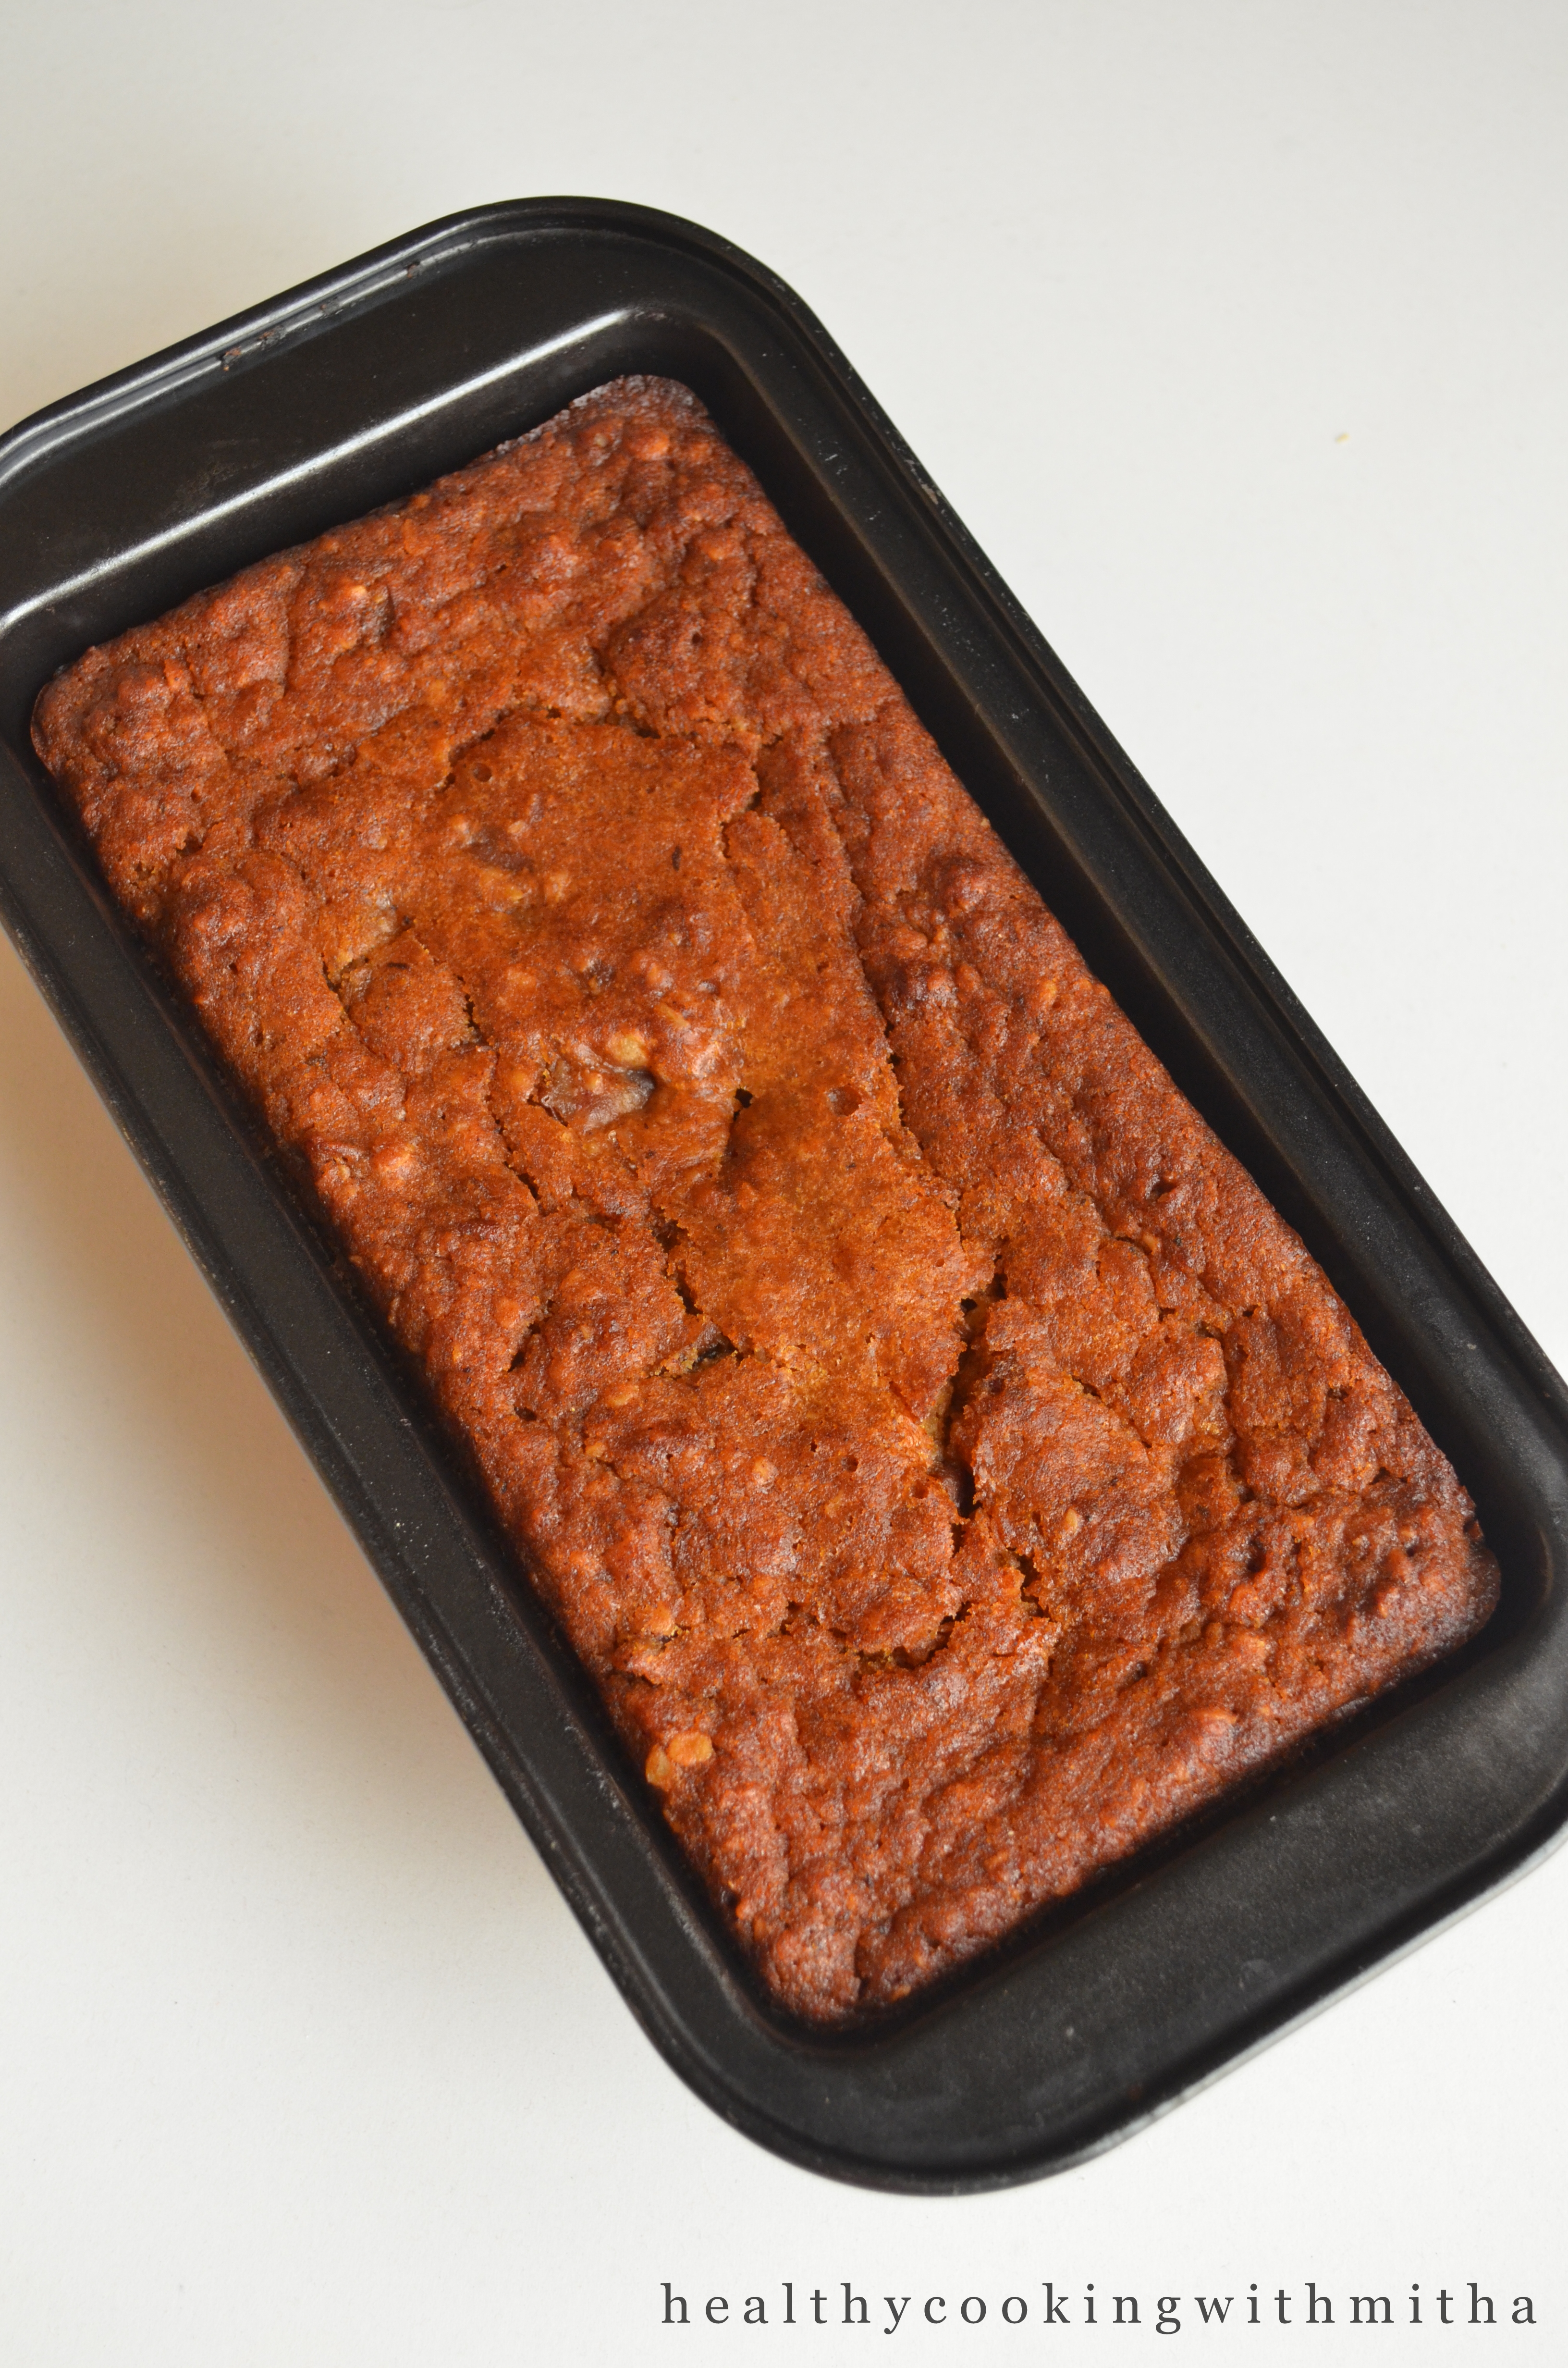
6. Now bake at 180 C for 30 mins or till done in the center rack if using an OTG.

Note: Don’t forget to preheat the oven at 180 C for 10 mins which was the first step.

7. Allow it cool. Invert, slice and serve.

Notes:

* Insert a toothpick or knife in the center to check if the cake is done. If it comes out clear, it’s done. Else bake for 5 mins more or till done.

* If the top has already browned but inside is not done yet, cover with a aluminium foil and bake for the last 5 mins so that the top does not turn hard.

* I have used both fresh and canned Alphonso mango pulp depending on the availability and both work well for this recipe.

* You can replace sugar with cane sugar or fine jaggery powder. I also use it when I have and you won’t know the difference.

* This cake is very moist and soft due to ghee and mango pulp. So you don’t need any frosting or syrup for this cake.

* The proportions for sugar is such that it comes out very sweet. If you are not a sweet loving person, reduce the sugar. We love it this sweet though.

* Lasts well at room temperature for a day. After that if leftover, refrigerate in an airtight container and microwave when serving.

Alu Paratha

In my childhood, if there was something I used to wait from Amma’s special dishes, it was Puri bhaji that she made weekly once for breakfast and this Alu Paratha which was a weekend lunch speciality.

I used to buzz around her like a bee till she made hot hot parathas so lovingly that I can never match her taste in it. Though after marriage, potatoes are not common in my household as husband does not like it (can you believe it?? He hates my favourite potato 😑), he does love these alu parathas gratefully.

So I make them for his lunch box as they stay soft even after many hours along with Mint chutney and they make an amazing combination. Hope you all try these simple alu parathas too. Happy and healthy cooking!

RECIPE:

Ingredients: { makes about 10 parathas}

For the outer dough:

4 Cups of whole wheat flour/ Atta

Salt to taste

Water as required

For the filling:

4 medium sized Potatoes

3 Tbsp freshly grated Coconut

3 Green chillies

2 Tbsp Coriander leaves

1/2 tsp Hing or Asafoetida

Salt to taste

Ghee to cook the parathas

Step by step recipe:

1. Take wheat flour and salt in a bowl. Add water as required and form a smooth dough. Keep aside.

2. Pressure cook potatoes till they turn soft but don’t overcook them as it can lead them to leave water and will be difficult to stuff inside. Remove them and allow them to cool.

Note: I usually pressure cook for 4 whistles on my electric stovetop. May vary for gas tops.

3. After they cool down, peel and mash the potatoes well with a masher. Add coconut, green chillies, coriander leaves, hing and salt.

4. Mix well and keep aside.

5. When making parathas, divide both the doughs into equal portions.

Note: Keep the wheat flour dough size bigger than the filling so that you can roll easily.

6. Keep the pan to heat on the flame. Dip the wheat dough in dry wheat flour and roll into a small round shape as shown. Place the filling inside.

7. Close the dough from all sides and seal.

8. Dip again in dry wheat flour and roll as thin as you can.

9. Place this on the hot tawa and fry both sides using ghee.

Notes:

* Be careful while cooking the potatoes and if it does leave water and turn extra soft, add little oats for the mashed potatoes to absorb water. I do it too and you won’t know the difference.

* This tastes very simple but delicious especially those who love hing flavour.

* We love it curd or Mint chutney.

Vastad rotti | Wheat Banana flatbread

Click on the image to save the recipe on Pinterest

I am sure if you are checking this recipe, it must be either due to the amazement of the unique name “Vastad rotti” or have savoured this delicious snack made by your grandmother and just wish to recreate it in your kitchen.

Anyhow for all of you, Vastad rotti is nothing but tava fried version of the famous Mangalore Buns. My grandmother made these rottis as evening snack when she did not want to deep fry the leftover buns dough again. They tasted so delicious that I loved it more than buns itself.

After marriage, when I tried it for the first time, my husband did not know about it but to my amazement, he too loved it very much. So now whenever there are leftover bananas, he asks me make these rottis. In fact, sometimes he brings bananas only for this. Such is the love for these cute small Vastad rottis. 😍

Hope you all try and love it too. Happy and healthy cooking! ♥️

RECIPE:

Ingredients:

3 Cups Wheat flour (or as required)

1 Cup mashed bananas

1/2 Cup Curd or Yogurt

1/4 Cup Powdered Jaggery or Sugar

2 Tbsp Besan/ chickpea flour

1 tsp Cumin seeds/ Jeera

A pinch of pepper powder

Salt to taste

1/2 tsp Baking soda (optional)* check notes

Step by step recipe:

1. Take mashed bananas in a large bowl. Add besan, jaggery or sugar, cumin seeds, pepper powder, salt and baking soda ( if adding).

This is an old picture. I add powdered jaggery now.

2. Add curd and mix well using a spatula.

3. Now slowly add wheat flour 1 Cup at a time and keep mixing till it forms a dough. Knead with hands lightly.

4. Coat the dough with oil and cover and keep overnight or for 6 to 8 hours to ferment at room temperature in a warm place.

5. When making vastad rottis, make equal portions of the dough.

6. Roll like you roll out puri into a thick circle. Use dry flour if needed.

7. Heat a tawa and place the rolled roti on it. Look at it puff up and form tiny bubbles on the surface.

8. Add ghee. Flip and cook the other side too.

9. Serve hot with chutney or dalitoy ( Konkani style dal).

Notes:

* Actually the measurements of this recipe can vary a lot depending on the variety of bananas, water content in curd and quality of wheat flour. So please go with the step by step recipe and follow accordingly.

* You can also make with leftover bananas even if you have only couple of them. Not necessarily 1 Cup mashed bananas are required.

* Add curd along with other ingredients and see how much wheat flour is needed to get it to form a dough.

* Please do not add water while forming this dough. The moisture should come only from bananas and curd.

* I skip baking soda sometimes and even though there is a difference in texture, taste is almost the same. With baking soda, the texture is flaky like a paratha and without it, the texture is like a thick chapati.

* After fermentation of the dough, the dough might leave water and turn very sticky. Just add more wheat flour and form a manageable dough.

* Roll the dough into a thick circle and cook well on medium flame. On high flame, the rotis can turn black due to the presence of bananas in it.

* You can use powdered jaggery or sugar in the dough. Does not make much difference.

Other Konkani breakfast recipes that you can try:

Urad Moong dal Idli | No rice idli

Urad Rava Idli | No rice idli

Batat Phovu

Kobi Pohe | No onion Pohe with cabbage

Chane Usli – Godu Phovu

Muga Dali usli| seasoned moong dal

Idli Usli | seasoned leftover idlis

Pejje polo | cumin flavoured dosa

Surnali | Sweet and spongy dosa

Magge Surnali | using Mangalore cucumber

Horsegram Idli

Instant Cucumber idlis | Thoushe mudho

Instant Cucumber Bhakri

Instant Rava bhakri

Undi with Piyava Gojju

Kharbas dosa

Mushti polo

Click on the image to save the recipe on Pinterest

Whole wheat bread / Atta bread

Click on the image to save the recipe on Pinterest

My journey with bread baking started many years ago and after numerous trials, I am happy to say that I can now bake a perfect whole wheat bread. My kids love this bread and prefer it anyday over store bought ones even though it’s been long we have not bought our bread. I bake it freshly when needed and it’s not difficult too.

Just a matter of practice and following the steps well. This recipe has been most requested for by my readers and I am very happy that finally it is ready to share with all of you.

As always, do let me know if you have any doubts and it would be my pleasure to help. Happy baking!

RECIPE:

Ingredients:

3 Cups whole wheat flour/ Atta (I usually use Pillsbury brand)

1 to 1 1/2 Cups water (depending on the brand of atta)

2 tsp Instant yeast

1 tsp Salt

2 tsp Jaggery/ Brown sugar/ regular sugar

2 Tbsp Yogurt or thick curd

3 Tbsp Ghee (plus 1 Tbsp to coat the dough before rise)

Little milk to brush the dough before baking

Little butter to brush the dough after baking

Step by step recipe:

1. Take 3 Cups of wheat flour. Add instant yeast, sugar, salt, yogurt and ghee.

2. Mix well using a spatula or hands.

3. Add water and knead well. The dough should be very sticky. Now knead for 8 to 10 mins till it becomes a smooth dough as shown.

4. Coat the dough with ghee or oil and keep covered for 1 hour in a warm place or till it has doubled in size.

5. Now after it has doubled, put the dough in a loaf pan and level the surface as shown.

6. Again keep for about 45 mins to one hour till the dough raises above the rim of the loaf pan as shown.

7. Now brush the surface lightly with milk and make cross signs over the bread as shown.

8. Preheat the oven at 180 C for 10 mins.

9. Bake the bread at 180 C for 30 mins or till the surface of the bread turns brown in colour.

10. Now brush the surface with butter so that the crust remains soft.

11. Allow it to cool completely before you remove the bread. Use a knife at the sides and gently remove the bread from the pan.

12. Slice and enjoy!

Click on the image to save the recipe on Pinterest

Notes:

* First of all, bread making is not as easy as it looks and you might not get perfect result the first time in terms of texture. But as you bake more, you will be proud of how well a wheat bread you can bake. So keep trying!

* Please use measuring cups for best results with baking. My 1 Cup measures 240 ml.

* If using dry active yeast, substitute 2 tsp instant yeast with 1 Tbsp dry active yeast. Also dry active yeast needs proofing before adding to the dough. Refer my Wheat pav recipe to see how to proof yeast.

* IMPORTANT: The dough should be very sticky at first to get a good soft, fluffy bread. So make the dough sticky and knead well using hands or kneader for atleast 8 mins. It really makes a wonderful difference to the texture.

* Both the rise times depend on the weather in your area. In warm places, it rises very quickly as compared to cold places. So keep for the first rise till if doubles and second rise till it rises above the pan level.

* The length of my loaf pan is 20 cm. If you choose a longer loaf pan, the bread may not get height for 3 Cups flour. So best is to use a 20 cm pan for 3 Cups of flour to get the bread as shown in my pictures.

* Do not be tempted to open the doors atleast till 20 mins into the baking time. Else the bread won’t bake properly.

* Milk brush gives it a nice golden colour. So don’t skip it.

* Also don’t forget to brush with butter as soon as it’s out of the oven so that the bread remains soft on the crust.

* This wheat bread lasts well for a day at room temperature. Ours has never lasted after that as it gets finished off quickly.

* You can also try my Wheat pav recipe.

* You can also try all my healthy bake recipes:

Healthy Bakes collection

Click on the image to save the recipe on Pinterest

Masala Oats Paratha

Click on the image to save the recipe on Pinterest

I have been unknowingly adding a lot of Oats recipes like Dates and Oats Cake , Oats and Mixed dal dosa, Instant Oats Idli and now this Masala Oats Paratha.

Some years back my friend had shared this recipe of Masala Oats Paratha. I had tried it many times and loved it too but somehow forgot it later as we usually have rice.

Yesterday I remembered it and made just few of them for dinner to see if the kids will like the change in taste. I was so happy when my daughter said “Amma, what is this? This is so yummy. Give me more. Can’t stop eating it.” And finally ate three of them instead of one that she usually eats. Even though I should not share this for the fear of evil eye, can’t resist as it made me so happy and out of the world. I am sure all mothers can understand how I feel.

Here’s sharing the recipe. Hope your family loves it too.

RECIPE:

Ingredients: { Makes around 8 Parathas}

For the outer dough:

3 Cups Whole wheat flour/ Atta

Salt to taste

Water as required to knead the dough

For the inner filling:

2 Cups Instant Oats

1/2 Cup Curd/ Yogurt

3 green chillies, finely chopped

A small piece of ginger, minced

3 garlic cloves, minced (optional)

Few curry leaves, finely chopped

2 Tbsp of finely chopped Coriander leaves

2 tsp Garam masala powder

1 tsp Red chilli powder

Salt to taste

Oil or ghee to cook the parathas

Step by step recipe:

1. Take wheat flour and salt in a bowl and add water. Knead to form a smooth dough. Keep aside.

2. Now take instant oats in another bowl and add curd one spoon at a time and keep mixing till it looks like one wet mixture. I required 1/2 Cup curd for 2 Cups Oats.

This should be the consistency of the mixture. It should be thick.

3. Now add ginger, garlic, green chillies, curry leaves, coriander leaves, garam masala powder, red chilli powder and salt.

4. Mix well and divide into equal portions.

5. Now divide the wheat dough also into equal number of balls. Take one and roll a little. Place one oats portion inside it.

6. Close and seal the edges.

7. Using dry flour, roll into a big circle like you roll regular parathas.

8. Now place it on a hot tava and cook both sides using ghee or oil.

9. Enjoy it hot with curd or any side dish. We love it with Amma’s tomato chutney.

Notes:

* Don’t add a lot of curd than required or you will have difficulty filling it if it is more wet.

* The masalas and spices are to taste. I sometimes skip garlic or curry leaves if I don’t have. It’s all upto how your family loves it.

* I take out the green chilly before feeding each bite to my kids. You could skip it from their mixture itself if needed.

Click on the image to save the recipe on Pinterest

For all my Oats recipes like idlis, dosas, pizza and cake, check out:

Oats Recipe Collection

Whole wheat Pav

Click on the image to save the recipe on Pinterest

After Whole wheat Vegetable Pizza, if there is one bake I am confident that I can bake well not only for my family, but for others too, it’s these whole wheat Pav. There have been many of our friends who have enjoyed these Pav and they could not believe it’s homemade and made of wheat flour. I have baked a batch of 32 Pavs once for a dinner get together and even though it was a magnitude of hard work, their words of praises and just seeing them eat made me so happy.

These are very filling unlike maida ones which are softer in texture but contain no nutritional value. Especially after two kids, I have to think twice before I cook whether they will like it or not and it should be healthy as well. These Pavs are loved by both kiddos and that’s why, I regularly bake them.

Click on the image to save the recipe on Pinterest

I thank my readers for always requesting recipes which forces me to write them down. Else I would never add them here. My motive is, if it helps atleast one, then my blogging is worth it. Hope you all bake these Pav for your family. Do let me know if any doubts. Happy baking!

RECIPE:

Ingredients: { Makes 10 Pavs}

2 Cups whole wheat flour/ Atta ( I use Pillsbury brand as it works best)

1 Cup Milk (may require a little more depending on the brand of wheat flour)( can also use milk powder+water)

20 grams Butter

1 1/2 Tbsp Milk powder

1 Tbsp Cane Sugar (can substitute with regular sugar)

2 tsp Instant yeast OR 2 1/2 tsp dry active yeast

1 tsp Salt

Little milk and butter for brushing over the pav

Oil to brush the pan and dough

Step by step recipe:

1. Warm milk in a pan or microwave. It should NOT be very hot or cold. Just lukewarm. Add in cane sugar and yeast. Mix once and allow to proof (ie keep aside for about 10 mins).

Yeast after proofing. It should rise like this with bubbles and have a yeasty aroma.

Note: If it does not proof, discard the batch. It means the yeast has expired or the milk was too hot or cold. Don’t use it to make Pav as the pav will turn hard.

Tip: When in doubt, best is to use the yeast in lukewarm water first and see if it proofs instead of wasting milk.

2. In a big bowl or plate, take wheat flour. Add in salt and milk powder.

3. Now make a well in the center and add the proofed yeast milk.

4. Now mix together like you would do for chapati dough and form a dough. It should be very sticky and not dry. If dry, add more milk to make it sticky.

Not sticky as the wheat flour brand is good.
Add more milk (around 3 Tbsp) to make the dough sticky
Perfect texture. Very sticky dough.

5. Add in butter and mix together.

6. Now knead together for atleast 10 mins. This is very important and very necessary for soft pavs. I keep a timer so that I don’t knead less. Here I have shown the kneading process in steps.

Step 1: Spread the dough
Step 2. Punch it with your fingers
Step 3: Bring it all together

Note: Keep doing this for 10 to 12 mins.

7. After kneading for 10 mins, the dough becomes very smooth and easily handle able. Coat it with any oil and Keep it to rise for 1 hour in a warm place.

8. After 1 hour, the dough rises and becomes double the size.

9. Now punch it down and divide into equal portions.

10. Make a ball and keep in a greased cake pan close to each other.

Note: It is very important to keep the dough balls close to each other, else it will rise sideways and you will get flat pavs.

11. Keep this to rise for 1 hour in a warm place. Once risen, brush the surface with milk.

See how well they have risen

12. Preheat the oven at 200 C for 10 mins. Make sure to preheat well before placing the pan in the oven. Bake for 15 to 20 mins at 200 C in the center rack of the oven till the surface of the pav turns brown like this.

13. Brush butter on the surface of the pav as soon as it is out of the oven.

Enjoy homemade wheat pavs as pav bhaji, Vada pav or the way you wish to!

Click on the image to save the recipe on Pinterest

Notes:

* First and foremost, if you don’t have milk or don’t want to waste it for making pavs, use milk powder mixed in water. It works the same way. I have done it many times and makes no change in the flavour of the pavs.

* The most important step is that the yeast should be right and not expired one. So proof properly with warm milk to check. If it does not form bubbles or does not give a yeasty aroma, discard it. Else it will be a waste of ingredients.

* To make perfect wheat pavs, the dough should be very sticky first and then after continually kneading for 10 mins, it should turn into a smooth dough. Though it may seem like a bit of hardwork, the result will be soft wheat pavs.

* The dough balls should be kept very close during second rise. This is also very important as other wise you will get flat pavs and not fluffy pavs. Do remember while keeping for second rise.

* The milk brush before baking gives a nice golden colour to the pavs. So don’t forget it.

* Also the butter brush after the pavs are out gives a soft texture. Don’t forget this too.

*Update: I am getting many queries asking if milk powder is necessary. It’s okay if you don’t add it since it’s not available now. It’s just for flavour and you can skip it. Just make a sticky dough with milk and knead really well. And make sure the yeast is proofed well and active.

I have tried to note down as much points as possible so that it’s easy for you all to follow but if you still have any doubts, either comment here or message me on my Facebook page Healthy cooking with mitha or on my Instagram handle and I would be happy to help. Happy baking!

Whole wheat Vegetable Pizza

Click on the image to save the recipe on Pinterest

Baking pizzas at home have become more of a necessity than hobby in the present scenario when we are all home bound. I am so glad that I started baking wheat pizzas long back that now it’s as easy as making chapatis for me. My kids relish them as much as they enjoy store bought ones and it gives me immense happiness to see them eat healthy.

Click on the image to save the recipe on Pinterest

I had been getting many requests for this recipe. So here it is for all of you. Do let me know if you have even the tiniest doubt and I would be happy to help you. I know baking is as easy as it can be but equally difficult for some and I love helping as much as I can.

Happy baking!

RECIPE:

Ingredients:

For the pizza dough: (makes two medium size pizzas) 1 Cup = 240 ml

3 Cups whole wheat flour/ Atta ( I use Pillsbury most times)

1 to 1 1/2 Cups Water (depending on the flour brand)

2 tsp Instant yeast ( or 2 1/2 tsp dry active yeast) (I use saf instant yeast brand)

1/2 tsp Cane sugar (can replace with regular sugar)

1/2 tsp Salt

1 Tbsp Olive oil/ or any oil to coat the dough

For the toppings: (for 1 pizza)

Around 5 Tbsp Pizza sauce or Tomato ketchup

Approx 1 Cup grated mozzarella cheese or as required

1 Cup of mixed vegetables (like Capsicum, Onion, sweetcorn, mushroom,babycorn)

A handful of chopped olives

Salt to taste

A dash of pepper powder

Olive oil or any oil to coat the dough surface.

Step by step recipe:

1. Take 1 Cup lukewarm water and add 1/2 tsp Cane sugar into it. Mix well and add 2 tsp instant yeast. Mix once and allow it to proof.{The water should NOT be very hot nor cold for the yeast to proof}

2. Meanwhile, take 3 cups of wheat flour in a large mixing bowl and add salt to it. Mix well.

3. Now the yeast has proofed as shown. (If the yeast does not proof ie does not rise, discard it and do not follow the next steps as maybe the yeast has expired.)

See for the bubbles, yeasty aroma and a slight rise to check if the yeast is good or not.

4. Now add this to the flour- salt mixture and knead just like you knead normal dough for chapatis adding the extra 1/2 Cup water if necessary.

5. Now add olive oil towards the end of the kneading process and knead once again to form a smooth dough. ( If you don’t have olive oil, any oil like sunflower or coconut oil will do)

6. Keep the dough covered in a warm place for about 1.5 hours to 2 hours for the dough to rise and double the size. If the weather is cold, it might take even 3 hours.

7. Meanwhile chop and prepare veggies for topping.

See the quantity of veggies I have taken. This much is enough for one medium pizza. Don’t add too many veggies which will spoil the taste.
Add salt and pepper powder to the veggies

8. Now after 1.5 hours, check if the dough has risen and doubled. If so, remove and divide into two halves.

9. Spread one half of the dough over a well greased (with oil and dust little wheat flour) oven proof pizza plate with fingers as shown.

10. Spread evenly in a round shape if possible and then coat the dough with oil.

It should NOT be spread very thick as it won’t bake well. Spread as evenly as possible.

11. Add a layer of pizza sauce or ketchup and grated mozzarella cheese.

12. Add veggies and spread evenly.

13. Add another layer of mozzarella cheese.

14. Now top with olive slices.

15. Preheat the oven at 200 C for 10 mins. ( Do this before you start topping your pizza. So by the time you finish topping, the oven is very hot. The oven needs to be very hot when you place the pizza in the oven.)

16. Now place the pizza in the center rack of the hot oven and bake for 15 mins at 200 C. Do NOT open the oven door in this time. After 15 mins, check if the cheese has melted and turned golden. If so, take it out.

17. Slice and enjoy your hot homemade wheat pizza!

Click on the image to save the recipe on Pinterest

Notes:

* Very important to note that the 3 Cups of wheat flour we used yields two pizzas. So use only half the dough for one pizza. If you use the whole dough for one pizza, it will turn thick and won’t cook properly.

* Here is the other half of the dough. I refrigerate it in an airtight container and it lasts atleast 3 to 4 days in the fridge and I can make pizza again.

* Grease the pizza plate well with oil and dust wheat flour over it so that the pizza does not stick to the plate. Look at the under side of the pizza. Love the colour.

* Also always proof your yeast to check if it’s good or not. Else it’s a waste of ingredients. I have explained proofing in the first few steps.

* Every oven is different. So do keep an eye after 10 mins into the baking time. But don’t open the oven door many times as it disturbs the baking process.

* Do remember to preheat the oven atleast for 10 mins at 200 C so that the oven is very hot when pizza is placed which is very essential for proper baking.

I have tried to note down as much points as possible so that it’s easy for you all to follow but if you still have any doubts, either comment here or message me on my Facebook page Healthy cooking with mitha or on my Instagram handle and I would be happy to help. Happy baking!

If you are new to baking, you can check this article which I have written to help beginners in baking : Baking basics for Beginners

Other recipes you can check:

Gluten Free Oats Pizza

Falafel Flatbread

Whole wheat cheesy garlic bread

Whole Wheat Pav

Whole wheat bread / Atta bread

All my healthy cakes and cookies recipe collection

Dates and Oats cake

Click on the image to save the recipe on Pinterest

I am always on the lookout for healthy cake recipes and so far have had great success in baking with wheat flour, ragi flour and oats. I add jaggery powder in all the cakes and it tastes so good that you can never say it’s a jaggery cake.

I have already shared the yummiest whole wheat chocolate banana cake recipe and Ragi Chocolate cake recipe. So here is another healthy cake with the goodness of the superfood oats and dates in it. This is also a wheat jaggery cake.

Click on the image to save the recipe on Pinterest

When I first made the cake, I could not believe that Oats in a cake could taste so yummy. But you could never say it has oats in it. The dates and milk hides the nuttiness quite well. In fact so well that my kids never know that it’s actually a healthy cake.

Look at the moistness!

This cake is a perfect example that healthy food can be delicious too. The exact principle on which I started writing this blog. Hope you all try this cake. Happy and healthy cooking!

RECIPE:

Ingredients:

1 Cup = 240 ml

Dry Ingredients:

3/4 Cup Whole wheat flour/ Atta

3/4 Cup Instant Oats

1 tsp Baking powder

1 tsp Baking soda

1/4 Cup Jaggery powder or brown sugar or cane sugar or regular sugar

Wet Ingredients:

Around 20 Dates (Deseeded and roughly chopped)

1 1/2 Cups Milk

1/2 Cup (113 grams) Butter

1 tsp Vanilla essence

Step by step recipe:

1. Soak the chopped dates in hot milk for an hour.

2. Measure 3/4 Cup Instant Oats in a bowl.

3. In the same bowl, sieve together whole wheat flour, baking powder and baking soda. Mix everything well.

4. Melt butter in a bowl and add the dates- milk mixture to this. Also add vanilla essence.

5. Add the dry flour mix to this and mix till the flour specks can’t be seen.

6. Add 1/4 Cup Jaggery powder to this and mix everything once. Do NOT overmix.

7. Preheat the oven for 10 mins at 180 C. Line the cake pan with parchment paper. Else with oil or butter. Pour the batter into the pan.

8. Bake at 180 C for 30 to 35 mins. I baked for 30 mins and then checked. Since the inside had to cook a little but the top surface had baked, I covered with parchment and baked for 5 mins more.

9. Allow it to cool completely. Invert onto a plate. Slice and enjoy!

Click on the image to save the recipe on Pinterest

Notes:

* Since every oven is different, keep an eye after 20 mins into baking time so that the cake doesn’t burn.

* Towards the last 5 mins, cover the cake pan with a parchment paper/ aluminium foil and bake so that the top surface does not form a crust.

* You can use any dates for this recipe but the soft ones work best. You can even grind them with little milk if you don’t like the bite of dates in your cake.

* Butter can be substituted with oil but I personally love butter in my cakes as oil cakes does not taste good after a while.

* This cake lasts well for a week if refrigerated and handled well.

If any doubts, do message me on my Facebook page Healthy cooking with mithaor on my Instagram handle and I would be happy to help. Happy cooking!

You can check all my healthy cakes and cookies recipes in this page:

Healthy Cakes and Cookies Collection

Did you know Oats is such a versatile ingredient, you could make Cake, Idli, Paratha, varieties of dosas and even gluten free pizza with it?

Sharing all varieties of dishes in which I use Oats and make regularly. Eat healthy, be happy. ❤️

Oats Recipes Collection

Editing to add: You can also bake them as cupcakes. I baked then for my kids’ snack box to school and they turned out amazing. Perfect for the little hands to handle. Just use the same measurement and bake at 180 C for 25 to 30 mins or till done. The measurement yields 12 medium sized cupcakes.

Eggless Chocolate Banana cake, using wheat flour and Jaggery

Baking a cake is very easy. Hardly takes 15 mins to make the batter and then you just have to keep it in the oven to see magic happen. But those 15 mins while making the batter needs to be done precisely. Else the whole recipe can turn a disaster. In my case, post two kids, getting alone time for even 5 mins is difficult, leave 15 mins. Hence baking becomes a rare occasion when the husband is at home.

During Christmas holidays, I got some free time and decided to bake my favourite banana chocolate cake. It really gives me immense pleasure to bake and my free time was spent well. The family loved it and it made me happy to see them devour the cake.

You can never say this is a wheat jaggery cake. I have tasted many chocolate cakes from renowned bakers and this one really matches them in all levels. The cocoa powder and bananas mask the wheat taste very well.

I have used the same frosting that I used for Ragi Chocolate cake and it really takes the cake to another level. Hope you all try the cake and love it. Happy and healthy cooking!

RECIPE:

Ingredients:

Dry Ingredients:

2 Cups Whole wheat flour

1 1/4 Cup powdered Jaggery/ Cane sugar

2/3 Cup unsweetened Cocoa powder

1 tsp Baking soda

Wet ingredients:

1 1/2 Cup hot water

1/2 Cup fully mashed Bananas (ripe ones)

1/2 Cup melted Butter [1 stick or 100 grams] (salted/ unsalted)

1 Tbsp Lemon juice

1 Tbsp Vanilla extract/ 2 tsp Sugared vanilla

For the frosting:

1 Cup full fat Milk

1/4 Cup Sugar

2 Tbsp Cocoa powder

1 tsp Vanilla extract

Step by step recipe:

1. Preheat the oven at 180 C for 10 mins.

2. Meanwhile, sieve wheat flour, cocoa powder and baking soda in a bowl. Add powdered jaggery and mix well. Keep aside.

3. Add mashed bananas, melted butter, lemon juice and vanilla extract in another bowl. Add 1 1/2 Cup hot water and whisk.

4. Now add in dry ingredients to wet ingredient mixture. Mix so that both are combined well and you can’t see any flour specks. Do not over mix.

5. Line a baking pan with parchment paper or with oil/ butter. Pour the mixture evenly into it.

6. Bake at 180 C for 20 to 30 mins. My oven took exactly 30 mins.

7. Remove and check with a toothpick in the center of the cake. If it comes out clean, it’s done. If it comes out wet or sticky, it still needs some more baking time.

8. Allow it to cool. Invert and remove the parchment paper.

9. For frosting, combine together milk, cocoa powder, sugar and vanilla in a bowl. Whisk well first and then keep on flame.

10. On medium flame, keep whisking continually while allowing it to get thicker (usually takes about 5 mins). Once it gets thick, remove from flame and pour over the cake and spread evenly.

11. Allow the frosting to set for atleast 30 mins before you slice and serve.

Notes:

* This cake lasts well for a day without refrigerating. After that stays well for atleast 4 days if handled properly.

* Ensure that you use over ripe bananas and mash them well with fork before adding into the cake.

* The cake tastes amazing with the frosting. So don’t skip it unless you want just a plain banana bread for tea time.

* Since it is made of wheat flour, it takes time to bake. So give the cake atleast 20 mins of baking time before checking. Don’t open the oven door before that to ensure even bake.

If any doubts, do message me on my Facebook page Healthy cooking with mitha or on my Instagram handle and I would be happy to help. Happy cooking!

Eggless Ragi Chocolate cake

Click on the image to save the recipe on Pinterest

Baking is therapy for me. I love how the ingredients mix in together to create something so delicious and the aroma which fills the house is magical. I have been baking different varieties of cakes now using wheat flour and jaggery. My daughter loves it more than the refined flour based cakes. There is a richness in wheat flour cakes which makes it more tastier and of course healthier.

Ragi Chocolate cake was an amazing find of a recipe as it uses another healthy ingredient but is quite hidden in the cake. You could never say it has ragi in it. Even when I made it the first time, my little girl had loved it so much.

Click on the image to save the recipe on Pinterest

The simple frosting of chocolate sauce takes this cake to another level. We are a huge fan of this cake and it’s my pleasure to share it with all of you. Happy and healthy cooking.

RECIPE:

Adapted from here.

Ingredients:

Dry Ingredients:

3/4 Cup Ragi flour/ finger millet powder/ Nachni atta

3/4 Cup Whole wheat flour/ Atta

2 Tbsps Cocoa powder

1 tsp Baking powder

1/2 tsp Baking soda

Wet Ingredients:

150 grams (2/3 Cup) Butter (salted or unsalted can be used)

80 ml (1/3 Cup) Yogurt/ thick curd/ Dahi

3/4 Cup Milk

1 Cup powdered Jaggery/ cane sugar

1 Tbsp Vanilla extract

For the frosting:

1 Cup Milk

1/4 Cup Sugar

2 Tbsp Cocoa powder

1 tsp Vanilla extract

Step by Step recipe:

1. Preheat the oven at 180 C for 15 mins. Keep the heating rack as the center one if using a conventional oven like me.

2. Keep the baking tin ready by lining with parchment paper or applying butter inside so that the cake does not stick to the pan.

3. Sift all the dry ingredients using a sieve to ensure all the powders are lump free and mix uniformly.

4. Melt butter by microwaving it for two to three mins on high. Allow it to cool down. Add in the milk, Yogurt (which has been whisked well), jaggery and vanilla. Mix well using a whisk.

5. Now add the dry ingredients into the wet ingredients and mix using a spatula such that everything is mixed uniformly and there are no specks of flour visible. Do NOT over mix the batter.

6. Pour the batter into the baking pan and spread uniformly.

7. Bake at 180 C for 30 to 35 mins. It took 35 mins for my cake to bake in my conventional oven. In microwave with conventional mode ovens, it gets done even quickly. So keep an eye after 25 mins into the baking time. Read NOTES.

8. Check with toothpick inserted in the center of the cake. Is comes out clear, then the cake is done. If comes out sticky or wet, it needs few more mins of baking. After done, allow it to cool for few minutes.

9. For frosting, combine together milk, cocoa powder, sugar and vanilla in a bowl. Whisk well first and then keep on flame.

10. On medium flame, keep whisking continually while allowing it to get thicker (usually takes about 5 mins). Once it gets thick, remove from flame and pour over the cake and spread evenly.

Check how thick it has got. Sticks well to the spoon.

11. Wait for a while for the frosting to set before you slice and serve. Refrigerate the cake after a day at room temperature.

Click on the image to save the recipe on Pinterest

Notes:

* Use a pinch of salt while sifting the dry ingredients if using unsalted butter. I used salted butter.

* This cake tastes heavenly with the frosting. So don’t skip it. But for those who prefer their cakes plain, without frosting tastes good too. And no, there is no ragi flavour at all as cocoa, vanilla and jaggery do an amazing job at masking the ragi flavour.

* While baking, always ensure your oven is preheated well (180 C for 10 to 15 mins is the norm).

* Don’t keep opening the oven door between bake times. Check only after 25 mins if the bake time says 30 mins of baking. Else opening the door too often leads to uneven baking.

* This cake tastes good even after getting refrigerated. The frosting sets well and enhances the flavor. Just microwave for a minute before serving. I have kept the cake a maximum of three days in the fridge before it got finished off by my family.

* I have used organic powdered jaggery. You could also use cane sugar. Both work well for this recipe.

If any doubts, do message me on my Facebook page Healthy cooking with mitha or on my Instagram handle and I would be happy to help. Happy cooking!