Category Archives: Snacks

Instant Bread Pakoda toast

Even though I bake Whole wheat bread at home , there are times when we do order bread along with grocery if we feel like I need a break with all the cooking and baking. And when we do get bread from the stores, I make this toast as an evening snack and we all love it.

This is a healthier version of bread pakoda which is deep fried. Also, this batter has sugar in it as we love it with a hint of sweetness too.

Hope you all try and love it. I know how difficult it is to get a good healthy recipe idea for evening time. Hence sharing with all of you. Happy and healthy cooking!

RECIPE:

Ingredients:

4 Slices of bread

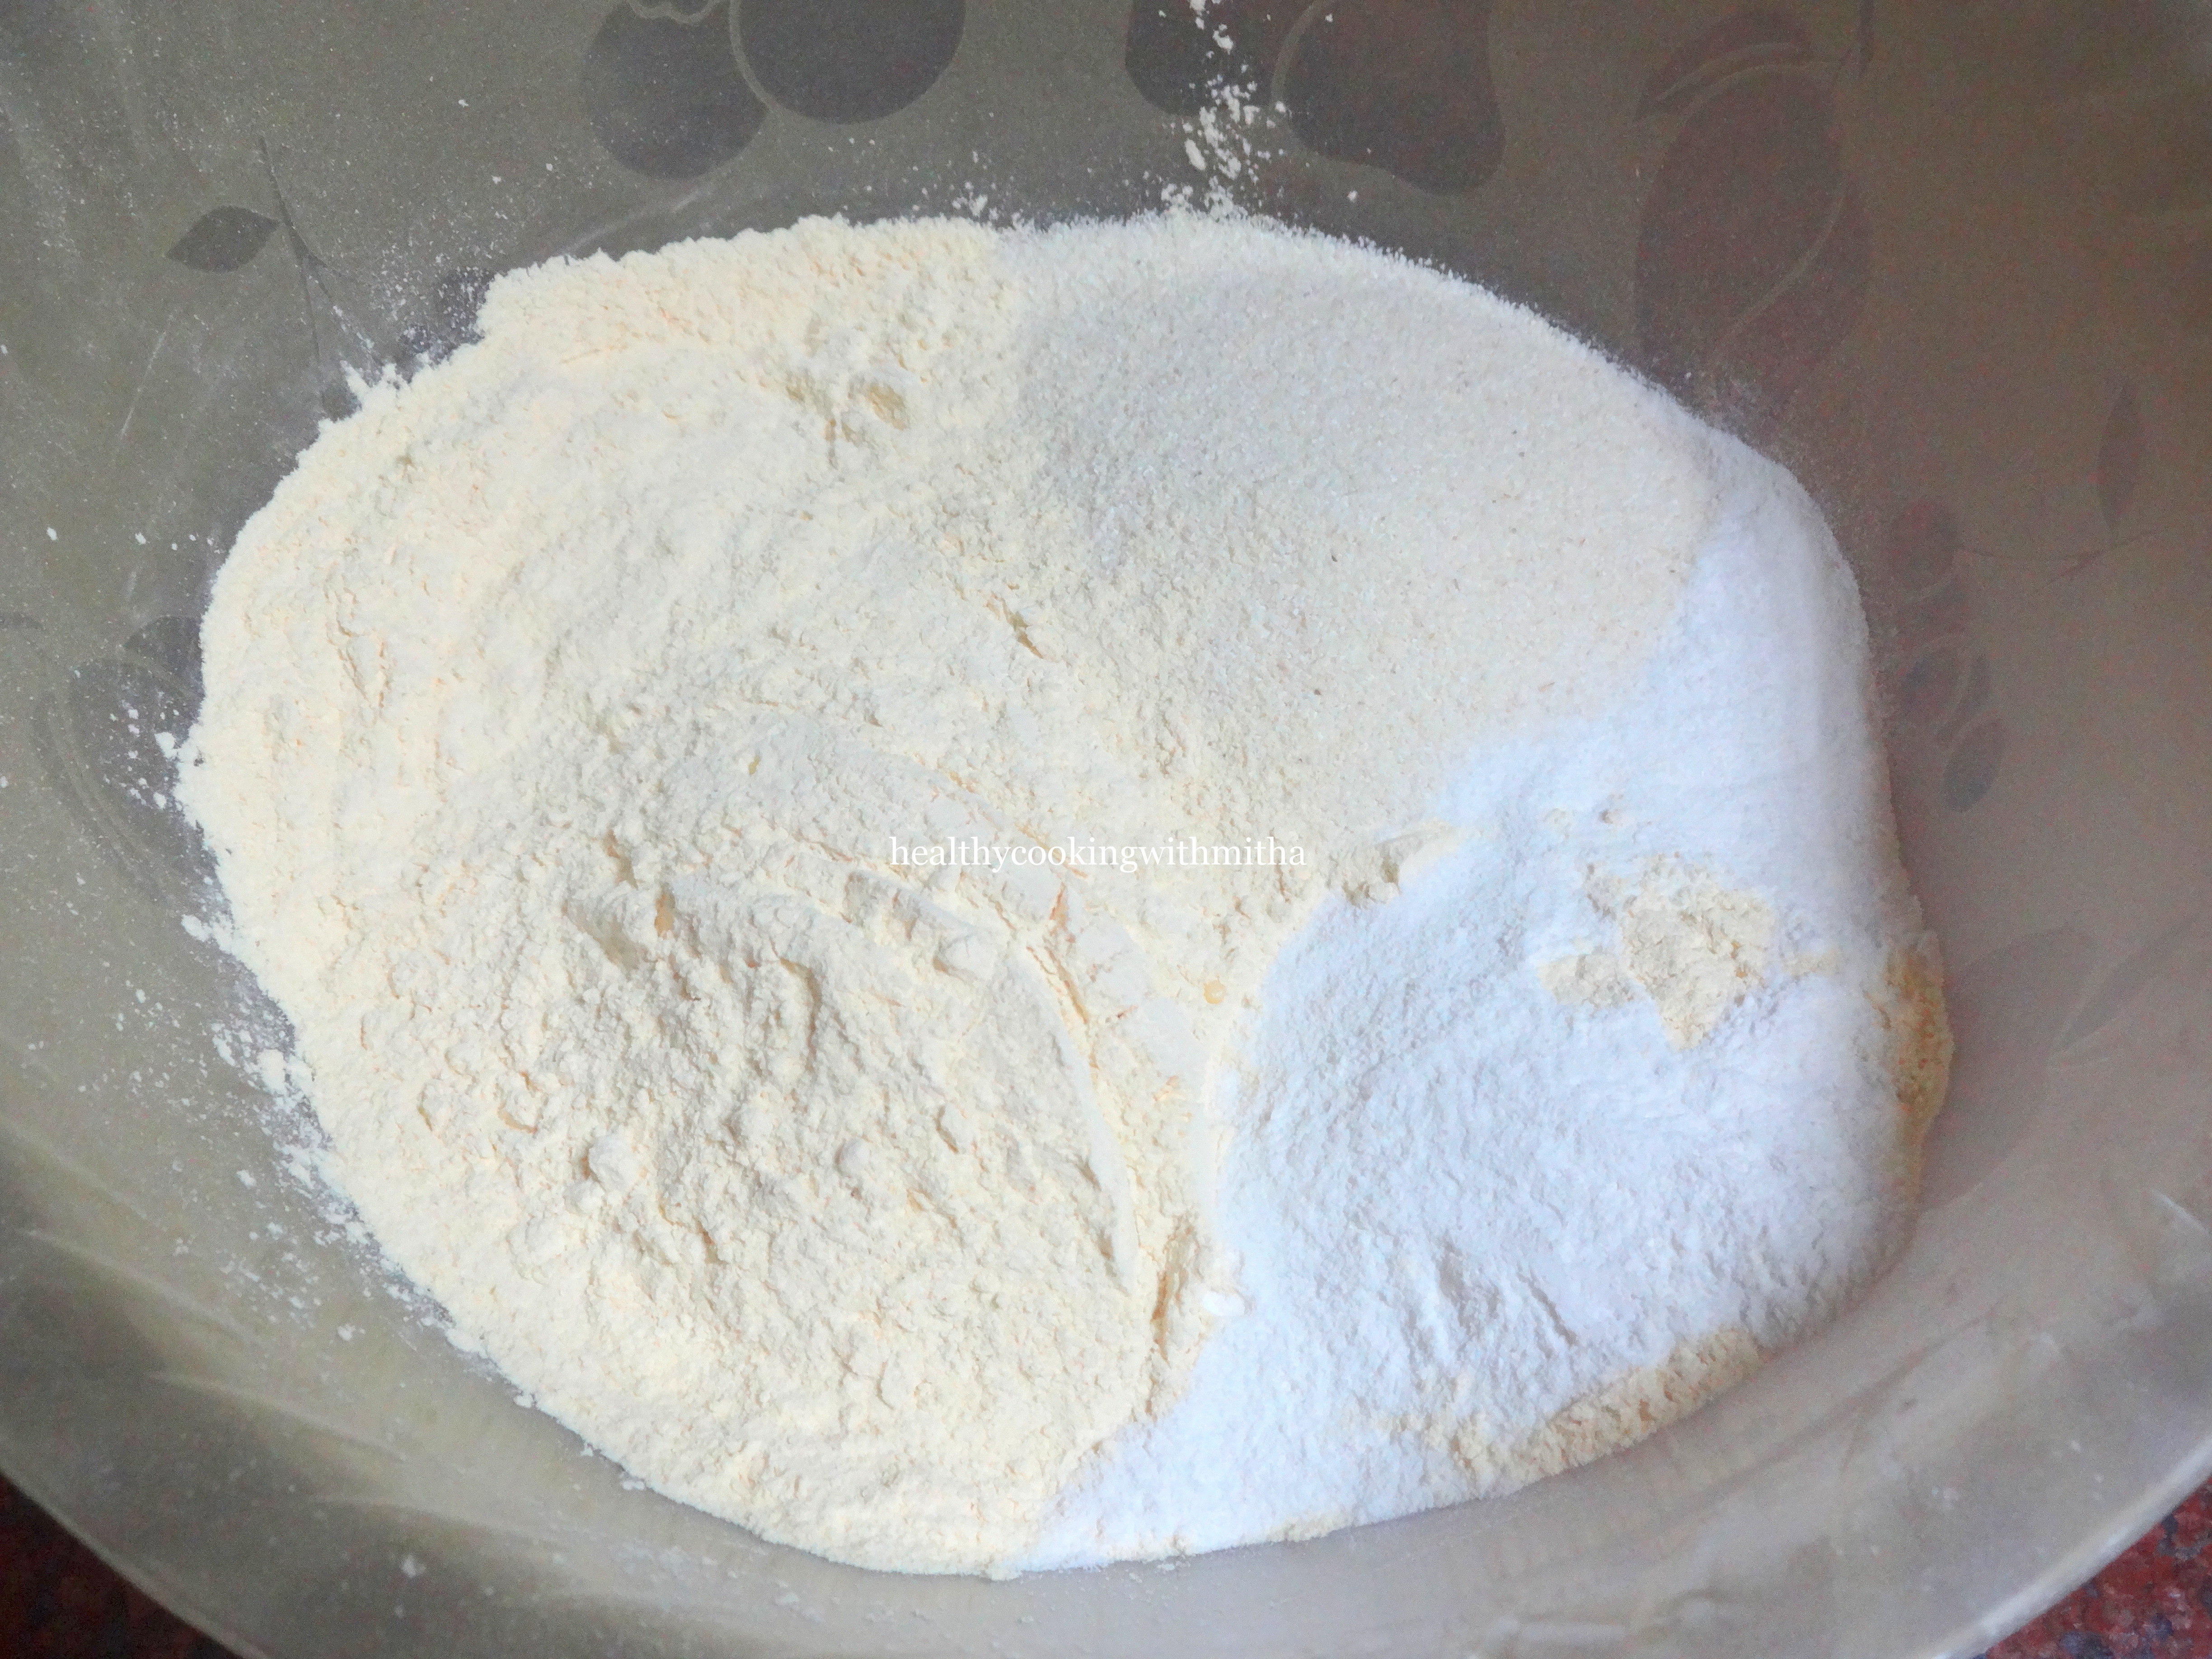
1/4 Cup Besan/ chickpea flour

1 Tbsp Rava/ Semolina/ Sooji

1 tsp Red chilli powder

1/4 tsp Turmeric powder

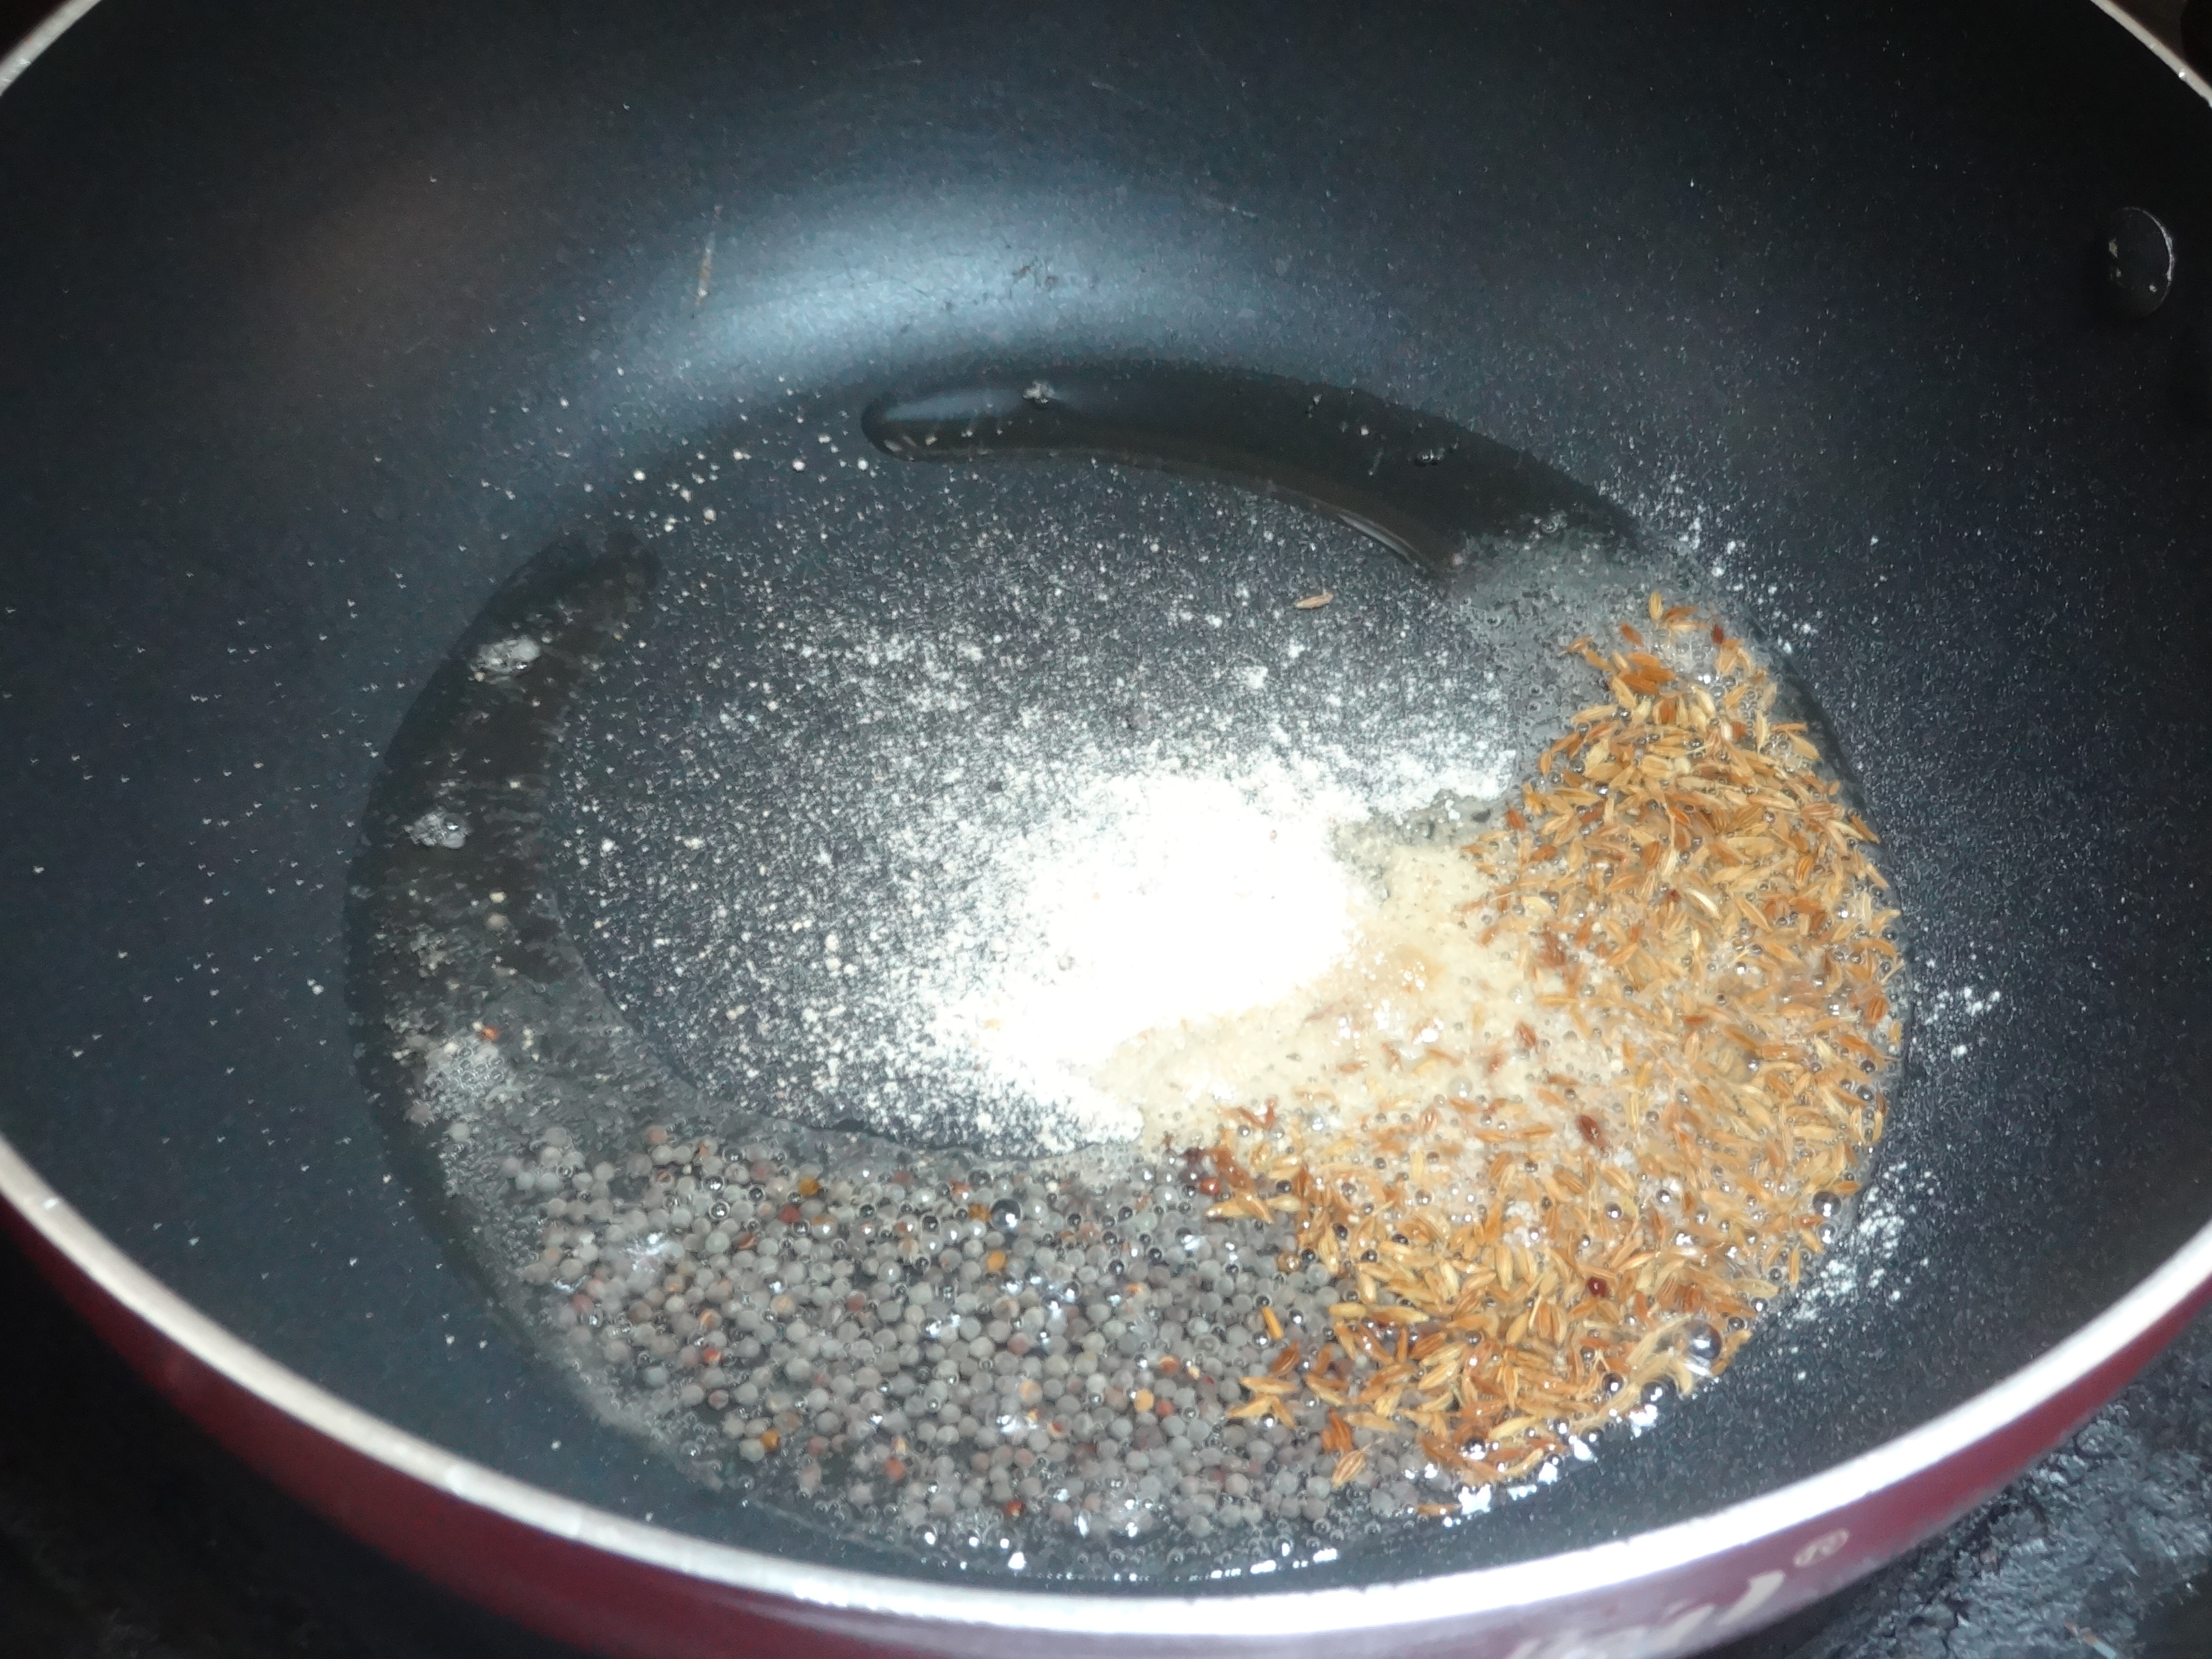
1/2 tsp Cumin seeds/ Jeera

2 tsp Sugar

Salt to taste

Oil to fry the toast

Step by step recipe:

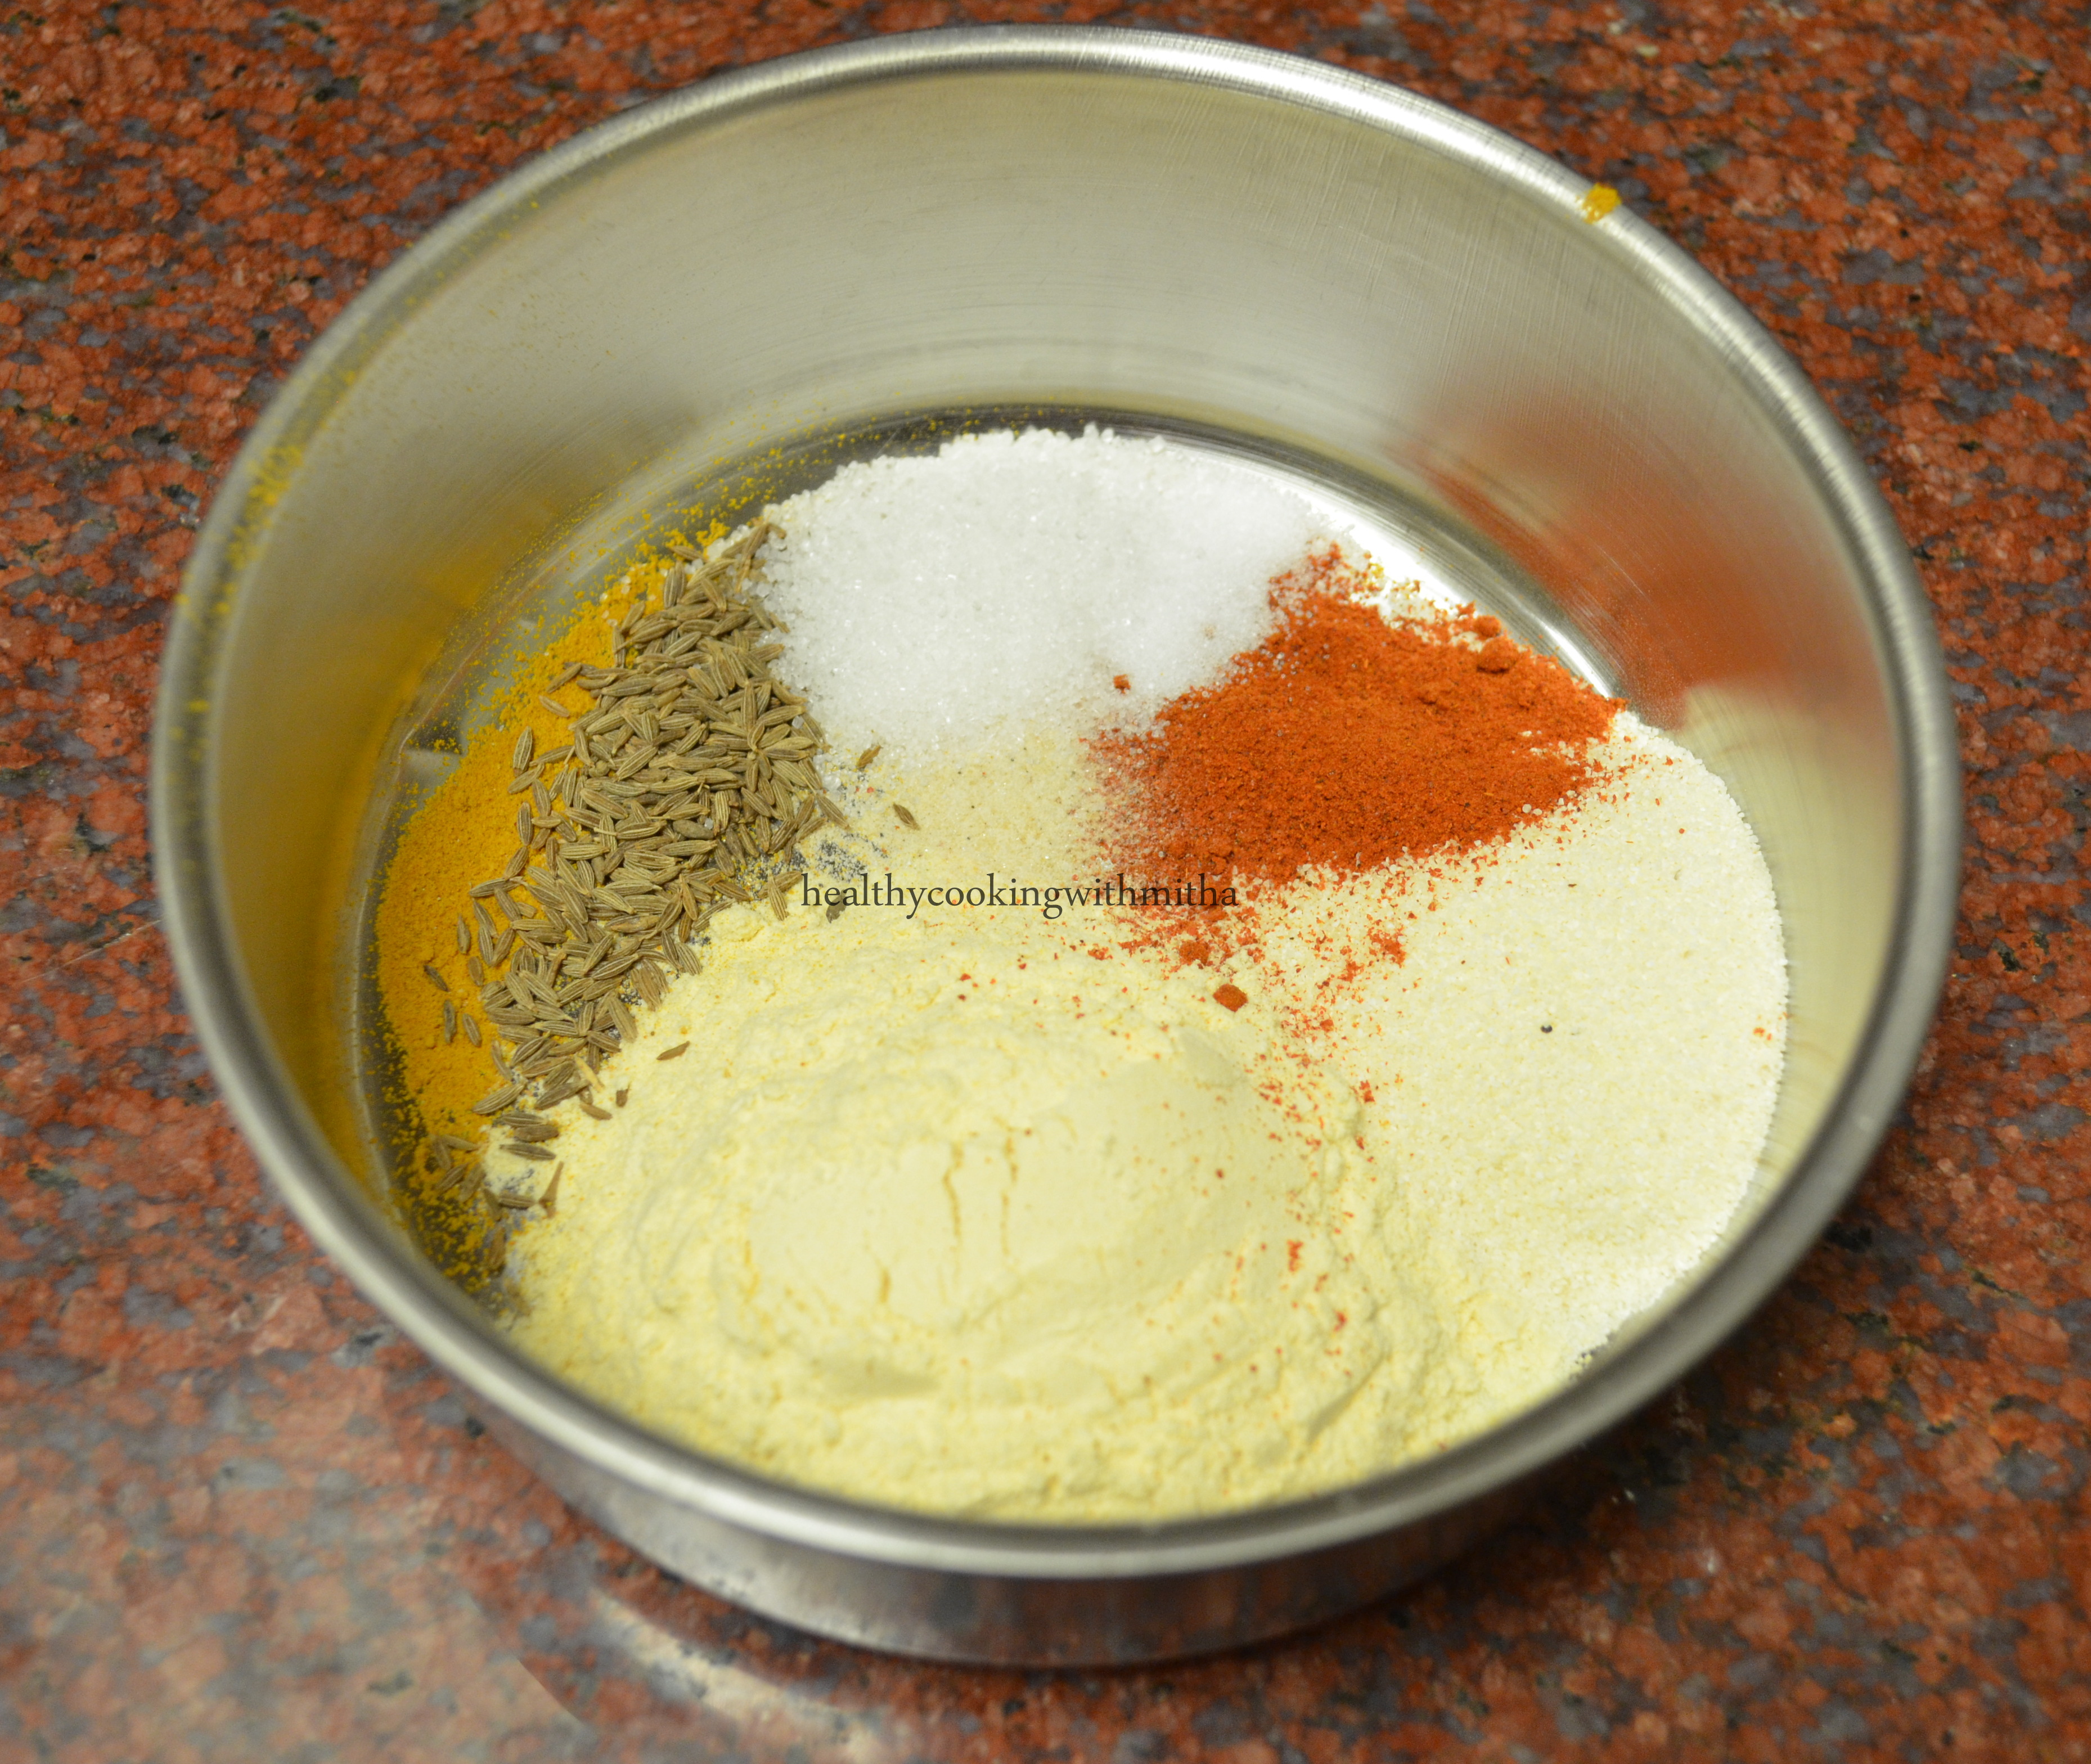
1. Take Besan, rava, turmeric powder, red chilli powder, cumin seeds, sugar and salt in a bowl.

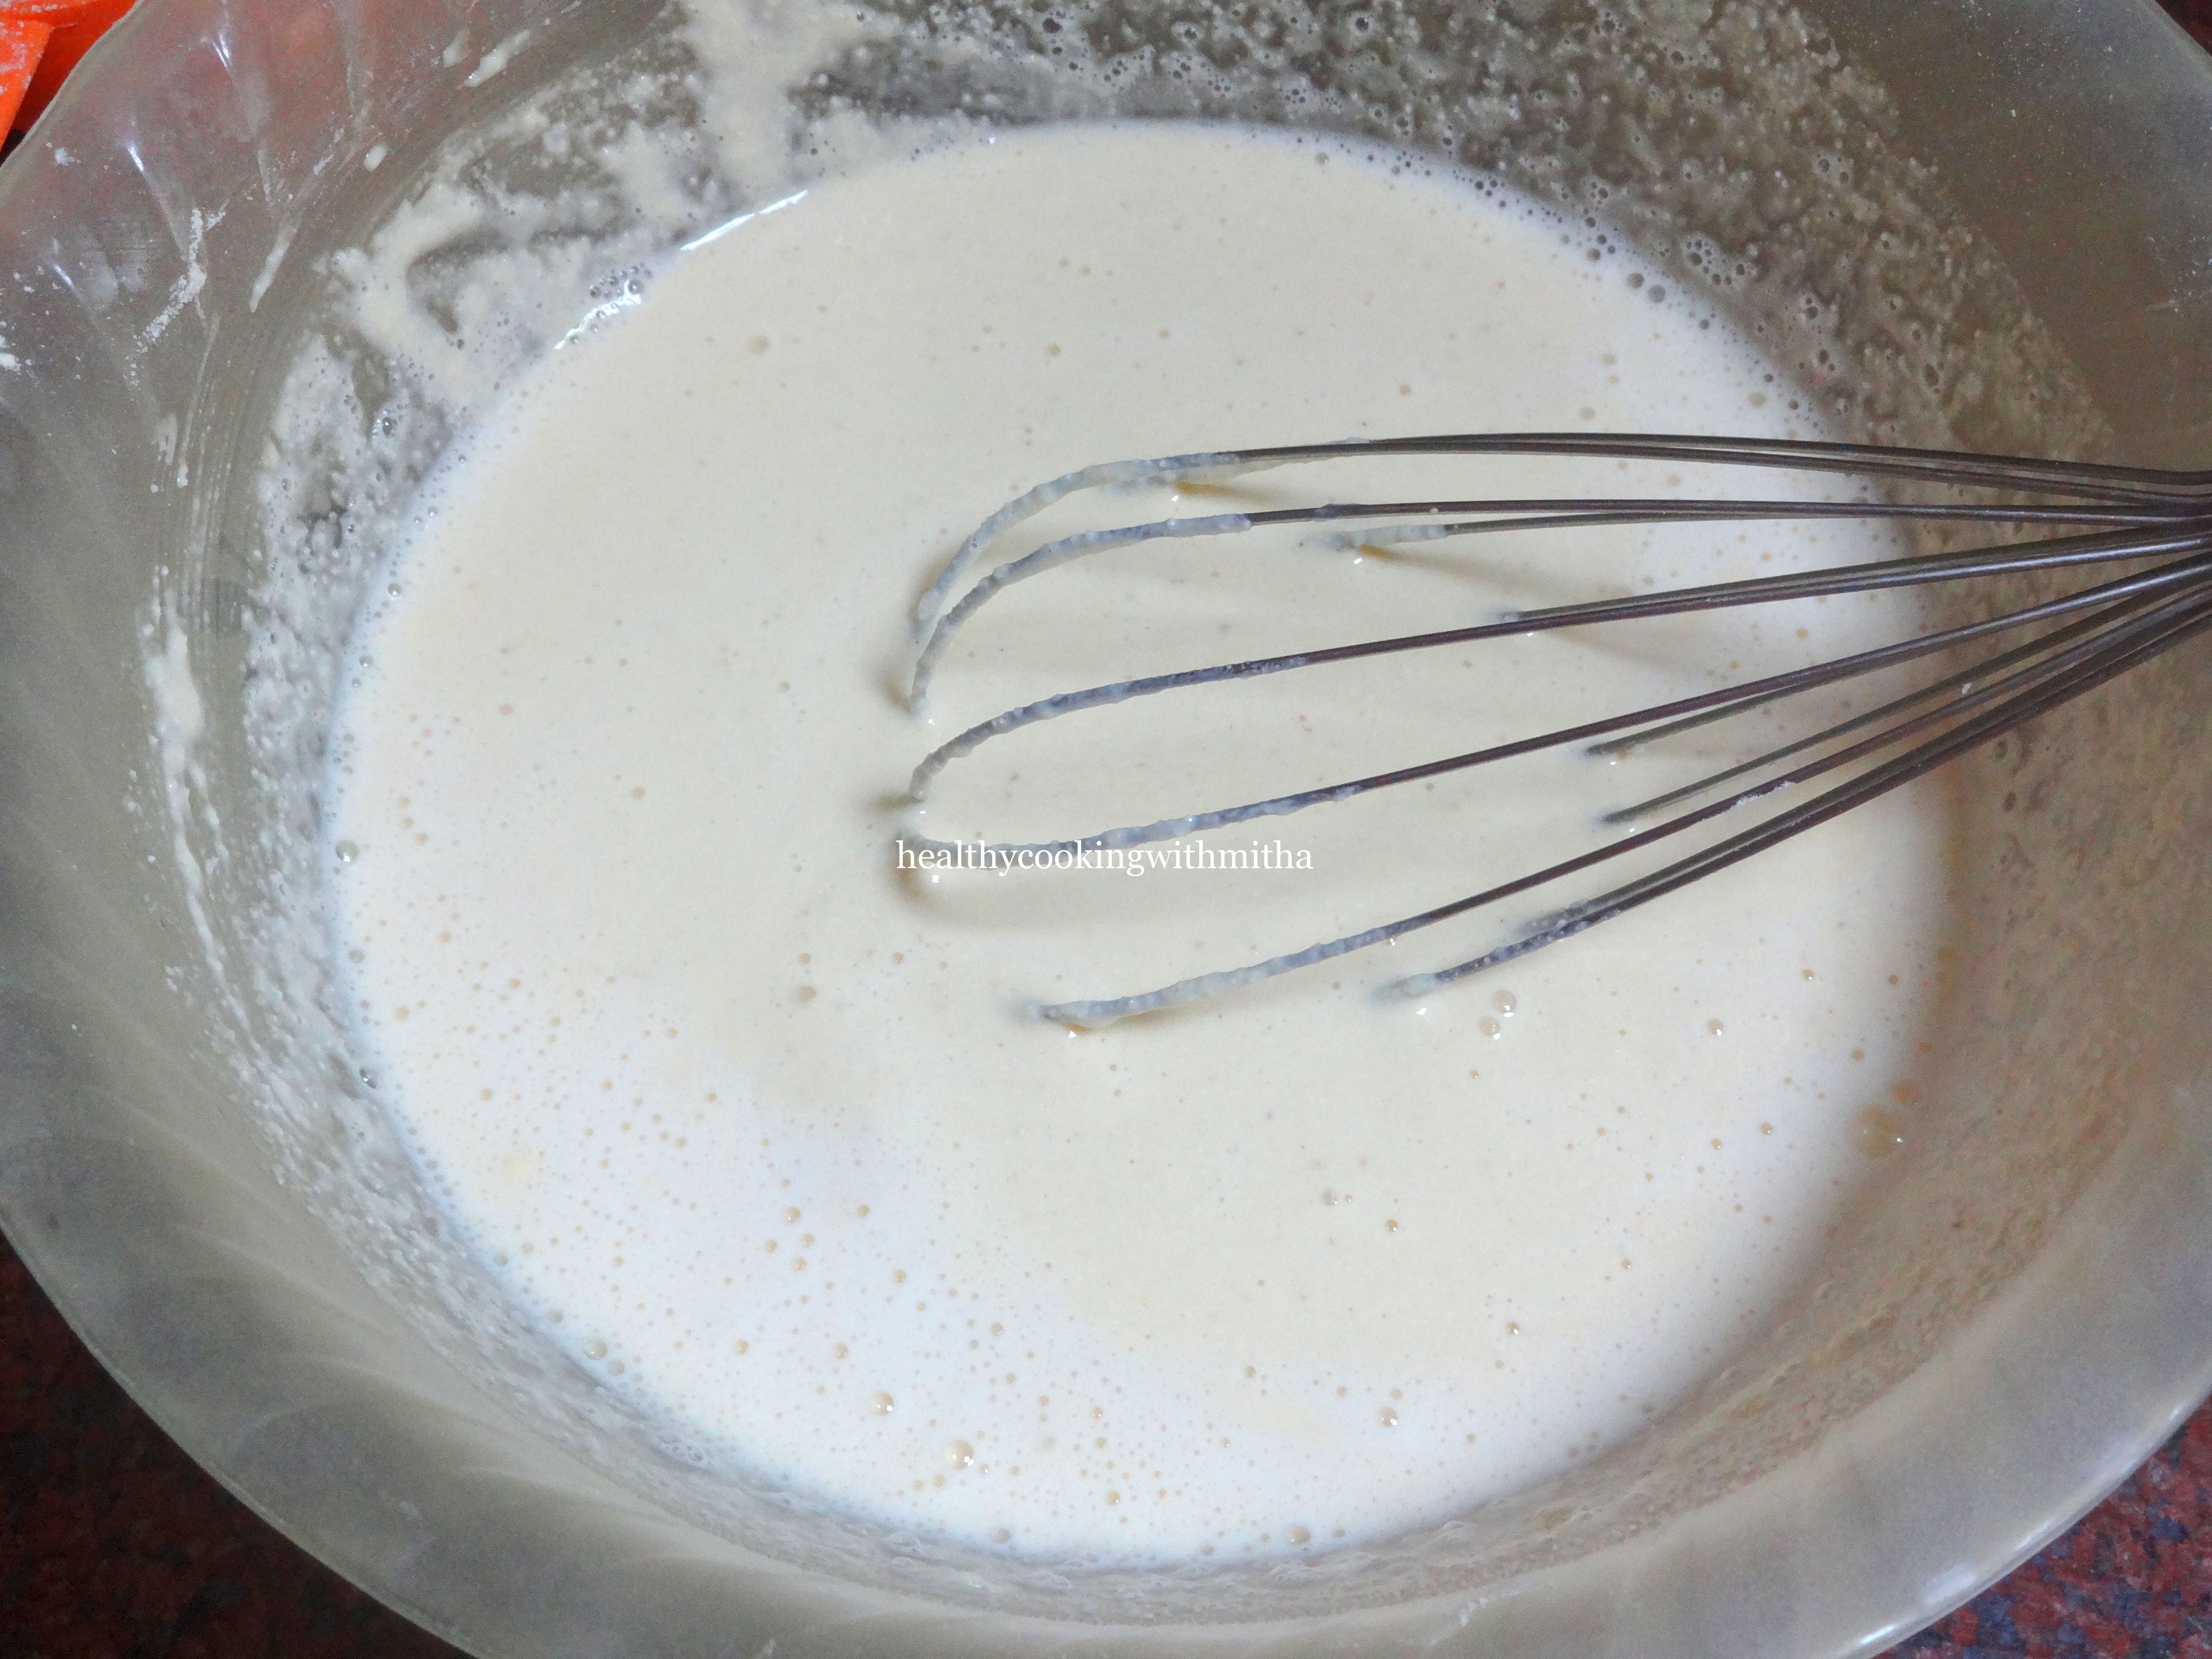
2. Add little water and mix till there is no lumps. DON’T add a lot of water at once as it will lead to lumps. Add little by little to make a smooth and slightly thick batter.

3. Heat little oil in a pan. Apply a spoon of this batter over bread and place it on the pan on the side where the batter is applied.

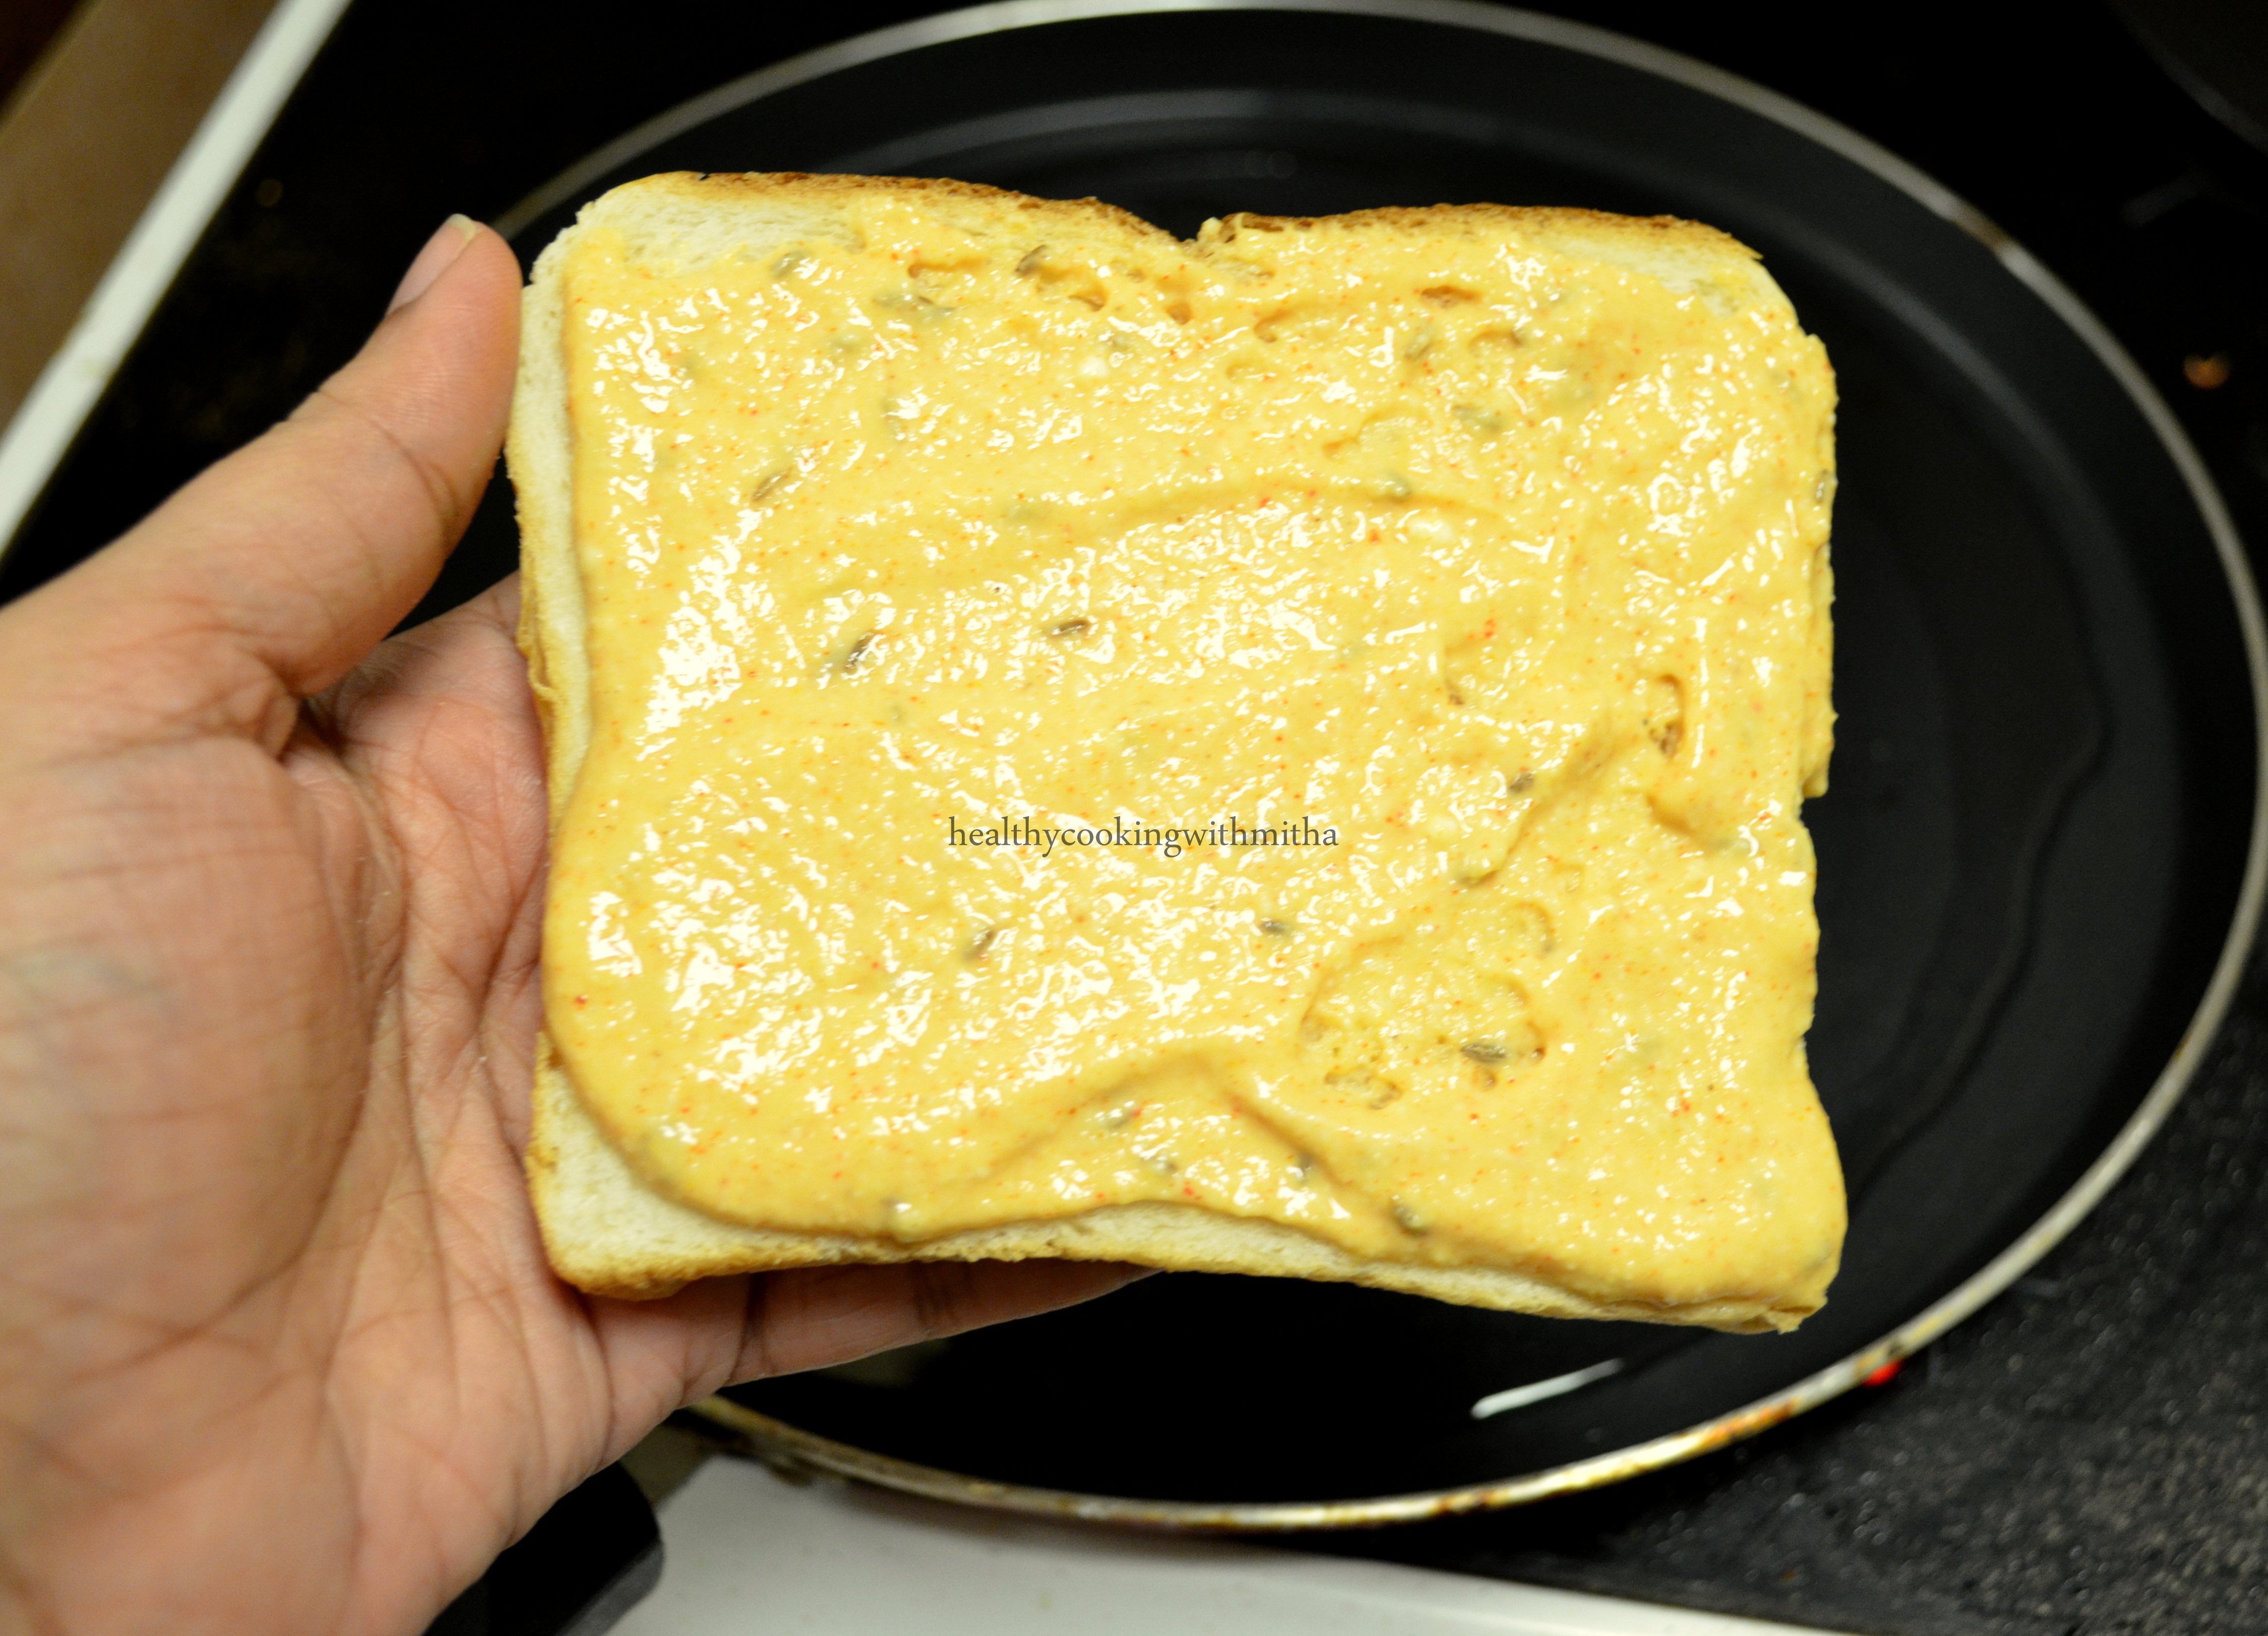
4. Now apply batter on the plain side as well.

5. Cook both sides on medium flame till they turn golden brown in colour.

6. Serve hot with ketchup.

Notes:

* Don’t make the batter very thick nor thin. It’s should be spreadable but not runny.

* Also don’t spread the batter thick over the bread. Just a single layer would suffice. Else it won’t cook well and inside will have raw batter.

* This toast like all others is best enjoyed when hot.

* If you don’t like the flavour of besan too much, you can make the batter with equal amounts of besan and rava ( 2 Tbsp each).

Paneer Pav Bhaji

Pav Bhaji has to be one of my favourite chaats. I have so many memories of Pav bhaji eaten at various joints during our travels to Bangalore, Mumbai, Delhi, Shimla, Gujarat and even in Singapore. I have to try pav bhaji from every place we visit.

While there is Mr husband who loves the pav bhaji I make so much that he never orders them when we eat out and sticks to bhel puri.

Anyhow, ever since I learned how to bake perfect Wheat pav at home, we have hardly had them from outside. Pav bhaji with homemade wheat pav is not only healthy but turns out amazingly delicious. Since we are a paneer loving family, I take it a notch higher and make Paneer Pav Bhaji.

Hope you all try it and love it too. Nothing like homemade food ♥️ Happy and healthy cooking!

Ingredients:

1 Cup dry/ fresh/ frozen Green peas (dried ones need to be soaked overnight)

1 Cup Cauliflower florets

1 medium sized Potato

1/2 Cup roughly chopped Carrot

2 Tbsp Butter

1 inch Ginger piece

3 cloves of Garlic

3 Green chillies

1 medium sized Onion

1/4 Cup finely chopped Capsicum

1 medium sized Tomato

1 tsp Red chilli powder or to taste

2 Tbsp Pav Bhaji Masala powder

1 Cup Paneer, cut into small cubes

4 Tbsp Coriander leaves

Salt to taste

1 tsp Lemon juice

For toppings, finely chopped onions, coriander leaves, lemon wedges, butter.

Step by step recipe:

1. Take peas, cauliflower, potato and carrot in a pressure cooker. Pressure cook till very soft.

2. Mash using a potato masher or a ladle till there are no big chunks of veggies. Keep aside.

3. Heat a pan with butter. Add finely chopped ginger, garlic and green chillies. Saute till they give out an aroma.

4. Add finely chopped onion. Fry till it turns translucent.

5. Add finely capsicum and fry for few seconds.

6. Add tomatoes and cook well.

7. Now add pav bhaji masala powder and red chilli powder. Fry till all water evaporates and the mixture turns out dry as shown.

8. Now add the mashed veggies and mix well. Add little water if the mixture is too dry. Allow it to come to a boil.

9. Add paneer cubes along with salt and cook for 5 more mins. After that, check for spices if needed. Add more pav bhaji masala or red chilli powder if needed.

10. Now add lemon juice and coriander leaves. Mix well. Done.

11. Serve along with pav and top with onions, coriander leaves and lemon wedges. Add more butter on top.

Notes:

* You can skip paneer and make regular pav bhaji if you don’t like it but paneer Pav Bhaji is a delight for paneer lovers.

* Pav bhaji masala can be added as desired as per your taste buds. If unavailable, you can add any garam masala powder.

* Cook the veggies really well for a smooth texture of pav bhaji.

* Butter gives a wonderful flavour. So I recommend using butter to cook.

* I make Homemade wheat pav for pav bhaji. You can try too.

Mixed bean salad

Click on the image to save the recipe on Pinterest

We love salads with our meal. My kids specially love them. Dinner time is less hassle free when salad is available as they finish off without any fuss. So I make different varieties of salads everyday.

Since we are vegetarians, our protein comes from pulses and beans. So it is important to include them in our diet. And what better way that this salad. Also, love how gorgeous it looks. Mixed beans give a wonderful bite and is an amazing accompaniment to the meal.

I love eating this salad in itself too. Makes for an excellent snack option. Hope you all like this idea. Happy and healthy cooking!

RECIPE:

Ingredients:

2 Tbsp Kidney beans/ Rajma

2 Tbsp Pigeon peas/ Black eyed beans/Lobia

2 Tbsp White or black Chana/ chickpeas

1 medium sized Onion

1 medium sized Tomato

2 green chillies

1 tsp Chat masala

Salt to taste

2 Tbsp coriander leaves

Juice of half a lemon

Step by step recipe:

1. Wash well and soak the beans for 6 to 8 hours or overnight.

2. Pressure cook it together till it turns soft. Cool and refrigerate. Use when making salad.

Note: Kidney beans and chickpeas take the same time to cook. Pigeon peas cook quickly but still does not mash when cooked along with the other beans.

3. To the cooked mixed beans, add finely chopped onions, tomatoes, green chillies, coriander leaves, chat masala and salt.

4. Squeeze lemon juice, mix well and you are done.

5. Serve freshly made salad with your meal or make this a meal in itself.

Notes:

* You can also add moong sprouts to this salad.

* I sometimes add cucumber too.

* Green chillies are optional if making for kids. You can add a pinch of black pepper powder instead.

* Serve immediately after mixing onions in it as it will start smelling if kept for long.

* You can soak and cook the beans. Refrigerate and use when required.

Click on the image to save the recipe on Pinterest

Muga Dali usli | Seasoned moong dal

Click on the image to save the recipe on Pinterest.

I love dishes that does not require much of chopping especially when the husband works extra hours and the kids are extra clingy. Chopping becomes very difficult when they are pulling my legs and pushing my hands.

But I am still hungry. What to do? Welcome muga dali usli or seasoned moong dal. Hardly takes 5 mins to dump everything into the pan, I can keep it on medium to low flame and go play with the kiddos.

After a while, healthy and delicious protein packed usli is ready for me to enjoy! How can I not love this usli! Hope you all enjoy too. Happy and healthy cooking!

RECIPE:

Ingredients:

2 Cups Moong dal

3 Green chillies

1 Tbsp Ghee or Oil

1/2 tsp Mustard seeds

1/2 tsp Cumin seeds

1/2 inch Ginger

A pinch of Hing/ Asafoetida

1/4 tsp Turmeric powder

1 tsp Sugar

Salt to taste

Freshly grated coconut for garnish

Step by step recipe:

1. Soak the moong dal for an hour if you have time. Else you can just wash well and use straight away.

2. Now heat a pan with ghee or oil. Splutter mustard seeds, cumin seeds and add hing.

3. Now add finely chopped ginger and green chillies. Fry for few seconds.

4. Now add the soaked moong dal along with tumeric powder,sugar, salt and enough water to cook the moong dal.

5. Cover and cook on medium flame till the moong dal cooks really well and turns soft.

6. Garnish with freshly grated coconut.

7. Serve hot!

Notes:

* We like it mushy and over cooked. So I cook the moong dal till really soft and add a lot of water while cooking. If you don’t like it overcooked, remove when the dal is just cooked while adding only sufficient water when cooking.

* The seasoning is to taste. You can skip ginger if you don’t like it but I love the bite of ginger in this usli.

* I also add few peppercorns and curry leaves when I have it.

* Hing gives a very good flavour to the usli. So don’t skip it.

Click on the image to save the recipe on Pinterest.

Masala Oats Paratha

Click on the image to save the recipe on Pinterest

I have been unknowingly adding a lot of Oats recipes like Dates and Oats Cake , Oats and Mixed dal dosa, Instant Oats Idli and now this Masala Oats Paratha.

Some years back my friend had shared this recipe of Masala Oats Paratha. I had tried it many times and loved it too but somehow forgot it later as we usually have rice.

Yesterday I remembered it and made just few of them for dinner to see if the kids will like the change in taste. I was so happy when my daughter said “Amma, what is this? This is so yummy. Give me more. Can’t stop eating it.” And finally ate three of them instead of one that she usually eats. Even though I should not share this for the fear of evil eye, can’t resist as it made me so happy and out of the world. I am sure all mothers can understand how I feel.

Here’s sharing the recipe. Hope your family loves it too.

RECIPE:

Ingredients: { Makes around 8 Parathas}

For the outer dough:

3 Cups Whole wheat flour/ Atta

Salt to taste

Water as required to knead the dough

For the inner filling:

2 Cups Instant Oats

1/2 Cup Curd/ Yogurt

3 green chillies, finely chopped

A small piece of ginger, minced

3 garlic cloves, minced (optional)

Few curry leaves, finely chopped

2 Tbsp of finely chopped Coriander leaves

2 tsp Garam masala powder

1 tsp Red chilli powder

Salt to taste

Oil or ghee to cook the parathas

Step by step recipe:

1. Take wheat flour and salt in a bowl and add water. Knead to form a smooth dough. Keep aside.

2. Now take instant oats in another bowl and add curd one spoon at a time and keep mixing till it looks like one wet mixture. I required 1/2 Cup curd for 2 Cups Oats.

This should be the consistency of the mixture. It should be thick.

3. Now add ginger, garlic, green chillies, curry leaves, coriander leaves, garam masala powder, red chilli powder and salt.

4. Mix well and divide into equal portions.

5. Now divide the wheat dough also into equal number of balls. Take one and roll a little. Place one oats portion inside it.

6. Close and seal the edges.

7. Using dry flour, roll into a big circle like you roll regular parathas.

8. Now place it on a hot tava and cook both sides using ghee or oil.

9. Enjoy it hot with curd or any side dish. We love it with Amma’s tomato chutney.

Notes:

* Don’t add a lot of curd than required or you will have difficulty filling it if it is more wet.

* The masalas and spices are to taste. I sometimes skip garlic or curry leaves if I don’t have. It’s all upto how your family loves it.

* I take out the green chilly before feeding each bite to my kids. You could skip it from their mixture itself if needed.

Click on the image to save the recipe on Pinterest

For all my Oats recipes like idlis, dosas, pizza and cake, check out:

Oats Recipe Collection

Eggless Tomato Omelette

As a kid, I used to wait for Amma to make these tomato omelettes for me from leftover dosa batter. I loved a lot of tomatoes in them and Amma used to purposely give the omelettes which had the most tomato pieces to me and take the less ones for herself. Such is a mother’s selfless love and I understand it now being a mother myself.

These can be made even without the leftover batter by just adding the flours and mixing. I realised it during my pregnancy when I was craving for them a lot and did not have leftover batter. Quickly mixed this batter and there came out these beautiful tomato omelettes with Amma’s love in every bite.

Dedicate this post to you Amma. Love you very much 😍😘

RECIPE:

Ingredients:

2 Cups Besan/ chikpea flour

1 Cup Rava/ wheat semolina

1/2 Cup Rice flour

2 large Tomatoes

1 medium sized Onion

3 green chillies

2 Tbsp Coriander leaves

Salt to taste

Step by step recipe:

1. Take the besan, rava and rice flour in a large mixing bowl. Add salt too.

2. Now slowly add little by little water and whisk till it’s free of lumps and you get a smooth batter of slightly thick consistency.

Note: If you have leftover dosa batter. Add that to the dry flours and then add water as needed.

3. Add chopped tomatoes, onions, green chillies and Coriander leaves.

4. Mix well.

5. Heat a dosa pan and pour a ladle of this batter onto it. Cook on medium flame.

6. When the surface cooks, add oil or ghee and flip to cook for a minute.

7. Remove and repeat the same with the rest of the batter. Enjoy them hot with butter or chutney.

Notes:

* If using leftover dosa batter, add at step no 2 along with water to make a smooth batter.

* Do add loads of tomatoes and onions for a wonderful bite to these Omelette.

* You could also prepare this batter and refrigerate the previous night for breakfast the next day.

Charmbure upkari

This post is dedicated to my father who’s favourite snack to make is Charmbure Upkari and my husband who’s only reply for “what’s for evening snack?” is Charmbure Upkari. My kids have gone after them and they love it a lot too.

It’s easy for me as well. Hardly takes time to mix everything and is so tasty that the whole family is happy with me. I am happy too since it’s a healthy snack to munch on.

Charmbure Upkari is most famous during temple festivals in South Canara regions and also available outside temples at other times. They give it in a paper cone and it’s so delightful to see them make it. Some also add raw mango to it but since we don’t get it here, I make it without it. Here’s sharing how we make our Charmbure Upkari.

RECIPE:

Ingredients:

2 Cups Puffed rice/ Charmburo/ Bhel

1/2 Cup Sev/ Bhujiya

3 Tbsp peeled and finely grated Carrot

1 small Onion, finely chopped

1 small Tomato, finely chopped

2 green chillies, finely chopped ( or to taste) *can skip if making for kids

3 Tbsp coriander leaves, finely chopped

1 Tbsp Peanuts

2 tsp Sambar powder

1/2 tsp Red chilli powder (or to taste) *can skip if making for kids

2 tsp Coconut oil (plus 1 tsp to fry peanuts)

1 Tbsp Lemon juice

Salt to taste

Step by step recipe:

1. Add the finely chopped Onions, tomatoes, coriander leaves, green chillies, grated carrots in a large mixing bowl. (Add finely chopped raw mango too if available)

2. Add sambar powder, salt and red chilli powder( if adding).

3. Now fry peanuts in oil and add to the mixture along with sev/ bhujiya.

4. Now add the Bhel/ Charmburo along with coconut oil and lemon juice. Mix well.

5. To a taste test and add more sambar powder/ red chilli powder/ lemon juice if required. Serve Immediately. Else the Charmbure upkari turns soggy and not crisp.

Notes:

* If I have the time, I sometimes dry roast the Charmburo/ Bhel before adding to the upkari so that it does not turn soggy while serving.

* Do serve it immediately after mixing everything. Else it turns soggy.

* All the ingredients are to taste and you can make changes according to your family’s taste buds.

Whole wheat vegetable Momos

I am always on look out for variety dishes to feed my tantrum throwing 4 year old. She’s easily bored eating the same dish. I ate this just yesterday, she says looking at rice. Off late her favourite chapatis are also given a thumbs down sign while I get sleepless nights on how to feed her anything apart from dosas, dosas and more dosas.

Welcome momos!

Don’t know if it’s because of the exciting name or the gorgeous appearance or indeed it did taste delicious, she loved it. And I heaved a sigh of relief. Carbs for her ever lasting energy and veggies for the nutrients, a perfect win win situation.

I had got this idea when I made steamed wheat modaks during Ganesh Chaturthi but never thought it would turn out so yummy. A keeper of a dish this turned out to be.

Sharing the recipe with all of you. Happy and healthy cooking!

RECIPE:

Ingredients:

2 Cups whole wheat flour/ Atta

Salt to taste

Water to knead the dough

For the filling:

1 tsp Oil

1 medium sized Onion

1/4 Cup finely chopped Mushrooms

1/4 Cup finely chopped Capsicum

1/4 Cup finely chopped Carrots

1/4 Cup finely chopped Cabbage

1/2 tsp Soya sauce

1/2 tsp Chilli sauce (optional)

1 tsp Tomato ketchup

1/2 tsp Pepper powder

Salt to taste

Step by step recipe:

1. Take wheat flour and salt in a bowl and knead using water to a soft but firm dough. The dough should not be sticky.

2. Take all the finely chopped veggies and keep it ready.

3. Heat oil in a pan and add onions. Fry them till turn translucent. Now add the rest of the veggies along with salt and pepper powder and keep frying on high flame.

4. Keep frying while adding all the sauces and cook till they turn a little soft. Since we will steam them later, no need to cook them fully.

5. Divide the outer and inner filling into equal portions.

6. Now apply little oil in the your fingers and take a portion of the dough in your hands. Press them between your palms and then using the fingers, make a small roundel as shown.

A thinner version of puri

7. Now add a portion of the filling and seal the edges together as shown.

8. Now keep the water in the steamer to boil while you repeat the same with the rest of the dough.

I used my idli plates. Grease the plates with little oil.

8. Steam for 15 to 20 mins till the surface of the dough looks glossy and cooked. Remove and serve hot with ketchup or Schezwan chutney.

Notes:

* These have to be had hot to enjoy it just like regular momos. So leave all your works aside and enjoy them right after they come out of the steamer.

* You could spice up the filling by adding red chilli flakes too.

* I even add finely chopped broccoli and shredded paneer to the filling. They taste amazing too.

* Do not make the inner filling liquidy by adding more sauces as it will be difficult to hold the shape of momos.

* The outer roundel of wheat dough should be thinner than what we make for puris. Still it should be firm enough to hold the filling.

* After adding the filling and bringing the dough together to form the momo shape, make sure you pinch off the excess portion of dough if there is a lot of it.

Enjoy momo making!