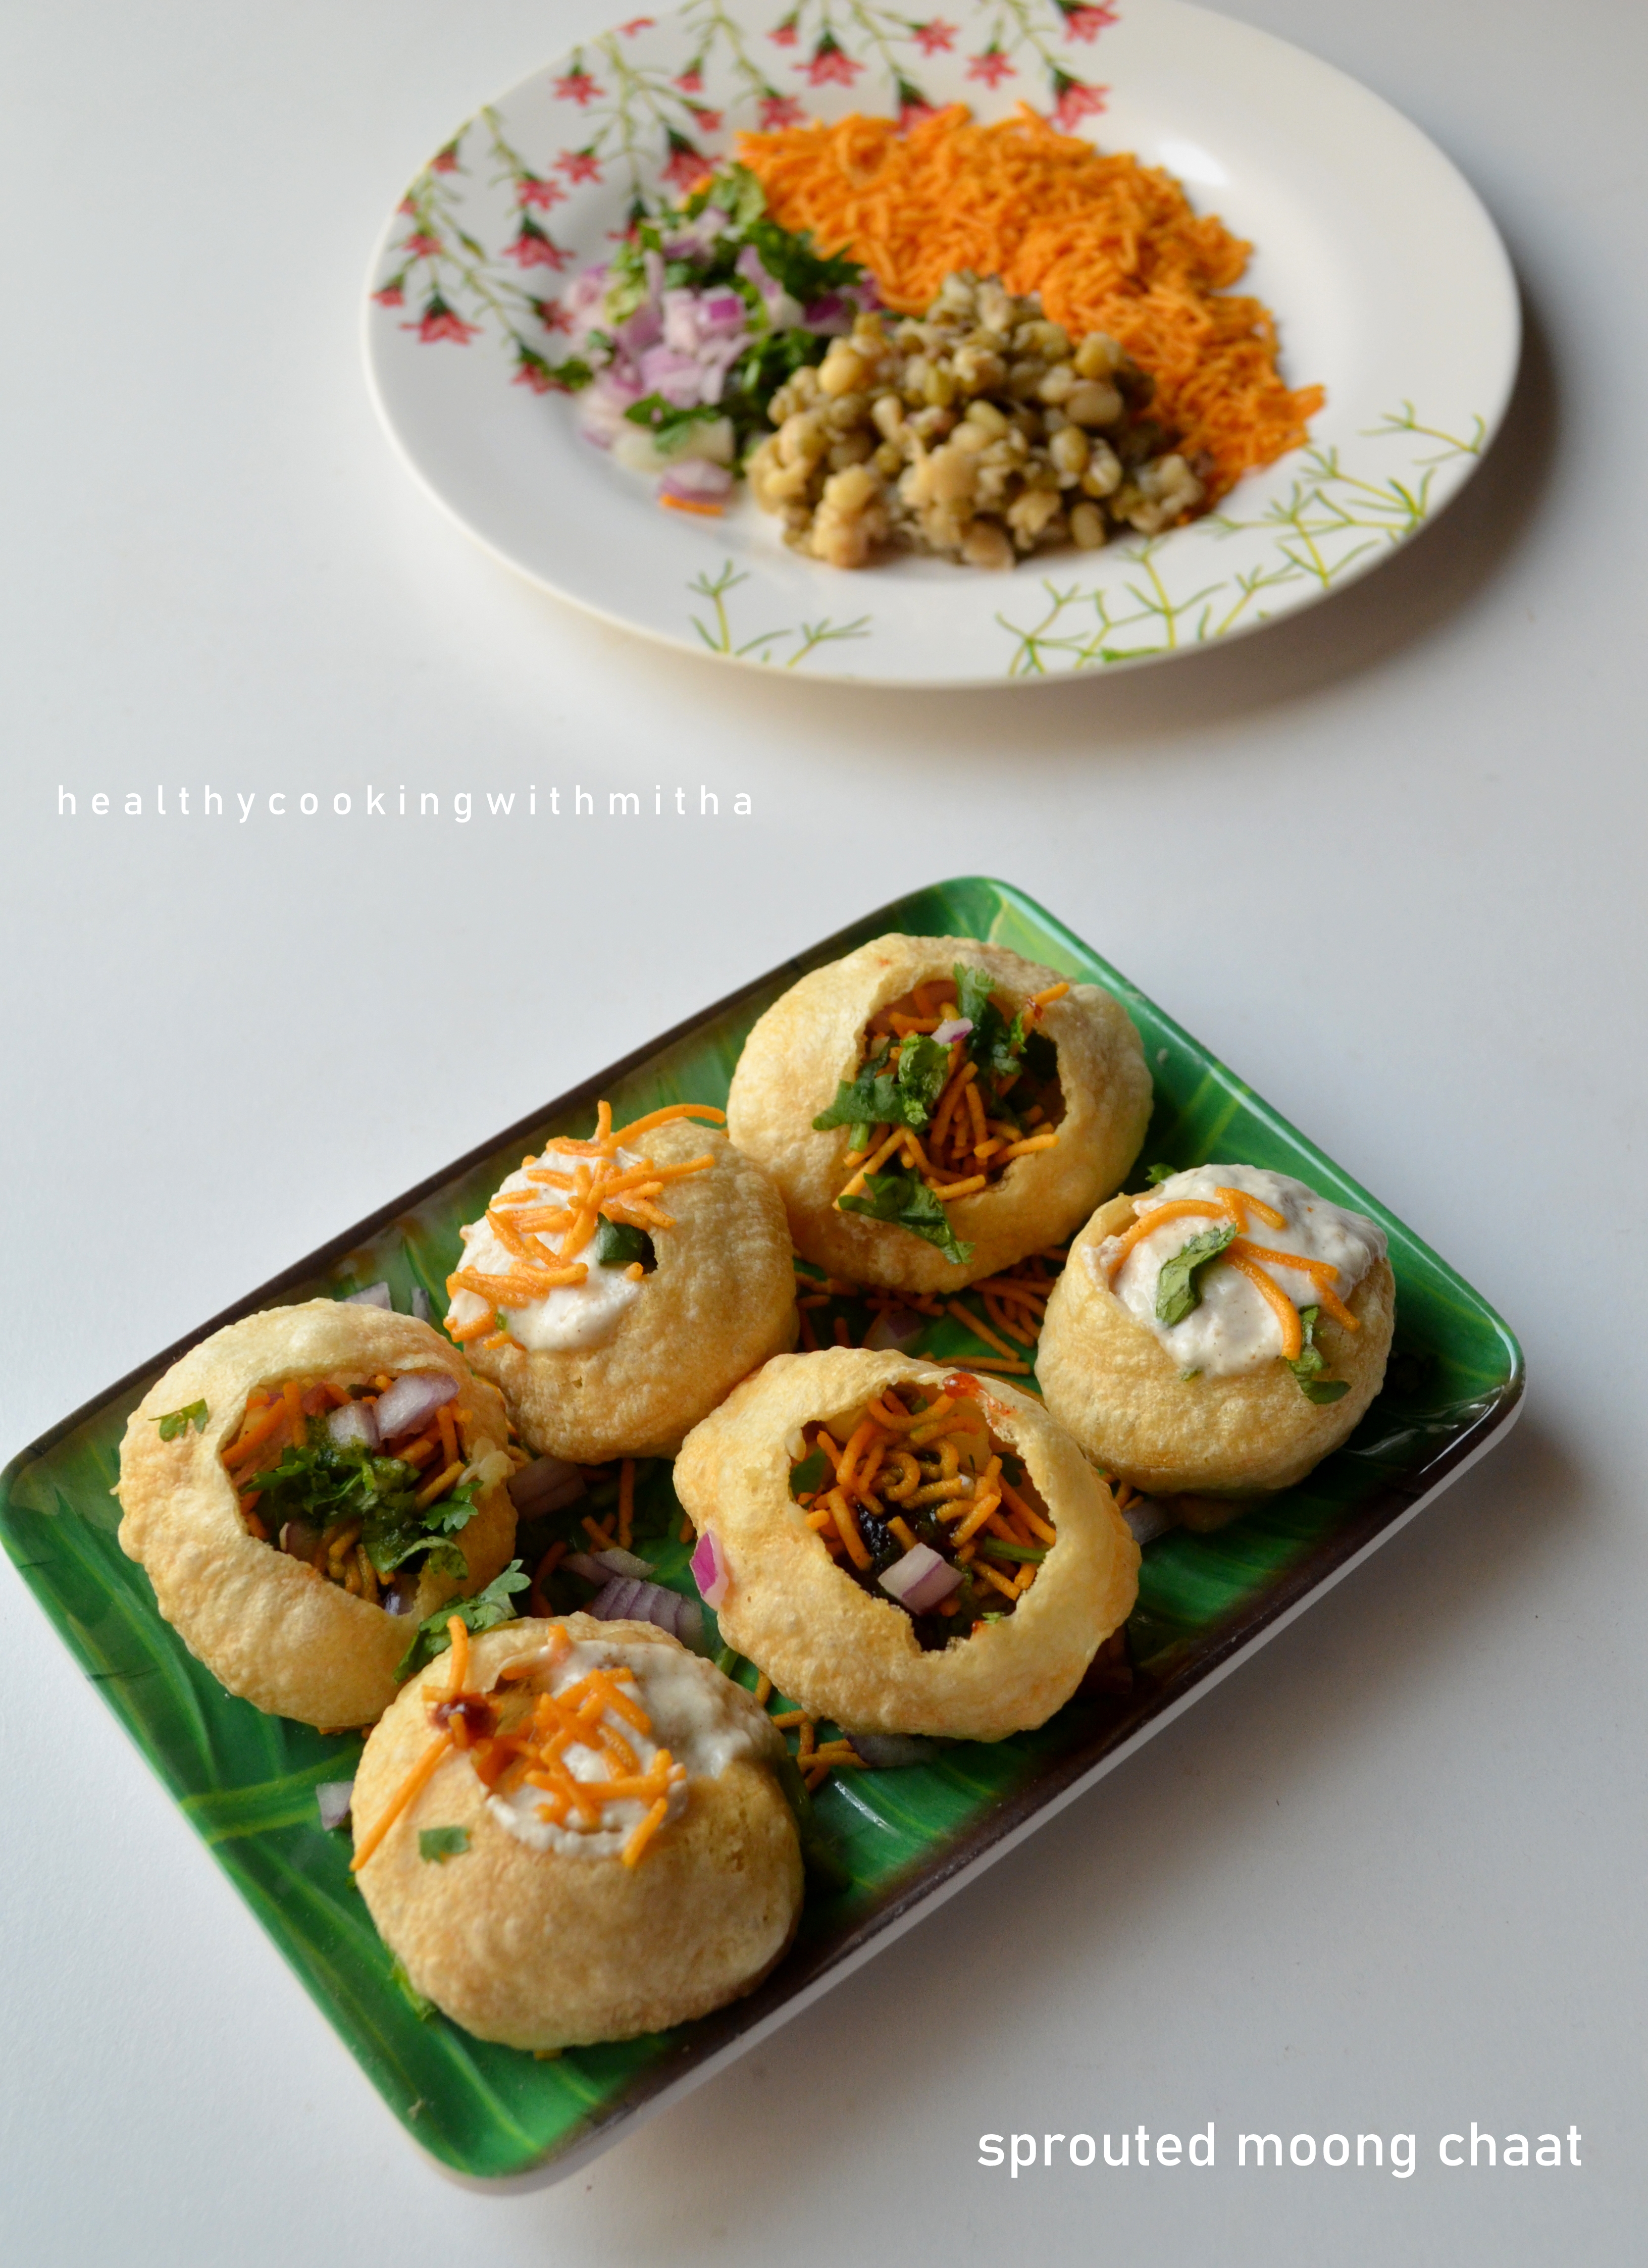
Welcoming my favourite chaat into my Chaat street page – Sev puri and Dahi puri. Since we don’t have any option of going out to enjoy chaats like before, I have learned to make them at home. Honestly, I am loving homemade ones more now as it turns so much tastier and I can customise it to make it healthy. These ones only have sprouts for filling instead of potatoes but still are loved a lot by my kids.
Children have this attraction to colourful unique looking foods and these puris are no less. They come running when I assemble them and can’t wait to gobble them down. My daughter is someone who can’t tolerate spice at all (she finds regular ketchup spicy sometimes and hates onion as she says it’s spicy too 😑😑), so her puris are only with moong filling, date chutney, yogurt mix, coriander leaves and bhujiya. Still she goes “oohh Ammaaaa. Yummmmmyyyyyy” over it. 😁
My two year old is a huge fan of onions and eats his with loads of onions and sprouted moong in it. Also a huge spice lover (who eats green chillies as it is from my upma and gives his best smile when I show shock on my face 😅), so green chutney too for him.
This is how my kids enjoy this chaat. Hope your kids enjoy it too. Happy and healthy cooking!
RECIPE:
Ingredients:
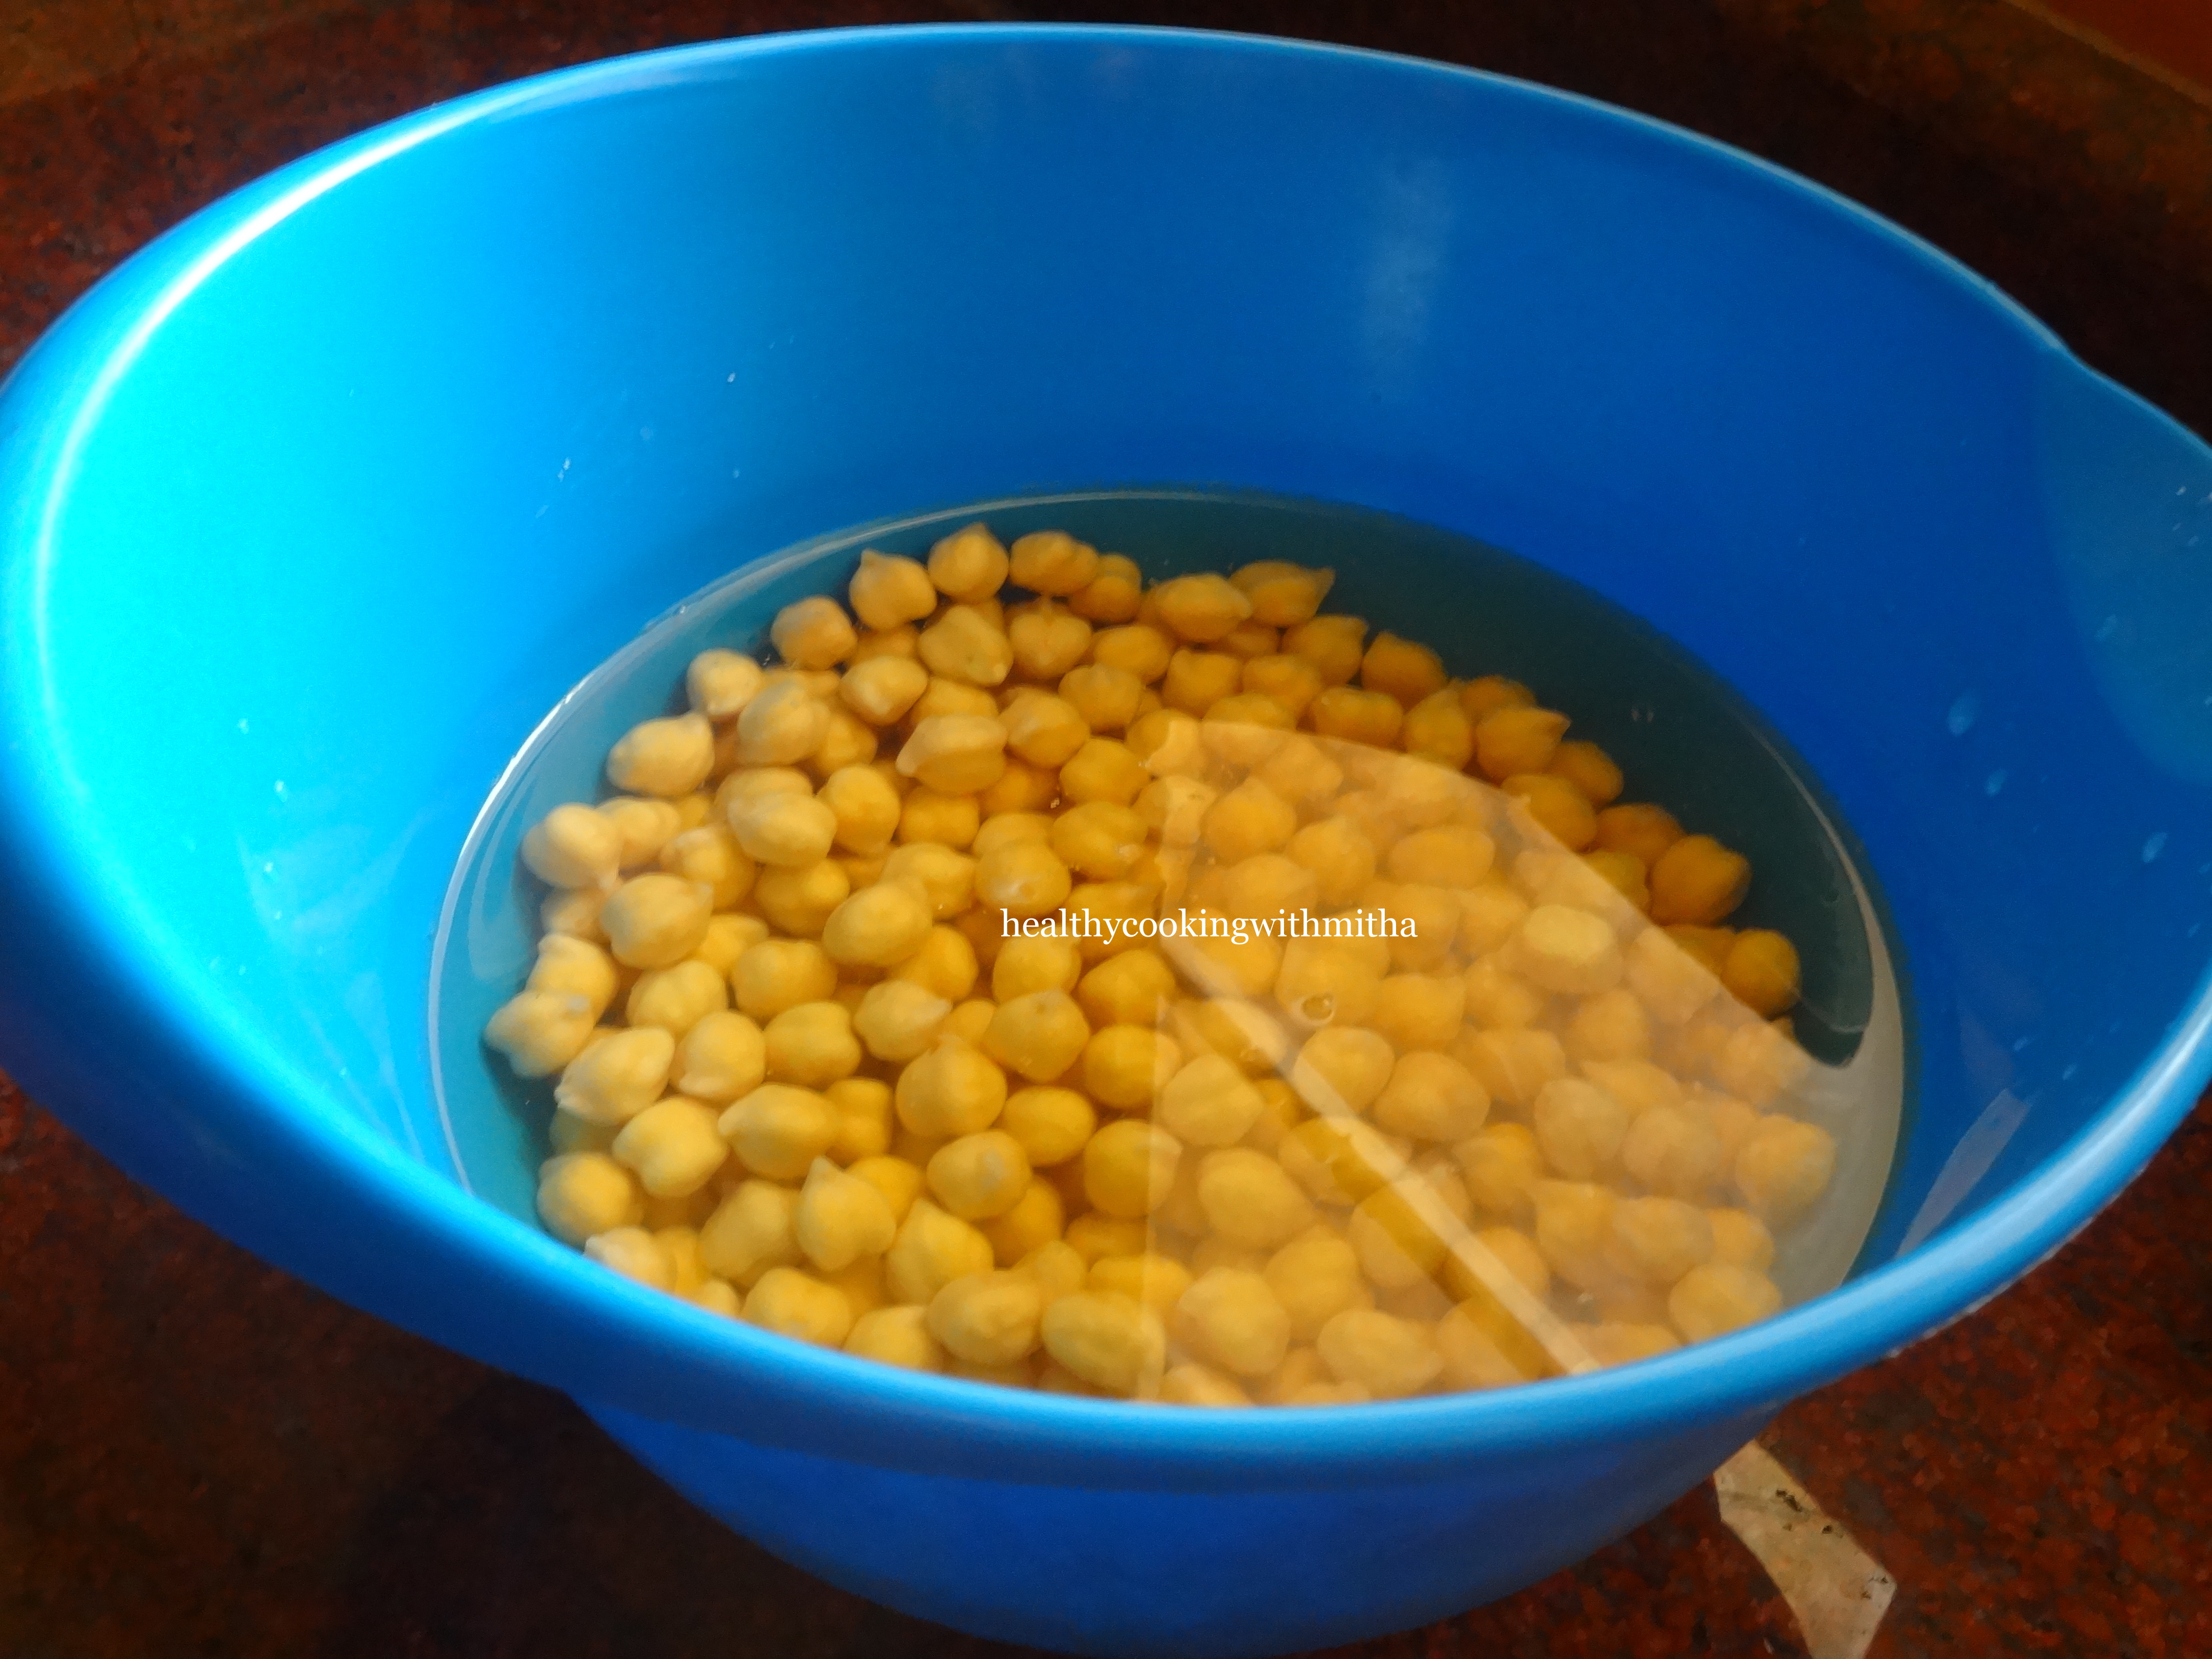
2 Cups Sprouted Green gram or Moong (check how to sprout moong here)
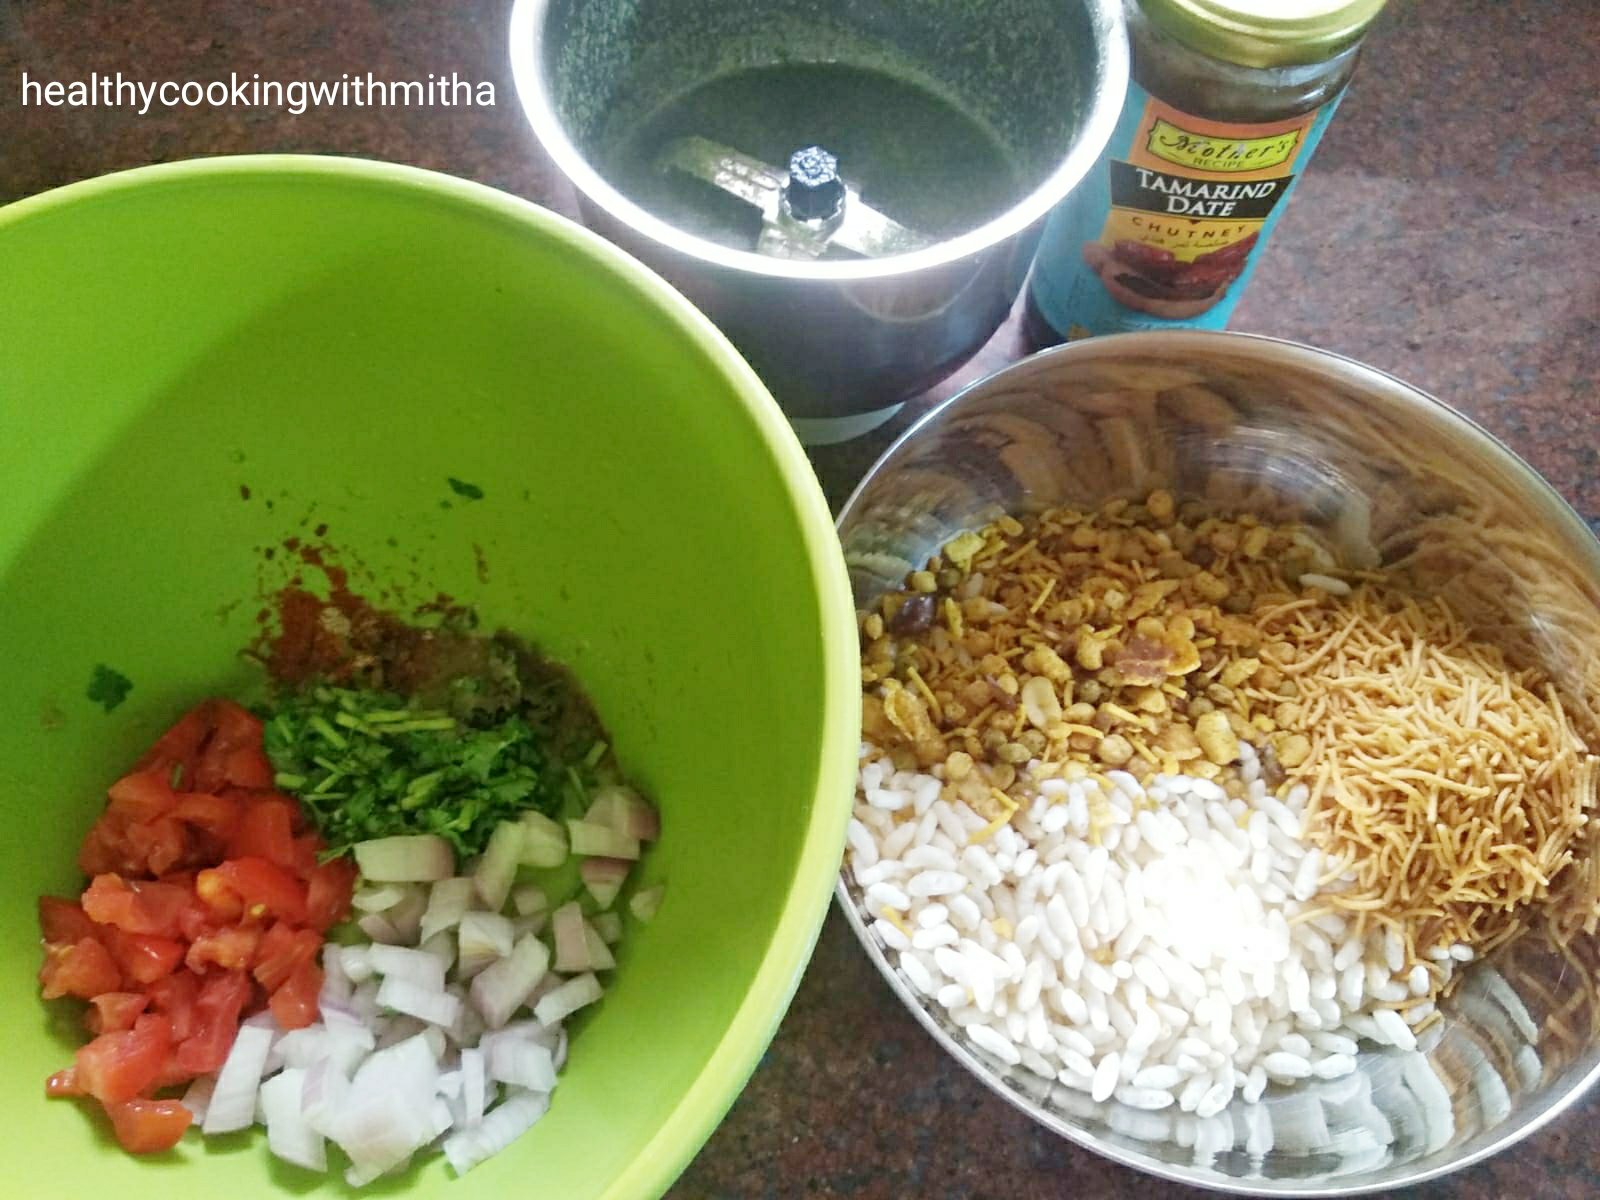
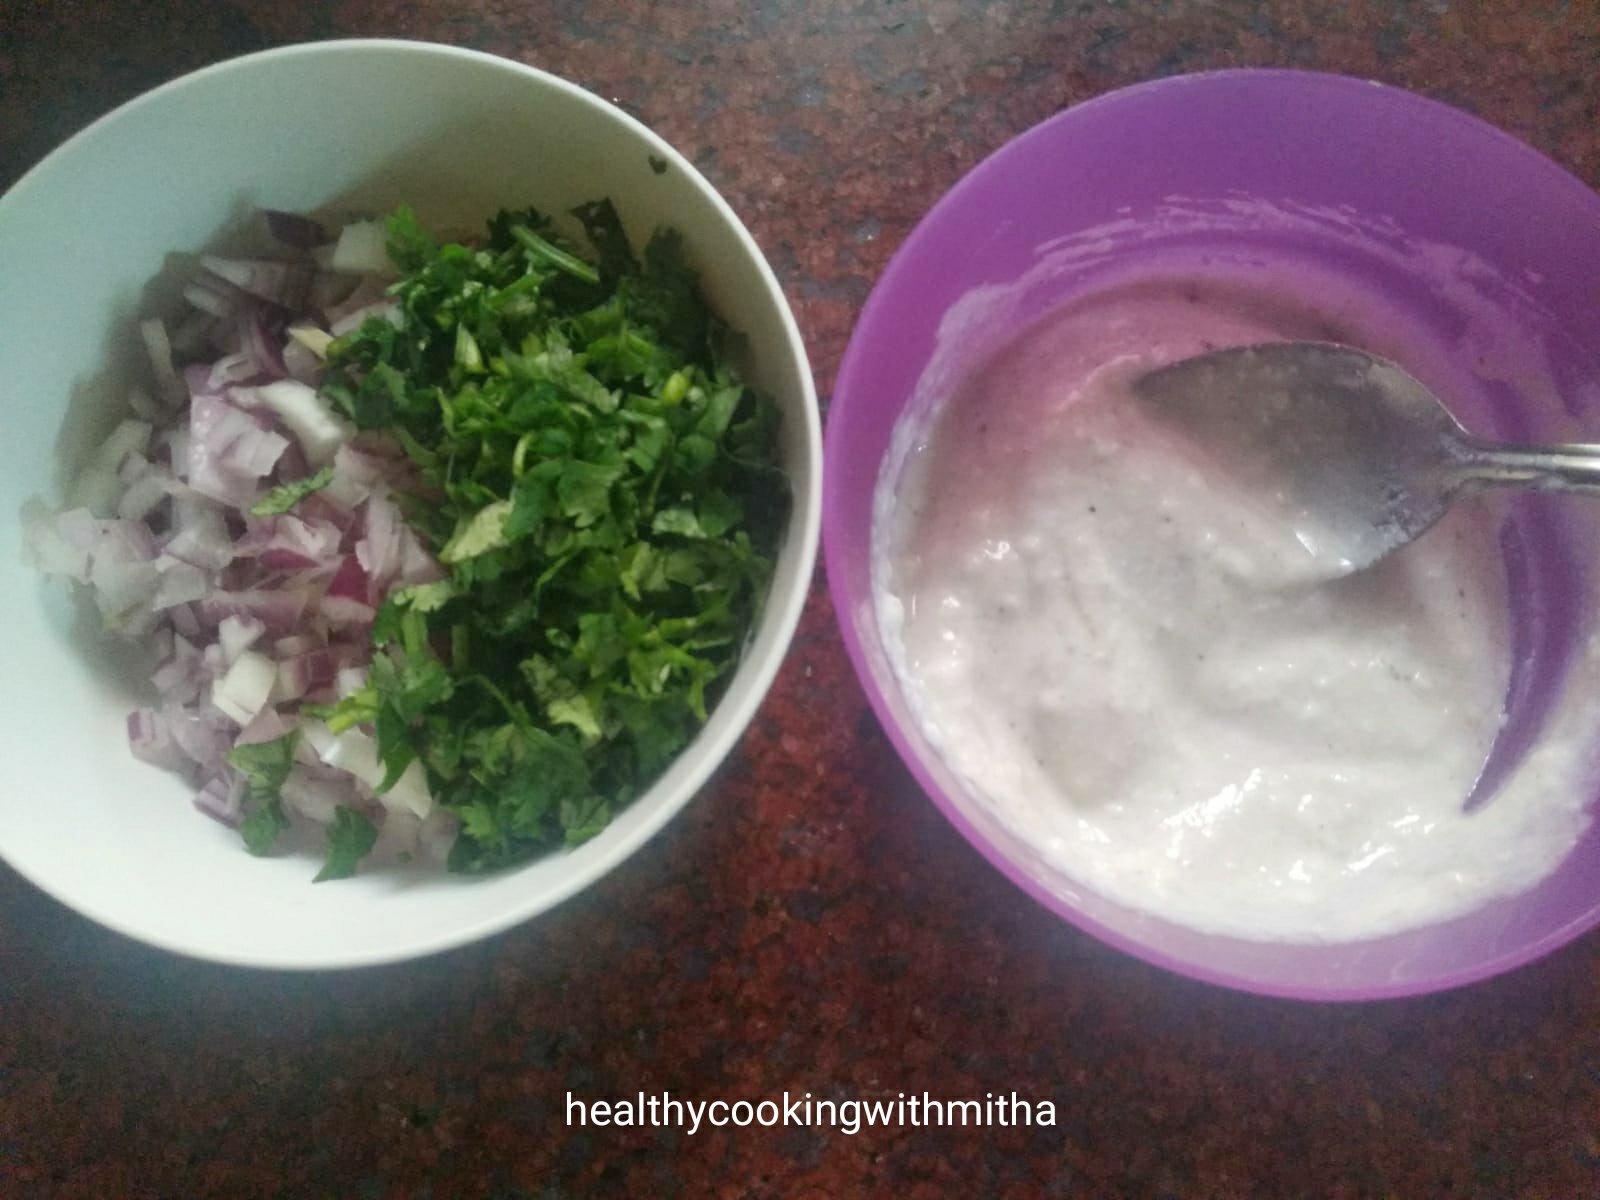
1 medium sized Onion, finely chopped
4 Tbsp finely chopped Coriander leaves
Coriander leaves – Mint chutney (as needed) *check notes
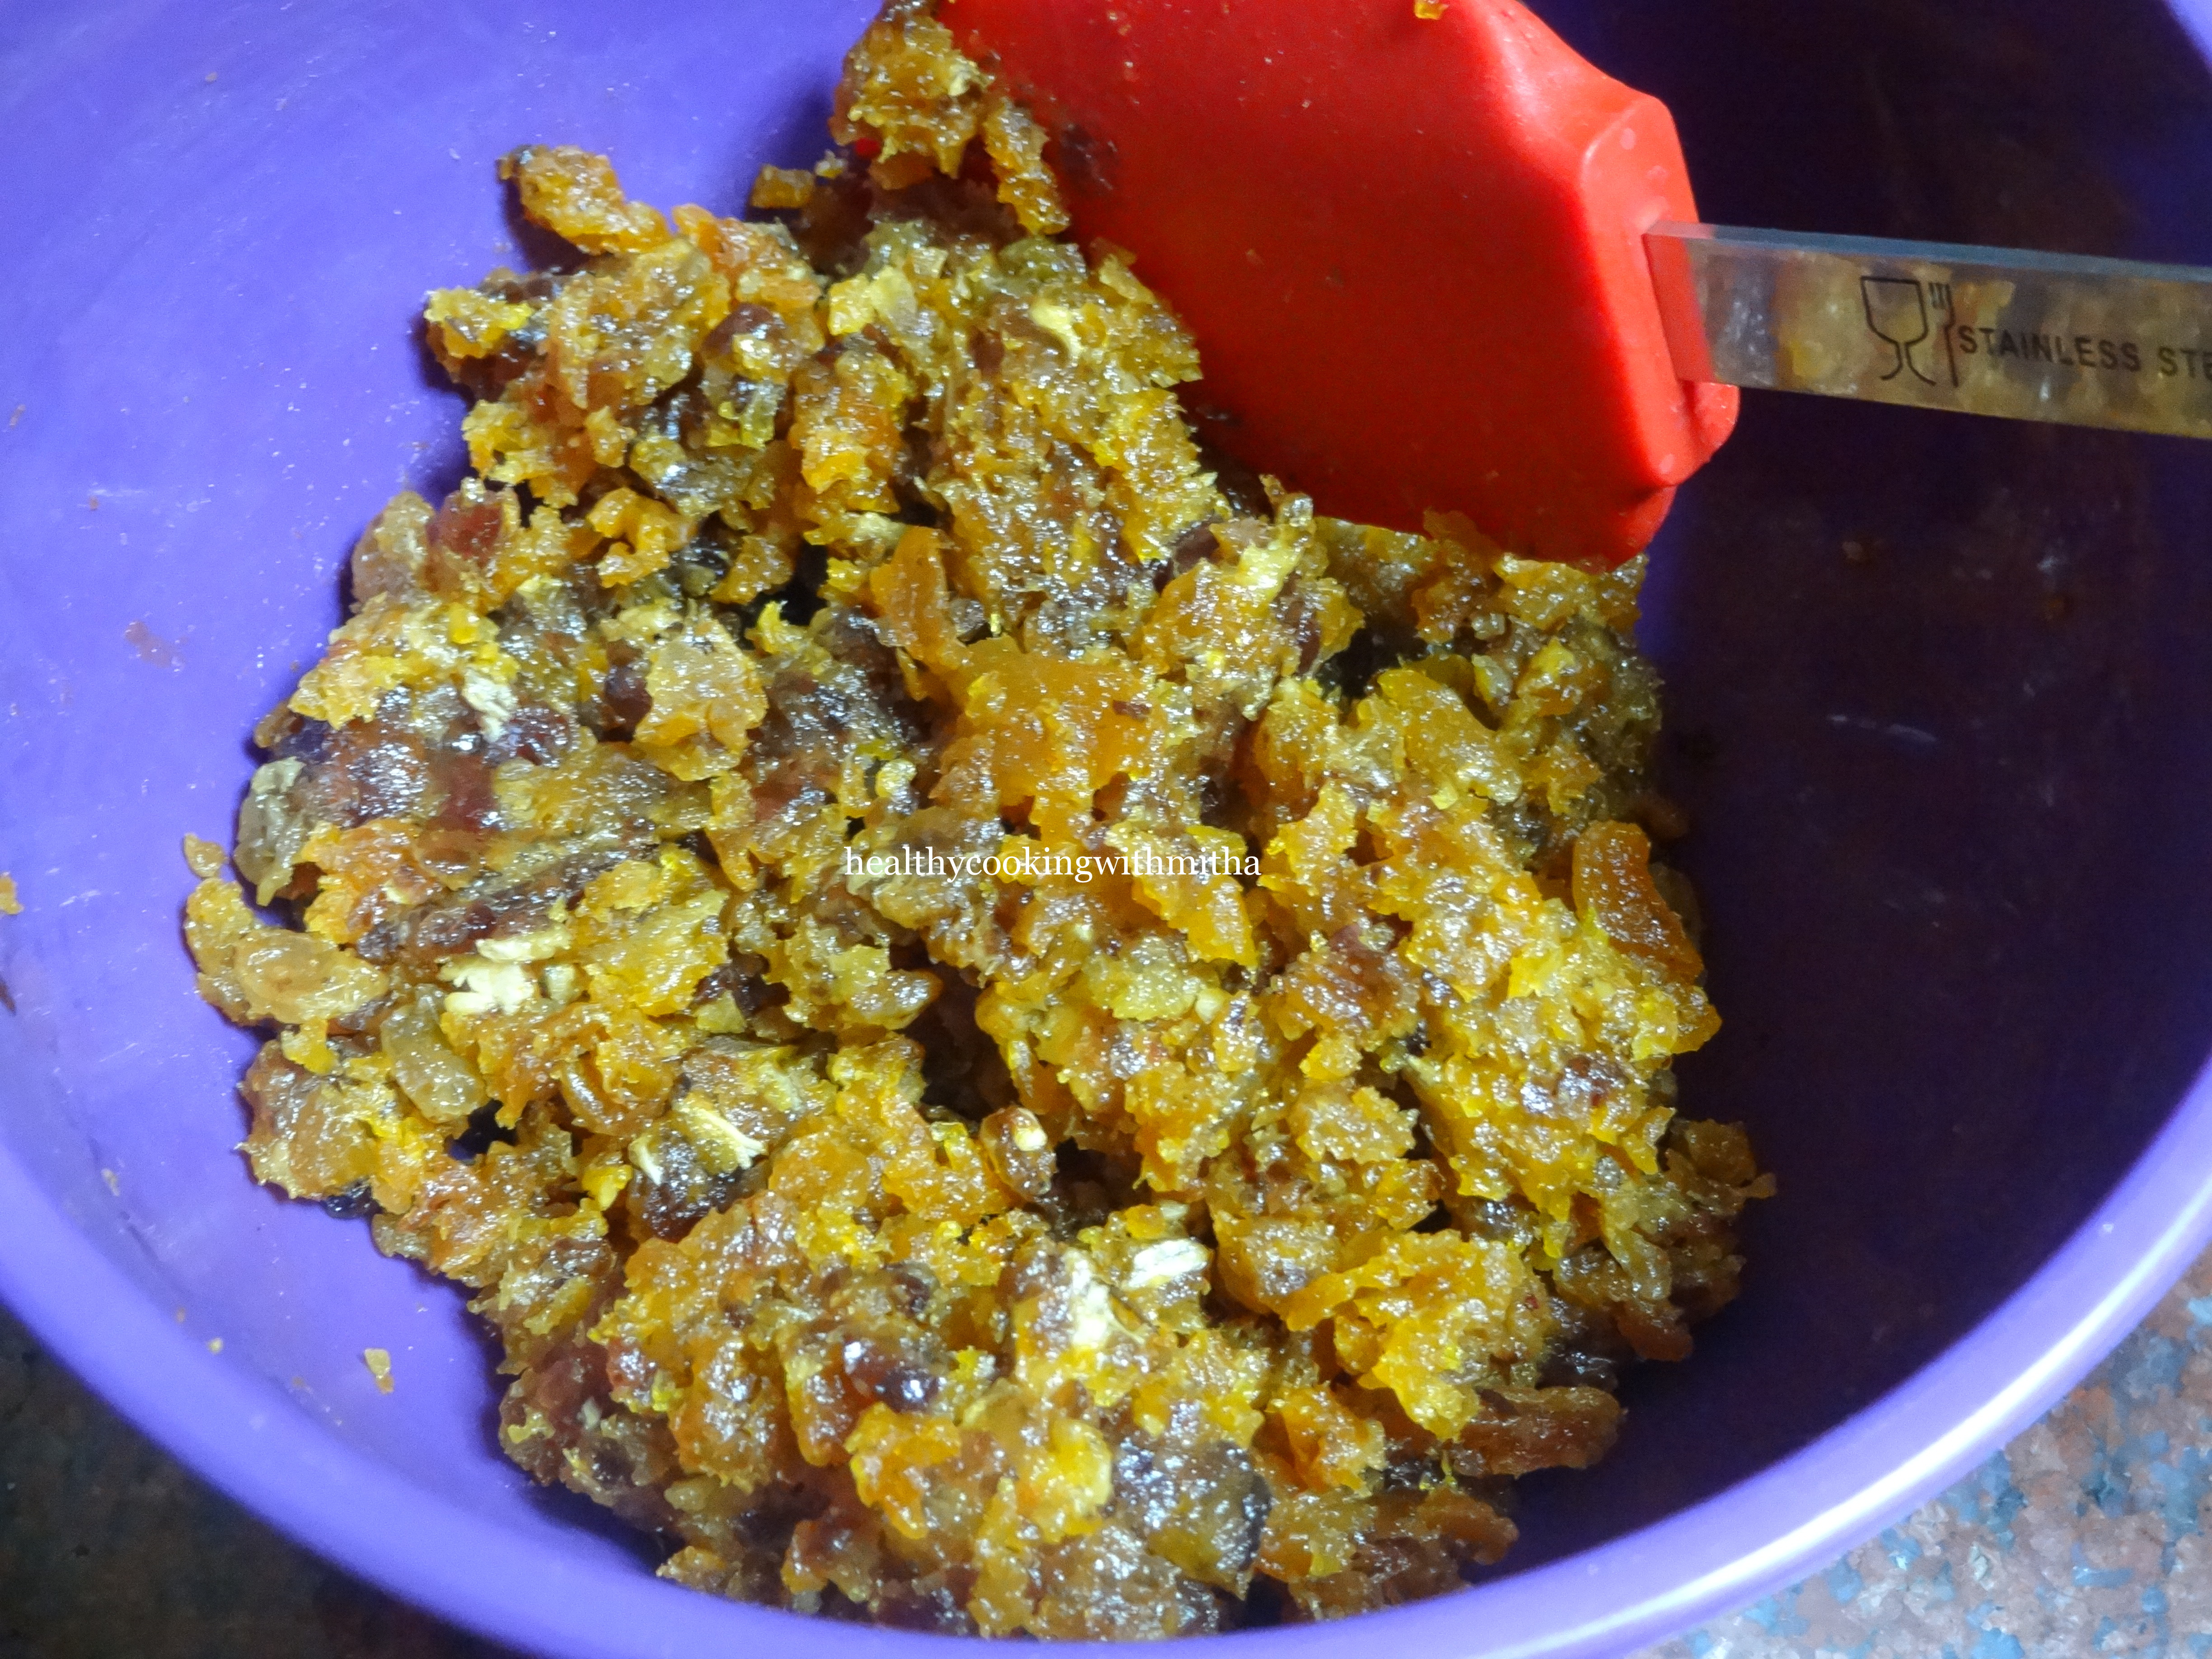
Dates Tamarind chutney (as needed) * check notes
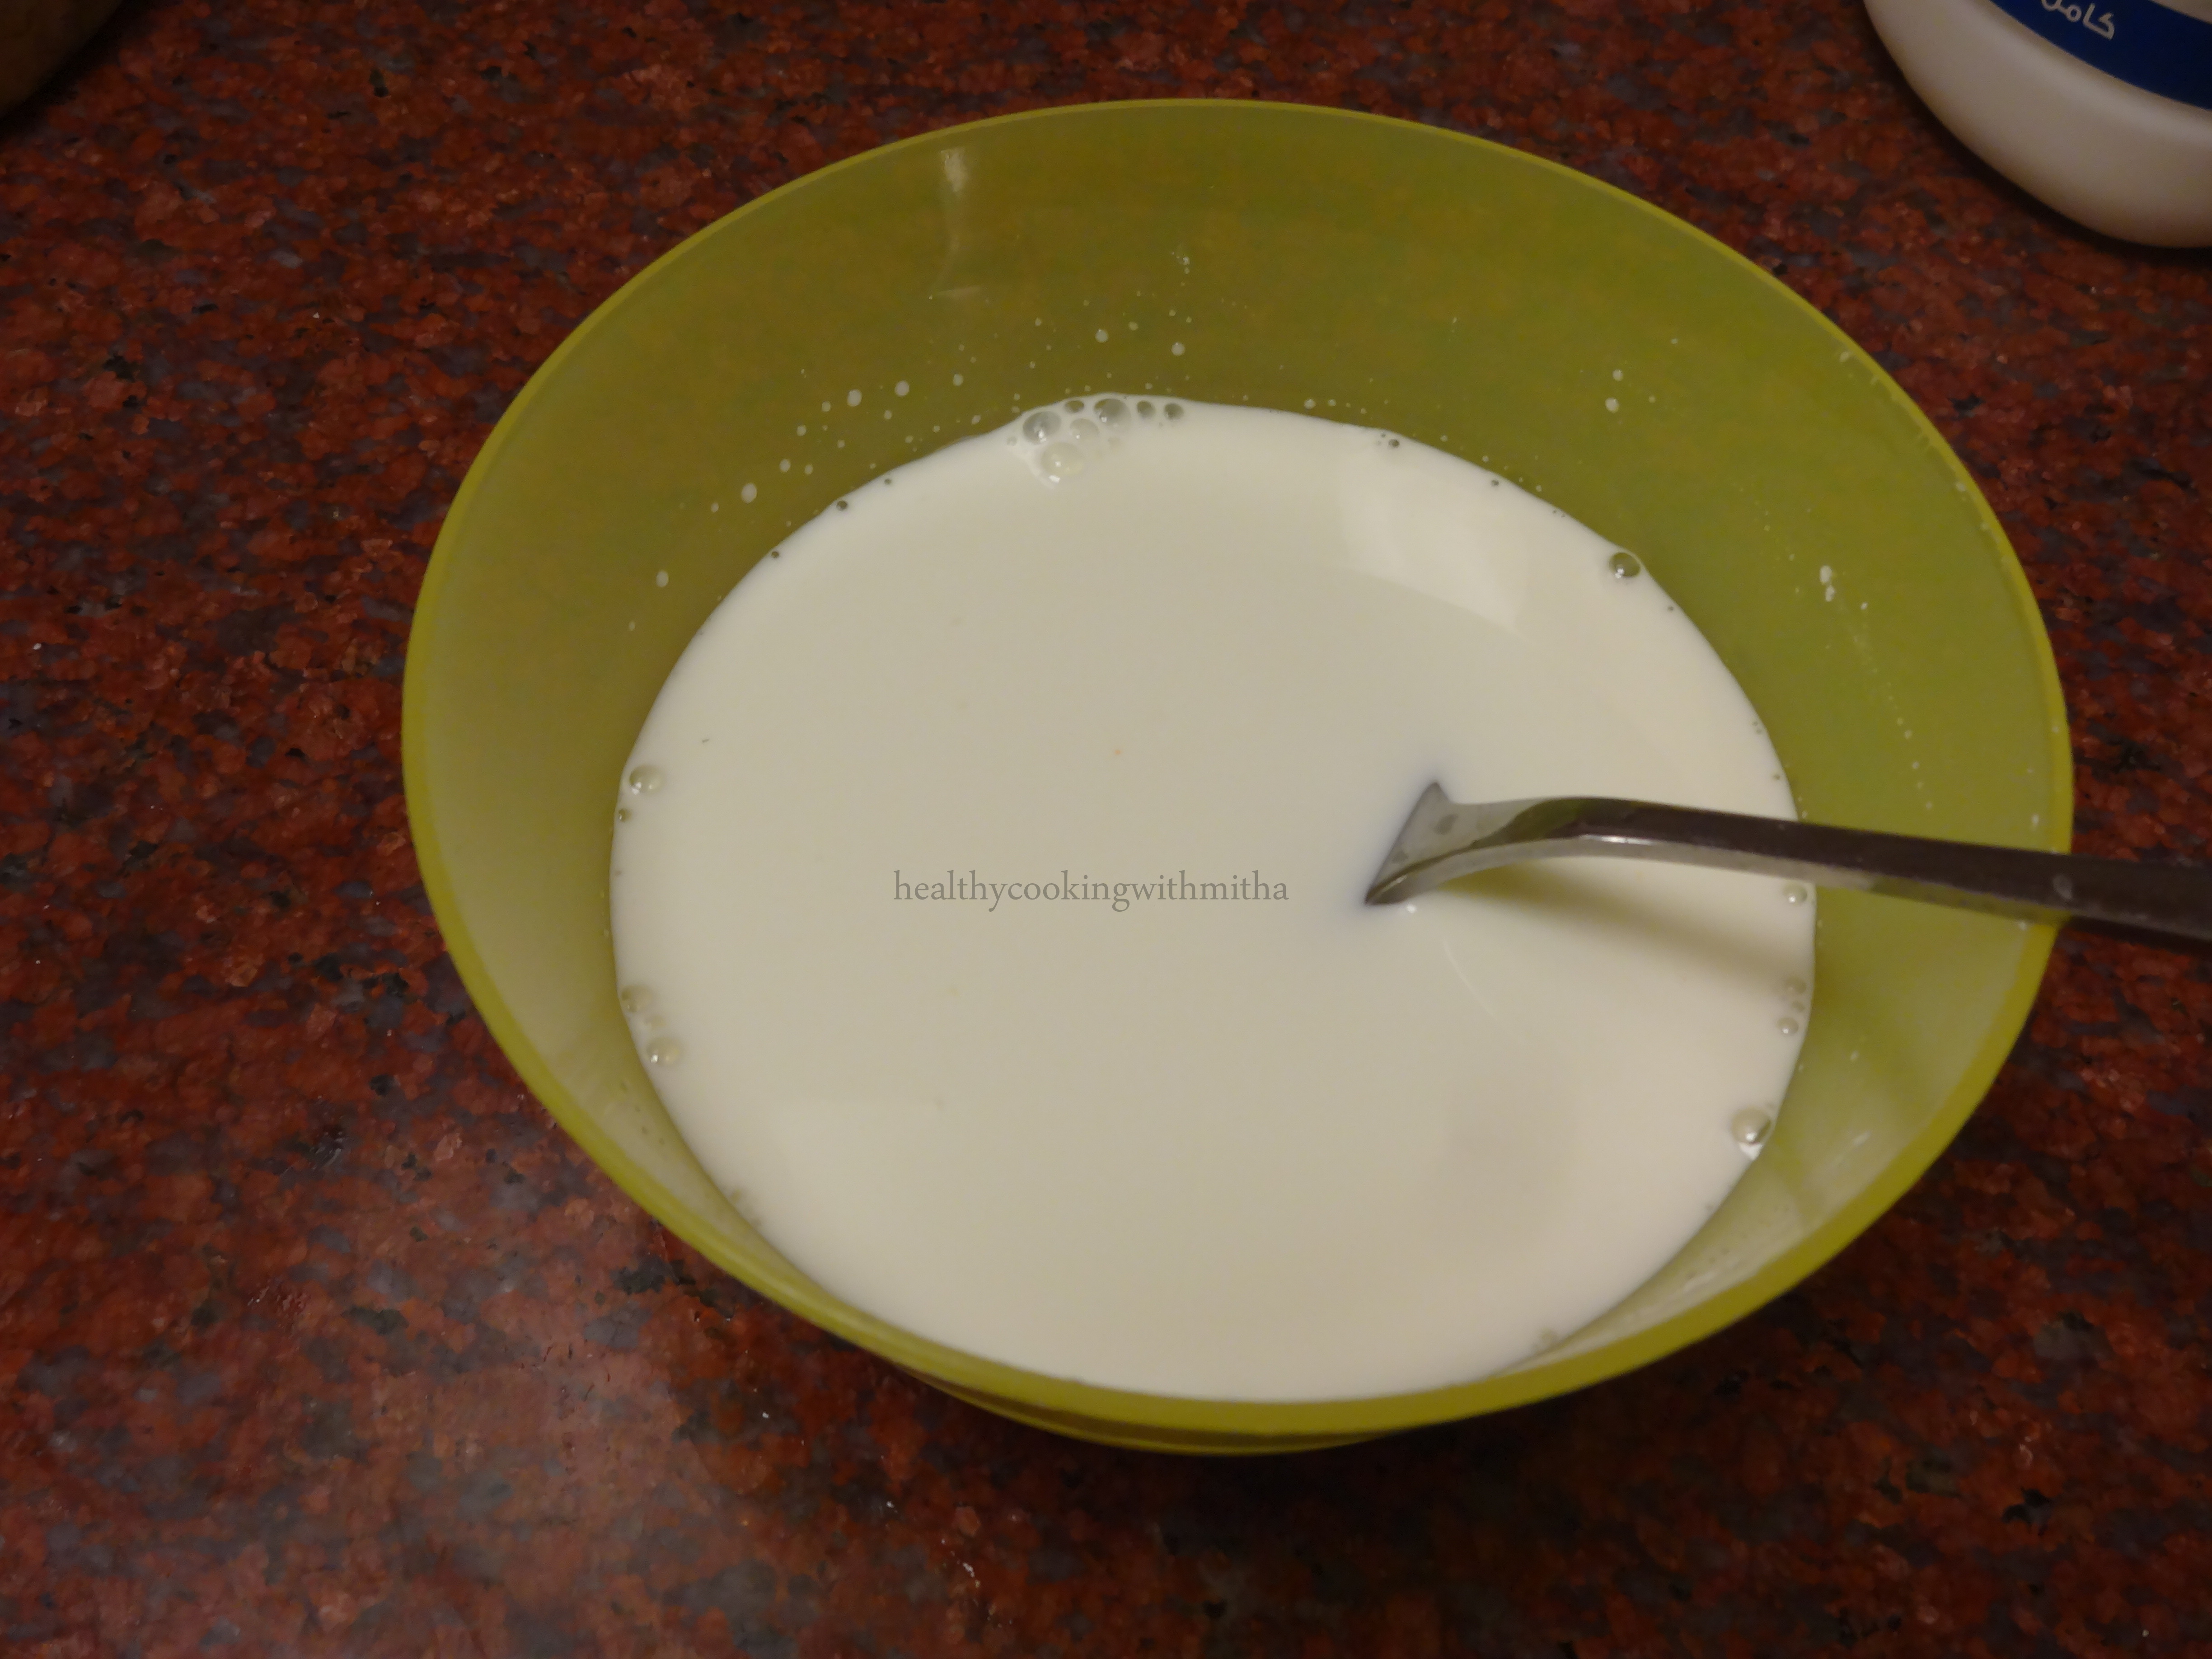
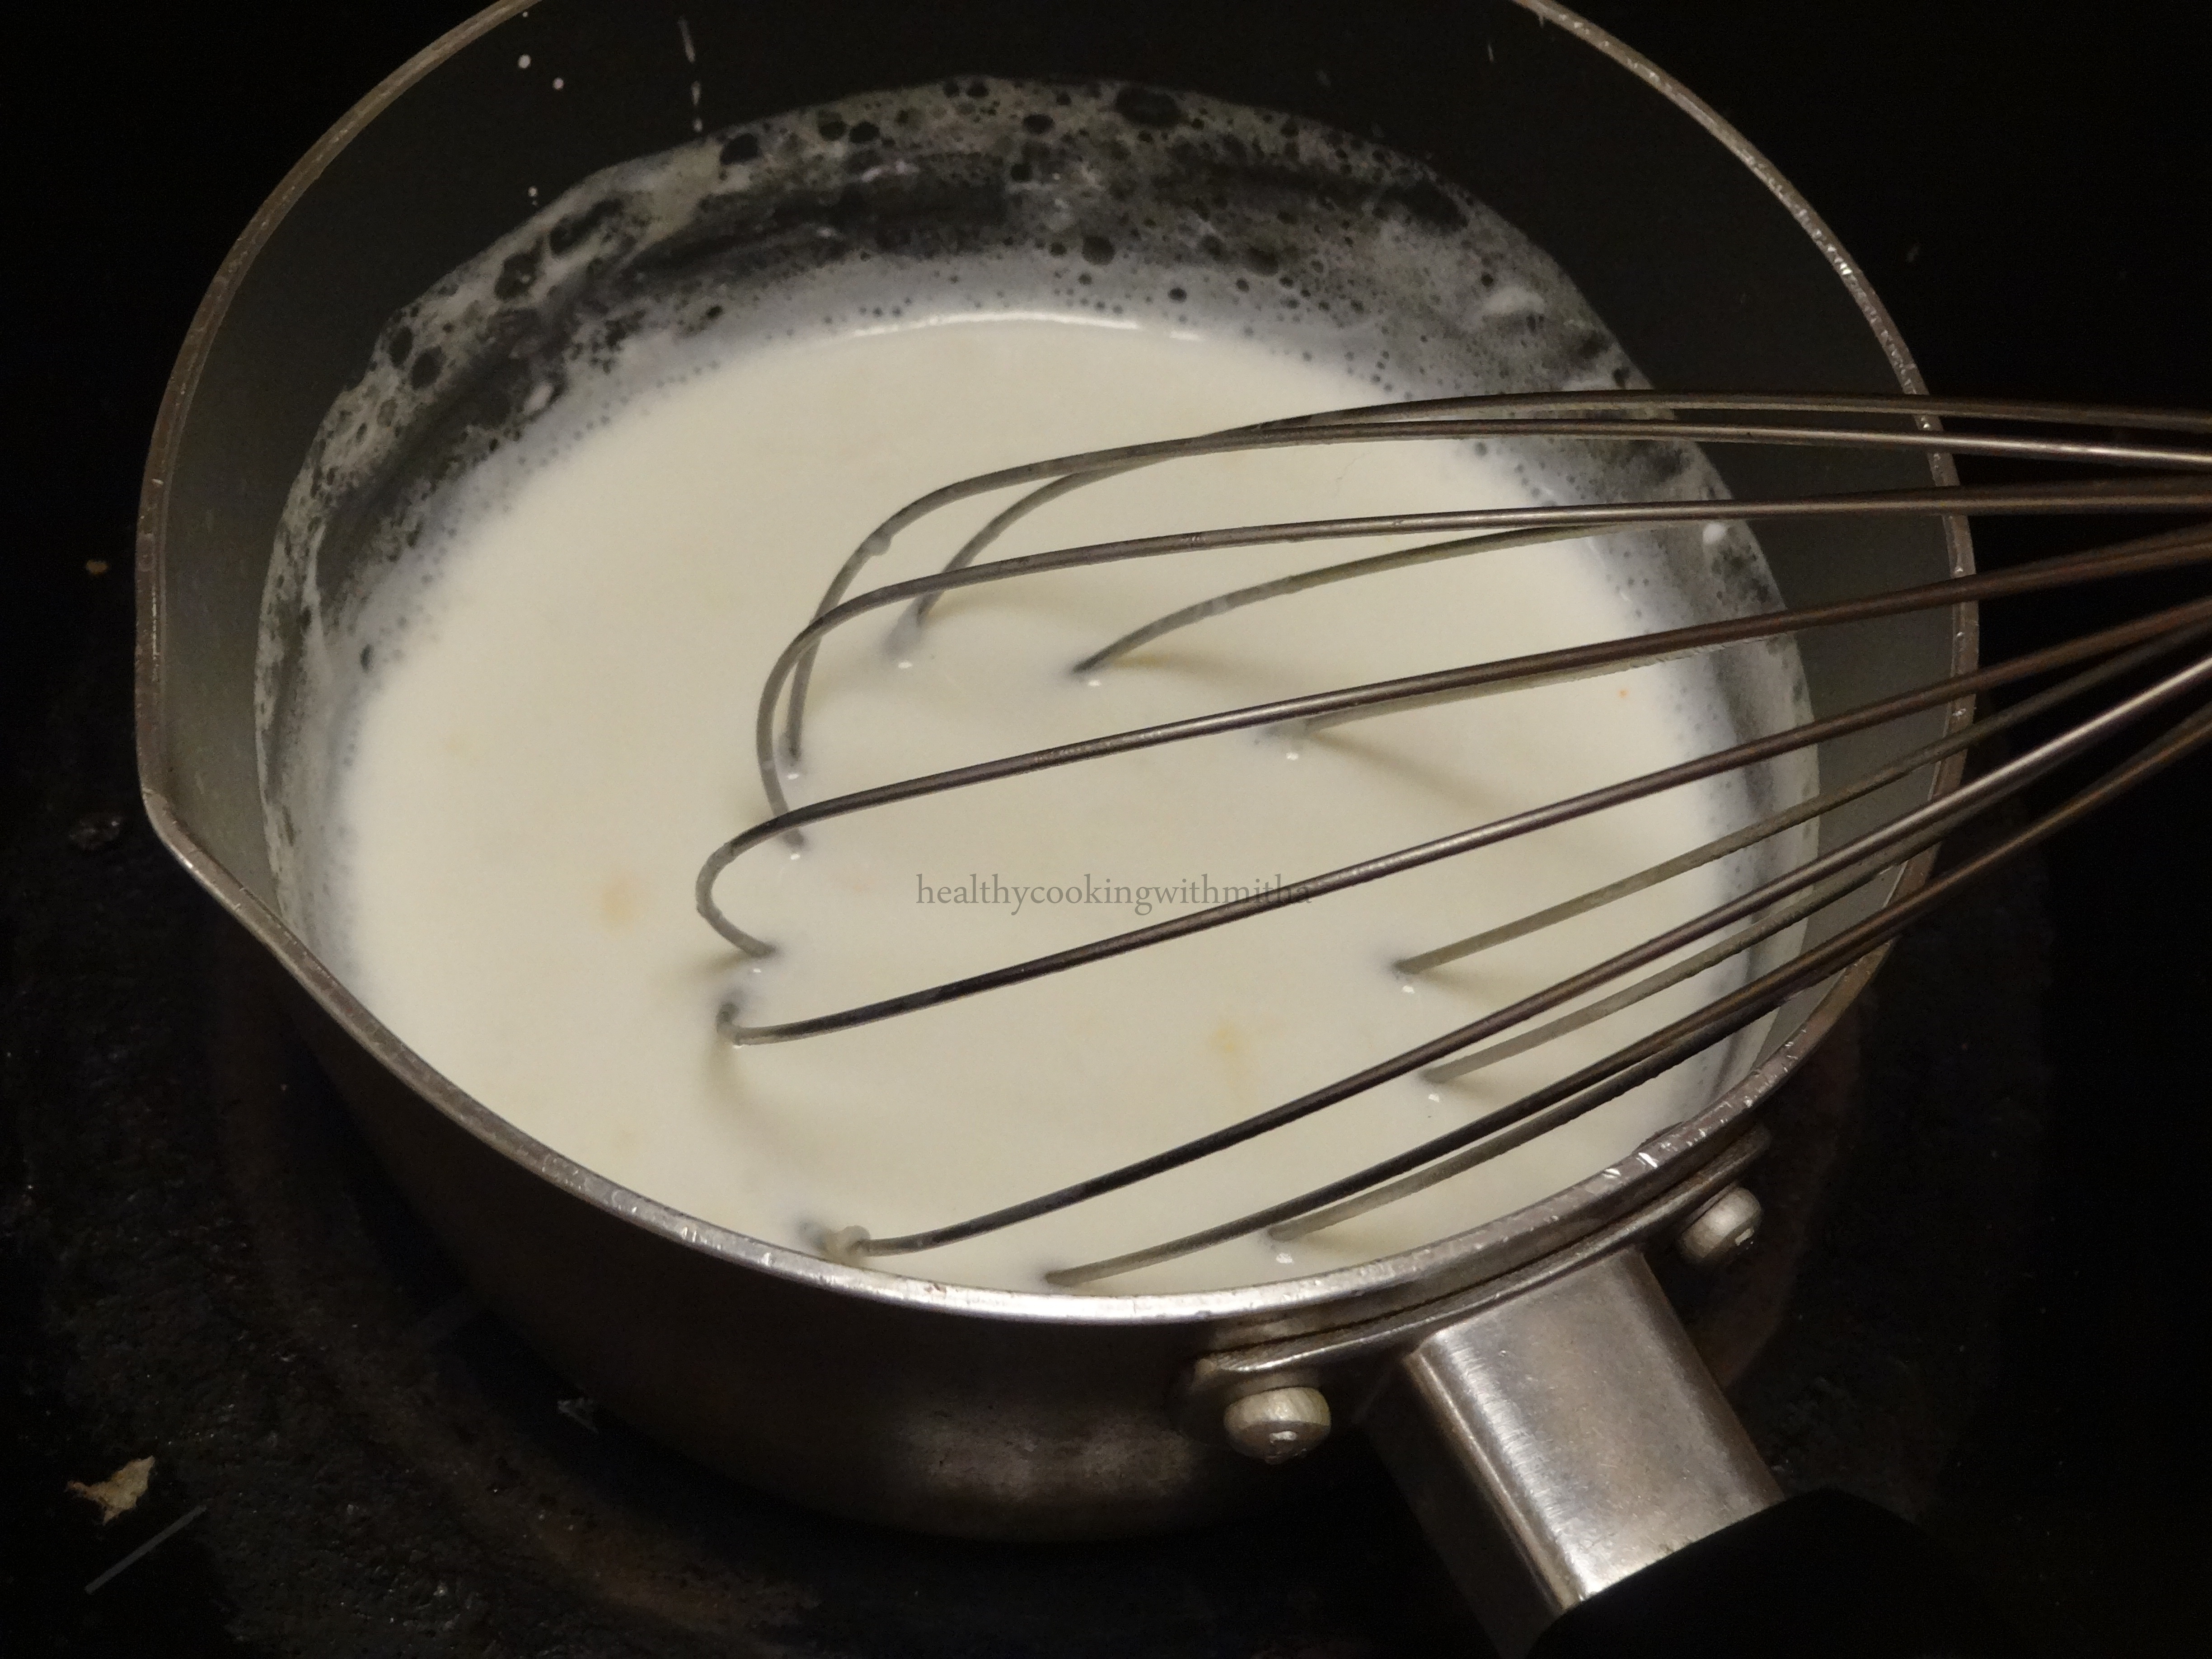
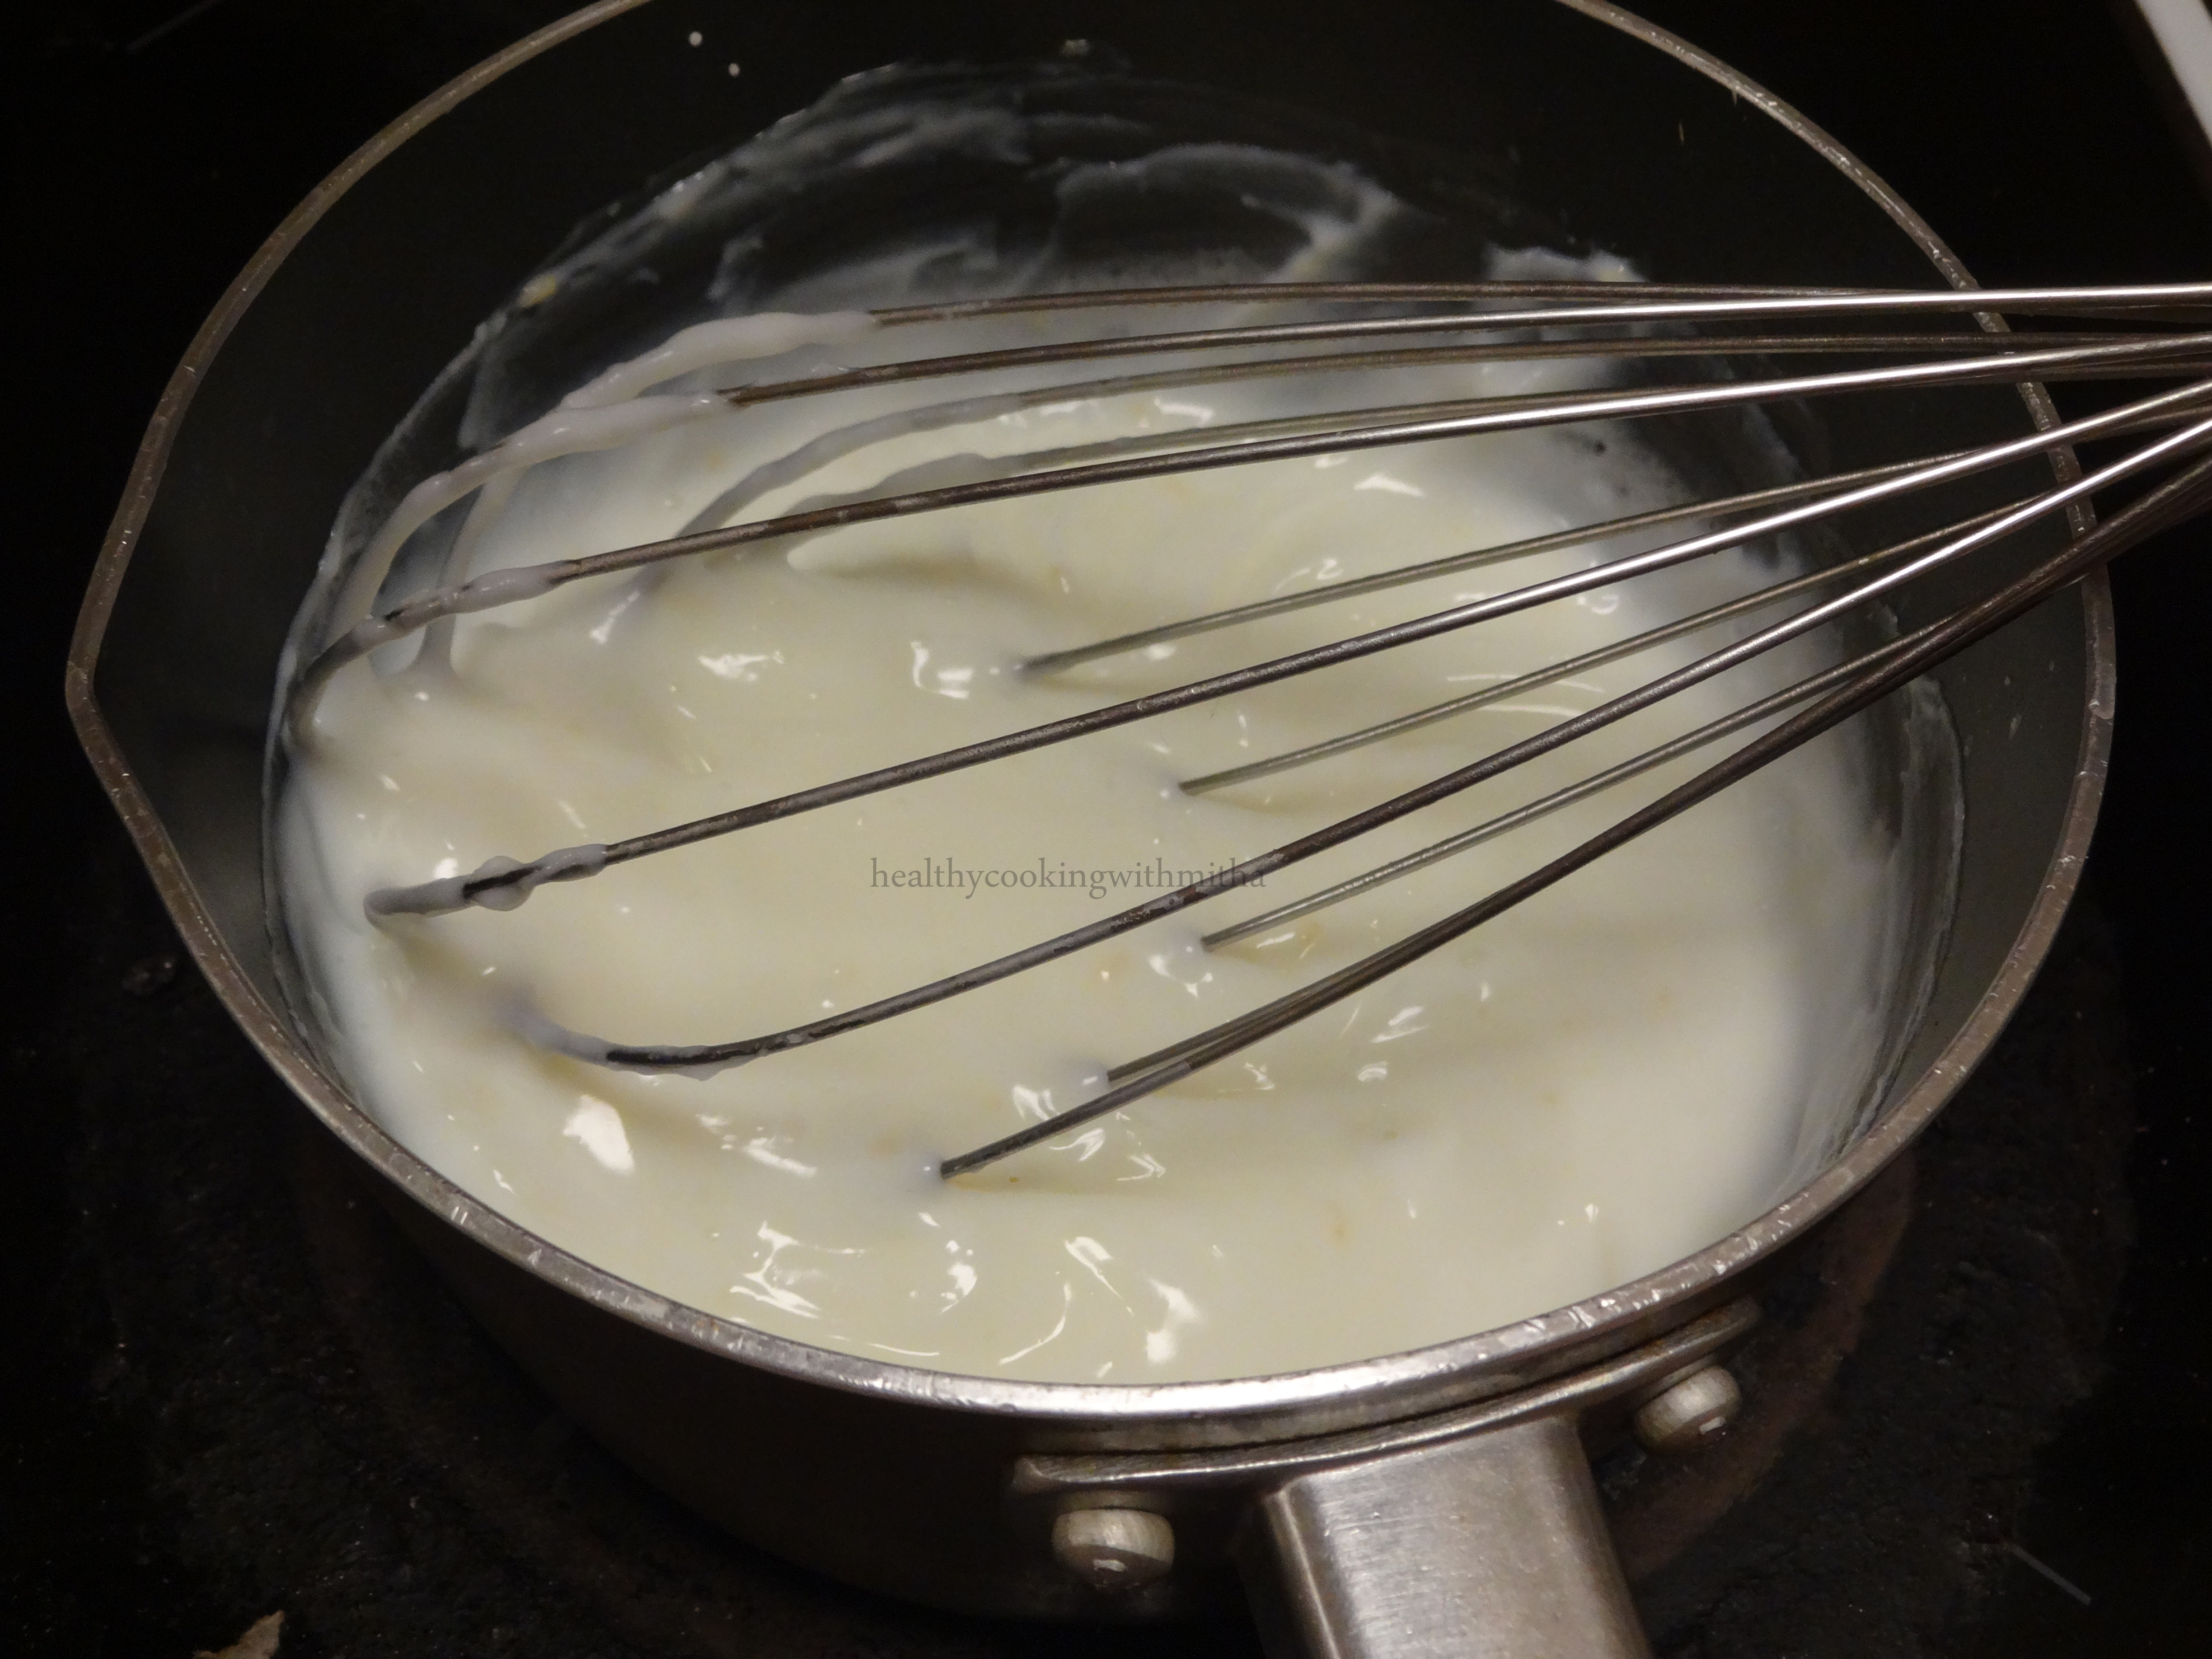
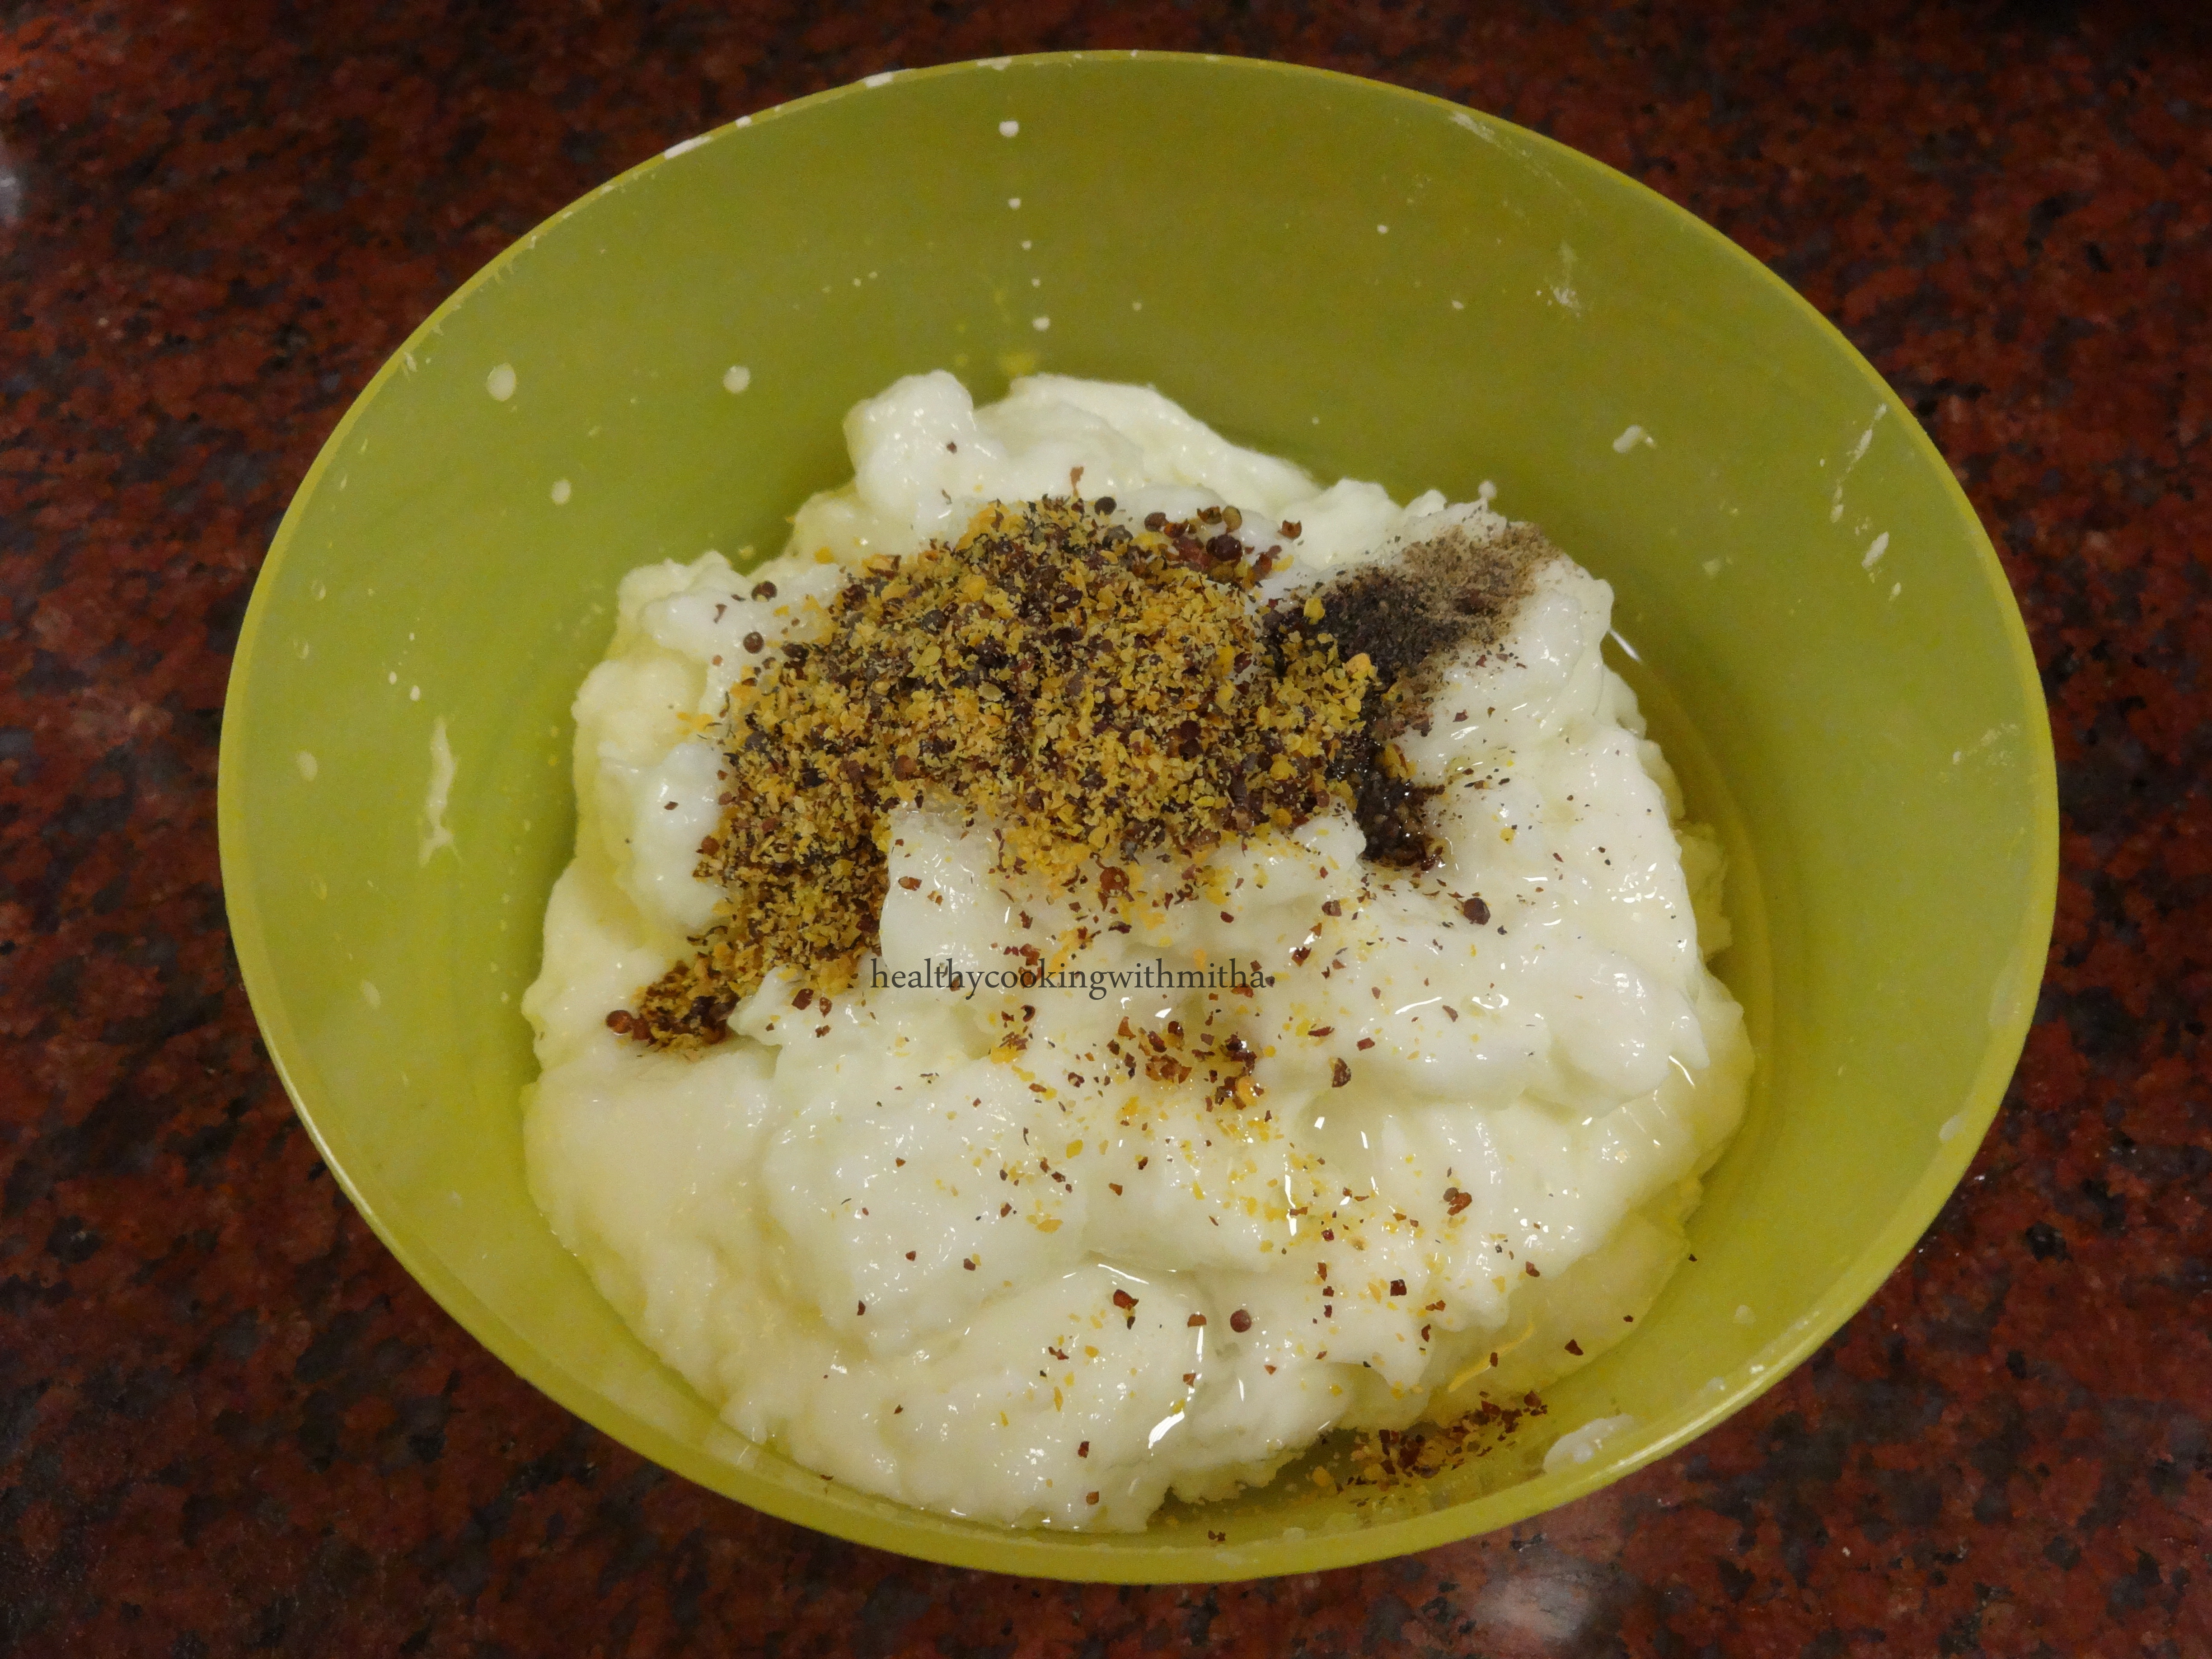
1/4 Cup Yogurt or thick Curd (for dahi puri)
1 tsp Pani Puri masala or chaat masala
Salt to taste
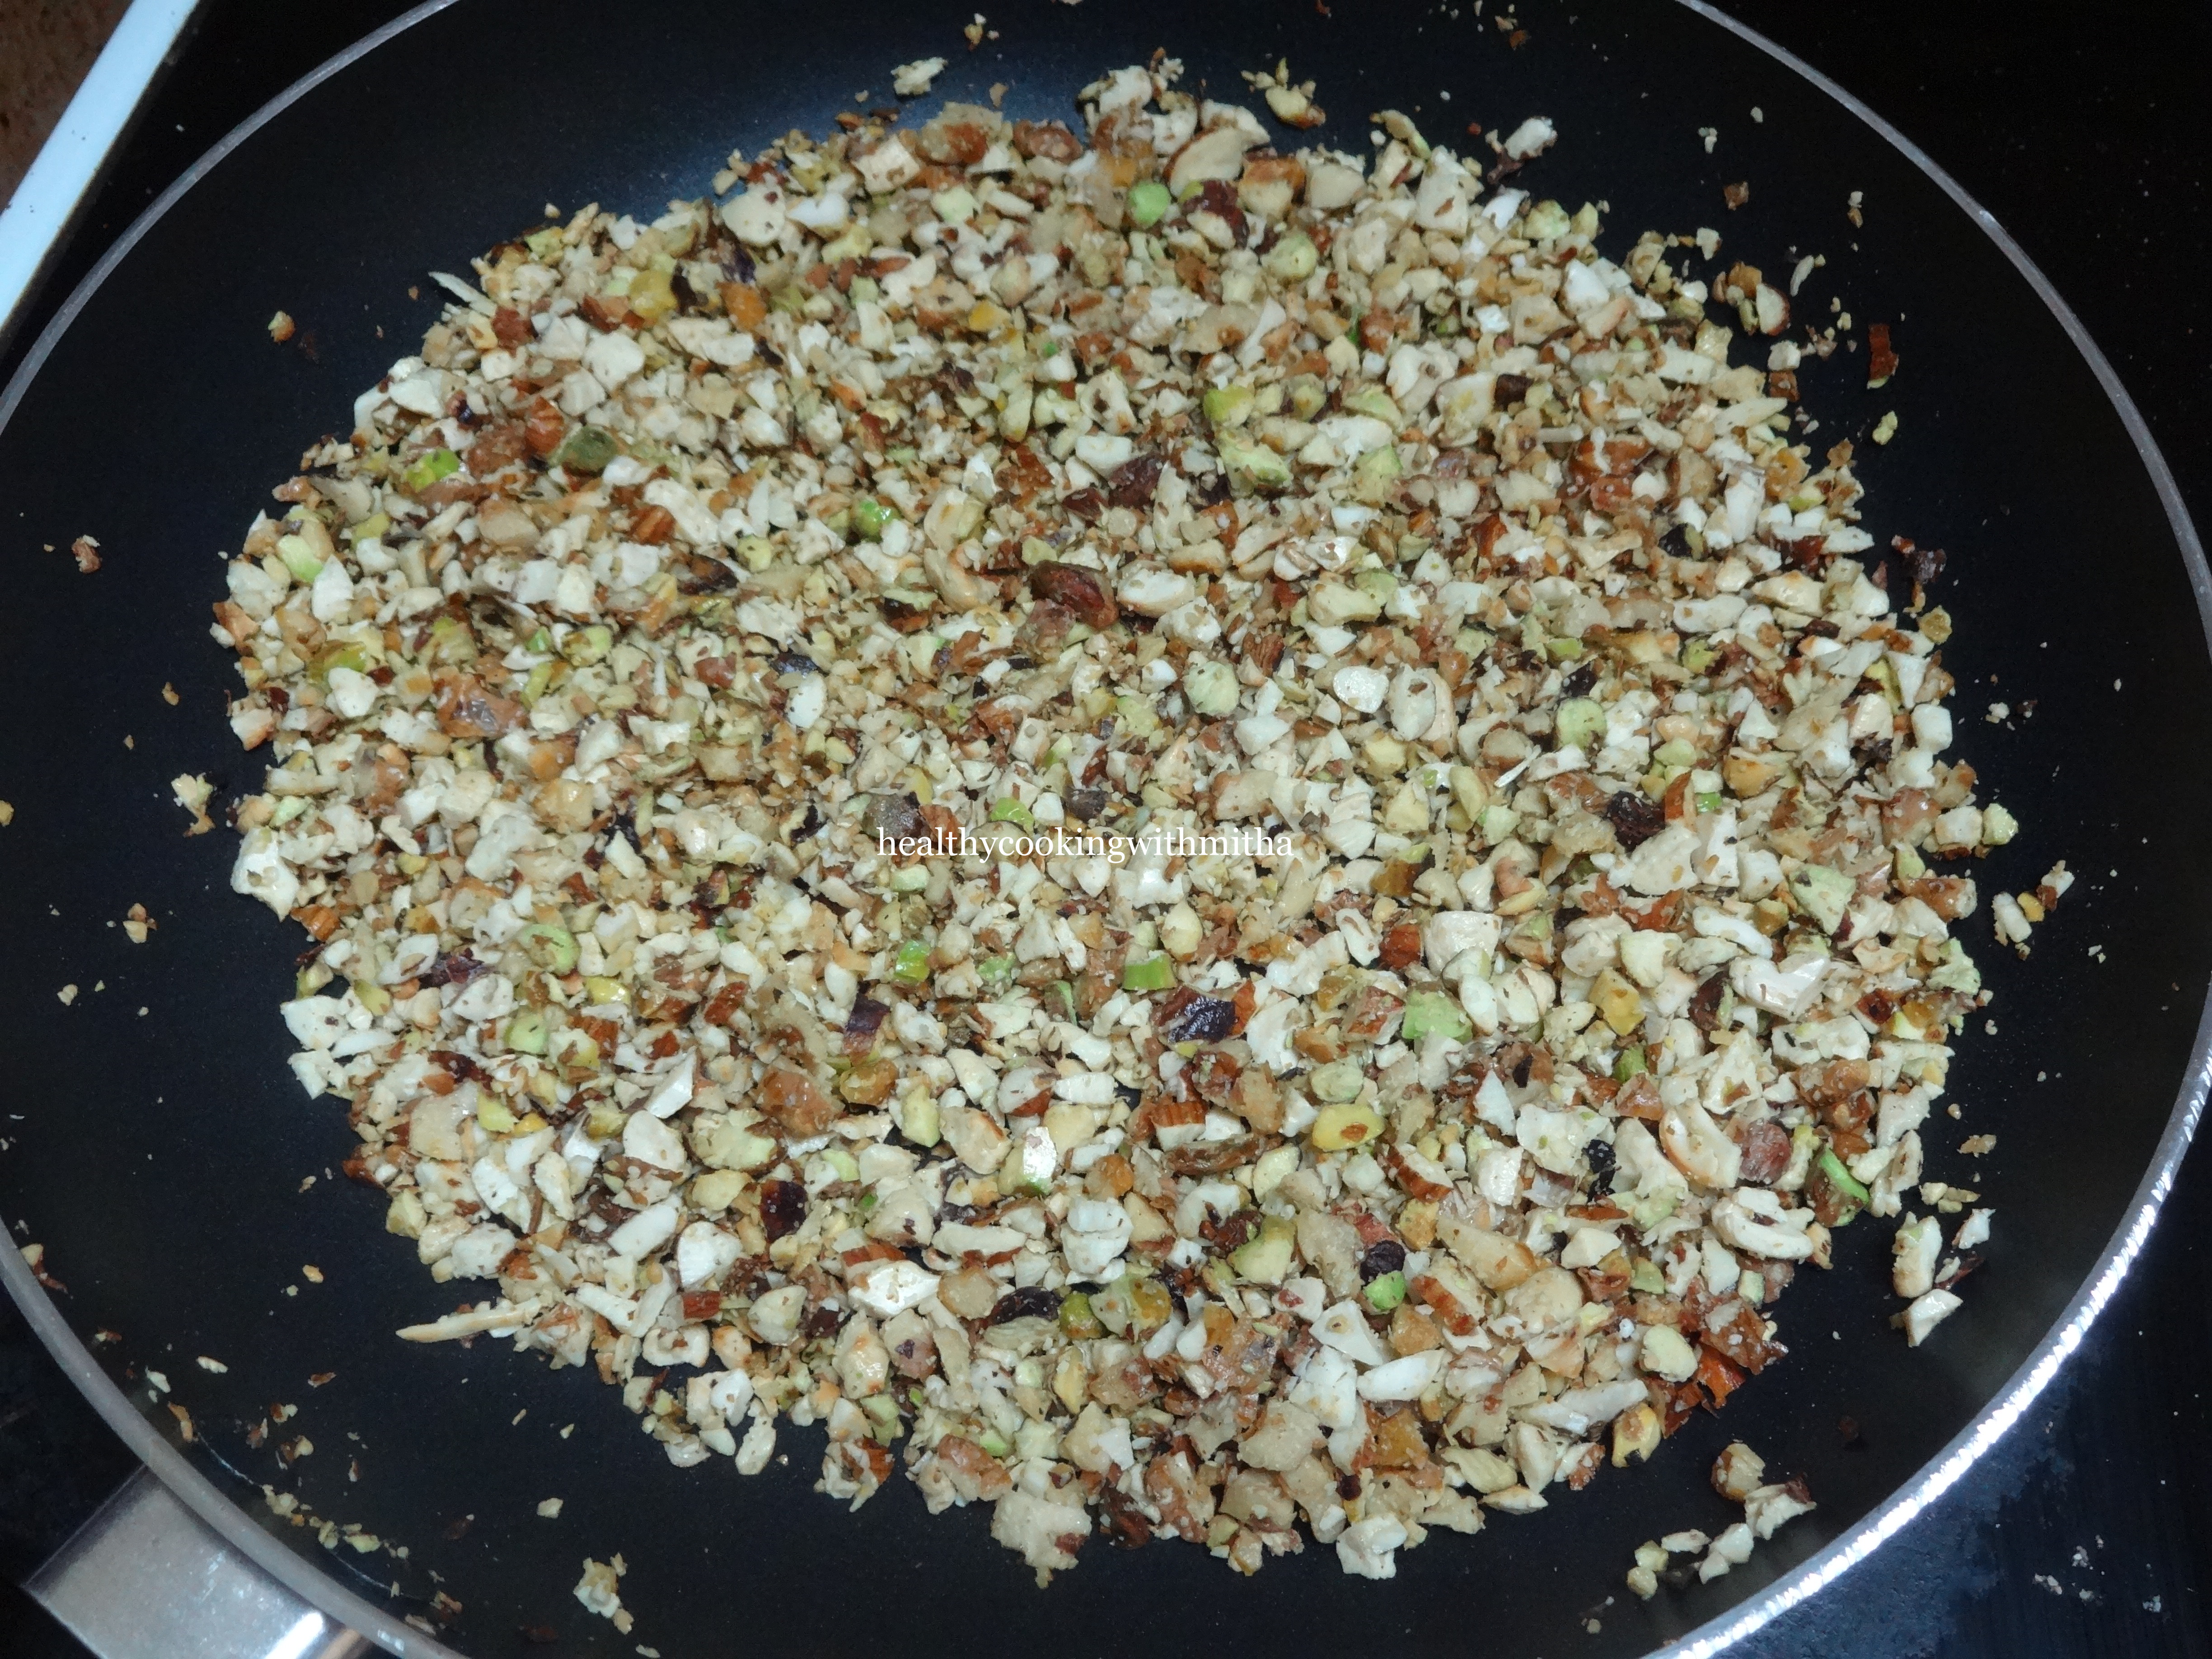
Bhujiya or Sev (as needed)
Step by step recipe:
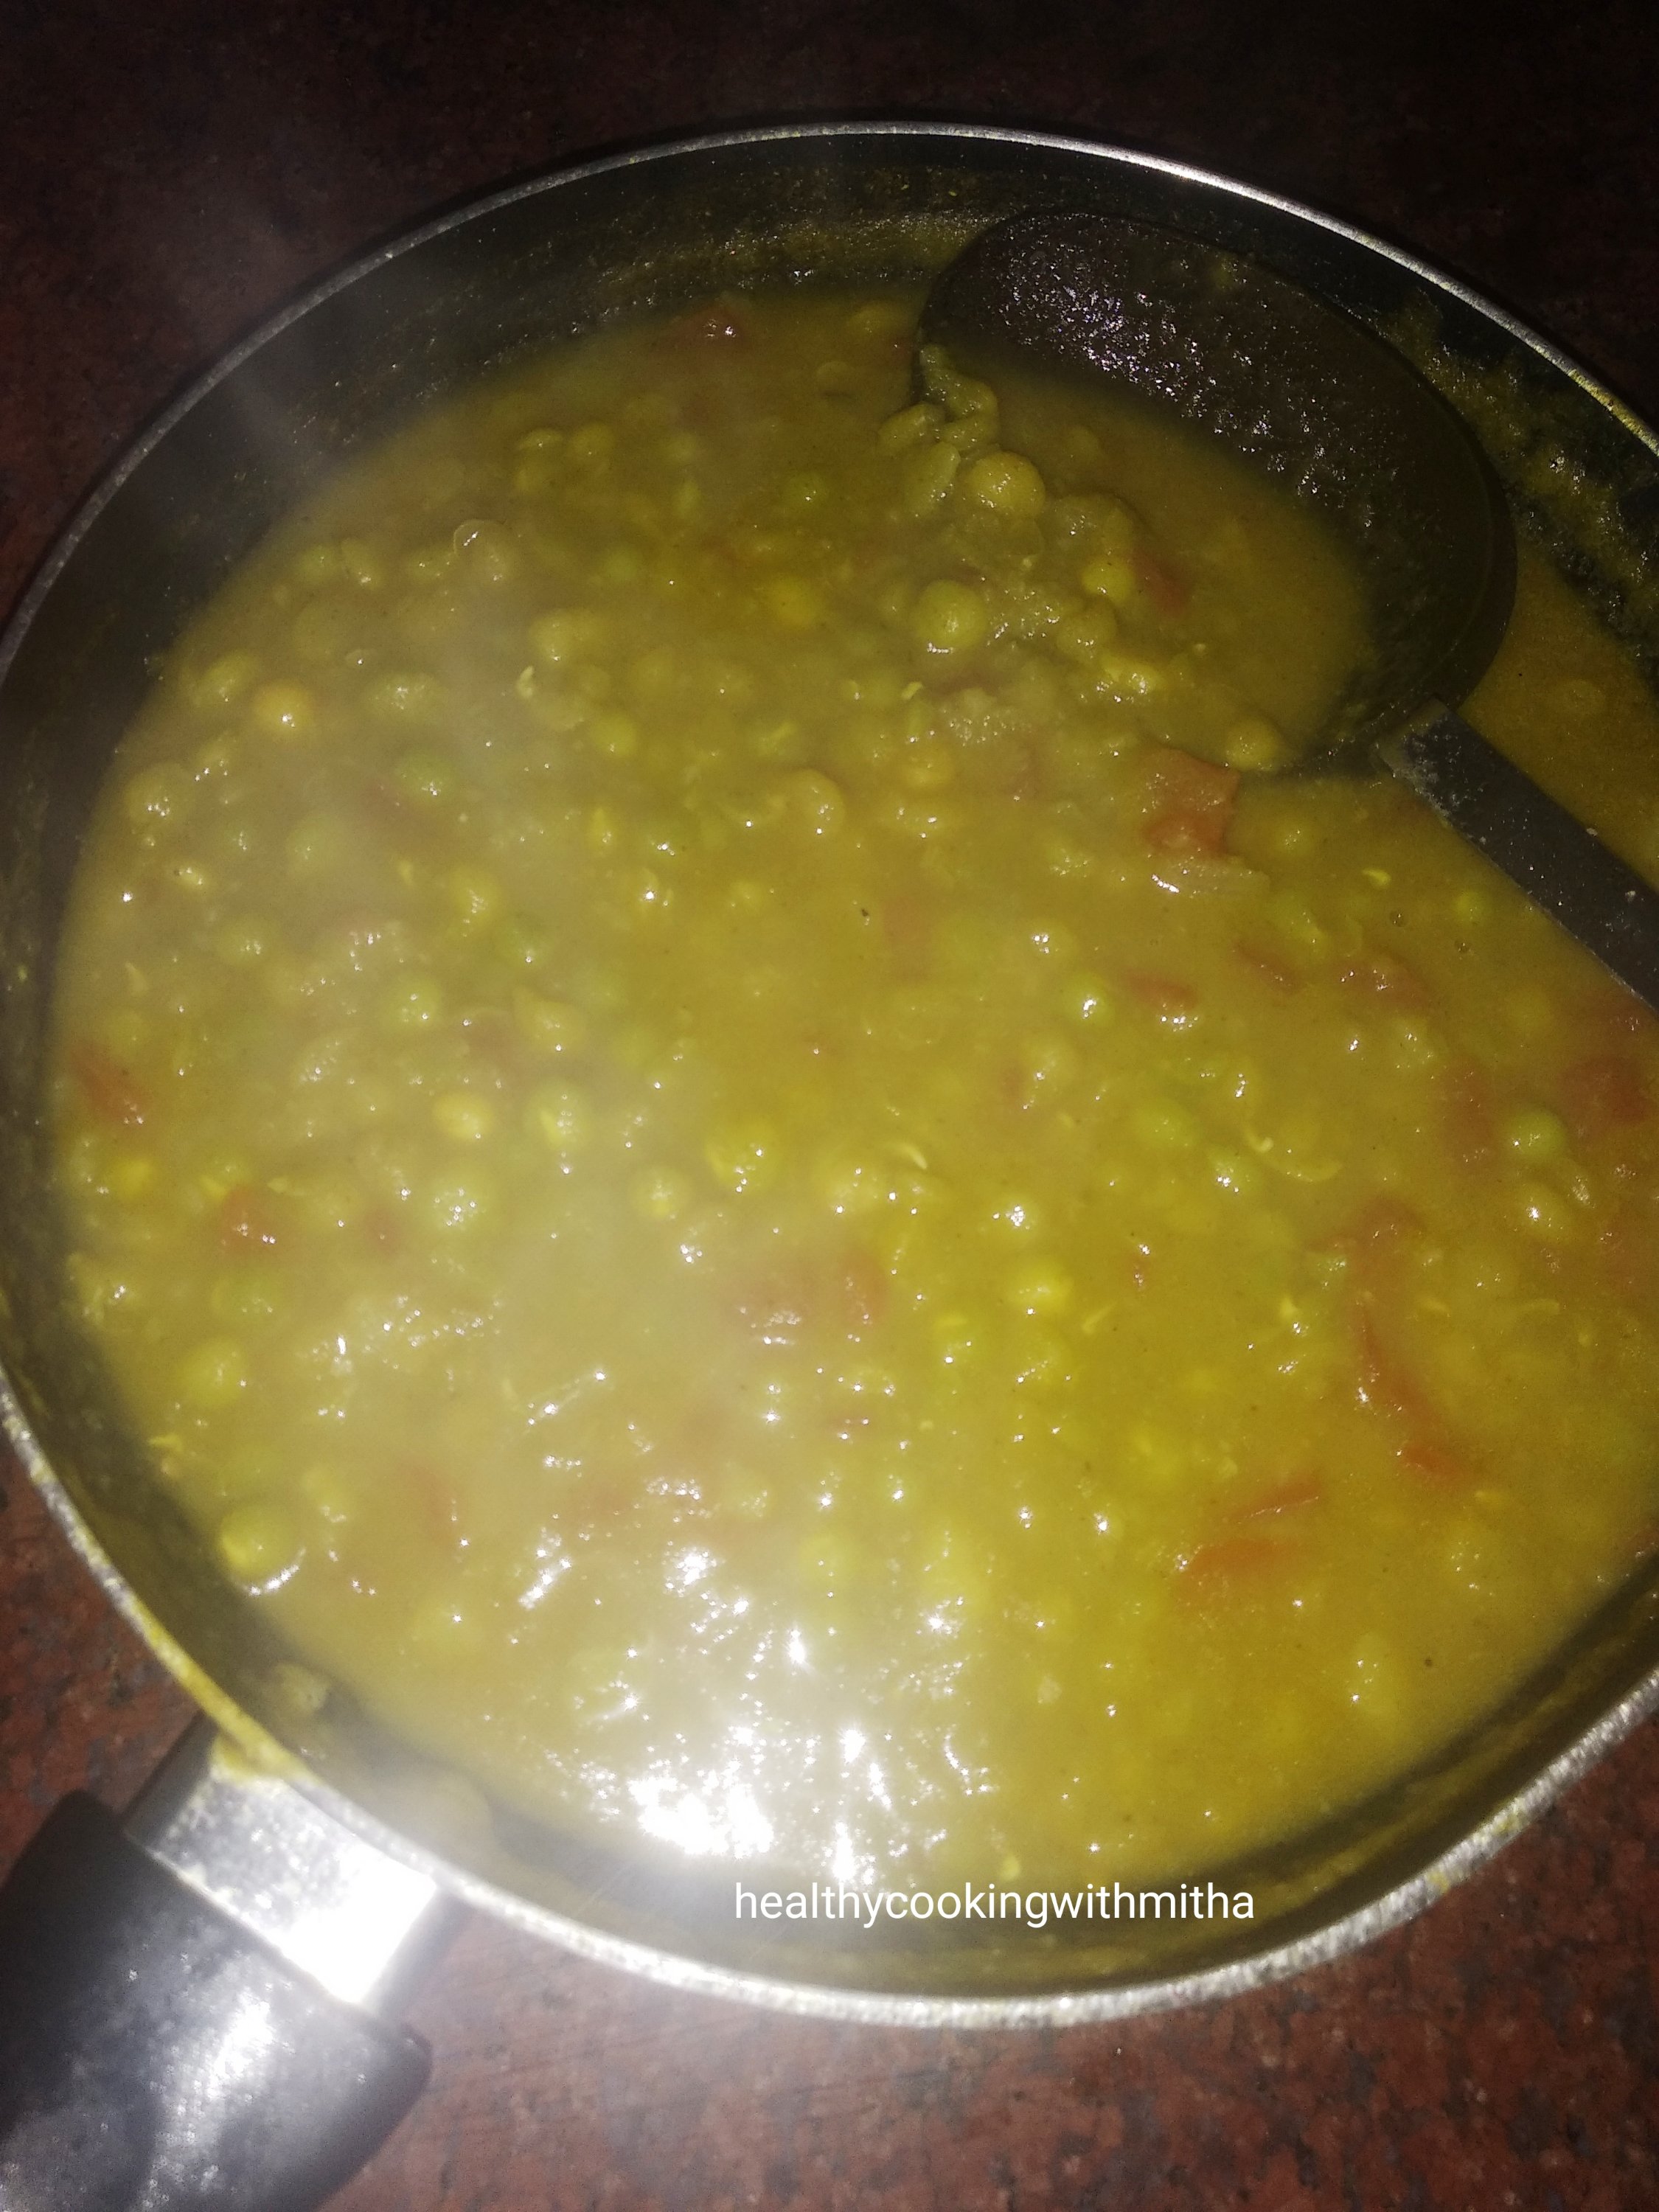
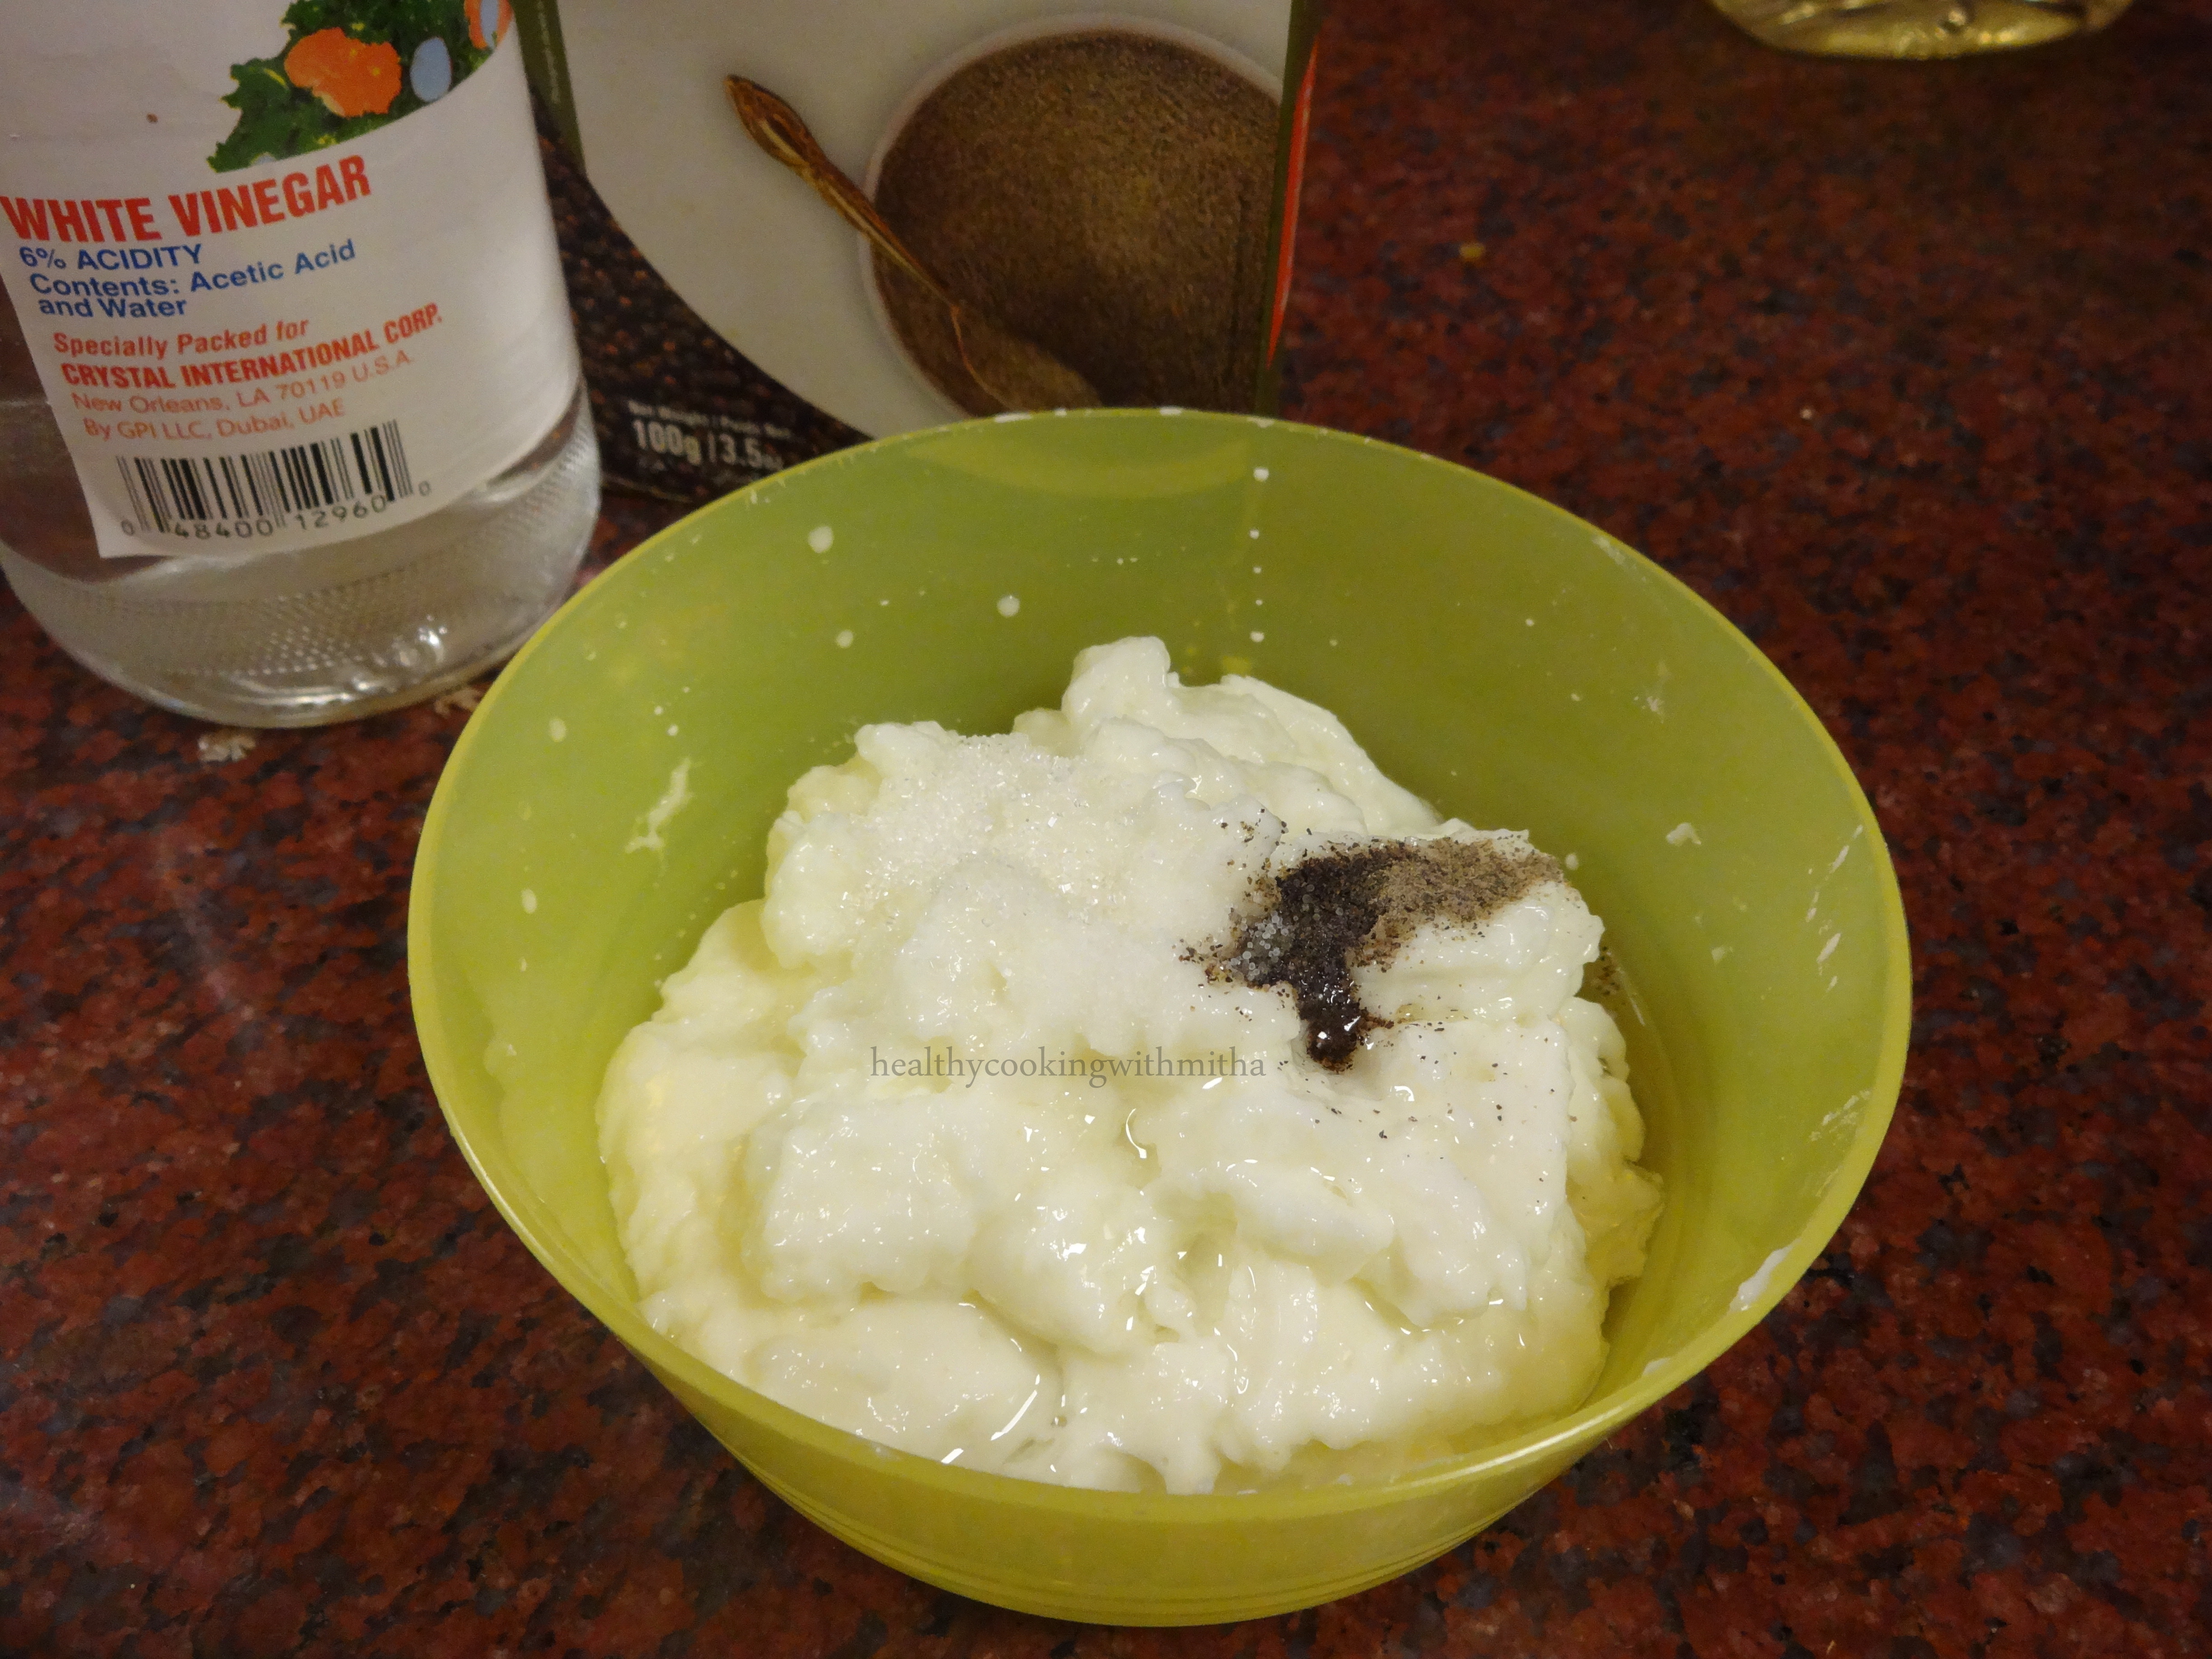
1. Pressure cook the sprouted moong with little salt and water enough to cover it for 2 whistles (depends on the cooking range) or till they turn soft.

2. Keep the coriander leaves – mint chutney ready (check recipe in notes). Also keep the dates Tamarind chutney ready. For making homemade Tamarind chutney, check notes below the recipe.

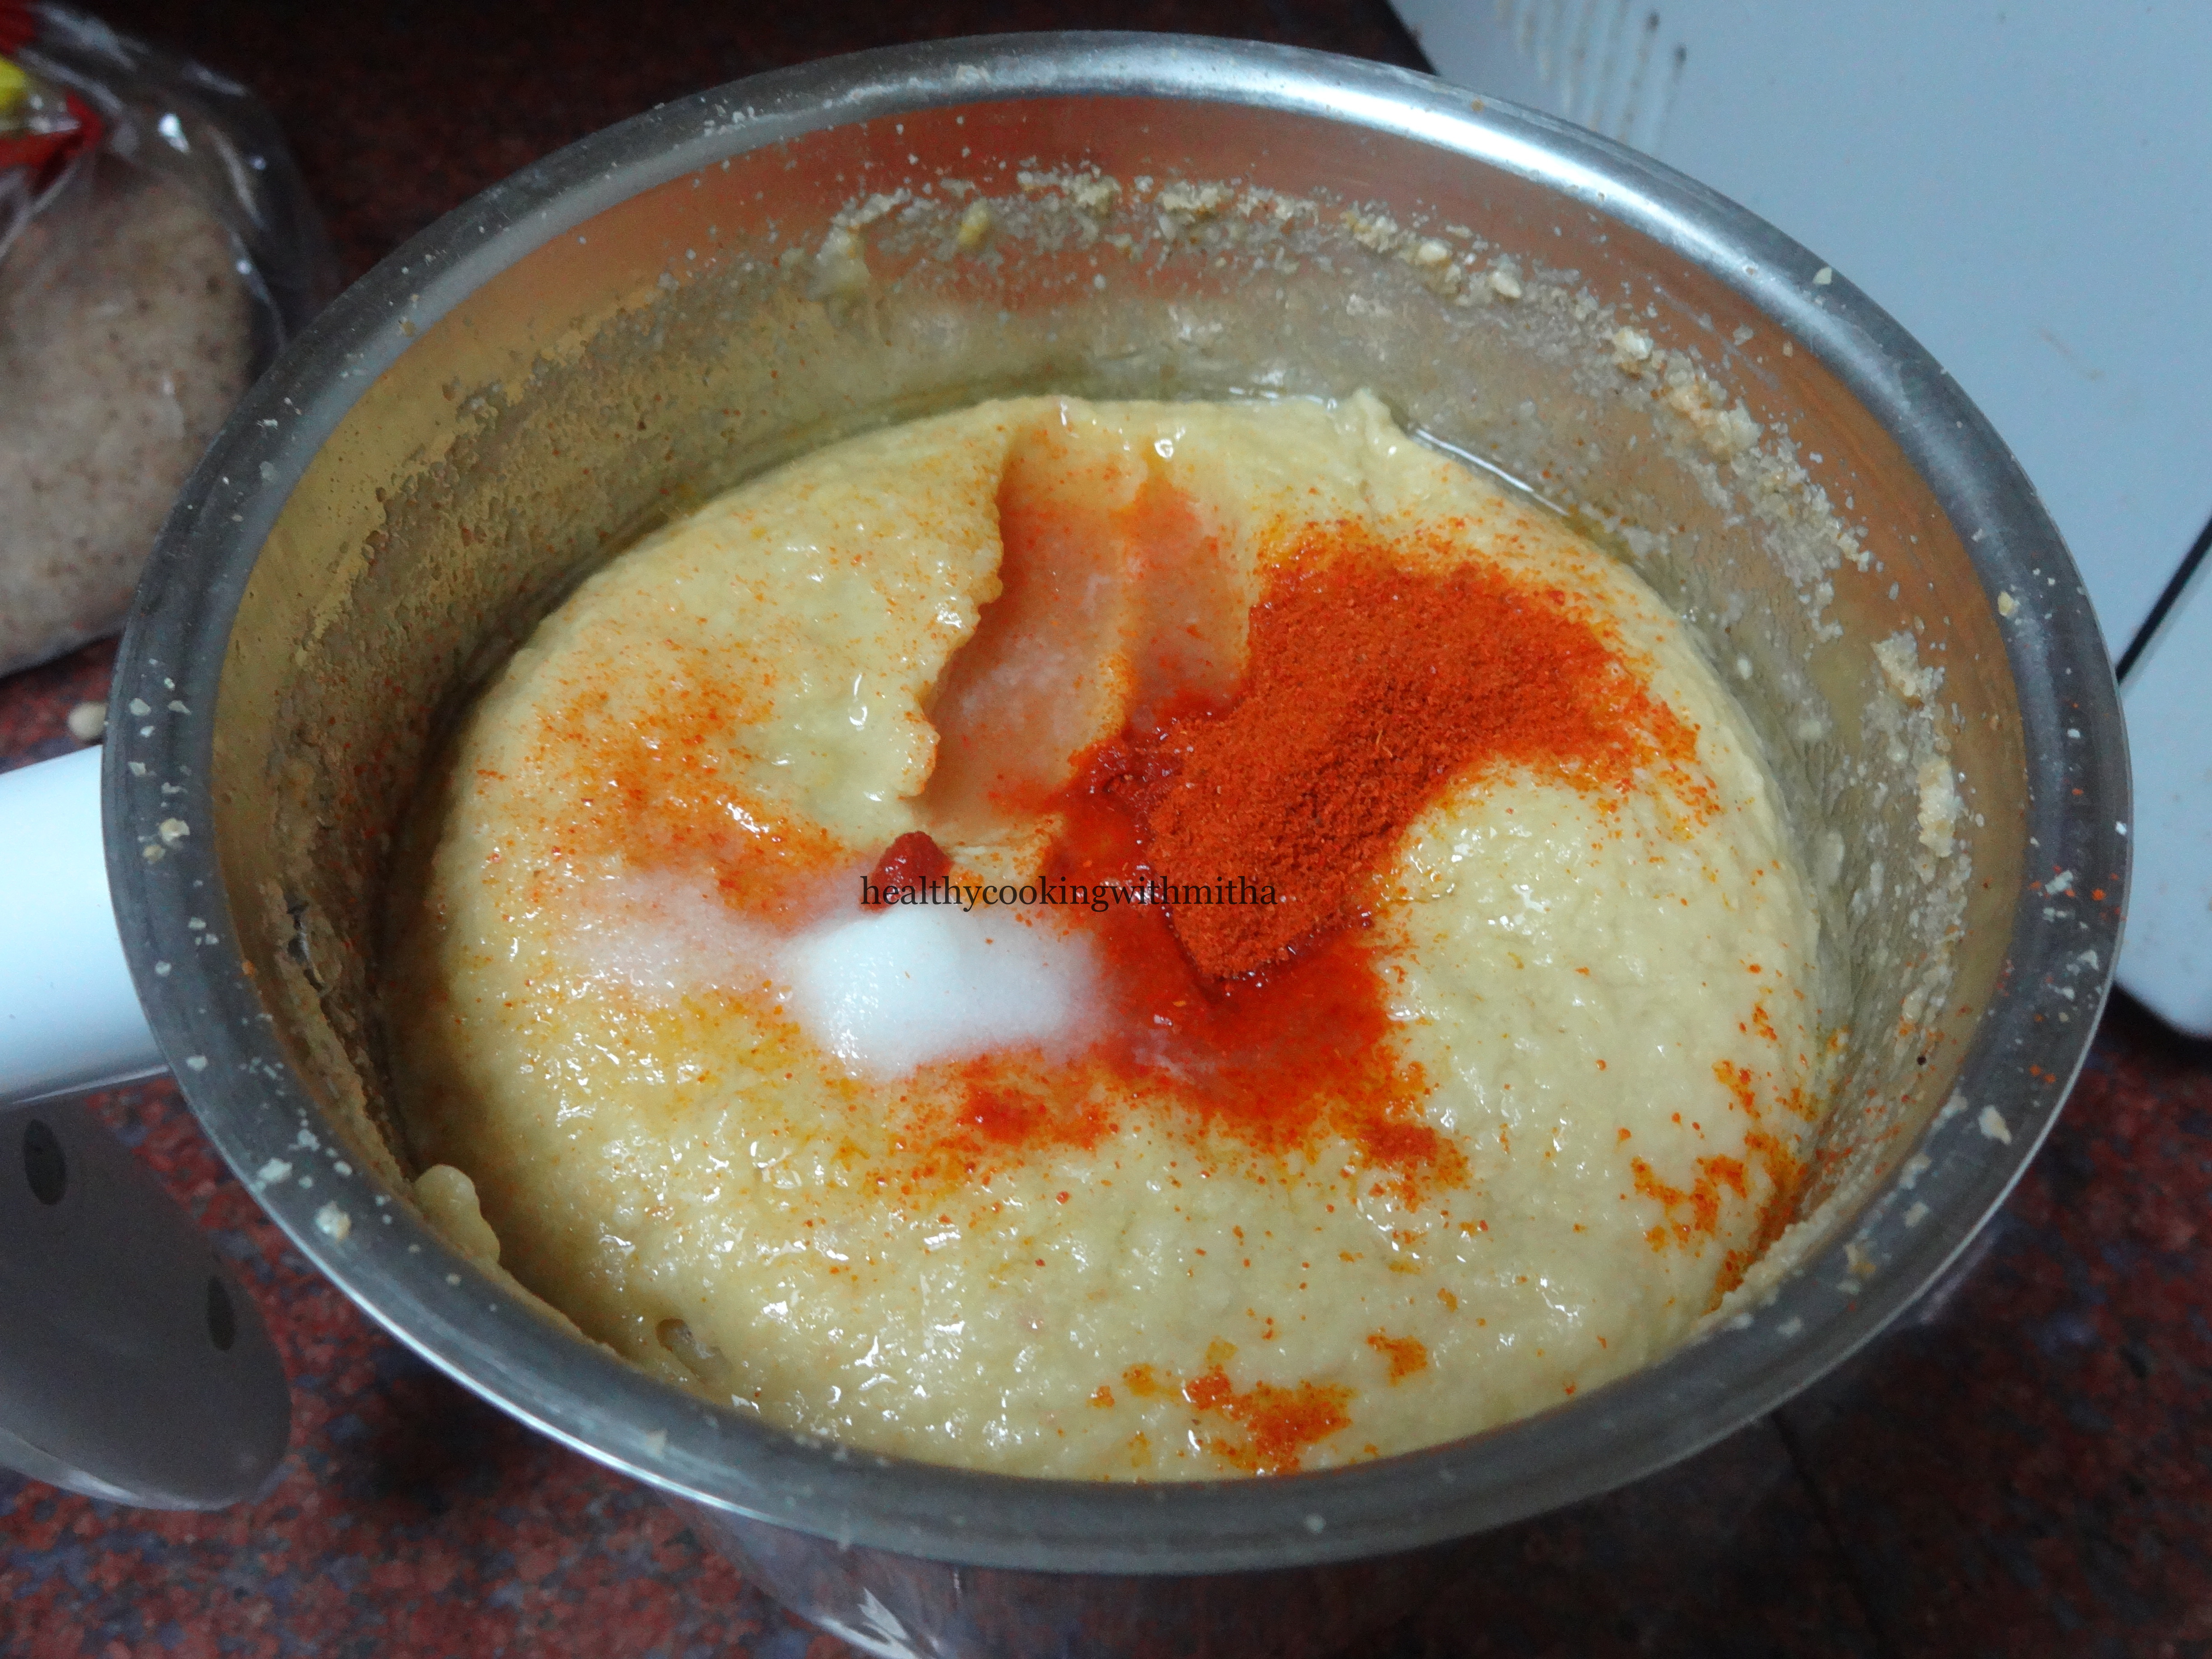
3. Keep the finely chopped onions and coriander leaves ready. Also mix together yogurt with salt and Pani Puri masala or chaat masala together free from lumps.
4. I microwave the readymade papads and they puff up well. Check notes for more details. Bring all the ingredients together.

5. Make a hole with your fingers in each puri and add little boiled moong along with onions and coriander leaves.

6. Now add both coriander leaves chutney and Dates Tamarind chutney along with bhujiya for Sev puri. Add the Yogurt mix too for Dahi puri. Top with more bhujiya.

7. Serve immediately or else it will turn soggy.
Notes:
* You can check how to sprout moong here. I have added detailed step by step pictures there.
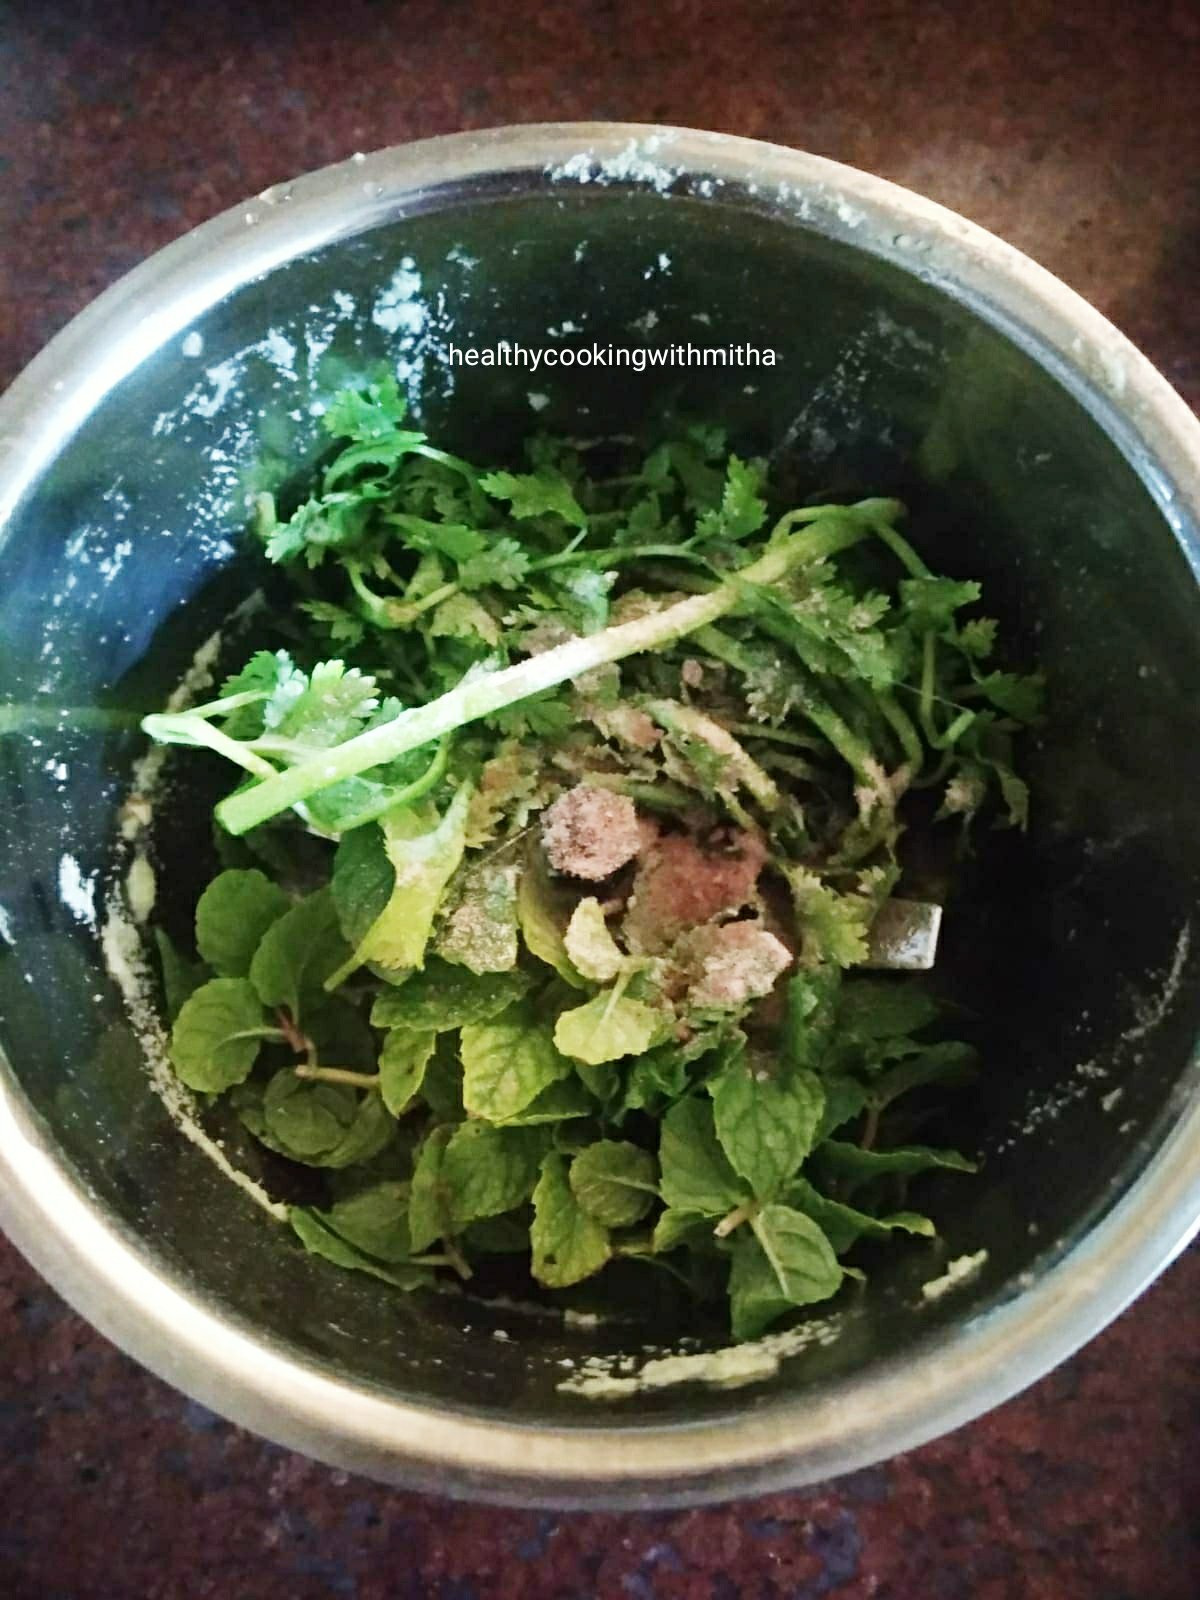
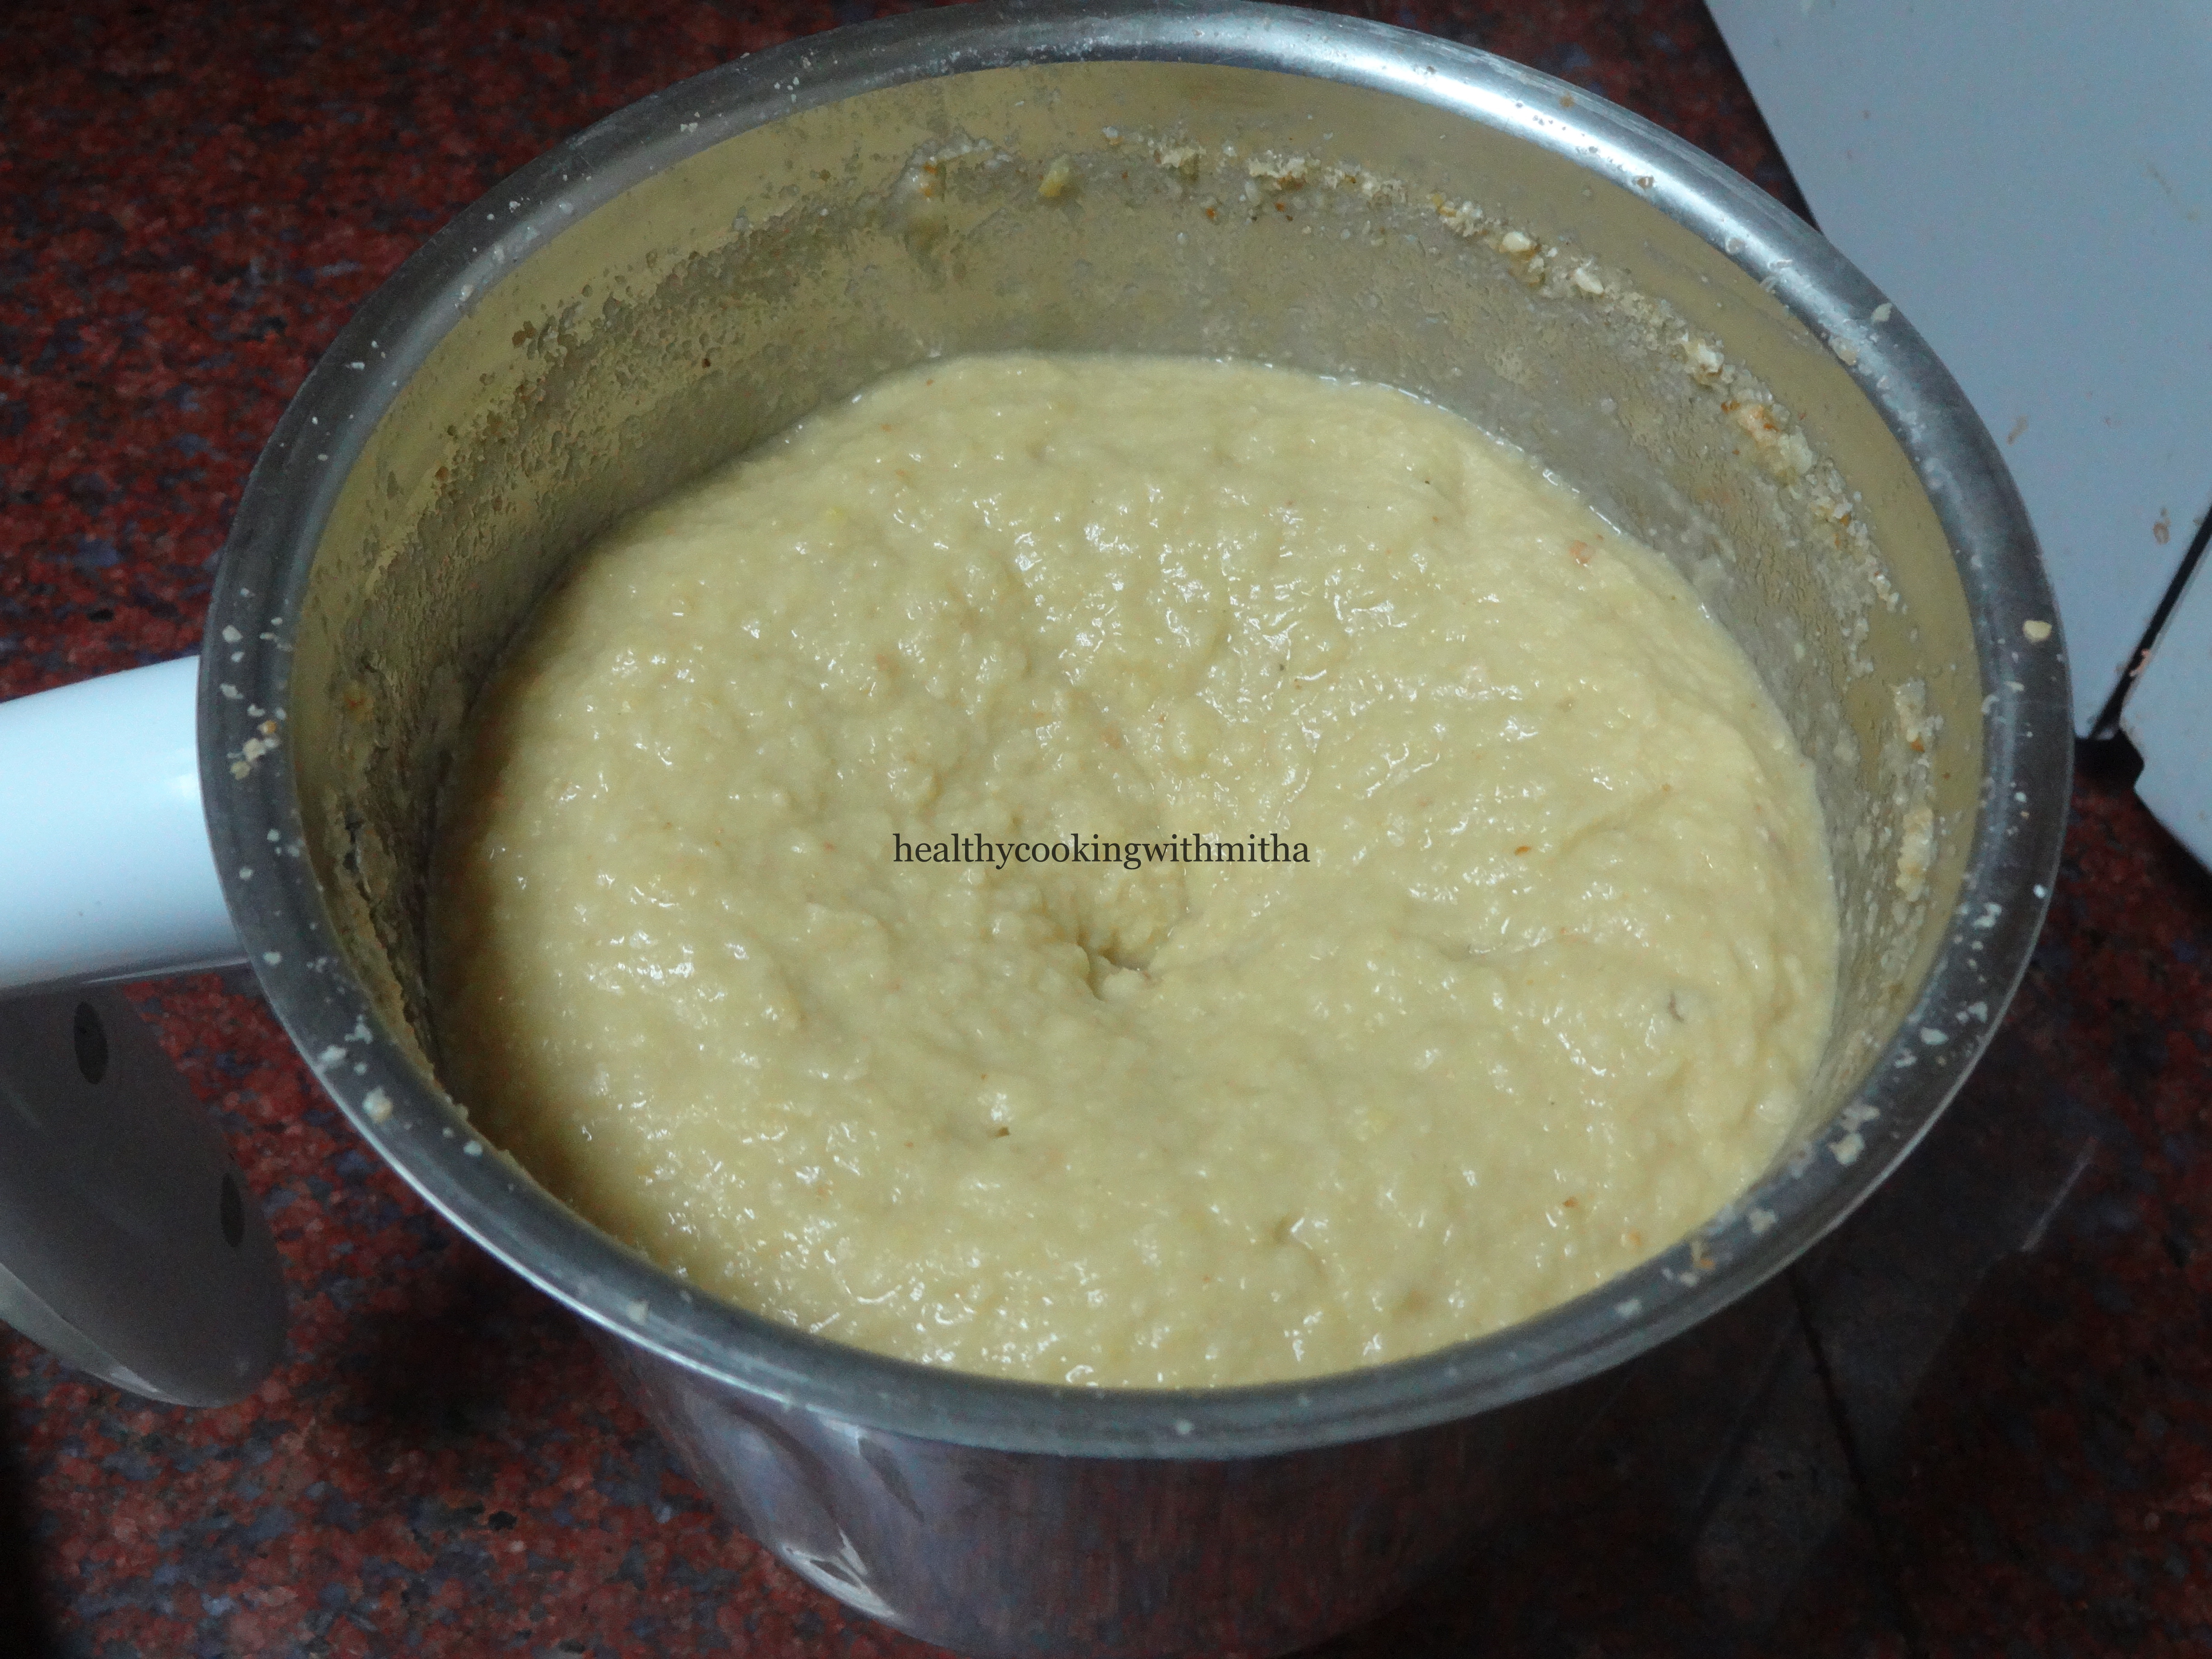
* For coriander leaves- mint chutney, grind together about 6 to 8 sprigs of coriander leaves with about 10 mint leaves and 3 green chillies with salt, Pani Puri masala / chaat masala and little water to a smooth paste. You can also refrigerate this and use when needed.
** For making Pani for Pani puri, grind together 6 to 8 sprigs of coriander leaves with 1 Cup mint leaves, 2 green chillies, salt and Pani puri masala or Chaat masala with water to a smooth paste. Sieve this in a bowl. Add water as needed to make Pani. Add lemon juice as per your taste.
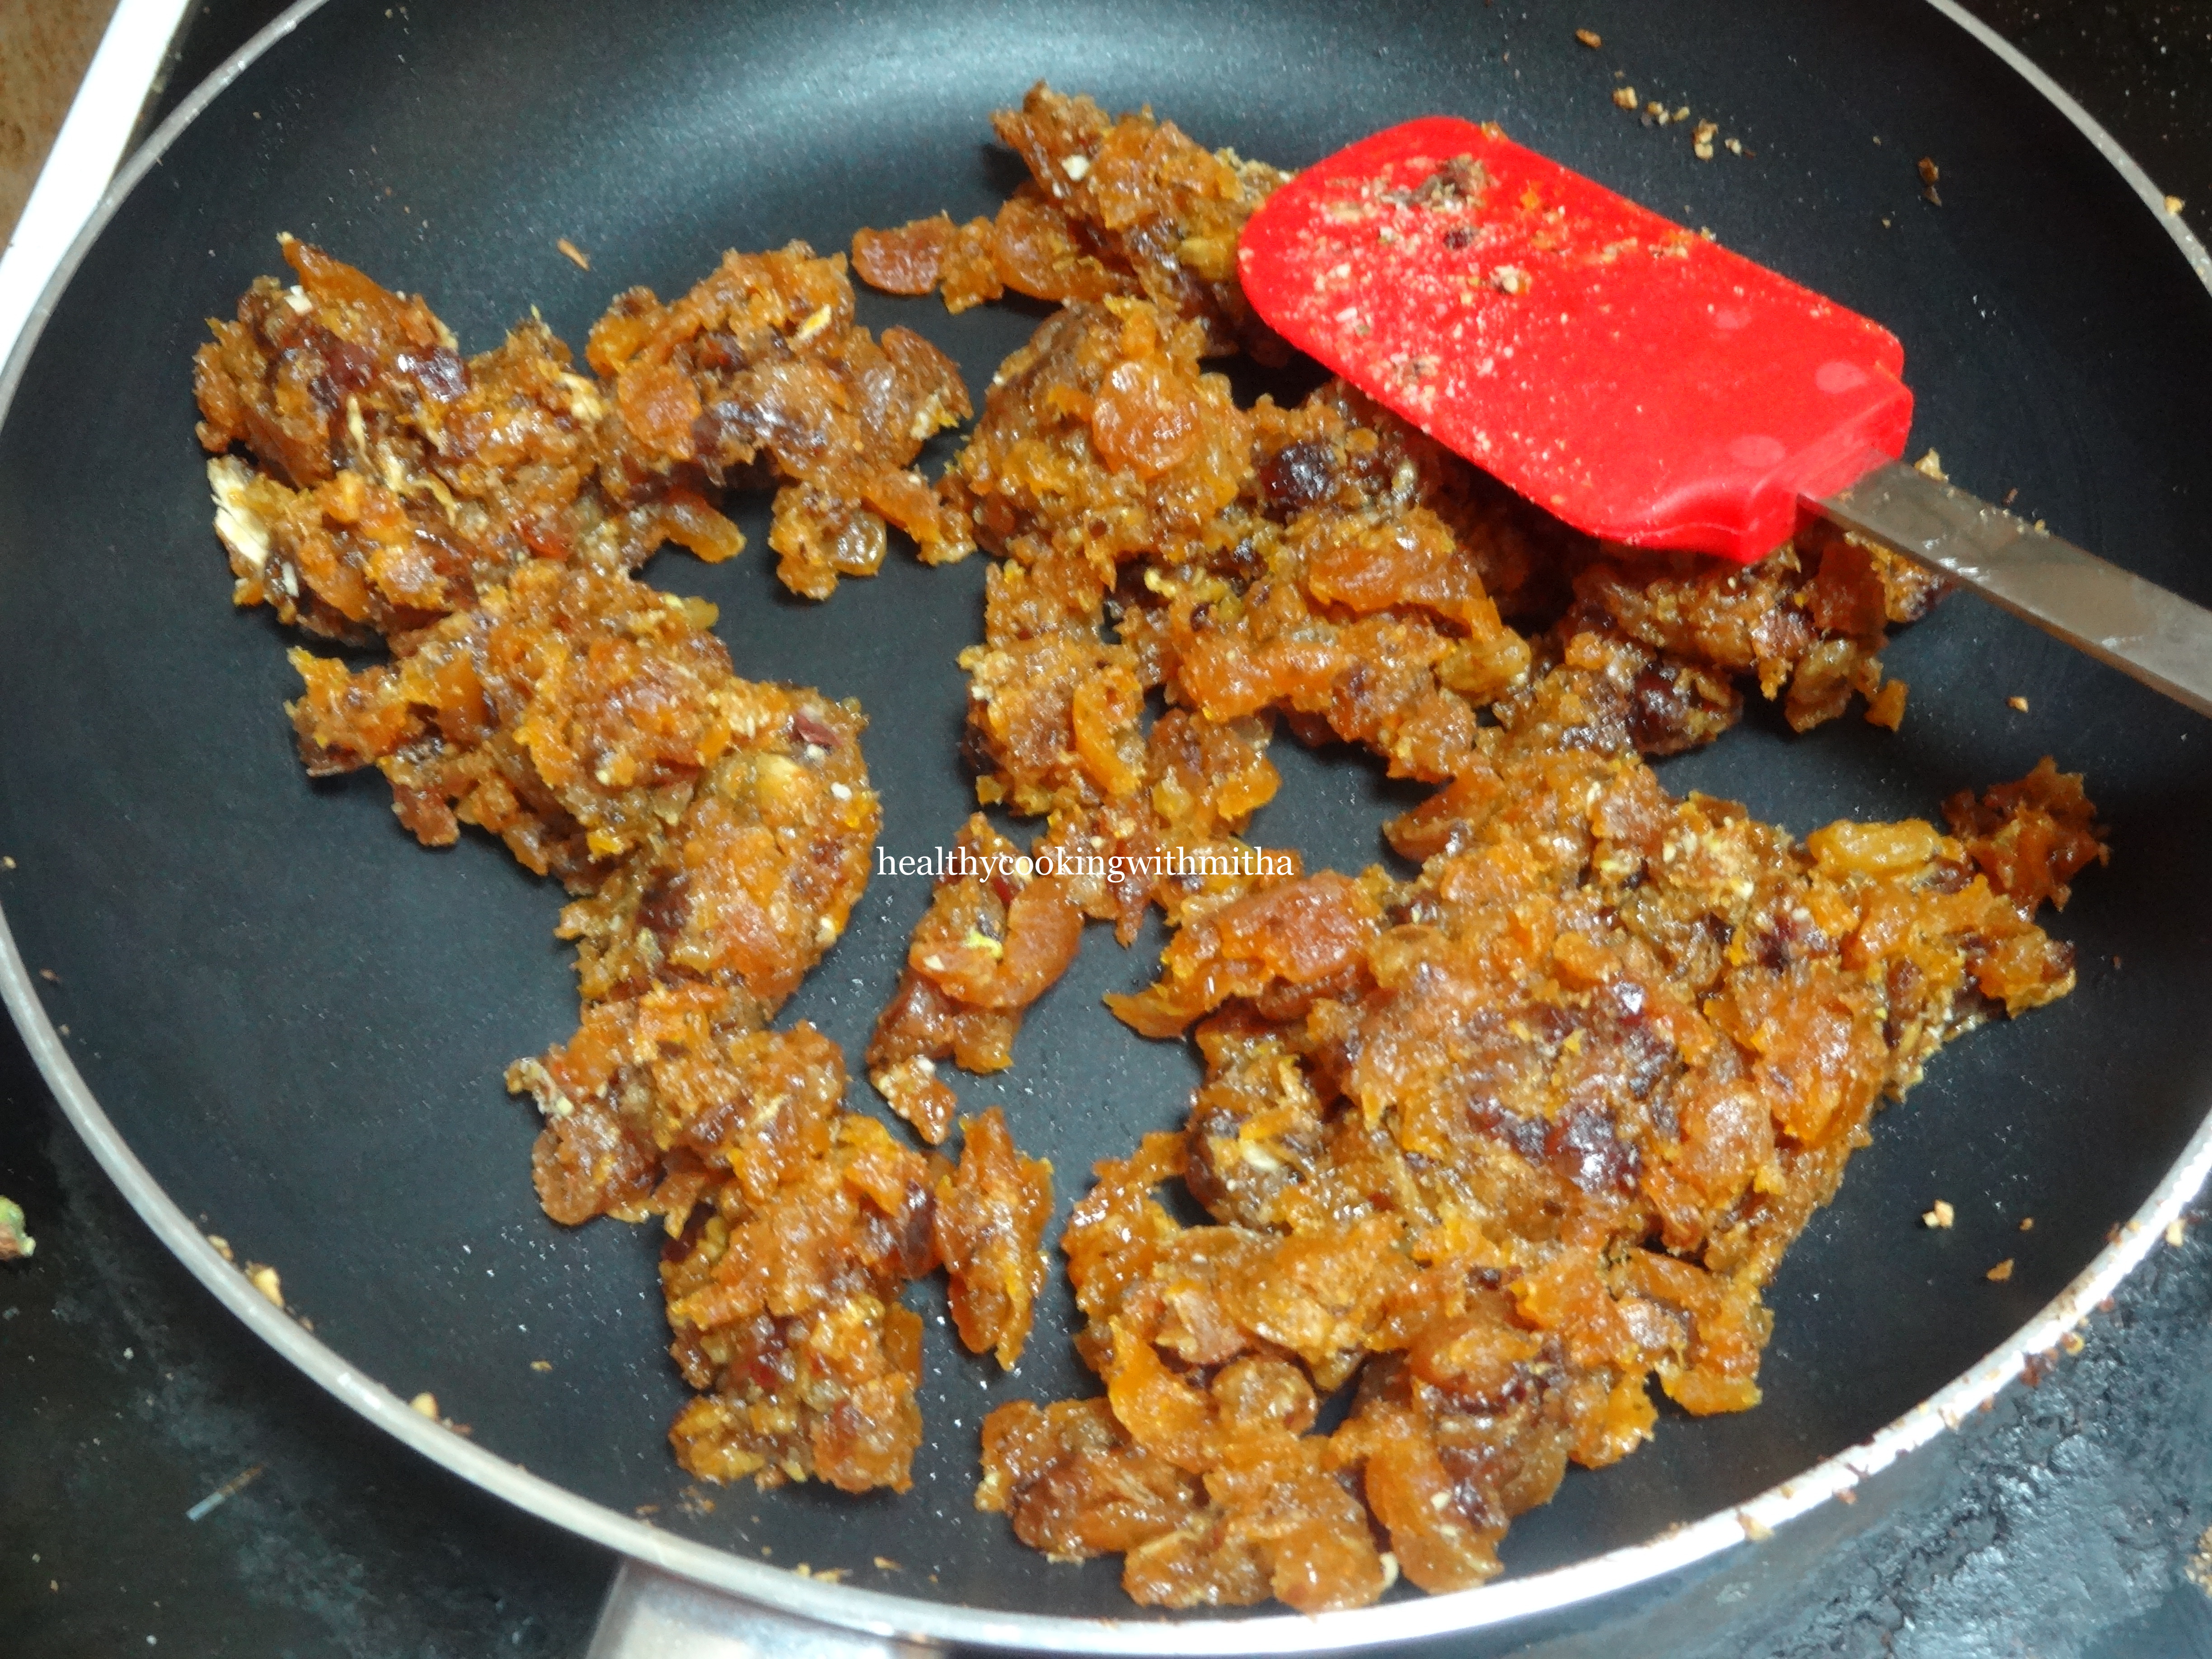
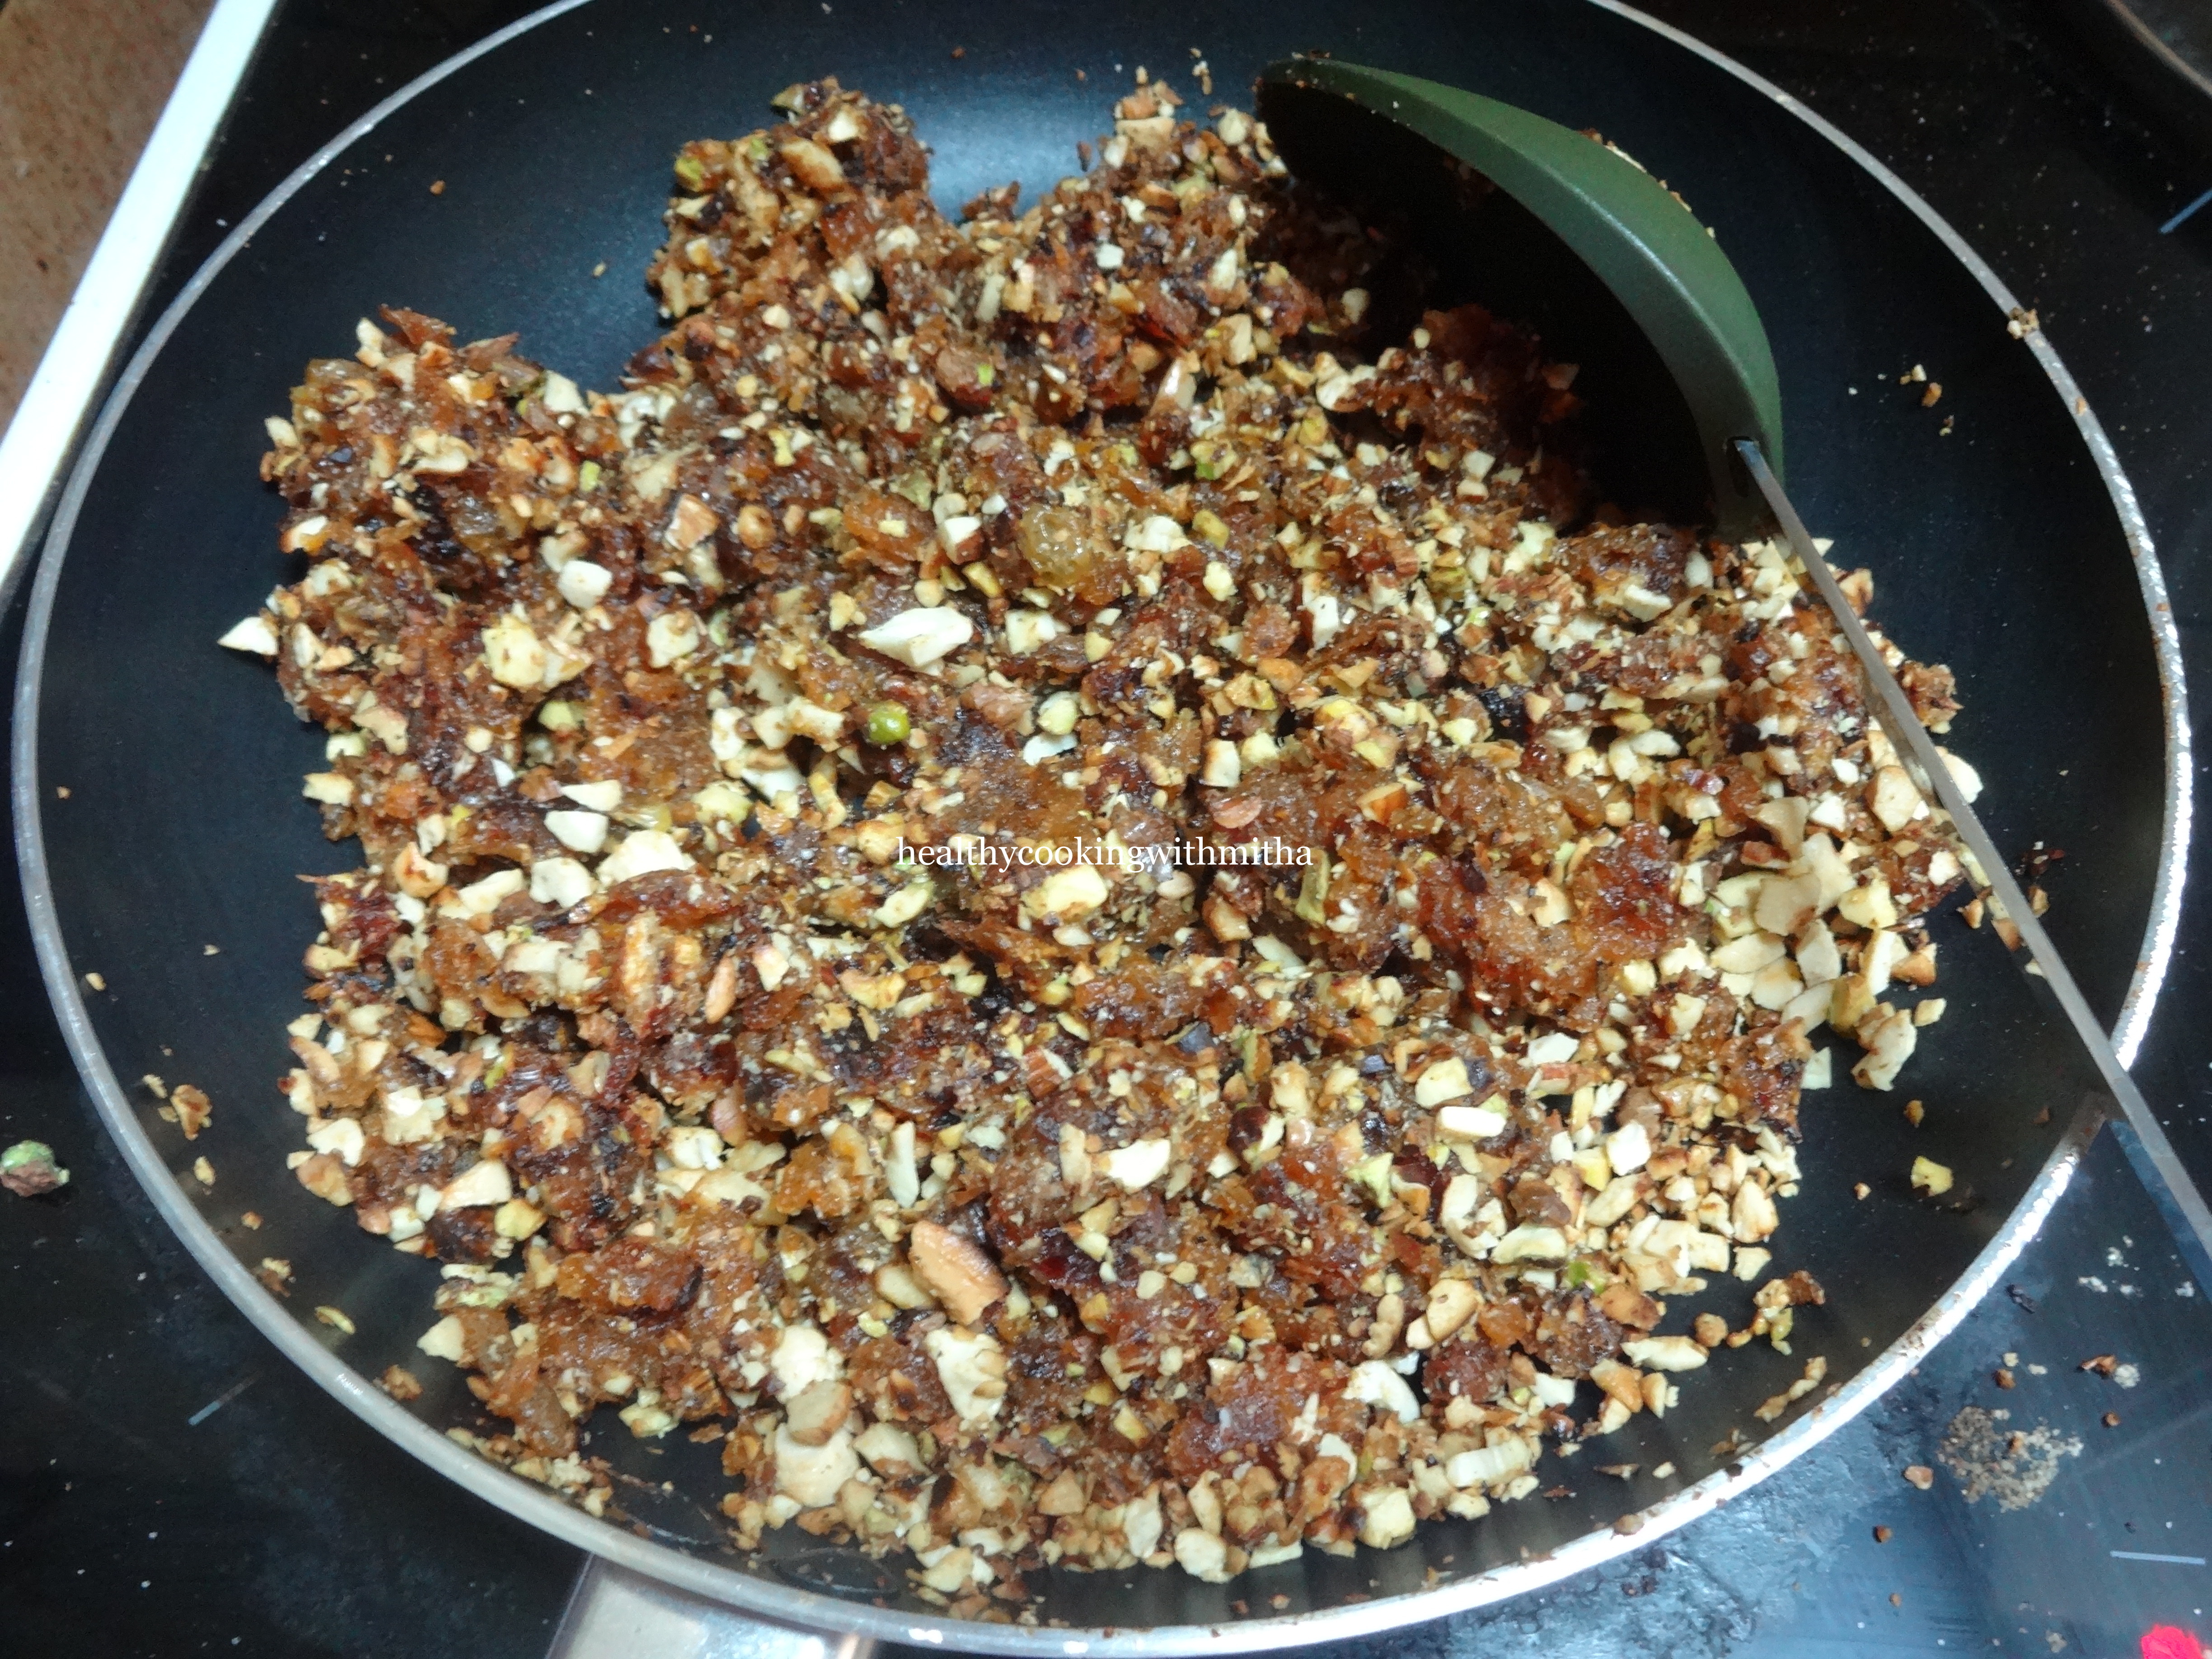
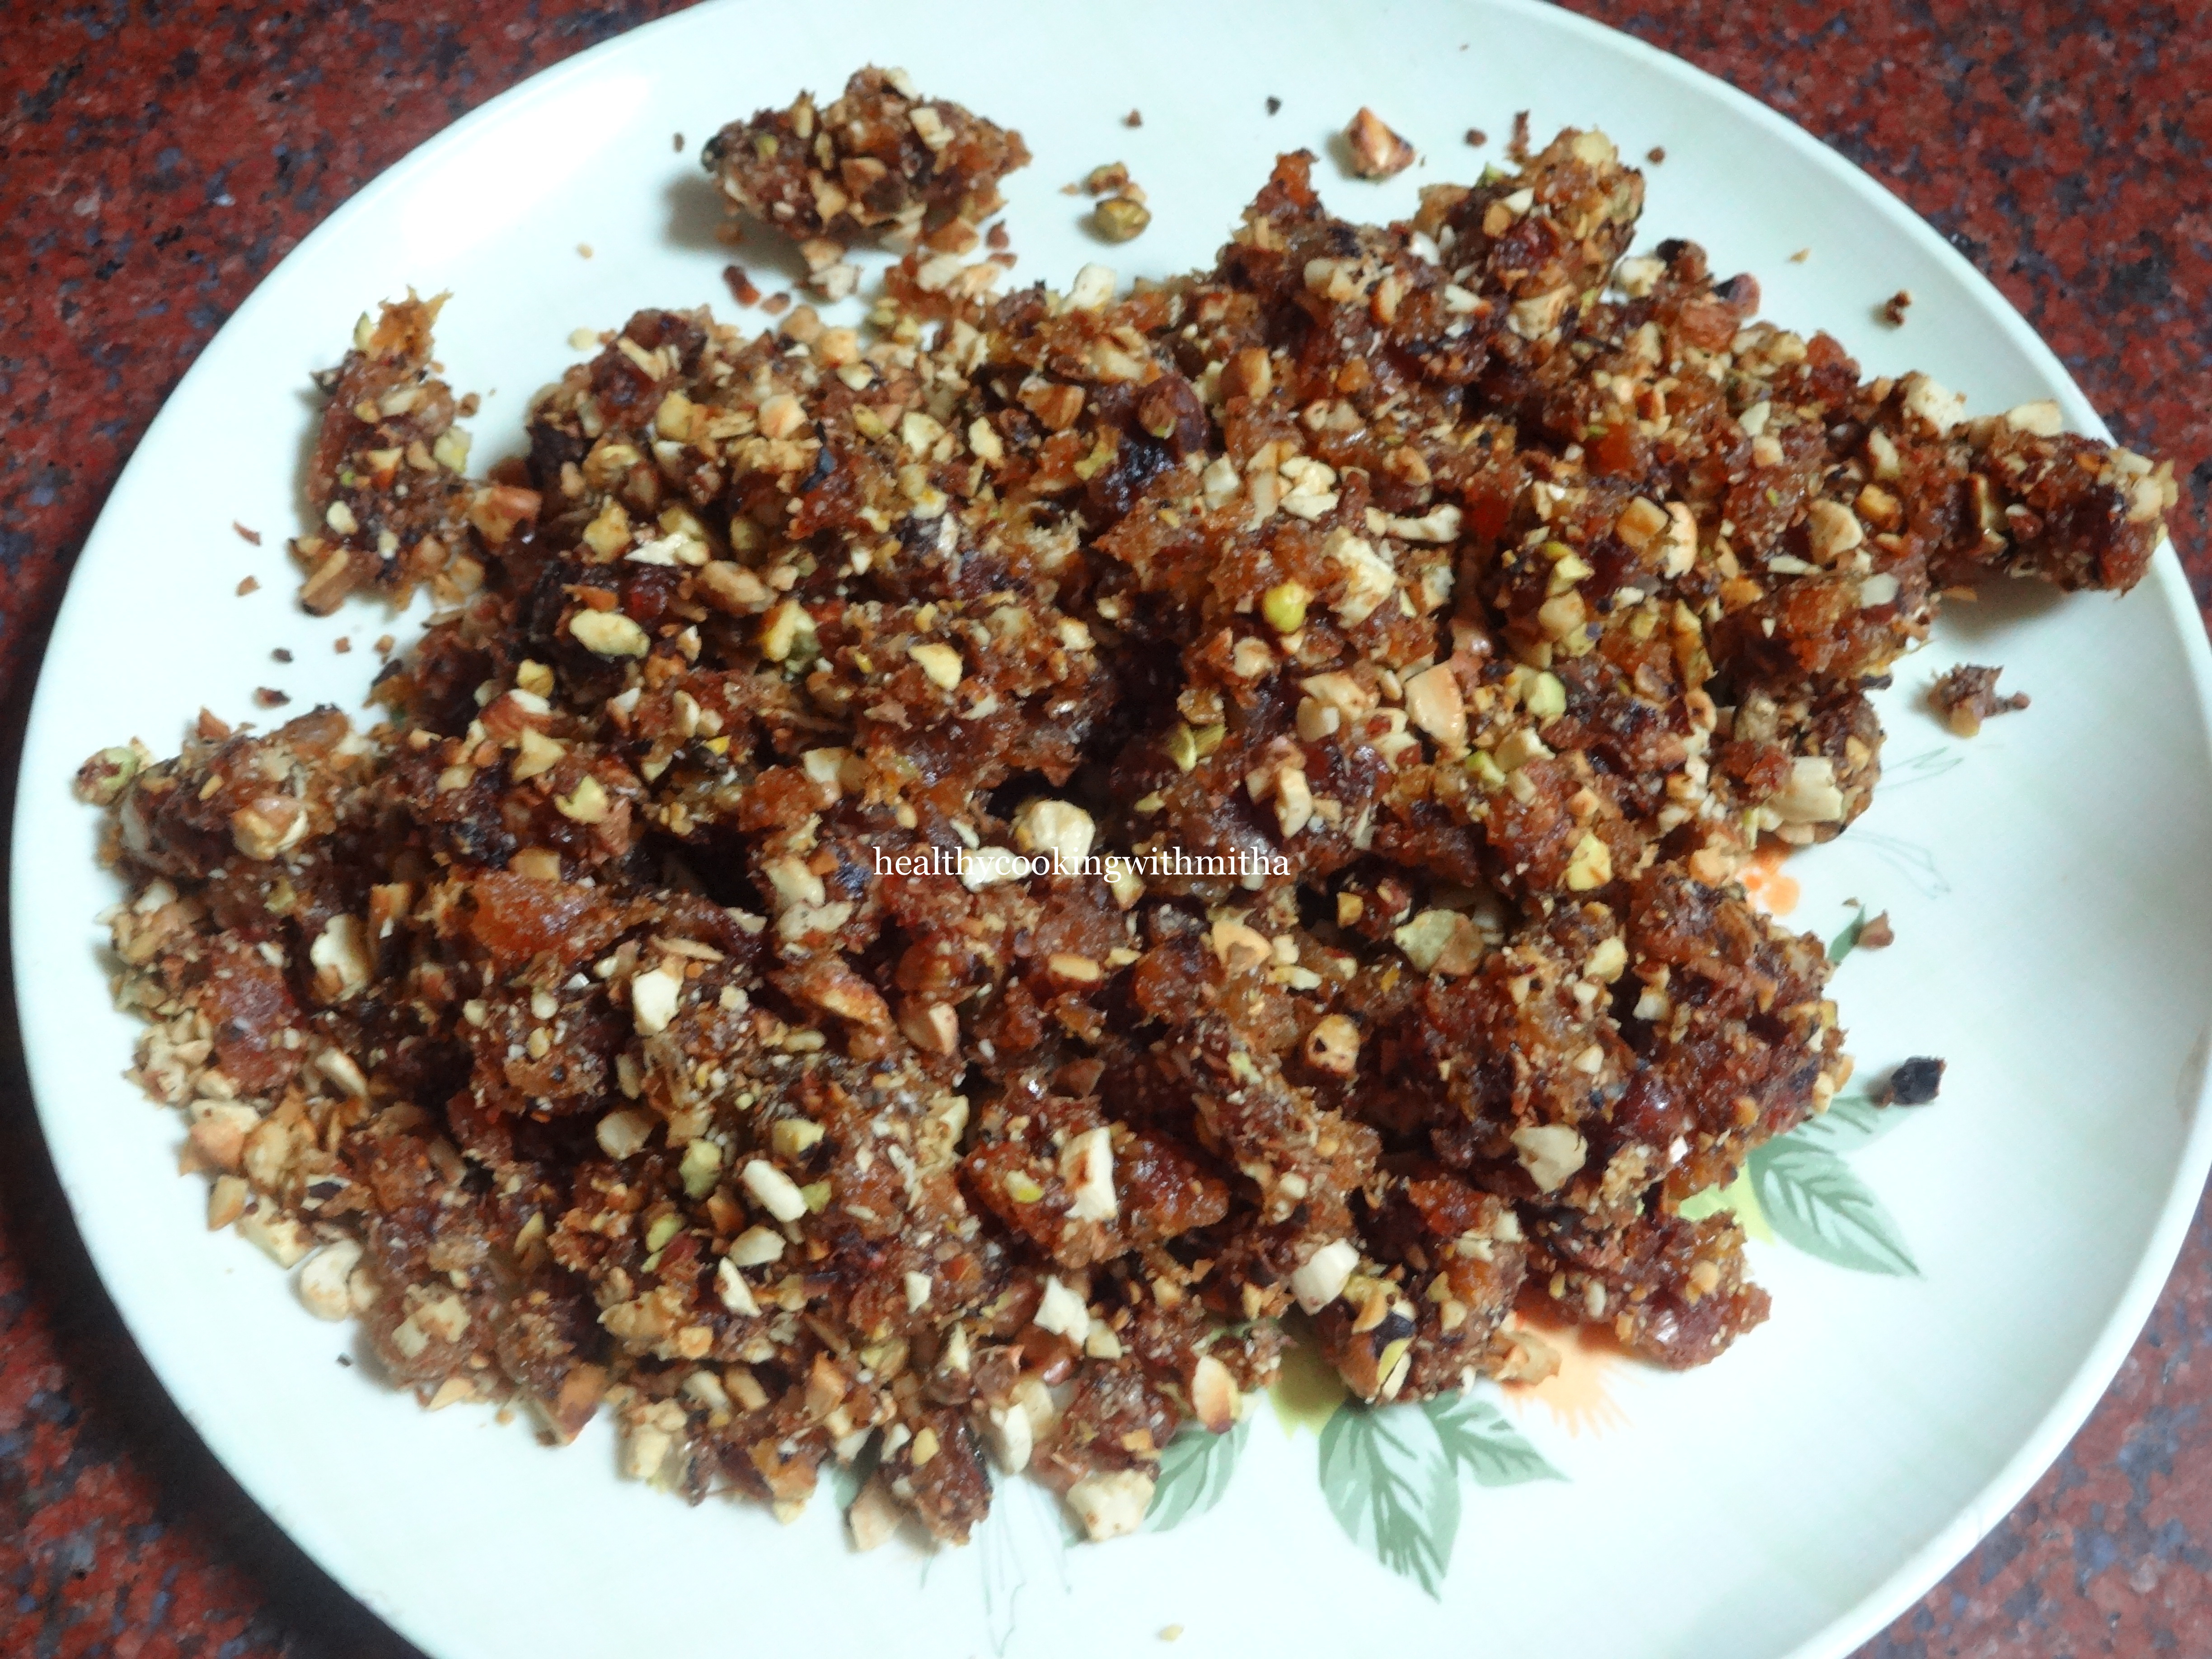
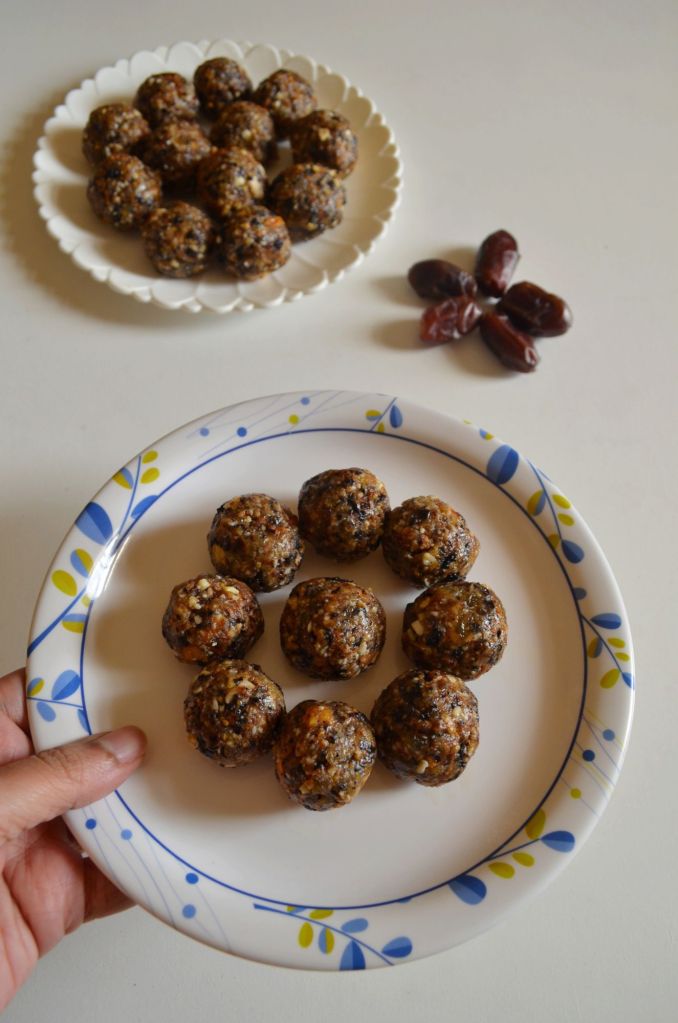
* I use Mother’s recipe brand of Dates Tamarind chutney. For making it at home, Soak about 6 to 8 dates for 30 mins in warm water and grind along with tamarind, jaggery and salt to a smooth paste.
* For the puris, I have bought these ready to be fried puris long back (more than 2 years actually) and still they are good. I just microwave it on high for 1 minute and they are ready. You can get these readymade puris like papads in your grocery stores.
Alternatively, you can also deep fry like you do for papads..


* You can add mashed potatoes too for filling but I add only boiled sprouted moong so that my kids eat more of the sprouts. In fact, this chaat is their favourite and they don’t realise they are eating sprouts as this is a unique way for them. (Mommy tricks 😁)
* You can check my Chaat Street page for chaats like Masala puri, Bhel puri, Charmbure Upkari and Paneer pav bhaji.
* Also, since my kids love dosas, I also make this Moong sprouts and Oats dosa for them which they love.