Tag Archives: Curries

Masala Puri chaat

It is my son’s second birthday today (August 12th) and we are celebrating it since 10th. 10th because it was my husband’s off day from work (we did a small celebration at home), 11th as it was Janmashtami and I love dressing him up as Krishna. He is our little Kishan Kanhaiyya who brought flood along with him during the Kerala floods in August 2018.

I remember those scary days every year and pray that no one has to go through it again. But yes, God has been really kind upon us and we survived the days well.

My parents shifted back to our native Udupi in Karnataka after that as they wanted to be closer to their siblings and the days in Cochin are a beautiful memory to cherish.

One among the food memory from Cochin is piping hot masala puri that we used to enjoy from a small chaat stall behind the Ernakulam Shiva temple. Me and Amma used to sit in our car (as I was very shy to eat in front of other people 😁) and my dad and brother used to bring them to us. The flavours of the masala puri is still in my taste buds. So so delicious. I have never eaten a tastier masala puri than that.

But I am glad after many trials, my version of masala puri does taste almost same to that. I make it during special days and since it was my son’s birthday, I made it for our evening special snack and we all enjoyed it. Hope you all try and enjoy too. Happy and healthy cooking!

RECIPE:

Ingredients: {Makes about 4 plates}

For the curry:

1 Cup dry Green peas (soak overnight)

1 medium sized Potato

1 medium sized Tomato

1 tsp Garam masala powder

1/4 tsp Turmeric powder

Salt to taste

1 Tbsp Oil

To grind:

1 medium sized Onion

3 Green chillies

1/2 inch Ginger piece

1/2 Cup Coriander leaves

1/4 Cup Mint leaves

For garnish: finely chopped Onion, tomatoes and coriander leaves as desired

For assembling the chaat: {In one plate}

3 to 4 Puris, 3 ladles of the curry, 1 Tbsp Date Tamarind chutney, Green chutney if desired, finely chopped onions, tomatoes, coriander leaves and bhujiya or Sev.

Step by step recipe:

1. Pressure cook the soaked green peas (soak for atleast 8 hours) along with potato and turmeric powder till it turns soft.

Note: It takes 4 whistles at high flame in my electric stovetop.

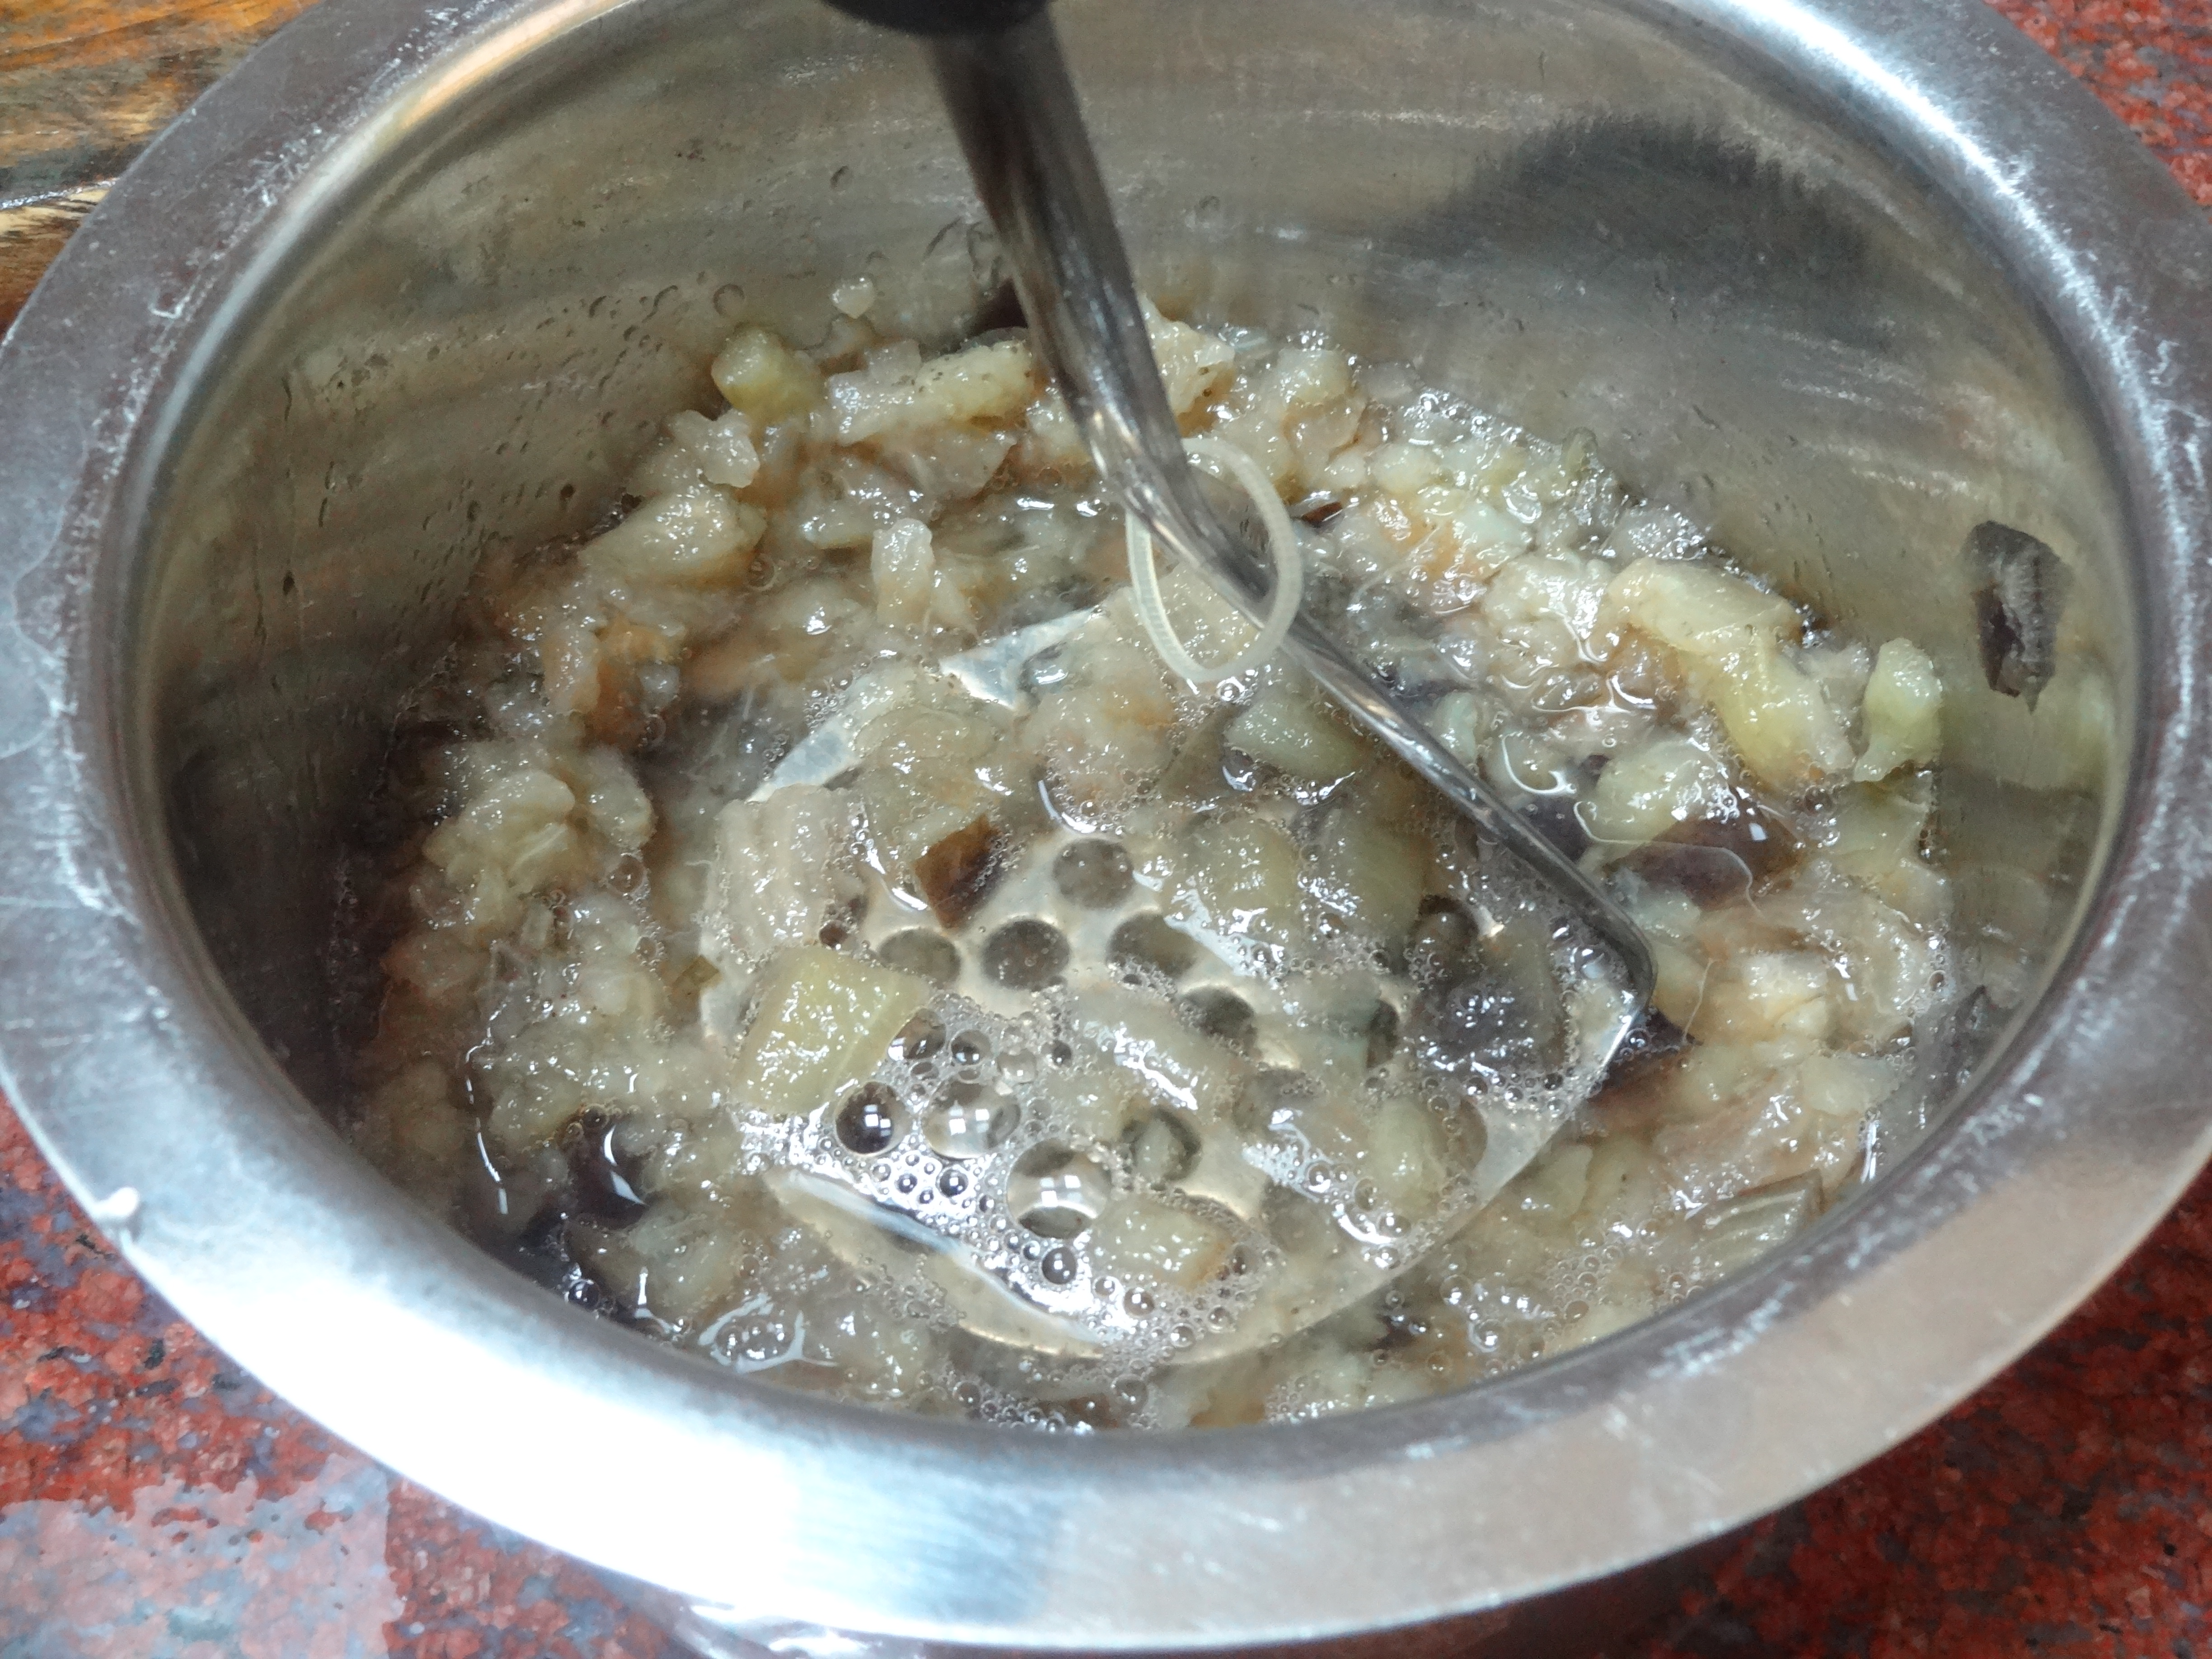
2. Mash lightly and keep aside.

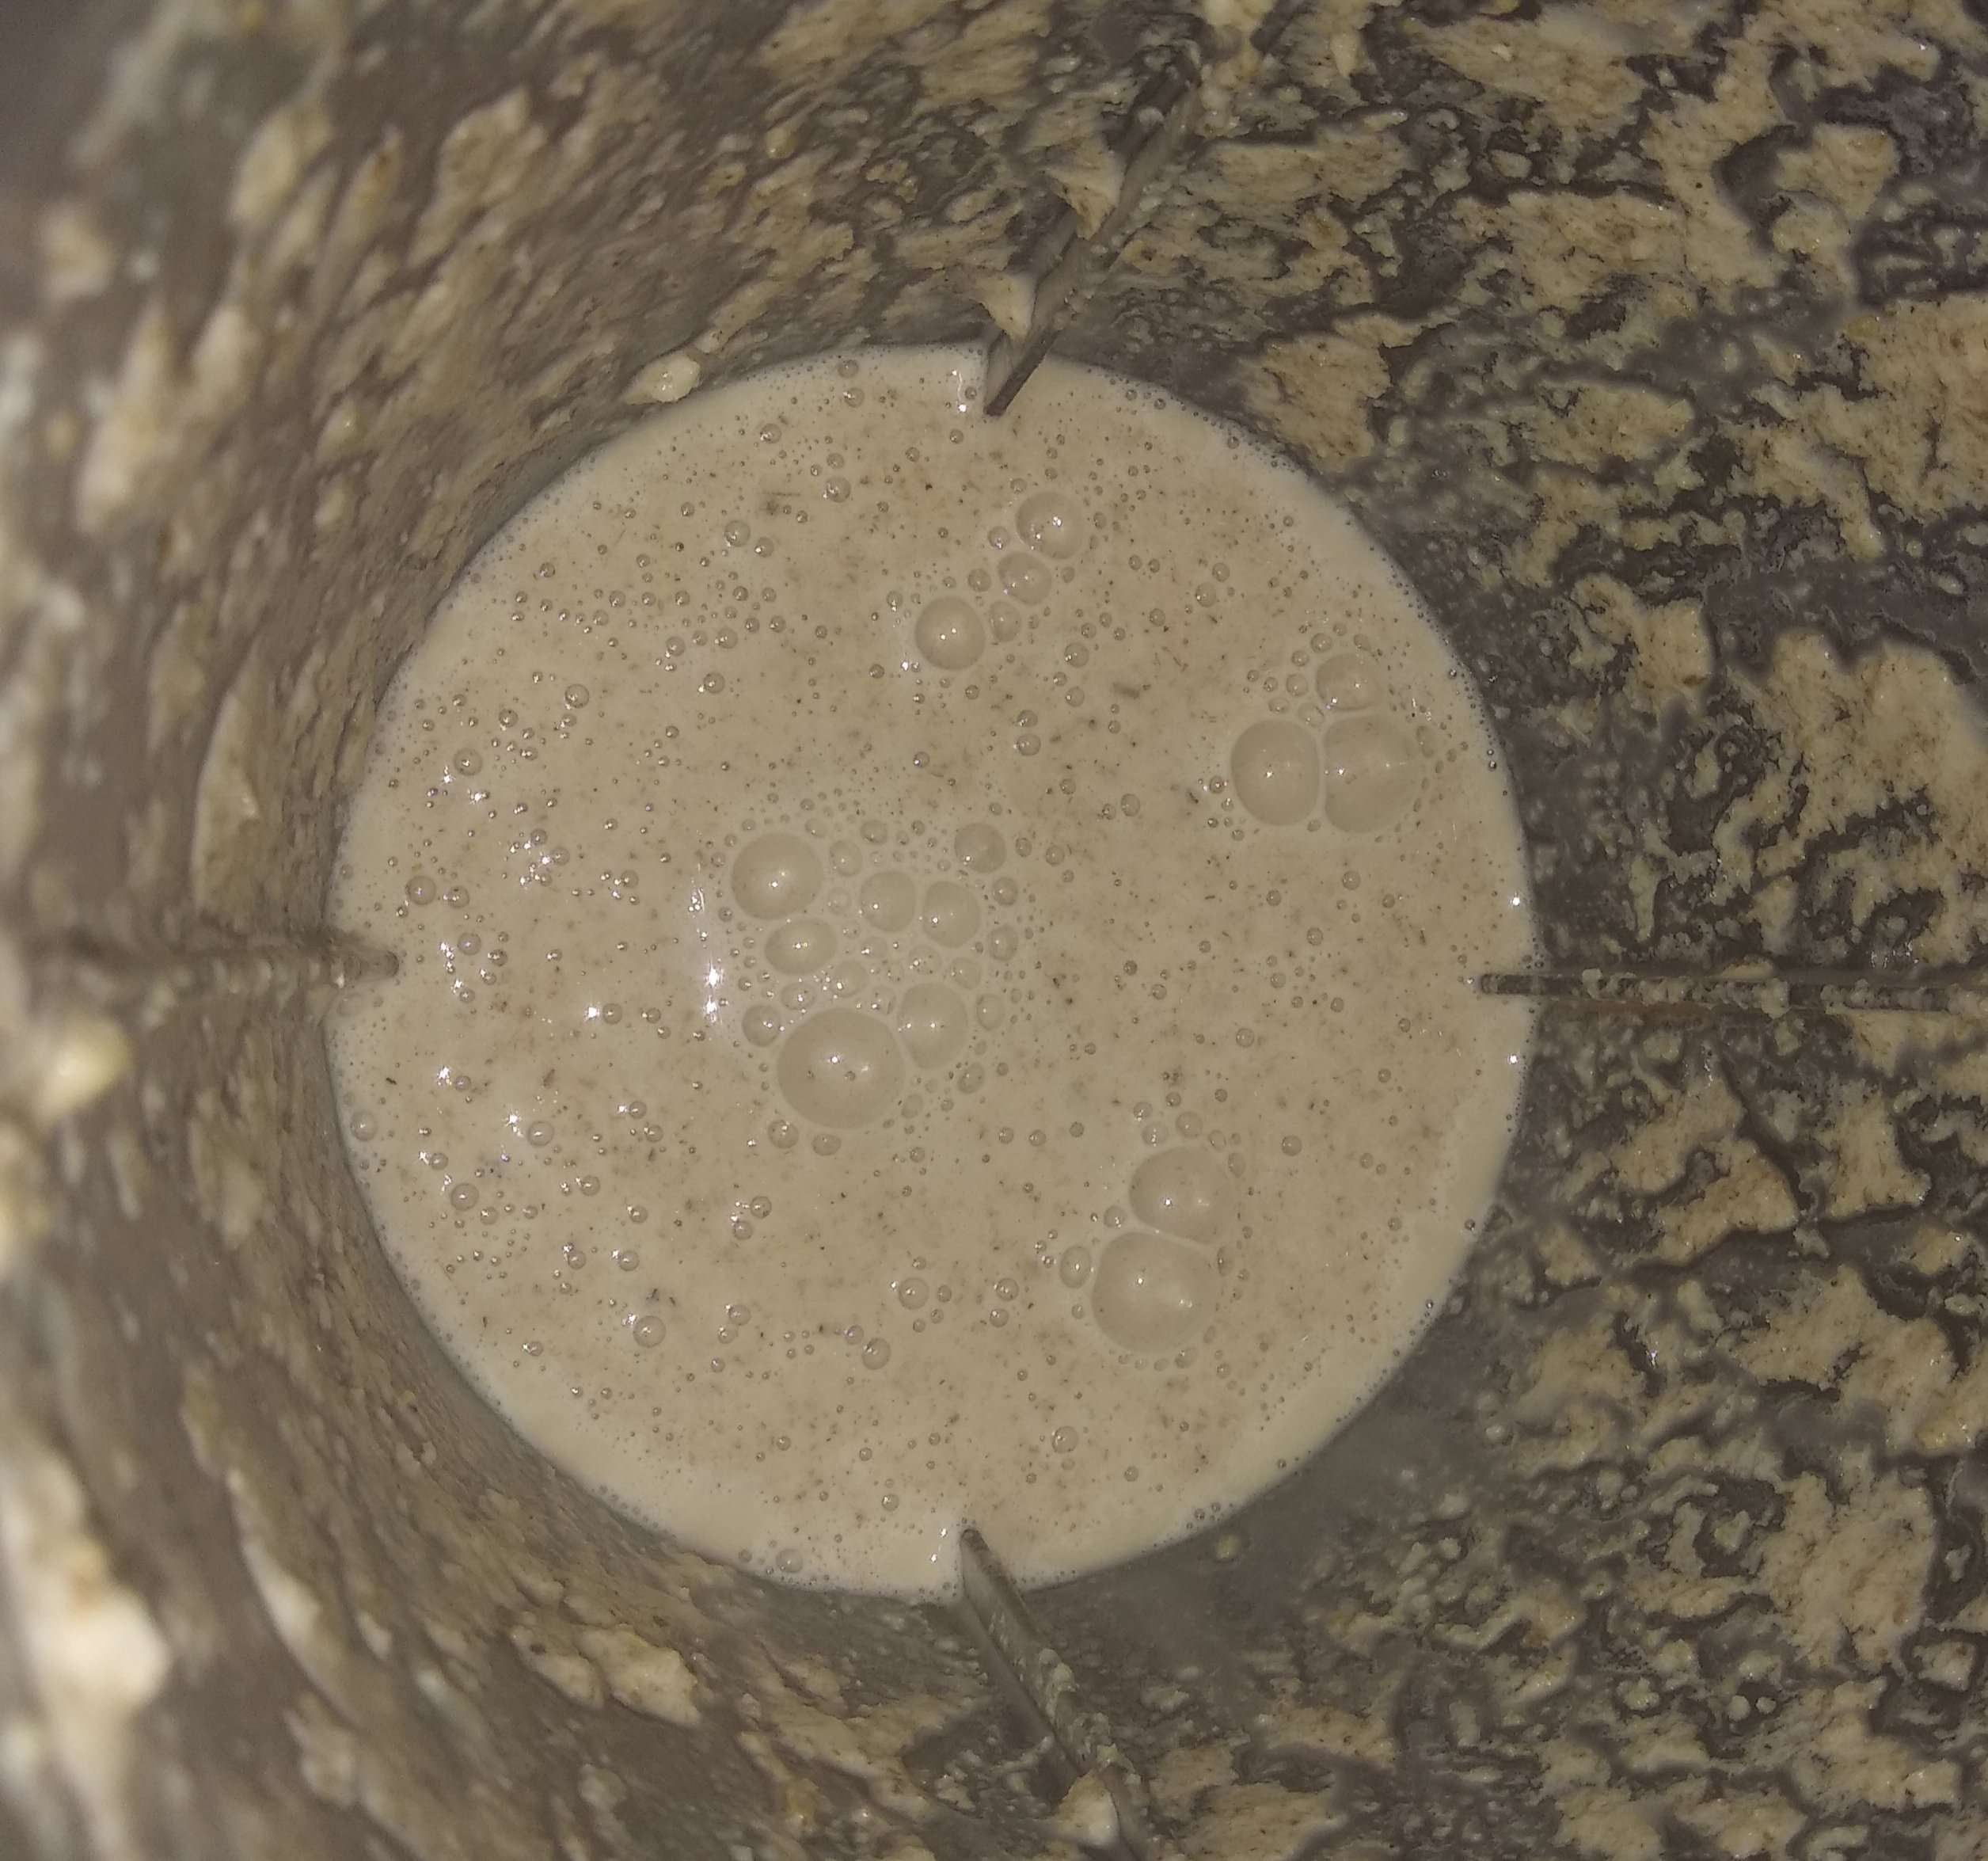
3. Take all ingredients to grind in a mixer jar.

4. Grind with little water to a smooth paste. Keep aside.

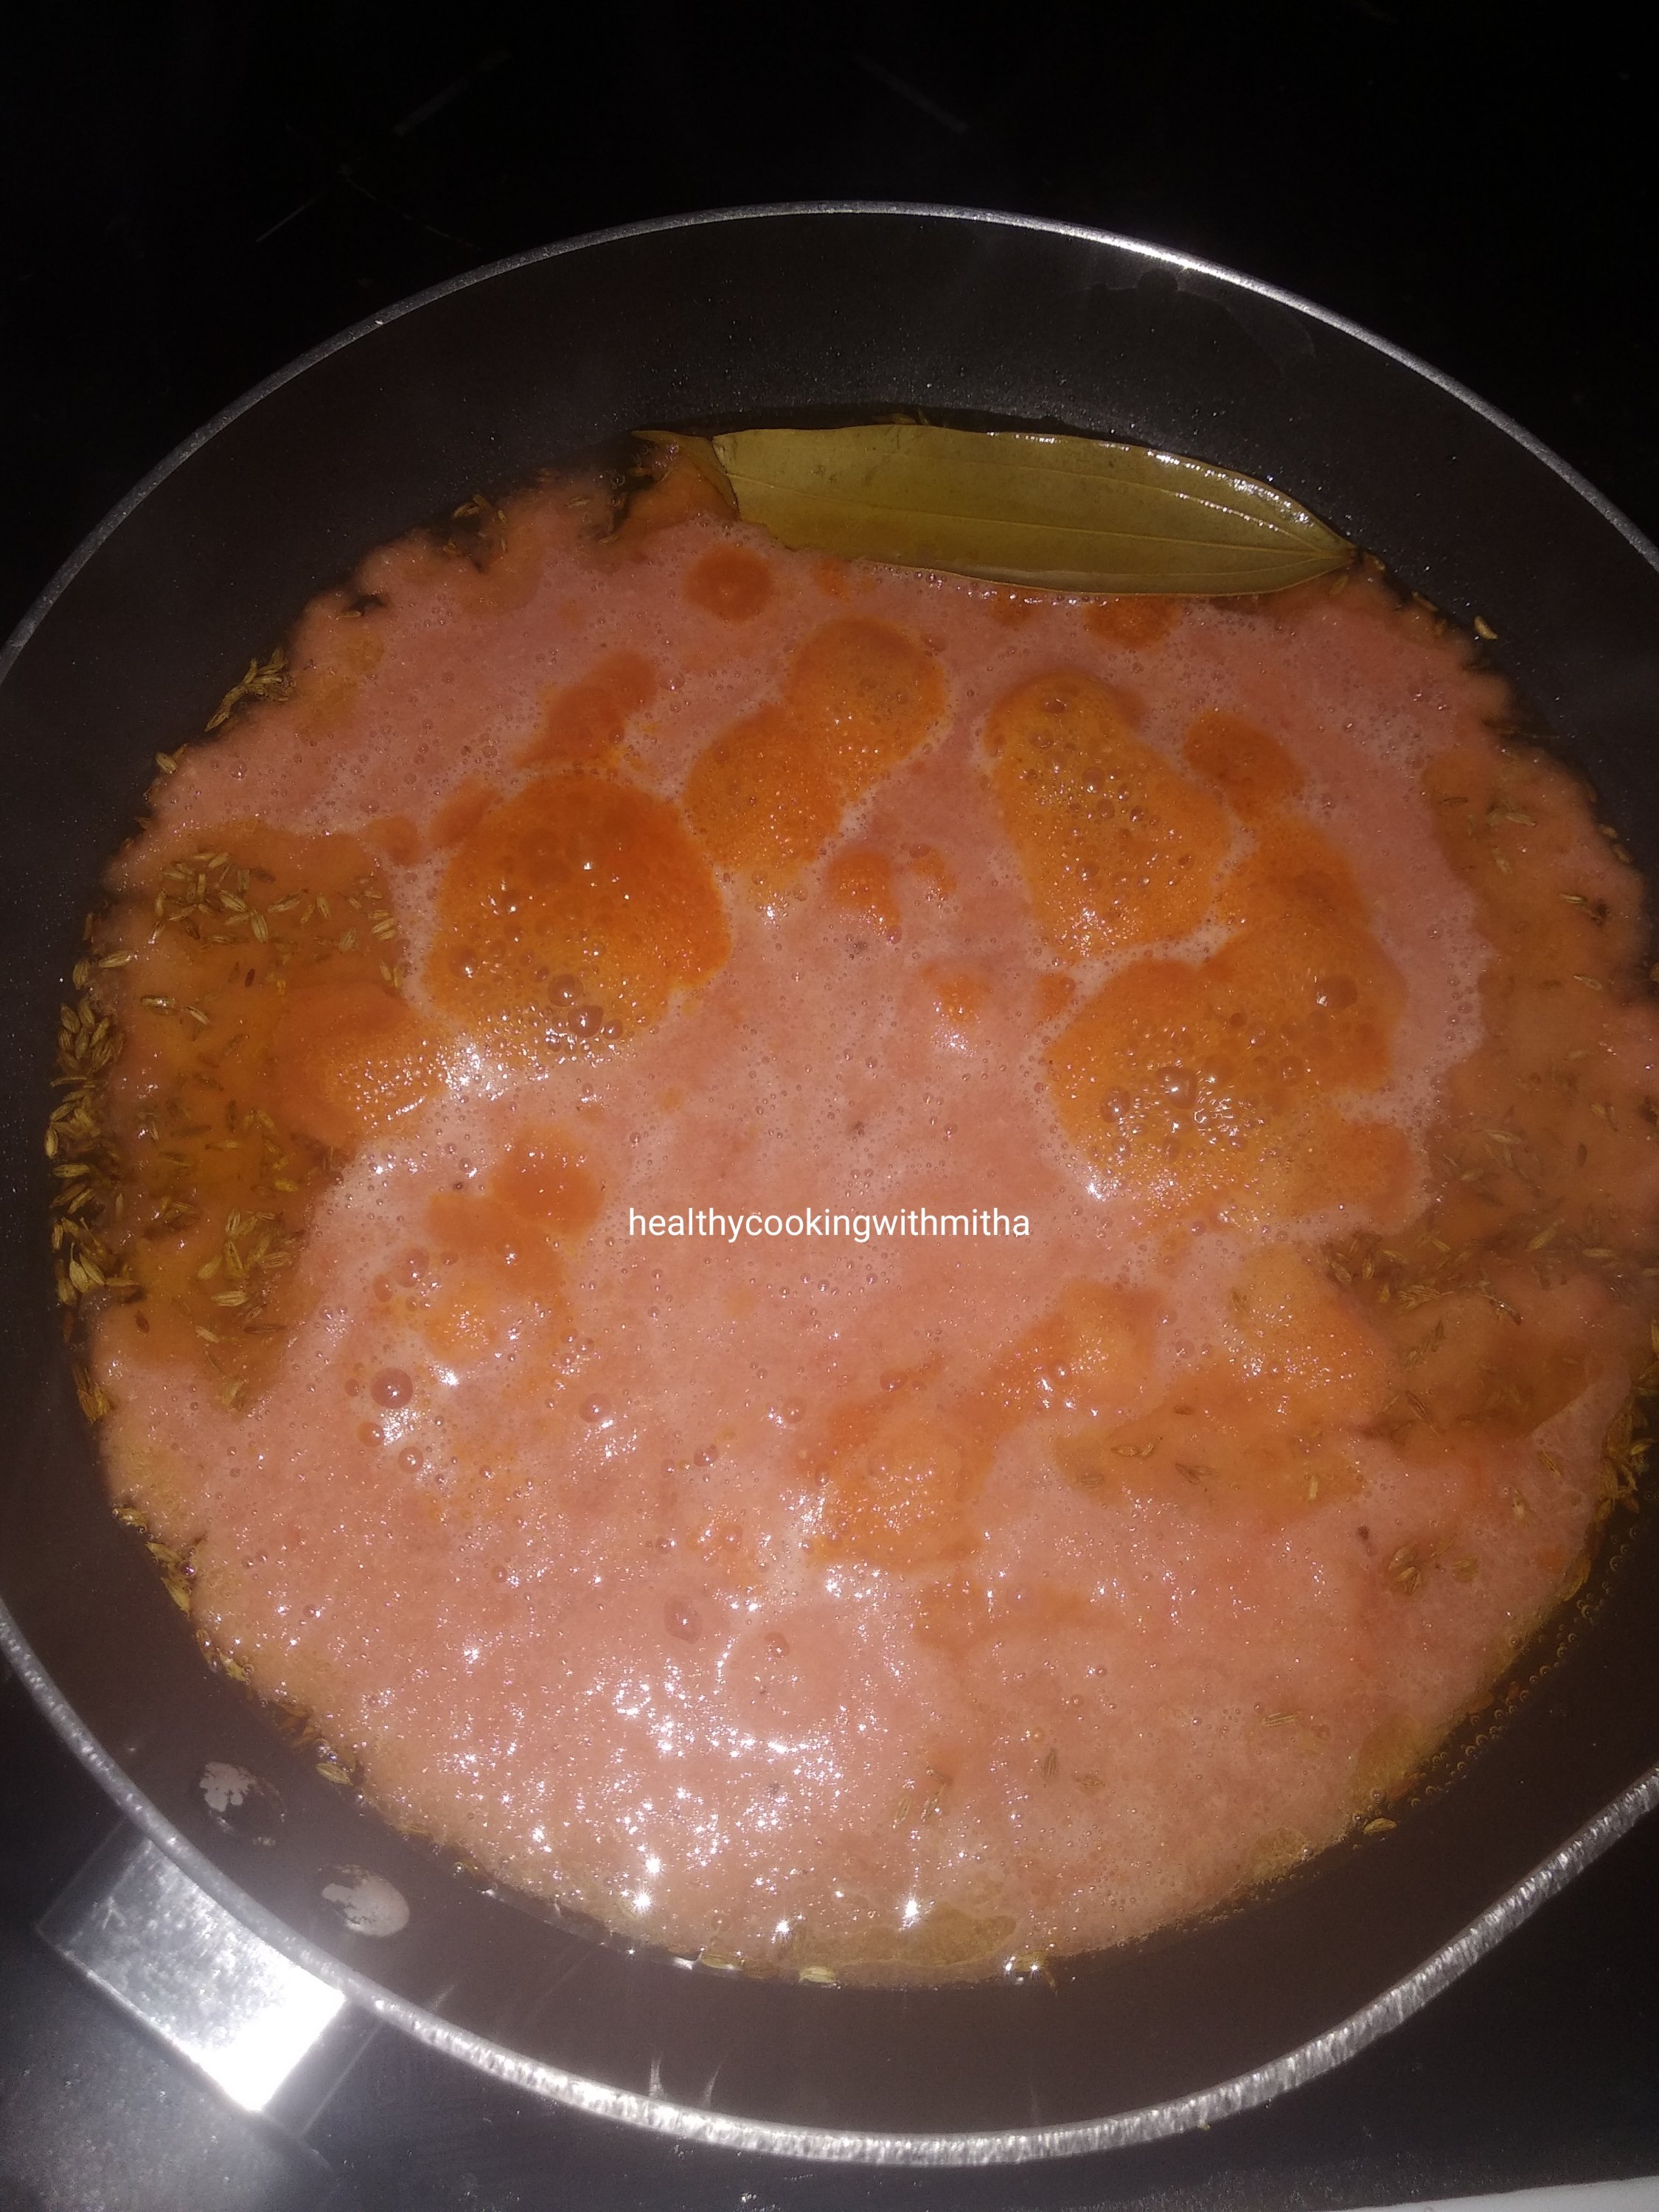
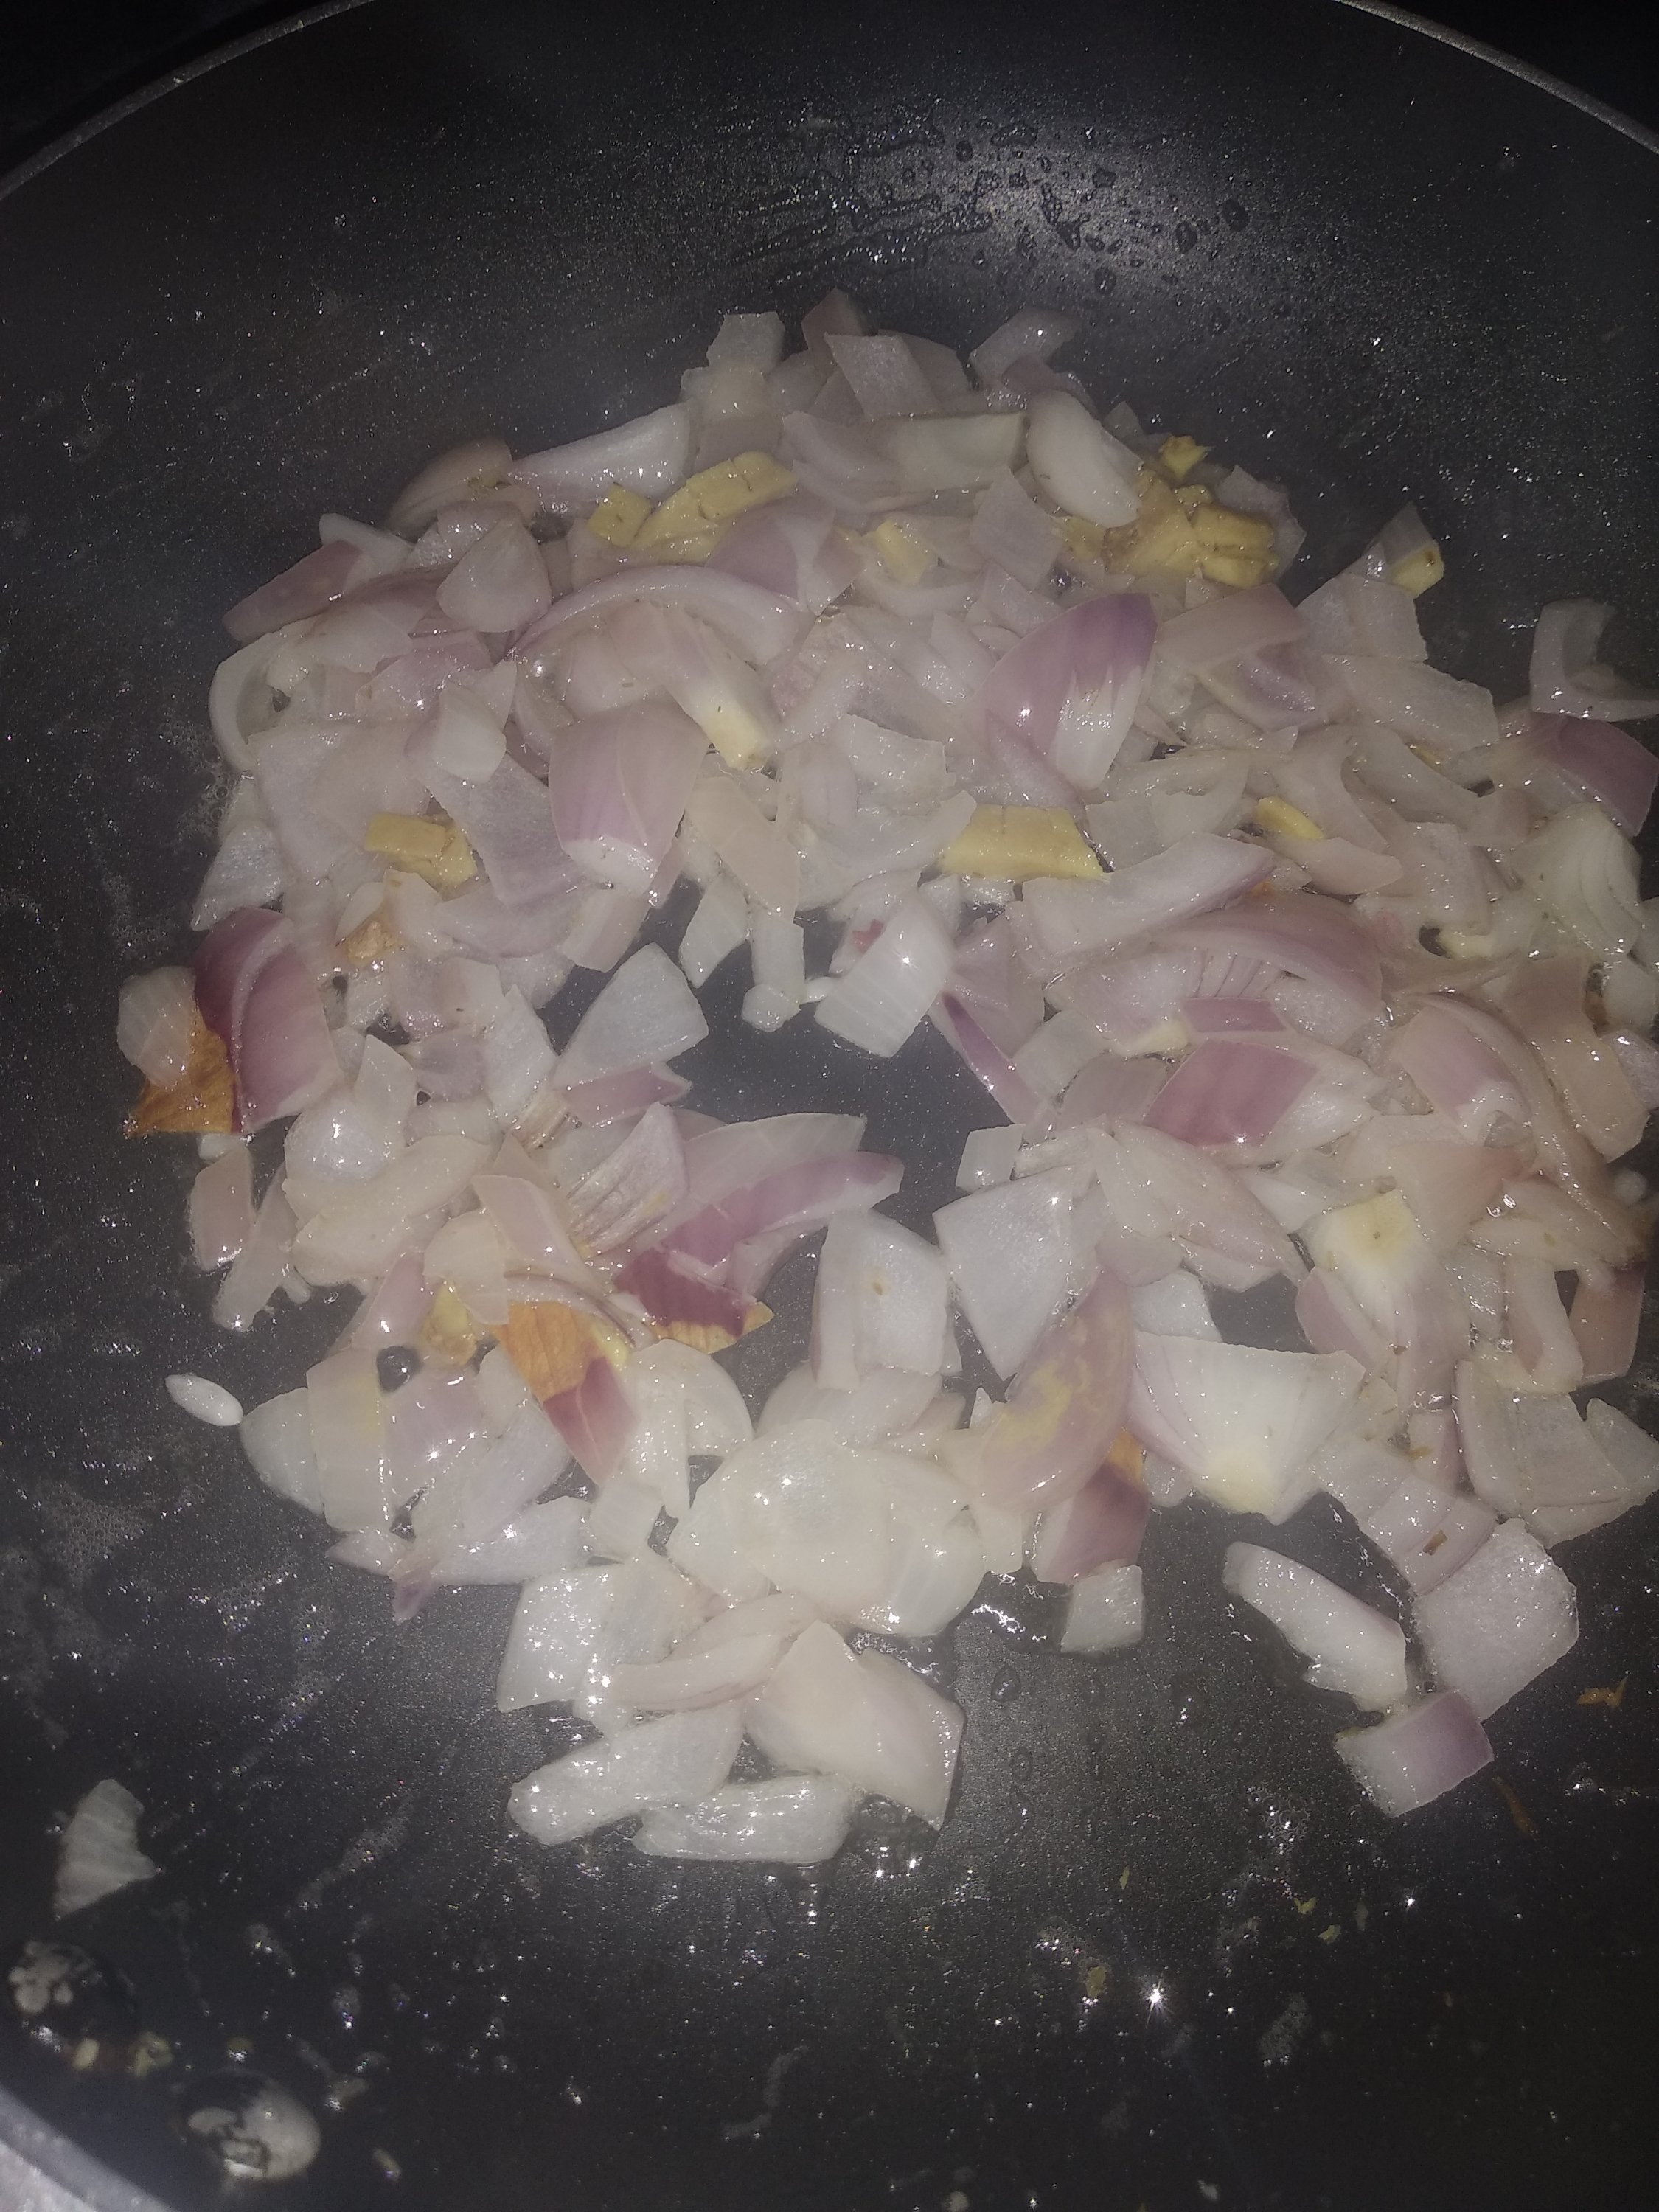
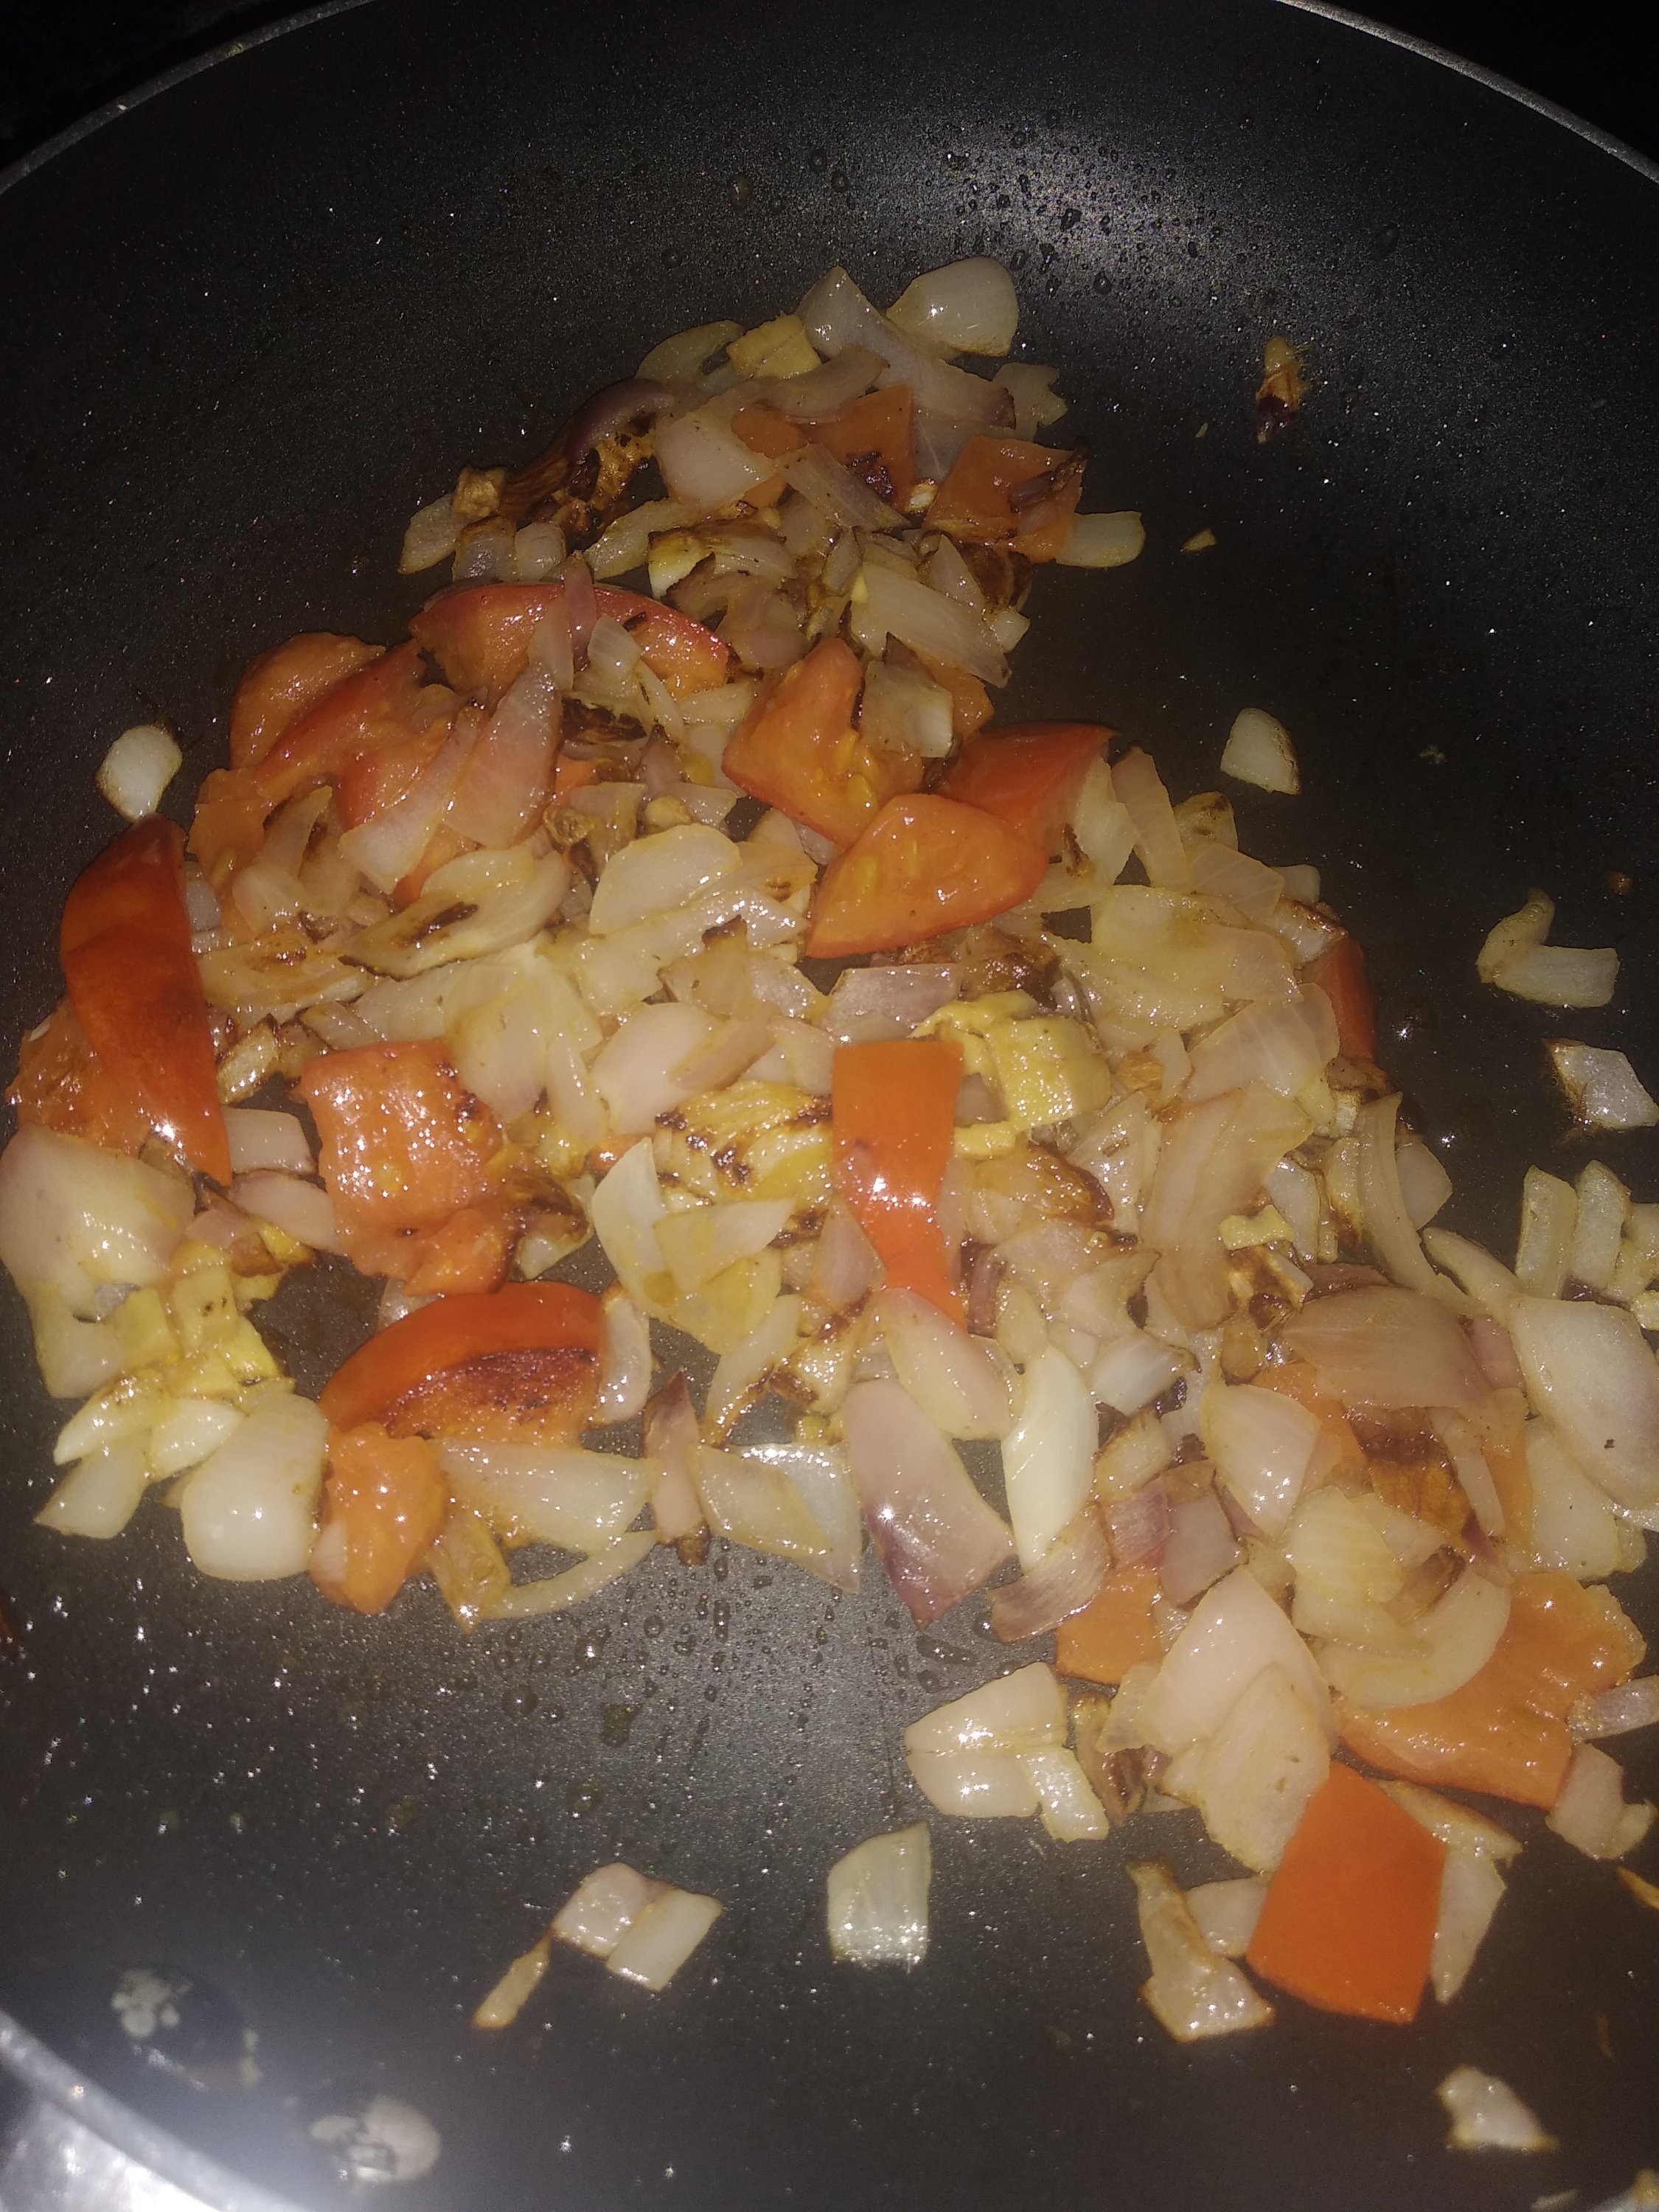
5. Heat oil in a pan and fry finely chopped tomatoes till it cooks.

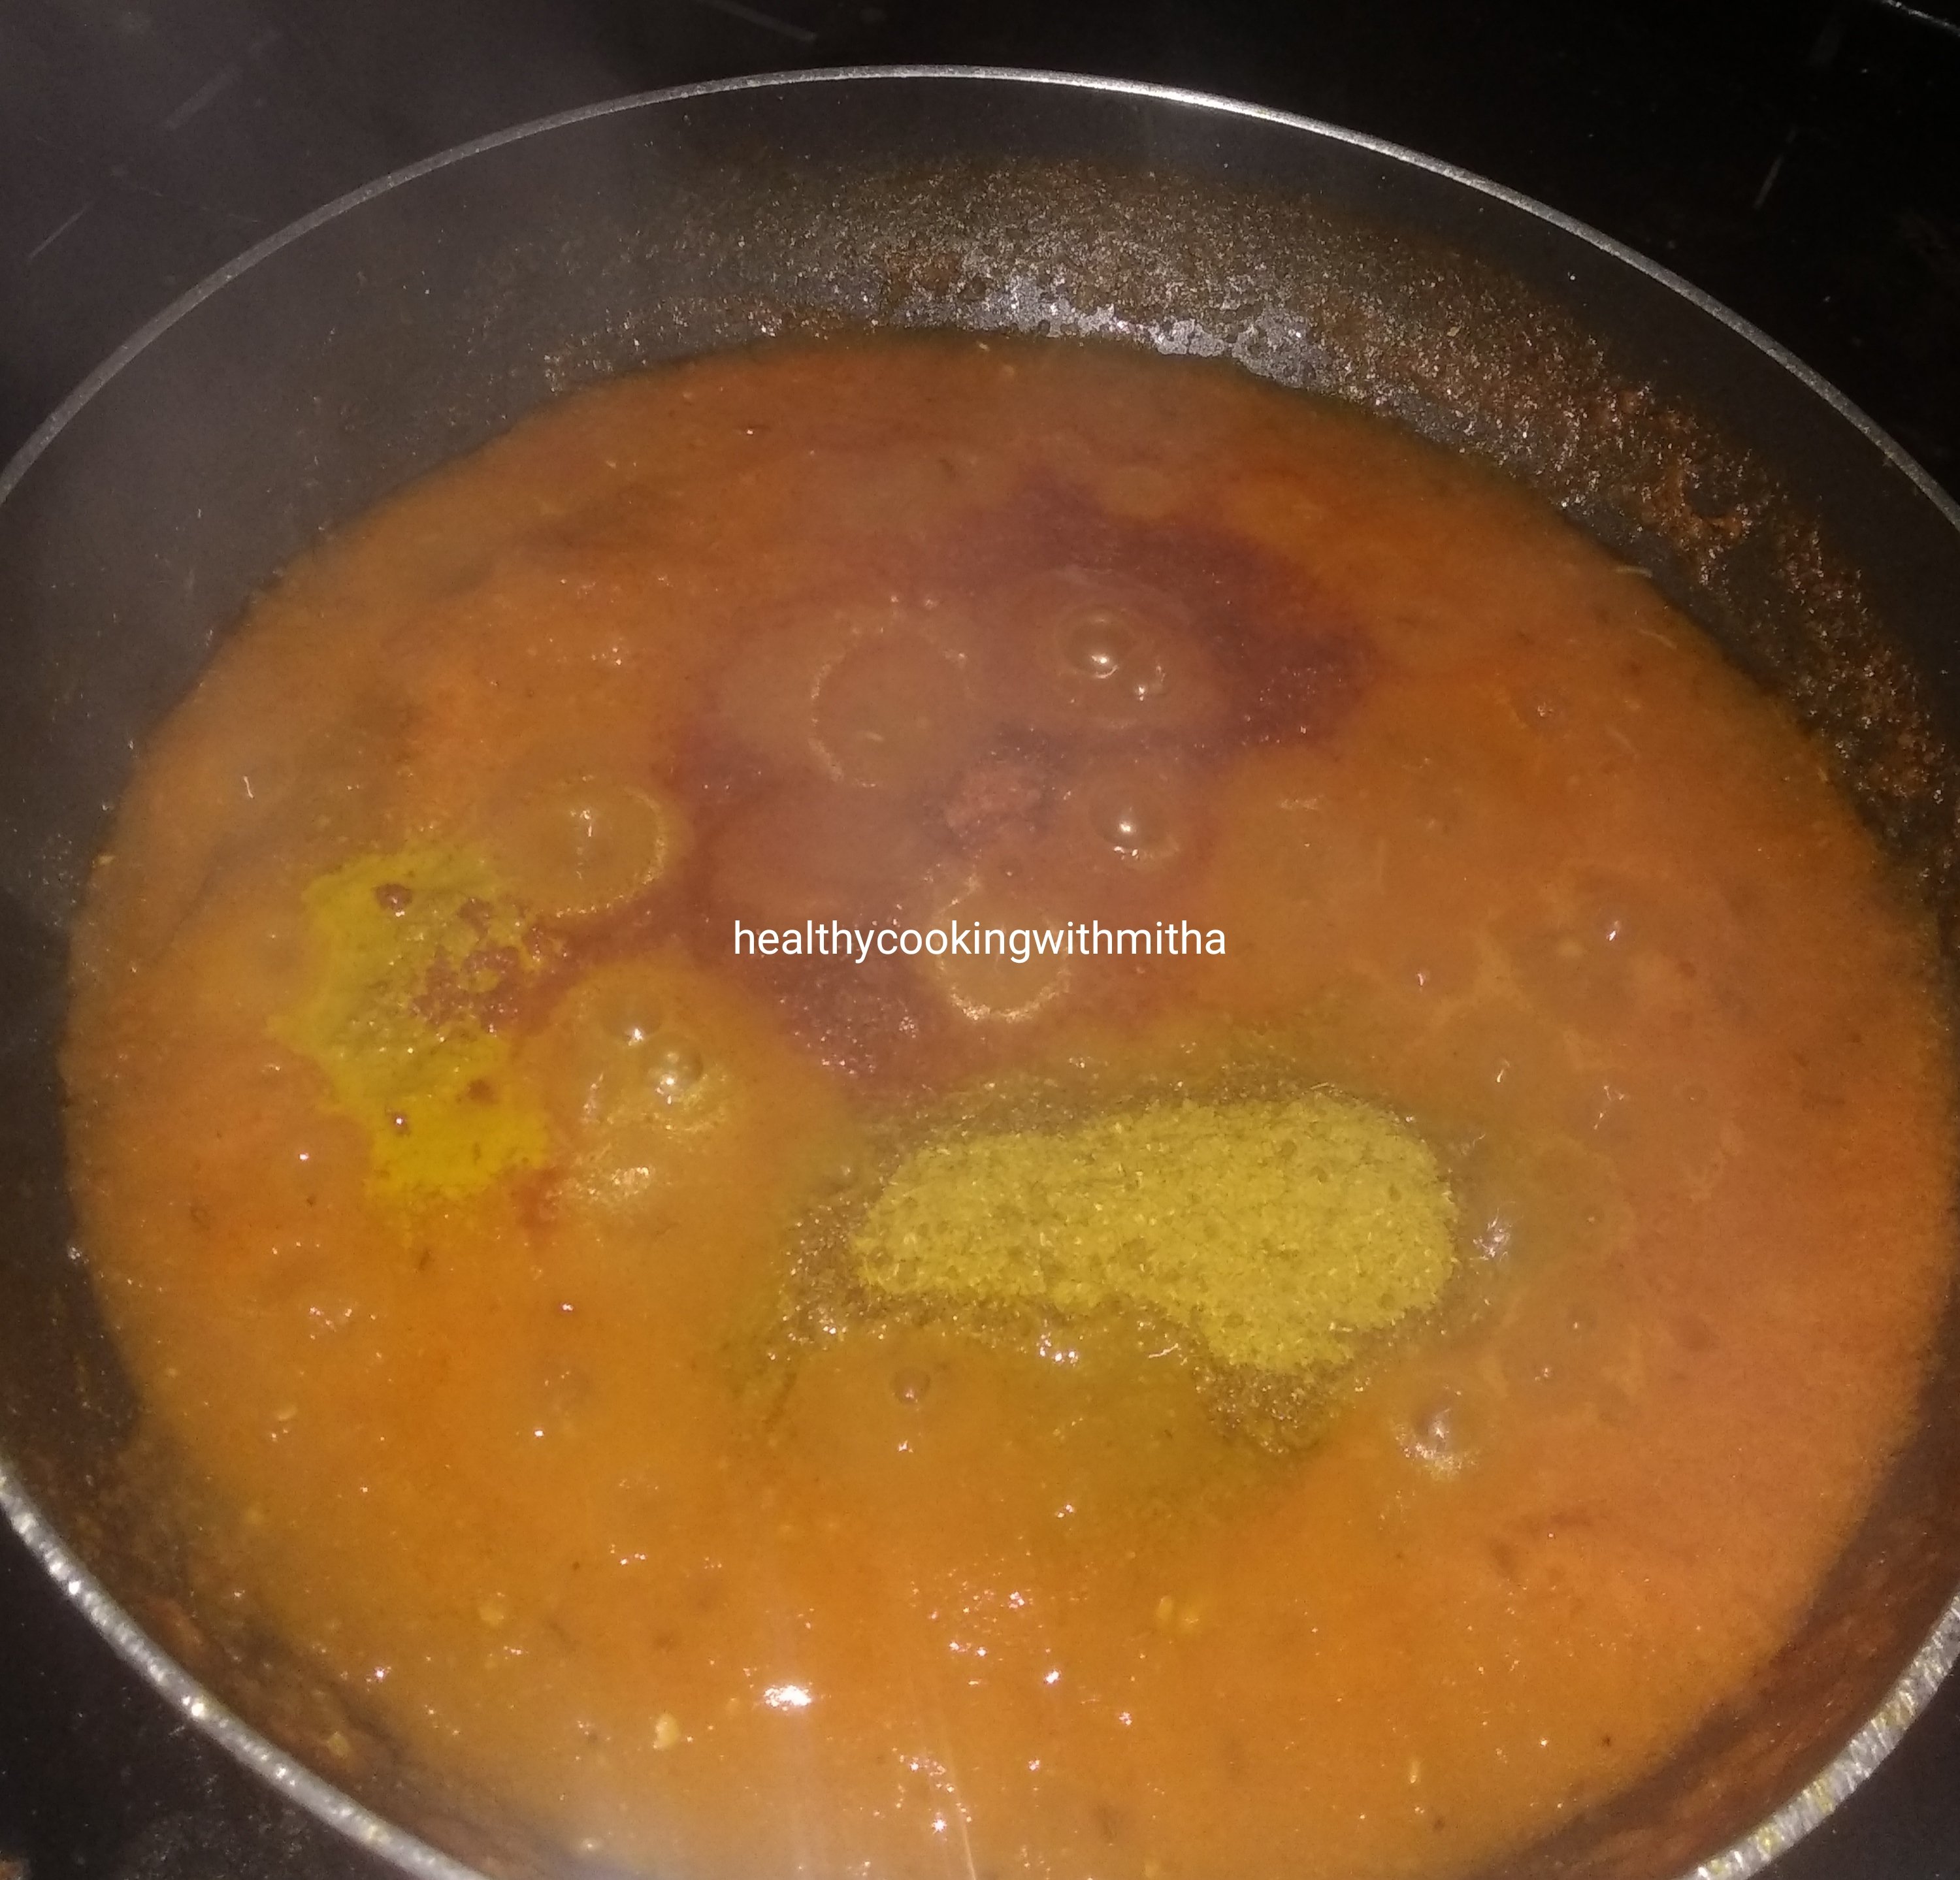
6. Add the ground masala paste and cook till it reduces and leaves the sides of the pan. Add garam masala powder and salt.

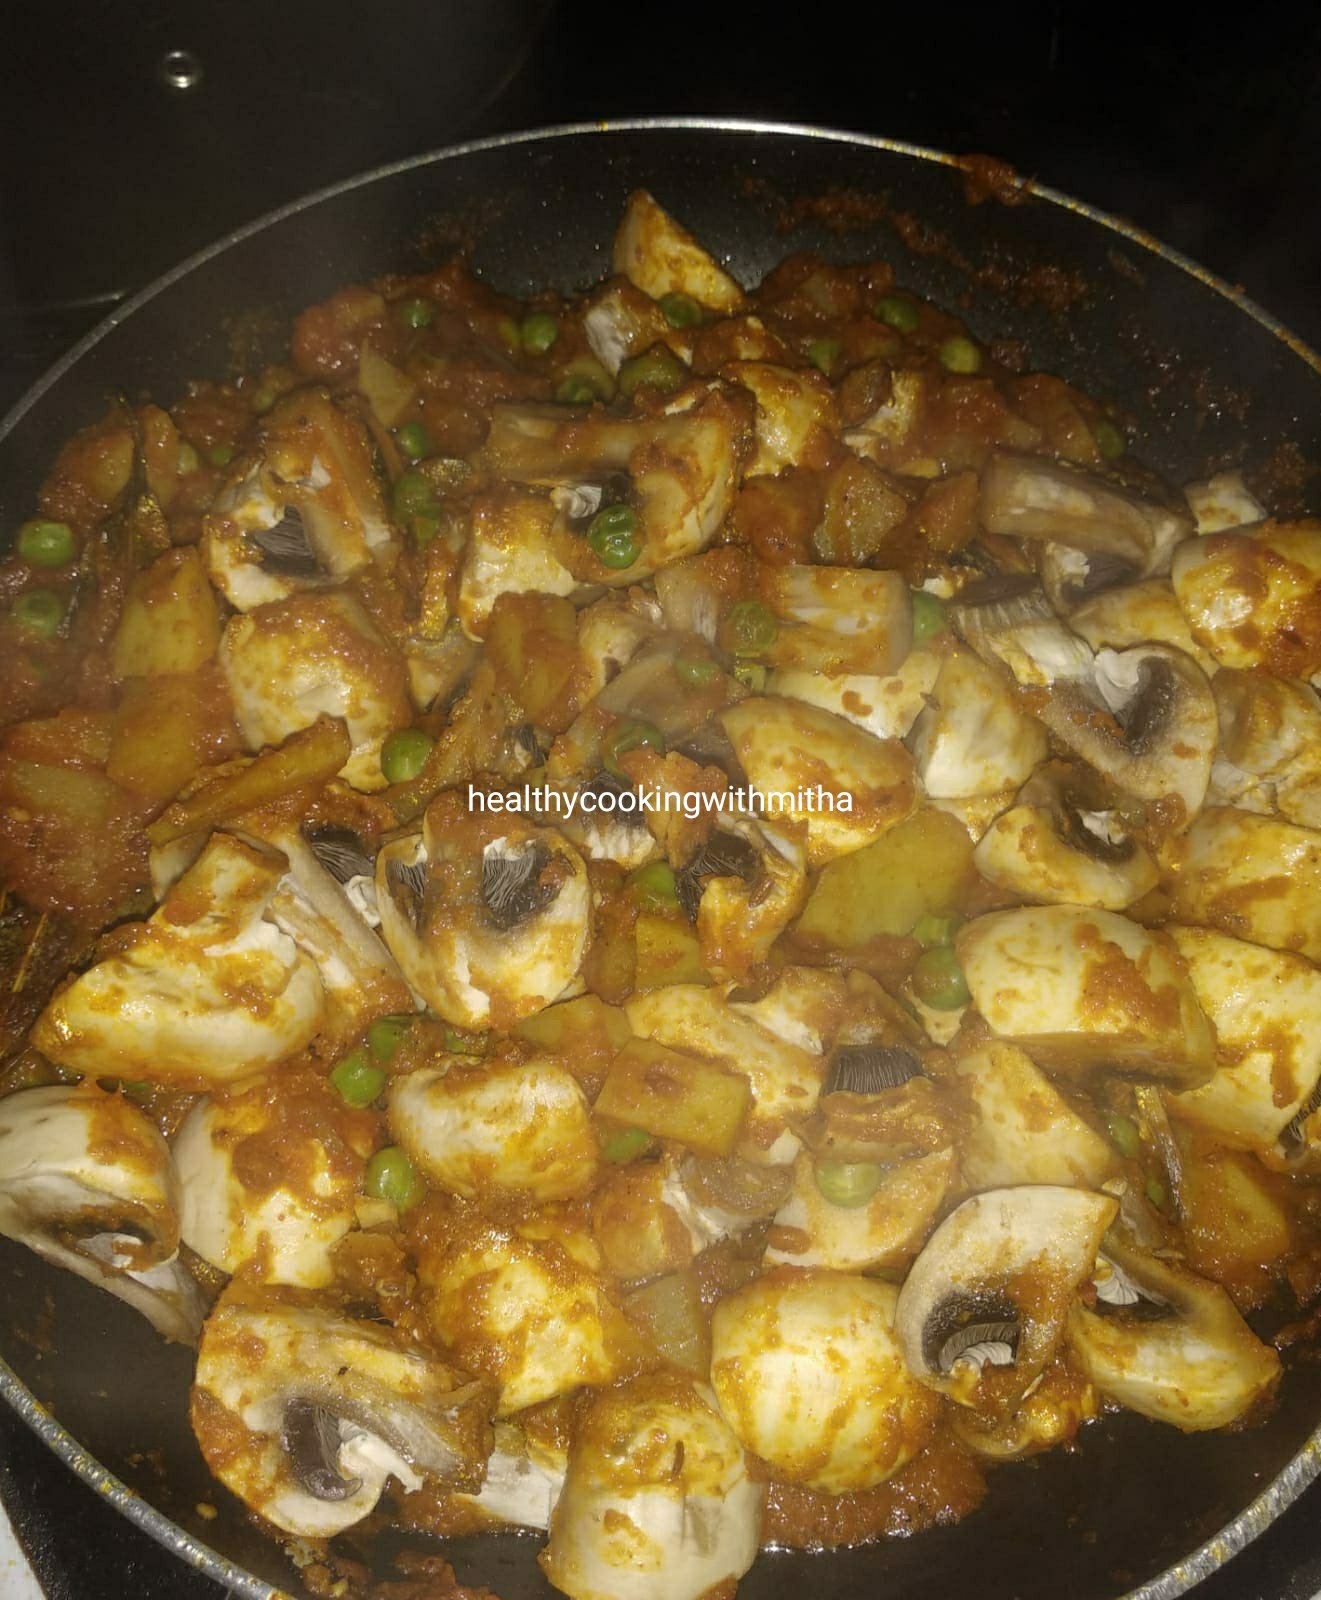
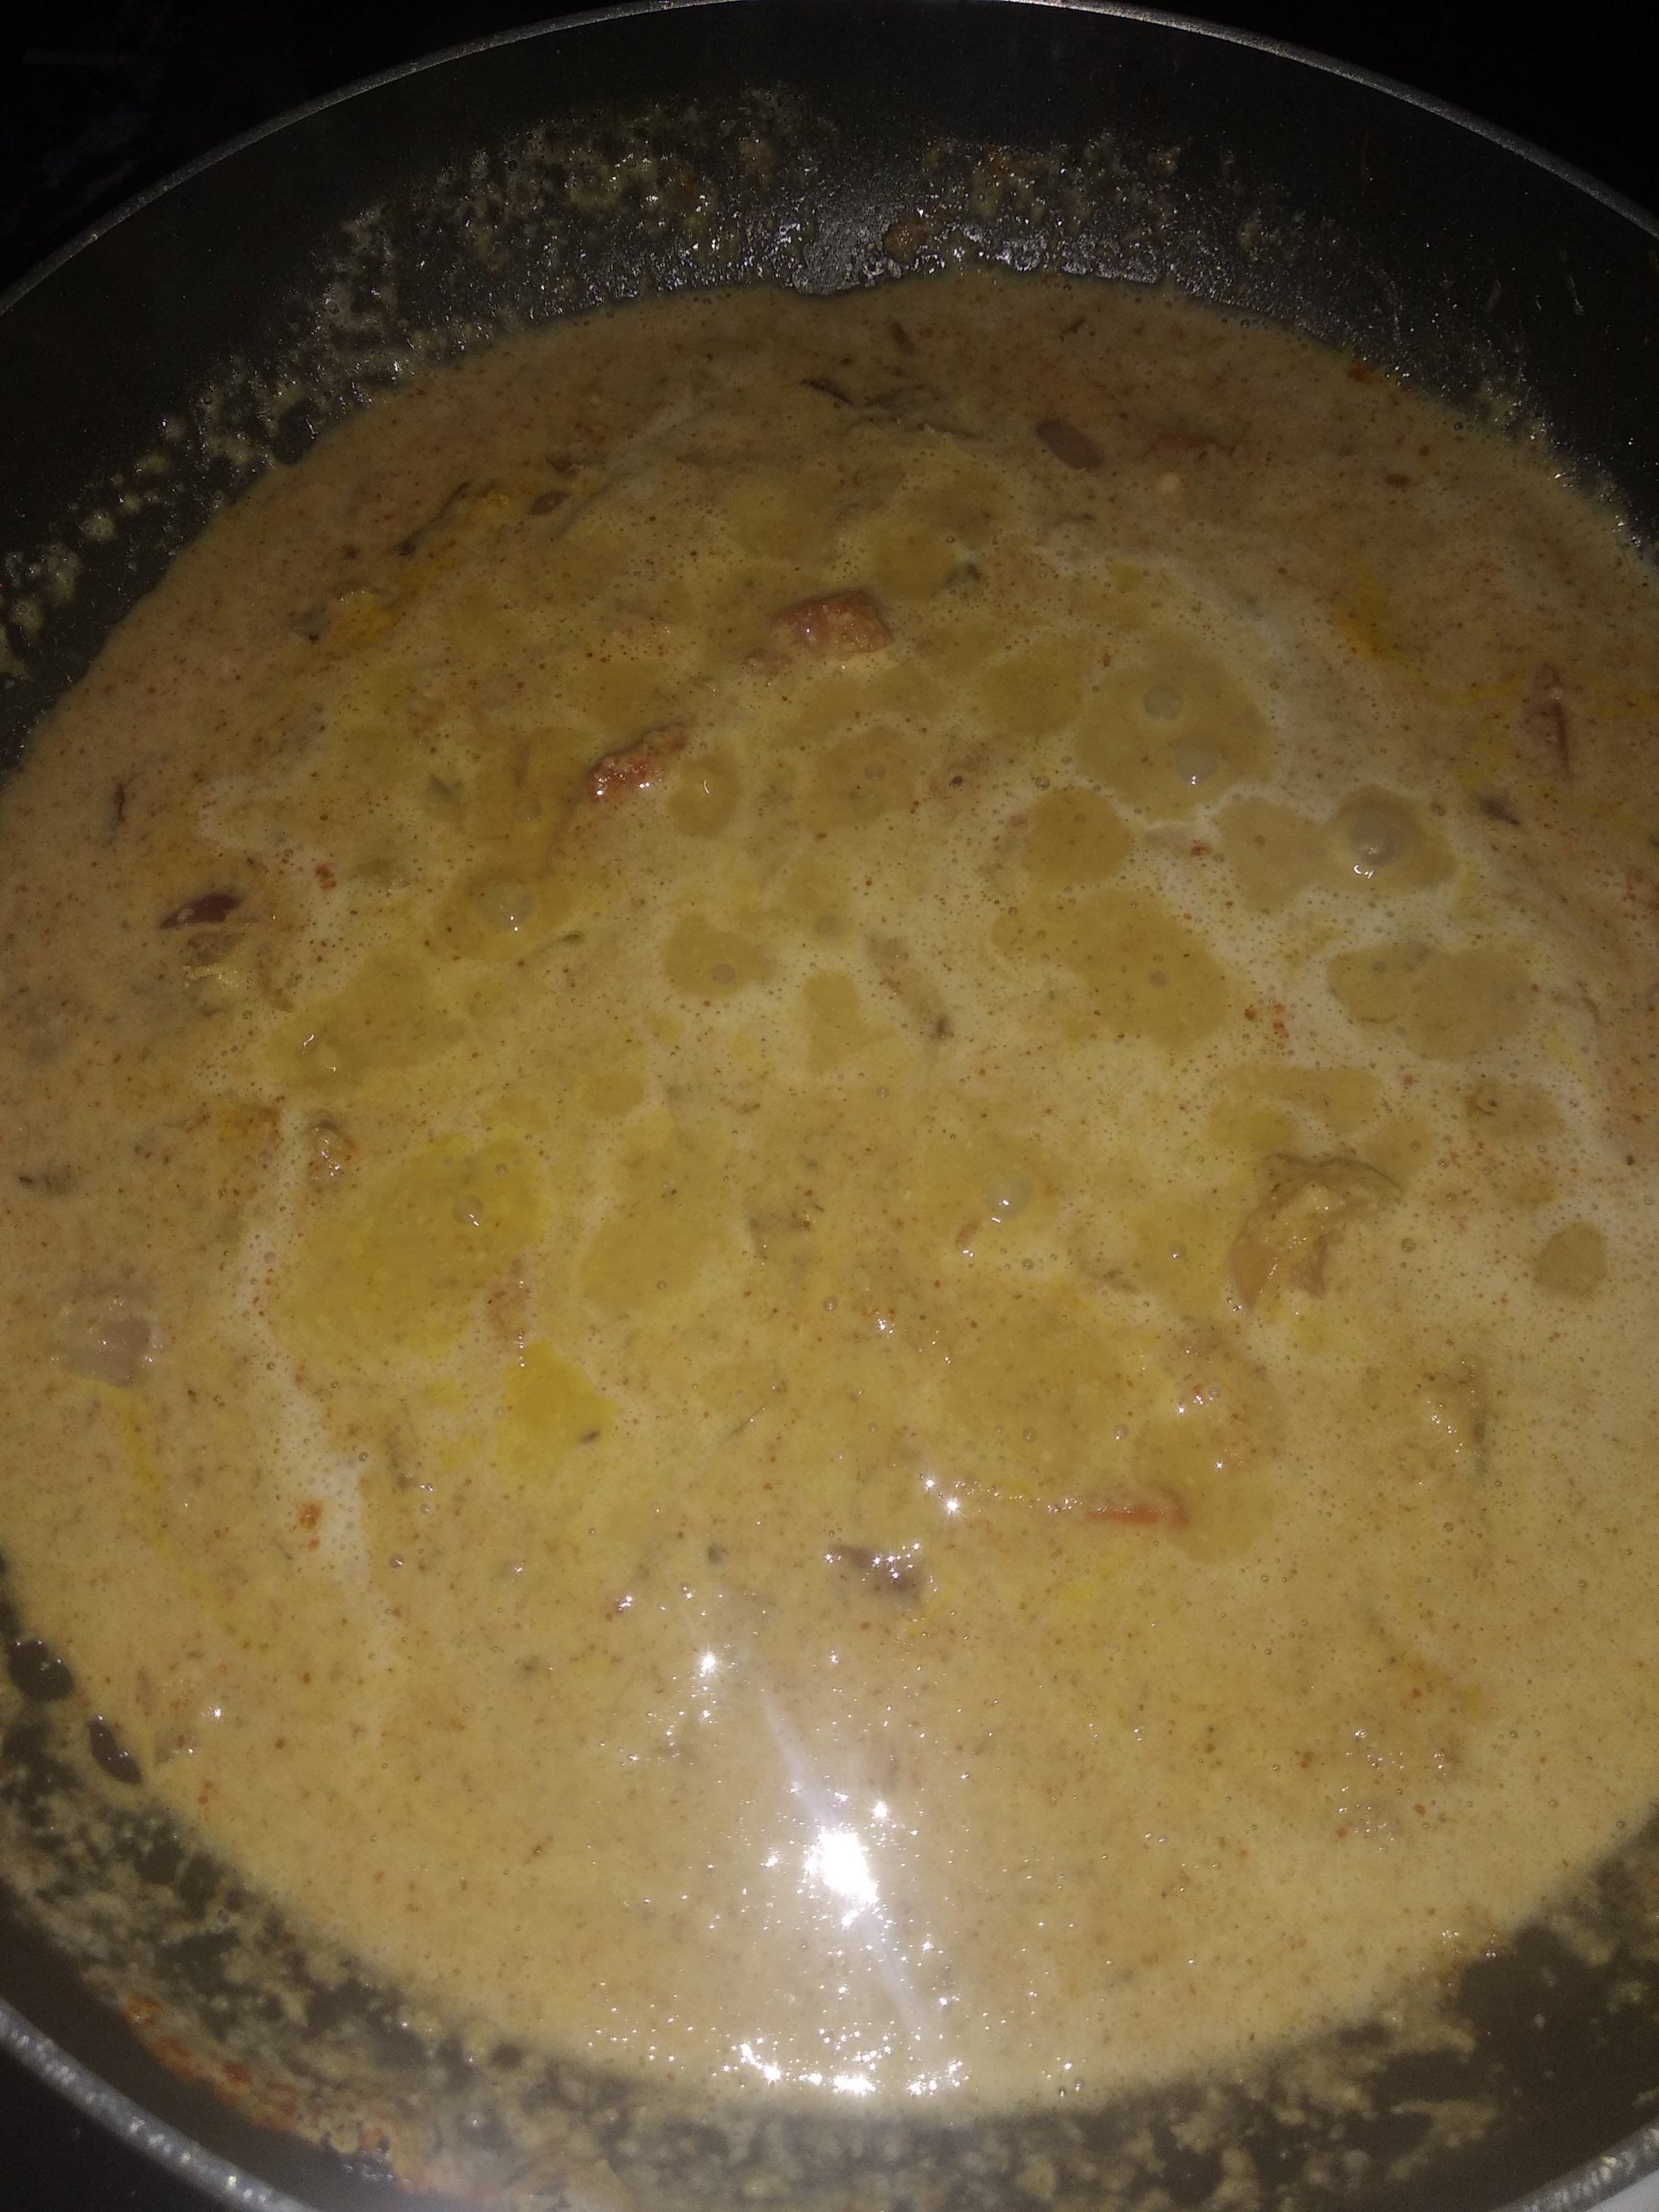
7. Add the cooked and mashed peas and potatoes.

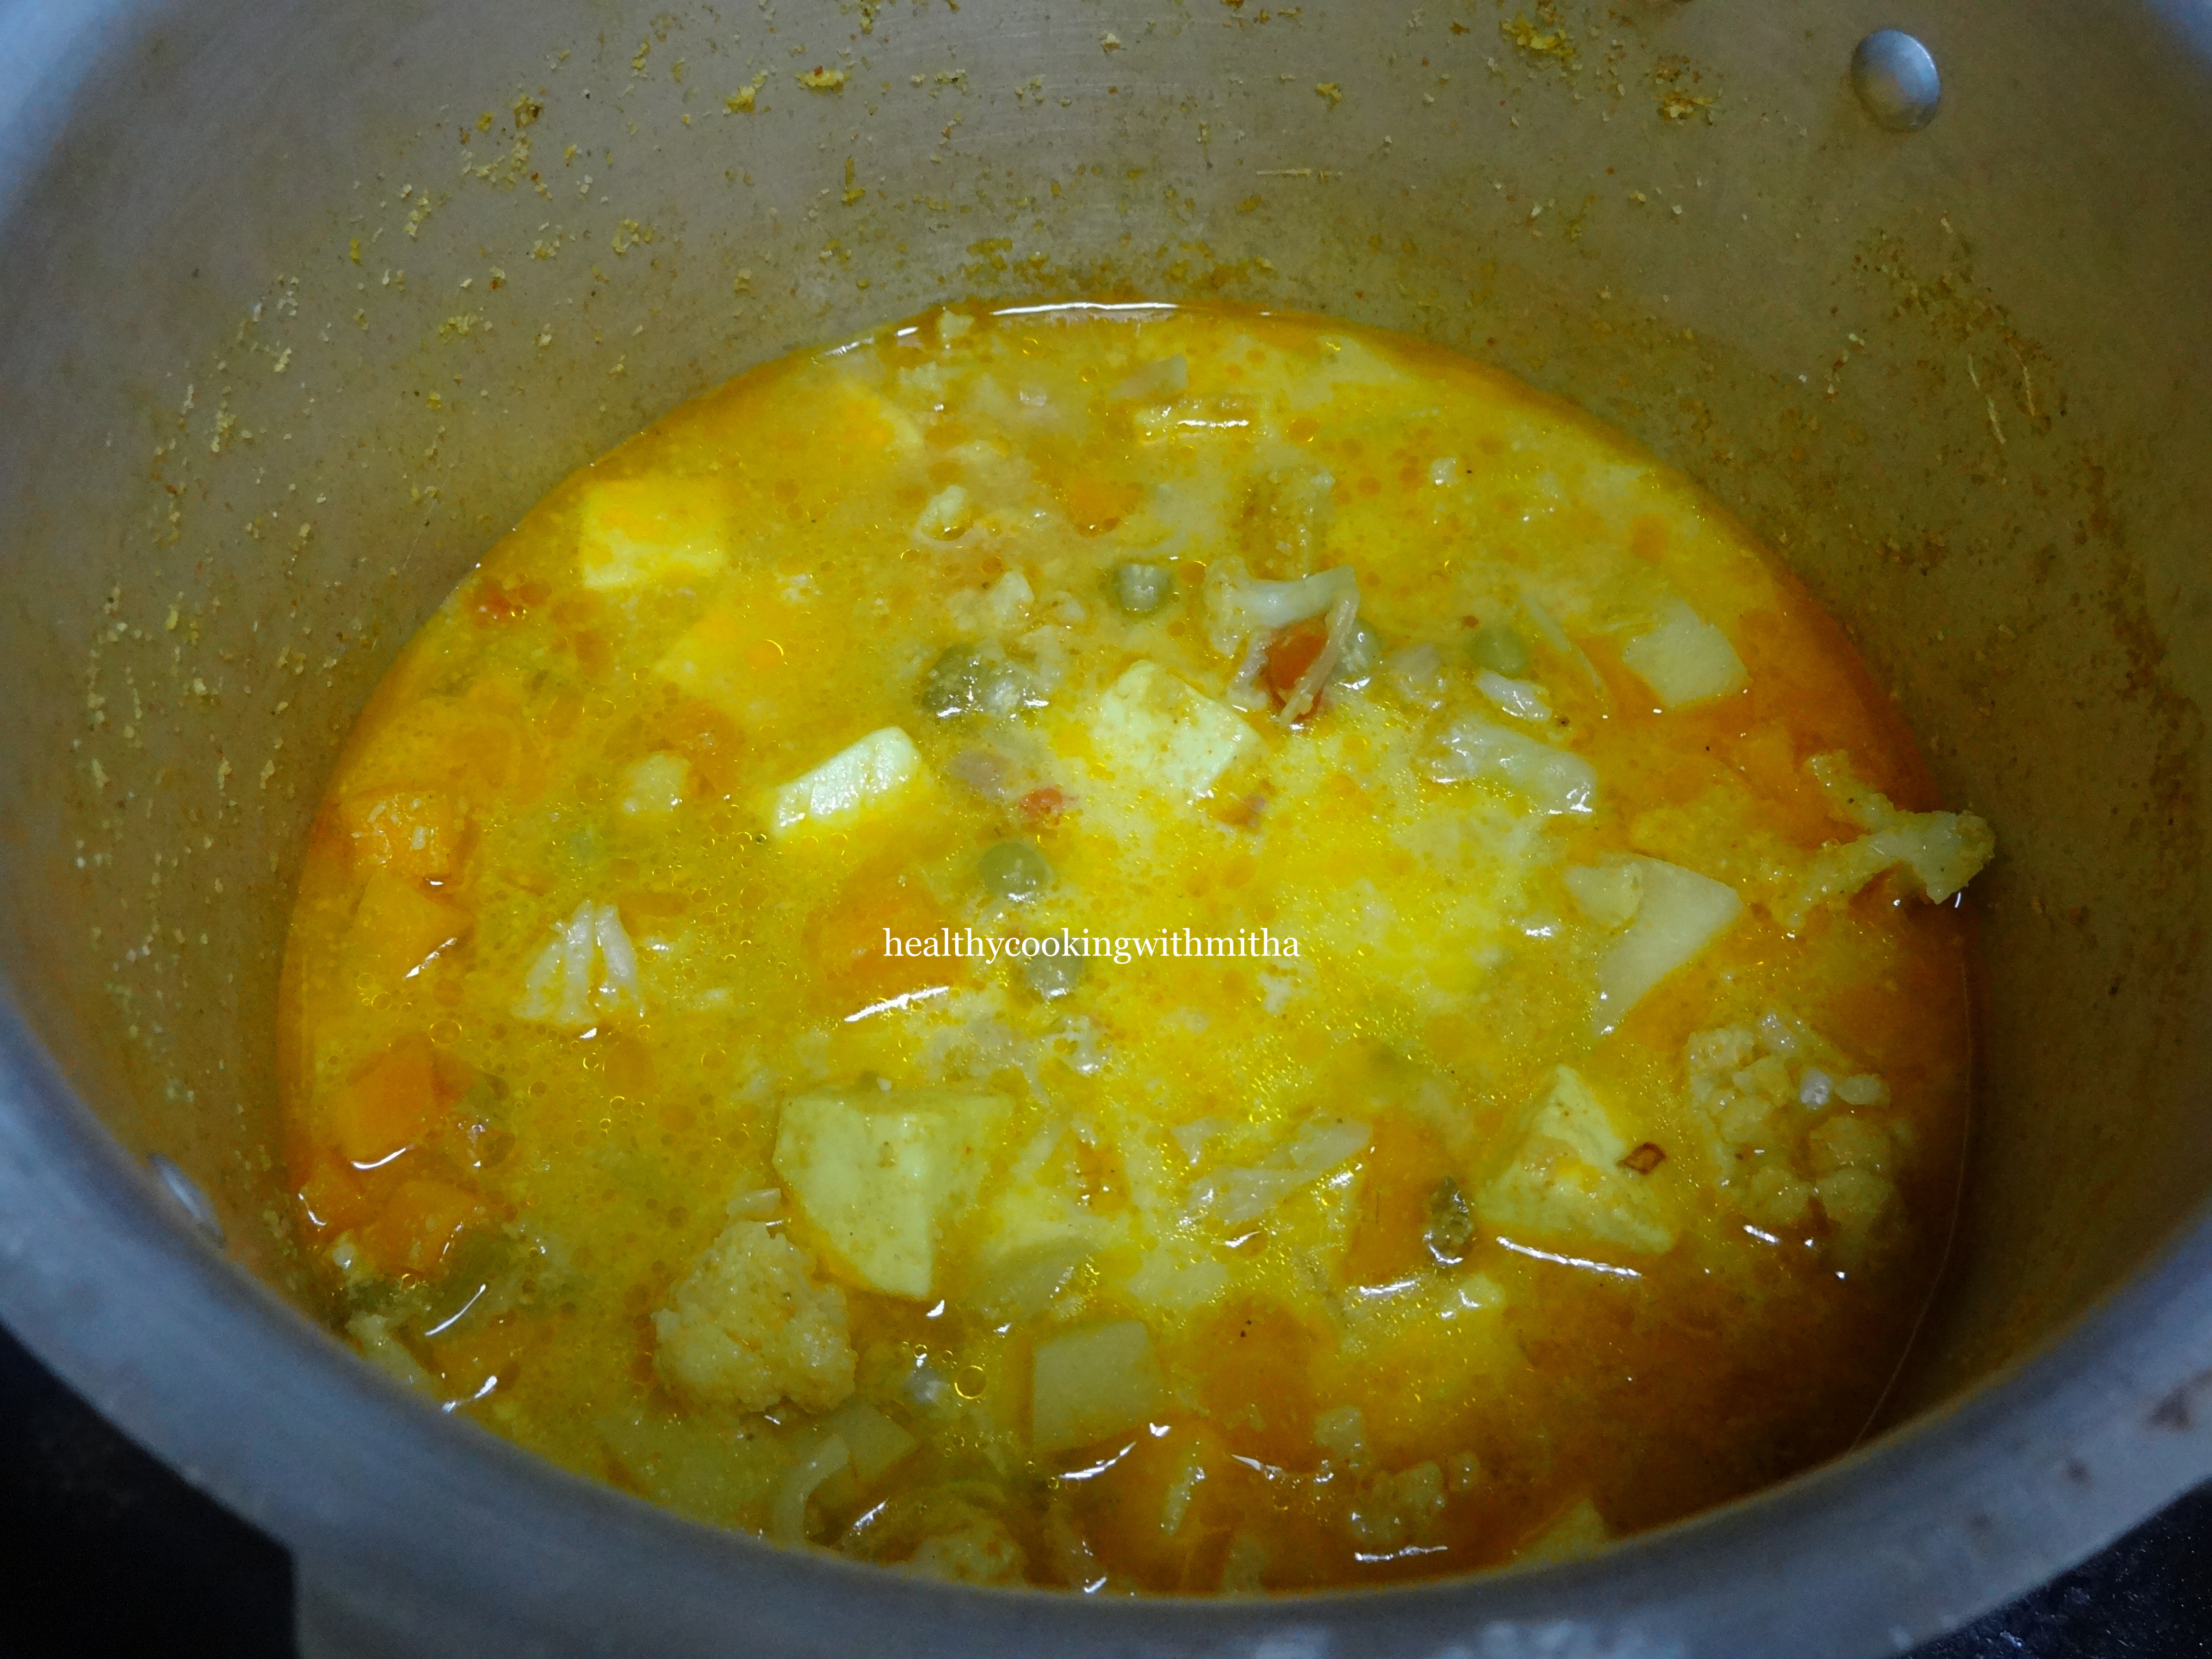
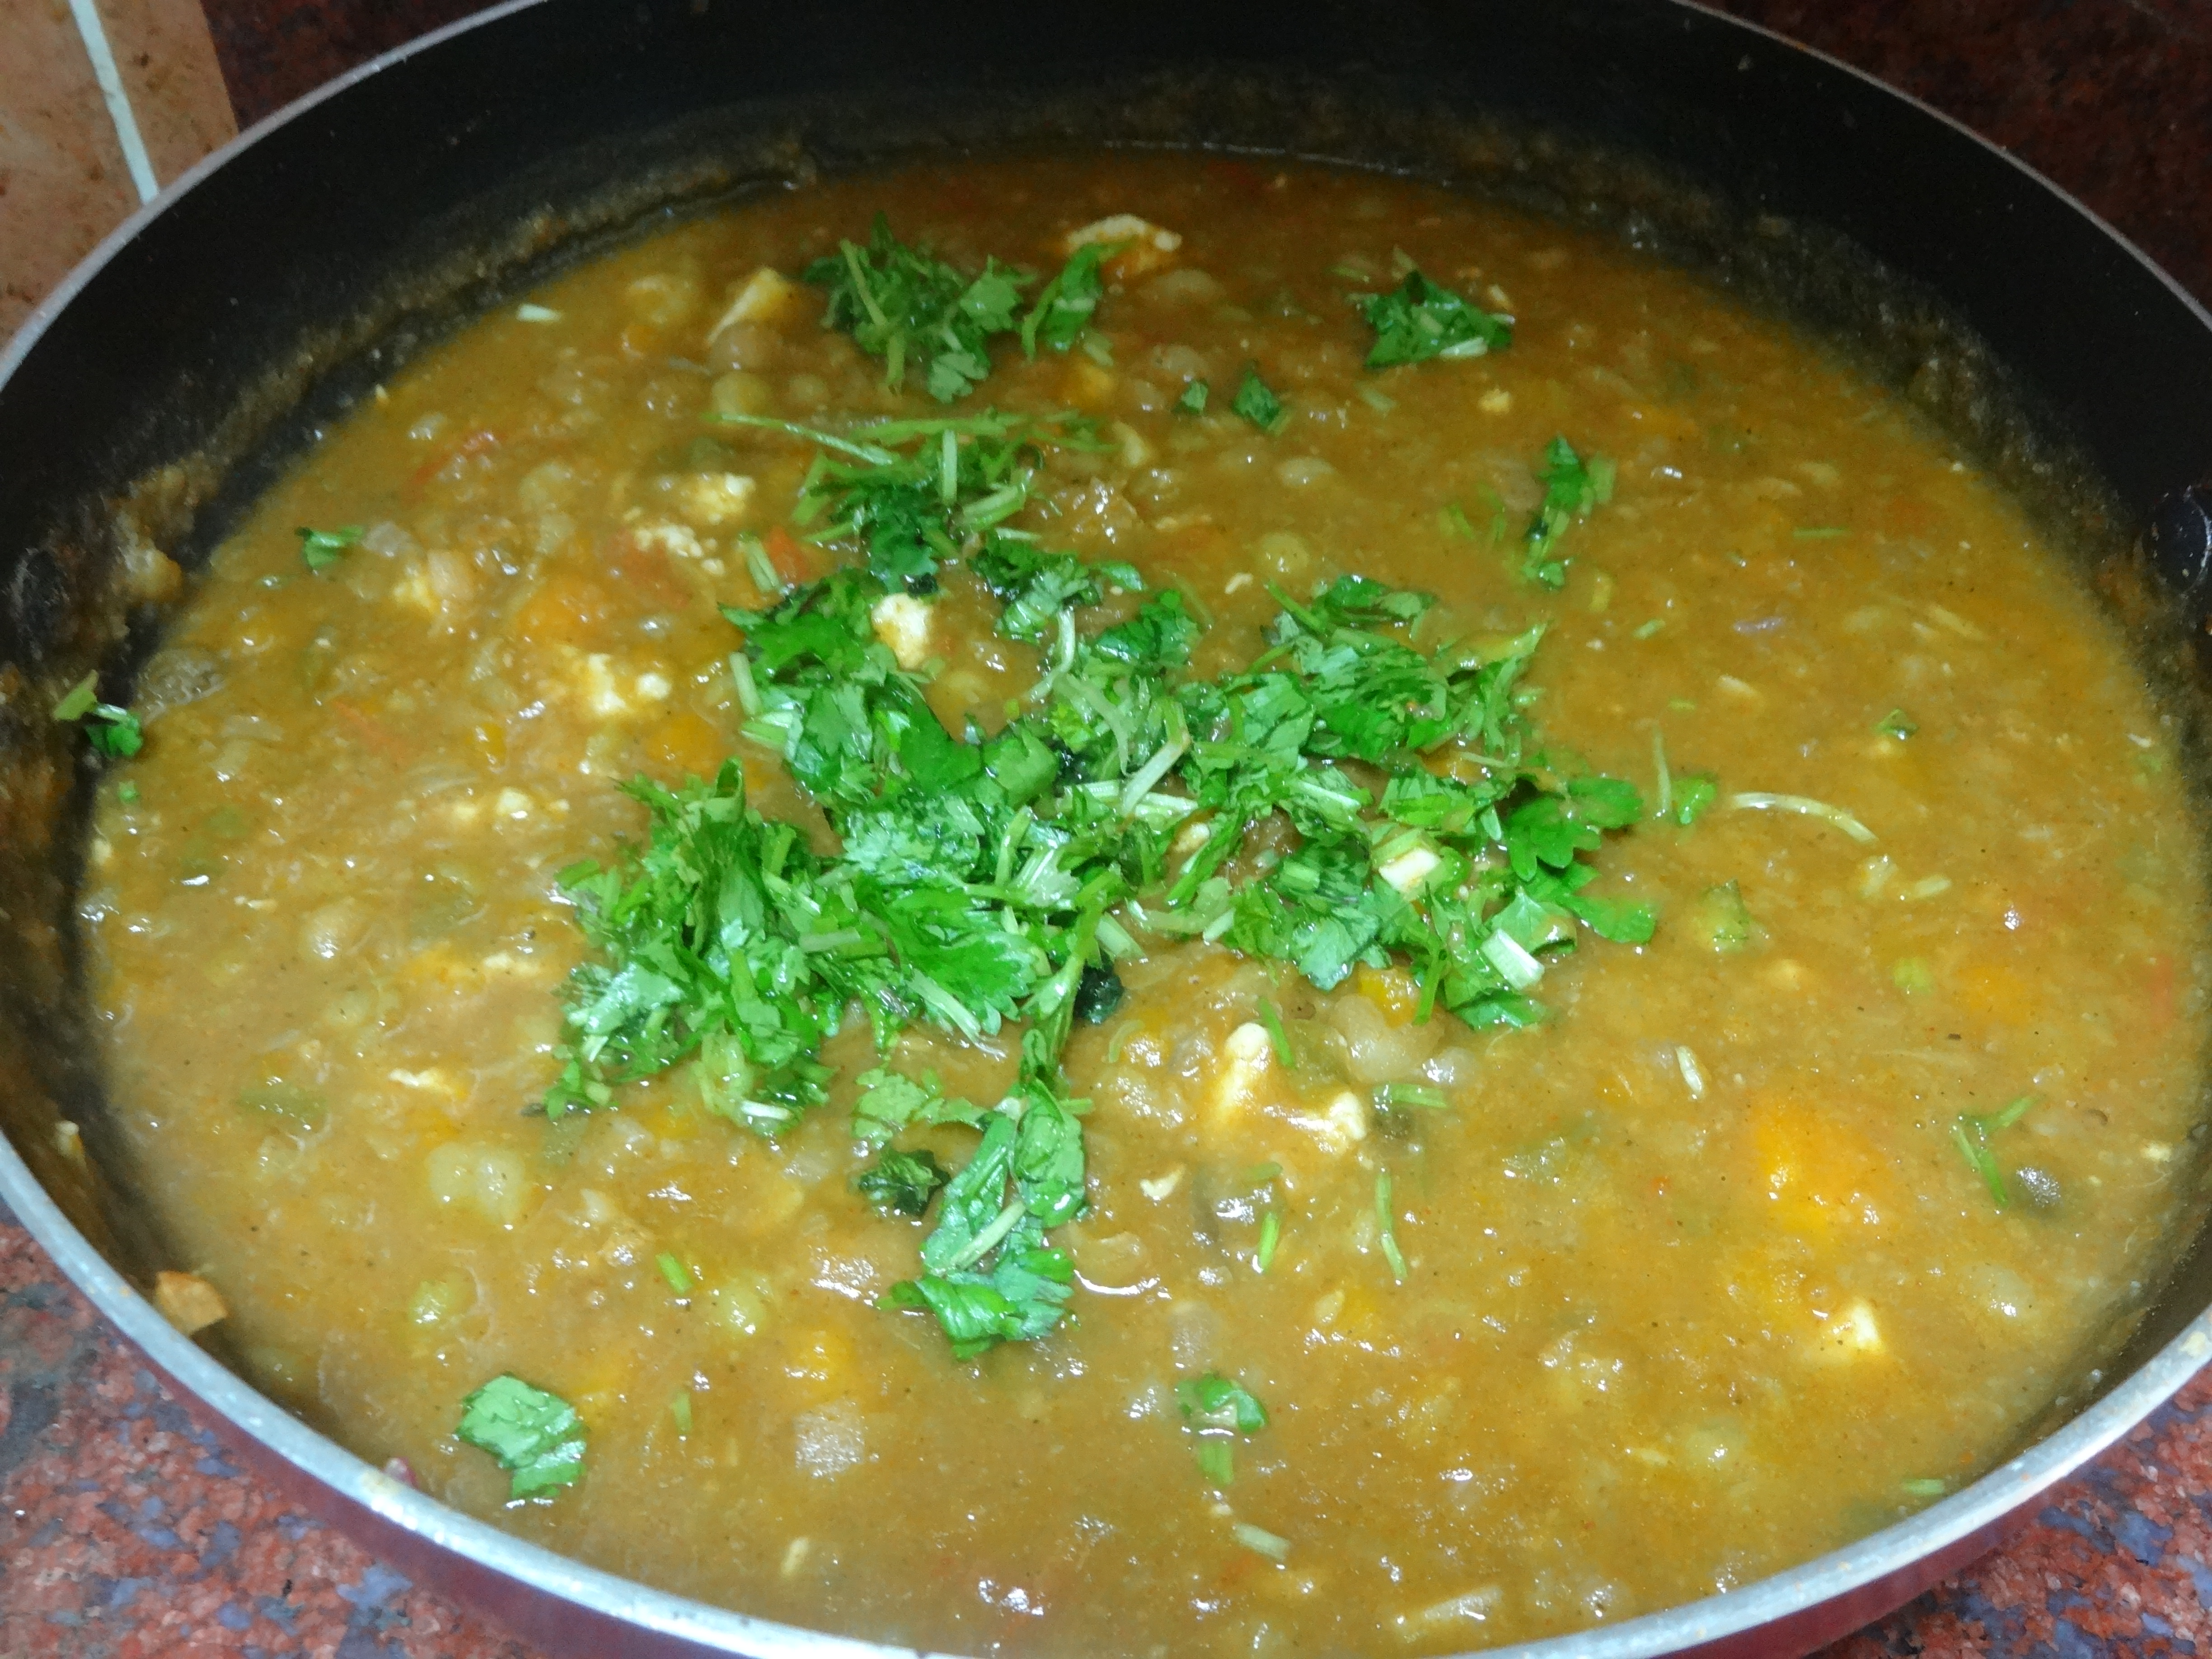
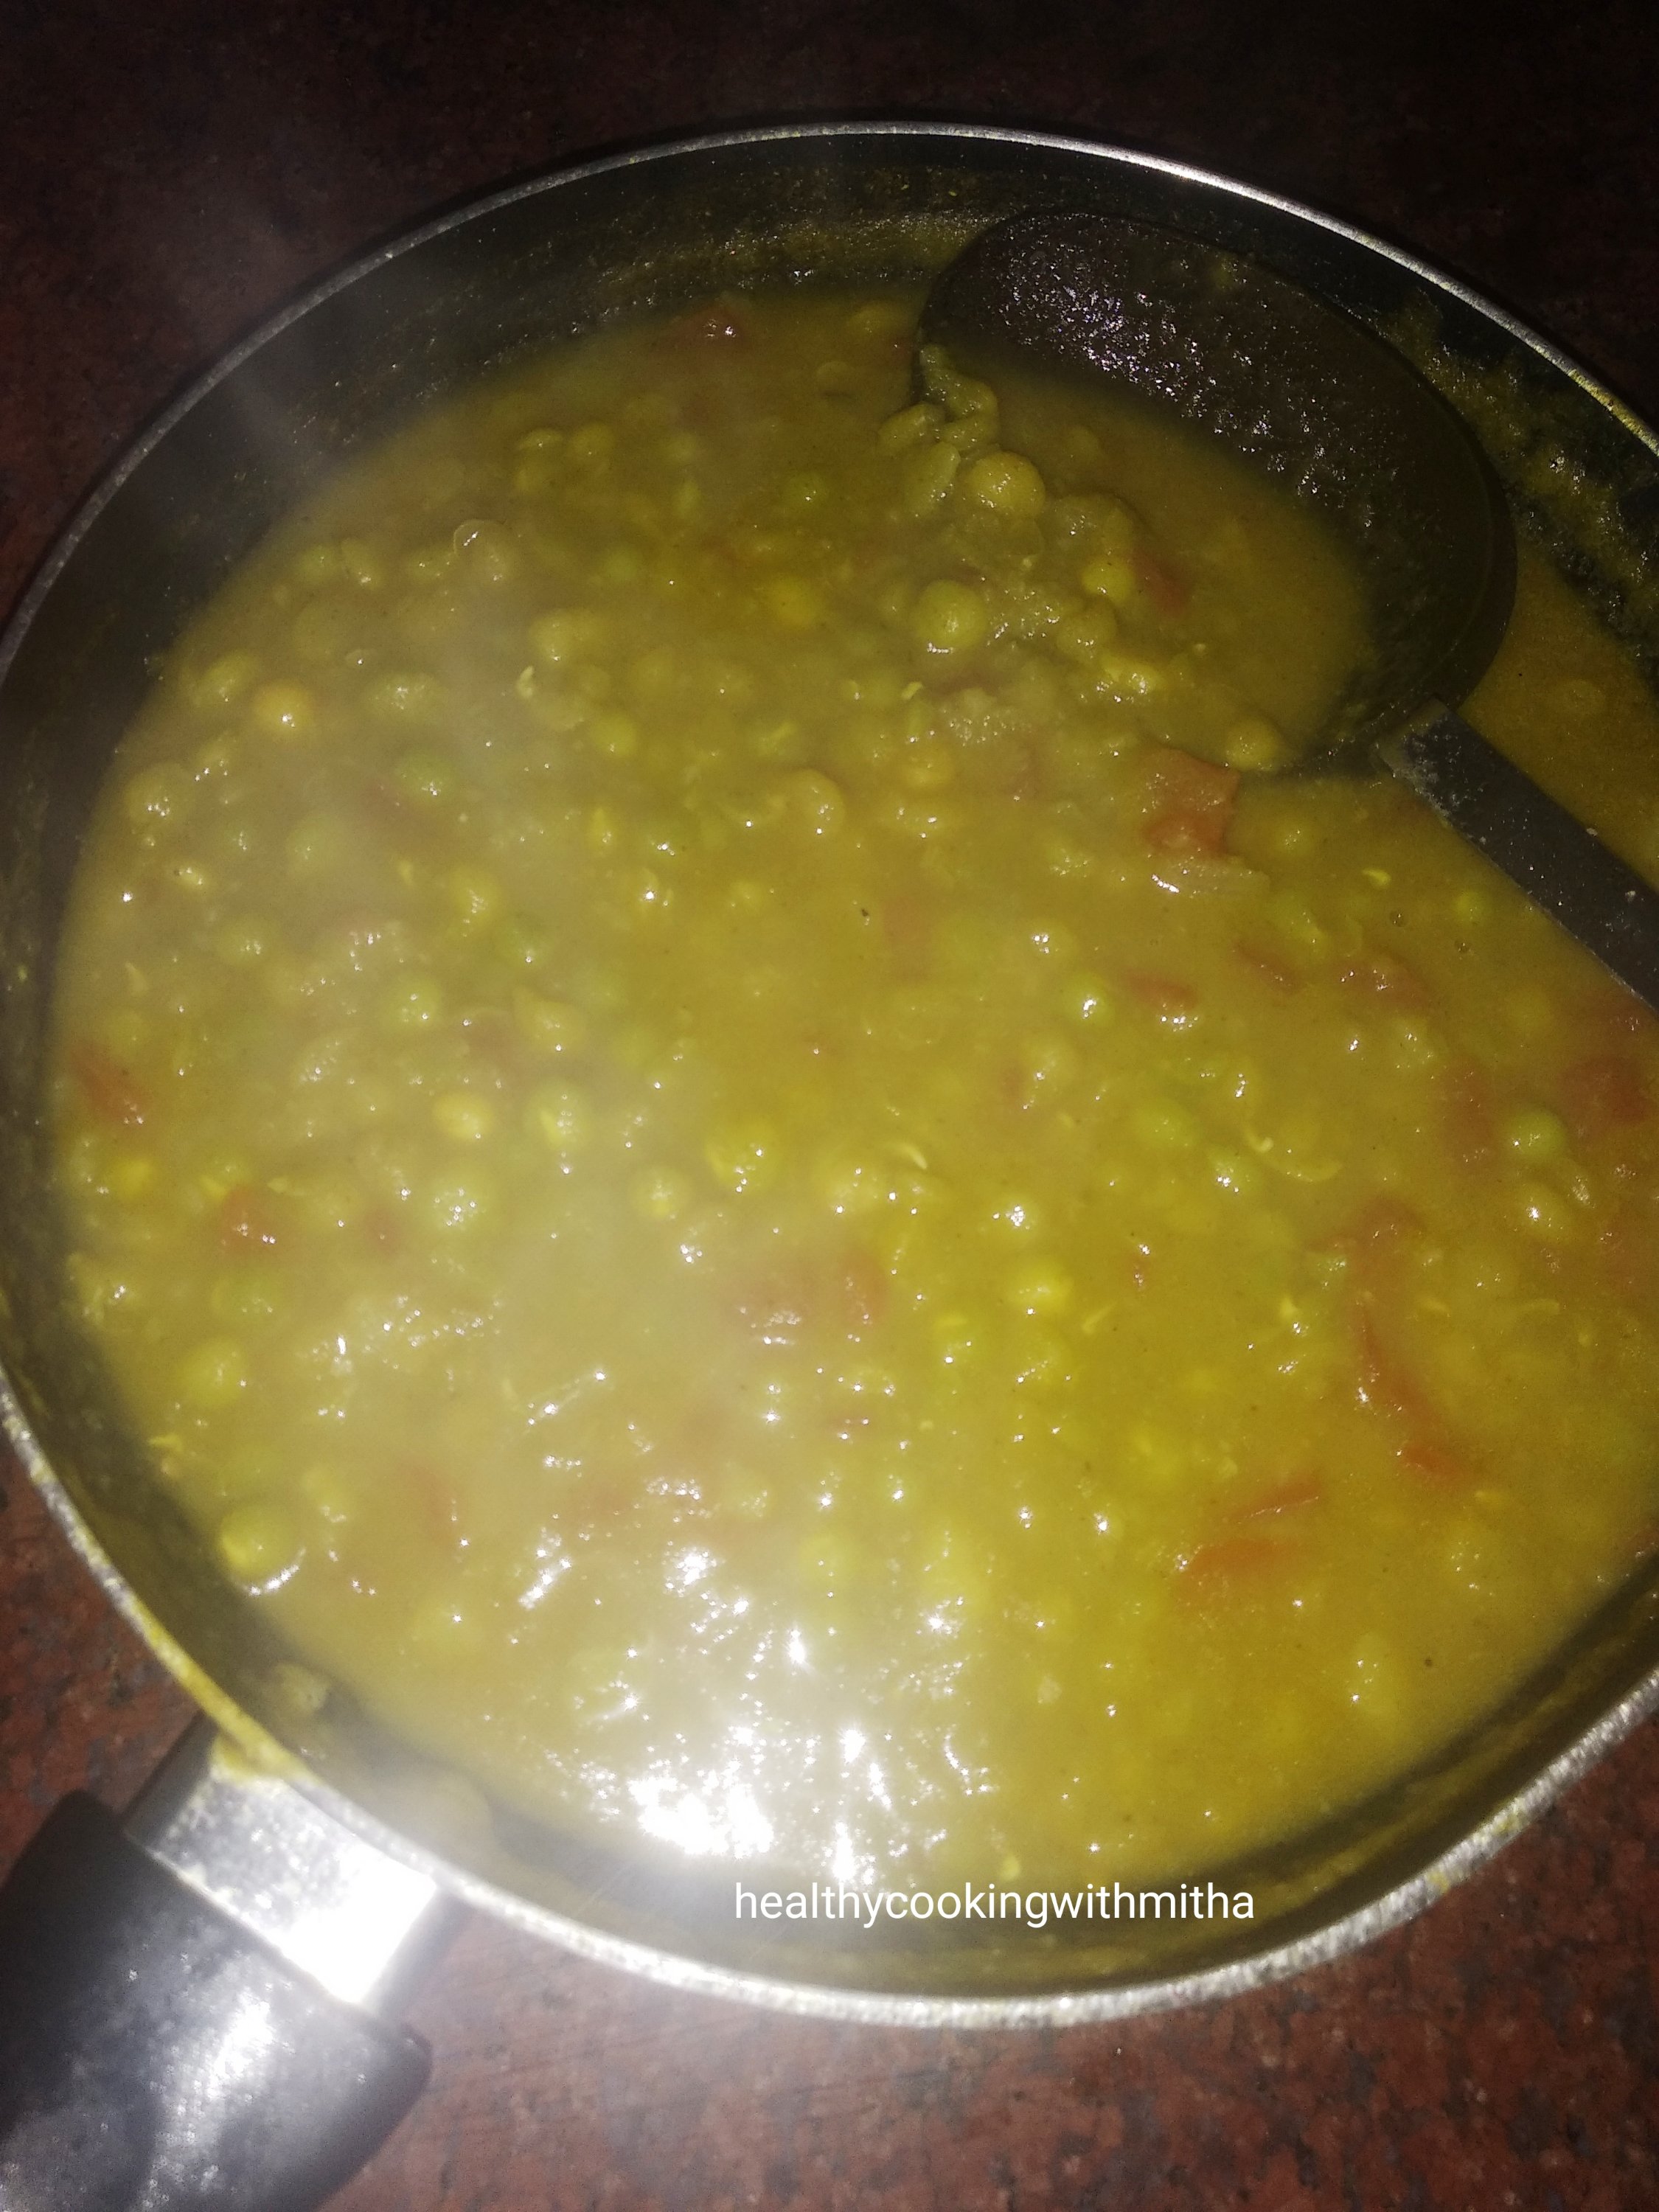
8. Now cook till it thickens and turns into a gravy like below. Remove from flame.

9. For making masala puris, take puris in a plate and break into pieces.

10. Now add two to three ladles of the curry, top with date-tamarind chutney, onions, tomatoes, coriander leaves and bhujiya. Serve hot.

Notes:

* You can also make green chutney for a spicier masala Puri. Since I make it for my kids, I skip and make the curry mildly spicy for them to enjoy.

* For the green chutney, just grind green chillies with coriander leaves, mint, salt and little water to a smooth paste.

* I also use Mother’s recipe date tamarind chutney. If you don’t have it, just grind dates with tamarind and salt with little water to a smooth paste. That’s your sweet chutney.

* For the puris, I have bought these ready to be fried puris long back (more than 2 years actually) and still they are good. I just microwave it on high for 1 minute and they are ready. No need to deep fry at all.

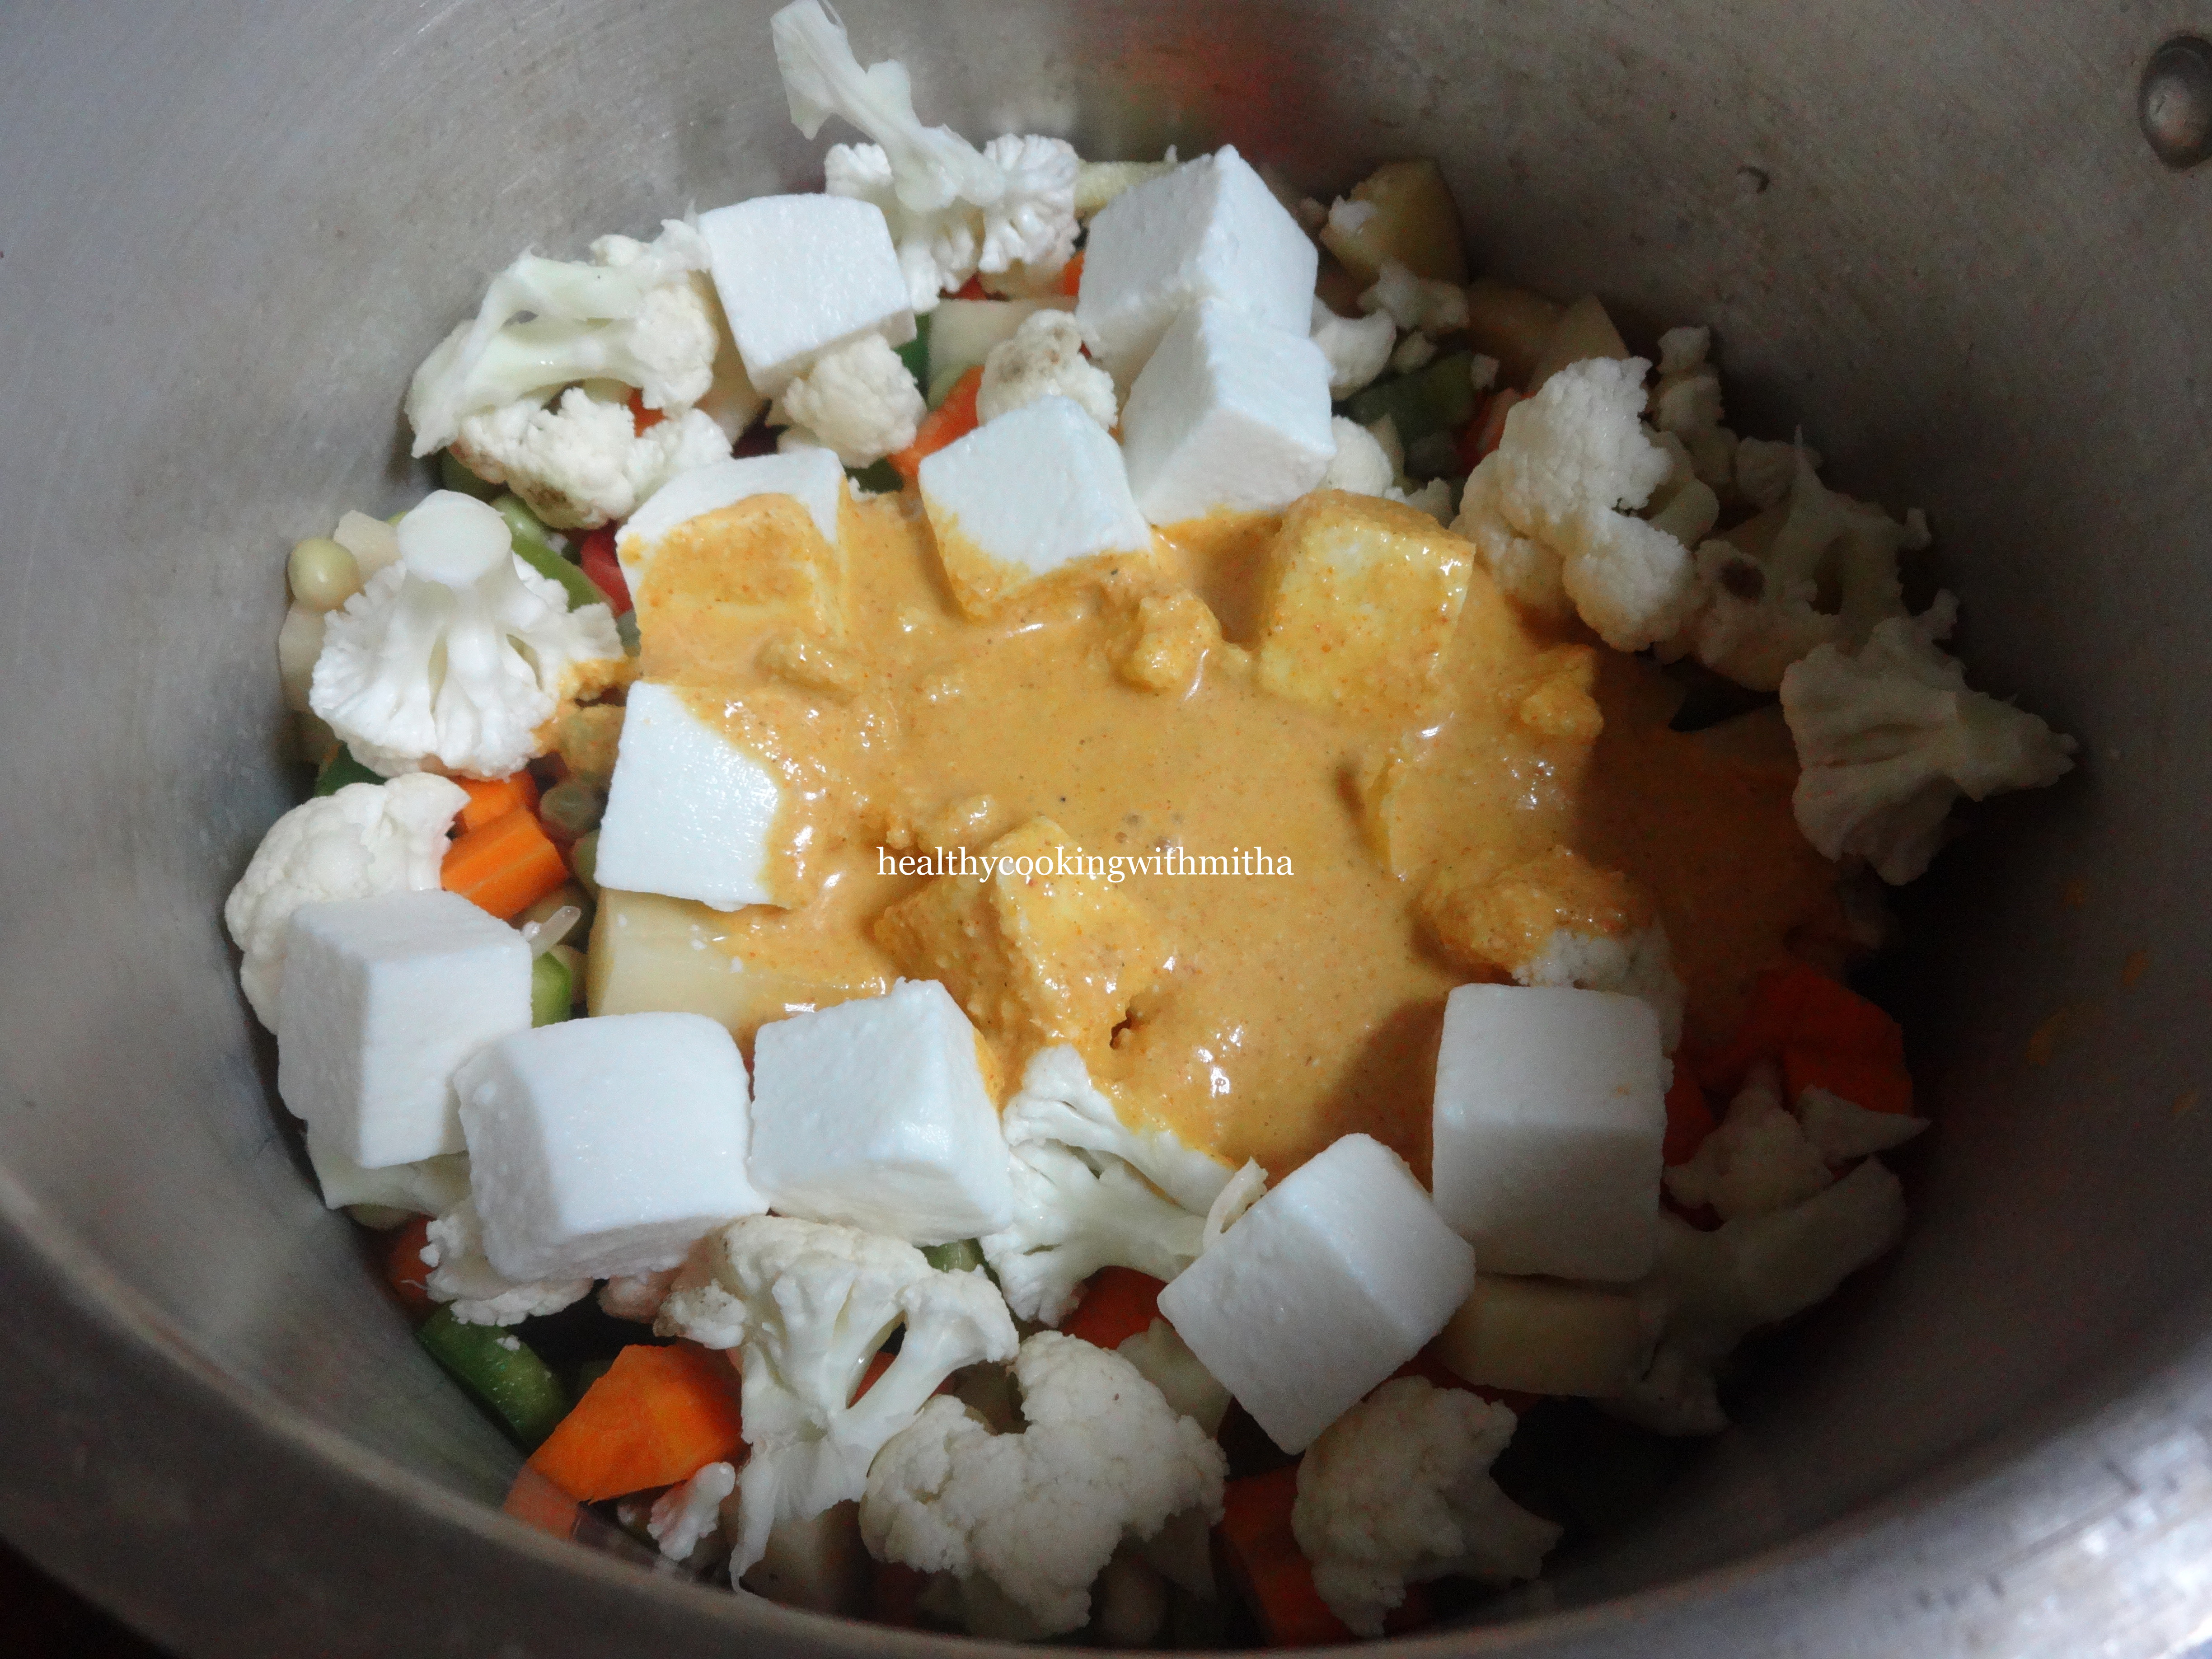
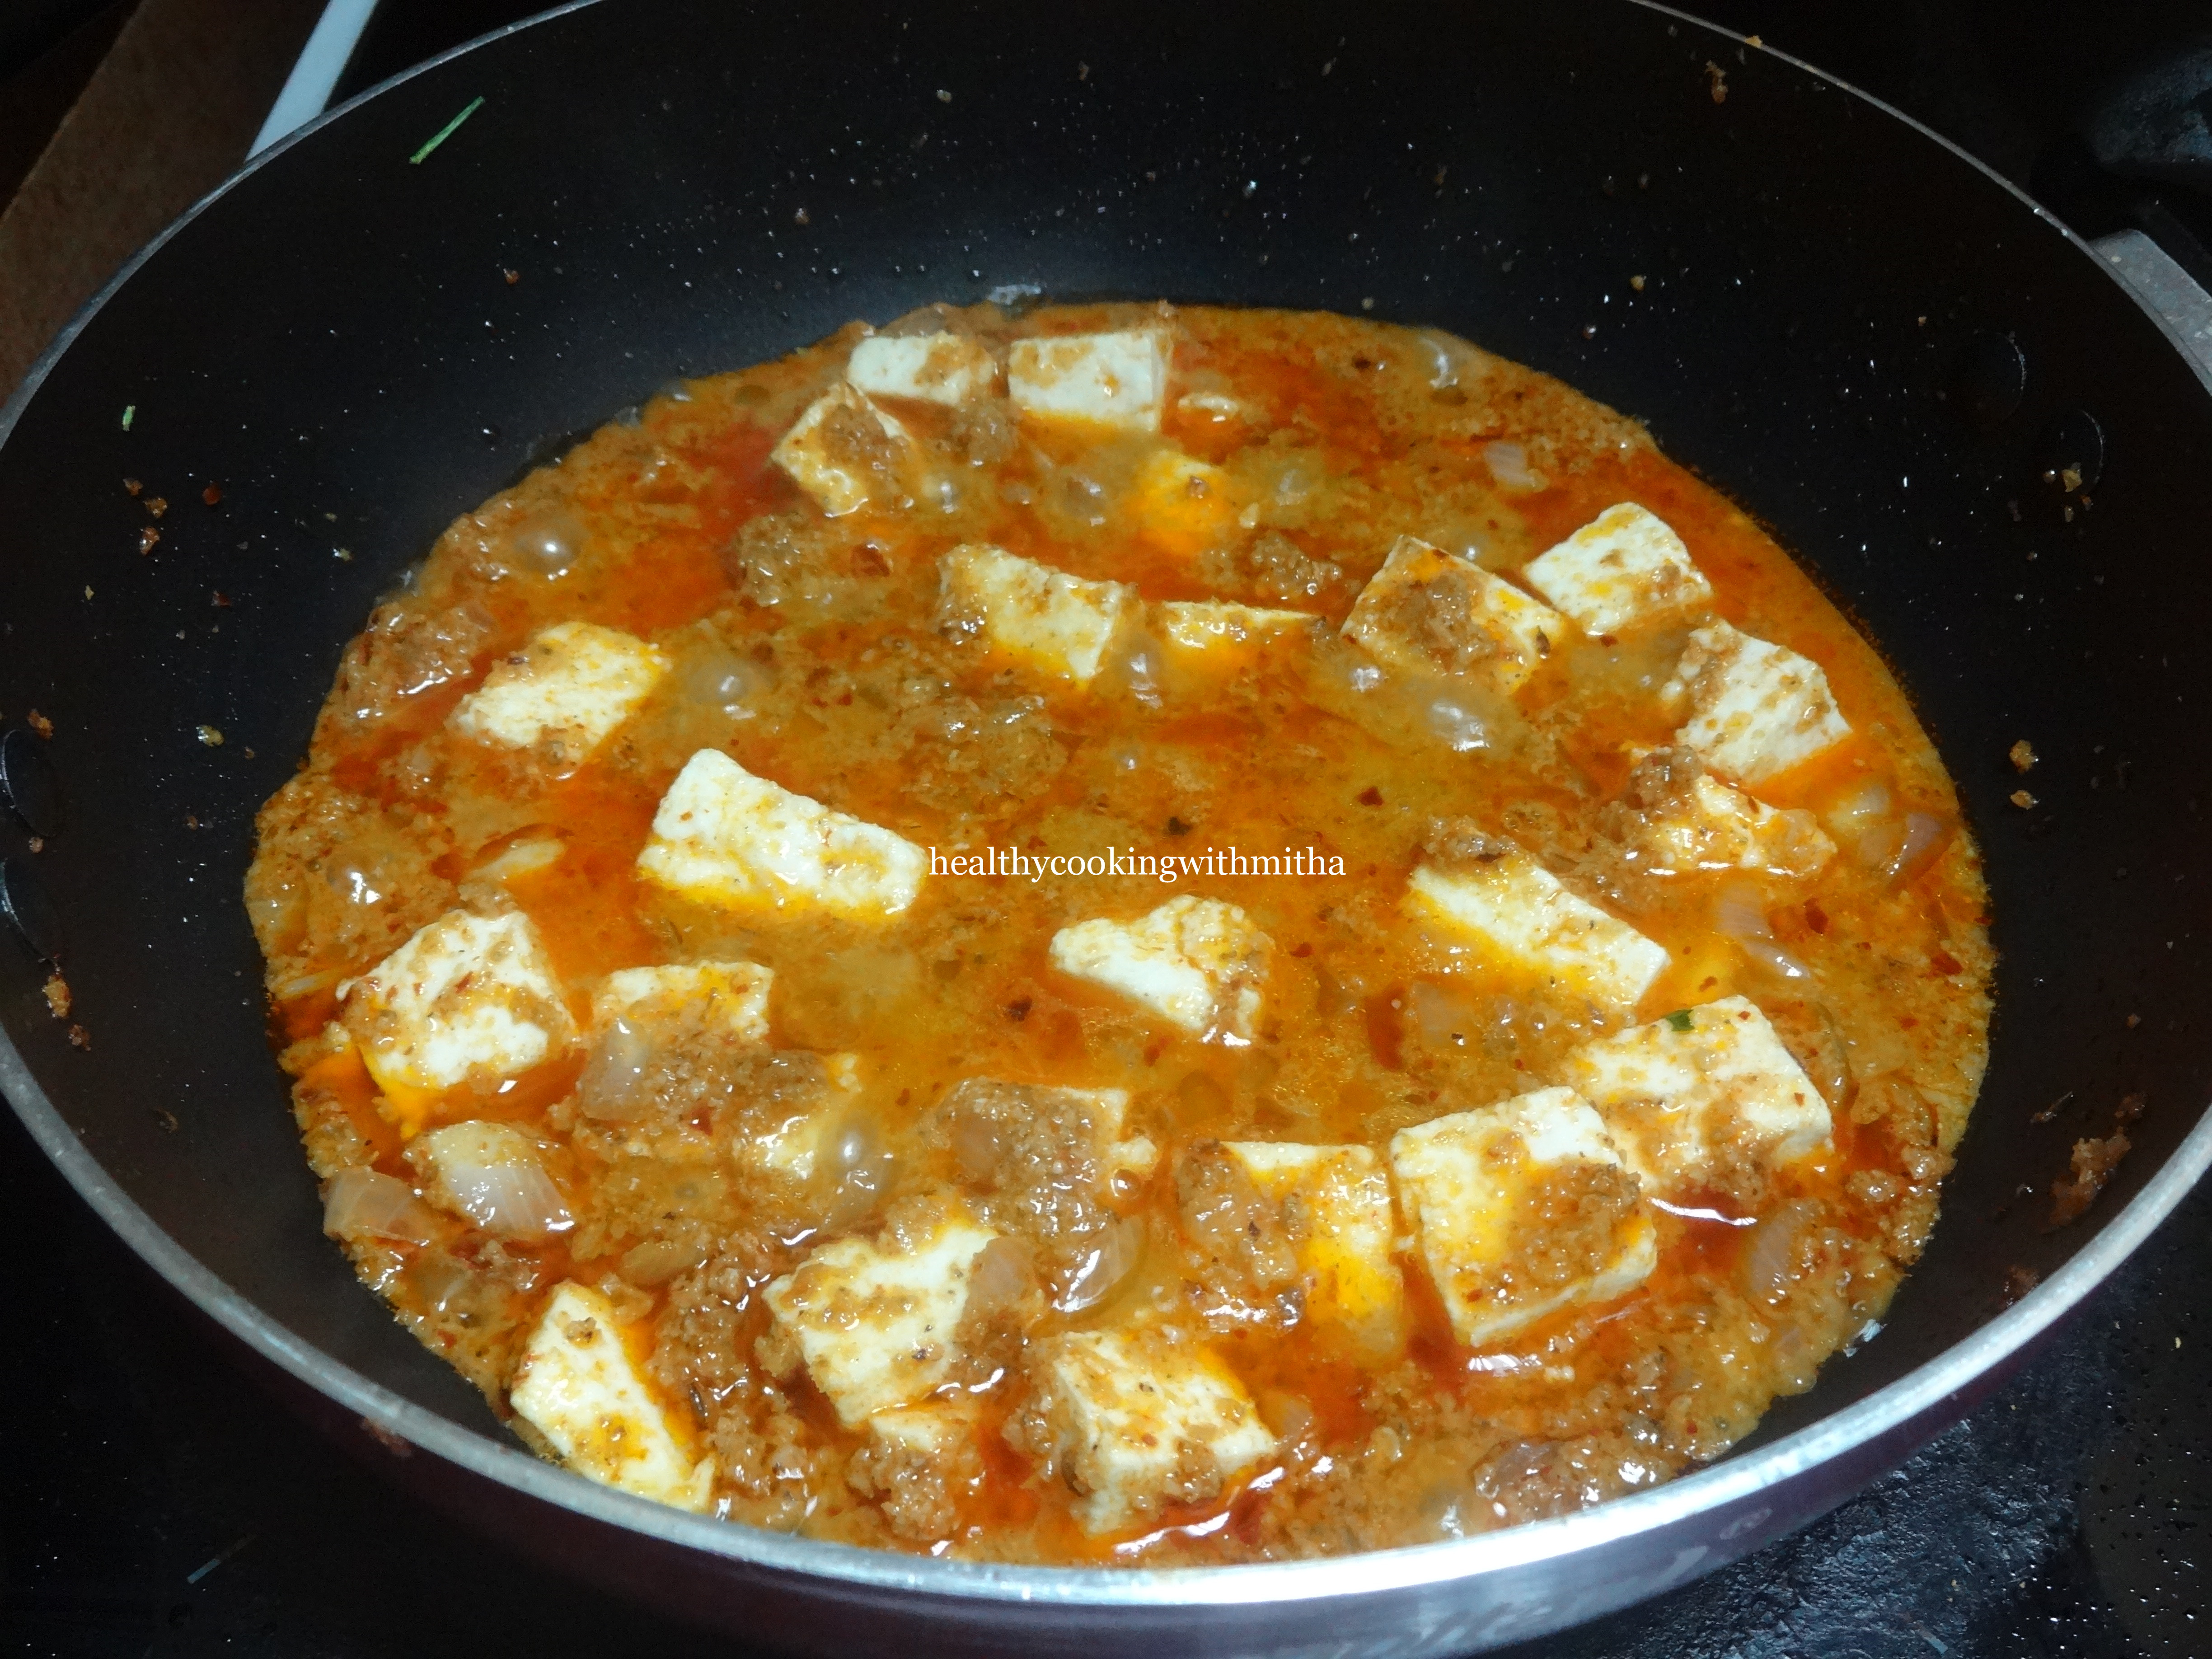
* The curry can be used as an accompaniment to rotis and rice meals. If you add paneer to it, it becomes matar paneer. I do the same when I have leftover curry.

* You can grind tomatoes if you don’t like tomatoes as it is in the gravy.

Mushroom Aloo masala

Mushrooms are a regular in our grocery list even though I am not a huge fan of it. My husband absolutely loves it and I have learnt to adjust to it even though I have to make a face when I see it come home {Sorry Mr Mushroom 😁).

So I try to hide it in lipsmacking gravies so that I “manage” to eat it. One of them is Mushroom Chettinad and it does turn out very restaurant like. Another one is this Mushroom Aloo masala as named by me 😄.

Mushroom Aloo masala is a perfect combination of mushrooms (which I don’t like, hubby loves) and potato (which I love, hubby hates). So I enjoy the potatoes in the gravy and serve him all the mushroom pieces in it 🤣. How’s the idea??

I also add peas to the gravy for some colour and great bite. Hope you all try and love it too. Happy and healthy cooking!

RECIPE:

Ingredients:

250 g Button mushrooms, quartered

1 medium sized Potato, peeled and cubed

1/2 Cup frozen Green peas

1 Tbsp Ghee

1 tsp Cumin seeds

1 Bay leaf

1/4 tsp Turmeric powder

1 tsp Red chilli powder

2 tsp Sabzi masala or any garam masala of your choice

Coriander leaves for garnish

Salt to taste

To grind:

1/2 inch Ginger

1 medium sized Onion

1 large sized Tomato

2 Cloves

1/2 inch Cinnamon stick

1 Elaichi or Cardamom

Step by step recipe:

1. Grind the ingredients mentioned in “to grind” to a smooth paste adding water as required. Keep it aside.

2. Heat ghee in a pan and add cumin seeds and bay leaf. Let the seeds change colour. Add the ground paste.

3. Allow it to cook on medium flame for about 10 mins till it changes colour and leaves the sides of the pan. Add salt, turmeric powder, red chilli powder and sabzi masala.

4. Now add potato pieces and green peas. Mix well. Cover and cook till they turn soft.

5. Now add mushroom and mix well.

6. Cover and cook on high flame. Mushroom will leave water and turn soft. Check the consistency of the gravy and add water only if needed.

7. Remove from flame and serve hot with rotis or rice.

Notes:

* Do cook the ground paste very well before adding potato and peas. Else there will be a raw flavour in the gravy.

* You can skip peas too but it gives a good bite in the gravy.

* I use MDH Sabzi masala. You can use any spice powder of your choice.

* Don’t add water at all while adding mushrooms. Mushrooms leave water while cooking. So most times you don’t have to add additional water.

* If needed, add additional water towards the end to adjust the gravy.

Vaingana Bajji | Konkani style mashed brinjal

After my last post of Vastad rotti (pan fried version of Mangalore Buns), I was reminded of another Konkani delicacy which I used to literally beg my grandmother to make. It is this Vaingana bhajji. She used to make with green brinjals (or gulla in Konkani/Kannada) and it tasted so heavenly that I could eat it as it is without rice.

Since we hardly get green brinjals here, I use purple ones for making Bajji. Also traditionally, the brinjal is roasted over gas or wood fire and then mashed after removing skin. If you have the option, then you can do it too. But since we have an electric cooking range, I boil it in water and mash it. My grandmother did this way too and as Amma says, this is much easier (mothers always want less work for their kids and Amma told me to try this way 😁). Life became easier after that and Bajji became our regular dish when we got fresh brinjals.

We love simple meals and this is an accompaniment which is very flavorful yet very basic. Hope you all try and love it too. Happy and healthy cooking!

RECIPE:

Ingredients:

1 large Purple Brinjal or 2 medium sized Green Brinjal or 3 small purple brinjals (about 2 cups chopped)

1 medium sized Onion, finely chopped

2 to 3 green chillies, finely chopped

1/2 tsp Hing or Asafoetida powder

2 tsp Tamarind paste

1 Tbsp Coconut Oil

Salt to taste

3 Tbsp chopped coriander leaves

Step by step recipe:

1. Take chopped brinjals in a vessel.

2. Add little water and cook till it turns very soft. Water should be absorbed too.

3. Mash the brinjal very well using a masher.

4. Now add chopped onions, green chillies, tamarind pulp, hing, salt and coconut oil.

I have used pink salt or rock salt or kaala namak here. Hence the colour pink.

5. Mix well and garnish with coriander leaves.

Serve immediately as an accomplishment with rice meals.

Notes:

* I have made it with all varieties of brinjals and it tastes great with any variety of them.

* Traditionally bhajji is made by roasted over gas or wood fire but my grandmother made this version too and I make this because I don’t have gas stove here (nor wood fire 😅).

* Don’t add a lot of water while cooking the brinjals and make sure the water is absorbed well and brinjal is cooked well too.

* You can skip onions if following satvik diet but onions does add a wonderful bite.

* I usually make this with our Matta rice congee and it tastes heavenly with it.

* With white rice and rasam, bhajji makes an excellent accompaniment.

10 min Restaurant style Veg Kurma

I have tried many Kurma recipes in the past but once I tried this one, I did not have to try any other. It comes out too delicious for words. Although this technique was new to me, I found that cooking with almost zero additional water in the pressure cooker makes the Kurma taste amazing.

Whenever I make this Kurma, the husband comes to know through the aroma and he asks if it’s Kurma that is cooking 😂. You have to try it to know. I have made it for many get togethers and people love it a lot.

Best part of this curry is once the chopping is done, it hardly takes 10 mins. No sauteing or cooking for long time. I make this specially during weekend now when I don’t want to spend the whole day in the kitchen.

Hope you all try and love it too. Happy and healthy cooking!

RECIPE:

Ingredients:

About 3 Cups mixed Vegetables (Potato, peas, carrots, capsicum, cauliflower)

1 Cup Paneer cubes

2 Tbsp Coconut oil

1 Tbsp Ghee

2 green chillies

1/2 inch Cinnamon stick

3 Cloves

2 Cardamon pods

1 large Onion, finely chopped

1 large Tomato, finely chopped

1/2 Cup Milk

2 Tbsp Coriander leaves, finely chopped

For the masala paste:

1/4 Cup Yogurt/ Curd

1/4 Cup freshly grated or desiccated Coconut

5 to 7 Cashews

3 to 4 cloves of Garlic

1 inch Ginger piece

1 tsp Red chilli powder

1 tsp Garam masala powder

1 tsp Coriander powder

1/2 tsp Turmeric powder

Salt to taste

Step by step recipe:

1. First add all the ingredients mentioned in the masala paste and grind to a smooth paste without adding water. Don’t forget to add salt too. Keep aside.

2. Keep the vegetables ready as well.

3. Now take a 2 liter or 3 liter pressure cooker. Don’t keep it on the flame. Add ghee and oil in the cooker. Also add cloves, cardamom and cinnamon stick along with green chillies. Bay leaf too if you have.

Note that I have not yet kept the cooker on the flame or stove top.

4. Now layer finely chopped onions evenly.

5. Layer tomatoes evenly too.

6. Layer the veggies after this.

7. Add paneer cubes layer over this.

8. Now add the masala paste as the top layer.

9. Now pressure cook the above layers on medium flame for 7 mins or till 3 whistles. There is no need to add water while cooking. The juices in the vegetables will release water and that’s what makes this Kurma tasty.

10. Allow it to cool down by itself. Now add milk and cook for about 2 mins.

11. Garnish with coriander leaves and serve hot with rotis or rice.

Notes:

* OPOS is a patented technique owned by Mr.Ramakrishnan. It is a copyrighted term. I have adapted this recipe from this site and since she used this technique for making this Kurma, I followed the same. I have no intention of owning this technique. The full credits to this technique goes to Mr Ramakrishnan Sir only.

* If you don’t know to use a pressure cooker, you can saute tomato and onions in the seasoning and cook the veggies with the masala while following all the steps in a kadhai.

* In the original recipe, it says to keep on high flame for 5 mins but it sometimes burnt my Kurma. So I keep the flame on medium for 7 mins. It works well for me.

* In case your veggies don’t cook when you open the cooker, cook after you add milk for 5 more mins.

* Don’t forget to add salt in the masala paste itself. It makes a huge taste difference if you add later.

* Also don’t add water at all while grinding the masala paste. The yogurt does the job well and you can see it while grinding.

* Paneer is optional. I add because we love it. You can also add any combination of veggies that you have.

Paneer Hara Masala

Paneer is the star at my house and we all love paneer very much. But during both my pregnancies, I could bear to even smell it. And right after I delivered, my paneer love is back again. Weird right? 😁

The funniest part is both my kids are huge fan of paneer. So I ask them always, what happened when you were inside me? Why didn’t you like it then? 😂😂 I know I sound crazy 🙈

Anyhow this paneer Hara masala was an experiment with using the same masala that I use for Amma’s Carrot pulao since we love the aromatic masala paste. And it turned out super delicious. So was born paneer “Hara” masala, Hara meaning green in hindi.

Sharing this easy recipe with all you. Happy and healthy cooking!

RECIPE:

Ingredients:

200 grams Paneer cubes

1/2 Cup thinly sliced Capsicum

1/2 Cup roughly chopped Tomato

1/2 Cup finely chopped Onion

1 tsp Red chilli powder

1/2 tsp Garam masala powder

1 tsp Jeera/ cumin seeds

Salt to taste

1 Tbsp Oil/ Ghee

For the masala paste:

1/2 Cup Coriander leaves

1/4 Cup mint leaves

3 green chillies

3 cloves of Garlic

1/2 inch Ginger

Step by step paste:

1. Add the ingredients mentioned in the masala paste and grind to a smooth paste. Keep it aside.

2. Heat oil in a pan and add Jeera. Add chopped onions and fry till it turns translucent.

3. Add the ground masala paste and cook for few minutes till it turns dry.

3. Now add capsicum and tomatoes and mix well.

4. Now add red chilli powder and garam masala powder. Also add salt.

5. Add paneer cubes. Mix well. Cover and cook for 10 mins on medium flame.

6. Serve hot with rotis or rice.

Notes:

* You can skip mint leaves if you don’t have.

* If you like a slight crunch of capsicum, don’t cook it completely. If you don’t like it, you can cook till it turns soft or even skip it.

* Paneer can be substituted with mushrooms or cauliflower.

Cauliflower phannaupkari

First dish learnt after marriage is always special and I was lucky to learn this curry from hubby’s aunt who is an expert cook. She taught me so many dishes lovingly just like teaching a daughter. I never felt I was in my in law’s house even without my husband. He was in Qatar while I was living in his village home in midst of a farm. One of the best days of my life for sure.

So this cauliflower phannaupkari is one of the curries that mhave (aunty) made and I loved it very much. Even though very simple to make, it tasted so yummy.

Even now when we get cauliflower, hubby asks for this to be made. Such is the love for this simple curry. Hope you all try and love it too. Happy and healthy cooking!

RECIPE:

Ingredients:

3 Cups Cauliflower florets

1 large sized Onion, finely sliced

1 large Tomato, roughly chopped

2 tsp Red chilli powder or to taste

Salt to taste

2 tsp Oil

Step by step recipe:

1. Heat oil in a pan and add thinly sliced onions. Fry till it turns translucent.

2. Add tomatoes and cook till it mashes up completely.

3. Now add red chilli powder, salt and mix well.

4. Add cauliflower with little water and cook till cauliflower cooks completely. Done!

5. Serve hot with rice or rotis.

Notes:

* I over cook cauliflower since my family likes that way. You can cook till just done if needed.

* Don’t add much water while cooking or else the flavour will be lost.

* This curry is a spicy one and hence the colour. You can adjust red chilli powder as per your taste.

* I usually blanch cauliflower florets in turmeric water before using since it cleans the florets well.

Paneer Pav Bhaji

Pav Bhaji has to be one of my favourite chaats. I have so many memories of Pav bhaji eaten at various joints during our travels to Bangalore, Mumbai, Delhi, Shimla, Gujarat and even in Singapore. I have to try pav bhaji from every place we visit.

While there is Mr husband who loves the pav bhaji I make so much that he never orders them when we eat out and sticks to bhel puri.

Anyhow, ever since I learned how to bake perfect Wheat pav at home, we have hardly had them from outside. Pav bhaji with homemade wheat pav is not only healthy but turns out amazingly delicious. Since we are a paneer loving family, I take it a notch higher and make Paneer Pav Bhaji.

Hope you all try it and love it too. Nothing like homemade food ♥️ Happy and healthy cooking!

Ingredients:

1 Cup dry/ fresh/ frozen Green peas (dried ones need to be soaked overnight)

1 Cup Cauliflower florets

1 medium sized Potato

1/2 Cup roughly chopped Carrot

2 Tbsp Butter

1 inch Ginger piece

3 cloves of Garlic

3 Green chillies

1 medium sized Onion

1/4 Cup finely chopped Capsicum

1 medium sized Tomato

1 tsp Red chilli powder or to taste

2 Tbsp Pav Bhaji Masala powder

1 Cup Paneer, cut into small cubes

4 Tbsp Coriander leaves

Salt to taste

1 tsp Lemon juice

For toppings, finely chopped onions, coriander leaves, lemon wedges, butter.

Step by step recipe:

1. Take peas, cauliflower, potato and carrot in a pressure cooker. Pressure cook till very soft.

2. Mash using a potato masher or a ladle till there are no big chunks of veggies. Keep aside.

3. Heat a pan with butter. Add finely chopped ginger, garlic and green chillies. Saute till they give out an aroma.

4. Add finely chopped onion. Fry till it turns translucent.

5. Add finely capsicum and fry for few seconds.

6. Add tomatoes and cook well.

7. Now add pav bhaji masala powder and red chilli powder. Fry till all water evaporates and the mixture turns out dry as shown.

8. Now add the mashed veggies and mix well. Add little water if the mixture is too dry. Allow it to come to a boil.

9. Add paneer cubes along with salt and cook for 5 more mins. After that, check for spices if needed. Add more pav bhaji masala or red chilli powder if needed.

10. Now add lemon juice and coriander leaves. Mix well. Done.

11. Serve along with pav and top with onions, coriander leaves and lemon wedges. Add more butter on top.

Notes:

* You can skip paneer and make regular pav bhaji if you don’t like it but paneer Pav Bhaji is a delight for paneer lovers.

* Pav bhaji masala can be added as desired as per your taste buds. If unavailable, you can add any garam masala powder.

* Cook the veggies really well for a smooth texture of pav bhaji.

* Butter gives a wonderful flavour. So I recommend using butter to cook.

* I make Homemade wheat pav for pav bhaji. You can try too.

Paneer Sukka

I am actually a non vegetarian turned into vegetarian post marriage ( ie since 9 years now). People ask me how can I even turn just like that and don’t I crave for it. The truth is I was not much fan of chicken or fish even before marriage. So it was not much difficult to leave it completely.

But there are some dishes that I loved in non veg especially the gravy and one of them is the south Karnataka speciality Chicken sukka. I remember how my aunt Shaila mhave used to ask a person who was an expert in making it to make specially for us when we visited her. The flavours of the gravy is unforgettable.

So after marriage, when I craved for it, I tried to recreate it and added the vegetarian favourite Paneer. My husband is a huge paneer lover and can eat it everyday. 😂 So was Paneer sukka born in my kitchen and we love it with Matta rice meal.

Hope you all try and love it too. Happy and healthy cooking!

RECIPE:

Ingredients:

200 gms Paneer cubes

1 large Onion

1 tsp red chilli powder

1/2 tsp garam masala powder

Salt to taste

2 tsp Oil

For the masala paste:

1 Cup fresh/ desiccated coconut

3 Kashmiri red chillies

1 tsp Coriander seeds (to be roasted)

2 tsp Cumin seeds (to be roasted)

Step by step recipe:

1. Heat a pan and dry roast coriander and cumin seeds for couple of minutes till it gives out an aroma.

2. Take coconut, red chillies in a mixer and add the roasted coriander- cumin to this.

3. Grind with water to a slightly coarse paste adding little water.

Note: Don’t add a lot of water. Also don’t make a fine paste.

4. Heat oil in pan and add finely chopped Onion. Fry till translucent.

5. Now add the ground paste.

6. Also add red chilli powder, garam masala powder with salt.

7. Cook till the mixture dries off which can take around 10 mins.

8. Now add paneer cubes with little water and allow to come to a boil.

9. Now put the flame on medium and cook till the mixture turns dry.

10. Paneer sukka is ready to be served with rotis, rice or Neeru dosas.

Notes:

* Paneer can be substituted with mushrooms or cauliflower too.

* The main part of this curry is to grind the paste slightly coarse and also to cook the paste well till it turns dry.

* If your red chillies are spicy, you can skip the red chilli powder.

Mushroom Chettinad

I have been getting a lot of recipe requests for curries after my simple Cabbage Aloo Sabzi which many have tried and loved. Glad I posted it even though I was thinking people would laugh that I am posting such easy recipes on the blog. Guess some recipes are not as widely known as I thought they were.

So here is yet another delicious gravy with mushrooms that I make always. I am not much of a mushroom lover but the husband is. And since he’s the one shopping now, mushrooms enter weekly into our house. I have to make it super tasty so that I can eat it 😀.

Much to my happiness, my daughter loves this curry so much that she finishes off her rice within minutes. Hope your family loves it too. Happy and healthy cooking!

Thank you Usha Bhat mai for the recipe! ❤️

RECIPE:

Ingredients:

250 grams Button mushrooms, cut into quarters

1 medium sized Onion, roughly chopped

1 medium sized Tomato, roughly chopped

1/2 inch Ginger piece, finely chopped

1 tsp Red chilli powder or to taste

1/2 tsp Coriander powder

1/4 tsp Turmeric powder

2 tsp Oil

Salt to taste

Coriander leaves and curry leaves for garnish

For the masala paste:

6 to 8 Cashews

3 Tbsp grated Coconut (fresh or desiccated)

1 Cardamom pod

2 cloves

A small piece of cinnamon

1 tsp Cumin seeds

1/2 tsp Fennel seeds

1 tsp Peppercorns

Step by step recipe:

1. Put all the ingredients for the spice mix and fry till the coconut turns little brown.

2. Keep it aside and cool it. When it cools, grind with little water to a fine paste.

3. Heat oil in the same pan again and add ginger and onions. Fry till the onions turn translucent.

4. Now add tomatoes and fry till they cook.

5. Add the spice paste along with turmeric powder, red chilli powder and coriander powder. Cook for about 5 mins till the gravy thickens.

6. Now add mushrooms with salt and cook covered till the mushrooms cook well.

7. Now garnish with coriander leaves and serve with rotis or rice.

Notes:

* I add curry leaves when possible to the seasoning when I find it. It gives an amazing flavour. So add it if you are lucky to get it.

* You can add coriander seeds to the spice mix if you have. Don’t add Coriander powder then. I usually add powder only.

* Dry saute the coconut spice mix only till the coconut turns light brown. Don’t allow it to burn or turn black.

* Take care to grind the spice mix to a smooth paste and not coarse.

* Cook the spice mix well and don’t add much water after that. Mushrooms let out a lot of water while cooking. So while making any mushroom curry, don’t add water at all. It cooks in its own water and tastes delicious that way.

* You can substitute mushroom with Gobi or paneer too.

Cabbage Aloo Sabzi

Cabbage Aloo sabzi is among my first memories of hotel food from Cochin when I was hardly 12 years old. Since both my parents were working, Saturday used to be our “eating out” night. Me and my brother used to wait eagerly for Saturday to get a break from home food (the value of which we realise now).

Anyhow, so daddy used to bring these soft rotis with delicious dal and lipsmacking cabbage aloo sabzi from a north indian dhaba style restaurant in a place called TD road which was near his office. I can never forget the flavours of roti with their dal and sabzi. It makes my mouth water even now.

Many years later, I make the sabzi with rotis as reminiscence of those childhood memories when even a simple meal from the small little restaurant would make our day. My husband likes this sabzi and asks it to be made whenever we buy cabbage. So here’s sharing the recipe. Happy and healthy cooking!

RECIPE:

Ingredients:

3 cups of chopped Cabbage

1 medium sized Potato, peeled and chopped

Red chilli powder to taste

Salt to taste

1 tsp Ghee or oil

1/2 tsp Cumin seeds

1/4 tsp Hing

1 Tbsp Lemon juice

Finely chopped coriander leaves for garnish

Step by step recipe:

1. Heat ghee or oil in a pan. Add cumin seeds and hing.

2. When cumin seeds change colour, add chopped Cabbage and potato. Mix well once.

3. Cover and cook on medium flame till half done. Don’t add water at all. Allow it to cook in its steam. When half done, add red chilli powder.

4. Cover and cook again on medium flame till done. If needed only, sprinkle little water. But I usually cook this without water.

5. Add lemon juice and garnish with coriander leaves. Done! Serve with rotis or rice.

Notes:

* I have noted that if the cabbage is fresh, the curry does not need water at all while cooking. But as it turns old and dries, you may require little sprinkle of water while cooking. But minimal amount of water makes this dish very tasty.

* You can add garam masala powder if you feel the need, but we love this curry in its simple form with just the combination of cumin, hing, chilli powder and lemon with fresh coriander leaves.