Tag Archives: Curd

Vastad rotti | Wheat Banana flatbread

Click on the image to save the recipe on Pinterest

I am sure if you are checking this recipe, it must be either due to the amazement of the unique name “Vastad rotti” or have savoured this delicious snack made by your grandmother and just wish to recreate it in your kitchen.

Anyhow for all of you, Vastad rotti is nothing but tava fried version of the famous Mangalore Buns. My grandmother made these rottis as evening snack when she did not want to deep fry the leftover buns dough again. They tasted so delicious that I loved it more than buns itself.

After marriage, when I tried it for the first time, my husband did not know about it but to my amazement, he too loved it very much. So now whenever there are leftover bananas, he asks me make these rottis. In fact, sometimes he brings bananas only for this. Such is the love for these cute small Vastad rottis. 😍

Hope you all try and love it too. Happy and healthy cooking! ♥️

RECIPE:

Ingredients:

3 Cups Wheat flour (or as required)

1 Cup mashed bananas

1/2 Cup Curd or Yogurt

1/4 Cup Powdered Jaggery or Sugar

2 Tbsp Besan/ chickpea flour

1 tsp Cumin seeds/ Jeera

A pinch of pepper powder

Salt to taste

1/2 tsp Baking soda (optional)* check notes

Step by step recipe:

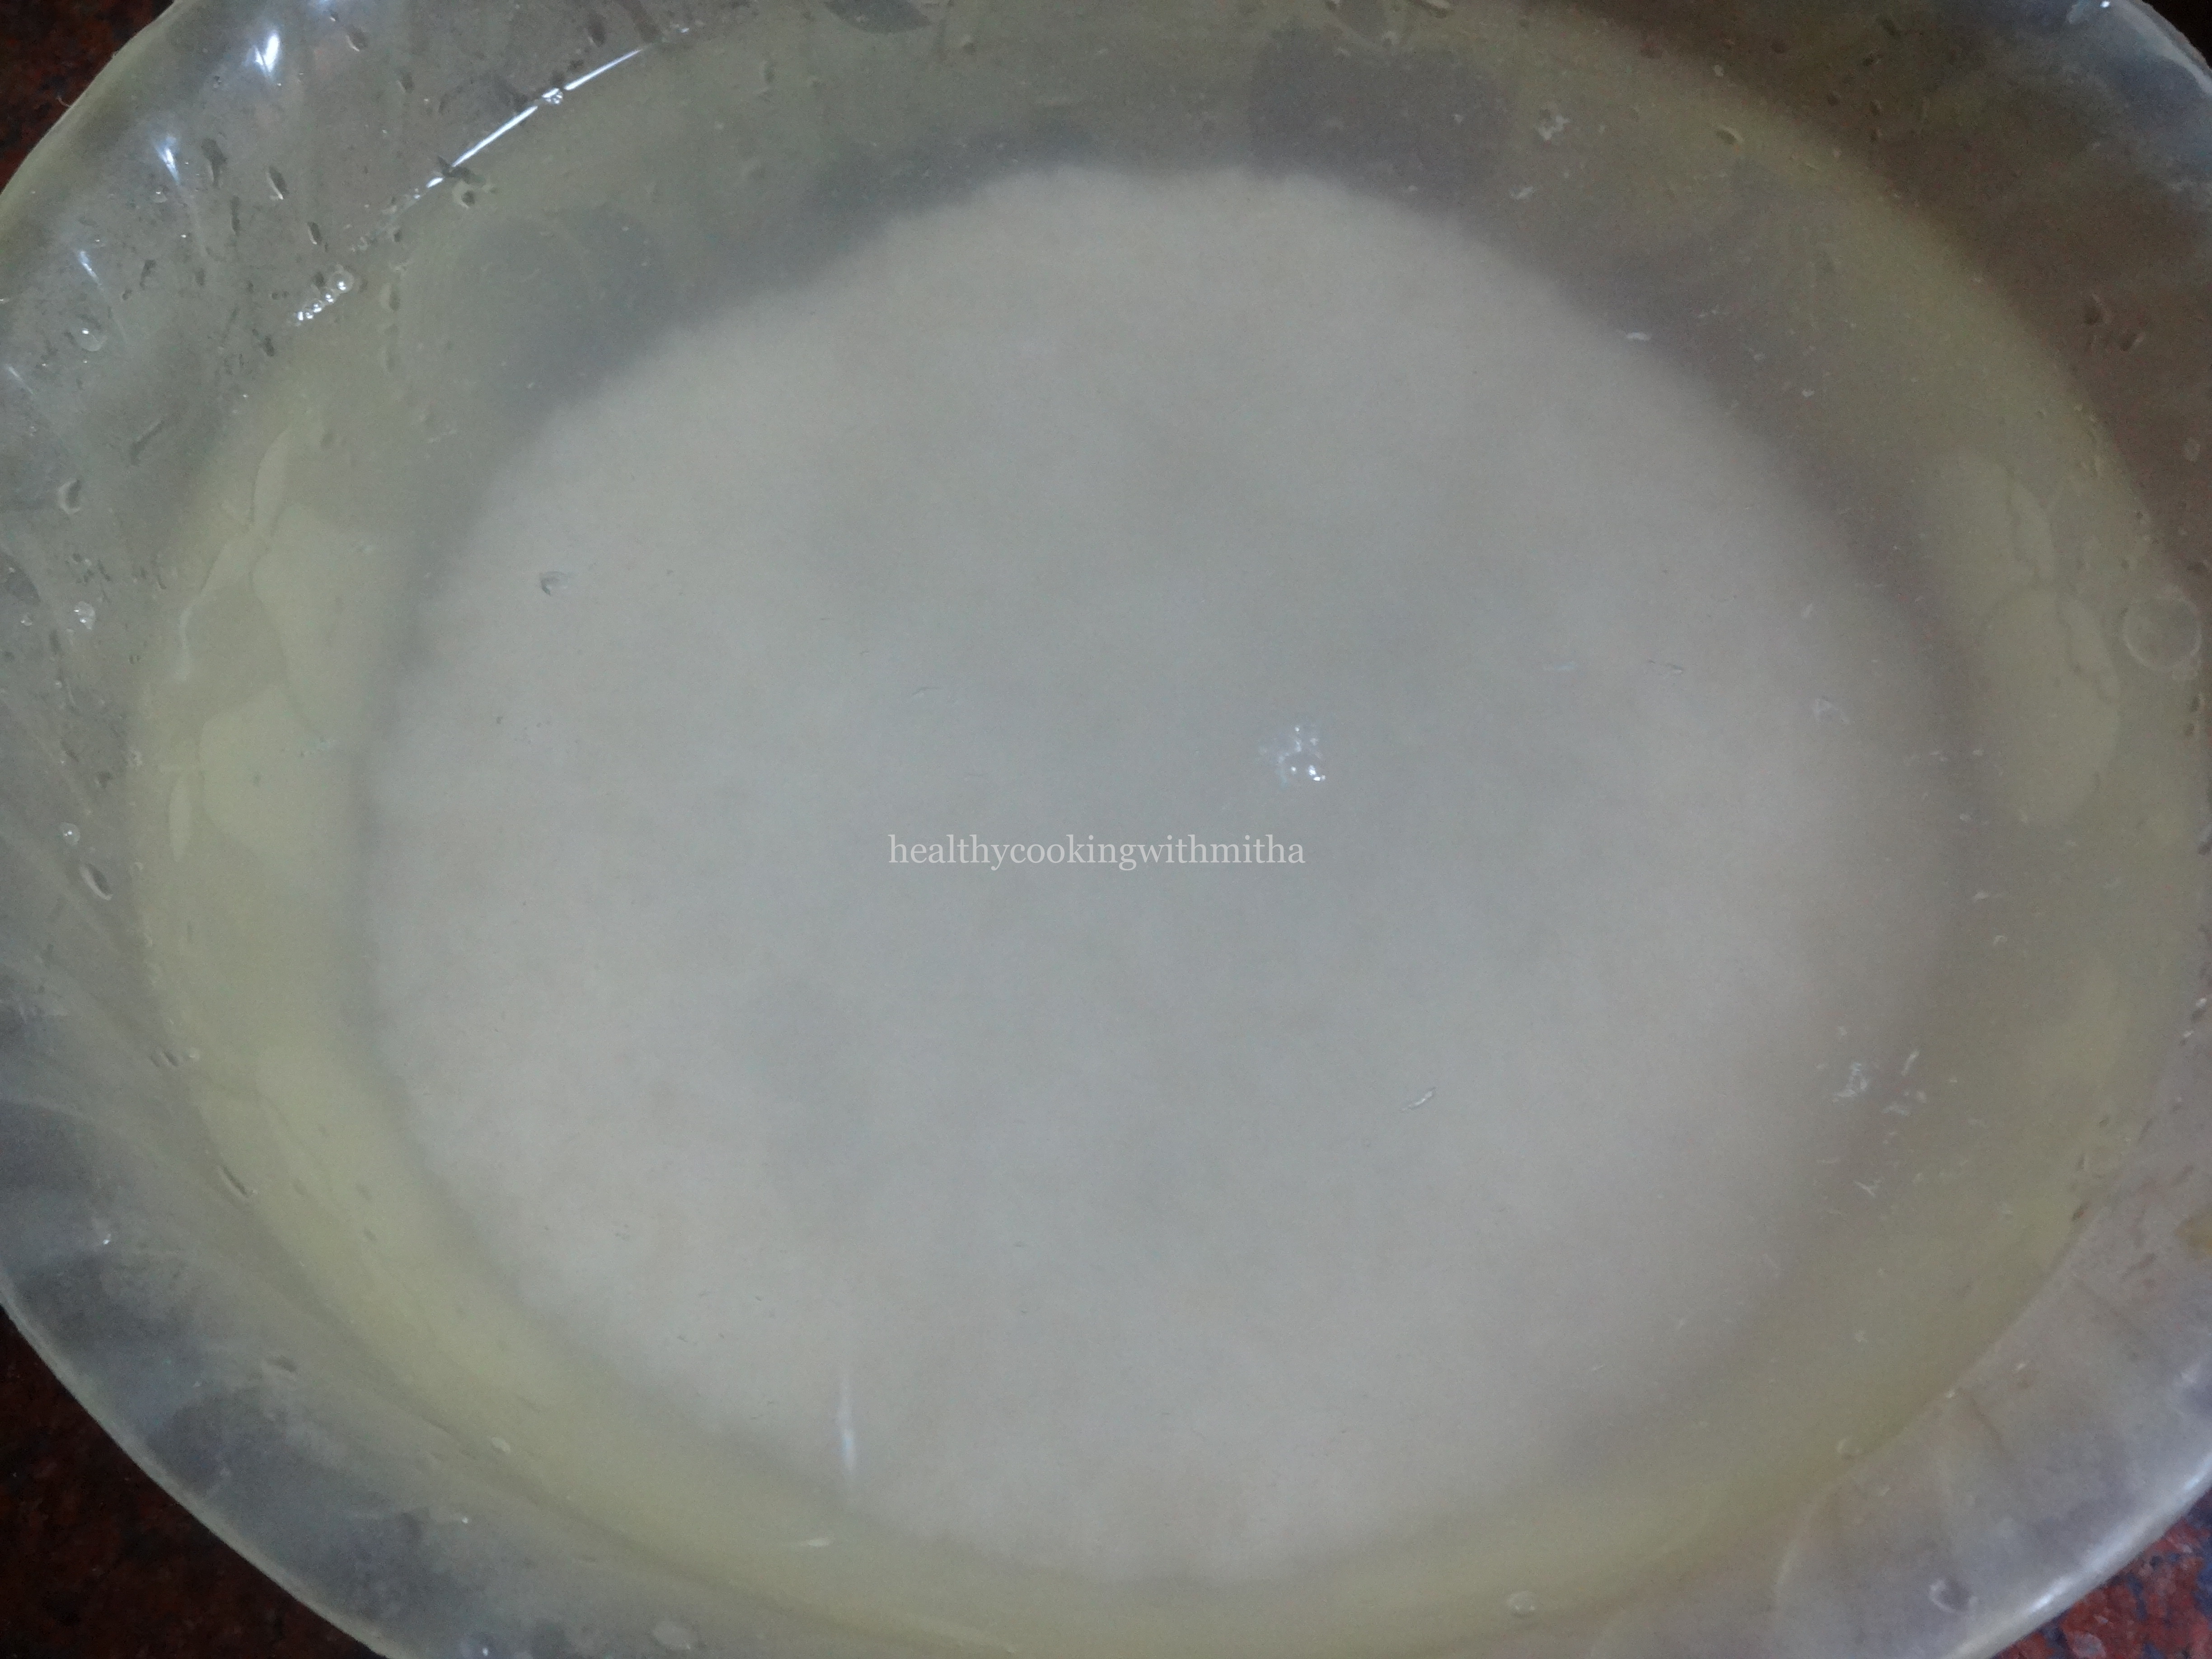
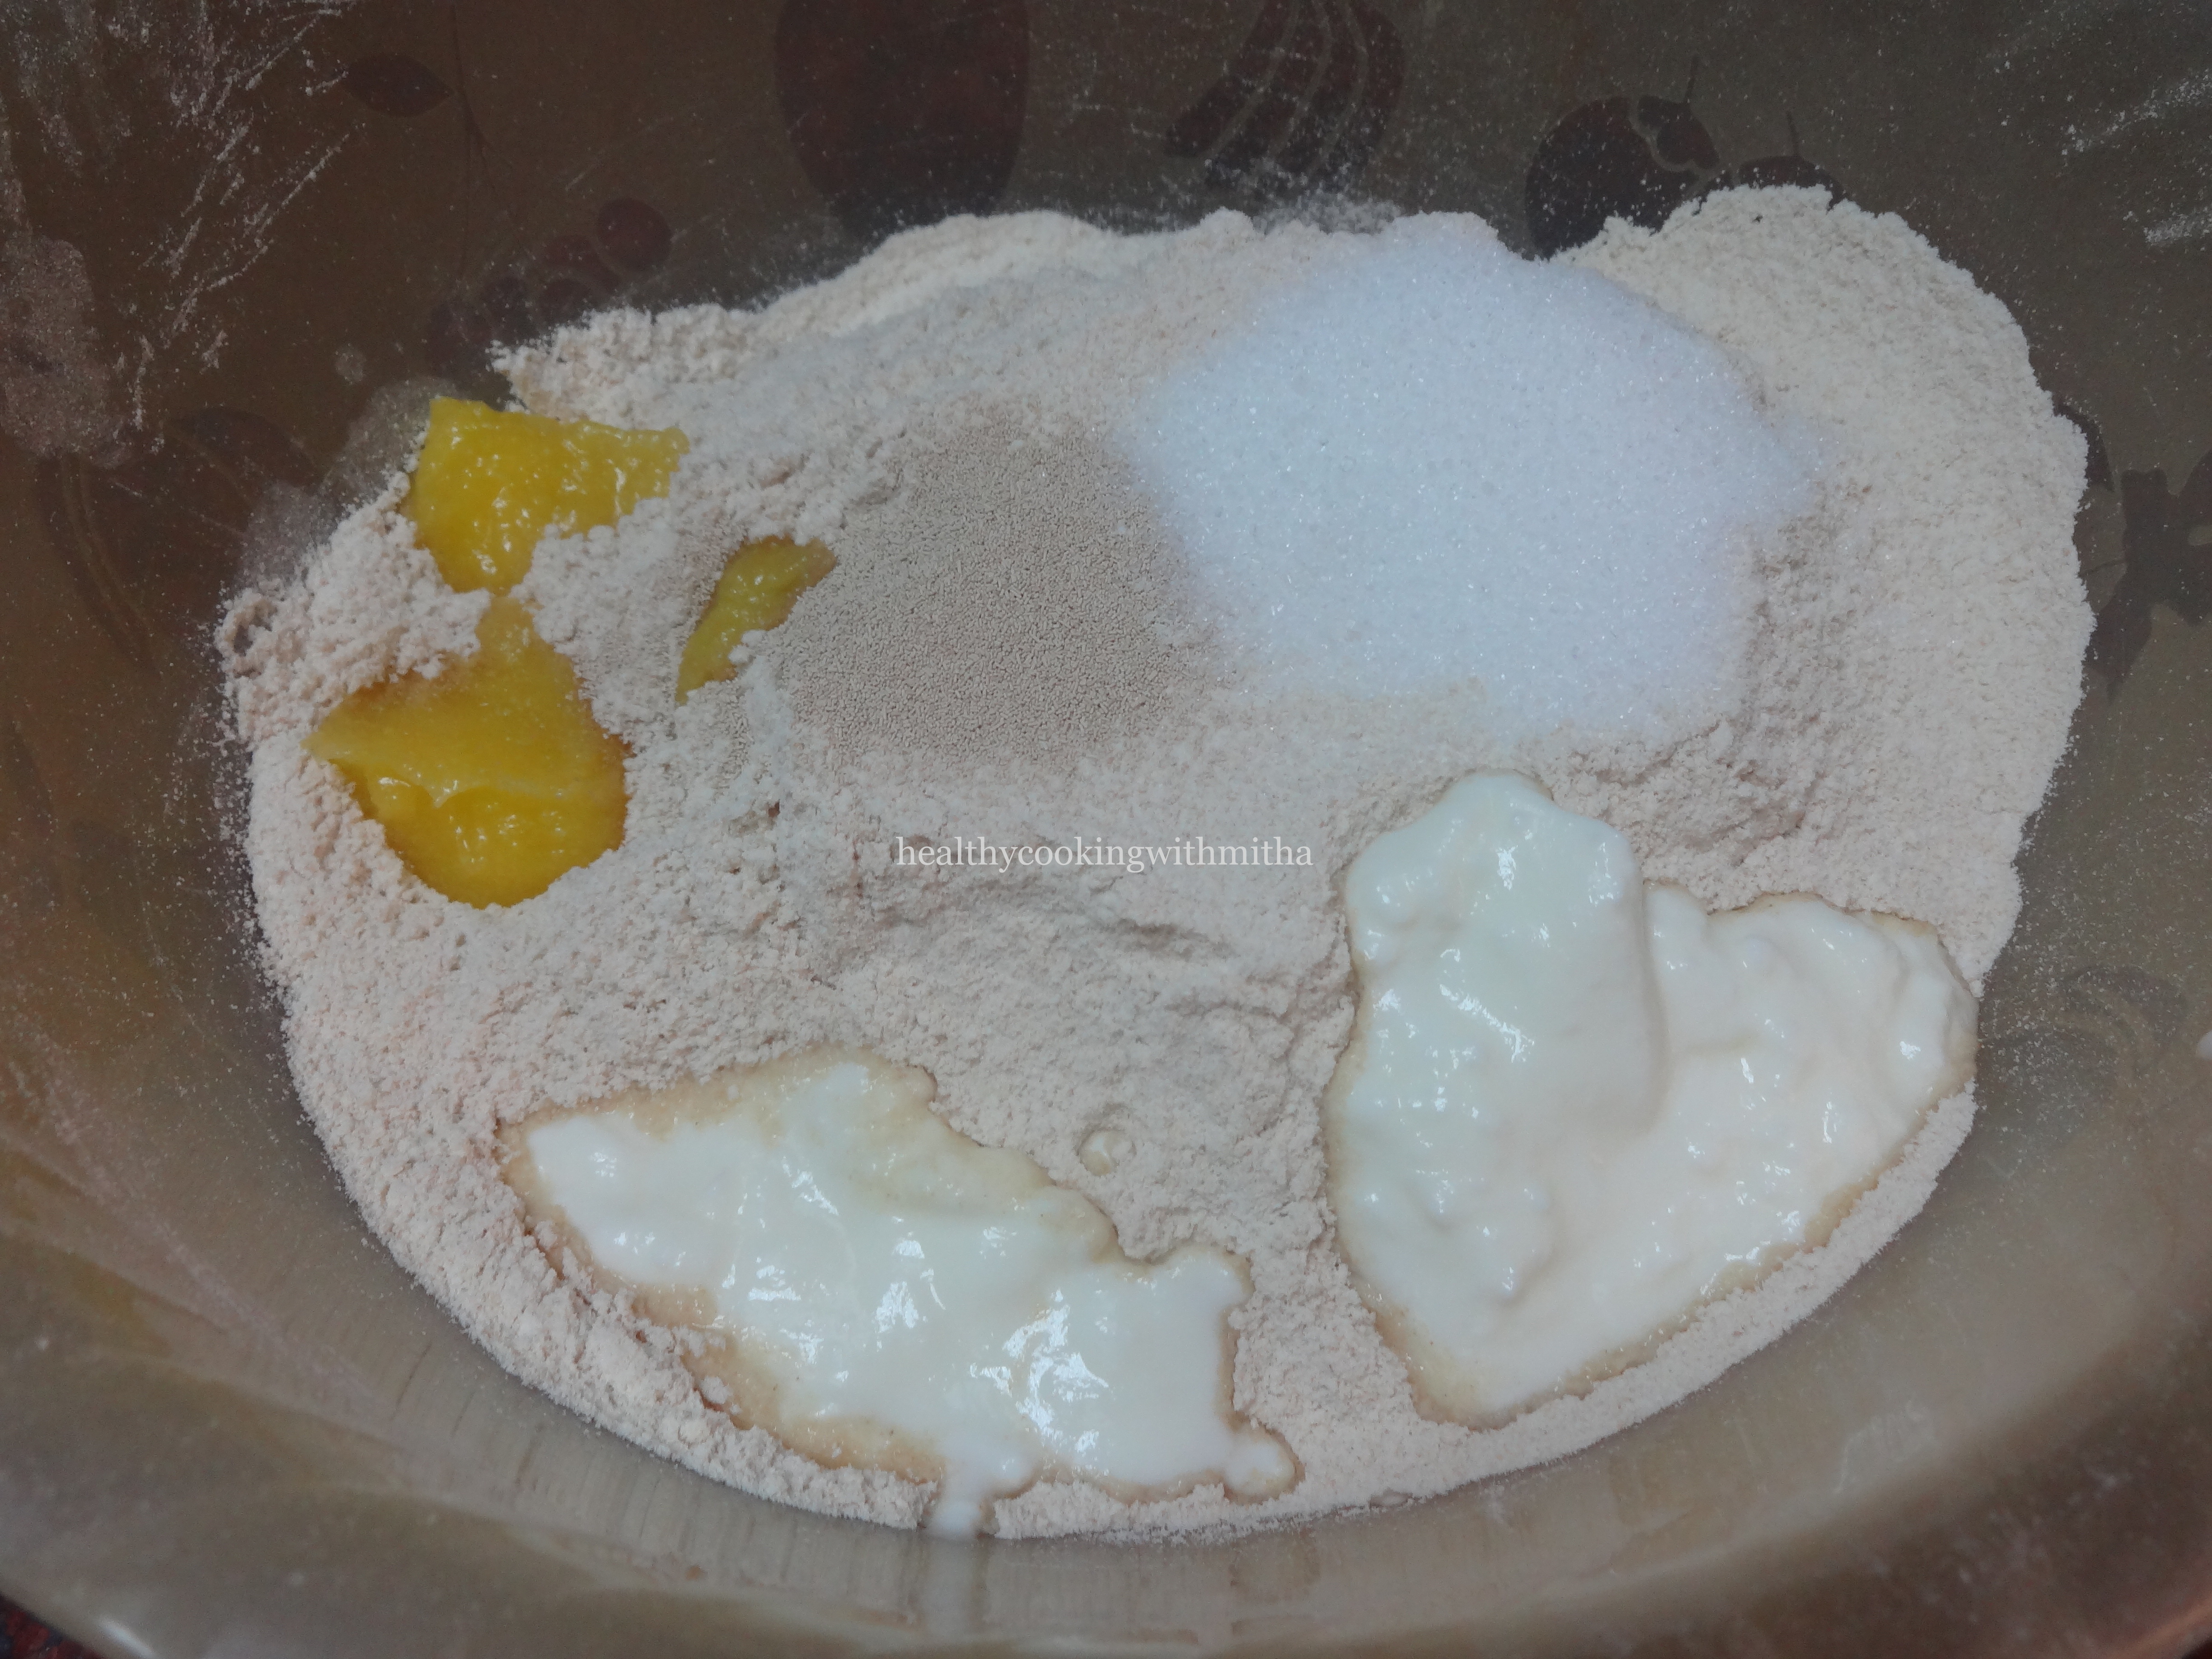
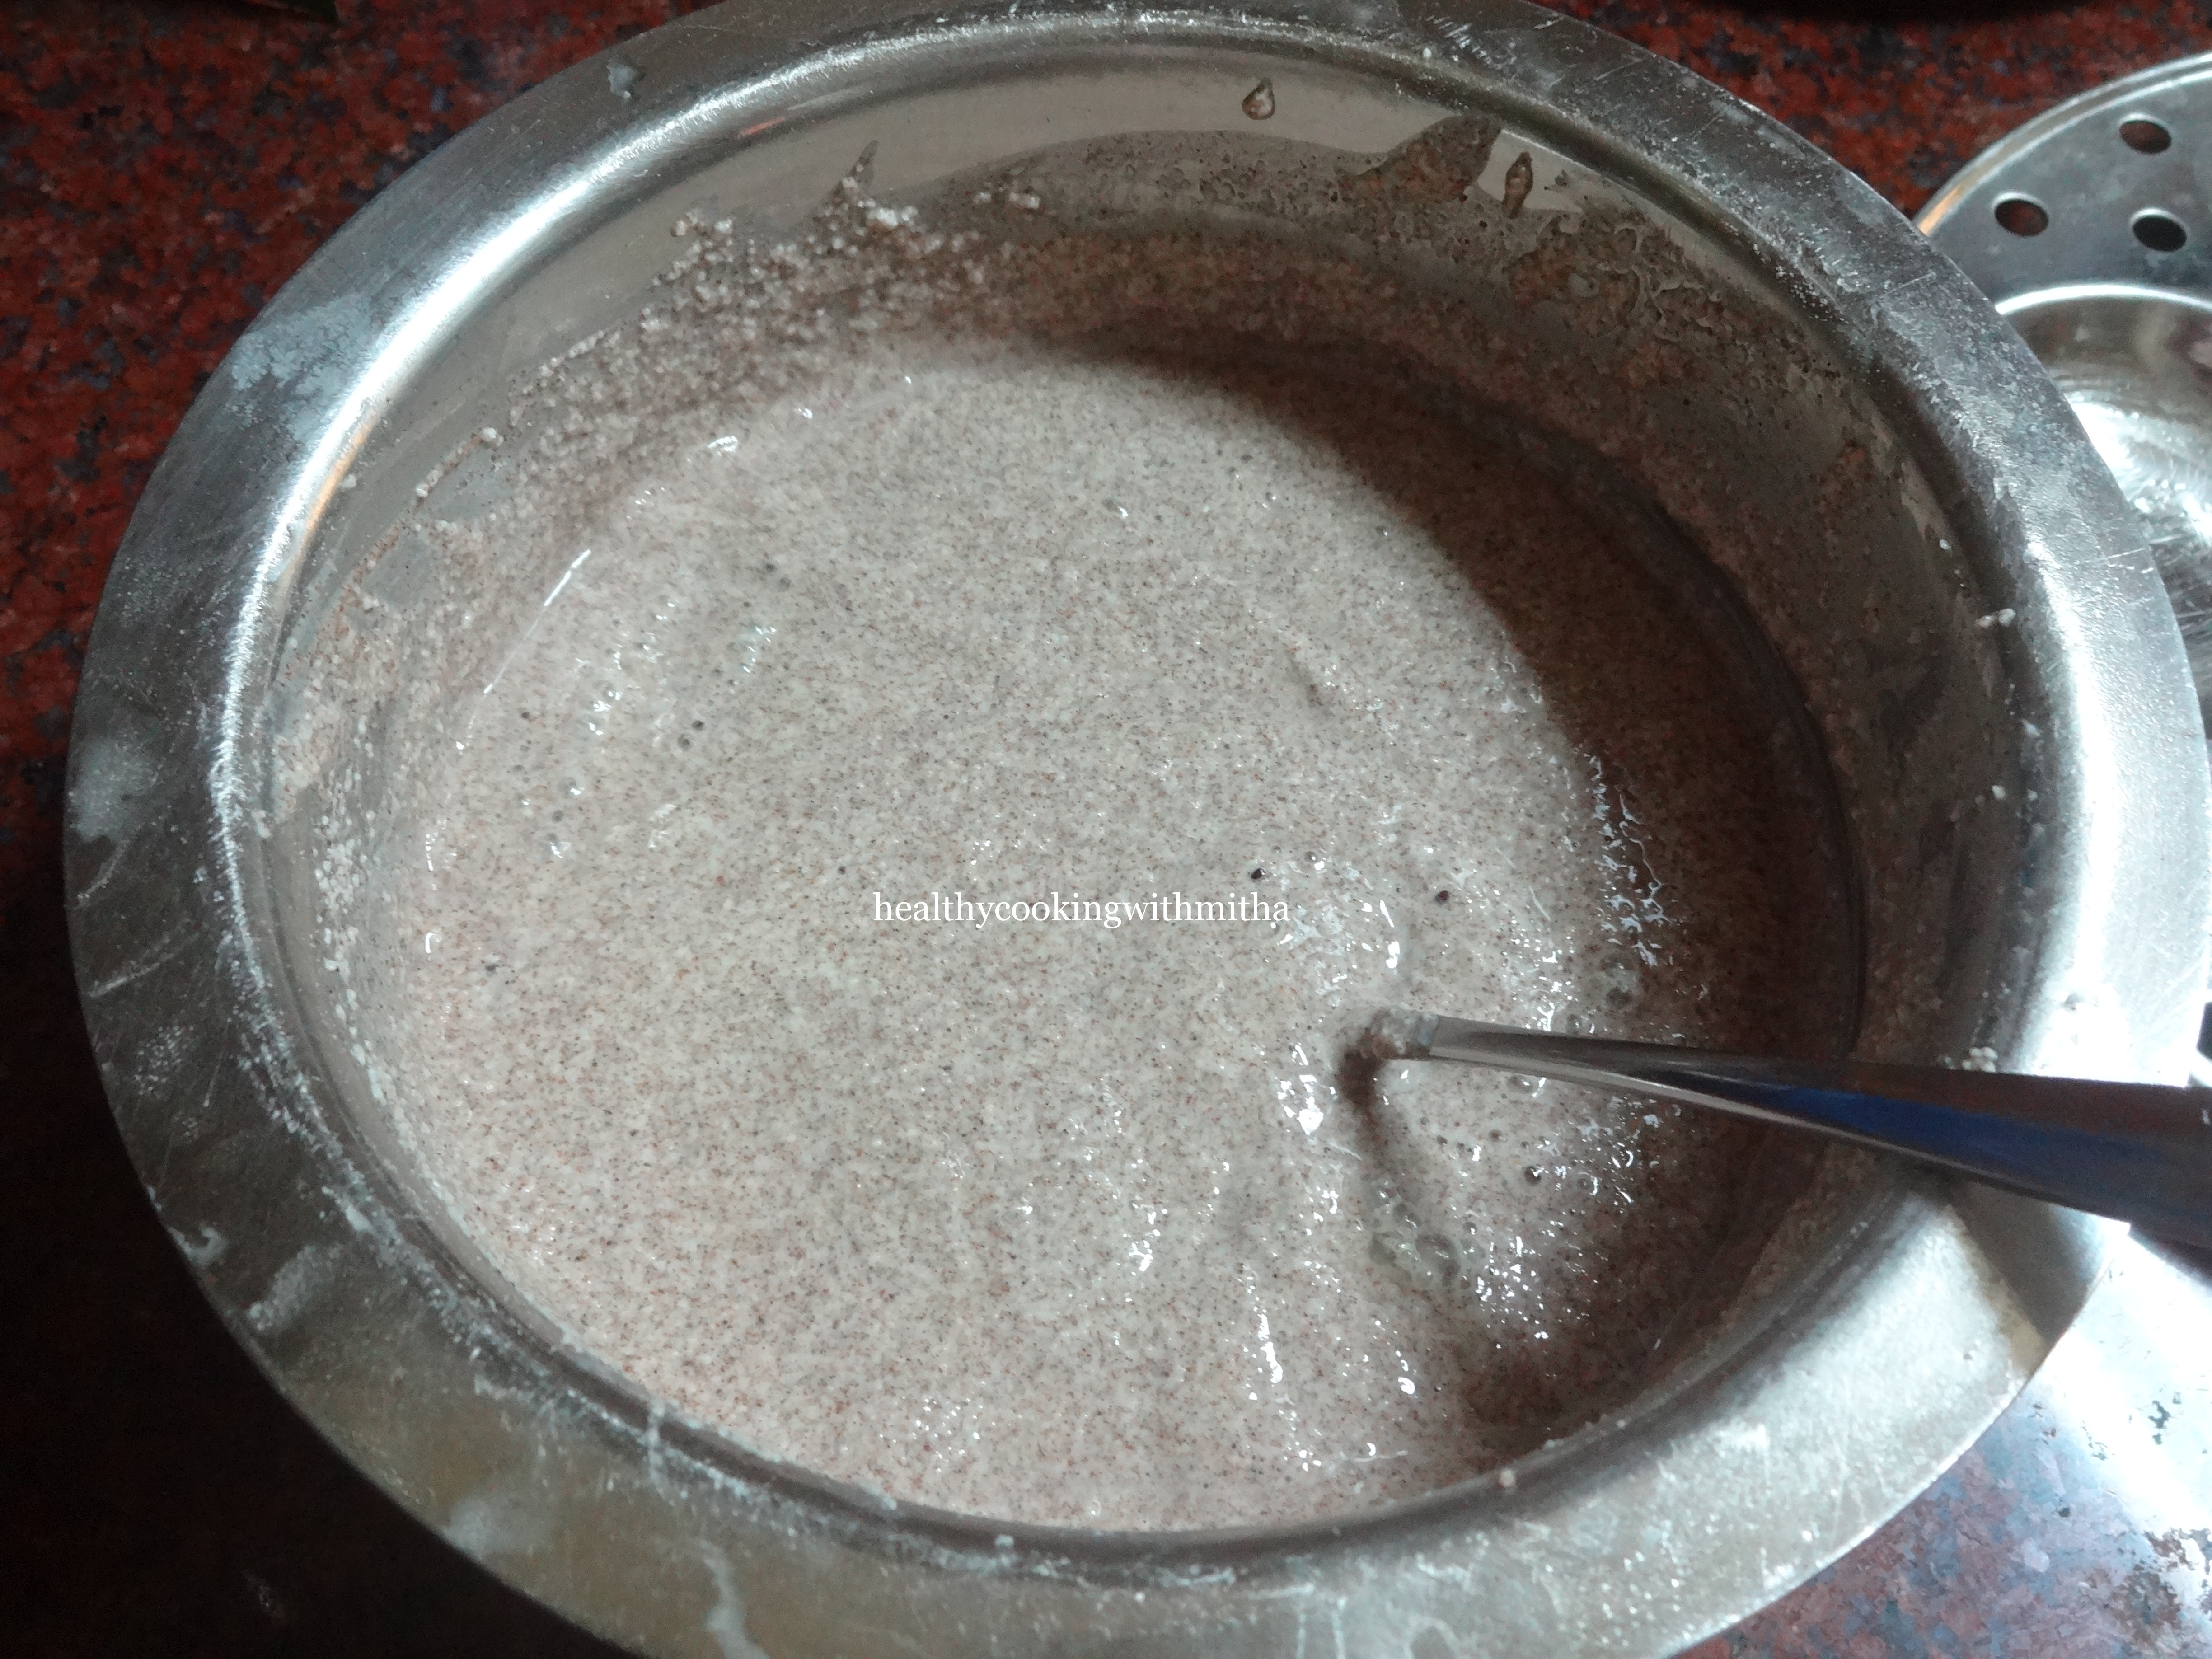
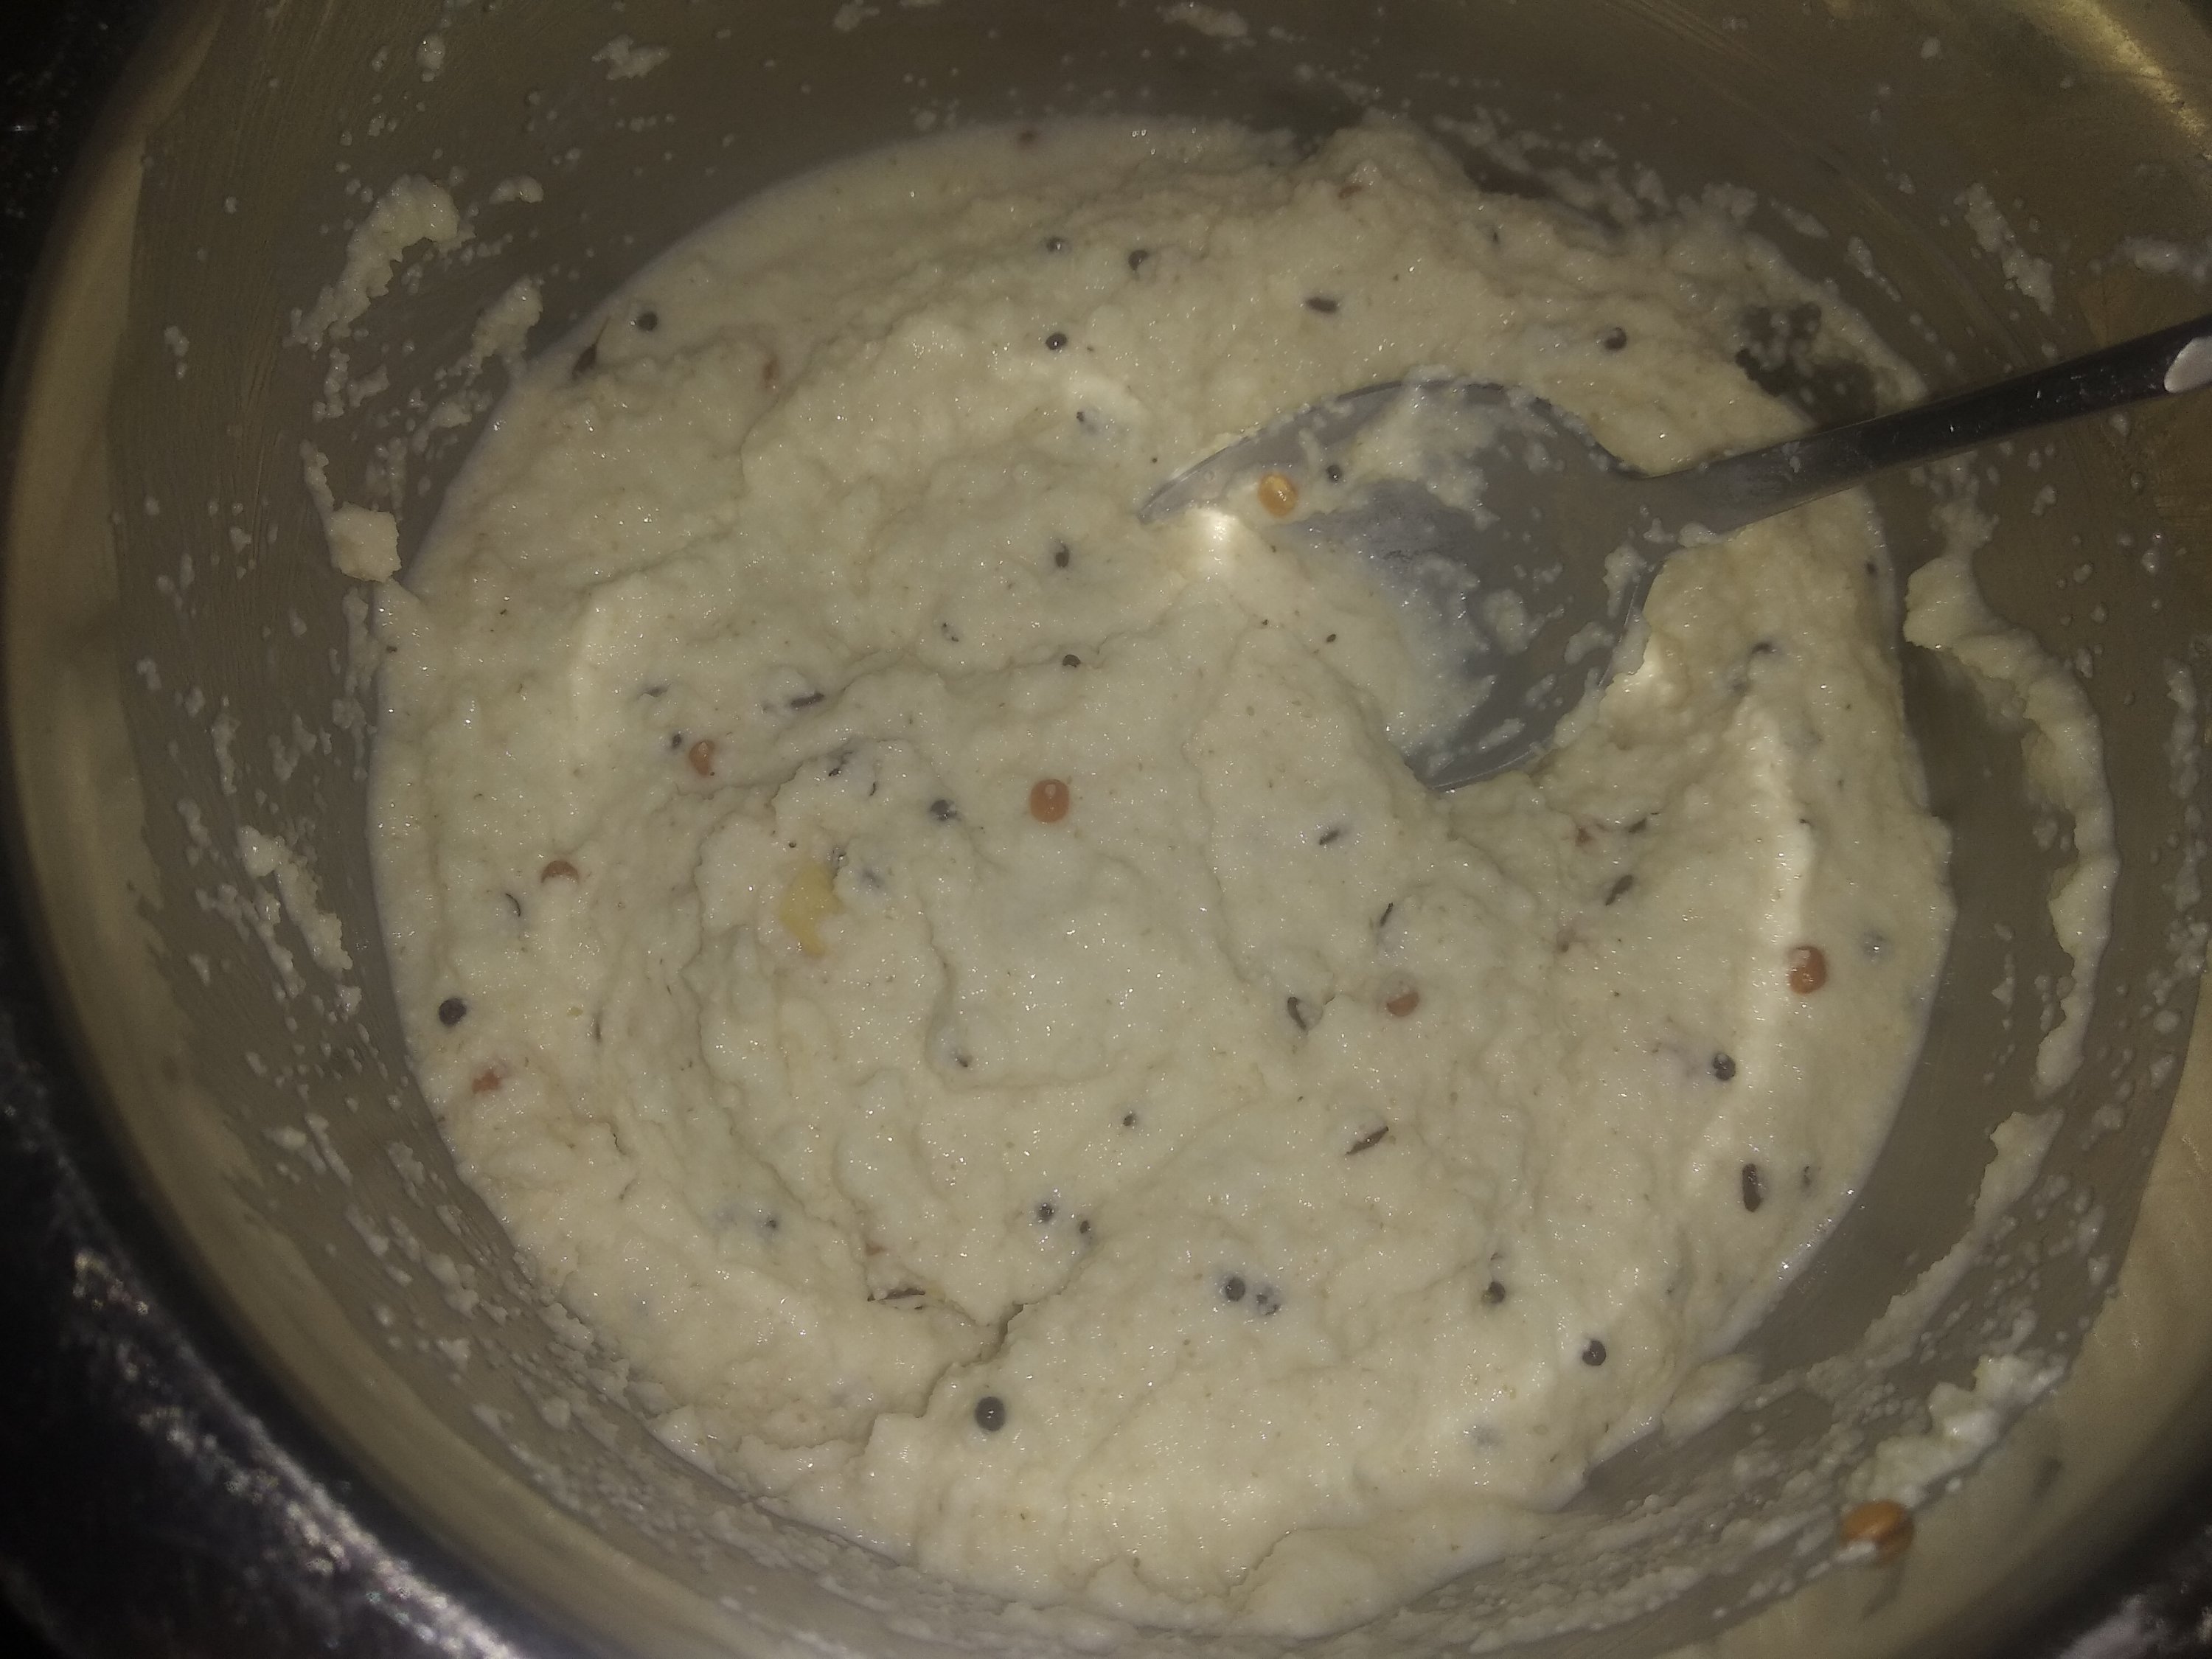
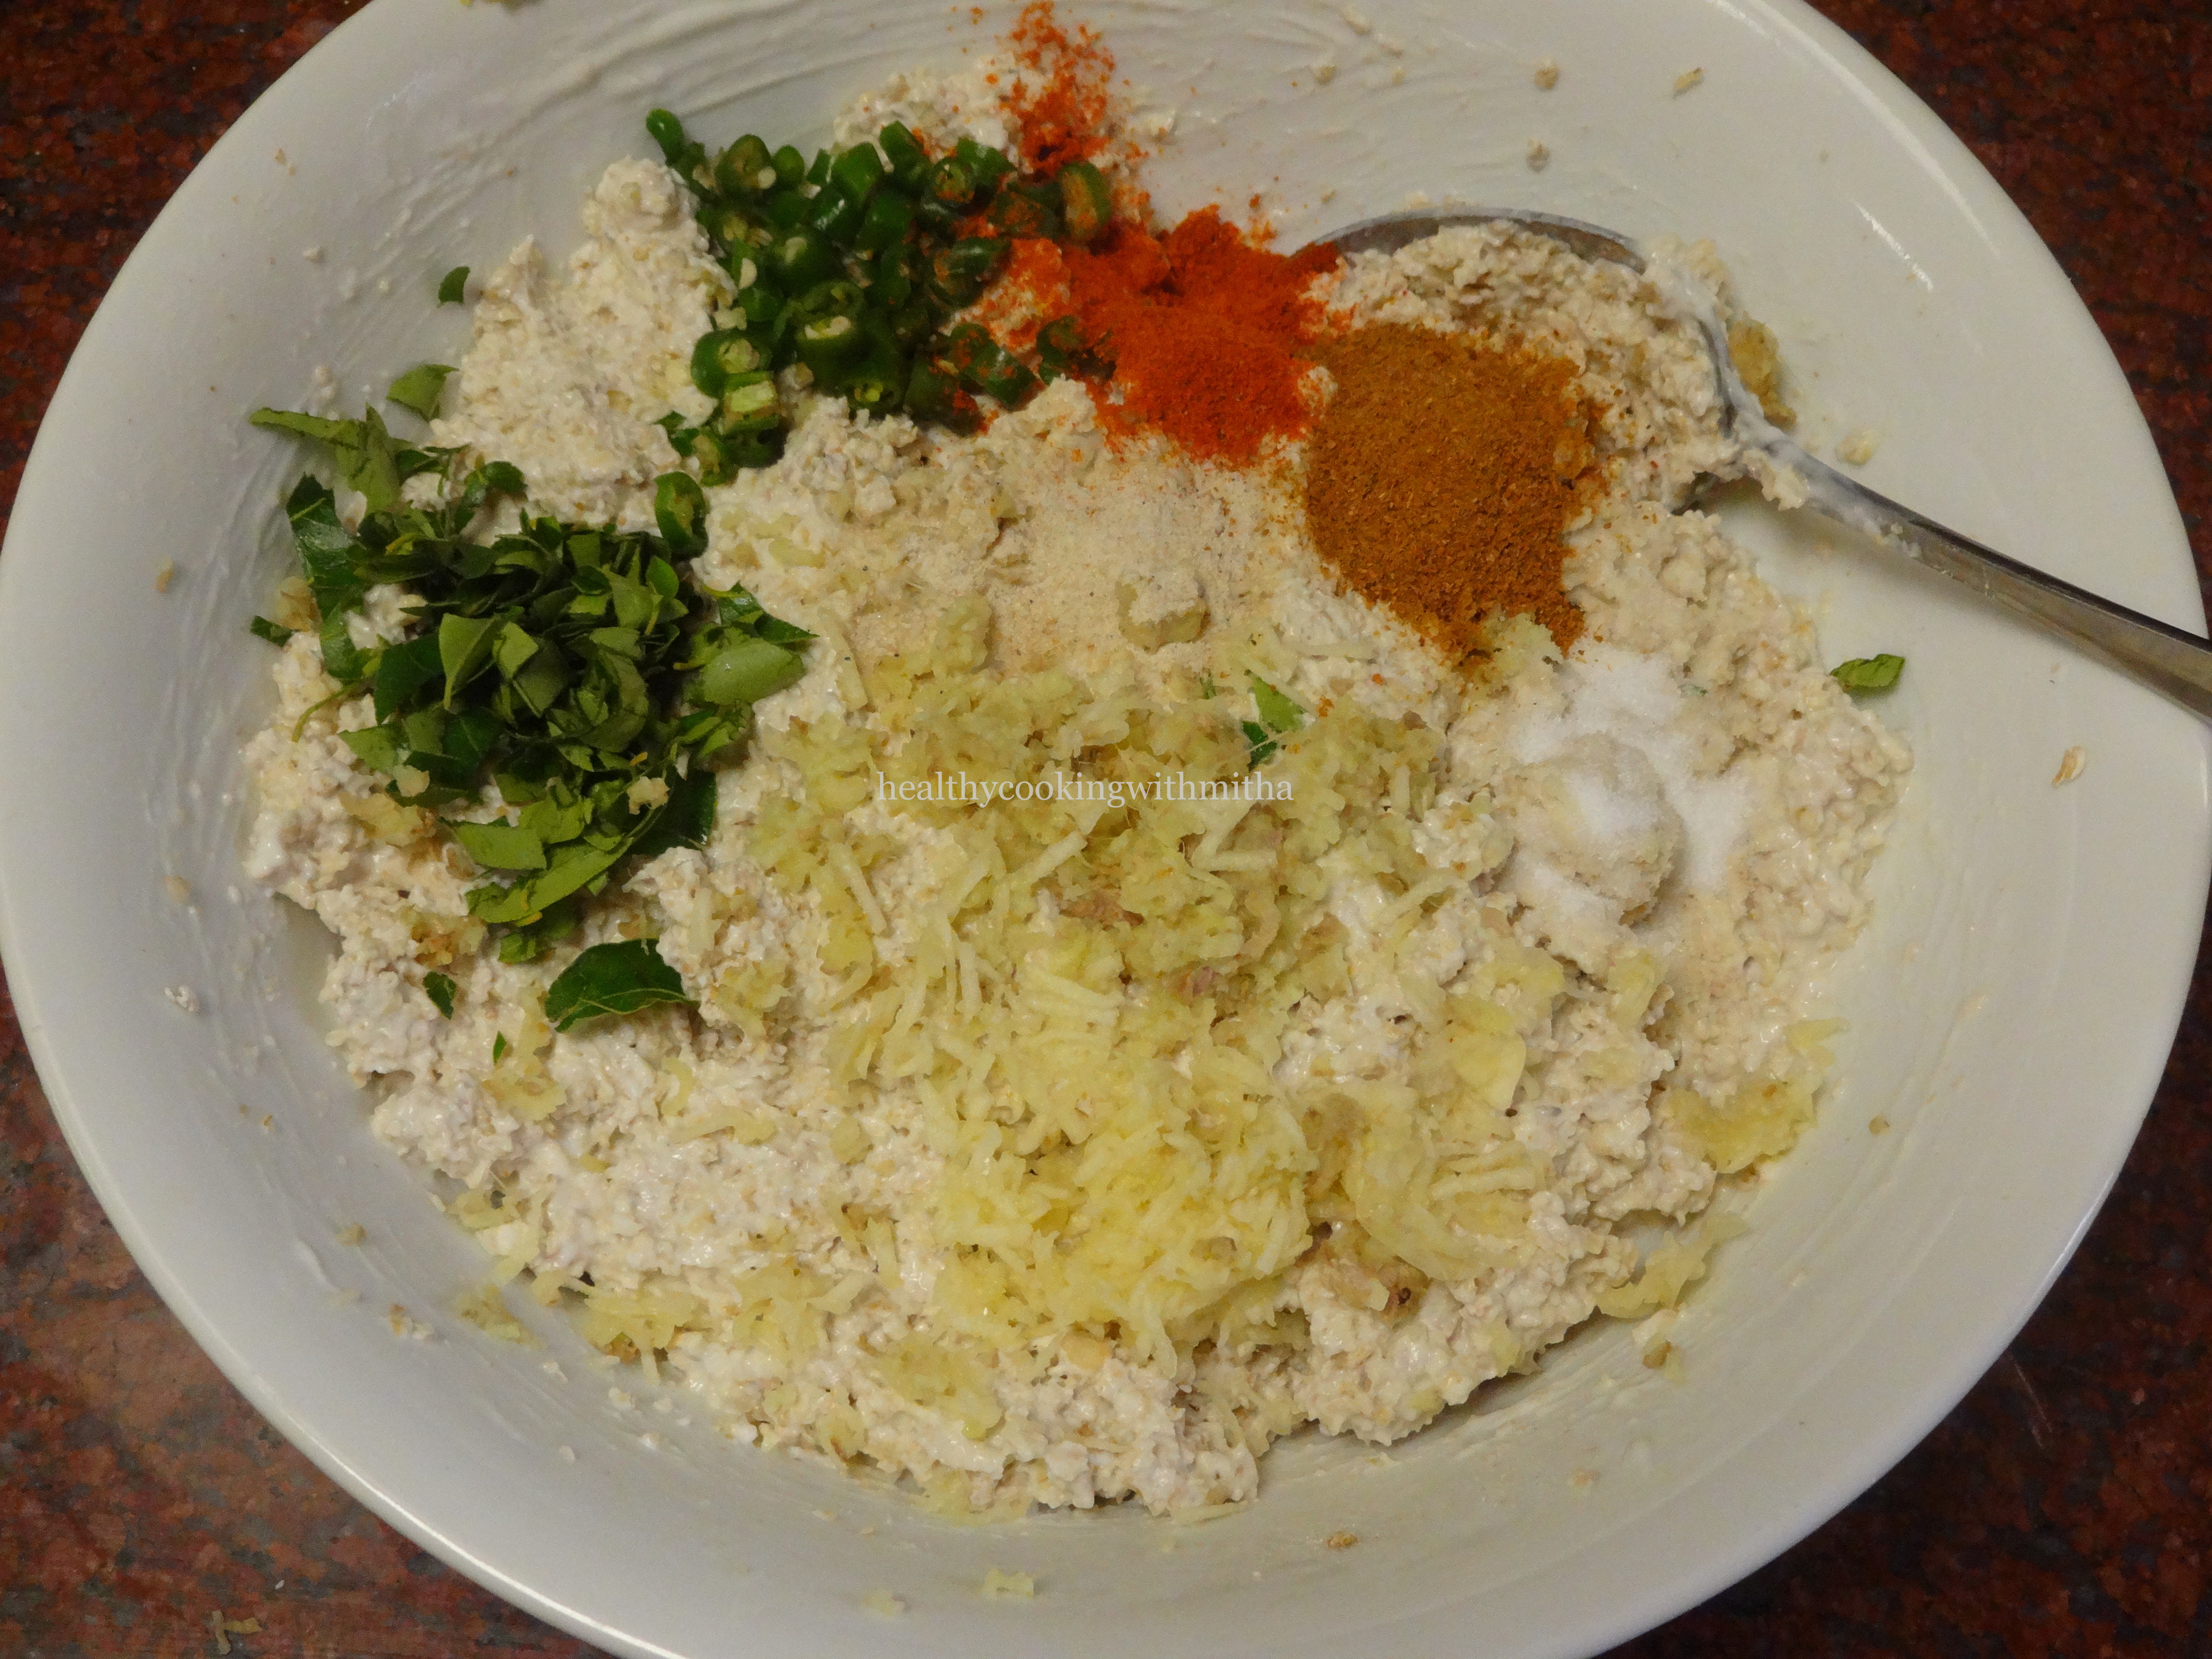
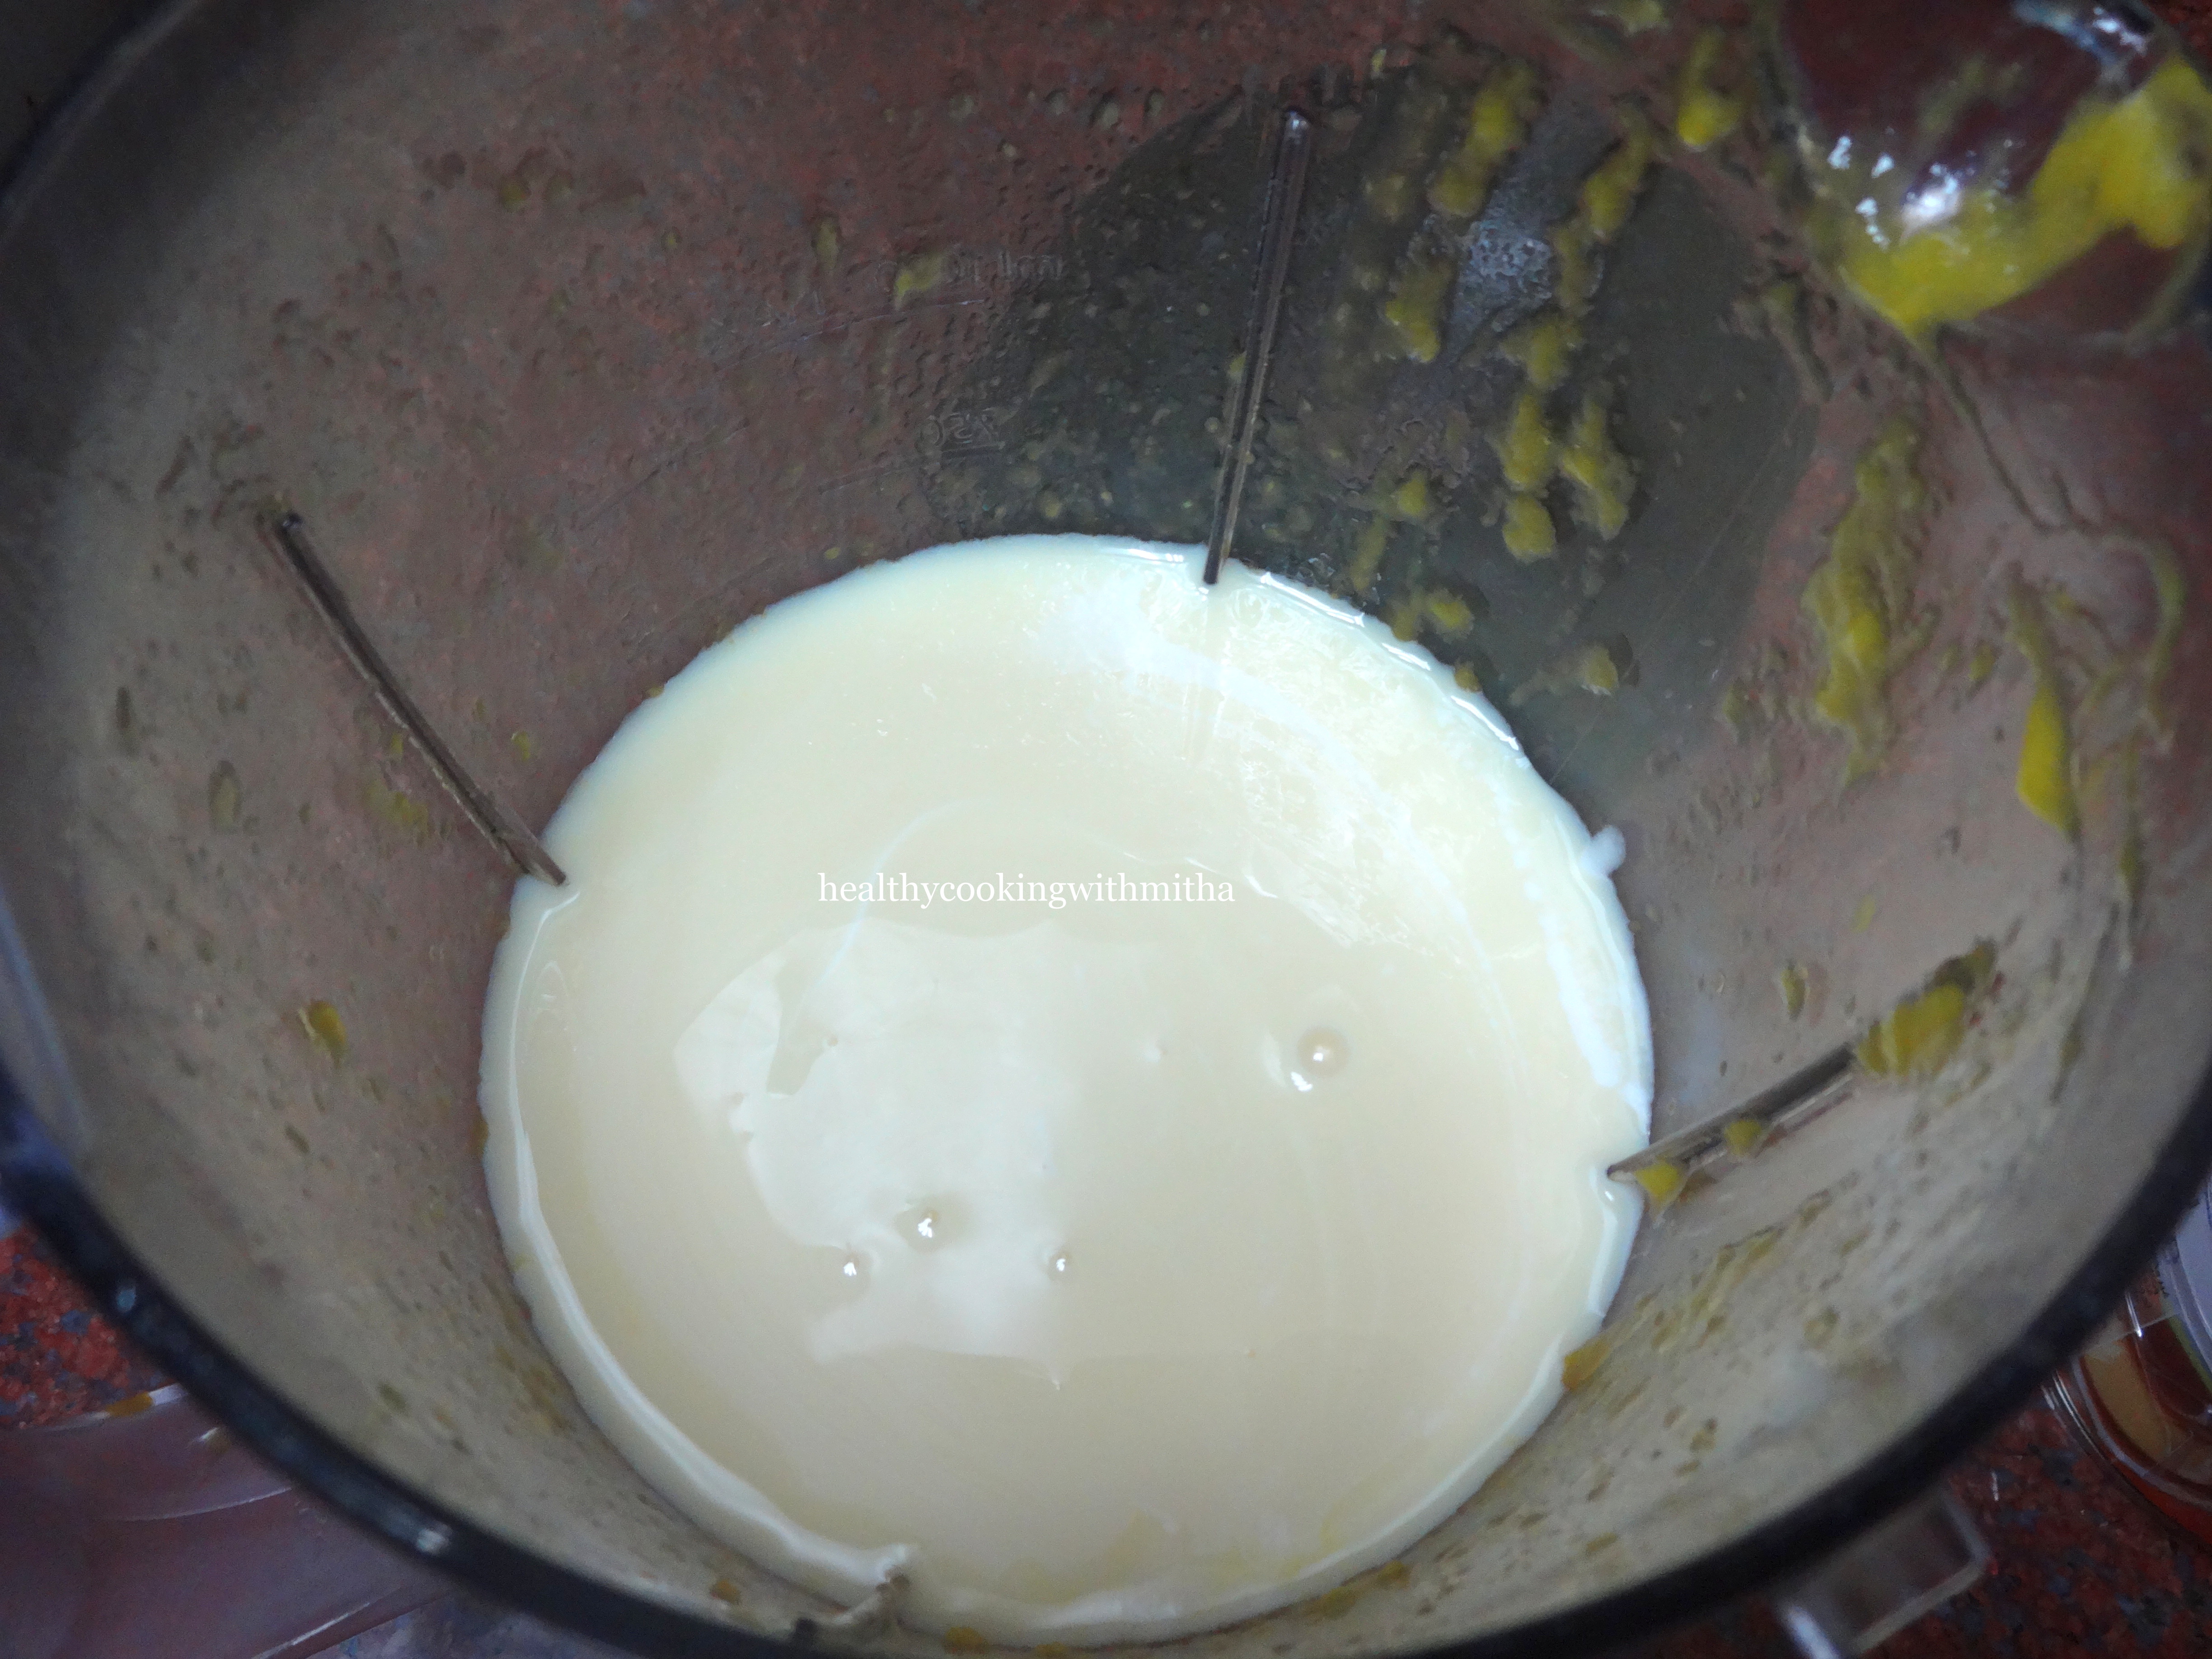
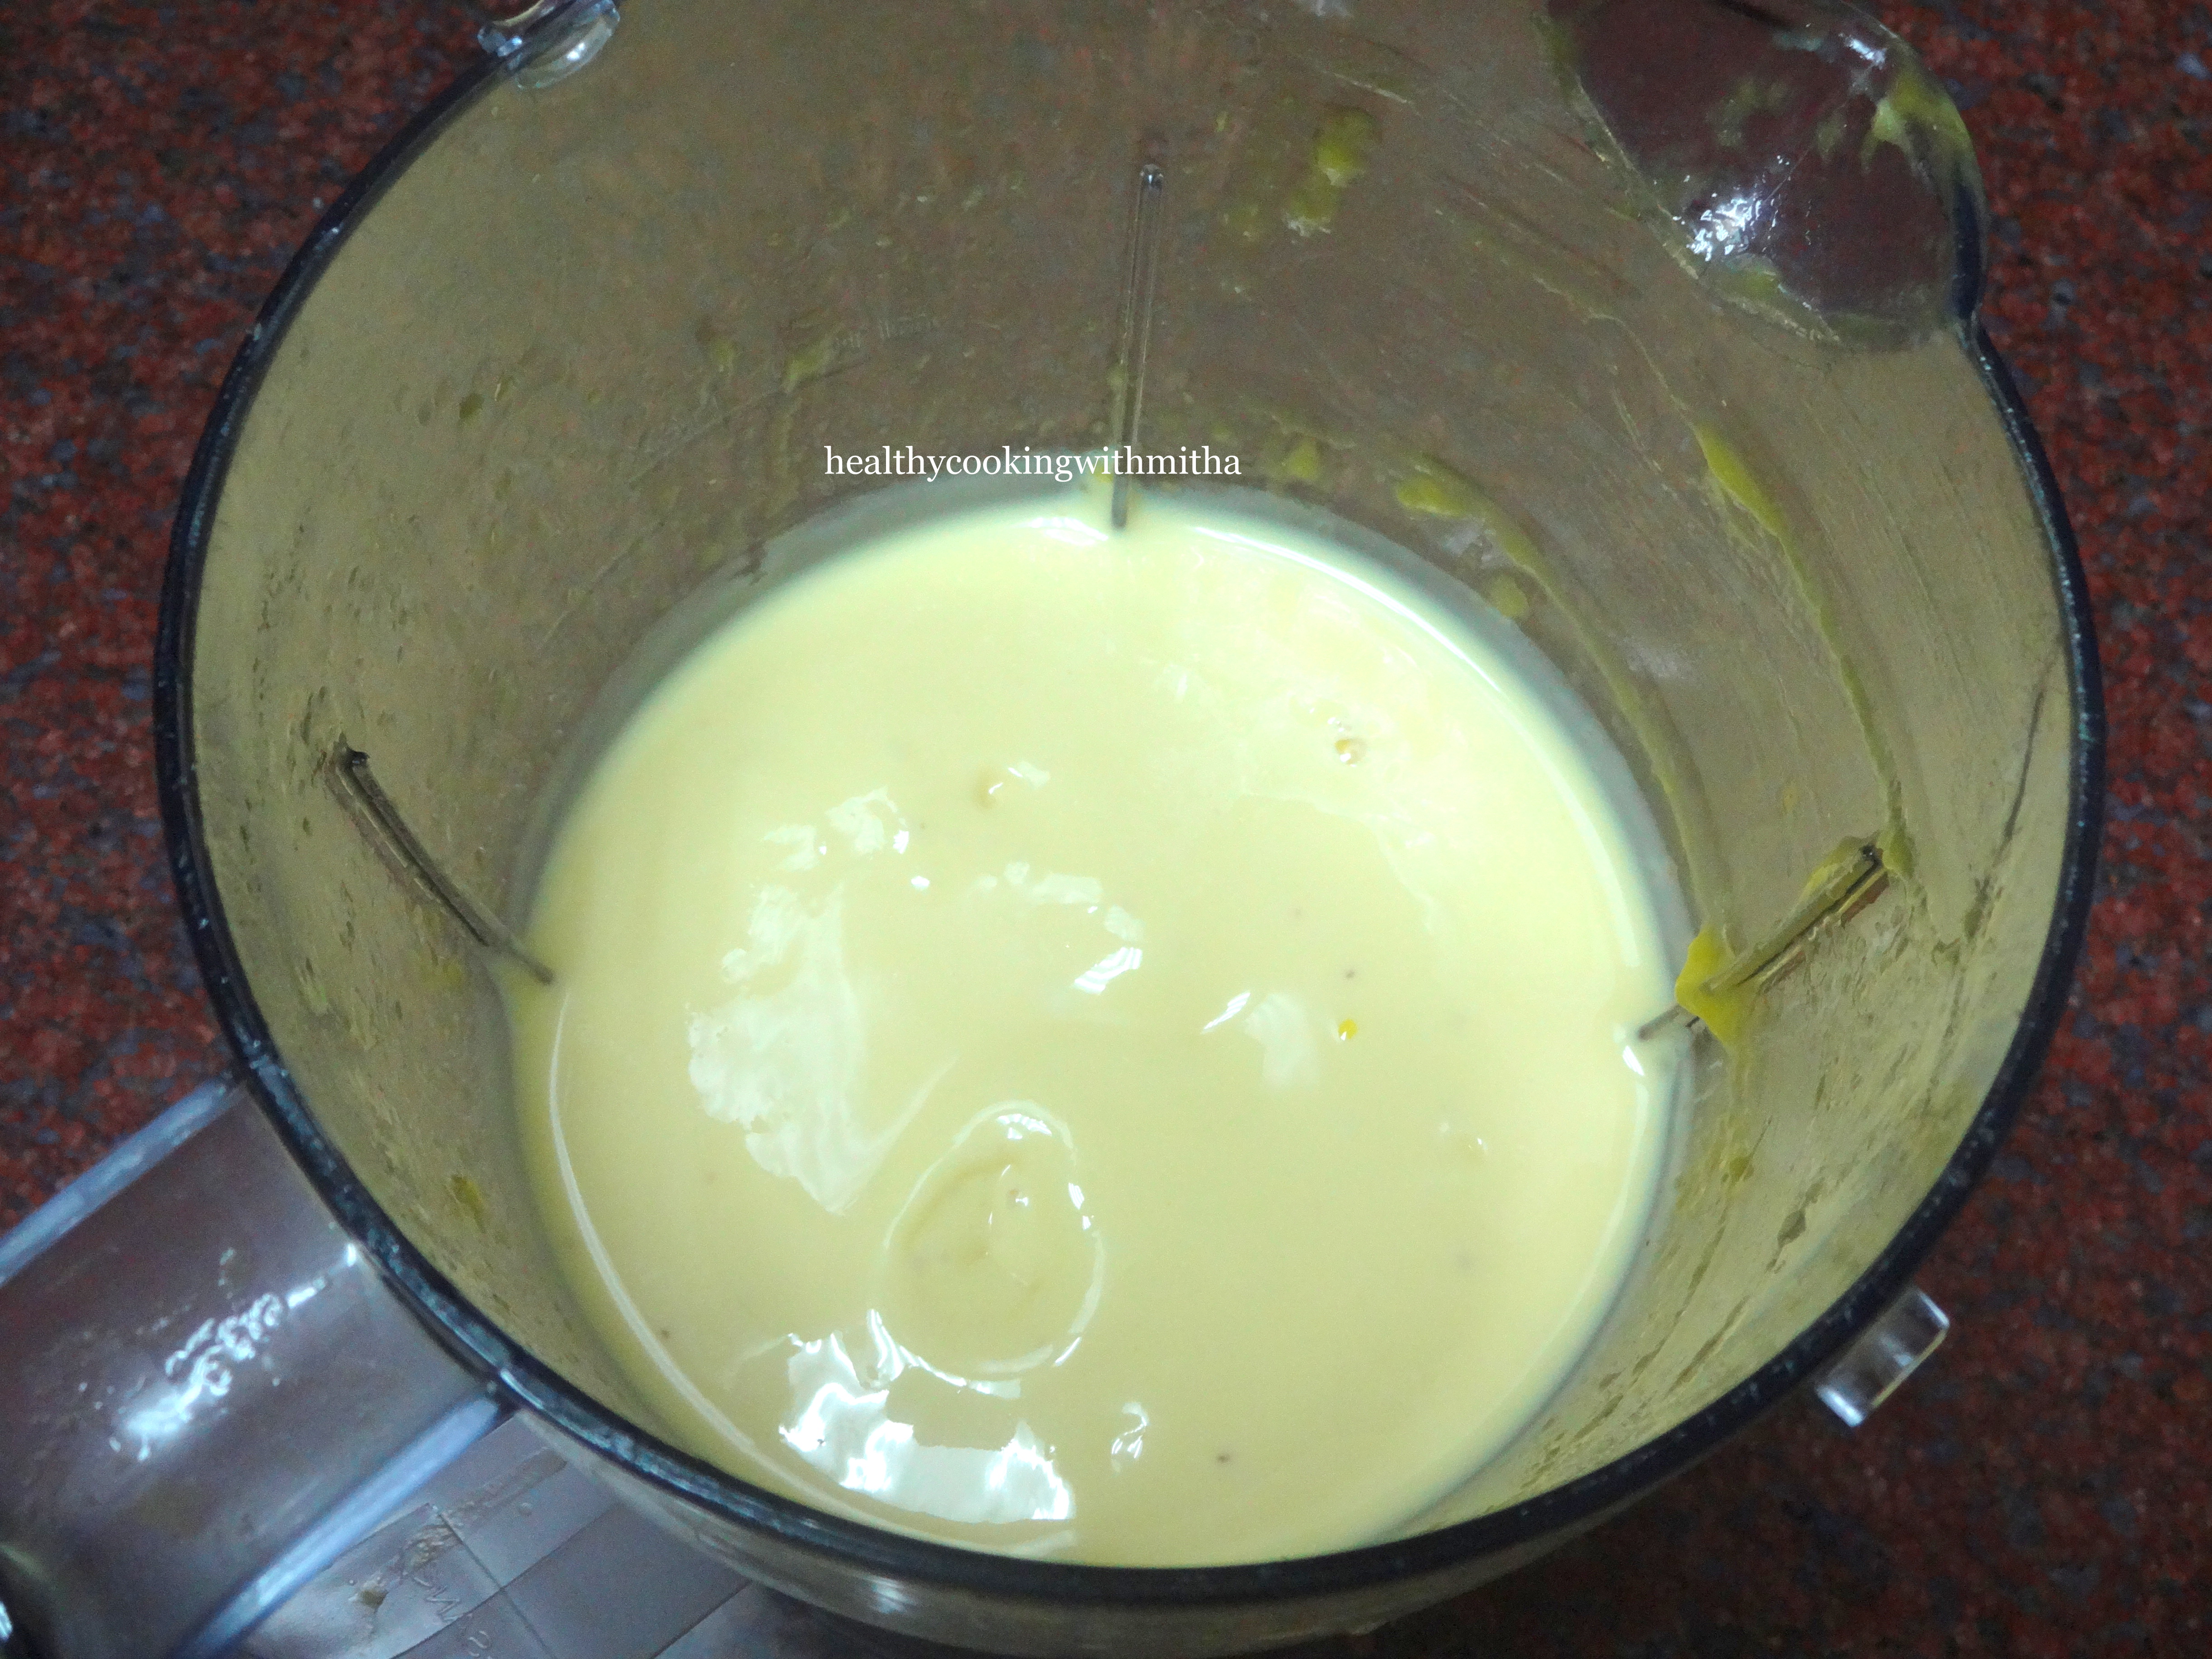
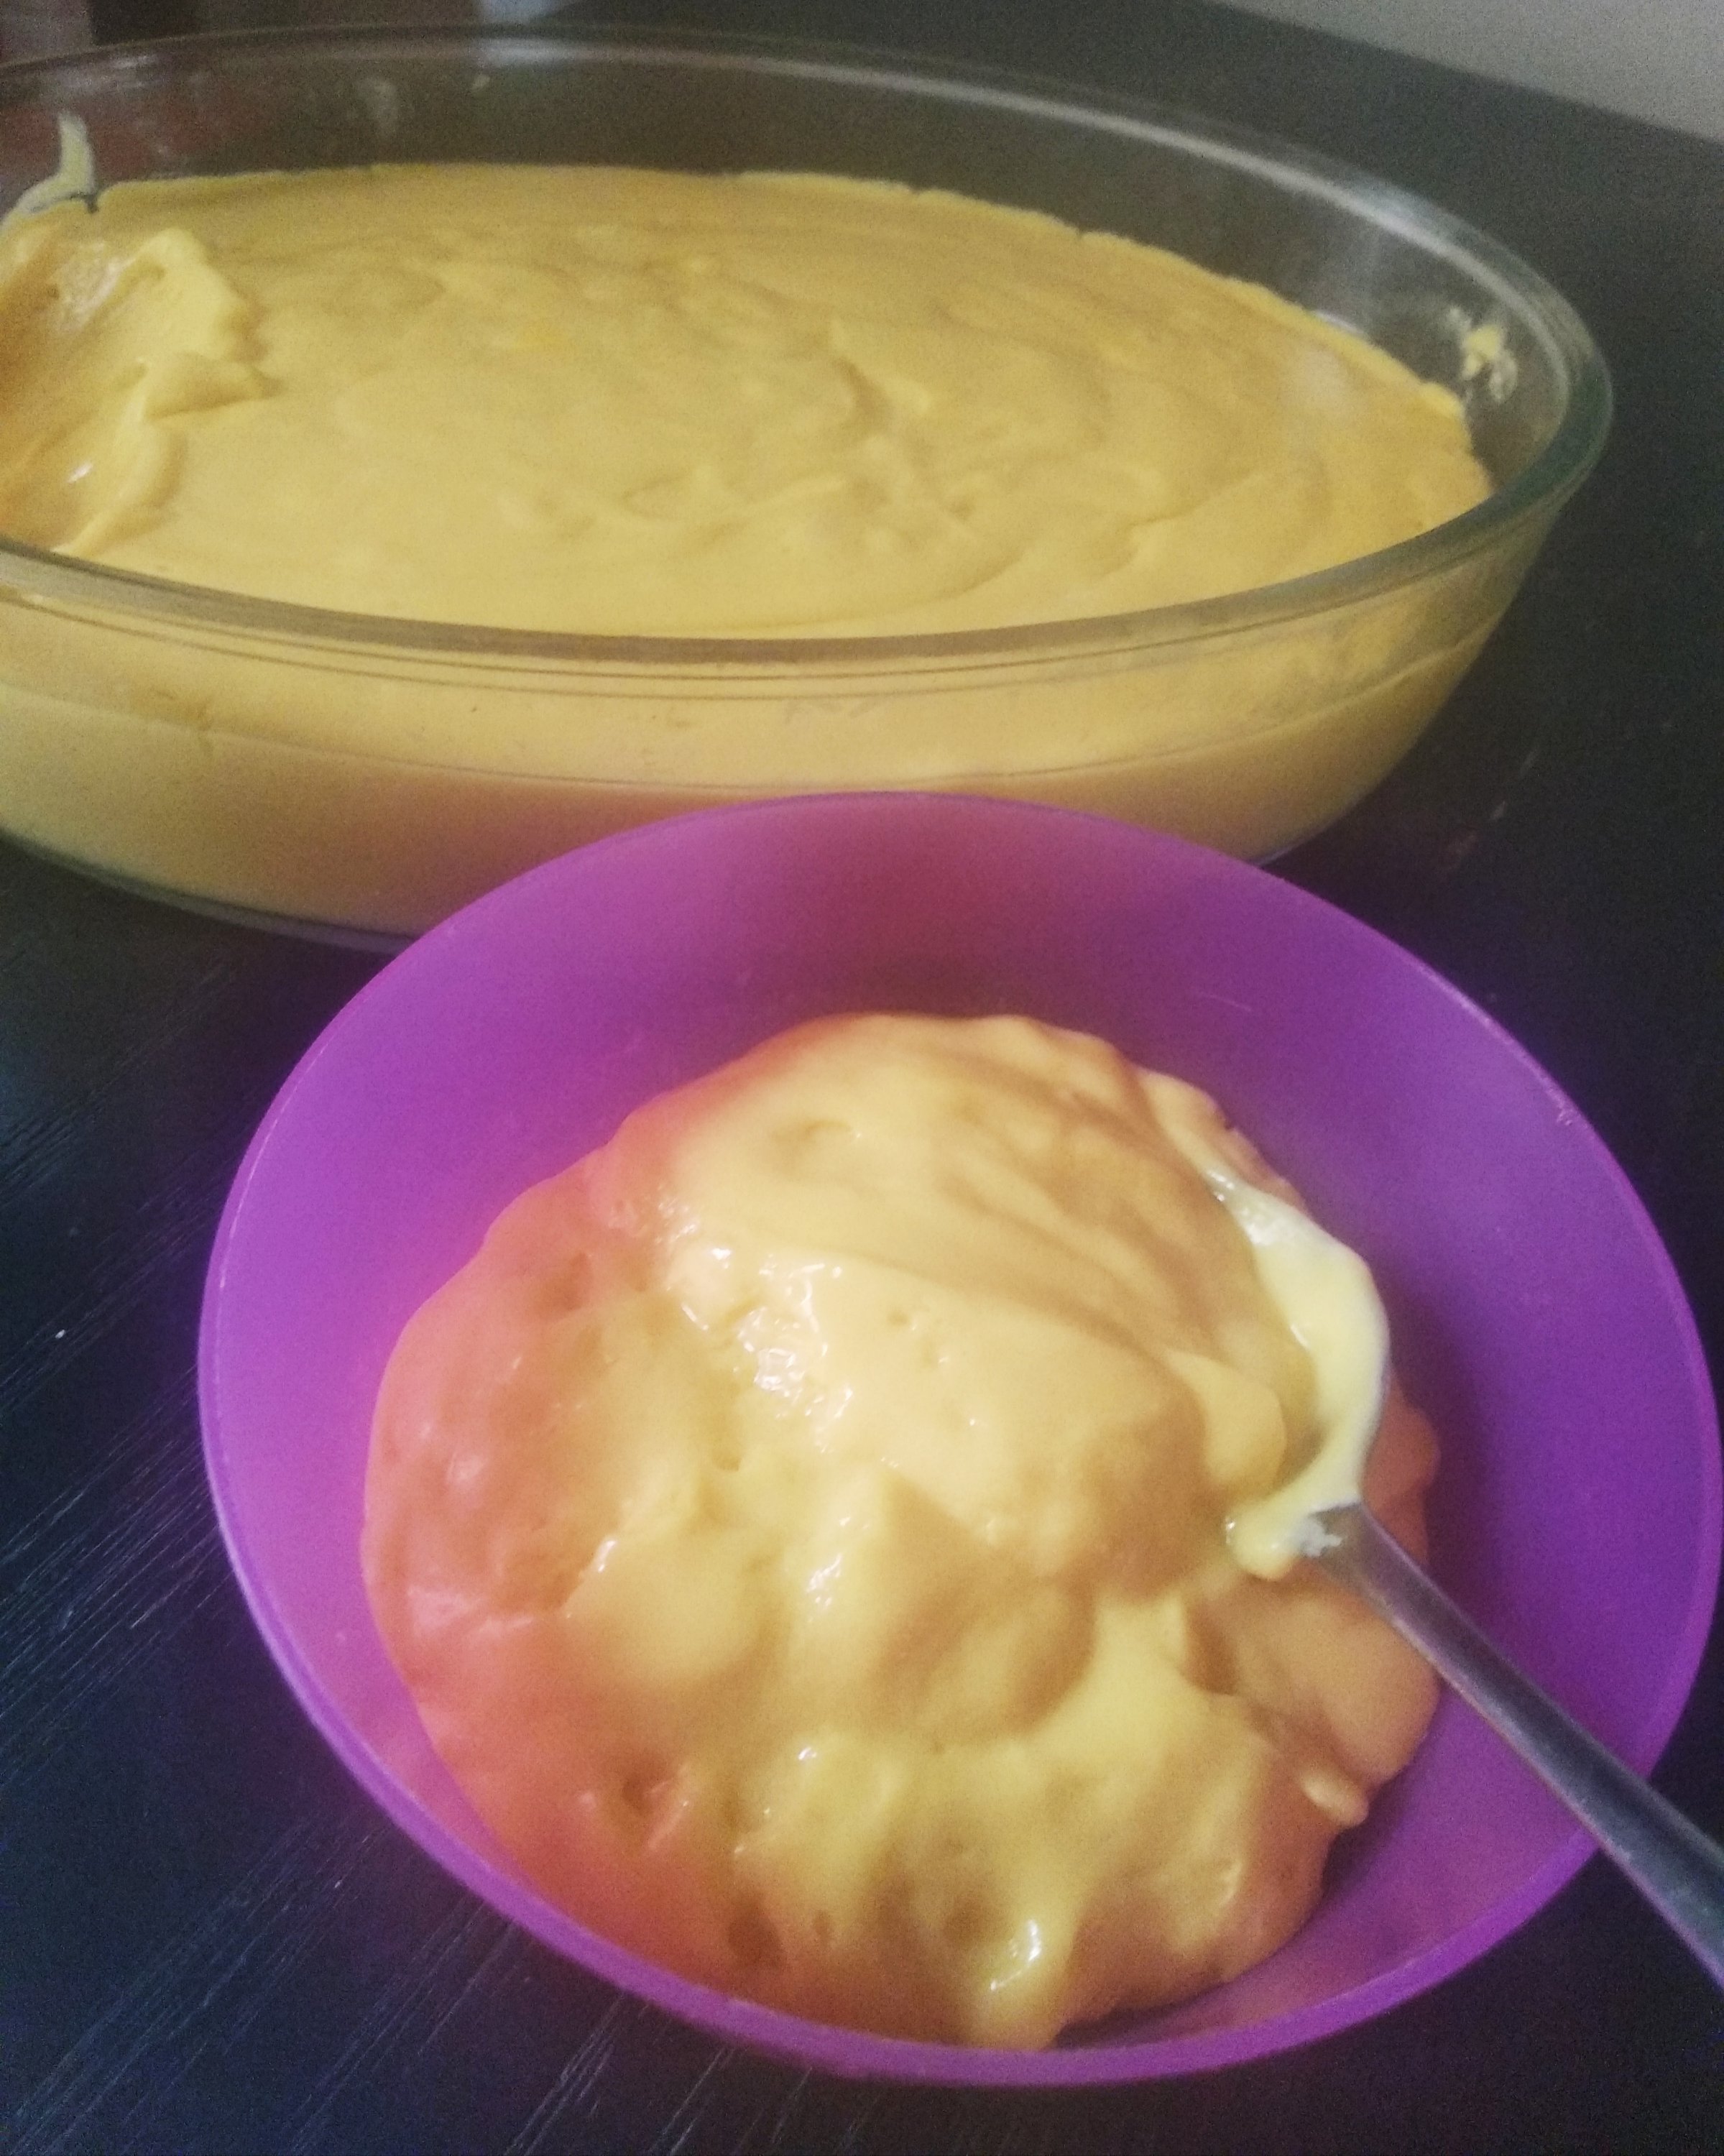
1. Take mashed bananas in a large bowl. Add besan, jaggery or sugar, cumin seeds, pepper powder, salt and baking soda ( if adding).

This is an old picture. I add powdered jaggery now.

2. Add curd and mix well using a spatula.

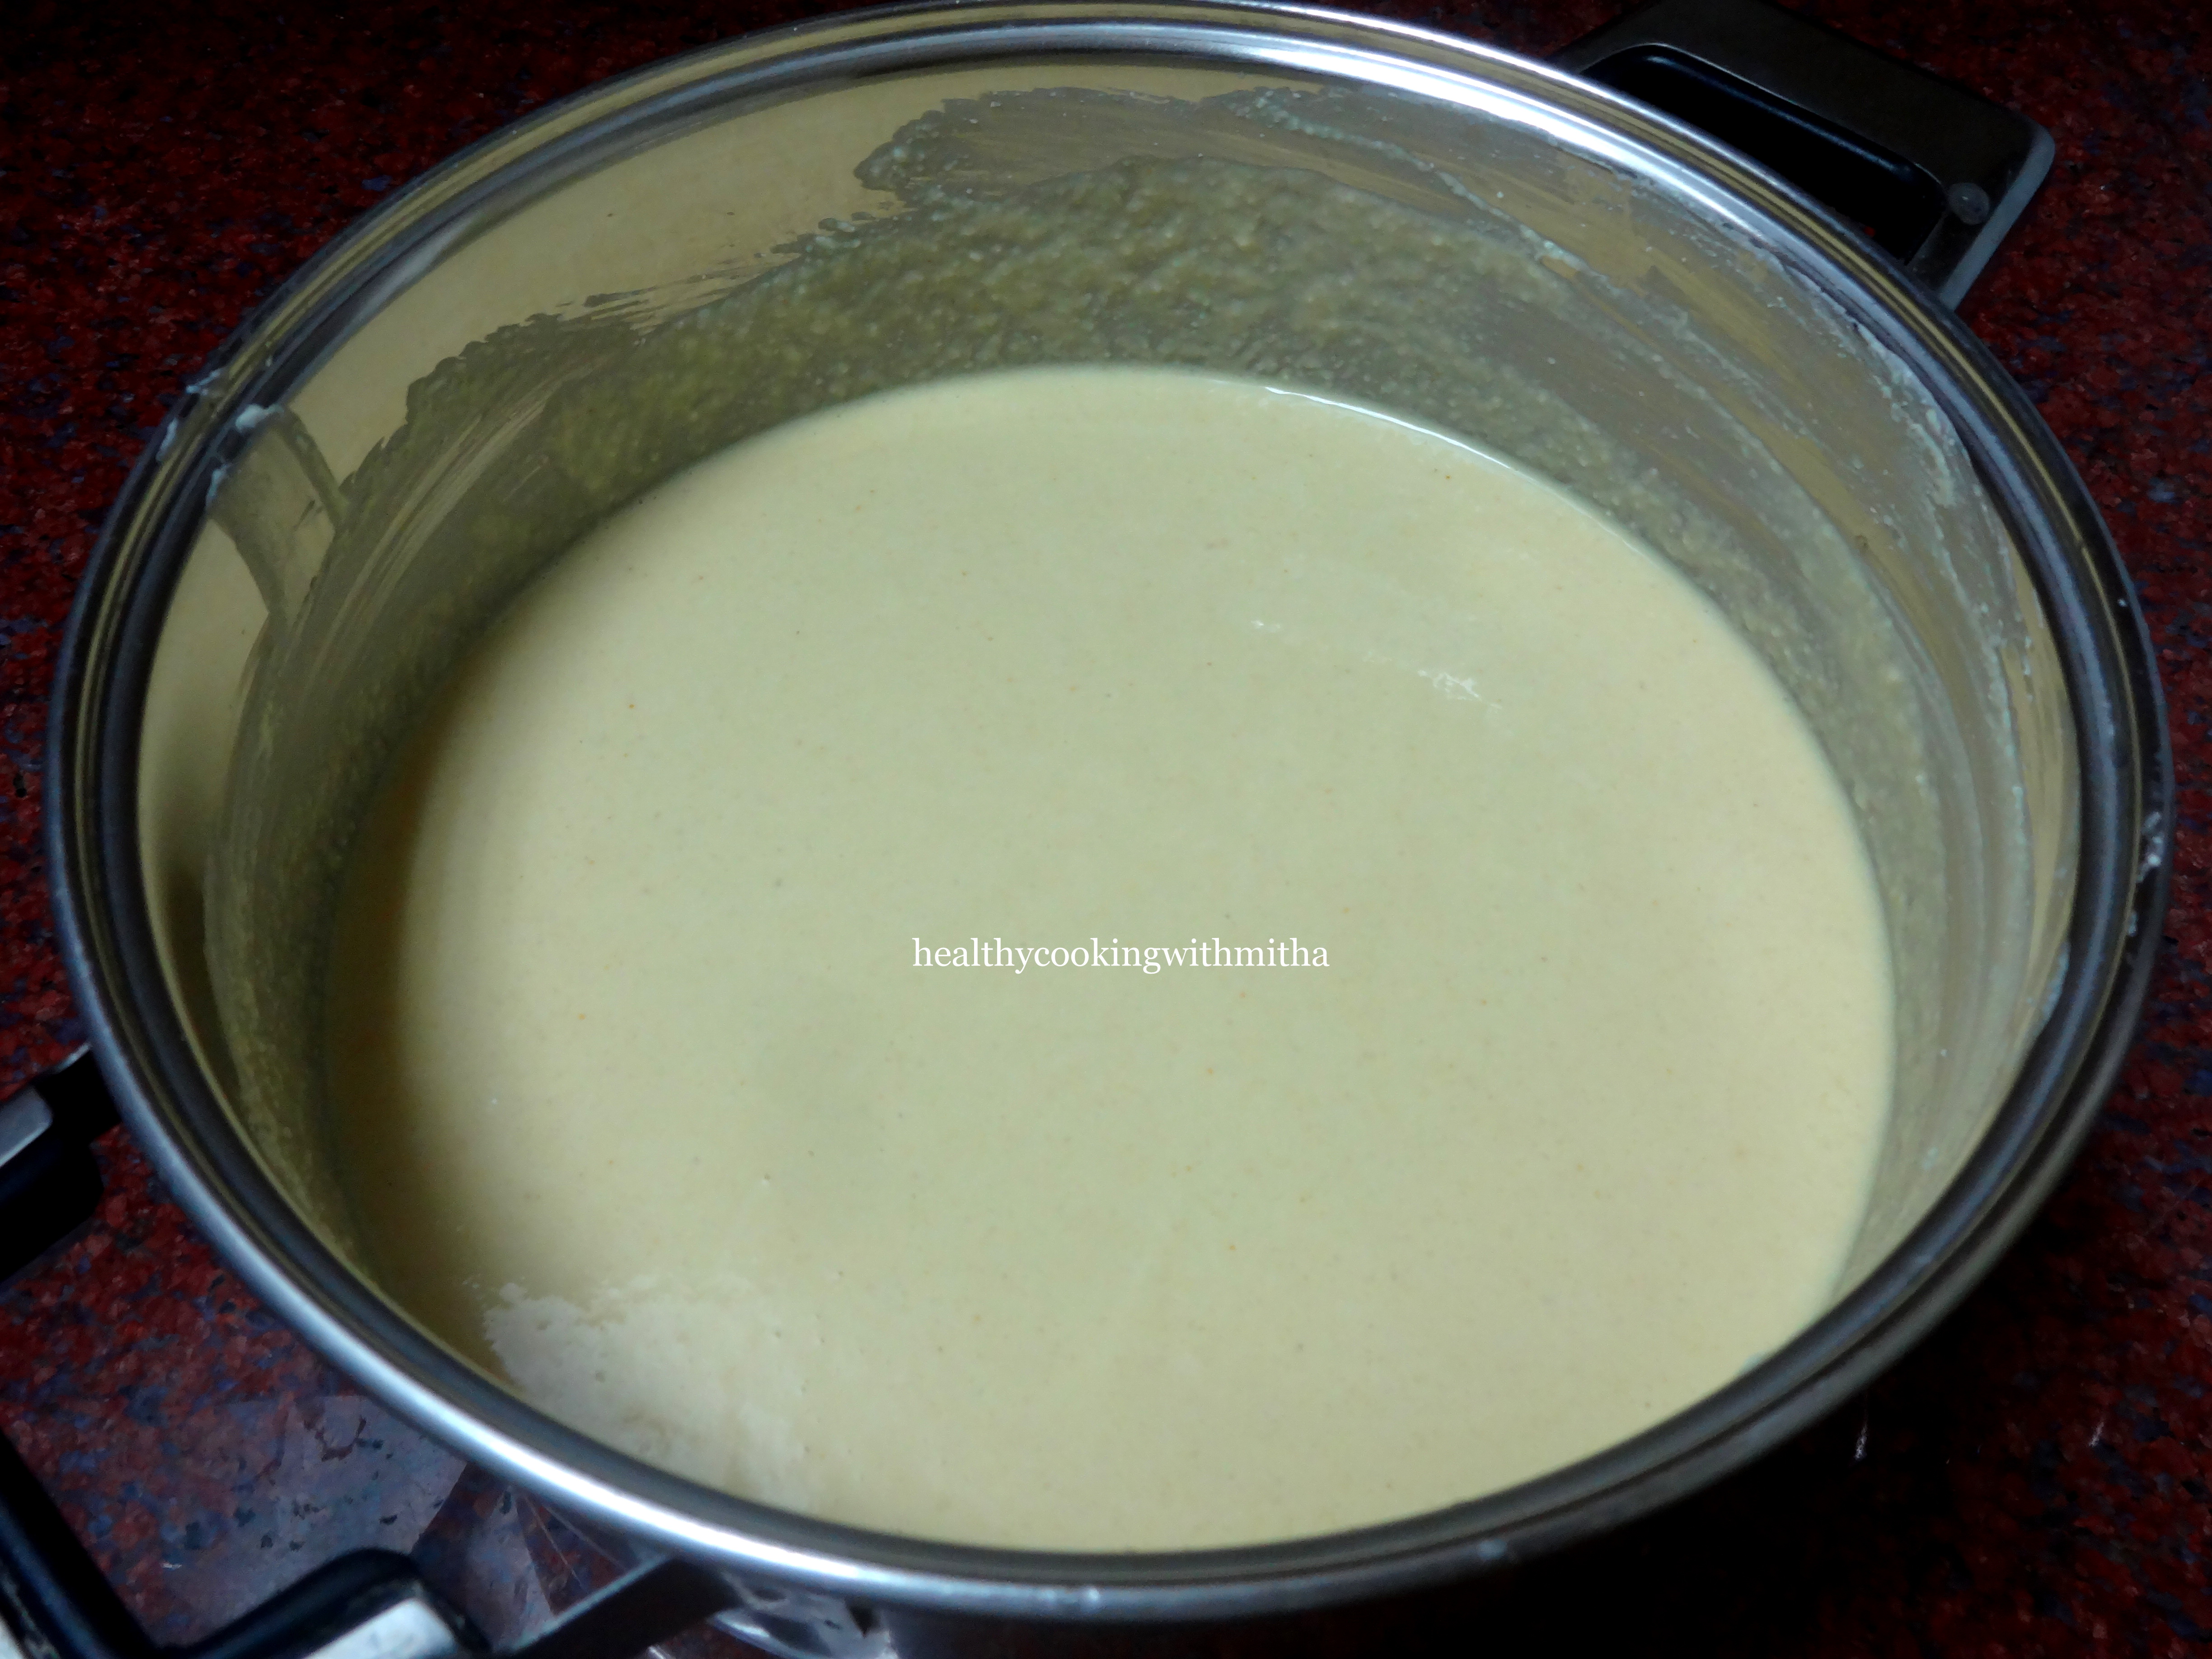
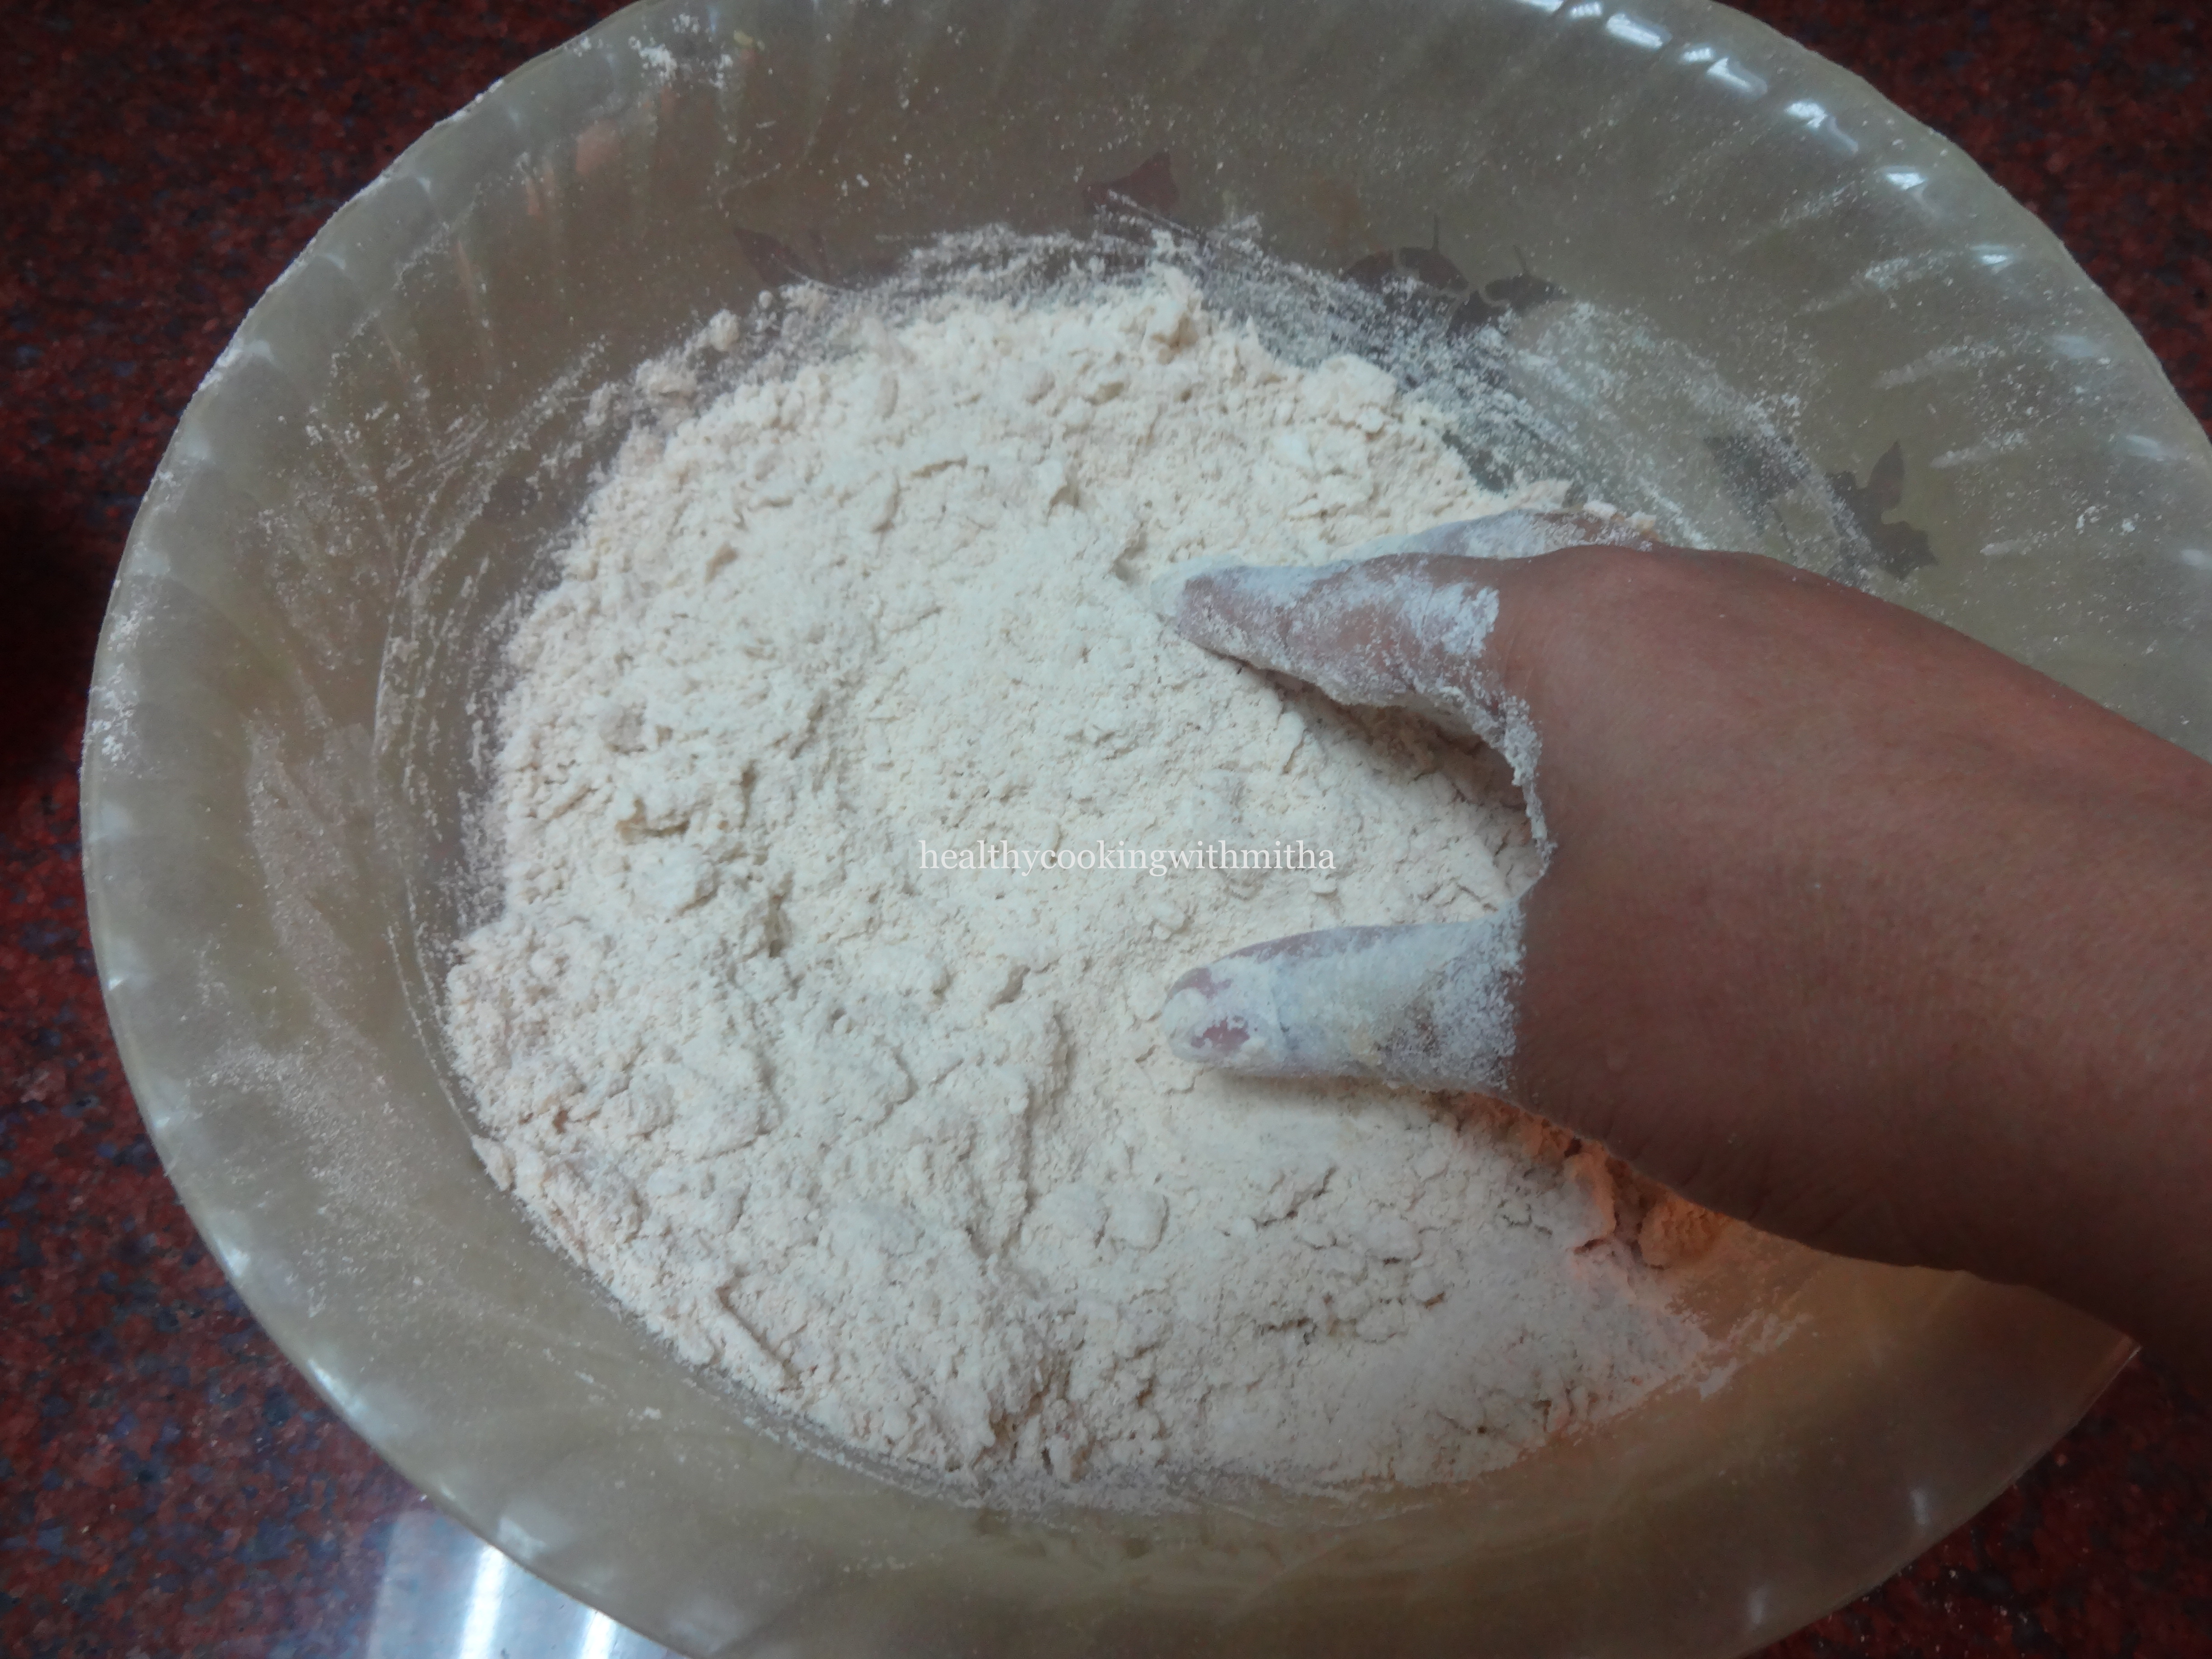
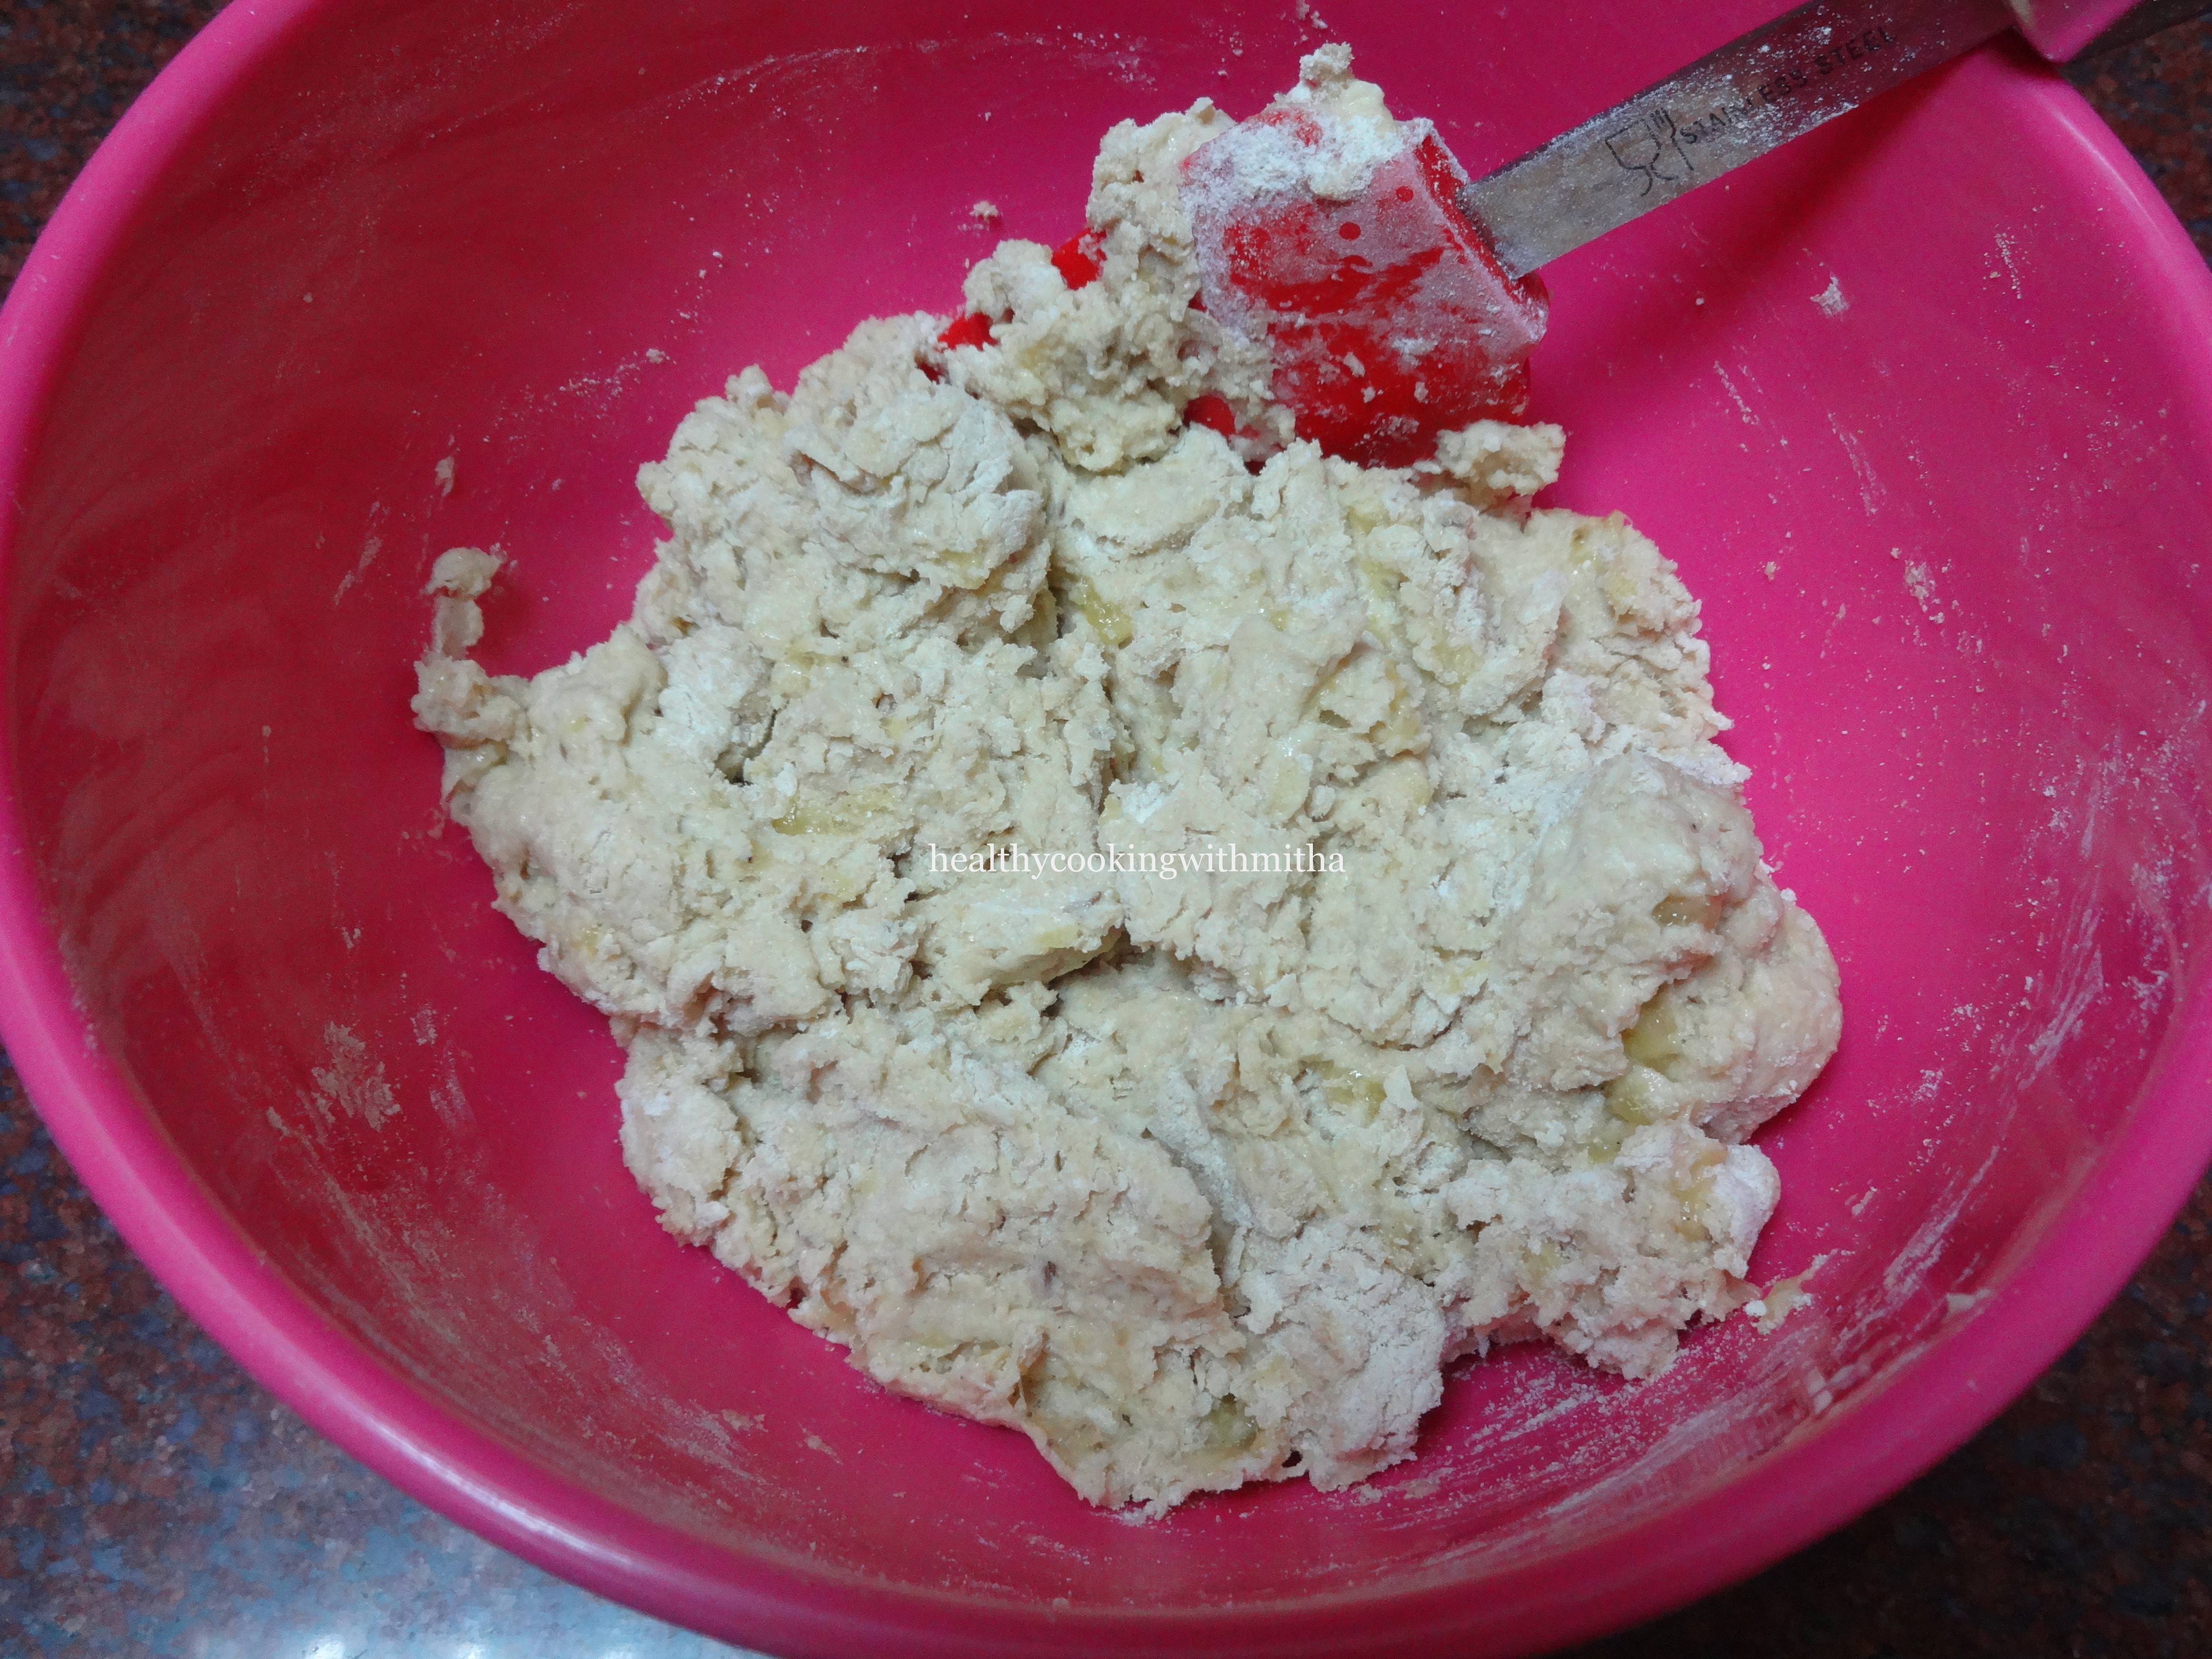
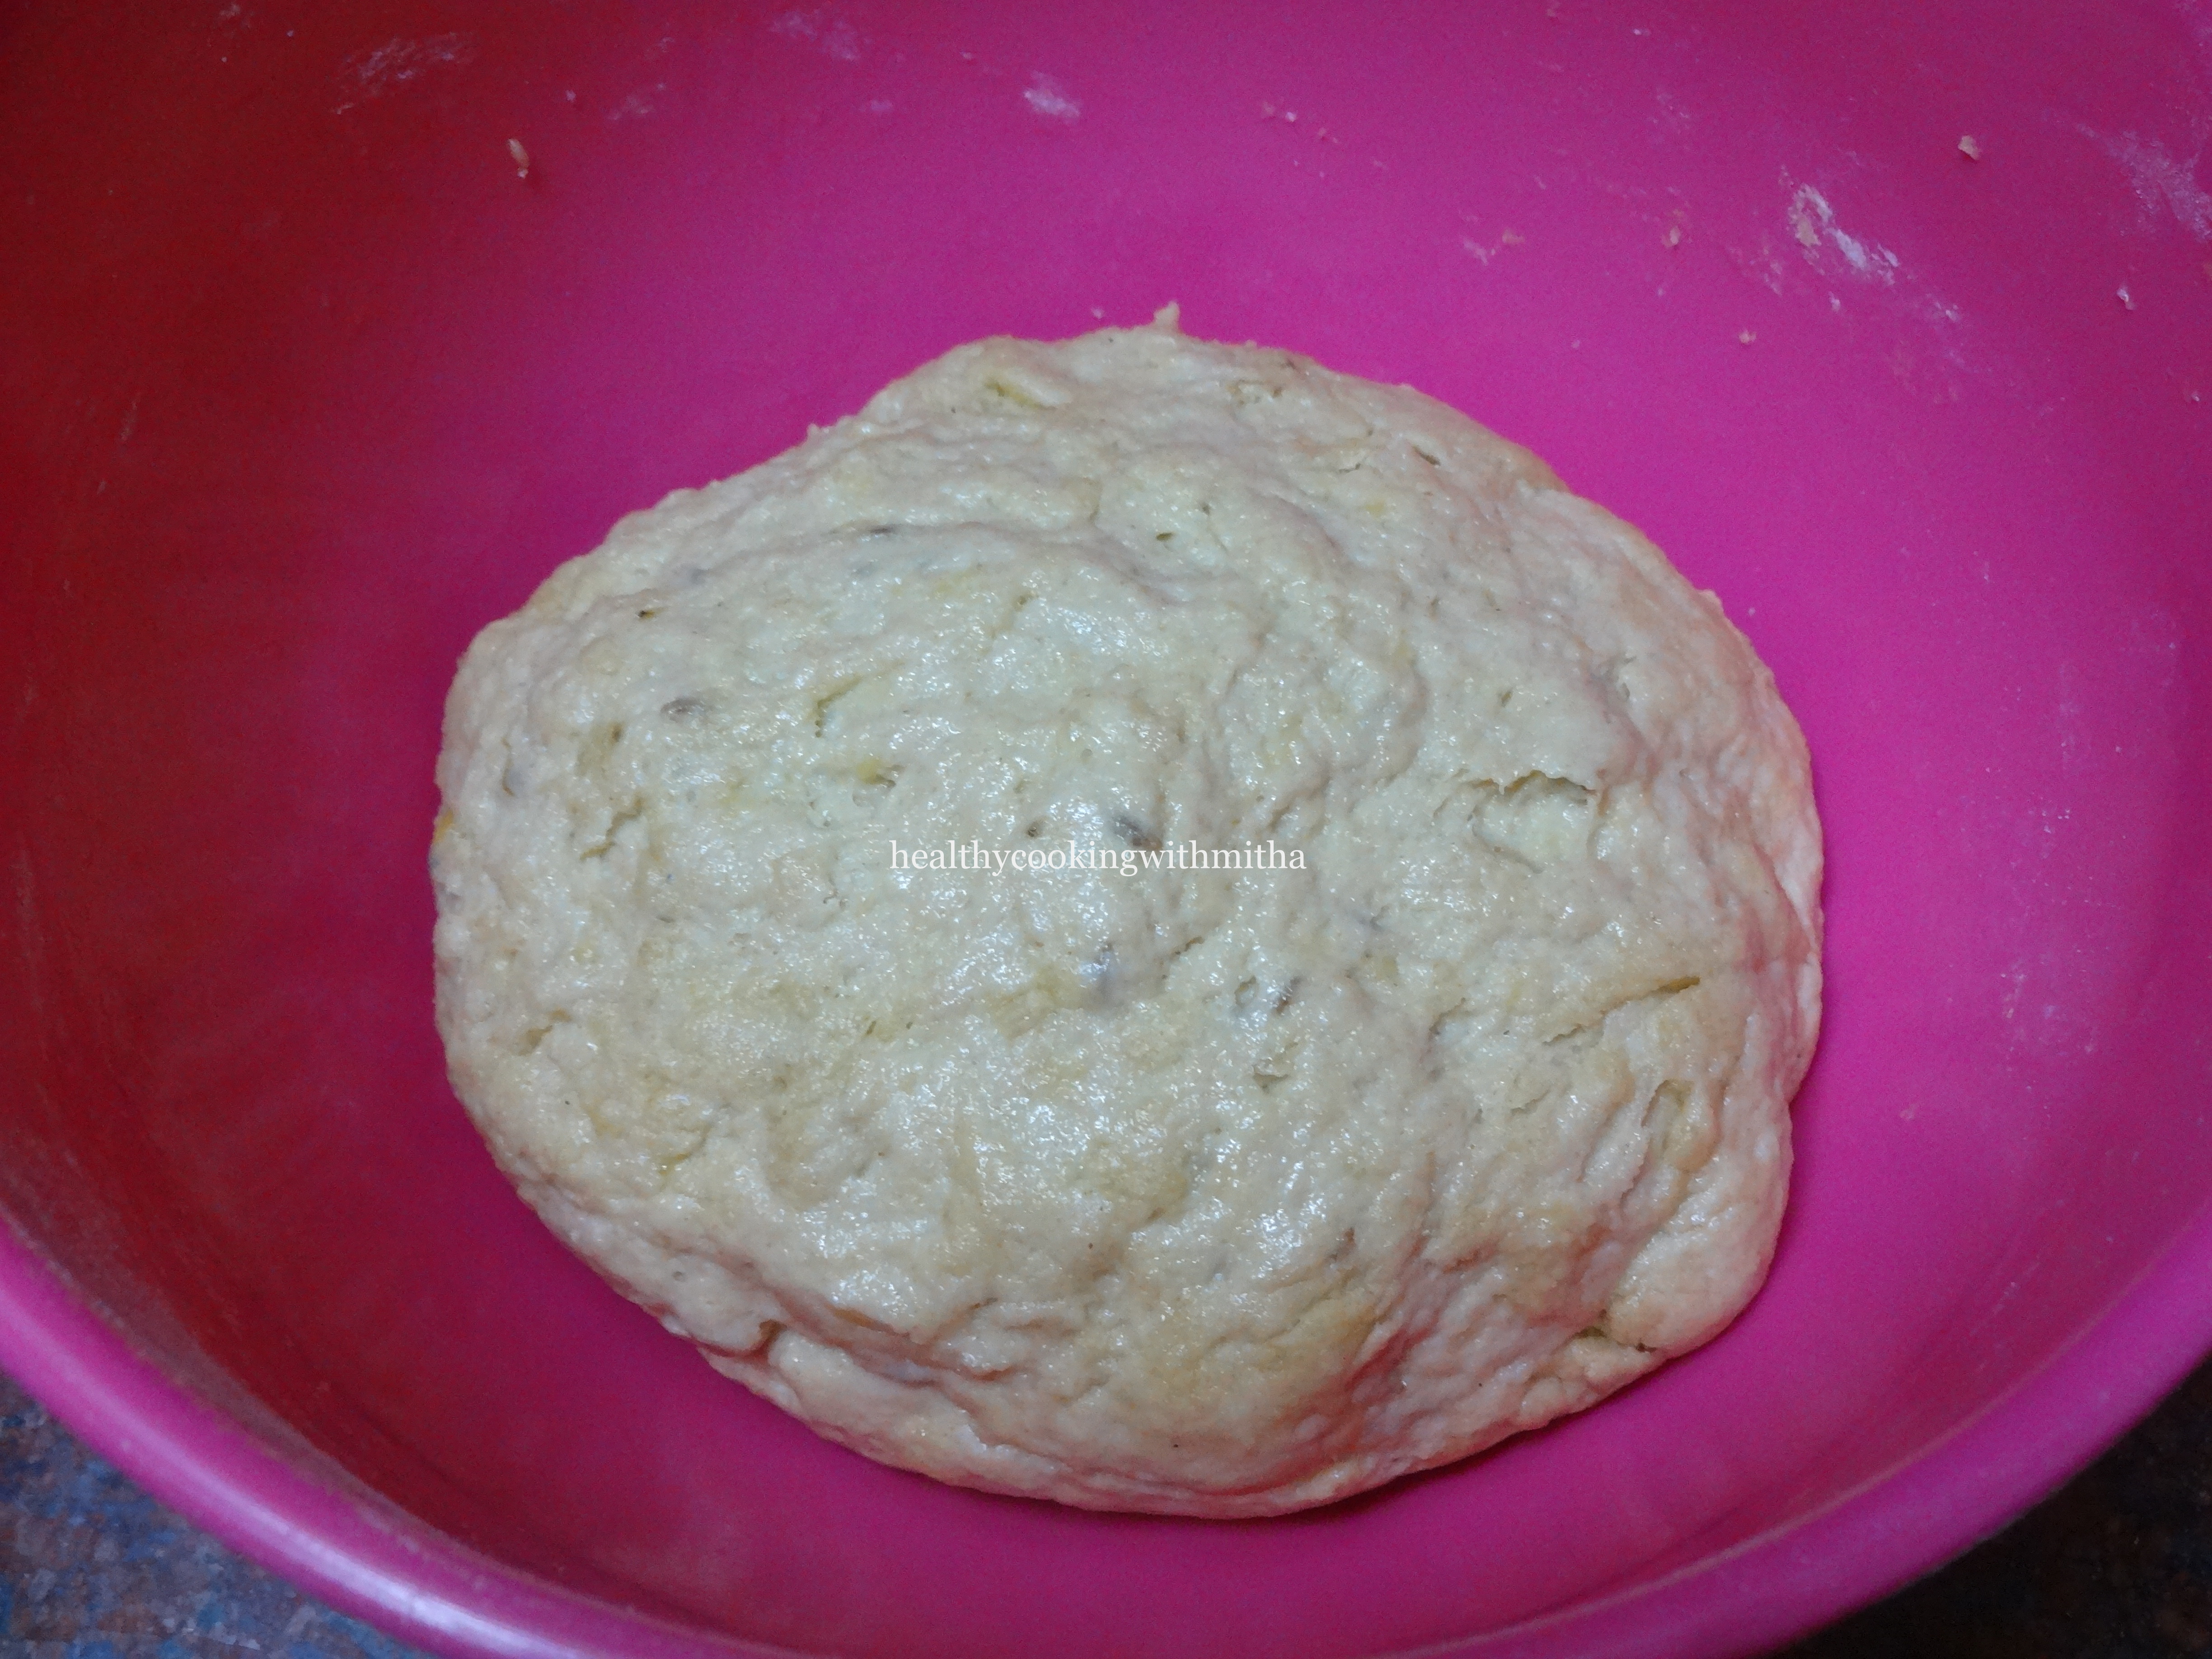
3. Now slowly add wheat flour 1 Cup at a time and keep mixing till it forms a dough. Knead with hands lightly.

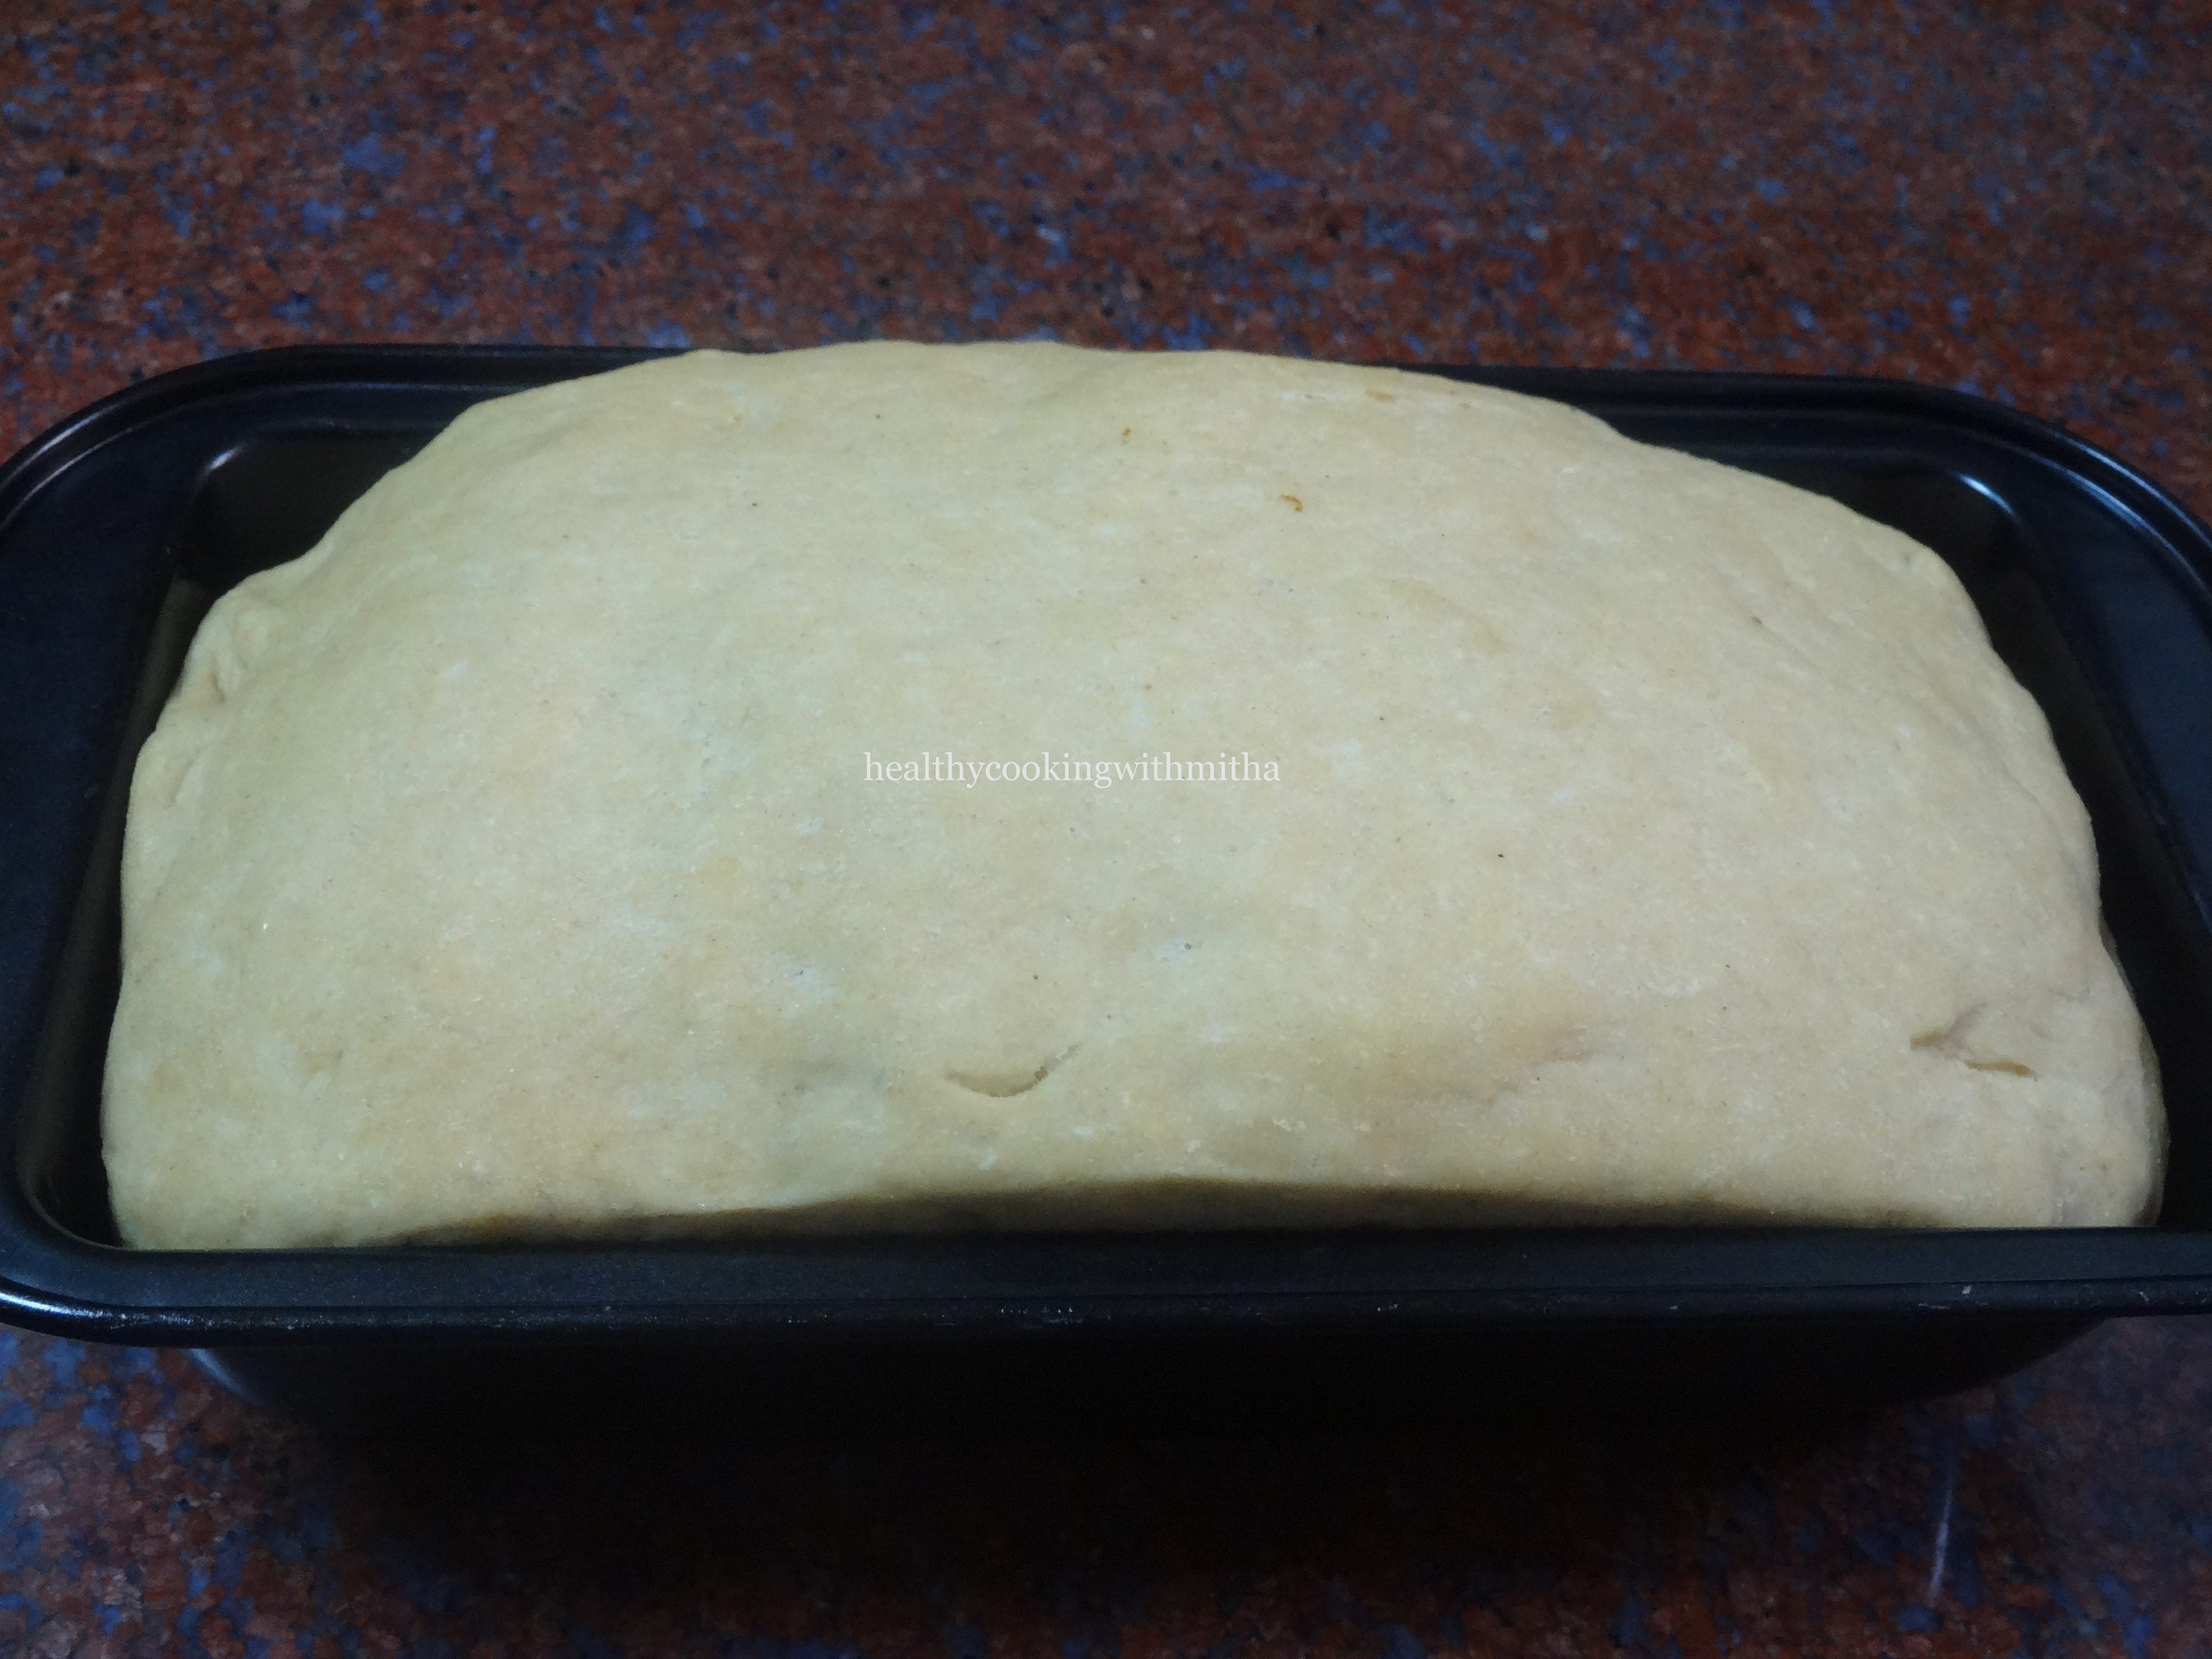
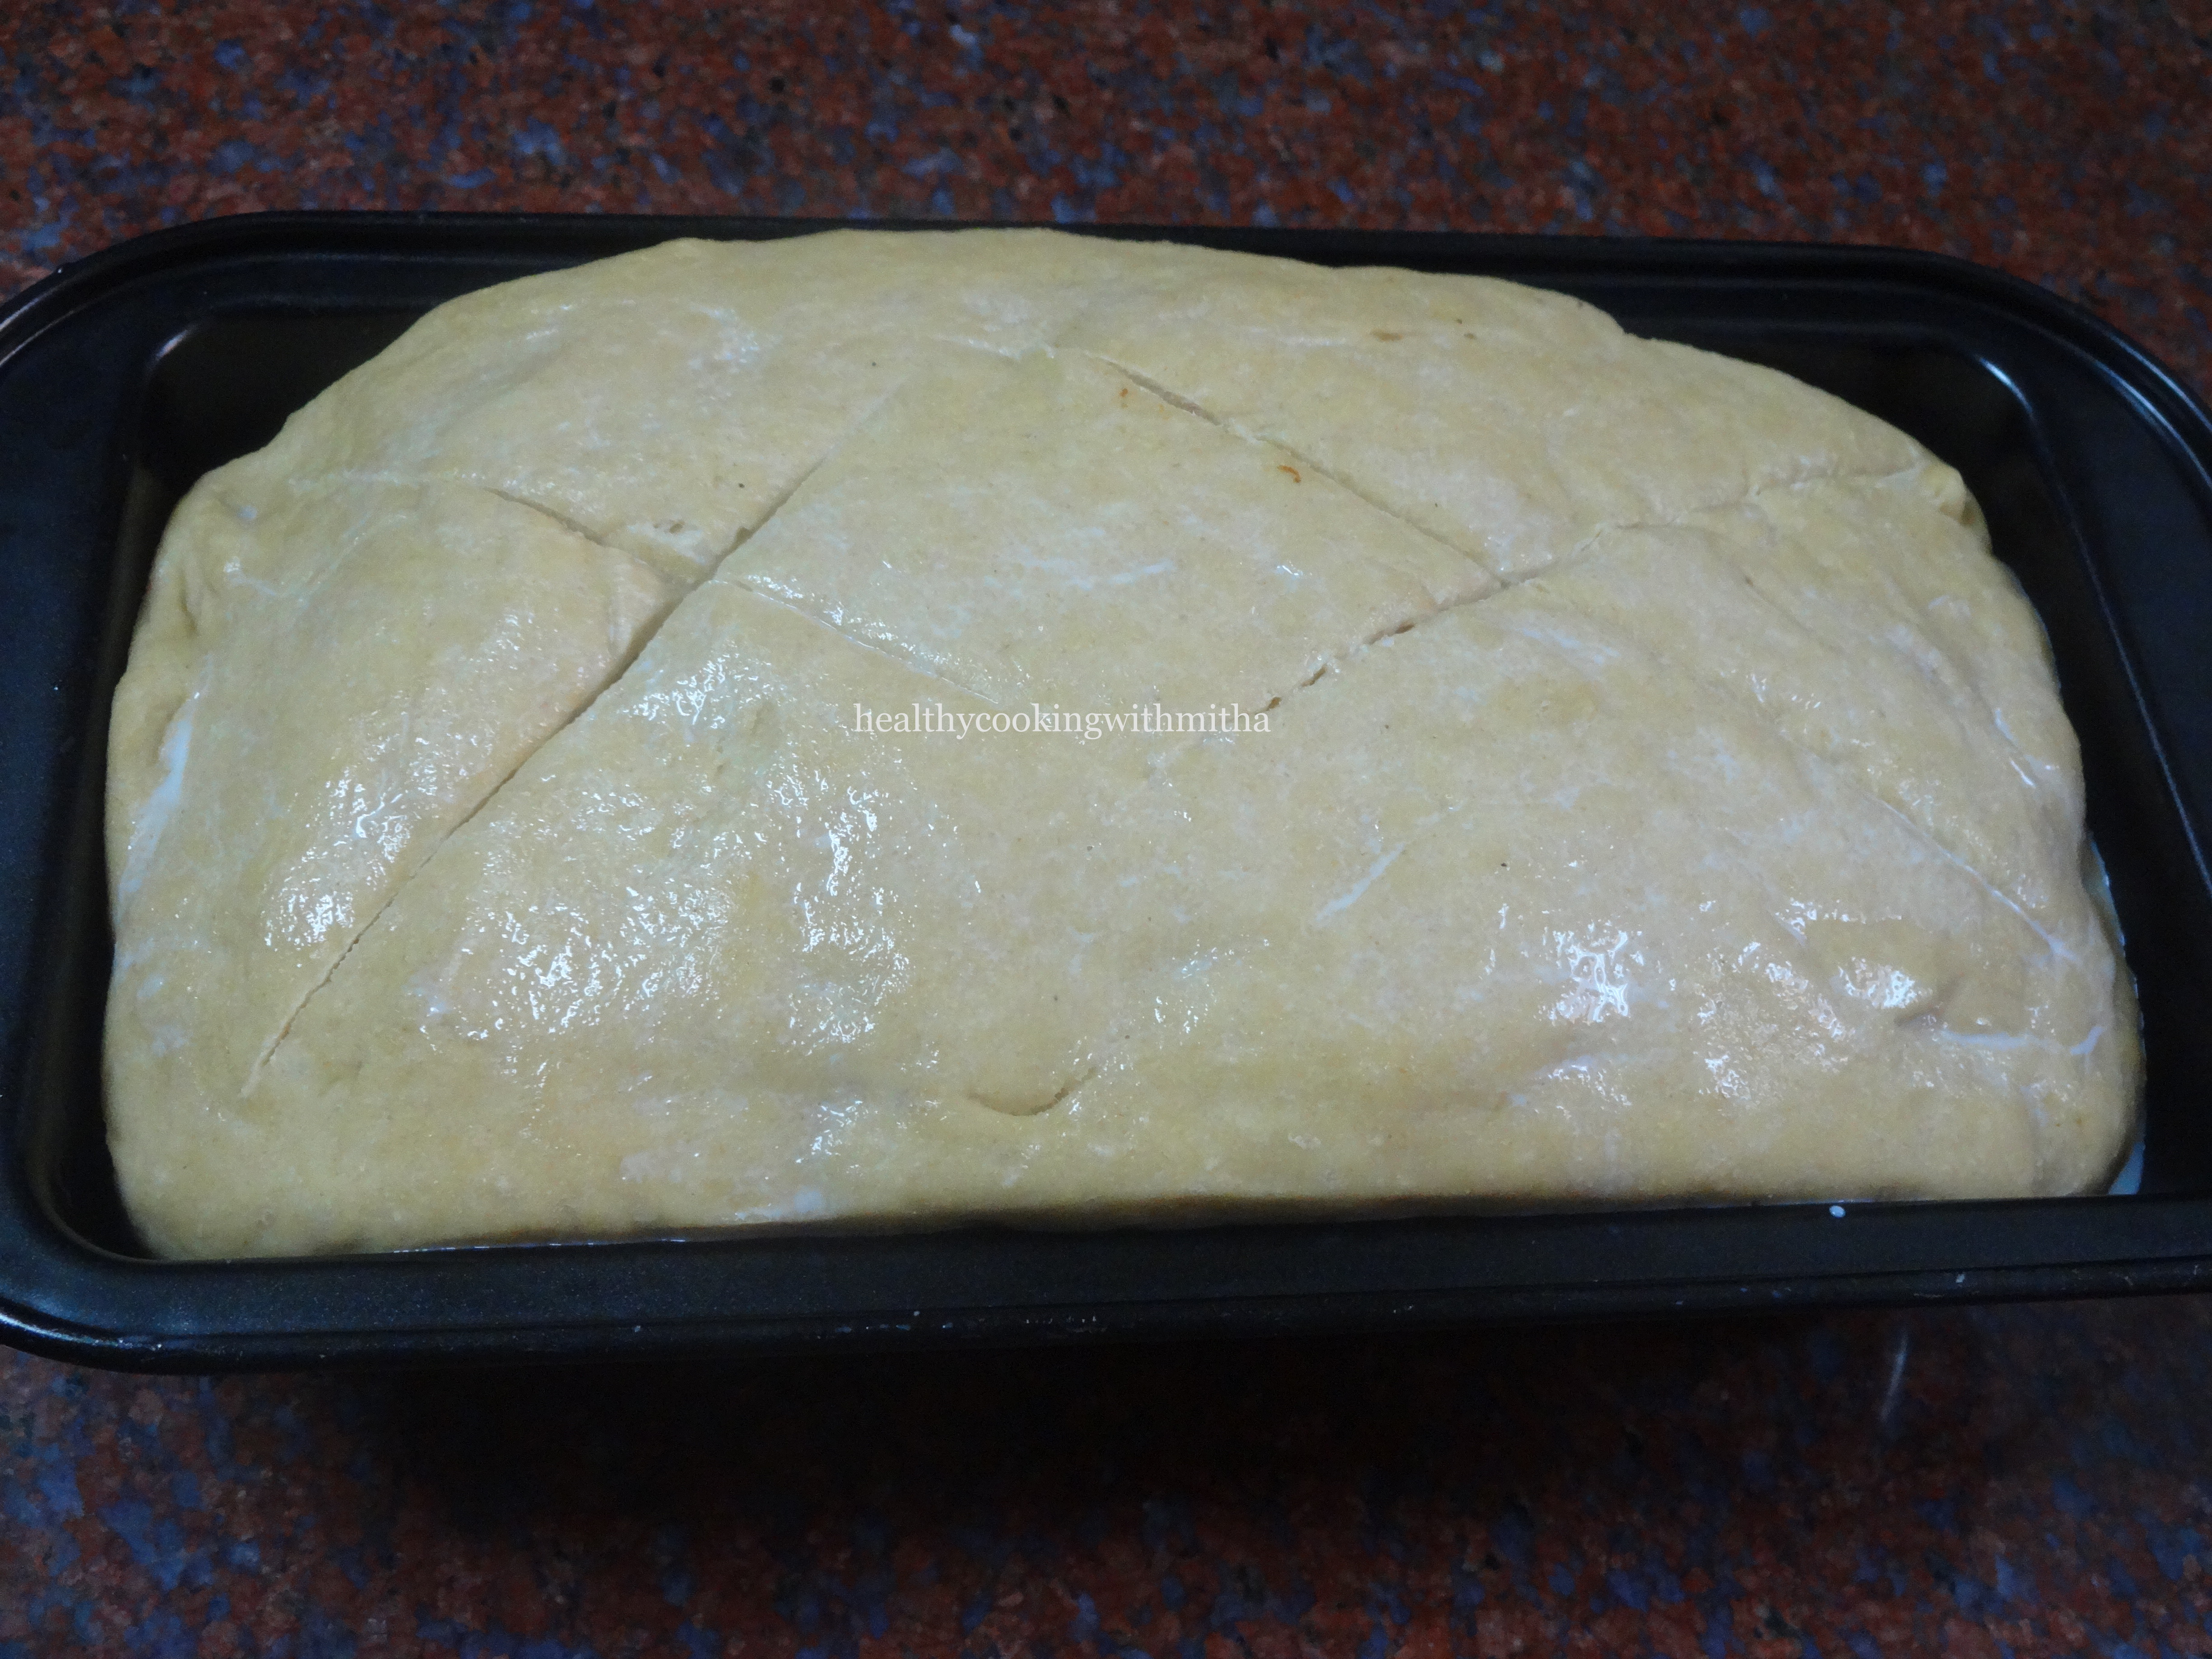
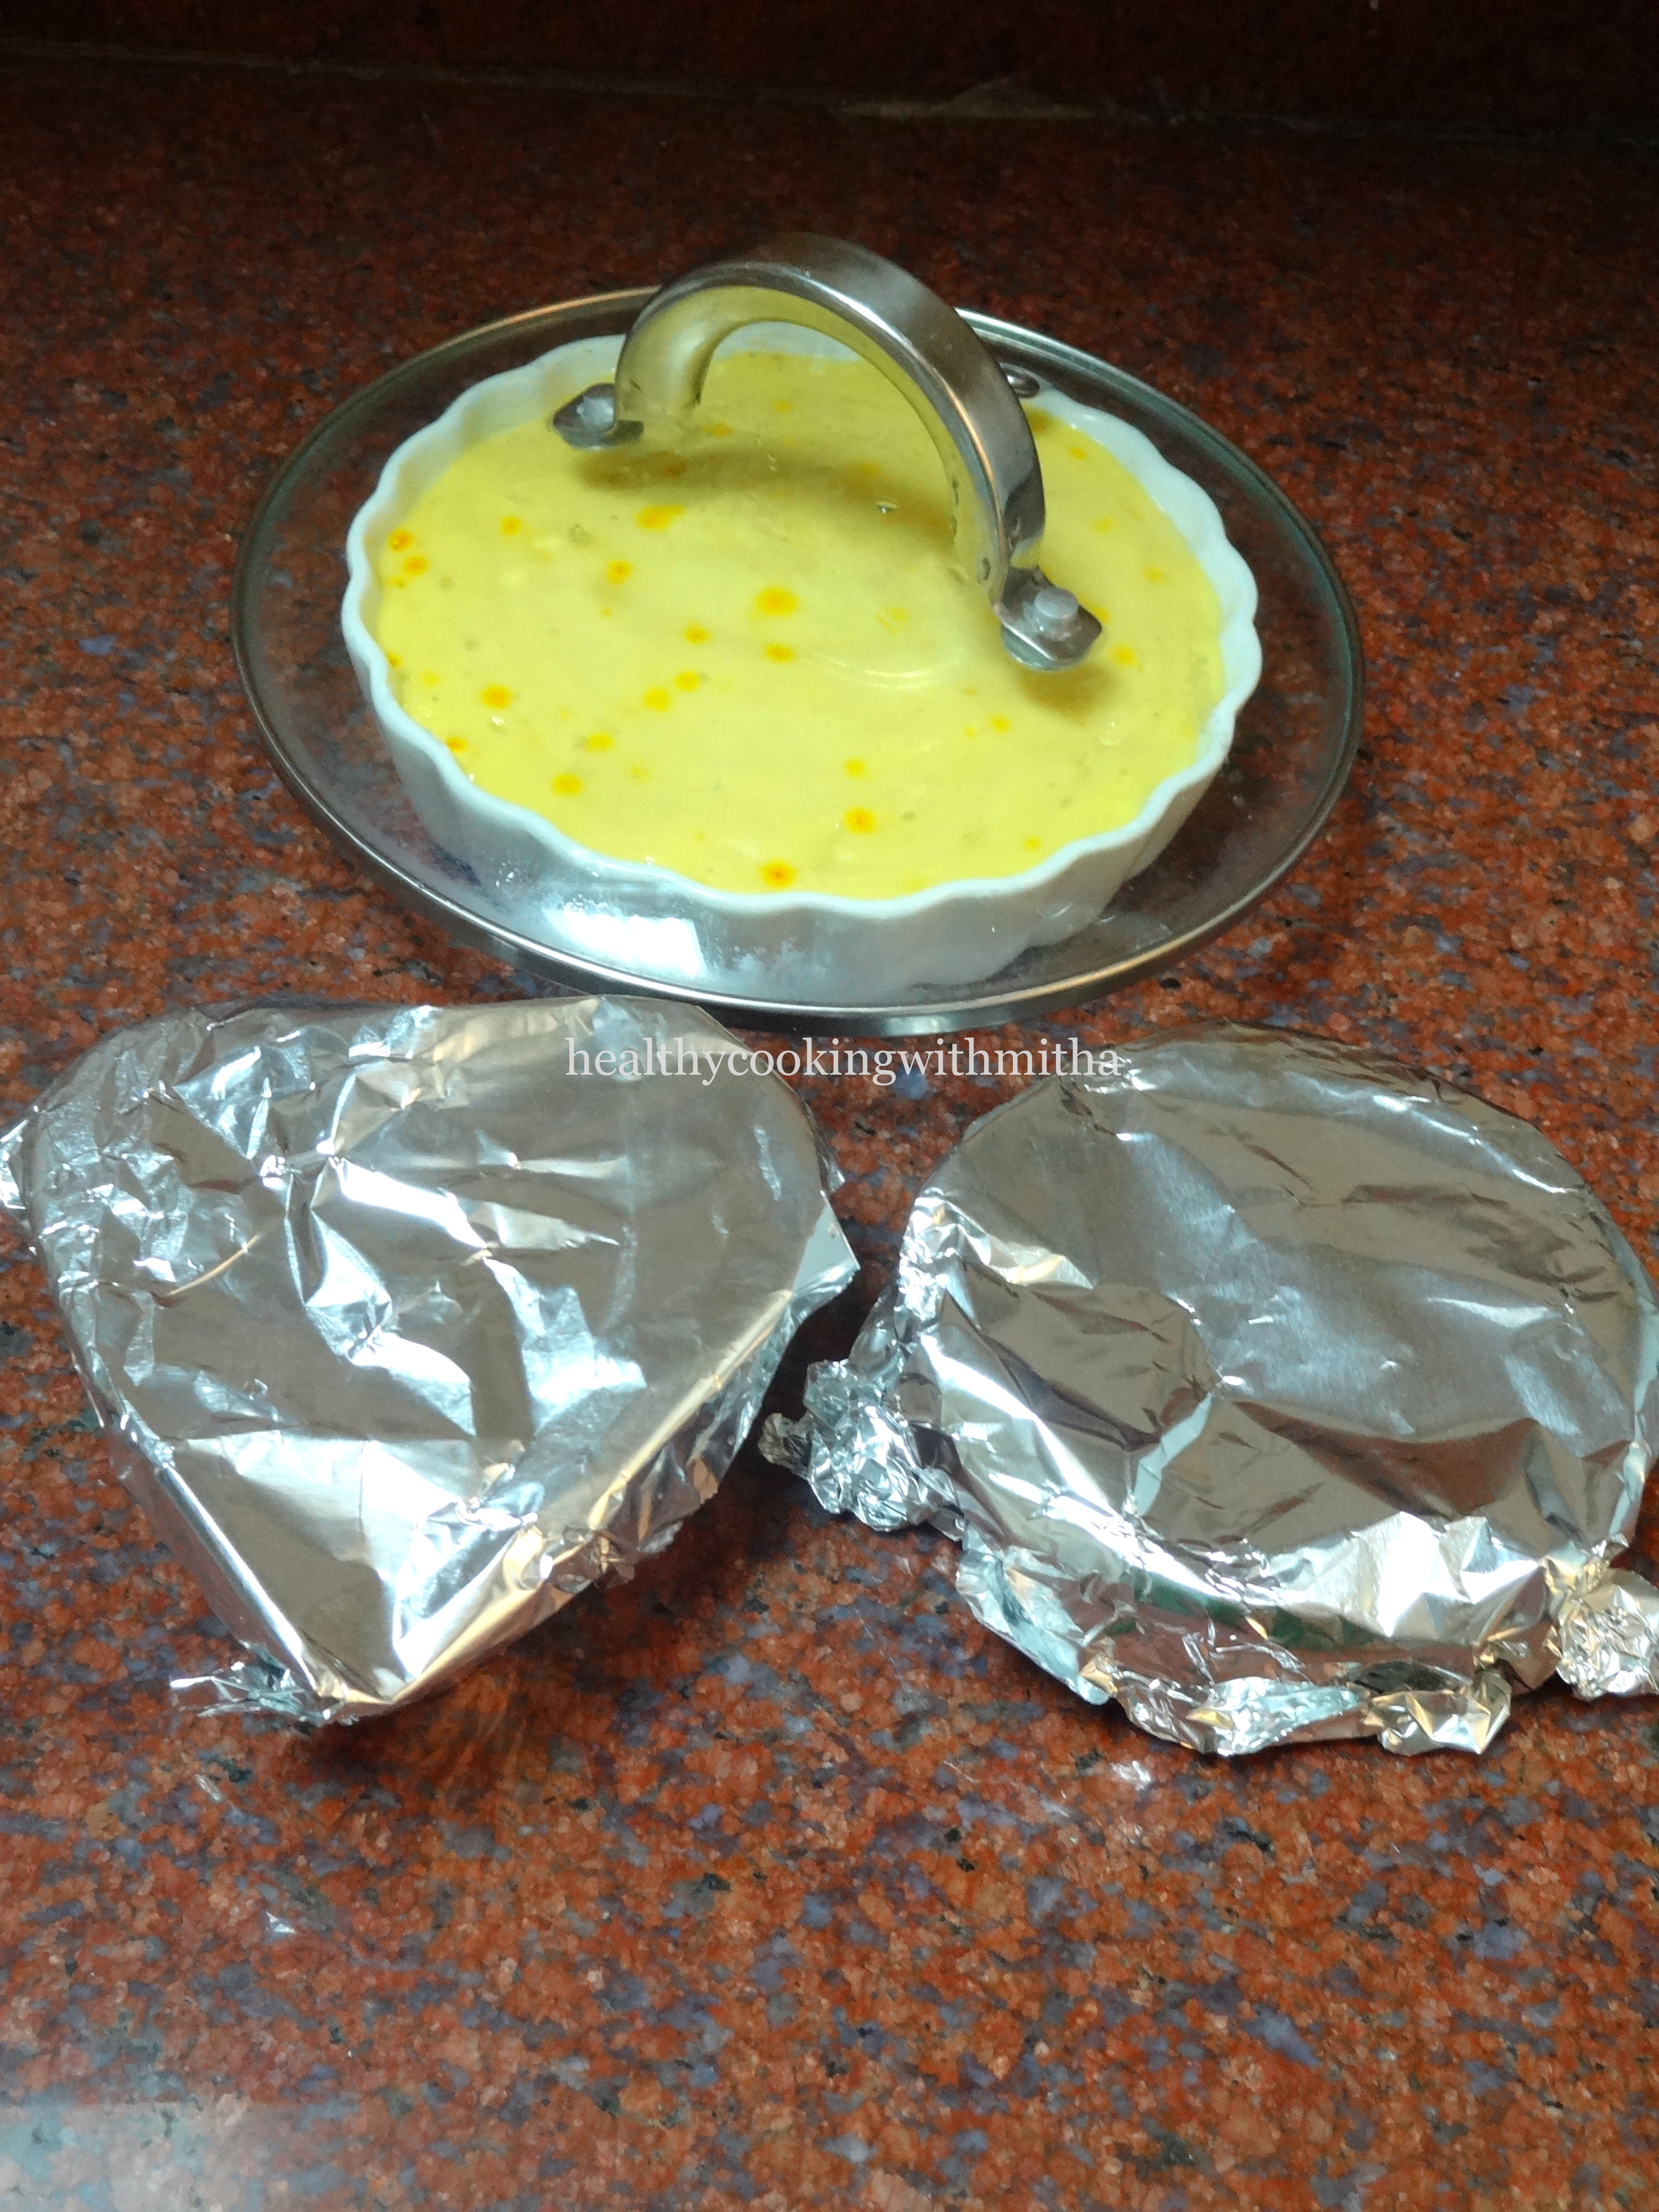
4. Coat the dough with oil and cover and keep overnight or for 6 to 8 hours to ferment at room temperature in a warm place.

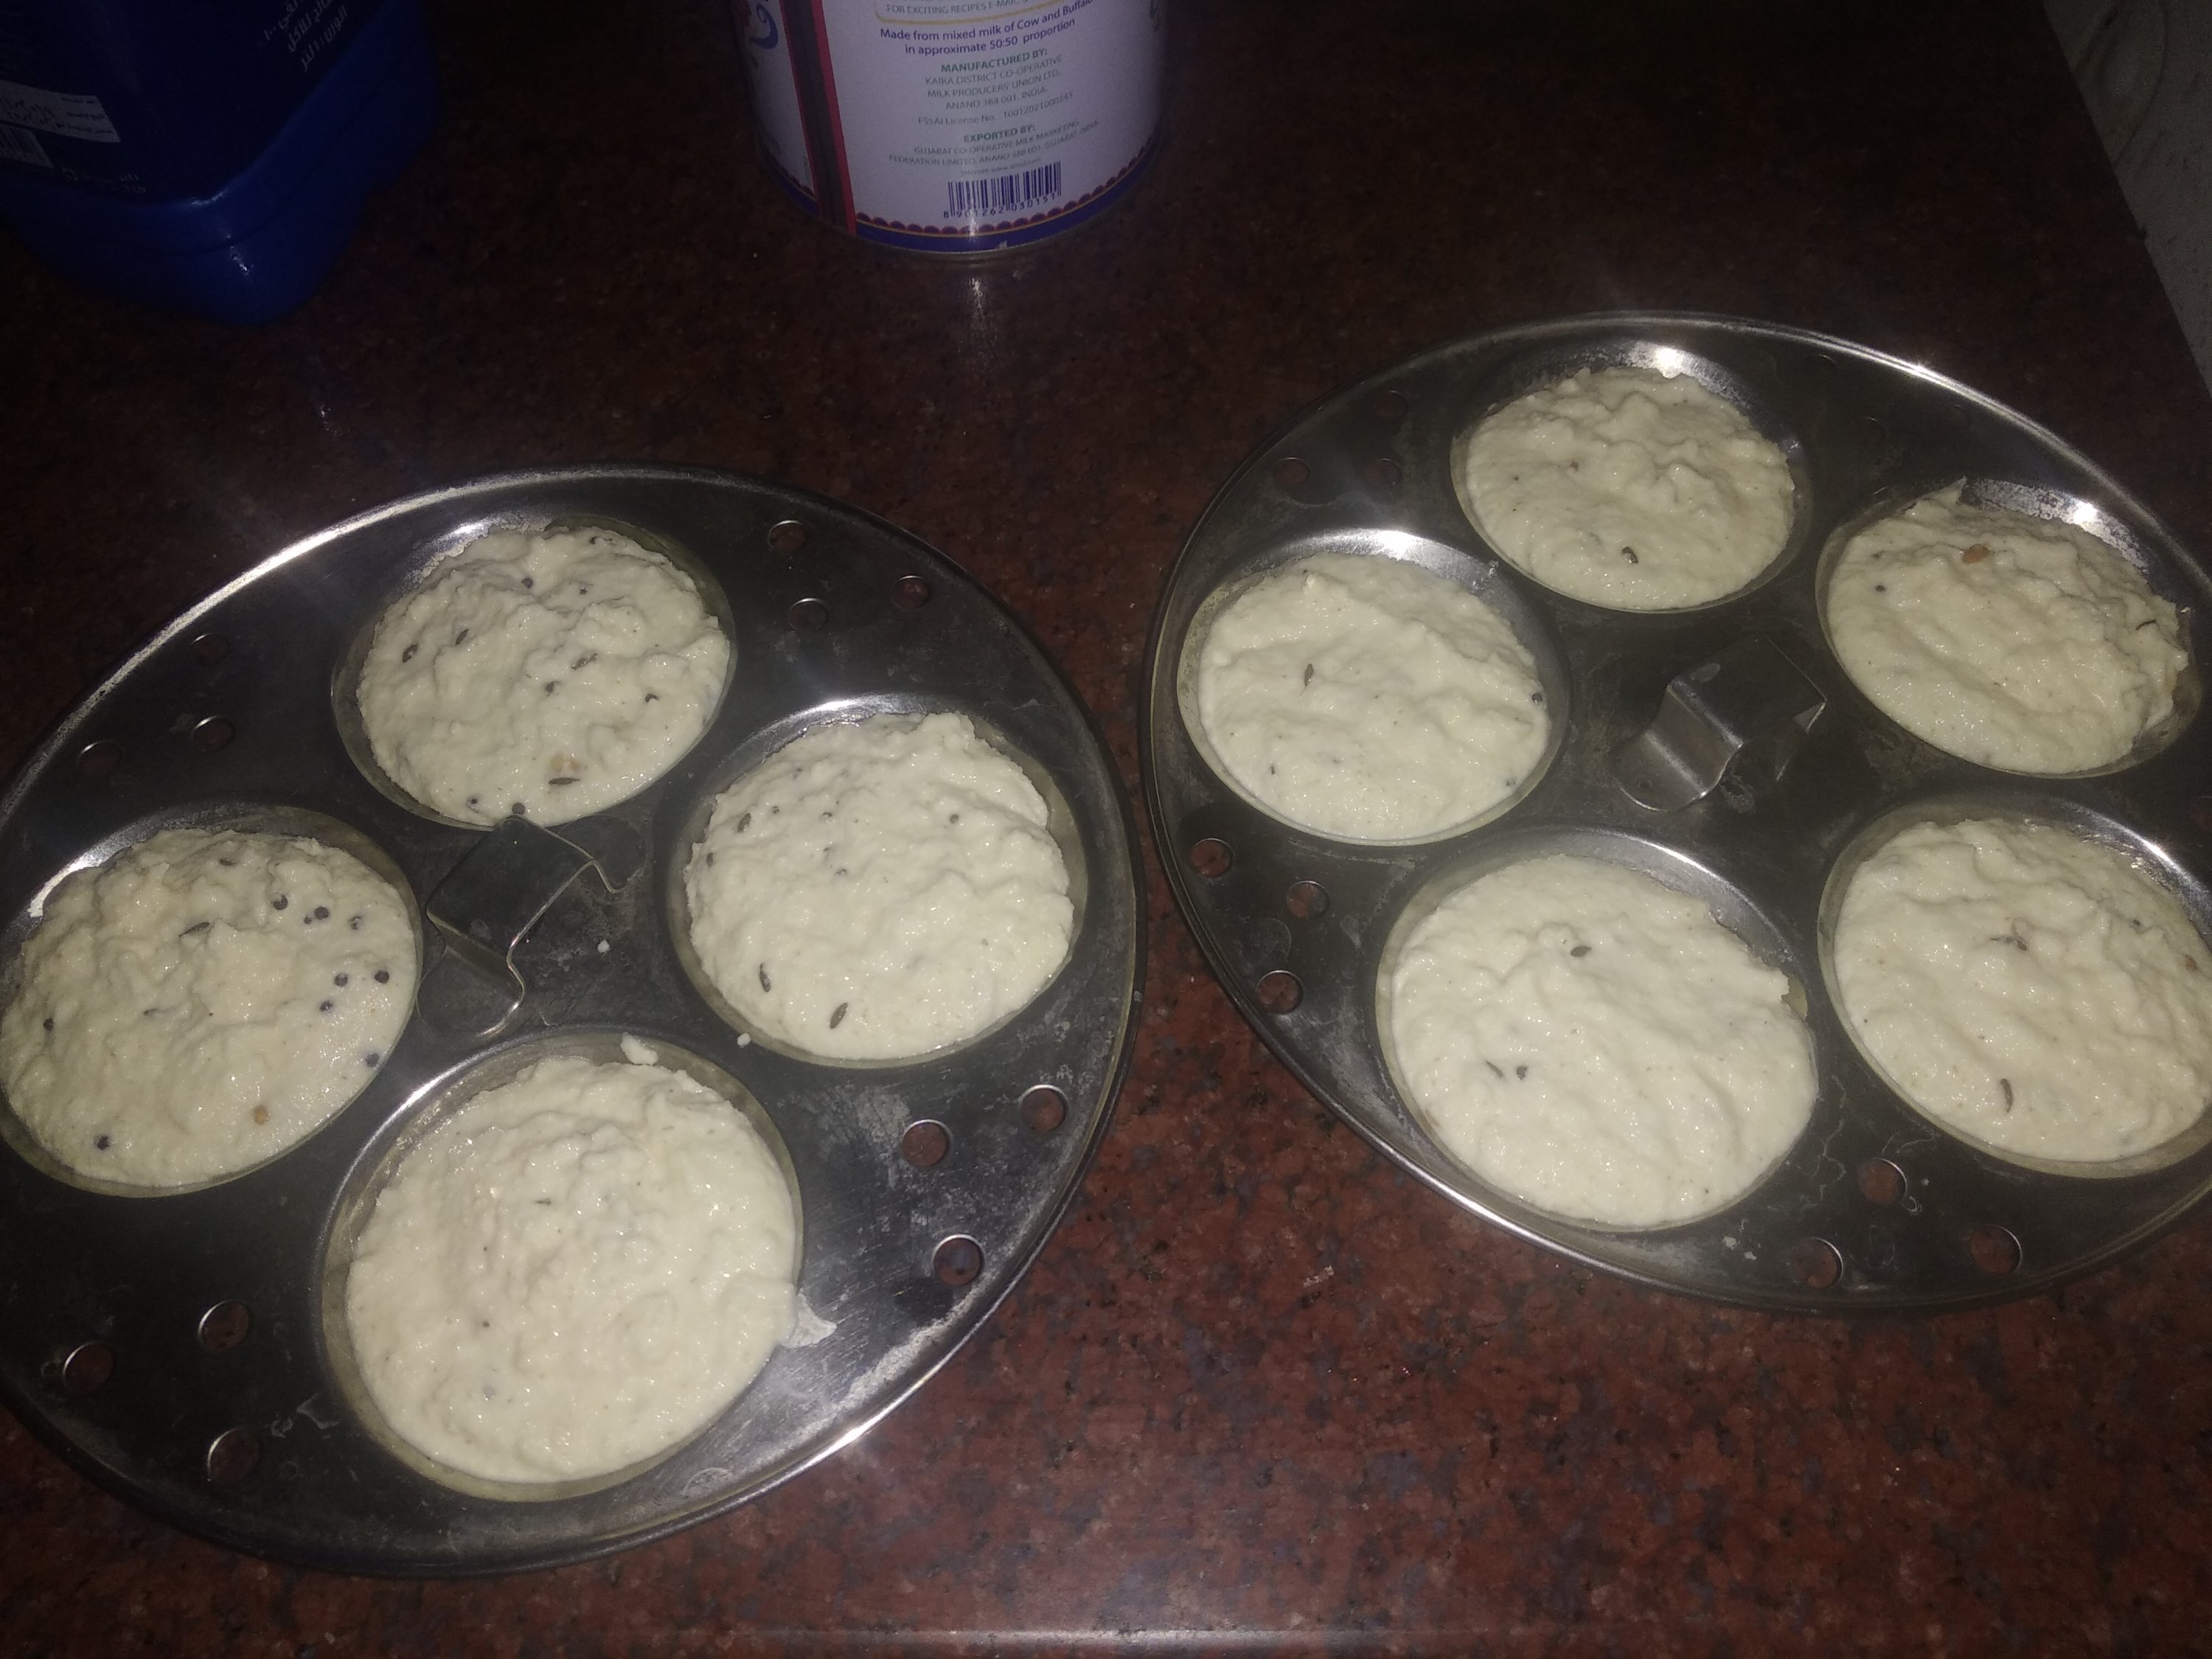
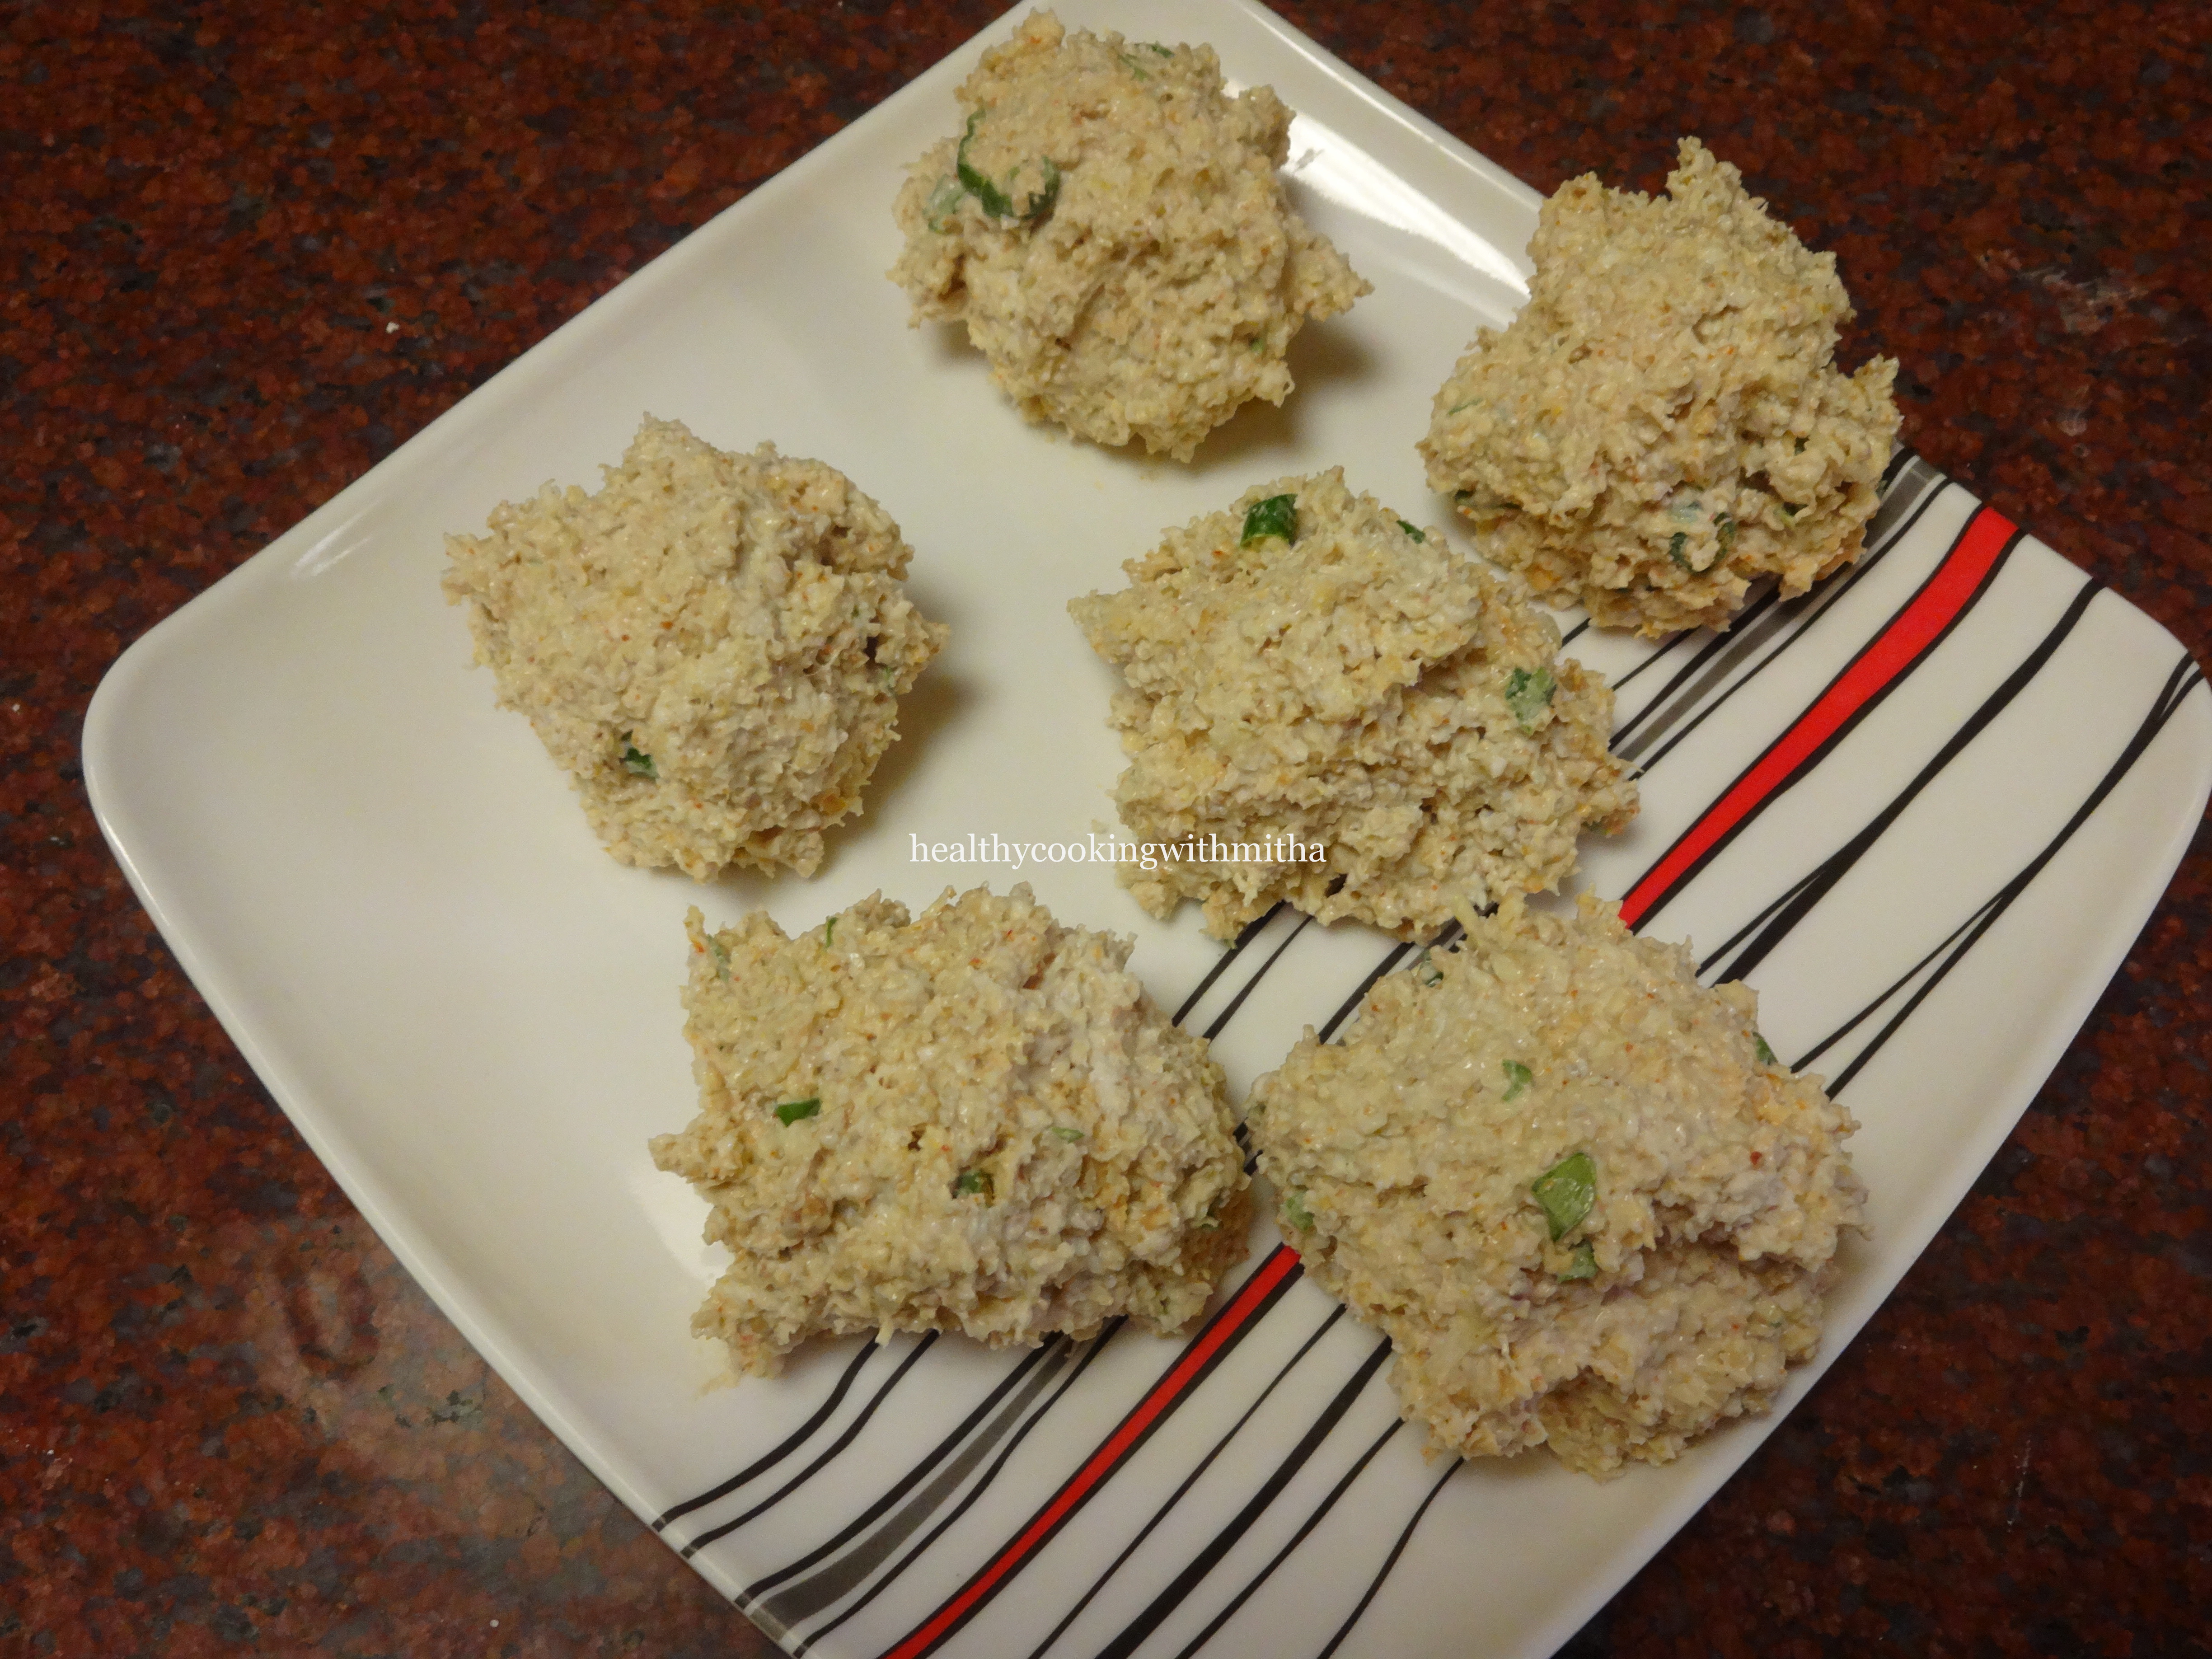
5. When making vastad rottis, make equal portions of the dough.

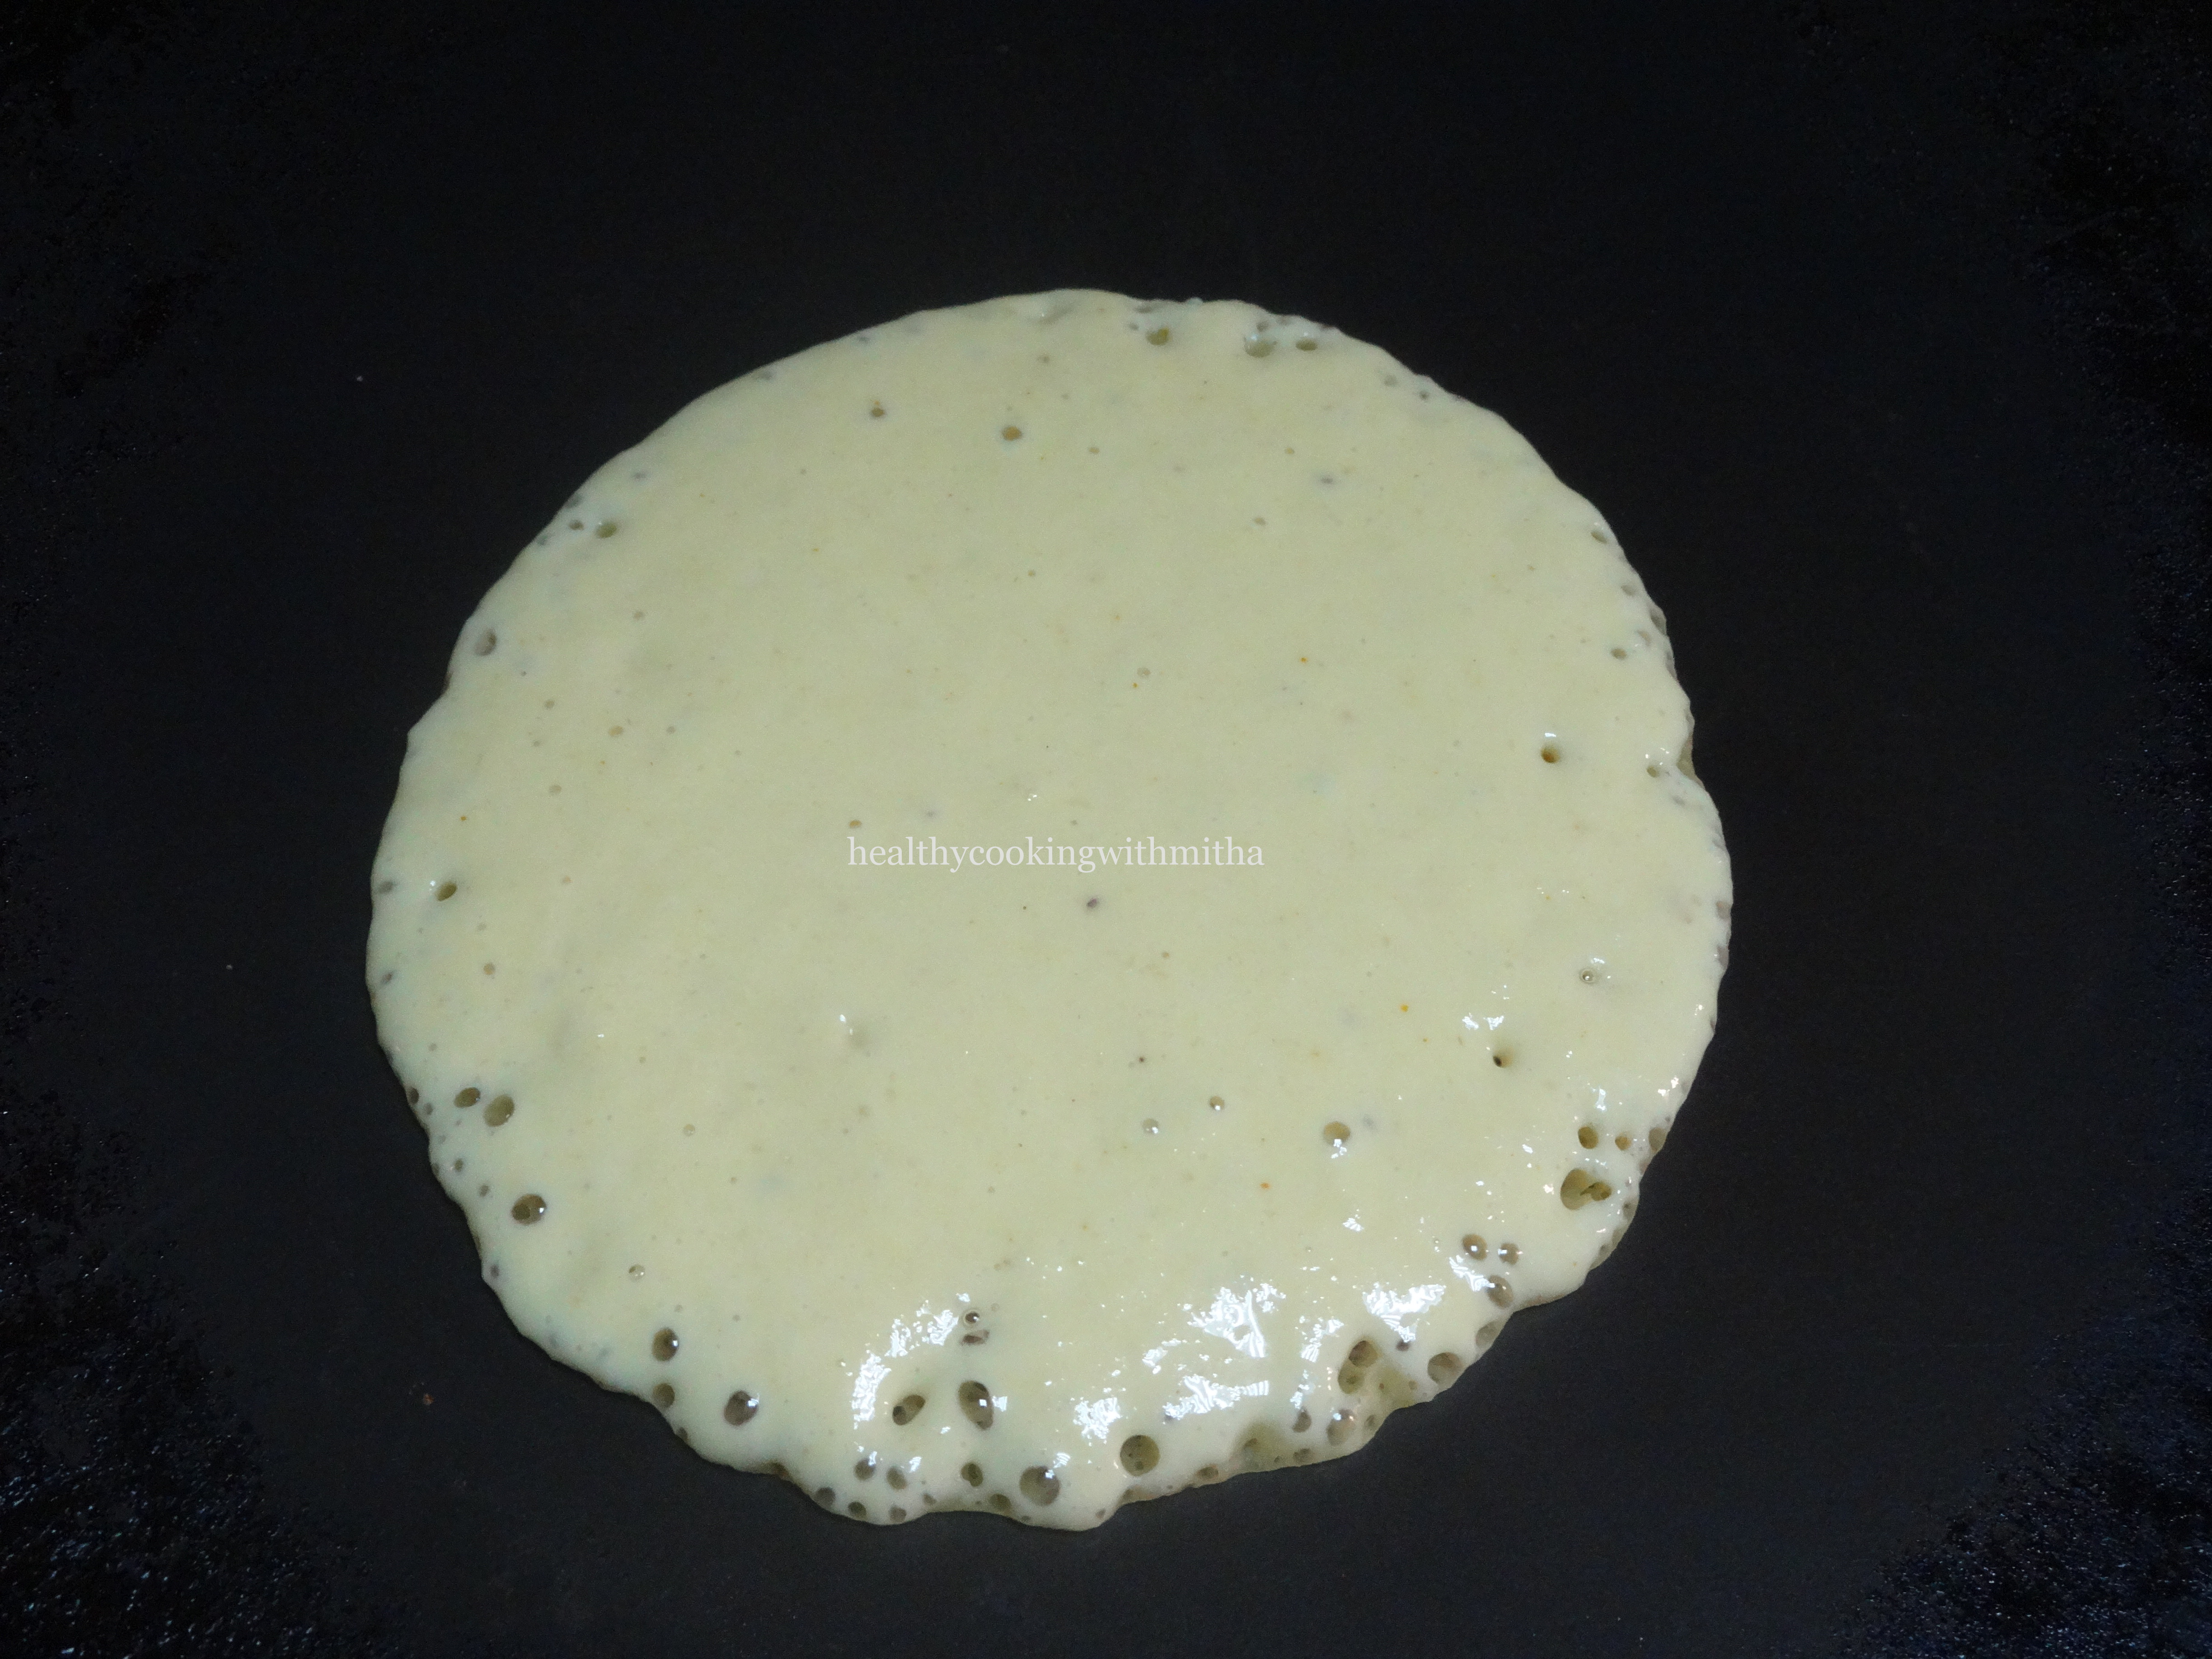
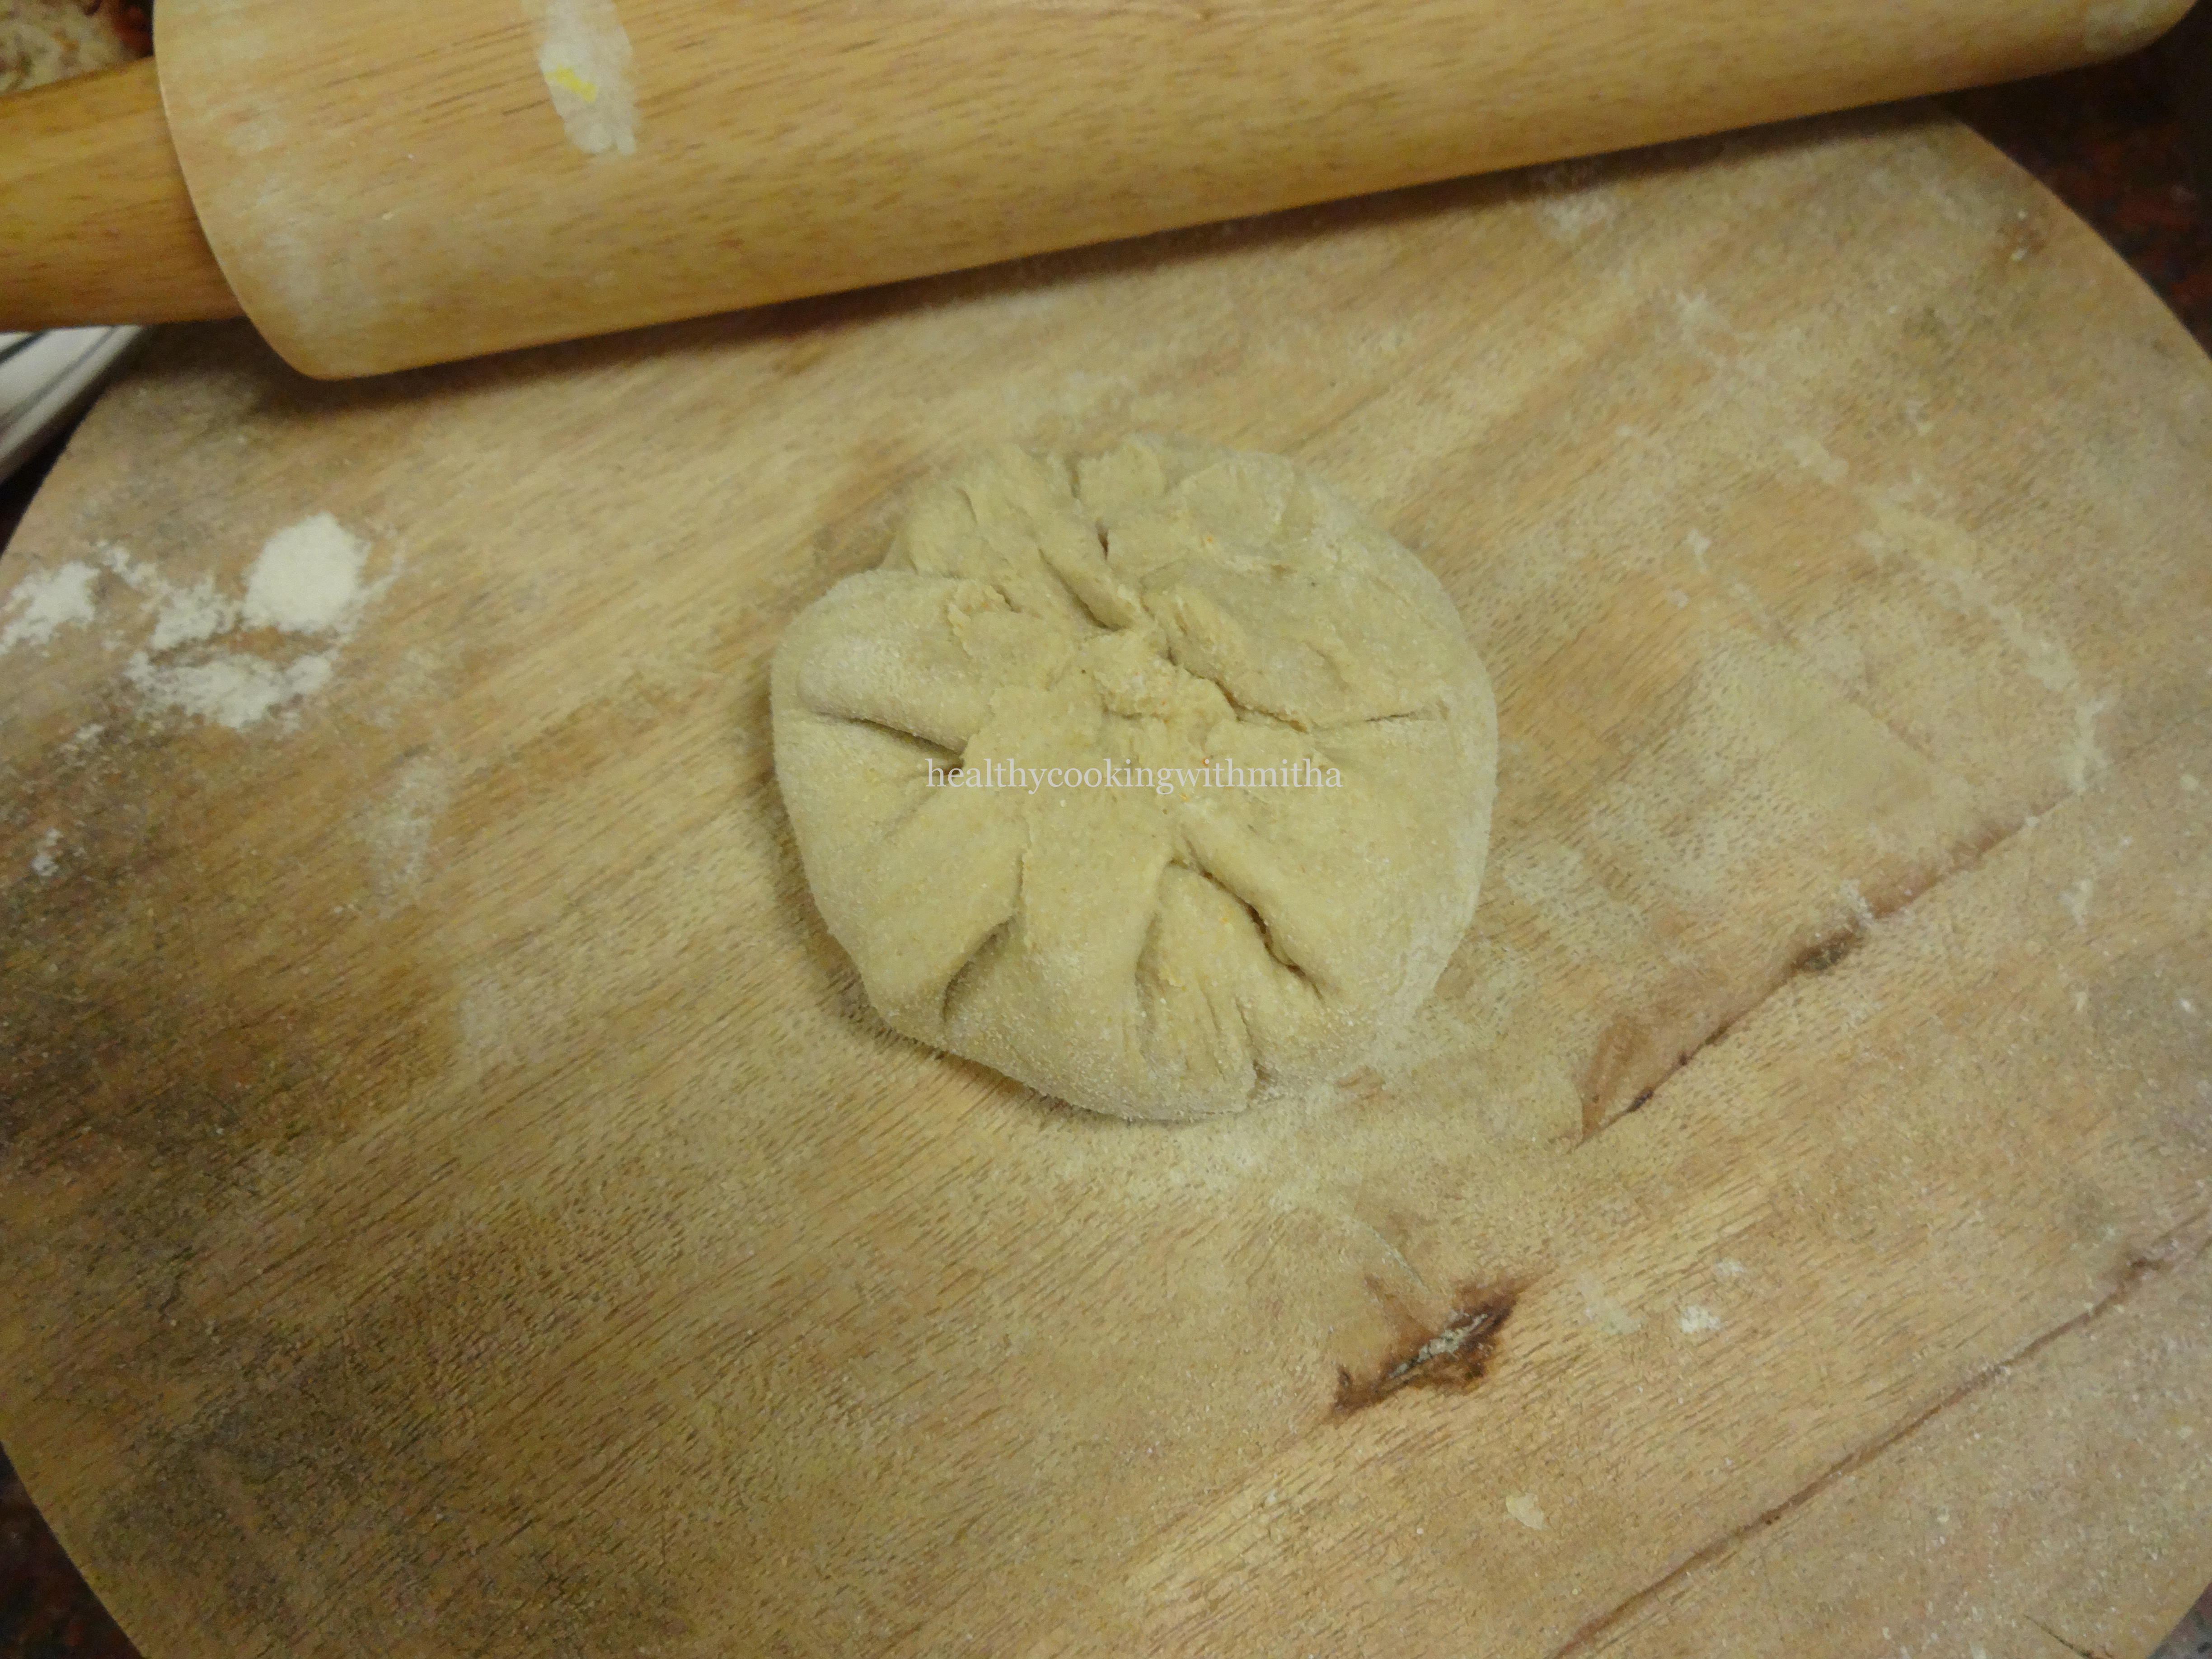
6. Roll like you roll out puri into a thick circle. Use dry flour if needed.

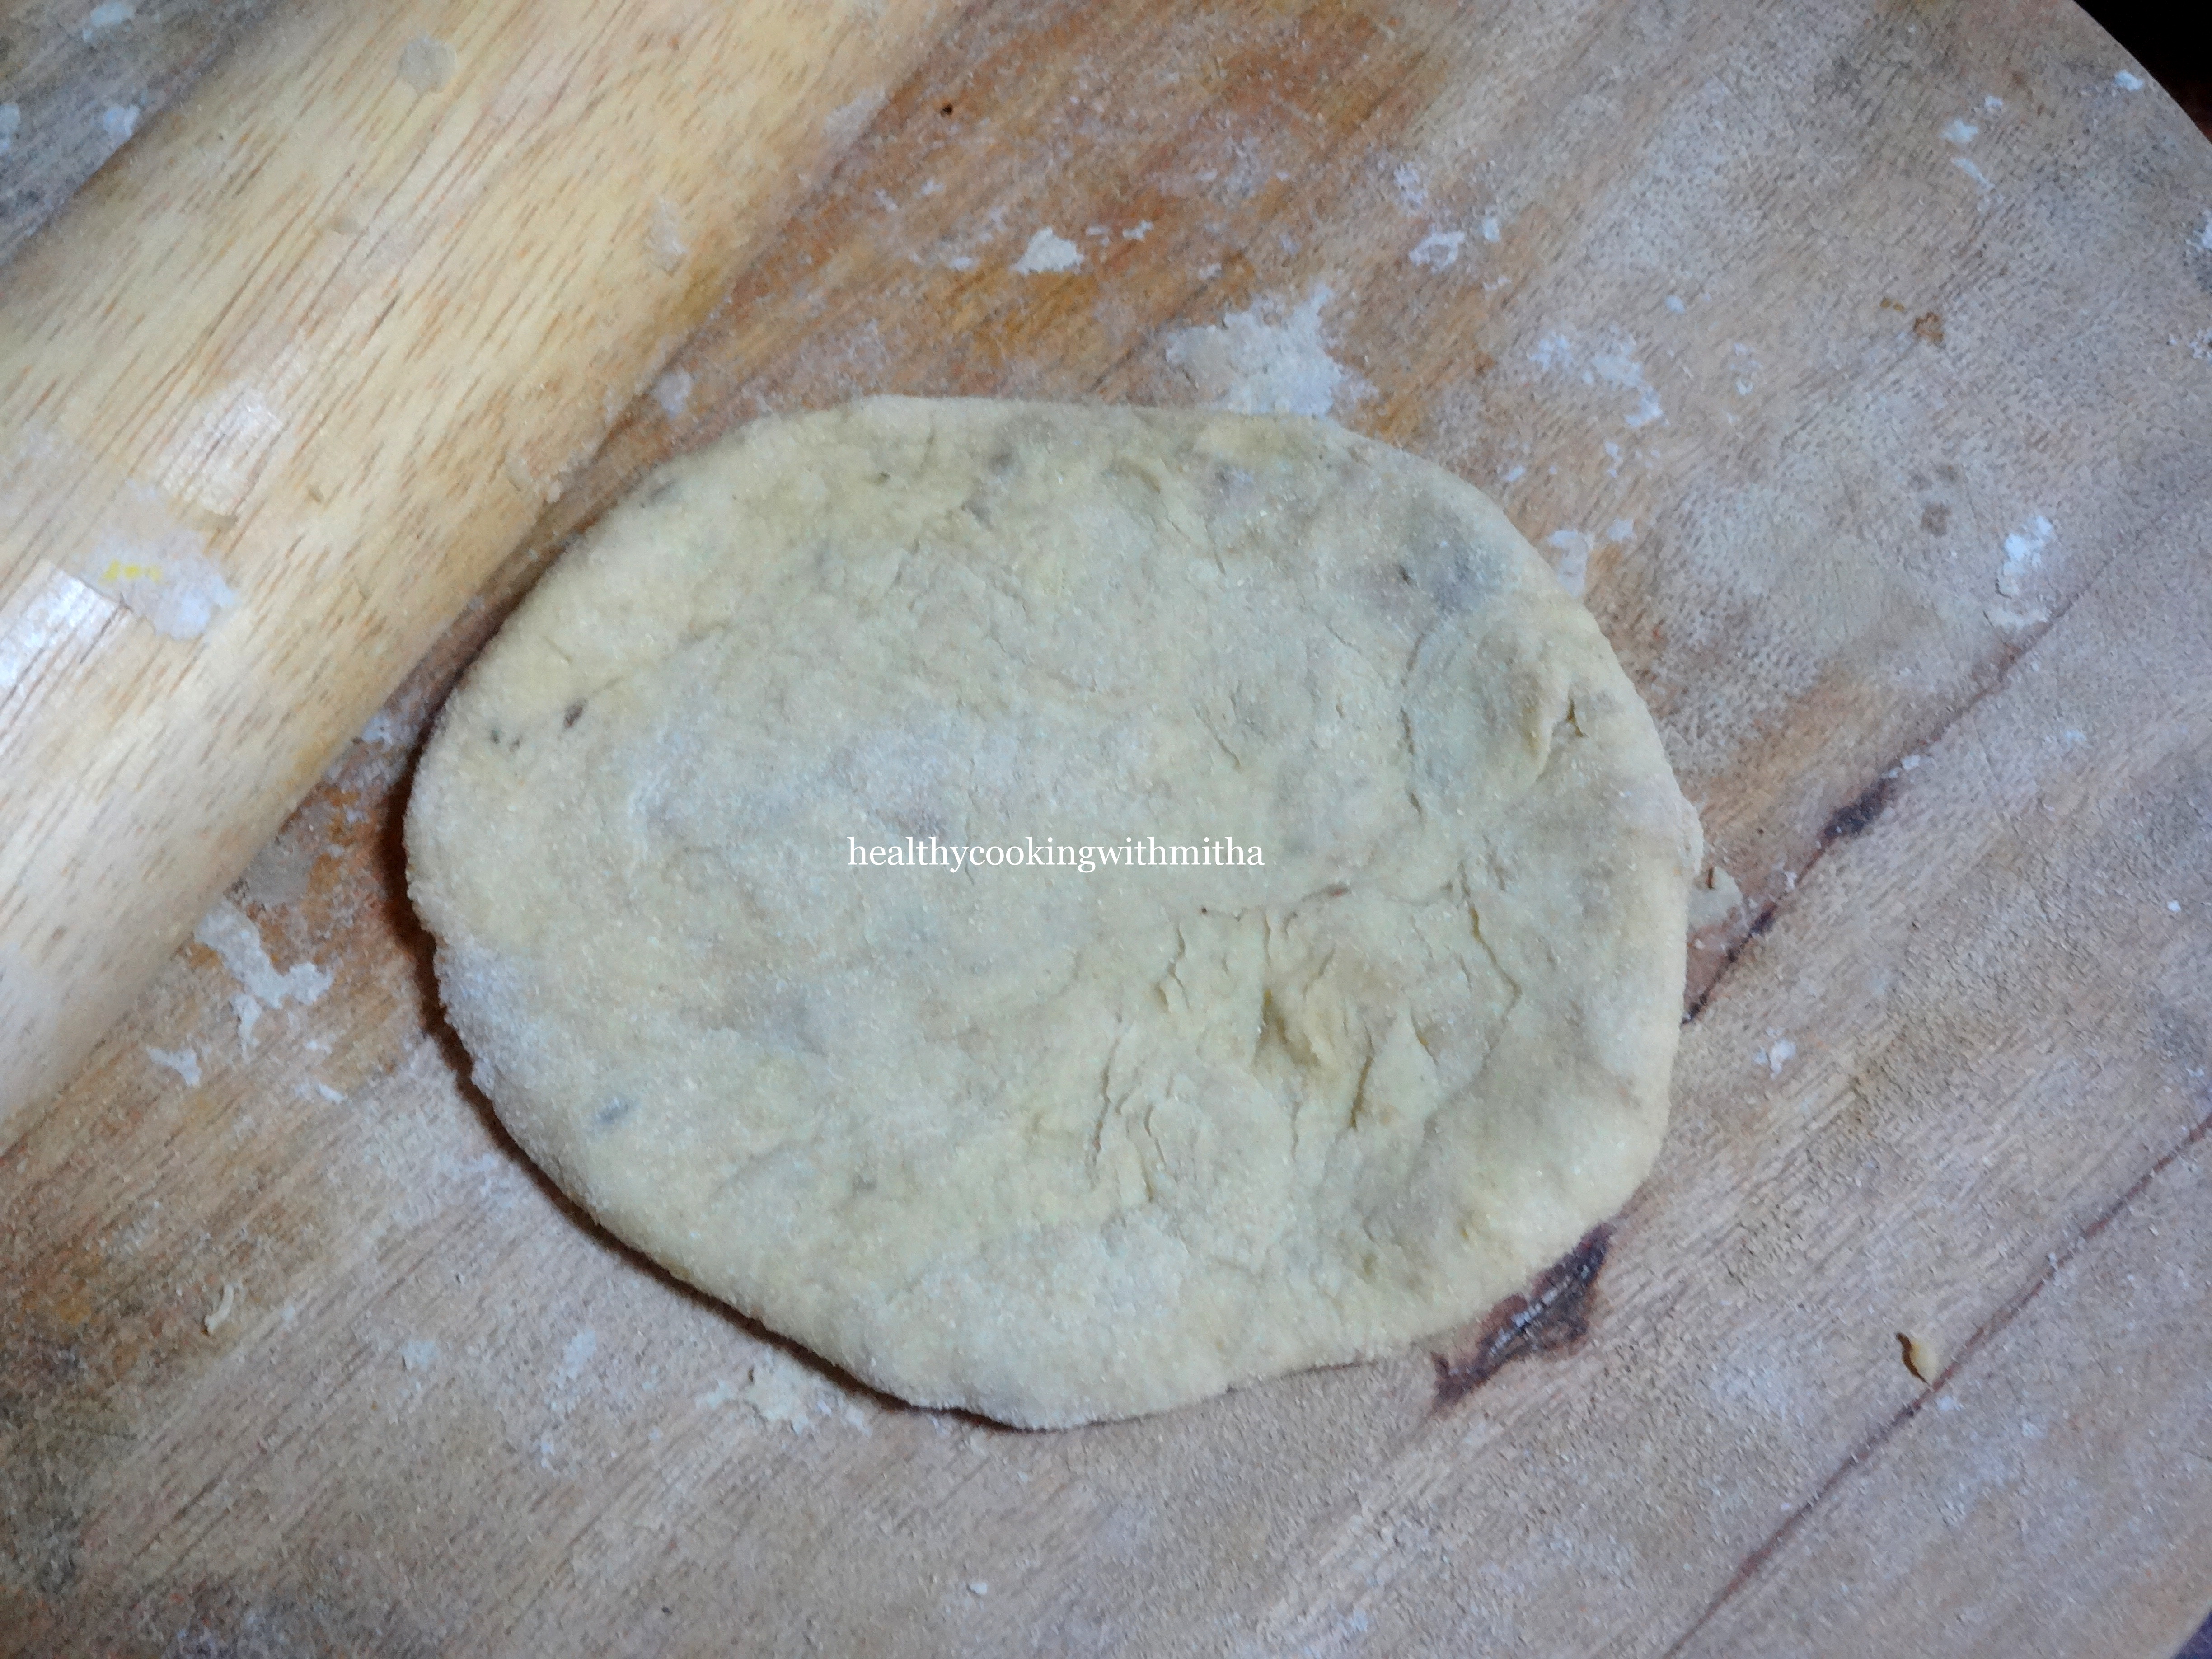
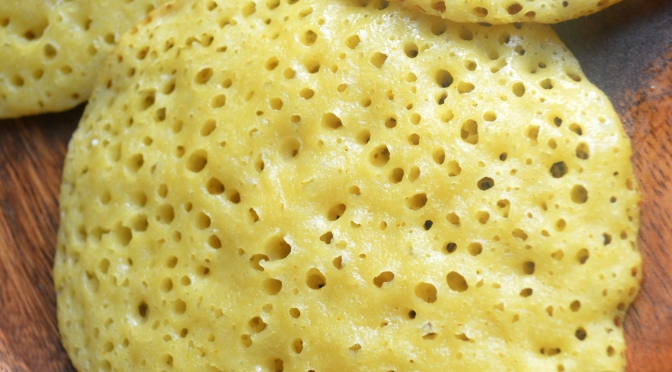
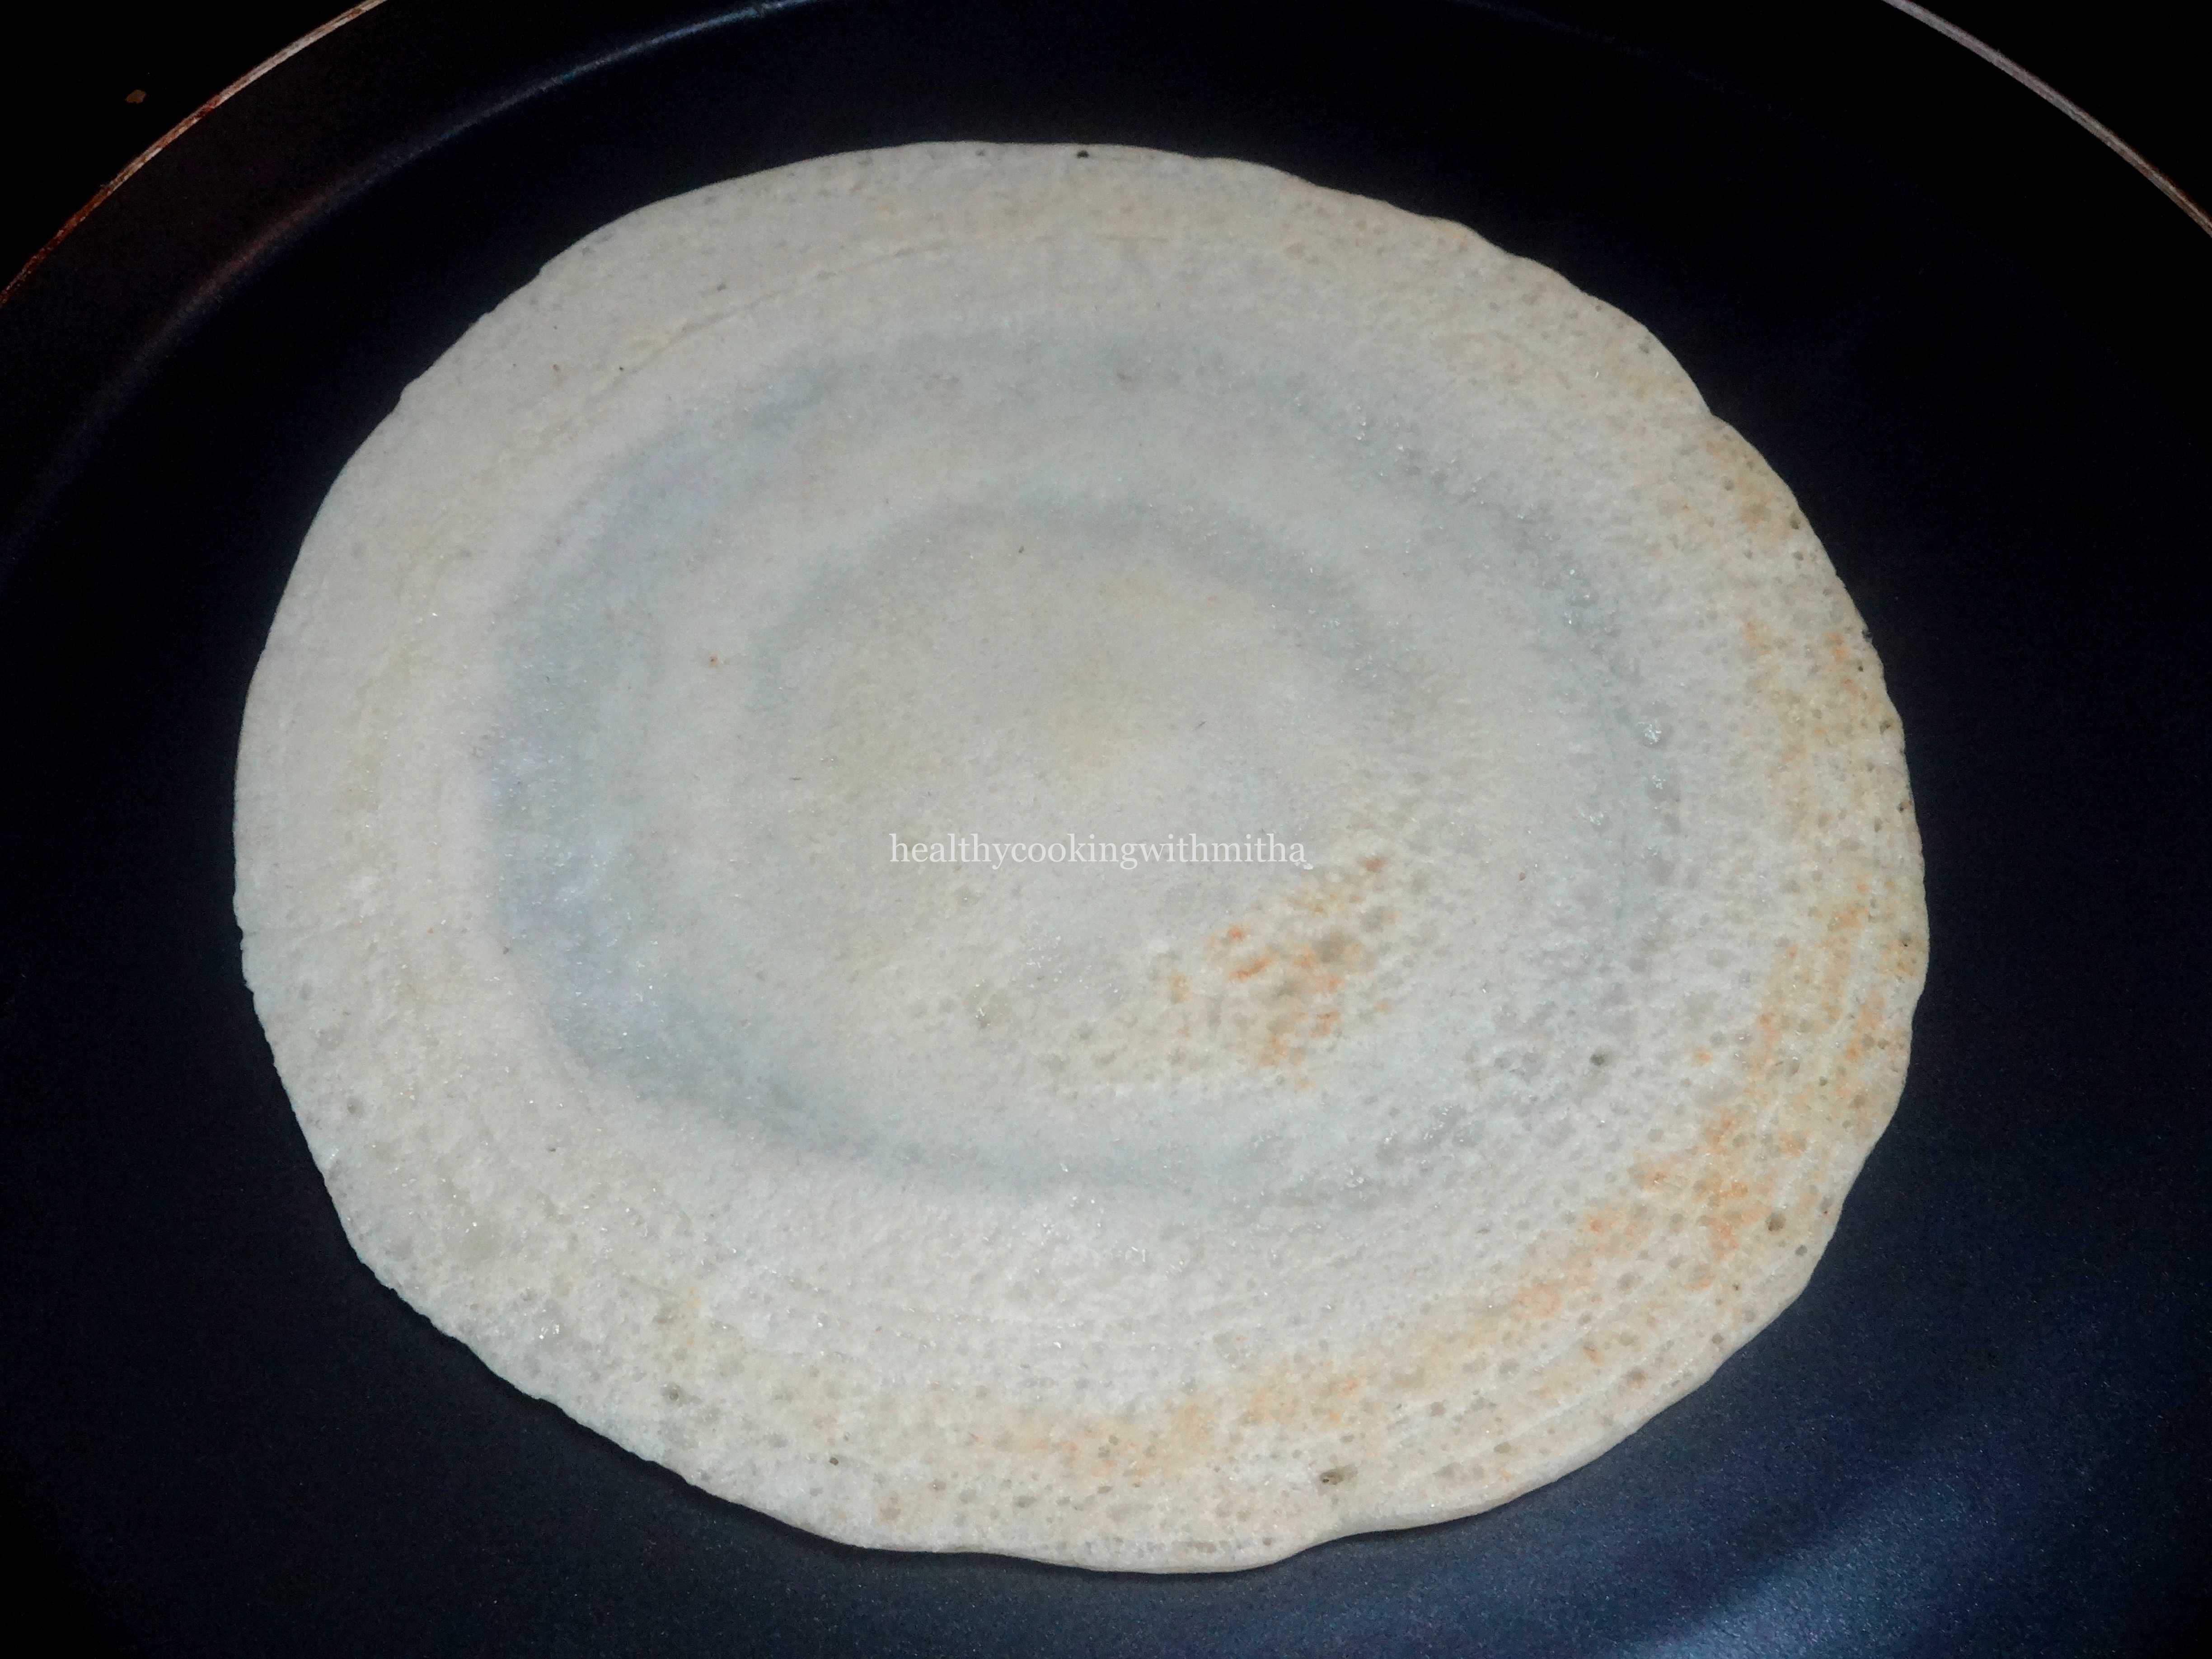
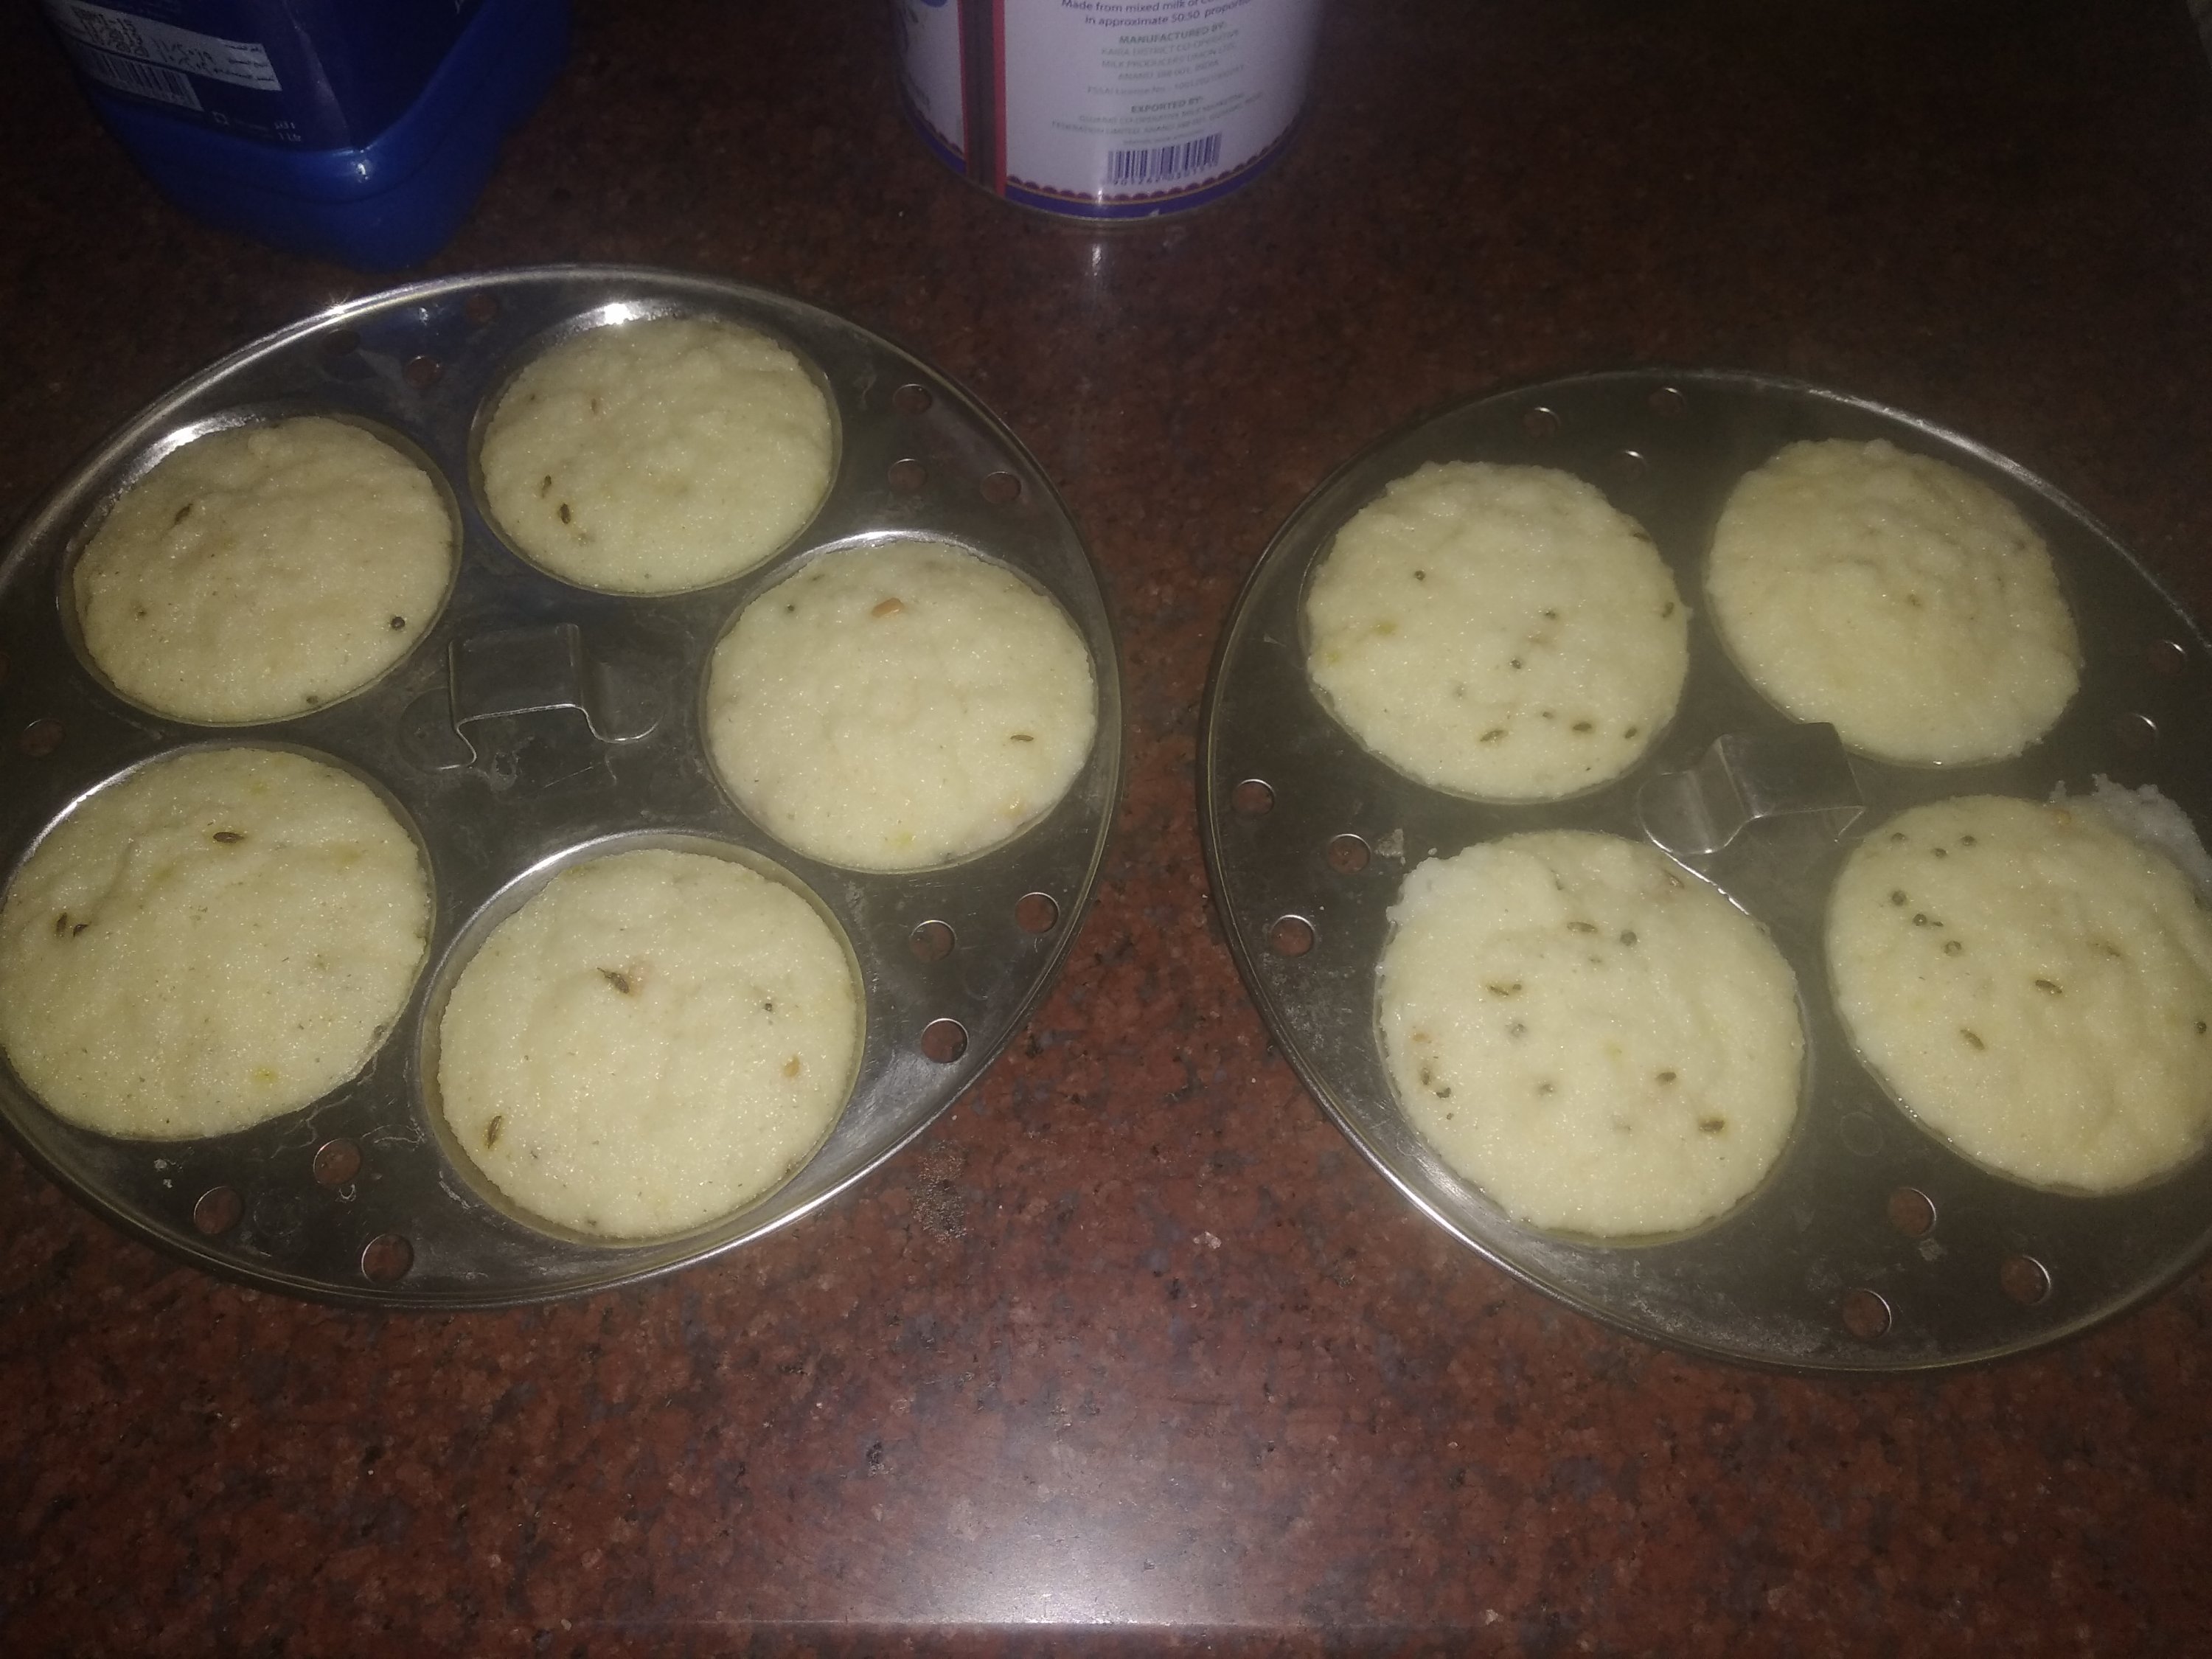
7. Heat a tawa and place the rolled roti on it. Look at it puff up and form tiny bubbles on the surface.

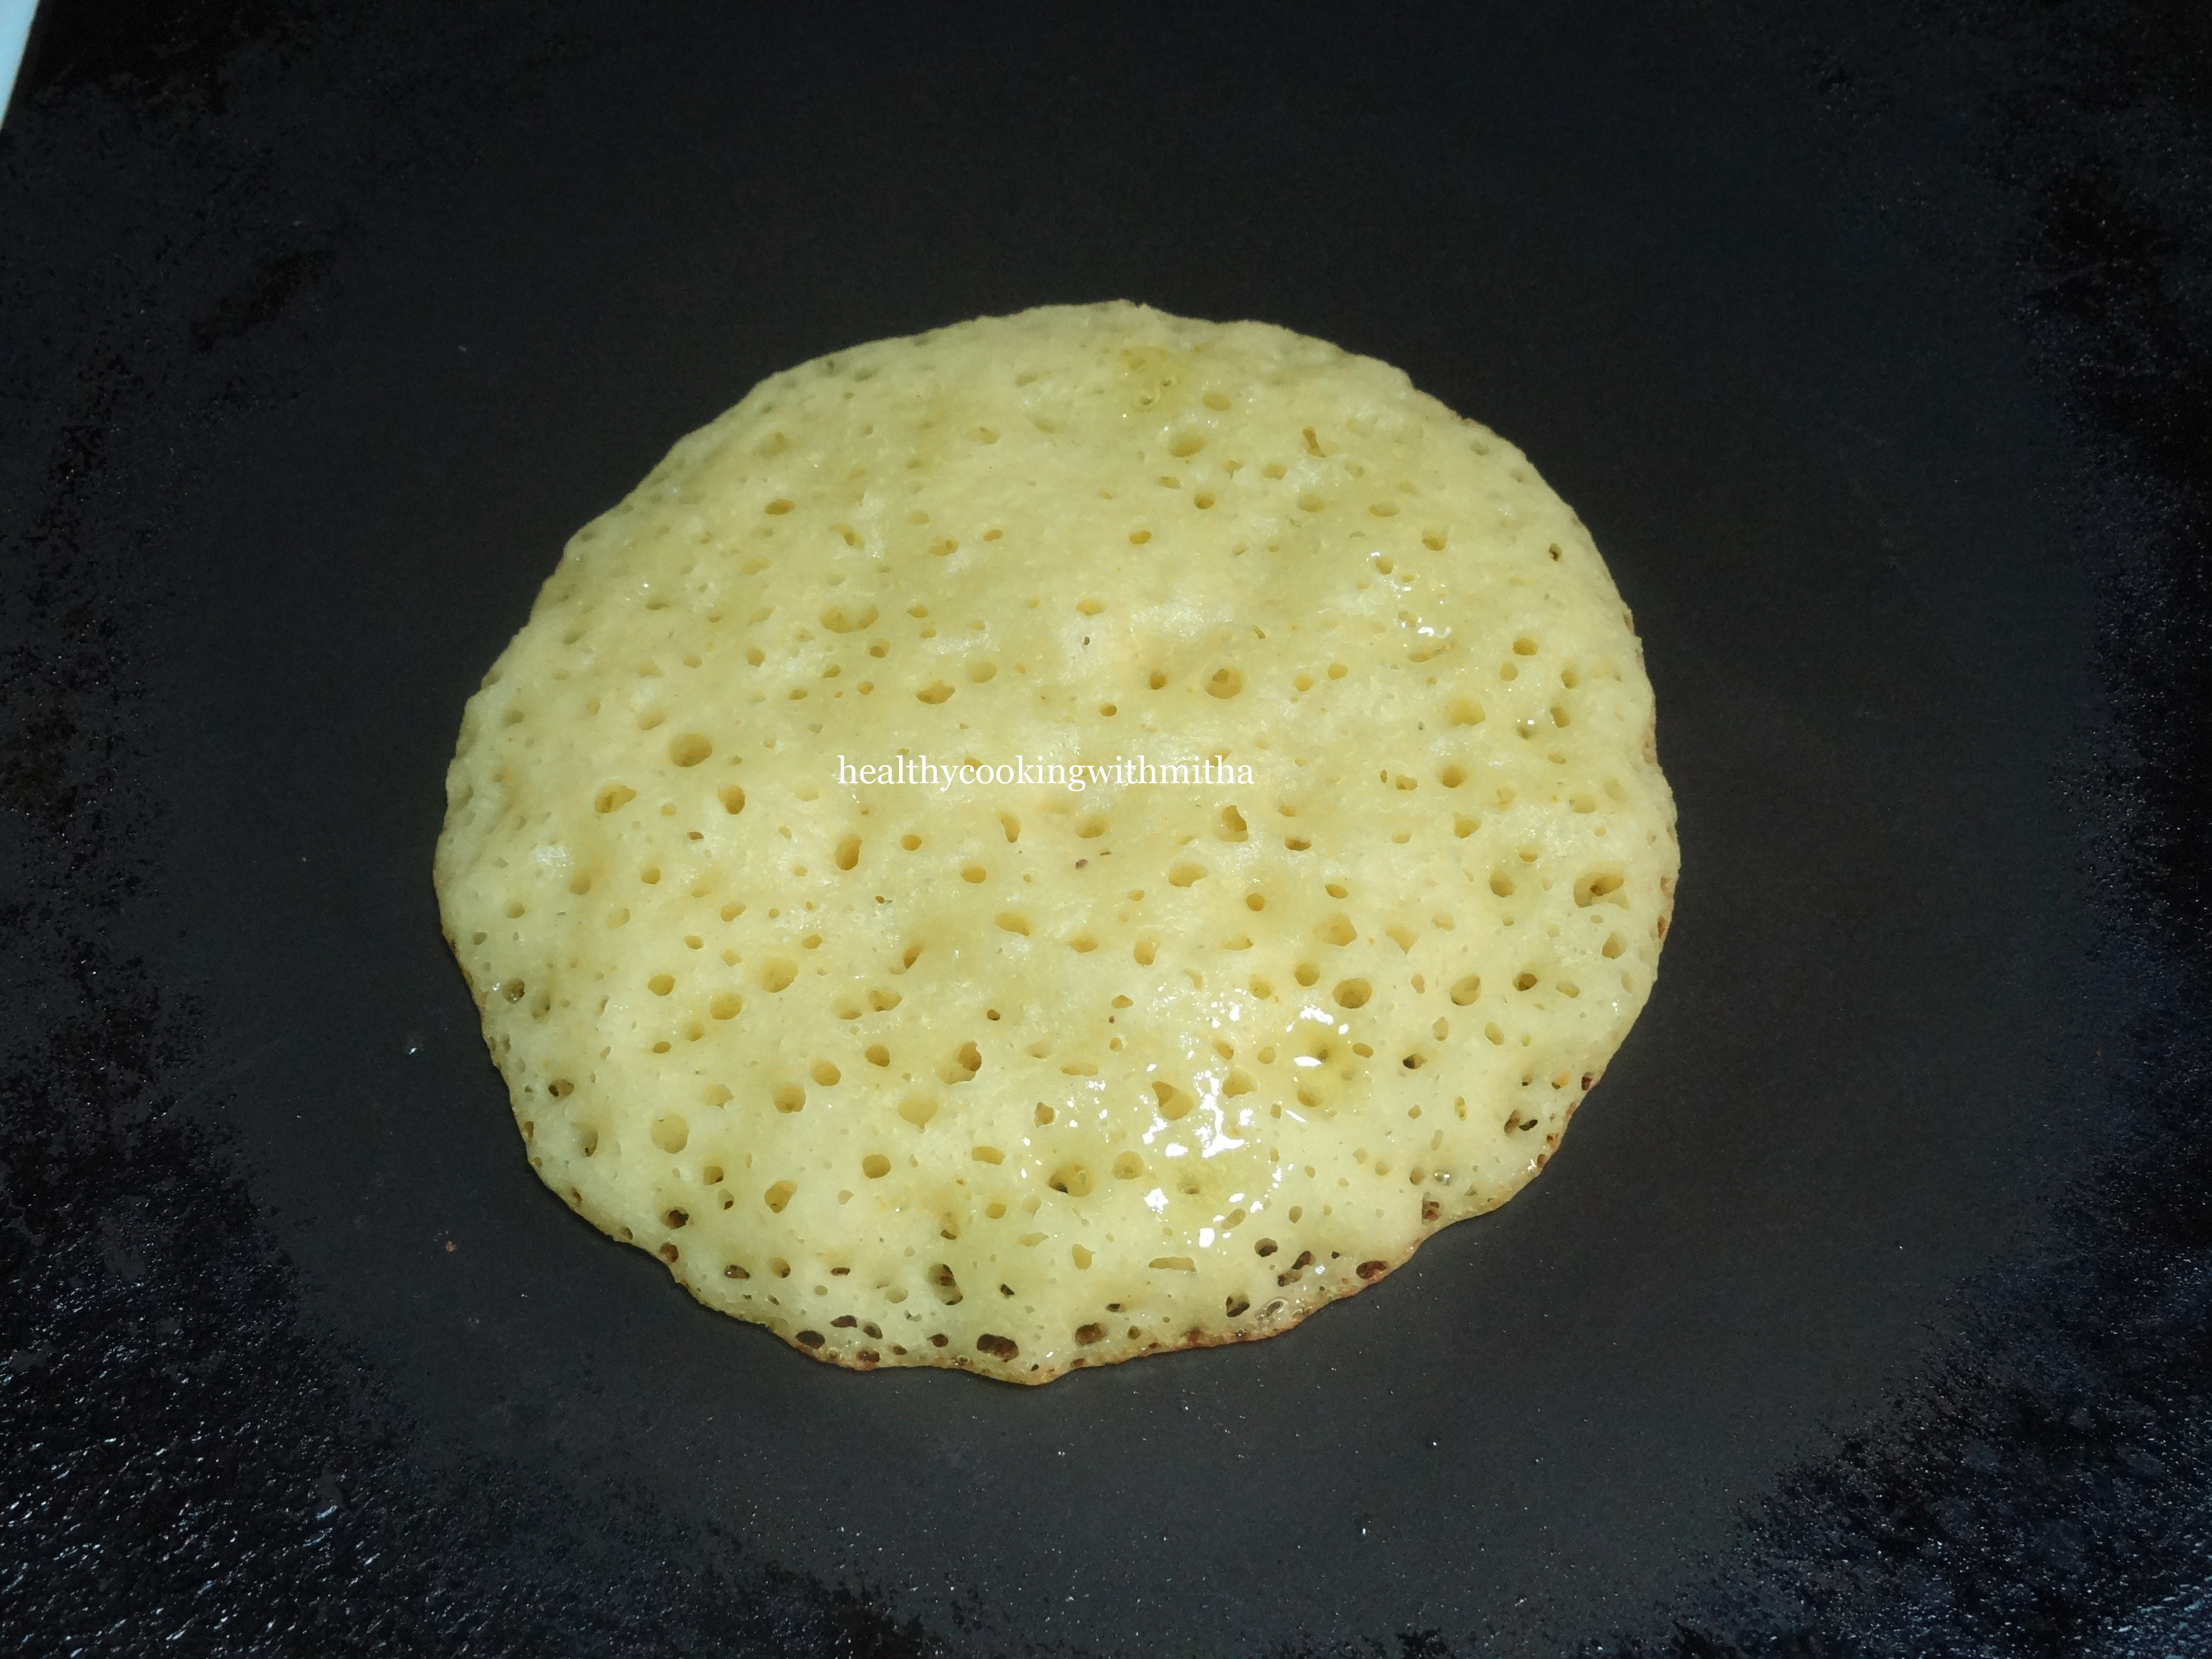
8. Add ghee. Flip and cook the other side too.

9. Serve hot with chutney or dalitoy ( Konkani style dal).

Notes:

* Actually the measurements of this recipe can vary a lot depending on the variety of bananas, water content in curd and quality of wheat flour. So please go with the step by step recipe and follow accordingly.

* You can also make with leftover bananas even if you have only couple of them. Not necessarily 1 Cup mashed bananas are required.

* Add curd along with other ingredients and see how much wheat flour is needed to get it to form a dough.

* Please do not add water while forming this dough. The moisture should come only from bananas and curd.

* I skip baking soda sometimes and even though there is a difference in texture, taste is almost the same. With baking soda, the texture is flaky like a paratha and without it, the texture is like a thick chapati.

* After fermentation of the dough, the dough might leave water and turn very sticky. Just add more wheat flour and form a manageable dough.

* Roll the dough into a thick circle and cook well on medium flame. On high flame, the rotis can turn black due to the presence of bananas in it.

* You can use powdered jaggery or sugar in the dough. Does not make much difference.

Other Konkani breakfast recipes that you can try:

Urad Moong dal Idli | No rice idli

Urad Rava Idli | No rice idli

Batat Phovu

Kobi Pohe | No onion Pohe with cabbage

Chane Usli – Godu Phovu

Muga Dali usli| seasoned moong dal

Idli Usli | seasoned leftover idlis

Pejje polo | cumin flavoured dosa

Surnali | Sweet and spongy dosa

Magge Surnali | using Mangalore cucumber

Horsegram Idli

Instant Cucumber idlis | Thoushe mudho

Instant Cucumber Bhakri

Instant Rava bhakri

Undi with Piyava Gojju

Kharbas dosa

Mushti polo

Click on the image to save the recipe on Pinterest

10 min Restaurant style Veg Kurma

I have tried many Kurma recipes in the past but once I tried this one, I did not have to try any other. It comes out too delicious for words. Although this technique was new to me, I found that cooking with almost zero additional water in the pressure cooker makes the Kurma taste amazing.

Whenever I make this Kurma, the husband comes to know through the aroma and he asks if it’s Kurma that is cooking 😂. You have to try it to know. I have made it for many get togethers and people love it a lot.

Best part of this curry is once the chopping is done, it hardly takes 10 mins. No sauteing or cooking for long time. I make this specially during weekend now when I don’t want to spend the whole day in the kitchen.

Hope you all try and love it too. Happy and healthy cooking!

RECIPE:

Ingredients:

About 3 Cups mixed Vegetables (Potato, peas, carrots, capsicum, cauliflower)

1 Cup Paneer cubes

2 Tbsp Coconut oil

1 Tbsp Ghee

2 green chillies

1/2 inch Cinnamon stick

3 Cloves

2 Cardamon pods

1 large Onion, finely chopped

1 large Tomato, finely chopped

1/2 Cup Milk

2 Tbsp Coriander leaves, finely chopped

For the masala paste:

1/4 Cup Yogurt/ Curd

1/4 Cup freshly grated or desiccated Coconut

5 to 7 Cashews

3 to 4 cloves of Garlic

1 inch Ginger piece

1 tsp Red chilli powder

1 tsp Garam masala powder

1 tsp Coriander powder

1/2 tsp Turmeric powder

Salt to taste

Step by step recipe:

1. First add all the ingredients mentioned in the masala paste and grind to a smooth paste without adding water. Don’t forget to add salt too. Keep aside.

2. Keep the vegetables ready as well.

3. Now take a 2 liter or 3 liter pressure cooker. Don’t keep it on the flame. Add ghee and oil in the cooker. Also add cloves, cardamom and cinnamon stick along with green chillies. Bay leaf too if you have.

Note that I have not yet kept the cooker on the flame or stove top.

4. Now layer finely chopped onions evenly.

5. Layer tomatoes evenly too.

6. Layer the veggies after this.

7. Add paneer cubes layer over this.

8. Now add the masala paste as the top layer.

9. Now pressure cook the above layers on medium flame for 7 mins or till 3 whistles. There is no need to add water while cooking. The juices in the vegetables will release water and that’s what makes this Kurma tasty.

10. Allow it to cool down by itself. Now add milk and cook for about 2 mins.

11. Garnish with coriander leaves and serve hot with rotis or rice.

Notes:

* OPOS is a patented technique owned by Mr.Ramakrishnan. It is a copyrighted term. I have adapted this recipe from this site and since she used this technique for making this Kurma, I followed the same. I have no intention of owning this technique. The full credits to this technique goes to Mr Ramakrishnan Sir only.

* If you don’t know to use a pressure cooker, you can saute tomato and onions in the seasoning and cook the veggies with the masala while following all the steps in a kadhai.

* In the original recipe, it says to keep on high flame for 5 mins but it sometimes burnt my Kurma. So I keep the flame on medium for 7 mins. It works well for me.

* In case your veggies don’t cook when you open the cooker, cook after you add milk for 5 more mins.

* Don’t forget to add salt in the masala paste itself. It makes a huge taste difference if you add later.

* Also don’t add water at all while grinding the masala paste. The yogurt does the job well and you can see it while grinding.

* Paneer is optional. I add because we love it. You can also add any combination of veggies that you have.

Magge Surnali | Mangalore cucumber sweet dosa

I have already posted the basic version of Surnali / sweet and spongy dosa. This version is like an upgrade to it by adding Mangalore cucumber. The addition has so many benefits like:

* The dosa turns out very soft and porous as you can see from the pictures.

* The aroma that the mangalore cucumber gives out is simply heavenly.

* You are adding a vegetable in your diet even without your knowledge. (This is the main reason I make these dosas atleast once weekly. Kids love it and they don’t realise they are eating a vegetable hidden in it 😁)

There was one more reason last year why I made this dosa too often. My husband loves gardening had planted these Mangalore cucumbers from seeds that he got from the core of store bought ones and we had a yield of about 50 of them from our kitchen garden. Yes 50!!!! Here is a picture of some of them.

Since they have a very good shelf life, I kept it as such on counter top and it lasted us a good 6 months. Looking at them everyday made me so happy. ♥️

Sharing the dosa recipe for all of you to try and enjoy too. Happy and healthy cooking!

RECIPE:

Ingredients:

2 Cups of peeled, cored, cubed Mangalore cucumber / Magge/ Velarikka

2 Cups Raw Rice (Any variety of white rice)

1/2 Cup grated coconut ( fresh/ desiccated)

1 Cup Beaten rice/ Poha

1/2 Cup Curd

3/4 Cup Jaggery

1 tsp Turmeric powder

Salt to taste

Ghee to cook the dosa

Recipe:

1. Wash well and soak the raw rice for 2 to 4 hours.

2. Take the peeled, cored, cubed mangalore cucumber and grind to a fine paste.

3. Now add soaked rice along with Poha, jaggery, coconut, curd, turmeric and salt to a smooth paste. Add buttermilk instead of water while grinding for spongier surnalis. Pour into a steel vessel. Mix well with hands to start fermentation.

5. Keep aside covered for 8 to 12 hours or overnight.

6. Take a ladle full of the batter and pour a thick dosa. Add ghee on top.

7. Cover and cook on low flame till the dosa cooks. (This dosa requires low flame to cook. Else it will turn black due to jaggery in it.)

8. Remove and serve hot with butter.

Notes:

* Any variety of white rice ranging from Sona masoori to short grain white rice (used for eating) works well to make this dosa.

* You could substitute curd with buttermilk.

* Ensure the batter is a slightly thick ( not very thick) smooth paste and not watery to get perfect surnalis.

* The amount of jaggery is to taste. You could increase or decrease as per your taste. You can also skip jaggery and make plain dosas with Mangalore cucumber.

* I substitute Mangalore cucumber with watermelon rind ( the white part) sometimes and it tastes delicious as well.

For regular Surnali without Mangalore Cucumber, you can try this recipe:

Surnali

For more Dosa recipes, check my Dosa Corner page.

Instant Rava Dhokla

Dhokla is my husband’s favourite evening snack and that’s the first answer I get when I ask him what to make for snack time. The kids love dhokla very much too and I hardly get couple of pieces when I make it. Literally every bite is fought for. 😁

Soft and melt in the mouth, this recipe for dhokla has been a keeper for me and over the years, I have made it so many times that I can now make a good dhokla even in my dreams. 😅 That’s the effect of being a foodie’s wife over the years with kids turning out to be foodies too.

The benefit of the three of them loving what I cook is it gets over so fast that I hardly get to eat it which has lead to my weight loss. I eat only what is necessary as compared to earlier when I got a major portion of what I cooked. My Amma will surely kill me for this. Like all mothers, she does not want me to lose weight 🙈.

Anyhow, I can assure you Amma that I am eating as much as I need. Just that the kids make me run behind them so much that there is no chance of getting fat 😂.

Hope you all try and love this dhokla as much as we do. Happy and healthy cooking! ❤️

RECIPE:

Ingredients:

1 Cup Rava/ Semolina/ Sooji

1 Cup Water

3/4 Cup Yogurt/ thick curd

2 Tbsp Oil

1 Tbsp Besan/ chickpea flour

2 tsp Eno fruit salt

1 tsp Sugar

1/2 tsp Turmeric powder/ Haldi

Salt to taste

For the seasoning:

1 tsp Oil

1/2 tsp Mustard seeds

1/2 tsp Cumin seeds/ Jeera

3 Green chillies

1 Tbsp Sugar

Salt to taste

2 to 3 Tbsp lemon juice (depending on how sour you like your dhokla)

1/4 Cup water

Few sprigs of coriander leaves and freshly grated coconut for garnish (optional)

Step by step recipe:

1. Take 1 Cup of semolina in a large bowl. Add 1 Cup water and 3/4 Cup yogurt. Mix well using a whisk.

2. Now add besan, salt, sugar, turmeric powder and oil. Mix again.

3. Add Eno fruit salt and mix well once.

4. Pour into a bowl which has been greased well with oil. Steam for 20 mins or till a knife inserted in the center comes out clear.

5. For the seasoning,

* Heat oil in a pan and splutter mustard seeds, cumin seeds. Add green chillies and fry for few seconds.

* Now take the seasoning off the pan and add 1/4 Cup water, sugar and salt. Mix well so that sugar dissolves.

* Squeeze lemon juice and mix.

6. Pour over the steamed dhokla. Let it rest for atleast 30 mins so that the seasoning is absorbed well by the dhokla sponge.

7. Cut into squares and serve.

Notes:

* I serve this with mint chutney. Just grind mint leaves with little curd, ginger, green chillies and little coconut with salt. Add coriander leaves too if available. Grind till smooth. Tastes amazing with dhokla.

* The seasoning is very important in the dhokla flavour. Adjust sugar and lemon juice as per your taste. Please be sure to rest the dhokla atleast for 30 mins after pouring the seasoning.

* Eno fruit salt gives the dhokla it’s spongy texture. Though I have not tried this recipe without Eno, the usual substitute for Eno is equal amount of baking soda and lemon juice. So 2 tsp Eno equals 1 tsp baking soda plus 1 tsp lemon juice.

* Don’t add more water than mentioned or the dhokla won’t get the right texture. For 1 Cup semolina, 1 Cup water and 3/4 Cup thick curd gives it the right batter consistency.

* Be sure to insert a knife in the center to see if the dhokla has cooked properly after steaming.

* You can also steam this as Idlis. Just remove the Idlis in a large bowl and pour the seasoning and rest the Idlis till the liquid absorbs.

* The batter rises atleast double while steaming. So make sure to steam in a bowl in which the batter reaches only half of its height.

Instant Oats Poha dosa

Click on the image to Pin the recipe on Pinterest

Motherhood means you spend hours in the kitchen cooking something special for kids only for the kids to be making a face at it and demanding something else. 😅 I am sure all mothers will agree with me that this has happened atleast once with them.

In my house, there is a constant demand for dosas. My toddler who barely knows few words can say Bobbo which means dosa in baby Konkani language. I usually keep dosa batter ready for such times but there are some days when the batter gets over.

This Instant Poha Oats dosa was invented on one such day and is a keeper for me when I need to give in to dosa demands by the kids instantly. Sharing the recipe as my kids love it. Hope you all try and love it too. Though there is no comparison to regular dosas in terms of taste, still the best you can achieve during times when you need to make something quickly.

Happy and healthy cooking!

RECIPE:

Ingredients: { Makes about 10 dosas}

2 Cups Semolina/ Rava/ Sooji

1/2 Cup Instant Oats

1/2 Cup thin or thick Poha/flattened rice

3 Tbsp Curd/ Yogurt

Salt to taste

2 1/2 Cups water to make the batter

Ghee to cook the dosa

Step by step recipe:

1. Take semolina, oats, Poha in a blender.

2. Grind using water to a fine paste.

3. Add curd and salt. Grind to a smooth paste.

4. Batter is ready to use.

5. Heat a pan and when medium hot, spread the batter into a circle.

Note: If the pan is very hot, you won’t be able to spread this dosa. So keep the flame medium hot while spreading.

6. Cover and cook the dosa till done.

7. Now drizzle ghee. Flip and cook for few seconds till done.

Serve with chutney of your choice.

Notes:

* This dosa tastes the best when cooked with ghee.

* You can keep the batter at room temperature for couple of hours if you have time.

* This dosa turns out soft in texture but you can cook a little while longer if you like it crispy.

* Although it does not taste like regular dosa, it is the closest in taste to it and that too instant to make along with being healthy.

* My kids love this dosa with sambar.

Click on the image to Pin the recipe on Pinterest

Whole wheat bread / Atta bread

Click on the image to save the recipe on Pinterest

My journey with bread baking started many years ago and after numerous trials, I am happy to say that I can now bake a perfect whole wheat bread. My kids love this bread and prefer it anyday over store bought ones even though it’s been long we have not bought our bread. I bake it freshly when needed and it’s not difficult too.

Just a matter of practice and following the steps well. This recipe has been most requested for by my readers and I am very happy that finally it is ready to share with all of you.

As always, do let me know if you have any doubts and it would be my pleasure to help. Happy baking!

RECIPE:

Ingredients:

3 Cups whole wheat flour/ Atta (I usually use Pillsbury brand)

1 to 1 1/2 Cups water (depending on the brand of atta)

2 tsp Instant yeast

1 tsp Salt

2 tsp Jaggery/ Brown sugar/ regular sugar

2 Tbsp Yogurt or thick curd

3 Tbsp Ghee (plus 1 Tbsp to coat the dough before rise)

Little milk to brush the dough before baking

Little butter to brush the dough after baking

Step by step recipe:

1. Take 3 Cups of wheat flour. Add instant yeast, sugar, salt, yogurt and ghee.

2. Mix well using a spatula or hands.

3. Add water and knead well. The dough should be very sticky. Now knead for 8 to 10 mins till it becomes a smooth dough as shown.

4. Coat the dough with ghee or oil and keep covered for 1 hour in a warm place or till it has doubled in size.

5. Now after it has doubled, put the dough in a loaf pan and level the surface as shown.

6. Again keep for about 45 mins to one hour till the dough raises above the rim of the loaf pan as shown.

7. Now brush the surface lightly with milk and make cross signs over the bread as shown.

8. Preheat the oven at 180 C for 10 mins.

9. Bake the bread at 180 C for 30 mins or till the surface of the bread turns brown in colour.

10. Now brush the surface with butter so that the crust remains soft.

11. Allow it to cool completely before you remove the bread. Use a knife at the sides and gently remove the bread from the pan.

12. Slice and enjoy!

Click on the image to save the recipe on Pinterest

Notes:

* First of all, bread making is not as easy as it looks and you might not get perfect result the first time in terms of texture. But as you bake more, you will be proud of how well a wheat bread you can bake. So keep trying!

* Please use measuring cups for best results with baking. My 1 Cup measures 240 ml.

* If using dry active yeast, substitute 2 tsp instant yeast with 1 Tbsp dry active yeast. Also dry active yeast needs proofing before adding to the dough. Refer my Wheat pav recipe to see how to proof yeast.

* IMPORTANT: The dough should be very sticky at first to get a good soft, fluffy bread. So make the dough sticky and knead well using hands or kneader for atleast 8 mins. It really makes a wonderful difference to the texture.

* Both the rise times depend on the weather in your area. In warm places, it rises very quickly as compared to cold places. So keep for the first rise till if doubles and second rise till it rises above the pan level.

* The length of my loaf pan is 20 cm. If you choose a longer loaf pan, the bread may not get height for 3 Cups flour. So best is to use a 20 cm pan for 3 Cups of flour to get the bread as shown in my pictures.

* Do not be tempted to open the doors atleast till 20 mins into the baking time. Else the bread won’t bake properly.

* Milk brush gives it a nice golden colour. So don’t skip it.

* Also don’t forget to brush with butter as soon as it’s out of the oven so that the bread remains soft on the crust.

* This wheat bread lasts well for a day at room temperature. Ours has never lasted after that as it gets finished off quickly.

* You can also try my Wheat pav recipe.

* You can also try all my healthy bake recipes:

Healthy Bakes collection

Click on the image to save the recipe on Pinterest

Instant Ragi Idlis

I have already posted two varieties of instant Idlis, Instant Oats Idlis and Instant Rava idlis. This is the third variety, Instant Ragi Idlis. Since these Idlis use Eno fruit salt (which is equivalent to baking soda), I make any one of these variation only once a week as it is considered not as healthy compared to naturally fermented idlis.

My kids love these Ragi Idlis as I have called them chocolate Idlis since they were babies. Used to make their idli without Eno and still they loved it. So now whenever the idli steamer is up on the stove top, my daughter comes running to ask if it’s chocolate idli. 😁

So glad they both love Ragi. It is full of calcium and very good for bone health. Though not people’s favourite because of its colour and distinct flavour, we love this millet as we have been using it is our regular cooking since many years now. Ragi Chocolate cake is our favourite and also a hit among my readers. So many have tried and posted feedbacks that their kids too loved it.

Anyhow, hope you all love these Idlis too. Happy and healthy cooking!

RECIPE:

Ingredients: { Makes about 12 to 14 Idlis}

1 Cup = 240 ml

1 Cup Ragi flour/ Finger millet flour

1 Cup Semolina/ Rava/ Sooji

1 Cup Curd

Salt to taste

1 tsp Eno fruit salt

Step by step recipe:

1. Take Sooji, ragi flour, curd and salt in a bowl. Add water little by little to make a thick batter whisking constantly to avoid lumps.

2. Add eno fruit salt to the batter and mix once.

3. Steam for 20 mins or till done.

Poke a knife to see if it is done. If the knife comes out clear, the Idlis are done.

4. We love these Idlis with Tomato chutney but you can make any chutney of your choice.

In the picture is shown Sambarpalli or ajwain leaves chutney. The colour of the chutney is not bright green as I have added only couple of leaves.

Notes:

* These Idlis are made exactly like I make Instant Oats Idlis. I just substitute oats with ragi powder.

* Don’t make the idli batter very thick nor very thin. It should be thicker than regular dosa batter consistency. Else the Idlis won’t come out well.

* 1 tsp Eno fruit salt can be substituted with 1/2 tsp baking soda plus 1/2 tsp lemon juice.

Instant Rava Idli

I had not even heard of rava Idlis before marriage. For me, Idlis meant either the regular idlis or sweet/ plain Idlis that we konkanis call mudho. Rava idli came into the picture as I started going to hotels with hubby and I became a huge fan of these unique kind of Idlis.

Little did I know that it would be so easy to make them at home. One try and I have never ordered them in restaurants after that. Almost 9 years later, I can now make these Idlis even in my dreams 😀 and it is in our regular breakfast menu.

I am sure most of you must be knowing the recipe but this is for those like me who did not know about it. Even if it helps one, I will feel it’s worthwhile. Happy cooking!

RECIPE:

Ingredients: (Makes around 8 to 10 Idlis)

1 Cup = 240 ml

1 Cup Rava / Sooji / Semolina

1/2 Cup Curd / Yogurt

1 tsp Oil

1/2 tsp Mustard seeds

1/2 tsp Cumin seeds/ Jeera

1/2 tsp split Urad dal

Few Cashews, chopped

Salt to taste

1 tsp Eno fruit salt (Substitute with 1/2 tsp baking soda + 1/2 tsp lemon juice)

Step by step recipe:

1. Heat oil in a pan and splutter mustard seeds. Add cumin seeds, urad dal and cashews. Fry for few seconds.

2. Now add rava and fry on medium flame till it changes colour slightly and turns aromatic.

3. Immediately transfer to a bowl and allow it to cool.

4. Once cooled, add curd, salt and about 1/2 Cup water and mix well.

The consistency of the batter should be slightly thick to make good rava Idlis.

5. Now add eno fruit salt and mix once. Do not mix a lot. Just one even mix will do.

6. Put the batter into greased idli moulds and steam for 20 mins or till done.

7. Serve with a chutney of your choice or sambar.

Notes:

* Don’t make the batter very thick nor thin. For 1 Cup rava, it took me 1/2 Cup curd and 1/2 Cup water to get the perfect batter.

* After adding Eno fruit salt, you must immediately steam the batter. The batter cannot be stored after adding Eno fruit salt.

* You can however fry the rava in the seasoning and store in the fridge or freezer. Add curd, salt, water, Eno fruit salt when making Idlis and steam.

* Allow the fried rava to cool before adding curd. Else it might form lumps.

* As already mentioned above, you can substitute 1 tsp Eno fruit salt with 1/2 tsp Baking soda plus 1/2 tsp lemon juice.

* You can also add grated carrots and coriander leaves to the batter, like I have added here.

Masala Oats Paratha

Click on the image to save the recipe on Pinterest

I have been unknowingly adding a lot of Oats recipes like Dates and Oats Cake , Oats and Mixed dal dosa, Instant Oats Idli and now this Masala Oats Paratha.

Some years back my friend had shared this recipe of Masala Oats Paratha. I had tried it many times and loved it too but somehow forgot it later as we usually have rice.

Yesterday I remembered it and made just few of them for dinner to see if the kids will like the change in taste. I was so happy when my daughter said “Amma, what is this? This is so yummy. Give me more. Can’t stop eating it.” And finally ate three of them instead of one that she usually eats. Even though I should not share this for the fear of evil eye, can’t resist as it made me so happy and out of the world. I am sure all mothers can understand how I feel.

Here’s sharing the recipe. Hope your family loves it too.

RECIPE:

Ingredients: { Makes around 8 Parathas}

For the outer dough:

3 Cups Whole wheat flour/ Atta

Salt to taste

Water as required to knead the dough

For the inner filling:

2 Cups Instant Oats

1/2 Cup Curd/ Yogurt

3 green chillies, finely chopped

A small piece of ginger, minced

3 garlic cloves, minced (optional)

Few curry leaves, finely chopped

2 Tbsp of finely chopped Coriander leaves

2 tsp Garam masala powder

1 tsp Red chilli powder

Salt to taste

Oil or ghee to cook the parathas

Step by step recipe:

1. Take wheat flour and salt in a bowl and add water. Knead to form a smooth dough. Keep aside.

2. Now take instant oats in another bowl and add curd one spoon at a time and keep mixing till it looks like one wet mixture. I required 1/2 Cup curd for 2 Cups Oats.

This should be the consistency of the mixture. It should be thick.

3. Now add ginger, garlic, green chillies, curry leaves, coriander leaves, garam masala powder, red chilli powder and salt.

4. Mix well and divide into equal portions.

5. Now divide the wheat dough also into equal number of balls. Take one and roll a little. Place one oats portion inside it.

6. Close and seal the edges.

7. Using dry flour, roll into a big circle like you roll regular parathas.

8. Now place it on a hot tava and cook both sides using ghee or oil.

9. Enjoy it hot with curd or any side dish. We love it with Amma’s tomato chutney.

Notes:

* Don’t add a lot of curd than required or you will have difficulty filling it if it is more wet.

* The masalas and spices are to taste. I sometimes skip garlic or curry leaves if I don’t have. It’s all upto how your family loves it.

* I take out the green chilly before feeding each bite to my kids. You could skip it from their mixture itself if needed.

Click on the image to save the recipe on Pinterest

For all my Oats recipes like idlis, dosas, pizza and cake, check out:

Oats Recipe Collection

Easy Mango Mousse

Click on the image to save the recipe on Pinterest

After easy Mango cupcakes, here is another easy mango mousse. I have made it for many parties and everyone have loved it a lot. The easiest dessert ever. Since this is mango season, I thought of sharing this as well. I have adapted this recipe from here.

My kids call it mango ice cream and love it very much.

Click on the image to save the recipe on Pinterest

RECIPE:

Ingredients: {serves 4}

1.25 Cups Mango pulp (fresh or canned)

1 Cup Yogurt/ thick curd

1/2 a tin sweetened condensed milk (around 200 grams)

Saffron strands/ Cardamom powder for flavour (optional)

Step by step recipe:

1. Add mango pulp in a blender jar.

2. Add Yogurt and sweetened condensed milk.

3. Add in saffron strands.

4. Blend for a minute until everything is combined well.

5. Pour into individual OVEN PROOF molds.

Please keep it to set in small bowls. These bowls are very small and largest one is only about the size of my palm.

6. Preheat the oven at 180 C for 10 mins. Then SWITCH IT OFF. We need only the warmth of the oven. No need to bake the mousse. So don’t forget to switch off the oven after preheating it.

7. Place the mousse inside the oven covered overnight or for 8 hours.

Cover with a foil when you keep. I have not shown in this picture.
Please note that the oven is OFF before placing the bowls. OFF all night.

8. After keeping overnight, see how well it sets.

Perfect mousse

9. Now keep it in the fridge for couple of hours for it to cool.

Enjoy chilled mousse topped with little chopped dry fruits if needed!

Click on the image to save the recipe on Pinterest

Notes:

* If you don’t have oven, just keep them covered in the warmest place of your house and it will set overnight. Just that it may not turn set completely but still turns delicious.

* Make sure the mango pulp is thick and not watery. Alphonso mangoes or its canned pulp gives best taste to this mousse.

* The curd/ yogurt should be thick and not watery to be used in this recipe. If it is watery, sieve and use.

* Do NOT add water at all while blending.

* Both fresh mangoes or canned mango pulp can be used in this recipe.

* Do NOT bake this in the oven. Preheat the oven and SWITCH IT OFF. Then place it inside. Make sure the dishes are oven proof. Else may break in the heat.

* You can easily double or triple the measurements for making in bulk.

* I have also made in bulk for a party in disposable aluminium ware. You could use that too. Here is a picture:

Easy to serve individual portions. Note that I have filled less than half of the bowl. If you put large quantity, it won’t set.

* If kept for setting in a large casserole or bowl instead of small bowls, it does not set as much but still tastes the same. But please keep it to set in small size bowls if you can.

Creamy and delicious!

I have tried to note down as much points as possible so that it’s easy for you all to follow but if you still have any doubts, either comment here or message me on my Facebook page Healthy cooking with mitha or on my Instagram handle and I would be happy to help.

I have compiled some of my easiest healthy sweet recipes so that people who don’t have time, yet wish to make some delicious sweets can try. They are all sweets that can be made within 15 mins. Hope it will be helpful for all of you.

Easiest ready in 15 min sweet recipes collection