As easy as this pudding is, I was still having doubts whether I should share this or not. It does come out tasty and tastes like papaya jelly (without gelatin, of course) but since we are using fresh fruit instead of any artificial essence, a slight bit of peel can turn the pudding bitter.
I learned this pudding from my friend Sandhya Puranik who had shared it in a food group. Many had tried it after that and I was inspired by them. Papaya has a natural tendency to set when blended and refrigerated. This recipe makes good use of it while setting it like a pudding.
I make the pudding regularly when I get really ripe papaya and we are bored of eating it as it is. The kids, especially my toddler loves it a lot and thinks it’s ice cream. 😀
Do read the notes at the end to make successful papaya pudding. Hope you all enjoy it too. Happy and healthy cooking!
RECIPE:
Ingredients: {Serves 2}
2 Cups Papaya (ripe portion only)*read notes
1 Tbsp Milk
2 Tbsp Sugar
1/2 tsp Vanilla essence
Step by step recipe:
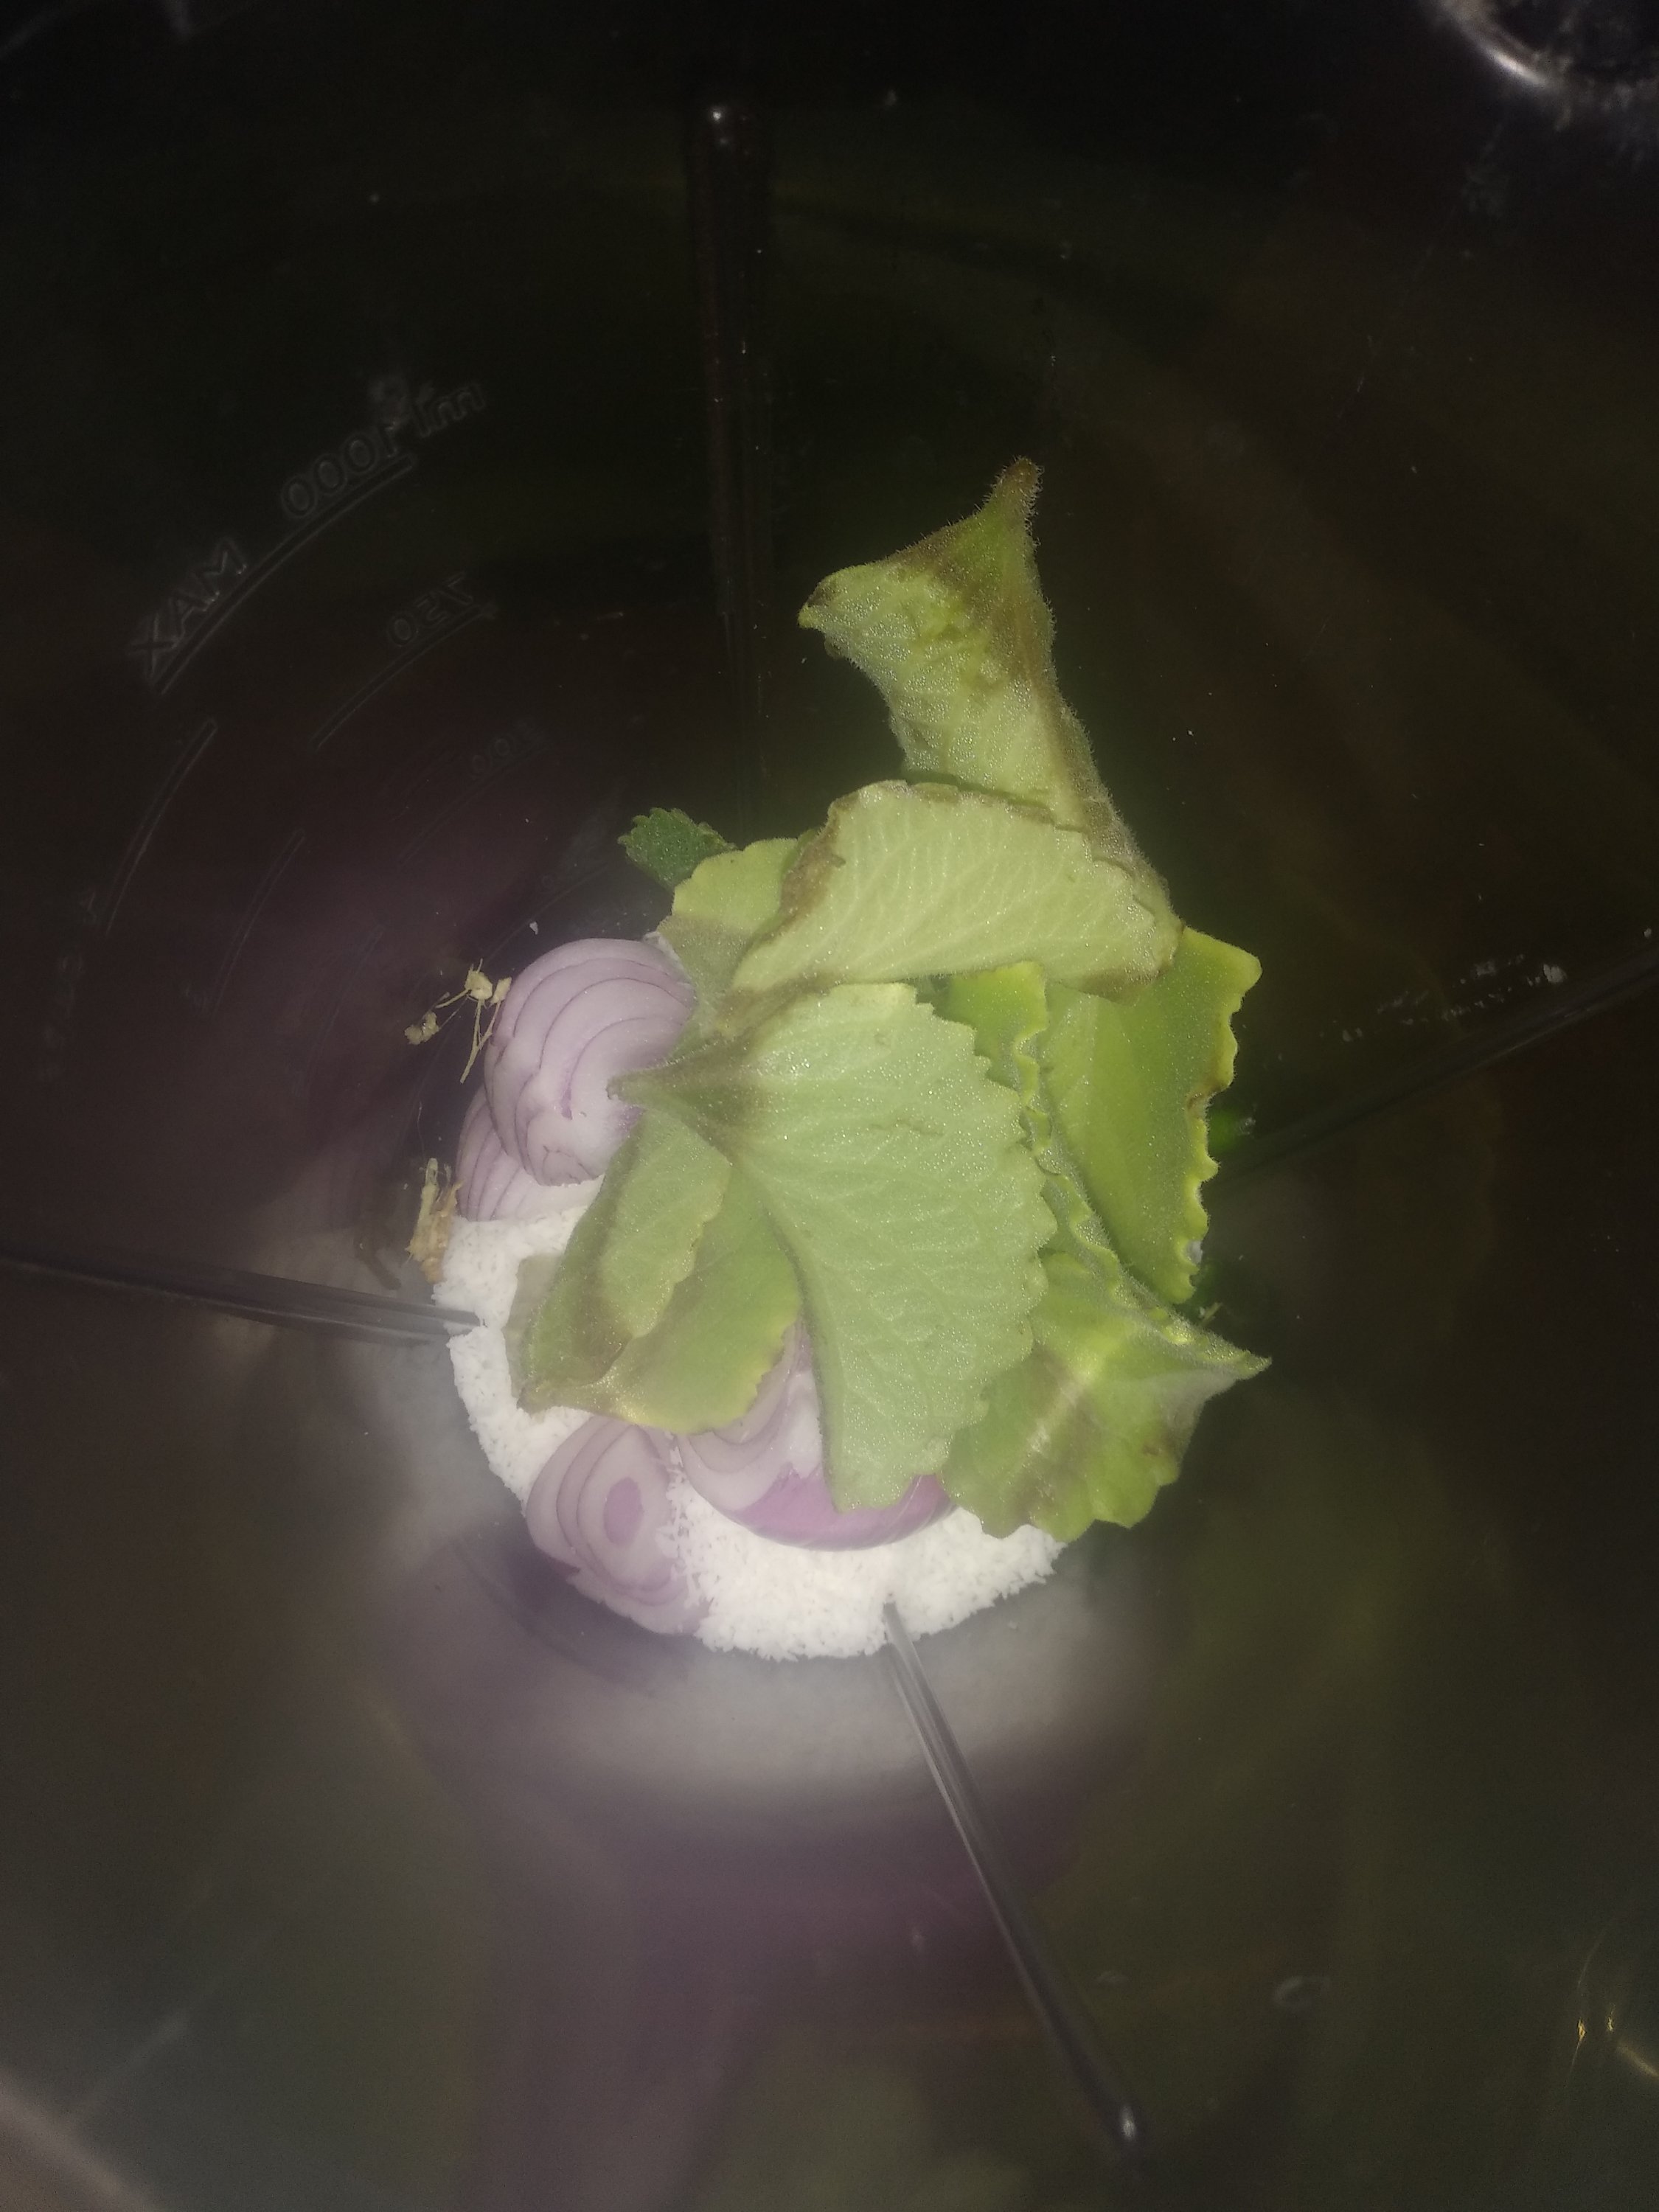
1. Put the chopped Papaya along with milk, sugar and vanilla essence in a blender.
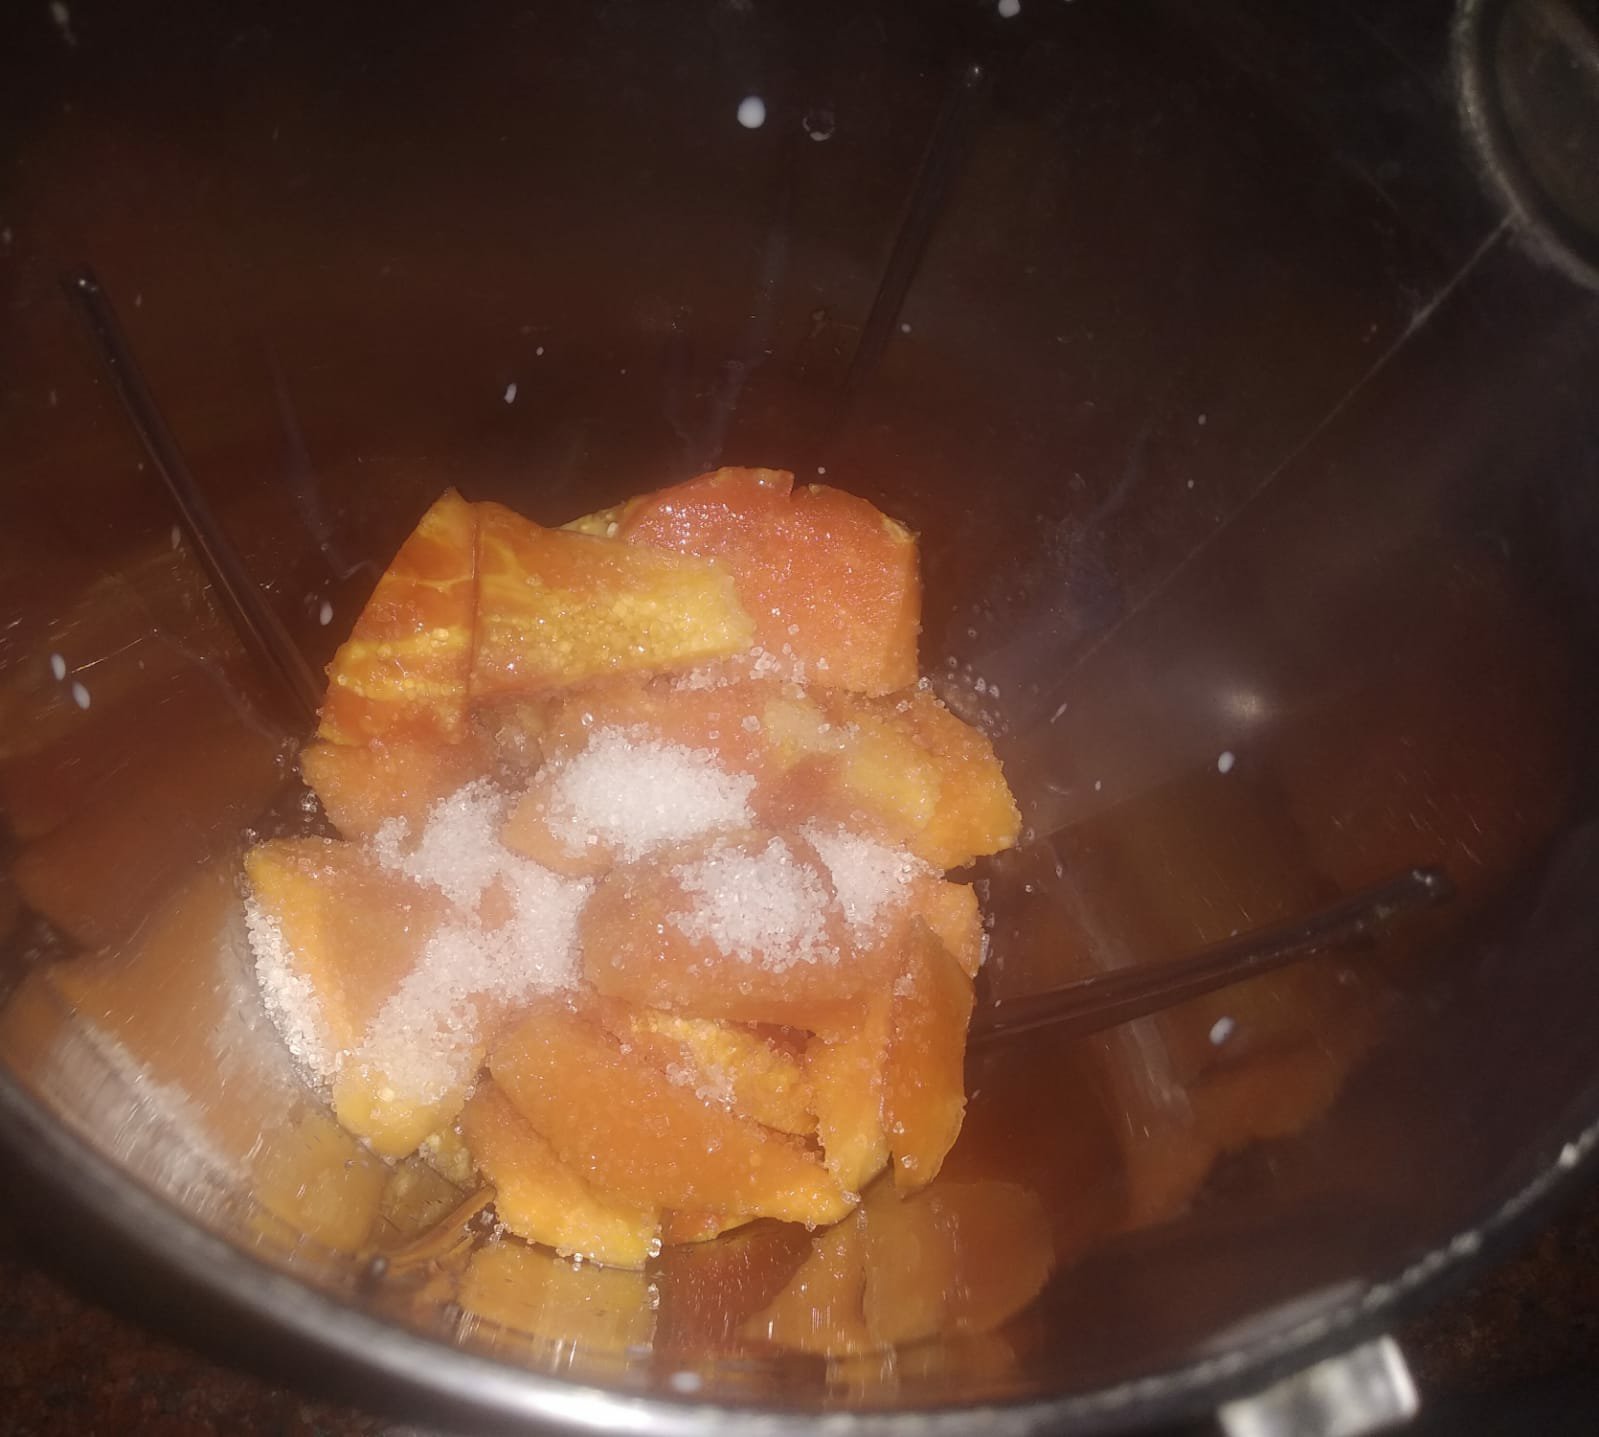
2. Blend till it turns smooth. Please do NOT add water at all. Else the pudding won’t get the texture. Pulse and blend till smooth.
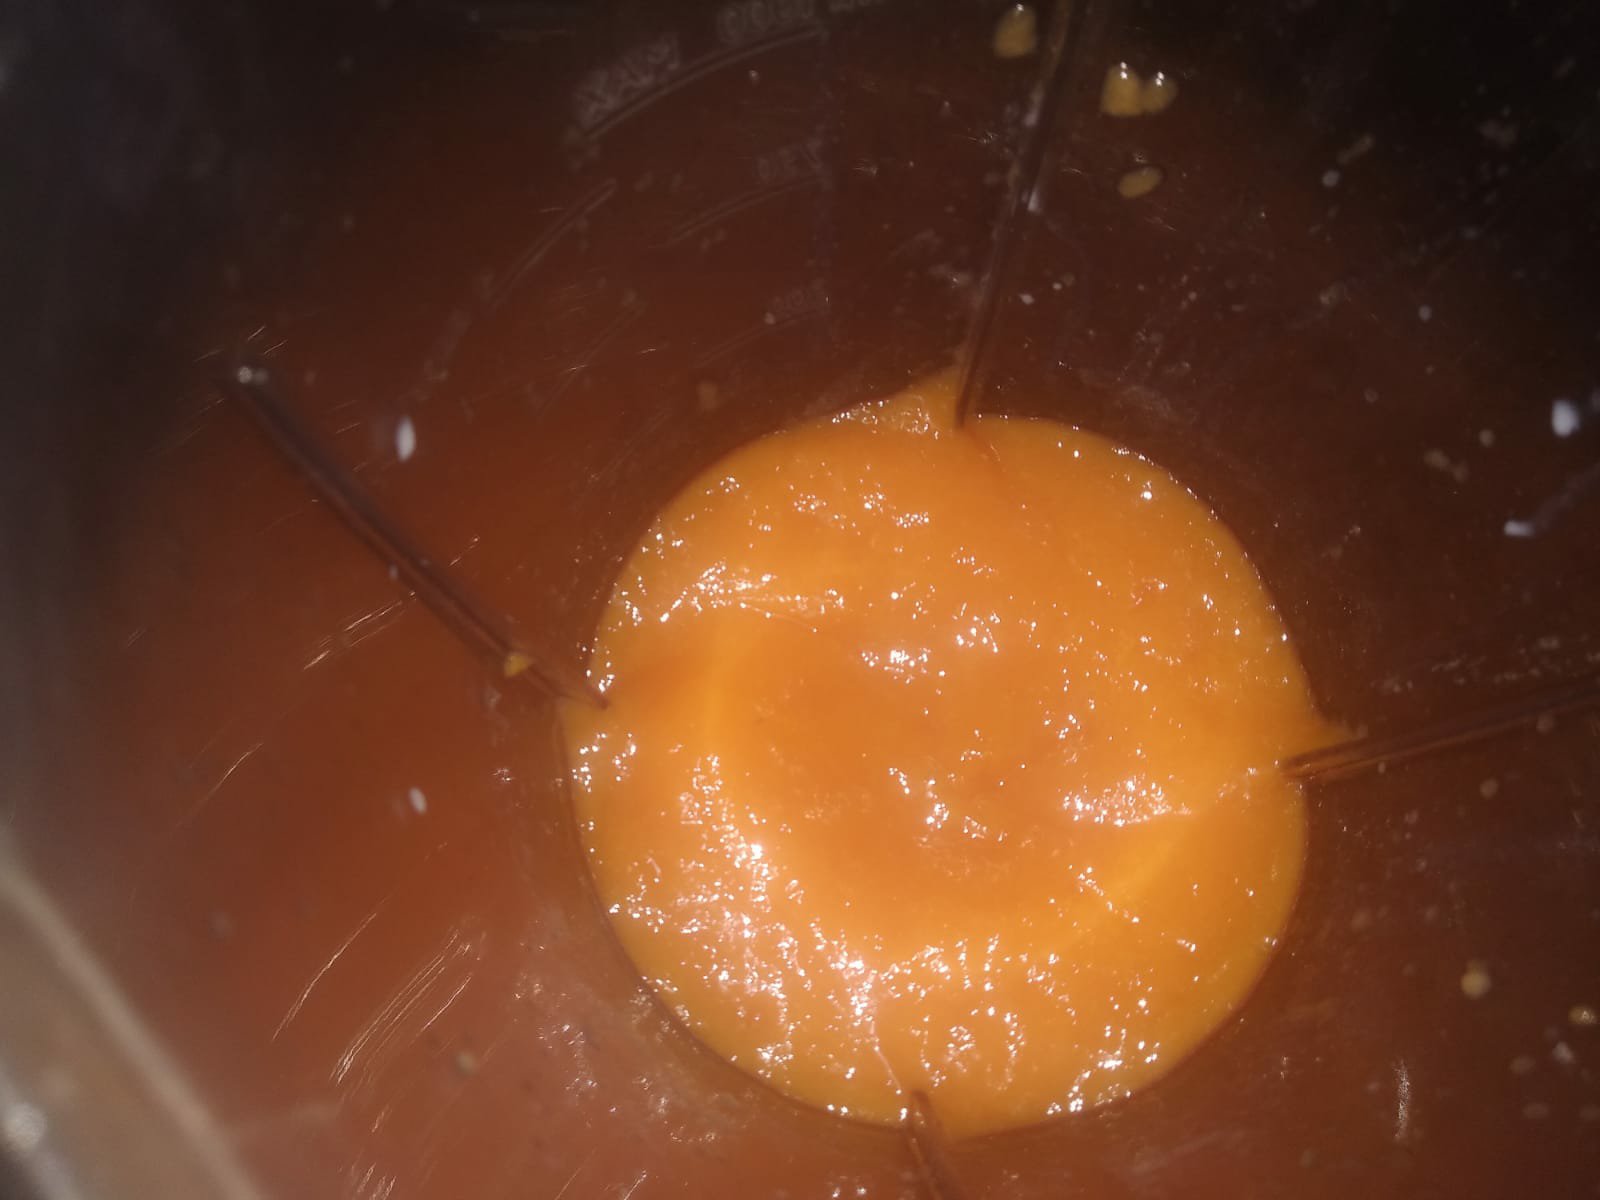
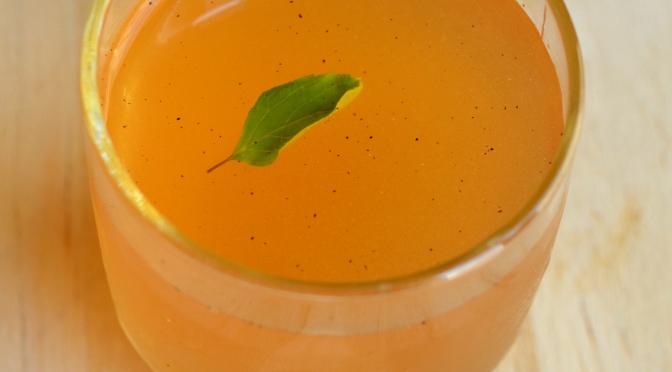
3. Pour into a bowl and refrigerate for two to four hours till it sets.

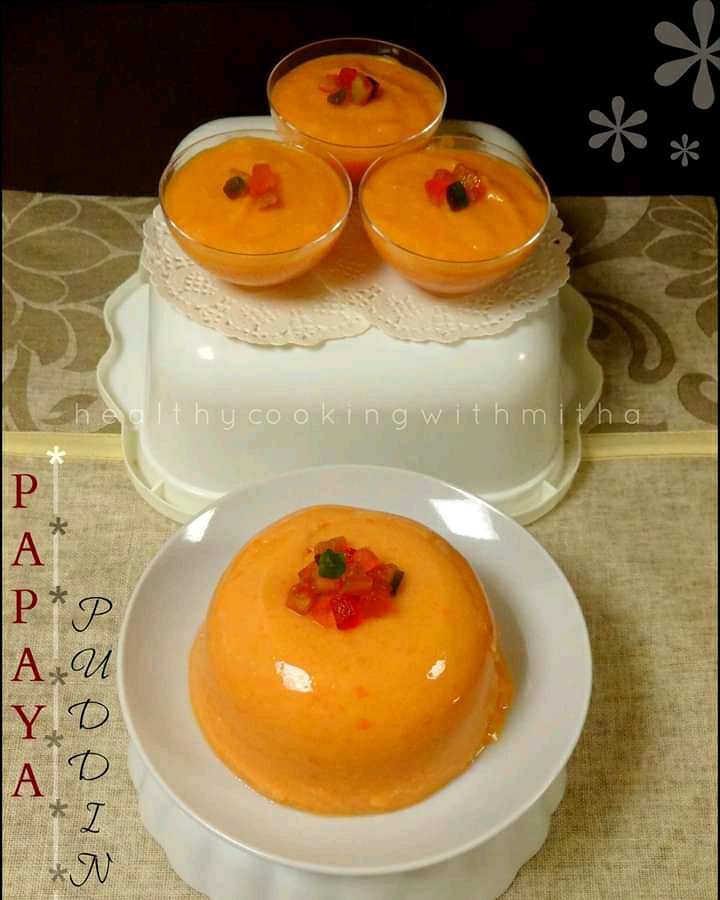
4. Unmold or enjoy from the bowl itself. Slice and enjoy if you are lucky enough to get the right texture!

Notes: {Important to read before you try so as to avoid the pudding getting bitter or not setting}
* Please be very careful to use only ripe and sweet tasting papaya for this recipe.
* Pick the ripest papaya and scoop the flesh of the fruit using spoon. Do NOT add the thick portion near the skin. If you take the papaya near to skin, the pudding tastes bitter.
* Do not add water at all while grinding. Also don’t use more milk than mentioned.
* If the papaya has more water content, you won’t be able to unmold the pudding and slice like I have shown in the picture above but you can eat directly from the bowl without unmolding it. Tastes same!!
* Sugar also depends to taste and the sweetness of papaya.
* Refrigerate for overnight too if it does not set but cover well so that the pudding does not leave water. Do NOT freeze it. It requires only refrigeration.