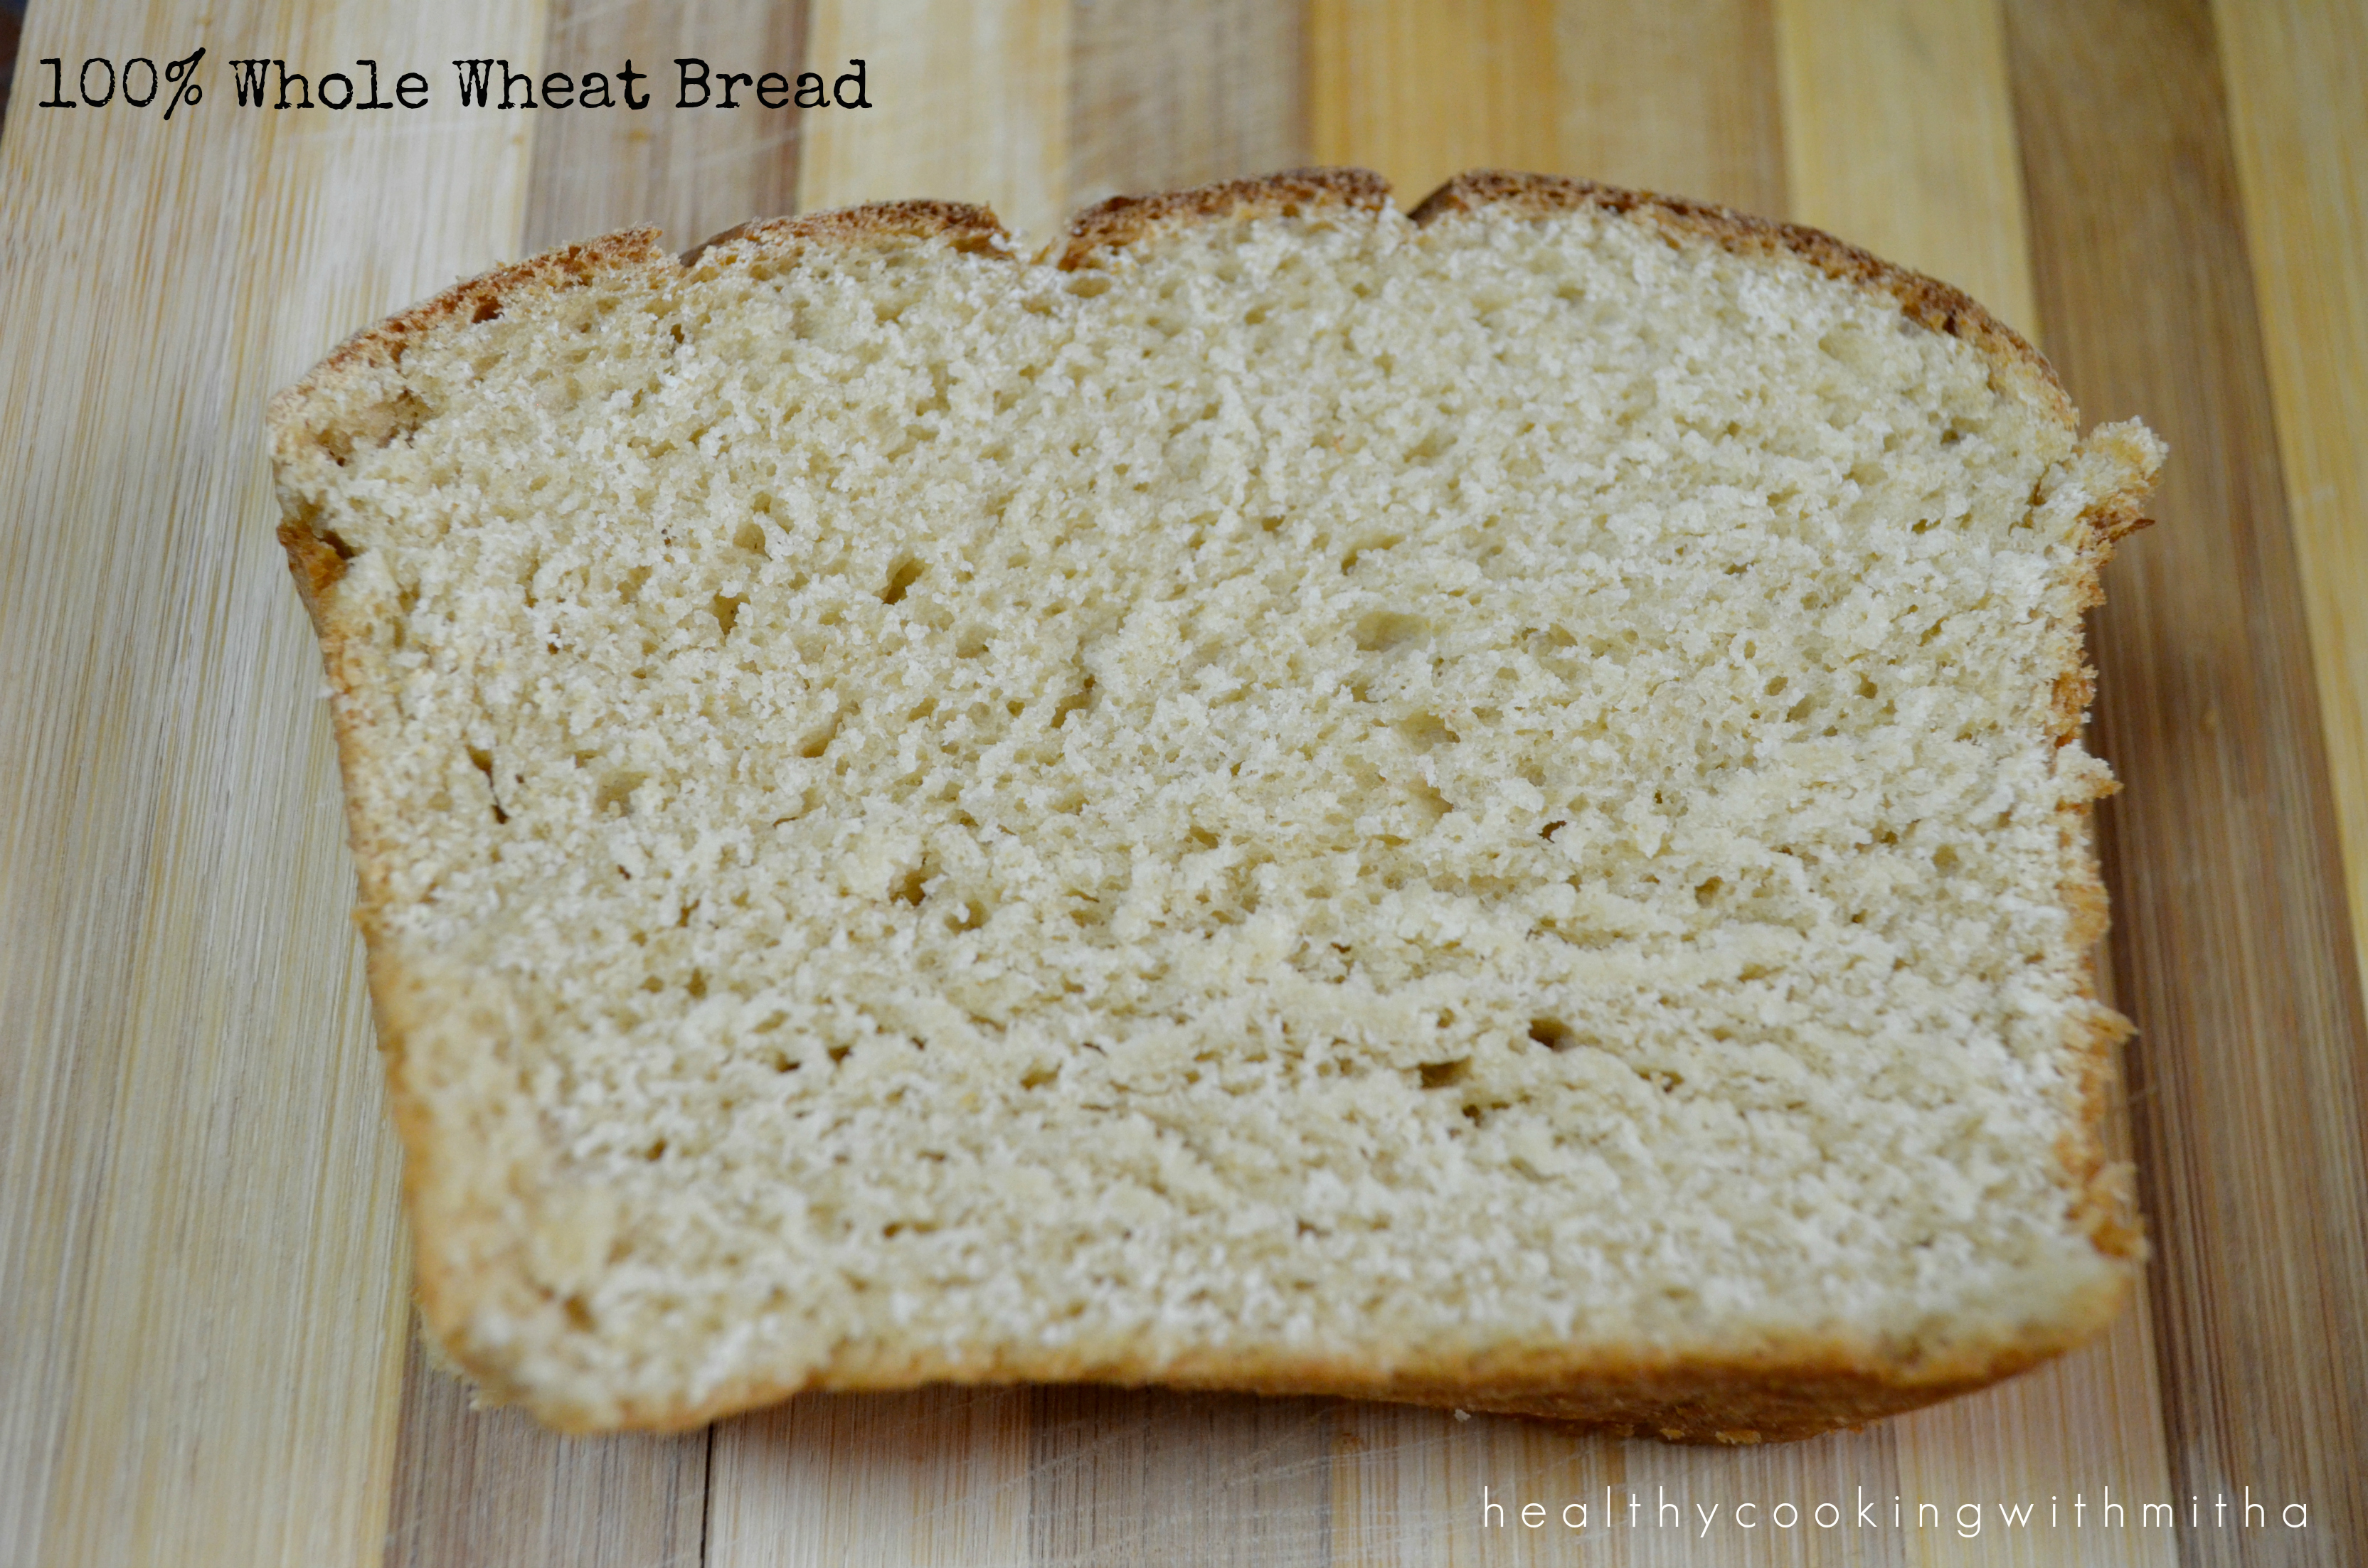
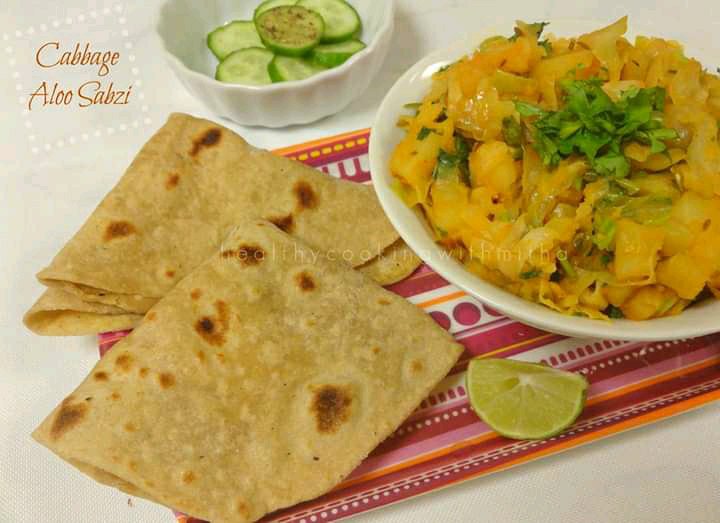
My journey with bread baking started many years ago and after numerous trials, I am happy to say that I can now bake a perfect whole wheat bread. My kids love this bread and prefer it anyday over store bought ones even though it’s been long we have not bought our bread. I bake it freshly when needed and it’s not difficult too.
Just a matter of practice and following the steps well. This recipe has been most requested for by my readers and I am very happy that finally it is ready to share with all of you.
As always, do let me know if you have any doubts and it would be my pleasure to help. Happy baking!
RECIPE:
Ingredients:
3 Cups whole wheat flour/ Atta (I usually use Pillsbury brand)
1 to 1 1/2 Cups water (depending on the brand of atta)
2 tsp Instant yeast
1 tsp Salt
2 tsp Jaggery/ Brown sugar/ regular sugar
2 Tbsp Yogurt or thick curd
3 Tbsp Ghee (plus 1 Tbsp to coat the dough before rise)
Little milk to brush the dough before baking
Little butter to brush the dough after baking
Step by step recipe:
1. Take 3 Cups of wheat flour. Add instant yeast, sugar, salt, yogurt and ghee.
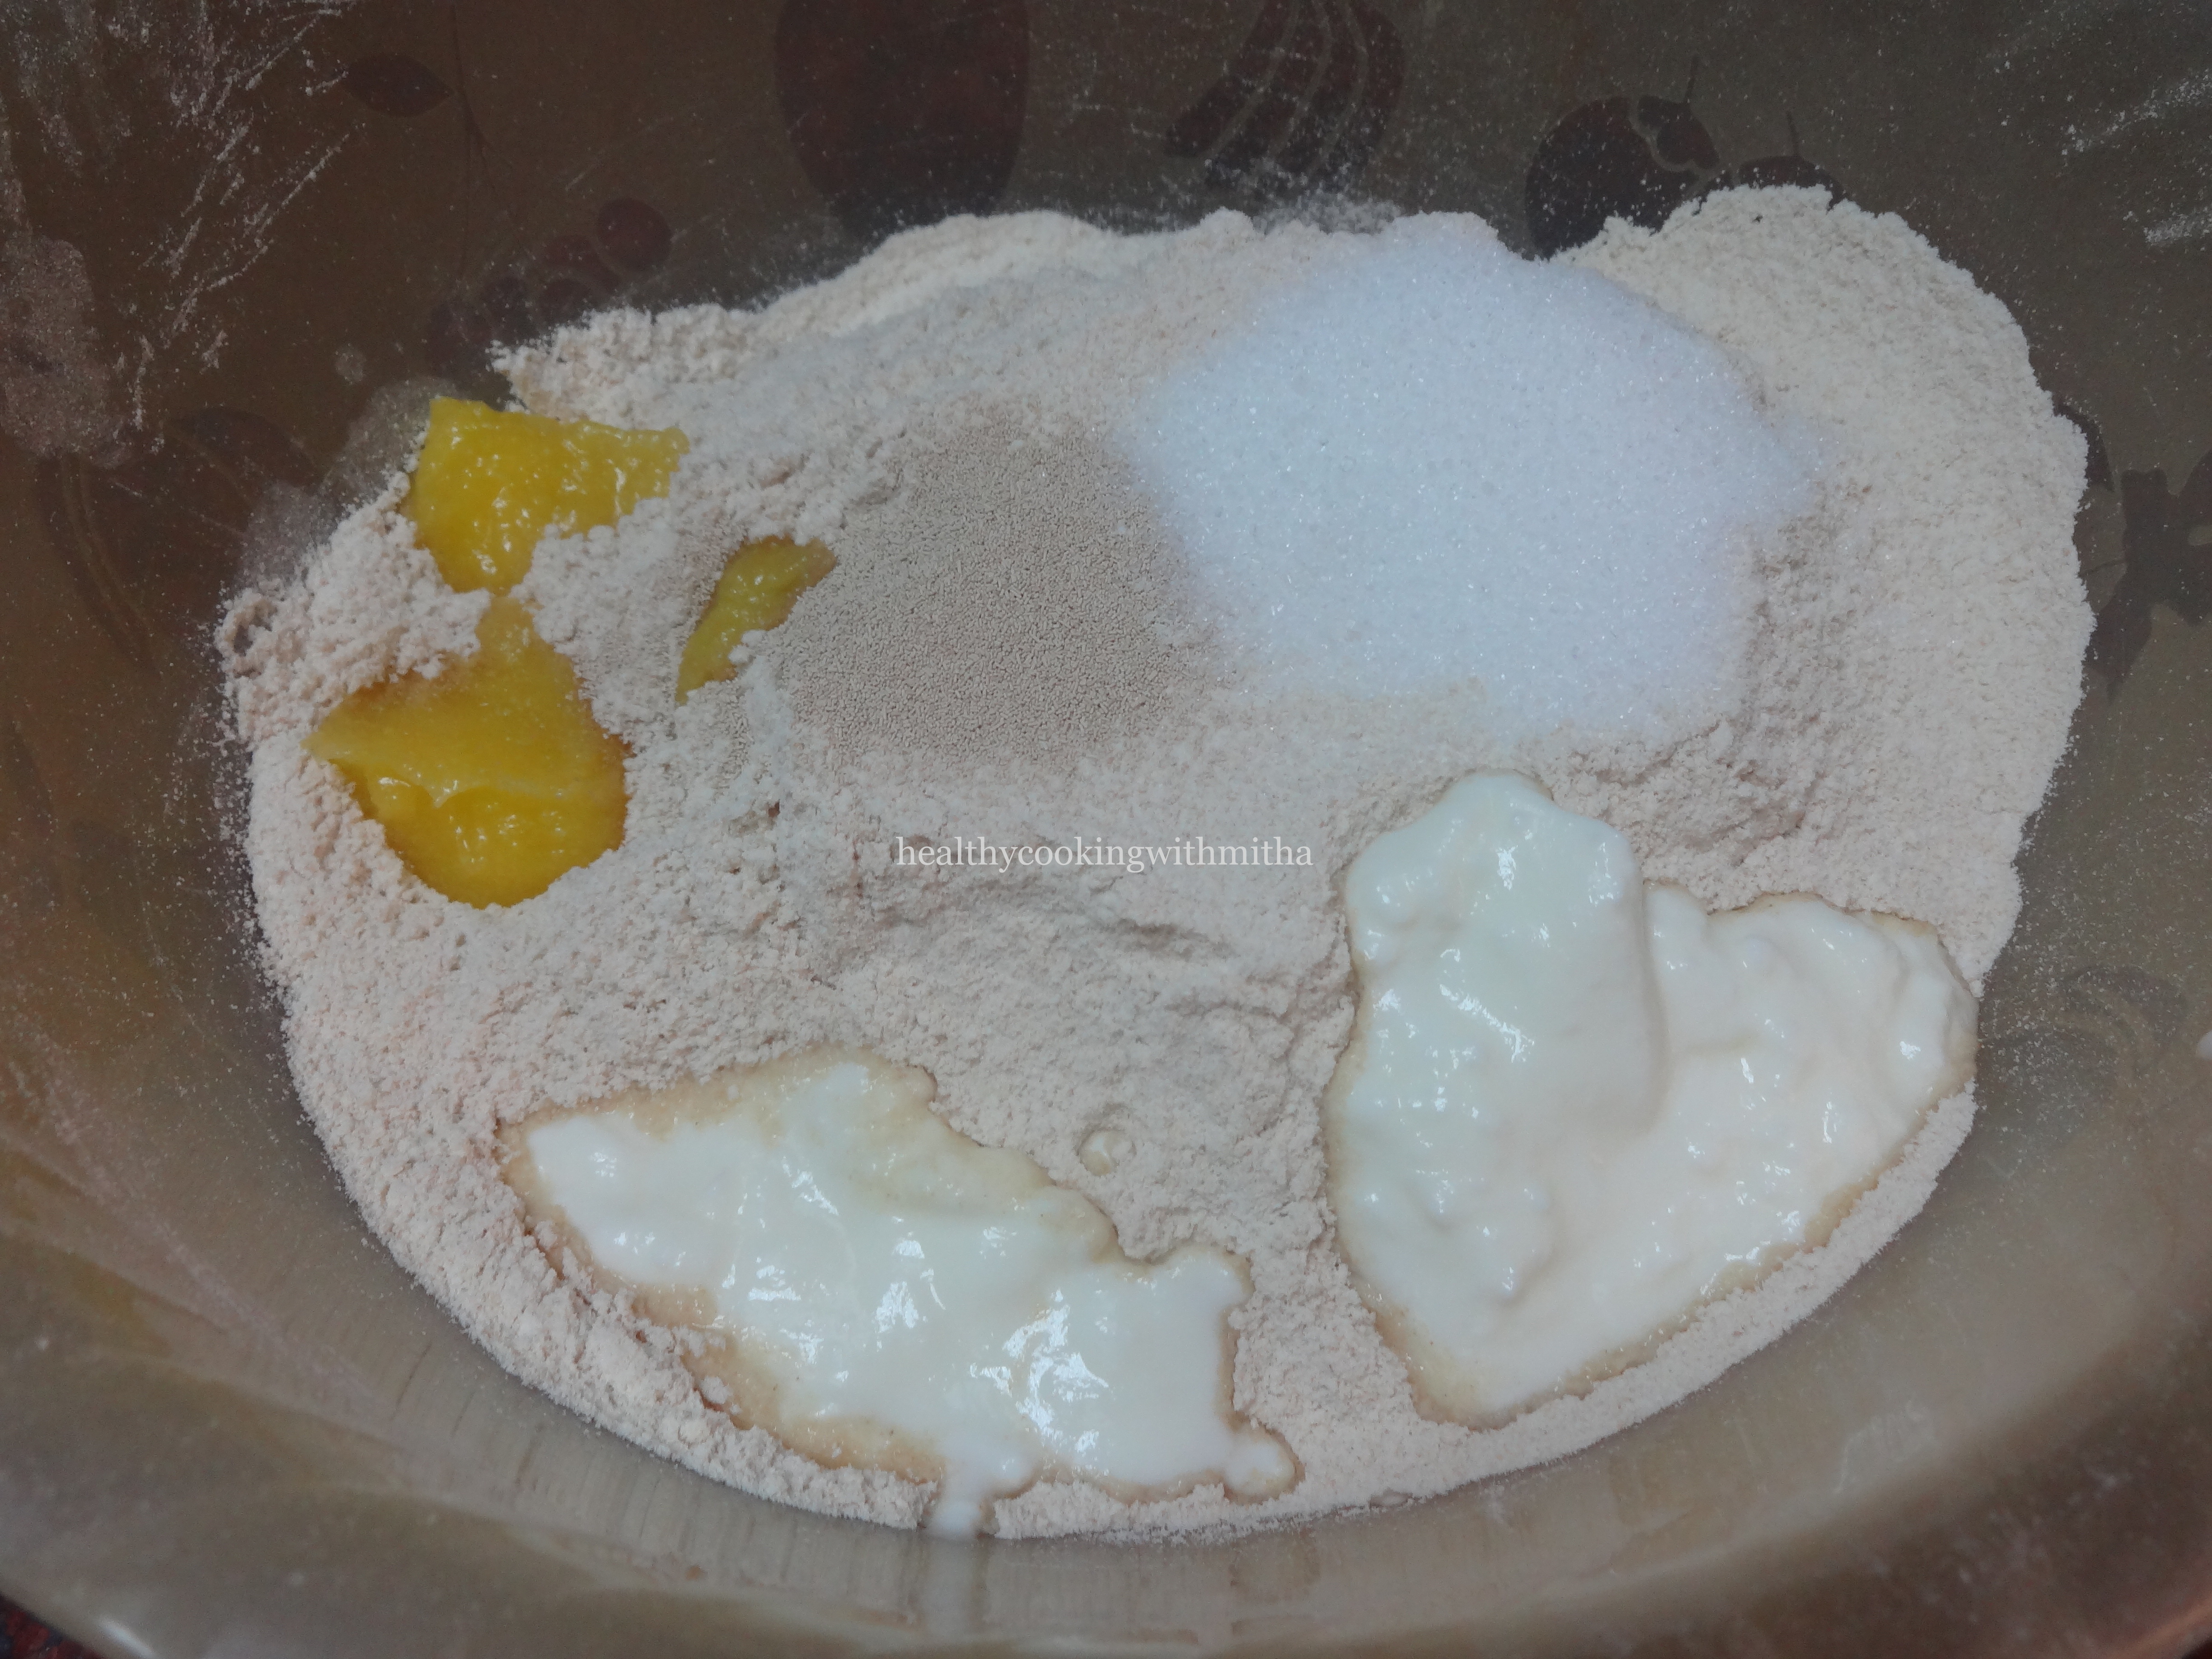
2. Mix well using a spatula or hands.
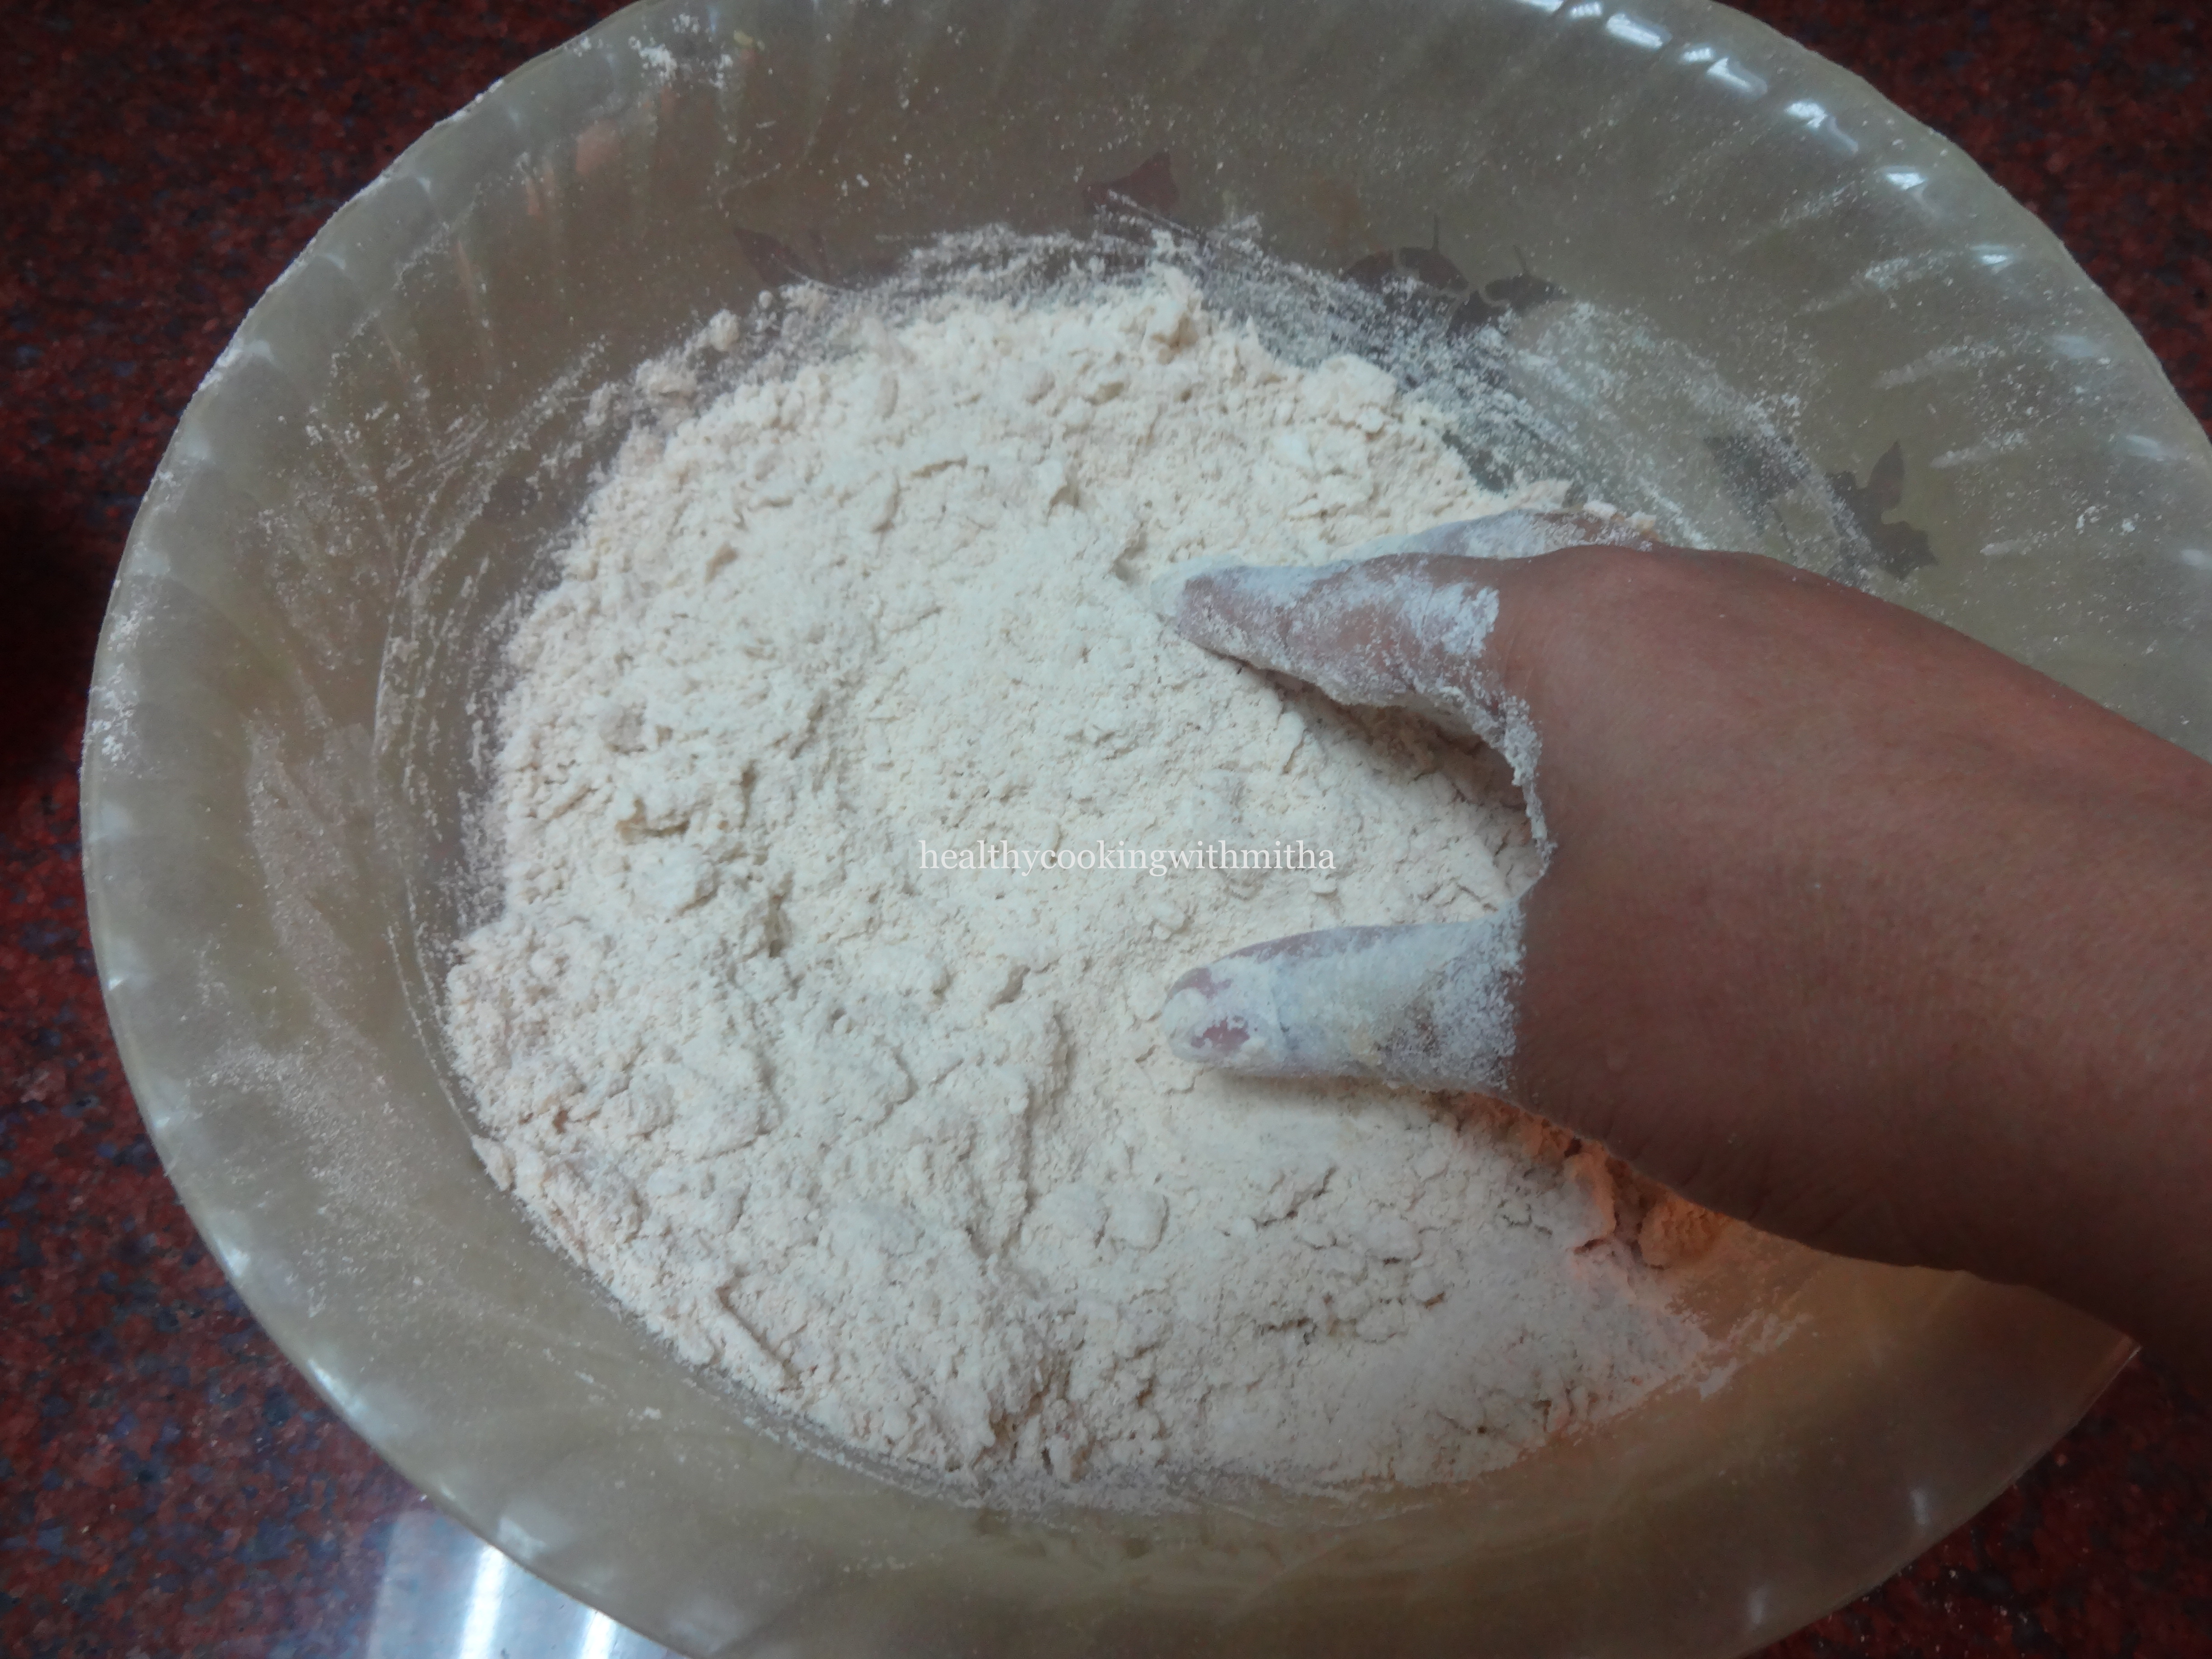
3. Add water and knead well. The dough should be very sticky. Now knead for 8 to 10 mins till it becomes a smooth dough as shown.

4. Coat the dough with ghee or oil and keep covered for 1 hour in a warm place or till it has doubled in size.

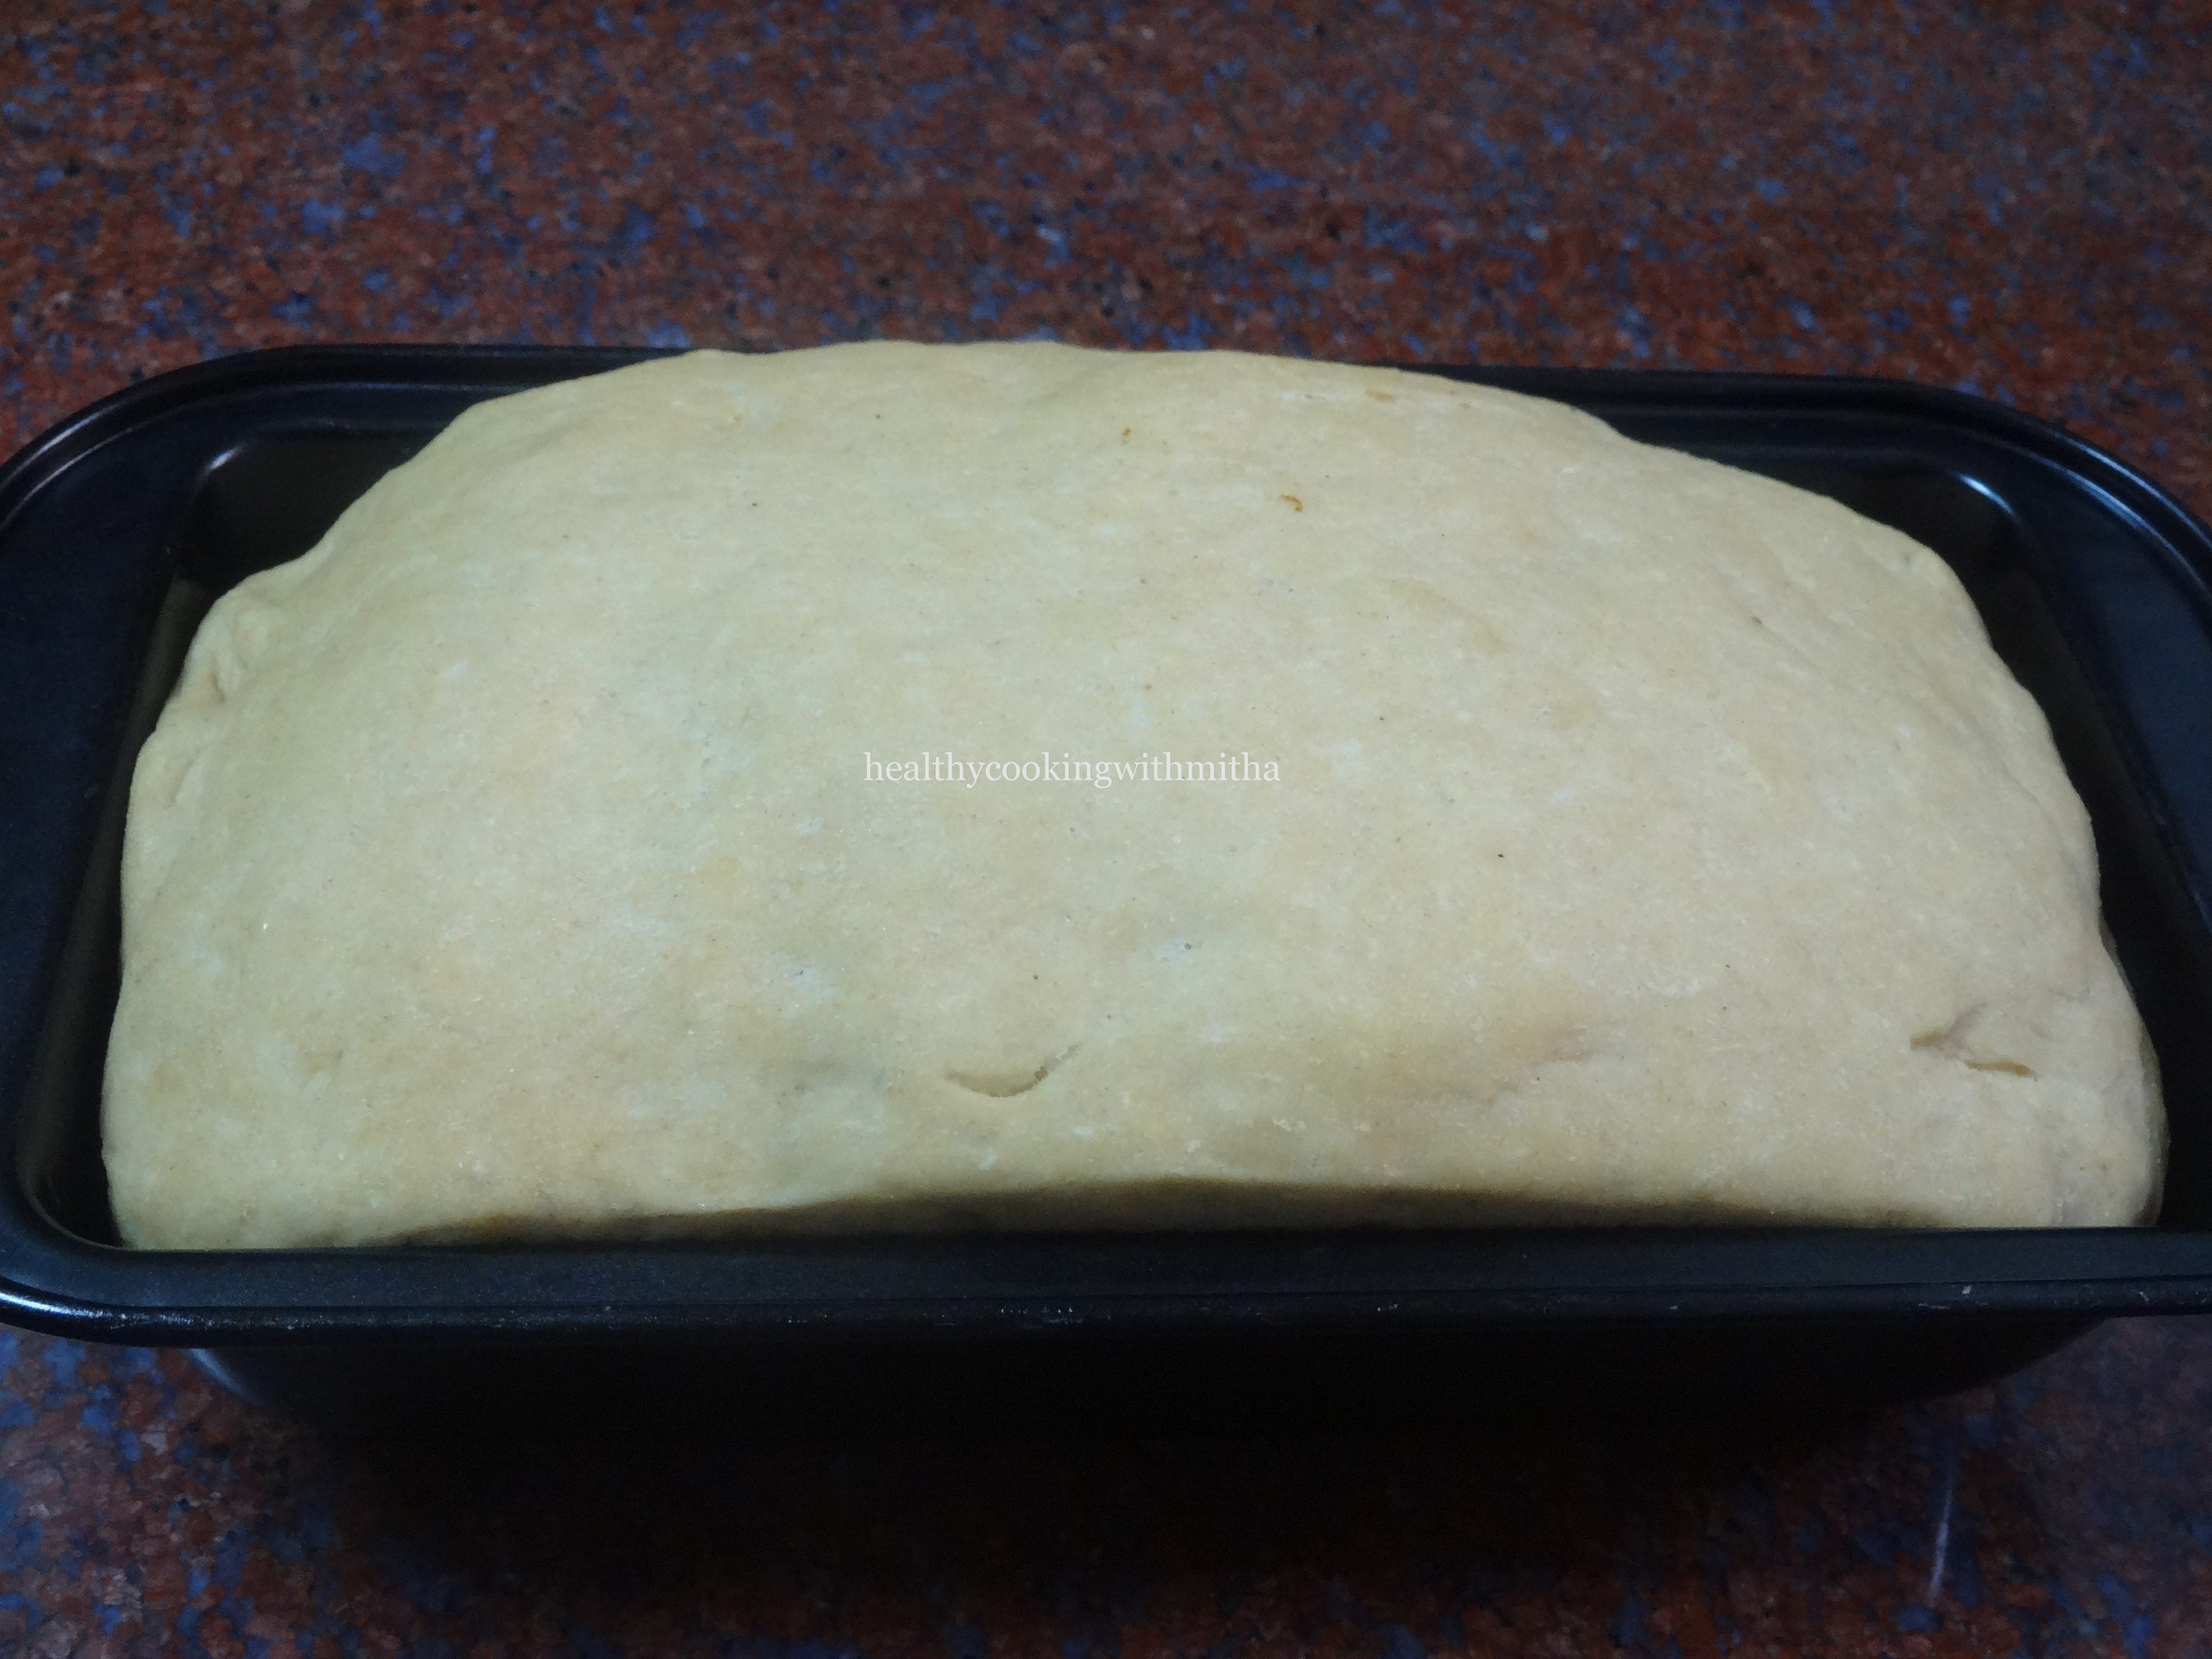
5. Now after it has doubled, put the dough in a loaf pan and level the surface as shown.

6. Again keep for about 45 mins to one hour till the dough raises above the rim of the loaf pan as shown.
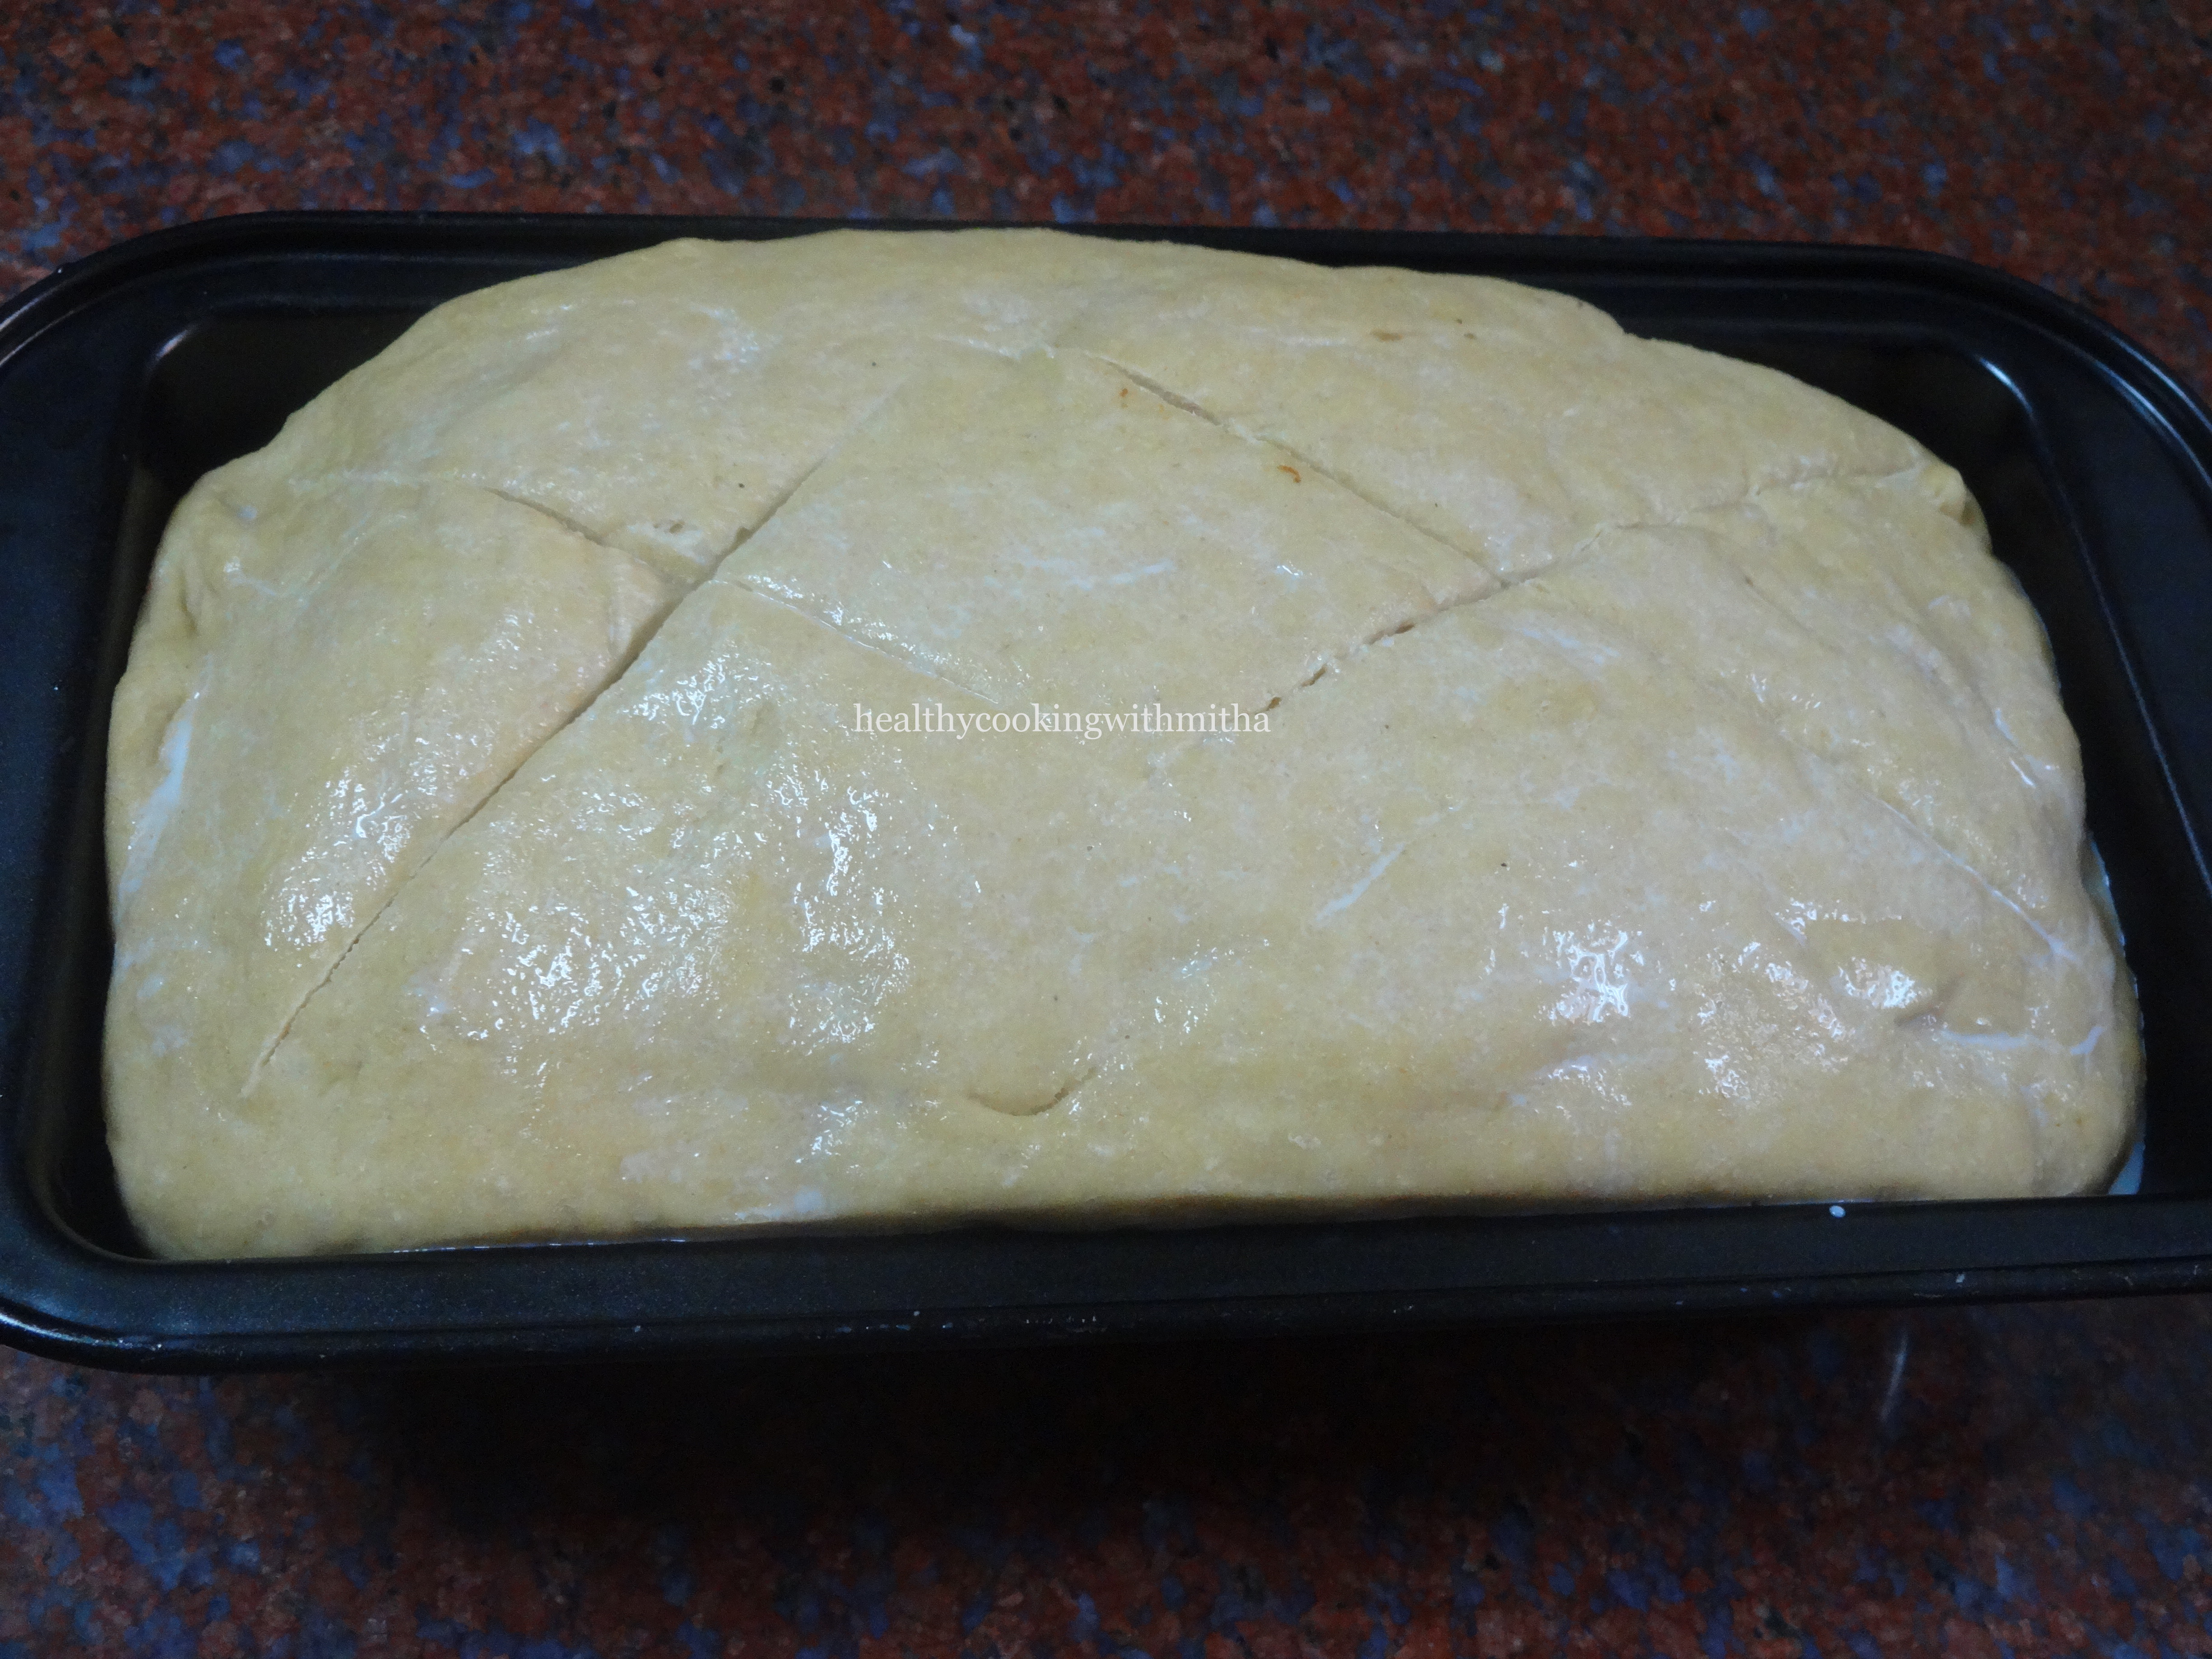
7. Now brush the surface lightly with milk and make cross signs over the bread as shown.
8. Preheat the oven at 180 C for 10 mins.
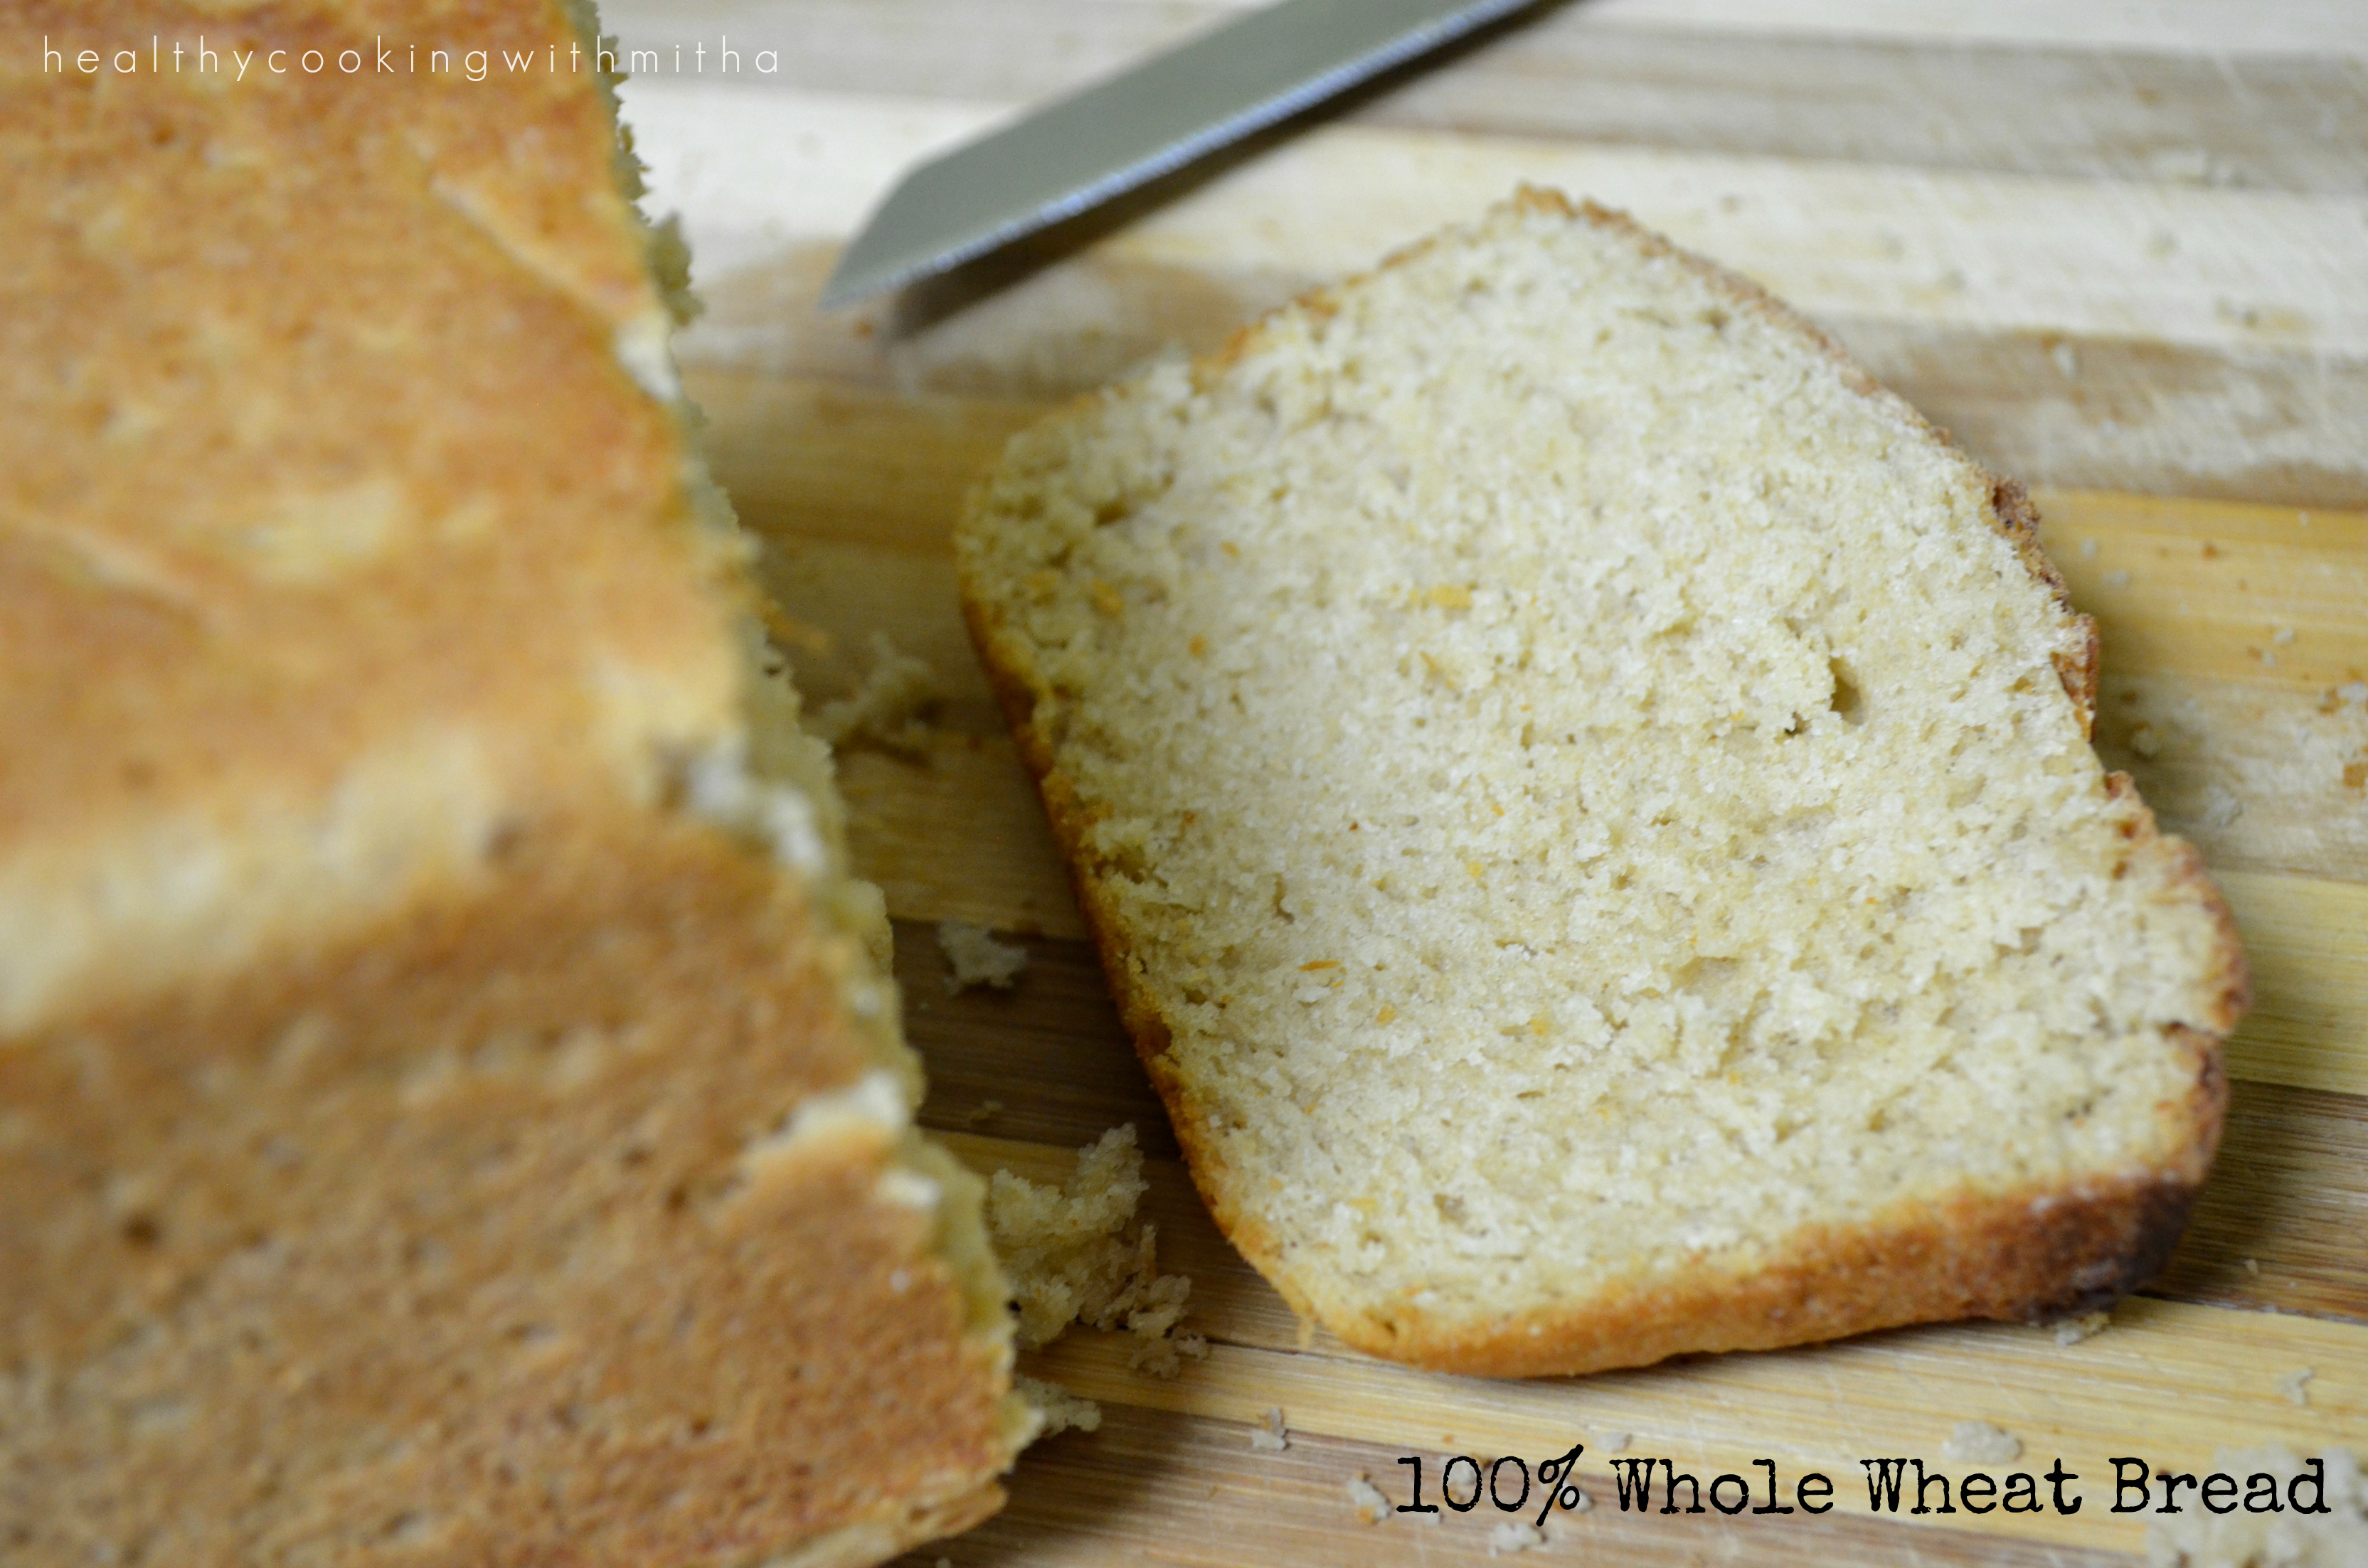
9. Bake the bread at 180 C for 30 mins or till the surface of the bread turns brown in colour.

10. Now brush the surface with butter so that the crust remains soft.
11. Allow it to cool completely before you remove the bread. Use a knife at the sides and gently remove the bread from the pan.

12. Slice and enjoy!
Notes:
* First of all, bread making is not as easy as it looks and you might not get perfect result the first time in terms of texture. But as you bake more, you will be proud of how well a wheat bread you can bake. So keep trying!
* Please use measuring cups for best results with baking. My 1 Cup measures 240 ml.
* If using dry active yeast, substitute 2 tsp instant yeast with 1 Tbsp dry active yeast. Also dry active yeast needs proofing before adding to the dough. Refer my Wheat pav recipe to see how to proof yeast.
* IMPORTANT: The dough should be very sticky at first to get a good soft, fluffy bread. So make the dough sticky and knead well using hands or kneader for atleast 8 mins. It really makes a wonderful difference to the texture.
* Both the rise times depend on the weather in your area. In warm places, it rises very quickly as compared to cold places. So keep for the first rise till if doubles and second rise till it rises above the pan level.
* The length of my loaf pan is 20 cm. If you choose a longer loaf pan, the bread may not get height for 3 Cups flour. So best is to use a 20 cm pan for 3 Cups of flour to get the bread as shown in my pictures.
* Do not be tempted to open the doors atleast till 20 mins into the baking time. Else the bread won’t bake properly.
* Milk brush gives it a nice golden colour. So don’t skip it.
* Also don’t forget to brush with butter as soon as it’s out of the oven so that the bread remains soft on the crust.
* This wheat bread lasts well for a day at room temperature. Ours has never lasted after that as it gets finished off quickly.
* You can also try my Wheat pav recipe.
* You can also try all my healthy bake recipes: