As I have mentioned before, my kids love dosas and my two year old associates breakfast with “Bobbo” {dosa in baby language in Konkani}. So I get creative and make dosas of many varieties. 😊
This was one such experiment which I got inspired from the famous Pesarattu dosa which uses moong and rice. I thought why not sprout moong and use as sprouting increases the nutritional value so much. Also I substituted rice with oats as oats is a super food specially for lactating mothers. ❤️
So the super food combination gave birth to this dosa which is very tasty too. Its different than the regular dosa that you eat in restaurants but still tastes delicious. Importantly it’s approved by my kids and hence I make it atleast once in couple of weeks. What better way to feed them sprouts in the way they love the most – The dosa way! 😀
RECIPE:
Ingredients: { about 15 dosas}
4 Cups Moong sprouts {got by soaking 2 Cups dried whole moong /green gram}
1 Cup Instant Oats
Salt to taste
Ghee or Oil to cook the dosa
Step by step recipe:
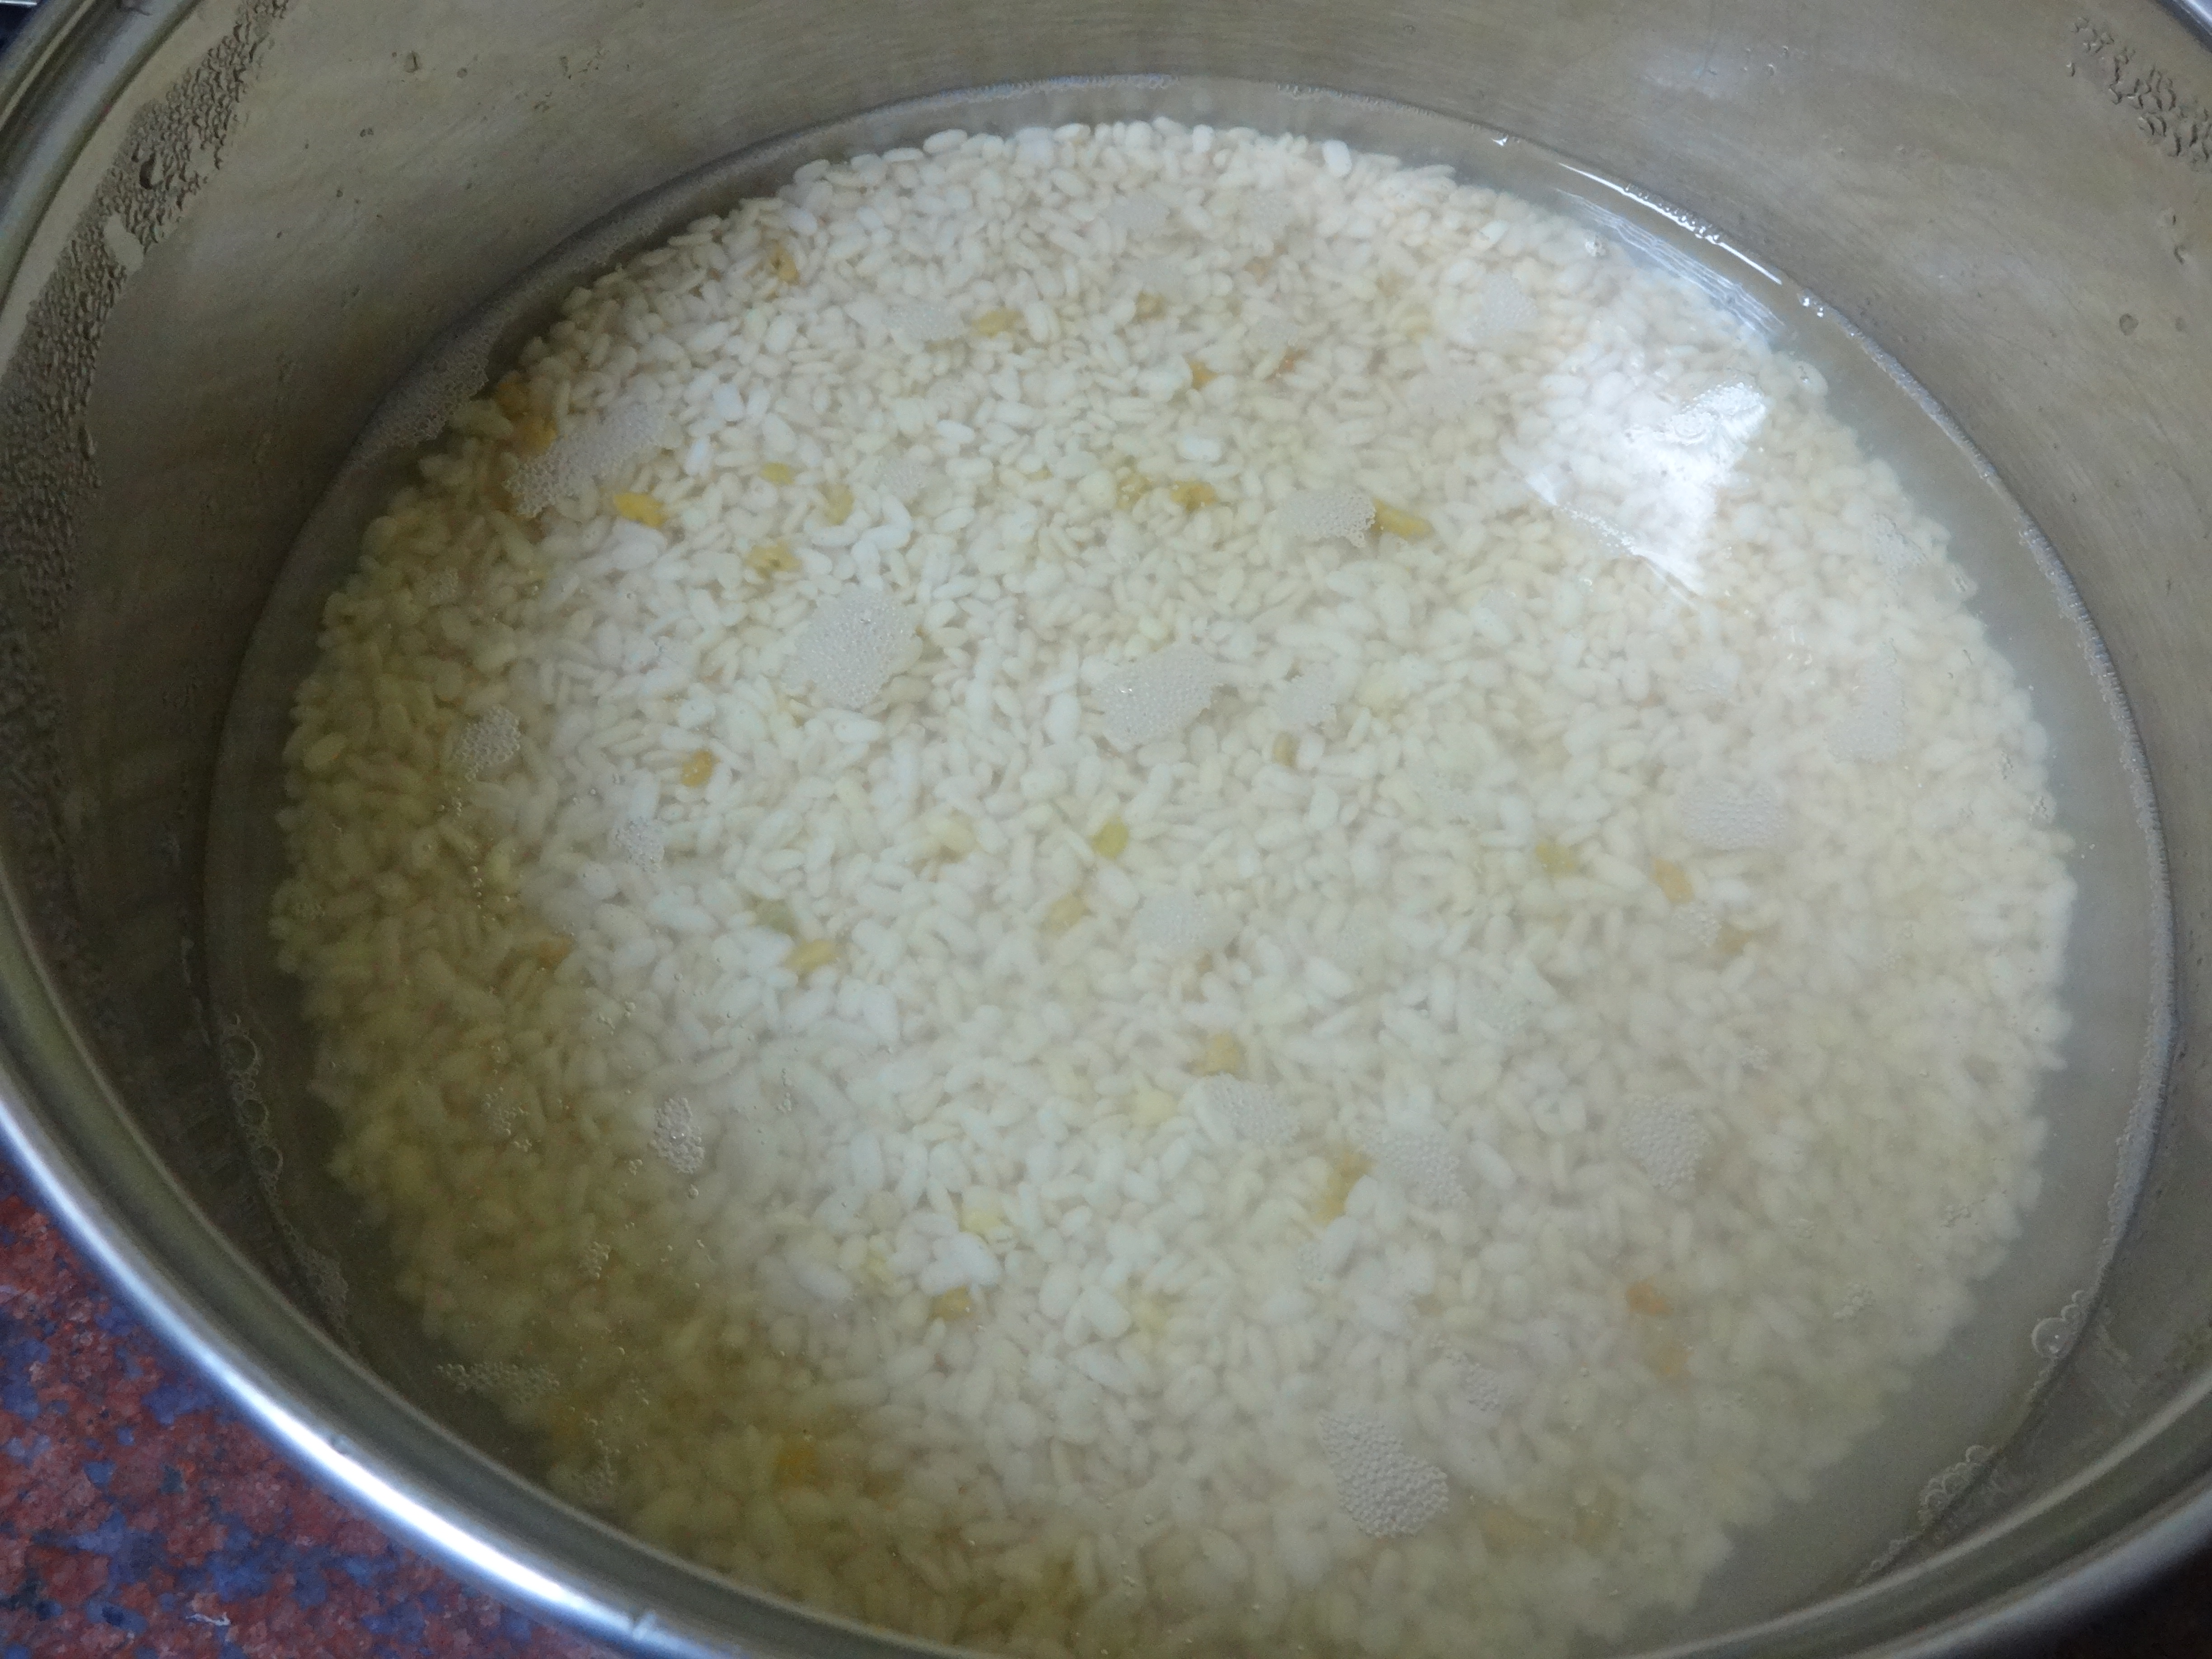
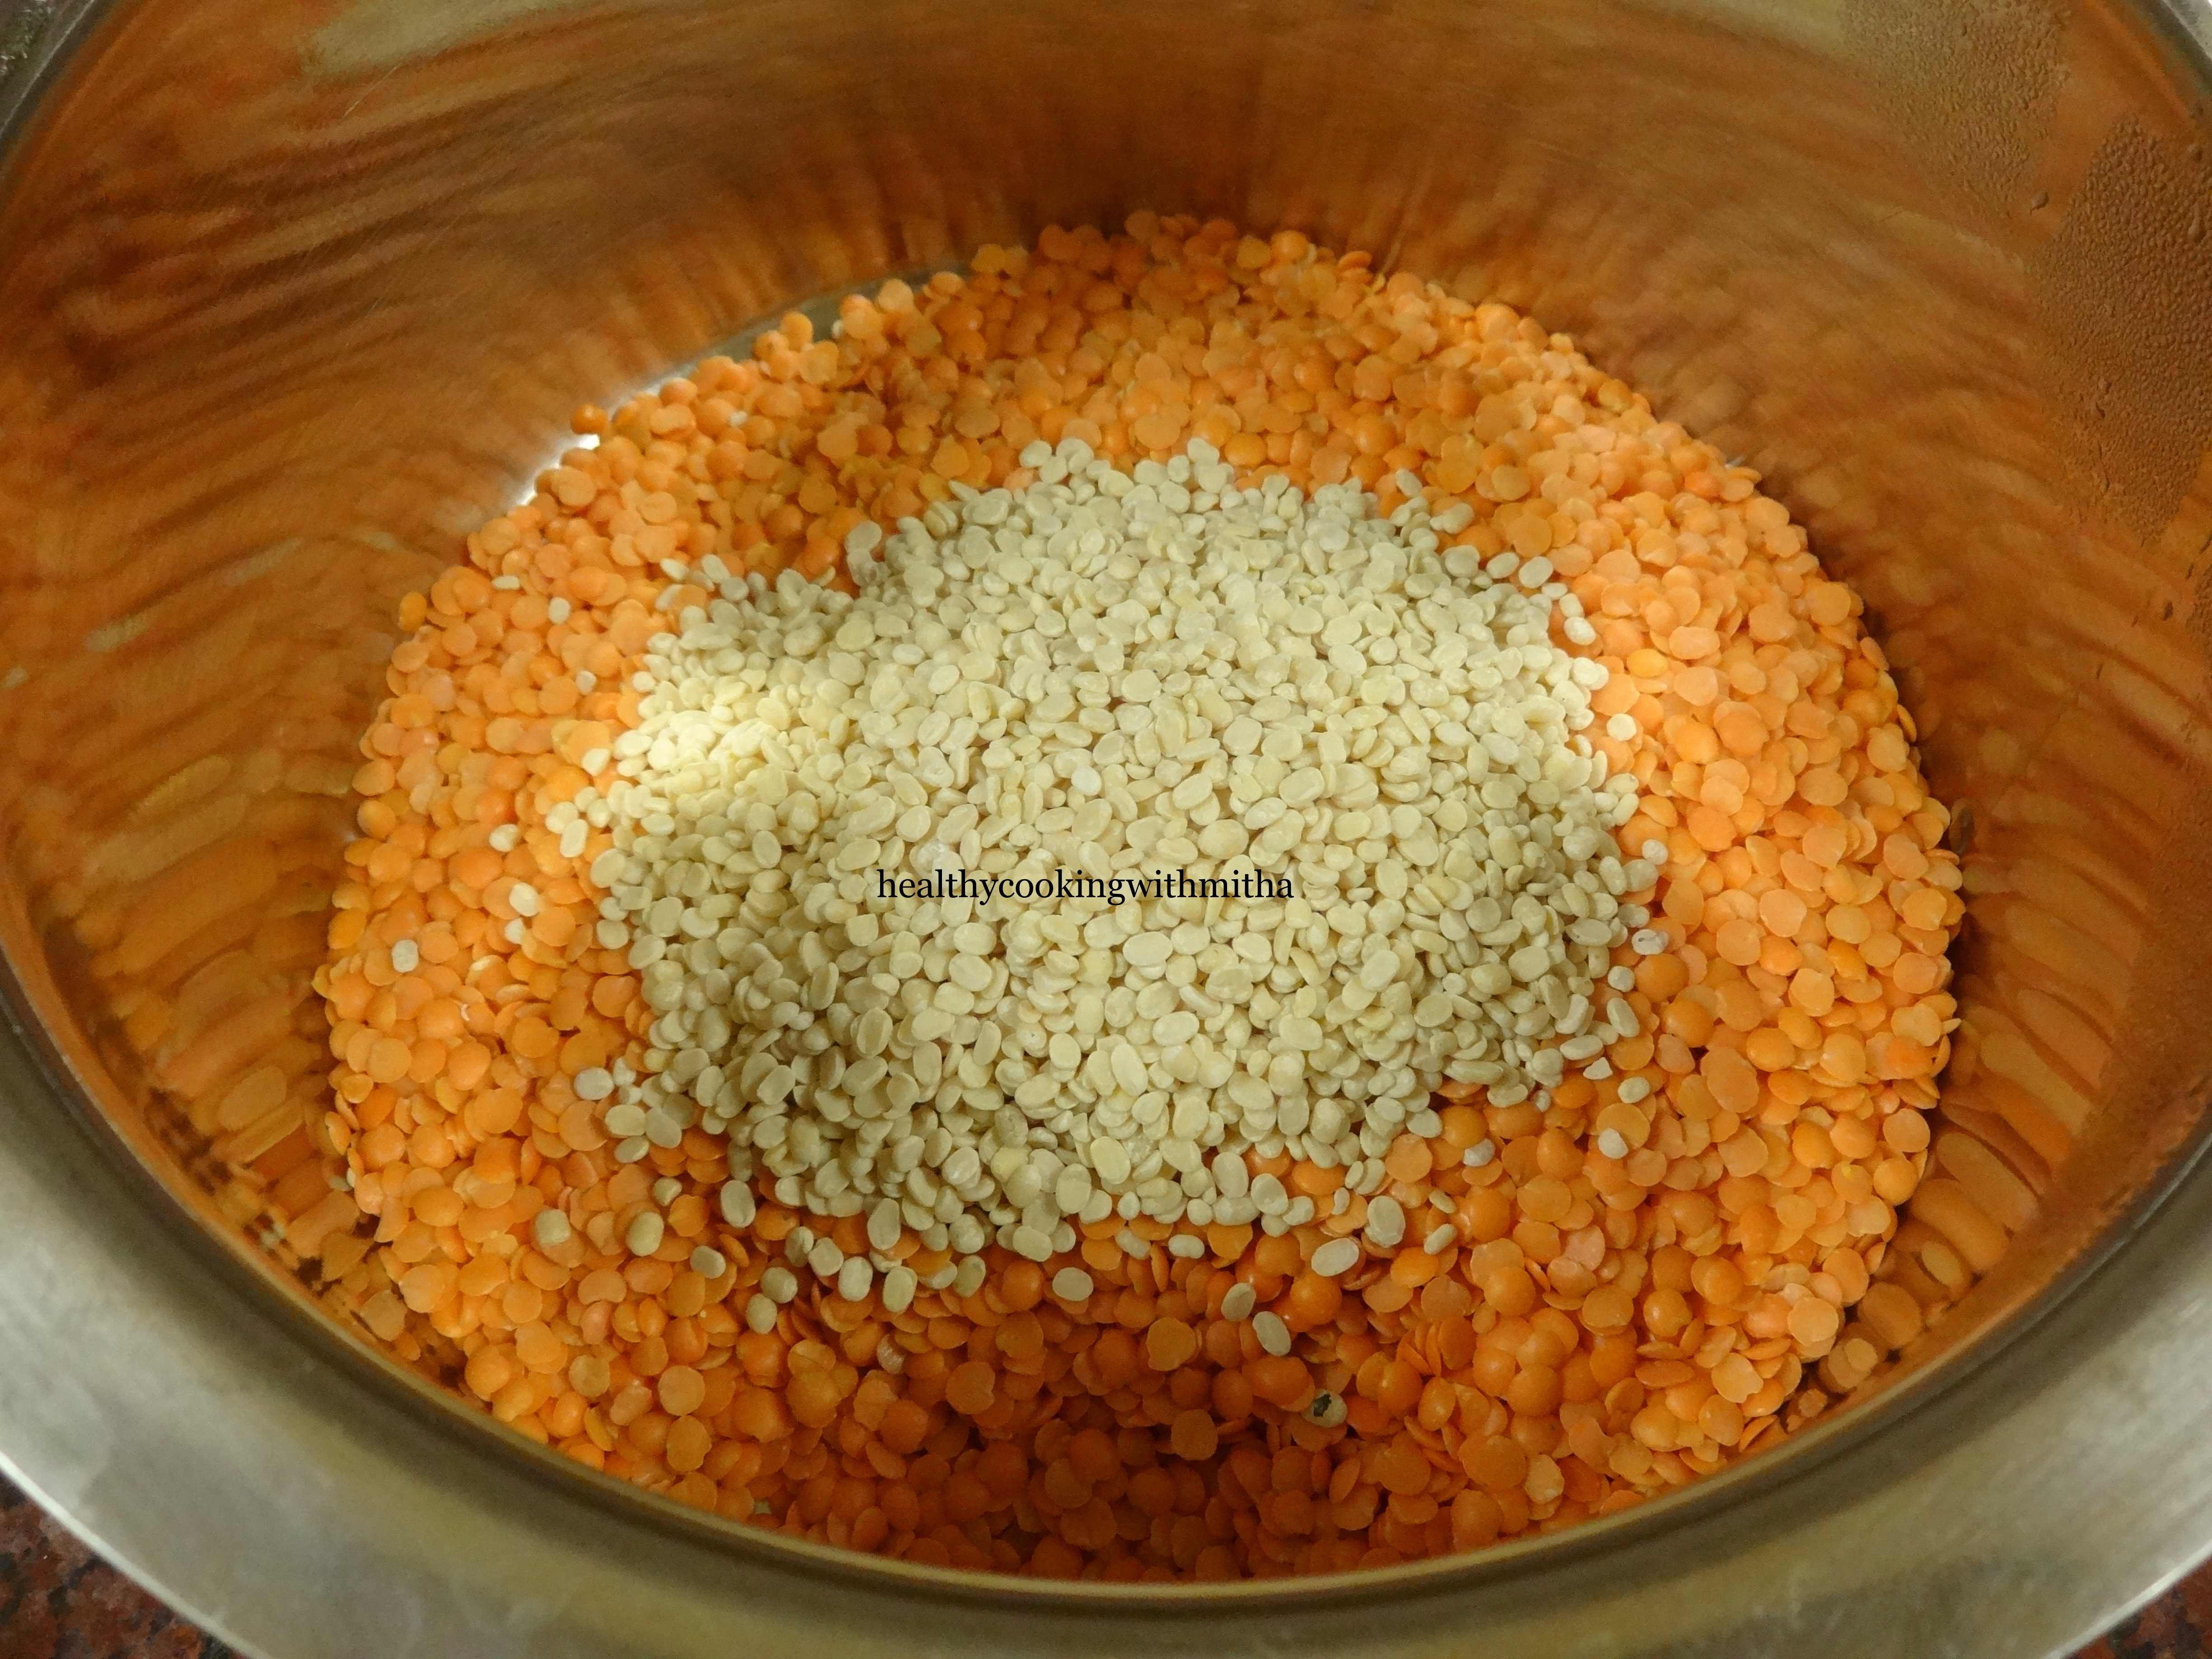
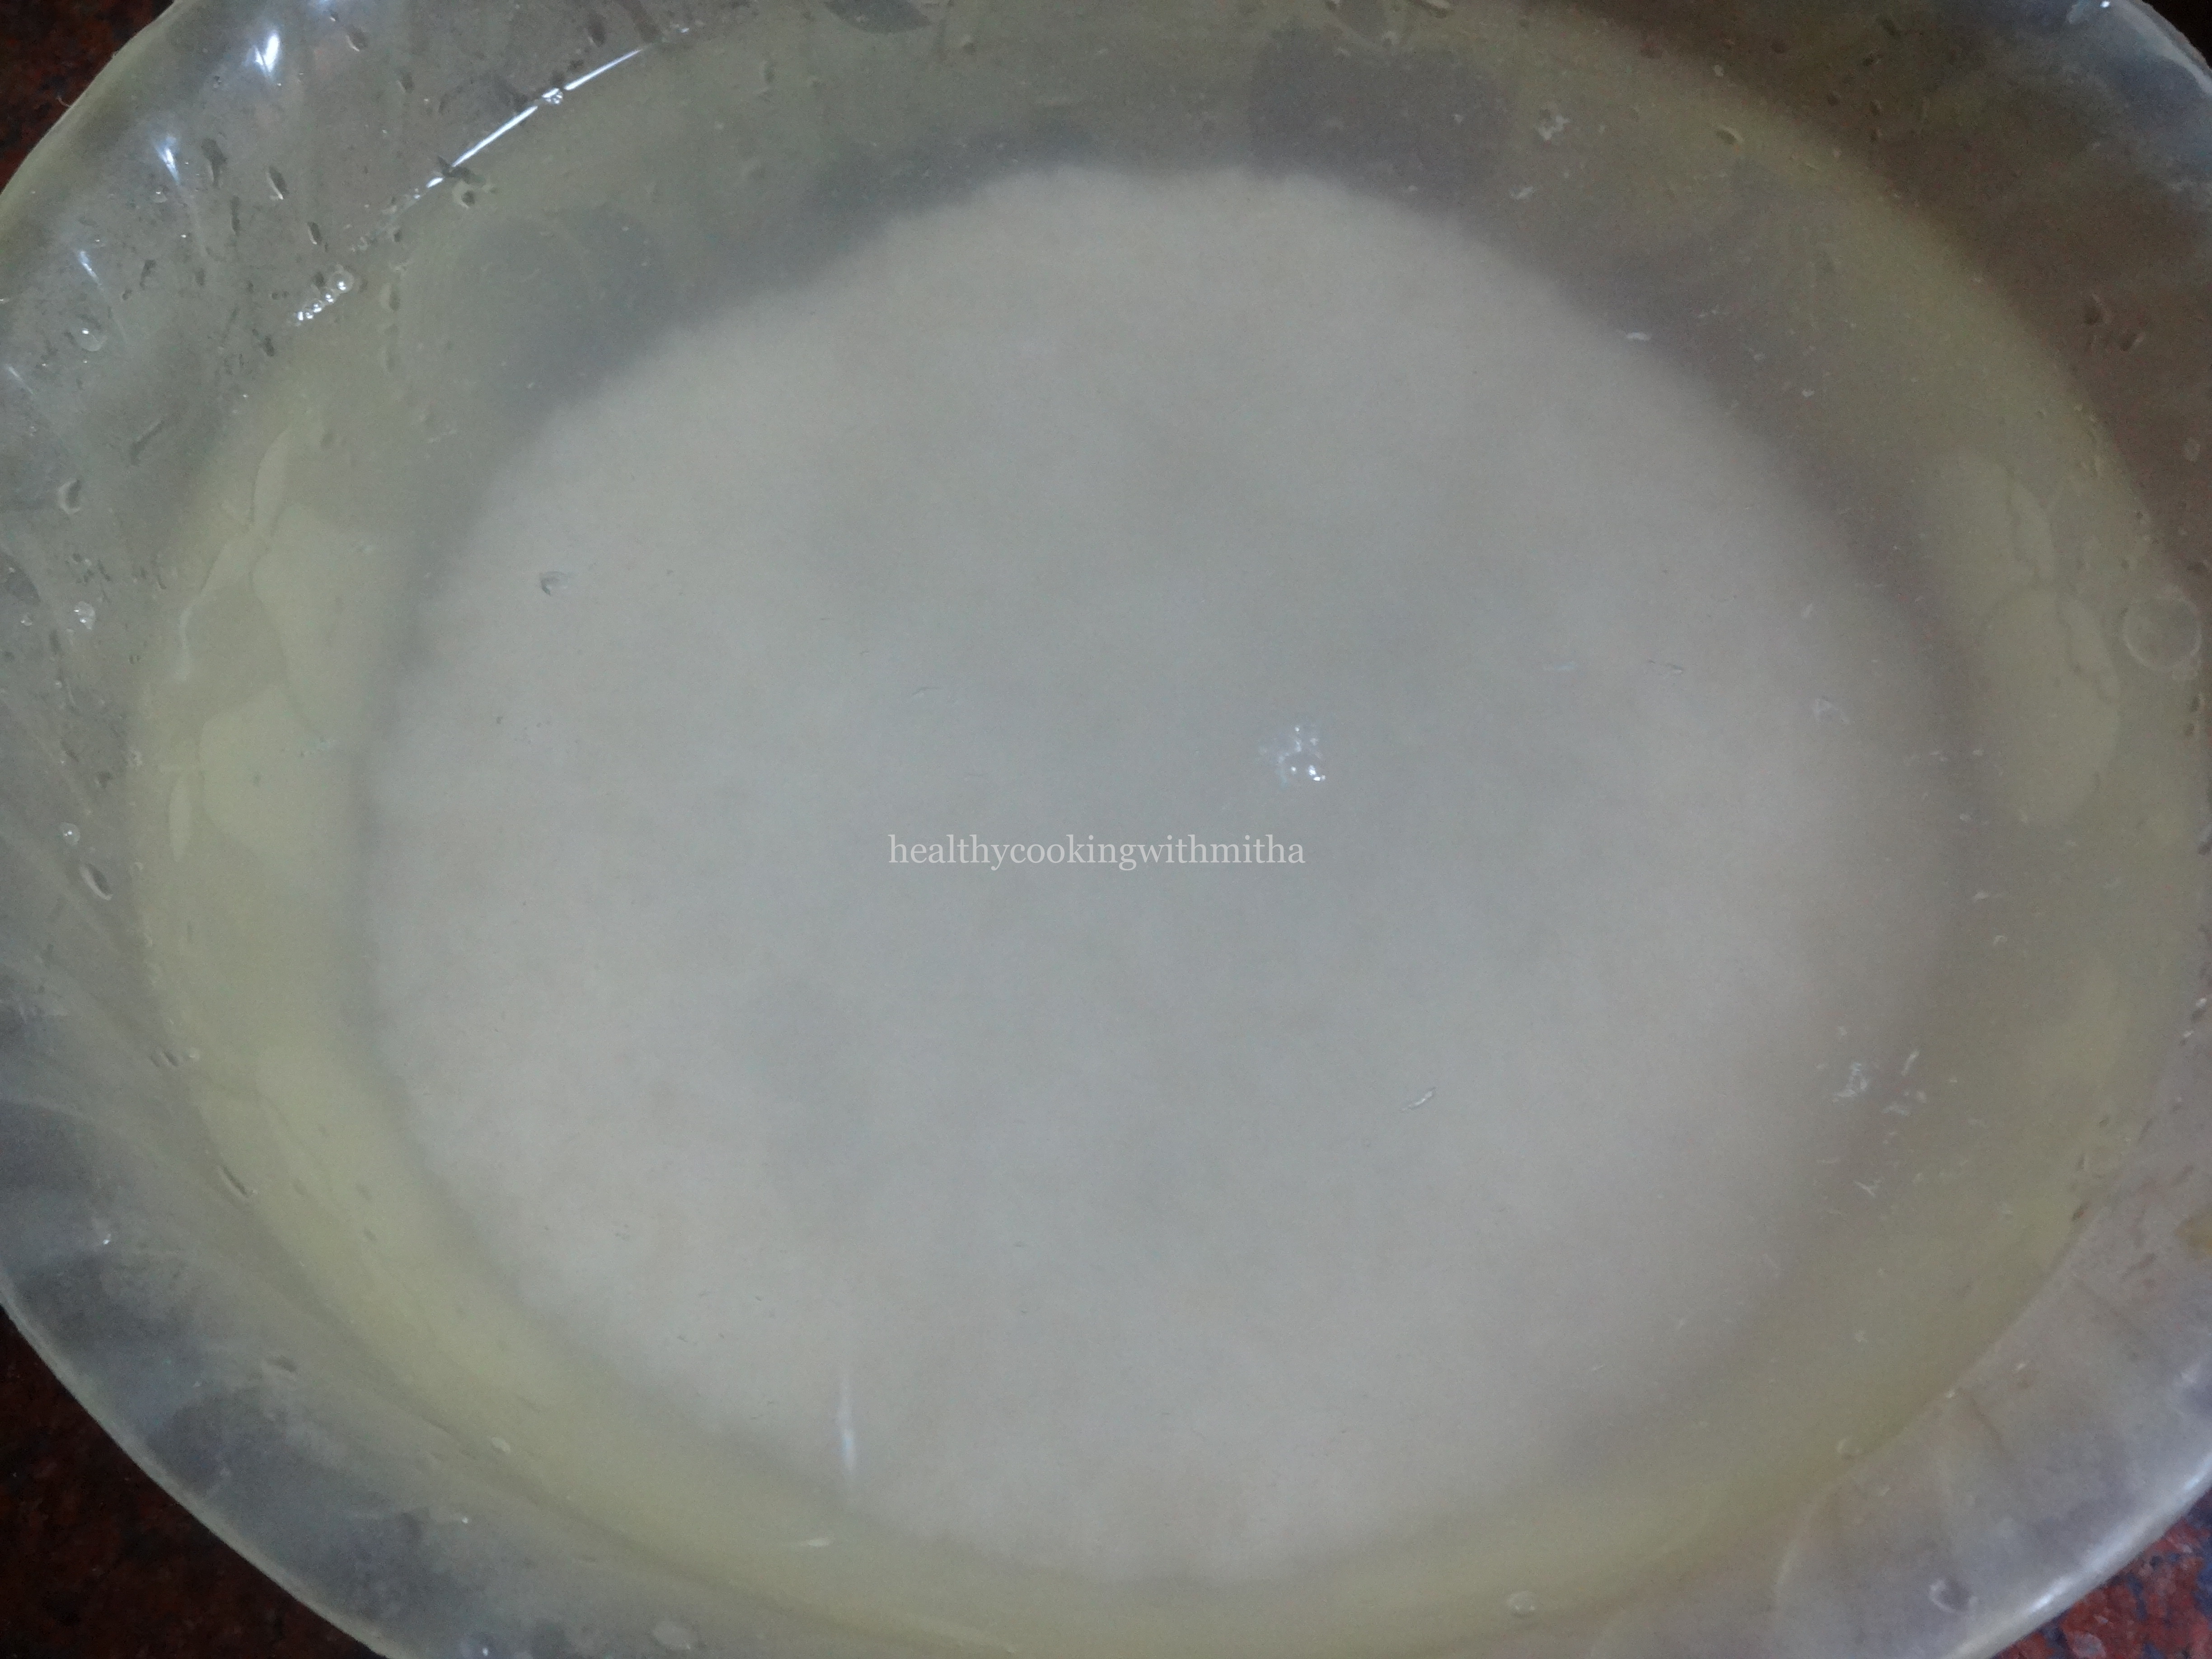
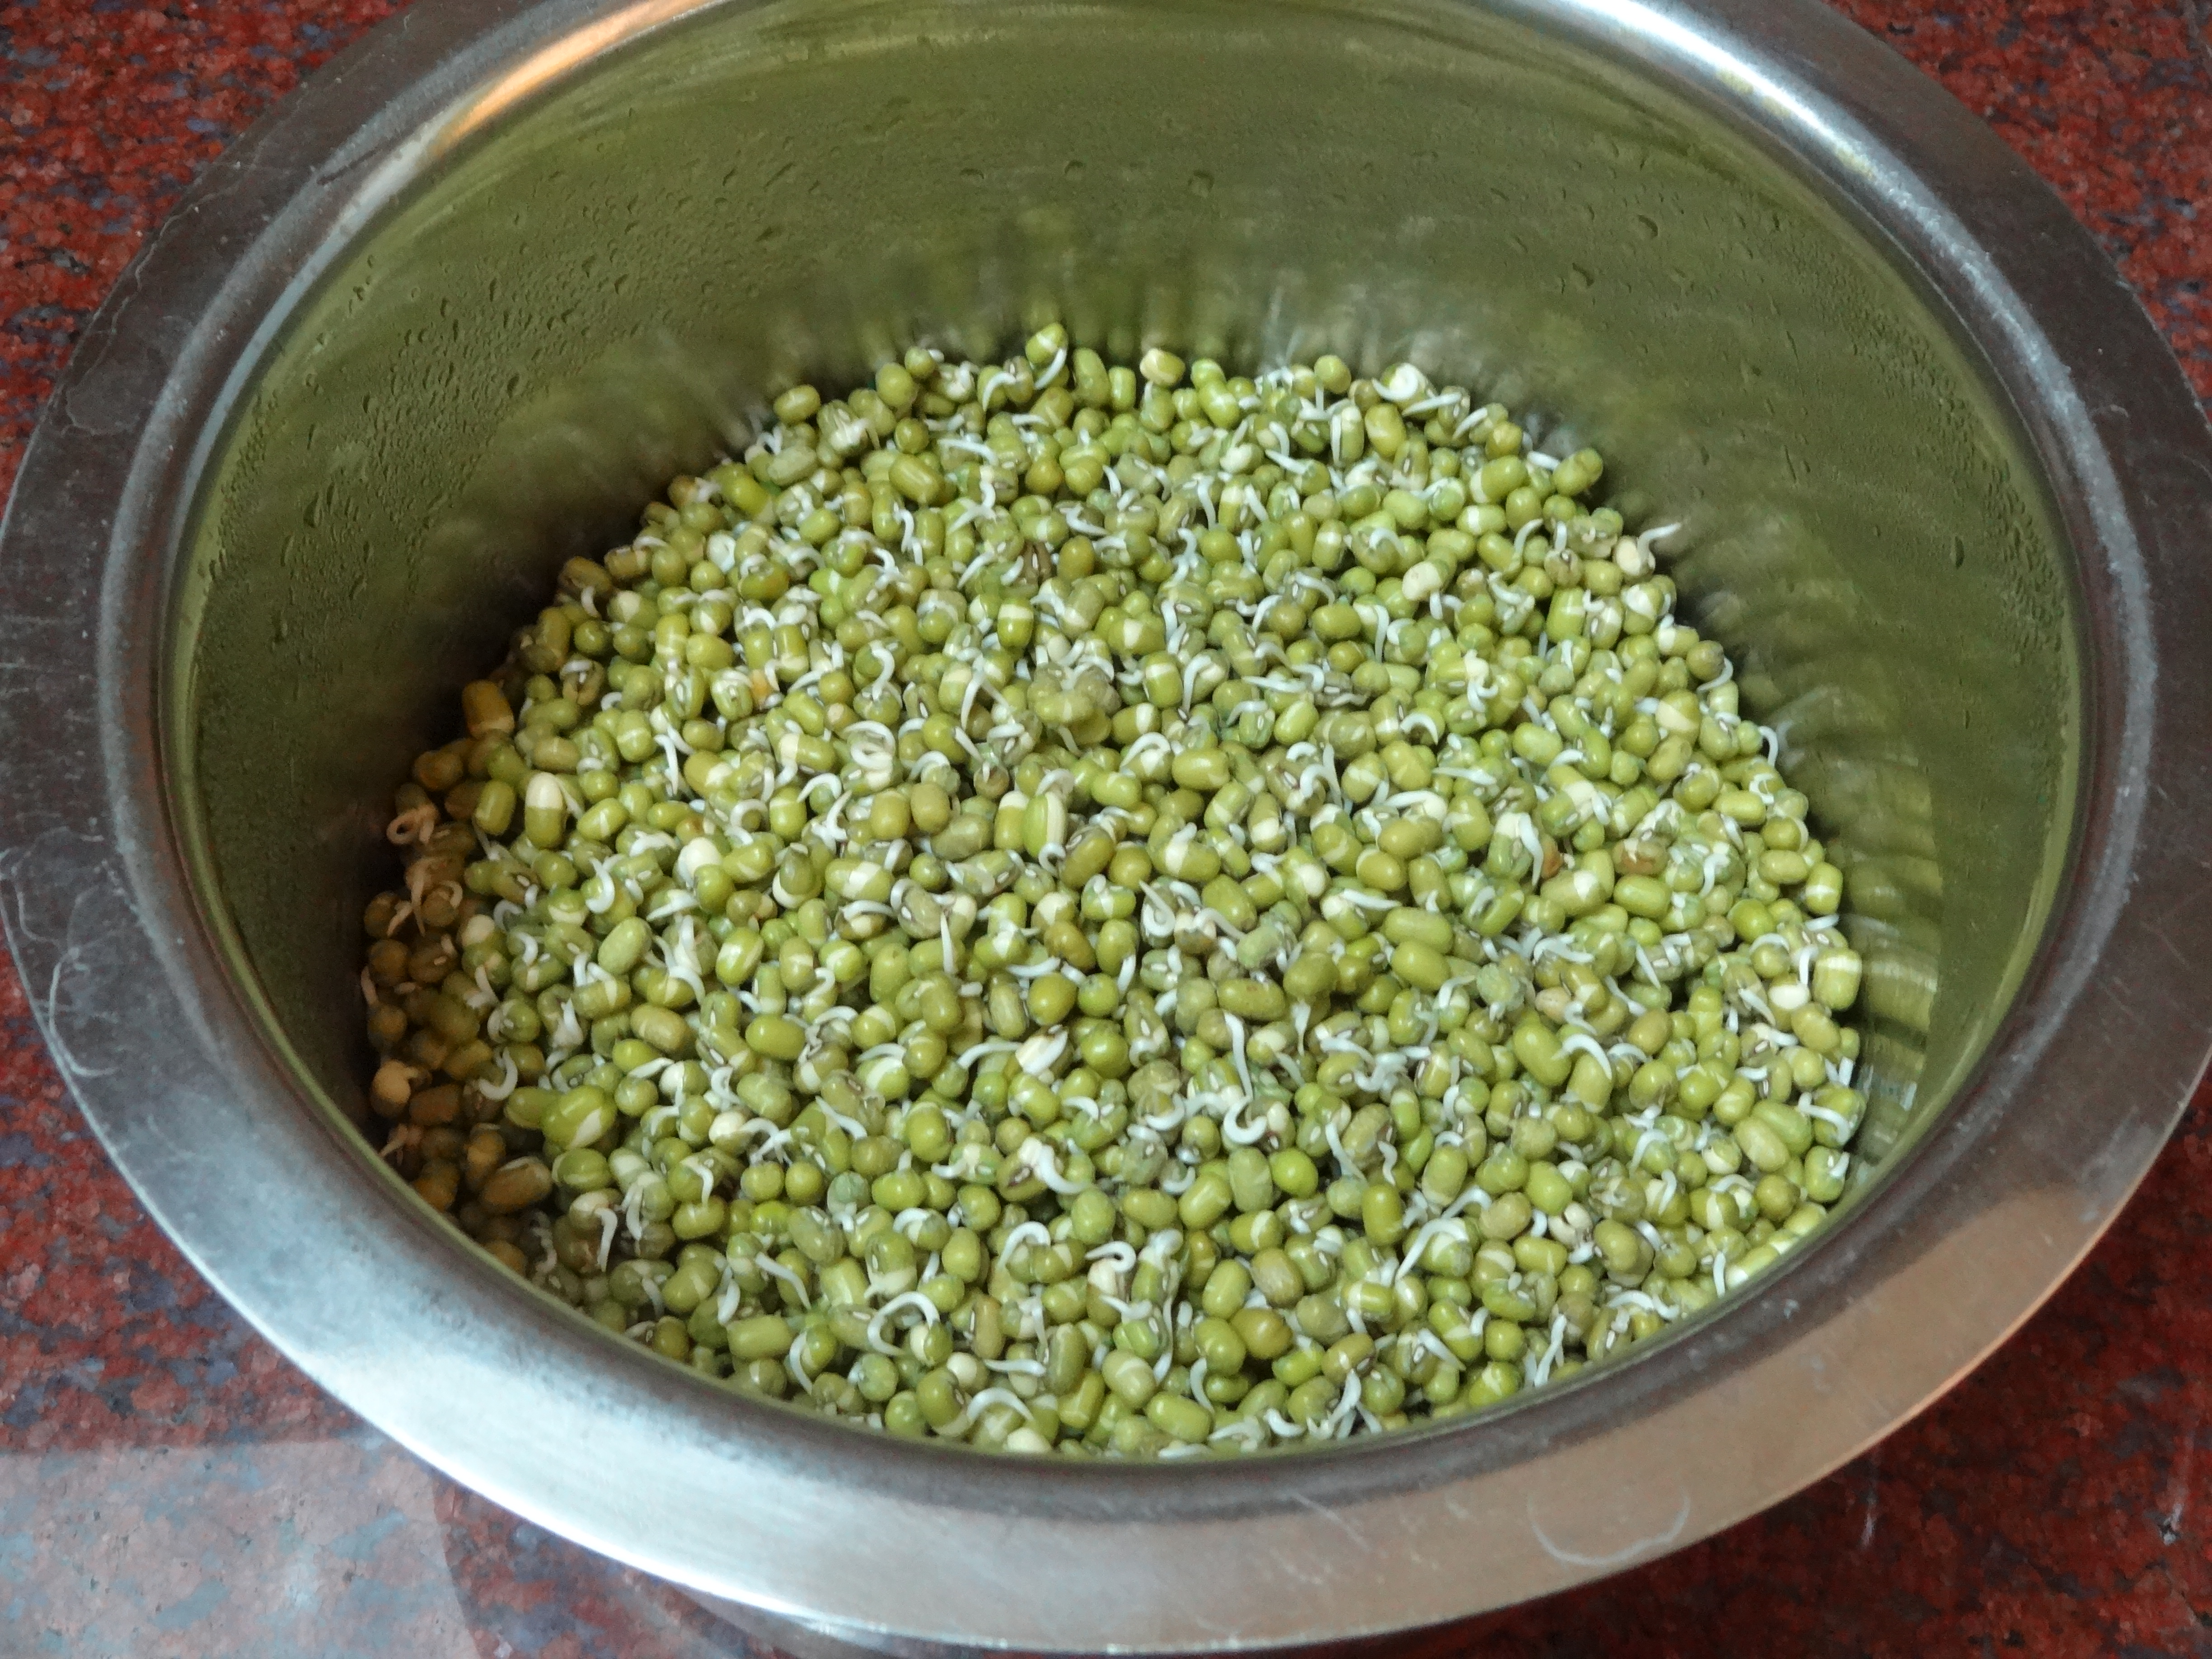
1. Soak dried whole green gram or moong overnight or for 6 hours. This is what you get after soaking. Drain water completely now.

2. Keep covered in a dark place again for 8 hours or till you see sprouts come out. It takes more time in cold weather and very quick in hot weathers.
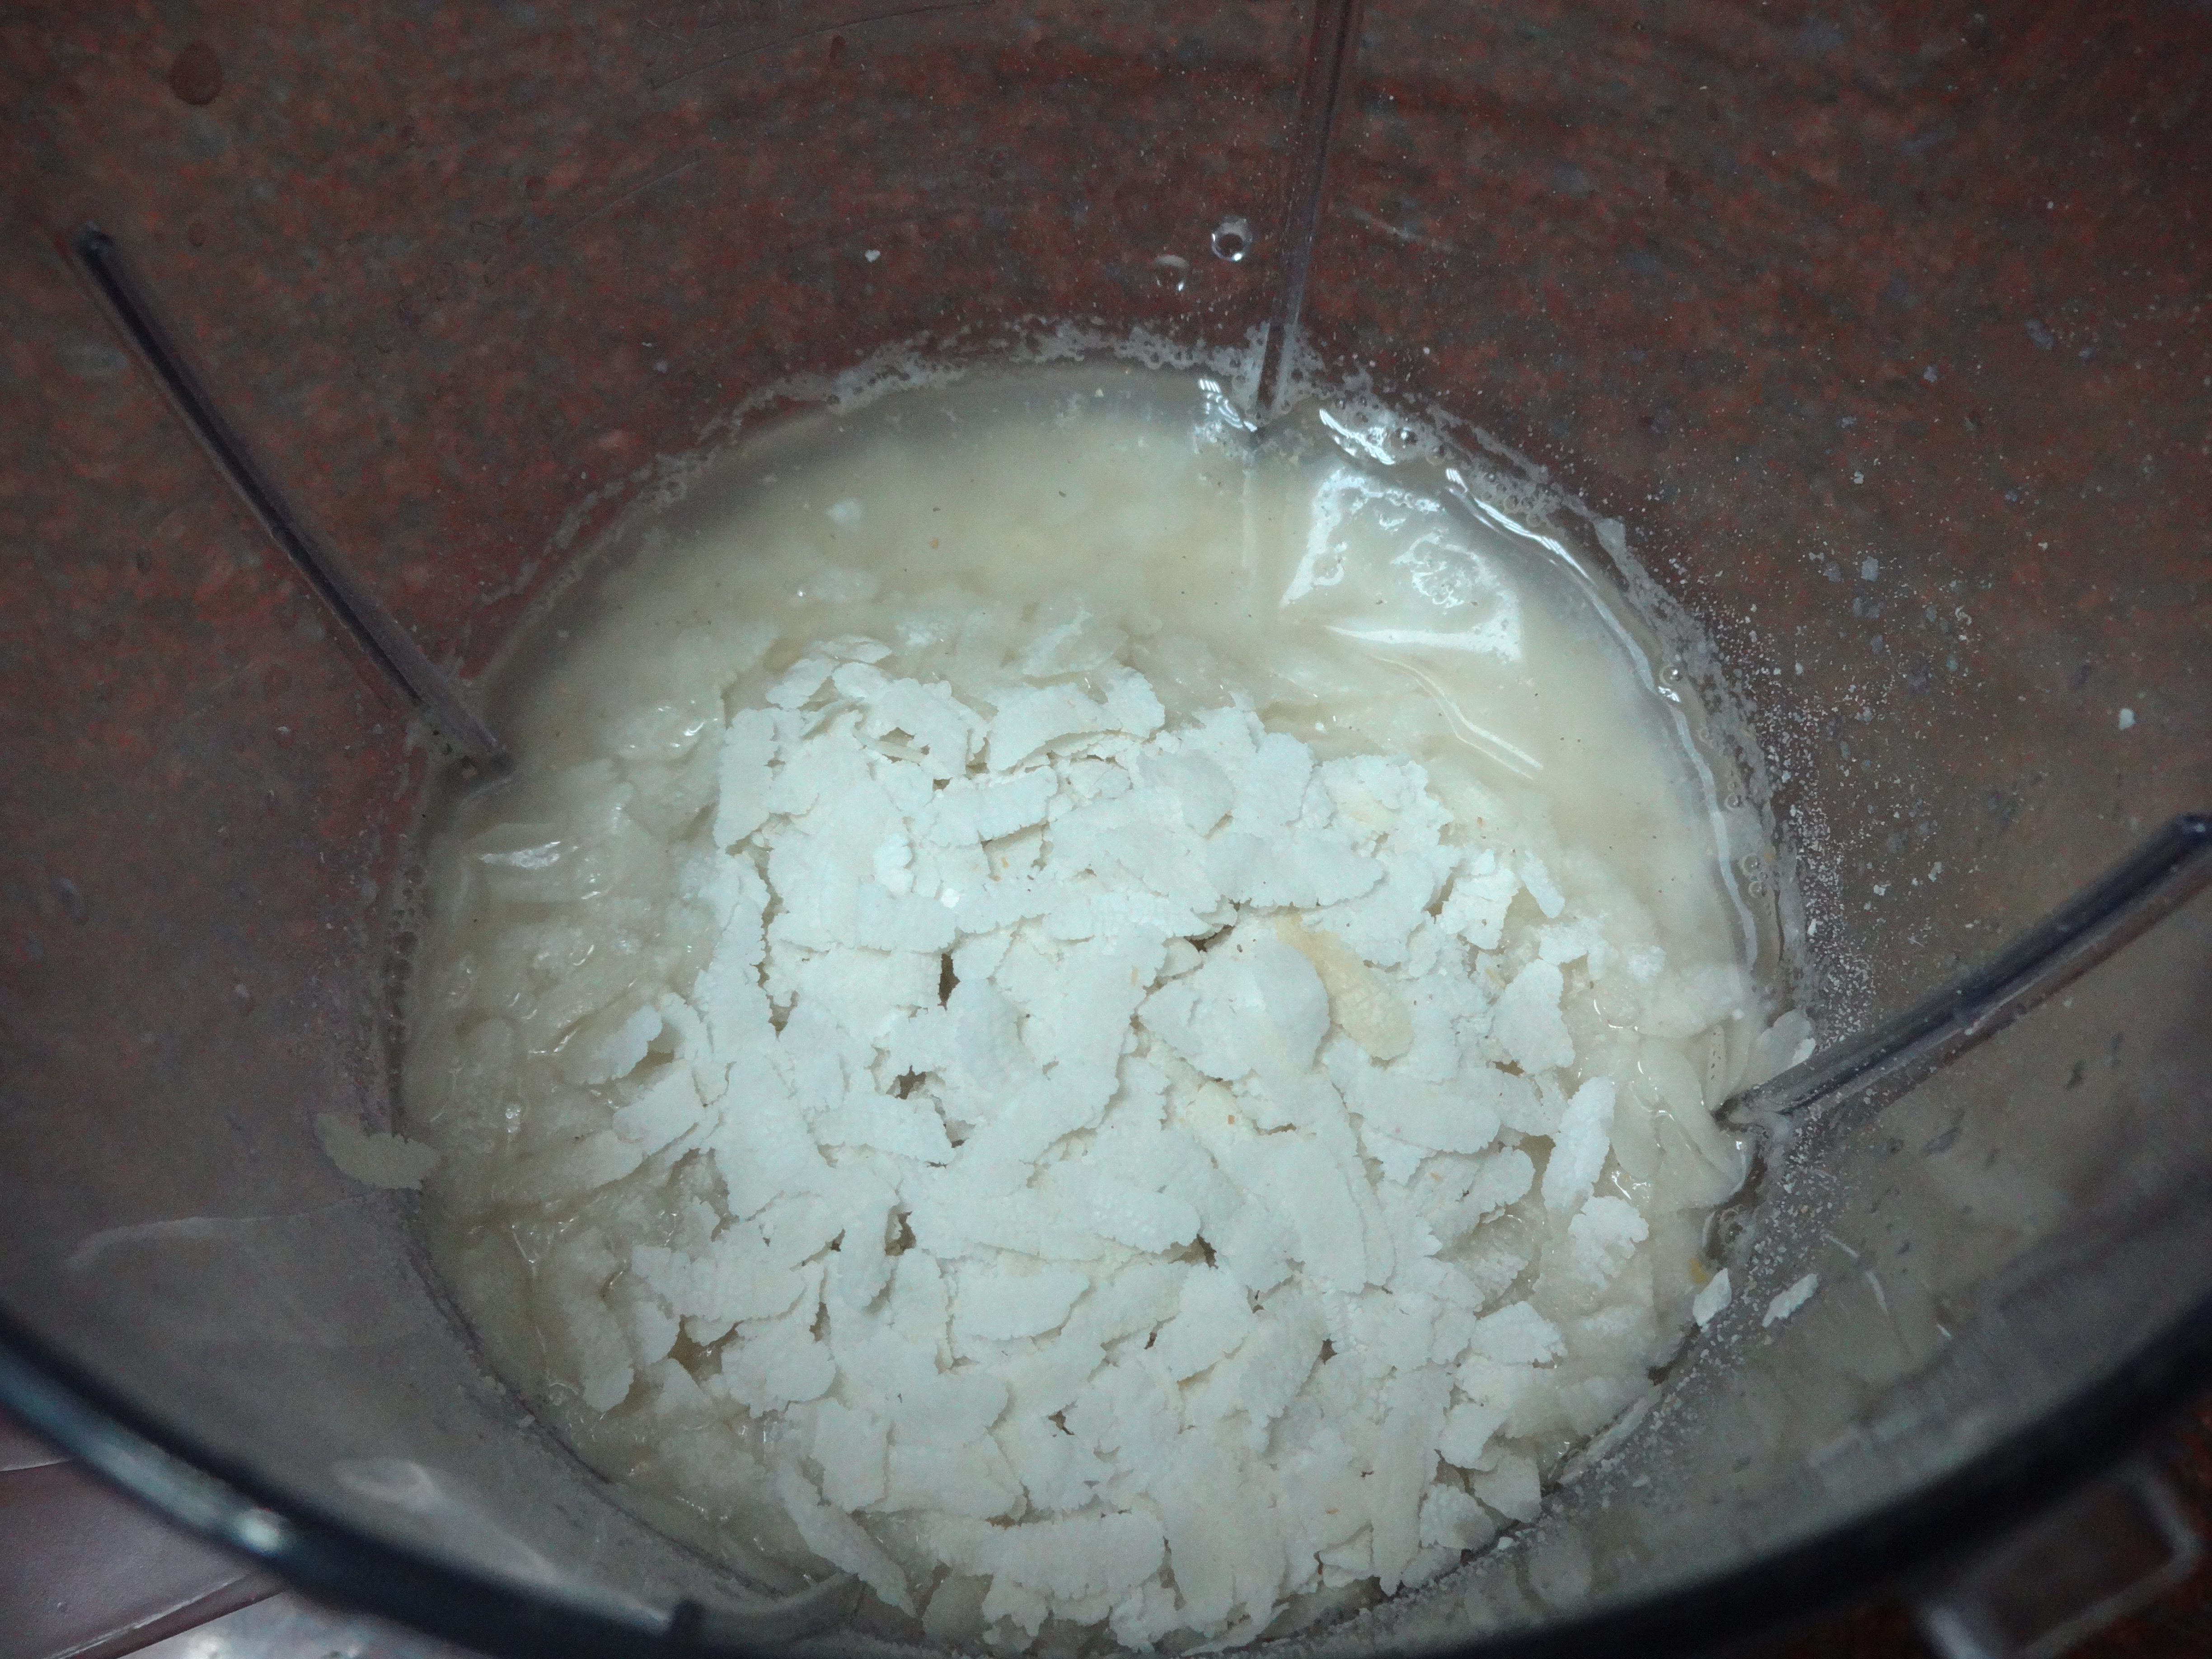
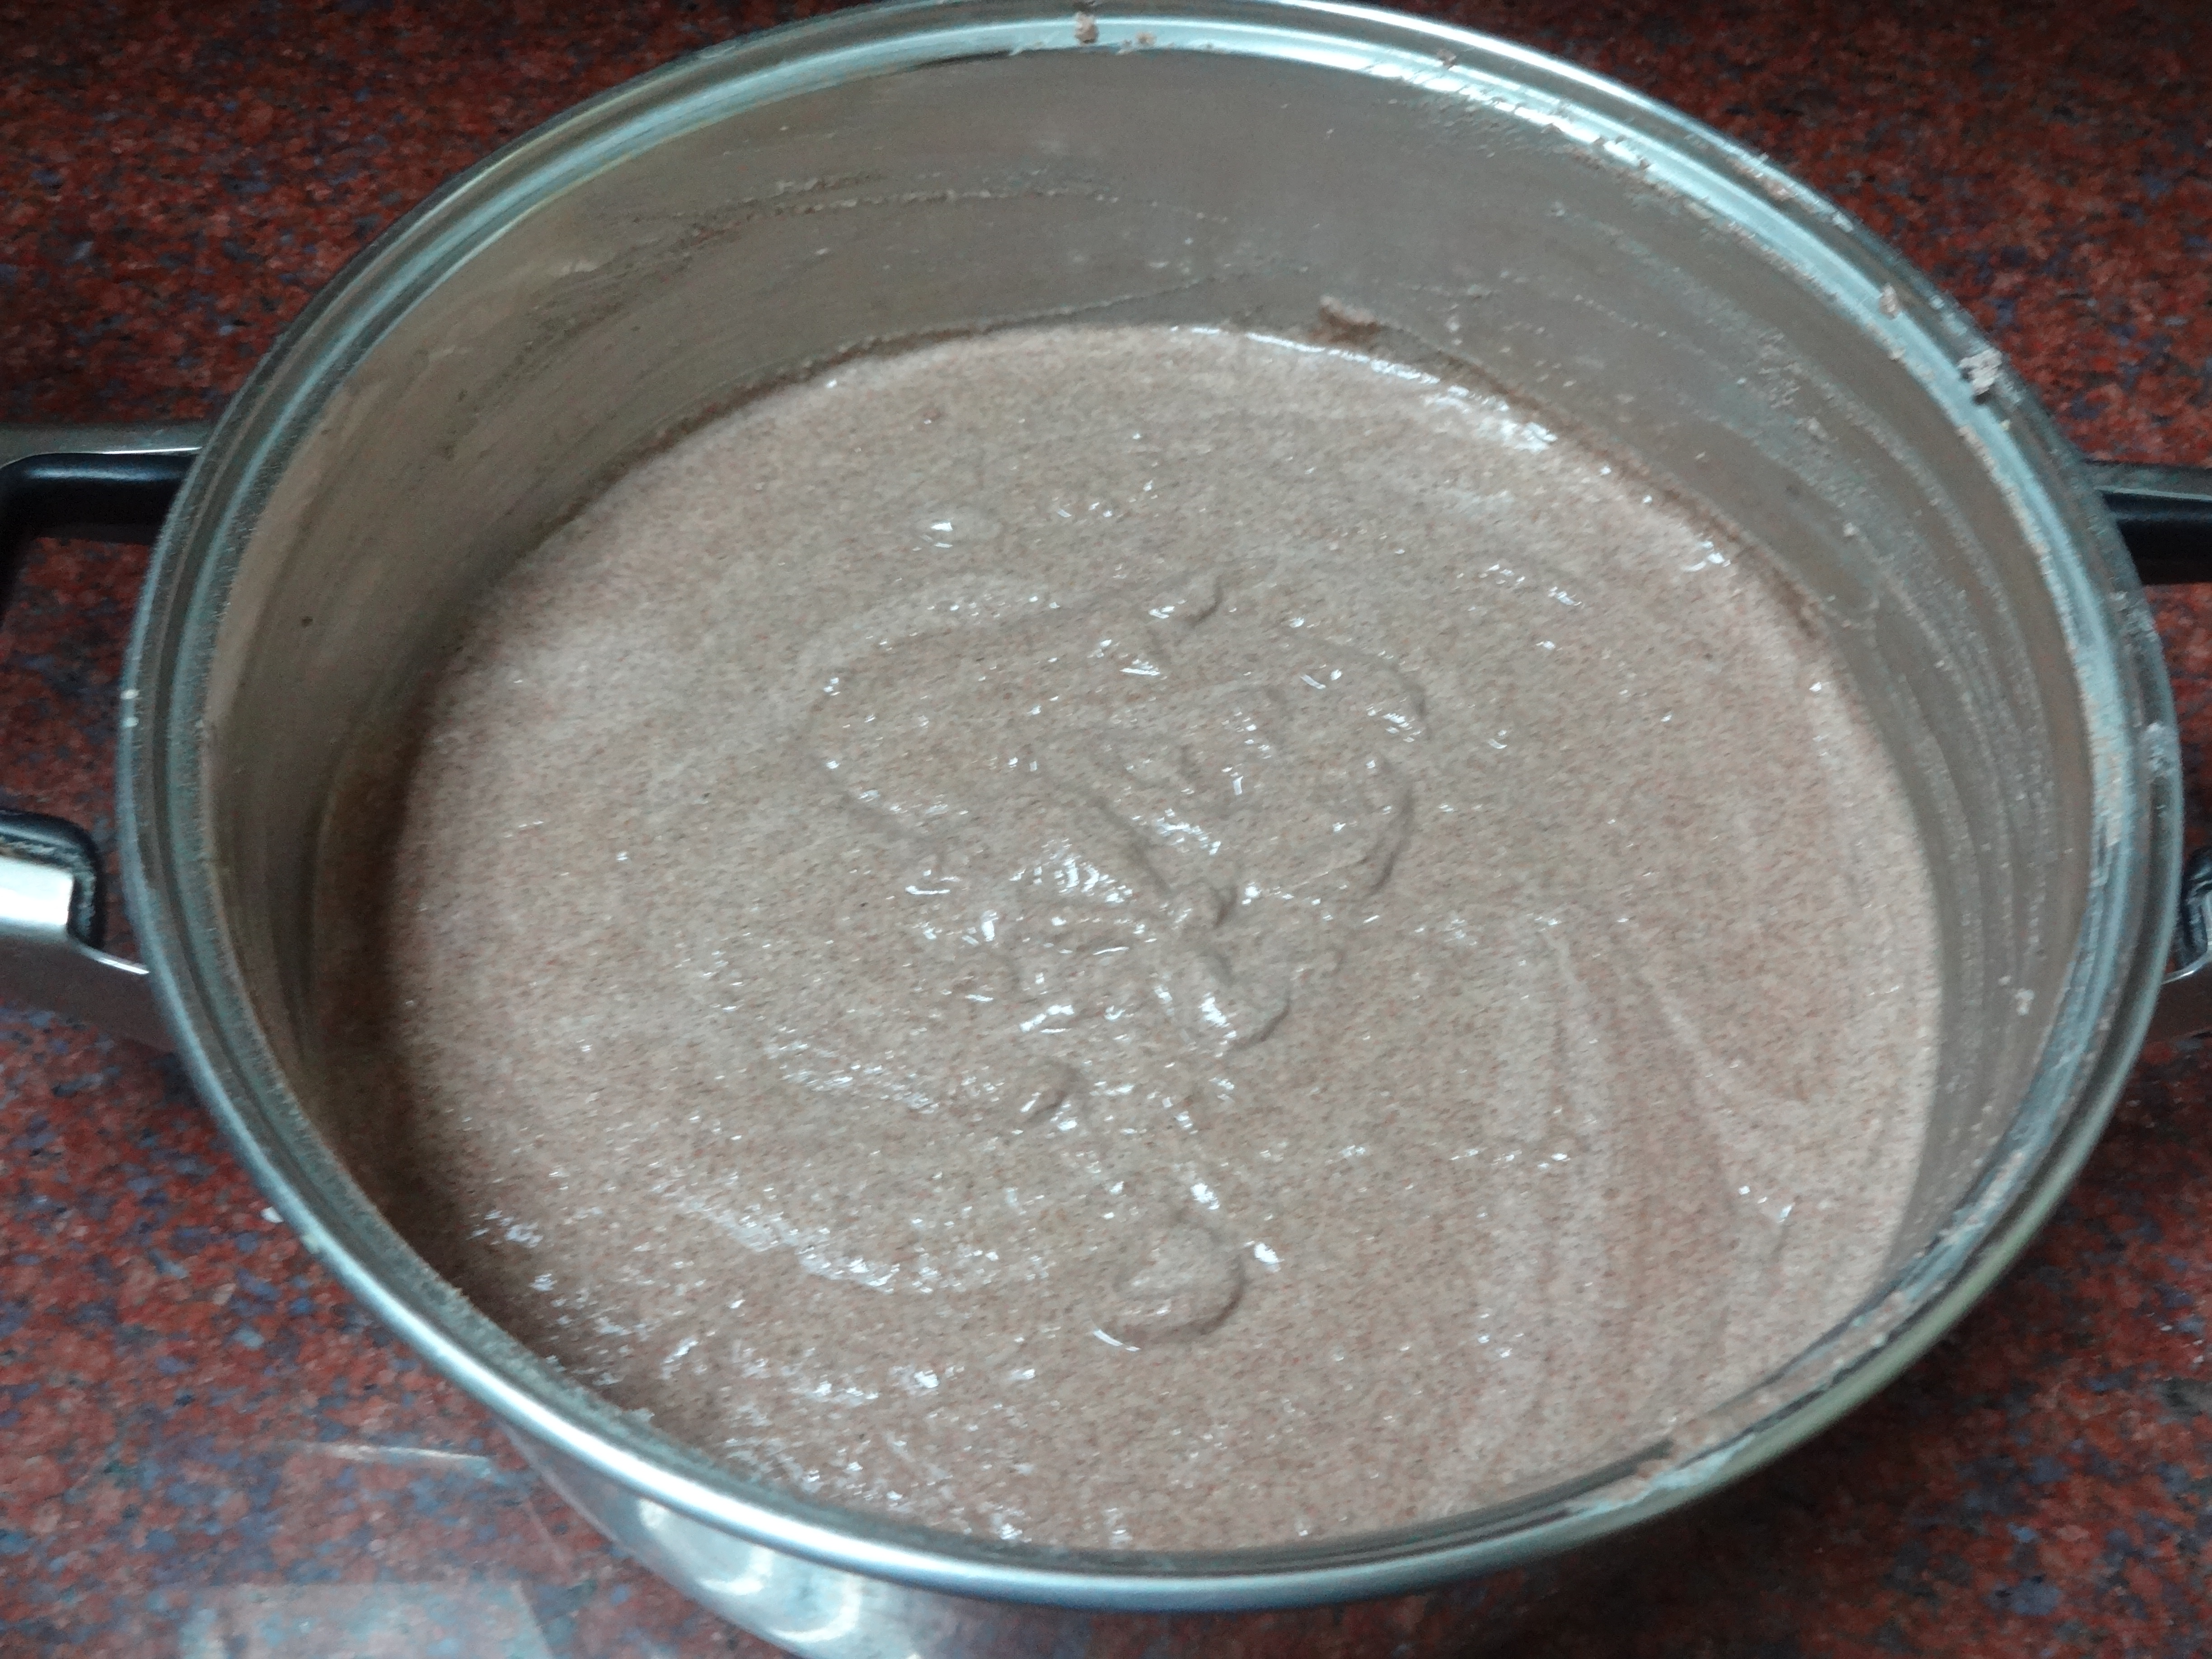
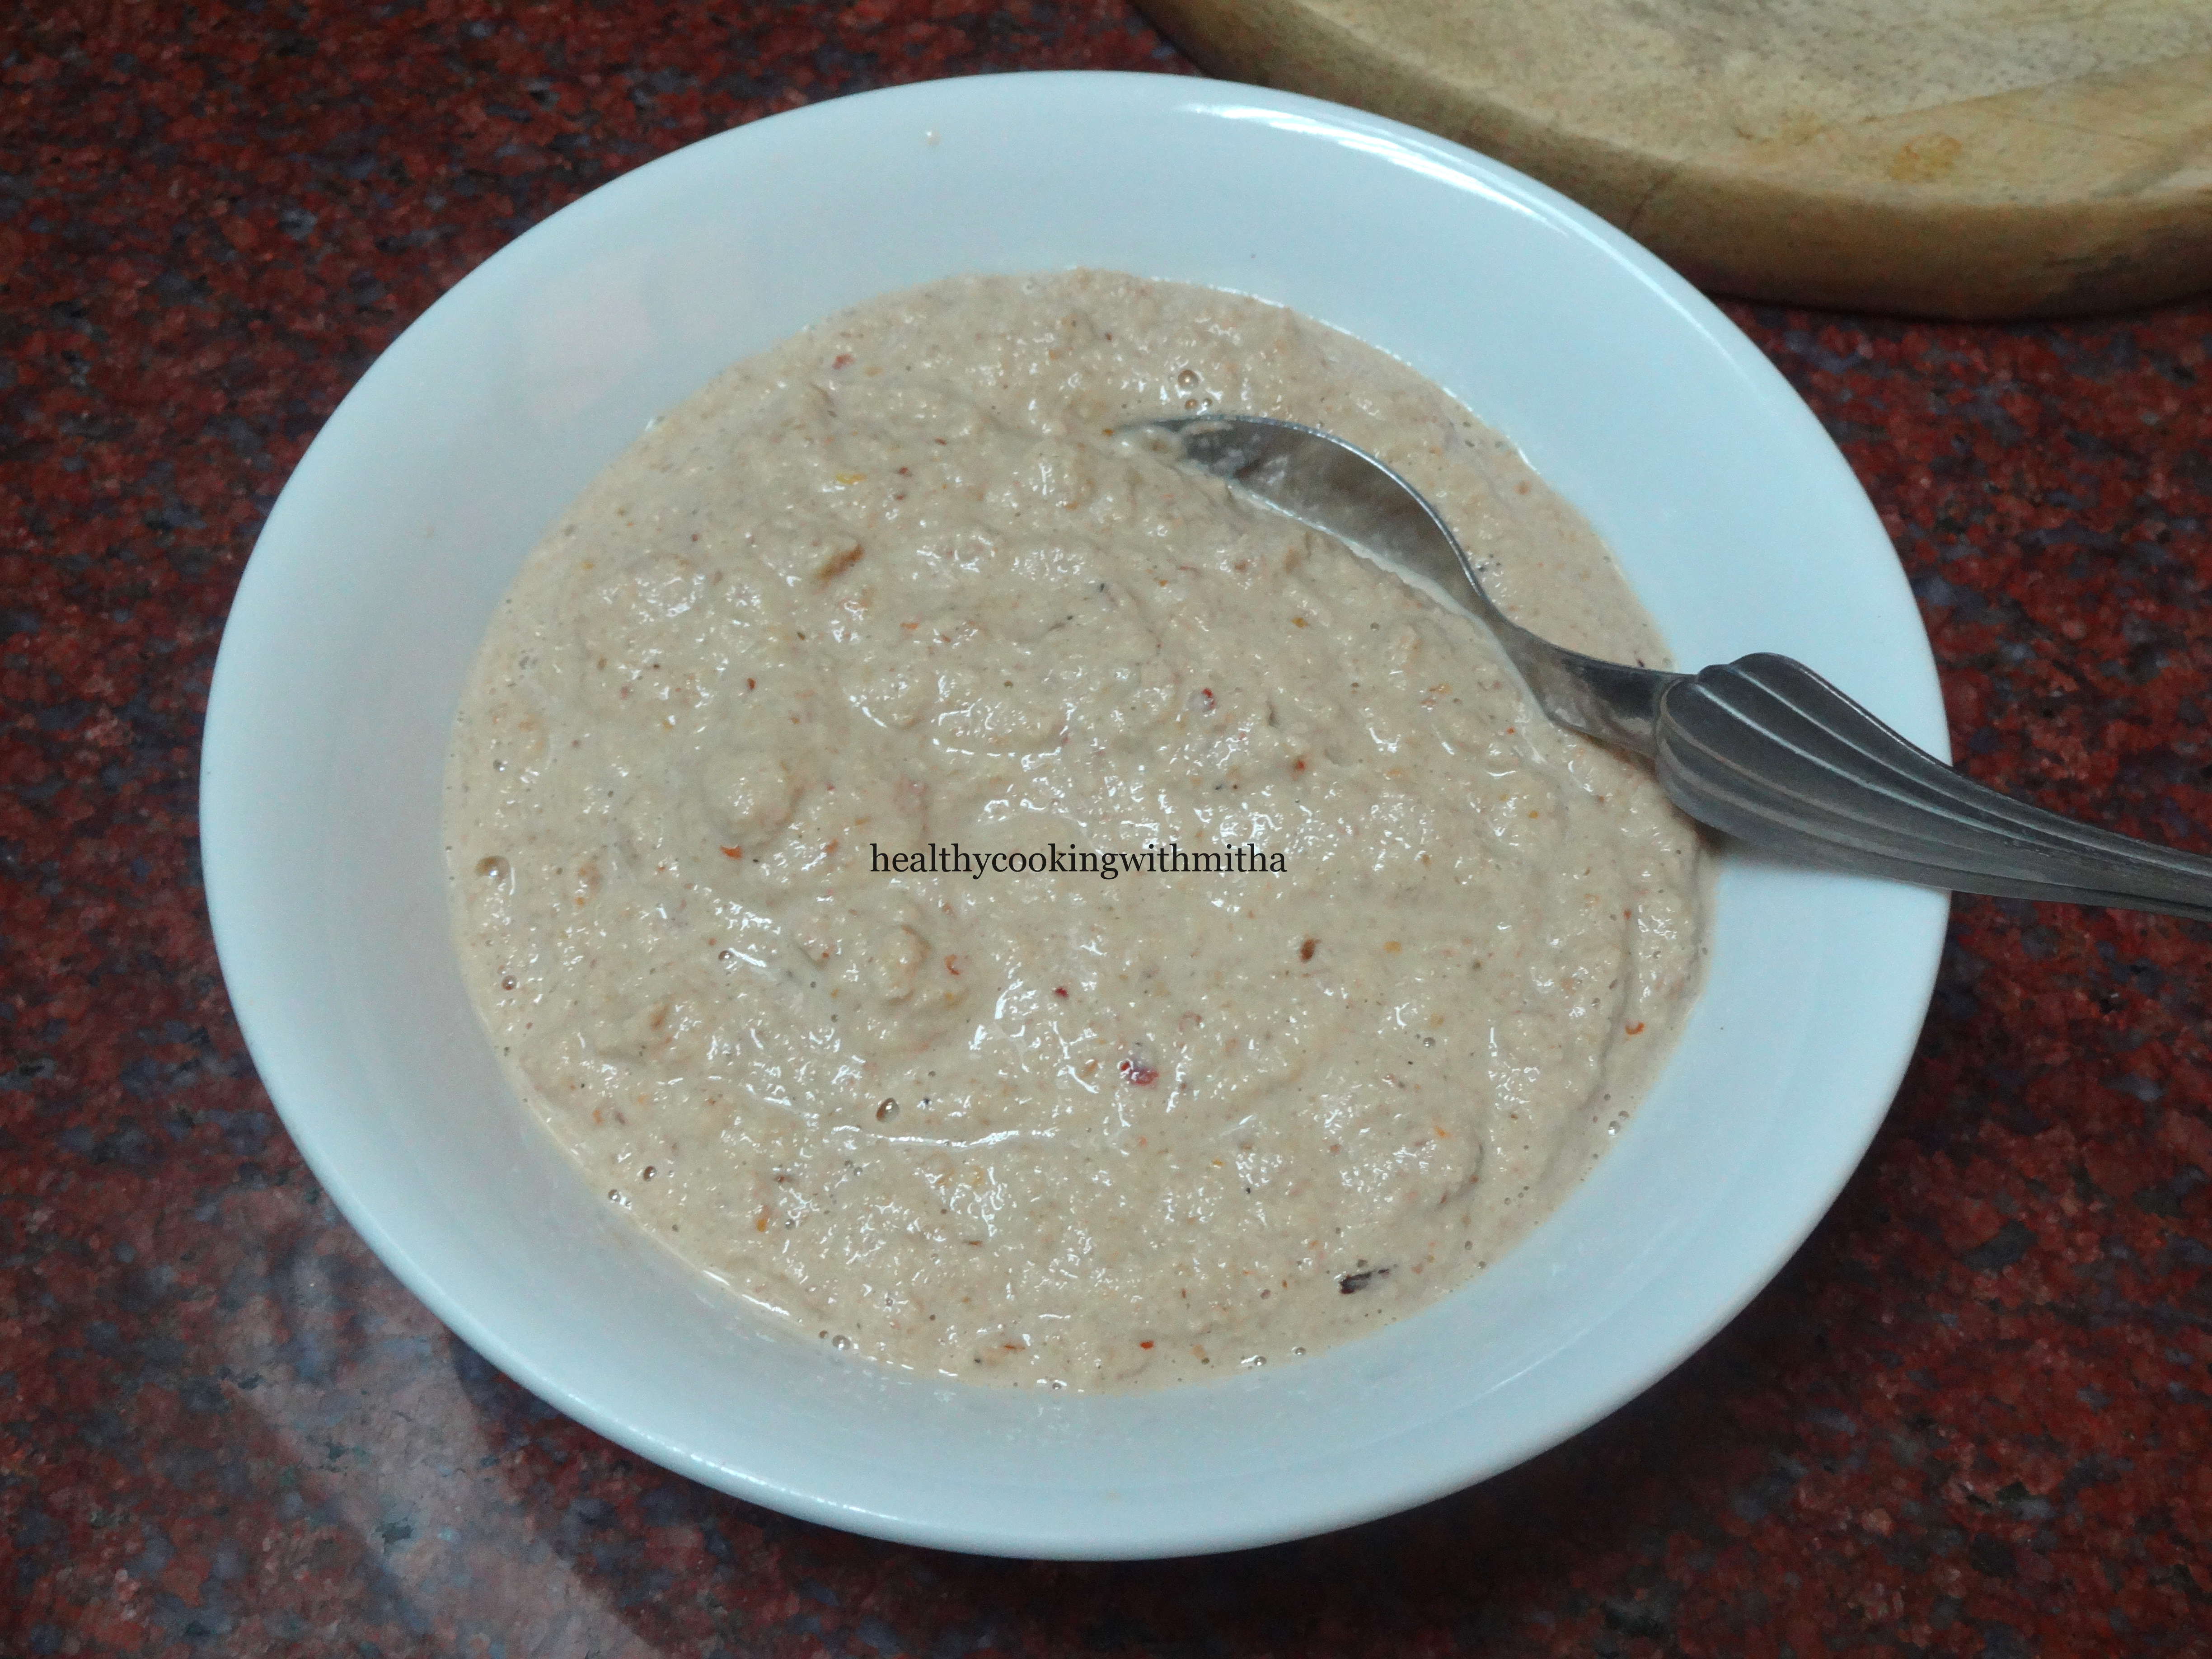
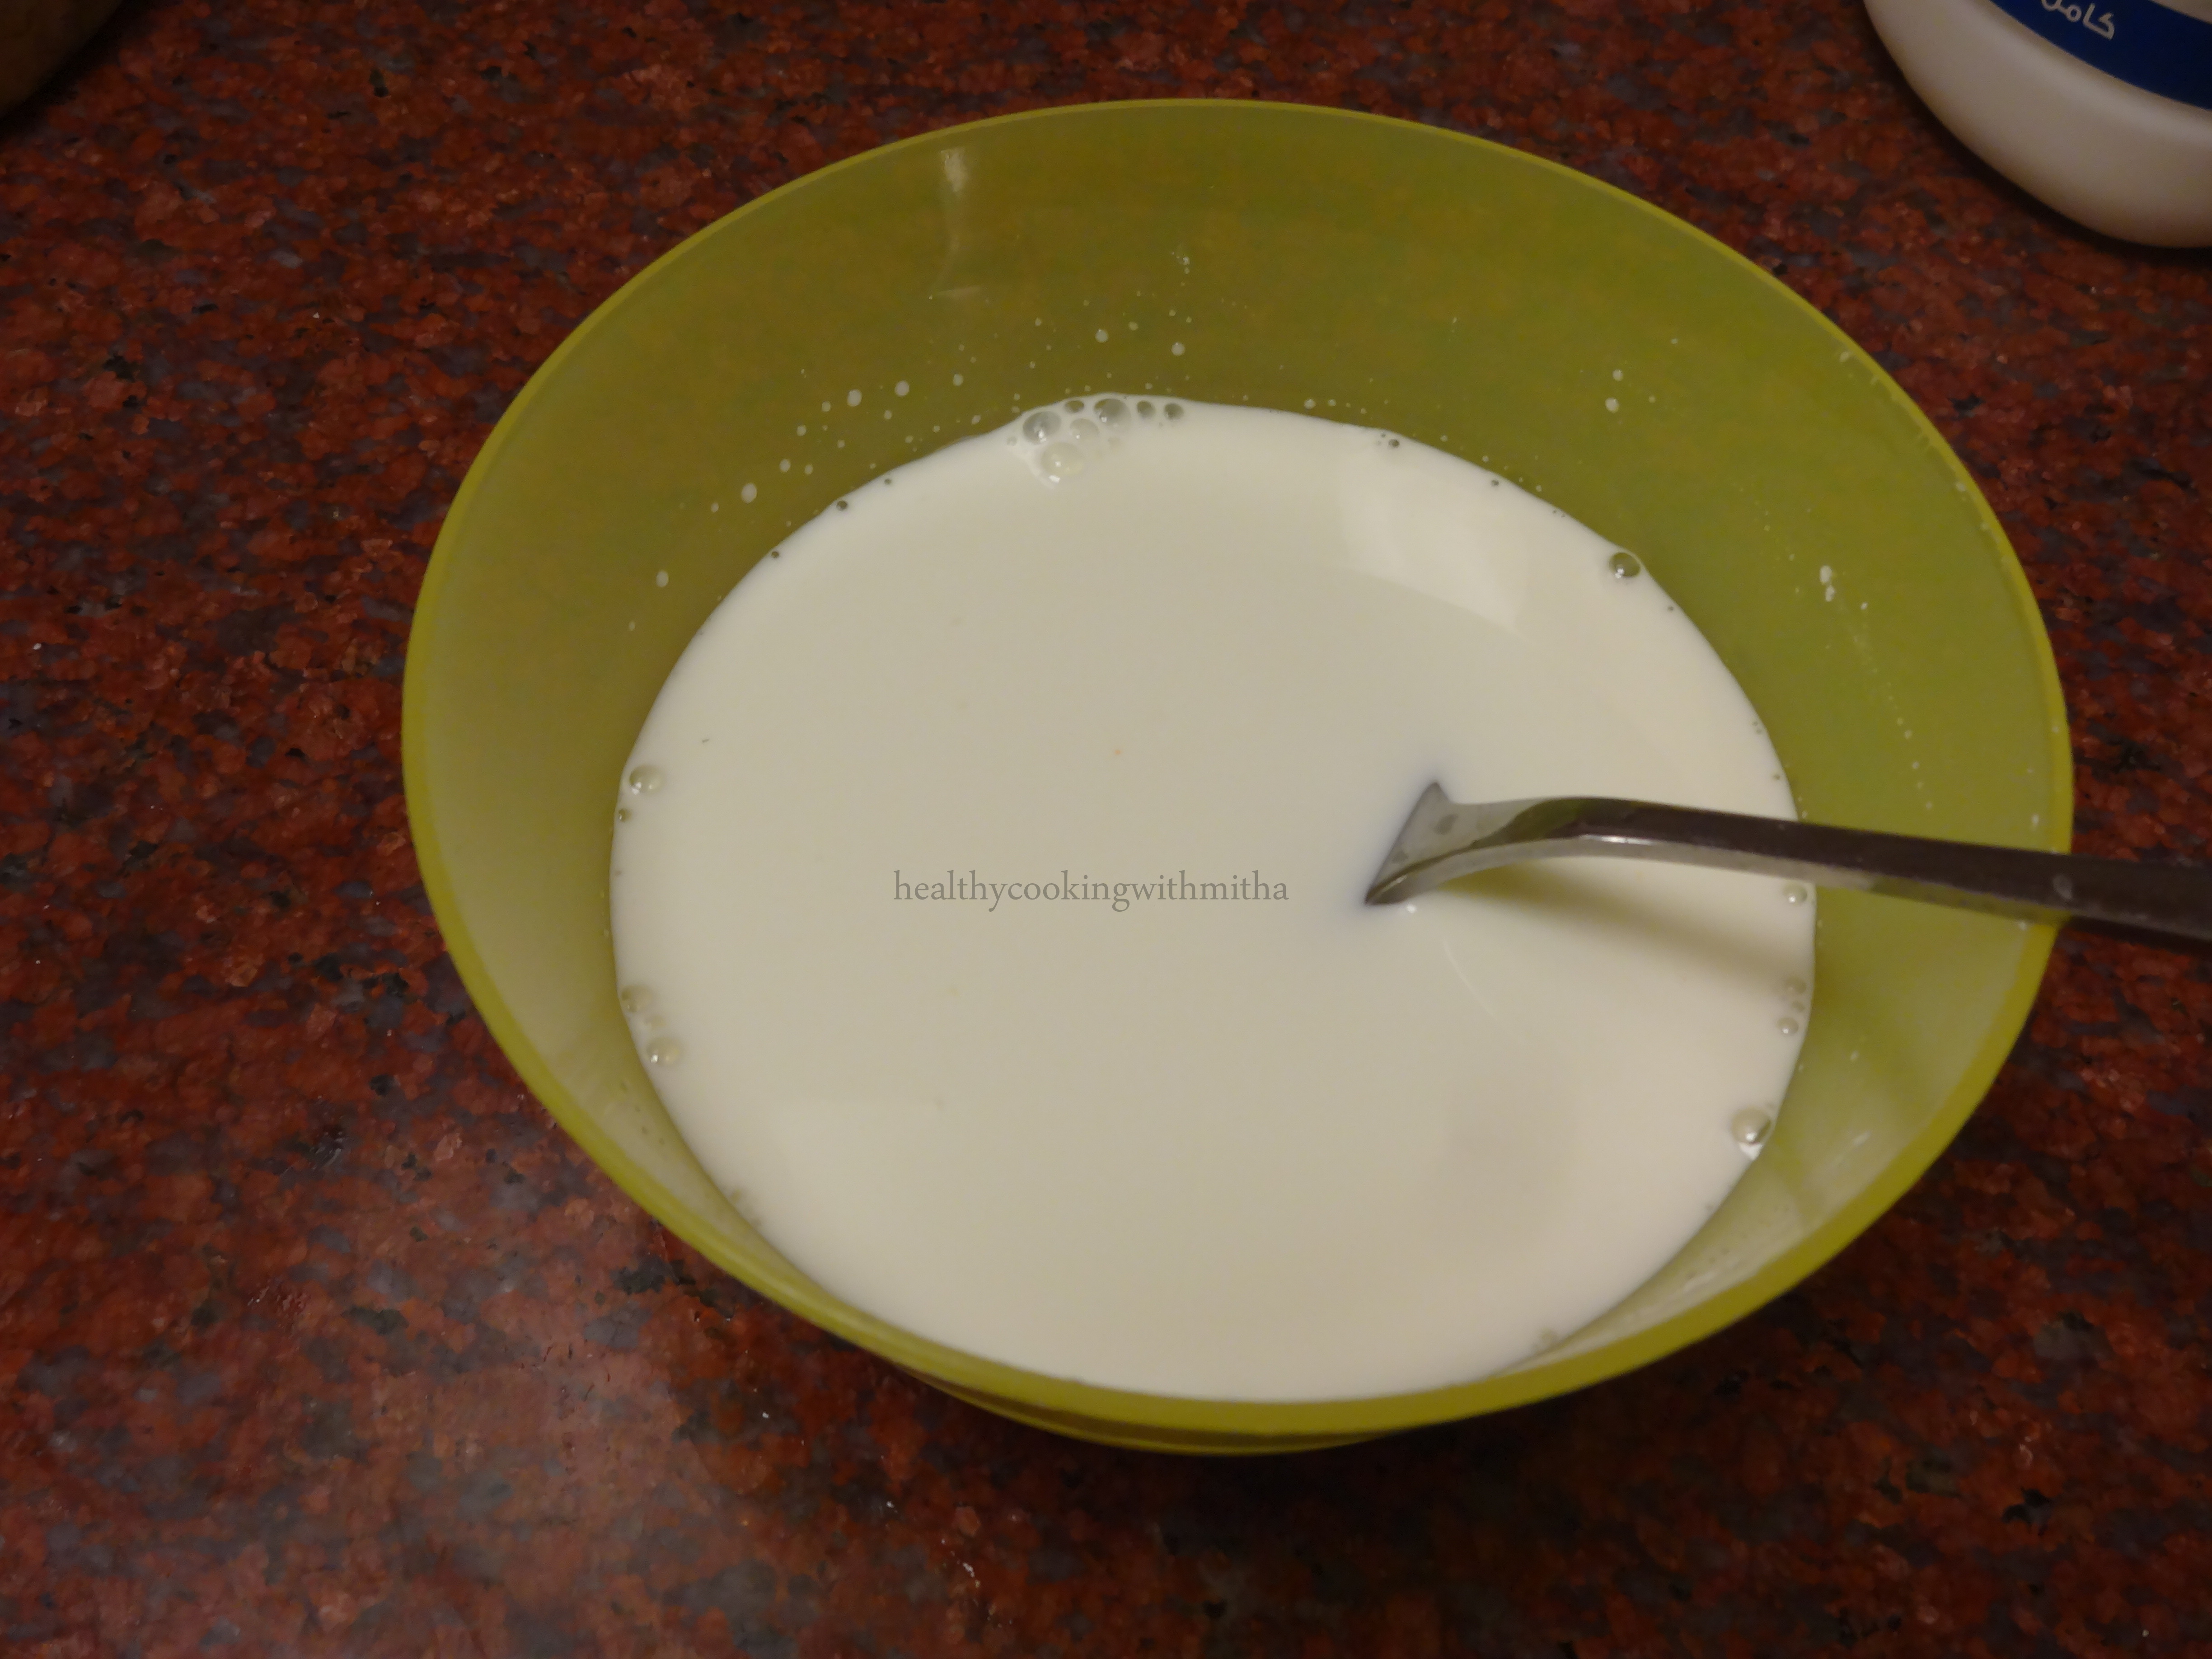
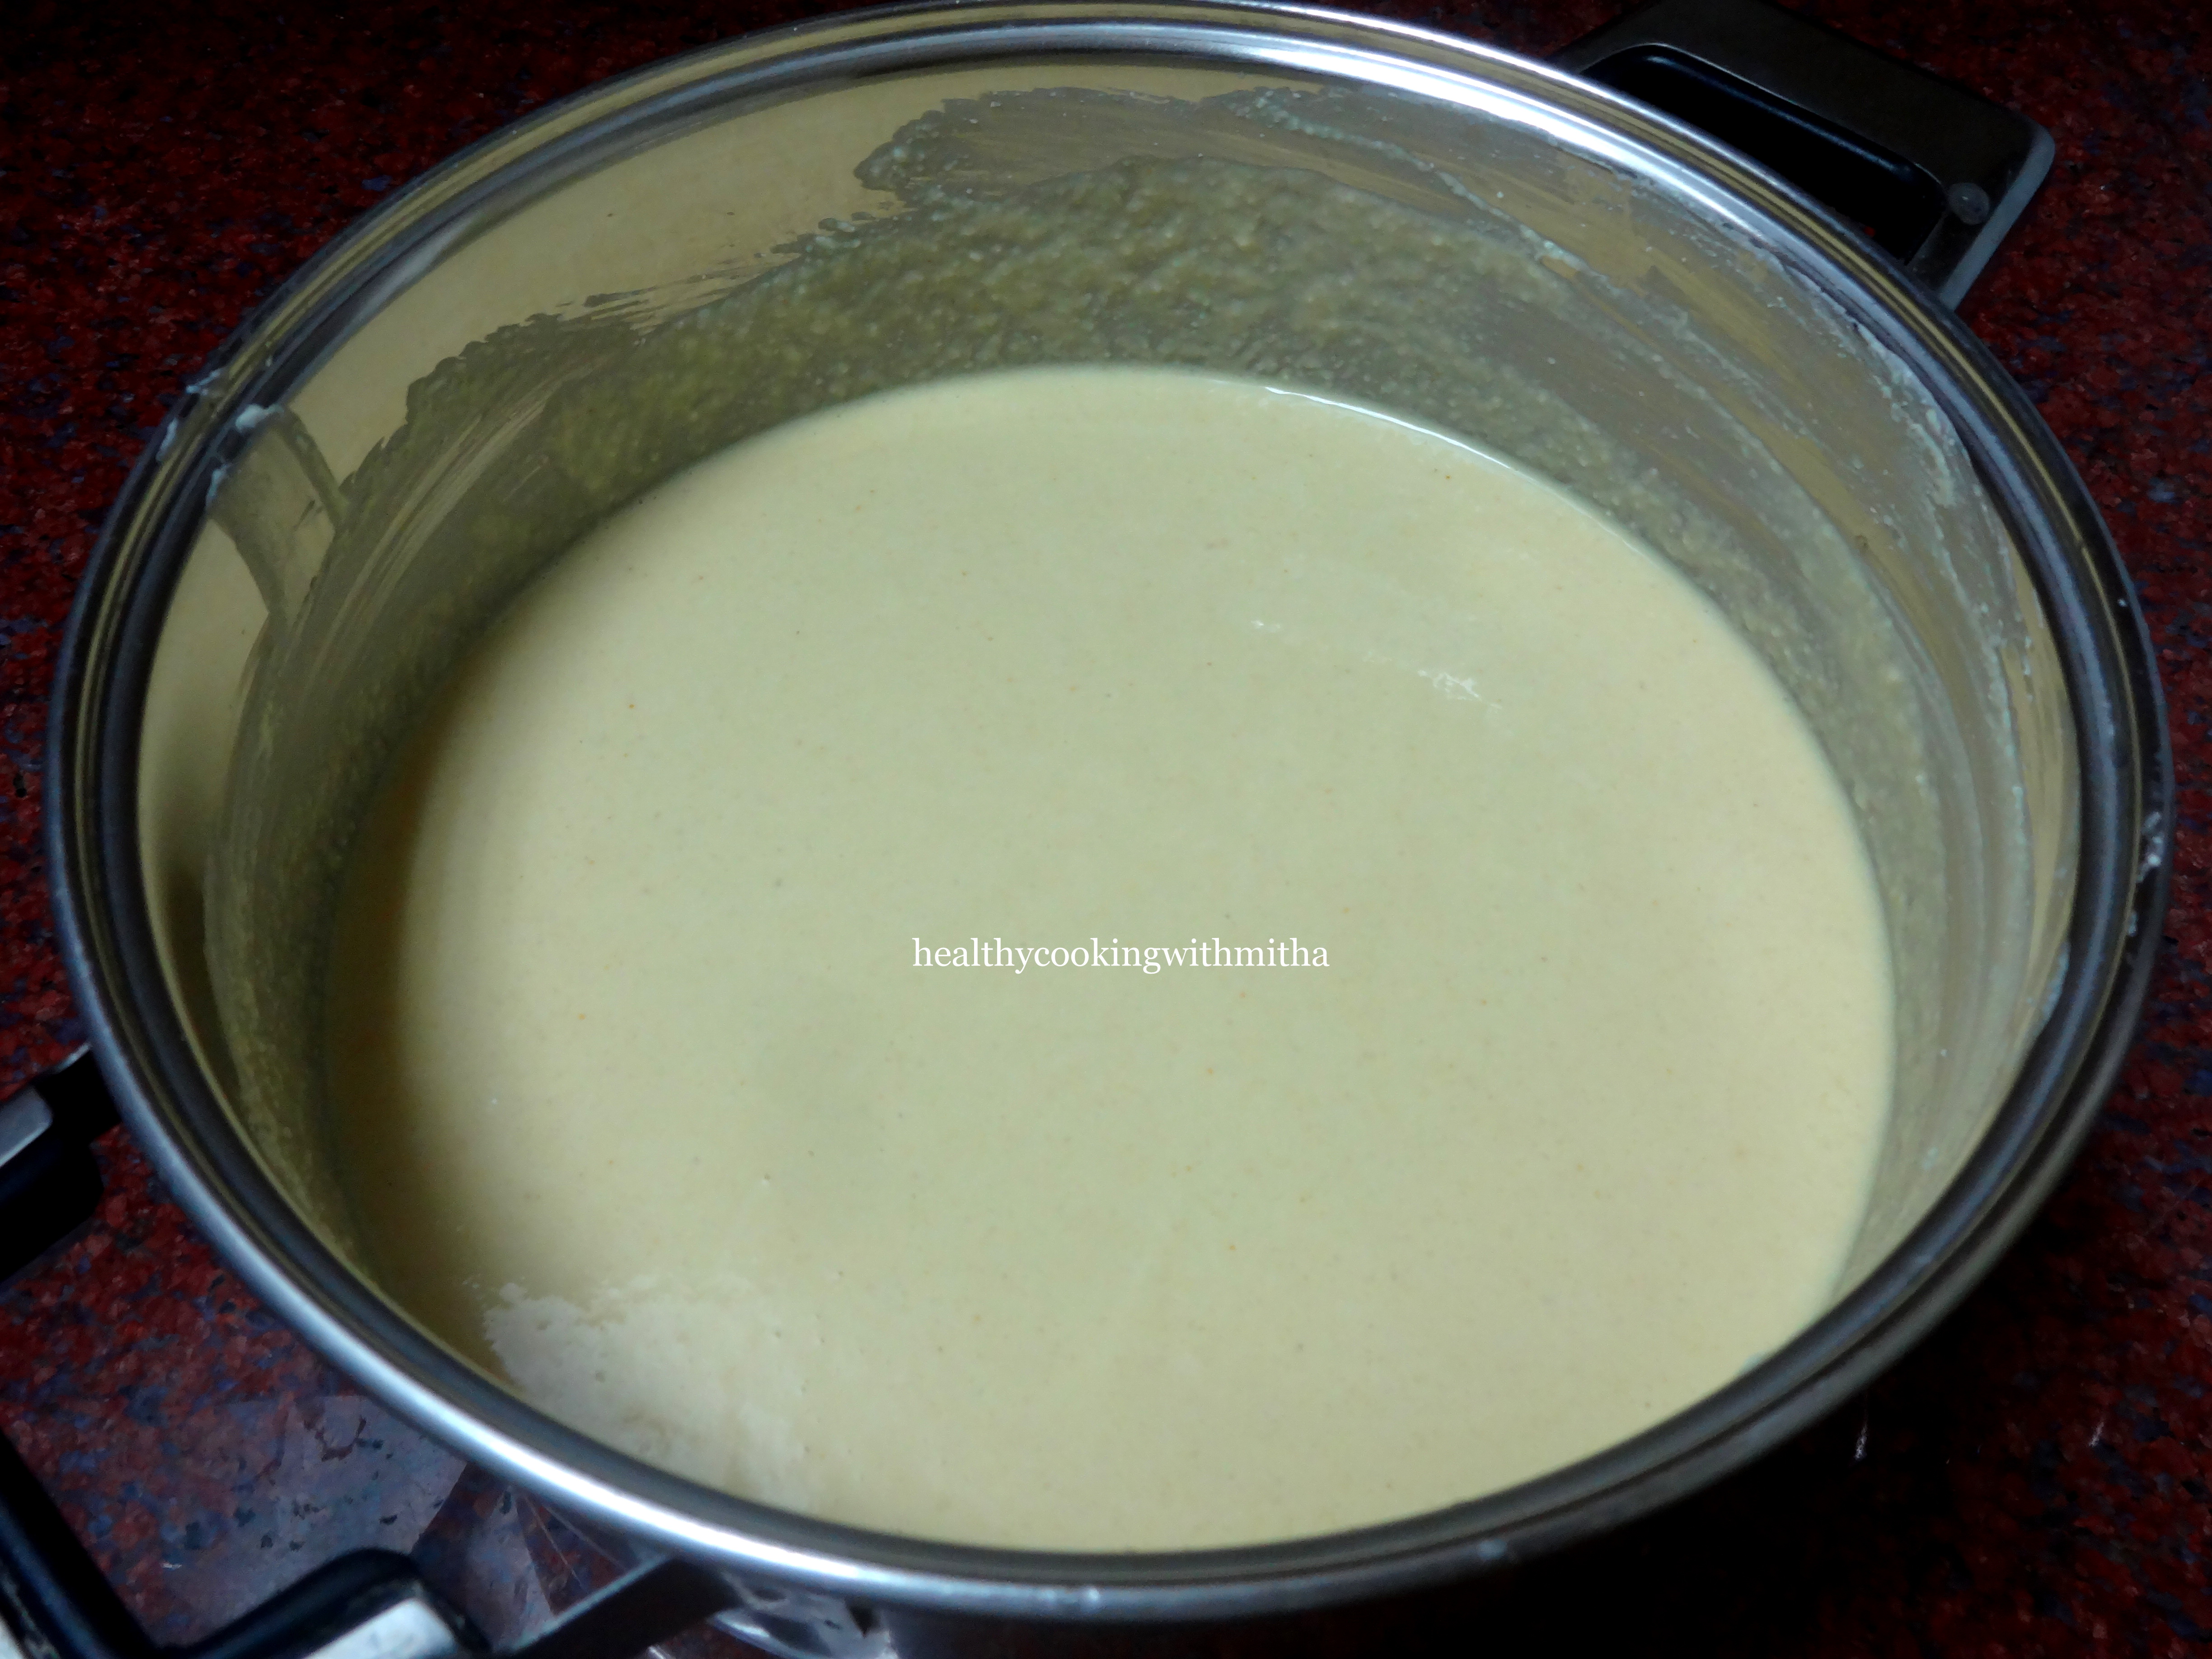
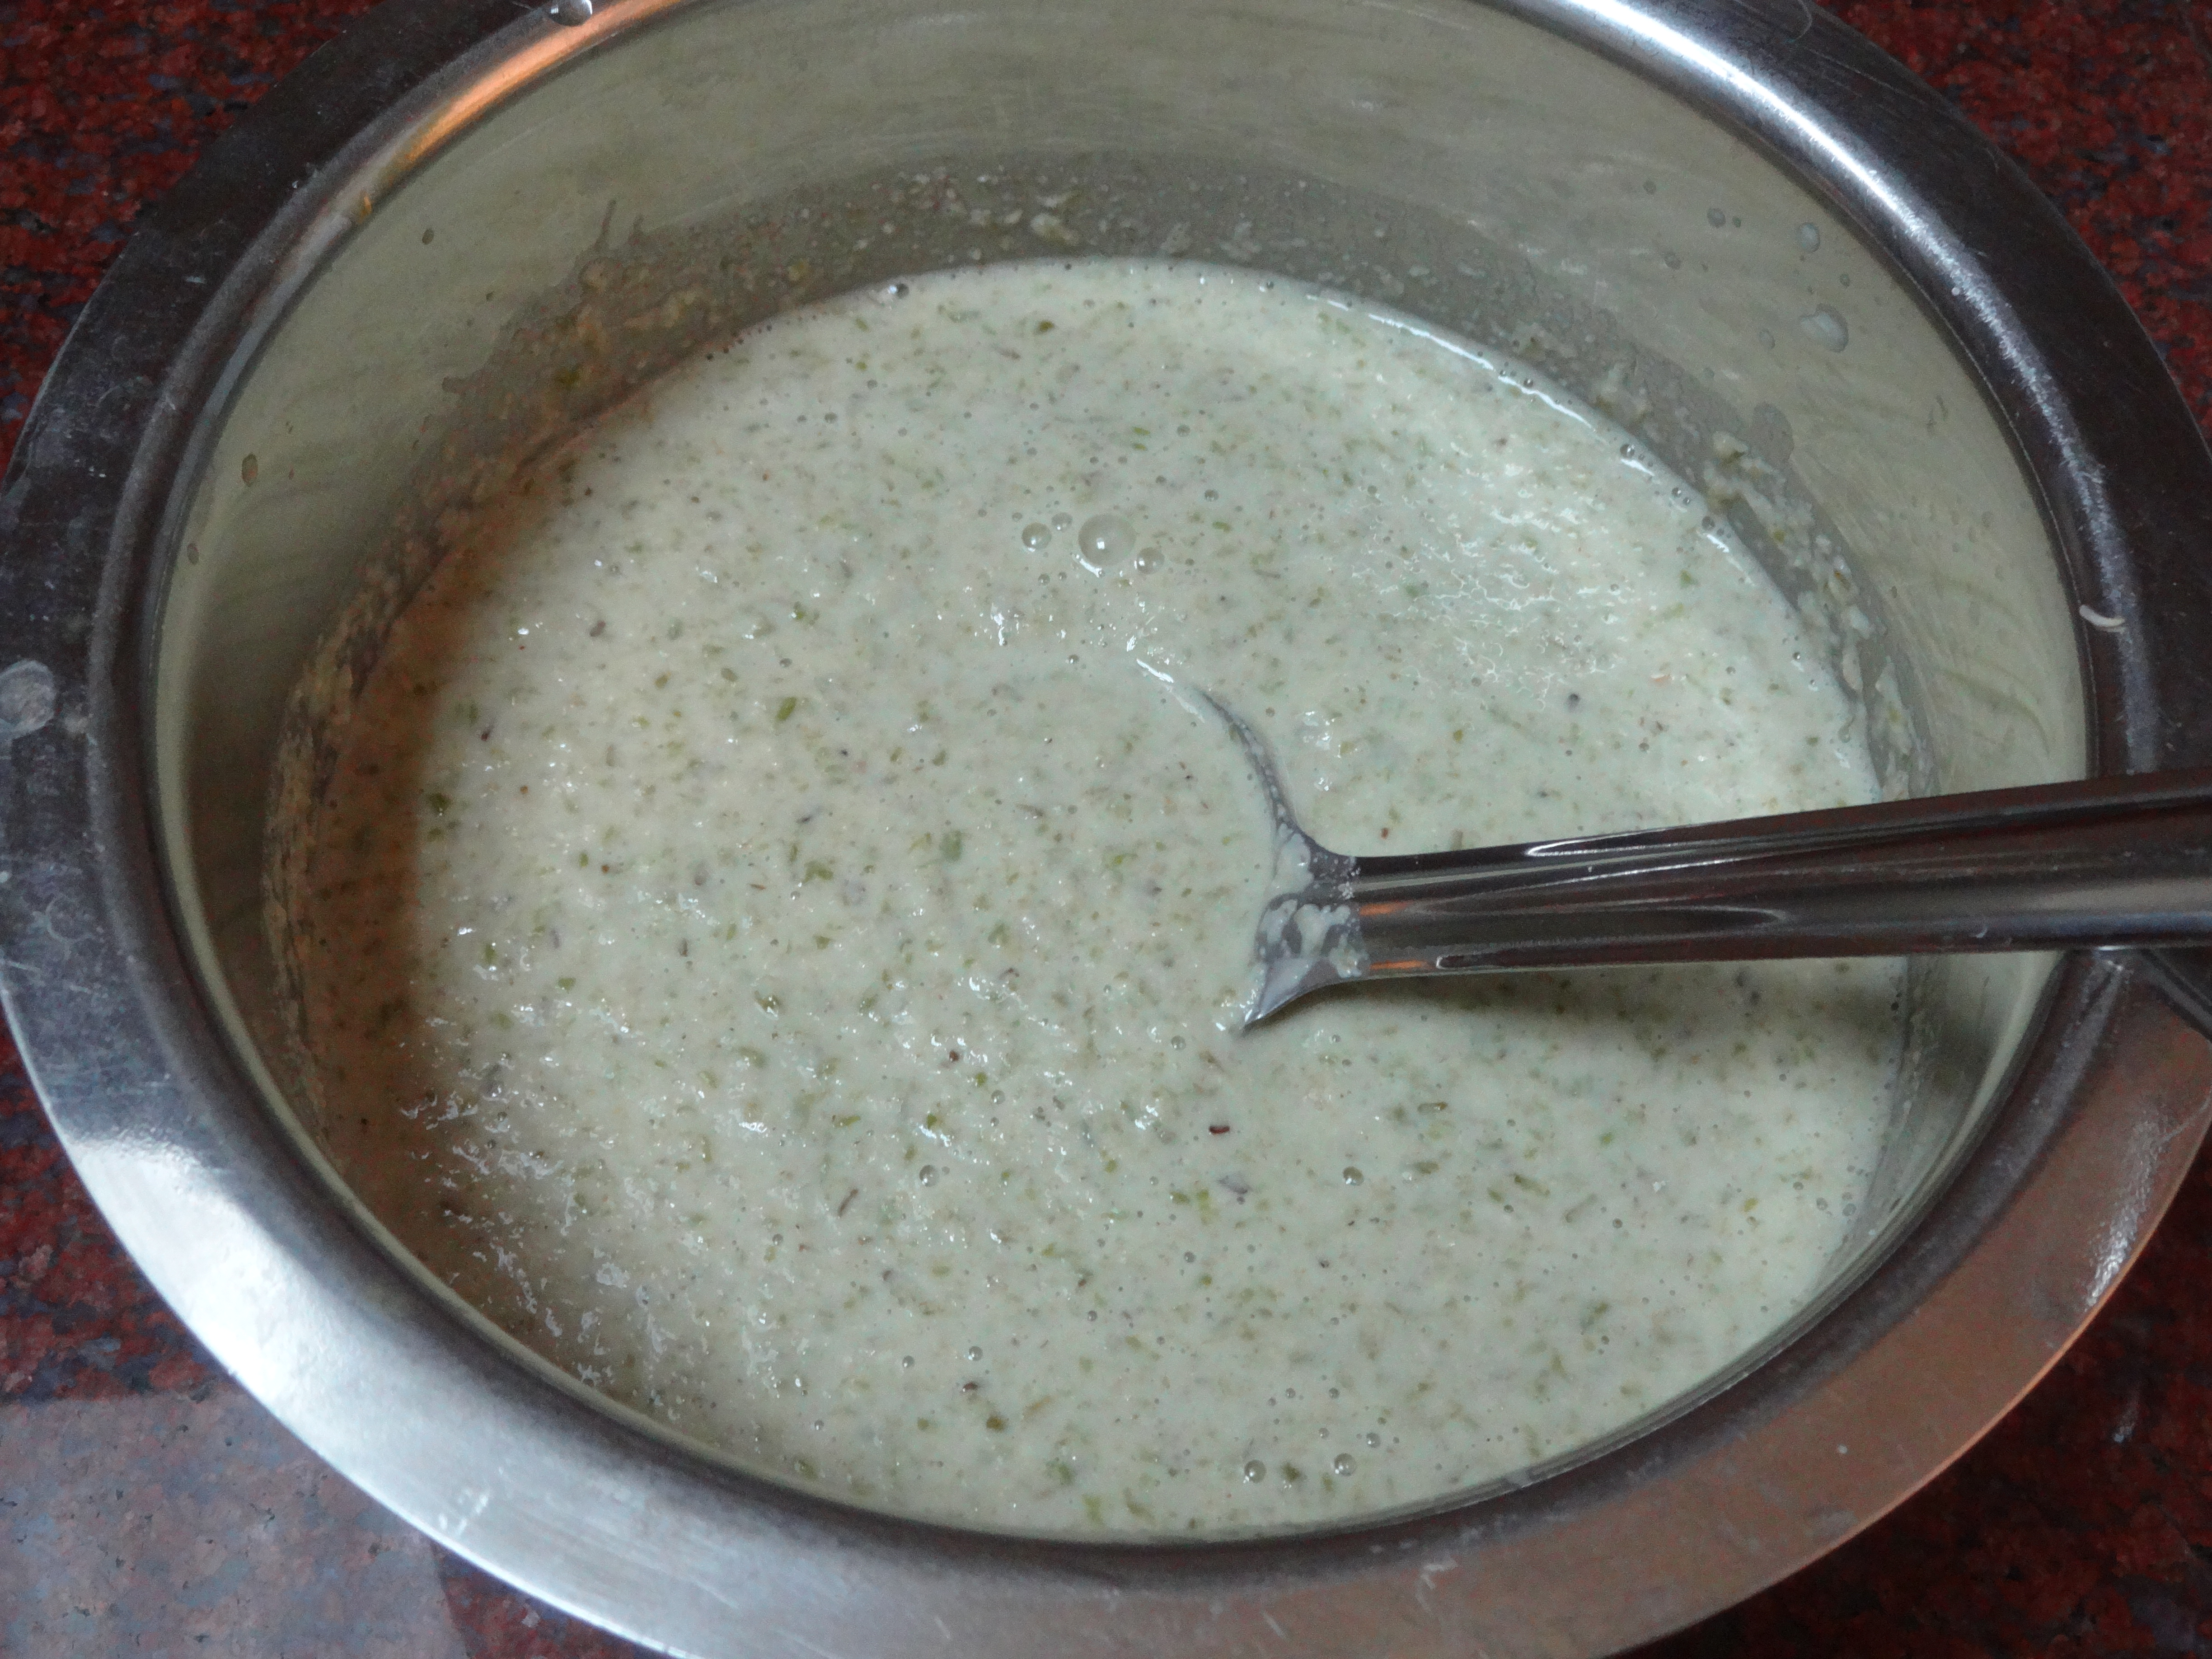
3. Now wash the sprouts well once and grind along with oats, salt and little water to a smooth batter of pourable consistency. Not very thick, nor thin. Just like any dosa batter.
Note: Be careful while adding water to the batter so that it does not become very thin.

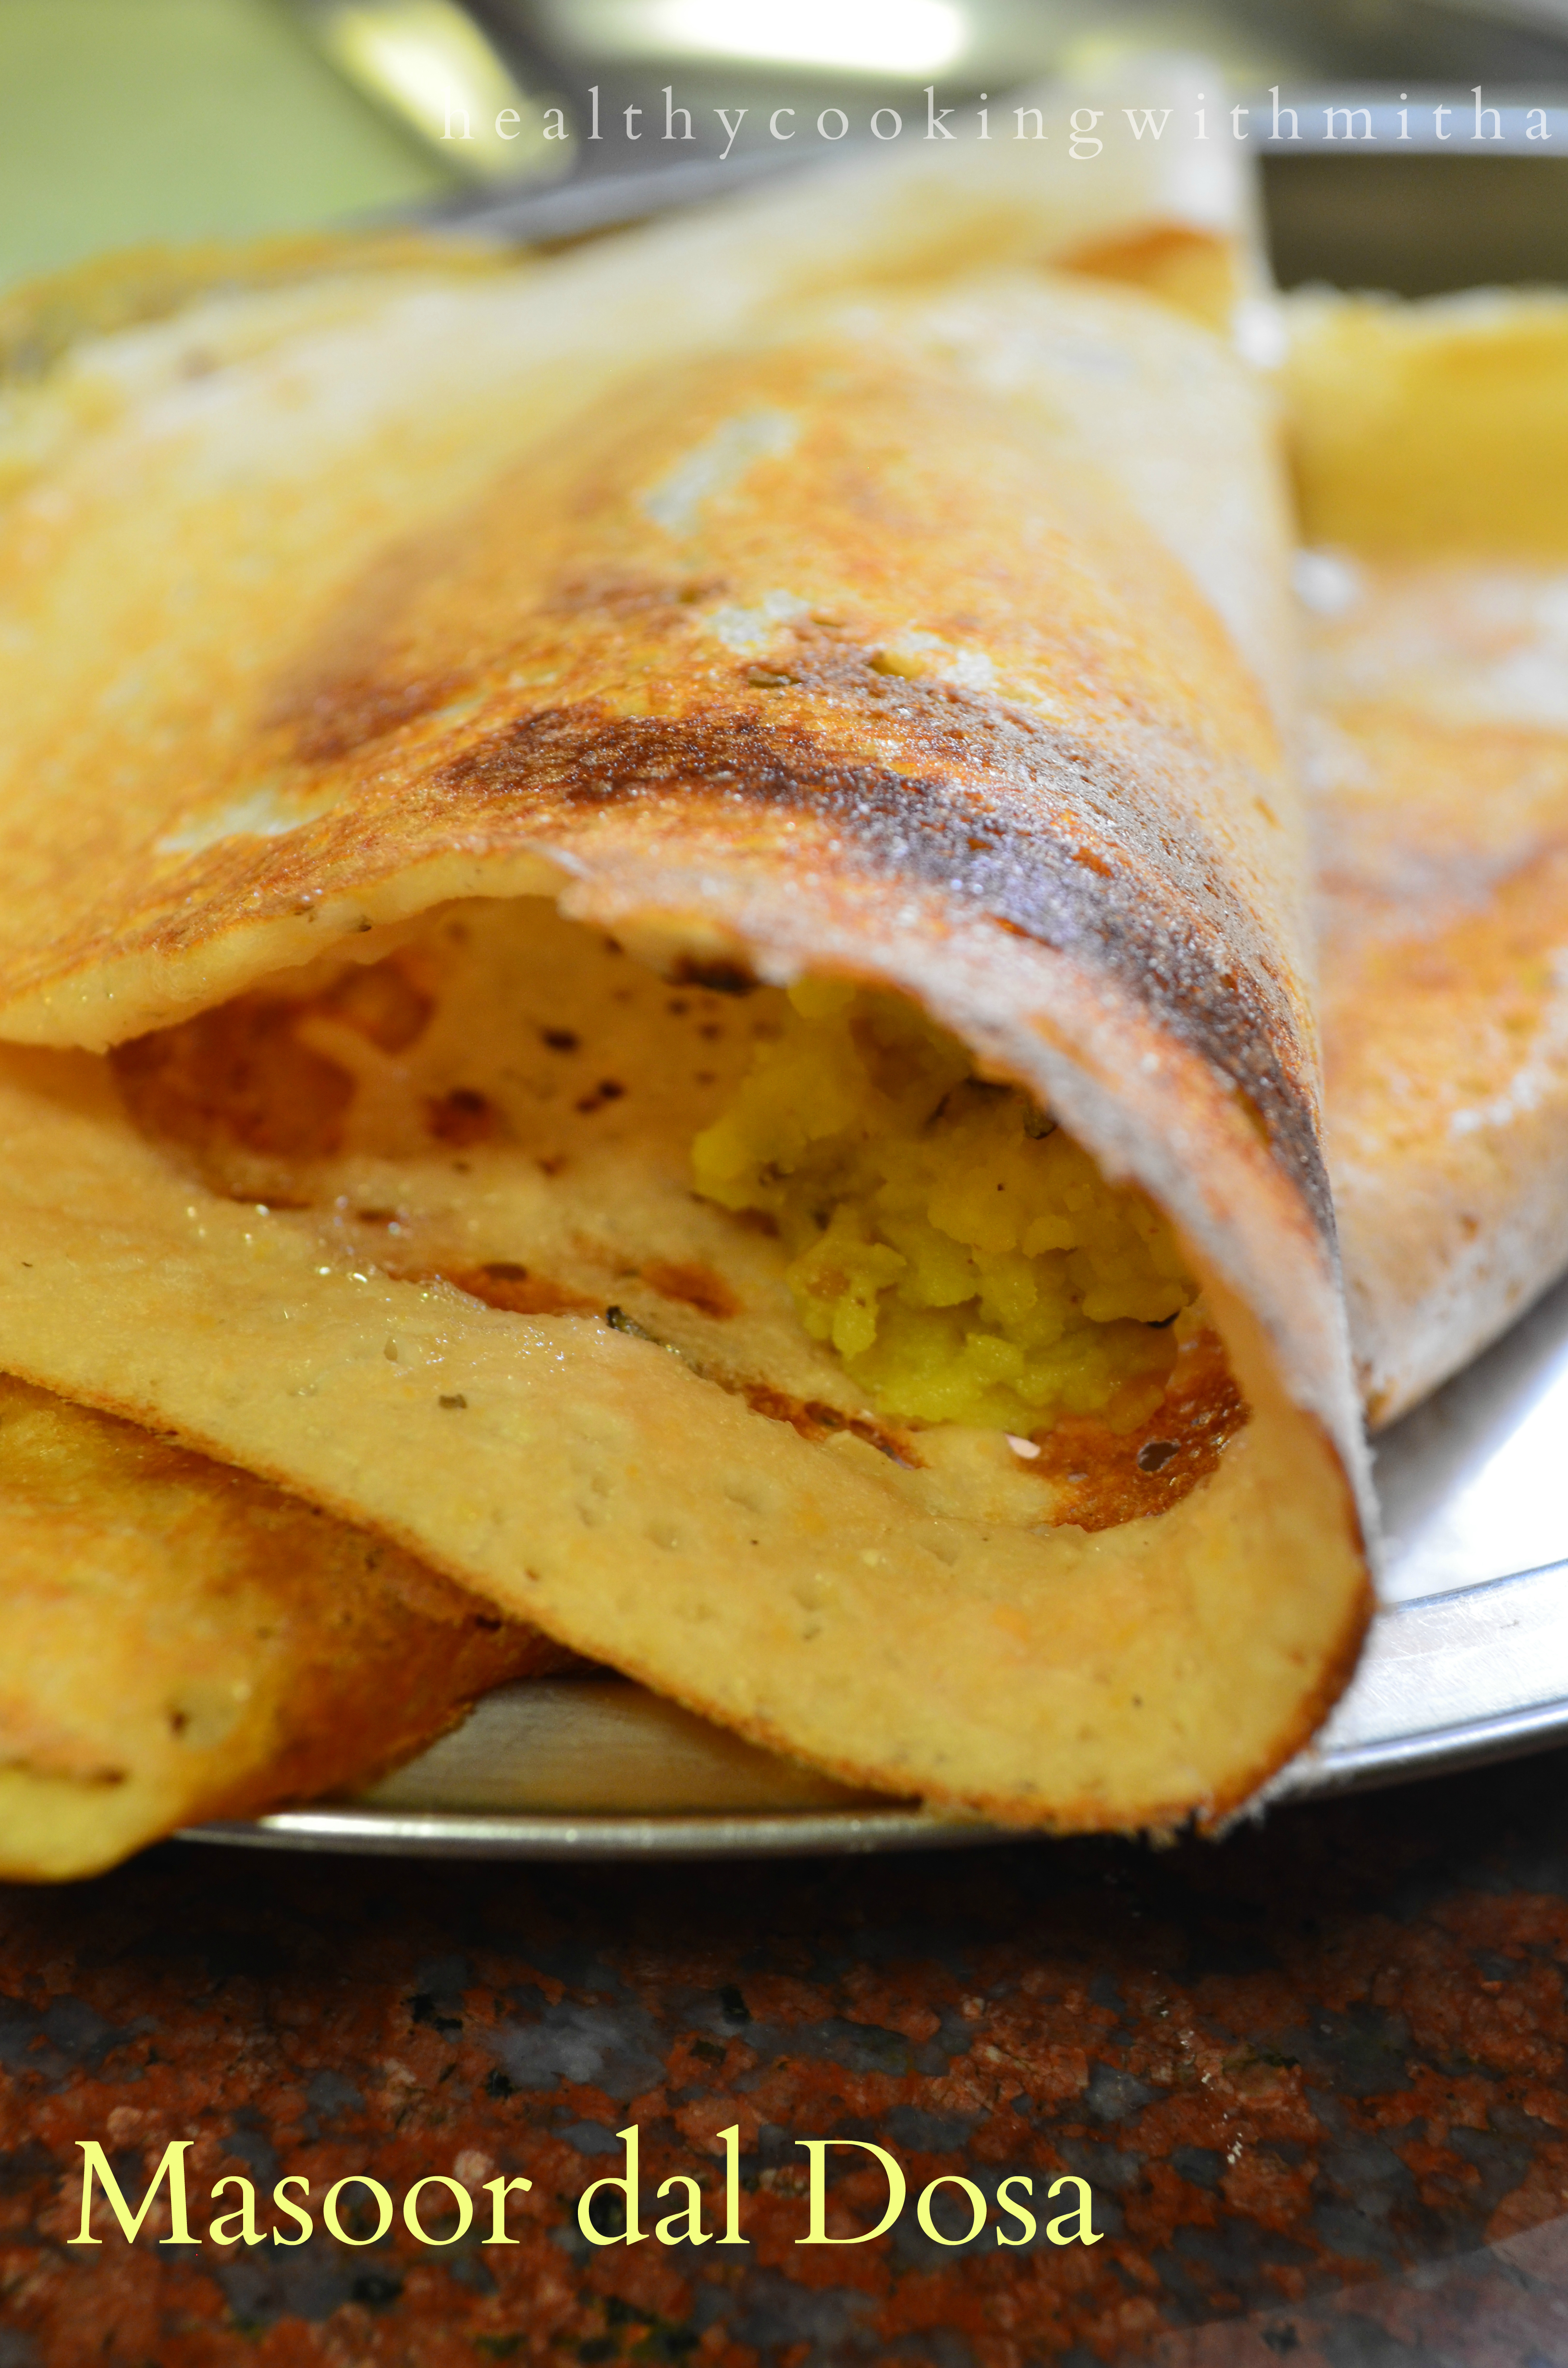
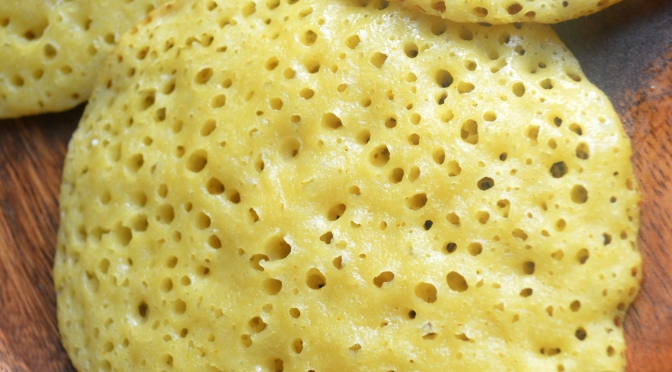
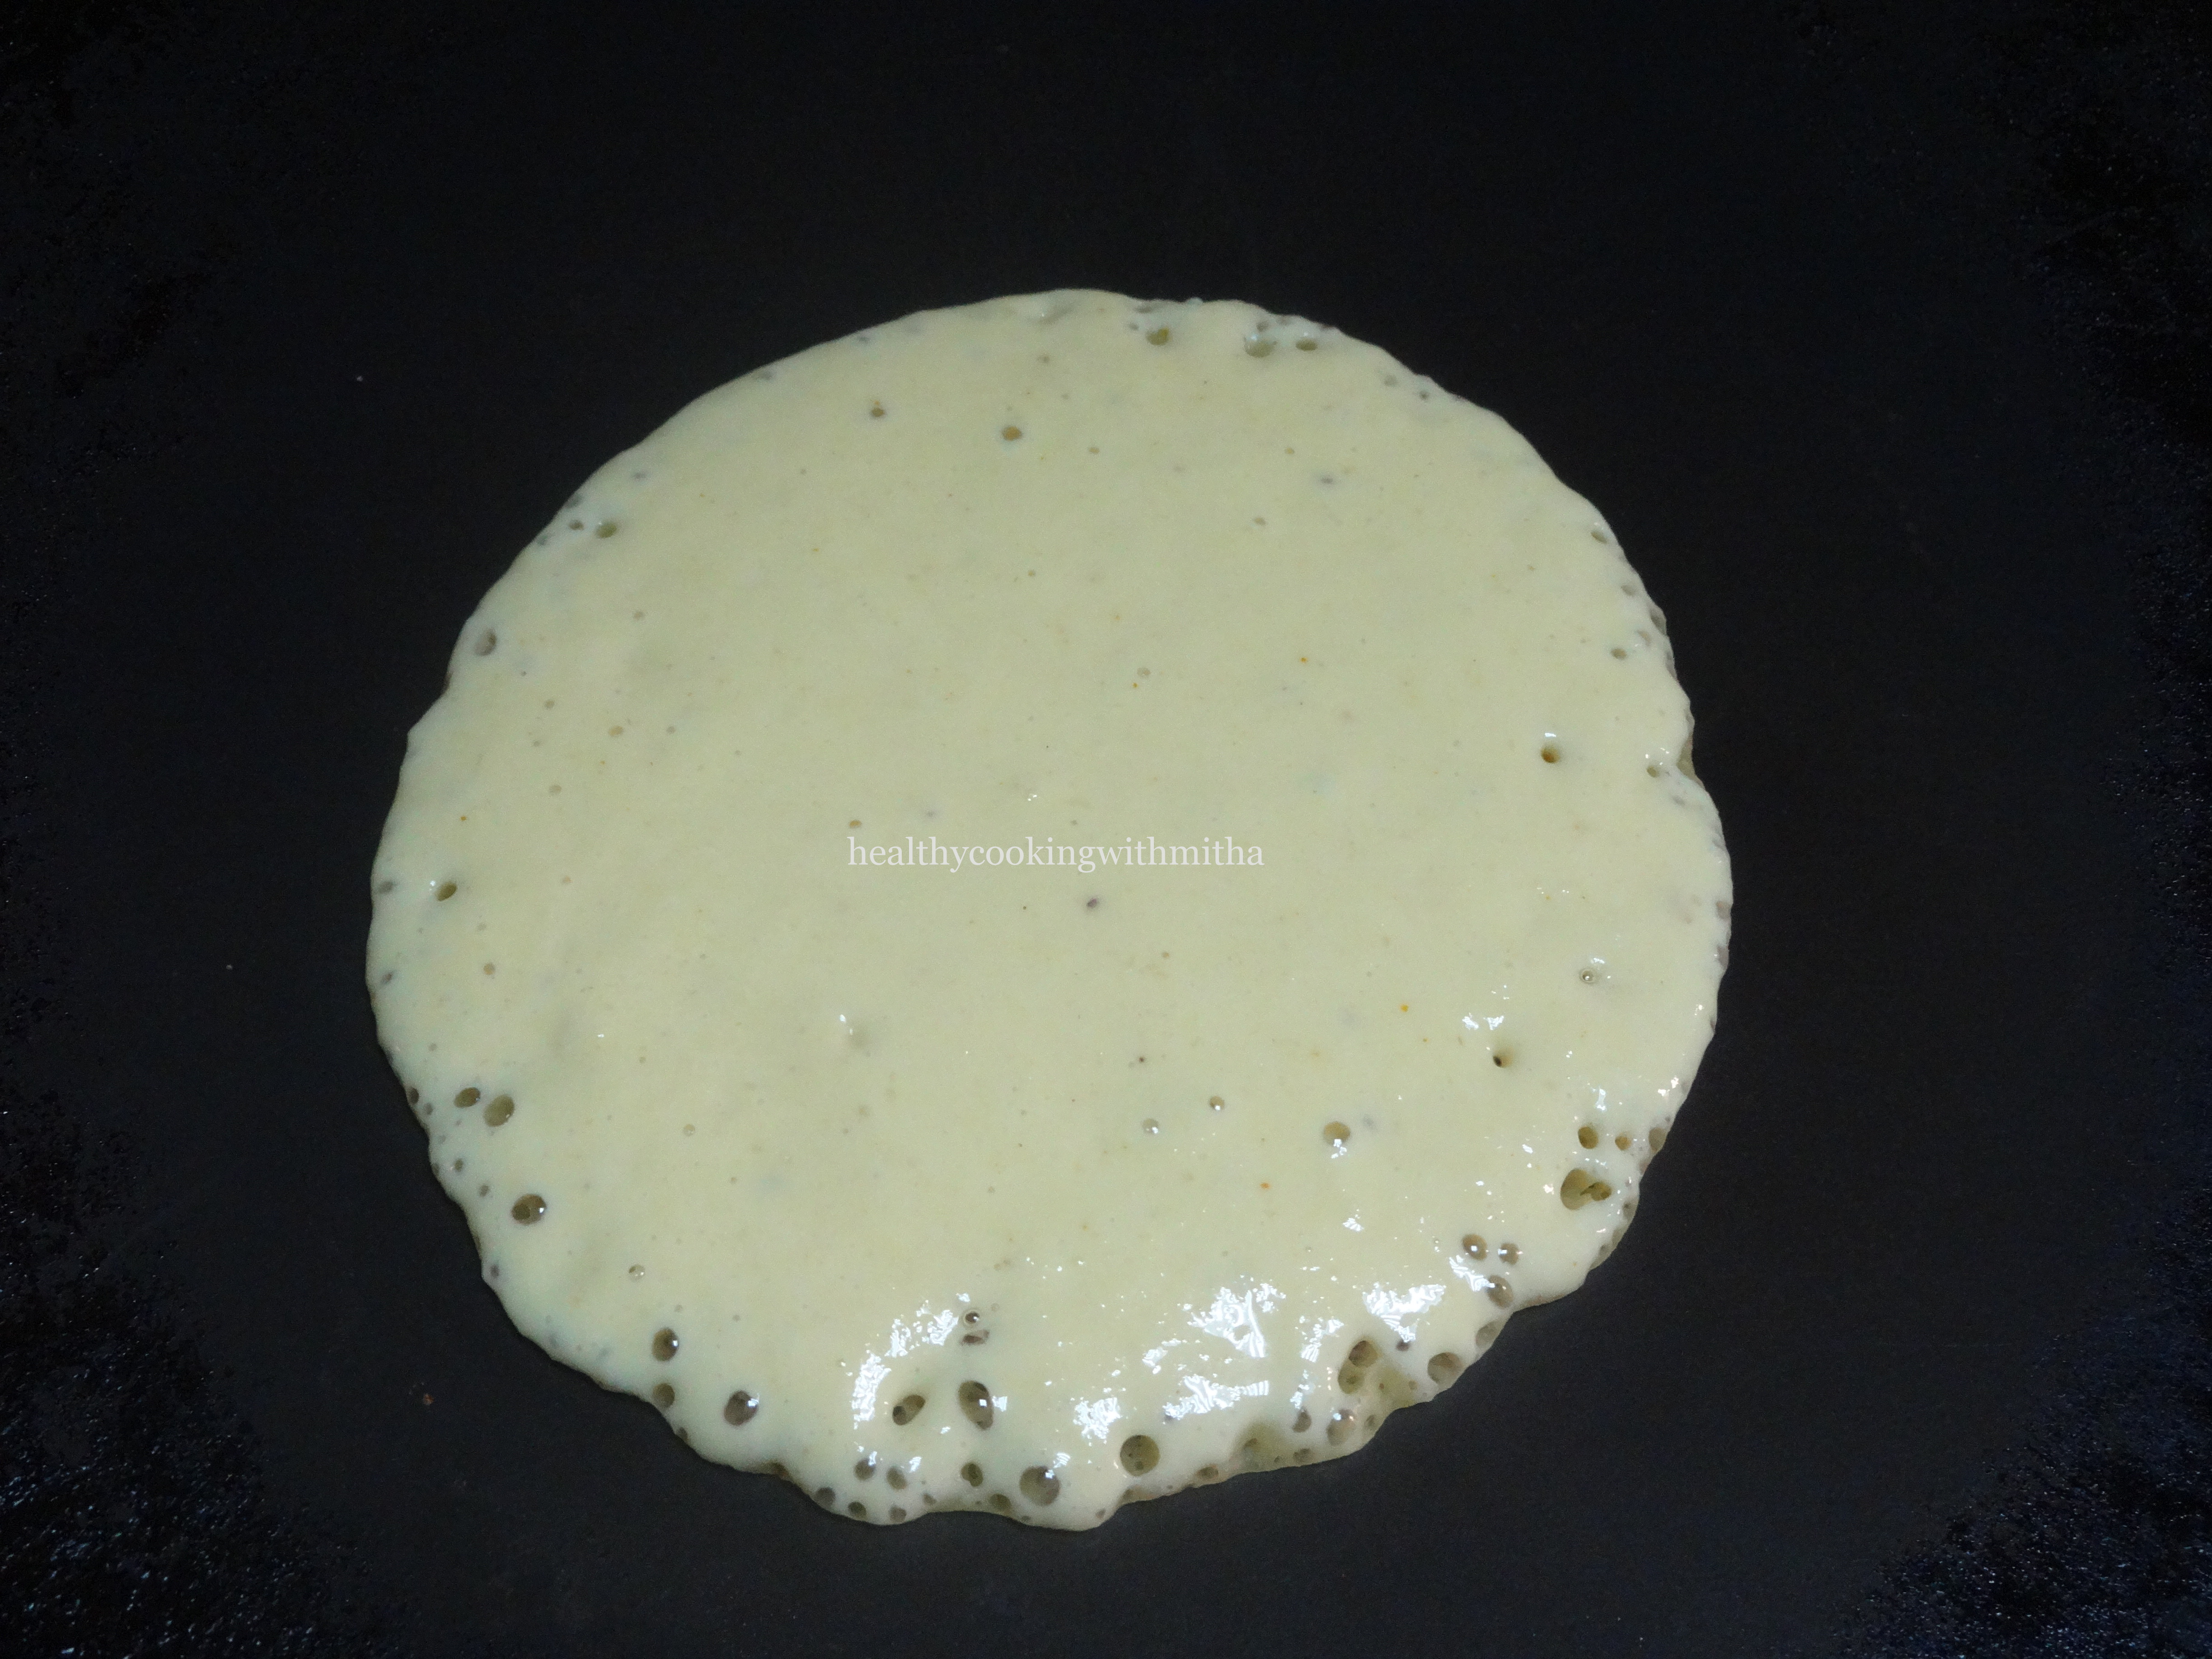
4. You can make dosa instantly. No need to ferment the batter. Heat dosa pan and pour a ladle of the batter. Spread into a circle shape.

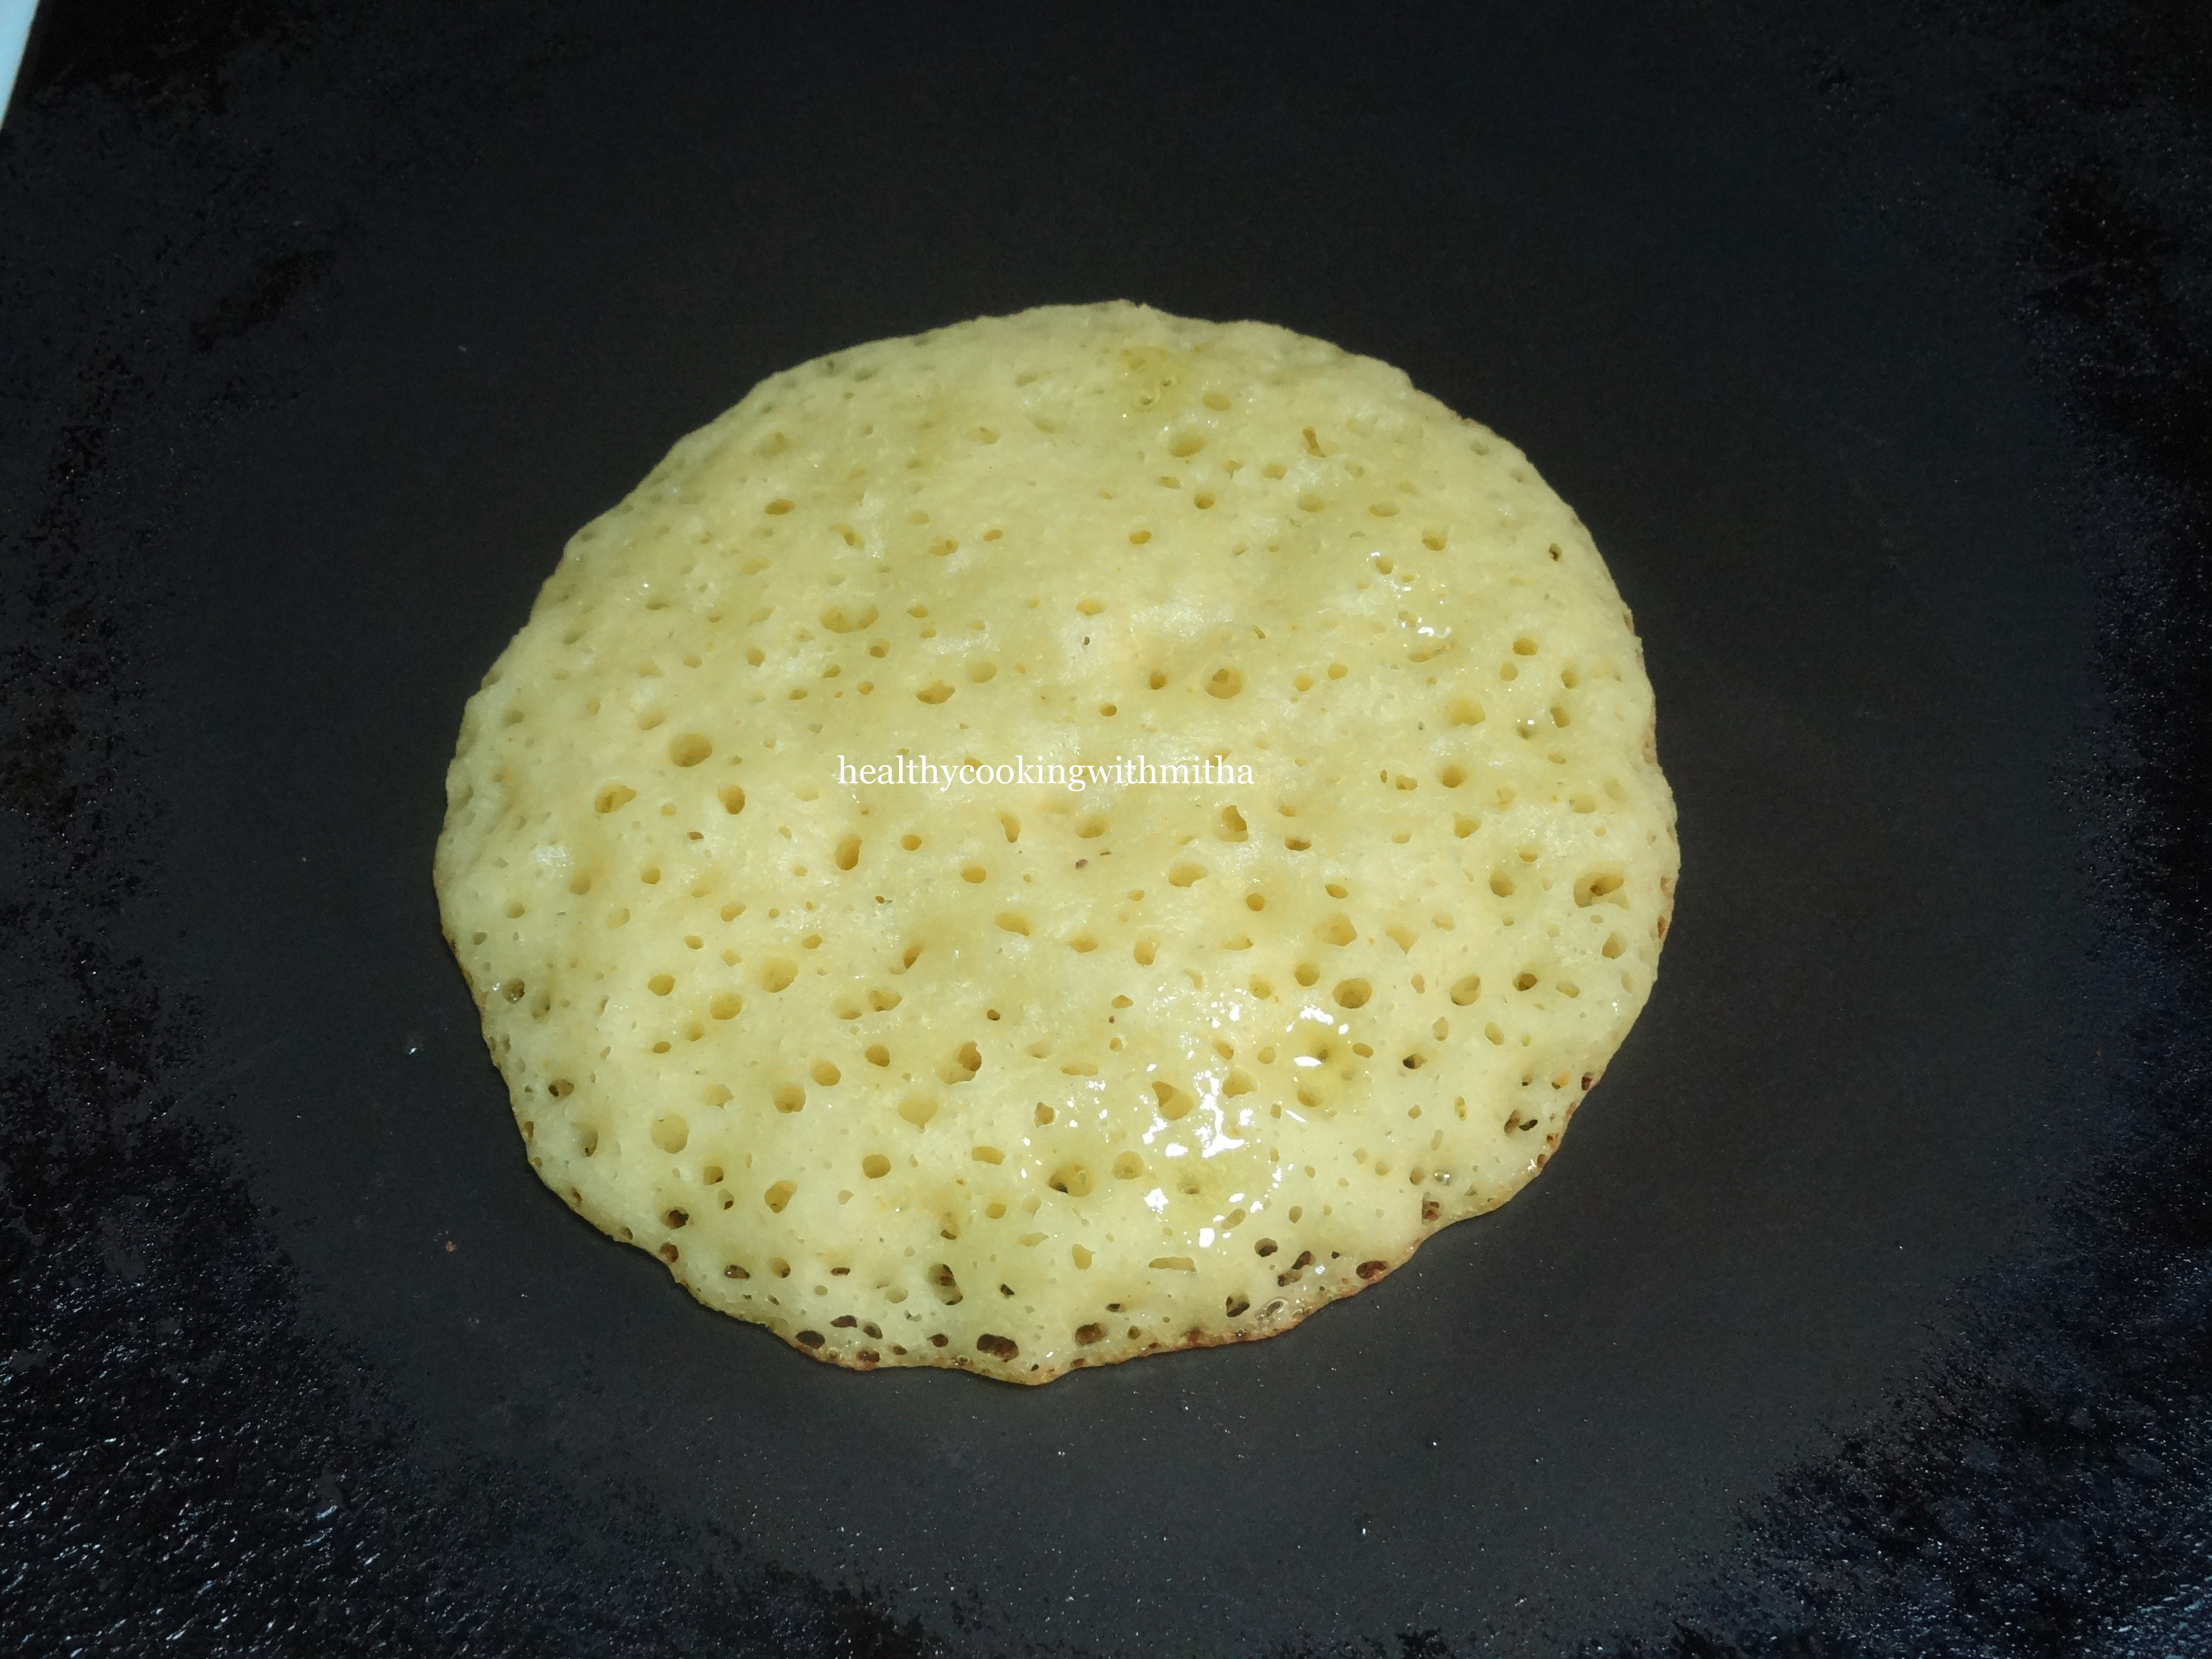
5. Cover and cook till the surface cooks and underside turns brown and crisp. Add ghee.

6. Repeat the same with the rest of the batter.
Notes:
* Refrigerate the remaining batter and use it whenever needed.
* No need to ferment this batter. Grind and use soon after.
* I had taken 2 Cups of dried whole moong to soak. After soaking and sprouting, I got 5 Cups of moong sprouts. I made dosas with 4 Cups of sprouts and used the rest 1 Cup to make salad.
* For making perfect dosas, heat the pan well. Else if the pan is not hot, the batter might stick. Also add ghee after spreading the dosa and not before.
* This dosa turns soft when cooked only one side but you can make it crispy but spreading the dosa very thin and cooking till the underside turns brown. Also add ghee and cook both sides to make it extra crispy.
* If using rolled oats instead of instant oats, soak for half an hour before grinding.