Twice a week when my husband is on his day shift, he eats his lunch at his company’s “restaurant”. He calls it canteen but I call it restaurant because of the wonderful spread they put out which sounds so scrumptious especially for me as I love buffets.
So he comes back home and gives details of what he ate there (much to my dismay 😅) which includes starters, variety salads, main course dishes and my favourite part – Desserts 😍. Tiramisu is one among them and my mouth waters when I hear it. If it was before, we would have gone out and enjoyed it, but now since everything is homemade, even the famous dessert had to made at home too.
And imagine my happiness when it turns out so delicious that all my cravings got satiated. I referred a lot of recipes online and understood that many had made Tiramisu using hung curd. So I made it even healthier by using jaggery and digestive biscuits.
Main point is all these ingredients are easily available as compared to the original Tiramisu where most are exotic ingredients.
So hope you all try and love it too. Happiness is definitely indulging in this delicious Tiramisu! ❤️
RECIPE:
Ingredients:
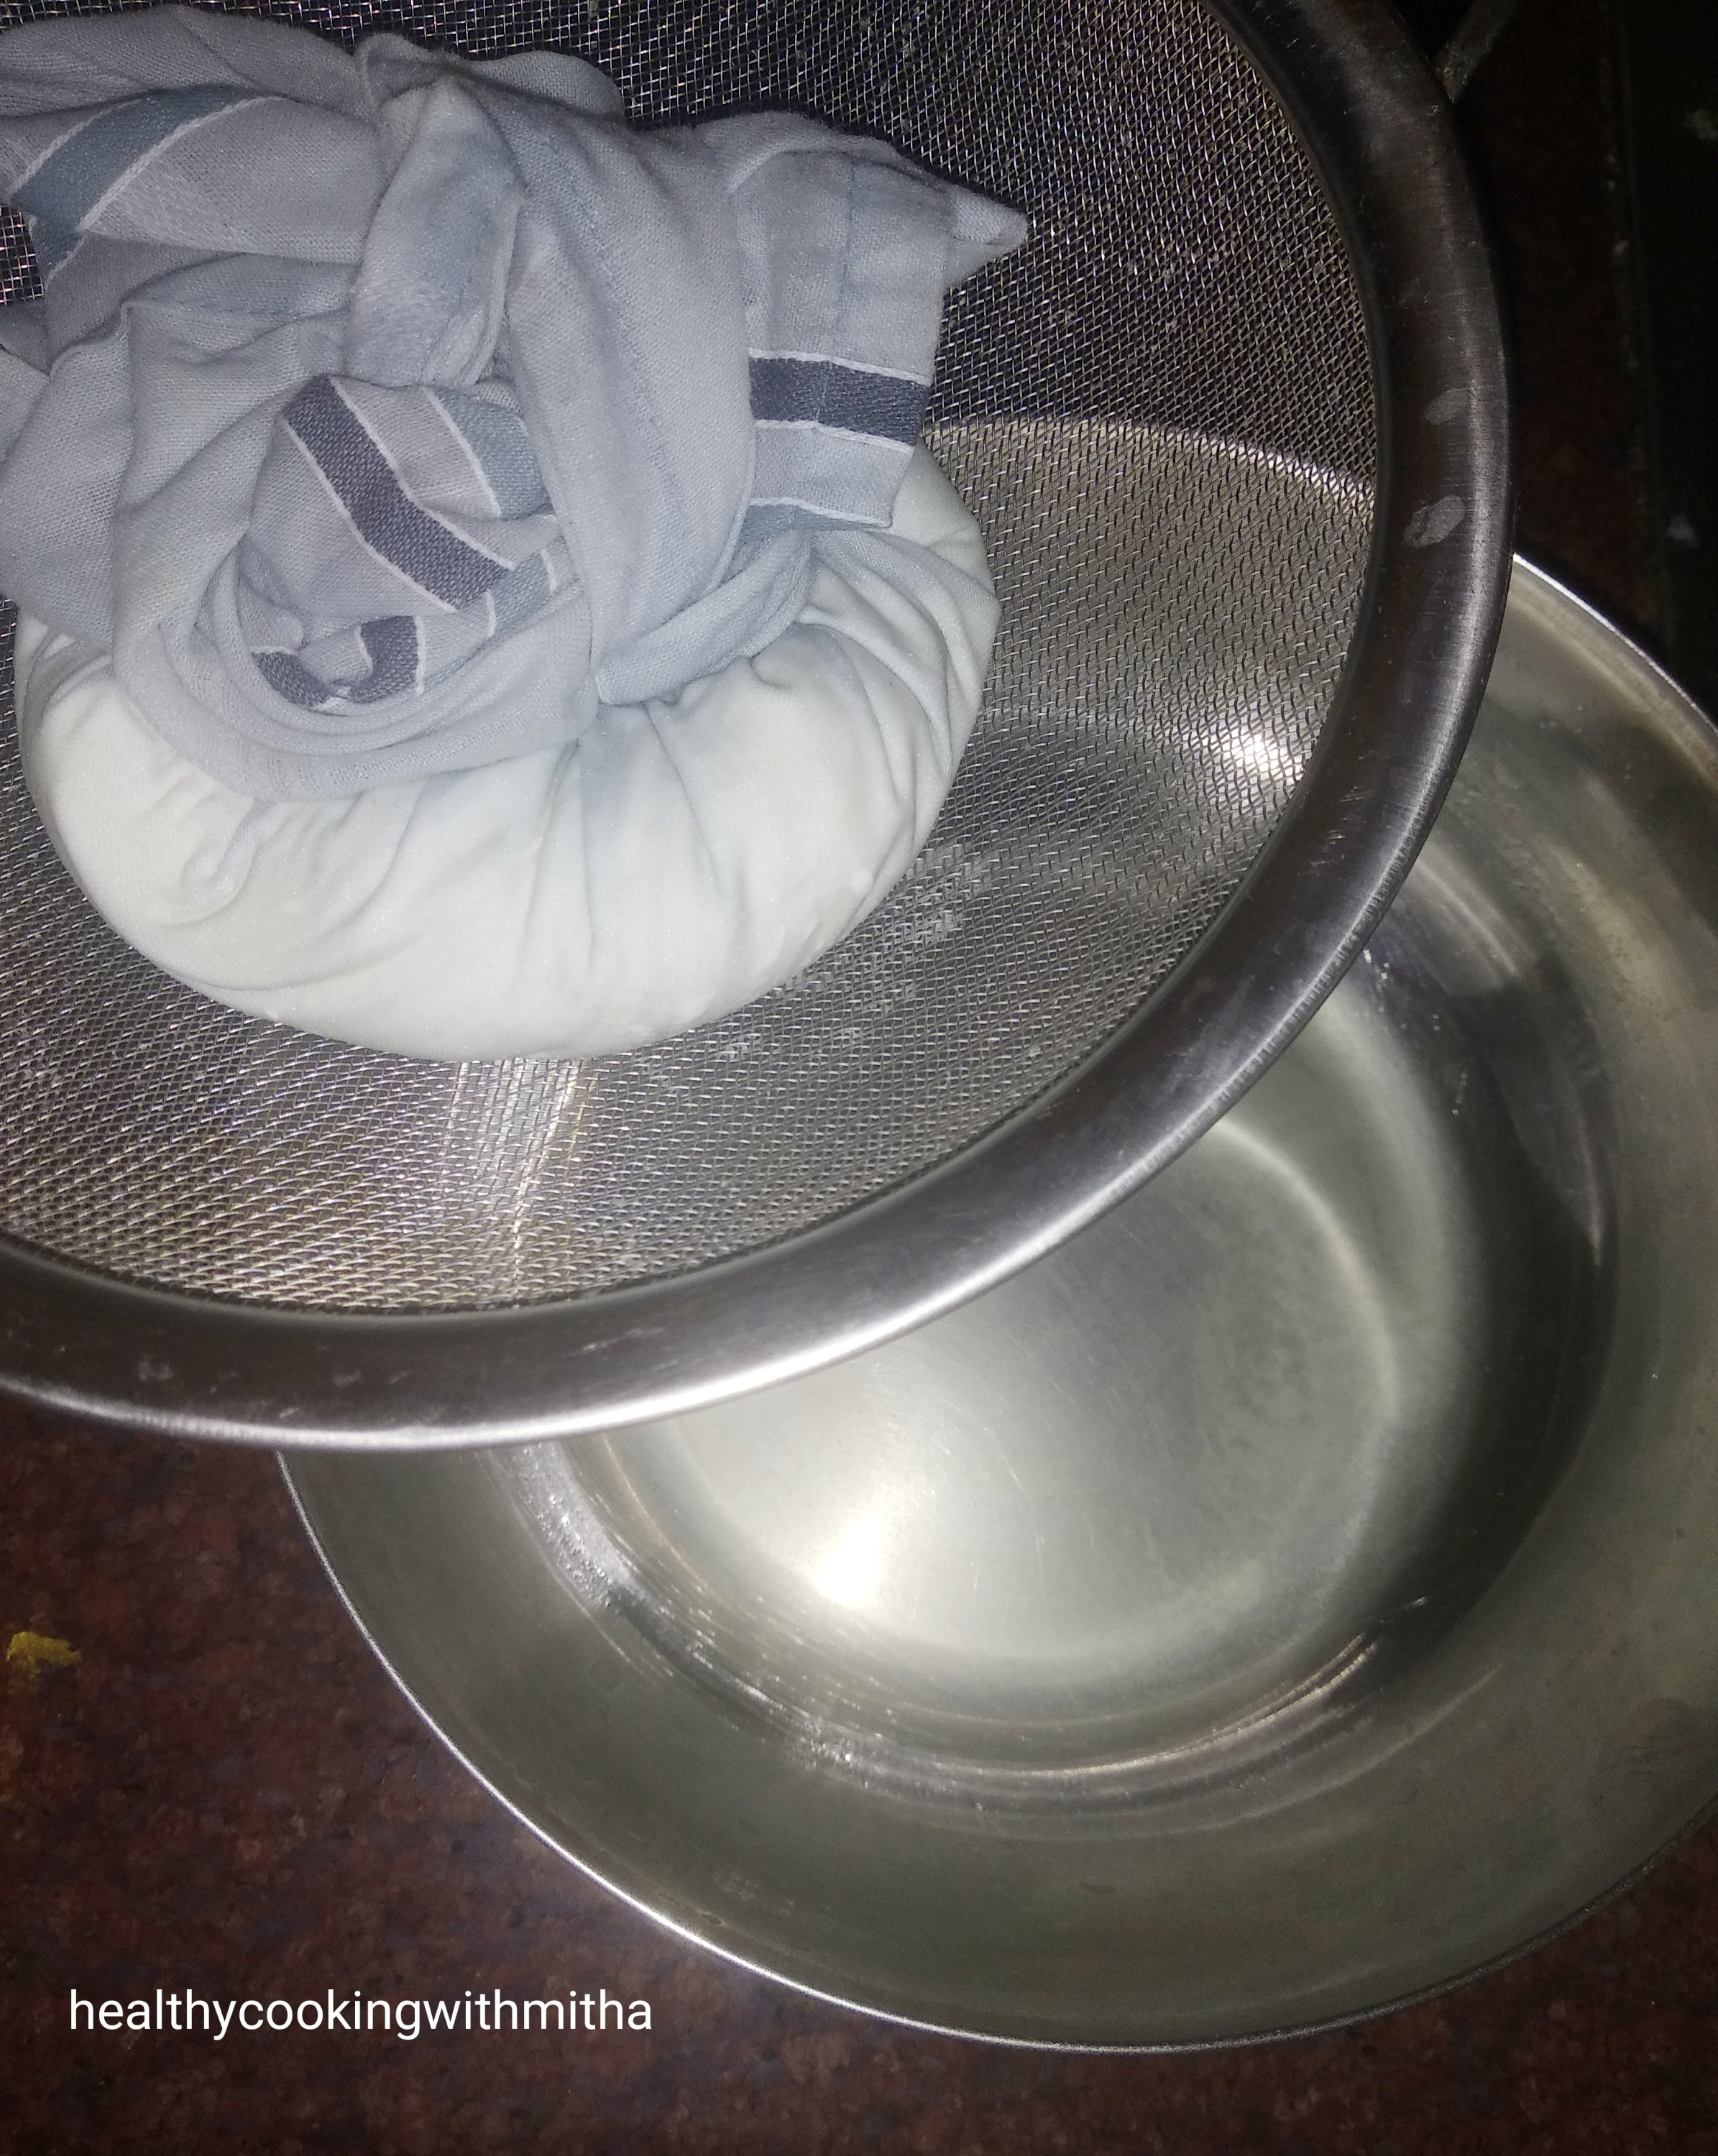
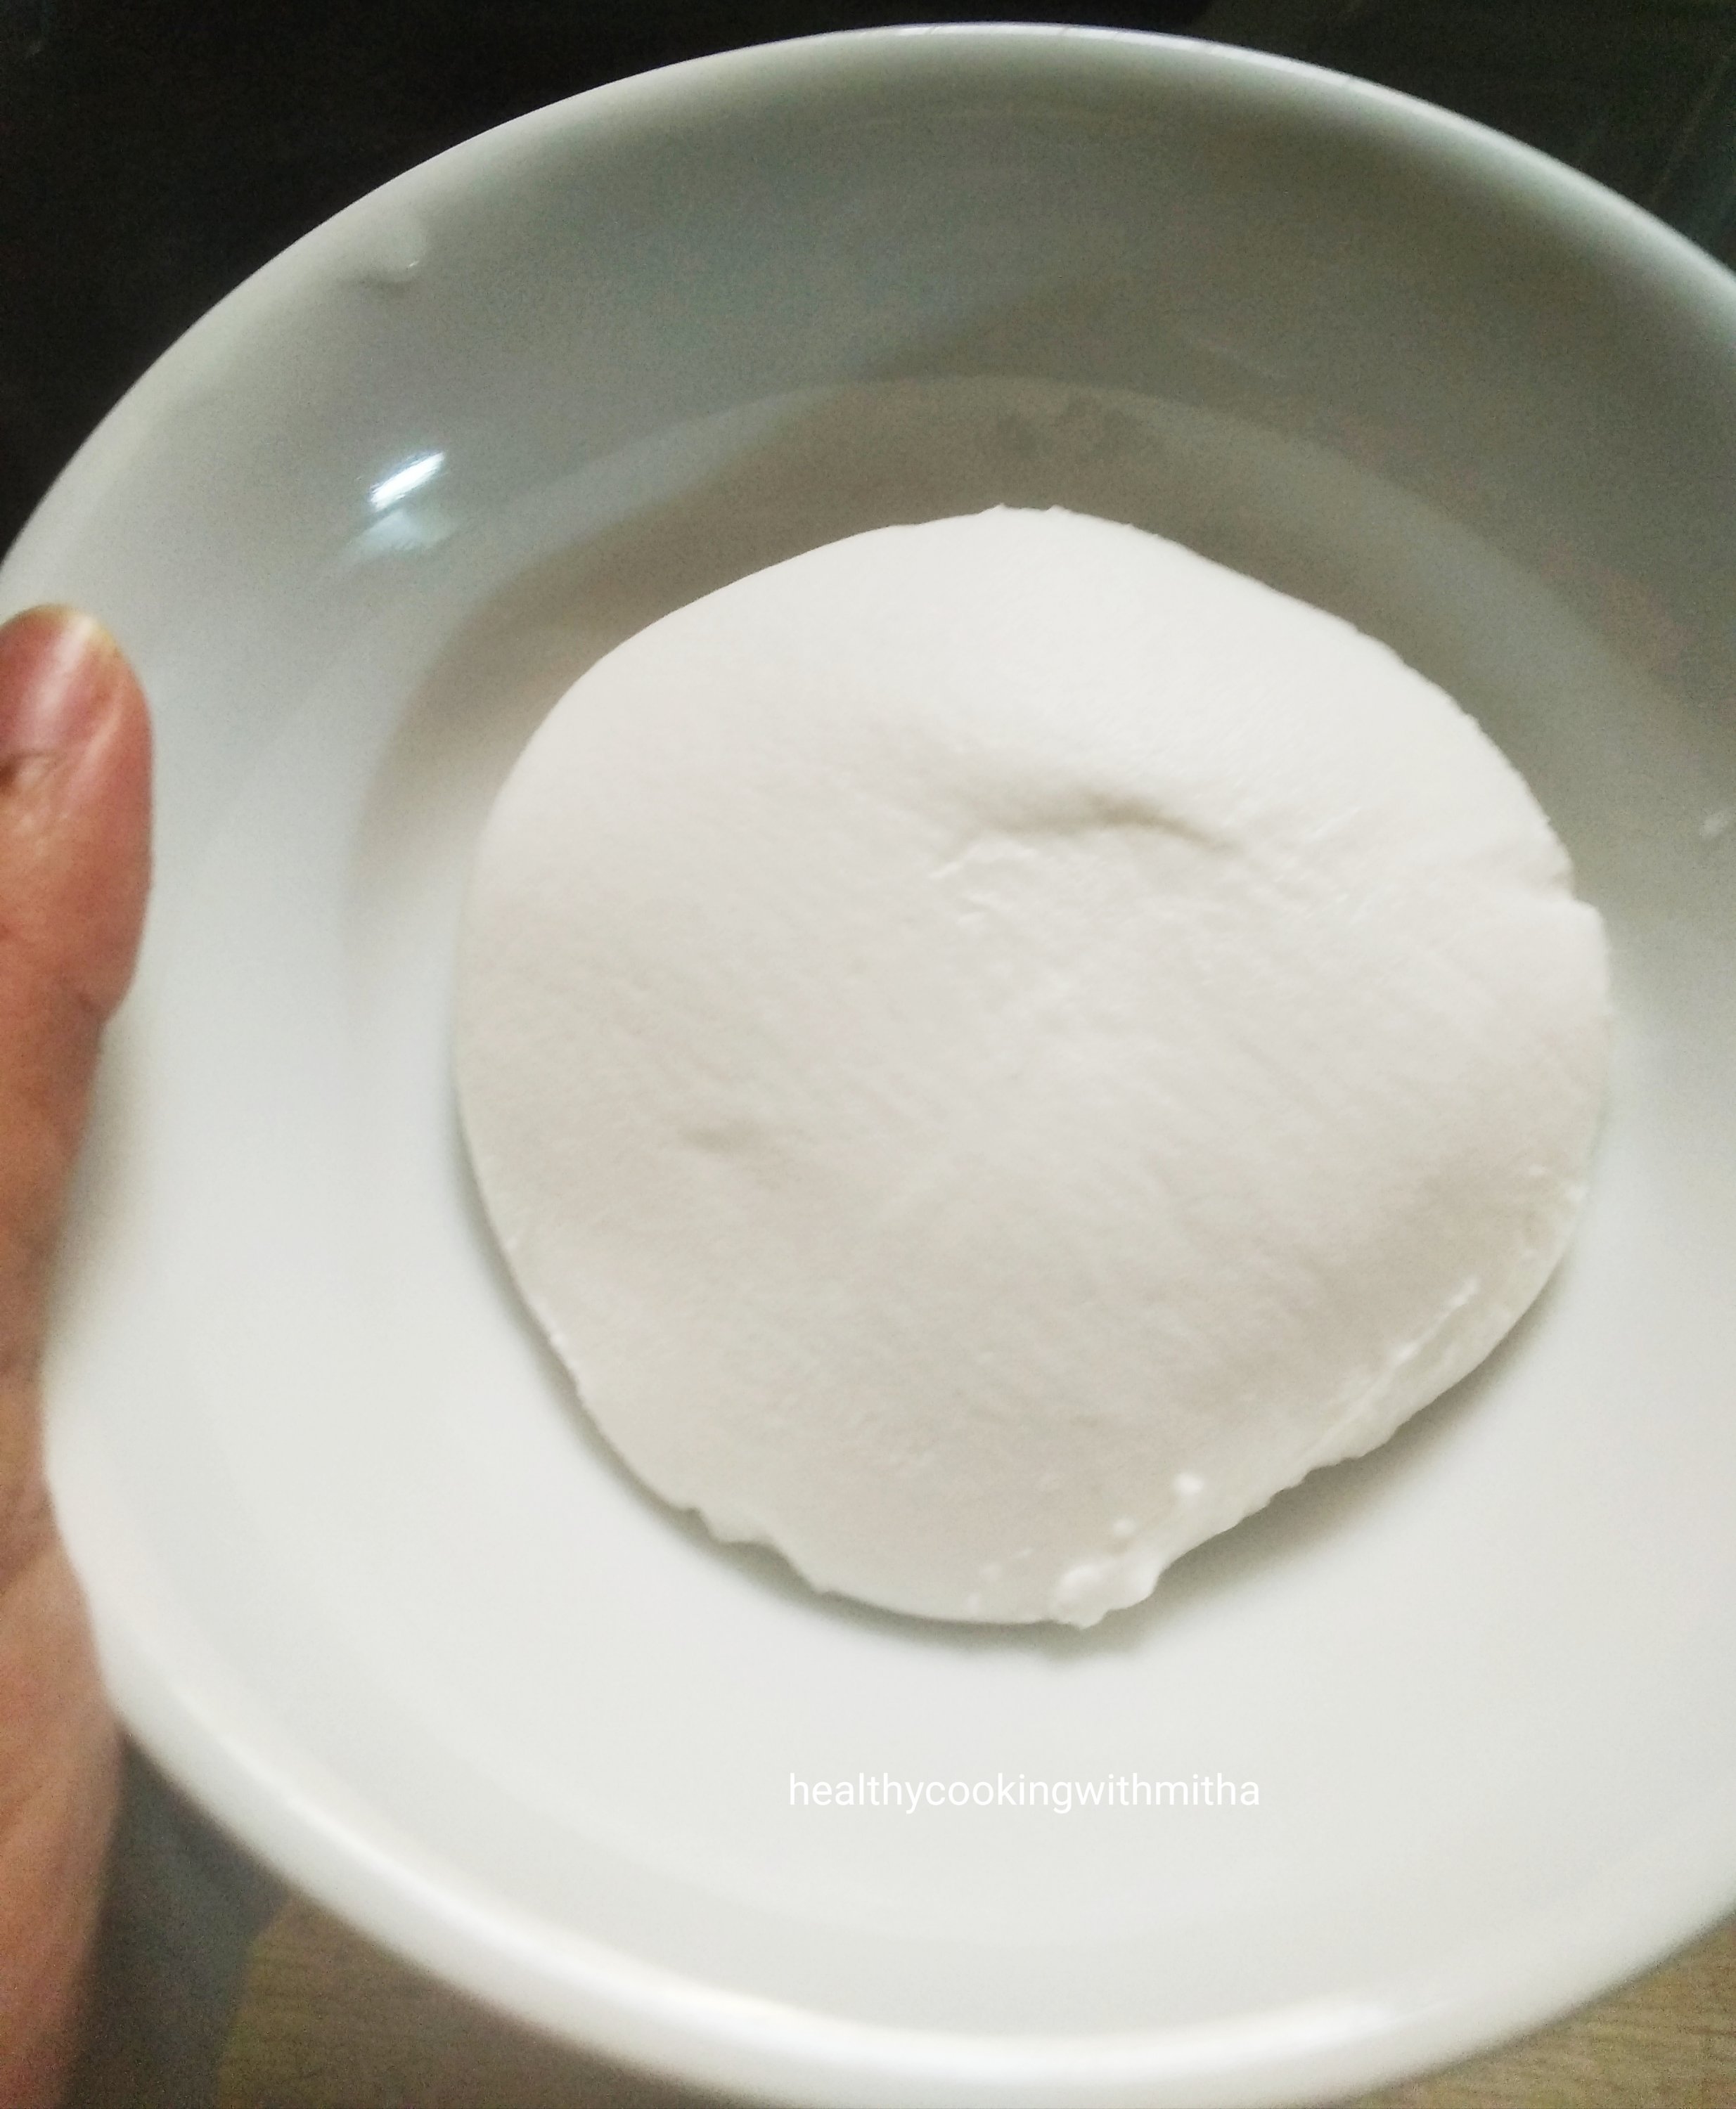
3 Cups Hung Curd
2 Cups thick Custard
3/4 Cup powdered Jaggery or Cane sugar
For the biscuit layer:
Approx 12 Whole wheat Digestive biscuits
4 tsp Instant coffee powder mixed with 2 Tbsp water (or as needed)
For dusting: 2 tsp Cocoa powder or grated chocolate
Step by step recipe:
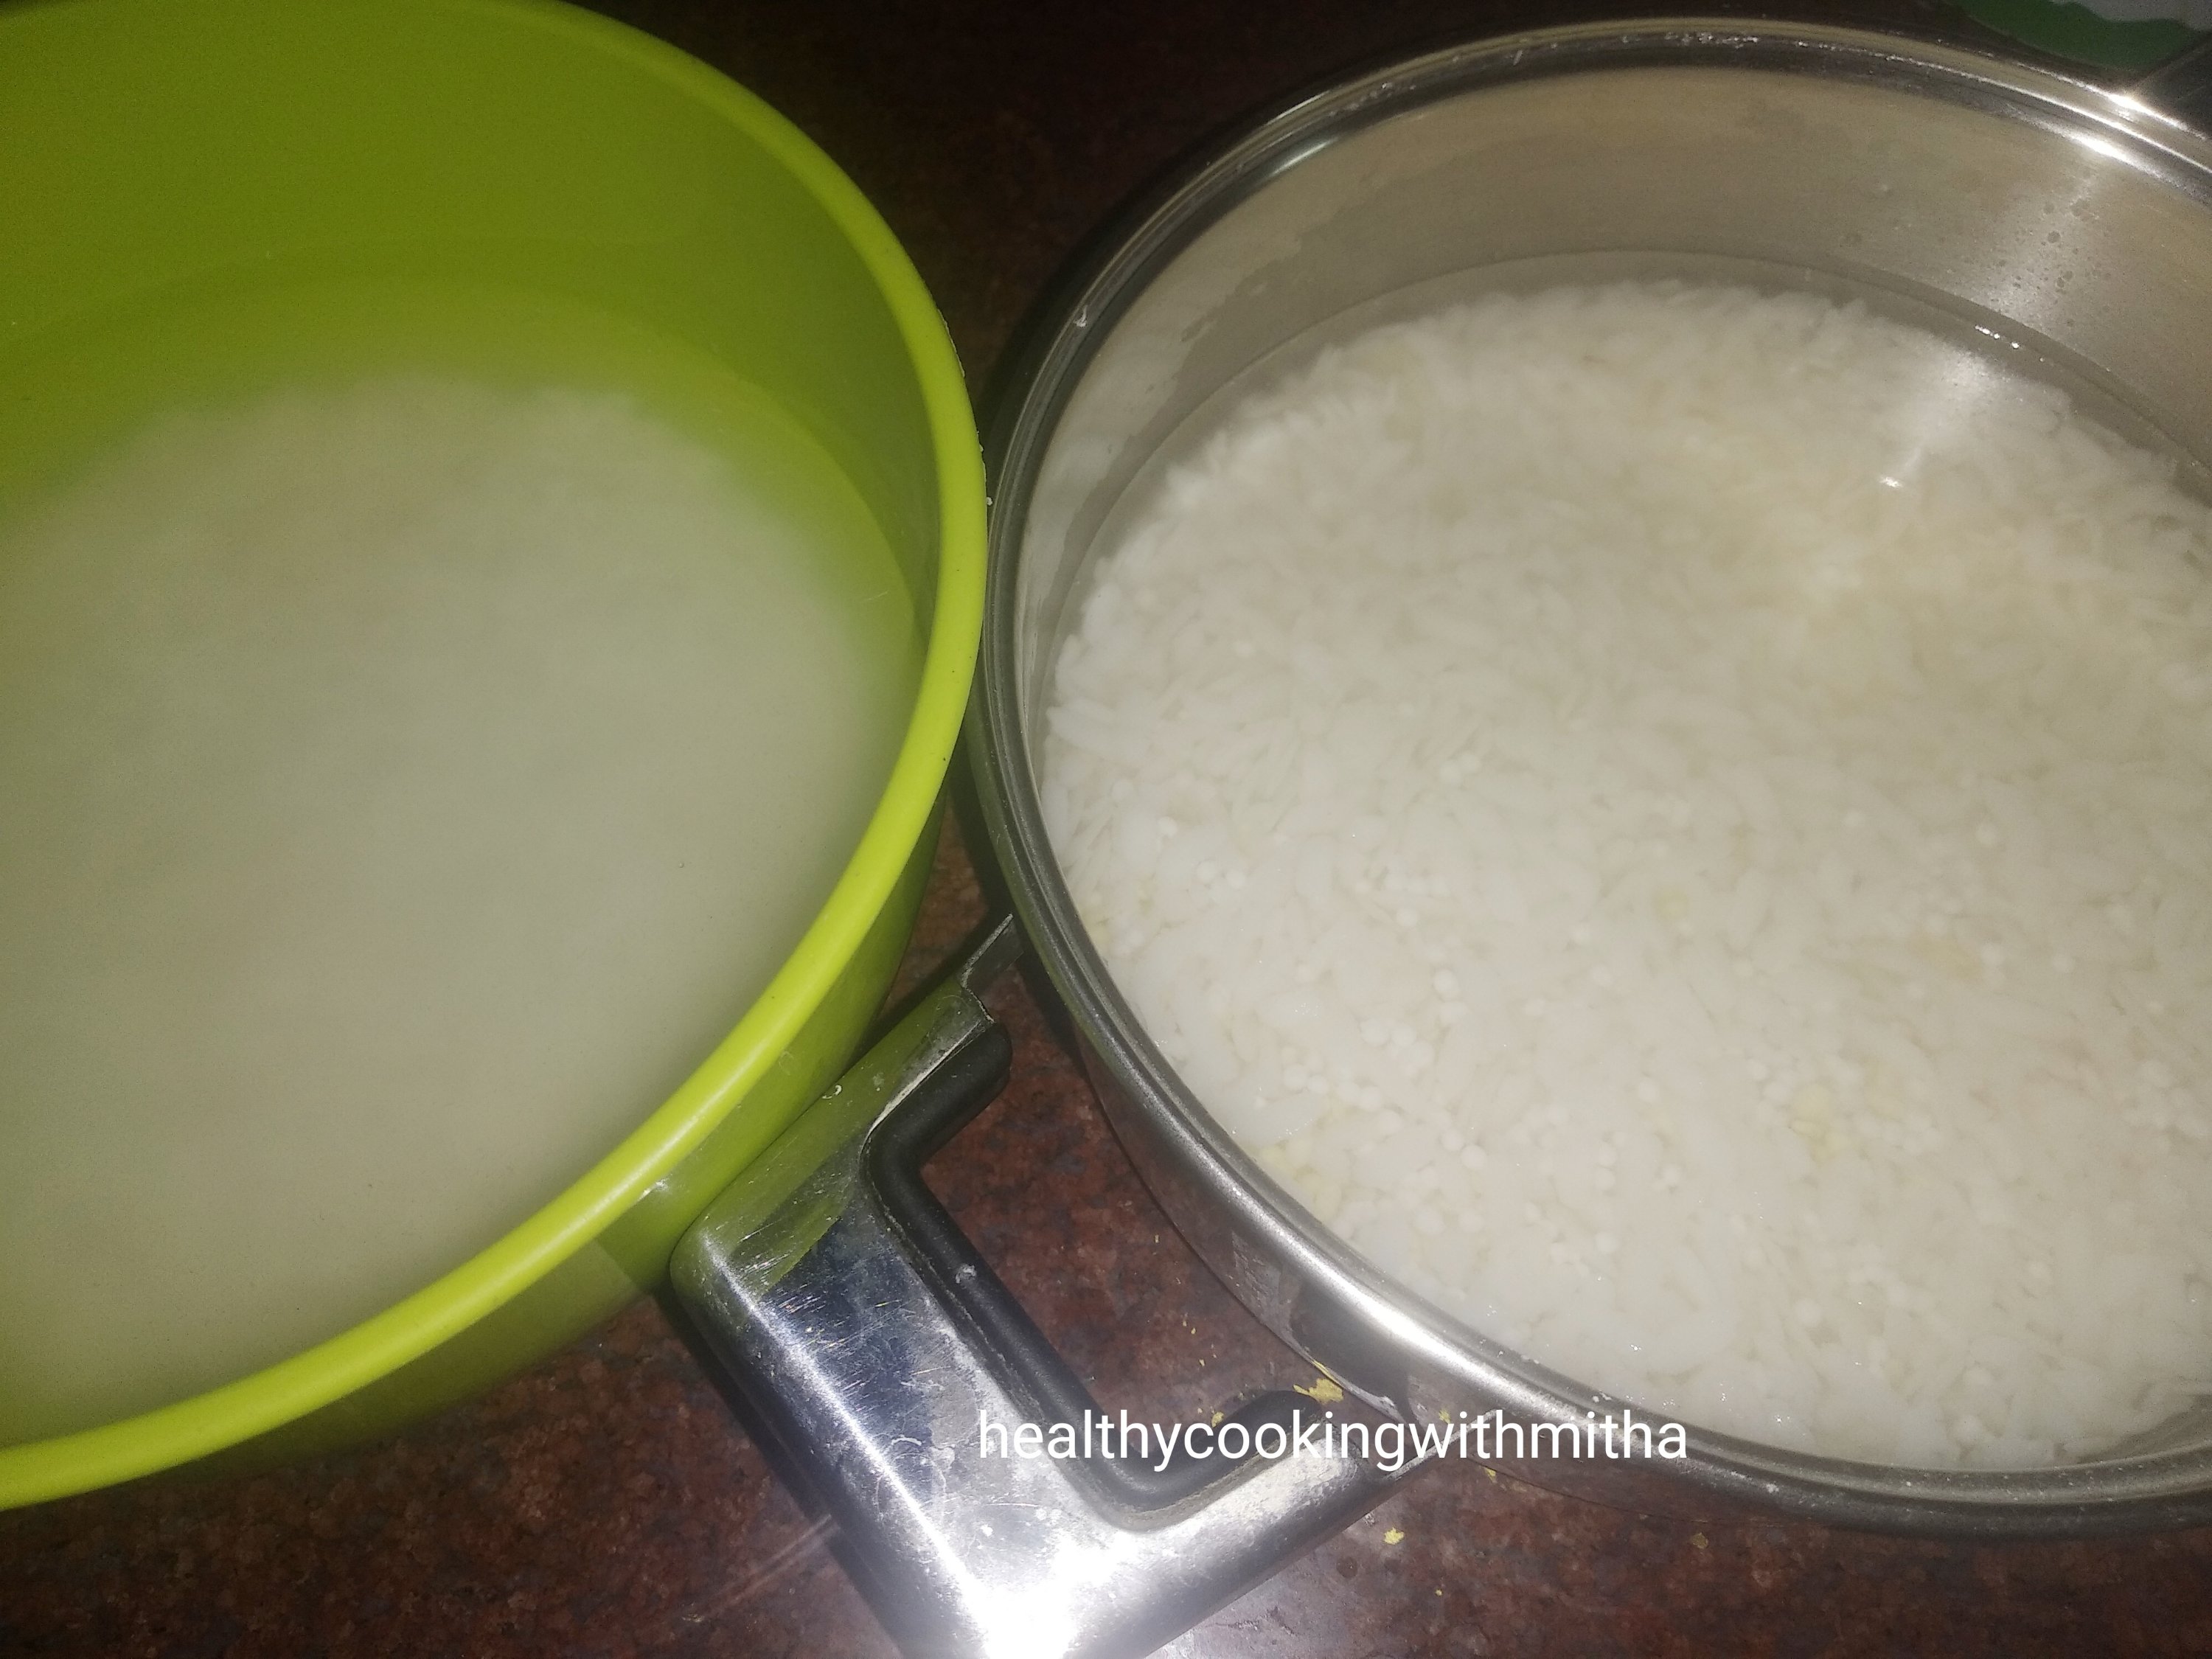
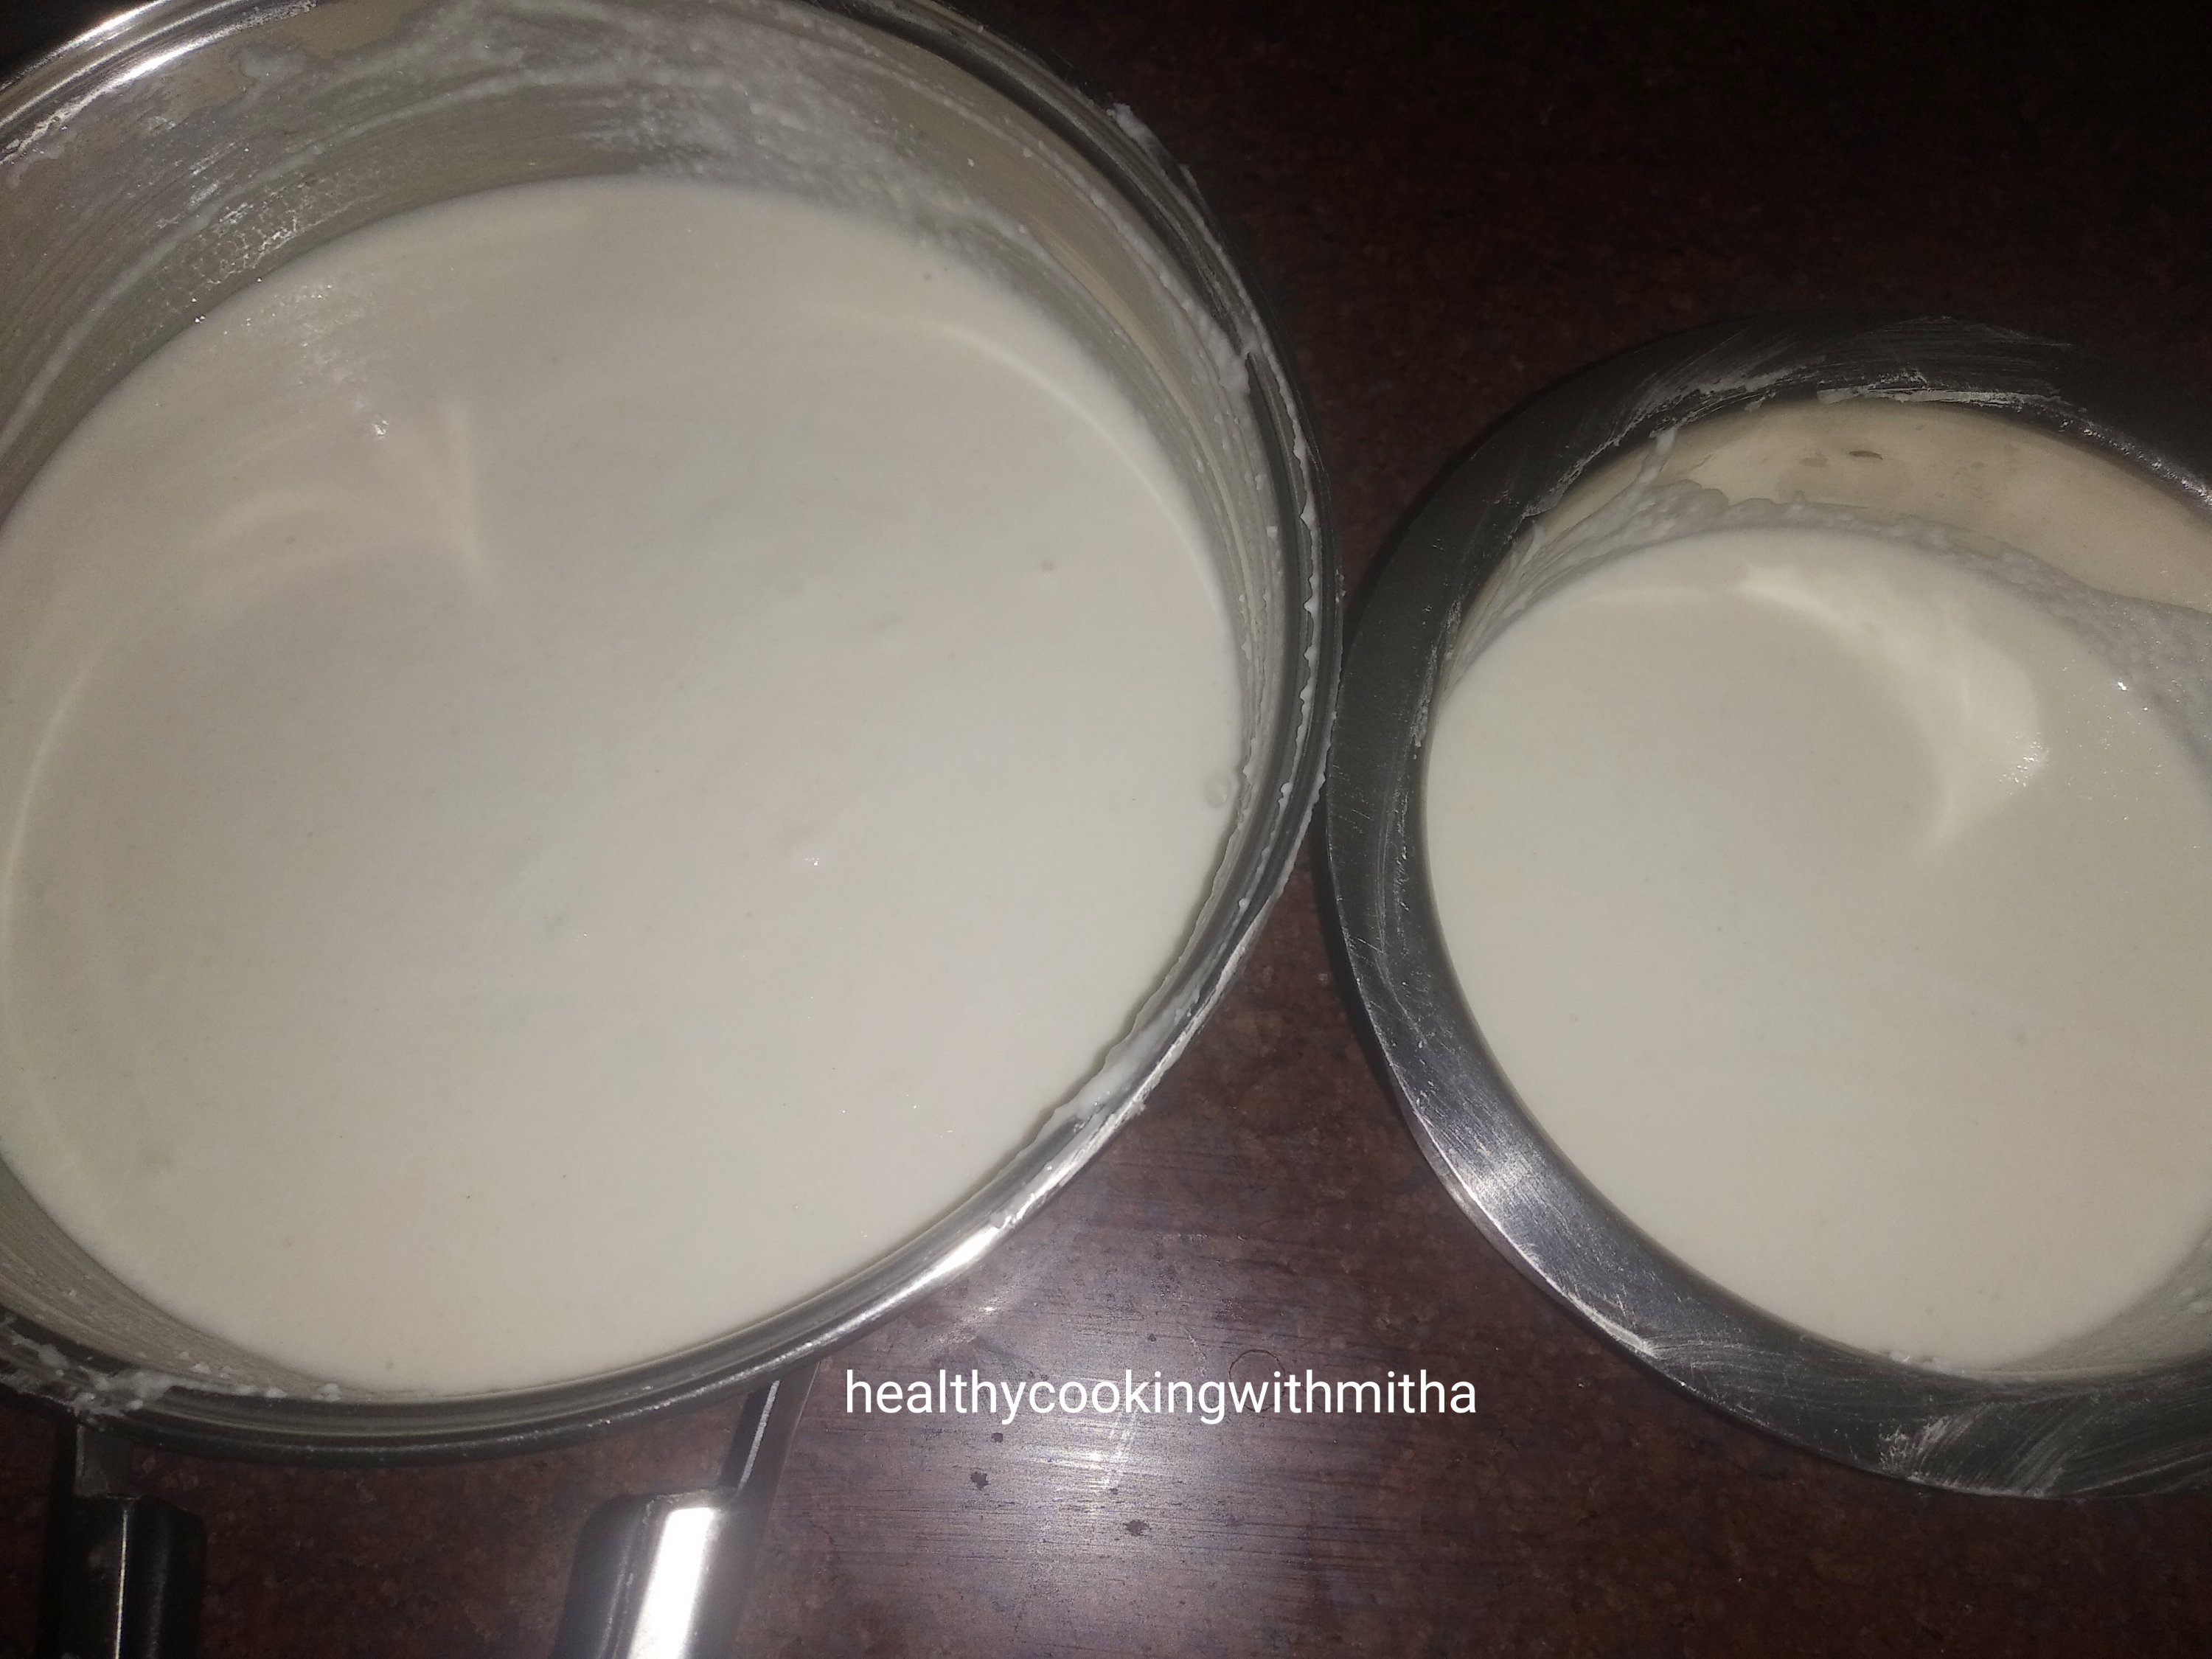
1. For making hung curd, follow the stepwise pictorial that I have shared here.
2. For making custard, follow the instructions given in the packet of custard powder. In my packet it said, take 500 ml of milk and boil it with 2 Tbsp of sugar. Mix 2 Tbsp Custard powder with 2 Tbsp Milk so that it is free from lumps. Then add the boiling milk to the custard paste while whisking well (off the flame). Then heat the mixture on low flame till the custard turns very thick. Cool it completely. This gave me 2 Cups of thick Custard.
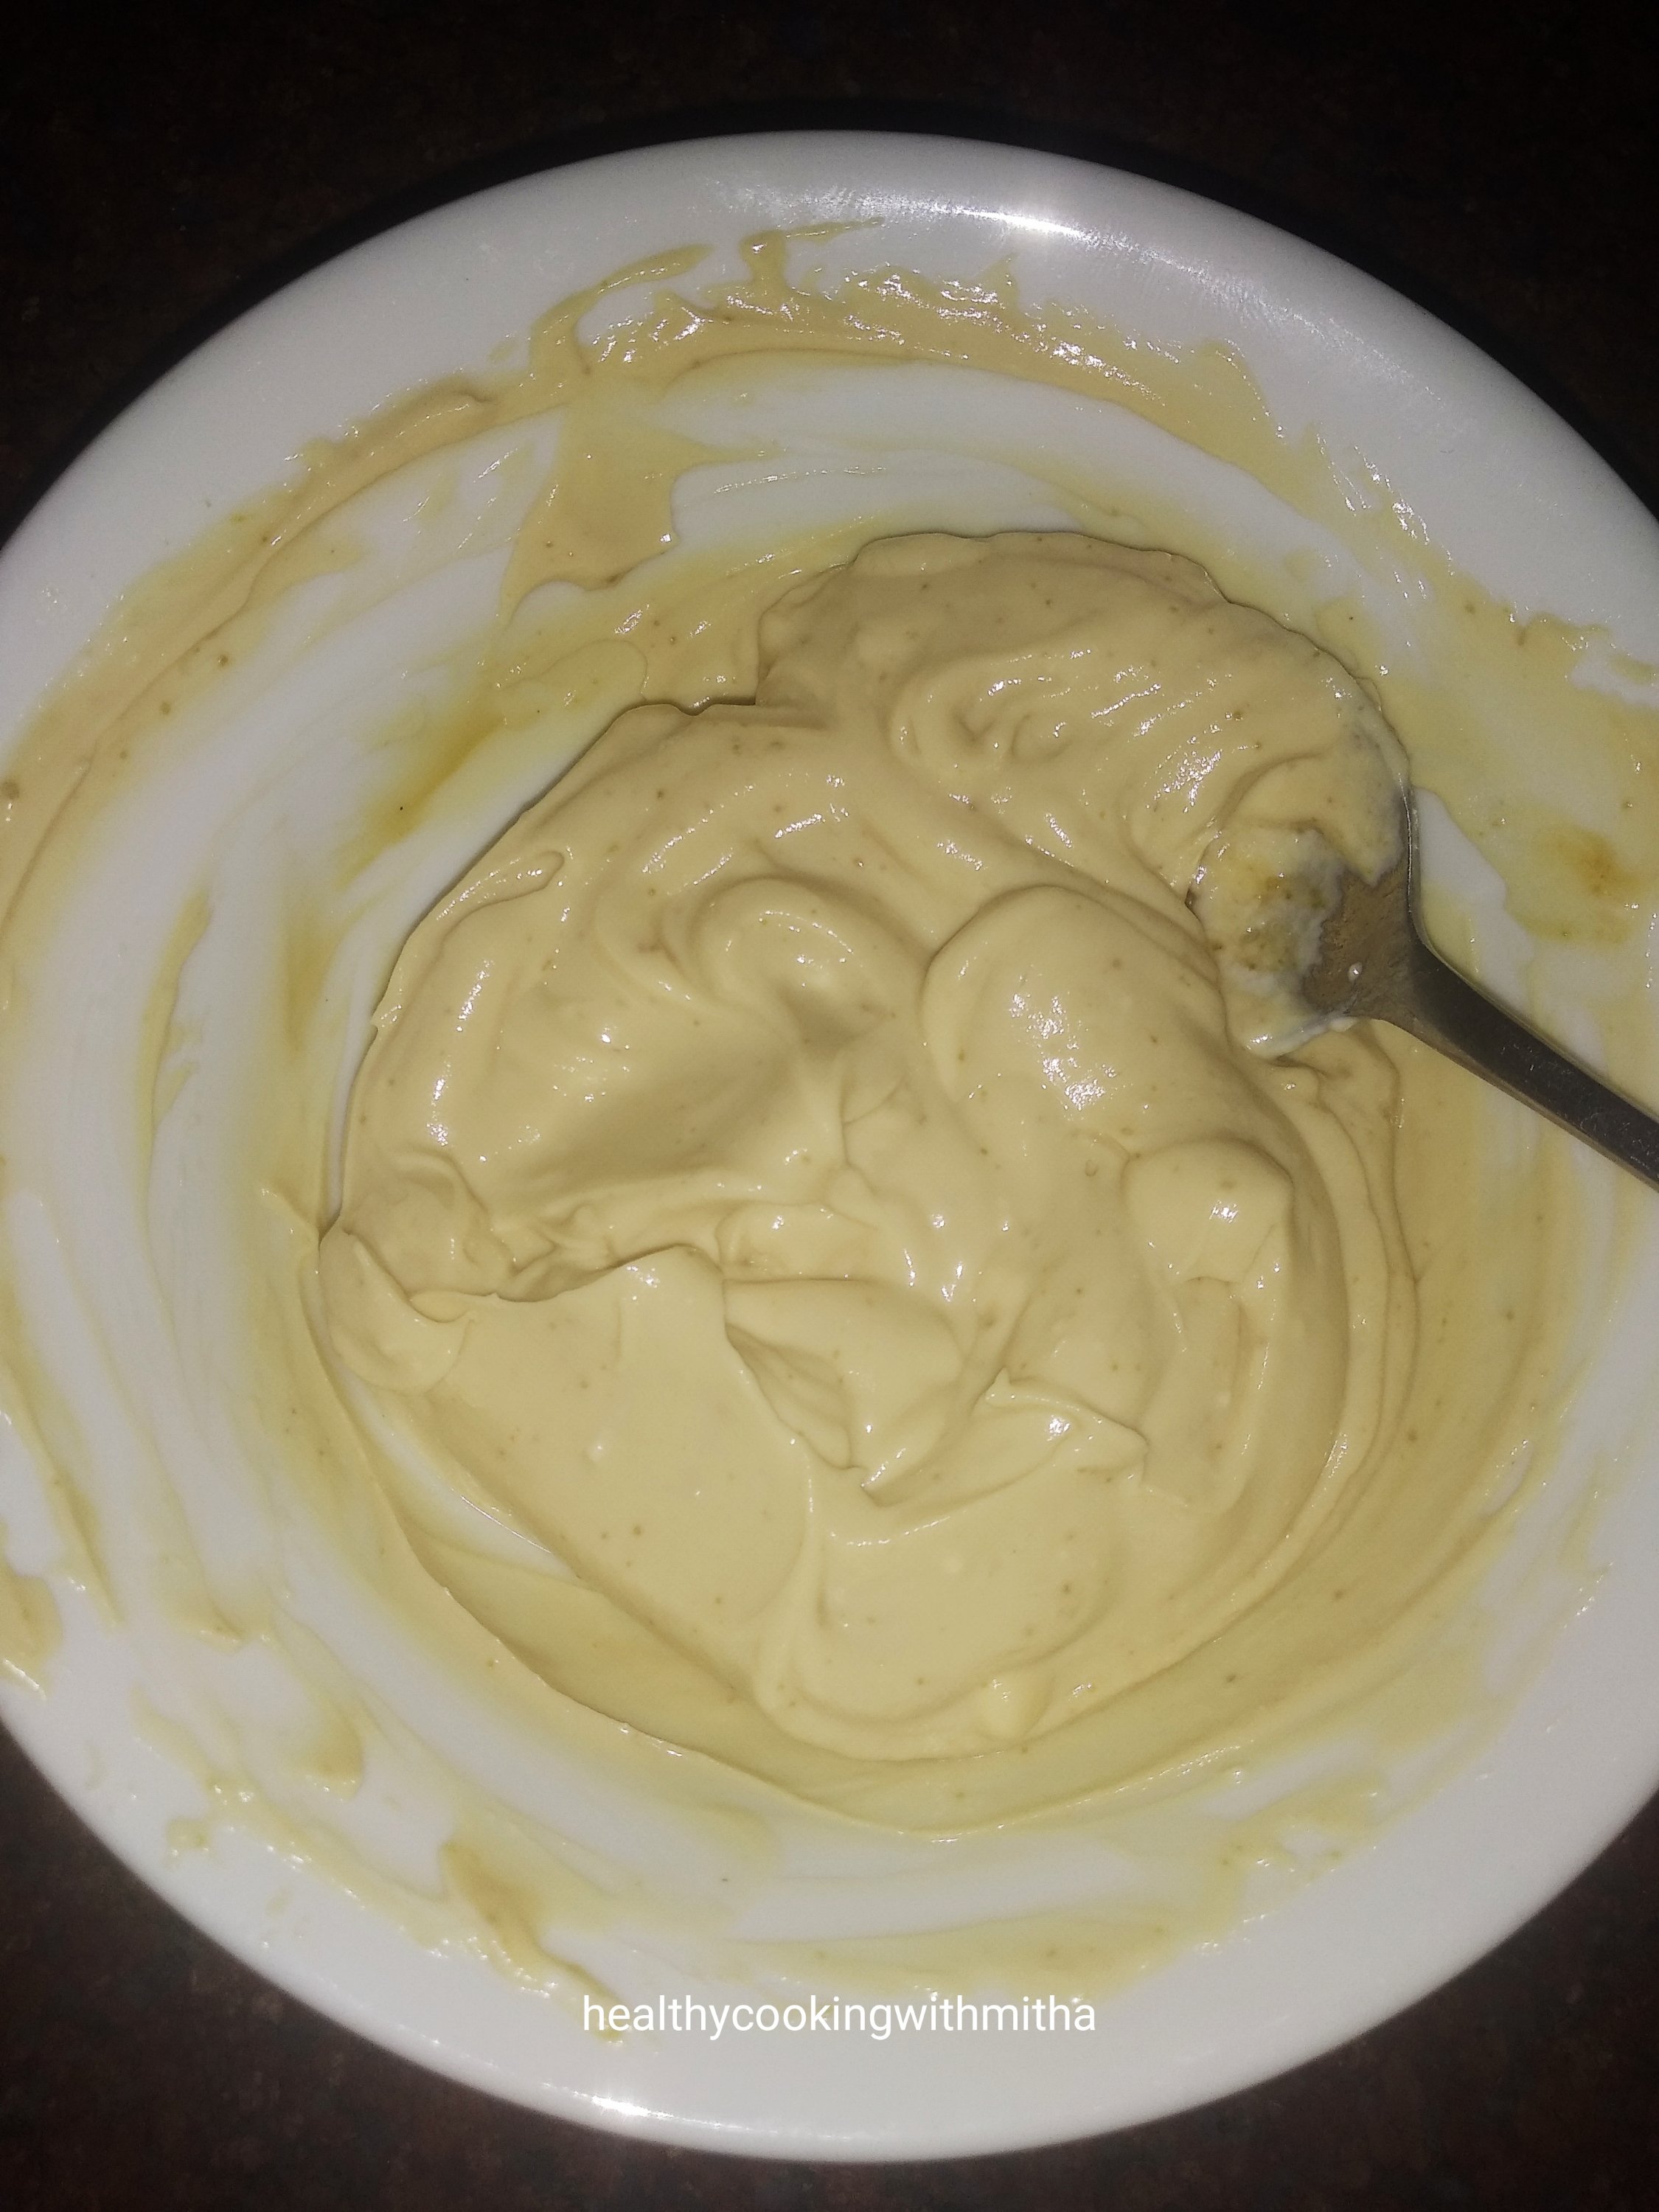
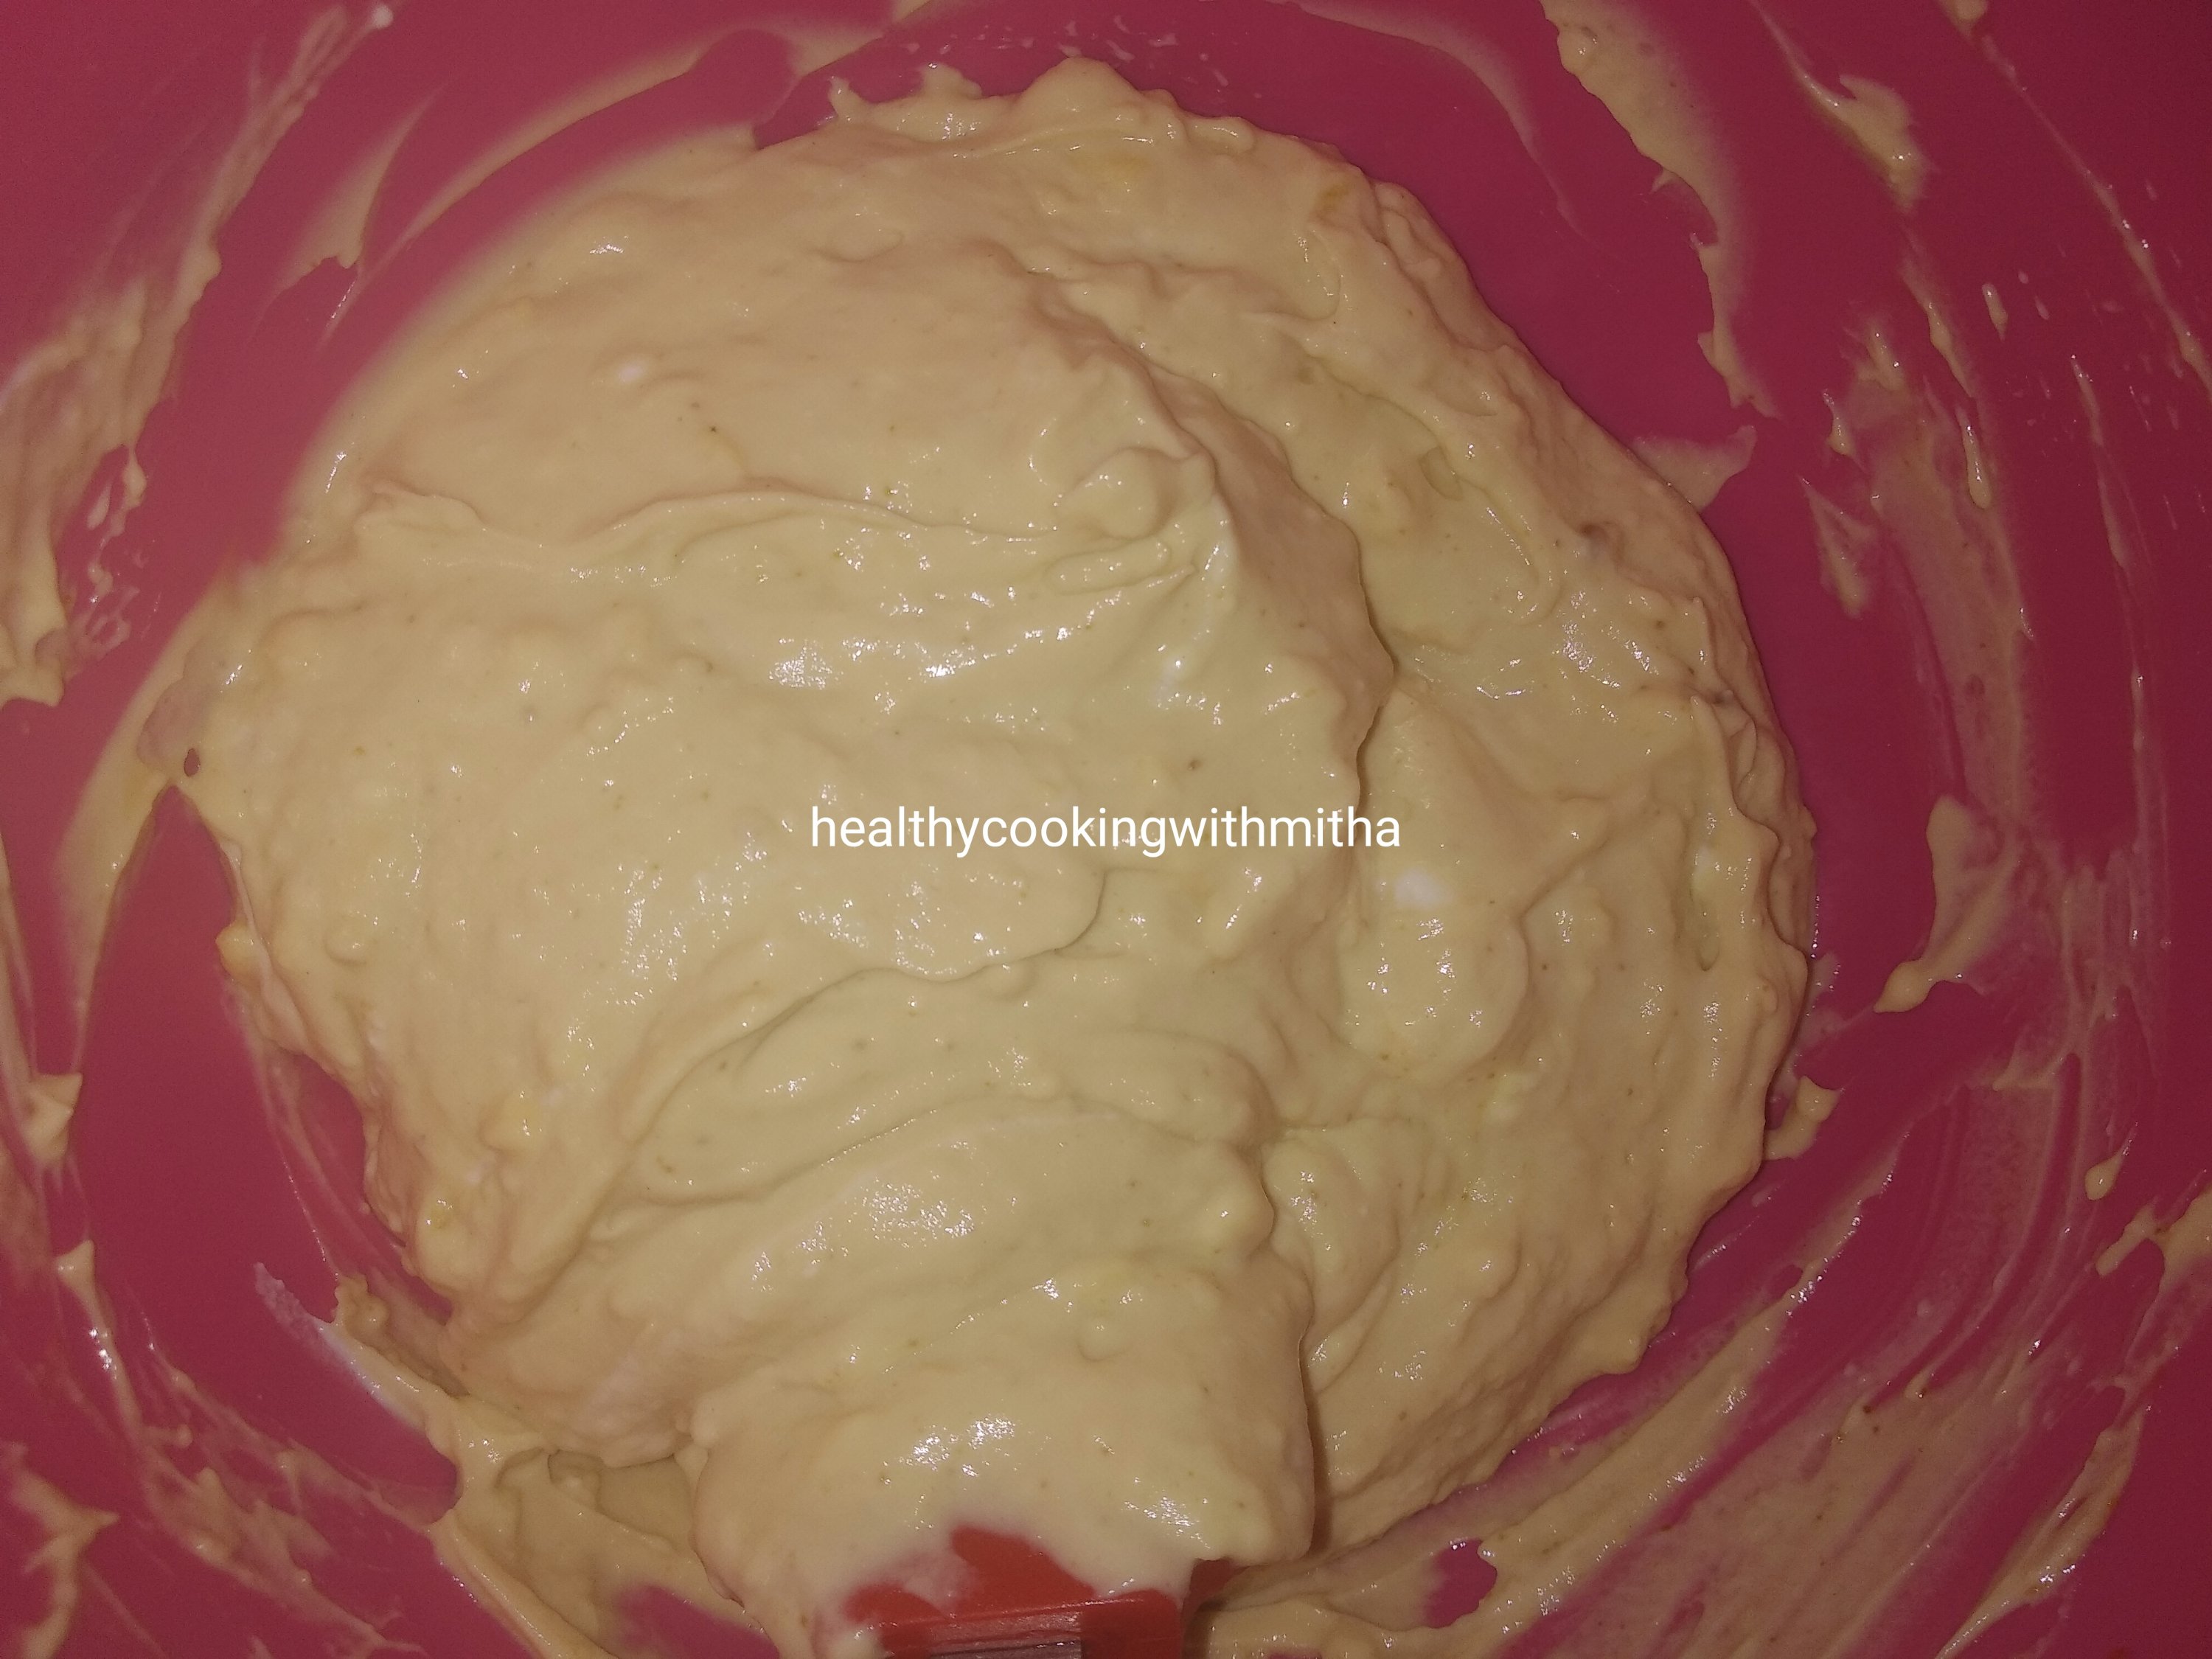
3. For the Tiramisu, take hung curd, the cooled custard and sieved jaggery powder (remember to sieve) in a bowl.
Note: Check how thick I have made the custard. It should resemble hung curd texture. Only then you will get a perfect tiramisu.

4. Mix well using a spatula so that they are combined well. Keep aside.
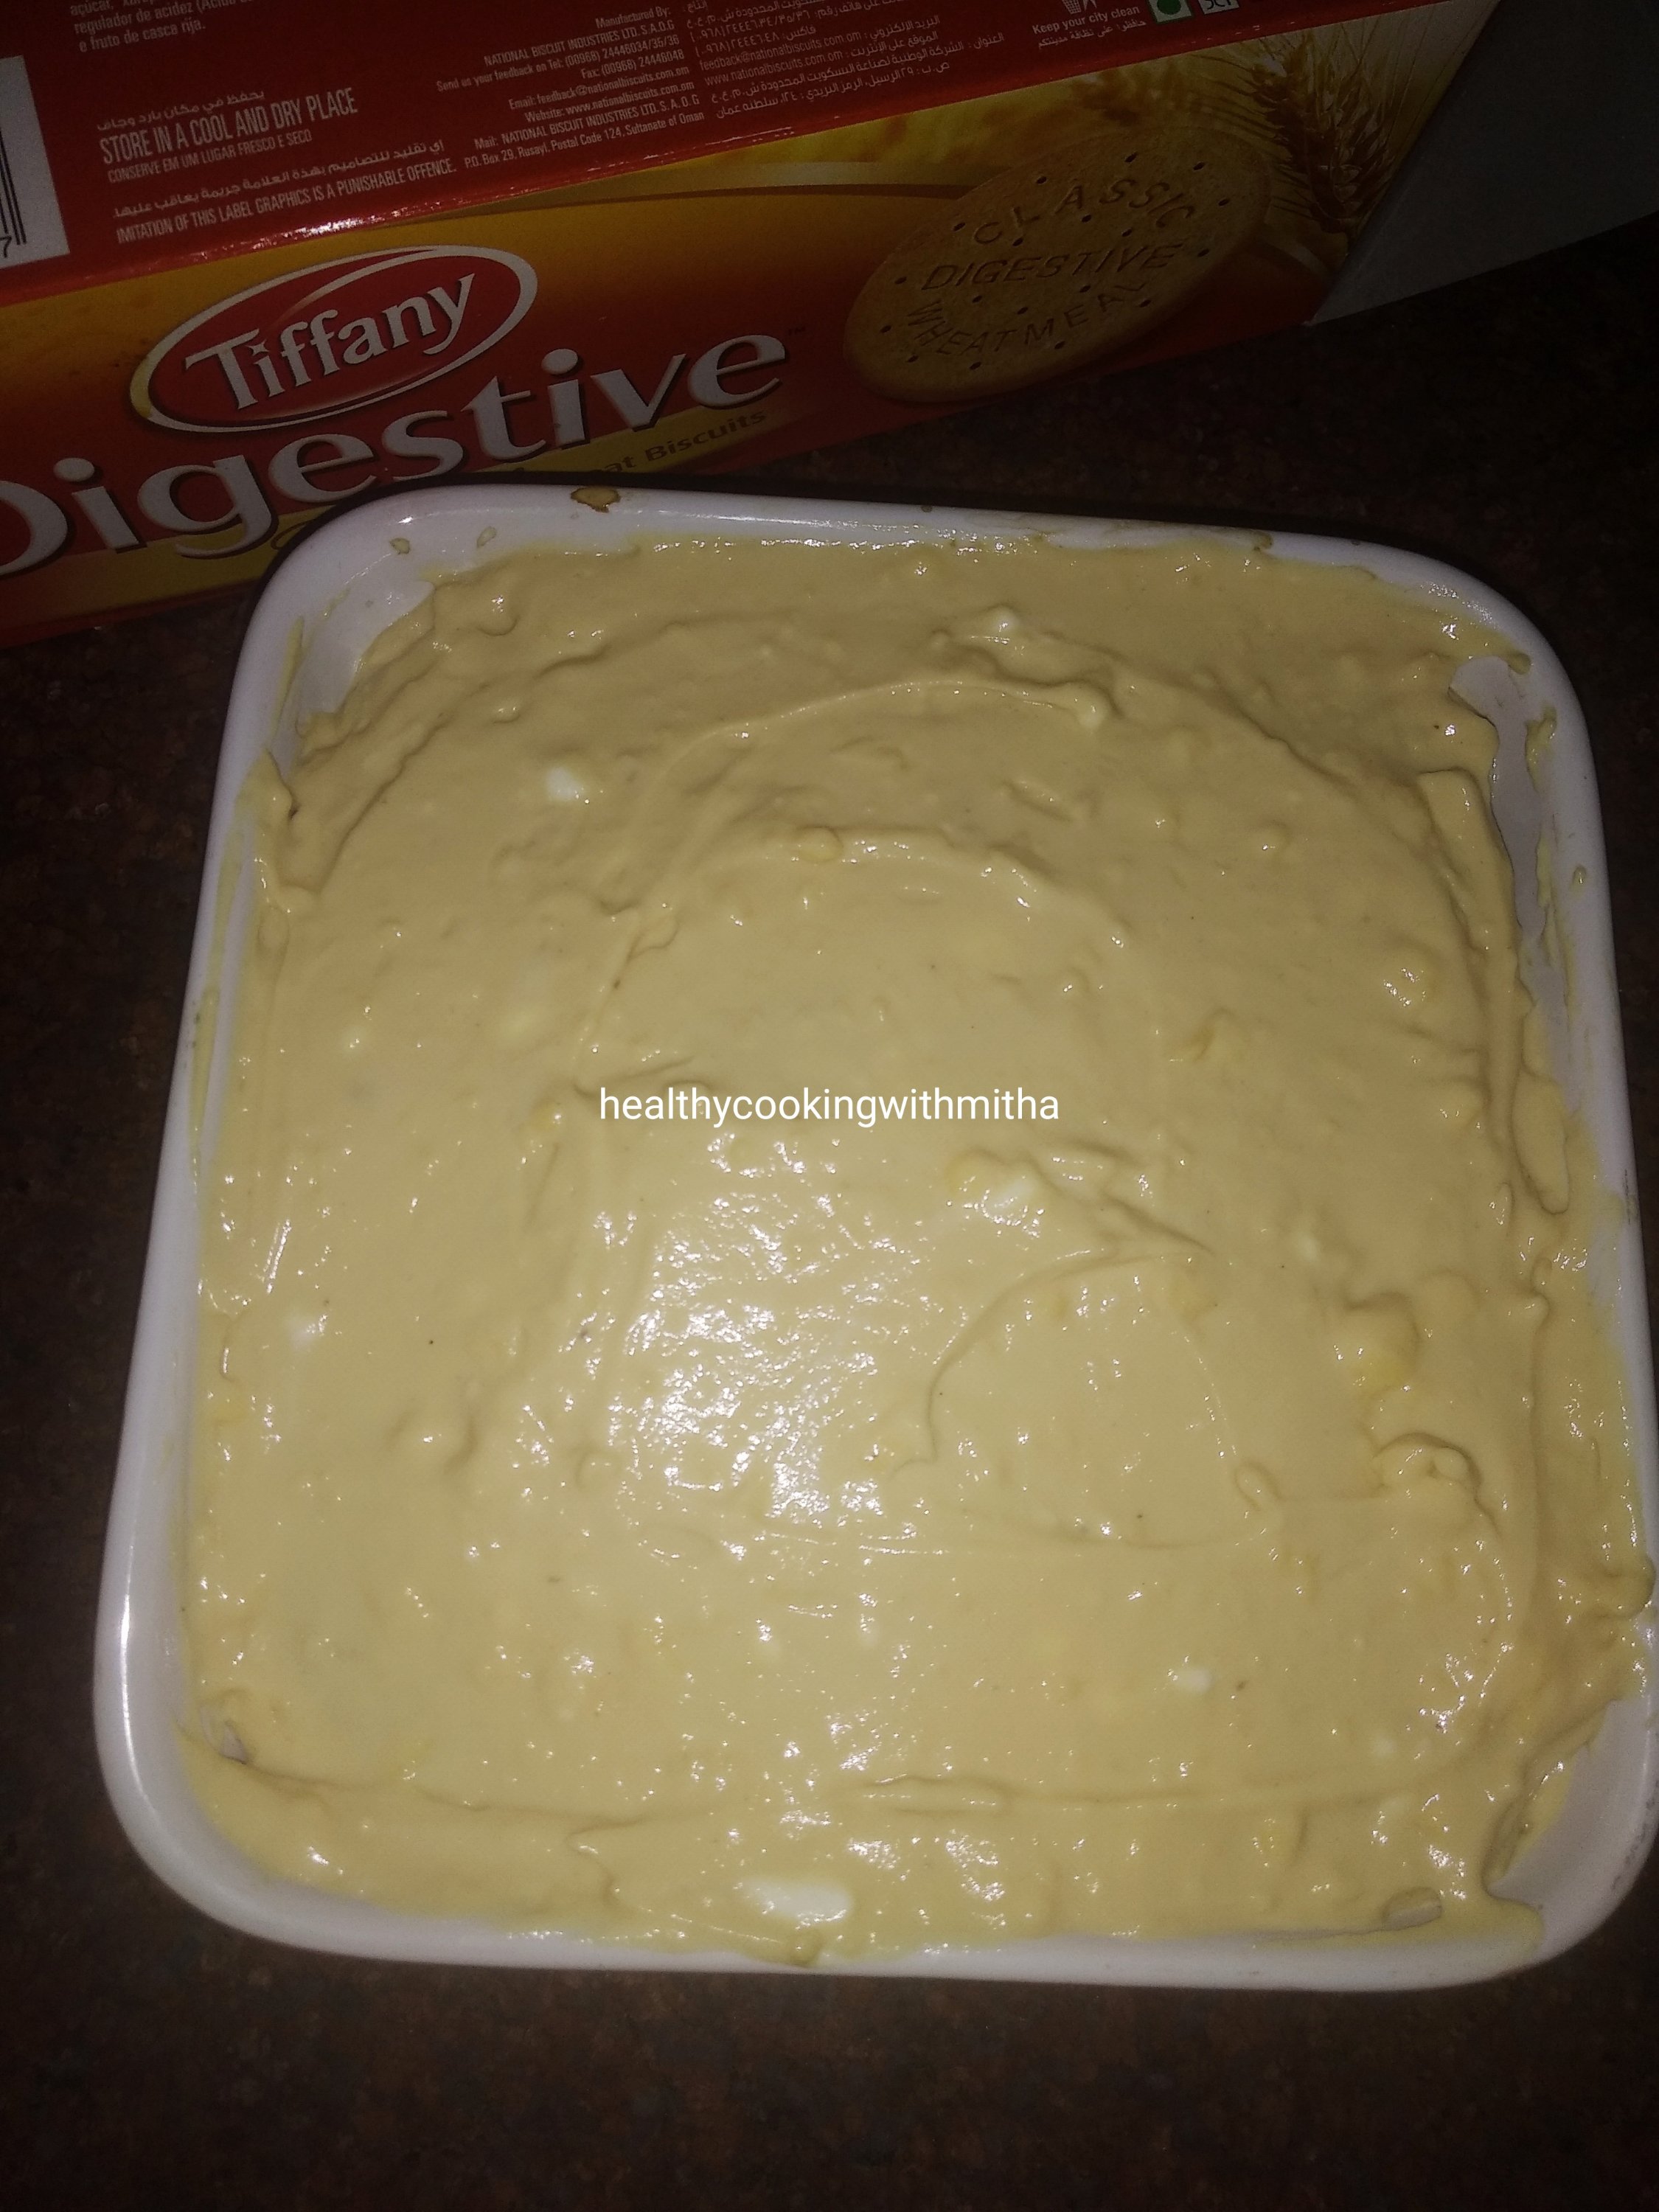
5. Now mix together instant coffee powder with water to make a coffee solution. Dip the digestive biscuits one by one and arrange in a rectangular pan as shown.

6. Keep two layers of biscuits in the bottom most layer so that it gives a good base while cutting the Tiramisu. Now layer with the hung curd mixture.

7. Again layer with biscuits dipped in coffee solution.

8. Again layer with the hung curd mixture. Refrigerate overnight or for about 10 to 12 hours to get perfectly set Tiramisu.
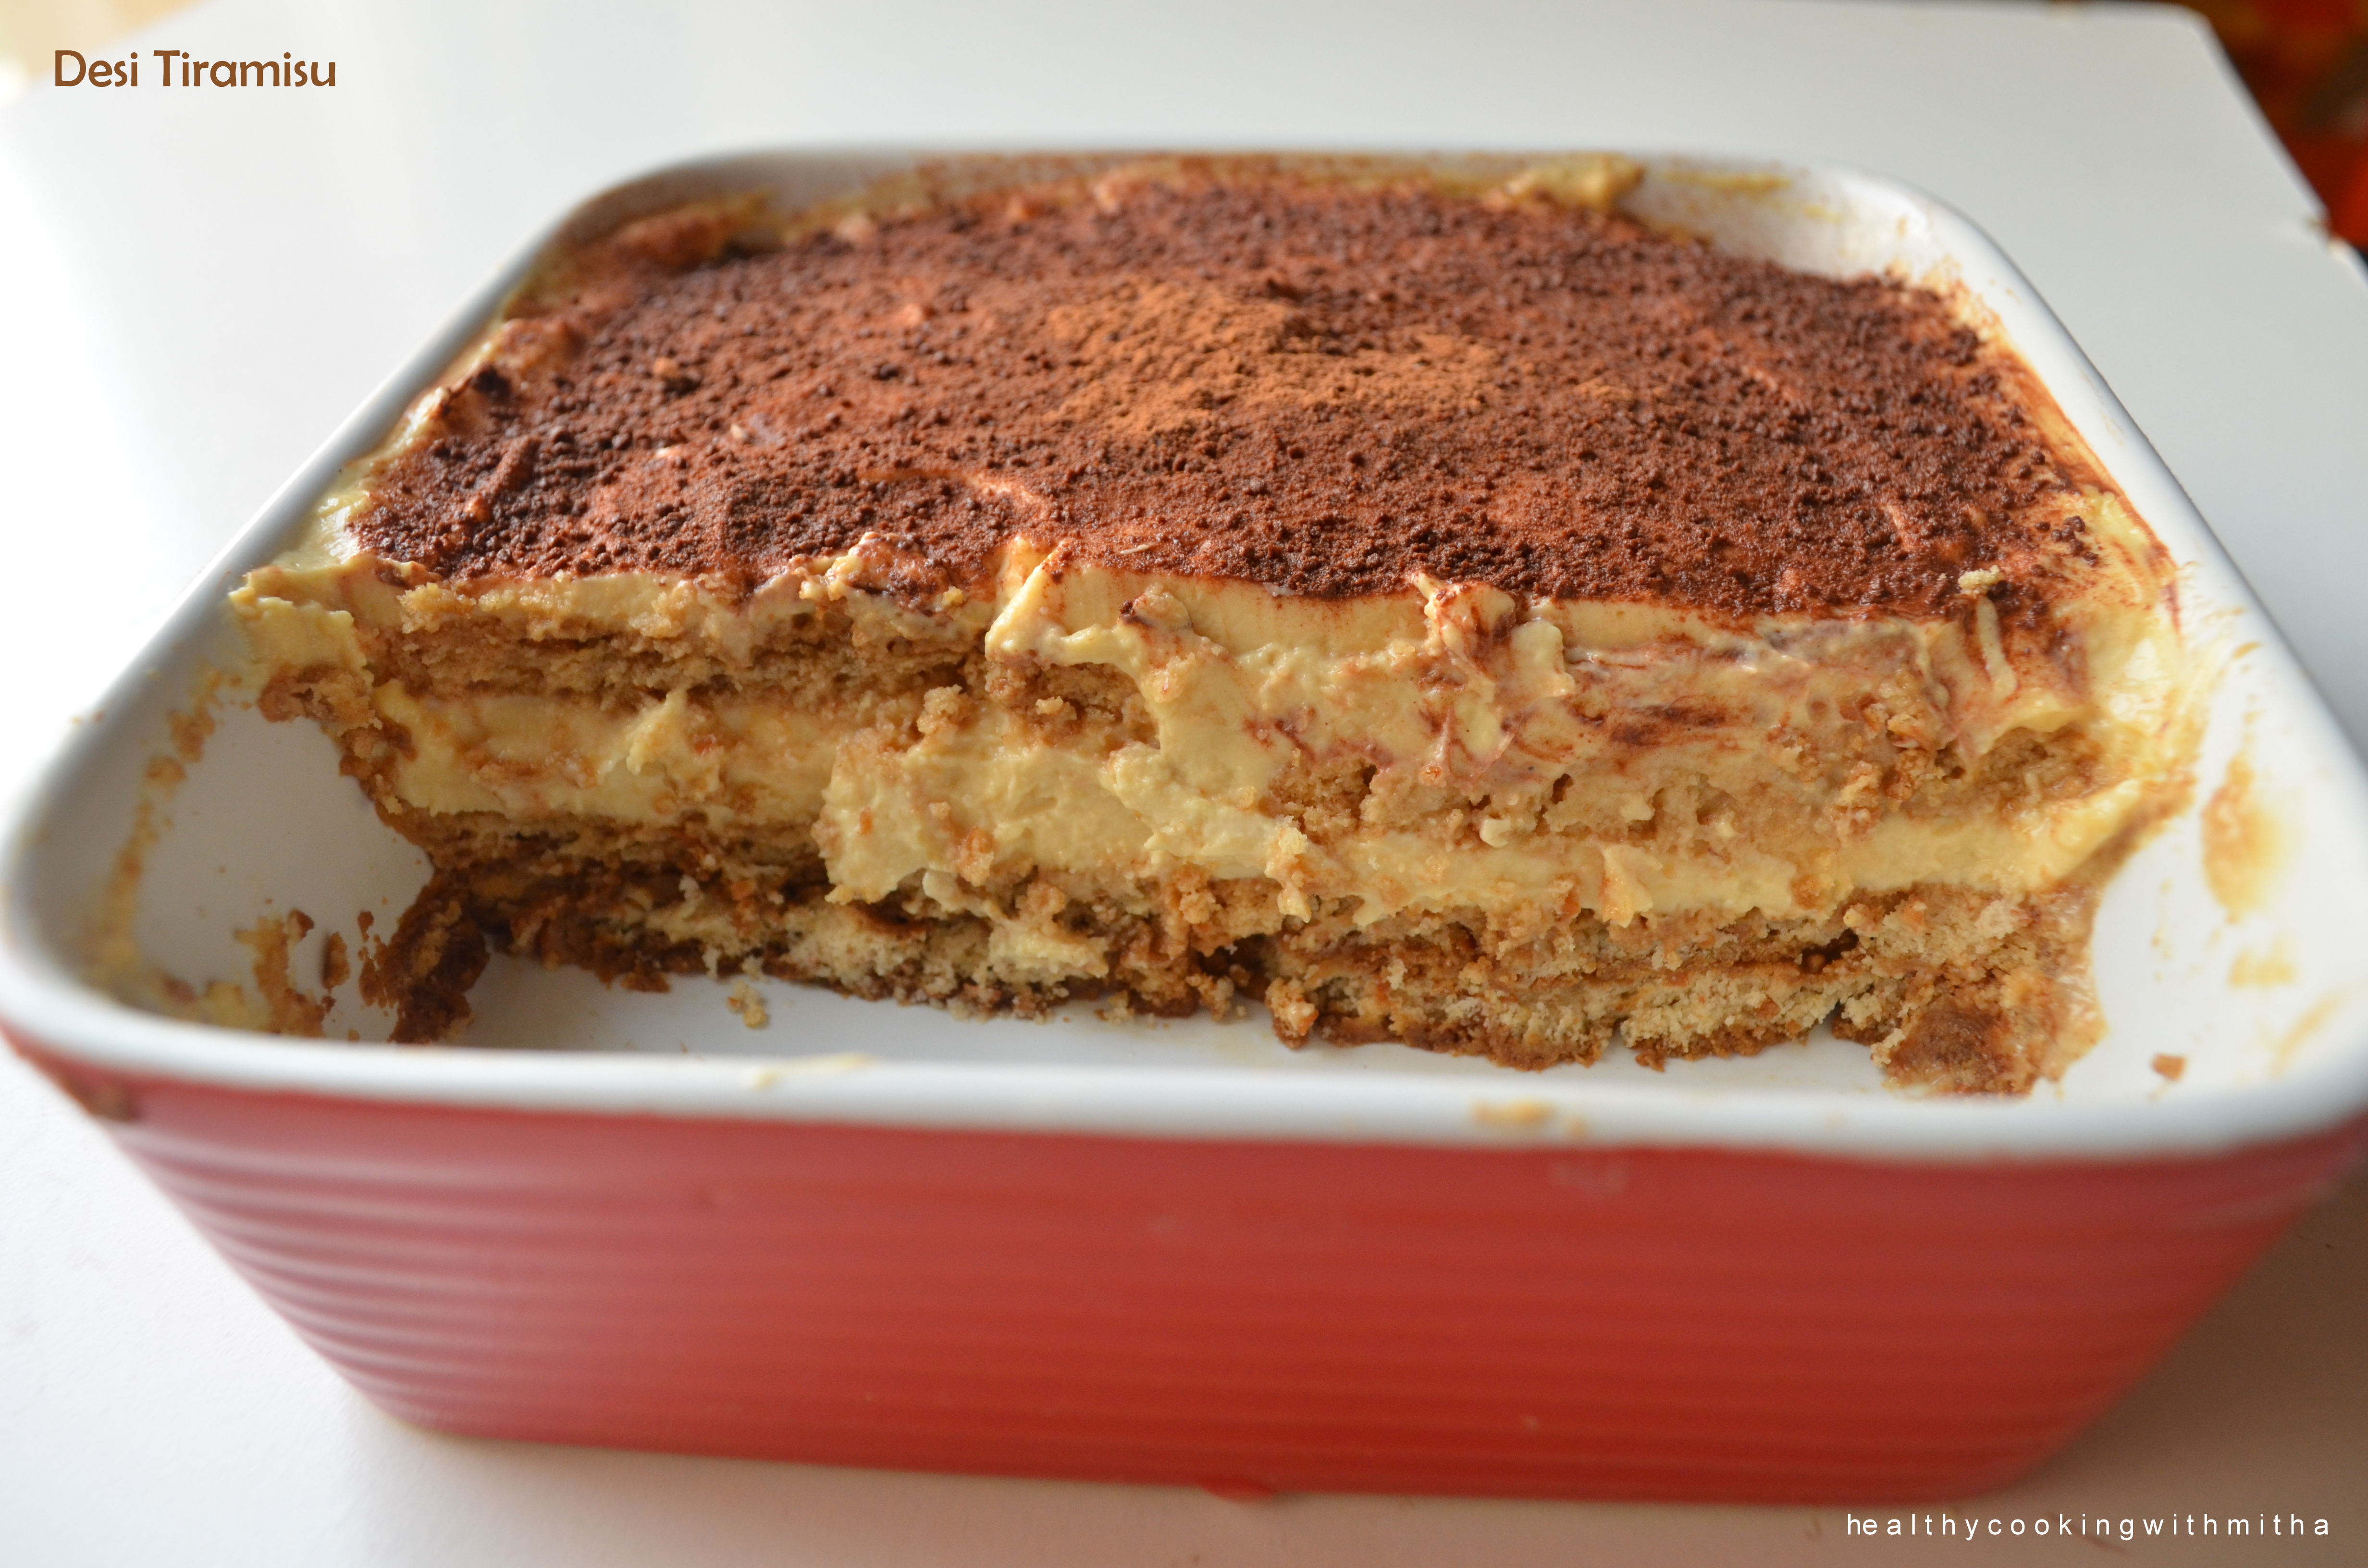
9. After it sets, dust with cocoa powder using a sieve and serve. Too delicious for words! ❤️

Notes:
* Be careful to get the texture of the hung curd and Custard really thick. Else you won’t get perfect texture of Tiramisu.
* Although regular Tiramisu uses cream, sugar and mascarpone cheese, we found hung curd, custard and jaggery combination works superbly well and gives such a delicious Tiramisu which is a lot healthier too.
* Also substituting with digestive biscuits makes it so healthy and undoubtedly tasty too. Don’t forget to dip it in instant coffee solution.
* The layers are: Biscuit layer 1, Biscuit layer 2, Hung curd layer 1, Biscuit layer 3, Hung curd layer 2. After chilling cocoa powder dusting or chocolate gratings.
* I usually make this at night and it sets perfectly by next day afternoon.
* The slices are not super perfect but the taste and texture is. I can guarantee you will love it. We just could not have enough of it. So delicious! Just look at the layers. 😍
I have tried to note down as much points as possible so that it’s easy for you all to follow but if you still have any doubts, either comment here or message me on my Facebook page Healthy cooking with mitha or on my Instagram handle and I would be happy to help.