Masala dosa

When I was newly married, I hardly knew about cooking blogs nor about food groups on facebook. I relied on asking Amma for recipes and cookbooks like the amchi favourite one by Jaya V Shenoy. I was also lucky to be gifted by few cookbooks by my grandmother’s sister whom I lovingly call Prafulla pachi. 😍

One among them is 99 Delightful dosas by Jayashree Prabhu. I have learned many dosas from the book and this masala dosa is one among them. Never had to try any other recipe for Masala dosa. Comes out perfect each time. 😊

I also take this post as an opportunity to thank my aunt Chandriakka and Prafulla pachi for gifting me many cookbooks during my newly married days. I still treasure them a lot. Thank you! ❤️

Sharing the recipe of masala dosa with all of you. Happy and healthy cooking!

RECIPE:

Adapted from the cookbook: 99 Delightful dosas by Jayashree Prabhu

Ingredients:

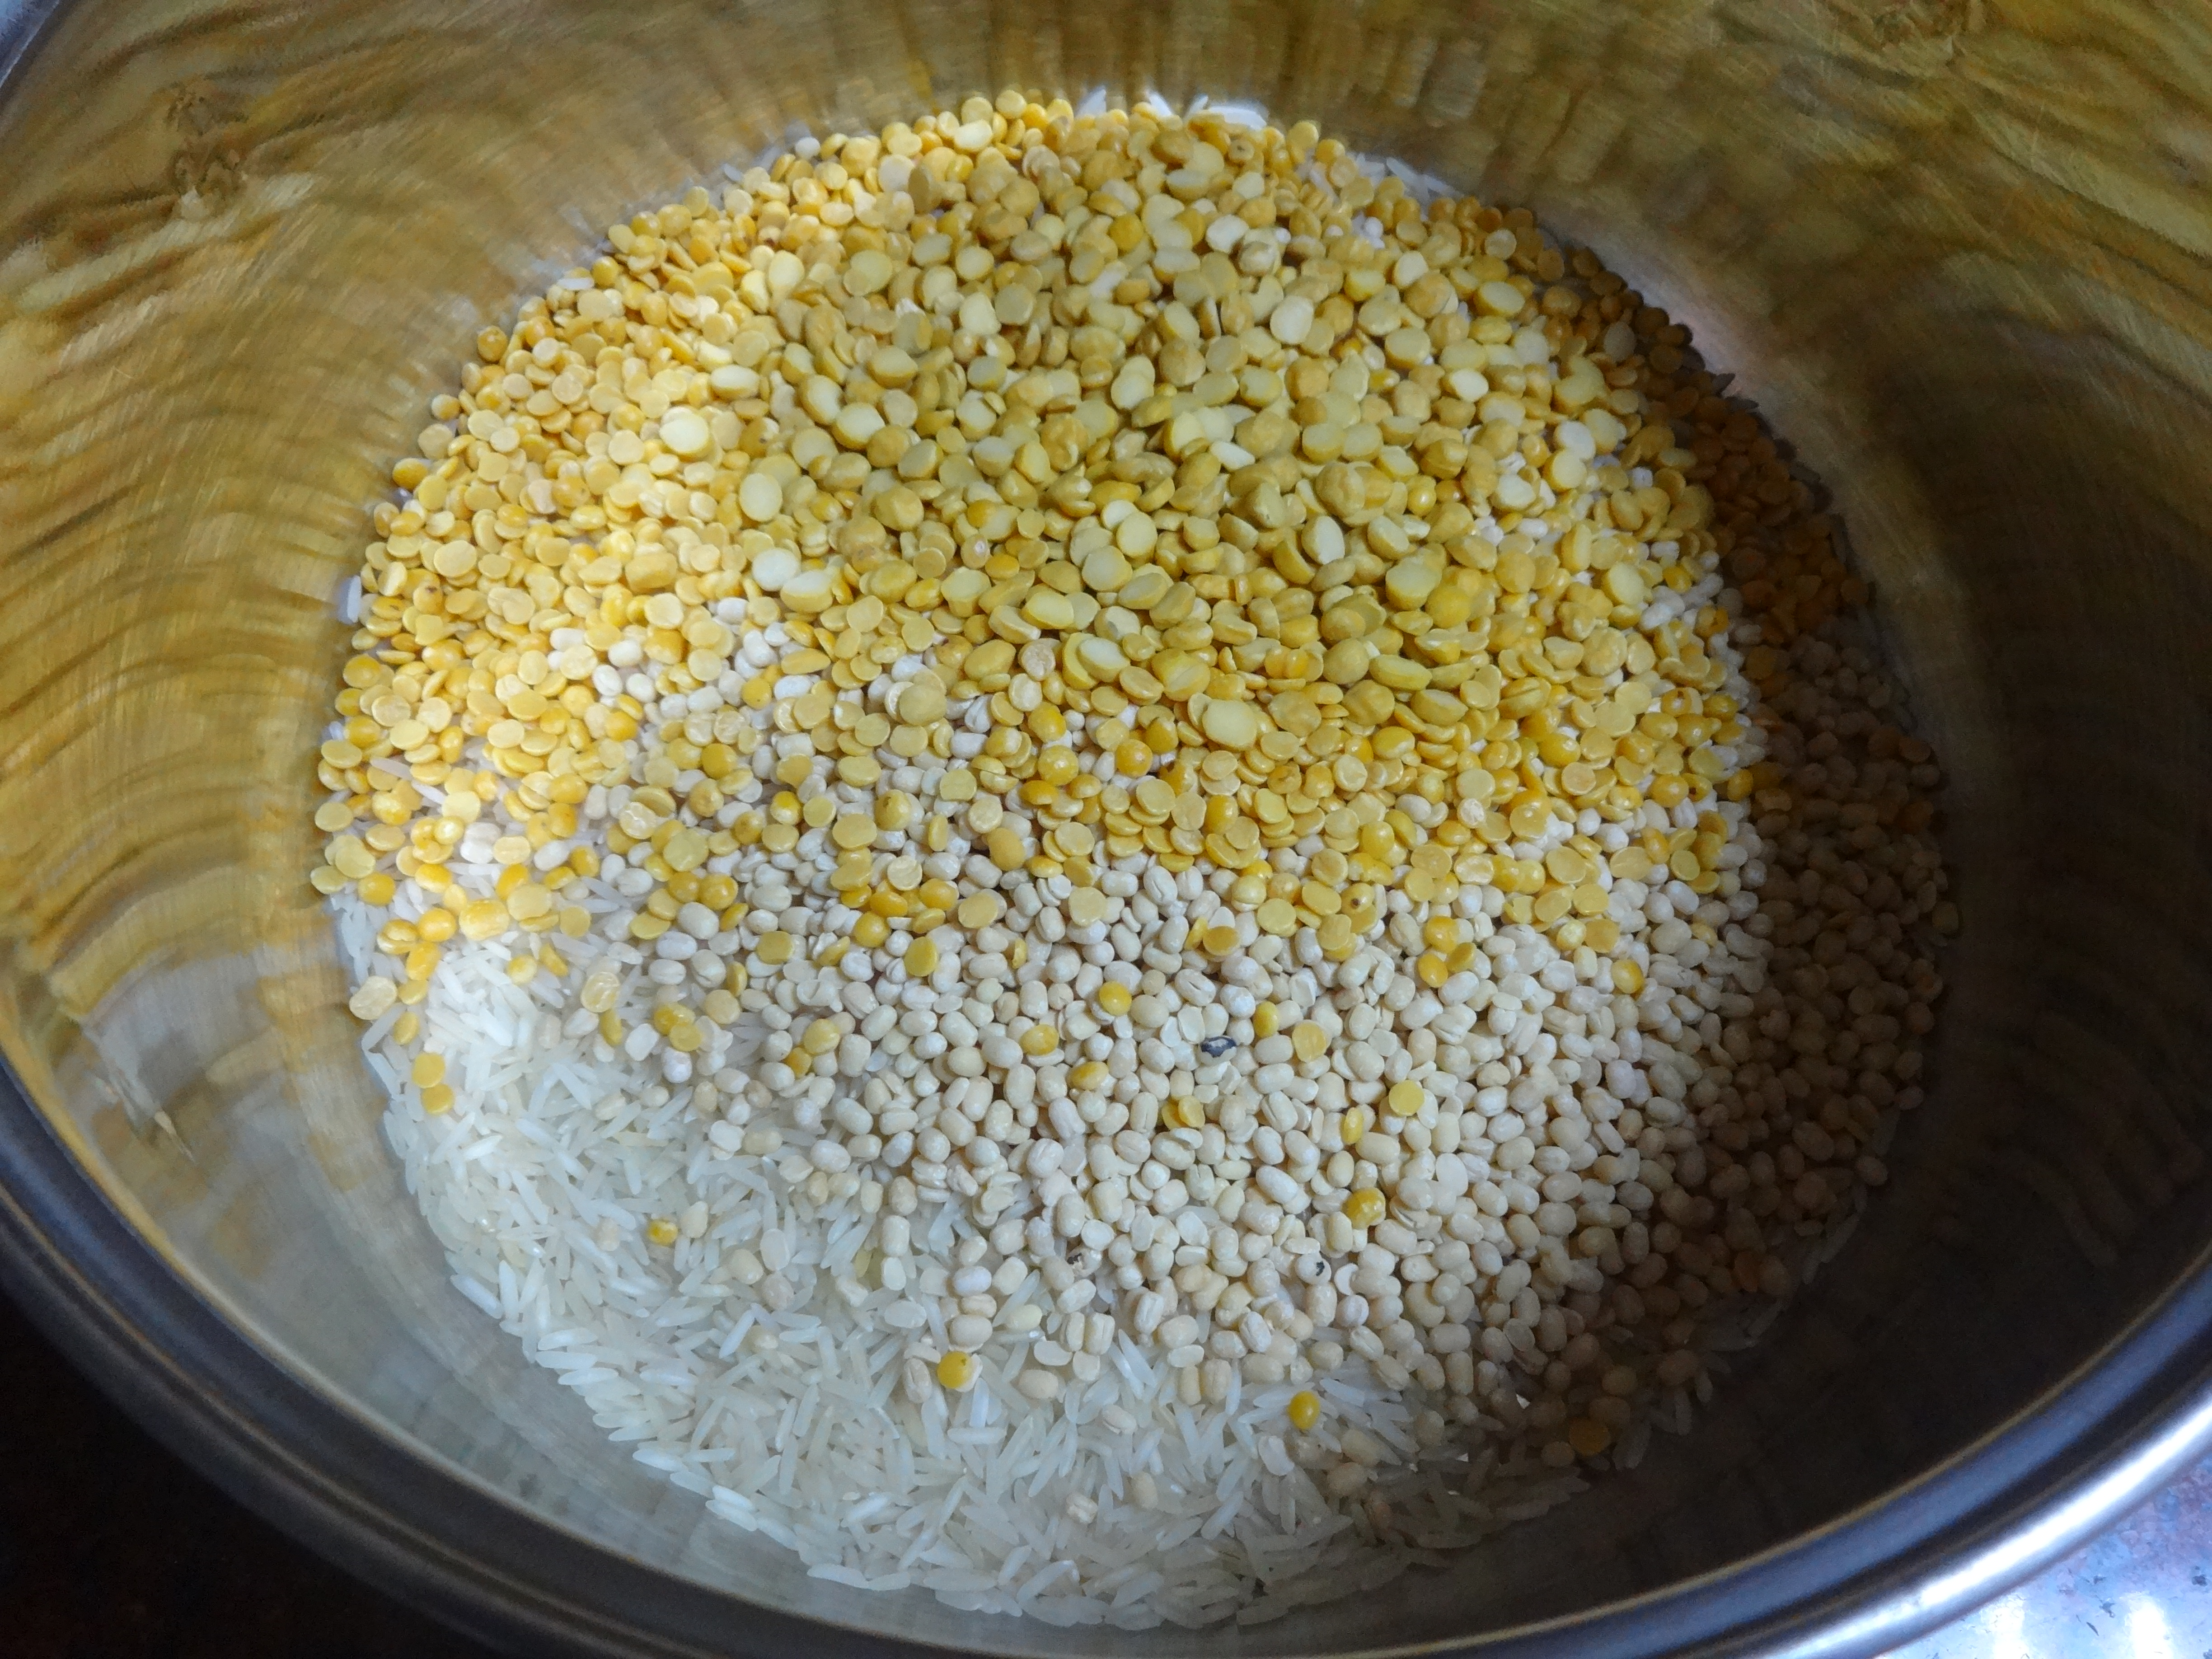
2 Cups raw white Rice

1/2 Cup Urad dal

1/2 Cup Mixed dals (any combination of toor dal, moong dal, chana dal, masoor dal)* check notes

1/2 Cup wheat Semolina/ Rava/ Sooji/ regular upma rava

1 Tbsp Oil

1 tsp Sugar

1/2 tsp Hing

Salt to taste

Oil or ghee to cook the dosa

Step by step recipe:

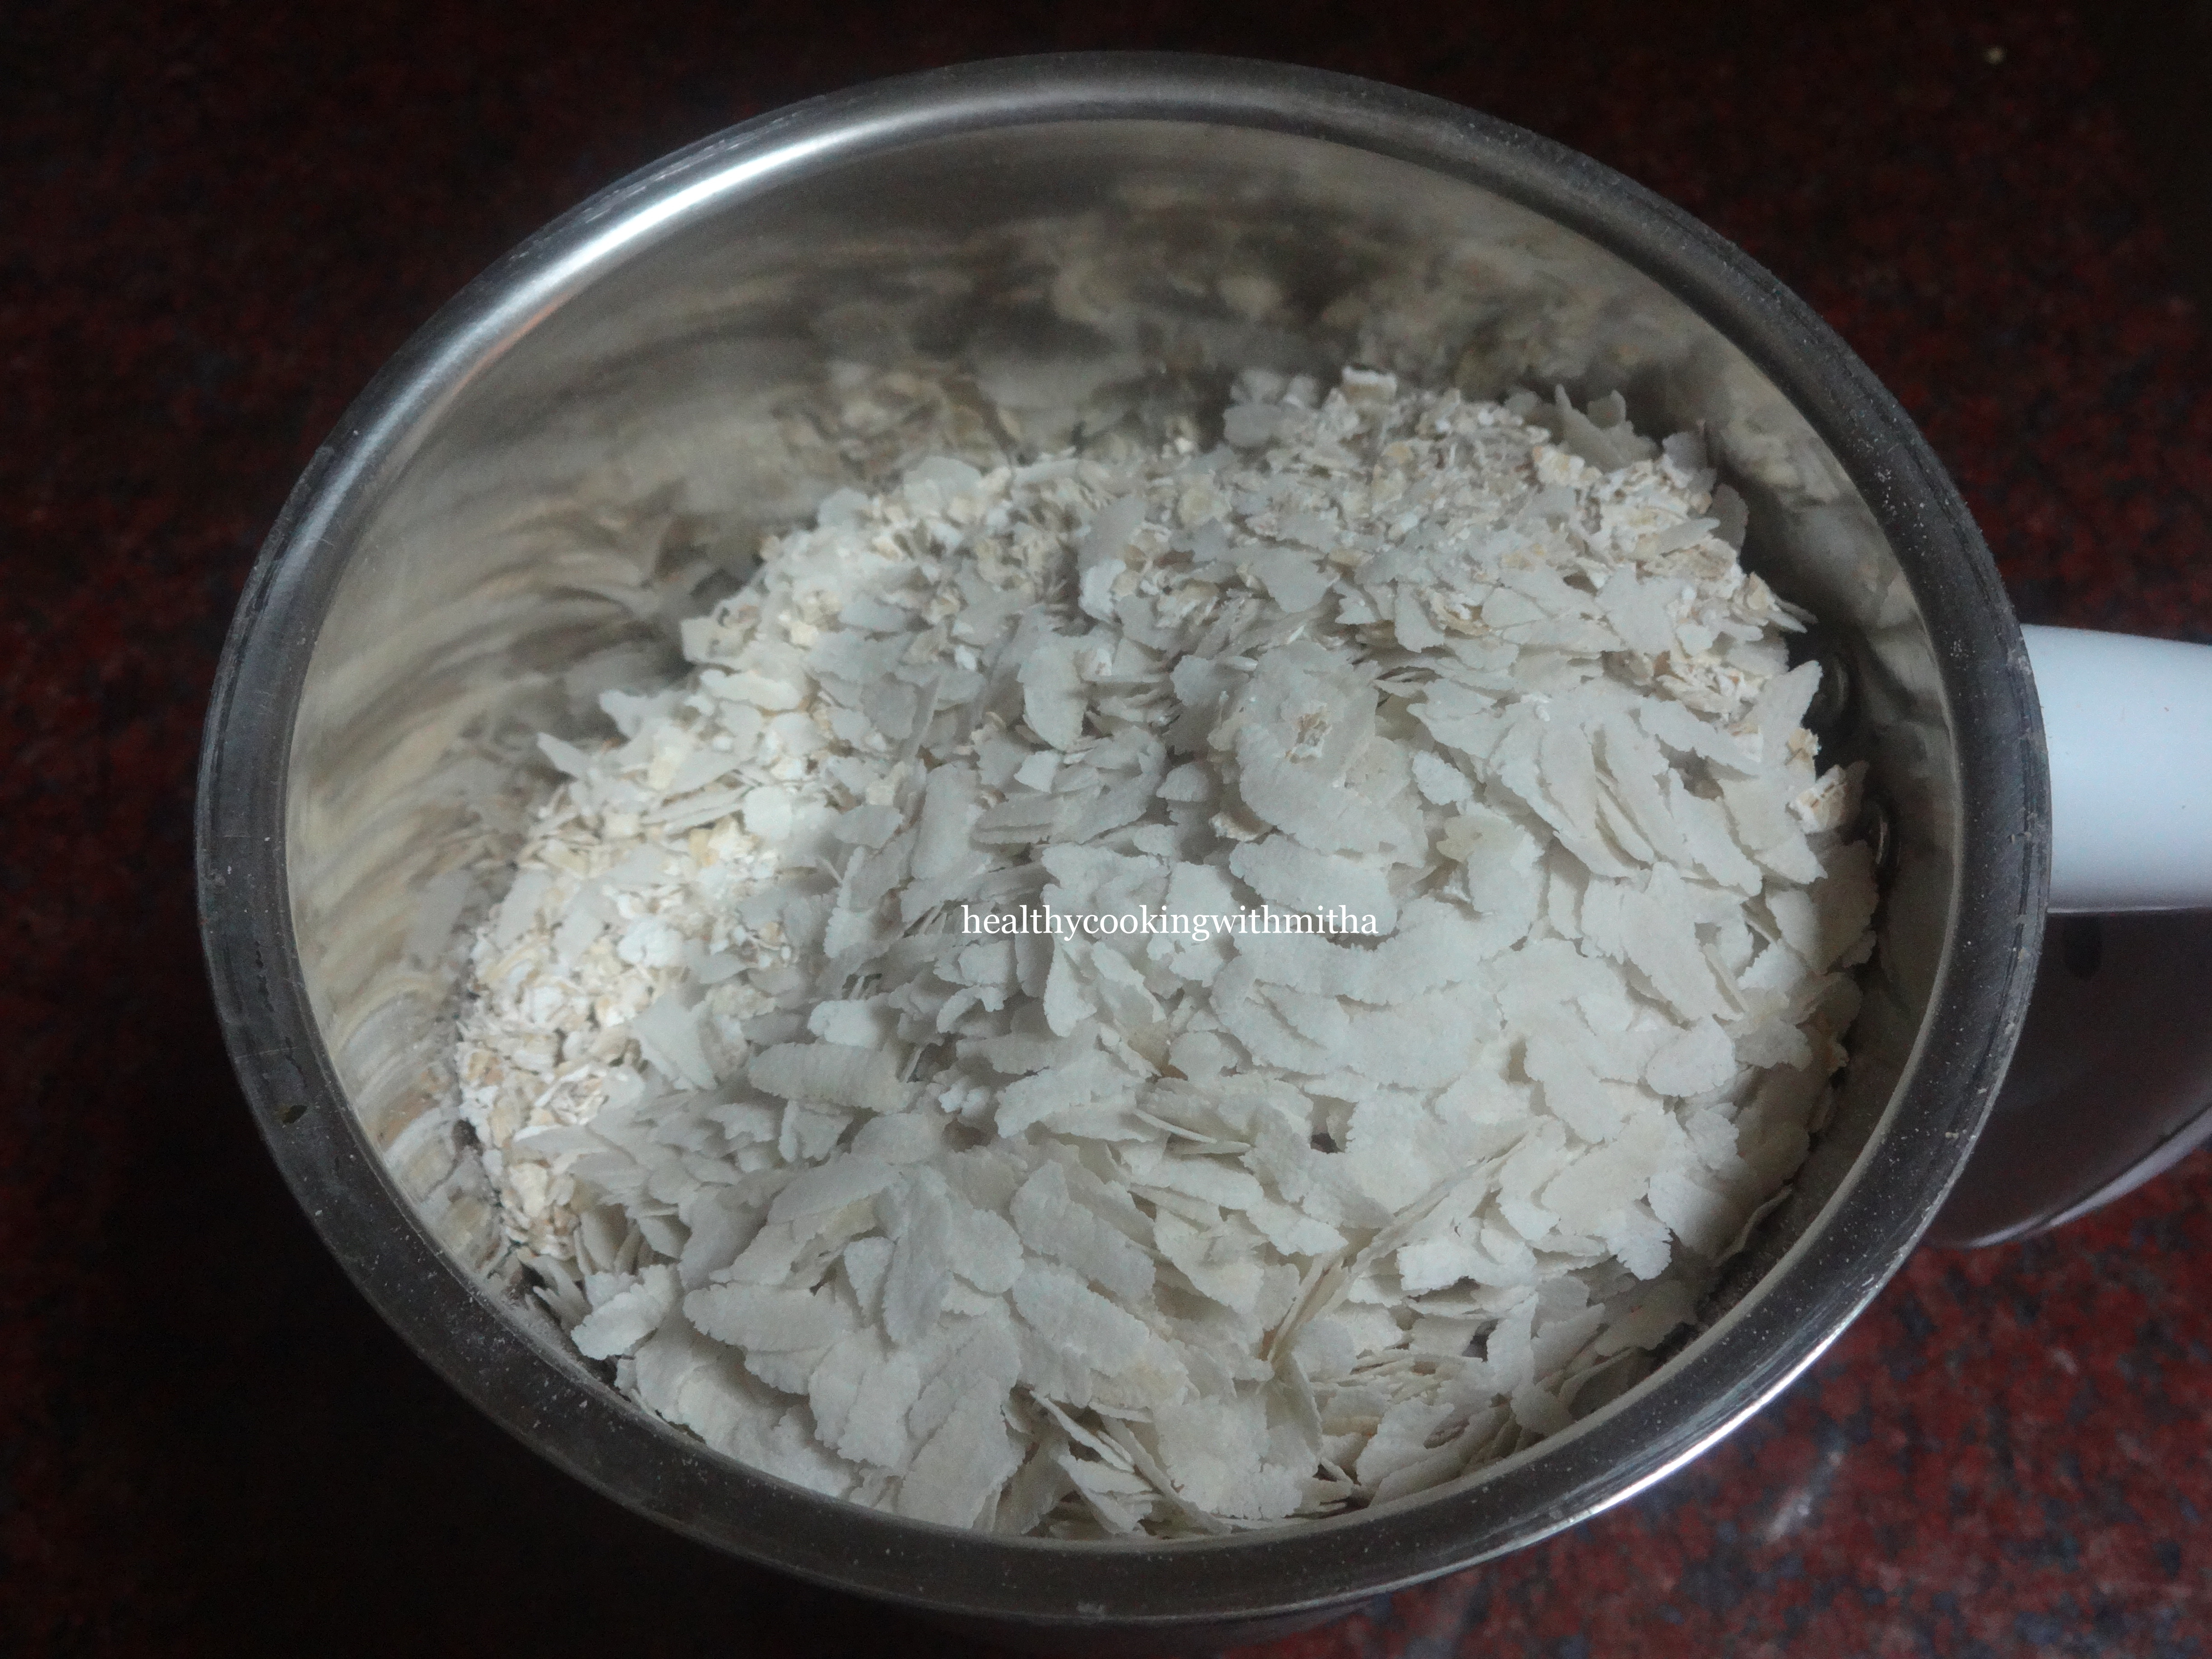
1. Wash well and soak rice along with urad dal and mixed dals for atleast 4 hours.

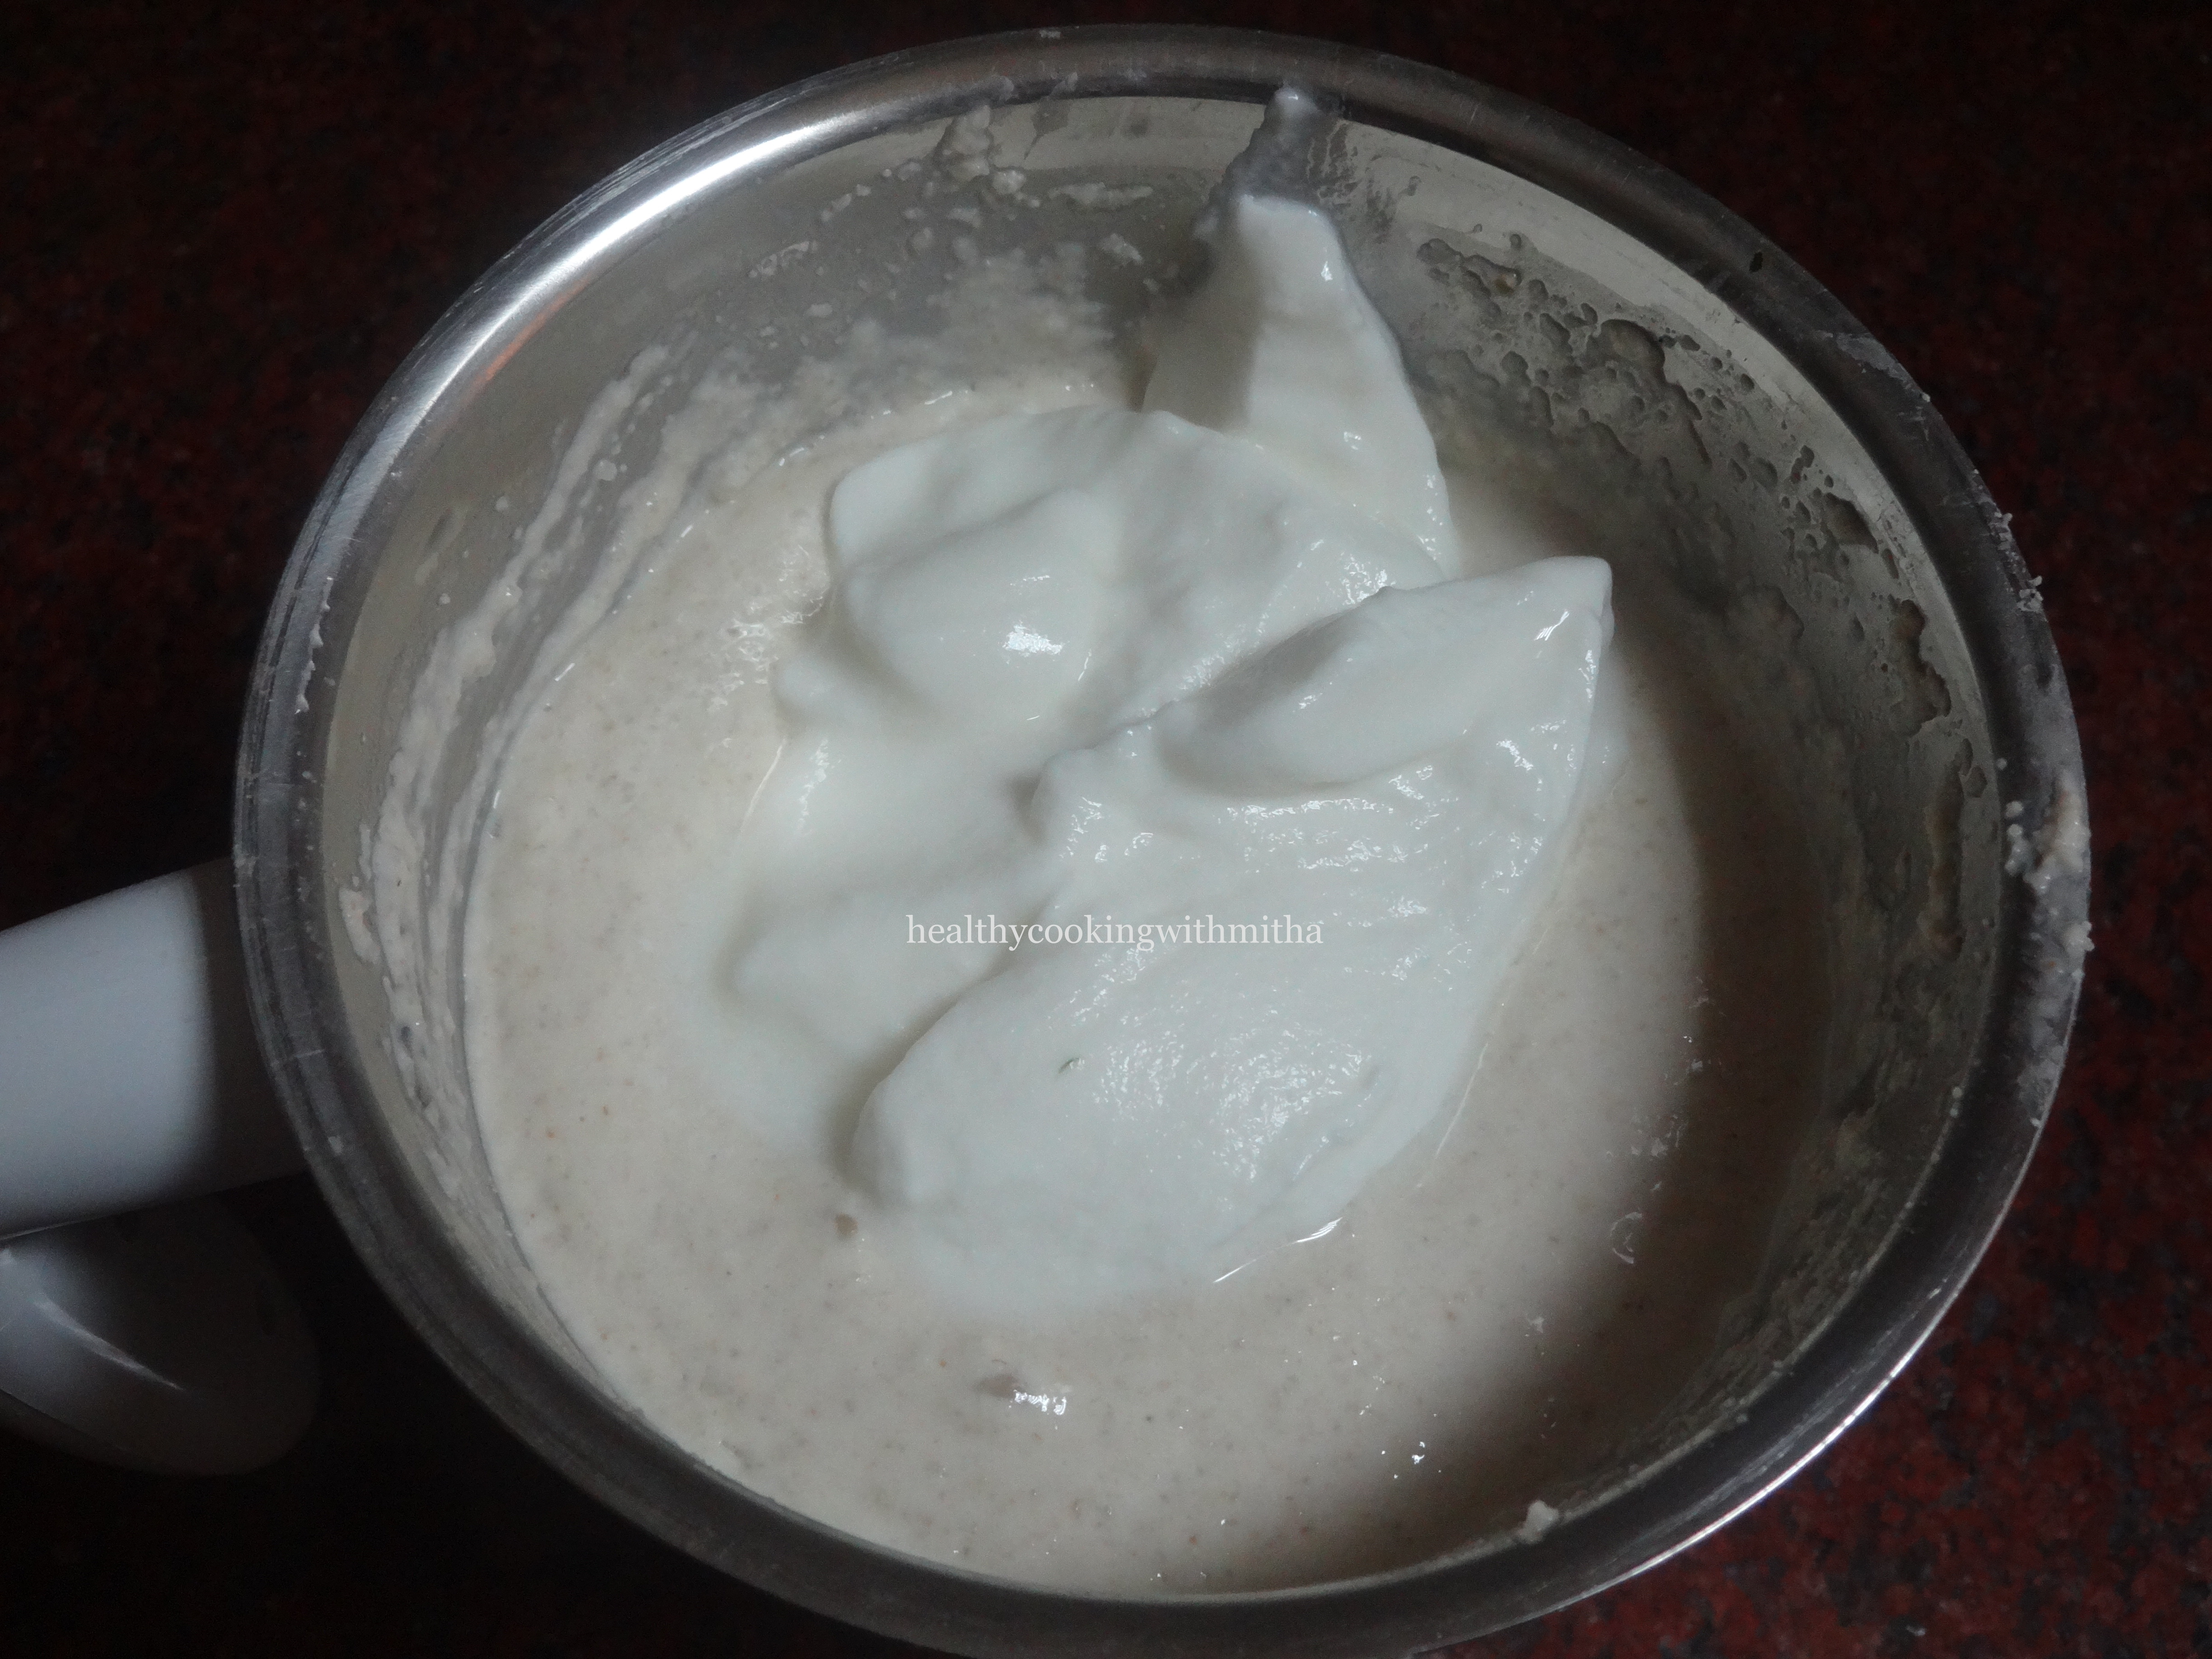
2. Drain the water and grind with little water to a fine paste.

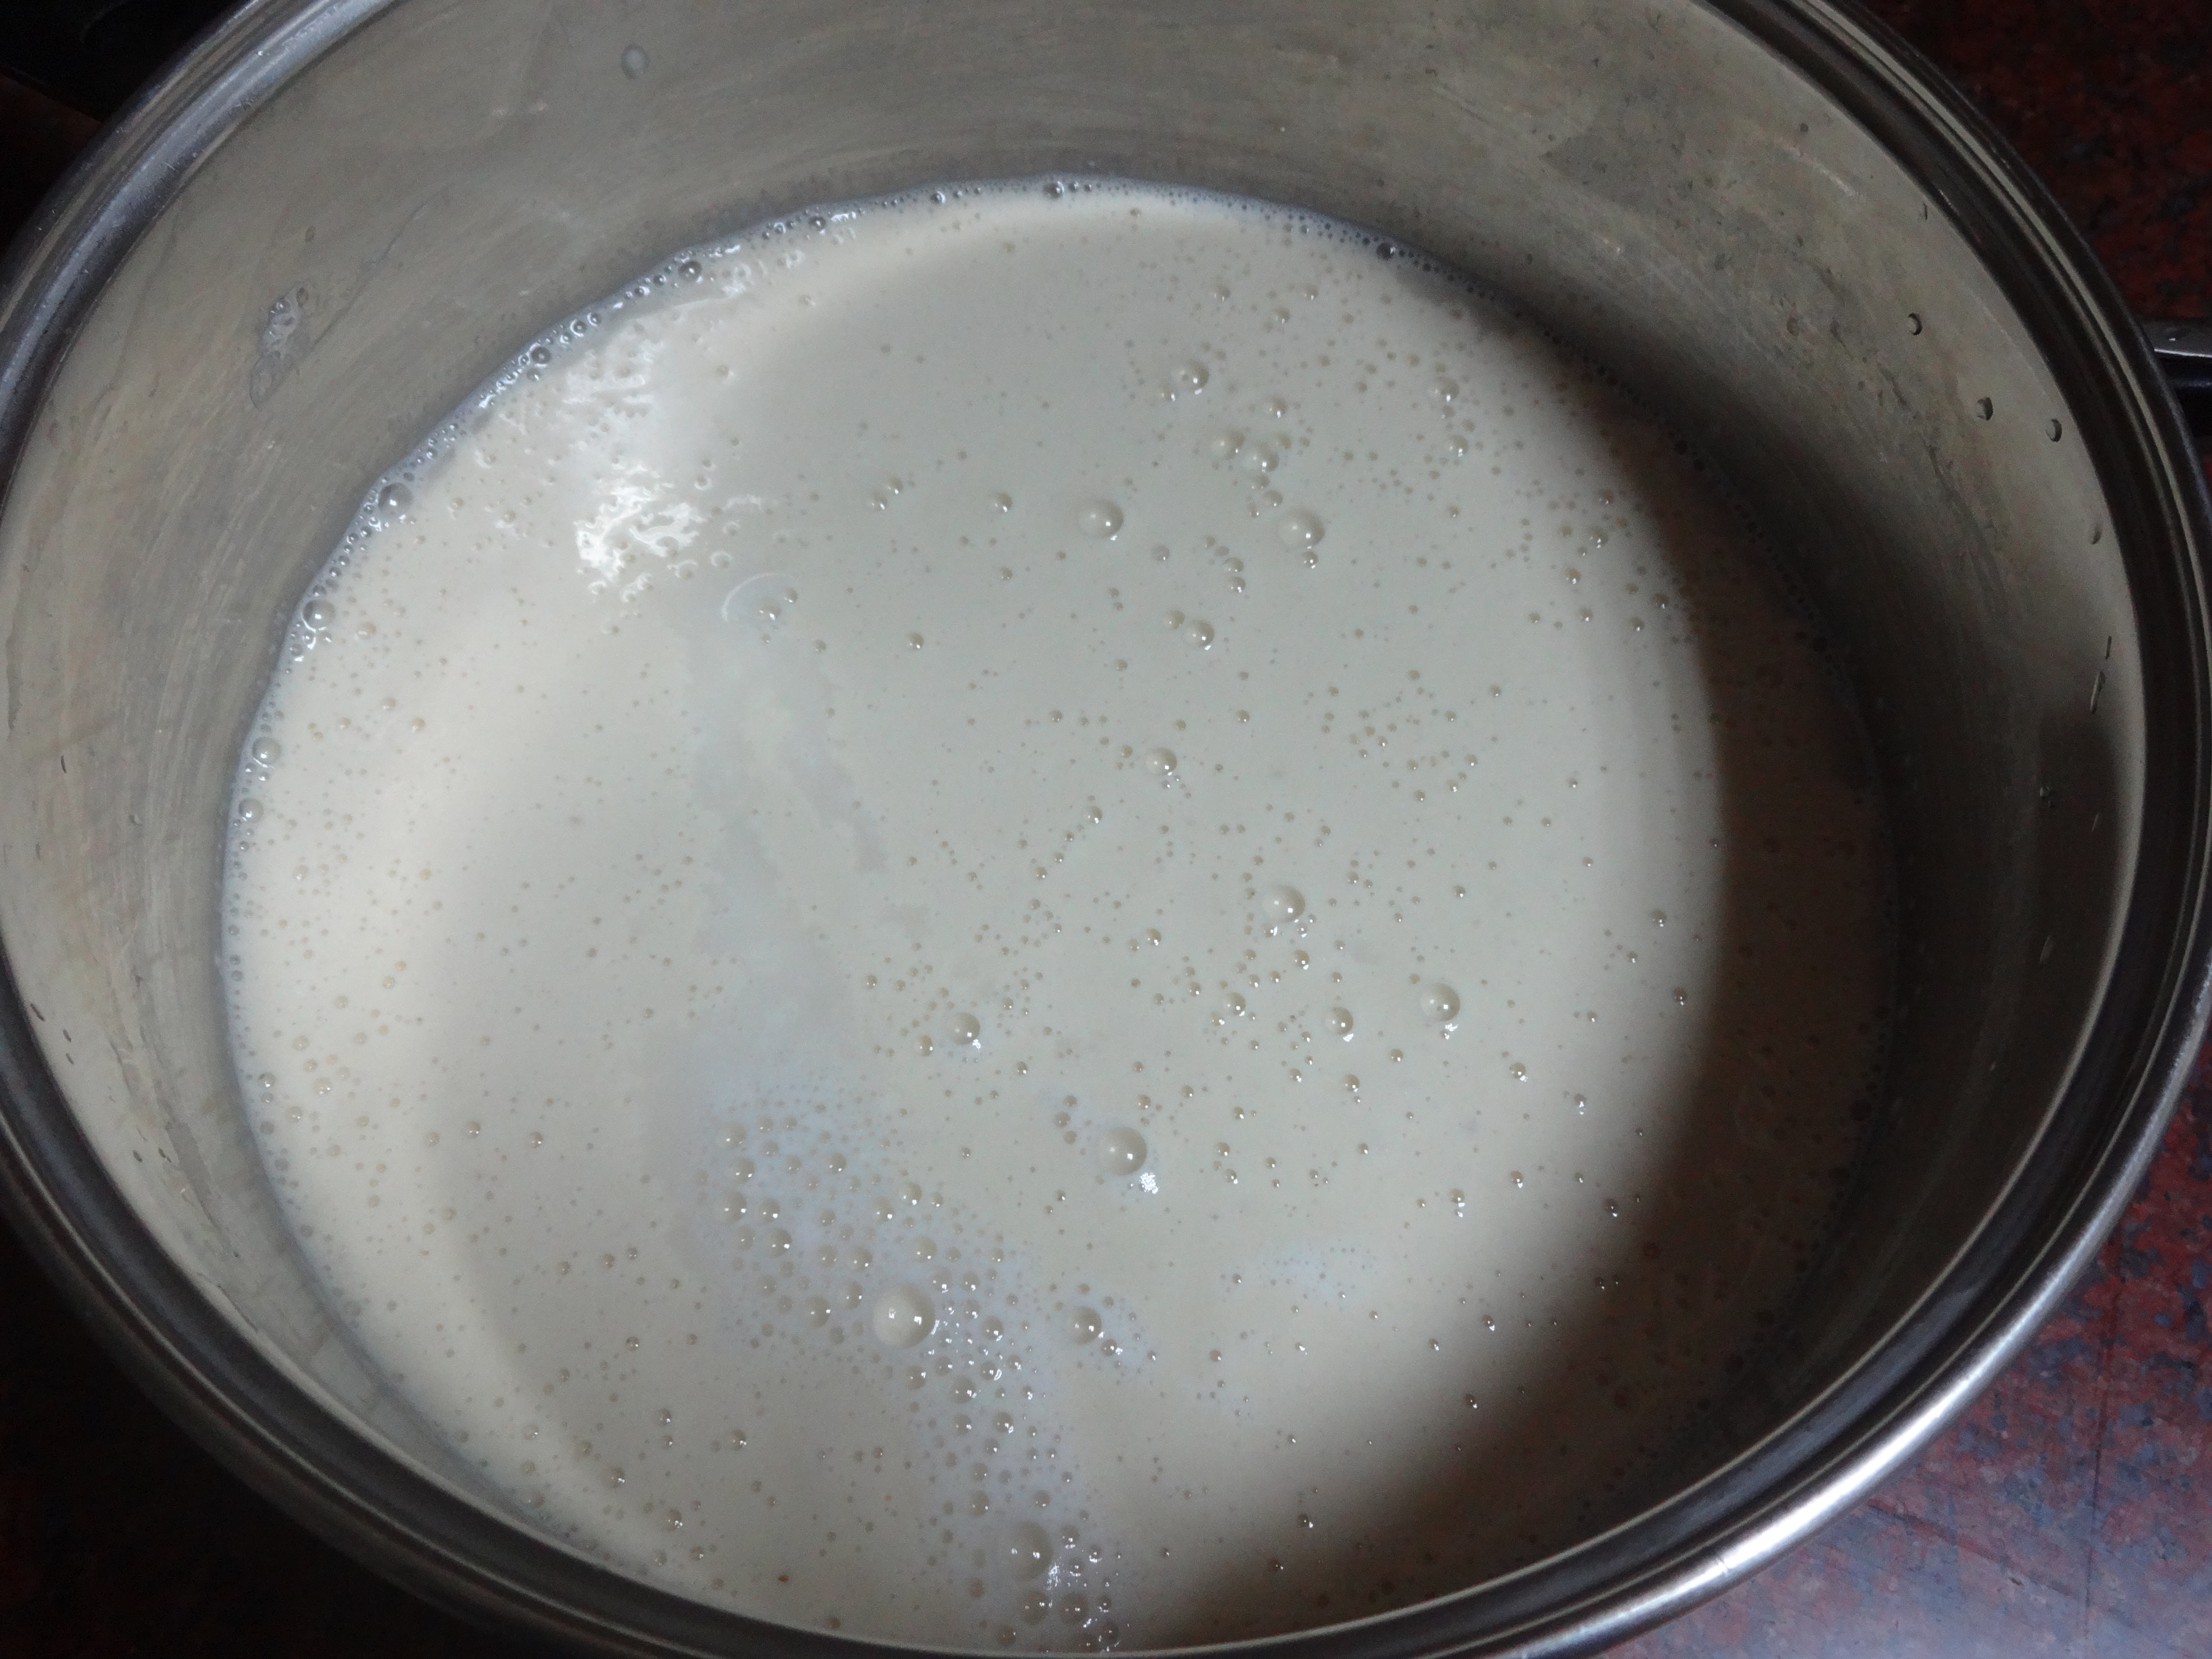
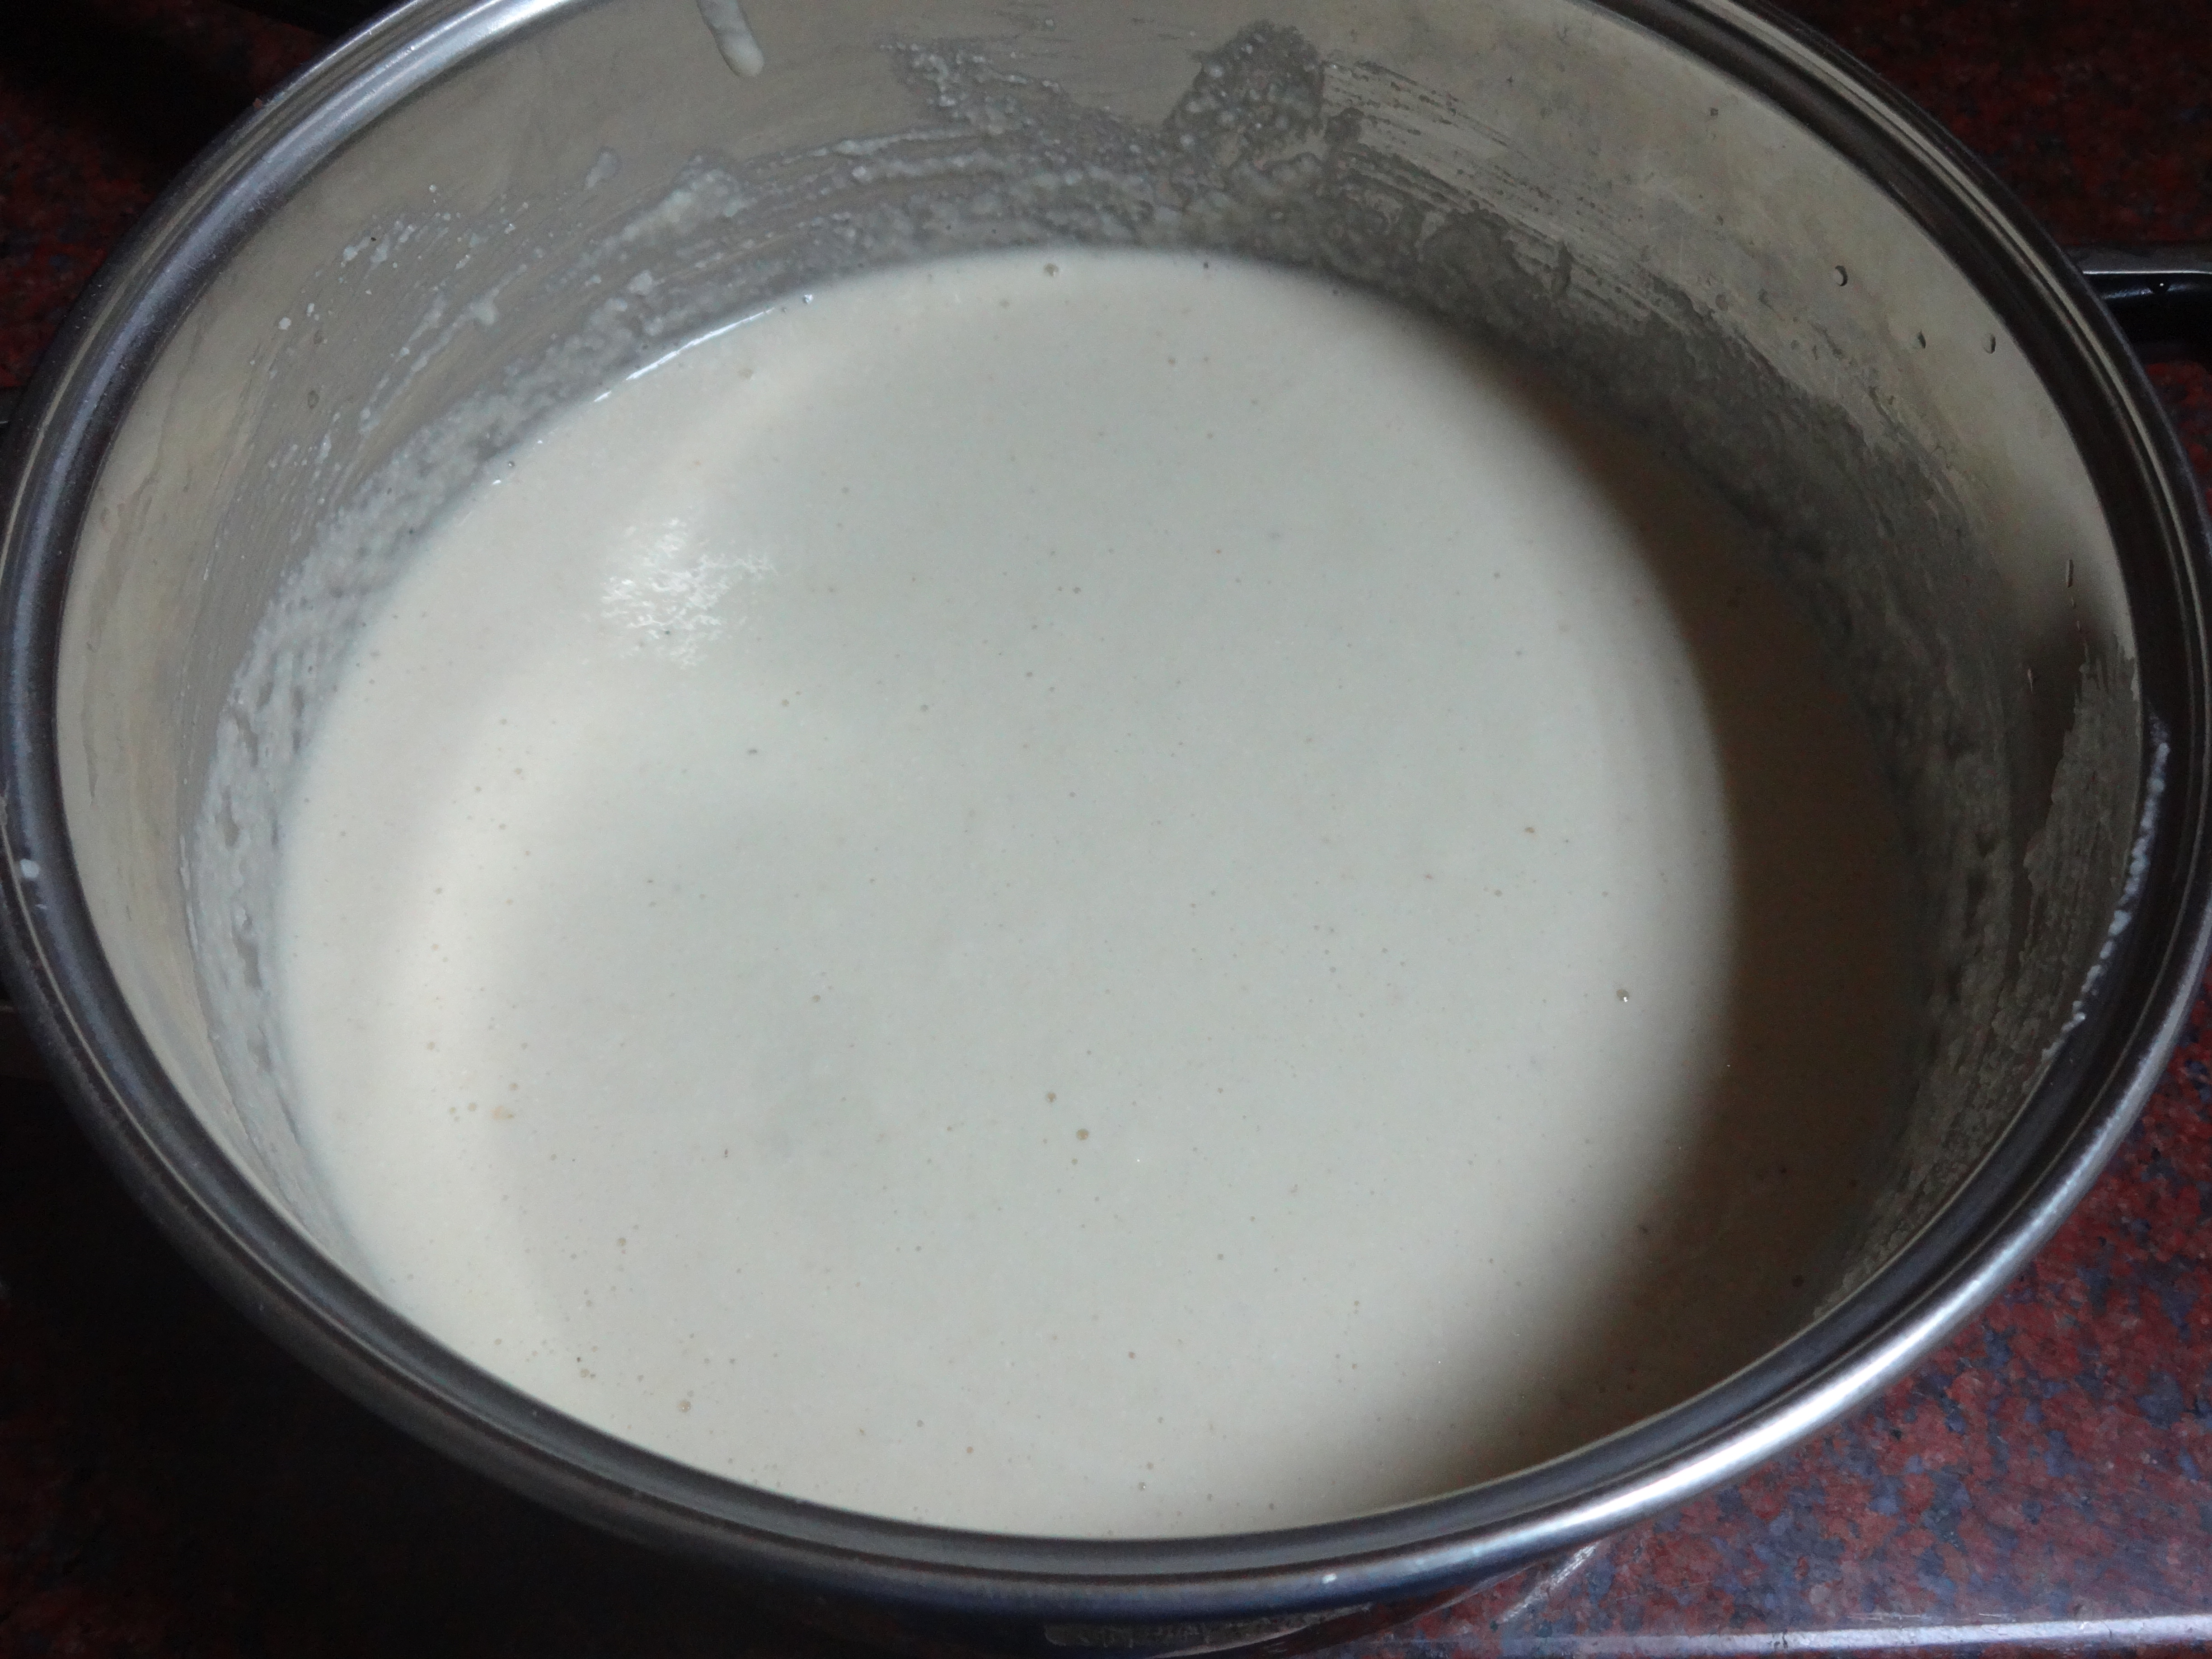
3. Now add rava, oil, hing, sugar and salt.

4. Mix well so that no lumps are formed and keep for fermentation overnight or for 8 to 10 hours.

See how well the batter has fermented

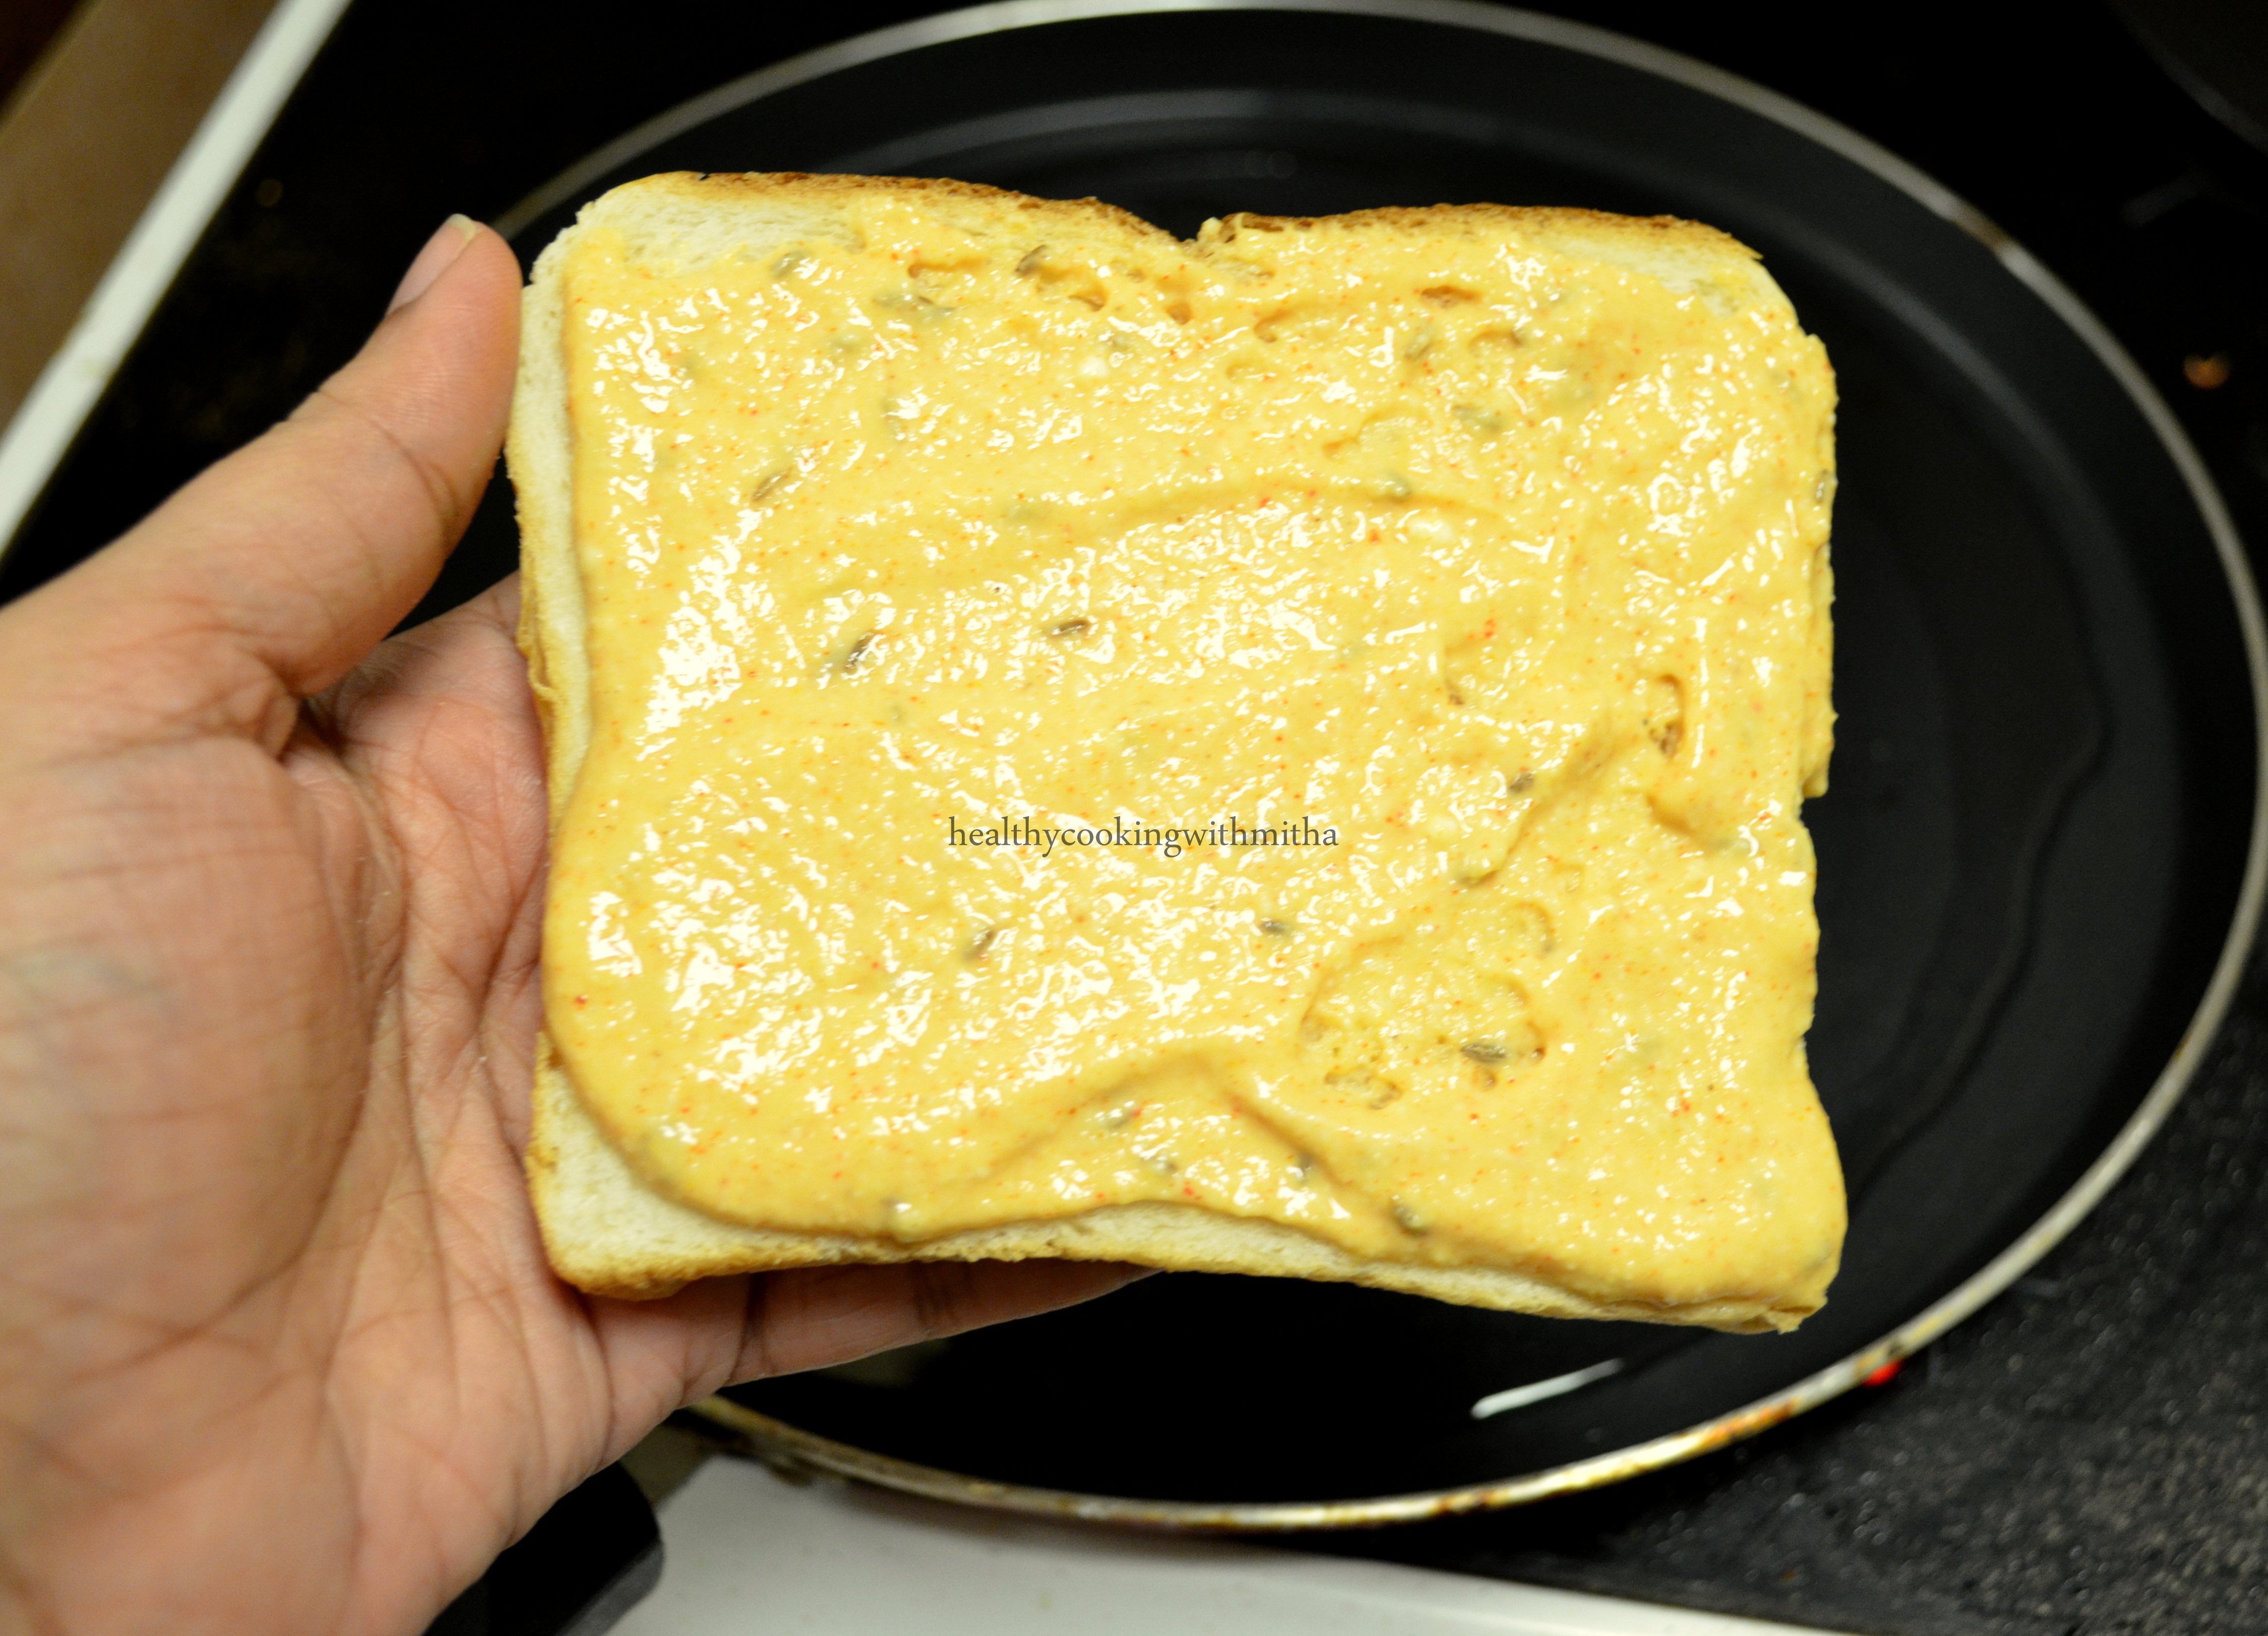
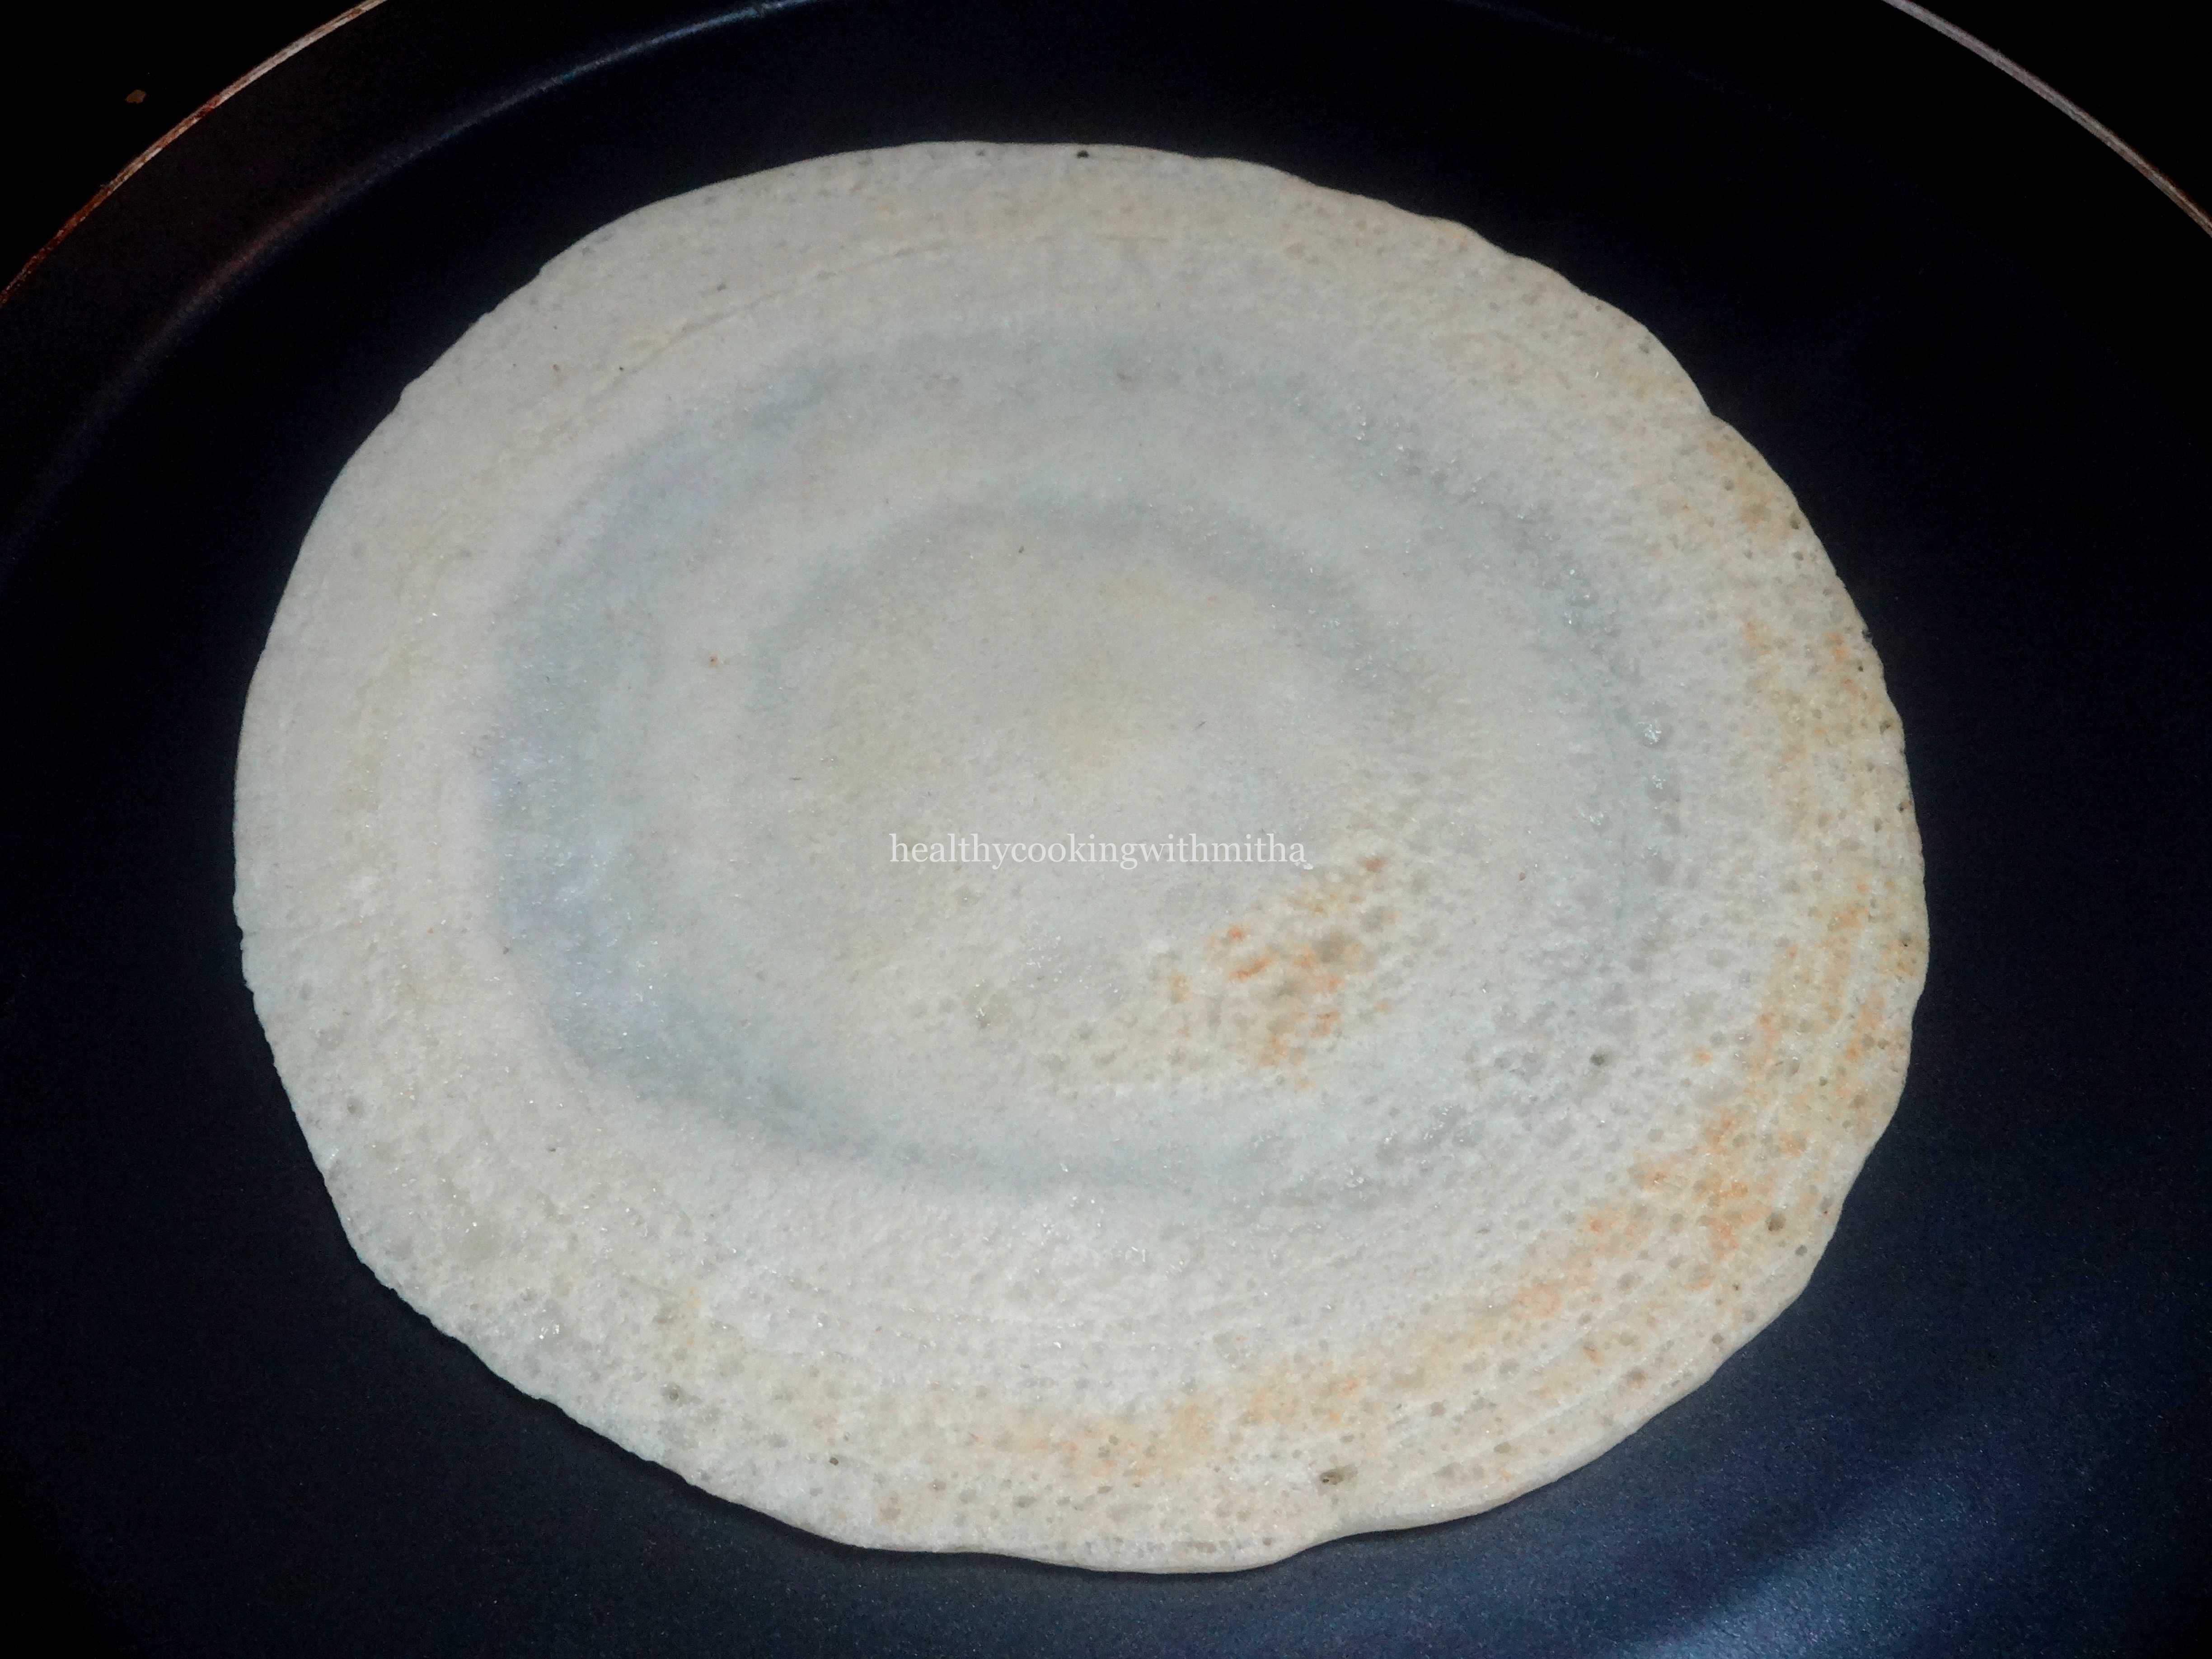
5. Heat a pan and pour the batter in medium flame. Spread in a circle as big as you can.

Tip: Don’t make the flame high while spreading the dosa. Spread on medium flame and then increase the flame to high while cooking the dosa.

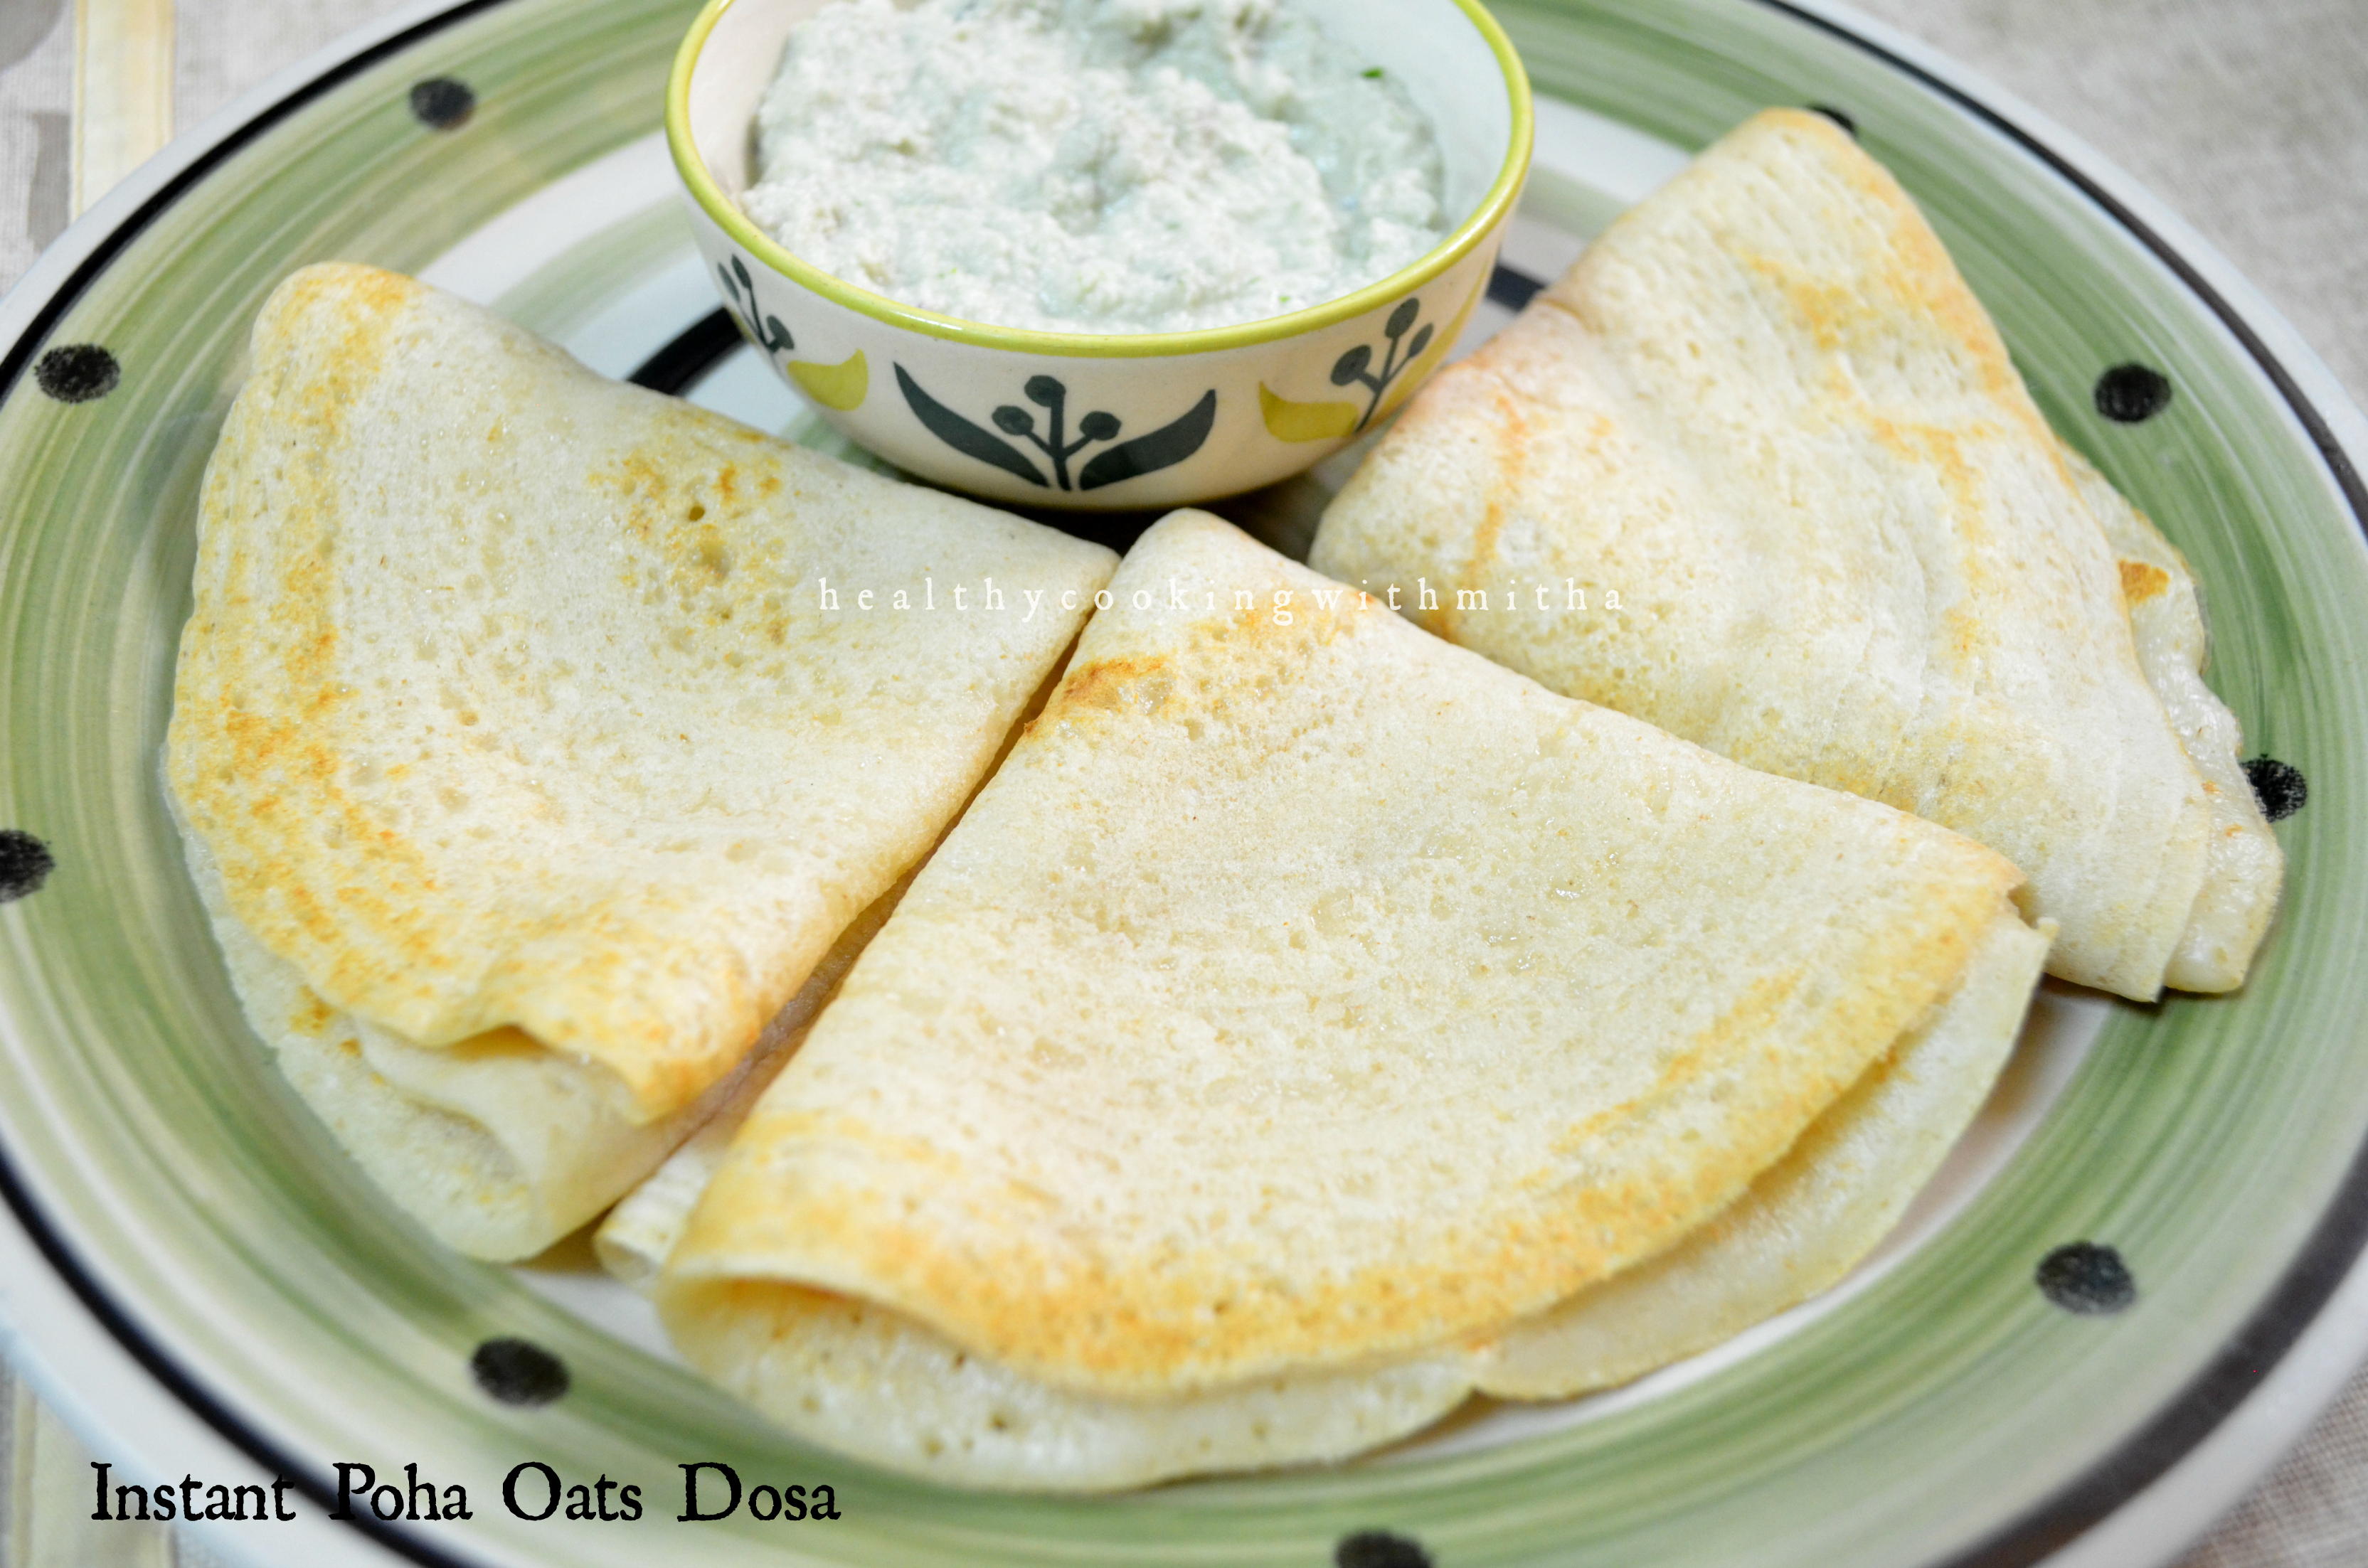
6. Cover and cook till the surface cooks. Add ghee or oil. Place the potato bhaji in the center of the dosa. Fold and serve. Repeat the same with the rest of the batter.

Notes:

* You can add any varieties of dals in the mixed dals among chana dal, moong dal, toor dal and masoor dal. I add whichever is available in my pantry.

* For the bhaji,

# Pressure cook potatoes. Peel and mash them.

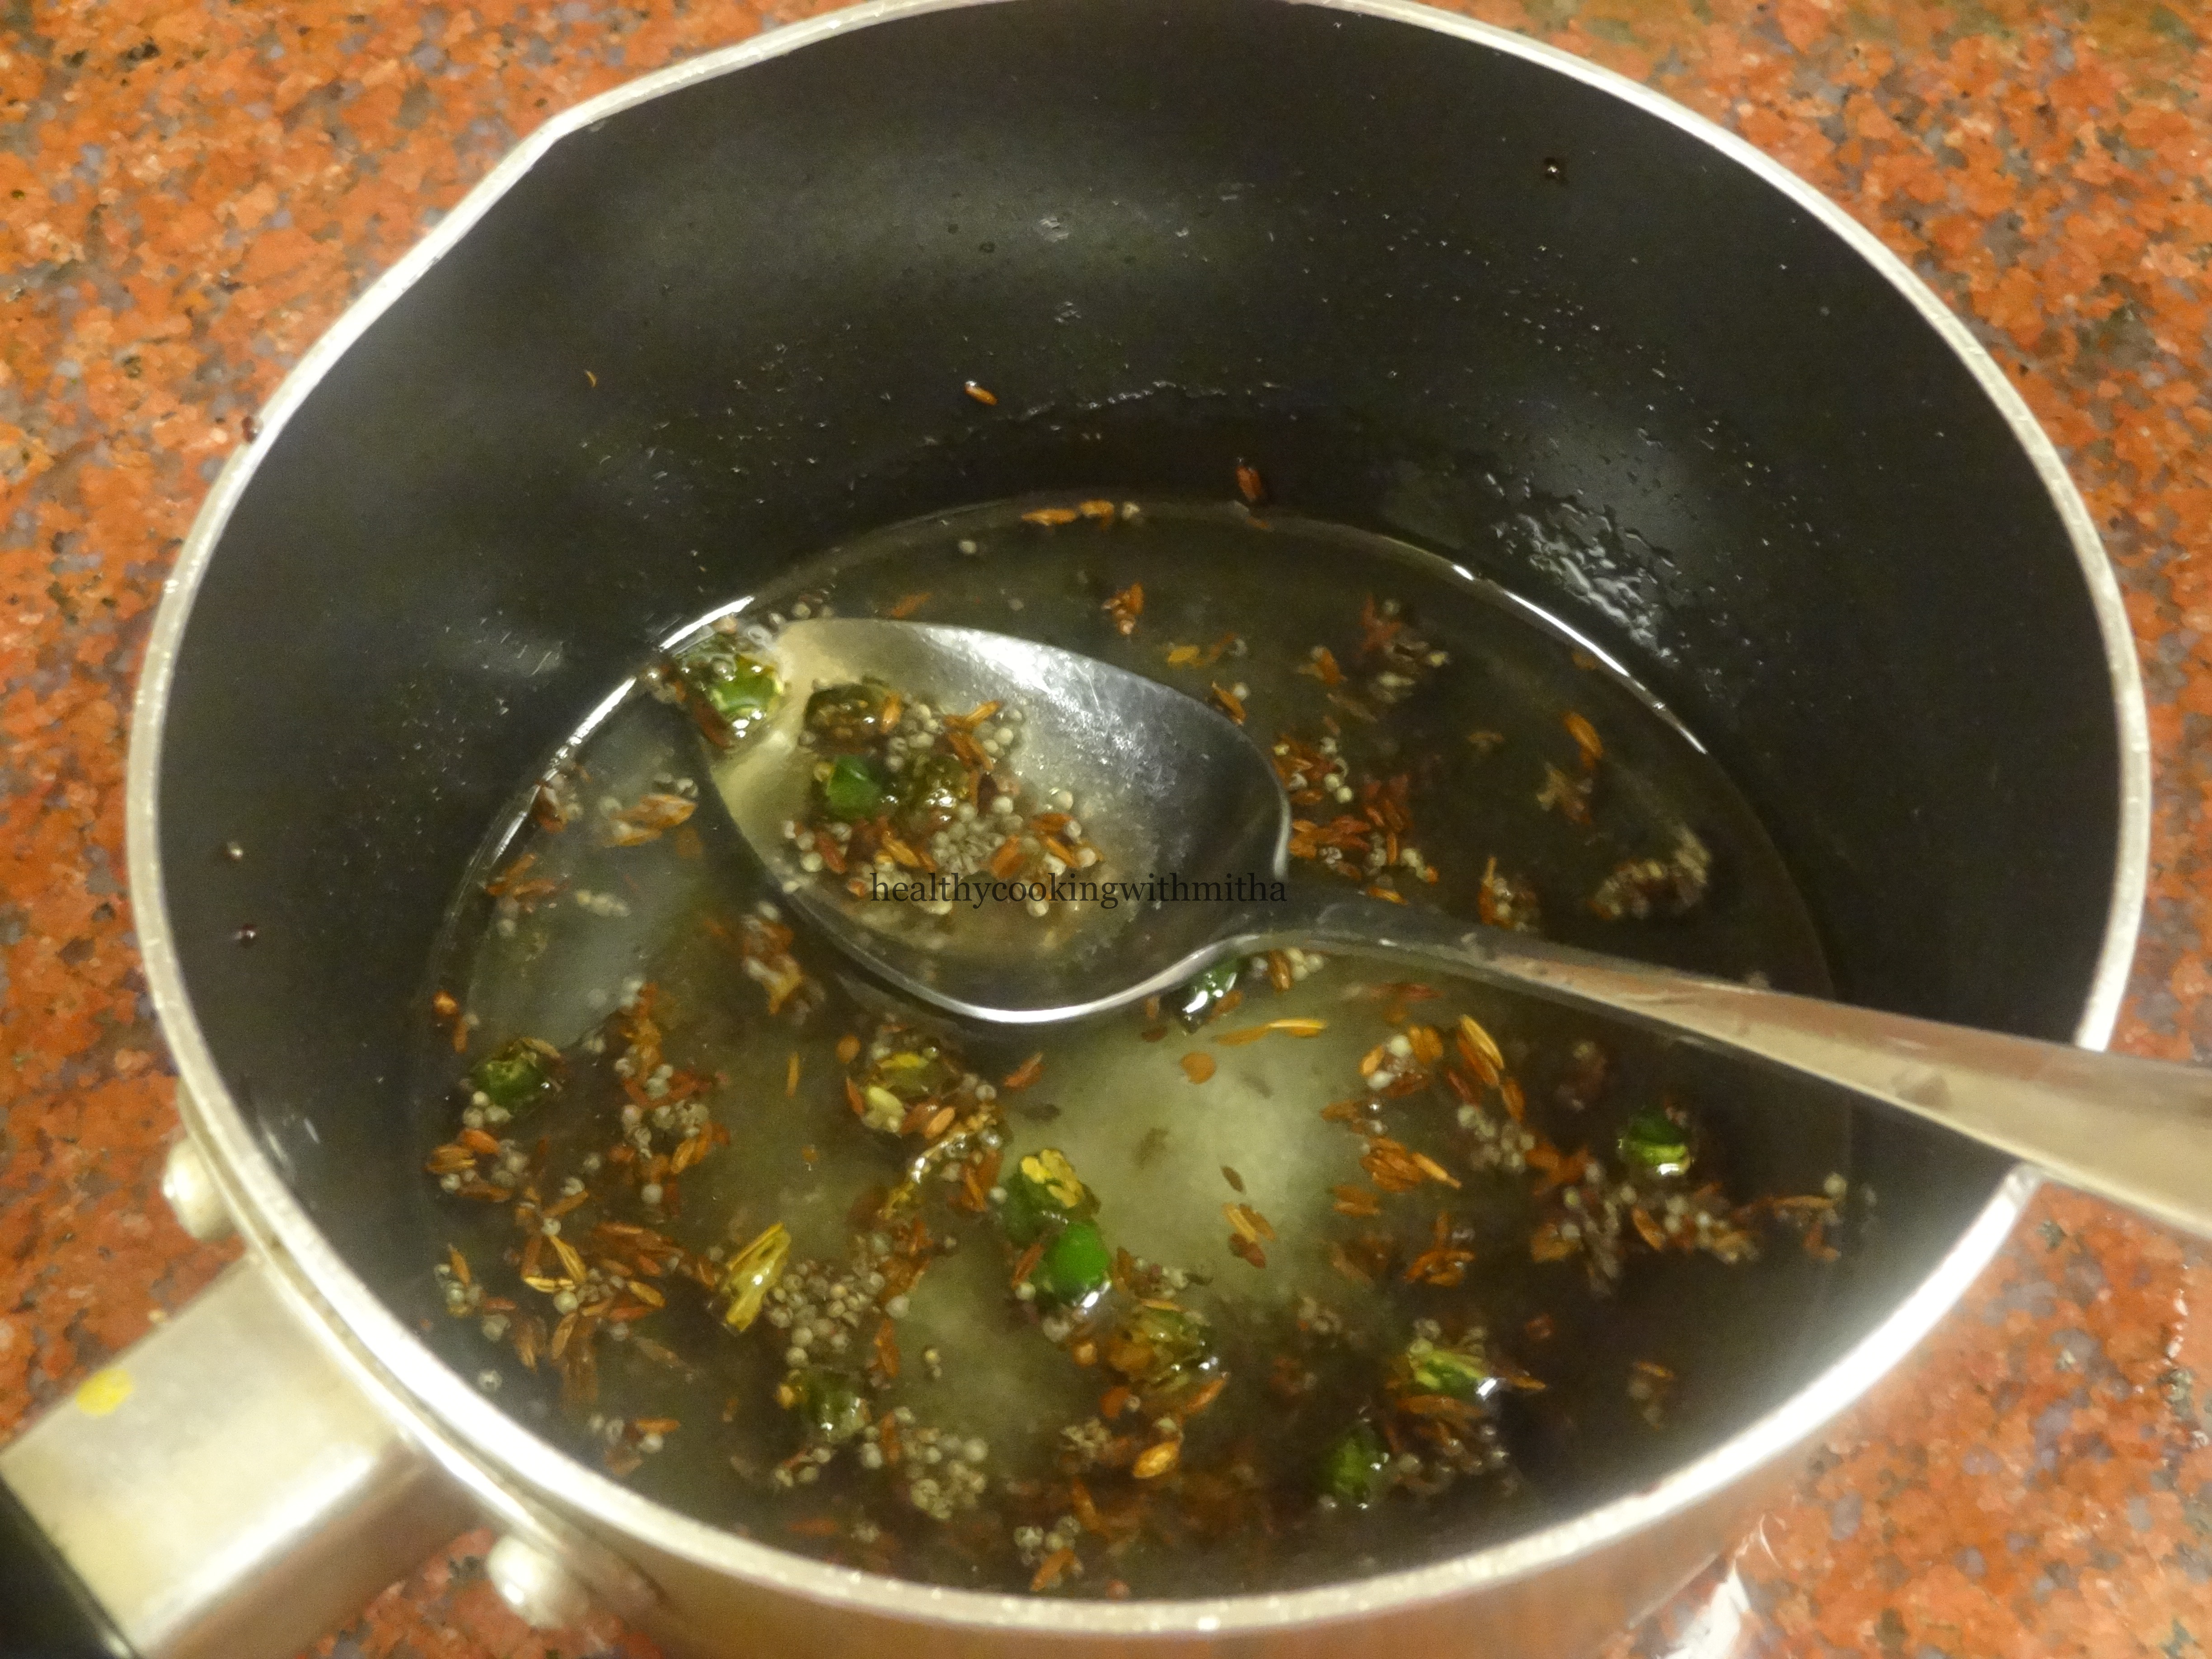
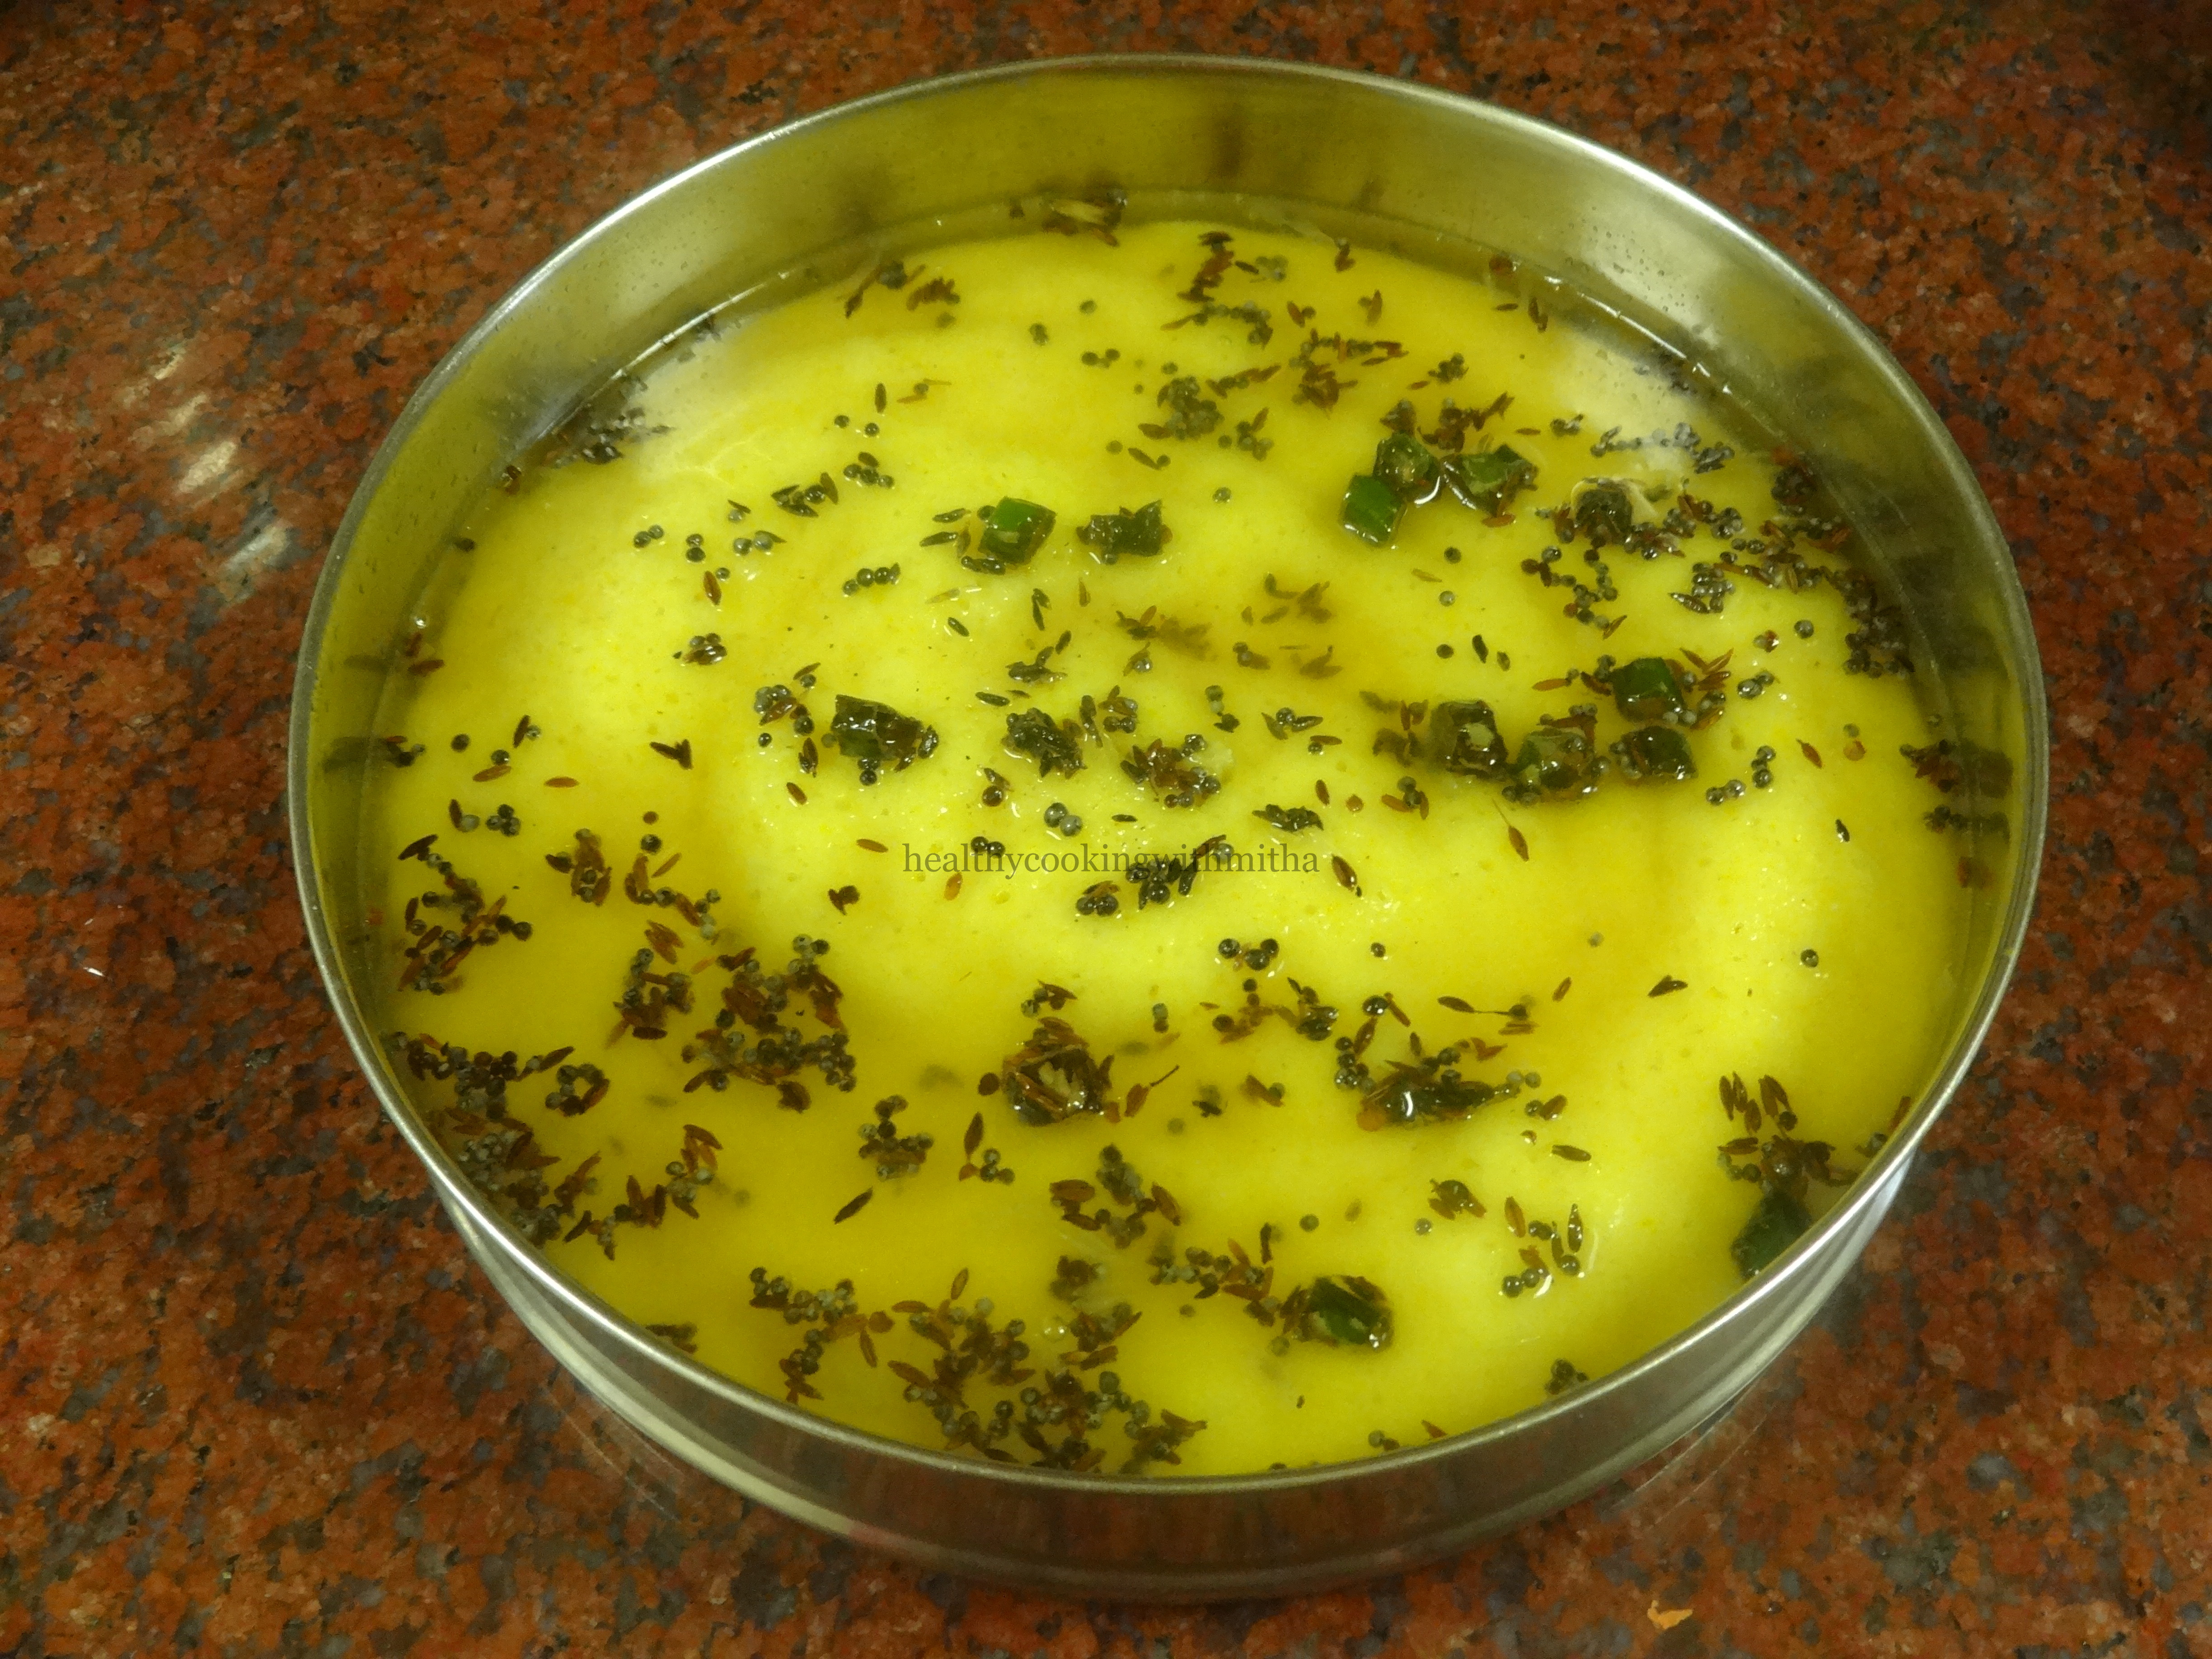
# Heat oil in a pan. Splutter mustard seeds. Add Jeera, hing, green chillies, fry little. Then add tumeric powder along with mashed potatoes.

# Add little water and salt. Cook till the mixture turns dry. Garnish with coriander leaves.

(You can also add sliced onions to this bhaji if desired)

* For making perfect dosas, always spread the dosas on medium flame, then make the flame high and cook till it till done.

* For crispy dosas, cook till the underside browns completely.

* I usually make simple coconut chutney with this dosa. Just grind together Coconut, ginger, green chillies with salt to a smooth paste. Season with mustard seeds and curry leaves spluttered in oil.

Instant Rava Dhokla

Dhokla is my husband’s favourite evening snack and that’s the first answer I get when I ask him what to make for snack time. The kids love dhokla very much too and I hardly get couple of pieces when I make it. Literally every bite is fought for. 😁

Soft and melt in the mouth, this recipe for dhokla has been a keeper for me and over the years, I have made it so many times that I can now make a good dhokla even in my dreams. 😅 That’s the effect of being a foodie’s wife over the years with kids turning out to be foodies too.

The benefit of the three of them loving what I cook is it gets over so fast that I hardly get to eat it which has lead to my weight loss. I eat only what is necessary as compared to earlier when I got a major portion of what I cooked. My Amma will surely kill me for this. Like all mothers, she does not want me to lose weight 🙈.

Anyhow, I can assure you Amma that I am eating as much as I need. Just that the kids make me run behind them so much that there is no chance of getting fat 😂.

Hope you all try and love this dhokla as much as we do. Happy and healthy cooking! ❤️

RECIPE:

Ingredients:

1 Cup Rava/ Semolina/ Sooji

1 Cup Water

3/4 Cup Yogurt/ thick curd

2 Tbsp Oil

1 Tbsp Besan/ chickpea flour

2 tsp Eno fruit salt

1 tsp Sugar

1/2 tsp Turmeric powder/ Haldi

Salt to taste

For the seasoning:

1 tsp Oil

1/2 tsp Mustard seeds

1/2 tsp Cumin seeds/ Jeera

3 Green chillies

1 Tbsp Sugar

Salt to taste

2 to 3 Tbsp lemon juice (depending on how sour you like your dhokla)

1/4 Cup water

Few sprigs of coriander leaves and freshly grated coconut for garnish (optional)

Step by step recipe:

1. Take 1 Cup of semolina in a large bowl. Add 1 Cup water and 3/4 Cup yogurt. Mix well using a whisk.

2. Now add besan, salt, sugar, turmeric powder and oil. Mix again.

3. Add Eno fruit salt and mix well once.

4. Pour into a bowl which has been greased well with oil. Steam for 20 mins or till a knife inserted in the center comes out clear.

5. For the seasoning,

* Heat oil in a pan and splutter mustard seeds, cumin seeds. Add green chillies and fry for few seconds.

* Now take the seasoning off the pan and add 1/4 Cup water, sugar and salt. Mix well so that sugar dissolves.

* Squeeze lemon juice and mix.

6. Pour over the steamed dhokla. Let it rest for atleast 30 mins so that the seasoning is absorbed well by the dhokla sponge.

7. Cut into squares and serve.

Notes:

* I serve this with mint chutney. Just grind mint leaves with little curd, ginger, green chillies and little coconut with salt. Add coriander leaves too if available. Grind till smooth. Tastes amazing with dhokla.

* The seasoning is very important in the dhokla flavour. Adjust sugar and lemon juice as per your taste. Please be sure to rest the dhokla atleast for 30 mins after pouring the seasoning.

* Eno fruit salt gives the dhokla it’s spongy texture. Though I have not tried this recipe without Eno, the usual substitute for Eno is equal amount of baking soda and lemon juice. So 2 tsp Eno equals 1 tsp baking soda plus 1 tsp lemon juice.

* Don’t add more water than mentioned or the dhokla won’t get the right texture. For 1 Cup semolina, 1 Cup water and 3/4 Cup thick curd gives it the right batter consistency.

* Be sure to insert a knife in the center to see if the dhokla has cooked properly after steaming.

* You can also steam this as Idlis. Just remove the Idlis in a large bowl and pour the seasoning and rest the Idlis till the liquid absorbs.

* The batter rises atleast double while steaming. So make sure to steam in a bowl in which the batter reaches only half of its height.

Instant Bread Pakoda toast

Even though I bake Whole wheat bread at home , there are times when we do order bread along with grocery if we feel like I need a break with all the cooking and baking. And when we do get bread from the stores, I make this toast as an evening snack and we all love it.

This is a healthier version of bread pakoda which is deep fried. Also, this batter has sugar in it as we love it with a hint of sweetness too.

Hope you all try and love it. I know how difficult it is to get a good healthy recipe idea for evening time. Hence sharing with all of you. Happy and healthy cooking!

RECIPE:

Ingredients:

4 Slices of bread

1/4 Cup Besan/ chickpea flour

1 Tbsp Rava/ Semolina/ Sooji

1 tsp Red chilli powder

1/4 tsp Turmeric powder

1/2 tsp Cumin seeds/ Jeera

2 tsp Sugar

Salt to taste

Oil to fry the toast

Step by step recipe:

1. Take Besan, rava, turmeric powder, red chilli powder, cumin seeds, sugar and salt in a bowl.

2. Add little water and mix till there is no lumps. DON’T add a lot of water at once as it will lead to lumps. Add little by little to make a smooth and slightly thick batter.

3. Heat little oil in a pan. Apply a spoon of this batter over bread and place it on the pan on the side where the batter is applied.

4. Now apply batter on the plain side as well.

5. Cook both sides on medium flame till they turn golden brown in colour.

6. Serve hot with ketchup.

Notes:

* Don’t make the batter very thick nor thin. It’s should be spreadable but not runny.

* Also don’t spread the batter thick over the bread. Just a single layer would suffice. Else it won’t cook well and inside will have raw batter.

* This toast like all others is best enjoyed when hot.

* If you don’t like the flavour of besan too much, you can make the batter with equal amounts of besan and rava ( 2 Tbsp each).

Cauliflower phannaupkari

First dish learnt after marriage is always special and I was lucky to learn this curry from hubby’s aunt who is an expert cook. She taught me so many dishes lovingly just like teaching a daughter. I never felt I was in my in law’s house even without my husband. He was in Qatar while I was living in his village home in midst of a farm. One of the best days of my life for sure.

So this cauliflower phannaupkari is one of the curries that mhave (aunty) made and I loved it very much. Even though very simple to make, it tasted so yummy.

Even now when we get cauliflower, hubby asks for this to be made. Such is the love for this simple curry. Hope you all try and love it too. Happy and healthy cooking!

RECIPE:

Ingredients:

3 Cups Cauliflower florets

1 large sized Onion, finely sliced

1 large Tomato, roughly chopped

2 tsp Red chilli powder or to taste

Salt to taste

2 tsp Oil

Step by step recipe:

1. Heat oil in a pan and add thinly sliced onions. Fry till it turns translucent.

2. Add tomatoes and cook till it mashes up completely.

3. Now add red chilli powder, salt and mix well.

4. Add cauliflower with little water and cook till cauliflower cooks completely. Done!

5. Serve hot with rice or rotis.

Notes:

* I over cook cauliflower since my family likes that way. You can cook till just done if needed.

* Don’t add much water while cooking or else the flavour will be lost.

* This curry is a spicy one and hence the colour. You can adjust red chilli powder as per your taste.

* I usually blanch cauliflower florets in turmeric water before using since it cleans the florets well.

Paneer Pav Bhaji

Pav Bhaji has to be one of my favourite chaats. I have so many memories of Pav bhaji eaten at various joints during our travels to Bangalore, Mumbai, Delhi, Shimla, Gujarat and even in Singapore. I have to try pav bhaji from every place we visit.

While there is Mr husband who loves the pav bhaji I make so much that he never orders them when we eat out and sticks to bhel puri.

Anyhow, ever since I learned how to bake perfect Wheat pav at home, we have hardly had them from outside. Pav bhaji with homemade wheat pav is not only healthy but turns out amazingly delicious. Since we are a paneer loving family, I take it a notch higher and make Paneer Pav Bhaji.

Hope you all try it and love it too. Nothing like homemade food ♥️ Happy and healthy cooking!

Ingredients:

1 Cup dry/ fresh/ frozen Green peas (dried ones need to be soaked overnight)

1 Cup Cauliflower florets

1 medium sized Potato

1/2 Cup roughly chopped Carrot

2 Tbsp Butter

1 inch Ginger piece

3 cloves of Garlic

3 Green chillies

1 medium sized Onion

1/4 Cup finely chopped Capsicum

1 medium sized Tomato

1 tsp Red chilli powder or to taste

2 Tbsp Pav Bhaji Masala powder

1 Cup Paneer, cut into small cubes

4 Tbsp Coriander leaves

Salt to taste

1 tsp Lemon juice

For toppings, finely chopped onions, coriander leaves, lemon wedges, butter.

Step by step recipe:

1. Take peas, cauliflower, potato and carrot in a pressure cooker. Pressure cook till very soft.

2. Mash using a potato masher or a ladle till there are no big chunks of veggies. Keep aside.

3. Heat a pan with butter. Add finely chopped ginger, garlic and green chillies. Saute till they give out an aroma.

4. Add finely chopped onion. Fry till it turns translucent.

5. Add finely capsicum and fry for few seconds.

6. Add tomatoes and cook well.

7. Now add pav bhaji masala powder and red chilli powder. Fry till all water evaporates and the mixture turns out dry as shown.

8. Now add the mashed veggies and mix well. Add little water if the mixture is too dry. Allow it to come to a boil.

9. Add paneer cubes along with salt and cook for 5 more mins. After that, check for spices if needed. Add more pav bhaji masala or red chilli powder if needed.

10. Now add lemon juice and coriander leaves. Mix well. Done.

11. Serve along with pav and top with onions, coriander leaves and lemon wedges. Add more butter on top.

Notes:

* You can skip paneer and make regular pav bhaji if you don’t like it but paneer Pav Bhaji is a delight for paneer lovers.

* Pav bhaji masala can be added as desired as per your taste buds. If unavailable, you can add any garam masala powder.

* Cook the veggies really well for a smooth texture of pav bhaji.

* Butter gives a wonderful flavour. So I recommend using butter to cook.

* I make Homemade wheat pav for pav bhaji. You can try too.

Mixed bean salad

Click on the image to save the recipe on Pinterest

We love salads with our meal. My kids specially love them. Dinner time is less hassle free when salad is available as they finish off without any fuss. So I make different varieties of salads everyday.

Since we are vegetarians, our protein comes from pulses and beans. So it is important to include them in our diet. And what better way that this salad. Also, love how gorgeous it looks. Mixed beans give a wonderful bite and is an amazing accompaniment to the meal.

I love eating this salad in itself too. Makes for an excellent snack option. Hope you all like this idea. Happy and healthy cooking!

RECIPE:

Ingredients:

2 Tbsp Kidney beans/ Rajma

2 Tbsp Pigeon peas/ Black eyed beans/Lobia

2 Tbsp White or black Chana/ chickpeas

1 medium sized Onion

1 medium sized Tomato

2 green chillies

1 tsp Chat masala

Salt to taste

2 Tbsp coriander leaves

Juice of half a lemon

Step by step recipe:

1. Wash well and soak the beans for 6 to 8 hours or overnight.

2. Pressure cook it together till it turns soft. Cool and refrigerate. Use when making salad.

Note: Kidney beans and chickpeas take the same time to cook. Pigeon peas cook quickly but still does not mash when cooked along with the other beans.

3. To the cooked mixed beans, add finely chopped onions, tomatoes, green chillies, coriander leaves, chat masala and salt.

4. Squeeze lemon juice, mix well and you are done.

5. Serve freshly made salad with your meal or make this a meal in itself.

Notes:

* You can also add moong sprouts to this salad.

* I sometimes add cucumber too.

* Green chillies are optional if making for kids. You can add a pinch of black pepper powder instead.

* Serve immediately after mixing onions in it as it will start smelling if kept for long.

* You can soak and cook the beans. Refrigerate and use when required.

Click on the image to save the recipe on Pinterest

Paneer Sukka

I am actually a non vegetarian turned into vegetarian post marriage ( ie since 9 years now). People ask me how can I even turn just like that and don’t I crave for it. The truth is I was not much fan of chicken or fish even before marriage. So it was not much difficult to leave it completely.

But there are some dishes that I loved in non veg especially the gravy and one of them is the south Karnataka speciality Chicken sukka. I remember how my aunt Shaila mhave used to ask a person who was an expert in making it to make specially for us when we visited her. The flavours of the gravy is unforgettable.

So after marriage, when I craved for it, I tried to recreate it and added the vegetarian favourite Paneer. My husband is a huge paneer lover and can eat it everyday. 😂 So was Paneer sukka born in my kitchen and we love it with Matta rice meal.

Hope you all try and love it too. Happy and healthy cooking!

RECIPE:

Ingredients:

200 gms Paneer cubes

1 large Onion

1 tsp red chilli powder

1/2 tsp garam masala powder

Salt to taste

2 tsp Oil

For the masala paste:

1 Cup fresh/ desiccated coconut

3 Kashmiri red chillies

1 tsp Coriander seeds (to be roasted)

2 tsp Cumin seeds (to be roasted)

Step by step recipe:

1. Heat a pan and dry roast coriander and cumin seeds for couple of minutes till it gives out an aroma.

2. Take coconut, red chillies in a mixer and add the roasted coriander- cumin to this.

3. Grind with water to a slightly coarse paste adding little water.

Note: Don’t add a lot of water. Also don’t make a fine paste.

4. Heat oil in pan and add finely chopped Onion. Fry till translucent.

5. Now add the ground paste.

6. Also add red chilli powder, garam masala powder with salt.

7. Cook till the mixture dries off which can take around 10 mins.

8. Now add paneer cubes with little water and allow to come to a boil.

9. Now put the flame on medium and cook till the mixture turns dry.

10. Paneer sukka is ready to be served with rotis, rice or Neeru dosas.

Notes:

* Paneer can be substituted with mushrooms or cauliflower too.

* The main part of this curry is to grind the paste slightly coarse and also to cook the paste well till it turns dry.

* If your red chillies are spicy, you can skip the red chilli powder.

Instant Oats Poha dosa

Click on the image to Pin the recipe on Pinterest

Motherhood means you spend hours in the kitchen cooking something special for kids only for the kids to be making a face at it and demanding something else. 😅 I am sure all mothers will agree with me that this has happened atleast once with them.

In my house, there is a constant demand for dosas. My toddler who barely knows few words can say Bobbo which means dosa in baby Konkani language. I usually keep dosa batter ready for such times but there are some days when the batter gets over.

This Instant Poha Oats dosa was invented on one such day and is a keeper for me when I need to give in to dosa demands by the kids instantly. Sharing the recipe as my kids love it. Hope you all try and love it too. Though there is no comparison to regular dosas in terms of taste, still the best you can achieve during times when you need to make something quickly.

Happy and healthy cooking!

RECIPE:

Ingredients: { Makes about 10 dosas}

2 Cups Semolina/ Rava/ Sooji

1/2 Cup Instant Oats

1/2 Cup thin or thick Poha/flattened rice

3 Tbsp Curd/ Yogurt

Salt to taste

2 1/2 Cups water to make the batter

Ghee to cook the dosa

Step by step recipe:

1. Take semolina, oats, Poha in a blender.

2. Grind using water to a fine paste.

3. Add curd and salt. Grind to a smooth paste.

4. Batter is ready to use.

5. Heat a pan and when medium hot, spread the batter into a circle.

Note: If the pan is very hot, you won’t be able to spread this dosa. So keep the flame medium hot while spreading.

6. Cover and cook the dosa till done.

7. Now drizzle ghee. Flip and cook for few seconds till done.

Serve with chutney of your choice.

Notes:

* This dosa tastes the best when cooked with ghee.

* You can keep the batter at room temperature for couple of hours if you have time.

* This dosa turns out soft in texture but you can cook a little while longer if you like it crispy.

* Although it does not taste like regular dosa, it is the closest in taste to it and that too instant to make along with being healthy.

* My kids love this dosa with sambar.

Click on the image to Pin the recipe on Pinterest

Whole wheat bread / Atta bread

Click on the image to save the recipe on Pinterest

My journey with bread baking started many years ago and after numerous trials, I am happy to say that I can now bake a perfect whole wheat bread. My kids love this bread and prefer it anyday over store bought ones even though it’s been long we have not bought our bread. I bake it freshly when needed and it’s not difficult too.

Just a matter of practice and following the steps well. This recipe has been most requested for by my readers and I am very happy that finally it is ready to share with all of you.

As always, do let me know if you have any doubts and it would be my pleasure to help. Happy baking!

RECIPE:

Ingredients:

3 Cups whole wheat flour/ Atta (I usually use Pillsbury brand)

1 to 1 1/2 Cups water (depending on the brand of atta)

2 tsp Instant yeast

1 tsp Salt

2 tsp Jaggery/ Brown sugar/ regular sugar

2 Tbsp Yogurt or thick curd

3 Tbsp Ghee (plus 1 Tbsp to coat the dough before rise)

Little milk to brush the dough before baking

Little butter to brush the dough after baking

Step by step recipe:

1. Take 3 Cups of wheat flour. Add instant yeast, sugar, salt, yogurt and ghee.

2. Mix well using a spatula or hands.

3. Add water and knead well. The dough should be very sticky. Now knead for 8 to 10 mins till it becomes a smooth dough as shown.

4. Coat the dough with ghee or oil and keep covered for 1 hour in a warm place or till it has doubled in size.

5. Now after it has doubled, put the dough in a loaf pan and level the surface as shown.

6. Again keep for about 45 mins to one hour till the dough raises above the rim of the loaf pan as shown.

7. Now brush the surface lightly with milk and make cross signs over the bread as shown.

8. Preheat the oven at 180 C for 10 mins.

9. Bake the bread at 180 C for 30 mins or till the surface of the bread turns brown in colour.

10. Now brush the surface with butter so that the crust remains soft.

11. Allow it to cool completely before you remove the bread. Use a knife at the sides and gently remove the bread from the pan.

12. Slice and enjoy!

Click on the image to save the recipe on Pinterest

Notes:

* First of all, bread making is not as easy as it looks and you might not get perfect result the first time in terms of texture. But as you bake more, you will be proud of how well a wheat bread you can bake. So keep trying!

* Please use measuring cups for best results with baking. My 1 Cup measures 240 ml.

* If using dry active yeast, substitute 2 tsp instant yeast with 1 Tbsp dry active yeast. Also dry active yeast needs proofing before adding to the dough. Refer my Wheat pav recipe to see how to proof yeast.

* IMPORTANT: The dough should be very sticky at first to get a good soft, fluffy bread. So make the dough sticky and knead well using hands or kneader for atleast 8 mins. It really makes a wonderful difference to the texture.

* Both the rise times depend on the weather in your area. In warm places, it rises very quickly as compared to cold places. So keep for the first rise till if doubles and second rise till it rises above the pan level.

* The length of my loaf pan is 20 cm. If you choose a longer loaf pan, the bread may not get height for 3 Cups flour. So best is to use a 20 cm pan for 3 Cups of flour to get the bread as shown in my pictures.

* Do not be tempted to open the doors atleast till 20 mins into the baking time. Else the bread won’t bake properly.

* Milk brush gives it a nice golden colour. So don’t skip it.

* Also don’t forget to brush with butter as soon as it’s out of the oven so that the bread remains soft on the crust.

* This wheat bread lasts well for a day at room temperature. Ours has never lasted after that as it gets finished off quickly.

* You can also try my Wheat pav recipe.

* You can also try all my healthy bake recipes:

Healthy Bakes collection

Click on the image to save the recipe on Pinterest

Cream of mushroom soup

My family is a huge fan of mushrooms and it is on our shopping list every week. I love to try out variety of dishes with mushrooms and apart from the finger licking delicious Mushroom Chettinad, I always make this soup specially for the kids.

They both love it very much and my daughter tells me, Amma you become a chef when you grow up okay. You make such delicious foods for us. Her innocence melts my heart. As much as a naughty girl that she is, her compliments keeps me going.

This soup is very easy to make and hardly takes 15 mins. I make this in the evenings for them as a healthy, tummy filling snack. Hope you all try it too. Happy and healthy cooking!

RECIPE:

Ingredients: { Serves 2}

1/4 Cup thinly sliced Mushrooms

1 Cup full fat Milk

1/2 inch Ginger piece, finely chopped

2 cloves of Garlic (optional), finely chopped

1/2 a medium sized Onion, finely chopped

Pepper powder to taste

Salt to taste

1 Tbsp fresh Cream (or substitute with 1 Tbsp corn flour with 1 Tbsp milk)

1 Tbsp Butter or oil

Step by step recipe:

1. Heat butter in a pan and add ginger, garlic and onions. Fry till the onions turn translucent.

2. Now add thinly sliced mushrooms and keep sauteing till mushrooms cook ie for about 5 mins.

3. Pour in milk after keeping the flame to low and allow the soup to come to a boil on low flame. Else the milk might burn.

4. Now add cream and mix well. Allow it to cook on medium flame till it thickens which will take 5 to 10 mins.

5. Add salt and pepper. Mix well and serve hot.

Notes:

* I sometimes skip garlic if I don’t have. Ginger and onions give a wonderful flavour to it. So don’t skip it.

* Don’t add more mushrooms than mentioned for 1 cup milk. Else it will be a curry instead of soup.

* If you want to make in more quantity, just double the measurements.

* Be sure to cook the mushrooms before adding milk. Also, low flame is important after adding milk so that the soup does not burn.

* I don’t have cream in my pantry most times. So I substitute with 1 Tbsp corn flour + 1 Tbsp milk. Just mix together without lumps and add when the milk boils instead of cream. Gives the same texture and taste.

* Please use full fat milk for this recipe. Else the soup will be watery.

* Garnish with coriander leaves if available.

* I used button mushrooms for this recipe. You can also try Mushroom Chettinad.

Join me in my journey with a foodie husband and hungry kiddos while I make them eat healthy!