Tag Archives: Coconut

Rava Bhakri /Rullanva Doddaka/ Instant Semolina savory pancakes

I am a huge fan of our age old amchi (Konkani) dishes. They are not only easy to make but very healthy and super delicious too. Also, I am a firm believer that breakfast should be the most filling meal as it gives us energy for the day and keeps us away from snacking often.

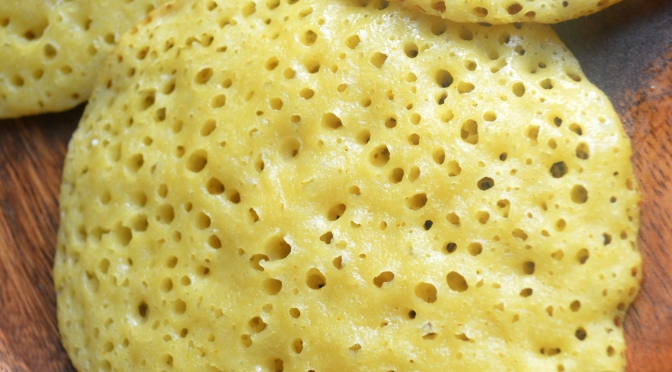
This Rava Bhakri is exactly that. Very filling and super tasty too. It’s my go to breakfast when I have forgotten to soak for dosas or idlis. My kids call it “Rullanva bobbo” and demand it whenever they feel hungry. So this “bobbo” becomes their snack too when they come tired after playing. And the best part is, it hardly takes 10 mins from start to finish to make this.

Now that’s how I love my dishes. Less time in the kitchen, yet healthy, kid friendly and delicious. Most Konkanis know this recipe but sharing for those who don’t know. Hope you all try it too. Happy and healthy cooking!

RECIPE:

Ingredients:

2 and 1/2 Cups Semolina (wheat rava, upma rava, sooji)

Approx 3 Cups Water

1/4 Cup Wheat flour (Atta)

1/4 Cup freshly grated Coconut

1/4 Cup Yogurt/ Buttermilk (optional)

2 to 3 Green chillies

1 inch Ginger piece, grated

1 Tbsp Sugar

Salt to taste

Ghee or coconut oil to cook the dosa

Step by step recipe:

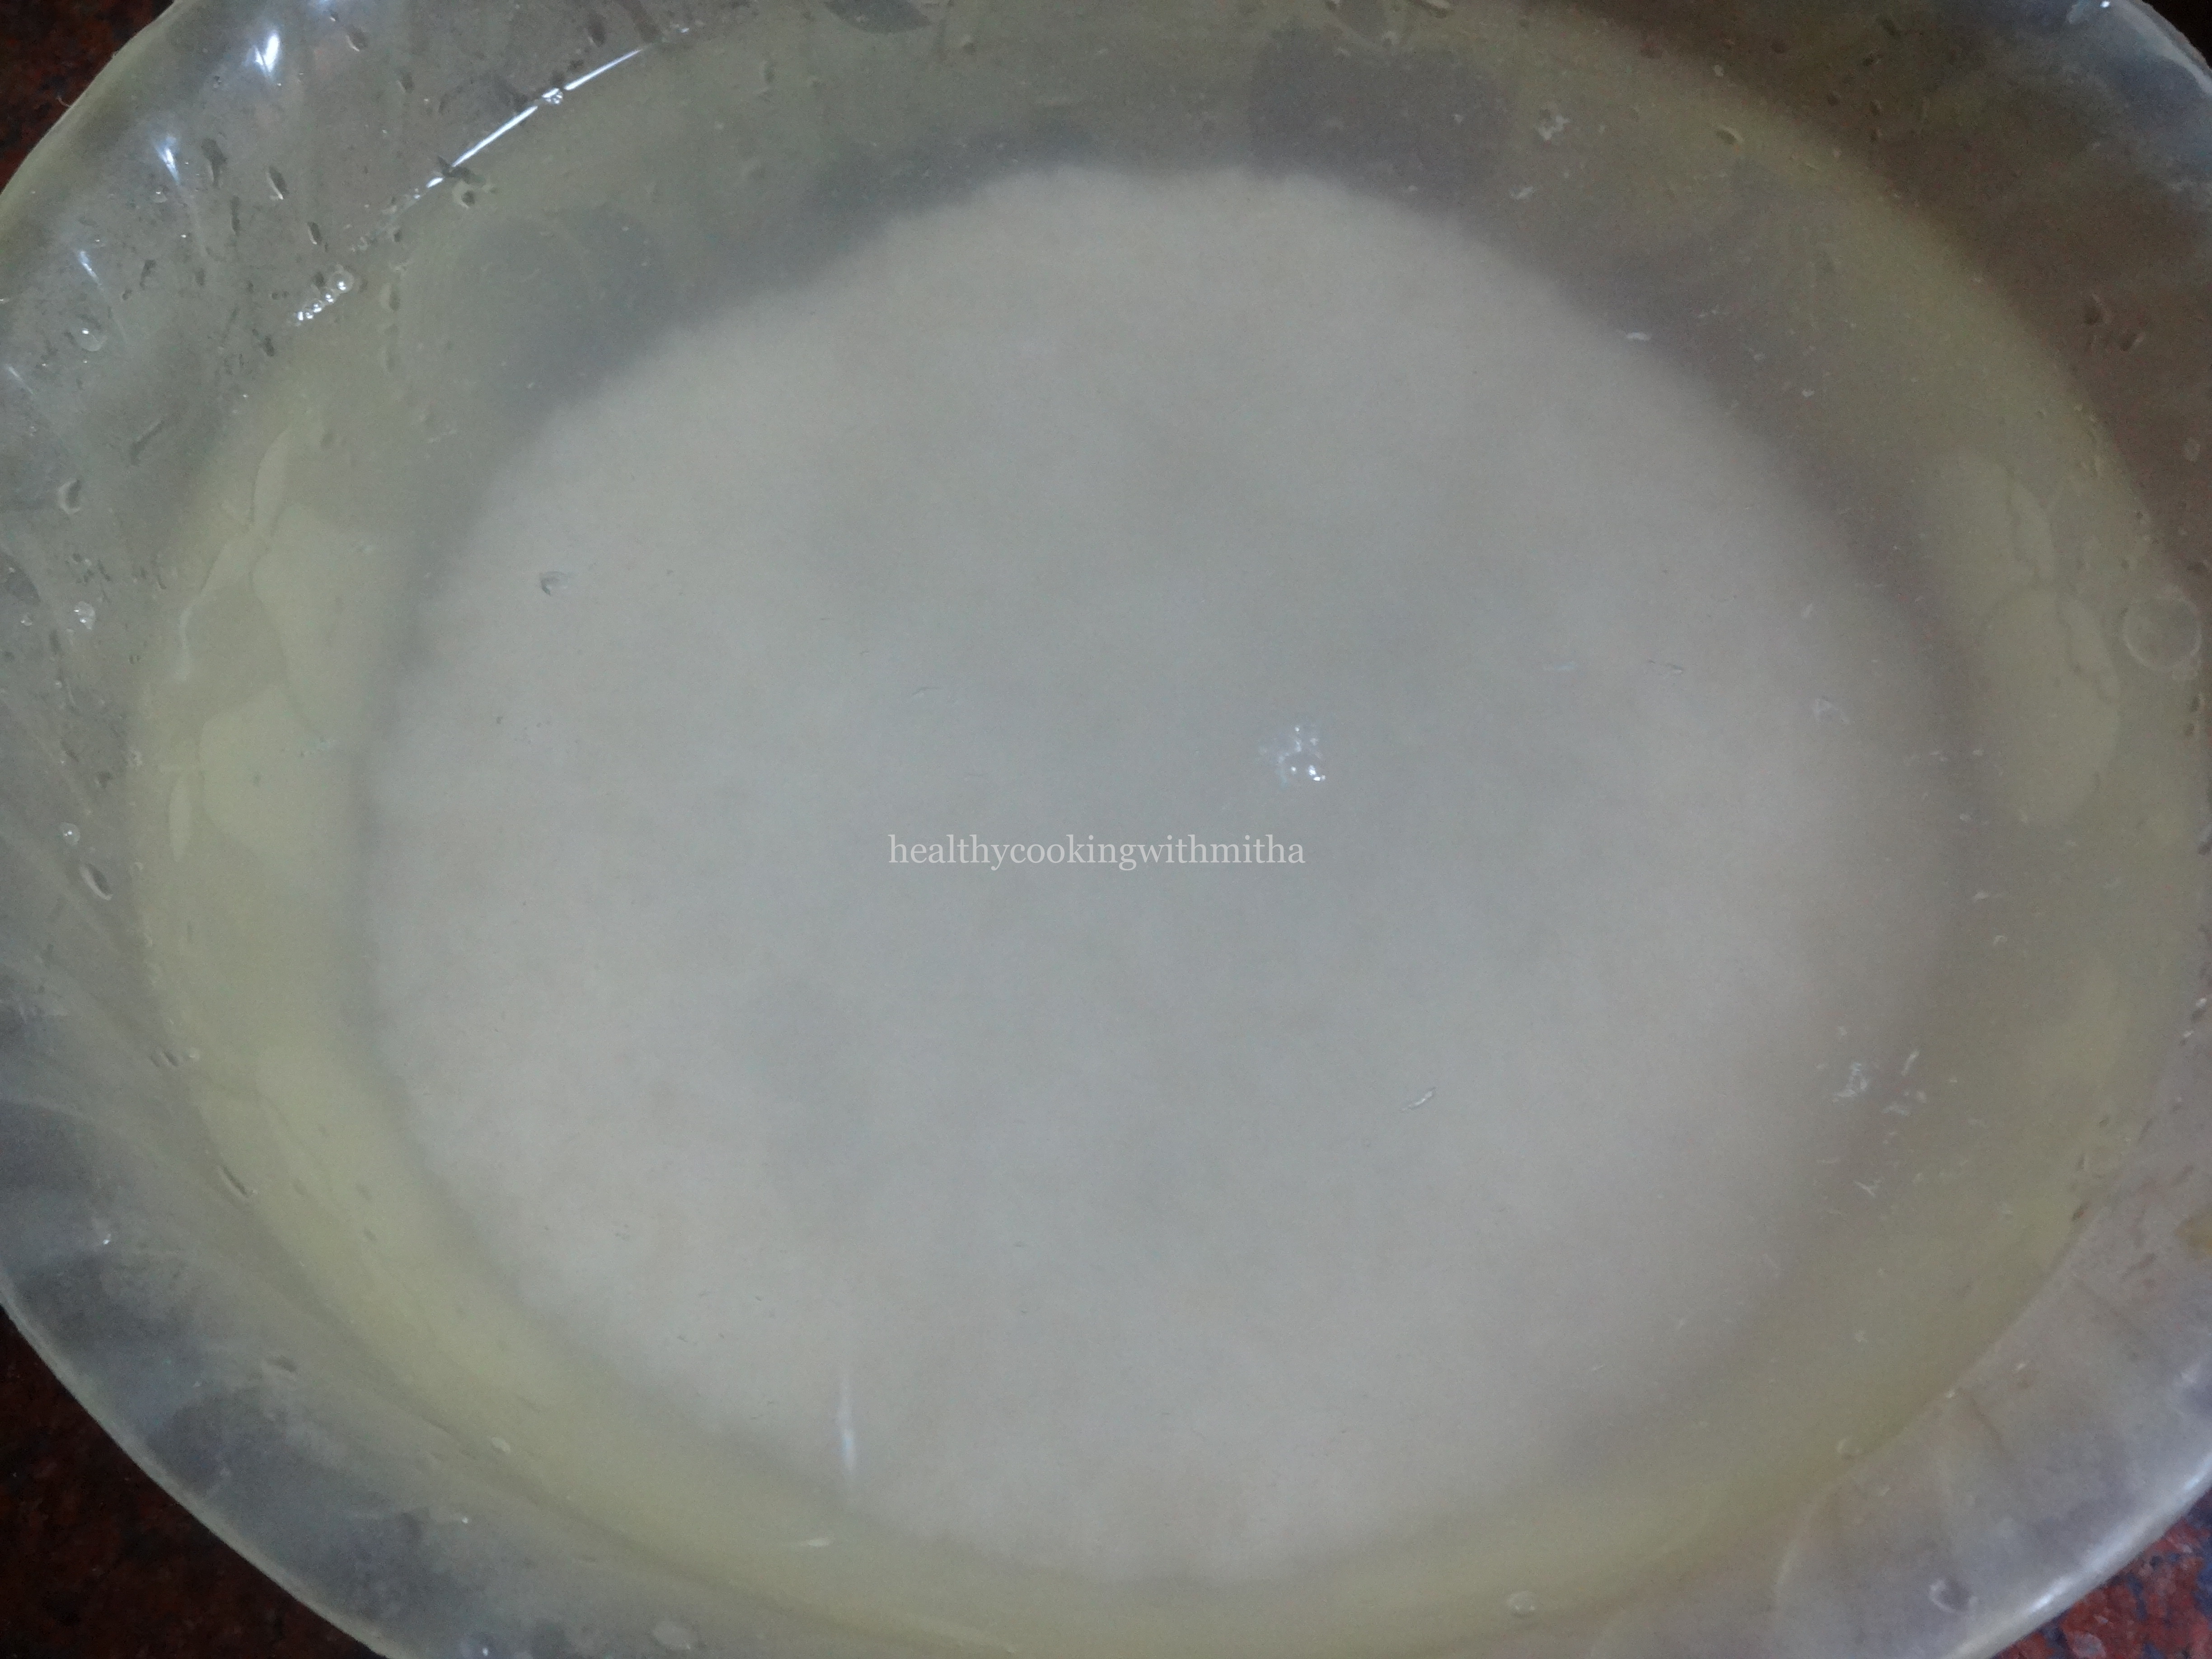
1. Take Semolina, wheat flour, sugar, salt and coconut in a mixing bowl.

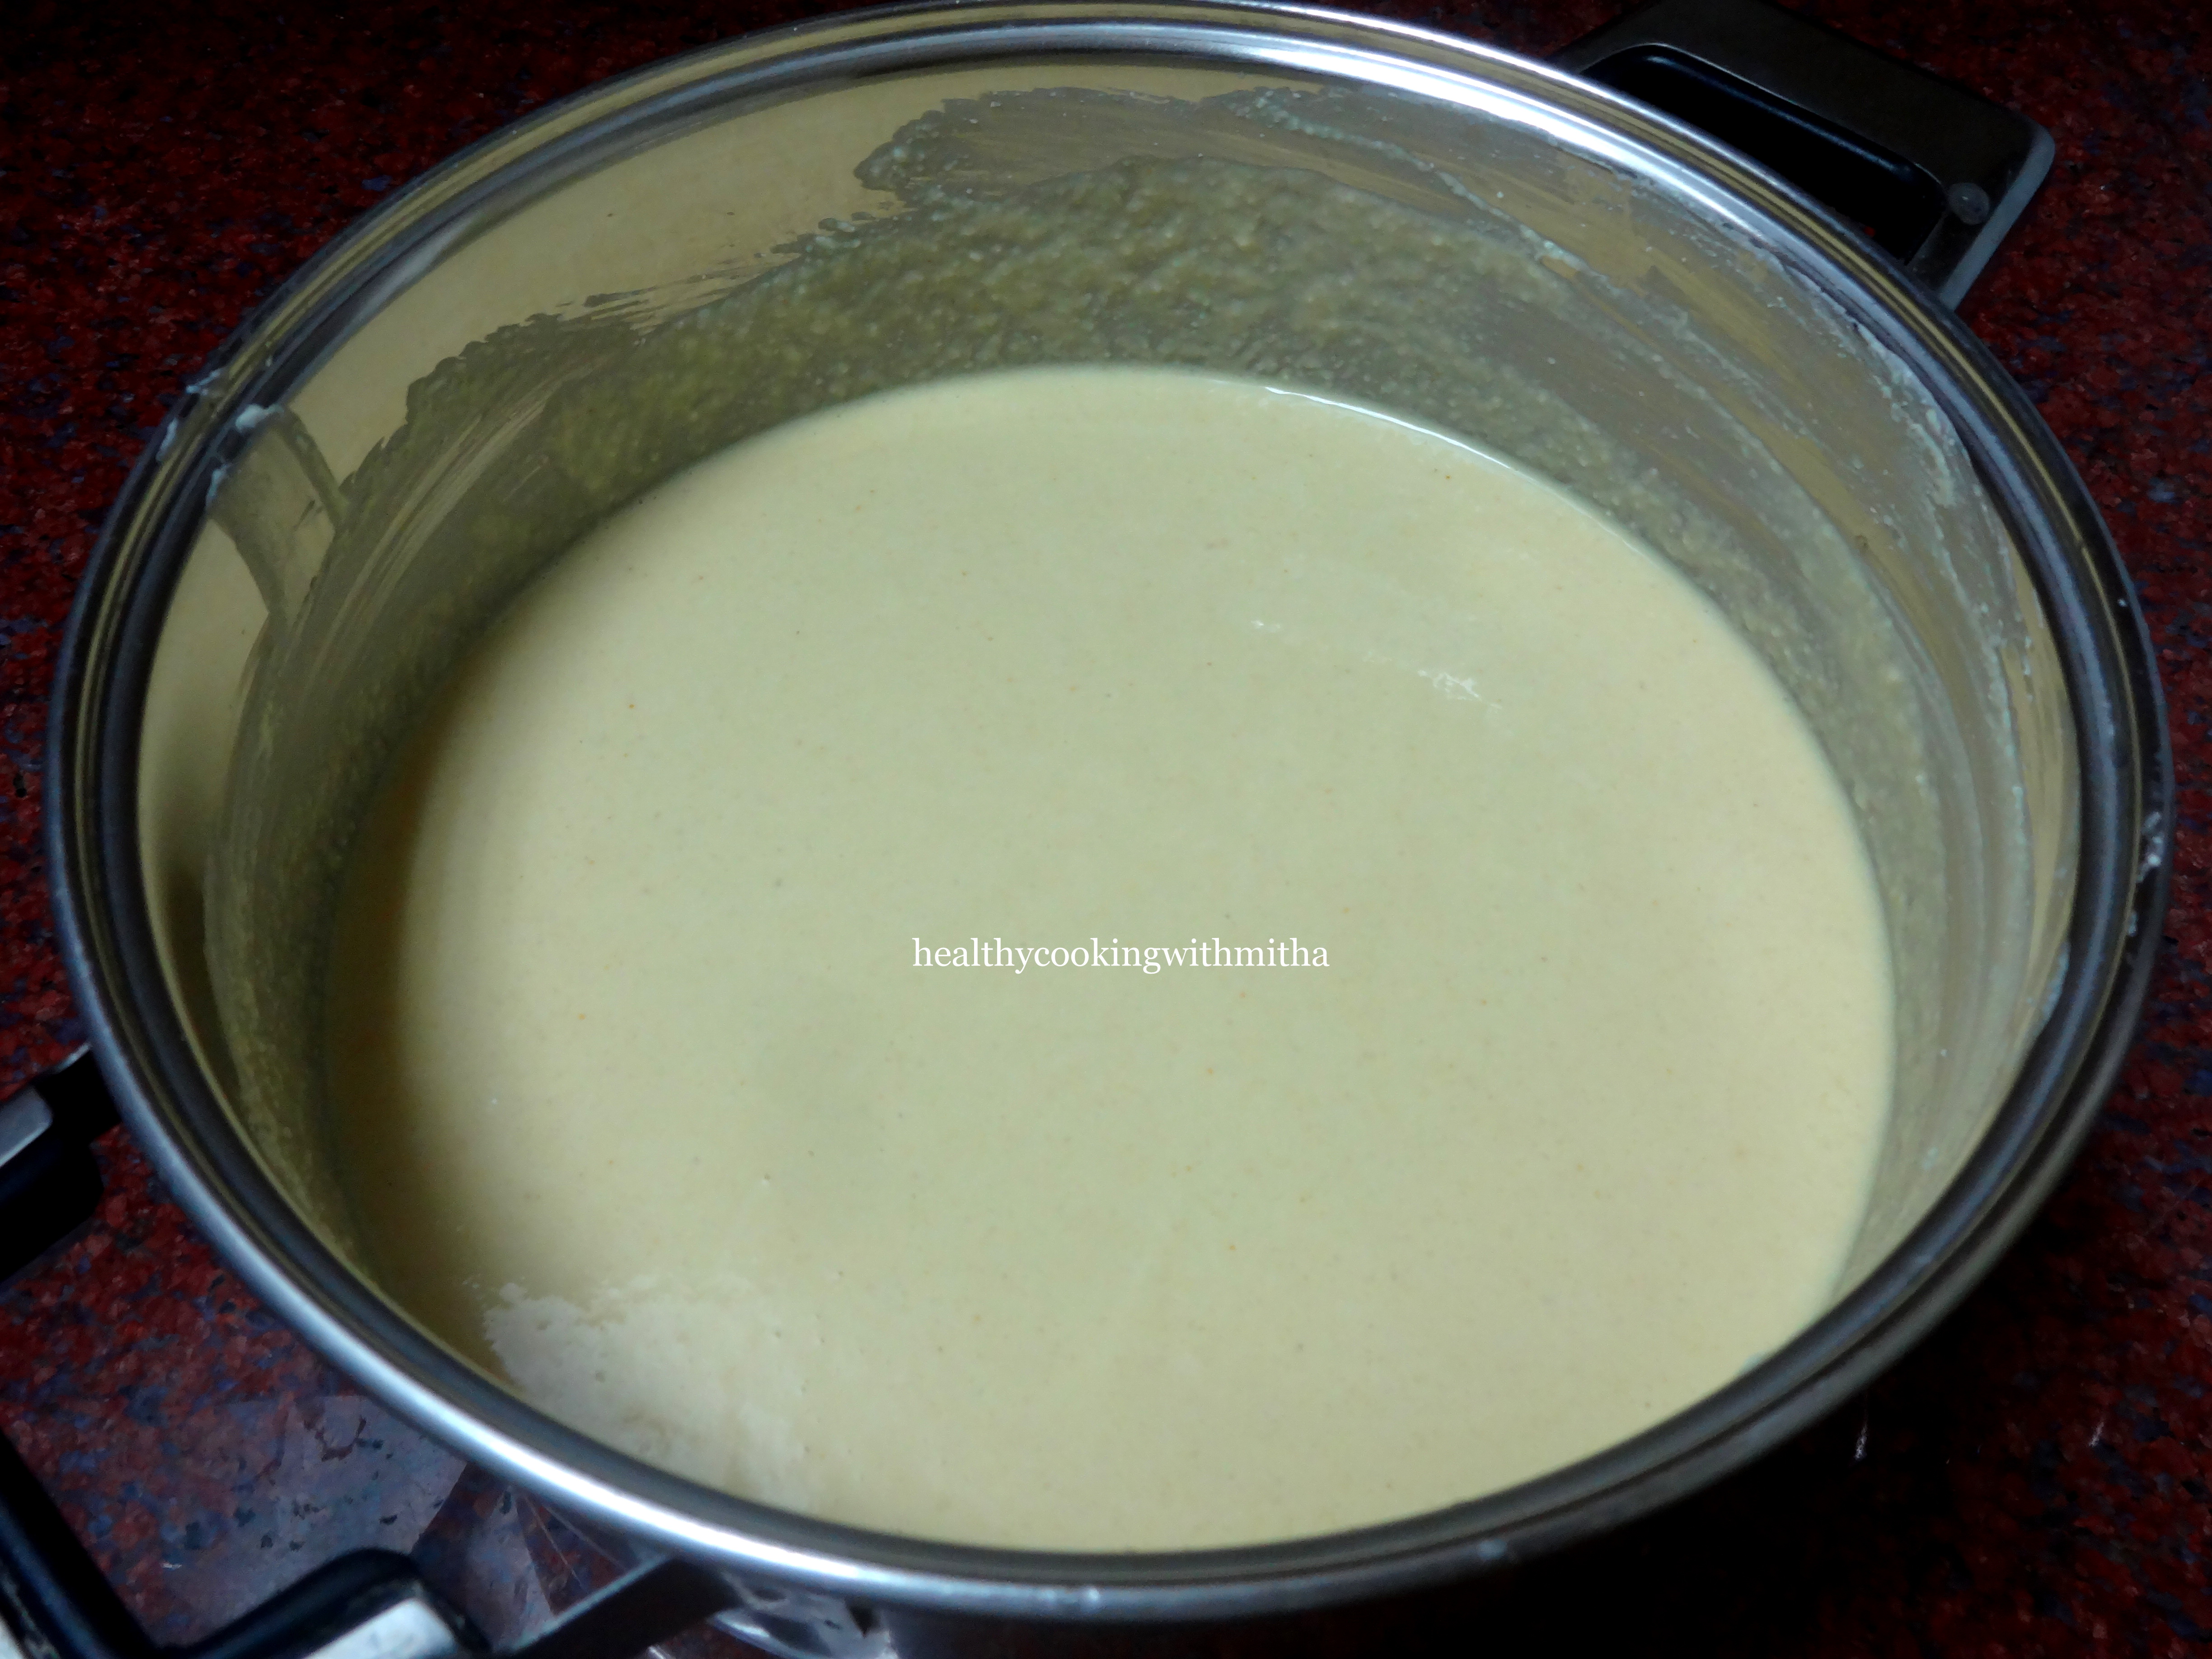
2. Add yogurt, water, Ginger and green chillies. Mix well and make a lump free batter of thick consistency. (It took me 3 Cups water for 21/2 cups rava. Might vary depending on the brand of rava.)

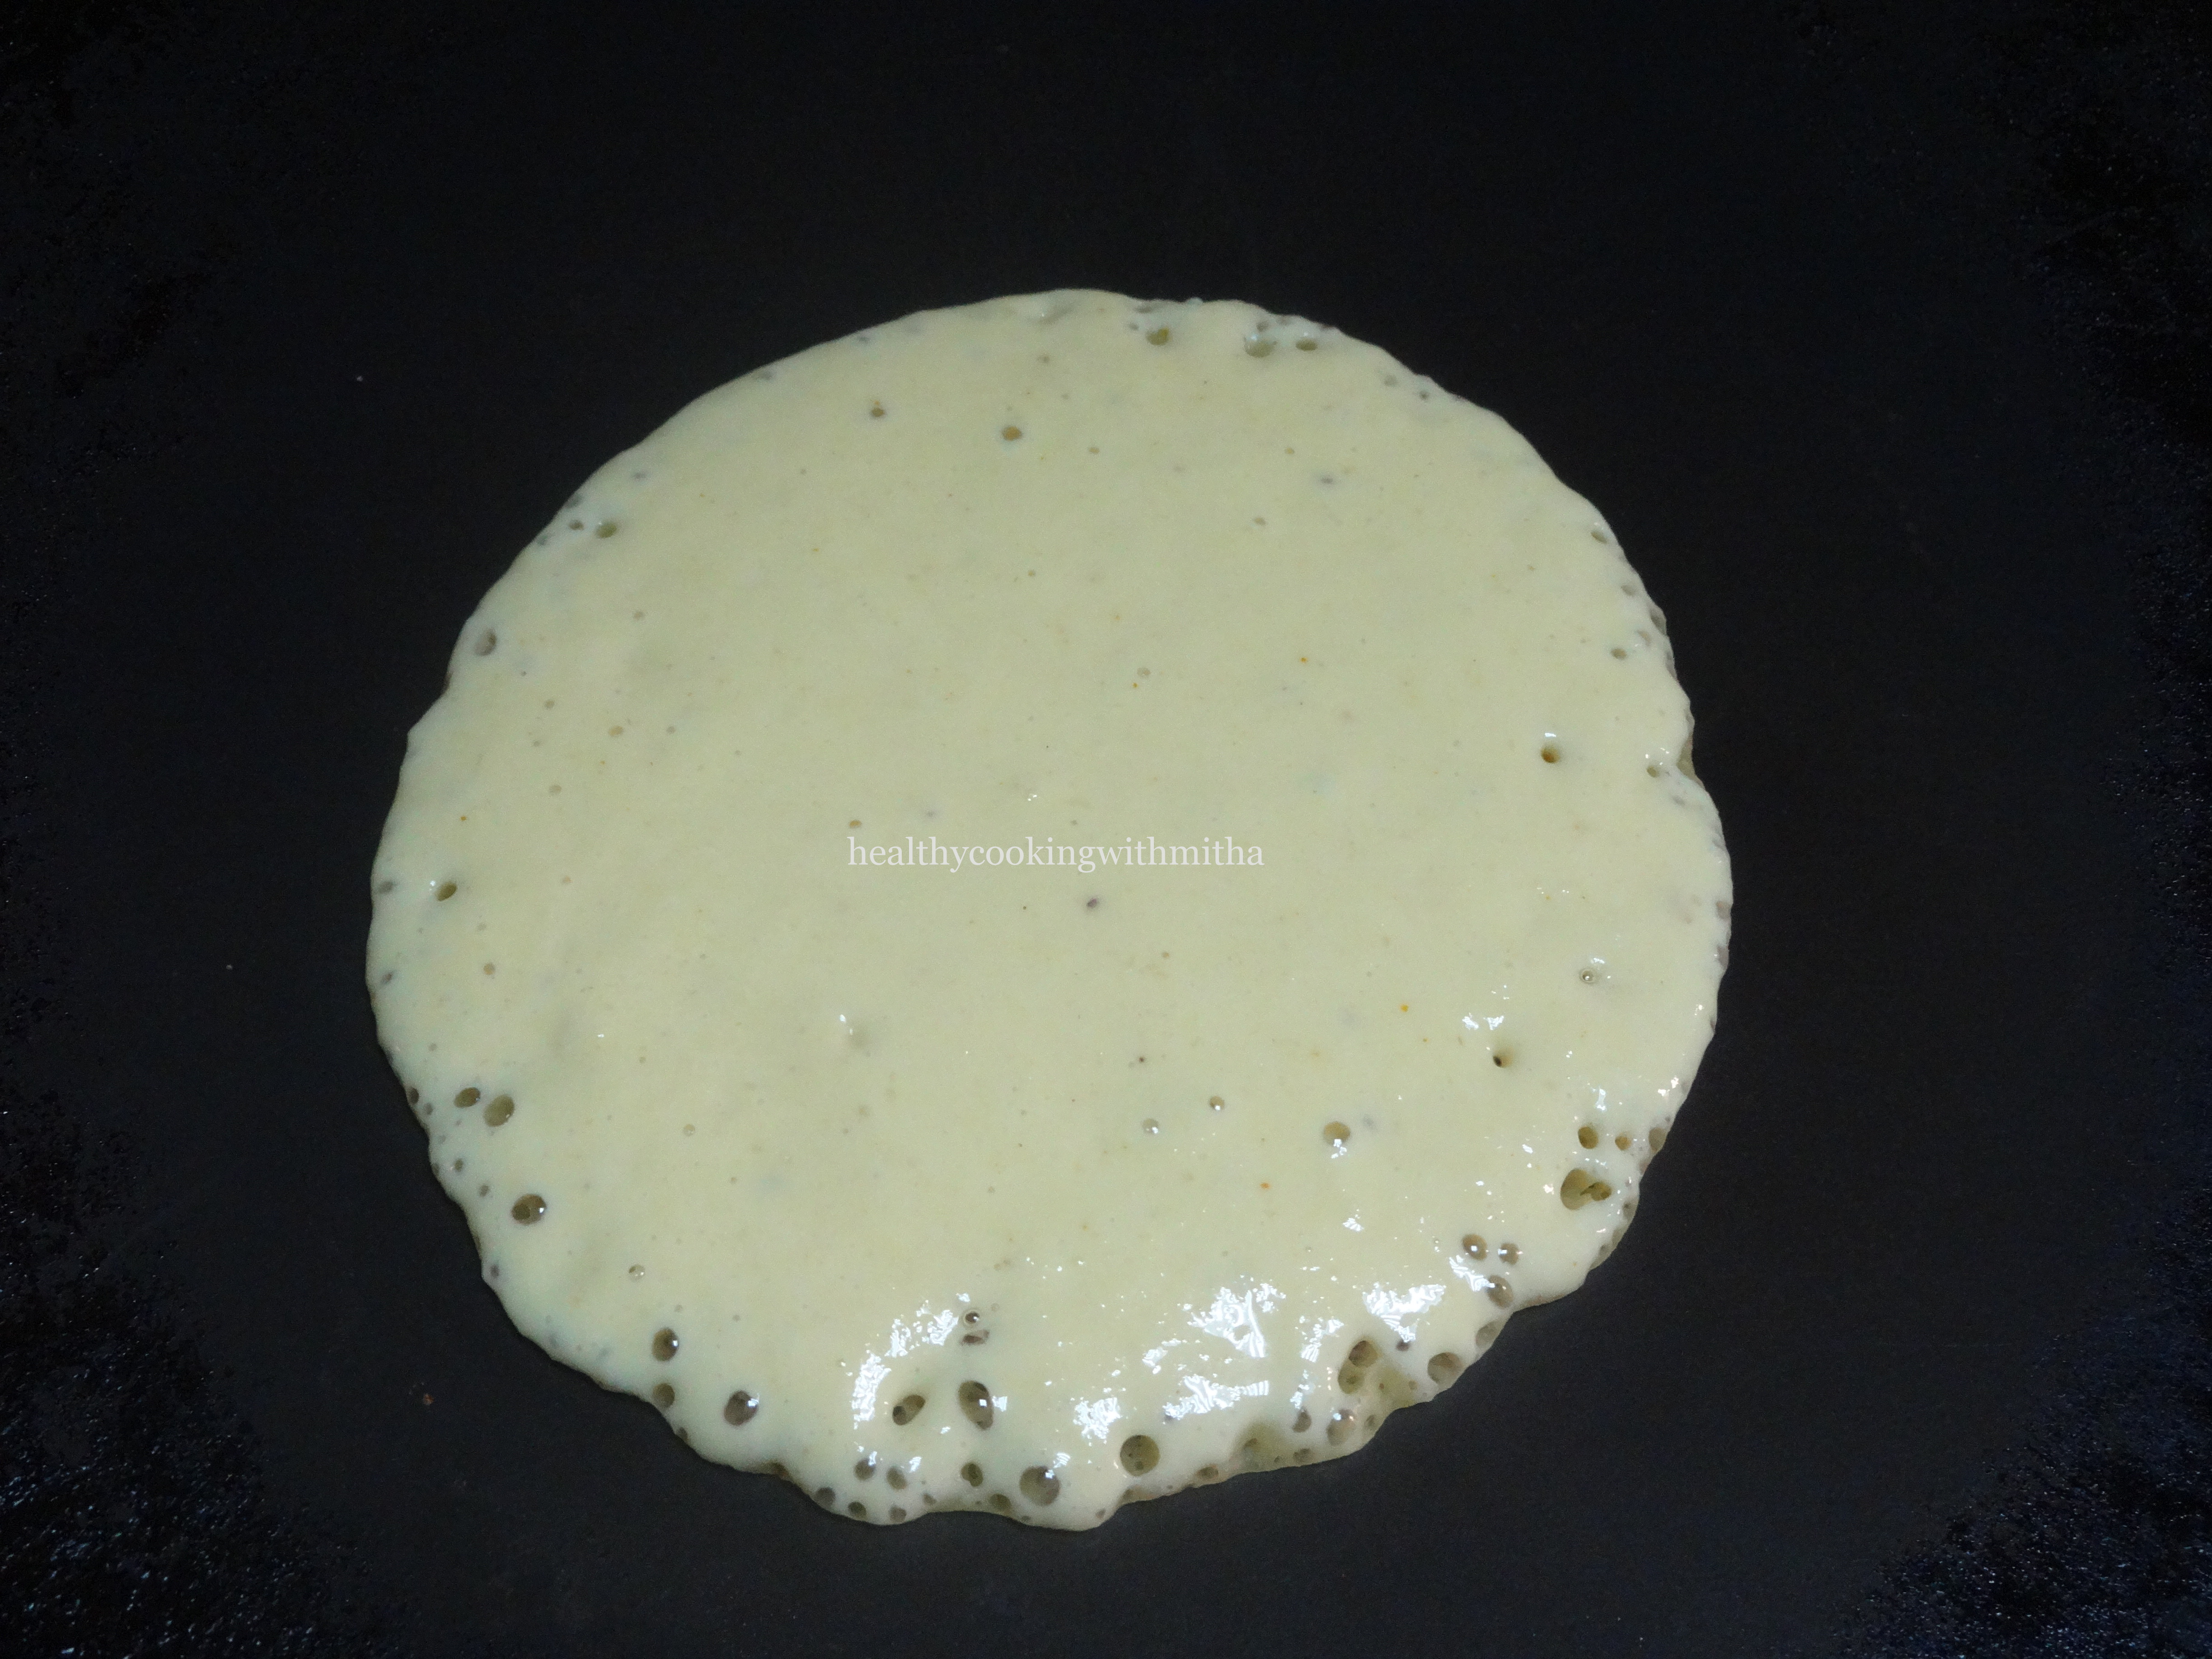
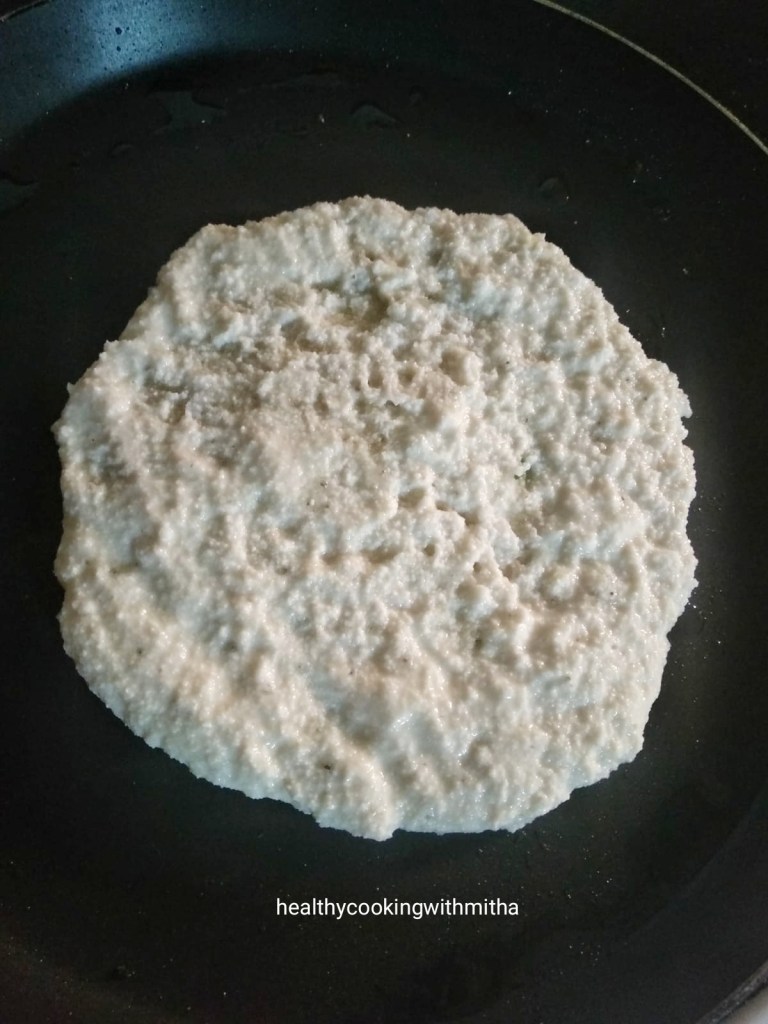
3. Now heat a dosa pan and add a ladle of dosa batter. Spread it into a thick dosa.

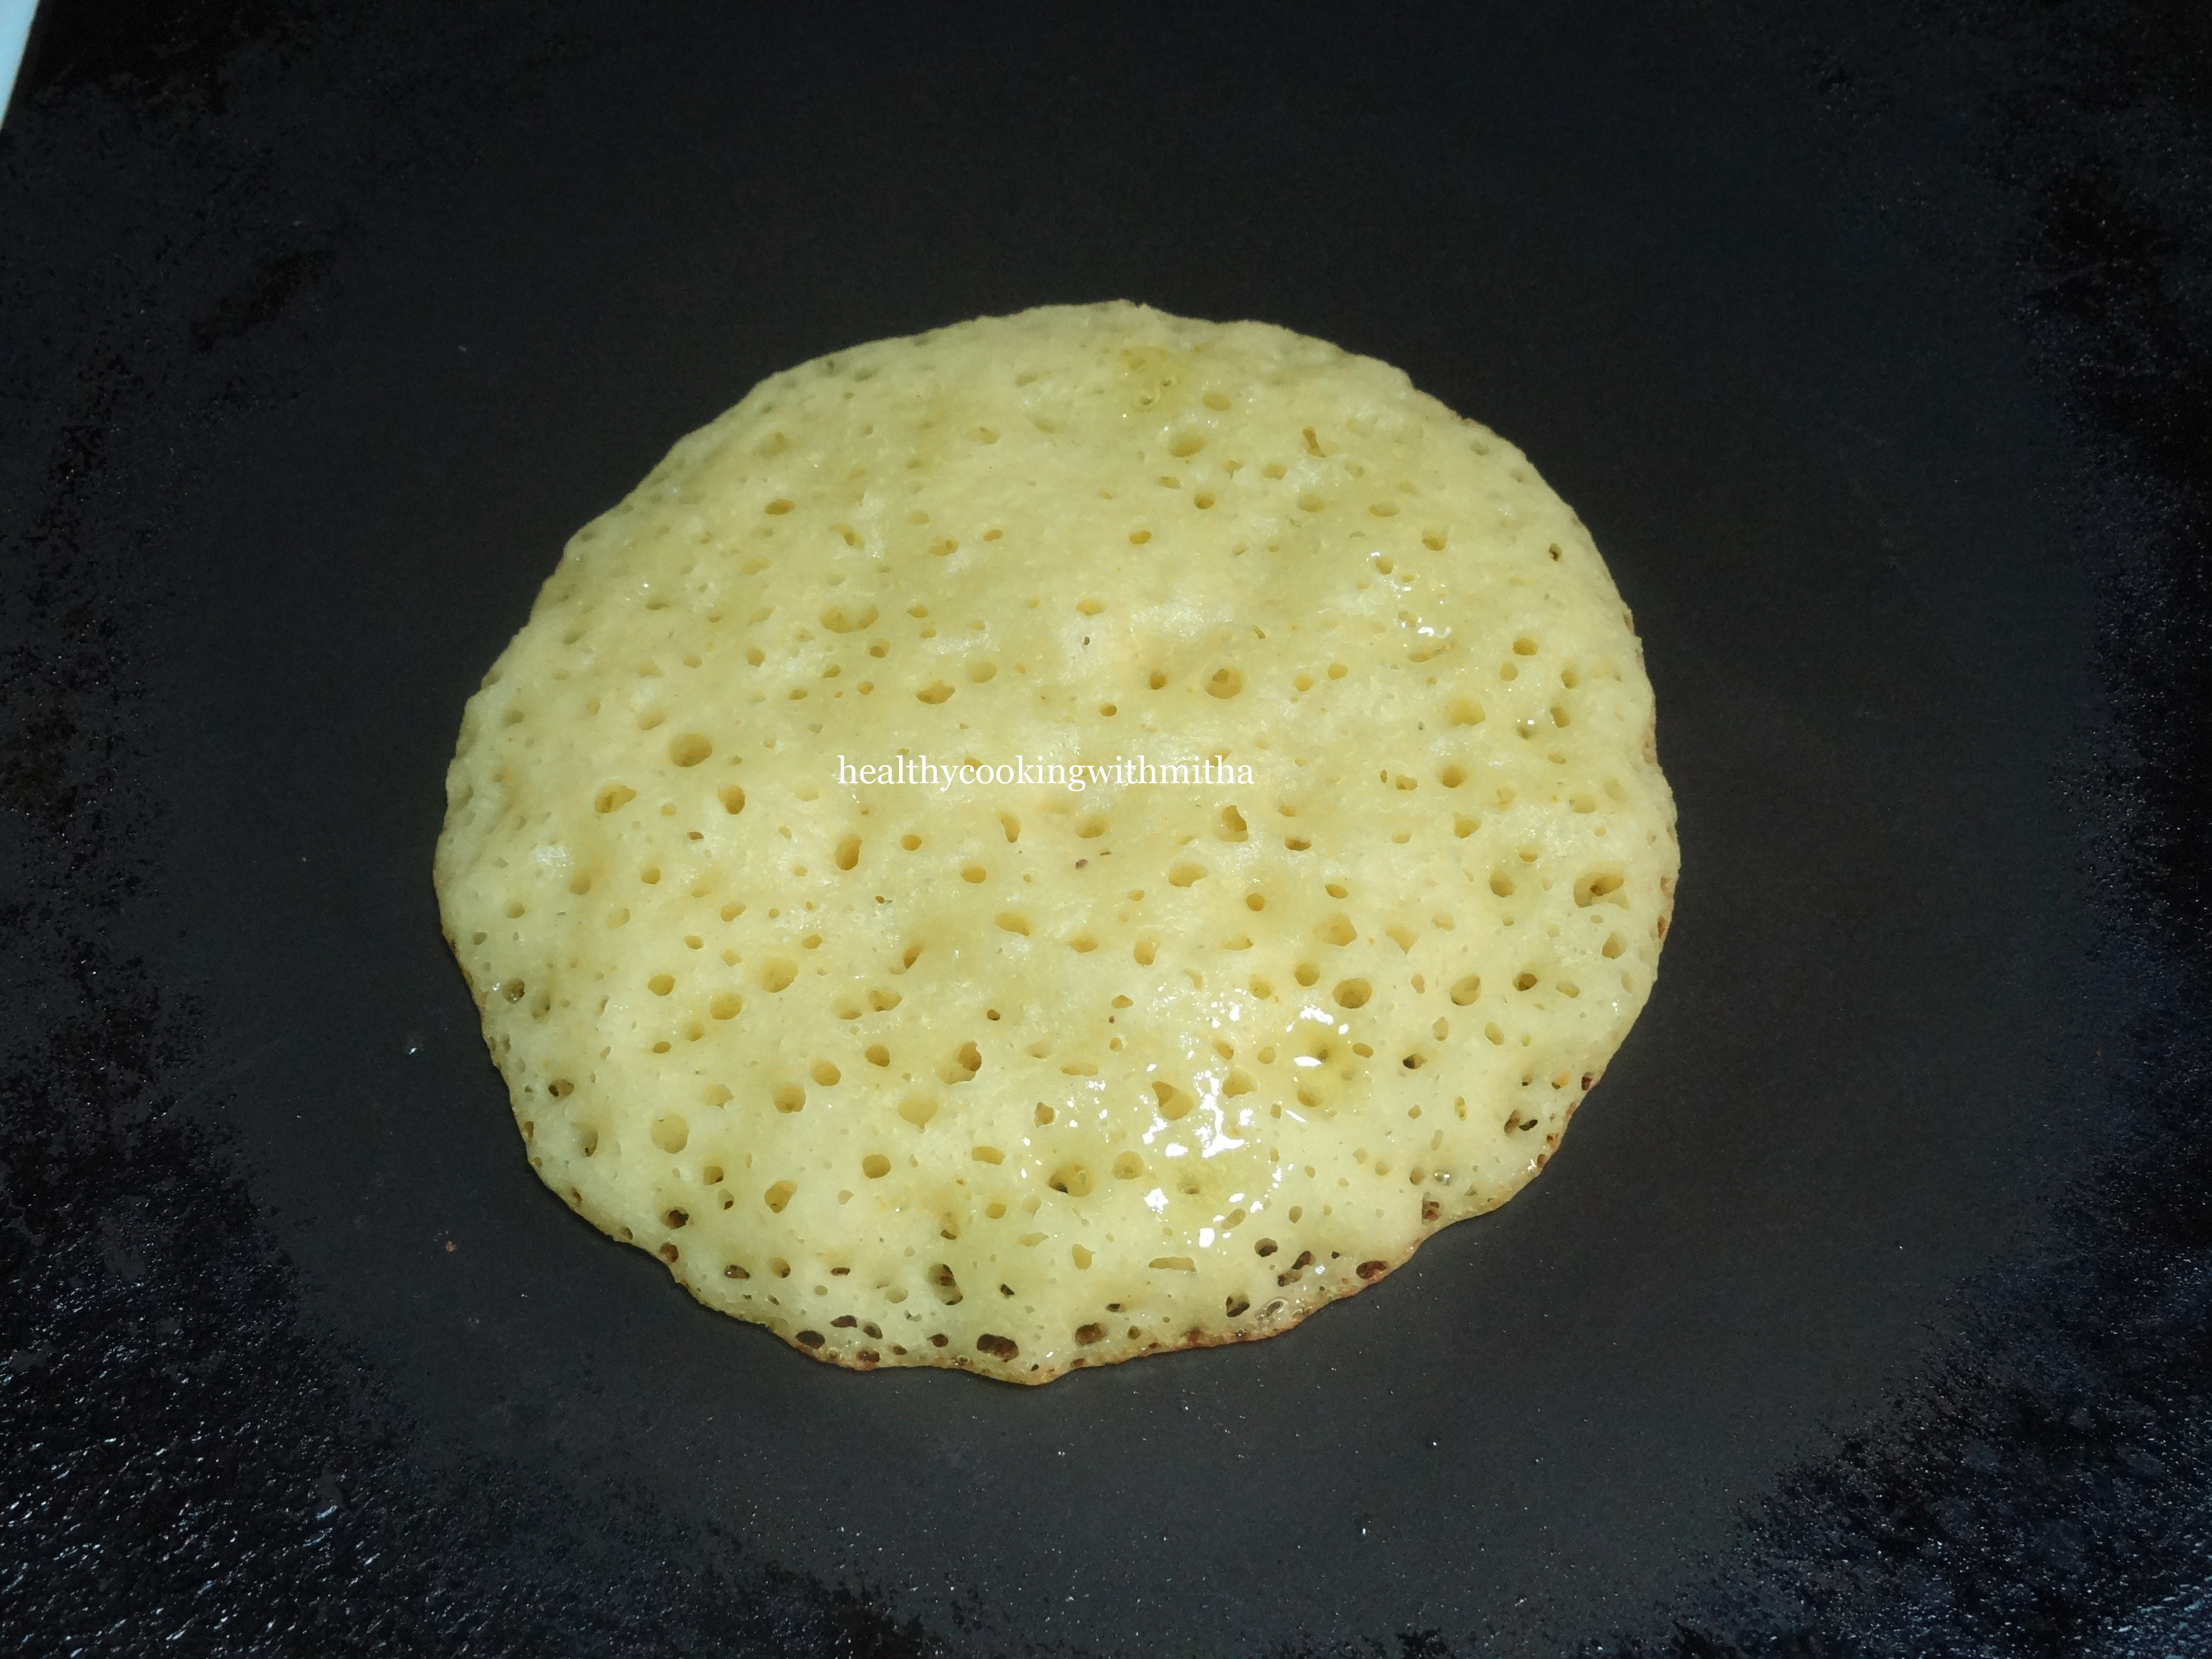
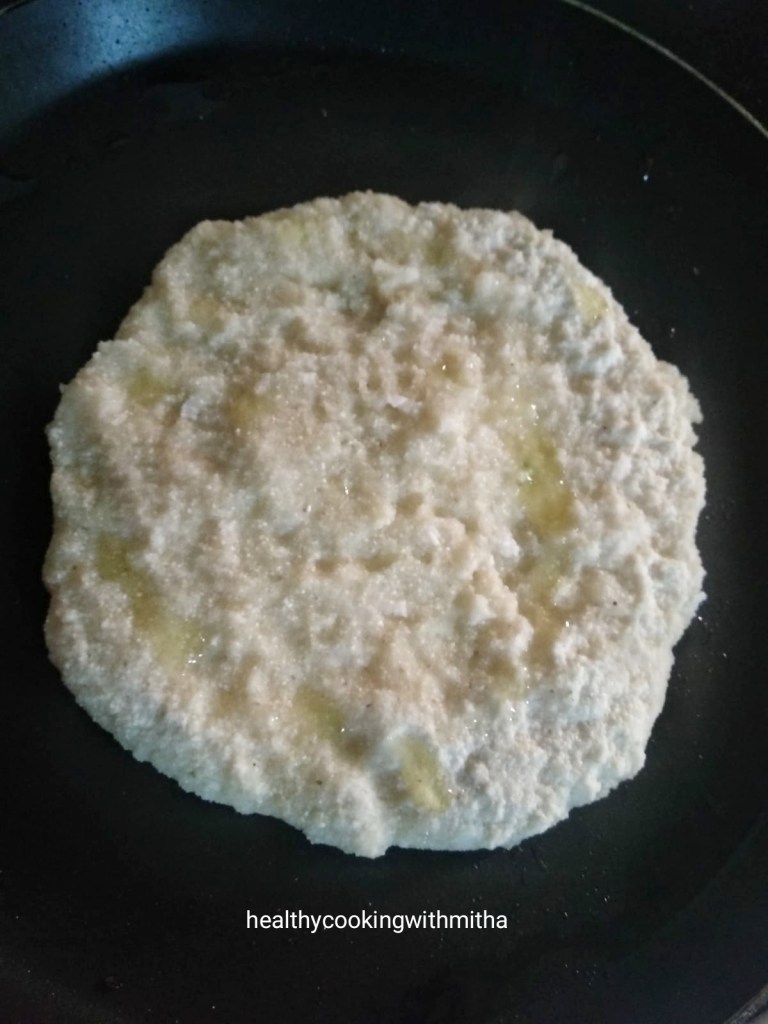
4. Cover and cook till the surface cooks. Add ghee or oil on top.

5. Flip and cook for a minute.

6. Serve hot with butter and pickle.

Notes:

* Rava absorbs a lot of water very quickly. But it varies with the brand of rava. So best is to add water one cup at a time in the beginning and then add little by little to make a batter thicker than dosa batter consistency.

* This batter can be made before hand and refrigerated. I make it at night and refrigerate for breakfast the next day as it saves a lot of time in the morning. Just that the rava absorbs all the water. So it needs and addition of about a cup of water to bring it back to pourable consistency.

* The addition of yogurt or buttermilk is optional but gives a nice tangy flavour to it.

* You can also grind the coconut along with Ginger and green chillies. Then add to the batter but I love the bite of green chillies. So I don’t do that way.

* I don’t even need pickle with this. Butter is an excellent accompaniment to this bhakri.

* You can also add an mashed overripe banana to this batter. Tastes really delicious!

* You can also add grated cucumbers to this to make Instant Cucumber dosas or Thoushe Bhakris.

Ridge gourd skin Chutney | Ghosale sheere Chutney & Ridge gourd Upkari

We amchis (GSB Konkanis) are famous for not wasting anything when it comes to food. We use every possible part of any vegetable while cooking. I have seen my grandmother and mother do it and follow the same. It is not only economical but is very healthy too.

One of the most used “taste from waste” in my kitchen is watermelon rind (the white part of watermelon) which many people throw away. But you can make these sweet and spongy dosas called Surnalis with it. Also lipsmacking Halwa with jaggery can be made with it.

This chutney is yet another amazing example of using up vegetable peels. The chutney from ridgegourd skin tastes so yummy that I used to literally beg my dad to bring it so that my mother could make this chutney.

I love it so much that I peel the skin a little thicker than normal so that I get more chutney than Upkari 😅. Here’s sharing how my grandmother and mother make this chutney. Hope you all try and love it too. Happy and healthy cooking!

RECIPE:

Ingredients:

Skin or peel of one long Ridge Gourd

2 tsp Ghee

1 tsp Cumin seeds/ Jeera

1/2 tsp Hing or Asafoetida

3 Green chillies

1 Cup fresh or desiccated Coconut

1 tsp Tamarind paste

Salt to taste

Step by step recipe:

1. Remove the peel or the ridges of the ridge gourd and cut into pieces.

Note: Cut the ridge gourd into small pieces too for the Upkari or stir fry. Will share the recipe in the notes.

2. Heat ghee in a pan and add cumin seeds and hing. When it changes colour, add green chillies and ridge gourd skin. Fry well till the skin cooks well.

3. Now add coconut and fry till it turns brown in colour. Remove and allow it to cool.

4. Grind with tamarind, salt and little water to a smooth paste. This is a thick chutney.

Notes:

* My grandmother used to add couple of roasted Red chillies too to the chutney while grinding for extra flavour. I skip it so that it does not turn spicy for my kids.

* This is a thick chutney and along with Upkari makes an excellent combination with rice meals. You can enjoy with dosas too.

* I peel the ridge gourd little thick as I love this chutney. You can peel it thin if you are used to doing that way.

* For the Ridge Gourd Upkari, splutter mustard seeds in coconut oil. Add green chillies and the chopped ridge gourd. Add salt and cook without adding water till the pieces turn soft. Garnish with freshly grated coconut and remove from the flame.

Alu Paratha

In my childhood, if there was something I used to wait from Amma’s special dishes, it was Puri bhaji that she made weekly once for breakfast and this Alu Paratha which was a weekend lunch speciality.

I used to buzz around her like a bee till she made hot hot parathas so lovingly that I can never match her taste in it. Though after marriage, potatoes are not common in my household as husband does not like it (can you believe it?? He hates my favourite potato 😑), he does love these alu parathas gratefully.

So I make them for his lunch box as they stay soft even after many hours along with Mint chutney and they make an amazing combination. Hope you all try these simple alu parathas too. Happy and healthy cooking!

RECIPE:

Ingredients: { makes about 10 parathas}

For the outer dough:

4 Cups of whole wheat flour/ Atta

Salt to taste

Water as required

For the filling:

4 medium sized Potatoes

3 Tbsp freshly grated Coconut

3 Green chillies

2 Tbsp Coriander leaves

1/2 tsp Hing or Asafoetida

Salt to taste

Ghee to cook the parathas

Step by step recipe:

1. Take wheat flour and salt in a bowl. Add water as required and form a smooth dough. Keep aside.

2. Pressure cook potatoes till they turn soft but don’t overcook them as it can lead them to leave water and will be difficult to stuff inside. Remove them and allow them to cool.

Note: I usually pressure cook for 4 whistles on my electric stovetop. May vary for gas tops.

3. After they cool down, peel and mash the potatoes well with a masher. Add coconut, green chillies, coriander leaves, hing and salt.

4. Mix well and keep aside.

5. When making parathas, divide both the doughs into equal portions.

Note: Keep the wheat flour dough size bigger than the filling so that you can roll easily.

6. Keep the pan to heat on the flame. Dip the wheat dough in dry wheat flour and roll into a small round shape as shown. Place the filling inside.

7. Close the dough from all sides and seal.

8. Dip again in dry wheat flour and roll as thin as you can.

9. Place this on the hot tawa and fry both sides using ghee.

Notes:

* Be careful while cooking the potatoes and if it does leave water and turn extra soft, add little oats for the mashed potatoes to absorb water. I do it too and you won’t know the difference.

* This tastes very simple but delicious especially those who love hing flavour.

* We love it curd or Mint chutney.

10 min Restaurant style Veg Kurma

I have tried many Kurma recipes in the past but once I tried this one, I did not have to try any other. It comes out too delicious for words. Although this technique was new to me, I found that cooking with almost zero additional water in the pressure cooker makes the Kurma taste amazing.

Whenever I make this Kurma, the husband comes to know through the aroma and he asks if it’s Kurma that is cooking 😂. You have to try it to know. I have made it for many get togethers and people love it a lot.

Best part of this curry is once the chopping is done, it hardly takes 10 mins. No sauteing or cooking for long time. I make this specially during weekend now when I don’t want to spend the whole day in the kitchen.

Hope you all try and love it too. Happy and healthy cooking!

RECIPE:

Ingredients:

About 3 Cups mixed Vegetables (Potato, peas, carrots, capsicum, cauliflower)

1 Cup Paneer cubes

2 Tbsp Coconut oil

1 Tbsp Ghee

2 green chillies

1/2 inch Cinnamon stick

3 Cloves

2 Cardamon pods

1 large Onion, finely chopped

1 large Tomato, finely chopped

1/2 Cup Milk

2 Tbsp Coriander leaves, finely chopped

For the masala paste:

1/4 Cup Yogurt/ Curd

1/4 Cup freshly grated or desiccated Coconut

5 to 7 Cashews

3 to 4 cloves of Garlic

1 inch Ginger piece

1 tsp Red chilli powder

1 tsp Garam masala powder

1 tsp Coriander powder

1/2 tsp Turmeric powder

Salt to taste

Step by step recipe:

1. First add all the ingredients mentioned in the masala paste and grind to a smooth paste without adding water. Don’t forget to add salt too. Keep aside.

2. Keep the vegetables ready as well.

3. Now take a 2 liter or 3 liter pressure cooker. Don’t keep it on the flame. Add ghee and oil in the cooker. Also add cloves, cardamom and cinnamon stick along with green chillies. Bay leaf too if you have.

Note that I have not yet kept the cooker on the flame or stove top.

4. Now layer finely chopped onions evenly.

5. Layer tomatoes evenly too.

6. Layer the veggies after this.

7. Add paneer cubes layer over this.

8. Now add the masala paste as the top layer.

9. Now pressure cook the above layers on medium flame for 7 mins or till 3 whistles. There is no need to add water while cooking. The juices in the vegetables will release water and that’s what makes this Kurma tasty.

10. Allow it to cool down by itself. Now add milk and cook for about 2 mins.

11. Garnish with coriander leaves and serve hot with rotis or rice.

Notes:

* OPOS is a patented technique owned by Mr.Ramakrishnan. It is a copyrighted term. I have adapted this recipe from this site and since she used this technique for making this Kurma, I followed the same. I have no intention of owning this technique. The full credits to this technique goes to Mr Ramakrishnan Sir only.

* If you don’t know to use a pressure cooker, you can saute tomato and onions in the seasoning and cook the veggies with the masala while following all the steps in a kadhai.

* In the original recipe, it says to keep on high flame for 5 mins but it sometimes burnt my Kurma. So I keep the flame on medium for 7 mins. It works well for me.

* In case your veggies don’t cook when you open the cooker, cook after you add milk for 5 more mins.

* Don’t forget to add salt in the masala paste itself. It makes a huge taste difference if you add later.

* Also don’t add water at all while grinding the masala paste. The yogurt does the job well and you can see it while grinding.

* Paneer is optional. I add because we love it. You can also add any combination of veggies that you have.

Magge Surnali | Mangalore cucumber sweet dosa

I have already posted the basic version of Surnali / sweet and spongy dosa. This version is like an upgrade to it by adding Mangalore cucumber. The addition has so many benefits like:

* The dosa turns out very soft and porous as you can see from the pictures.

* The aroma that the mangalore cucumber gives out is simply heavenly.

* You are adding a vegetable in your diet even without your knowledge. (This is the main reason I make these dosas atleast once weekly. Kids love it and they don’t realise they are eating a vegetable hidden in it 😁)

There was one more reason last year why I made this dosa too often. My husband loves gardening had planted these Mangalore cucumbers from seeds that he got from the core of store bought ones and we had a yield of about 50 of them from our kitchen garden. Yes 50!!!! Here is a picture of some of them.

Since they have a very good shelf life, I kept it as such on counter top and it lasted us a good 6 months. Looking at them everyday made me so happy. ♥️

Sharing the dosa recipe for all of you to try and enjoy too. Happy and healthy cooking!

RECIPE:

Ingredients:

2 Cups of peeled, cored, cubed Mangalore cucumber / Magge/ Velarikka

2 Cups Raw Rice (Any variety of white rice)

1/2 Cup grated coconut ( fresh/ desiccated)

1 Cup Beaten rice/ Poha

1/2 Cup Curd

3/4 Cup Jaggery

1 tsp Turmeric powder

Salt to taste

Ghee to cook the dosa

Recipe:

1. Wash well and soak the raw rice for 2 to 4 hours.

2. Take the peeled, cored, cubed mangalore cucumber and grind to a fine paste.

3. Now add soaked rice along with Poha, jaggery, coconut, curd, turmeric and salt to a smooth paste. Add buttermilk instead of water while grinding for spongier surnalis. Pour into a steel vessel. Mix well with hands to start fermentation.

5. Keep aside covered for 8 to 12 hours or overnight.

6. Take a ladle full of the batter and pour a thick dosa. Add ghee on top.

7. Cover and cook on low flame till the dosa cooks. (This dosa requires low flame to cook. Else it will turn black due to jaggery in it.)

8. Remove and serve hot with butter.

Notes:

* Any variety of white rice ranging from Sona masoori to short grain white rice (used for eating) works well to make this dosa.

* You could substitute curd with buttermilk.

* Ensure the batter is a slightly thick ( not very thick) smooth paste and not watery to get perfect surnalis.

* The amount of jaggery is to taste. You could increase or decrease as per your taste. You can also skip jaggery and make plain dosas with Mangalore cucumber.

* I substitute Mangalore cucumber with watermelon rind ( the white part) sometimes and it tastes delicious as well.

For regular Surnali without Mangalore Cucumber, you can try this recipe:

Surnali

For more Dosa recipes, check my Dosa Corner page.

Paneer Sukka

I am actually a non vegetarian turned into vegetarian post marriage ( ie since 9 years now). People ask me how can I even turn just like that and don’t I crave for it. The truth is I was not much fan of chicken or fish even before marriage. So it was not much difficult to leave it completely.

But there are some dishes that I loved in non veg especially the gravy and one of them is the south Karnataka speciality Chicken sukka. I remember how my aunt Shaila mhave used to ask a person who was an expert in making it to make specially for us when we visited her. The flavours of the gravy is unforgettable.

So after marriage, when I craved for it, I tried to recreate it and added the vegetarian favourite Paneer. My husband is a huge paneer lover and can eat it everyday. 😂 So was Paneer sukka born in my kitchen and we love it with Matta rice meal.

Hope you all try and love it too. Happy and healthy cooking!

RECIPE:

Ingredients:

200 gms Paneer cubes

1 large Onion

1 tsp red chilli powder

1/2 tsp garam masala powder

Salt to taste

2 tsp Oil

For the masala paste:

1 Cup fresh/ desiccated coconut

3 Kashmiri red chillies

1 tsp Coriander seeds (to be roasted)

2 tsp Cumin seeds (to be roasted)

Step by step recipe:

1. Heat a pan and dry roast coriander and cumin seeds for couple of minutes till it gives out an aroma.

2. Take coconut, red chillies in a mixer and add the roasted coriander- cumin to this.

3. Grind with water to a slightly coarse paste adding little water.

Note: Don’t add a lot of water. Also don’t make a fine paste.

4. Heat oil in pan and add finely chopped Onion. Fry till translucent.

5. Now add the ground paste.

6. Also add red chilli powder, garam masala powder with salt.

7. Cook till the mixture dries off which can take around 10 mins.

8. Now add paneer cubes with little water and allow to come to a boil.

9. Now put the flame on medium and cook till the mixture turns dry.

10. Paneer sukka is ready to be served with rotis, rice or Neeru dosas.

Notes:

* Paneer can be substituted with mushrooms or cauliflower too.

* The main part of this curry is to grind the paste slightly coarse and also to cook the paste well till it turns dry.

* If your red chillies are spicy, you can skip the red chilli powder.

Pudina Lehsun chutney | Mint garlic chutney

We are a dosa/ idli loving family as you already know and is evident from my Dosa corner and Idli stand pages. So we need to make different chutneys to go with it. Pudina lehsun chutney is one among them. You can check the other variety chutney recipes here.

My husband has grown mint in our garden and I always make use of it in our day to day dishes. Apart from chutney, I also add it to pulav, biryani, and salads which not only enhances the flavours of the dish but also improves digestion.

Lemon juice with crushed fresh mint leaves also tastes so refreshing. Anyhow here’s sharing the recipe. Hope you all try and love it too. Happy and healthy cooking!

RECIPE:

Ingredients:

1 Cup fresh/ desiccated Coconut

5 to 6 sprigs of Coriander leaves

8 to 10 Mint leaves

5 to 6 curry leaves

3 Green chillies

5 to 6 Garlic cloves

1 tsp Tamarind paste

Salt to taste

Step by step recipe:

1. Add all the ingredients mentioned above in a mixer blender.

2. Grind with little water to a smooth paste.

3. Serve with dosas or Idlis or with pulav.

I served this chutney as a combination with Instant Oats idlis.

Note:

* You can skip any of the leaves if you don’t have. It still tastes delicious.

* If you don’t like garlic, skip it and add onion and ginger instead. Tastes good too.

Microwave Mango Coconut ladoos

I am not very good at making sweets but there are few easy recipes that can be tried successfully by amateurs like me and it will definitely come out well. One is the Coconut burfis that I already posted and the second is these Mango Coconut burfis.

My kids love coconut based sweets. So I always make these instead of buying them from outside. I love the colour mango brings in this sweet.

You can make on stove top instead of microwave. Hope you all like it too. Happy cooking!

RECIPE:

Ingredients: { Makes about 20 ladoos}

2.5 Cups Desiccated coconut

1 Cup Sweetened condensed milk (about 300 grams)

1/4 Cup Mango pulp ( fresh/ tinned)

1 tbsp Ghee

1/2 tsp Cardamom powder

Step by step recipe:

1. Take all the ingredients in a microwave safe bowl.

2. Mix well using a spatula so that it turns into a even mixture.

3. Microwave on HIGH (max power) for 6 to 8 mins (check at every 2 min intervals) till the mixture cooks and resembles the below mixture. It will come together and not sticky.

Check if you can make small balls which are smooth and non sticky. If you can, the mixture is perfect. Else cook for couple of mins more.

4. Allow it to cool slightly and then make ladoos.

Notes:

* Store in an airtight container. Lasts well at room temperature for a day. Then refrigerate as it might spoil during summers.

* As every microwave is different, check at every two mins so that the mixture does not burn.

* You can also do it in a pan on stove top instead of microwave. That is how I make Coconut Burfis.

* I always make these ladoos as they are very easy. Here is a picture of the ladoos when I made them sometime back. The colour of the ladoos depend on the colour of the mangoes.

Mushroom Chettinad

I have been getting a lot of recipe requests for curries after my simple Cabbage Aloo Sabzi which many have tried and loved. Glad I posted it even though I was thinking people would laugh that I am posting such easy recipes on the blog. Guess some recipes are not as widely known as I thought they were.

So here is yet another delicious gravy with mushrooms that I make always. I am not much of a mushroom lover but the husband is. And since he’s the one shopping now, mushrooms enter weekly into our house. I have to make it super tasty so that I can eat it 😀.

Much to my happiness, my daughter loves this curry so much that she finishes off her rice within minutes. Hope your family loves it too. Happy and healthy cooking!

Thank you Usha Bhat mai for the recipe! ❤️

RECIPE:

Ingredients:

250 grams Button mushrooms, cut into quarters

1 medium sized Onion, roughly chopped

1 medium sized Tomato, roughly chopped

1/2 inch Ginger piece, finely chopped

1 tsp Red chilli powder or to taste

1/2 tsp Coriander powder

1/4 tsp Turmeric powder

2 tsp Oil

Salt to taste

Coriander leaves and curry leaves for garnish

For the masala paste:

6 to 8 Cashews

3 Tbsp grated Coconut (fresh or desiccated)

1 Cardamom pod

2 cloves

A small piece of cinnamon

1 tsp Cumin seeds

1/2 tsp Fennel seeds

1 tsp Peppercorns

Step by step recipe:

1. Put all the ingredients for the spice mix and fry till the coconut turns little brown.

2. Keep it aside and cool it. When it cools, grind with little water to a fine paste.

3. Heat oil in the same pan again and add ginger and onions. Fry till the onions turn translucent.

4. Now add tomatoes and fry till they cook.

5. Add the spice paste along with turmeric powder, red chilli powder and coriander powder. Cook for about 5 mins till the gravy thickens.

6. Now add mushrooms with salt and cook covered till the mushrooms cook well.

7. Now garnish with coriander leaves and serve with rotis or rice.

Notes:

* I add curry leaves when possible to the seasoning when I find it. It gives an amazing flavour. So add it if you are lucky to get it.

* You can add coriander seeds to the spice mix if you have. Don’t add Coriander powder then. I usually add powder only.

* Dry saute the coconut spice mix only till the coconut turns light brown. Don’t allow it to burn or turn black.

* Take care to grind the spice mix to a smooth paste and not coarse.

* Cook the spice mix well and don’t add much water after that. Mushrooms let out a lot of water while cooking. So while making any mushroom curry, don’t add water at all. It cooks in its own water and tastes delicious that way.

* You can substitute mushroom with Gobi or paneer too.

Sambarpalli chutney | Oregano leaves chutney – Version 1

My husband loves gardening. He has grown a lot of plants in our kitchen garden which yields us different varieties of vegetables during winter and herbs like mint all year long. There are two plants among them which I adore as they are medicinal plants and helps us heal ourselves and our kids when they fall sick.

One is the most revered plant in Hindu tradition, Tulsi or holy basil. He has grown it all around the house and it feels so divine when we sit in our backyard filled with Tulsi plants. The second is these Sambarpalli leaves or Cuban oregano. They are very good to cure cold and stomach problems in both kids and adults. Sharing a picture of our plant.

Though people make so many dishes with these leaves including pakoras, my favourite is this simple chutney ad it not only tastes delicious but is easy to make as well. I try to make this chutney atleast once a week so that we consume the leaves regularly in this way.

Hope you all try this chutney too. Happy and healthy cooking!

RECIPE:

Ingredients:

5 to 7 leaves of Sambarpalli/ Panikoorka/ Doddapatre / Cuban oregano

1 Cup Coconut (freshly grated or desiccated)

1 small Onion

1/2 inch Ginger piece

3 green chillies

Salt to taste

Step by step recipe:

1. Wash well and heat the leaves in a pan till it changes colour and starts oozing water.

2. Allow it to cool down.

3. Meanwhile, add coconut, onion, green chillies and salt in a blender.

4. Add the cooled sambarpalli leaves too.

5. Using water as required, grind to a fine paste.

Notes:

* If you don’t have these leaves, skip it and you get simple raw onion chutney which I make regularly.

* Add coriander leaves instead of Sambarpalli leaves and you get coriander leaves chutney.

* You can skip onion if you are making during vrat days or are a Jain.

* Do not add more than the mentioned leaves as it does not taste good.

* This chutney makes a good combination with Instant Rava idlis.

* These leaves are very healthy and I use them in two ways apart from making chutney:::

1. I put couple of leaves in a vessel along with water. Heat it and take steam inhalation when even having the slightest of cold symptoms.

2. Heat the leaves in a pan as shown in the first picture. Then when it starts oozing water, remove it and crush it using mortar and pestle. Sieve the juice and mix honey (for kids above one year old) . Give as medicine for kids and adults when suffering from cold or stomach ache. Works very well. Take about 6 to 8 leaves for one dose.

Hope these home remedies are helpful to you too. These leaves are really magic!