I love dishes that does not require much of chopping especially when the husband works extra hours and the kids are extra clingy. Chopping becomes very difficult when they are pulling my legs and pushing my hands.
But I am still hungry. What to do? Welcome muga dali usli or seasoned moong dal. Hardly takes 5 mins to dump everything into the pan, I can keep it on medium to low flame and go play with the kiddos.
After a while, healthy and delicious protein packed usli is ready for me to enjoy! How can I not love this usli! Hope you all enjoy too. Happy and healthy cooking!
RECIPE:
Ingredients:
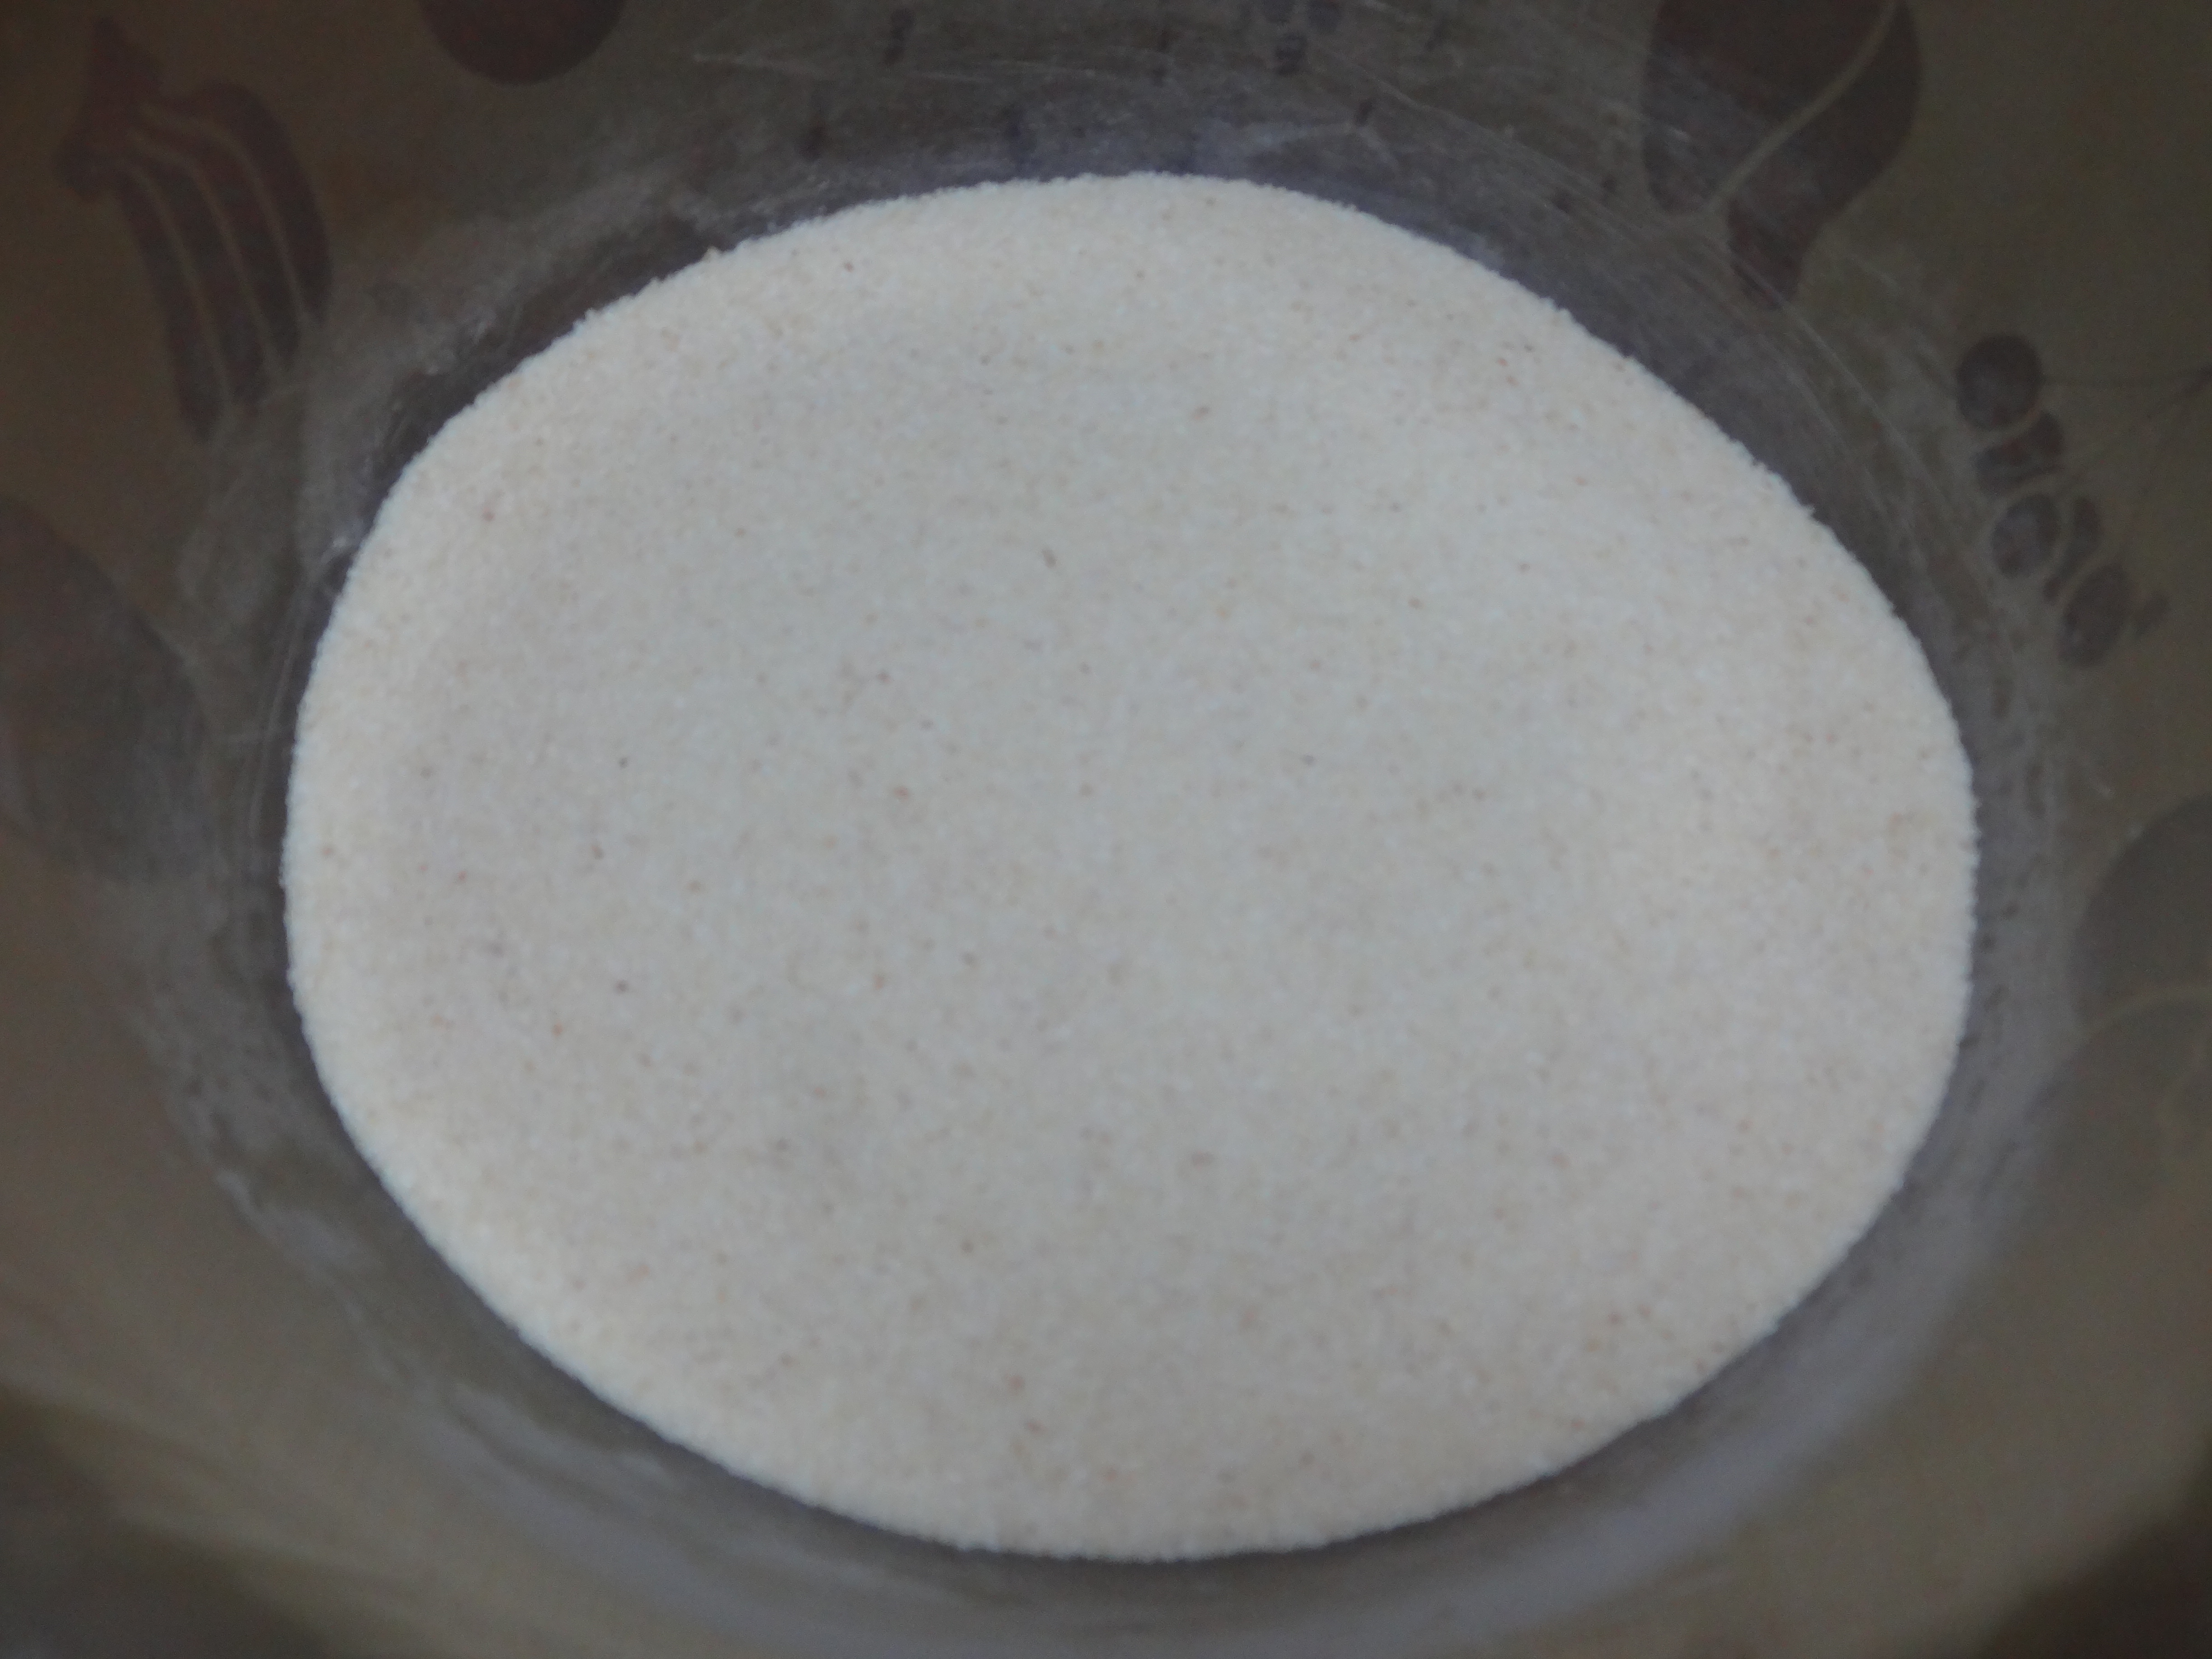
2 Cups Moong dal
3 Green chillies
1 Tbsp Ghee or Oil
1/2 tsp Mustard seeds
1/2 tsp Cumin seeds
1/2 inch Ginger
A pinch of Hing/ Asafoetida
1/4 tsp Turmeric powder
1 tsp Sugar
Salt to taste
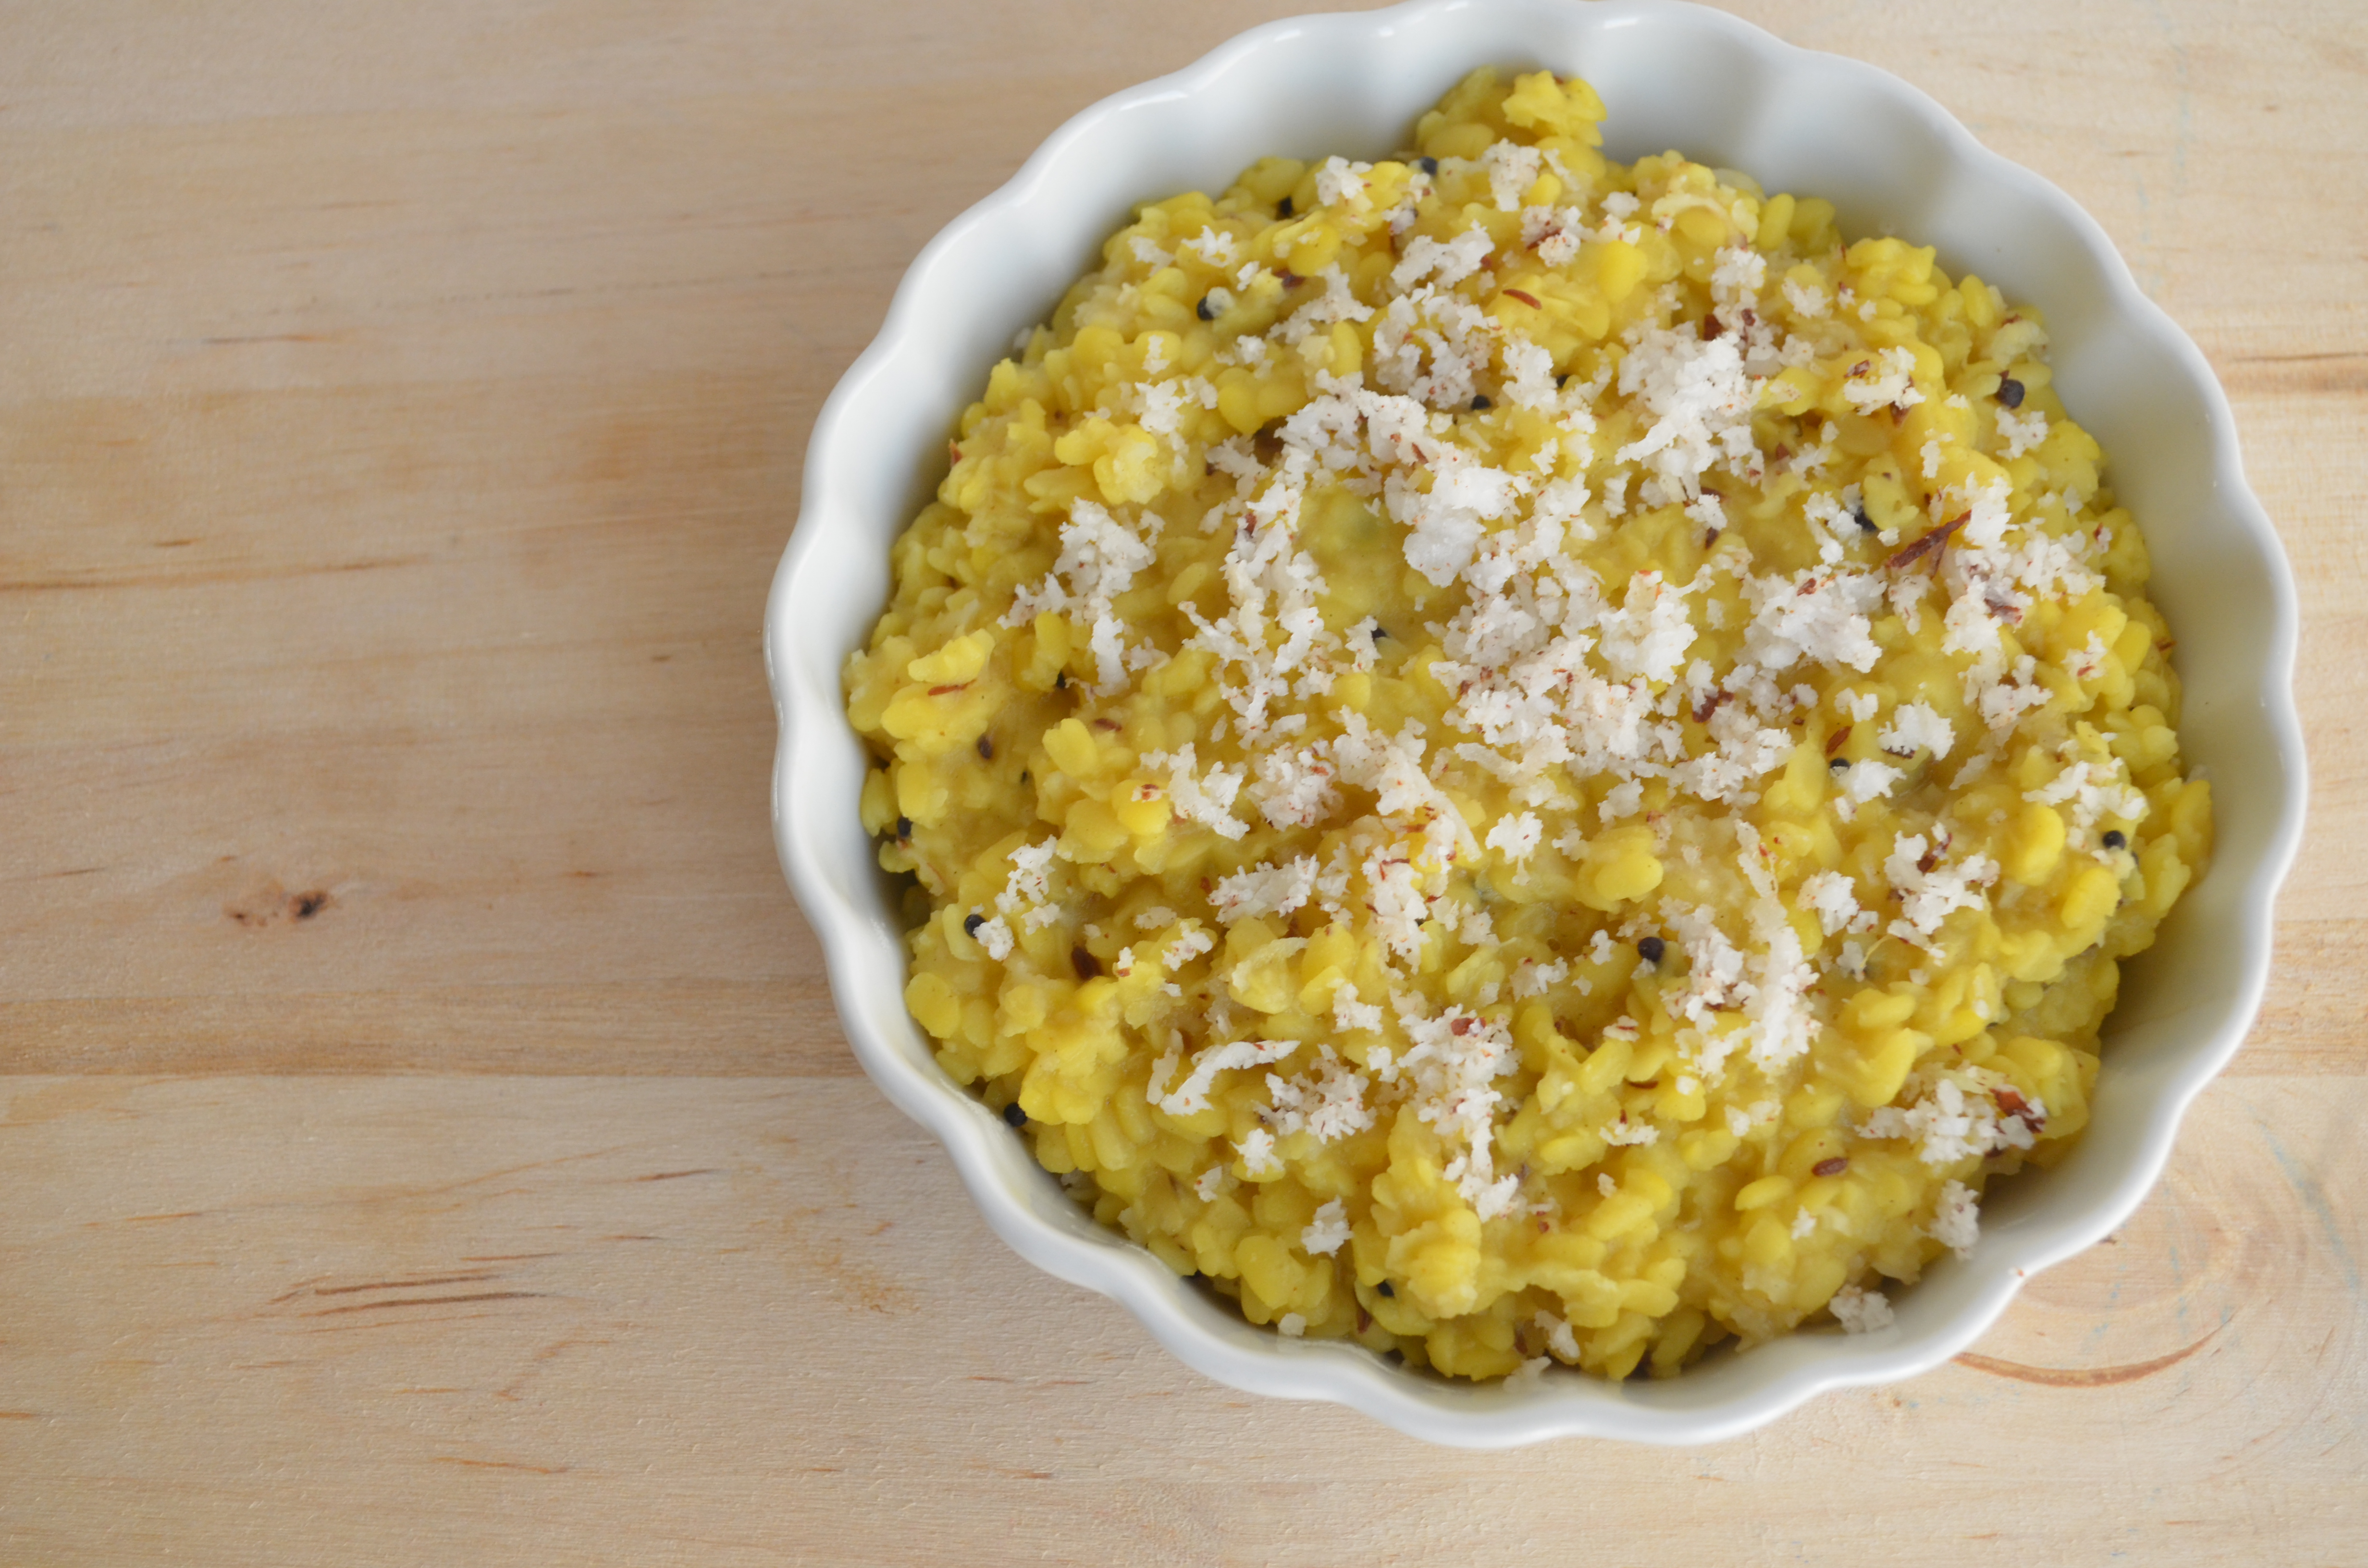
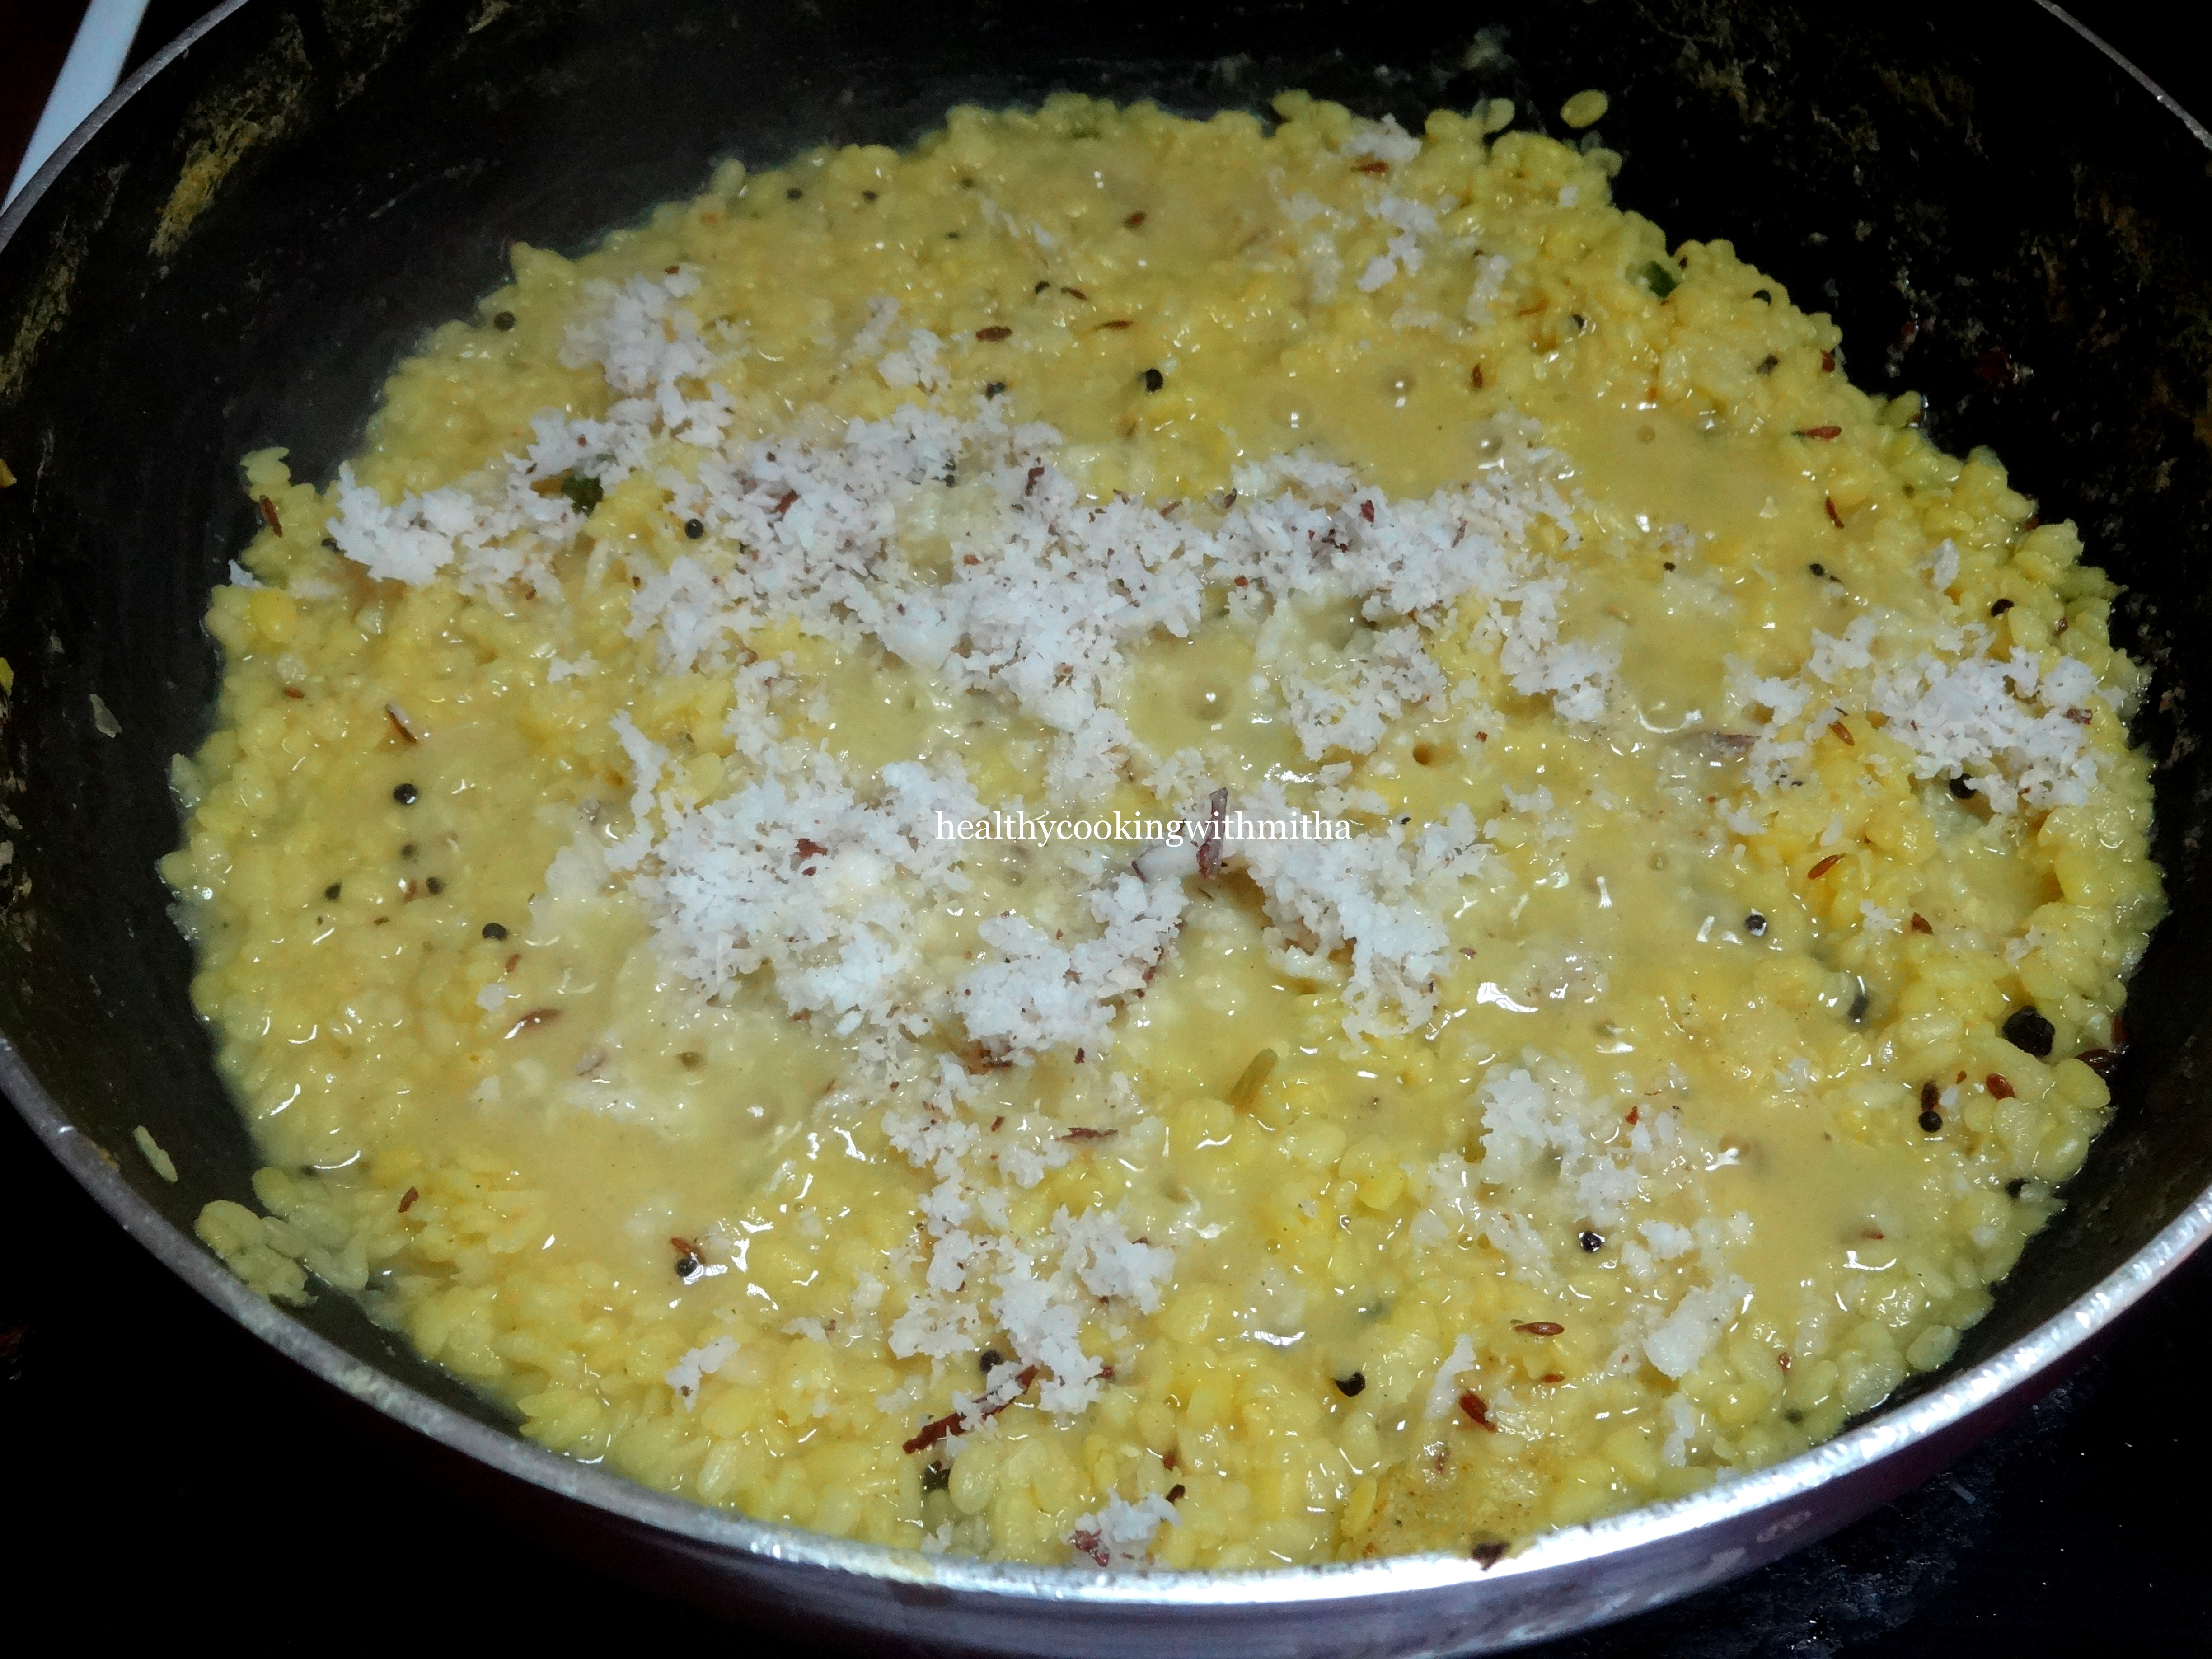
Freshly grated coconut for garnish
Step by step recipe:
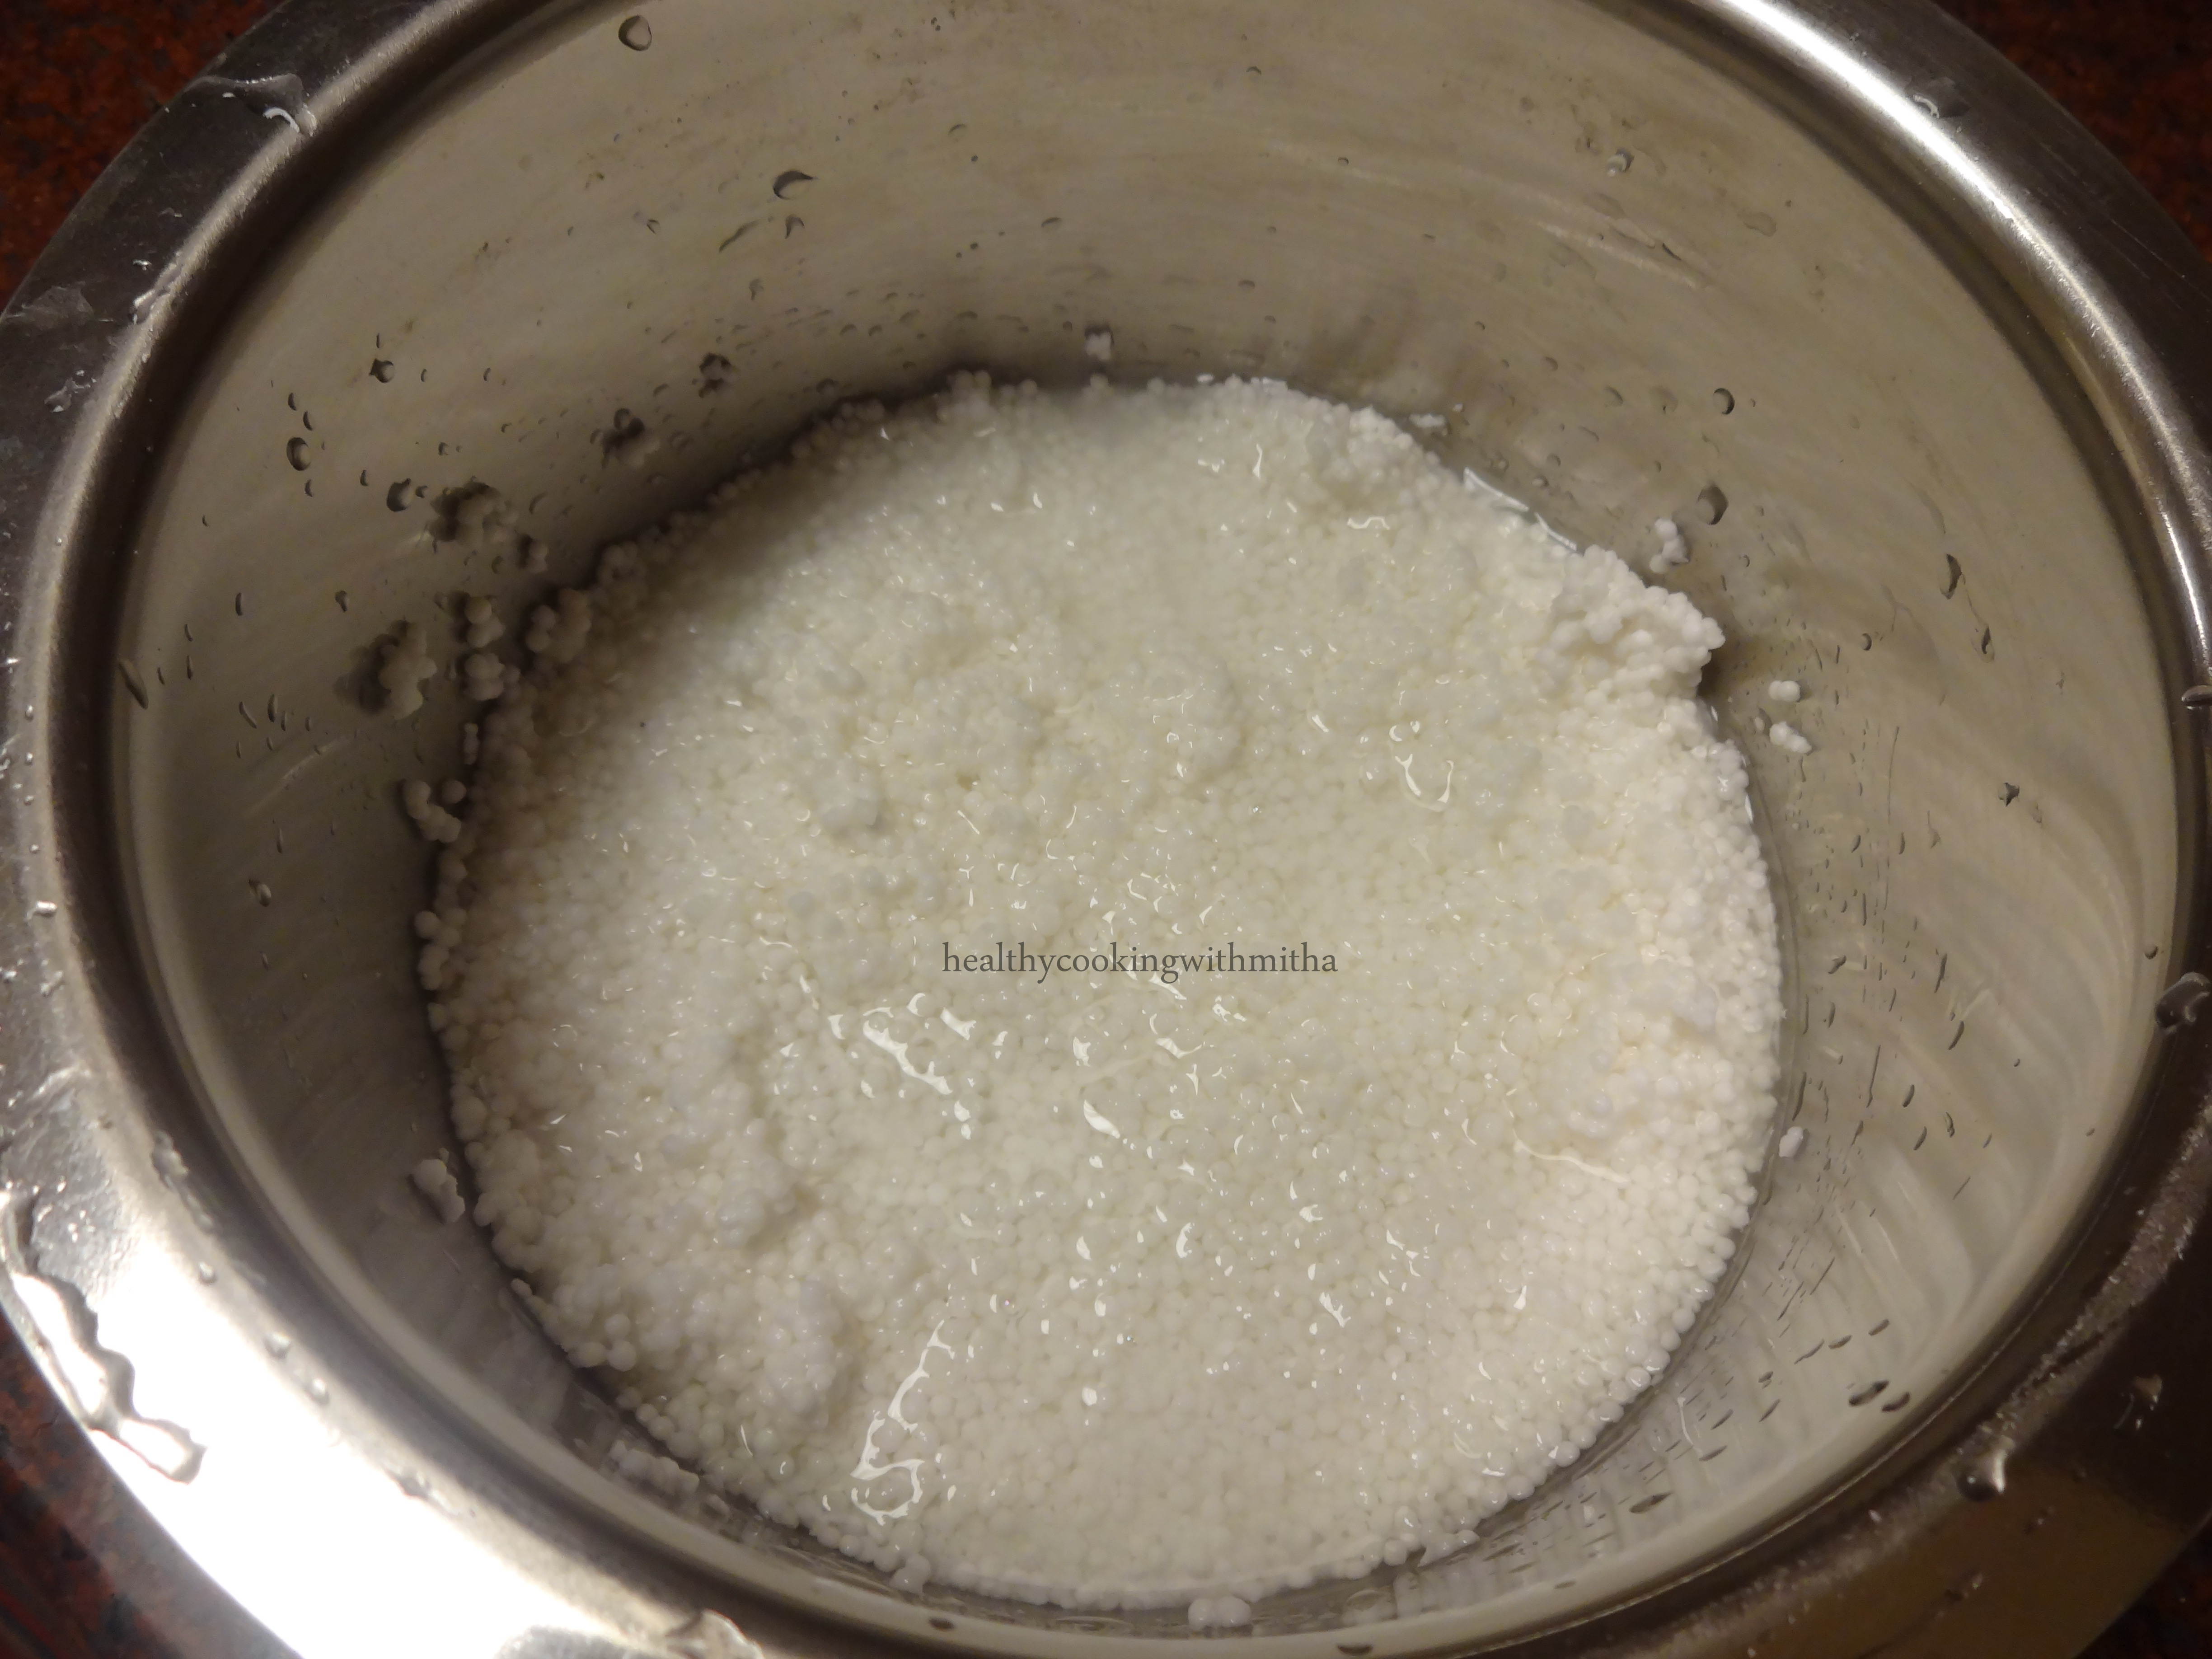
1. Soak the moong dal for an hour if you have time. Else you can just wash well and use straight away.

2. Now heat a pan with ghee or oil. Splutter mustard seeds, cumin seeds and add hing.
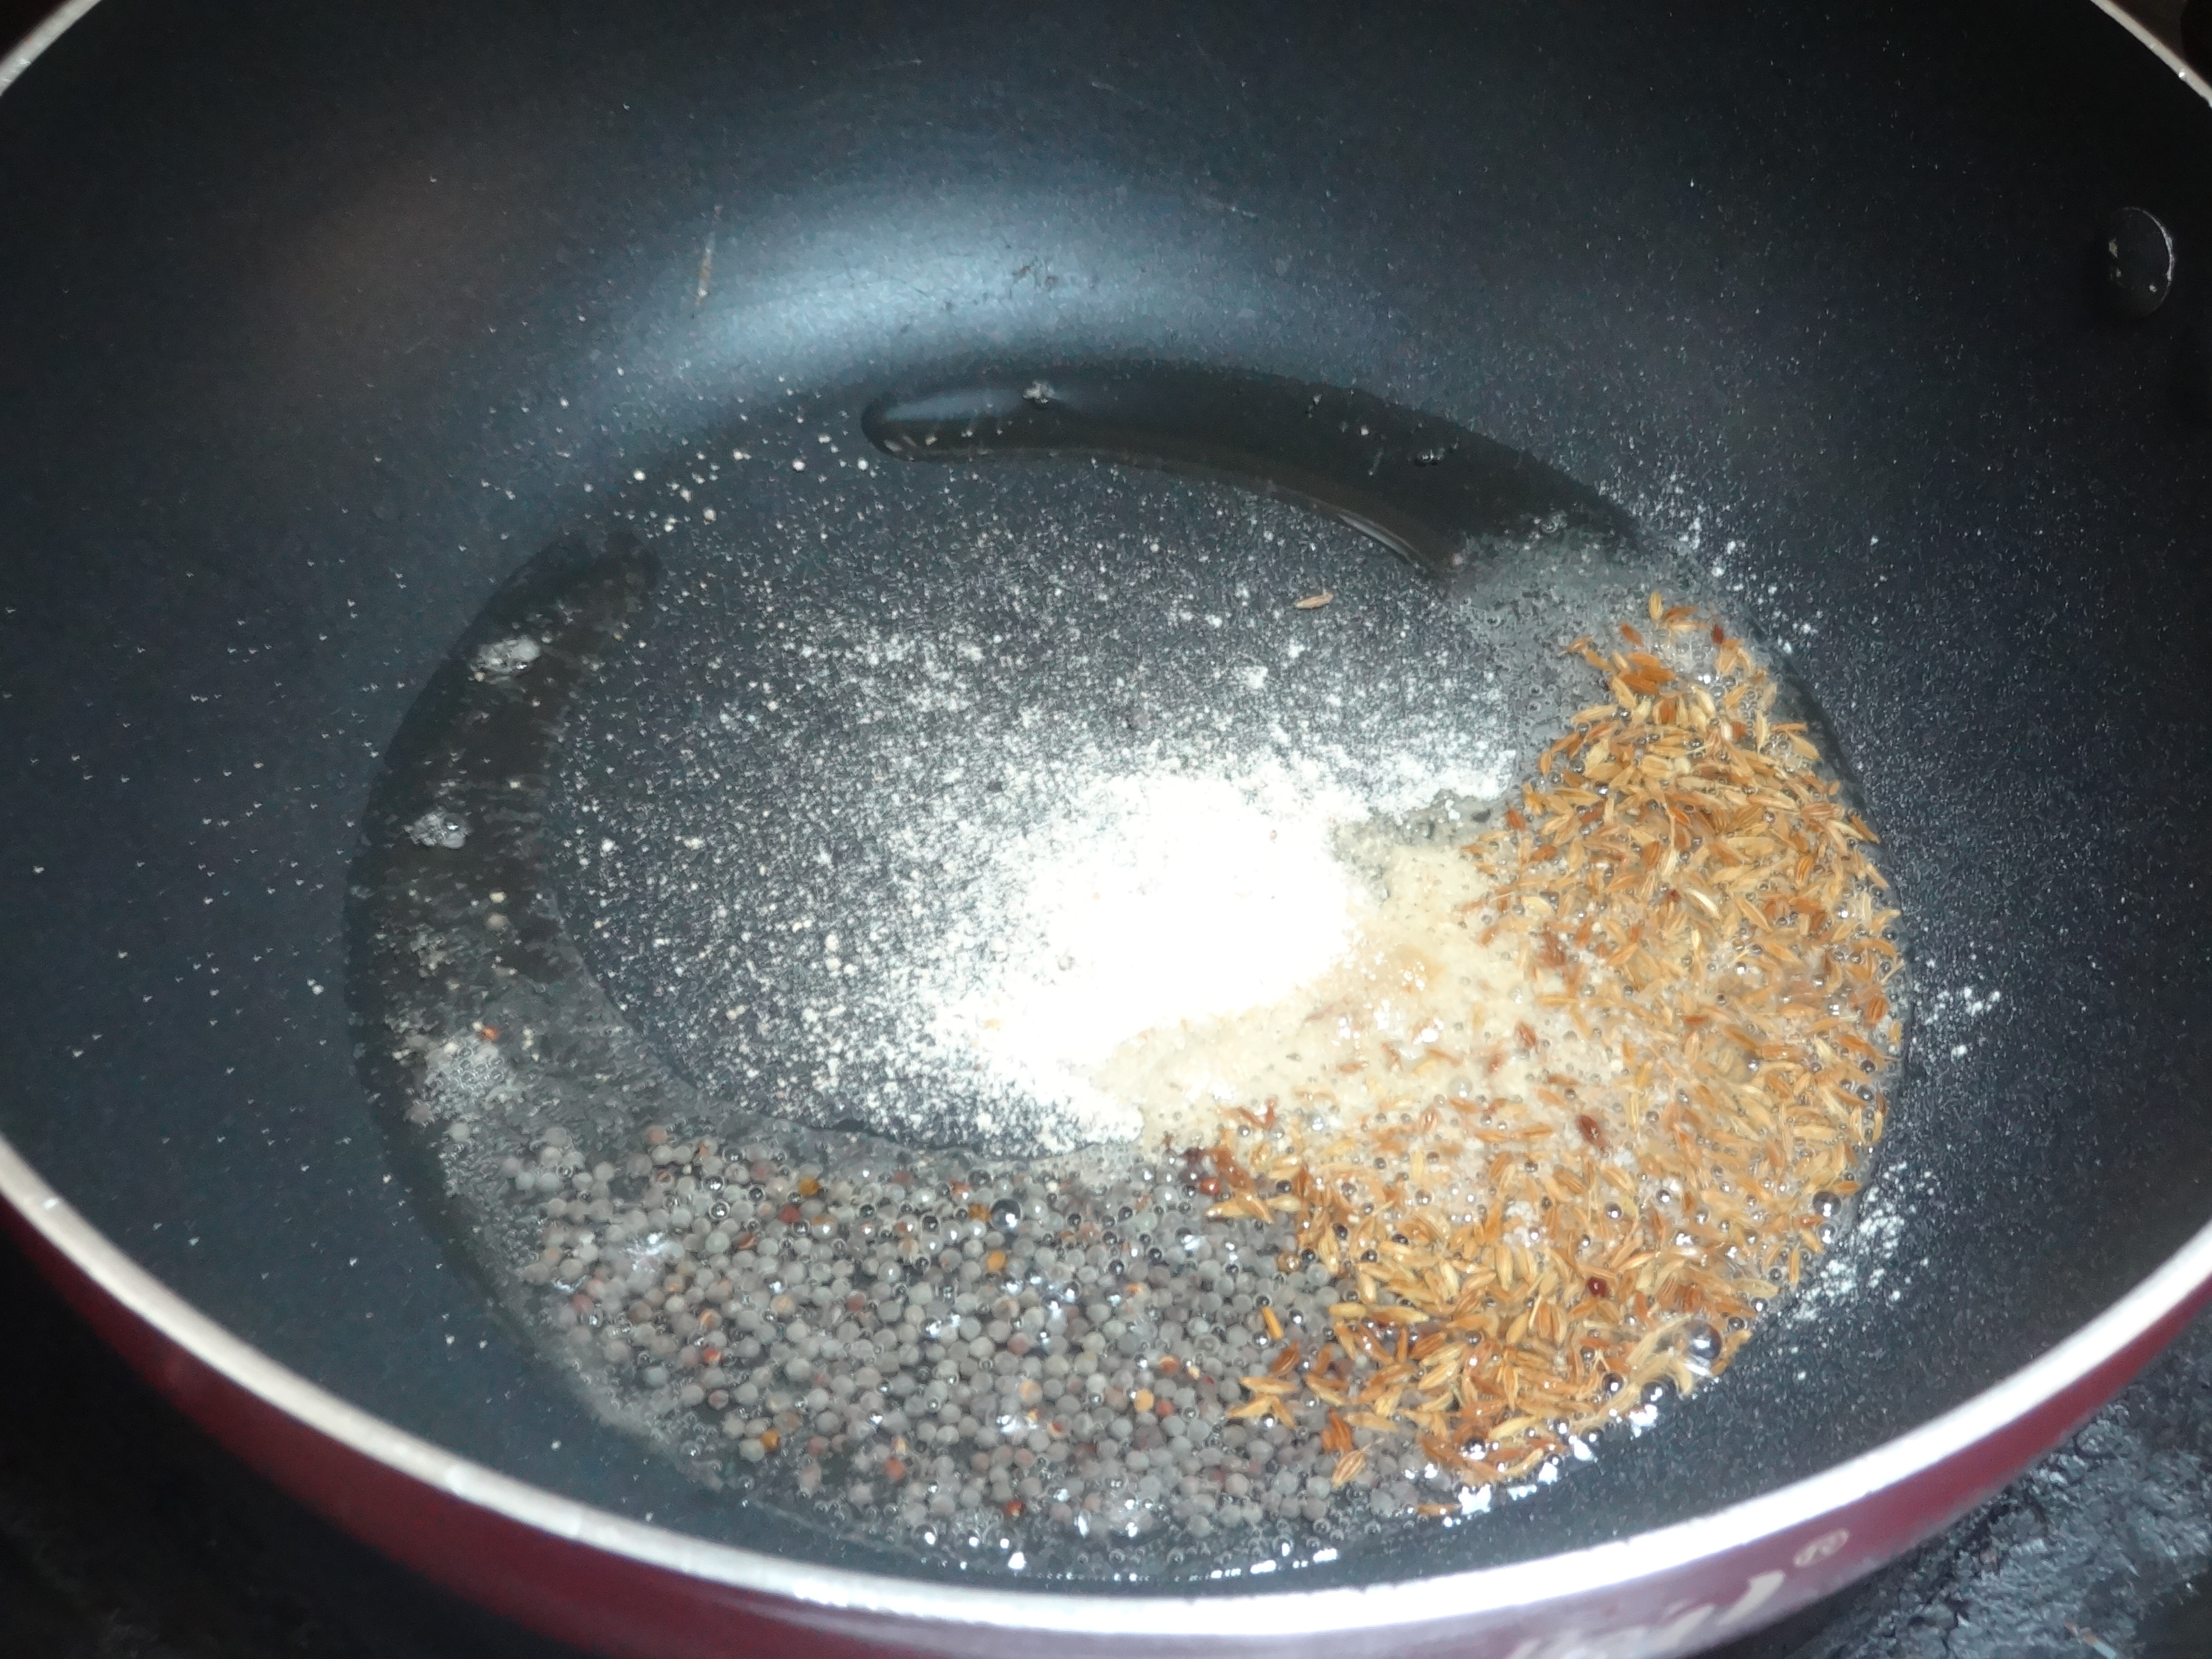
3. Now add finely chopped ginger and green chillies. Fry for few seconds.

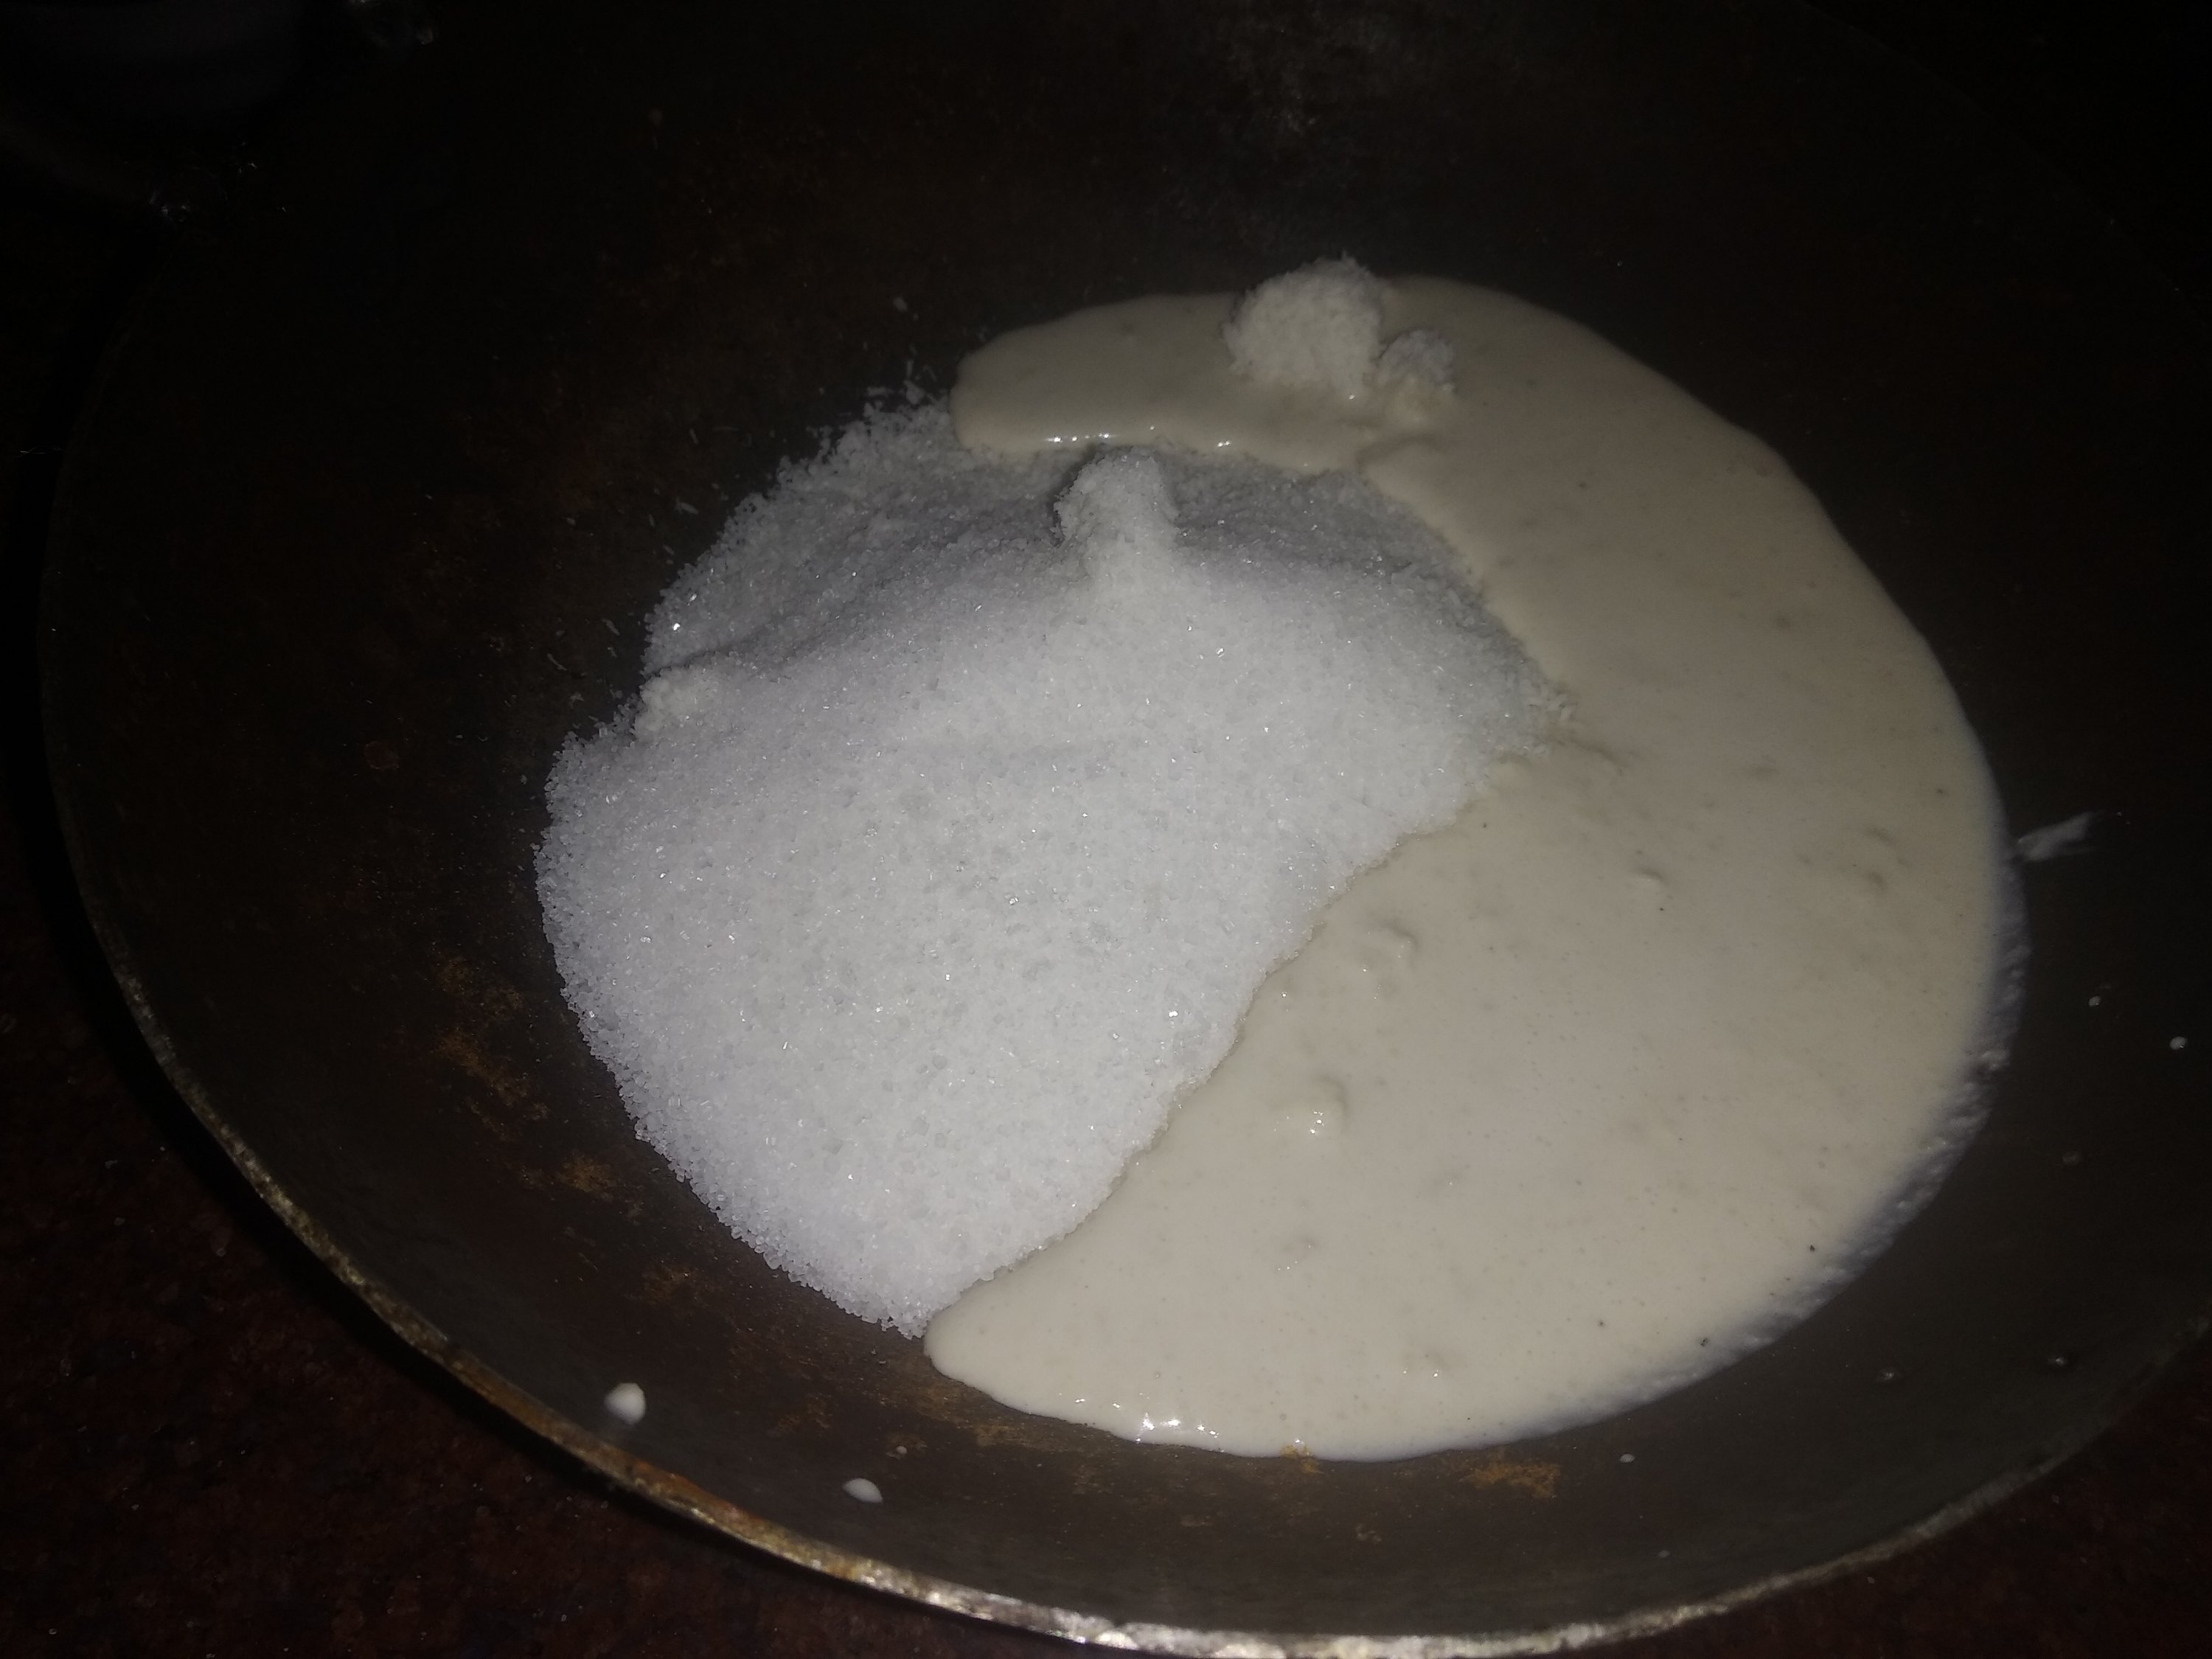
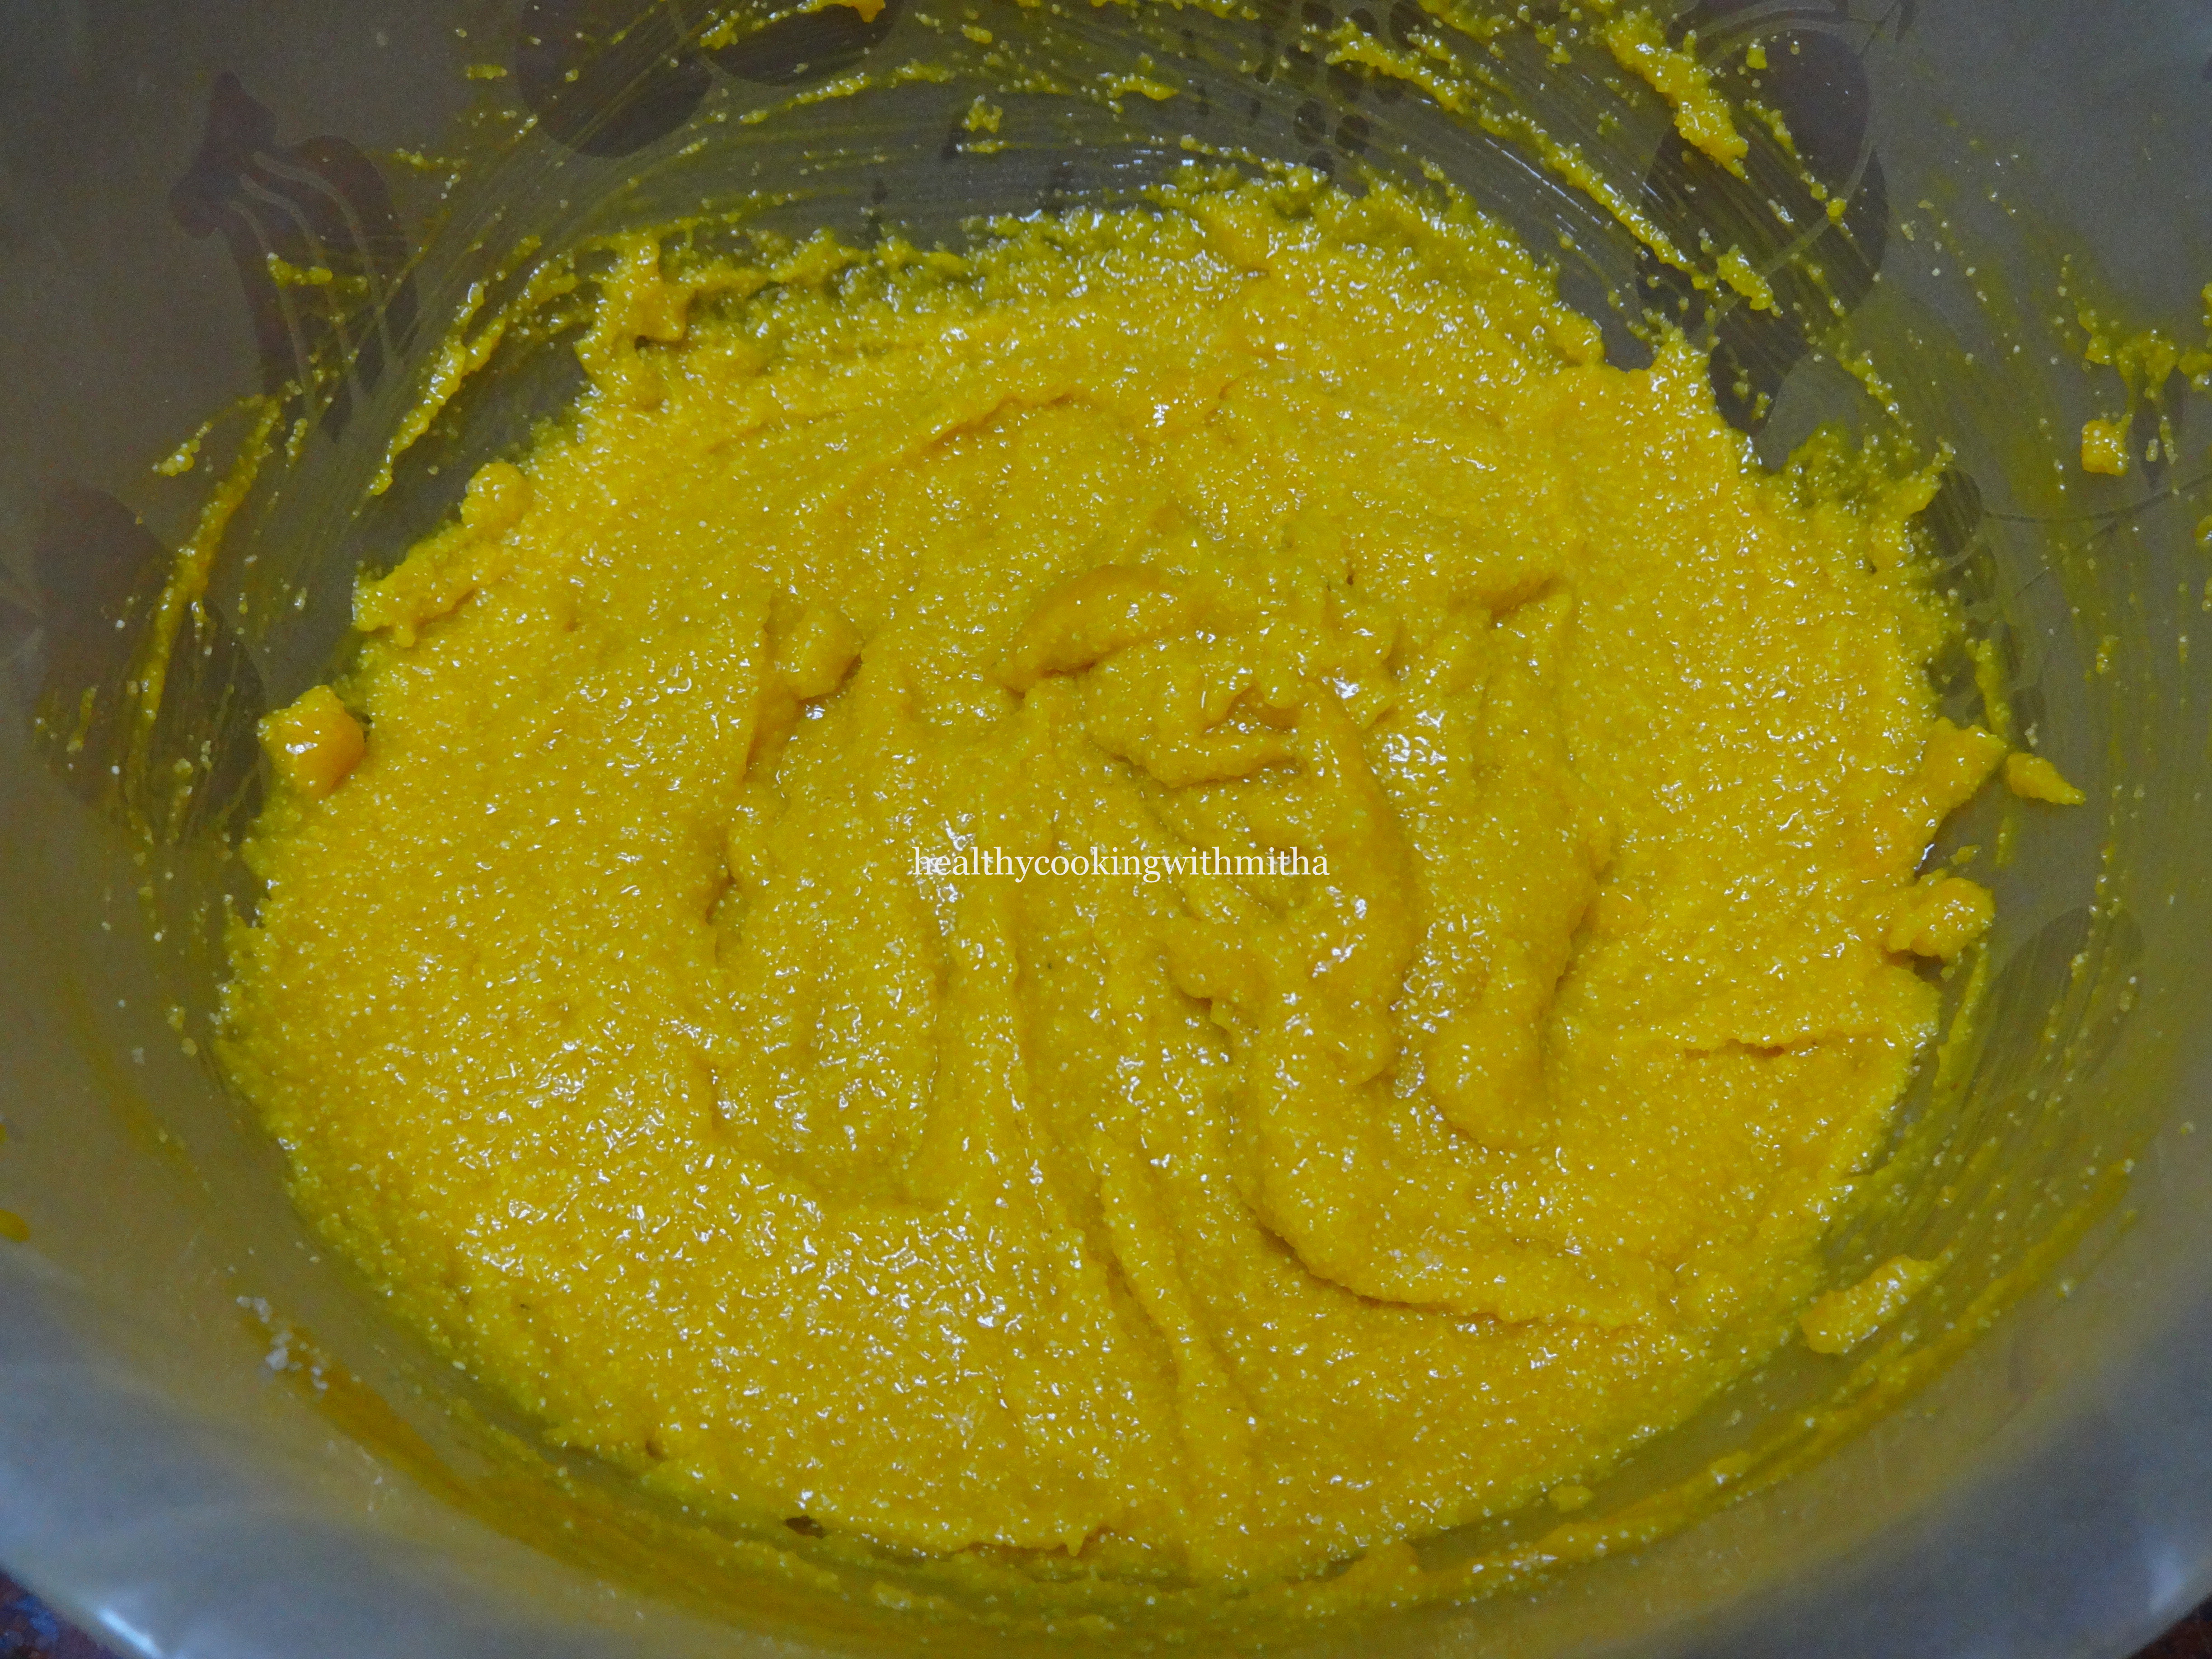
4. Now add the soaked moong dal along with tumeric powder,sugar, salt and enough water to cook the moong dal.
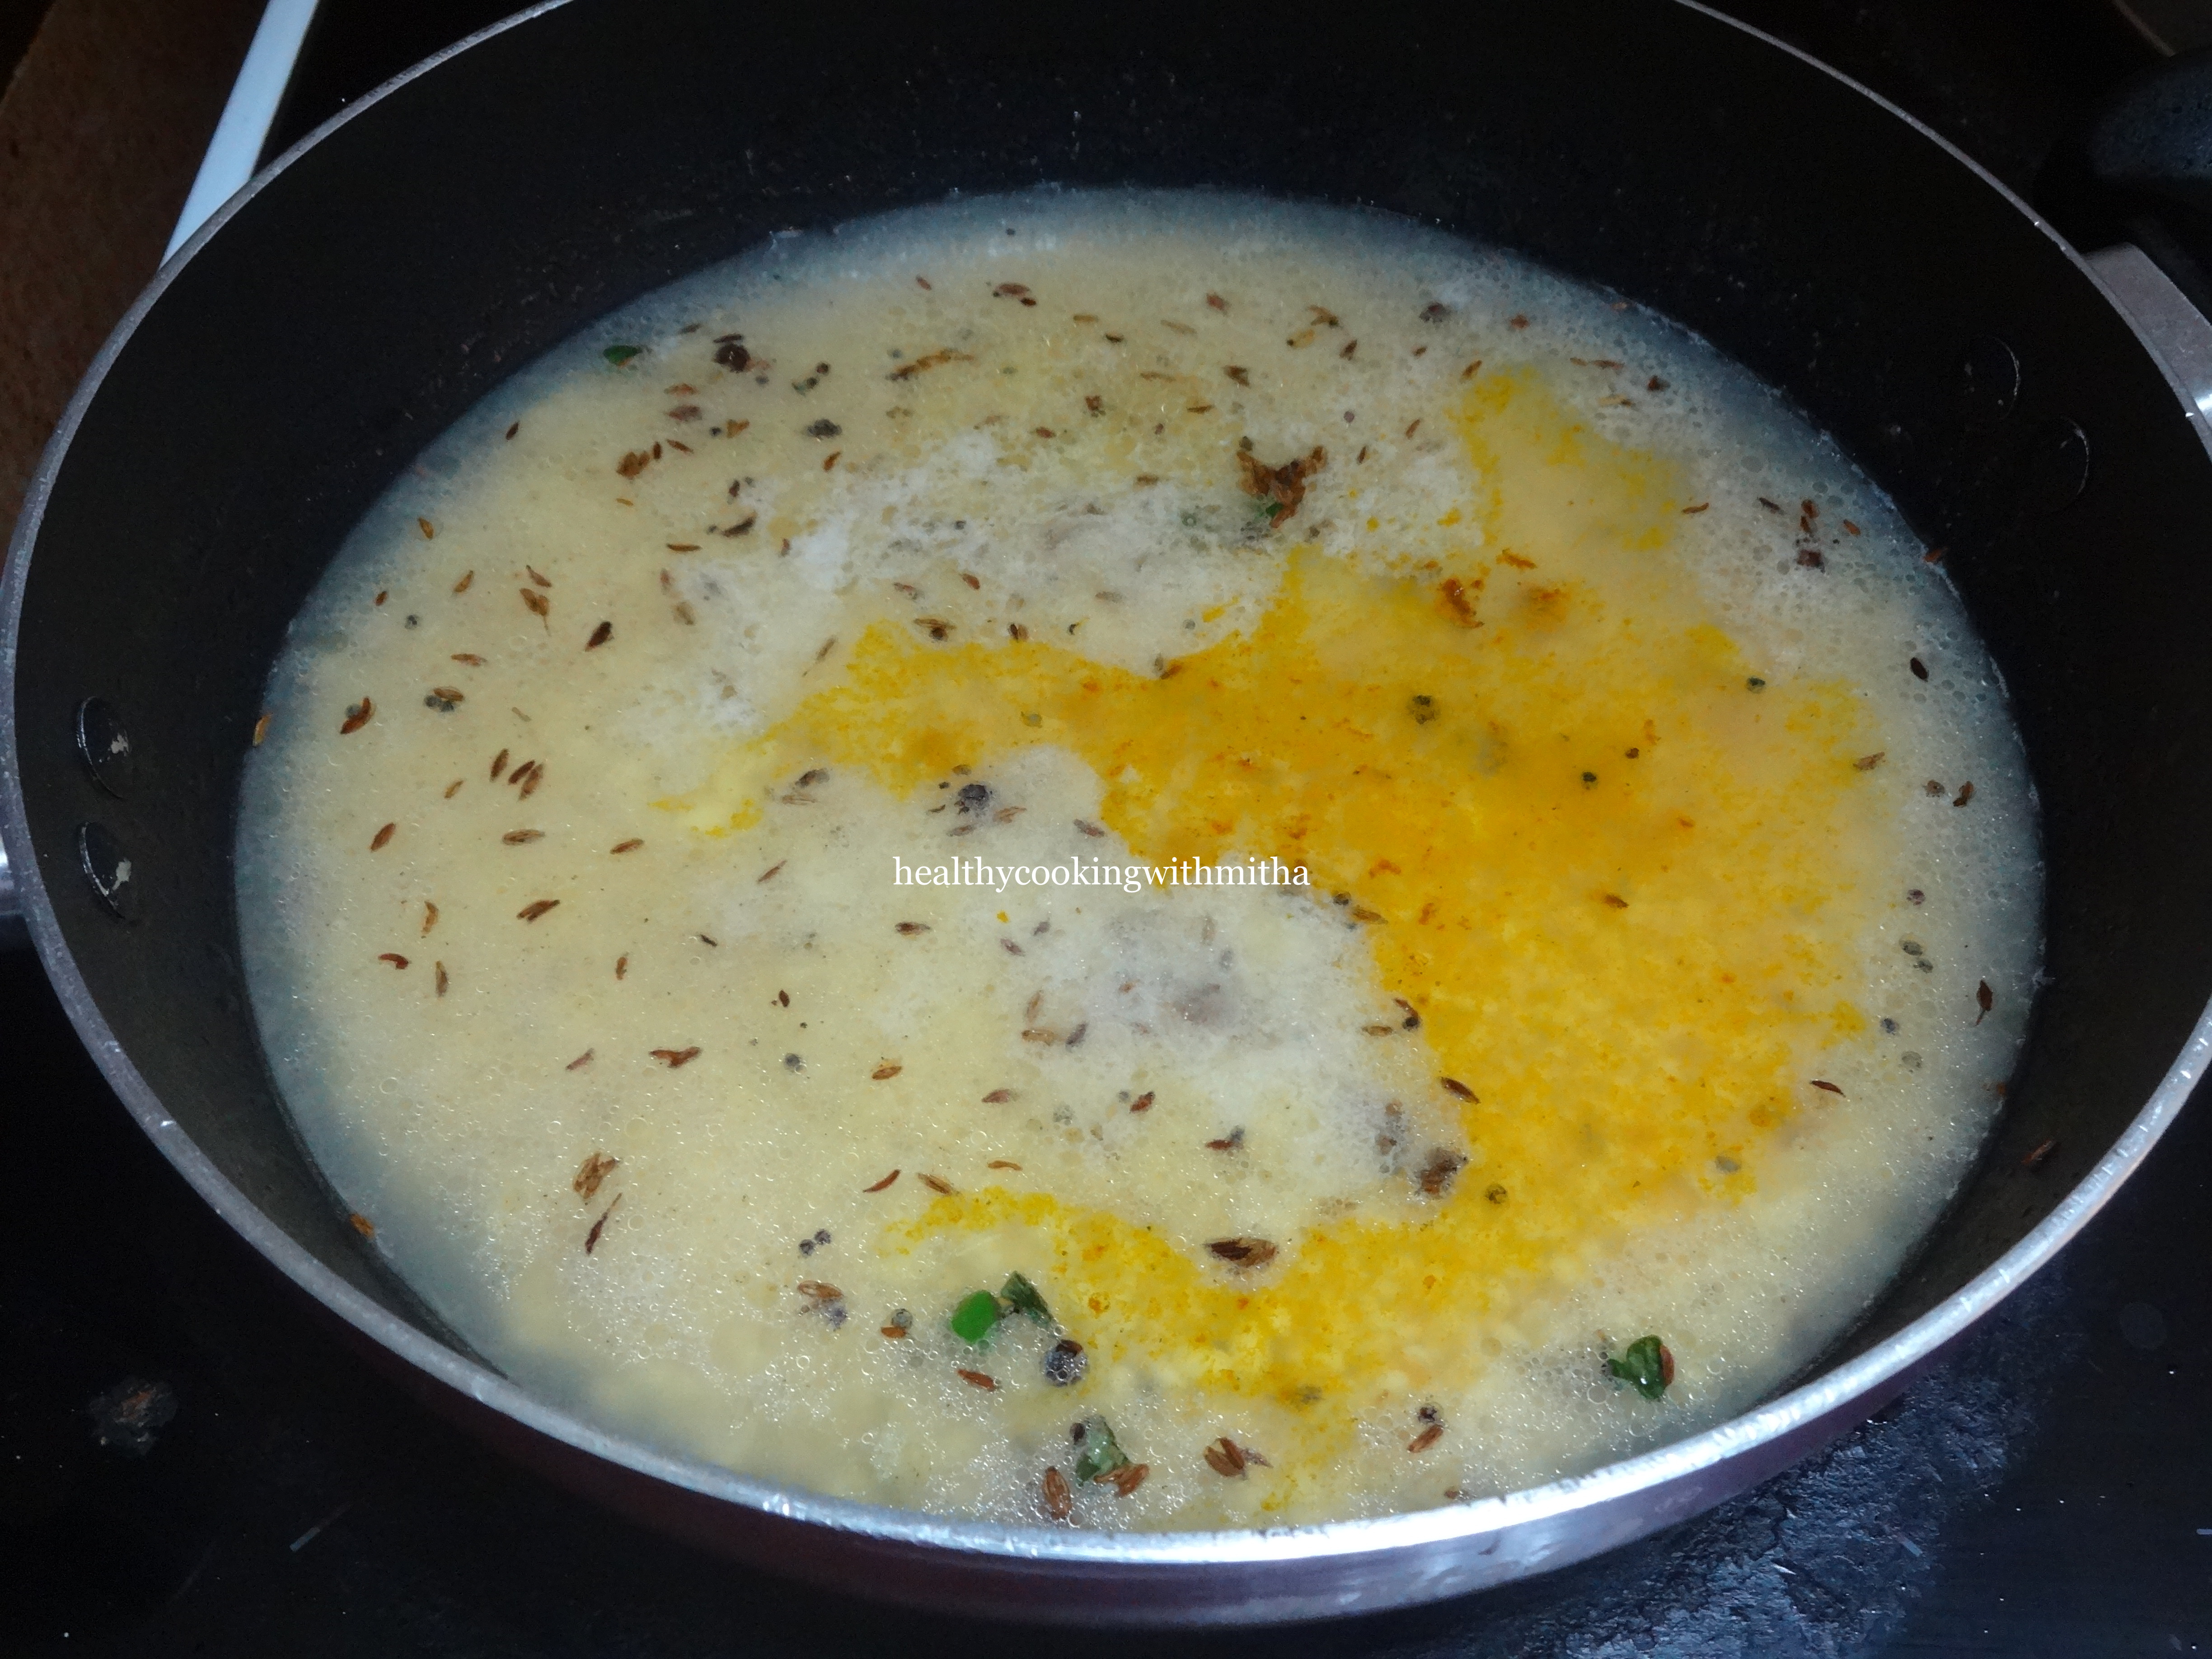
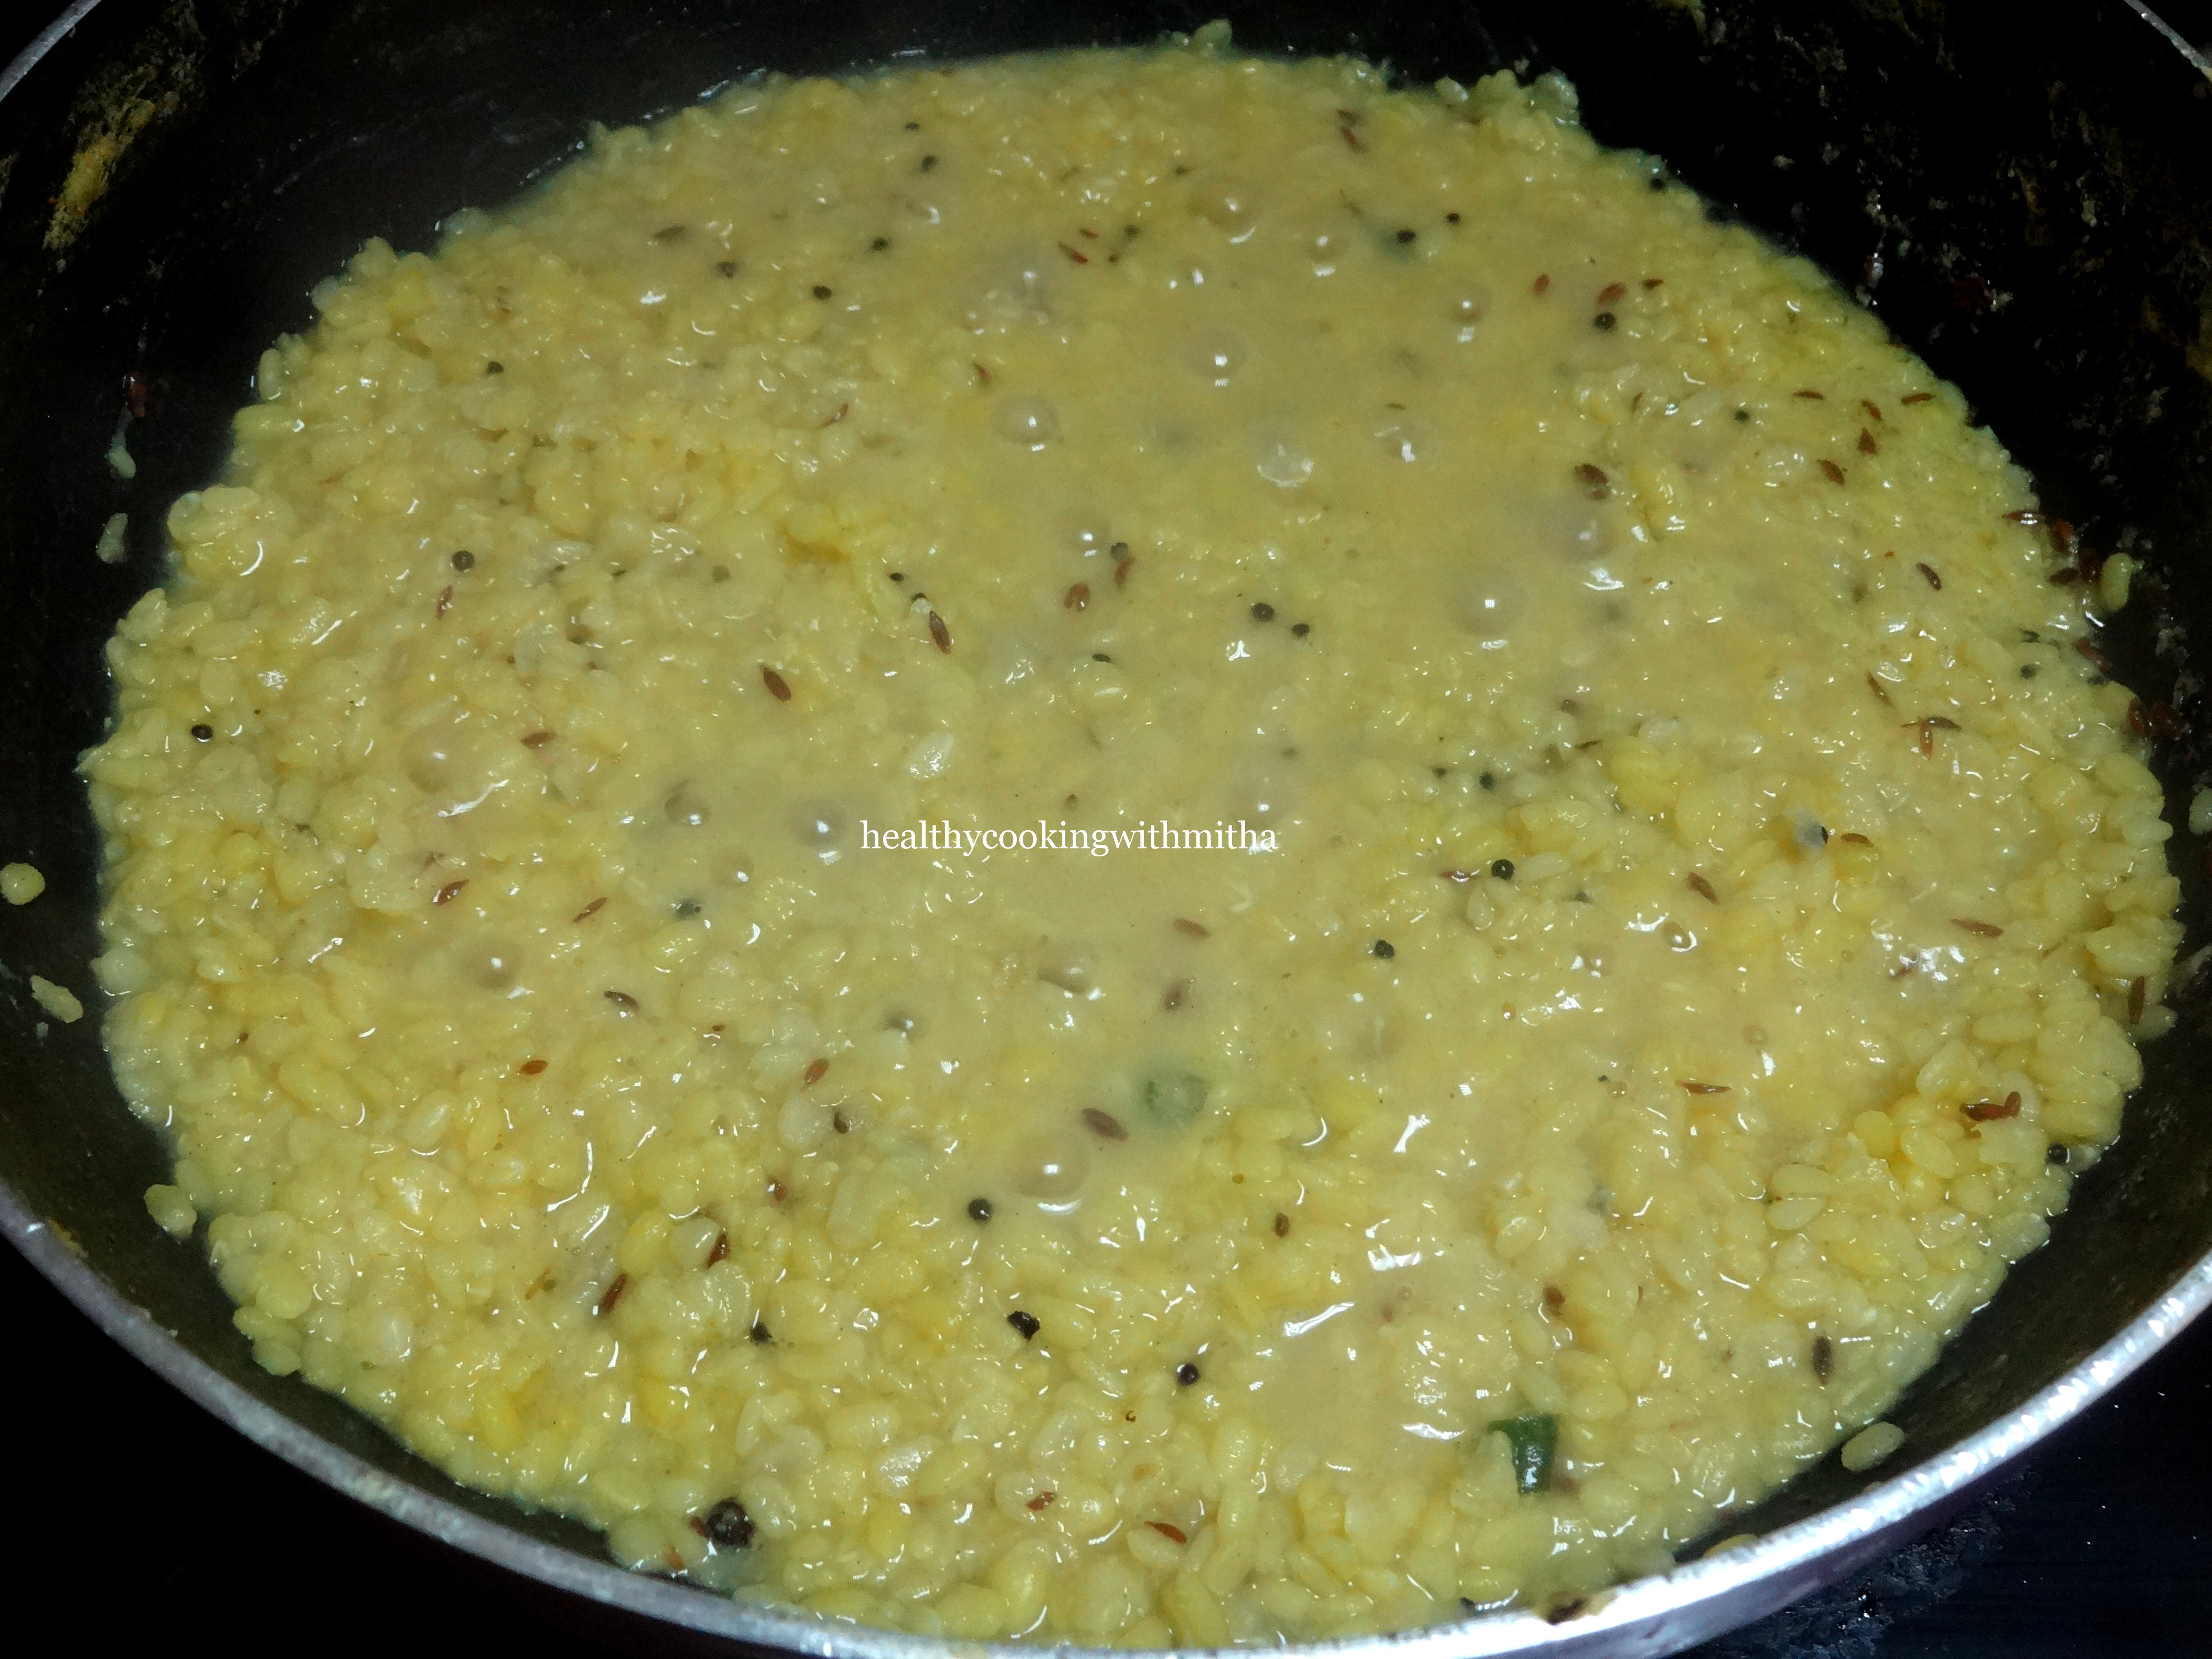
5. Cover and cook on medium flame till the moong dal cooks really well and turns soft.

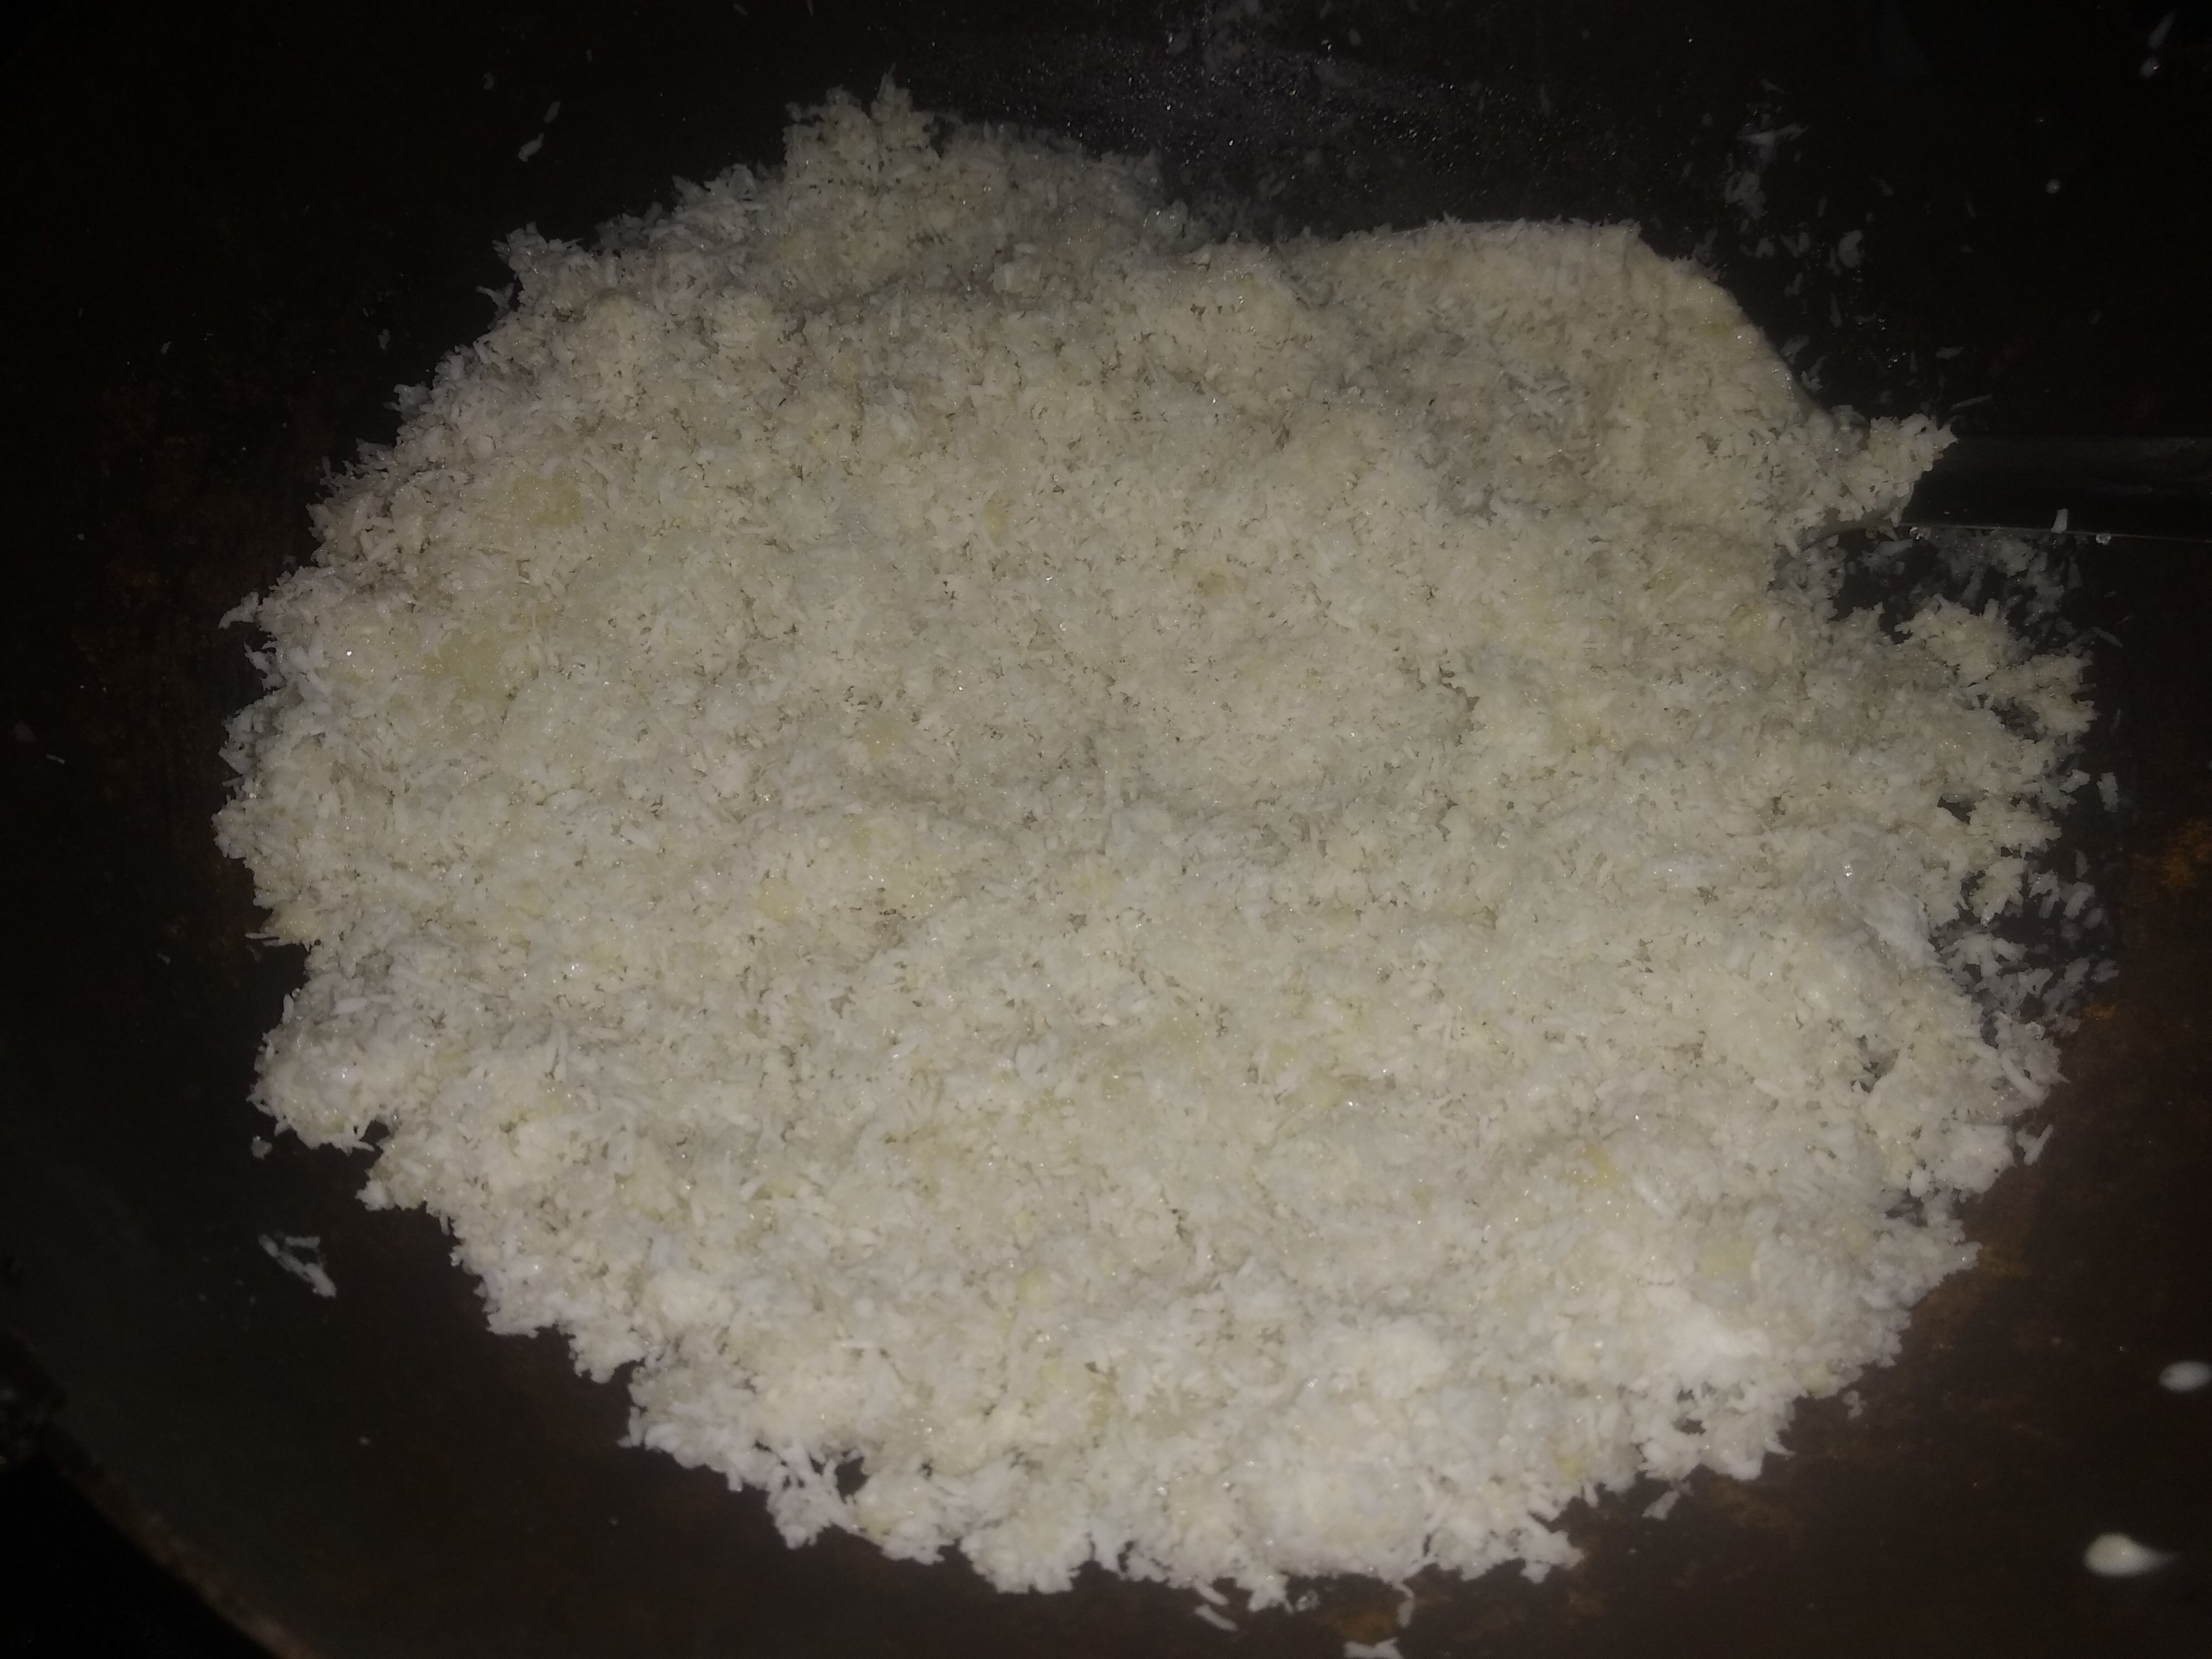
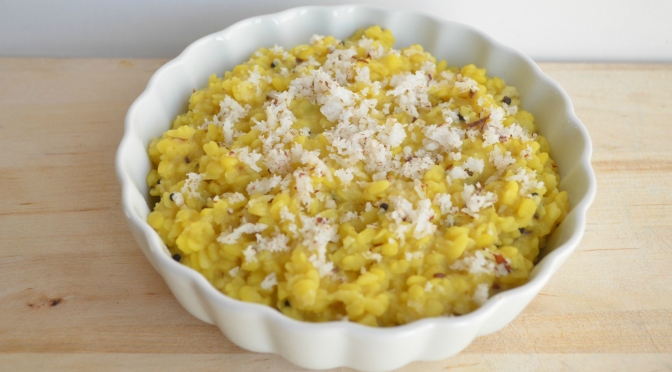
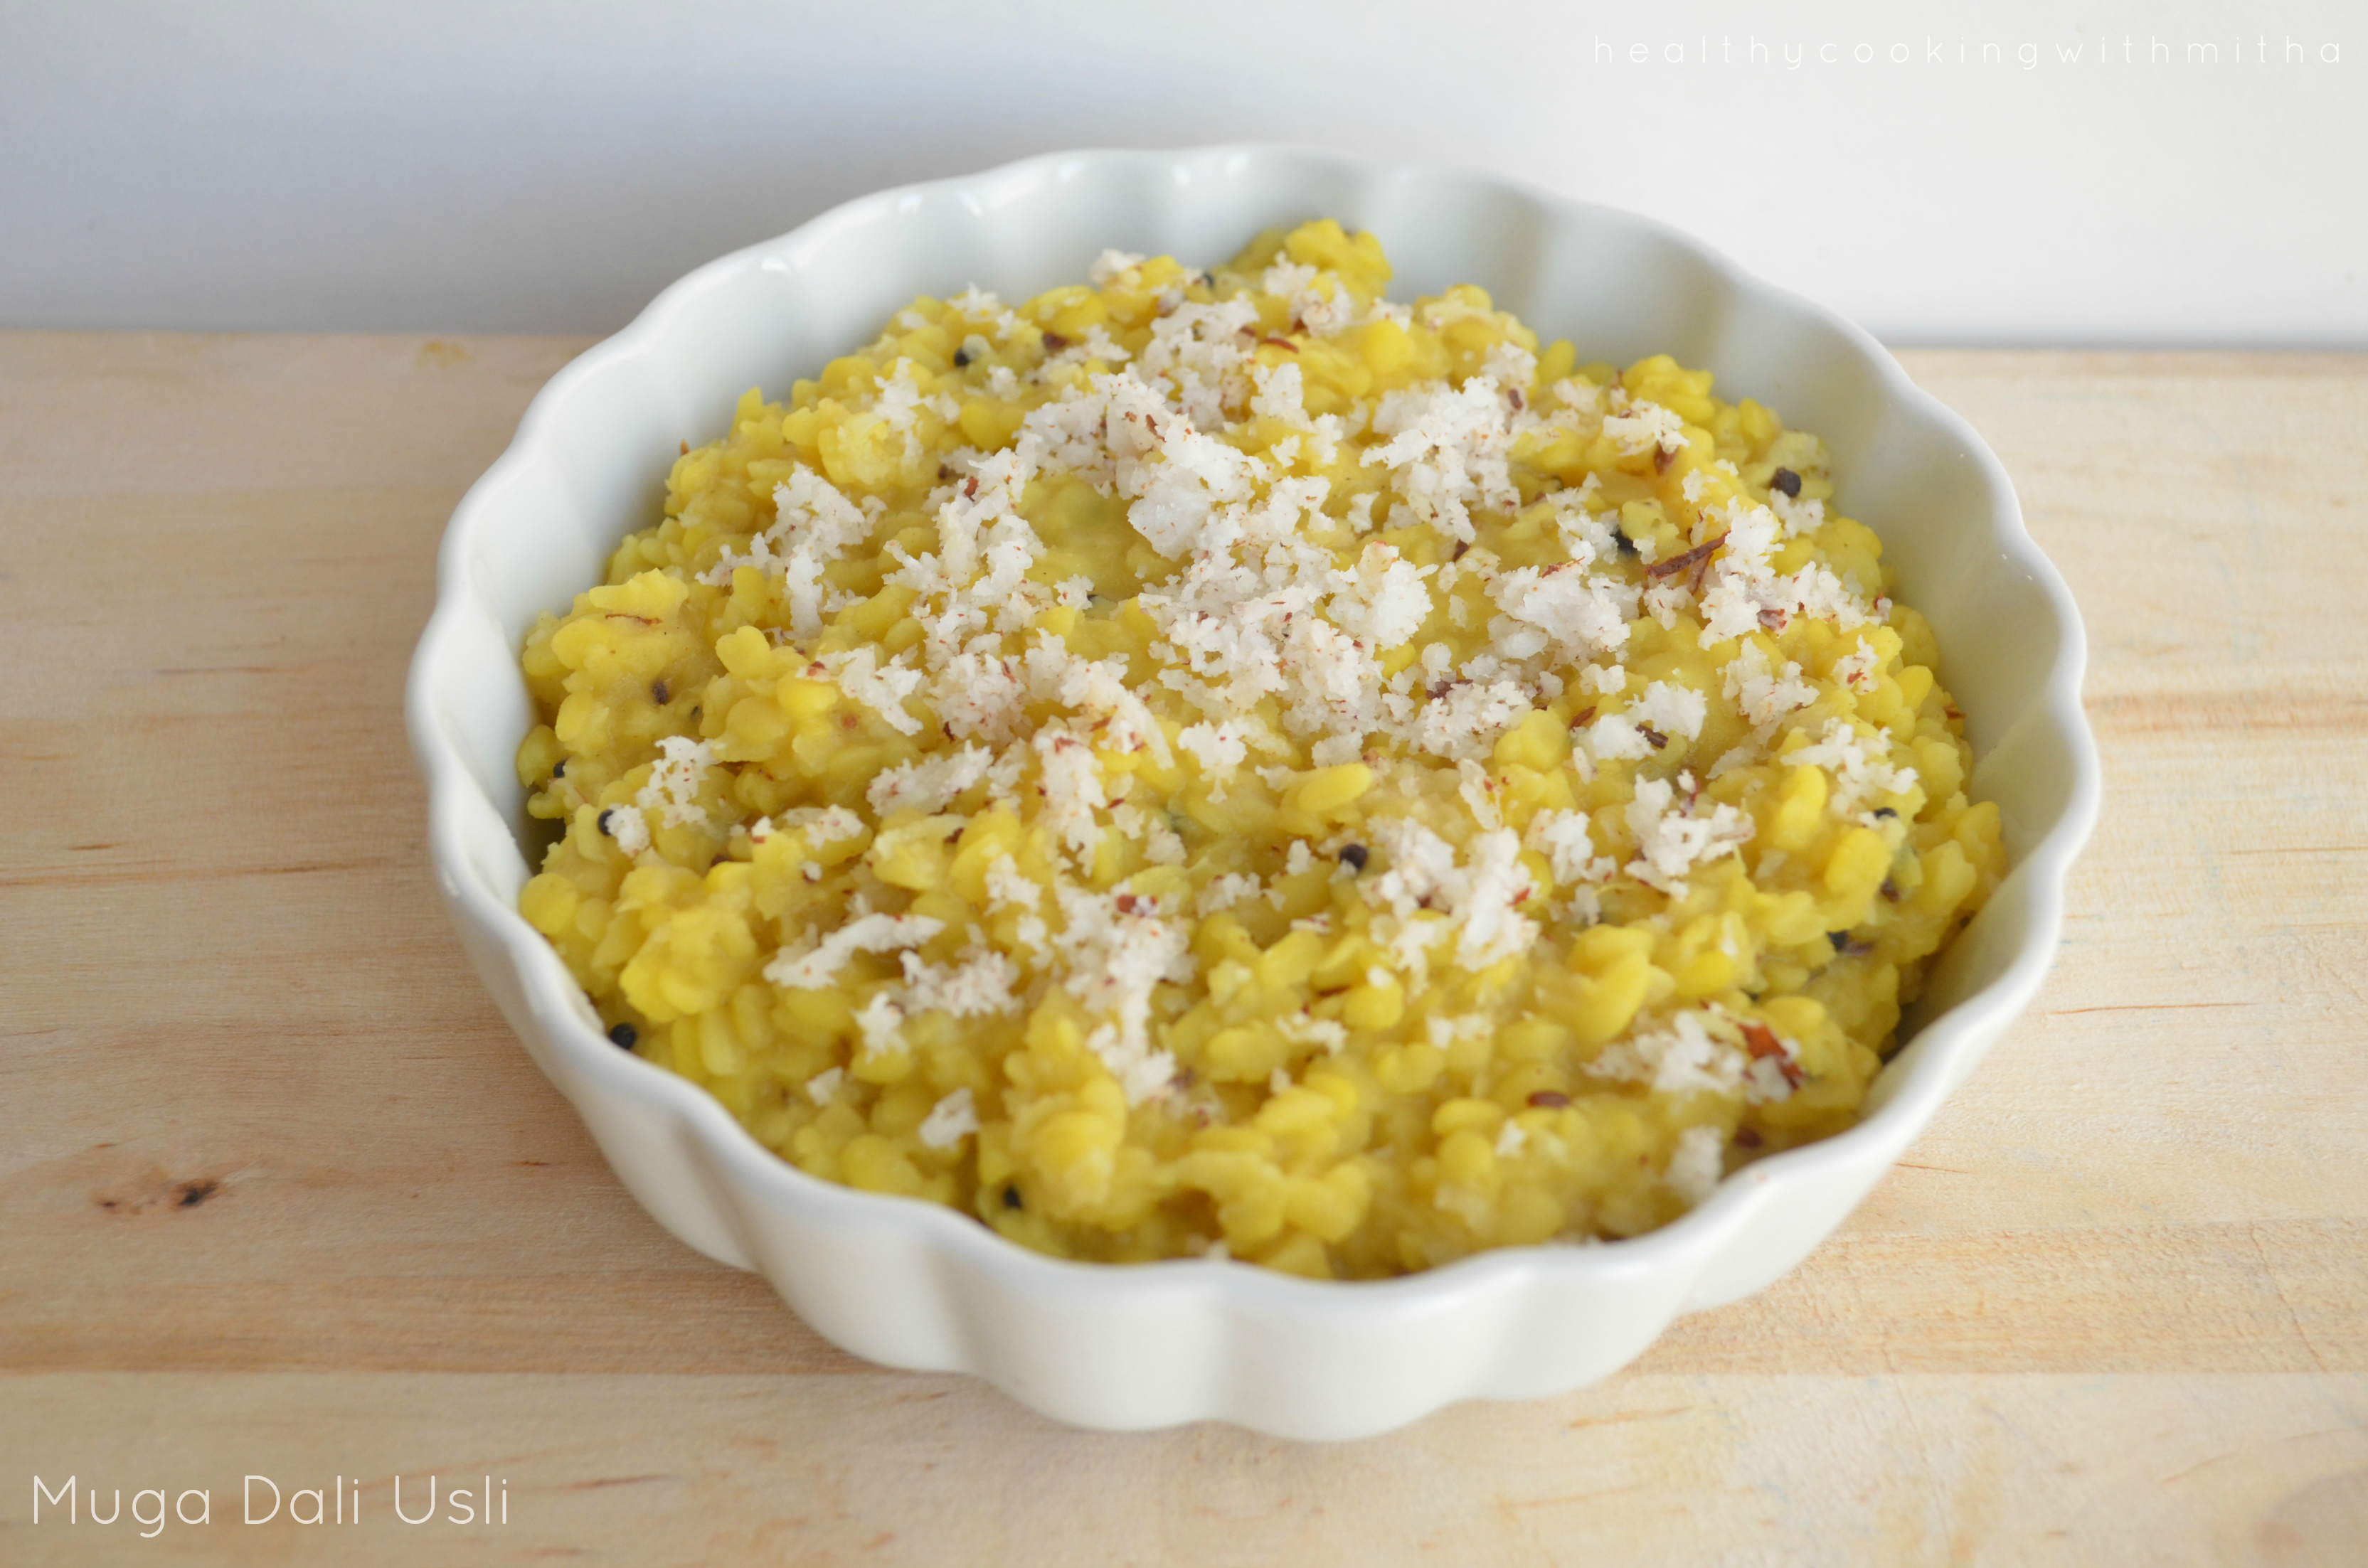
6. Garnish with freshly grated coconut.
7. Serve hot!
Notes:
* We like it mushy and over cooked. So I cook the moong dal till really soft and add a lot of water while cooking. If you don’t like it overcooked, remove when the dal is just cooked while adding only sufficient water when cooking.
* The seasoning is to taste. You can skip ginger if you don’t like it but I love the bite of ginger in this usli.
* I also add few peppercorns and curry leaves when I have it.
* Hing gives a very good flavour to the usli. So don’t skip it.