Tag Archives: Easy

Snake gourd seeds spicy dosa | Poddale beeye Sannapolo

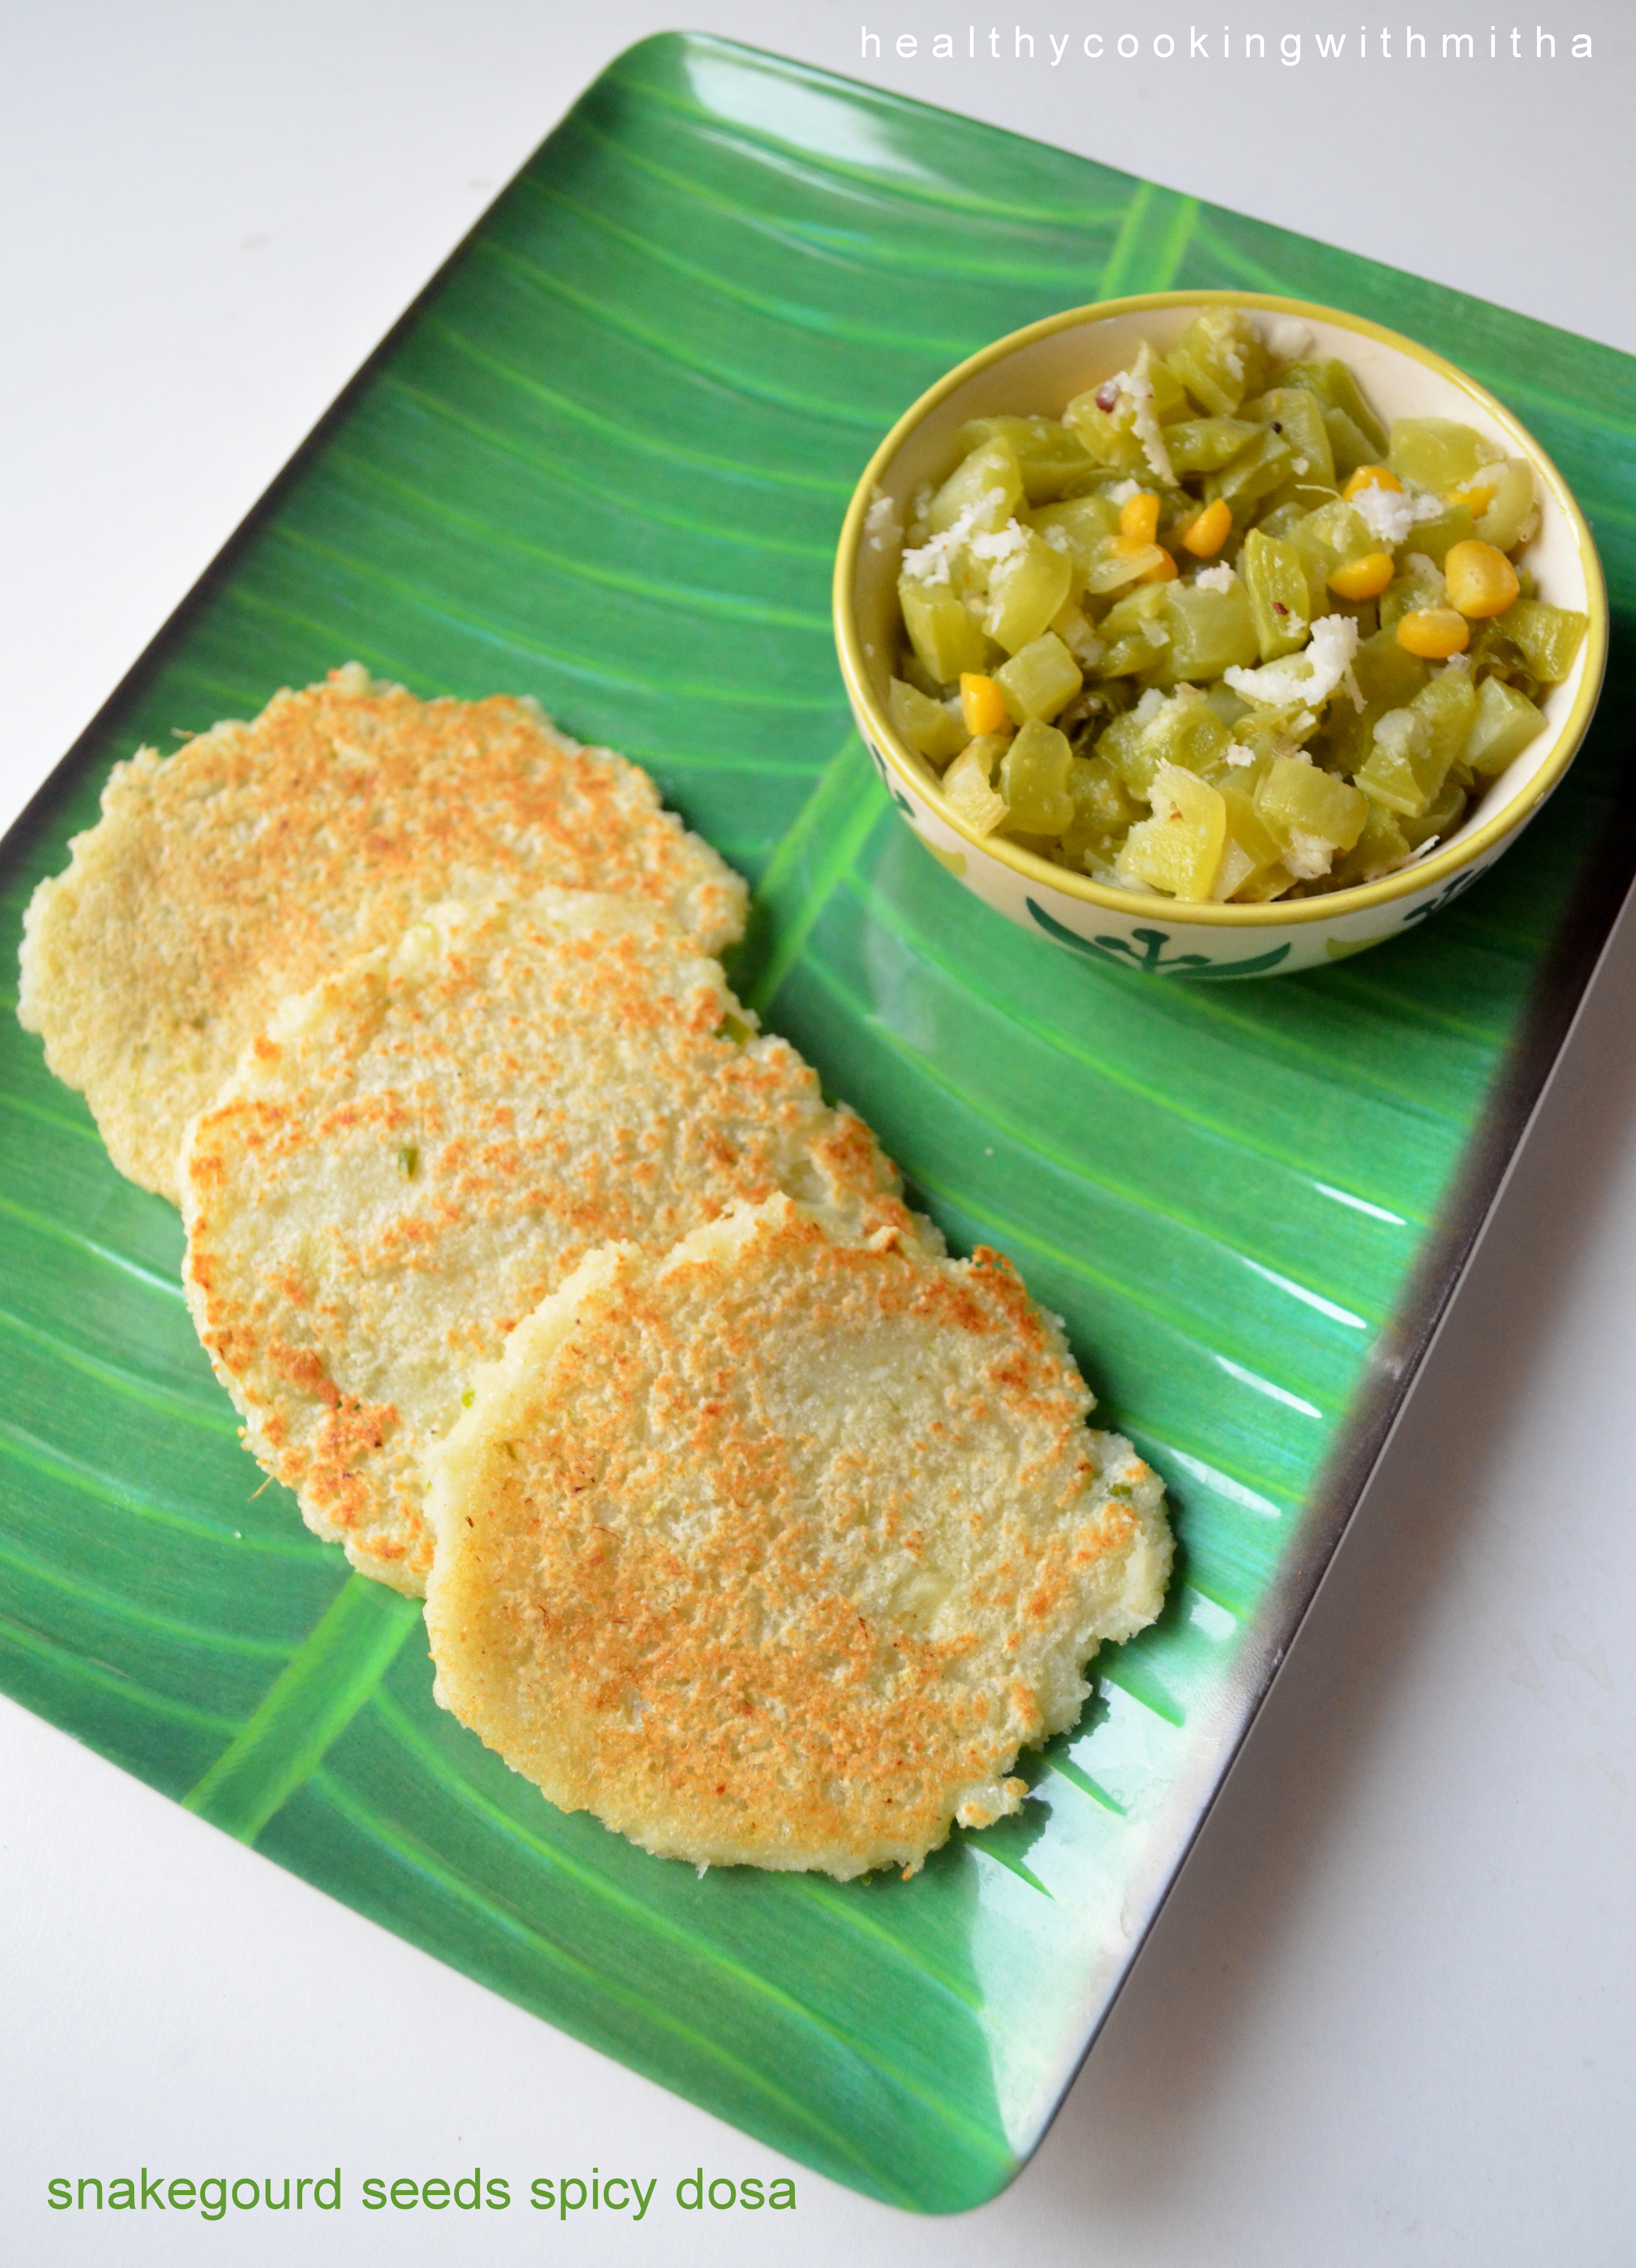
After I posted Ridgegourd skin chutney, it reminded me of another “taste from waste” which my grandmother made regularly. It is these small dosas from the seeds of snake gourds. They are not the dosas that we have for breakfast but had with rice meals and called as sannapolo in Konkani.

There are so many varieties of sannapolos made with onion, cabbage, moringa leaves and many others. Those require soaking and grinding rice and toor dal. But this variety of sannapolo can be made instantly as it uses rava instead.

And anything that can be made instantly becomes instantly my favourite too 😉. What better way to use up the healthy part of this vegetable in a delicious way. A meal of these dosas with upkari and ukde pej (Matta rice congee) becomes a soulful meal for us. Something I can never get tired of. ❤️

Hope you all try this and love it like we do. Happy and healthy cooking!

RECIPE:

Ingredients:

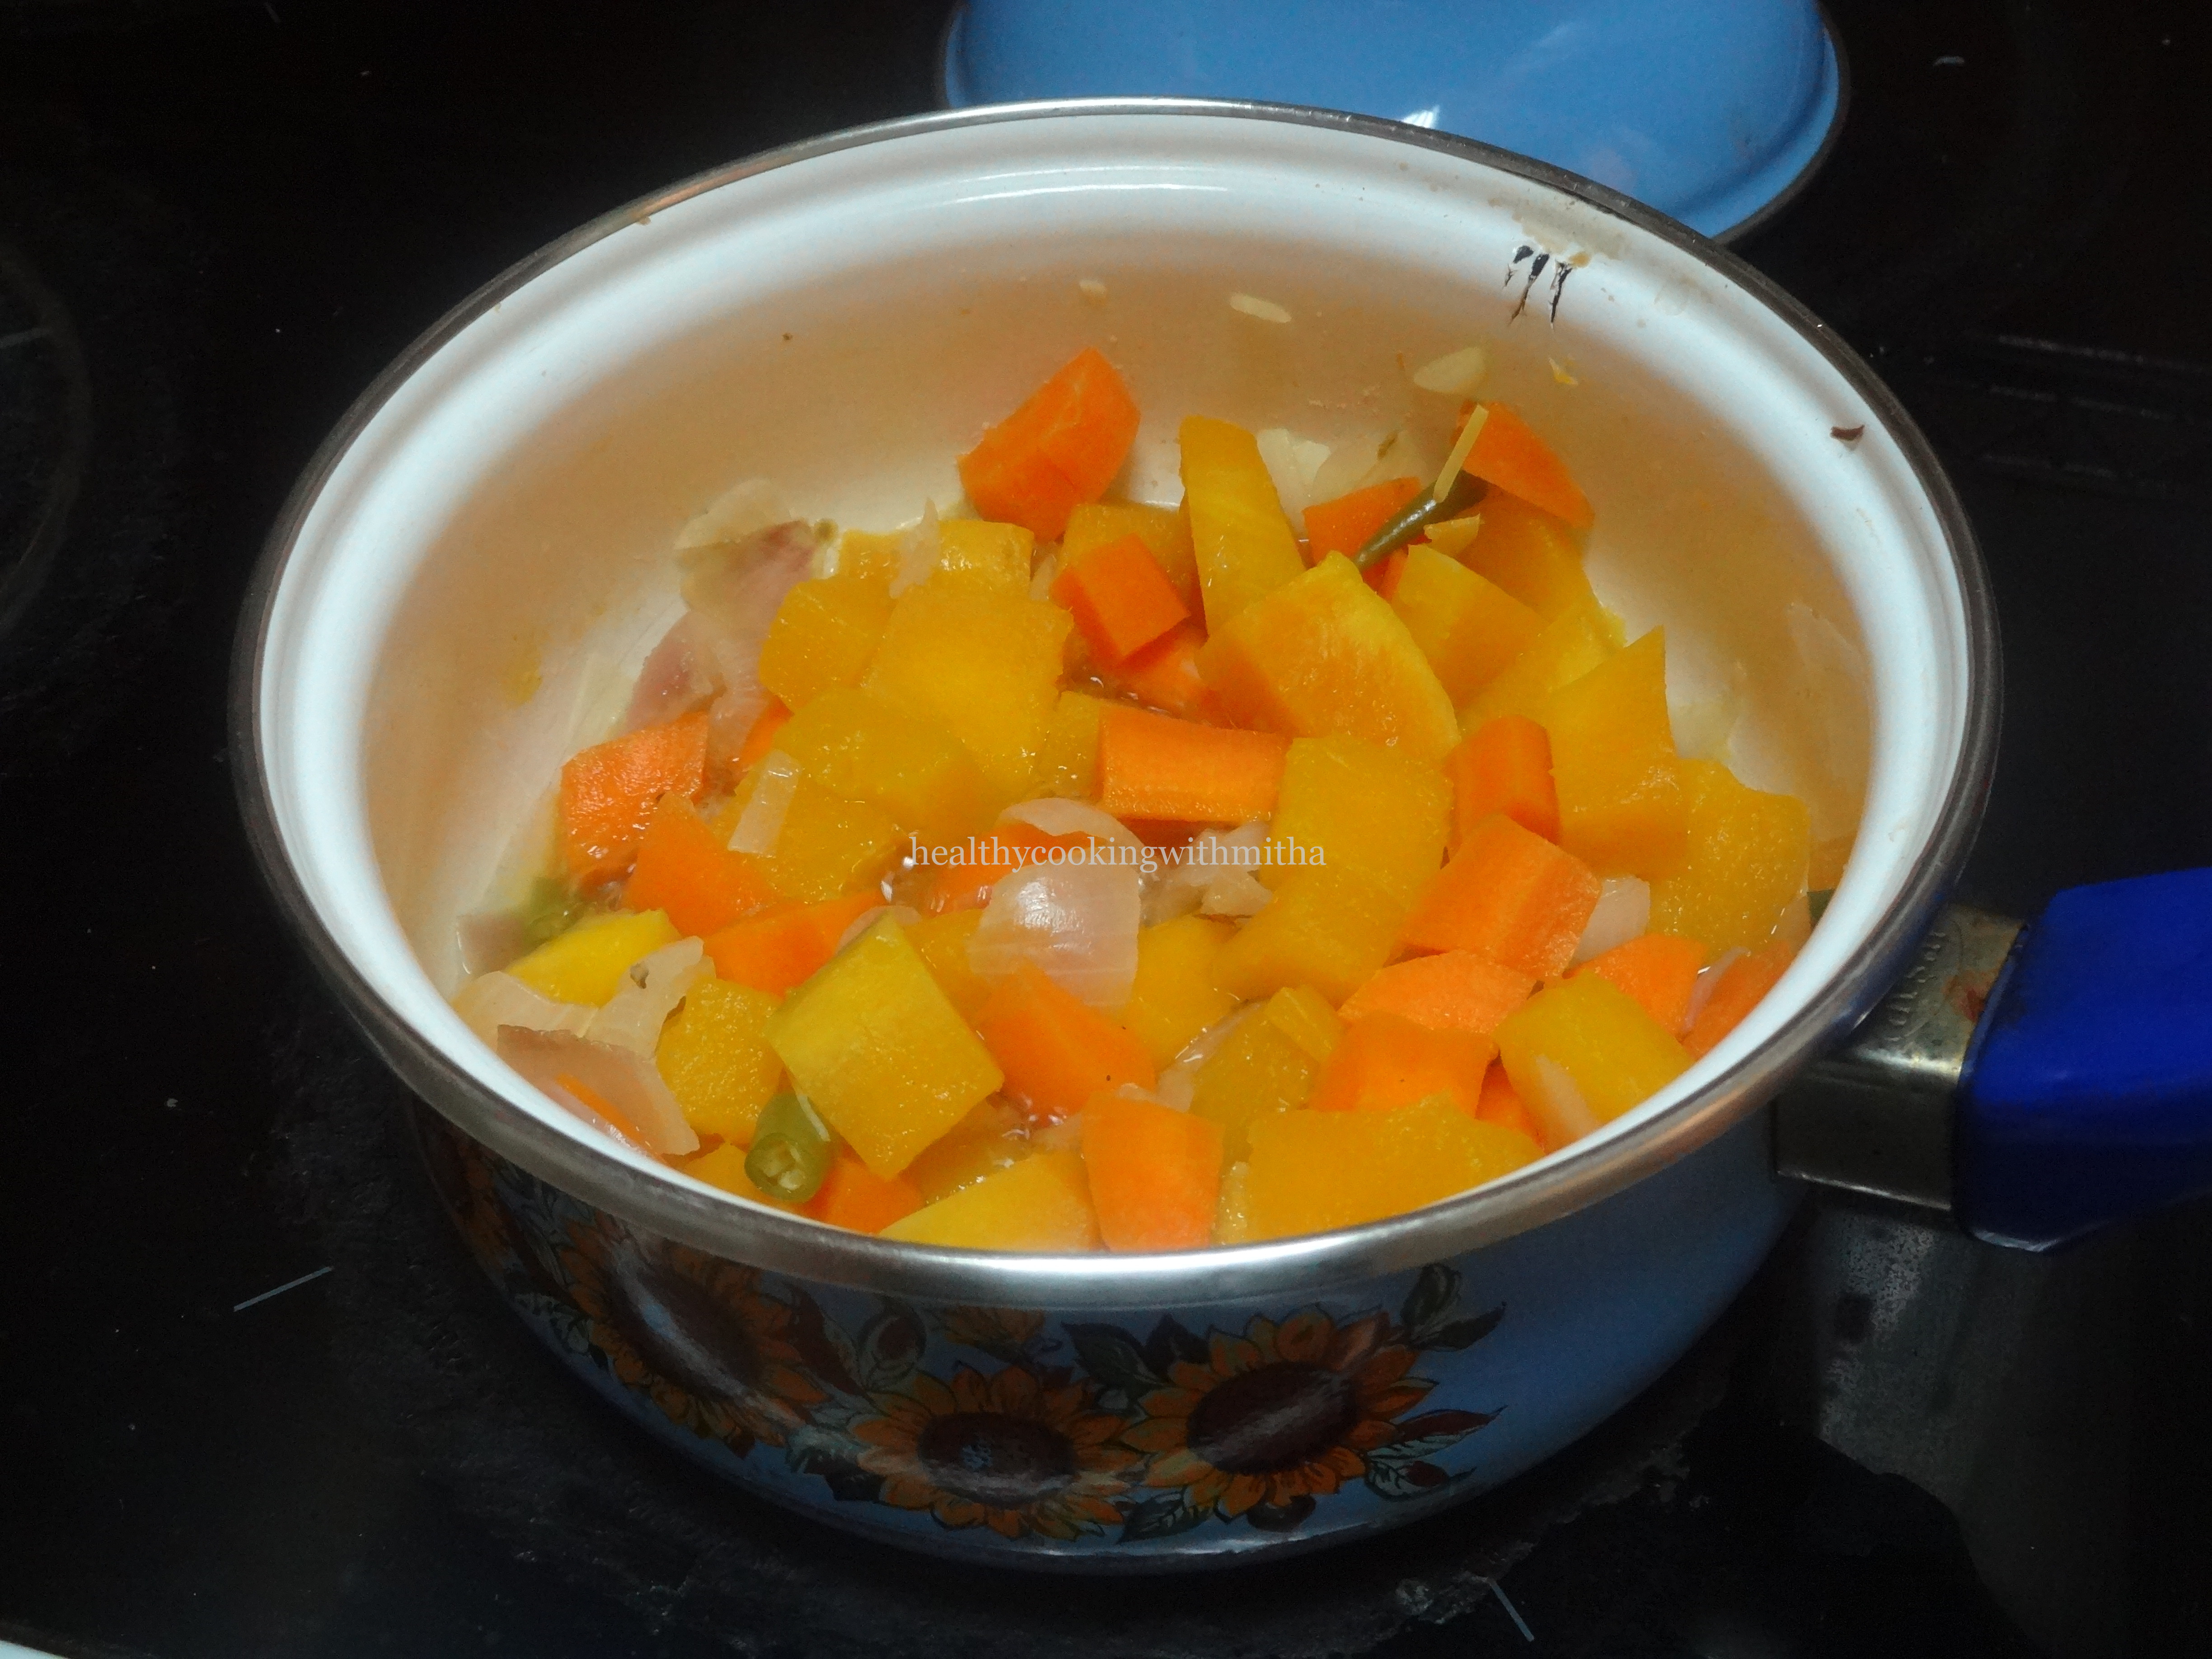
3/4 Cup Snake gourds seeds (I took the core of two regular sized snakegourds)

1/2 inch Ginger piece

3 Green chillies

1/2 Cup Coconut (fresh or desiccated)

1 Cup Rava or Semolina

Salt to taste

Coconut oil to cook the dosa

Step by step recipe:

1. * Wash the snake gourd well and scrape the white skin with a knife.

* Then slice lengthwise and remove the core. Keep it aside.

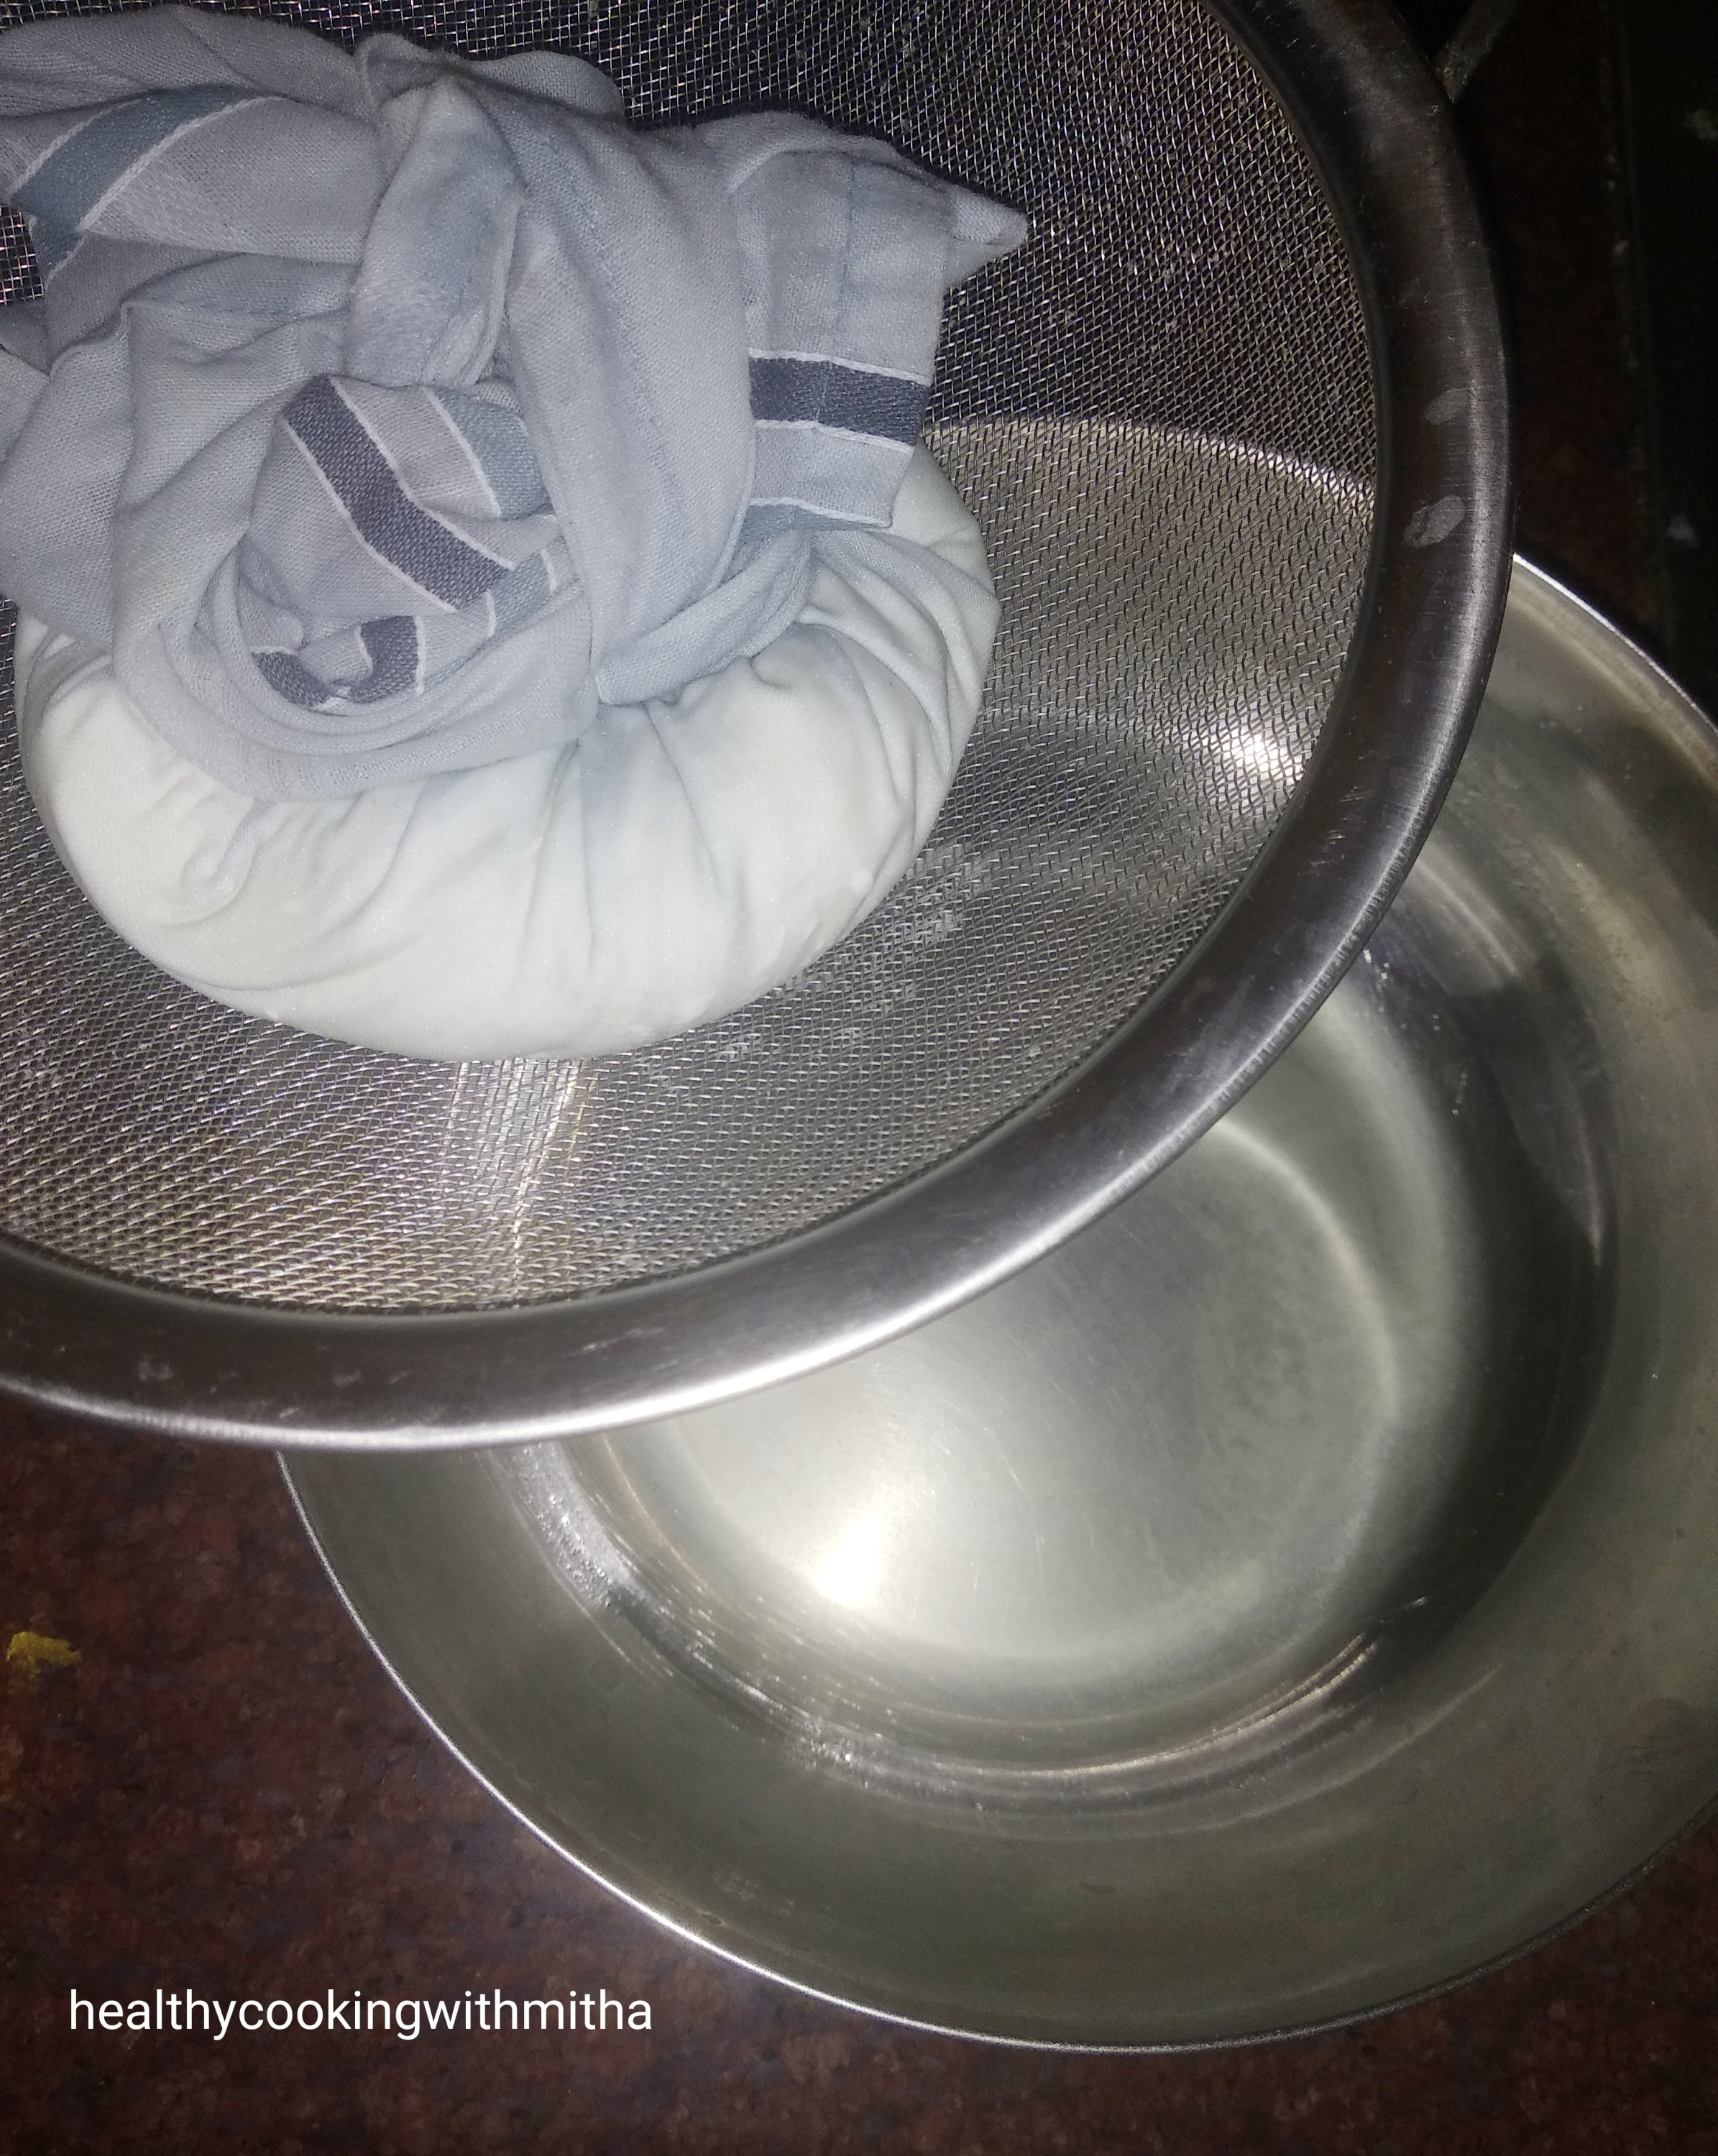
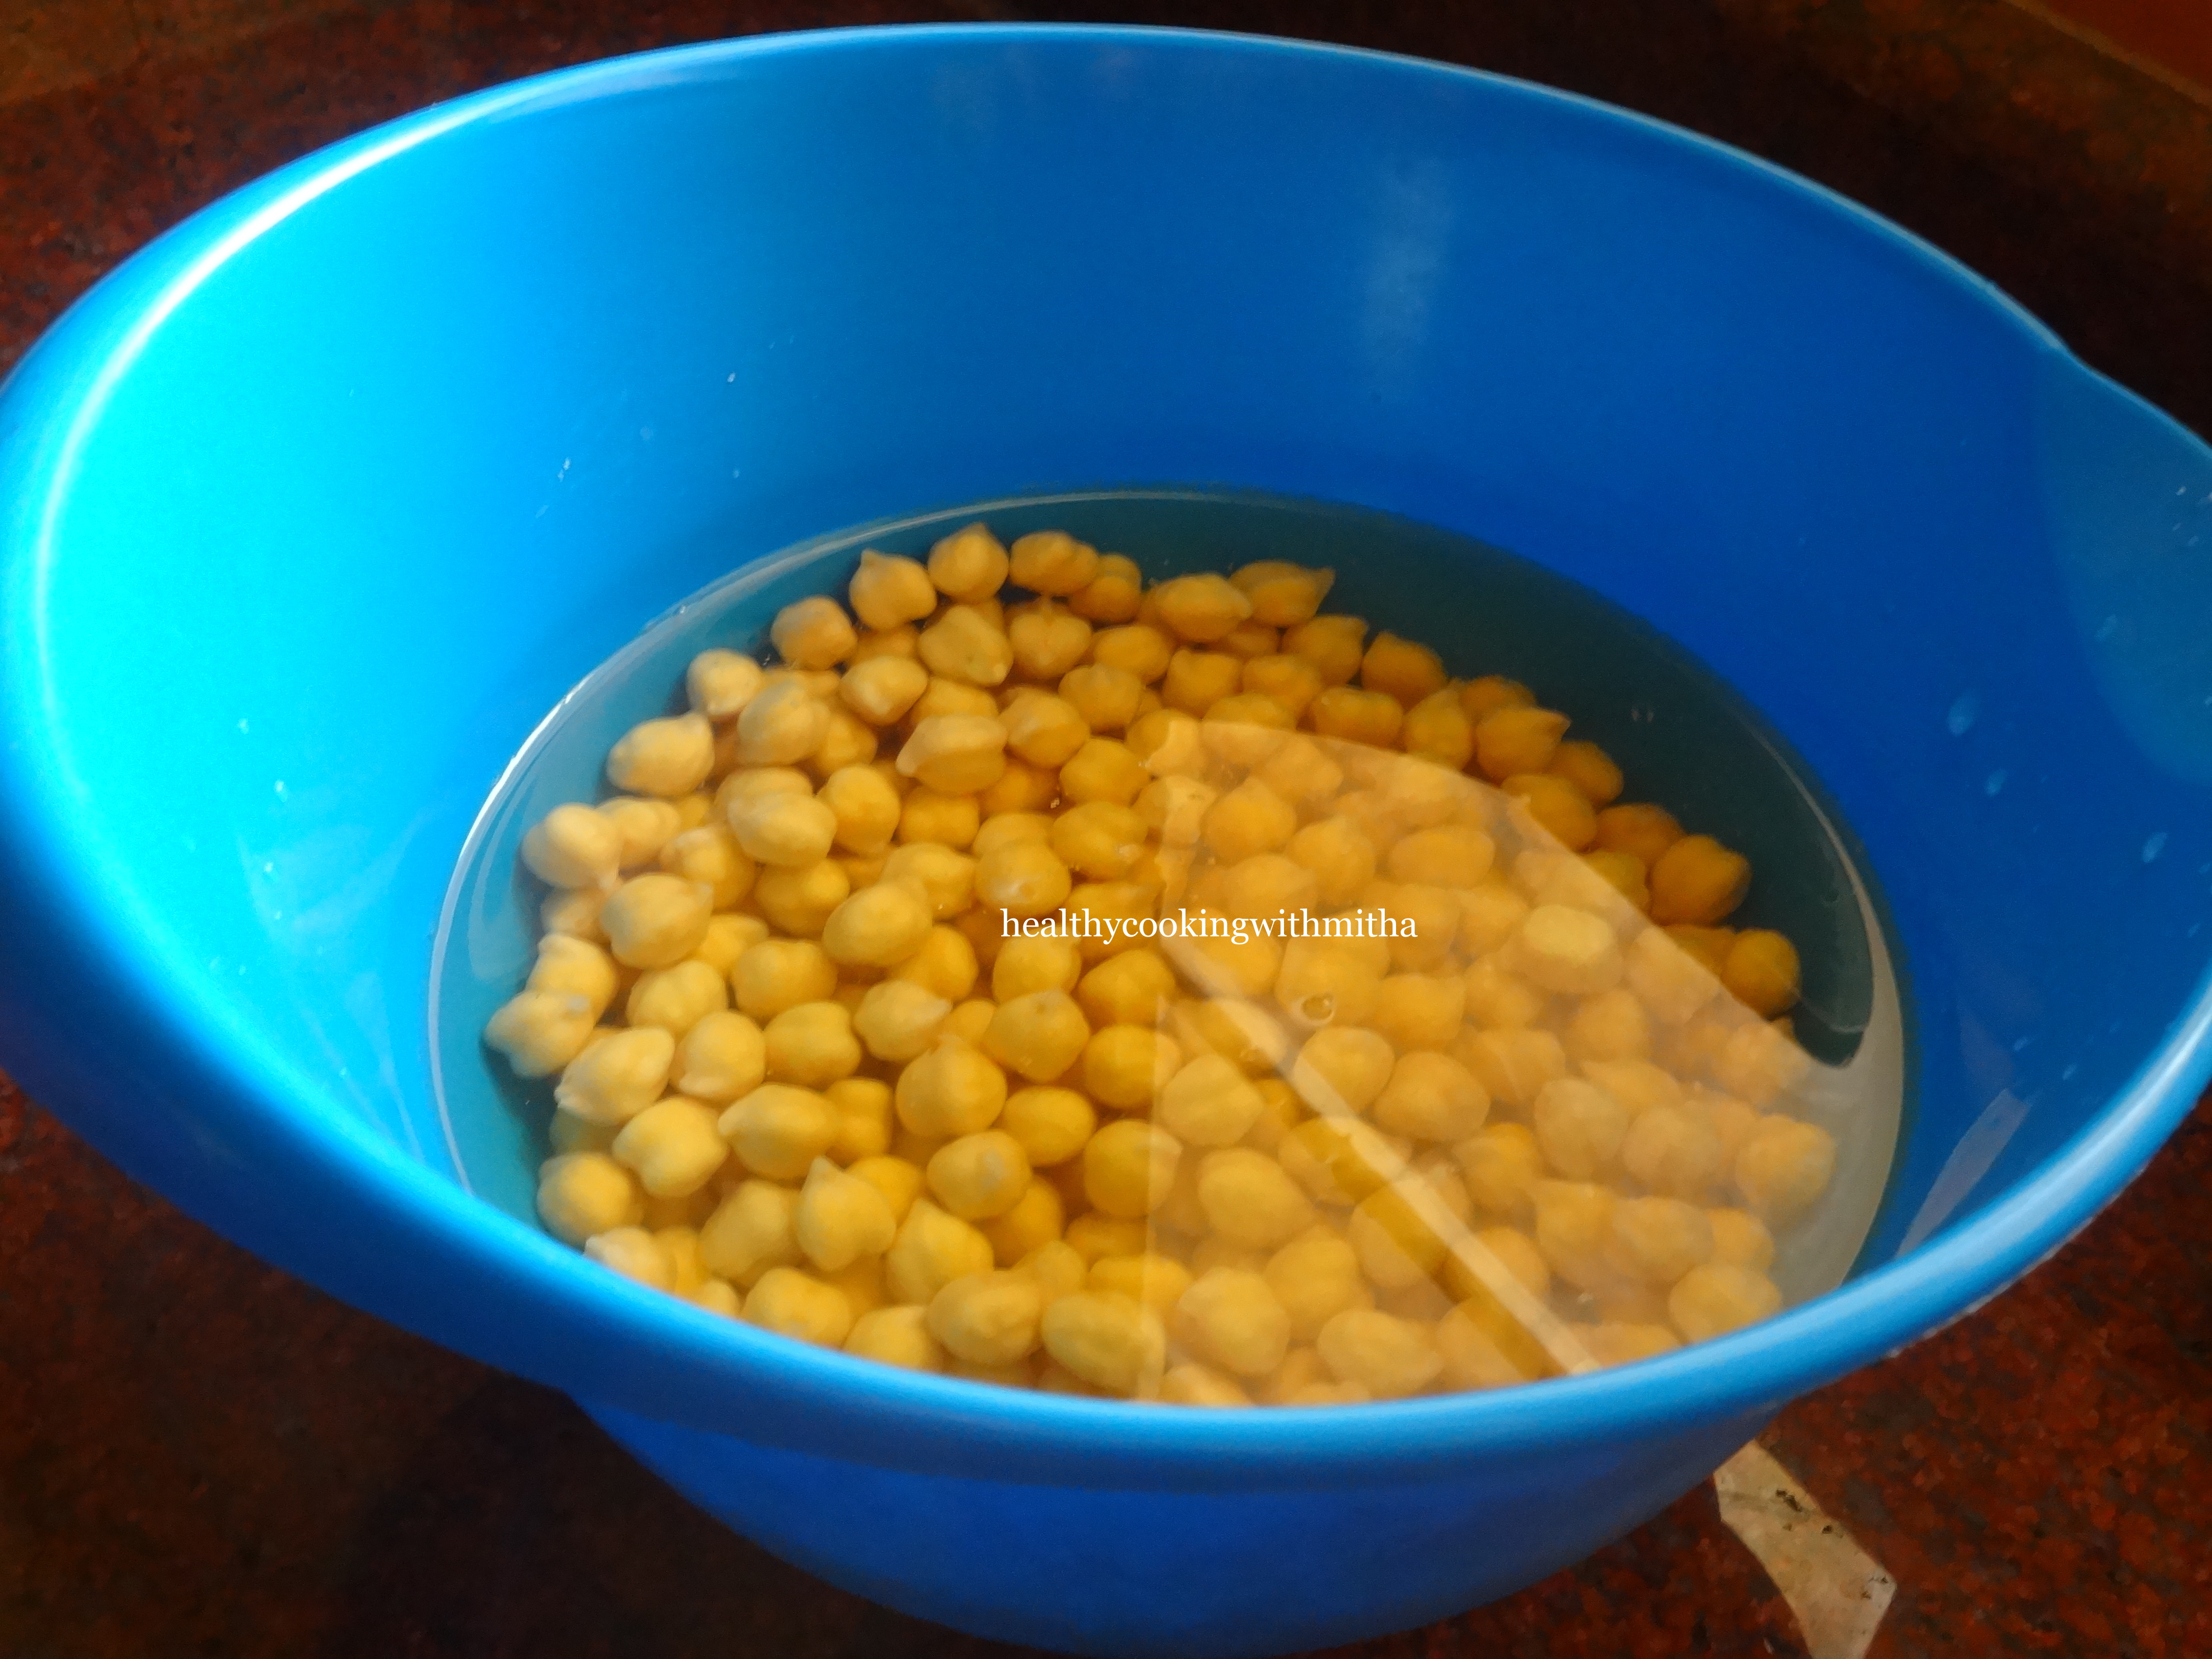
* Chop the snakegourds to small pieces and keep it in another bowl to make Upkari. (Will share the recipe in notes) Soak 1/4 Cup chana dal for the Upkari for about 30 mins.

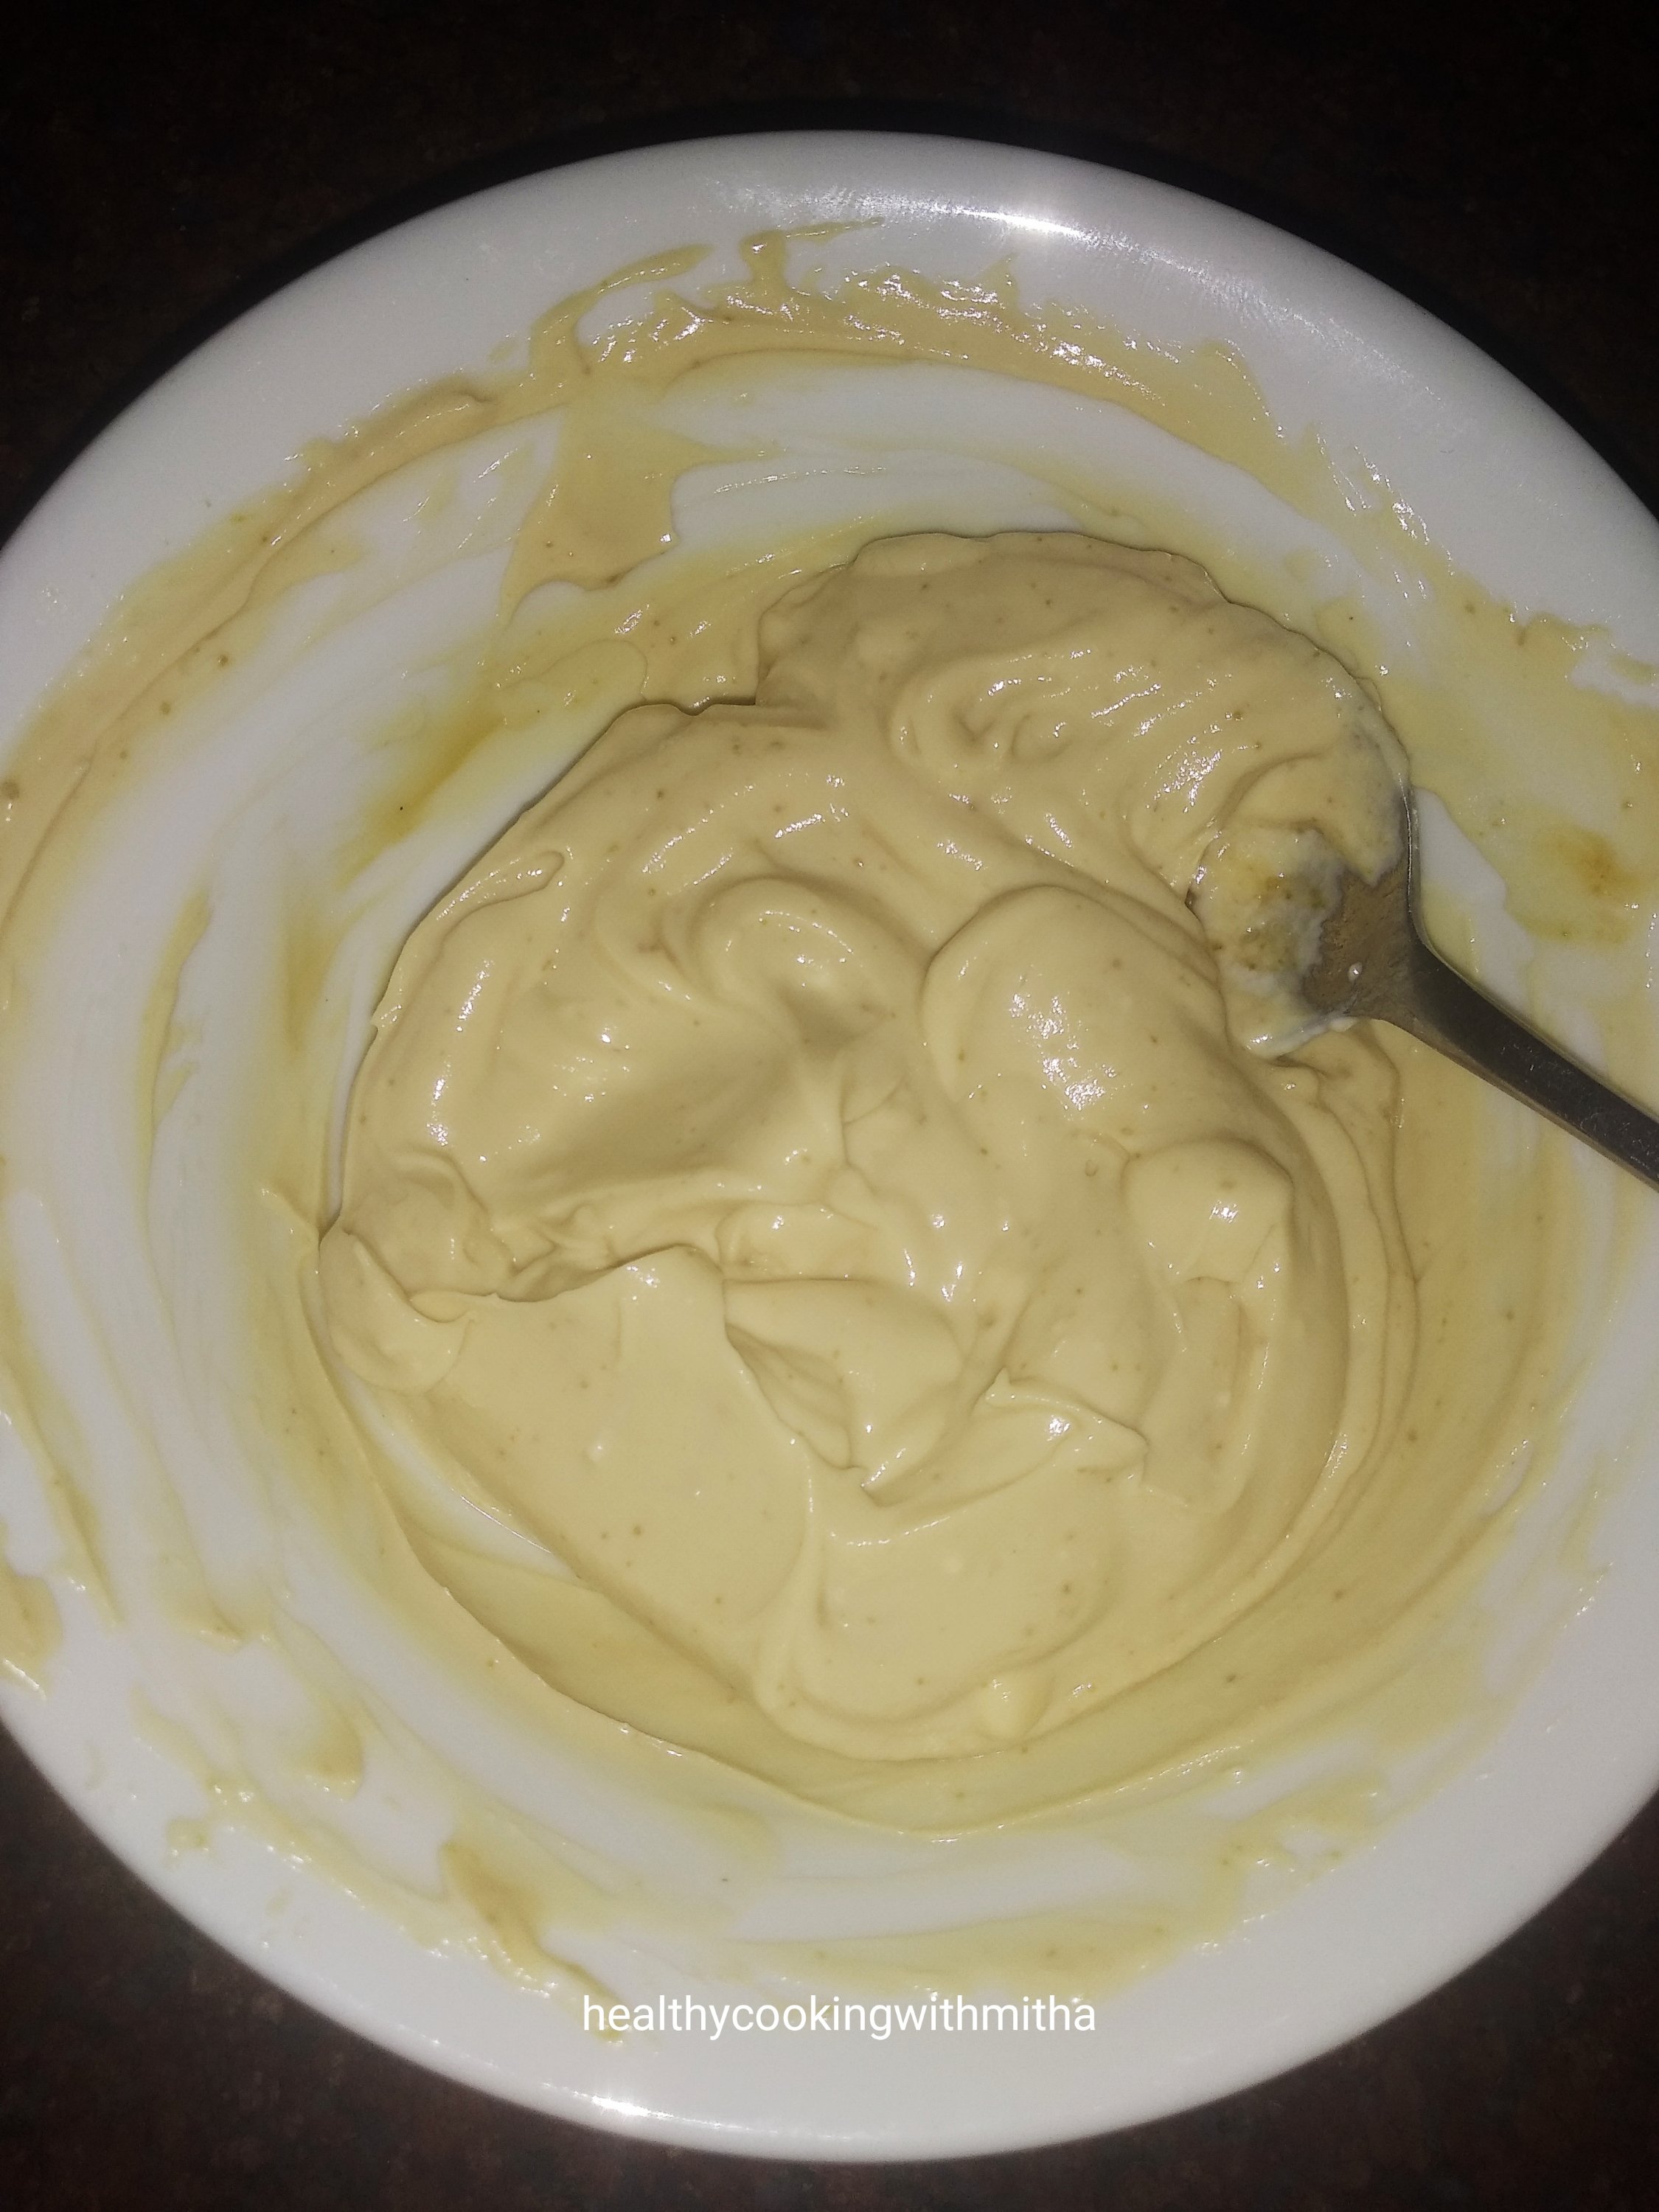
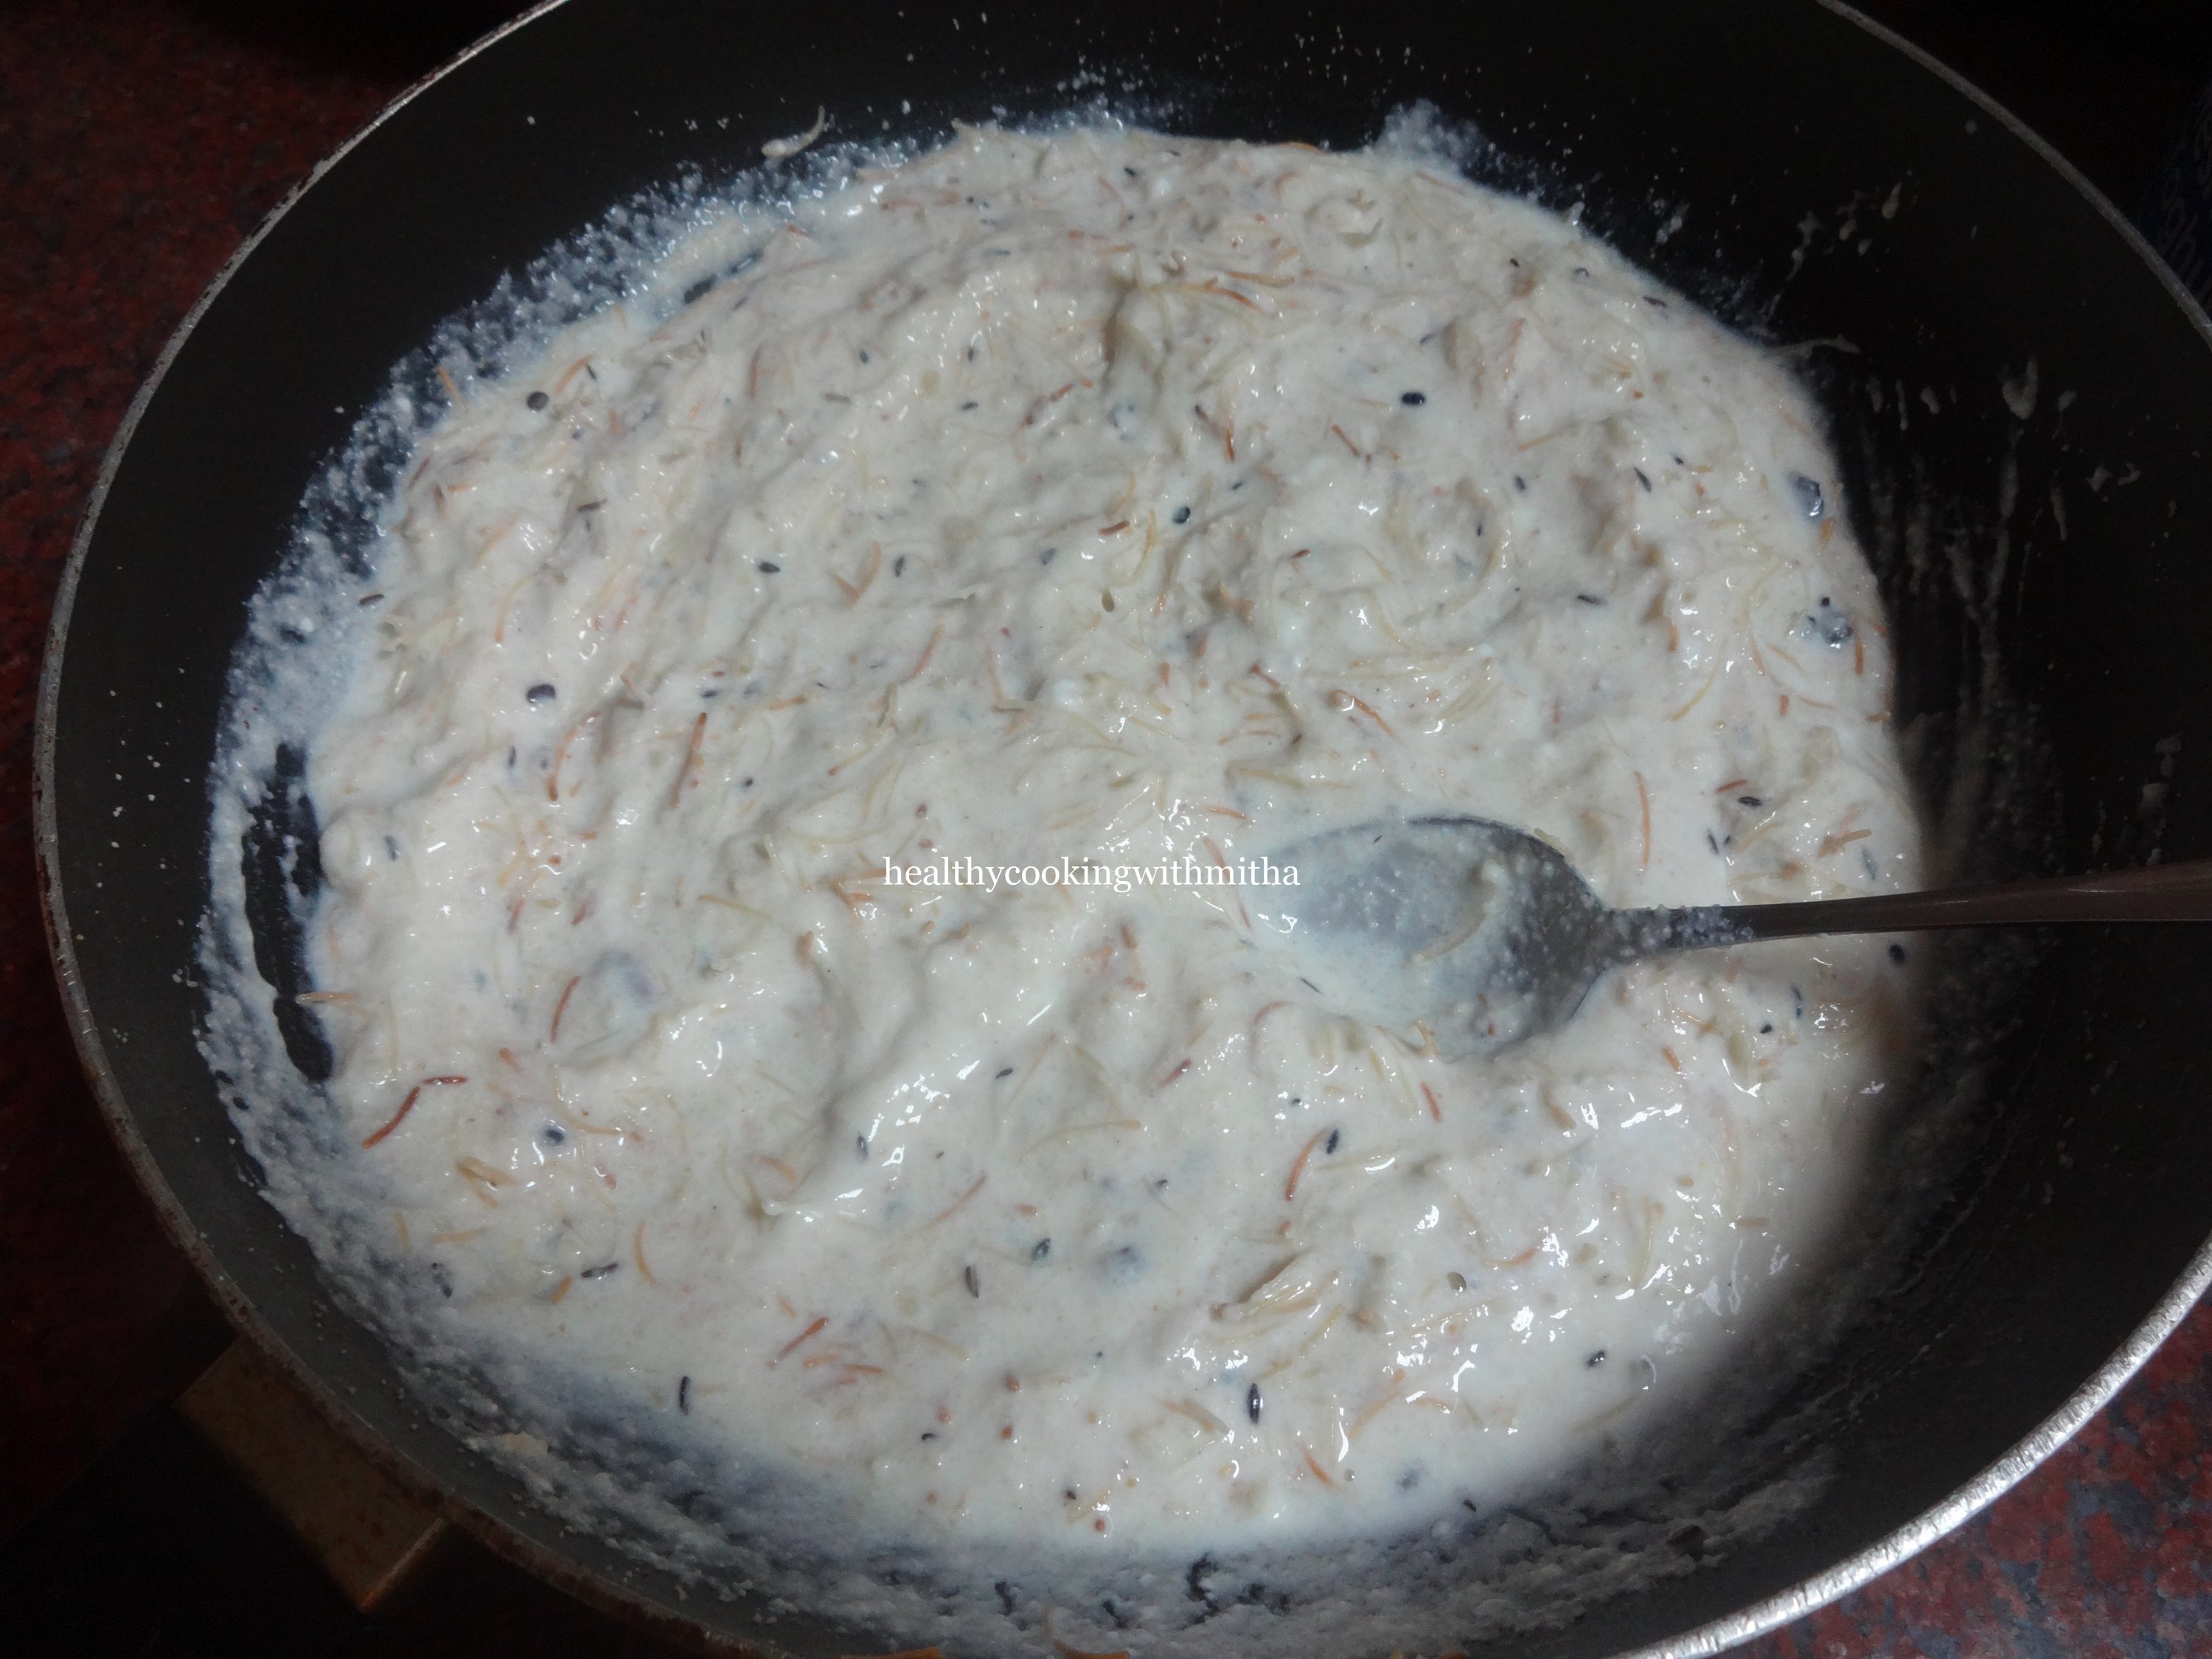
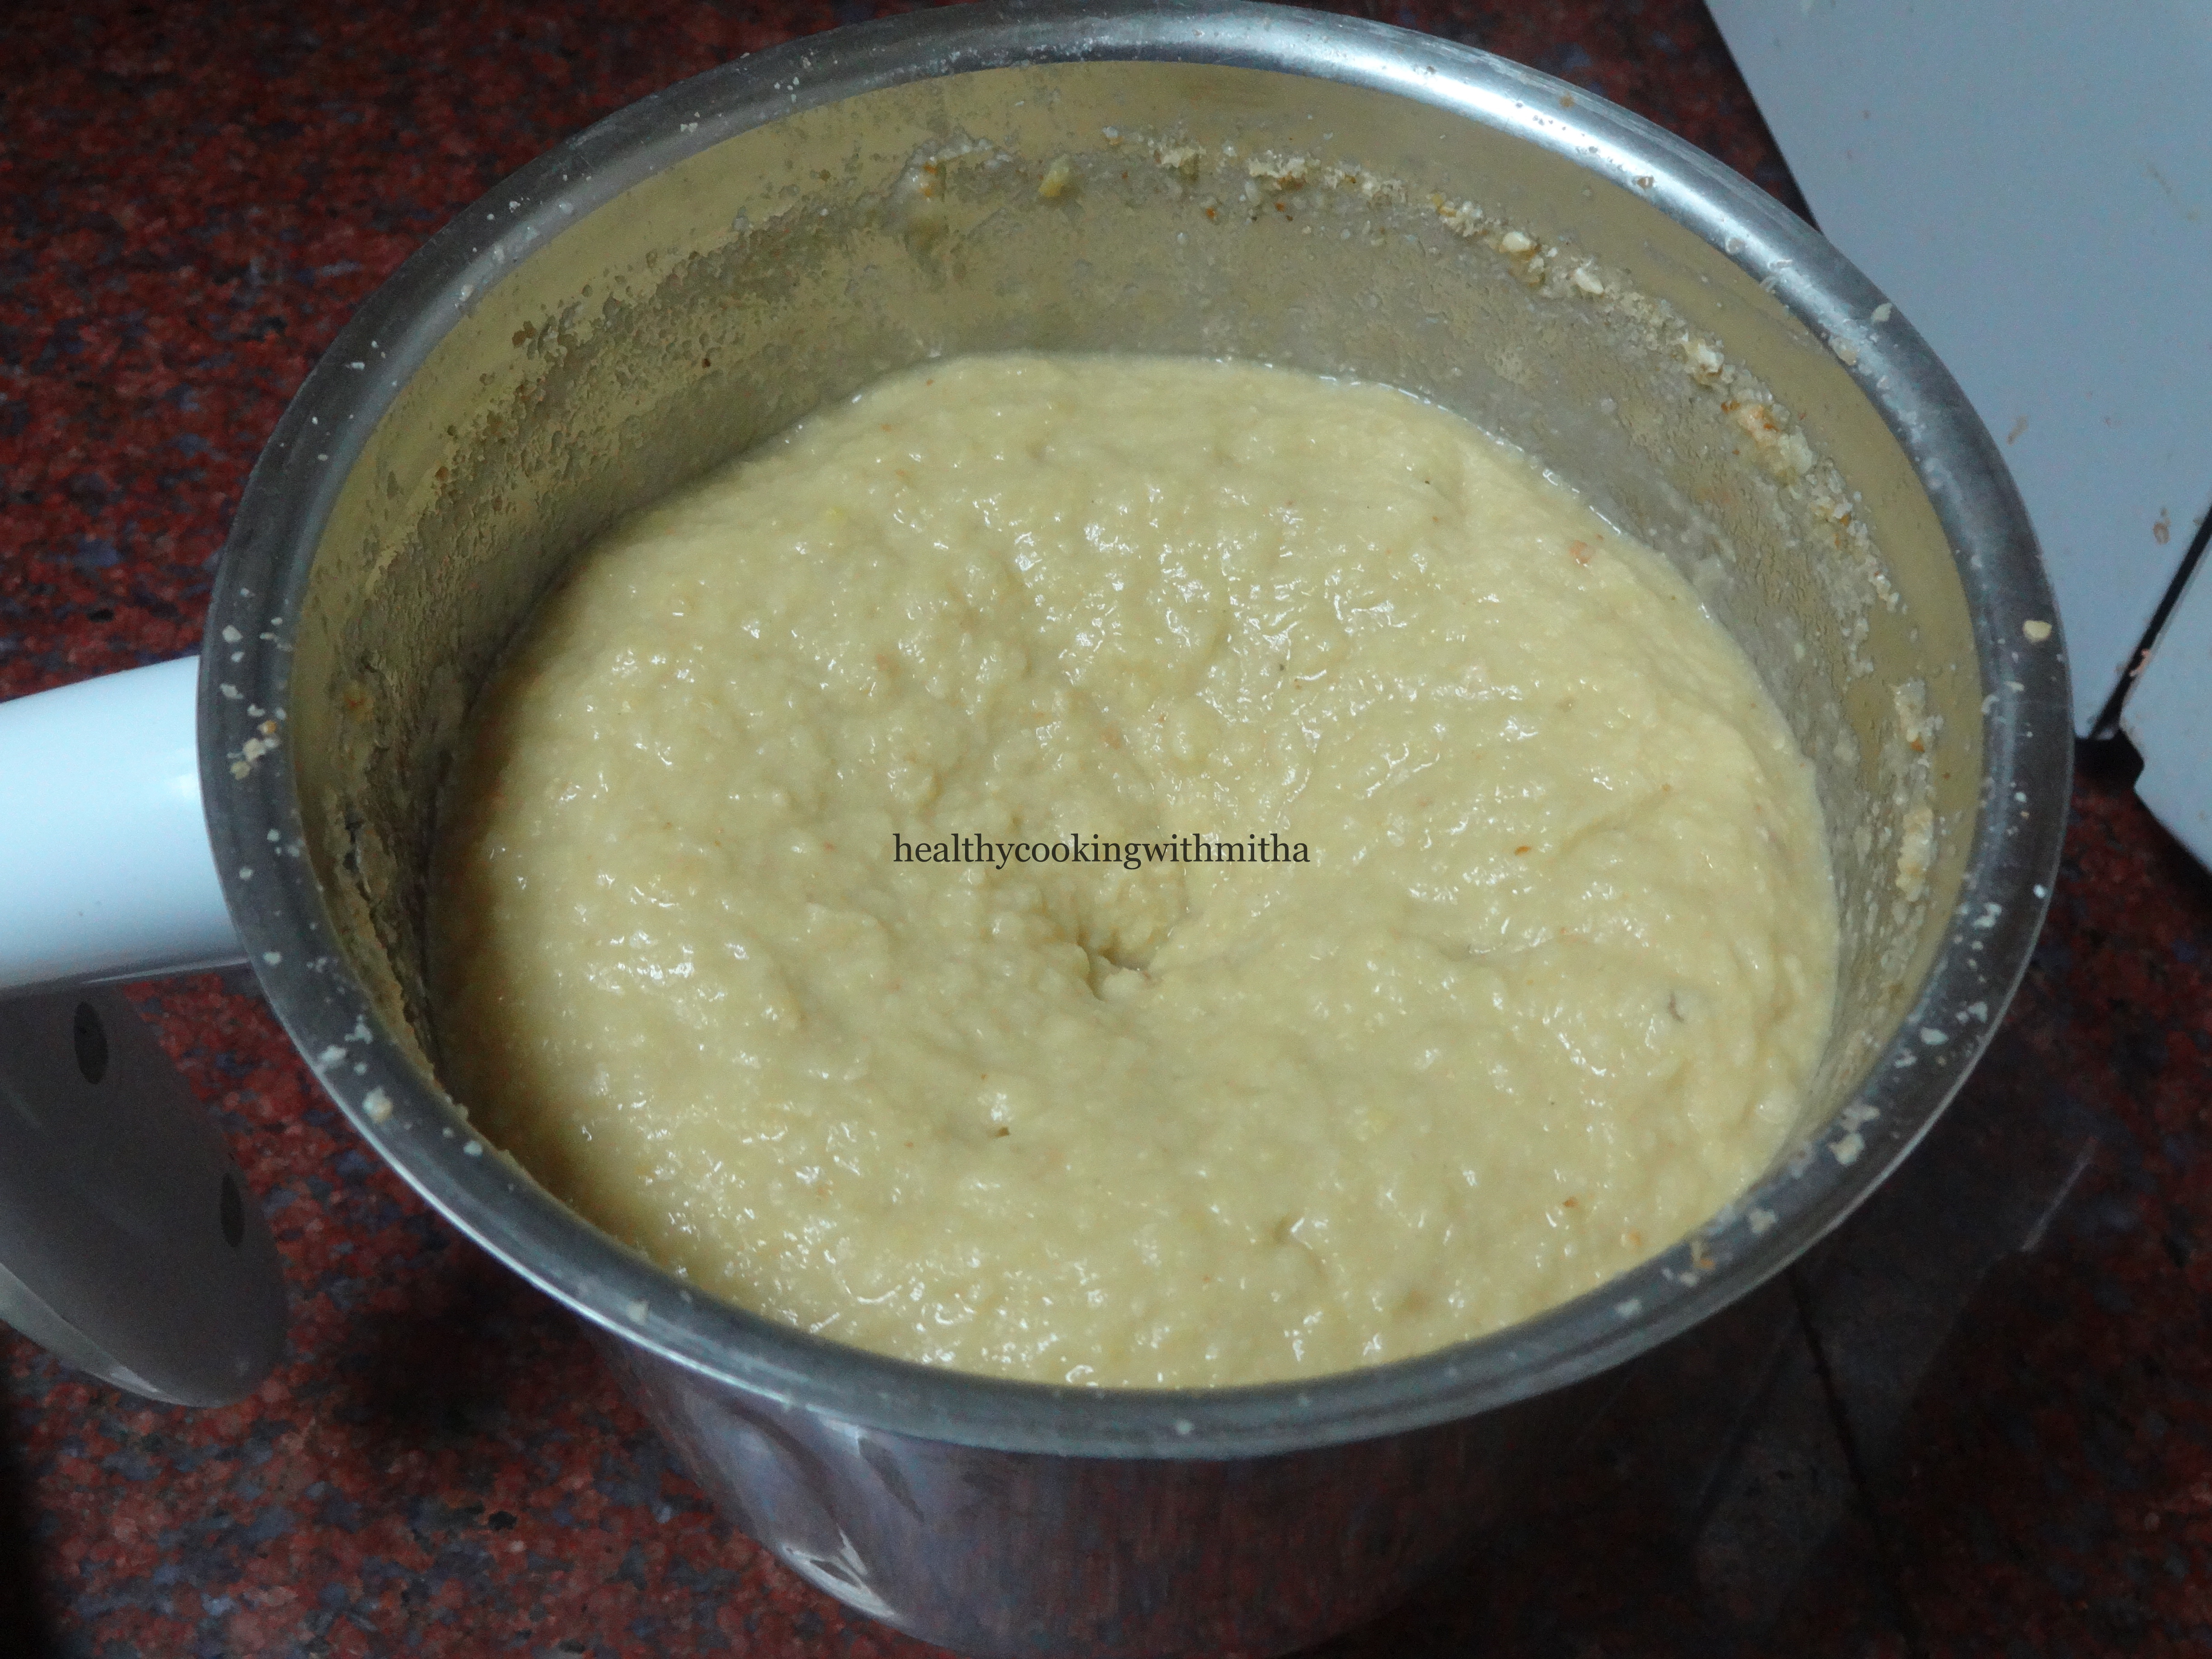
2. For the spicy dosa or sannapolo, grind the seeds along with coconut, ginger and green chillies to a slightly coarse paste.

Note: Don’t grind too much or it can taste bitter. Just pulse two to three times so that the seeds are crushed.

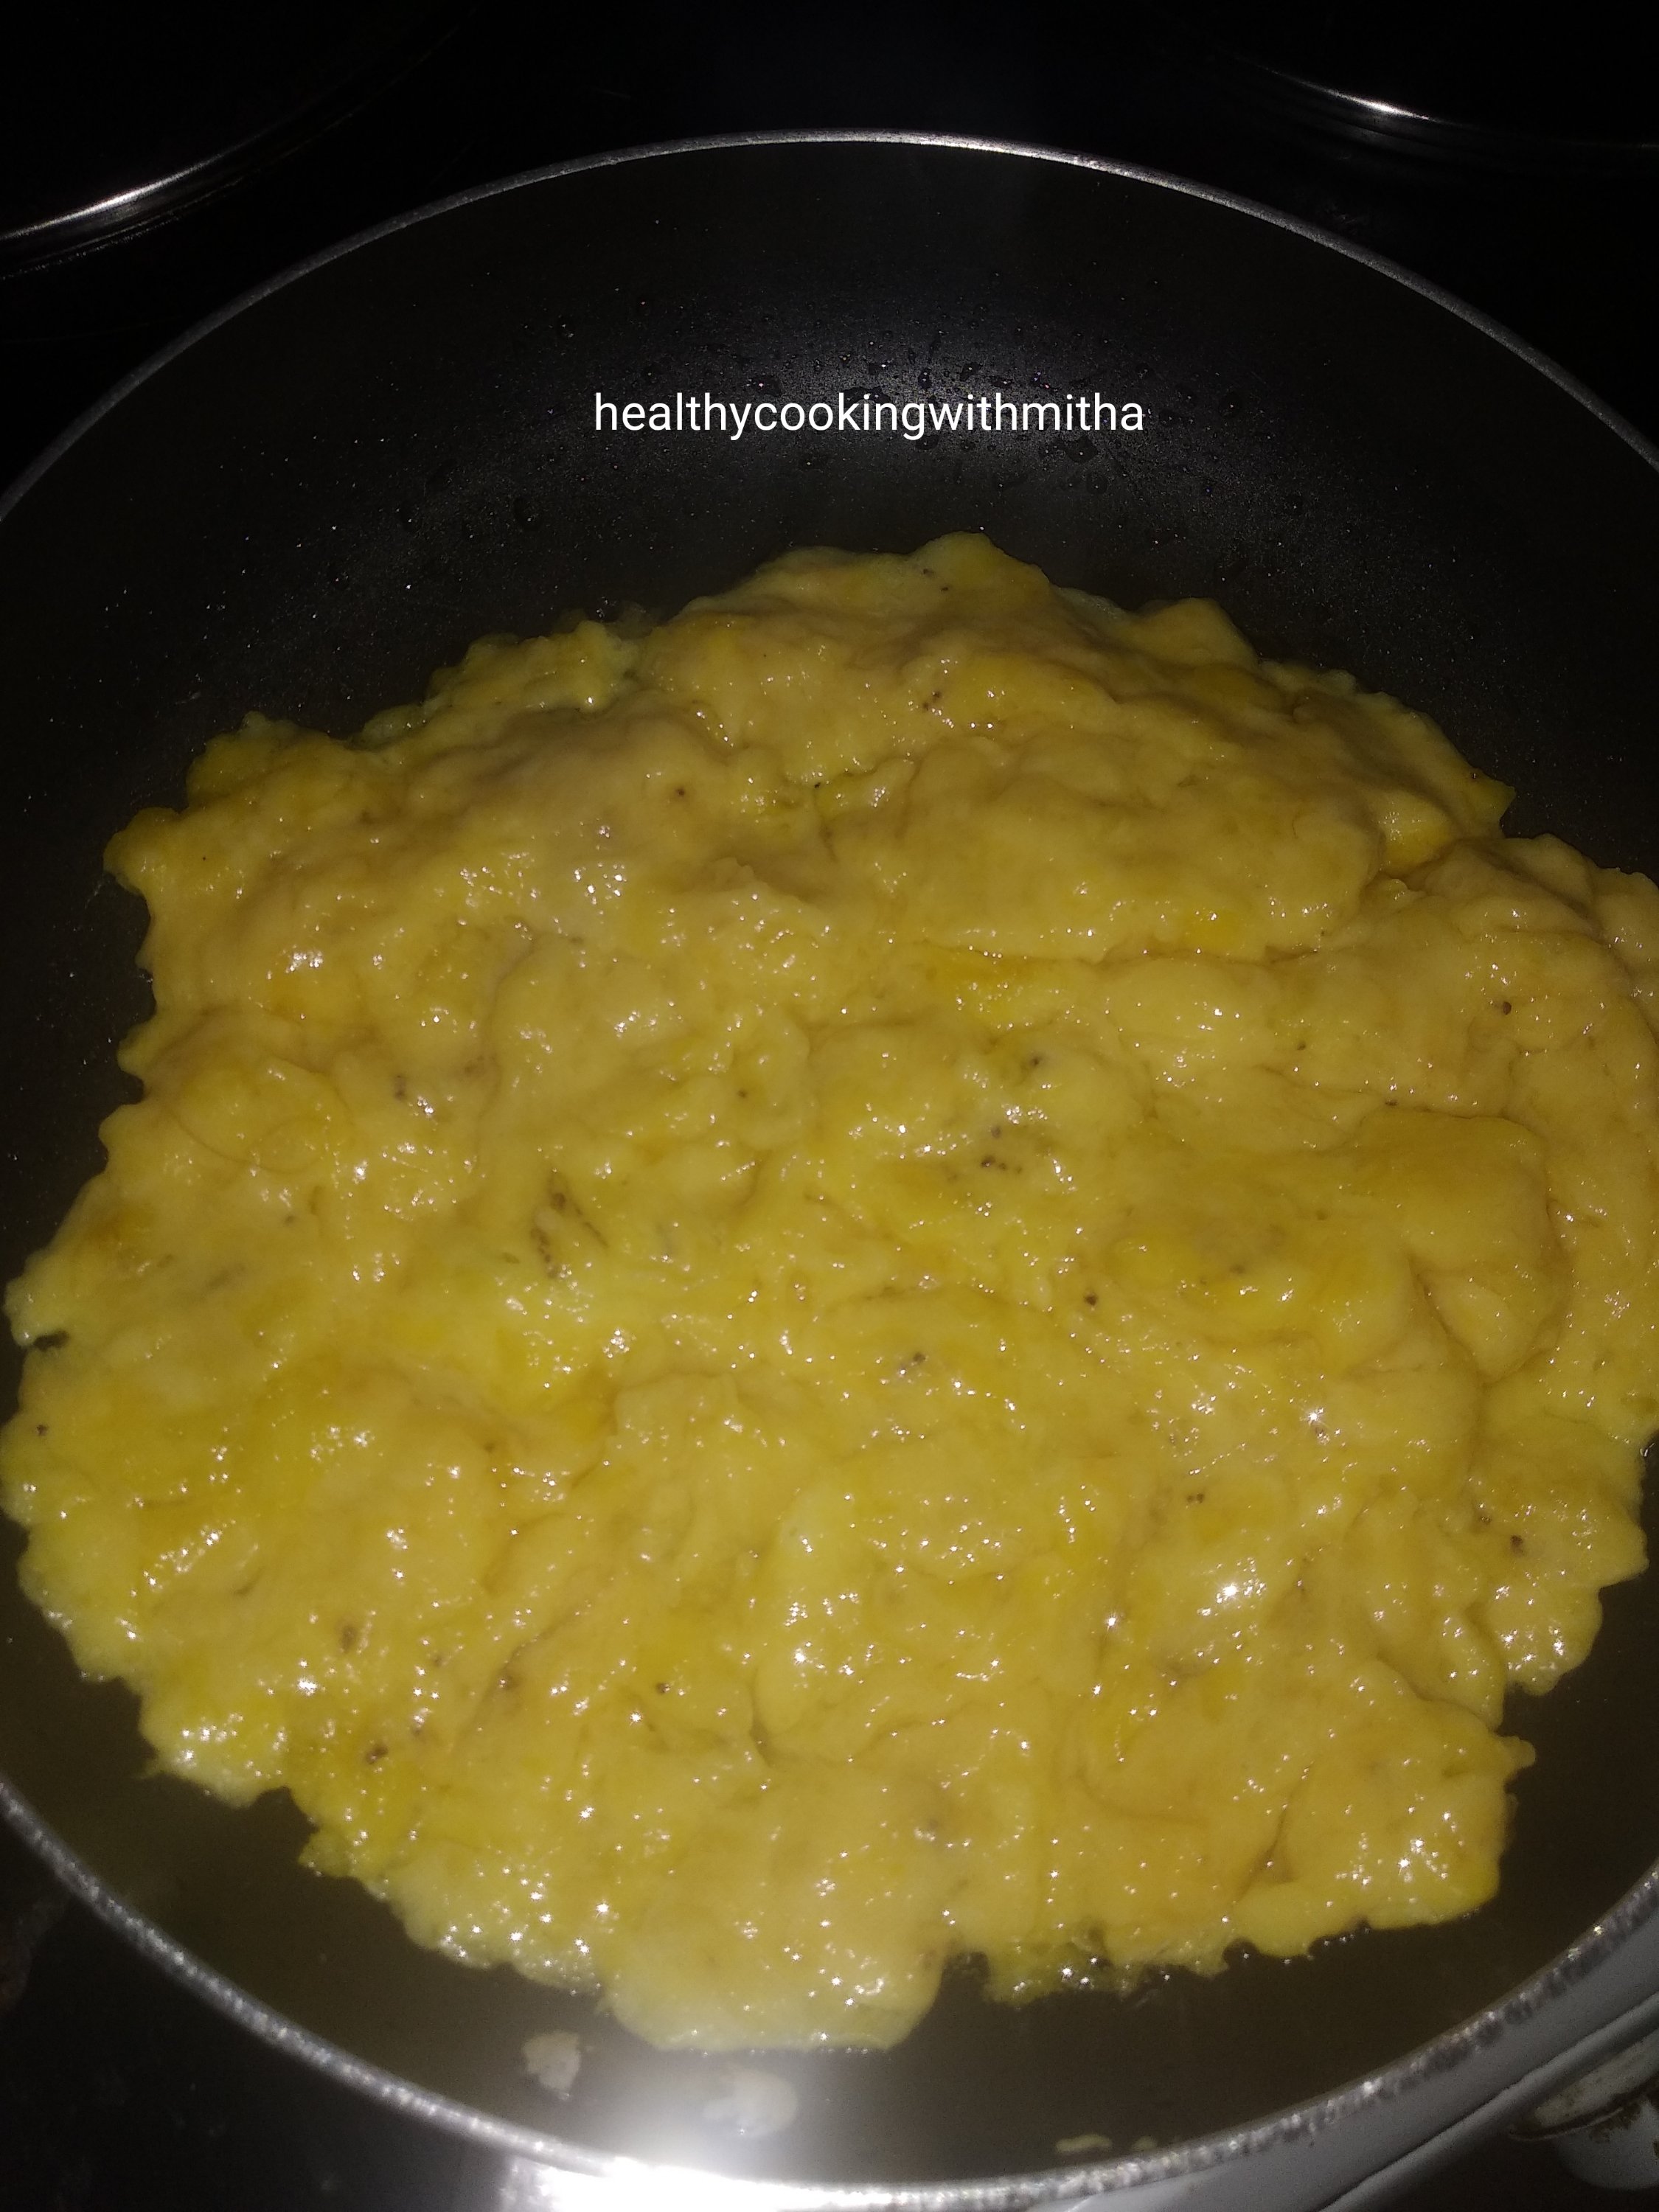
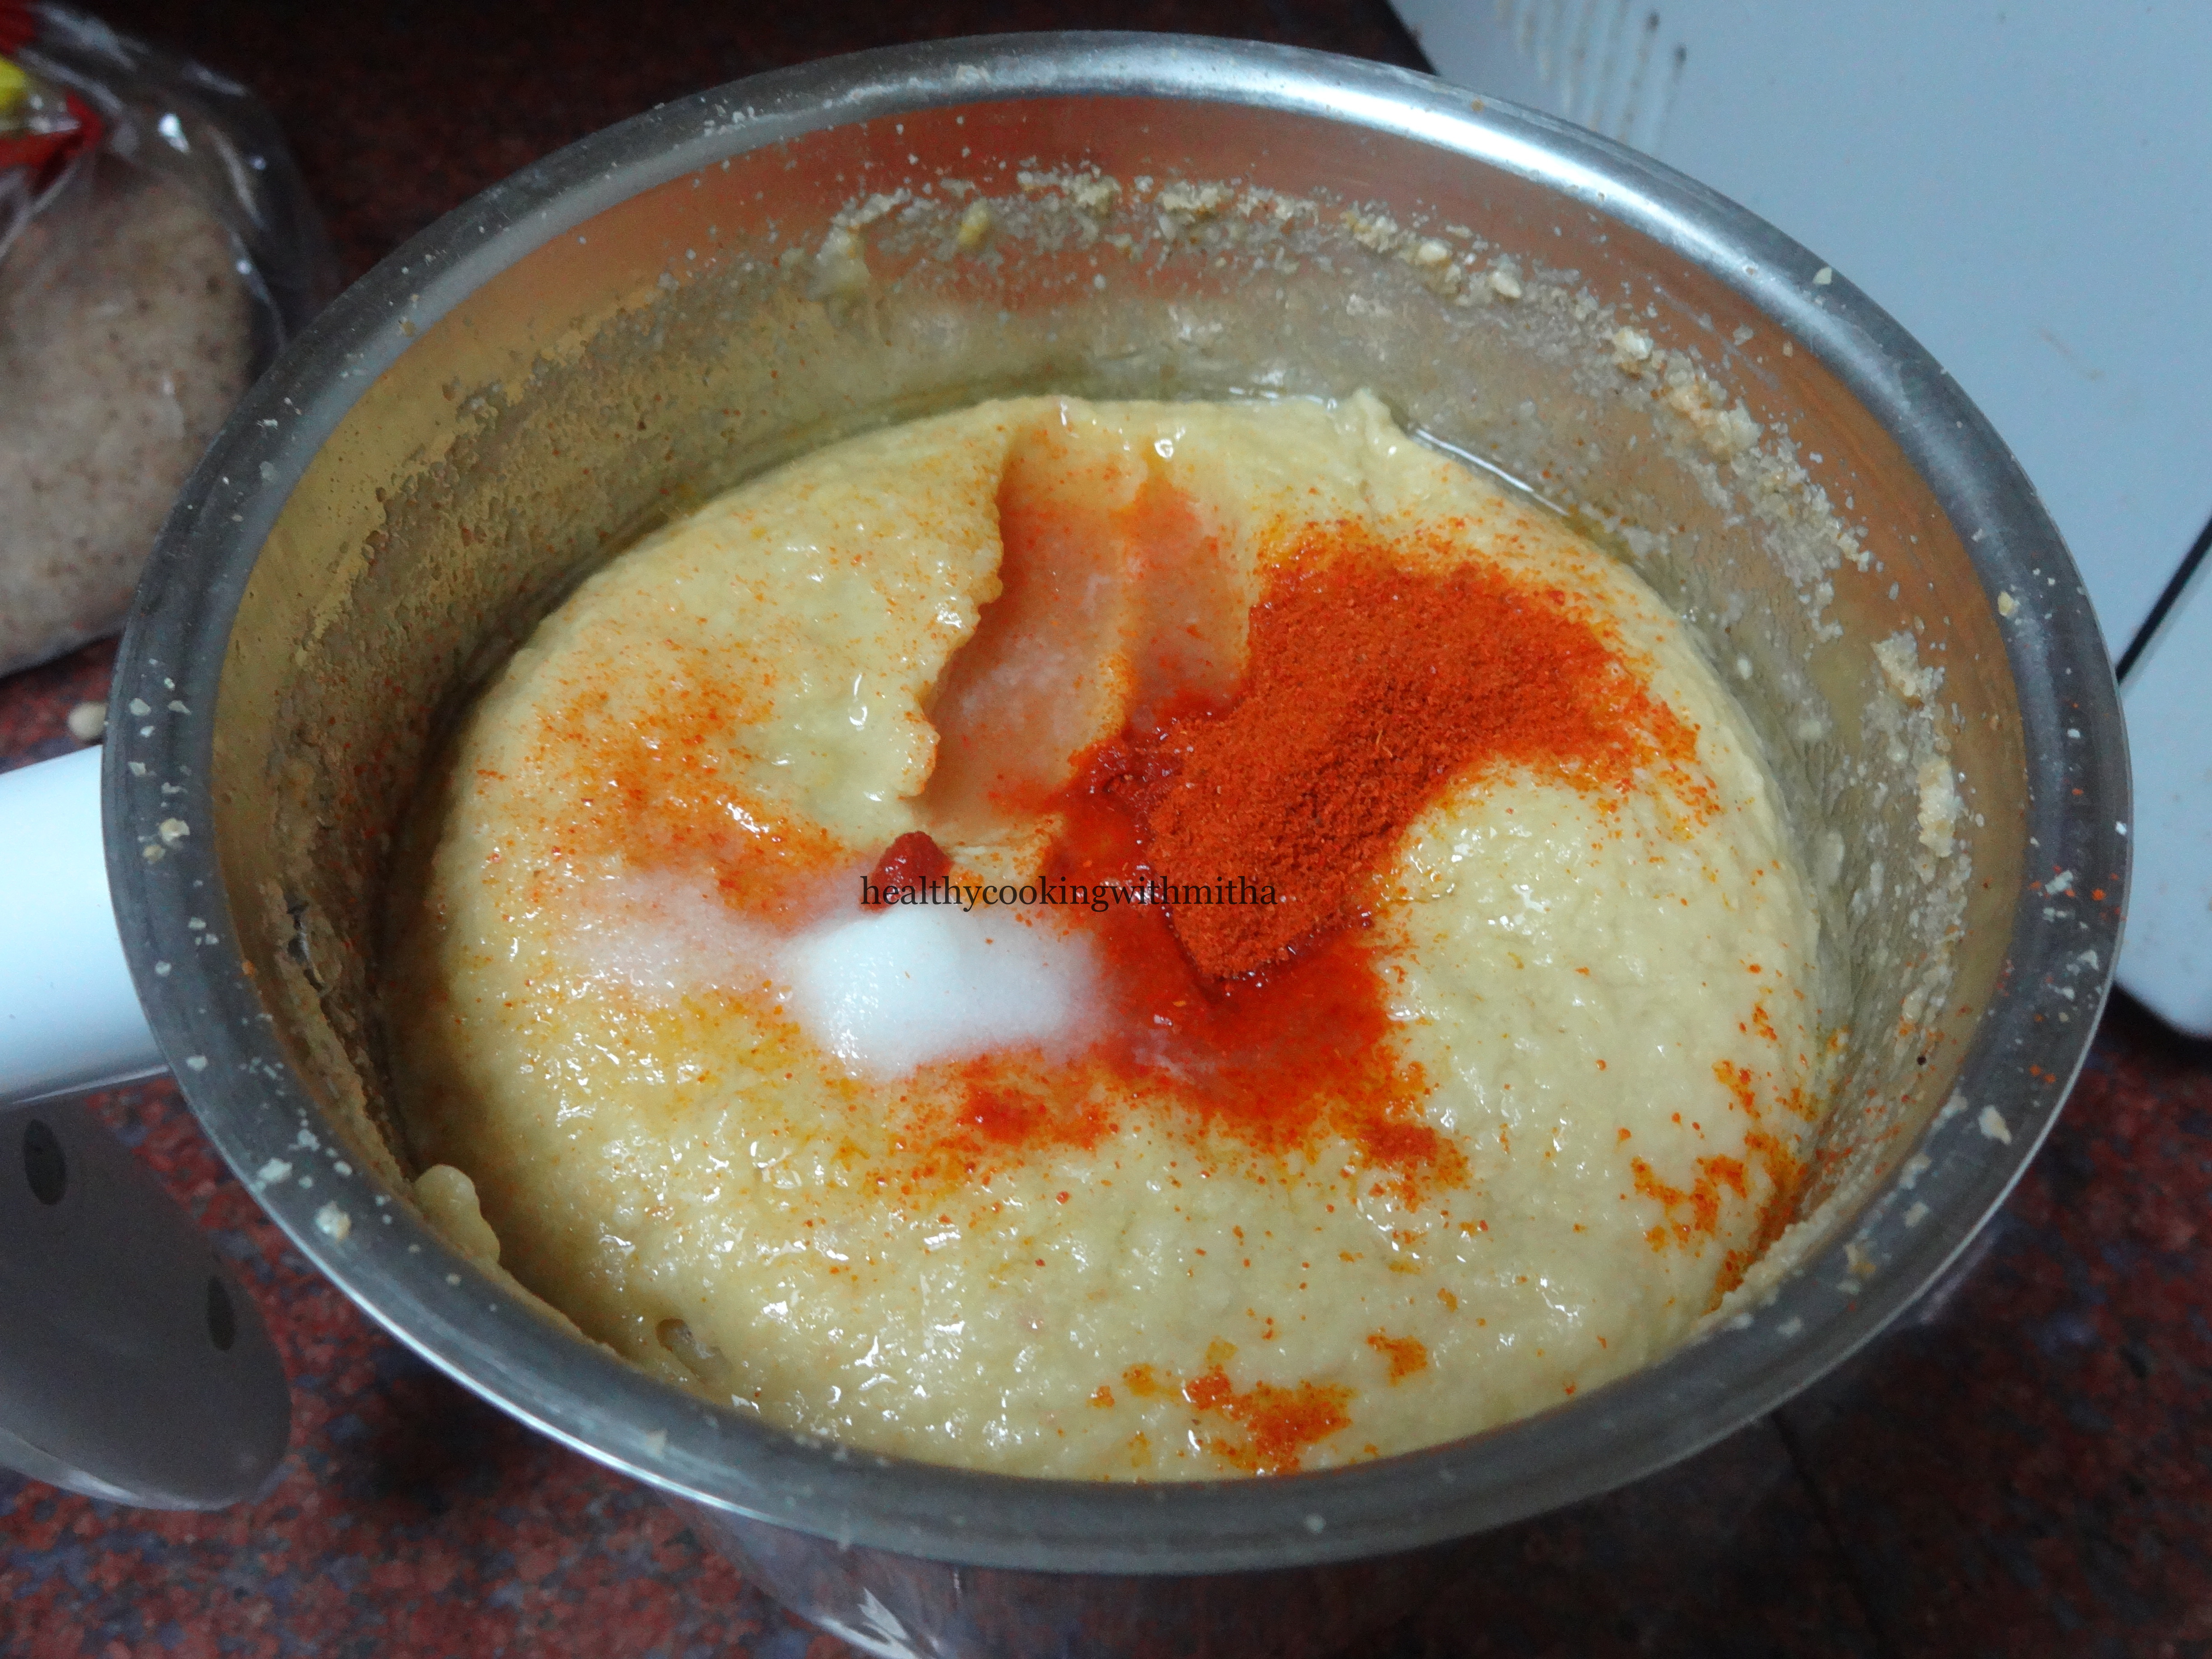
3. Add this paste to a bowl. Add rava and salt. With little water, make a thick batter.

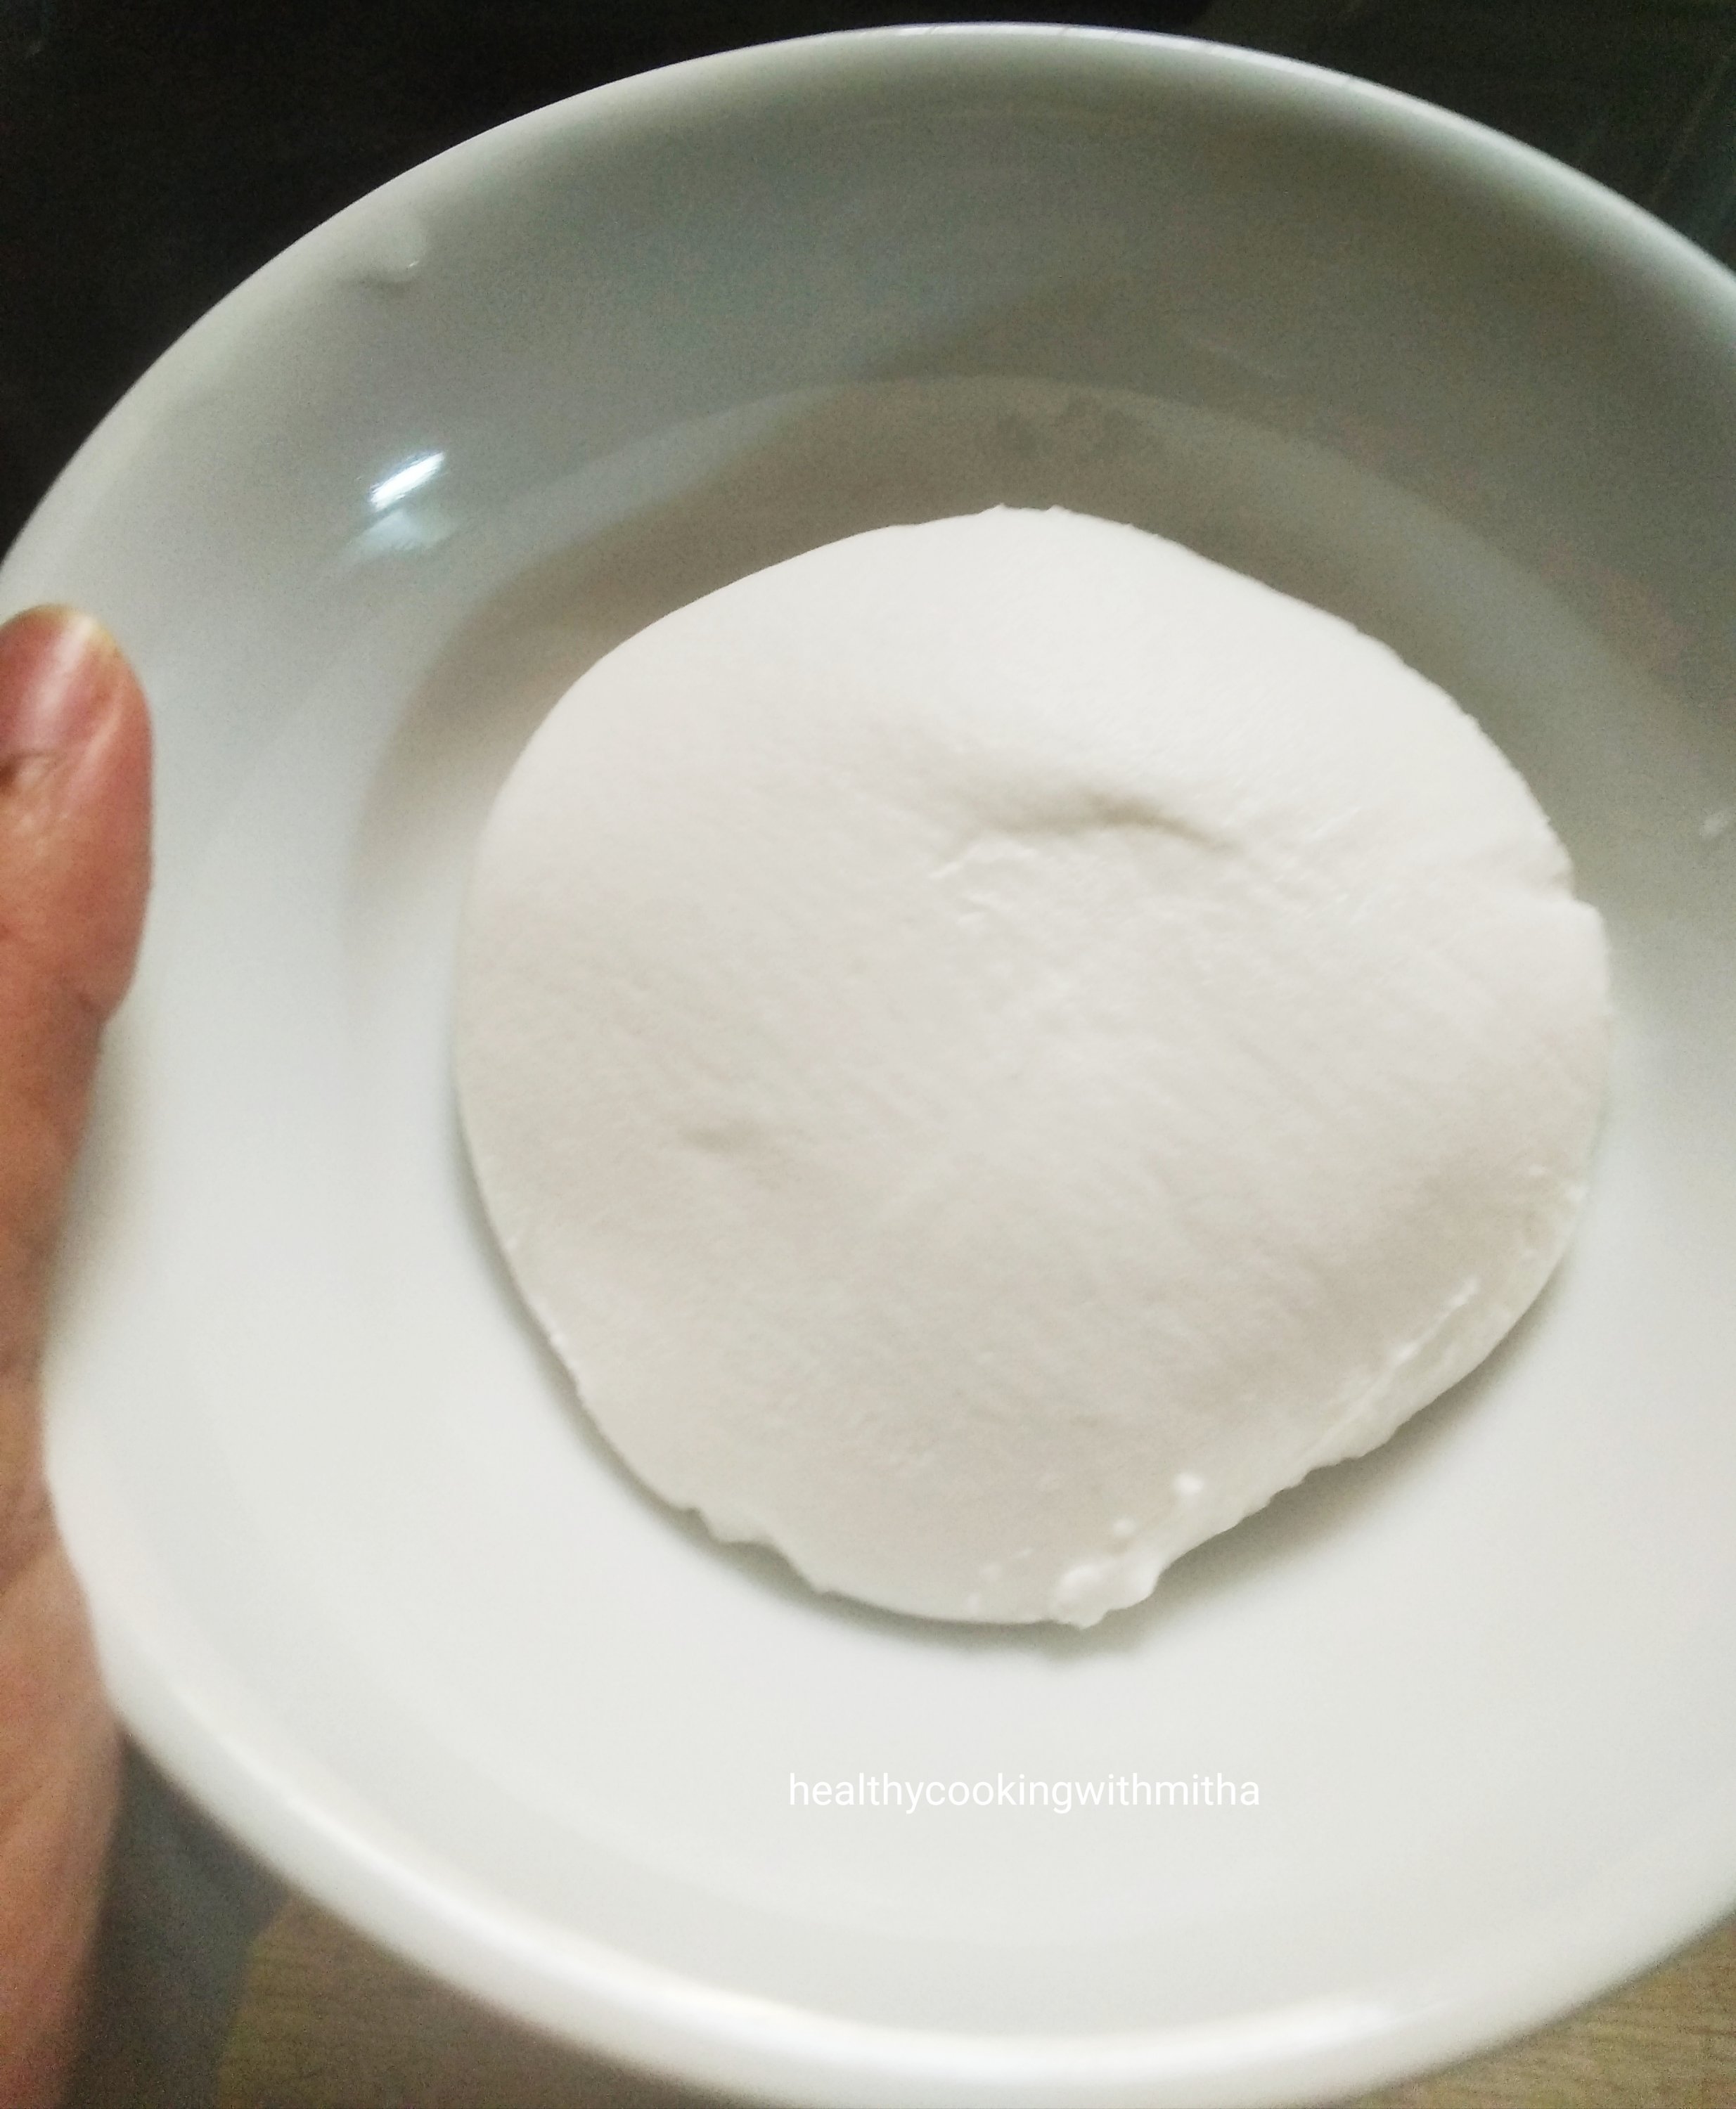
4. Heat the dosa pan and make small dosas. Drizzle coconut oil and cook the dosas on both sides till they turn brown and crisp.

5. Remove and serve with rice meals. This is not the regular dosa had for breakfast. It tastes best with rice, rasam or dal and snake gourd stir fry (Upkari).

Notes:

* If the snake gourd seeds are very small and easily crushable with hands, then no need to grind it along with the other ingredients in the mixer. Just mix it with the ground paste.

* While grinding the seeds, don’t grind for too long. Just pulsing is enough. Grinding for too long can cause a bitter flavour.

* The rava that I use is normal upma rava. Since this is a thick dosa, don’t add a lot of water. Just enough water to make a thick batter.

* For the snake gourd Upkari, heat coconut oil in a pan. Splutter mustard seeds and add the soaked chana dal, green chillies and curry leaves. Add chopped snake gourd and hing along with salt and little water. Cook till the snake gourd turns soft. Garnish with grated coconut.

Easy Nendran Banana Halwa | Nendrabale kele halwo

This halwa is a quick fix for mommies like me who don’t have the time for elaborate halwa making as kids keep pulling our legs to come play with them 😄. Kerala Bananas or Nendrabale kele (in Konkani) is a regular in my house as kids love it very much right from when they were babies.

I usually cut the bananas into round shape, fry it in ghee and give them but sometimes it gets over ripe very quickly (all thanks to the summers here). So I make this halwa which my husband’s aunt made when she had less bananas to make the original version of nendrabale halwa.

This is super easy to make yet comes out too delicious for words. We love it a lot for our post dinner dessert and kids enjoy it as well. My daughter has given it a name “Banana squares”. Trust kids these days for modern and unique names for our age old dishes 😅.

Hope you all try this when you have leftover nendran bananas staring at you to use it up 😄. Happy and healthy cooking!

RECIPE:

Ingredients:

3 over ripe Nendran Banana/ Kerala Banana/ Nendrabale kele

1/2 Cup to 3/4 Cup Jaggery powder or grated Jaggery (to taste)

2 Tbsp Ghee

1/2 tsp Cardamom powder (optional)

Step by step recipe:

1. Peel and mash the bananas well using hands.

2. Heat ghee in a pan (preferably non stick) and add the mashed bananas. Fry well on medium flame till the rawness of the bananas goes away. Takes about 5 mins.

3. Now add jaggery powder.

4. Now continuously mix till the mixture leaves the sides of the pan and turns golden in colour. Takes about 10 mins of continuous mixing. Add Cardamom powder and mix once.

5. Remove and put in a plate greased with ghee. Level using spatula. Cut and serve after it cools slightly.

Notes:

* Over ripe nendran bananas work well for this recipe as it can be easily mashed with hands and cooks quickly too.

* Normal banana halwa can be made this way too but the texture would be different and not thick like this nendran banana halwa.

* Jaggery can be adjusted to taste as per the sweetness of the bananas.

* Fry the bananas well in ghee before adding jaggery so that there is no rawness in the halwa. After adding jaggery too, keep stirring well on medium flame till the mixture leaves the side of the pan. Both these steps as very important to get perfect halwa.

Jaggery Shrikhand |{ How to make Hung curd }

I love sweets and Shrikhand is one of my favourites. We used to buy Amul Shrikhand available here but I always felt it was a tad too sugary for my taste (inspite of being all sweet teeth in my mouth 😉). So it was kept for rare cravings.

Then one day when I was chatting with my friend Sonali Baindur (Divya) , she said she makes Shrikhand at home following her mother in law, Vidya Baindur’s recipe. She mentioned that not only is making Shrikhand at home easier but a lot cheaper too. So that gave me the much needed encouragement to try it out.

And as she said, it is very very easy. I made Shrikhand with Jaggery instead as we love Jaggery flavour a lot more. It tasted so yummy that I really wonder why I did not make it these many days. We already made it thrice this month. Very cooling for the summers here in Qatar too.

Thank you Divya for the inspiration. Hope you all try and love it too.

Happy Gowri Pooja and Vinayaka Chaturthi to all my readers. Shree Ganeshaya Namaha. 🙏

RECIPE:

Ingredients: {Makes about 1 Cup Shrikhand}

1 Cup Curd or Yogurt (full fat or low fat, both are fine)

1/4 Cup Jaggery powder or grated jaggery

Step by step recipe:

1. Take a bowl and keep a strainer over it like shown.

2. Now keep a muslin cloth or a clean handkerchief over it. Add 1 Cup regular Curd.

3. Tie it well tightly squeezing excess water into the bowl. Now keep a heavy object over it. I kept my pestle.

4. Refrigerate overnight (with the bowl underneath to catch the extra water dripping) or atleast for 6 hours. See how much water has dripped in the bowl after overnight refrigeration.

Note: Don’t discard the dripped water. Add it to curries instead of water or to your dosa batter while grinding or roti dough when kneading.

5. Untie the cloth. See how well the hung curd has set.

6. Remove into a bowl. This is HUNG CURD. You can use it in many recipes.

7. Now sieve powdered jaggery into this bowl or add finely grated jaggery.

Note: Sieving powdered jaggery is important as I found it gives a creamy Shrikhand.

8. Mix well together.

9. Serve right away or chilled.

Notes:

* Don’t forget to tie the cloth tightly and keep a weight on top so that you get perfect hung curd.

* Also don’t discard the dripped water. Add it to curries instead of water or to your dosa batter while grinding or roti dough when kneading.

* Sieving powdered jaggery is important as I found it gives a creamy Shrikhand. So don’t skip the step. If you are grating jaggery, then no need to sieve.

* Jaggery can be substituted with cane sugar or even regular powdered sugar for a normal sugar based Shrikhand.

* You can also add cardamom powder or saffron strands for flavour.

Cherry Jaggery Compote

In our weekly groceries, fruits are an important part as we all thrive on them for mid meal snacking. My kids love Apples, Bananas, Mangoes, Mandarins and Berries while I am a huge fan of Papaya. We also make sure we get our dose of Vitamin C by drinking orange juice everyday. So all these fruits are a regular in our place.

Now it’s the season of cherries here and we get them every week with our grocery. They are very sweet and we love to gobble them anytime. Just look at these beauties.

Apart from eating them as it is, my recipe finder of a husband saw that cherry compote can be made. So we made it just for a try with our favourite jaggery instead of sugar and fell in love with it. Now we buy cherries just to make this compote. It tastes so delicious that you can’t stop licking your fingers.

Hope you all try it if you get cherries in your place. Happy and healthy cooking!

RECIPE:

Ingredients:

1 1/2 Cups Cherries (whole and unseeded)

1/4 Cup Jaggery

1/4 Cup Water

Step by step recipe:

1. Remove seeds and stem from the cherries and halve it. Keep in a bowl aside.

2. Now add water and jaggery (1/4 Cup each) to a preferably non stick pan and allow to come to a boil. Let it boil for about 5 mins till it turns thick. Now add the halved cherries to this. Mix well.

3. Use a masher to mash the cherries slightly. Cook on medium flame.

4. Cook till it turns thick and the mixture leaves the sides of the pan.

5. Cool down and enjoy it as it is or over a toast or with Yogurt.

Notes:

* Compote is actually served over cakes. We enjoy this compote as it is as a dessert or over a toast or with Yogurt.

* Compote is usually made with sugar but I love how yummy it tastes with jaggery. Also if you use pure jaggery, it is much healthier too.

* You can substitute cherries with other berries or ripe tomatoes but tomatoes need more cooking time.

Instant Vermicelli Idli

When I was a child, the only Idlis I knew were the regular white Idlis my mother made and the horsegram Idlis, cucumber Idlis, jackfruit Idlis (kulitha idli, thoushe muddho, ponsa mudho in Konkani) which my grandmother made. These varieties are the only ones I remember apart from the amchi famous Khotto or idlis made in jackfruit leaves.

After I started blogging and kept on look out for variety of recipes, I started making Rava Idlis and other Idlis which don’t need rice at all. Here you can check all of them in my Idli Stand page.

Vermicelli idli was one among the first ones to be tried and loved. So I had to share this here. Its a unique but very tasty idli. Comes out super soft and spongy.

Hope you all try and like it too. Happy and healthy cooking!

RECIPE:

Ingredients:

1 Cup wheat Vermicelli (the regular variety which we use to make upma. Not super thin ones)

1 Cup wheat Semolina/ Rava/ Sooji

1 Cup Yogurt or thick Curd

About 3/4 Cup Water

1/2 Cup grated Carrots

1 tsp Eno fruit salt {*check notes for substitute}

Salt to taste

For seasoning:

2 tsp Oil

1/2 tsp Mustard seeds

1/2 tsp Cumin seeds or Jeera

1/2 tsp split Urad dal

Few broken Cashews

Step by step recipe:

1. Heat oil in a pan and splutter mustard seeds, add Jeera, urad dal and broken cashews. Fry little till cashews turn golden. Then add vermicelli and fry on medium flame till it changes colour and turns brown.

2. Now add rava and fry again till it turns light brown.

3. Switch off the flame now and allow it to cool down slightly. Add curd and water. Mix well.

4. Now add grated carrots and mix well. Add salt and Eno fruit salt. Mix well.

5. Steam immediately after adding Eno fruit salt. Steam for 20 mins or till done.

The white colour is due to my kitchen lights. These Idlis get a golden hue due to vermicelli and carrots.

6. Remove and serve with a chutney of your choice. I have served it with my Amma’s tomato chutney.

Notes:

* 1 tsp Eno fruit salt can be substituted with 1/2 tsp Baking soda and 1/2 tsp Lemon juice.

* Steam immediately after adding Eno fruit salt.

* You can also make regular Instant Rava Idlis if you don’t have vermicelli.

* Grated carrots are optional but give a good bite and also increases the nutritional value.

* For 1 Cup Vermicelli and 1 Cup Rava, 1 Cup curds plus 3/4 Cup water gave perfect texture of the batter which is slightly thick. The amount of water depends upon the curd. Start with 1/2 Cup water and add more only if necessary. Don’t make the batter thin.

Instant Oats Vegetable Bhakri | Quick Oats Uthappam

Click on the image to save the recipe on Pinterest

As my regular readers know already, my kids love dosas and our morning usually starts with any variety of dosa. I have already posted many of them on my Dosa corner page.

Even though I make sure that I always have dosa batter handy for their dosa love, there are some days when it gets over and I am left wondering what to do apart from the Instant Oats Poha dosa that I make always when I don’t have dosa batter.

That is when I started making these oats vegetable bhakris and it was loved a lot by both kids. It hardly takes 15 mins to get the batter ready and it is very tasty and filling. Also a healthy snack option for evenings.

Hope you all try and love it too. Happy and healthy cooking!

RECIPE:

Ingredients:

2 Cups Instant Oats (I use Quaker or Saffola instant Oats)

1 Cup wheat Semolina/ Rava/ Sooji

1/4 Cup Curd or Yogurt (optional)

3 Cups water or as required

1/2 Cup grated Carrots

1/4 Cup finely chopped Capsicum

1/4 Cup finely chopped Onion

2 to 3 Green chillies or to taste

2 Tbsp finely chopped Coriander leaves

Salt to taste

Oil or ghee to cook the uthappams

Step by step recipe:

1. Take 2 Cups oats, 1 Cup rava, 1/4 Cup curd and salt in a large mixing bowl.

2. Add 3 Cups water and mix well to remove any lumps.

3. Add grated carrots, finely chopped capsicum and onions, green chillies and coriander leaves.

4. Mix well.

5. Heat a dosa pan and add a ladle of the batter. Spread into a thick dosa as shown.

6. Cover and cook till the surface cooks well.

7. Now add oil or ghee. Flip and cook for few minutes.

8. Serve hot with butter and chutney.

Notes:

* You can skip onion if you want but it gives a wonderful bite and flavour to the bhakri. Don’t skip capsicum though. It’s a main ingredient.

* I sometimes don’t need chutney with it too. Just the bhakri with butter tastes so delicious.

* Don’t spread the bhakri too thick or else it won’t cook inside. Cook both sides very well on medium to high flame.

* I have used instant Oats as it is (without powdering or roasting). You can use rolled oats but it might need powdering.

* You can skip curd if you don’t have. I make without it too sometimes. Does not make much difference.

Do let me know if you have any doubts. Will be a pleasure to help. 🙂

Did you know Oats is such a versatile ingredient, you could make Cake, Idli, Paratha, varieties of dosas and even gluten free pizza with it?

Sharing all varieties of dishes in which I use Oats and make regularly. Eat healthy, be happy. ❤️

Variety Oats recipes Compilation

Click on the image to save the recipe on Pinterest

Sweet corn Bhel

Being a mommy has turned me into a non stop thinking person about what healthy and yummy food to make for the kids. Yes, kids first and then us. I guess its common everywhere. We always keep our children’s food choices over ours.

My kids take maximum benefit of it and I have to sometimes whip up very quickly for their sudden hunger pangs. It is during this time that our Indian snacks such as bhel come handy. Quick to make and quicker to polish off, a very healthy option as a light but filling evening snack.

The kids too love it very much and I heave a sigh of relief that I won’t get to hear “potta bhook” (I am hungry in konkani) for the next one hour (?? ) atleast. 😄

Hope you all try and love it too. Happy and healthy cooking!

RECIPE:

Ingredients:

2 Cups Bhel or puffed rice or churmura or kurmura

1/2 Cup Bhujiya or Sev

1 Cup Sweetcorn (steamed for about 10 mins)

1/2 Cup finely chopped Onion

1/2 Cup finely chopped Tomatoes

1/4 Cup thick Curd/ Yogurt (optional)

1 Tbsp finely chopped Coriander leaves

1/2 tsp Tamarind paste

1 Tbsp roasted Peanuts

1 tsp Tomato ketchup

1/2 tsp Red chilli powder

1/2 tsp Chat masala powder

Rock salt or regular salt to taste

Step by step recipe:

1. Take a large mixing bowl and add steam cooked sweetcorn, tomatoes, onions, coriander leaves, tamarind paste. Curd is optional but we love the creamy tangy flavour it gives.

2. Mix well. Add chat masala powder, red chilli powder, salt, ketchup and roasted peanuts.

3. Add bhel and bhujiya. Mix well.

4. Serve immediately else the bhel turns soggy. Enjoy with a dash of lemon juice if you feel it needs more tangy flavour.

Notes:

* The proportions of ingredients are to taste and you can change or adjust as per your taste buds.

* You can also skip any ingredient if you don’t have. This is just an easy to make snack idea which can be made with whatever ingredients you have in your kitchen.

* Do remember to serve immediately. Else the bhel turns soggy.

Jaggery Sheera

Click on the image to save the recipe on Pinterest.

Sheera is the most common sweet made in Konkani households and ours is no less. My grandmother always made it to satisfy our sweet tooth and my mother’s ghee laden sheera is still in my taste buds. I used to tease her “Amma, have you made sheera in ghee or ghee in sheera?”. She used to add loads of ghee in it as much as she showered her love in the sheera.

Both of them used to make sheera with sugar and I did not mind all that when I was a kid or teenager. But after marriage, when I was struggling with weight and infertility issues, I started substituting sugar with the healthier jaggery in most desserts and sheera became one of them too. We loved jaggery sheera so much that it became our favourite sweet, much more than sugar based sheera.

Click on the image to save the recipe on Pinterest.

From then till now, it’s not changed and we have got two more miniature sweet lovers like us who love jaggery sheera very much too. I make it when they feel hungry even after dinner. It fills them up and to see them enjoy every bite of it is very satisfying to me as a mother who at one time had lost all hopes of motherhood.

Thus is my story with this favourite sweet of mine.. Emotional yet filled with beautiful memories..

Hope you all try it and your family loves it too. Happy and healthy cooking!

RECIPE:

Ingredients:

1 Cup wheat Semolina/ Sooji/ Rava

3/4 Cup Jaggery

2 and 1/2 Cups water

3 Tbsp Ghee

2 Tbsp broken Cashews

1 Tbsp Raisins

Step by step recipe:

1. Keep 3/4 Cup Jaggery to melt in 2 and 1/2 Cups water.

2. Heat ghee in a pan (I use iron kadhai for this) and fry cashews and raisins till cashews brown slightly.

3. Add semolina and roast on medium flame till it turns aromatic and changes colour. Takes about 3 to 5 mins.

4. Now see that jaggery is completely melted in the water and the water is really hot.

5. Add this boiling jaggery water through a sieve (to remove impurities if any) to the roasted semolina.

6. Mix well continuously on medium flame removing lumps till the mixture cooks well.

7. Serve warm.

Notes:

* You can also add cardamom powder if you love the flavour. I add sometimes too.

* Be sure to keep stirring continuously after you add jaggery water to the semolina. Else the mixture forms lumps.

* We are a sweet tooth family. So 3/4 Cup Jaggery for 1 Cup semolina is perfect for us. You can reduce if you don’t like your sheera extra sweet.

* I have purposely added more than double of water to semolina as it leads to the sheera turning super soft which we love.

* You can increase the ghee to 1/4 Cup if desired.

Click on the image to save the recipe on Pinterest.

Narangi Shorba | Orange flavoured Pumpkin soup

Pumpkin is a common vegetable in our home as we love making simple upkari (stir fry konkani style) with it to go with our matta rice congee (gruel) for dinner. It’s a simple soul food that we enjoy during week days. Kids too love pumpkin very much.

Along with upkari, I also make this soup regularly specially as evening snack for kids. It is filling, tasty and very healthy. Also since pumpkin is thick in texture, there is no need to add any thickening agent like corn flour or cream to this soup.

It not only turns thick but also delicious to slurp on. Orange juice gives it the tangy flavour and also the gorgeous colour. Hope you all try it too. Happy and healthy cooking!

RECIPE:

Ingredients:

2 Cups peeled and chopped Pumpkin

1/2 Cup peeled and chopped Carrot

1/2 Cup chopped Onion

1/4 Cup freshly squeezed Orange juice

3 Green chillies

1 Tbsp Butter

1/2 tsp Pepper powder

Salt to taste

Step by step recipe:

1. Add the pumpkin pieces, carrots, onions and green chillies with little water in a pot and cook till the veggies turn soft and water almost evaporates.

2. Grind to a fine paste adding water only if needed.

3. Pour into the pot and add water to bring it to pouring consistency (use water to clean the mixer). Add butter, salt and pepper powder.

4. Mix well and add orange juice. Bring to a boil.

5. Remove and serve hot.

Notes:

* Skip orange juice if you don’t have and add lemon juice instead after removing from flame to get the tangy flavour.

* You can garnish with cream too if needed but we prefer it plain.

* Enjoy with bread croutons or crisps.

Easy Hummus recipe | Arabic chickpea dip

Hummus has very beautiful memories in my life. It was not something I had eaten before coming here to Qatar but became my instant favourite in Arabic cuisine along with falafel wraps. In fact during both my pregnancies, I used to get such strong cravings for hummus that I used to cry till I got it and poor hubby had to bear all my pregnancy hormonal tantrums 😅.

But when it finally arrived, I used to literally lick it clean. I did not even need any bread with it. Just me, my fingers and creamy hummus. Ah those pregnancy times! 😍

Now since many months, we have not ate out nor ordered in. So I learnt to make hummus and it’s so easy that now I wonder why we used to buy it from outside. Also tastes so delicious as you can alter according to your taste. Hope you all try and love it too.

One note though. Hummus is not for everyone’s tastebuds. My dad did not like it when he came here and we made him taste the storebought one. So if you are making for first time, make in less quantity and see if you like it. Then you can make more. This note is to save myself from your curses in case you don’t like it 😂.

Happy and healthy cooking!!

RECIPE:

Ingredients:

2 Cups dry white Chickpeas/ Kabuli Chana

2 Tbsp white sesame seeds/ Til

4 cloves of Garlic

1 tsp Red chilli powder

Salt to taste

1 Tbsp Lemon juice

1 Tbsp Olive oil

Step by step recipe:

1. Wash well and soak the dry chickpeas overnight or for atleast 6 hours in sufficient water.

2. Drain the soaked water and Pressure cook the chickpeas in enough water to soak it till it turns soft.

Note: It usually takes about 5 whistles in my electric cooking top on high flame.

3. Now dry roast the sesame seeds in a pan on medium flame till it turns light brown. Cool and powder in the mixer.

4. Add drained chickpeas ( save the water), garlic and salt.

5. Now add required amount of cooked chickpeas water and grind into a smooth paste.

6. Add red chilli powder, olive oil and lemon juice and grind again to a smooth paste. I also added little salt as I felt it was less.

7. Garnish with cooked chickpeas and coriander leaves or parsley leaves (optional) and drizzle olive oil again. Serve fresh or chilled.

Notes:

* Make sure the chickpeas is cooked till soft so as to make a creamy hummus.

* Use food processor if you have to grind. Does the job quicker than in mixer.

* If you have storebought tahini (sesame seeds paste), then skip adding sesame seeds. I add because I don’t have tahini.

* Red chilli powder, garlic, lemon juice, salt are to taste and you can make changes as per your taste.

* If you don’t eat garlic, you can skip but garlic gives the authentic flavour to hummus.

* Leftovers can be refrigerated and used when needed.

* I used to serve hummus with kuboos ( Arabic bread) but since lockdown, I bake my own bread and this Semolina Bread is very good with hummus.