Now that my kids have grown ( 9 and 6 years), their food taste is evolving and they no longer want the same food everyday. Though dosa and idli tops the list anytime, for evening snacks, they want something different and unique.
My brain after becoming a mommy runs overtime 😀 and I keep scanning the supermarket seeing what else I can buy to cook a dish which they like. So in that pursuit, I bought pasta shells few months back which they had never tasted before. Made white sauce pasta with wheat flour and they did not like it as much.
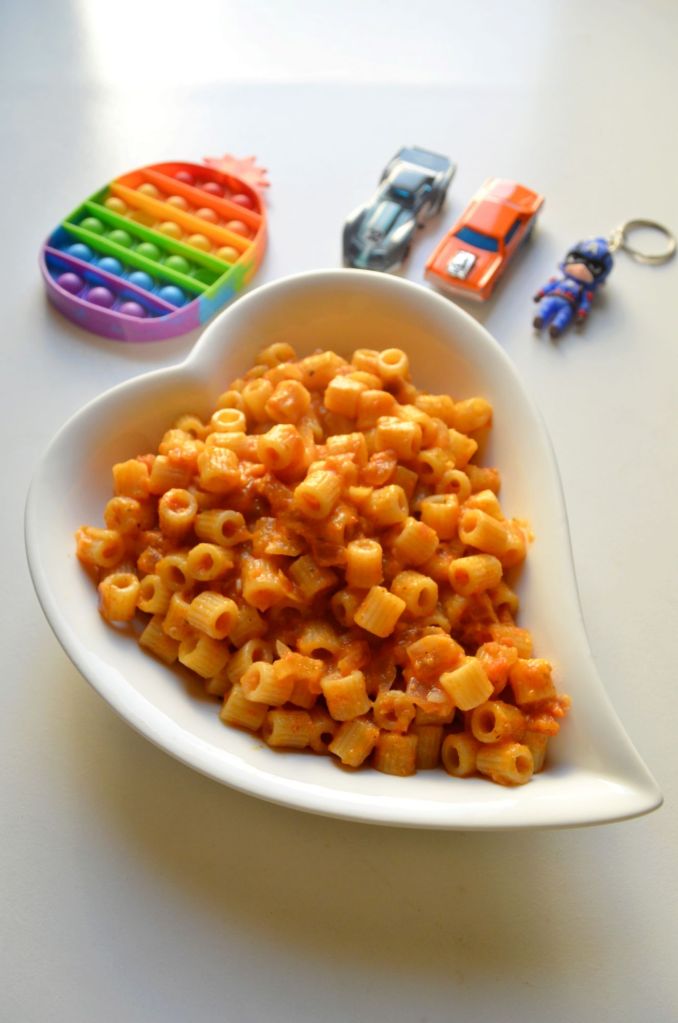
So next I tried this red sauce pasta with fingers crossed and to my happiness, they loved it so much that now, I get requests for it to be made regularly. My son specially has become a huge lover of this pasta. Though I have limited it to once in a week as I know if they eat more than that, they will get bored of it, I honestly feel happy when they enjoy eating what I make at home..
This pasta recipe is super easy yet tastes heavenly. I am not a pasta fan but I love this one. So you can definitely try for a change. Hope you all love it too. Happy and healthy cooking ❤️
RECIPE:
Ingredients: {Serves 2 to 3 people}
1 Cup = 240 ml
1 Cup Pasta shells of any shape you like
1 large Tomato
3 to 4 Garlic cloves
1 medium sized Onion
2 tsp Oil
2 tsp Butter
Red Chilli powder, to taste
1 tsp dried Oregano or mixed herb seasoning
1 Cheese slice or cheese cube
Salt to taste
Step by step recipe:
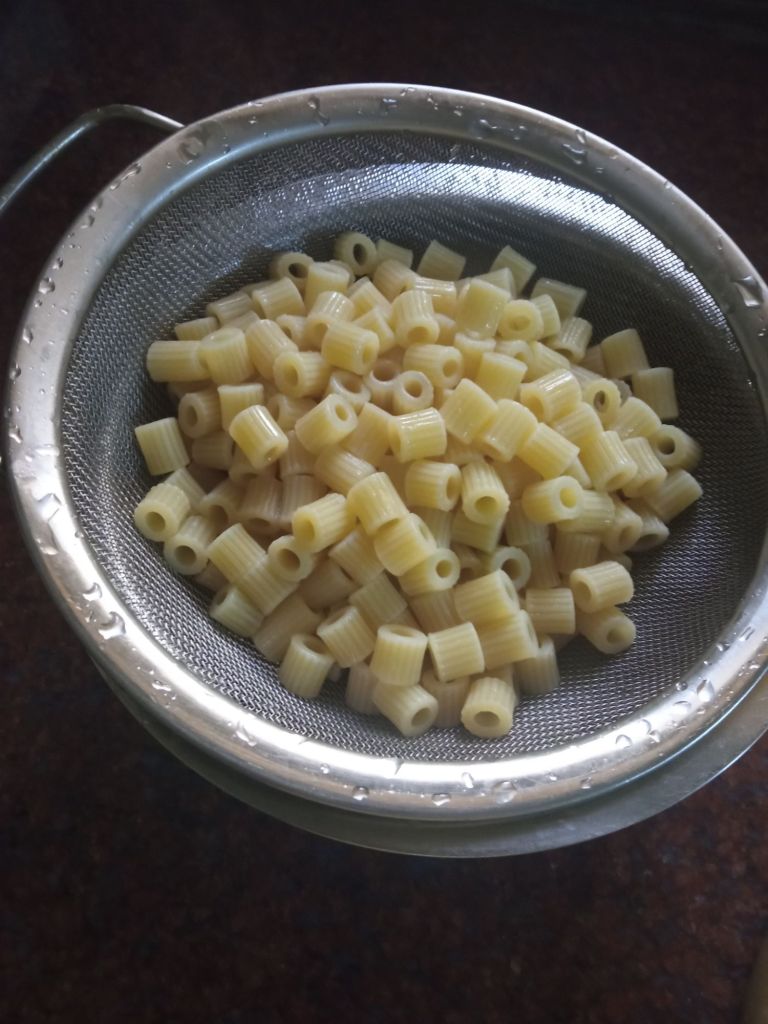
- Boil water with little salt and once it comes to a rolling boil, add pasta shells. Cook till it turns soft yet not fully cooked.
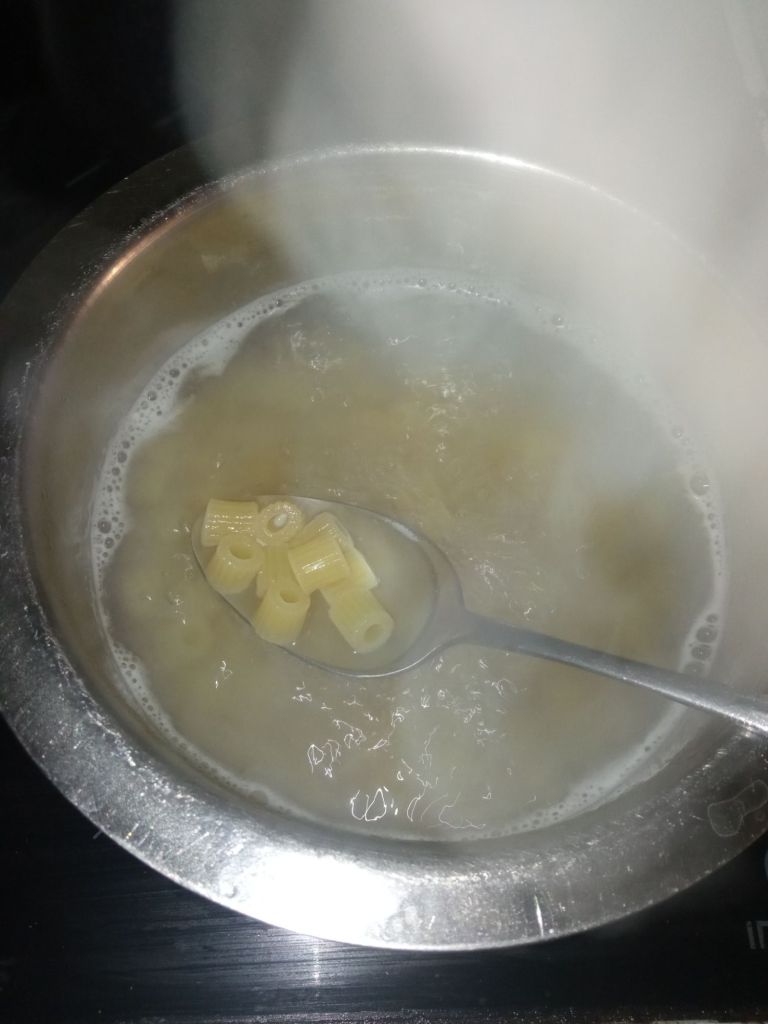
2. Now strain using a strainer and run tap water over it so that it stops the cooking process. Keep it aside.
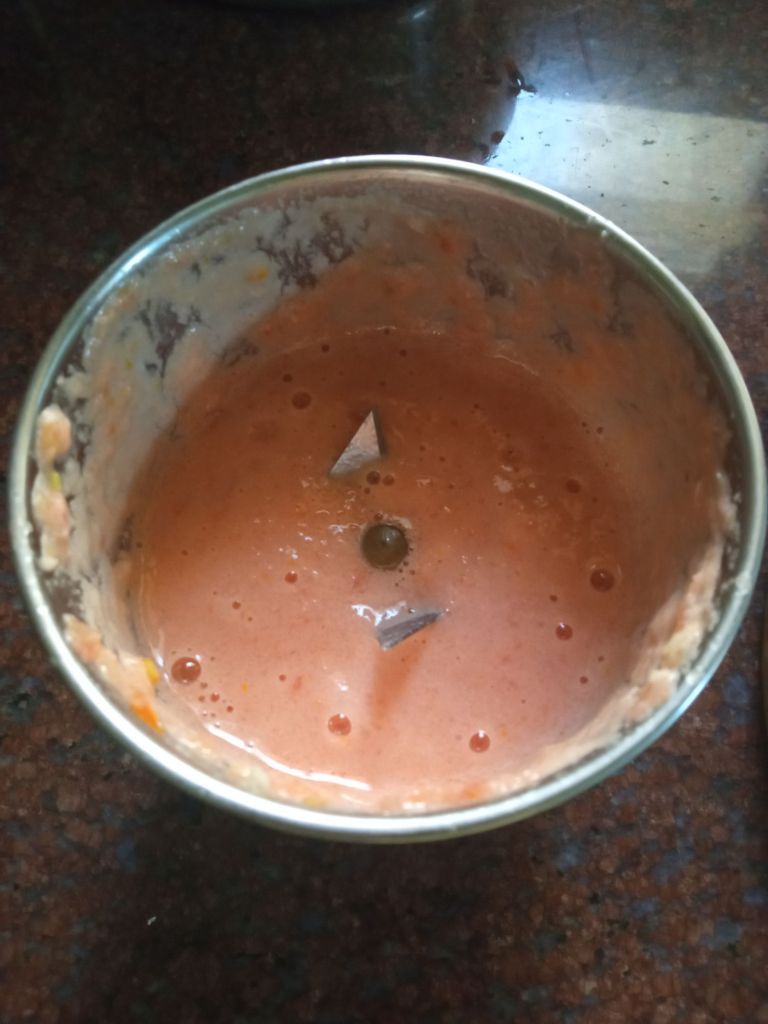
3. Add garlic and chopped tomato in a mixer and grind to a paste. Don’t add water while grinding.
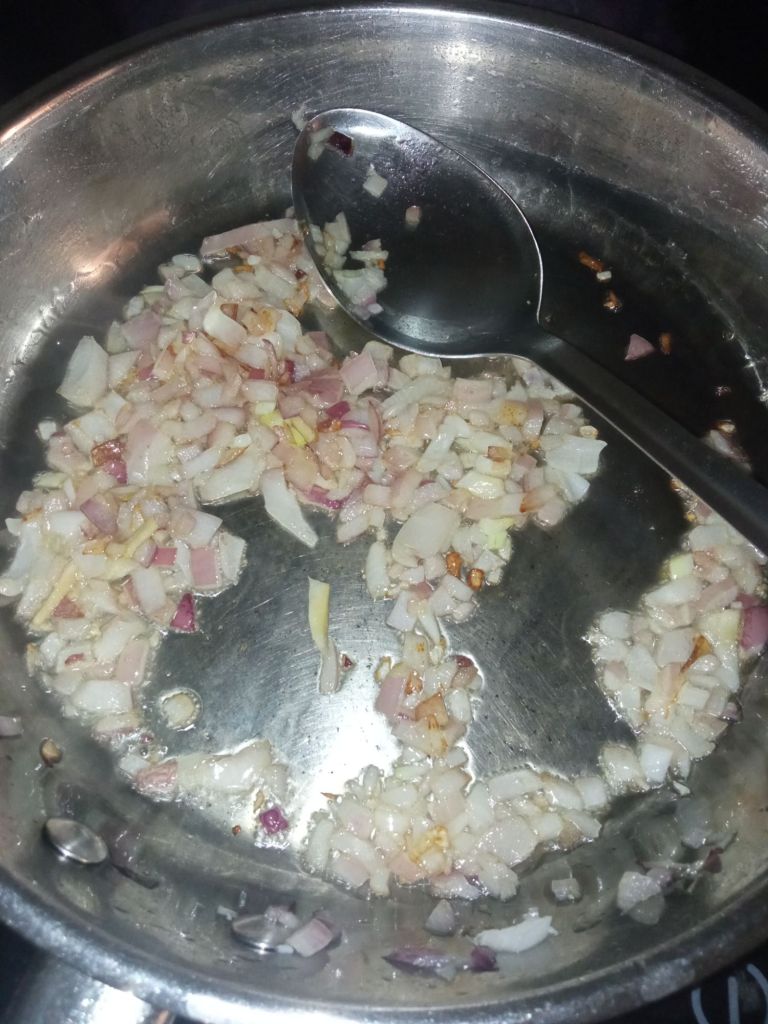
4. Now heat oil in a pan and add chopped onions. Fry till it turns translucent.
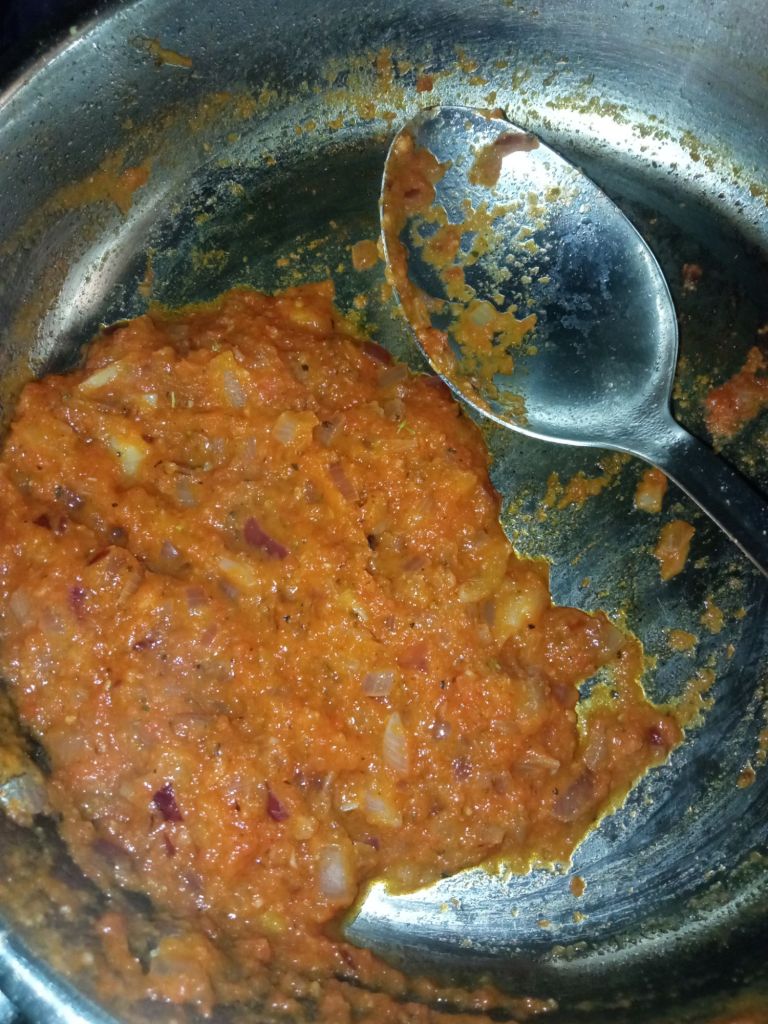
5. Add the tomato garlic paste along with red chilli powder and cook till the mixture leaves oil.
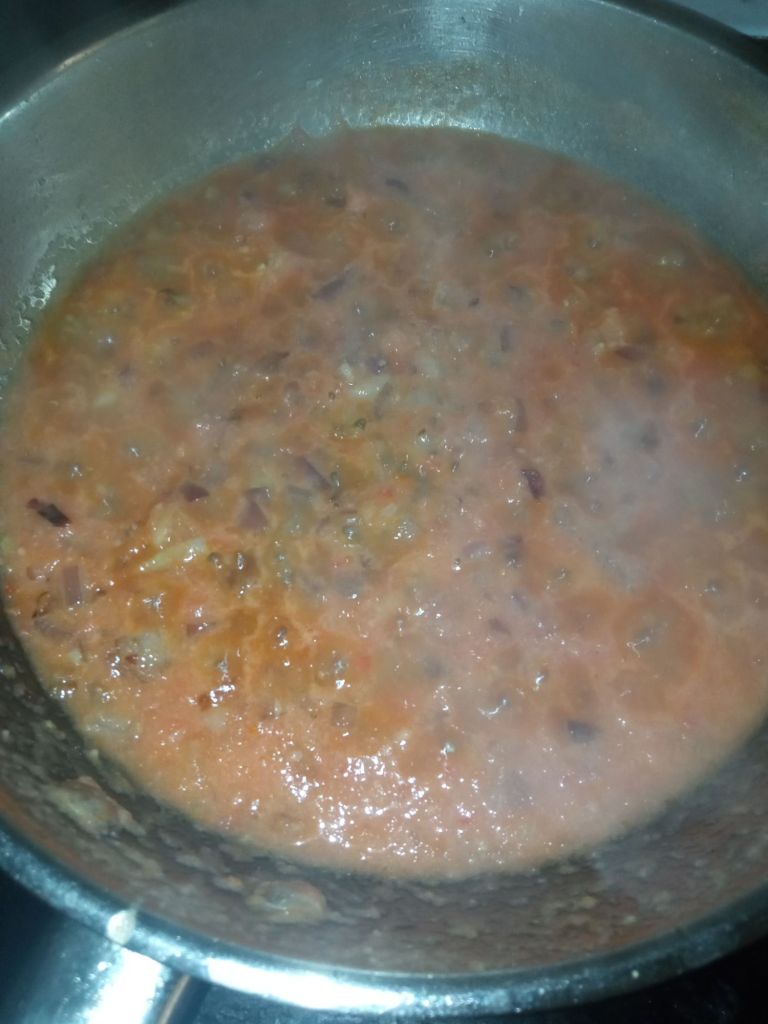
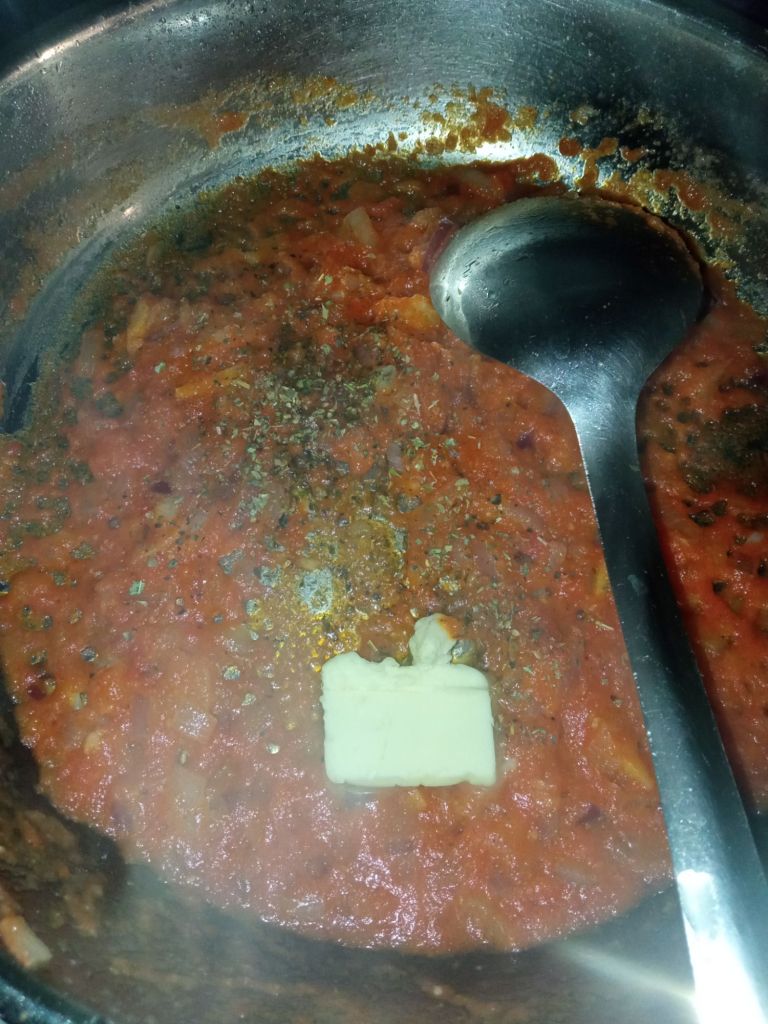
6. Now add butter, oregano and salt. Mix well.
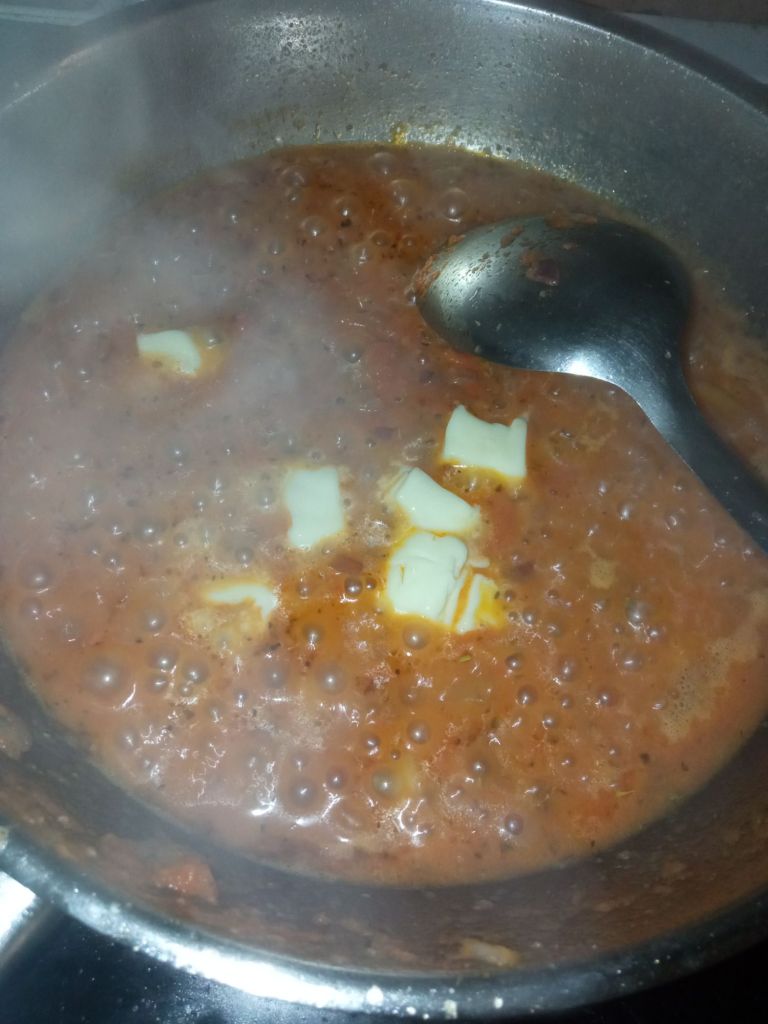
7. Add cheese slice or cube and mix till the cheese melts. Adjust water consistency to make a thick sauce.
8. Add the cooked pasta and mix well, adjusting water consistency if necessary.
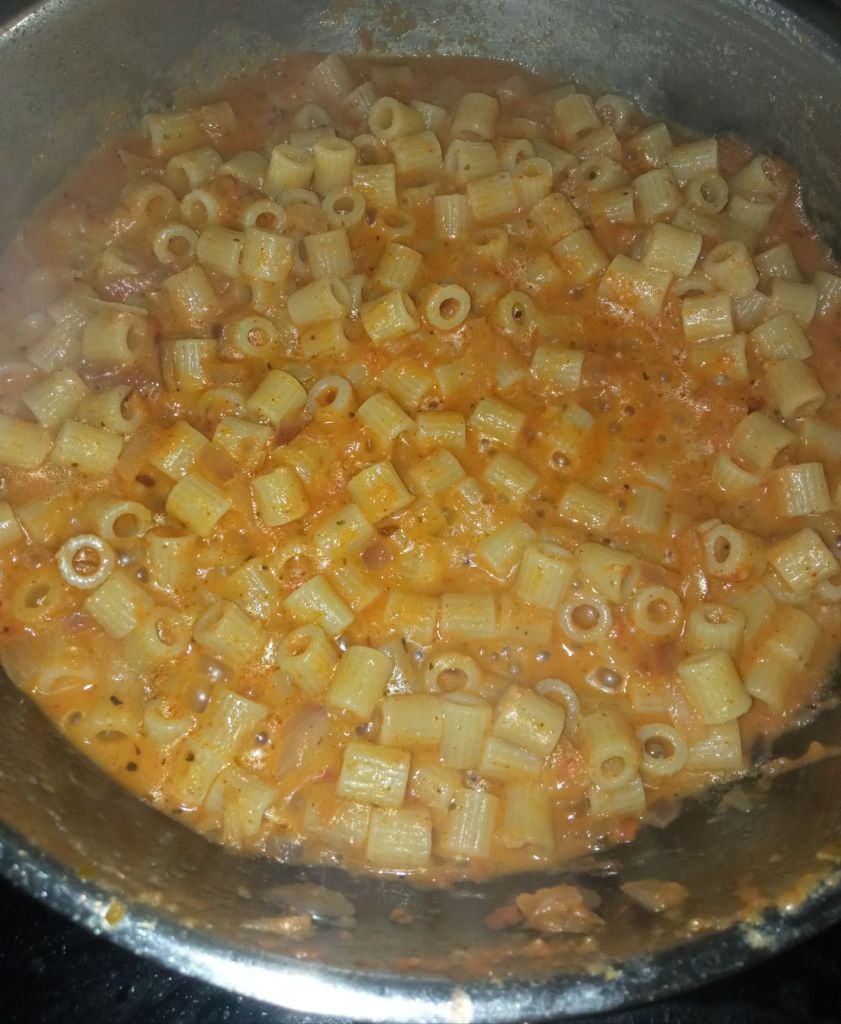
Red sauce pasta is ready! Serve hot and kids will love it..
Notes:
- I usually buy small sized pasta shells as it’s easy for the kids to eat. You can buy any pasta of your choice.
- My kids love the red sauce pasta to be less liquidy. You can adjust the consistency as per your taste.
- Red chilli powder, oregano and cheese can be adjusted to your taste too.
- More snacks that I make for my kids:
- Homemade Popcorn
- Poha Vegetable Cutlet
- Paneer Kathi Roll
- Whole wheat Vegetable Pizza