In our weekly groceries, fruits are an important part as we all thrive on them for mid meal snacking. My kids love Apples, Bananas, Mangoes, Mandarins and Berries while I am a huge fan of Papaya. We also make sure we get our dose of Vitamin C by drinking orange juice everyday. So all these fruits are a regular in our place.
Now it’s the season of cherries here and we get them every week with our grocery. They are very sweet and we love to gobble them anytime. Just look at these beauties.
Apart from eating them as it is, my recipe finder of a husband saw that cherry compote can be made. So we made it just for a try with our favourite jaggery instead of sugar and fell in love with it. Now we buy cherries just to make this compote. It tastes so delicious that you can’t stop licking your fingers.
Hope you all try it if you get cherries in your place. Happy and healthy cooking!
RECIPE:
Ingredients:
1 1/2 Cups Cherries (whole and unseeded)
1/4 Cup Jaggery
1/4 Cup Water
Step by step recipe:
1. Remove seeds and stem from the cherries and halve it. Keep in a bowl aside.
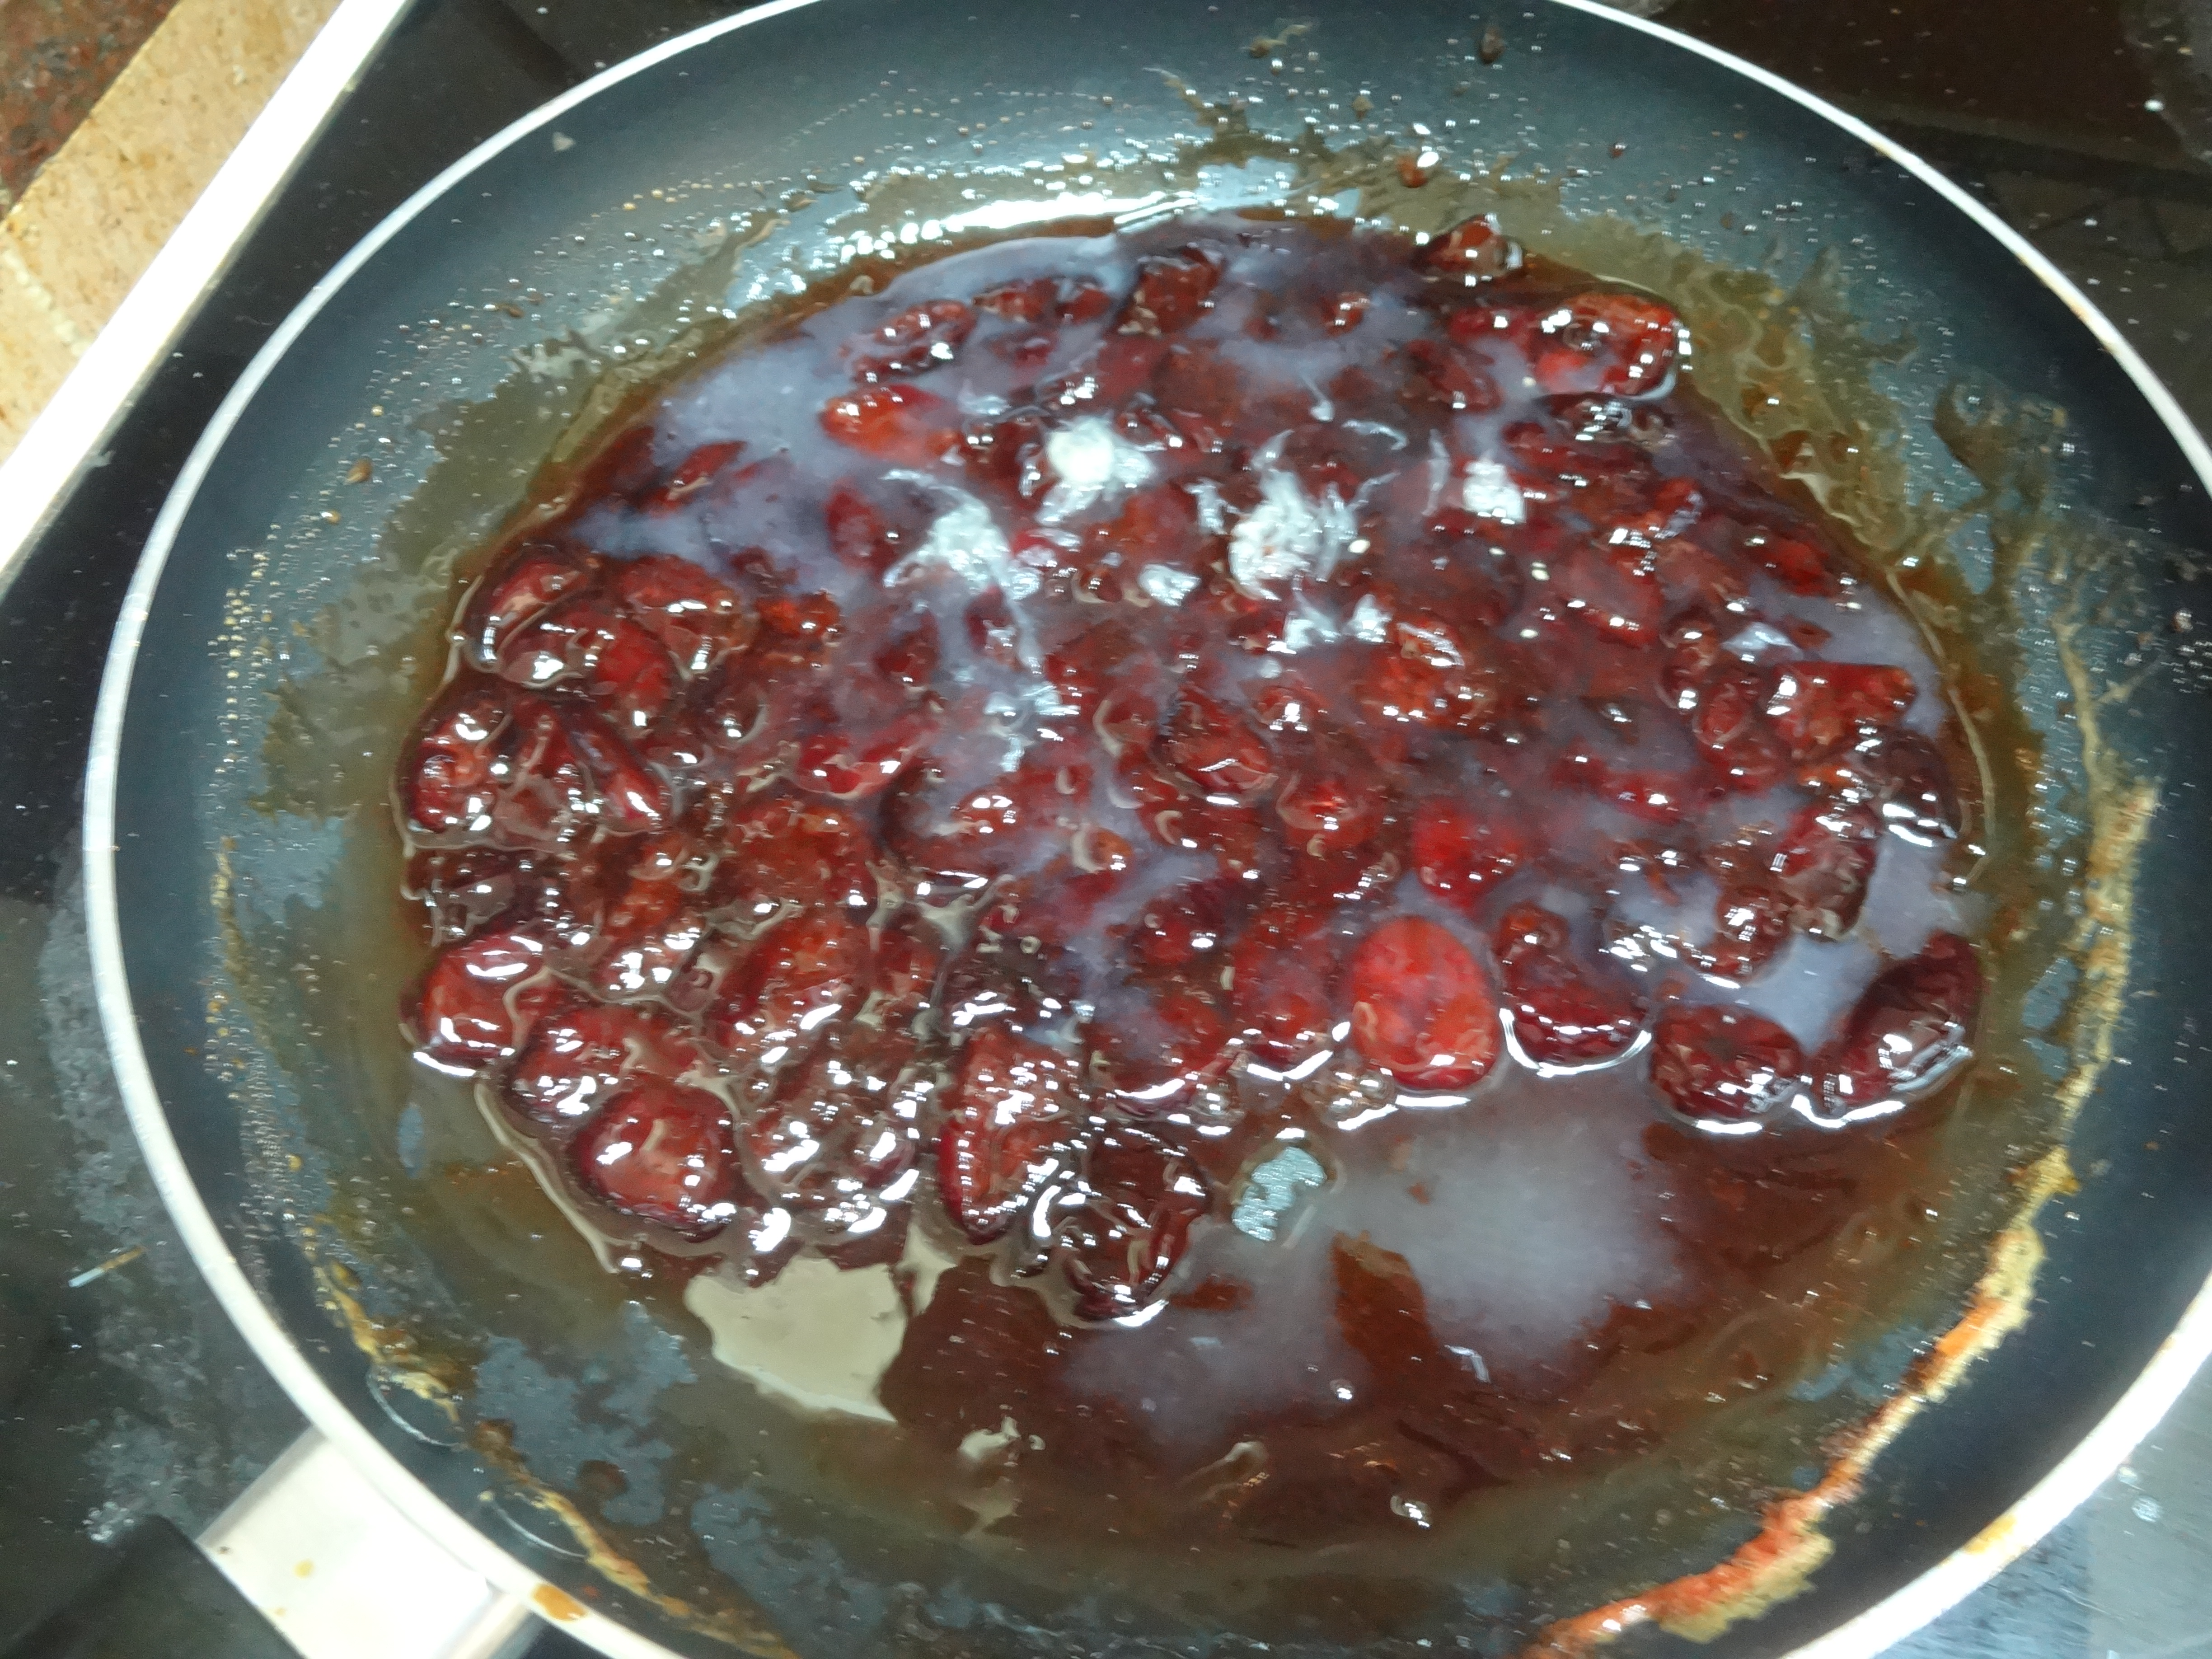
2. Now add water and jaggery (1/4 Cup each) to a preferably non stick pan and allow to come to a boil. Let it boil for about 5 mins till it turns thick. Now add the halved cherries to this. Mix well.
3. Use a masher to mash the cherries slightly. Cook on medium flame.
4. Cook till it turns thick and the mixture leaves the sides of the pan.
5. Cool down and enjoy it as it is or over a toast or with Yogurt.
Notes:
* Compote is actually served over cakes. We enjoy this compote as it is as a dessert or over a toast or with Yogurt.
* Compote is usually made with sugar but I love how yummy it tastes with jaggery. Also if you use pure jaggery, it is much healthier too.
* You can substitute cherries with other berries or ripe tomatoes but tomatoes need more cooking time.
When I was a child, the only Idlis I knew were the regular white Idlis my mother made and the horsegram Idlis, cucumber Idlis, jackfruit Idlis (kulitha idli, thoushe muddho, ponsa mudho in Konkani) which my grandmother made. These varieties are the only ones I remember apart from the amchi famous Khotto or idlis made in jackfruit leaves.
After I started blogging and kept on look out for variety of recipes, I started making Rava Idlis and other Idlis which don’t need rice at all. Here you can check all of them in my Idli Stand page.
Vermicelli idli was one among the first ones to be tried and loved. So I had to share this here. Its a unique but very tasty idli. Comes out super soft and spongy.
Hope you all try and like it too. Happy and healthy cooking!
RECIPE:
Ingredients:
1 Cup wheat Vermicelli (the regular variety which we use to make upma. Not super thin ones)
1 Cup wheat Semolina/ Rava/ Sooji
1 Cup Yogurt or thick Curd
About 3/4 Cup Water
1/2 Cup grated Carrots
1 tsp Eno fruit salt {*check notes for substitute}
Salt to taste
For seasoning:
2 tsp Oil
1/2 tsp Mustard seeds
1/2 tsp Cumin seeds or Jeera
1/2 tsp split Urad dal
Few broken Cashews
Step by step recipe:
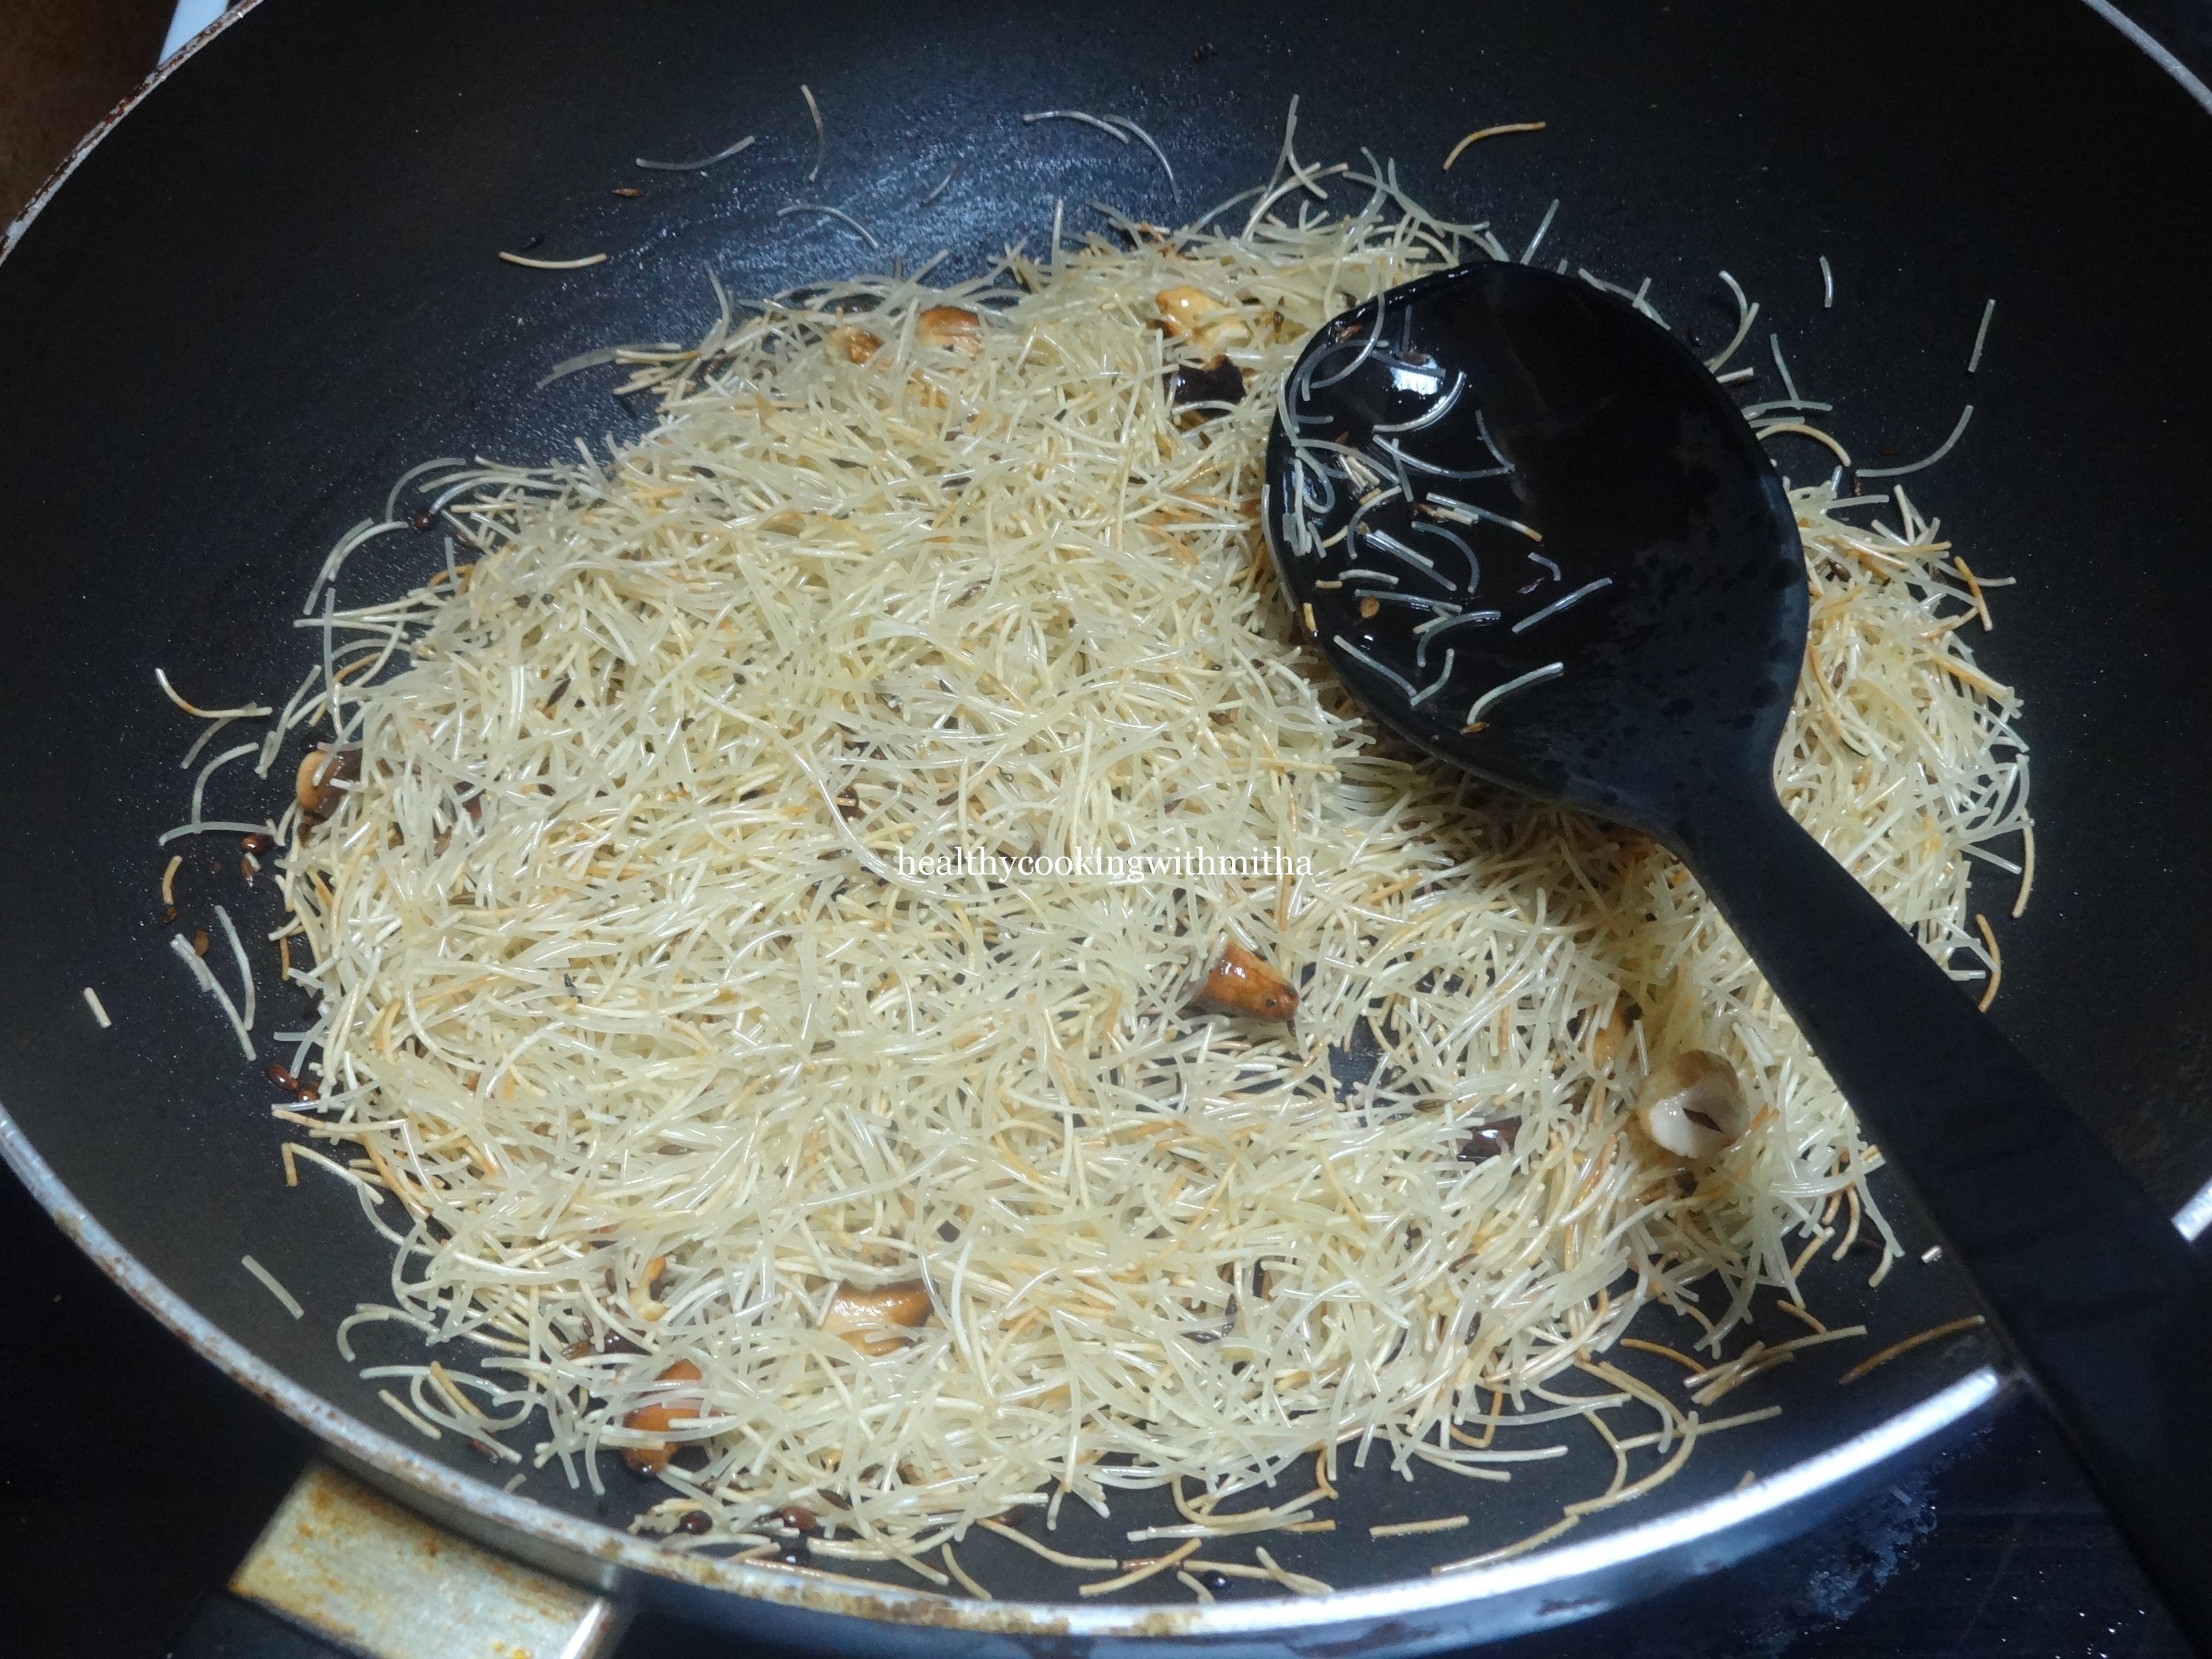
1. Heat oil in a pan and splutter mustard seeds, add Jeera, urad dal and broken cashews. Fry little till cashews turn golden. Then add vermicelli and fry on medium flame till it changes colour and turns brown.
2. Now add rava and fry again till it turns light brown.
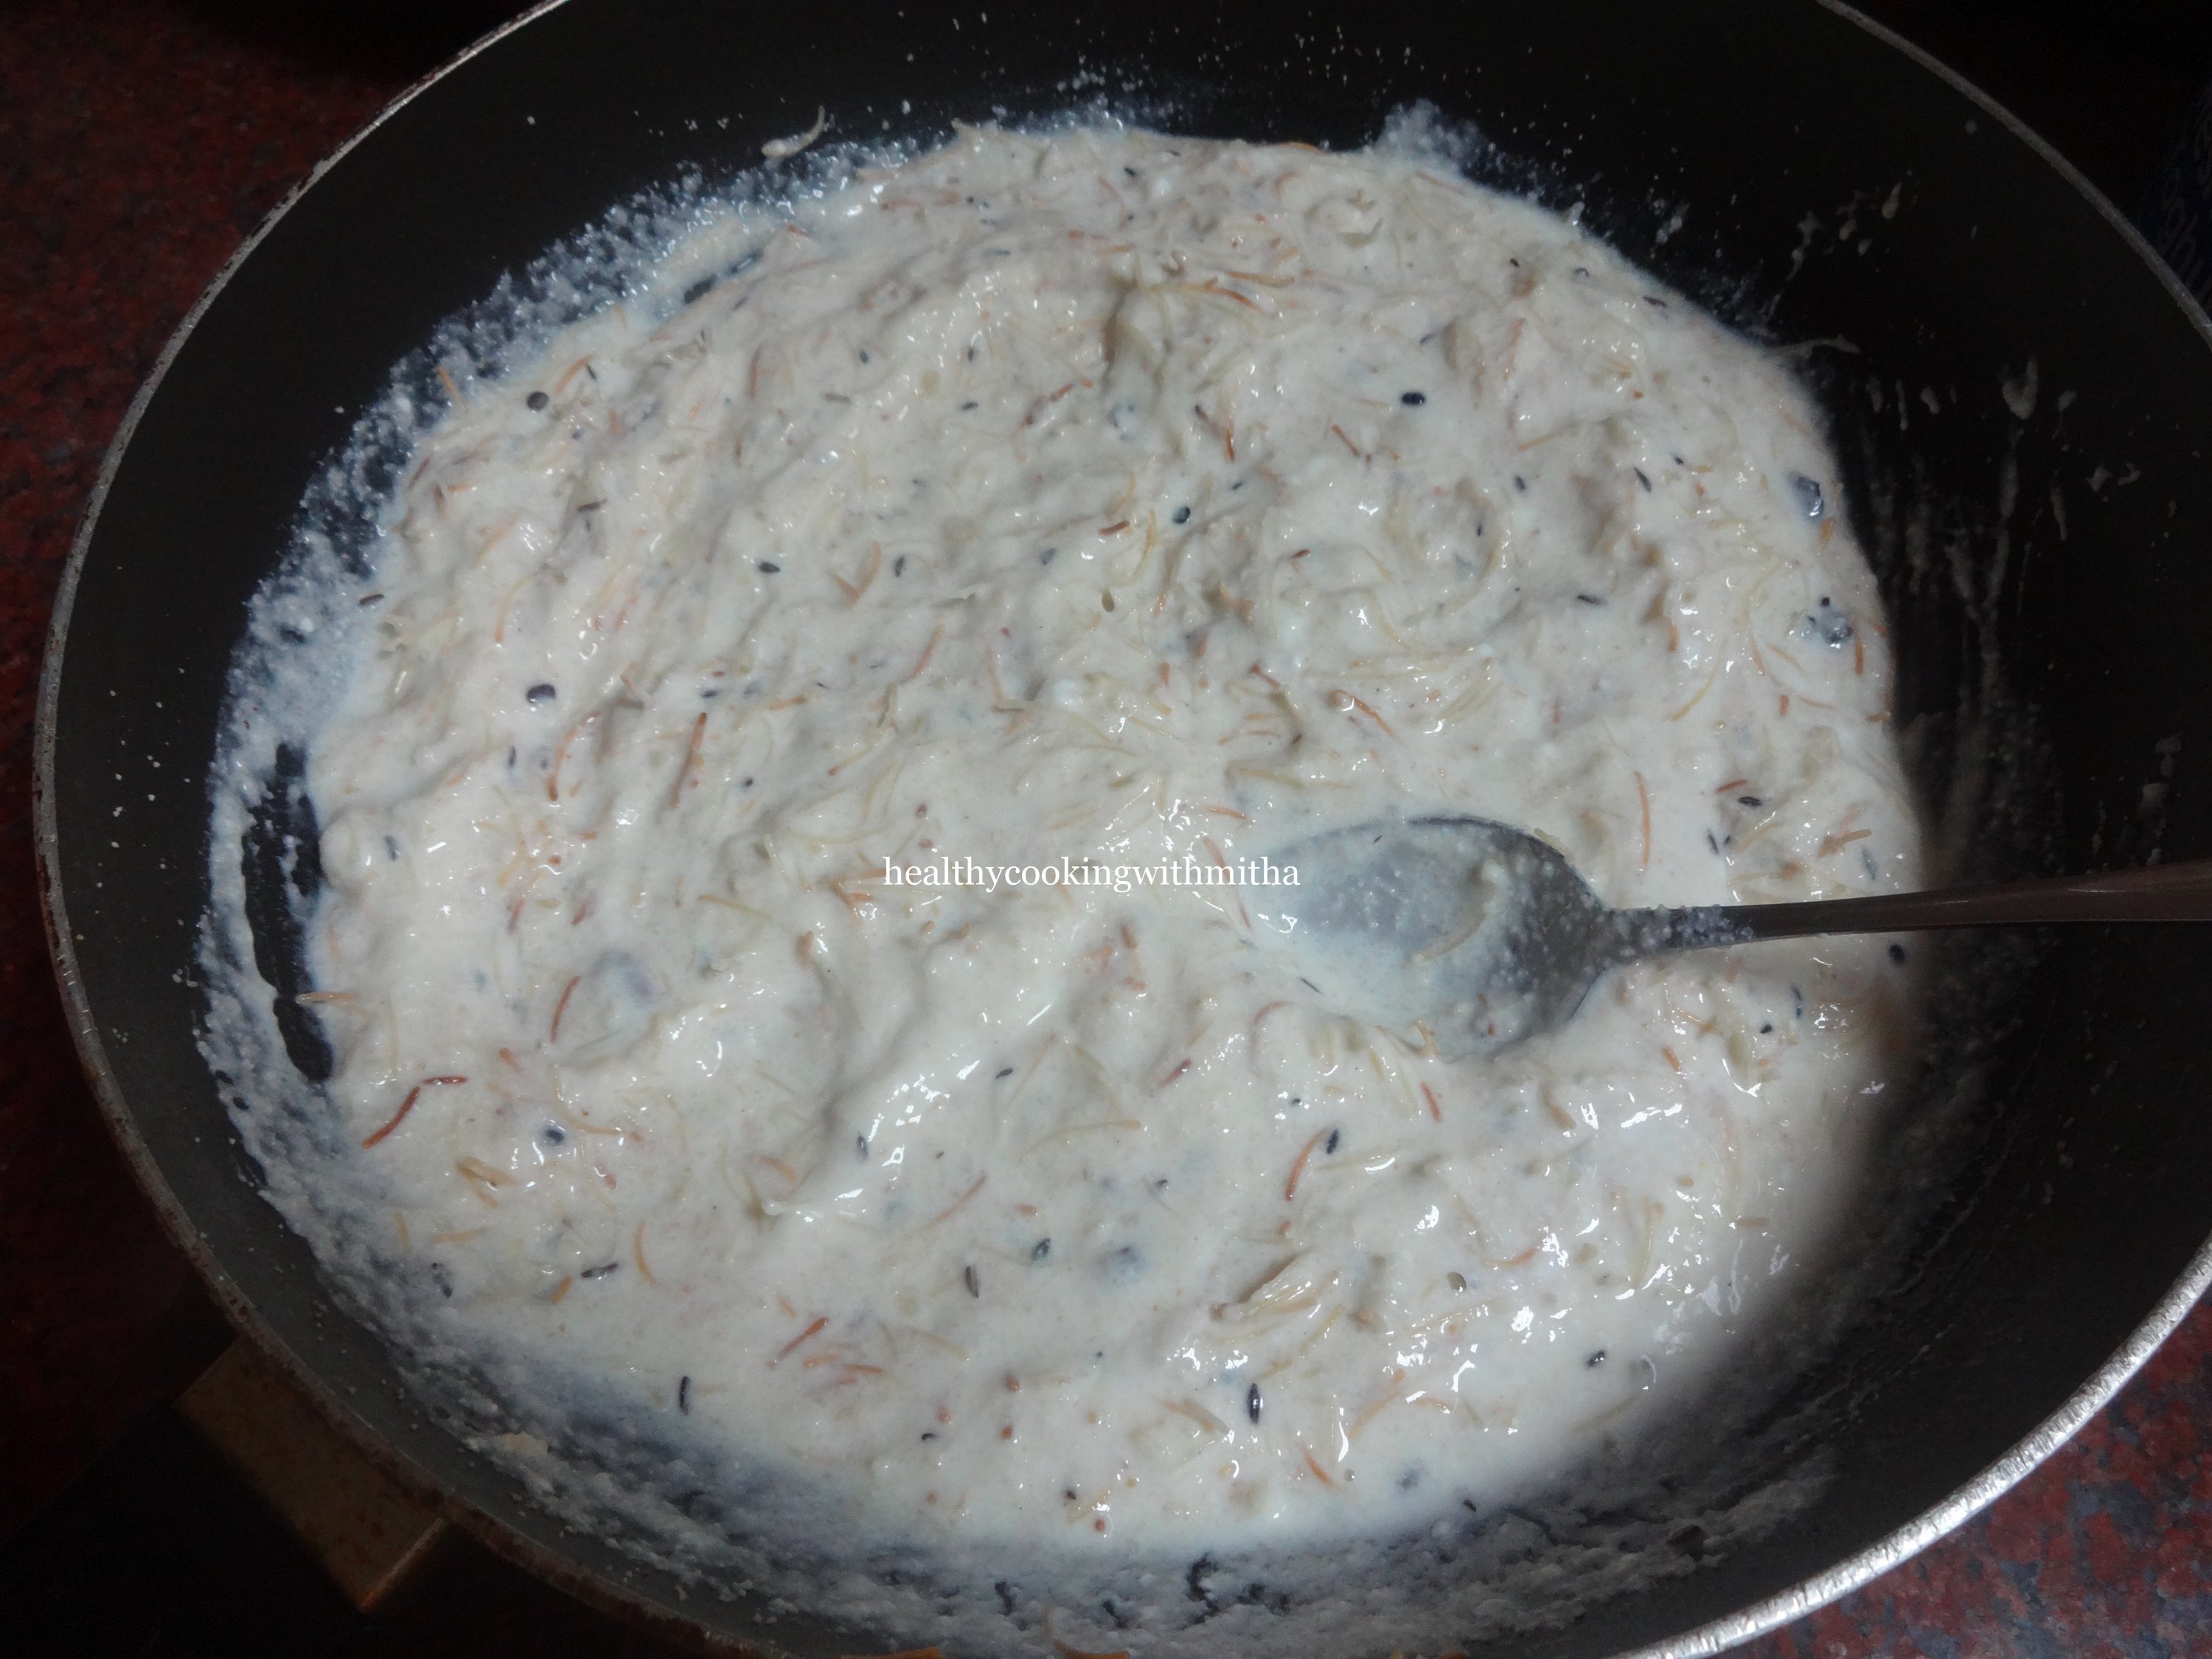
3. Switch off the flame now and allow it to cool down slightly. Add curd and water. Mix well.
4. Now add grated carrots and mix well. Add salt and Eno fruit salt. Mix well.
5. Steam immediately after adding Eno fruit salt. Steam for 20 mins or till done.
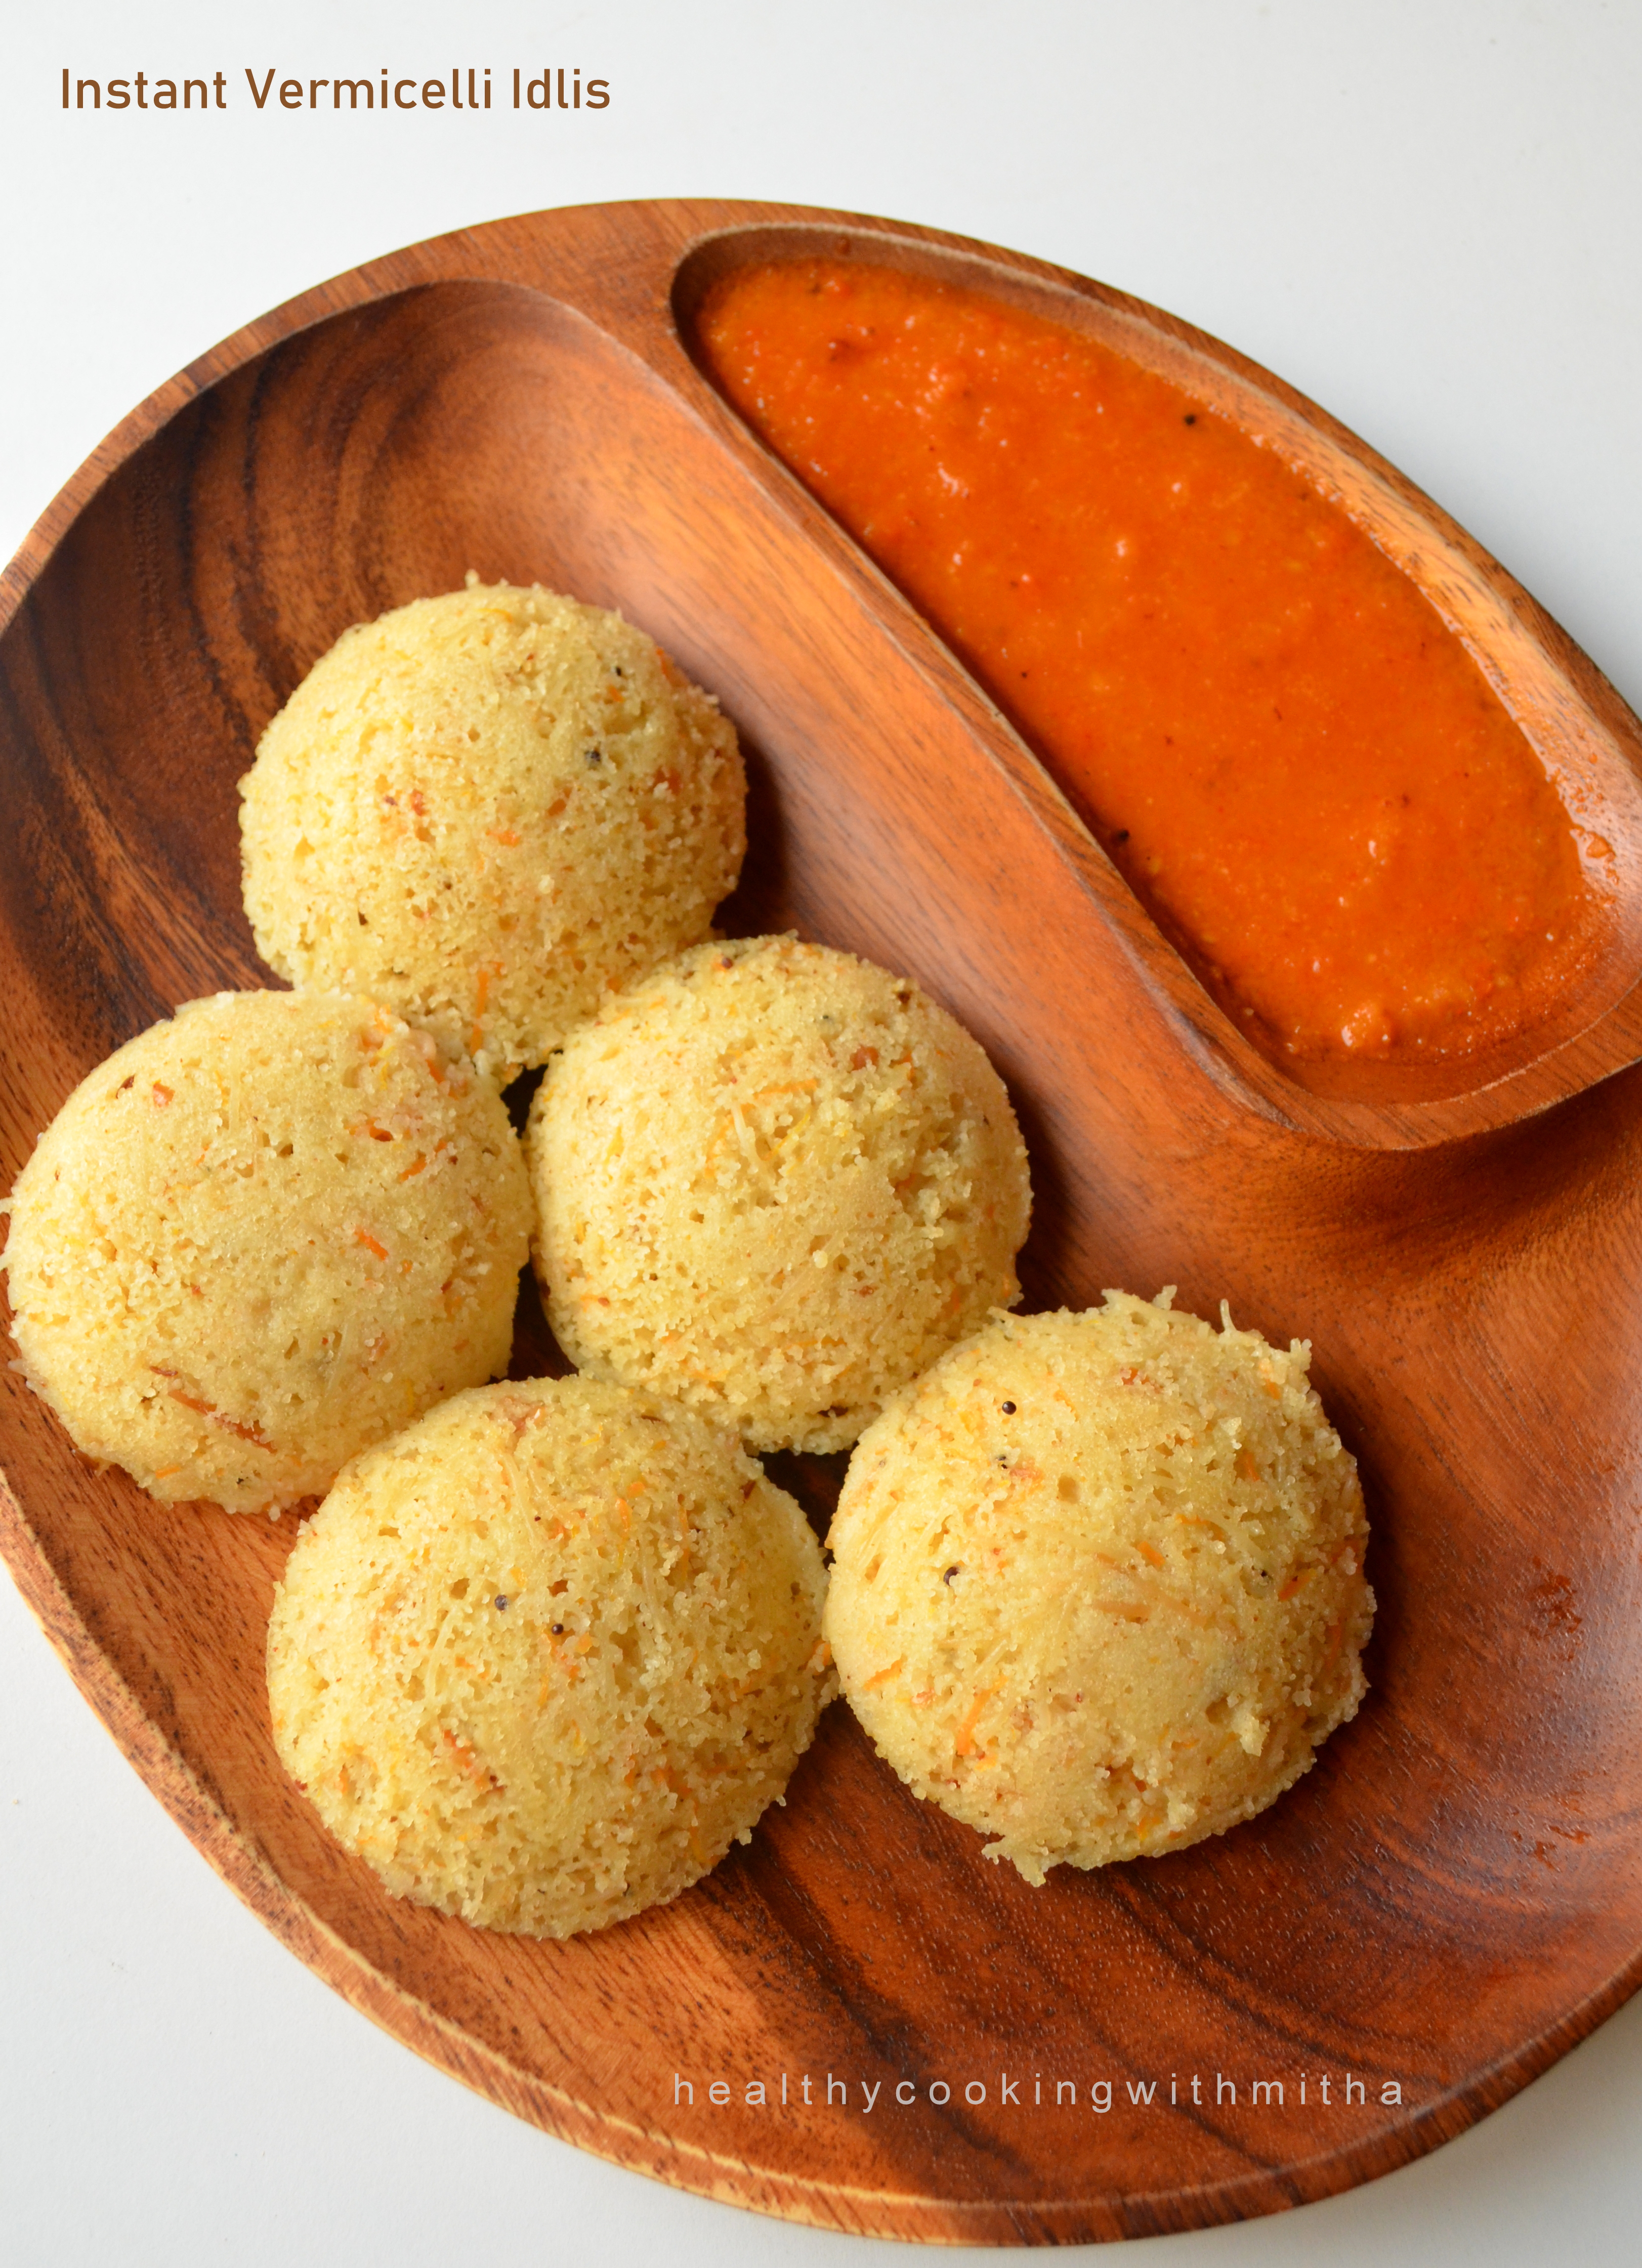
The white colour is due to my kitchen lights. These Idlis get a golden hue due to vermicelli and carrots.
6. Remove and serve with a chutney of your choice. I have served it with my Amma’s tomato chutney.
Notes:
* 1 tsp Eno fruit salt can be substituted with 1/2 tsp Baking soda and 1/2 tsp Lemon juice.
* Steam immediately after adding Eno fruit salt.
* You can also make regular Instant Rava Idlis if you don’t have vermicelli.
* Grated carrots are optional but give a good bite and also increases the nutritional value.
* For 1 Cup Vermicelli and 1 Cup Rava, 1 Cup curds plus 3/4 Cup water gave perfect texture of the batter which is slightly thick. The amount of water depends upon the curd. Start with 1/2 Cup water and add more only if necessary. Don’t make the batter thin.
It is my son’s second birthday today (August 12th) and we are celebrating it since 10th. 10th because it was my husband’s off day from work (we did a small celebration at home), 11th as it was Janmashtami and I love dressing him up as Krishna. He is our little Kishan Kanhaiyya who brought flood along with him during the Kerala floods in August 2018.
I remember those scary days every year and pray that no one has to go through it again. But yes, God has been really kind upon us and we survived the days well.
My parents shifted back to our native Udupi in Karnataka after that as they wanted to be closer to their siblings and the days in Cochin are a beautiful memory to cherish.
One among the food memory from Cochin is piping hot masala puri that we used to enjoy from a small chaat stall behind the Ernakulam Shiva temple. Me and Amma used to sit in our car (as I was very shy to eat in front of other people 😁) and my dad and brother used to bring them to us. The flavours of the masala puri is still in my taste buds. So so delicious. I have never eaten a tastier masala puri than that.
But I am glad after many trials, my version of masala puri does taste almost same to that. I make it during special days and since it was my son’s birthday, I made it for our evening special snack and we all enjoyed it. Hope you all try and enjoy too. Happy and healthy cooking!
RECIPE:
Ingredients: {Makes about 4 plates}
For the curry:
1 Cup dry Green peas (soak overnight)
1 medium sized Potato
1 medium sized Tomato
1 tsp Garam masala powder
1/4 tsp Turmeric powder
Salt to taste
1 Tbsp Oil
To grind:
1 medium sized Onion
3 Green chillies
1/2 inch Ginger piece
1/2 Cup Coriander leaves
1/4 Cup Mint leaves
For garnish: finely chopped Onion, tomatoes and coriander leaves as desired
For assembling the chaat: {In one plate}
3 to 4 Puris, 3 ladles of the curry, 1 Tbsp Date Tamarind chutney, Green chutney if desired, finely chopped onions, tomatoes, coriander leaves and bhujiya or Sev.
Step by step recipe:
1. Pressure cook the soaked green peas (soak for atleast 8 hours) along with potato and turmeric powder till it turns soft.
Note: It takes 4 whistles at high flame in my electric stovetop.
2. Mash lightly and keep aside.
3. Take all ingredients to grind in a mixer jar.
4. Grind with little water to a smooth paste. Keep aside.
5. Heat oil in a pan and fry finely chopped tomatoes till it cooks.
6. Add the ground masala paste and cook till it reduces and leaves the sides of the pan. Add garam masala powder and salt.
7. Add the cooked and mashed peas and potatoes.
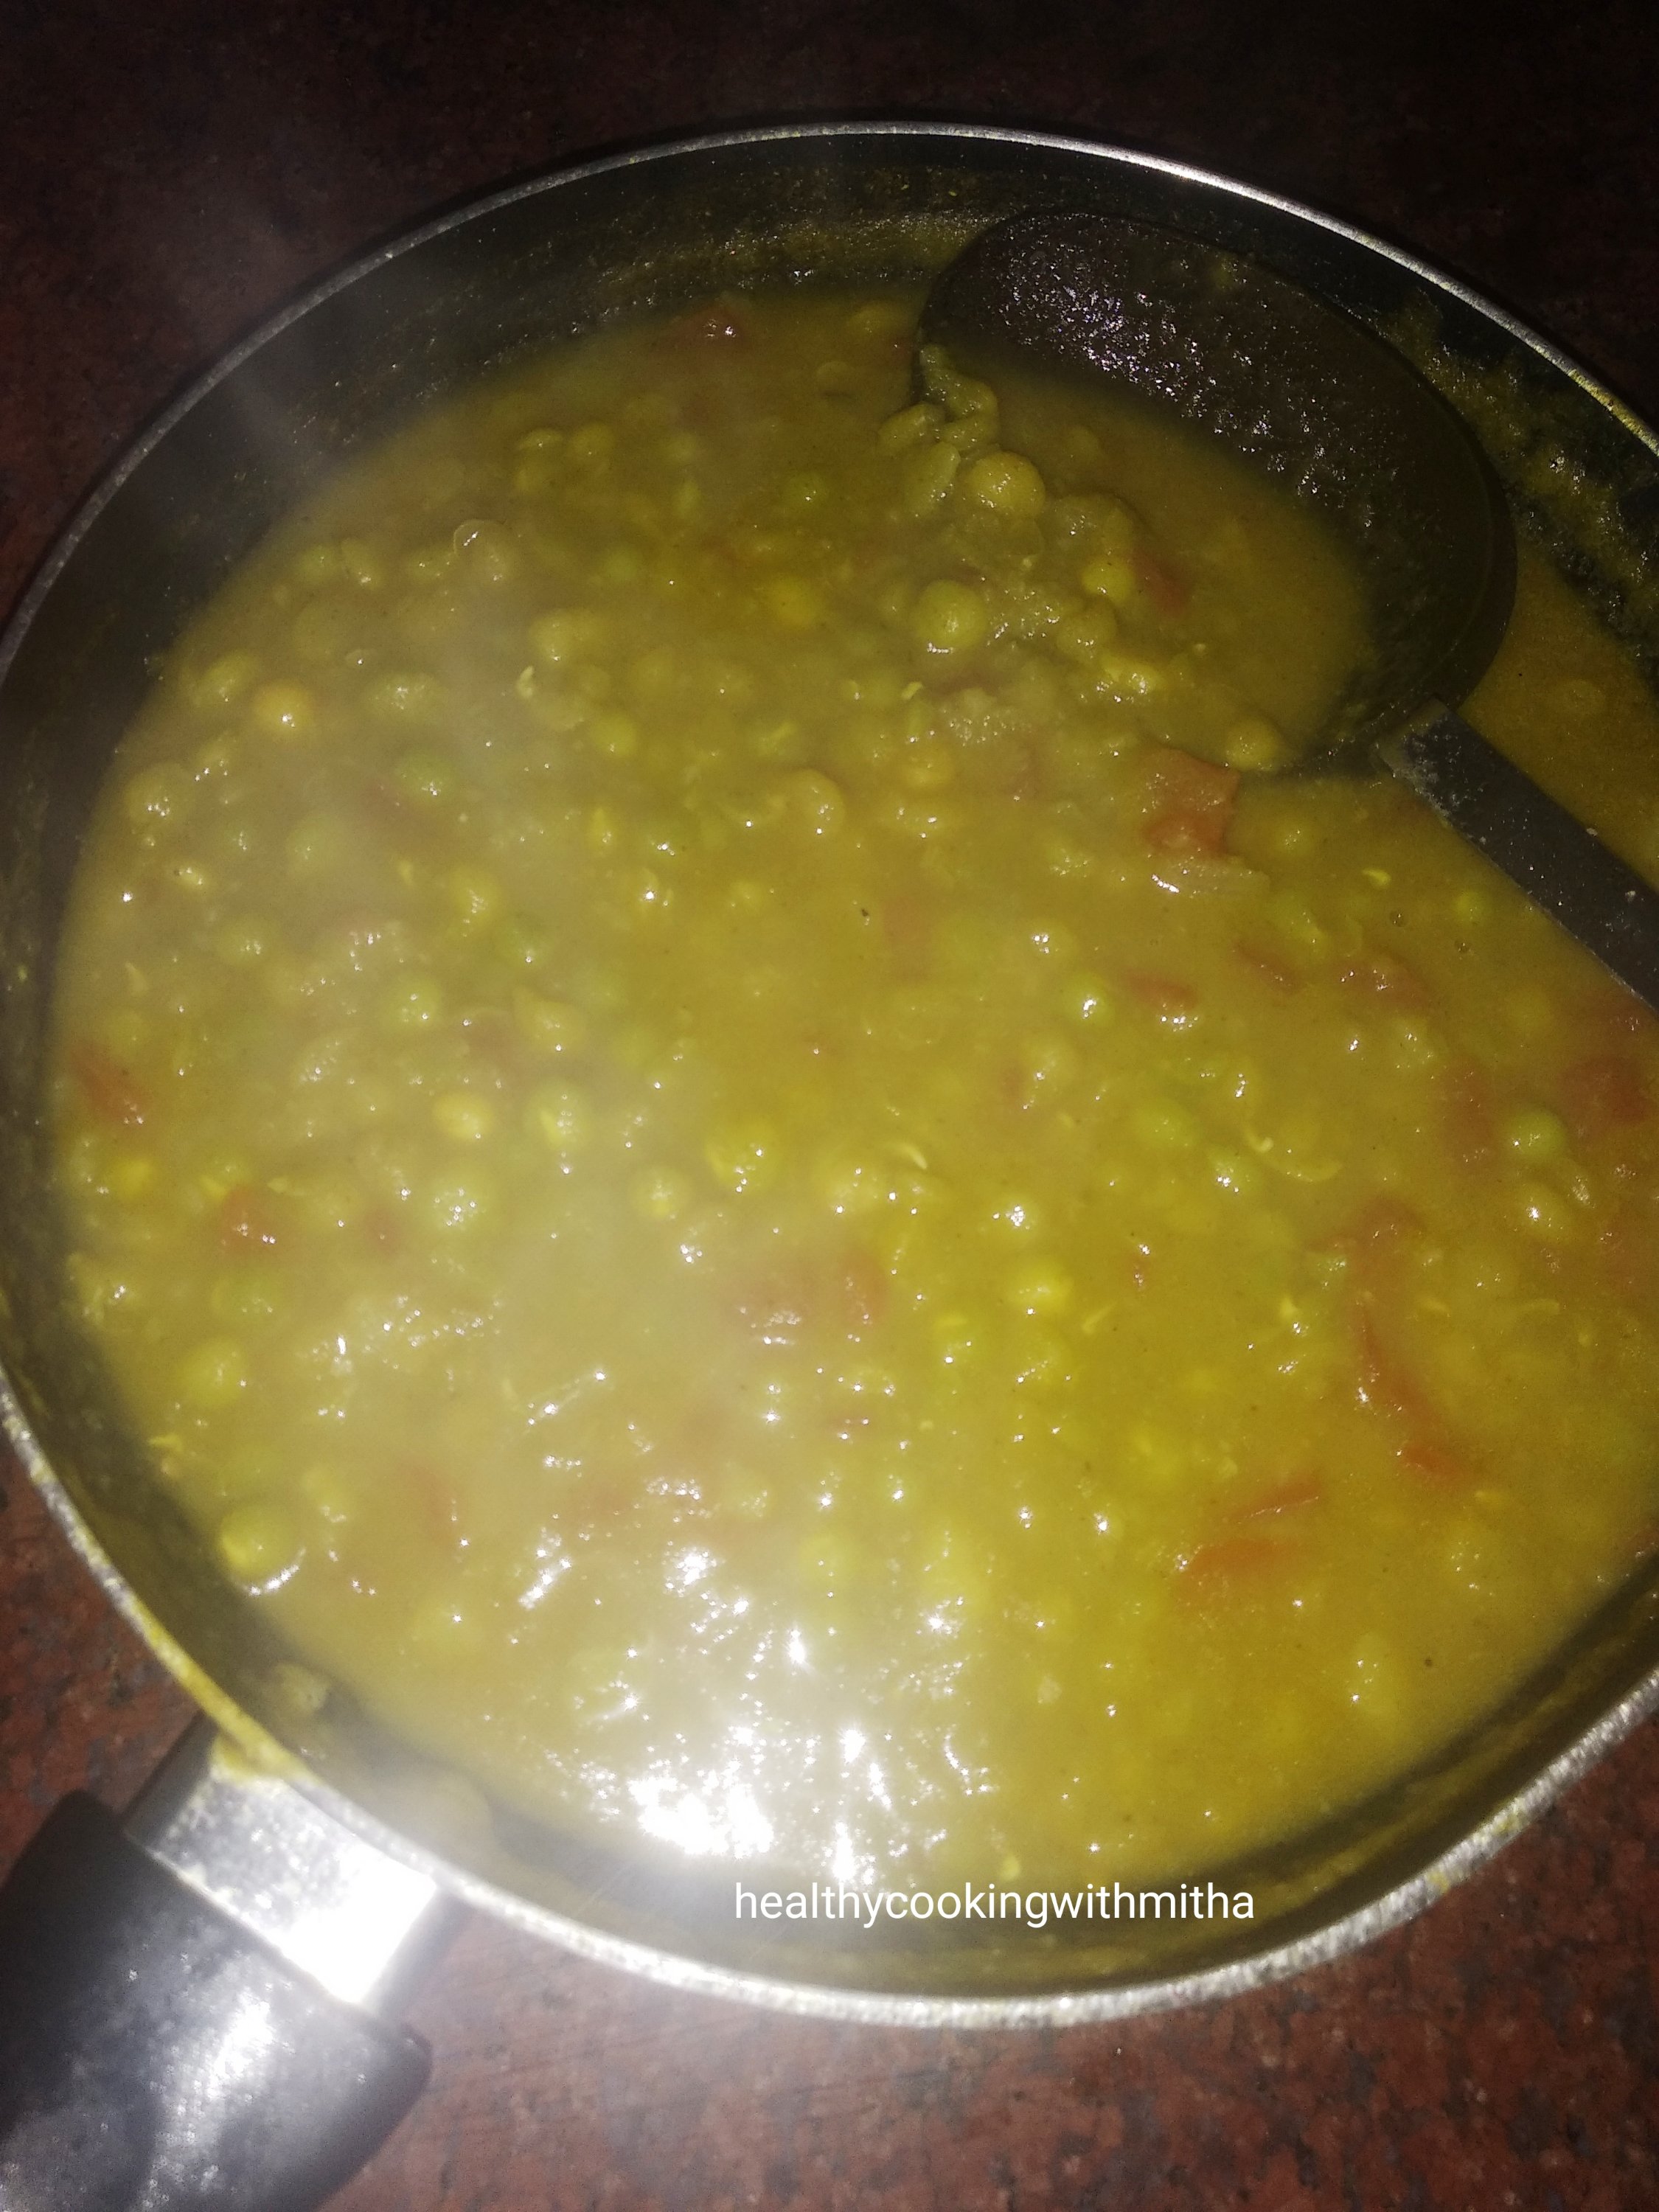
8. Now cook till it thickens and turns into a gravy like below. Remove from flame.
9. For making masala puris, take puris in a plate and break into pieces.
10. Now add two to three ladles of the curry, top with date-tamarind chutney, onions, tomatoes, coriander leaves and bhujiya. Serve hot.
Notes:
* You can also make green chutney for a spicier masala Puri. Since I make it for my kids, I skip and make the curry mildly spicy for them to enjoy.
* For the green chutney, just grind green chillies with coriander leaves, mint, salt and little water to a smooth paste.
* I also use Mother’s recipe date tamarind chutney. If you don’t have it, just grind dates with tamarind and salt with little water to a smooth paste. That’s your sweet chutney.
* For the puris, I have bought these ready to be fried puris long back (more than 2 years actually) and still they are good. I just microwave it on high for 1 minute and they are ready. No need to deep fry at all.
* The curry can be used as an accompaniment to rotis and rice meals. If you add paneer to it, it becomes matar paneer. I do the same when I have leftover curry.
* You can grind tomatoes if you don’t like tomatoes as it is in the gravy.
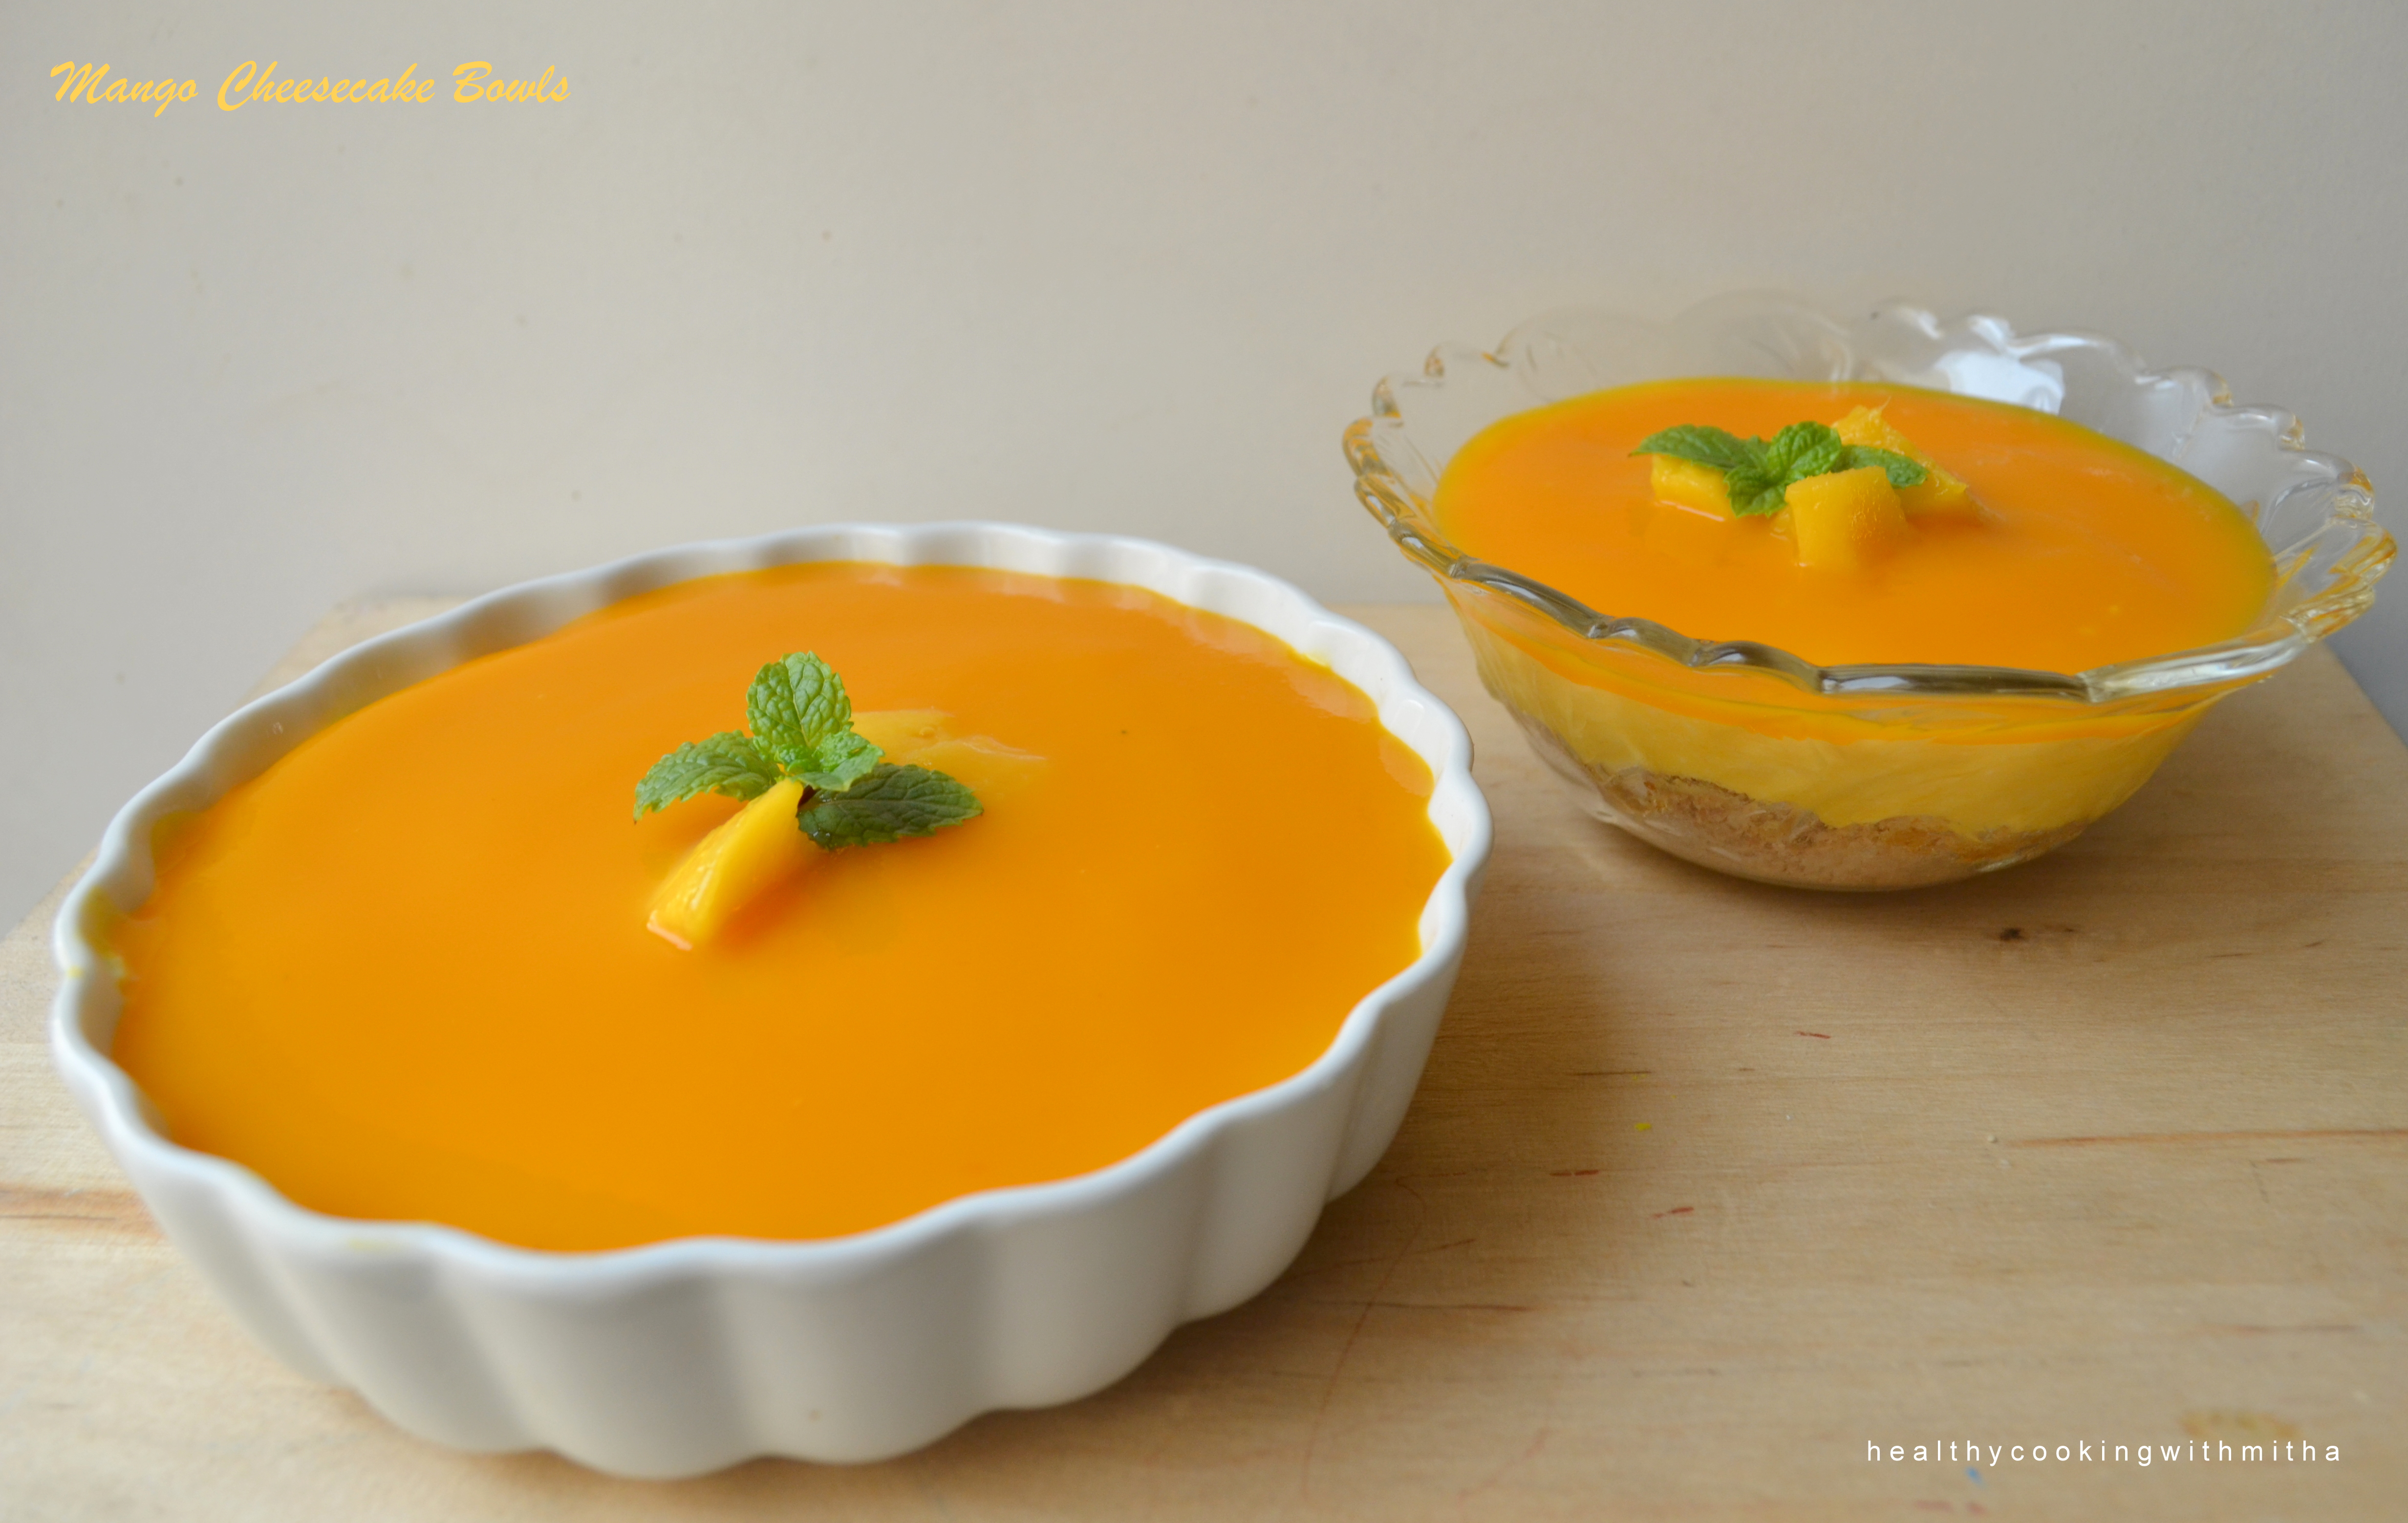
Here is the easiest cheesecake ever and definitely the tastiest too since it has mango in it. How can anything with mango not taste delicious?
Btw did you notice those hands holding the cheesecake? It is my husband’s and it is his photography too. I am very bad at pictures such as this and he helps me by clicking such unique captures.
I make Chocolate cheesecake well and he wanted me to make a mango version of it to see how it will come out. Even though I was hesitant as I was unsure whether it will set or not but it set so beautifully and tasted so yummy that we had a great time enjoying it for our weekend dessert (though we could not move out of our couch after that 😂).
But I guess some days are meant to be like that. To enjoy such sinful desserts just for a wonderful change from being health conscious always. Hope you all try and love it too. Happy cooking!
RECIPE:
Ingredients:
For the biscuit base:
100 grams Digestive biscuits (I used 8 McVities biscuits)
2 Tbsp Butter
For the cheesecake layer:
225 grams Cream cheese (can be substituted with hung curd)*check notes
1 tin sweetened condensed milk (397 grams)
1/3 Cup Lemon juice
2/3 Cup Mango pulp (fresh or canned)
For the mango topping:
About 1/2 Cup Mango pulp, fresh mango pieces and mint leaves
Step by step recipe:
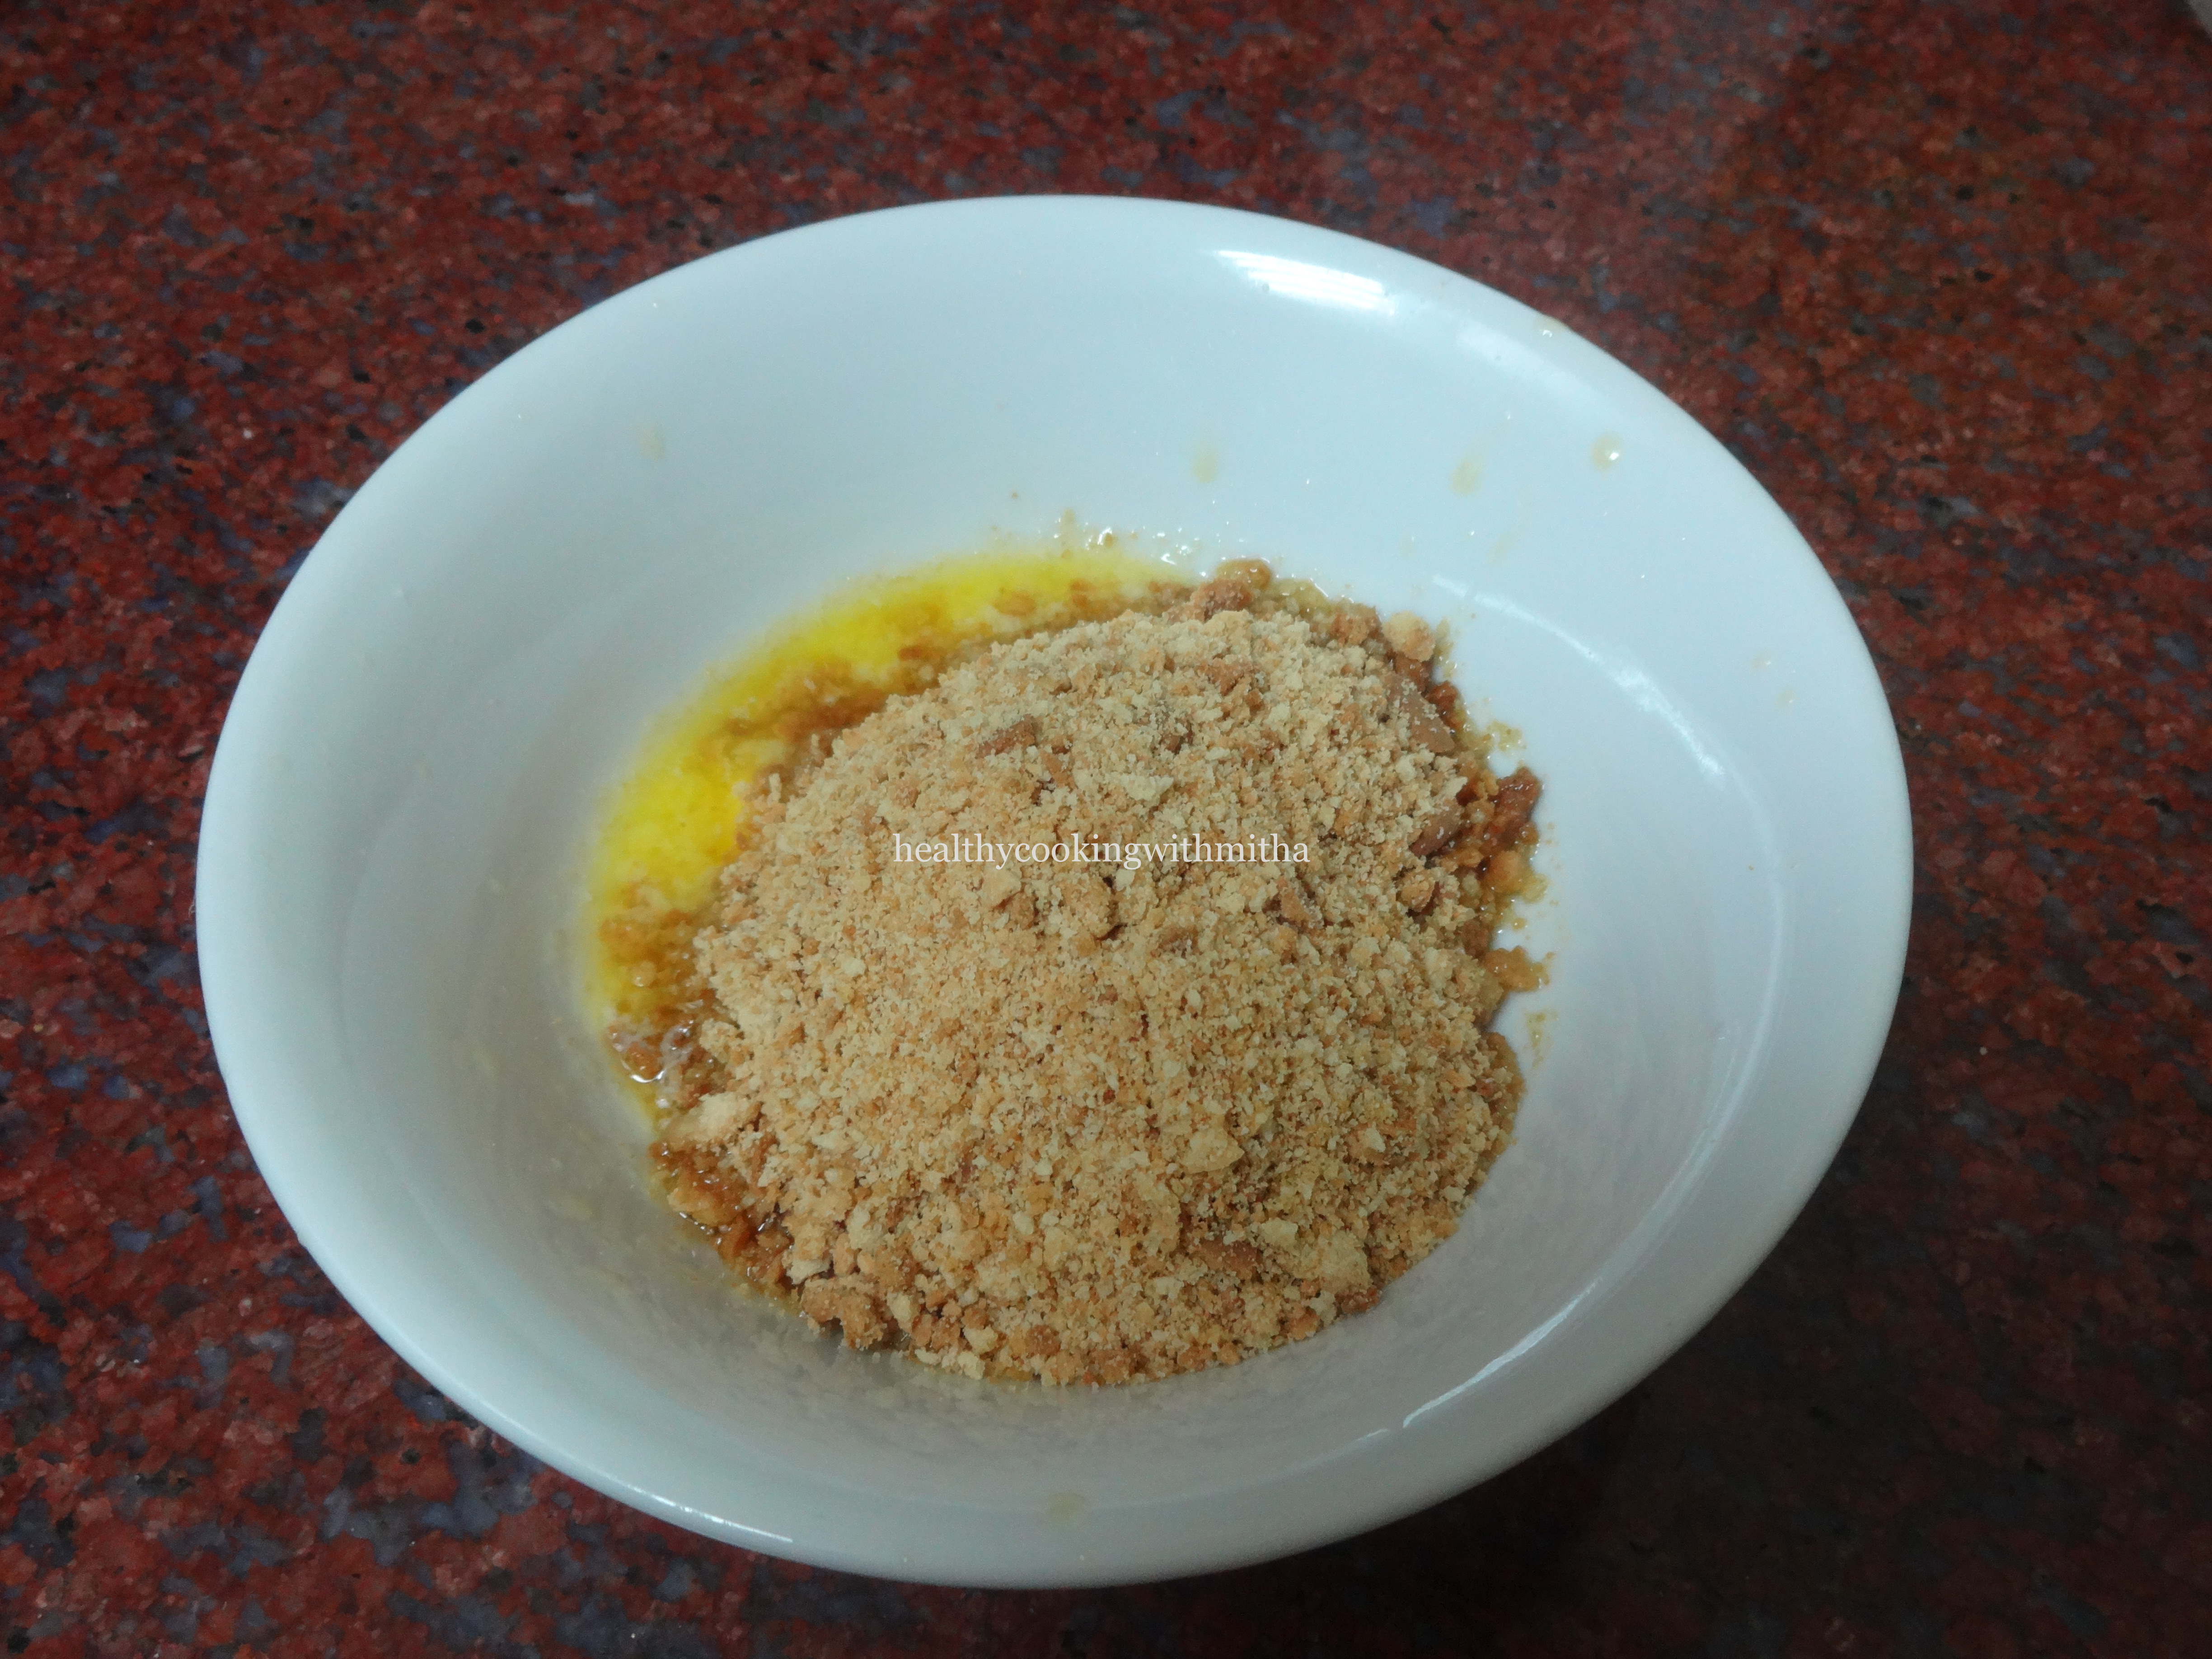
1. Powder the biscuits to a fine powder using a mixer or just add to a ziplock pouch and use a rolling pin to powder the biscuits. (My 5 year old daughter did this for me 😉)
2. Melt butter in a bowl and add this biscuit powder to it. Mix well.
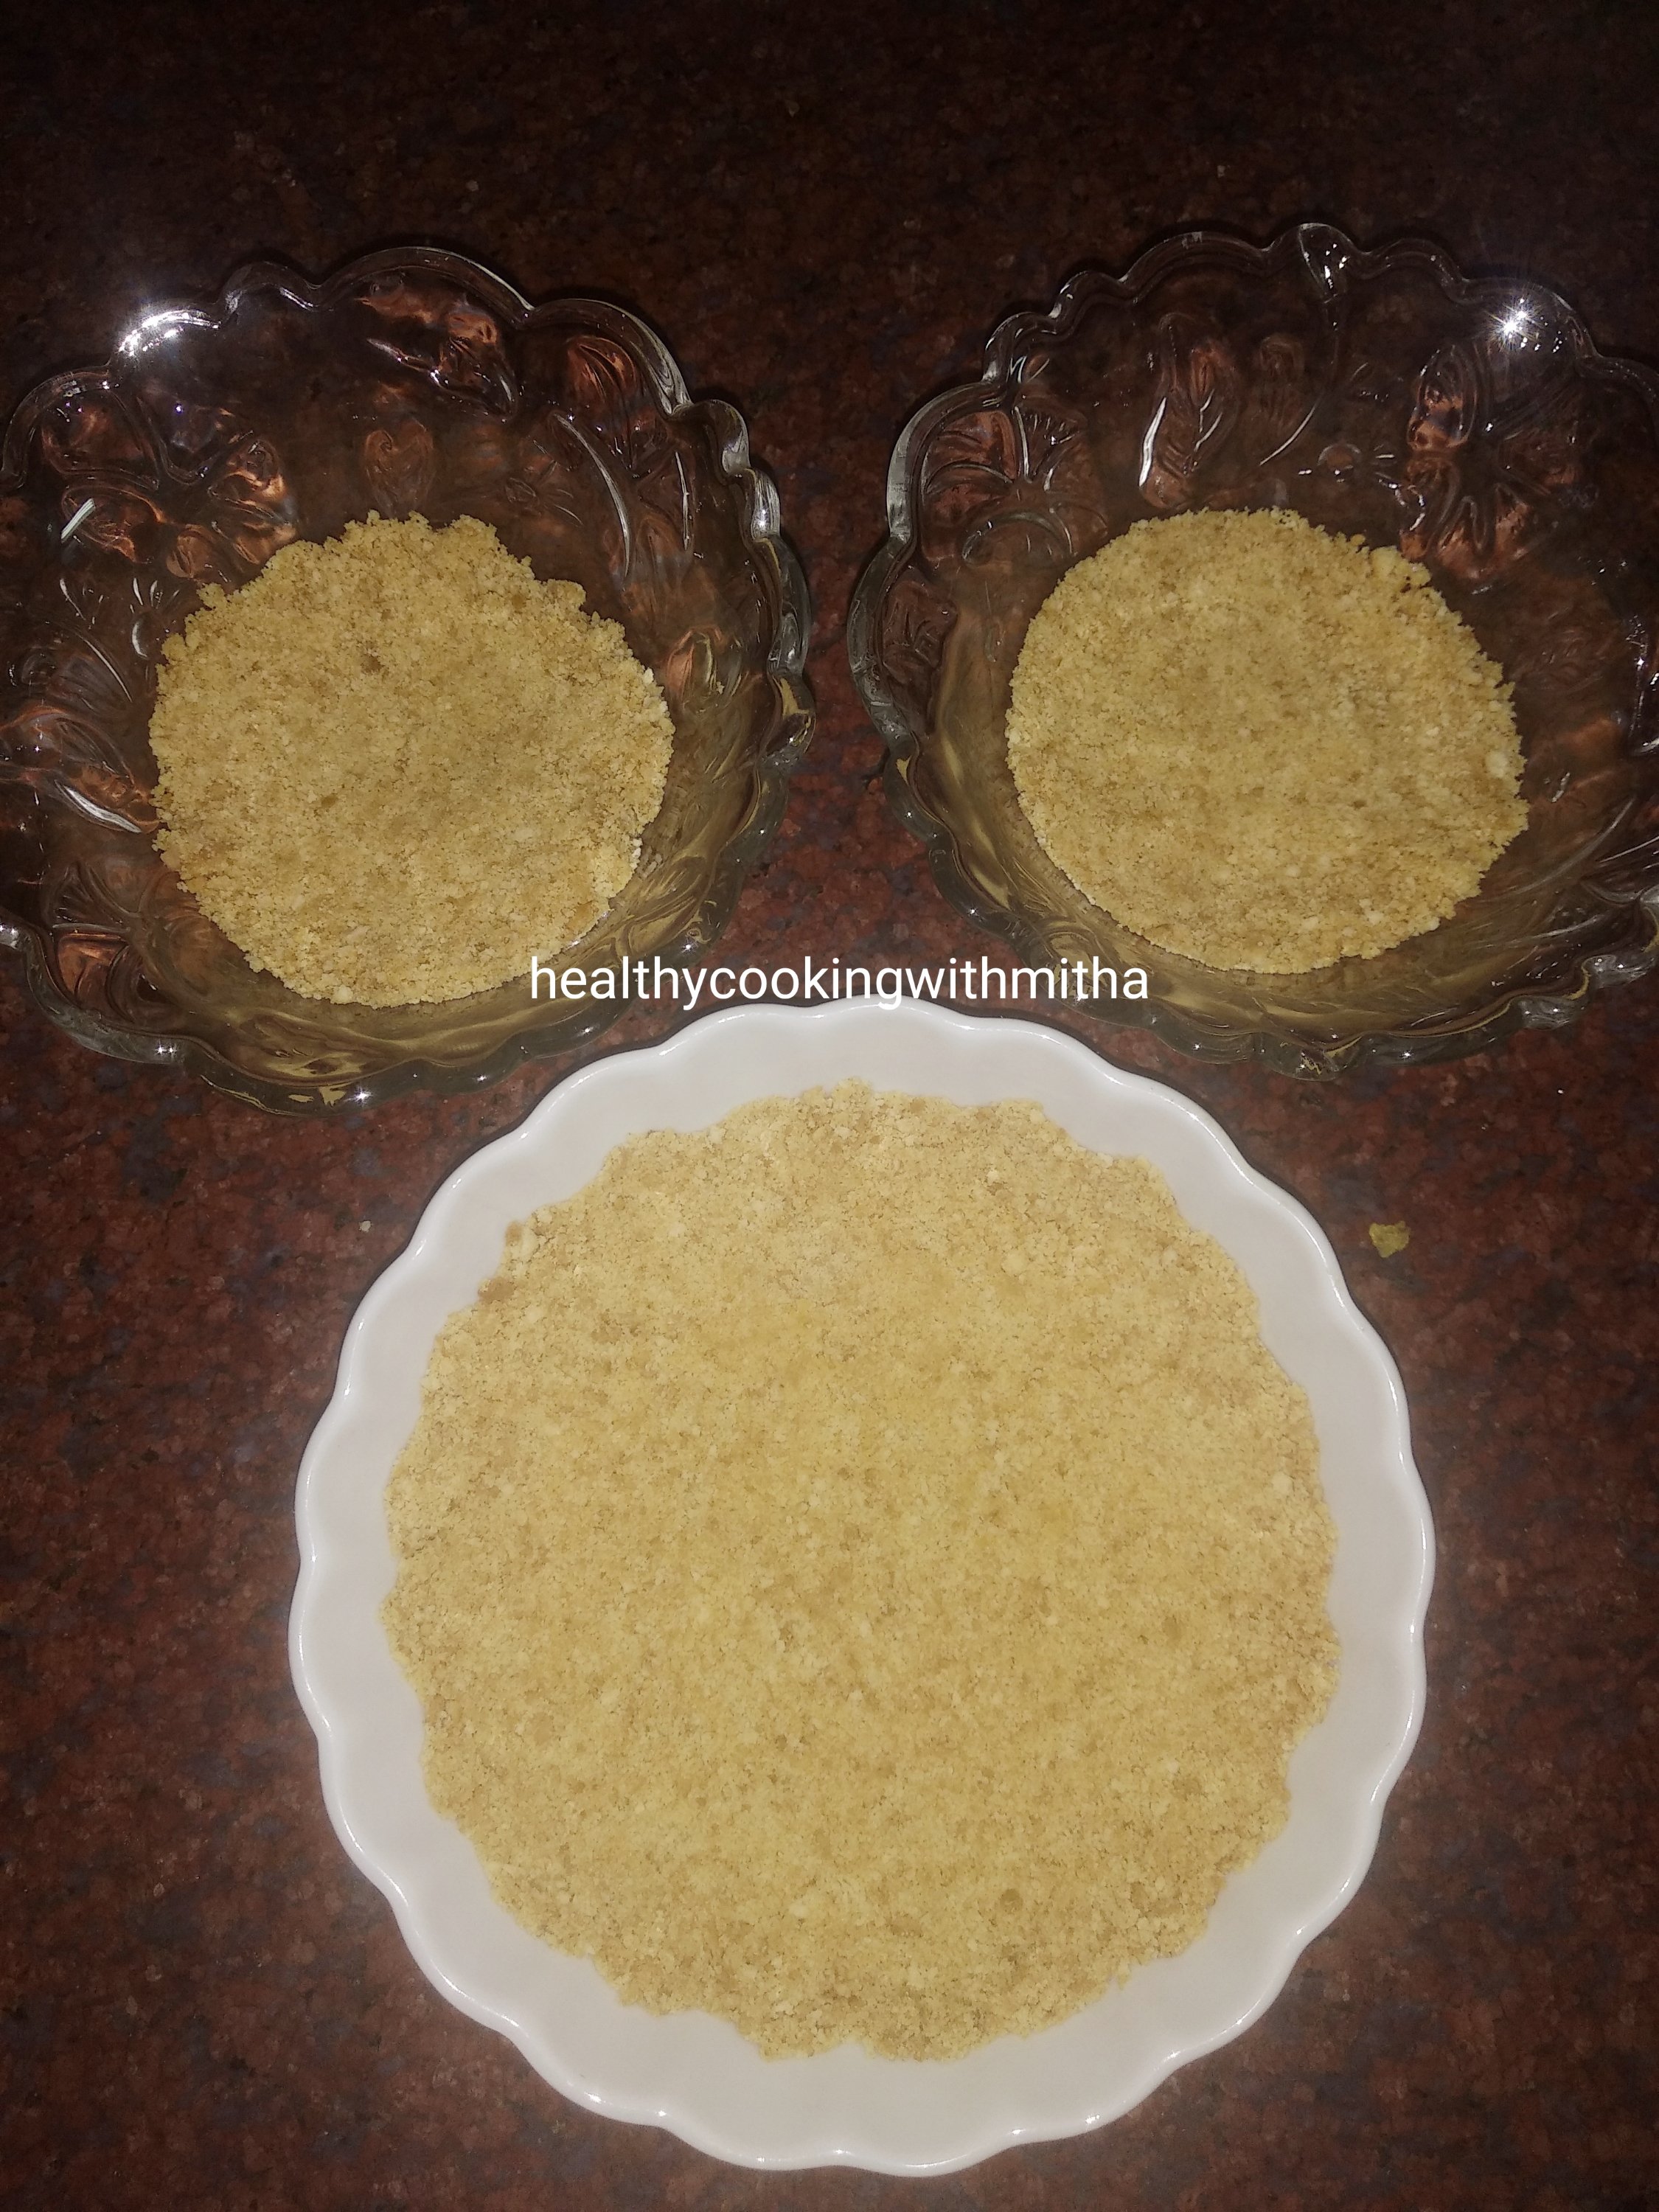
3. Put it in bowls to set as shown. Just a thin layer will do. Keep for refrigeration for 10 to 15 mins.
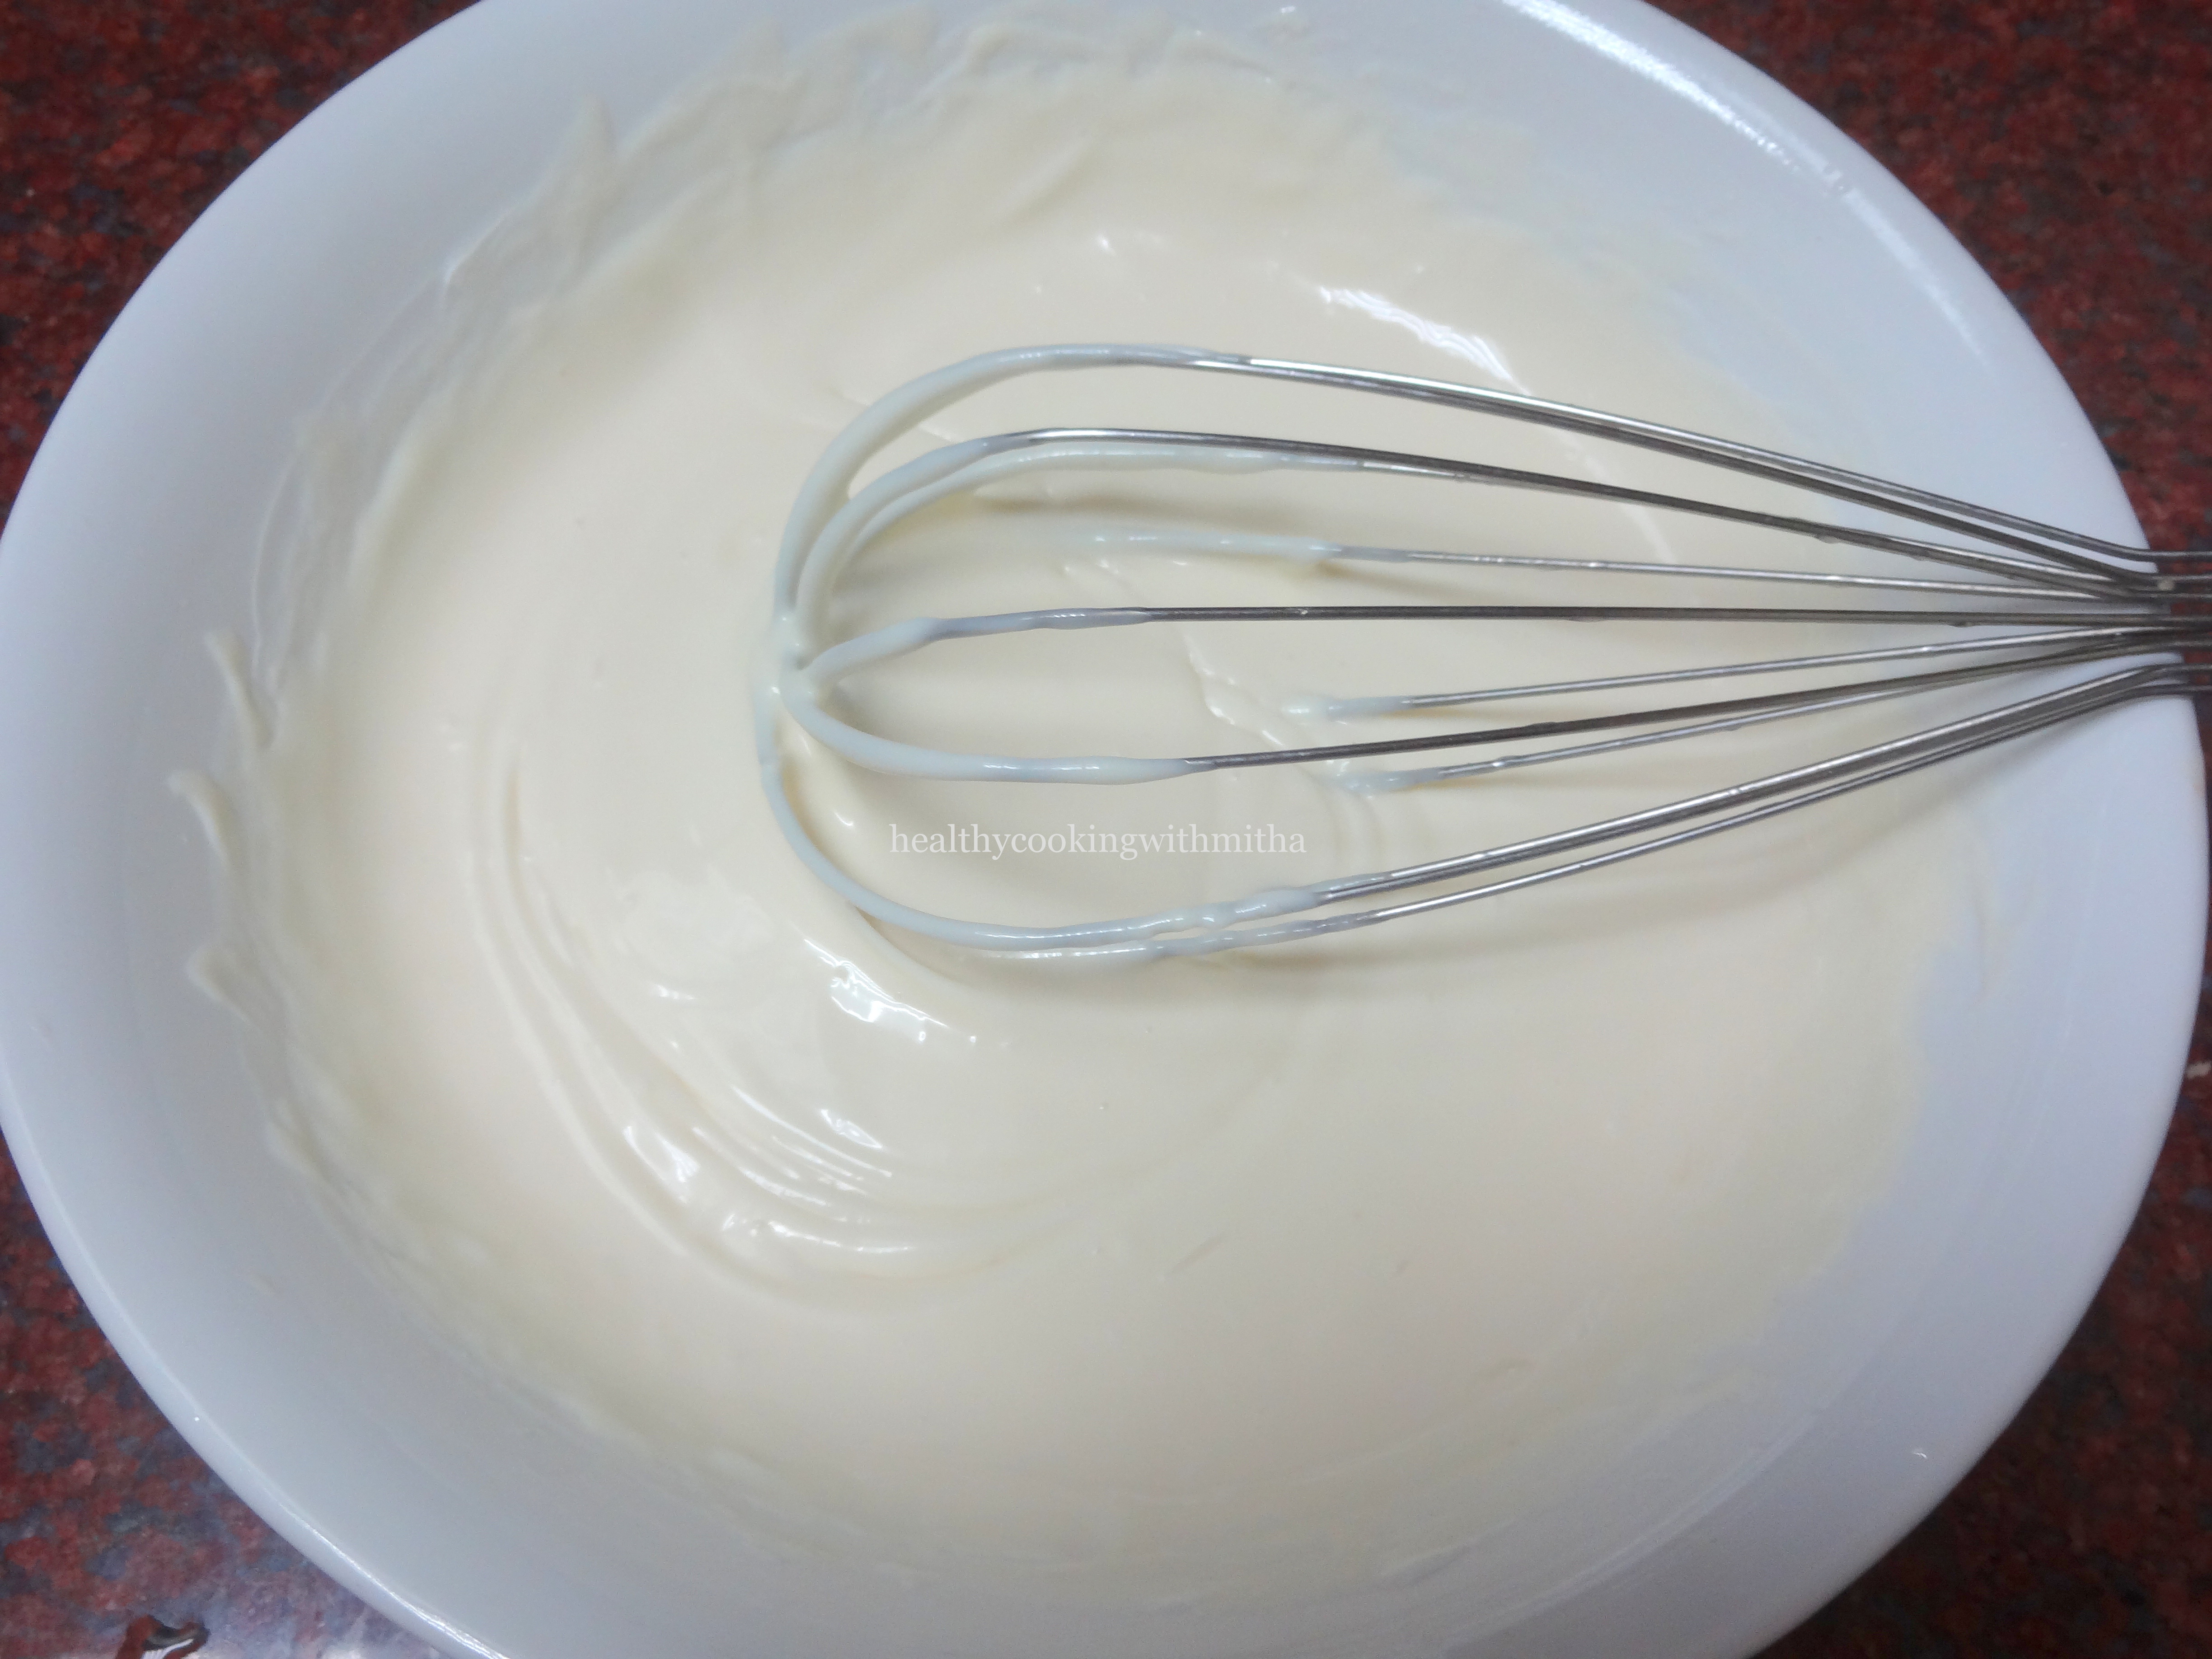
4. Meanwhile let us get the cheesecake layer ready. Whisk cream cheese till creamy just to remove lumps. No need to whisk a lot.
Note: You can also use hung curd instead of cream cheese. Whisk till smooth.
6. Now add mango pulp. Whisk again just to mix well.
7. Now remove the set biscuit mixture from the fridge. Add a layer of this cheesecake mixture evenly. Level using spatula.
8. Refrigerate for atleast 12 hours or overnight. (*Check notes) I usually set for one day or about 20 hours. See how well it sets then.
9. Now layer with mango pulp and serve chilled.
Notes:
* If you have time, refrigerate after adding the last mango pulp layer too. Else it’s okay as the last layer does not set anyhow.
* You can skip the last mango layer too if you don’t like cheesecakes very sweet.
* I usually make this a day ahead and refrigerate for 24 hours so that the cheesecake layer sets well. Then add mango pulp and refrigerate for another hour before serving.
* Lemon juice is an important ingredient for the cheesecake to set. So please don’t skip it.
* The benefit of serving in individual bowls is that you can save yourself the hassle of cutting into slices and enjoy your own cheesecake portion from a bowl.
* If you want to make a large cheesecake, double the measurements that I mentioned above, set it in a cheesecake pan and refrigerate for atleast 24 hours for the cheesecake to set. Remember that the mango pulp layer does not set. It’s just for flavour.
* My readers have successfully replaced cream cheese with hungcurd in the Chocolate cheesecake recipe. So it definitely works if cream cheese is not available and you are setting in individual bowls or glasses.
* For making hung curd, just keep a clean handkerchief or muslin cloth over a large sieve and add curd over it. Tie the cloth tightly and remove excess water. Now keep a heavy weight over it and keep it to rest in the fridge overnight till the curd becomes thick and all water drips in the bowl beneath it. The water can be used in gravies or chapati dough and hung curd can be used to make this cheesecake.
* I have used Mother’s recipe sweetened mango pulp. You can use fresh mango pulp too. Just make sure you blend well and the strands of mango are not in the pulp.
I have tried to note down as much points as possible so that it’s easy for you all to follow but if you still have any doubts, either comment here or message me on my Facebook page Healthy cooking with mitha or on my Instagram handle and I would be happy to help.
Click on the image to save the recipe on Pinterest
As my regular readers know already, my kids love dosas and our morning usually starts with any variety of dosa. I have already posted many of them on my Dosa corner page.
Even though I make sure that I always have dosa batter handy for their dosa love, there are some days when it gets over and I am left wondering what to do apart from the Instant Oats Poha dosa that I make always when I don’t have dosa batter.
That is when I started making these oats vegetable bhakris and it was loved a lot by both kids. It hardly takes 15 mins to get the batter ready and it is very tasty and filling. Also a healthy snack option for evenings.
Hope you all try and love it too. Happy and healthy cooking!
RECIPE:
Ingredients:
2 Cups Instant Oats (I use Quaker or Saffola instant Oats)
1 Cup wheat Semolina/ Rava/ Sooji
1/4 Cup Curd or Yogurt (optional)
3 Cups water or as required
1/2 Cup grated Carrots
1/4 Cup finely chopped Capsicum
1/4 Cup finely chopped Onion
2 to 3 Green chillies or to taste
2 Tbsp finely chopped Coriander leaves
Salt to taste
Oil or ghee to cook the uthappams
Step by step recipe:
1. Take 2 Cups oats, 1 Cup rava, 1/4 Cup curd and salt in a large mixing bowl.
2. Add 3 Cups water and mix well to remove any lumps.
3. Add grated carrots, finely chopped capsicum and onions, green chillies and coriander leaves.
4. Mix well.
5. Heat a dosa pan and add a ladle of the batter. Spread into a thick dosa as shown.
6. Cover and cook till the surface cooks well.
7. Now add oil or ghee. Flip and cook for few minutes.
8. Serve hot with butter and chutney.
Notes:
* You can skip onion if you want but it gives a wonderful bite and flavour to the bhakri. Don’t skip capsicum though. It’s a main ingredient.
* I sometimes don’t need chutney with it too. Just the bhakri with butter tastes so delicious.
* Don’t spread the bhakri too thick or else it won’t cook inside. Cook both sides very well on medium to high flame.
* I have used instant Oats as it is (without powdering or roasting). You can use rolled oats but it might need powdering.
* You can skip curd if you don’t have. I make without it too sometimes. Does not make much difference.
Do let me know if you have any doubts. Will be a pleasure to help. 🙂
Did you know Oats is such a versatile ingredient, you could make Cake, Idli, Paratha, varieties of dosas and even gluten free pizza with it?
Sharing all varieties of dishes in which I use Oats and make regularly. Eat healthy, be happy. ❤️
Mushrooms are a regular in our grocery list even though I am not a huge fan of it. My husband absolutely loves it and I have learnt to adjust to it even though I have to make a face when I see it come home {Sorry Mr Mushroom 😁).
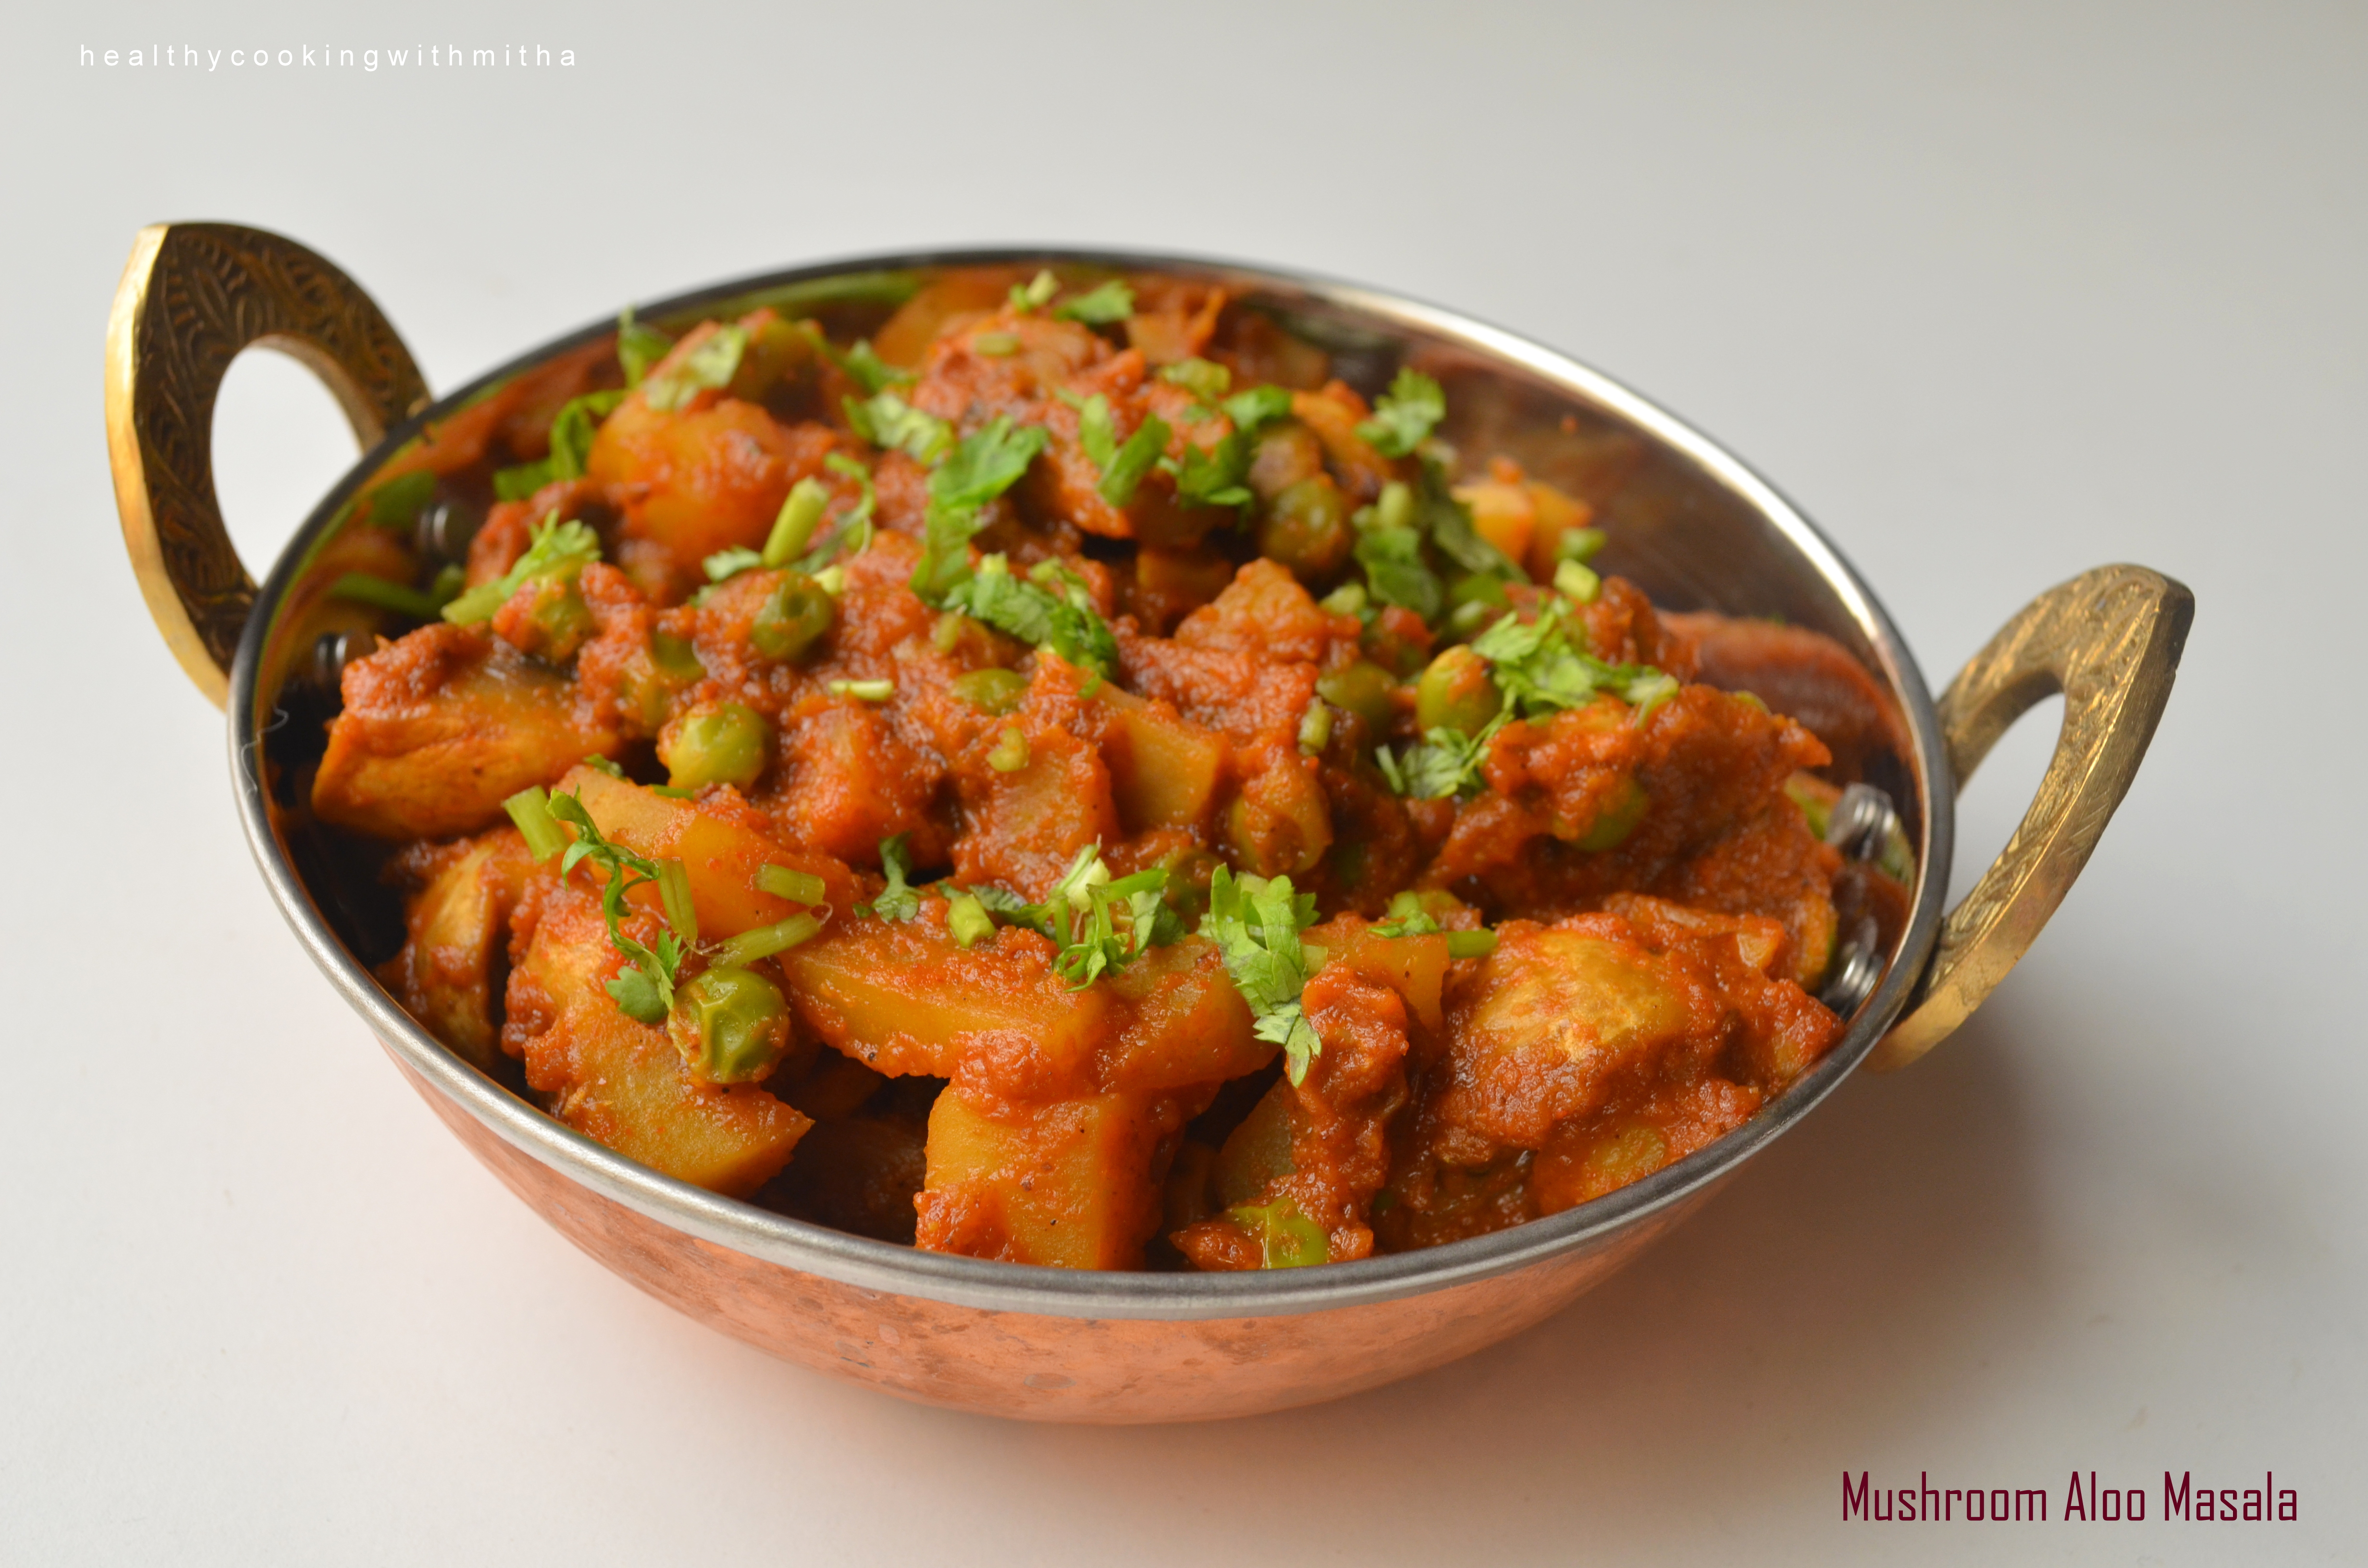
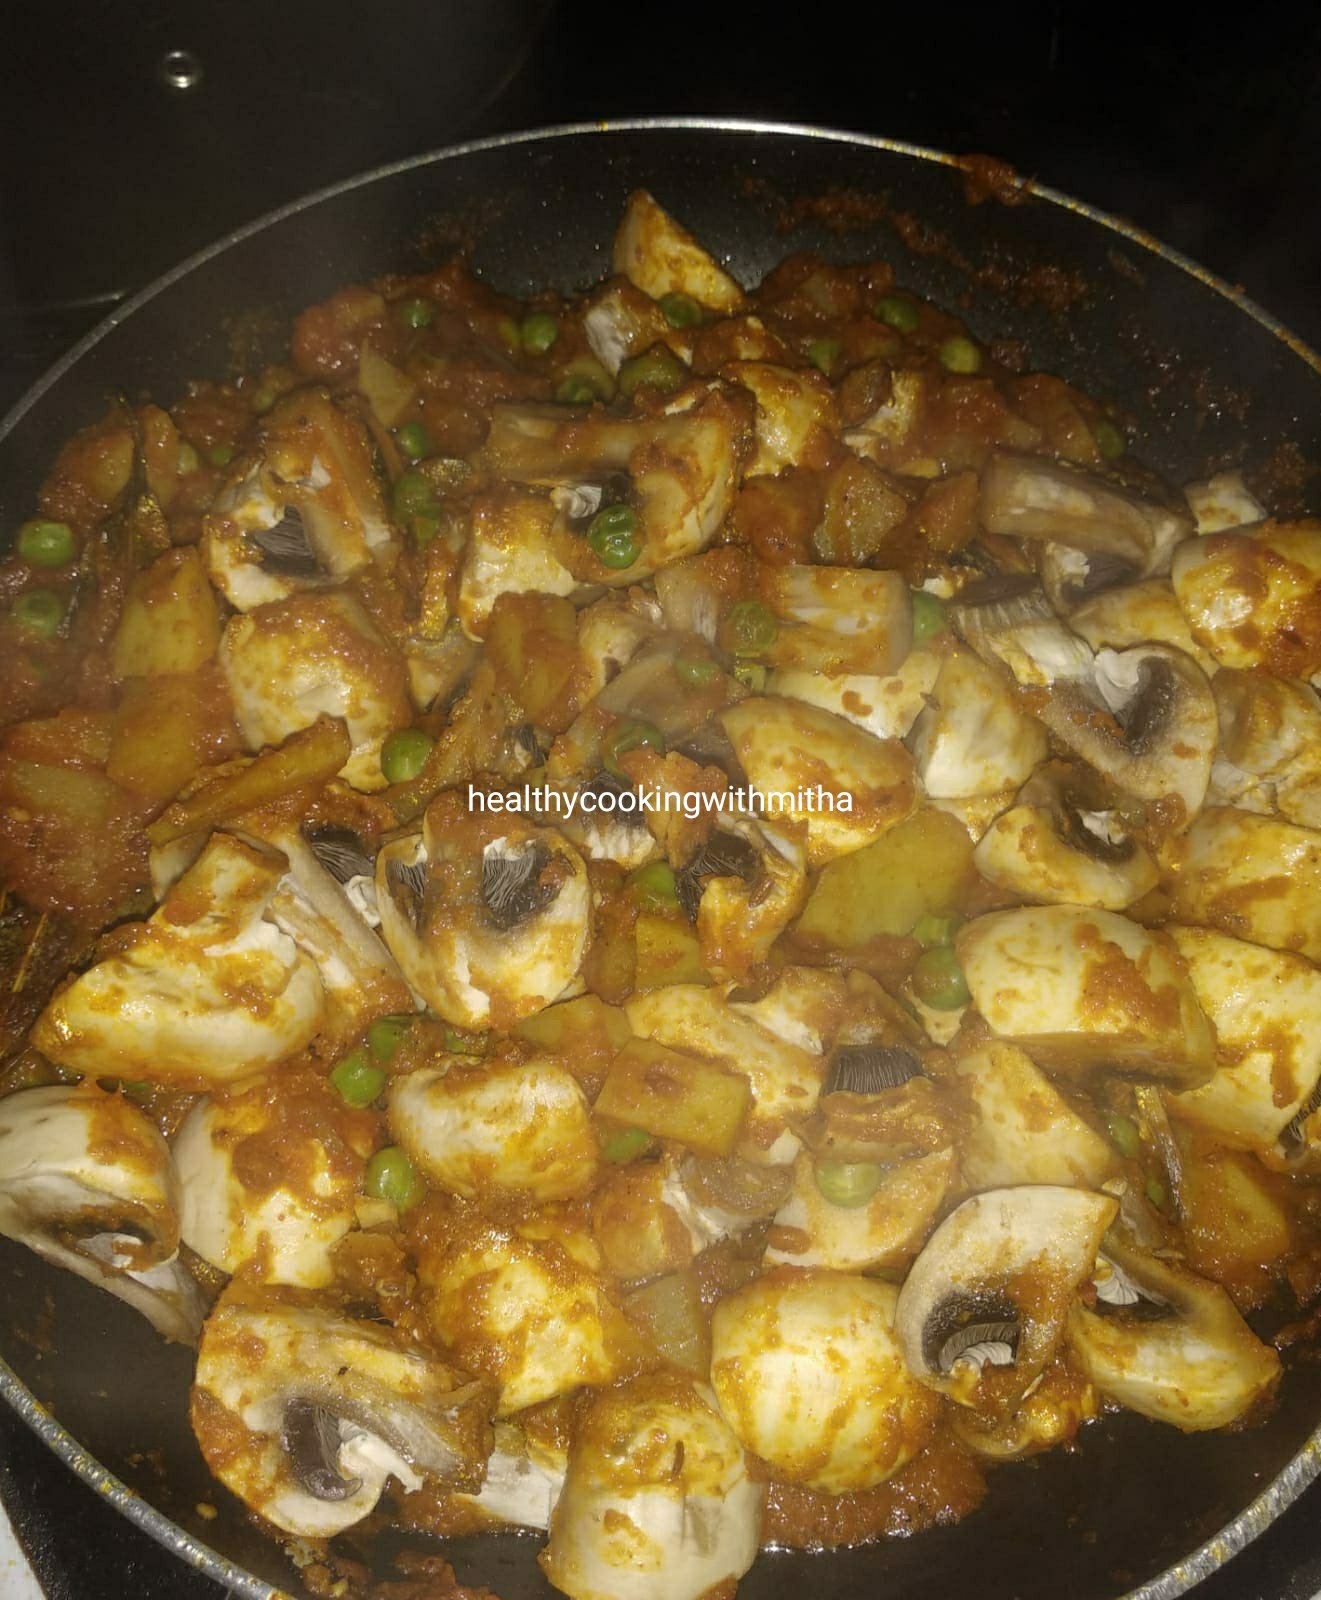
So I try to hide it in lipsmacking gravies so that I “manage” to eat it. One of them is Mushroom Chettinad and it does turn out very restaurant like. Another one is this Mushroom Aloo masala as named by me 😄.
Mushroom Aloo masala is a perfect combination of mushrooms (which I don’t like, hubby loves) and potato (which I love, hubby hates). So I enjoy the potatoes in the gravy and serve him all the mushroom pieces in it 🤣. How’s the idea??
I also add peas to the gravy for some colour and great bite. Hope you all try and love it too. Happy and healthy cooking!
RECIPE:
Ingredients:
250 g Button mushrooms, quartered
1 medium sized Potato, peeled and cubed
1/2 Cup frozen Green peas
1 Tbsp Ghee
1 tsp Cumin seeds
1 Bay leaf
1/4 tsp Turmeric powder
1 tsp Red chilli powder
2 tsp Sabzi masala or any garam masala of your choice
Coriander leaves for garnish
Salt to taste
To grind:
1/2 inch Ginger
1 medium sized Onion
1 large sized Tomato
2 Cloves
1/2 inch Cinnamon stick
1 Elaichi or Cardamom
Step by step recipe:
1. Grind the ingredients mentioned in “to grind” to a smooth paste adding water as required. Keep it aside.
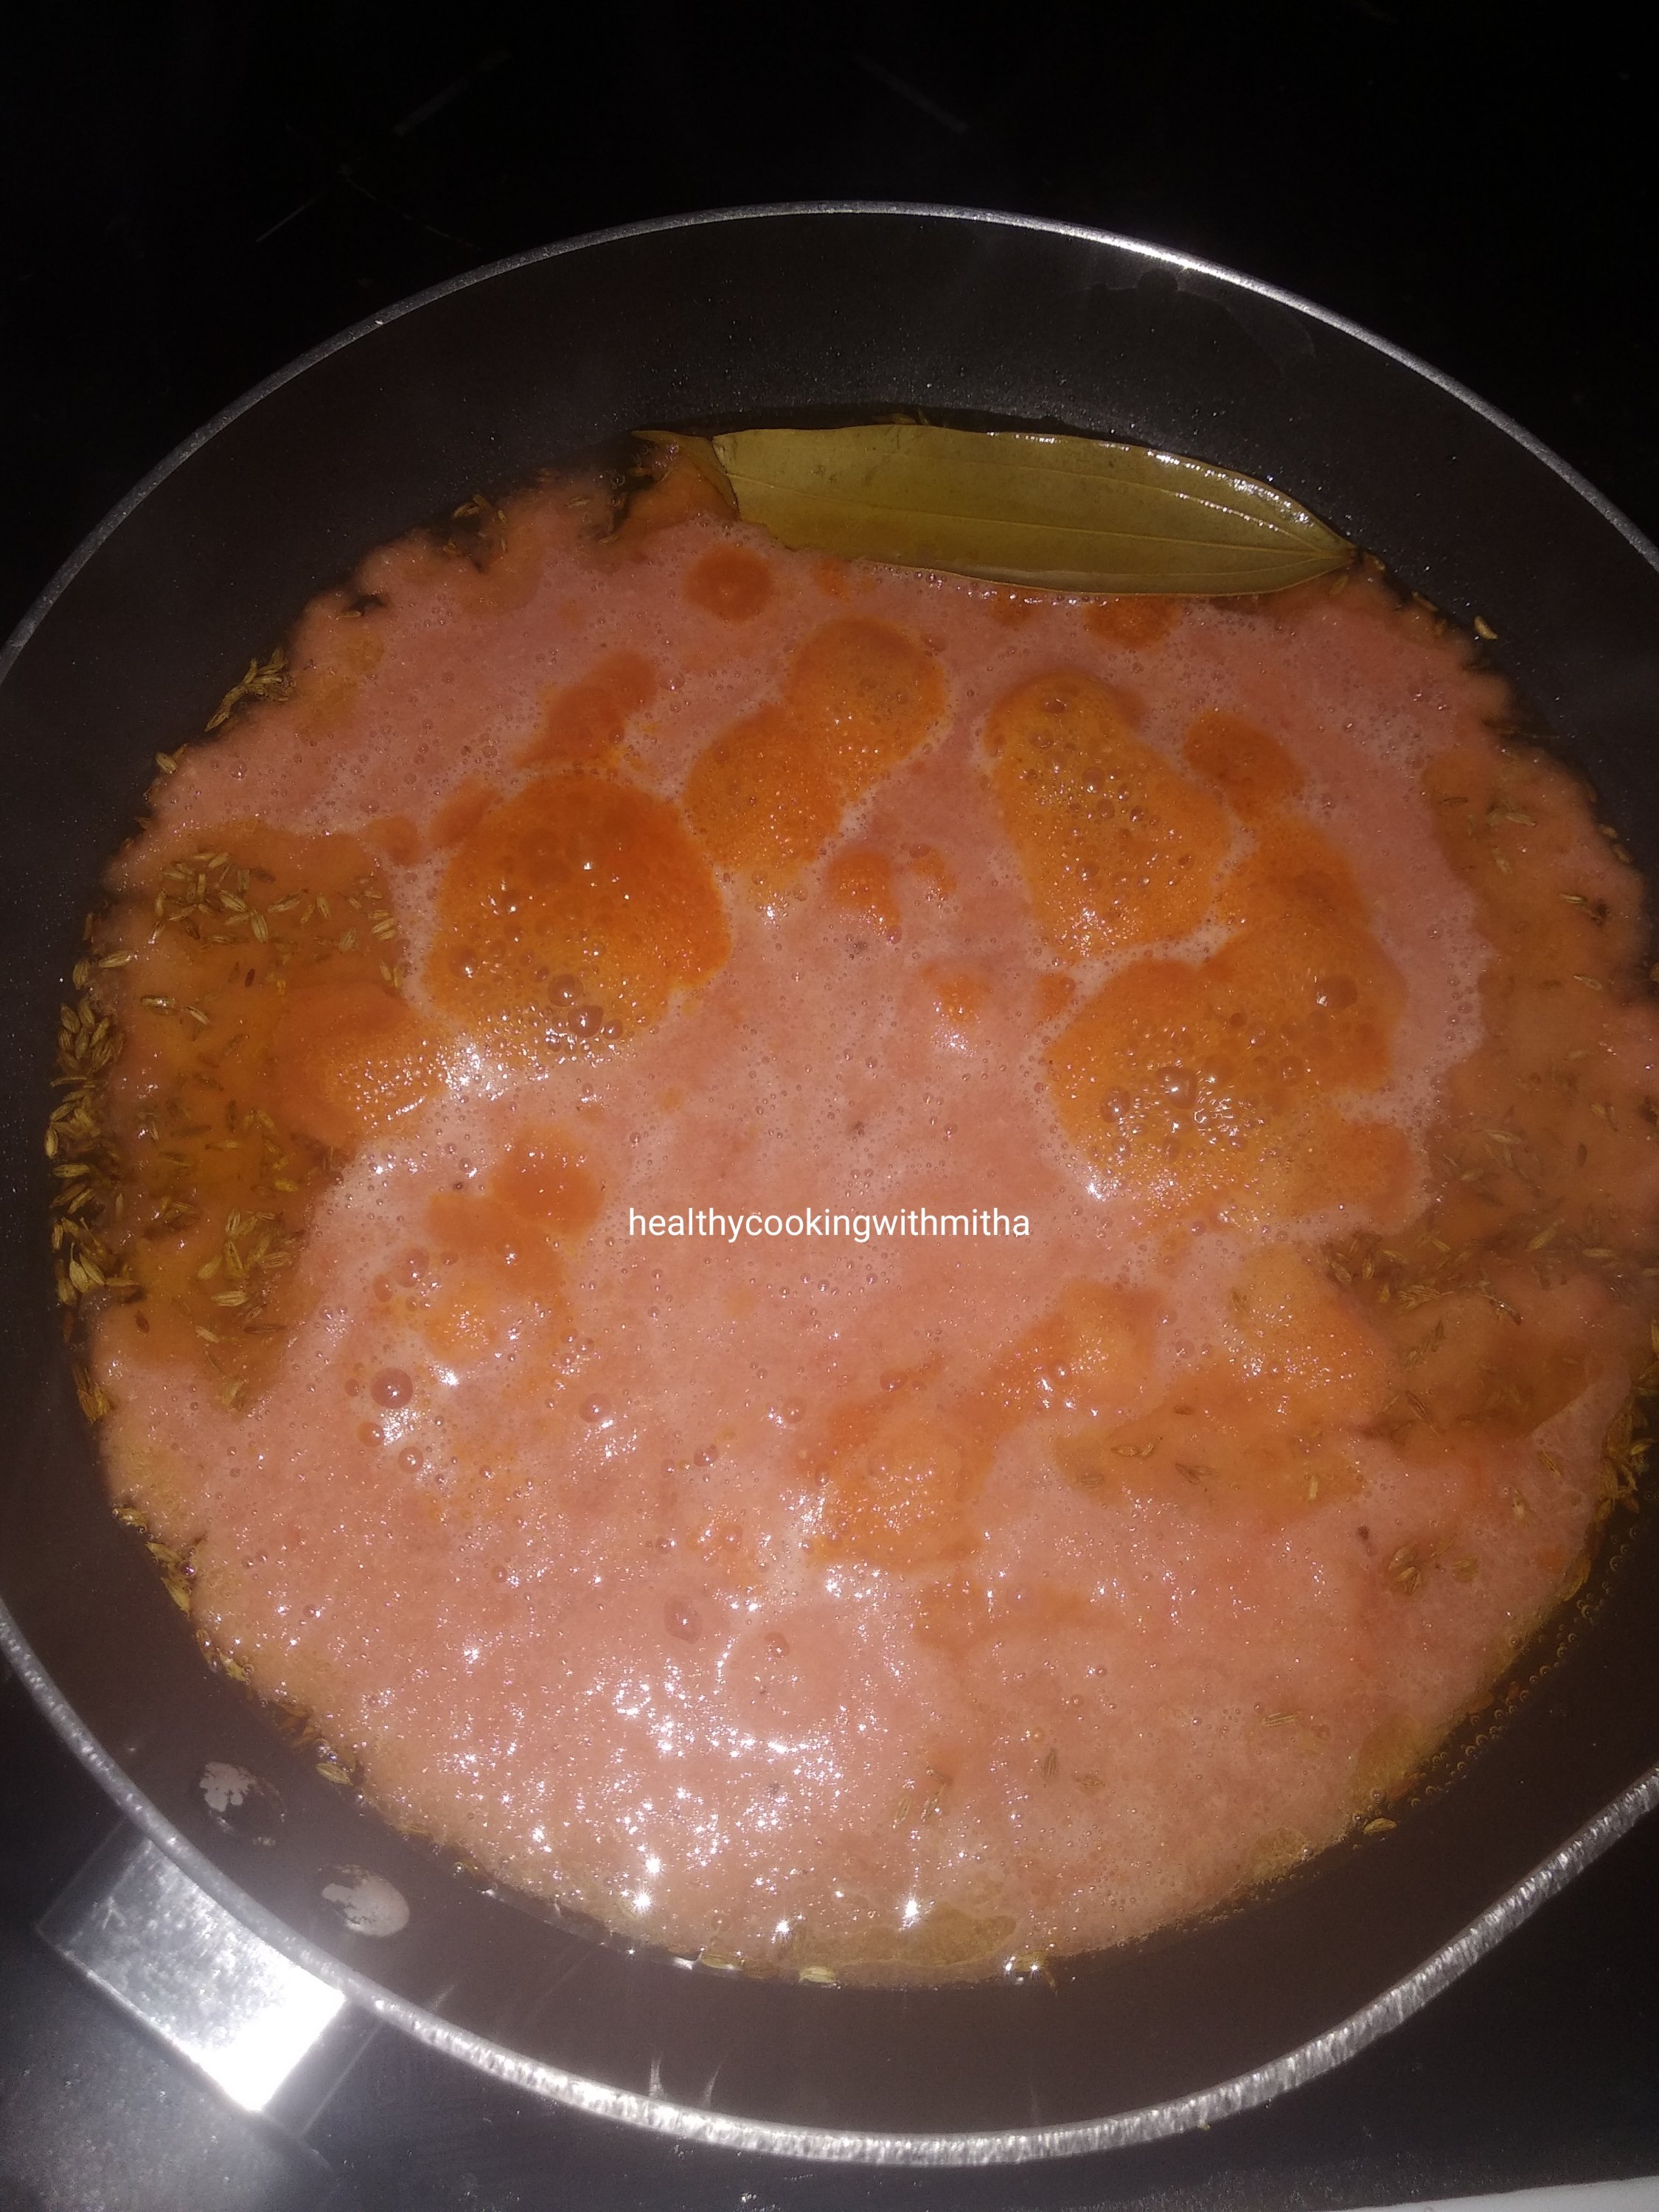
2. Heat ghee in a pan and add cumin seeds and bay leaf. Let the seeds change colour. Add the ground paste.
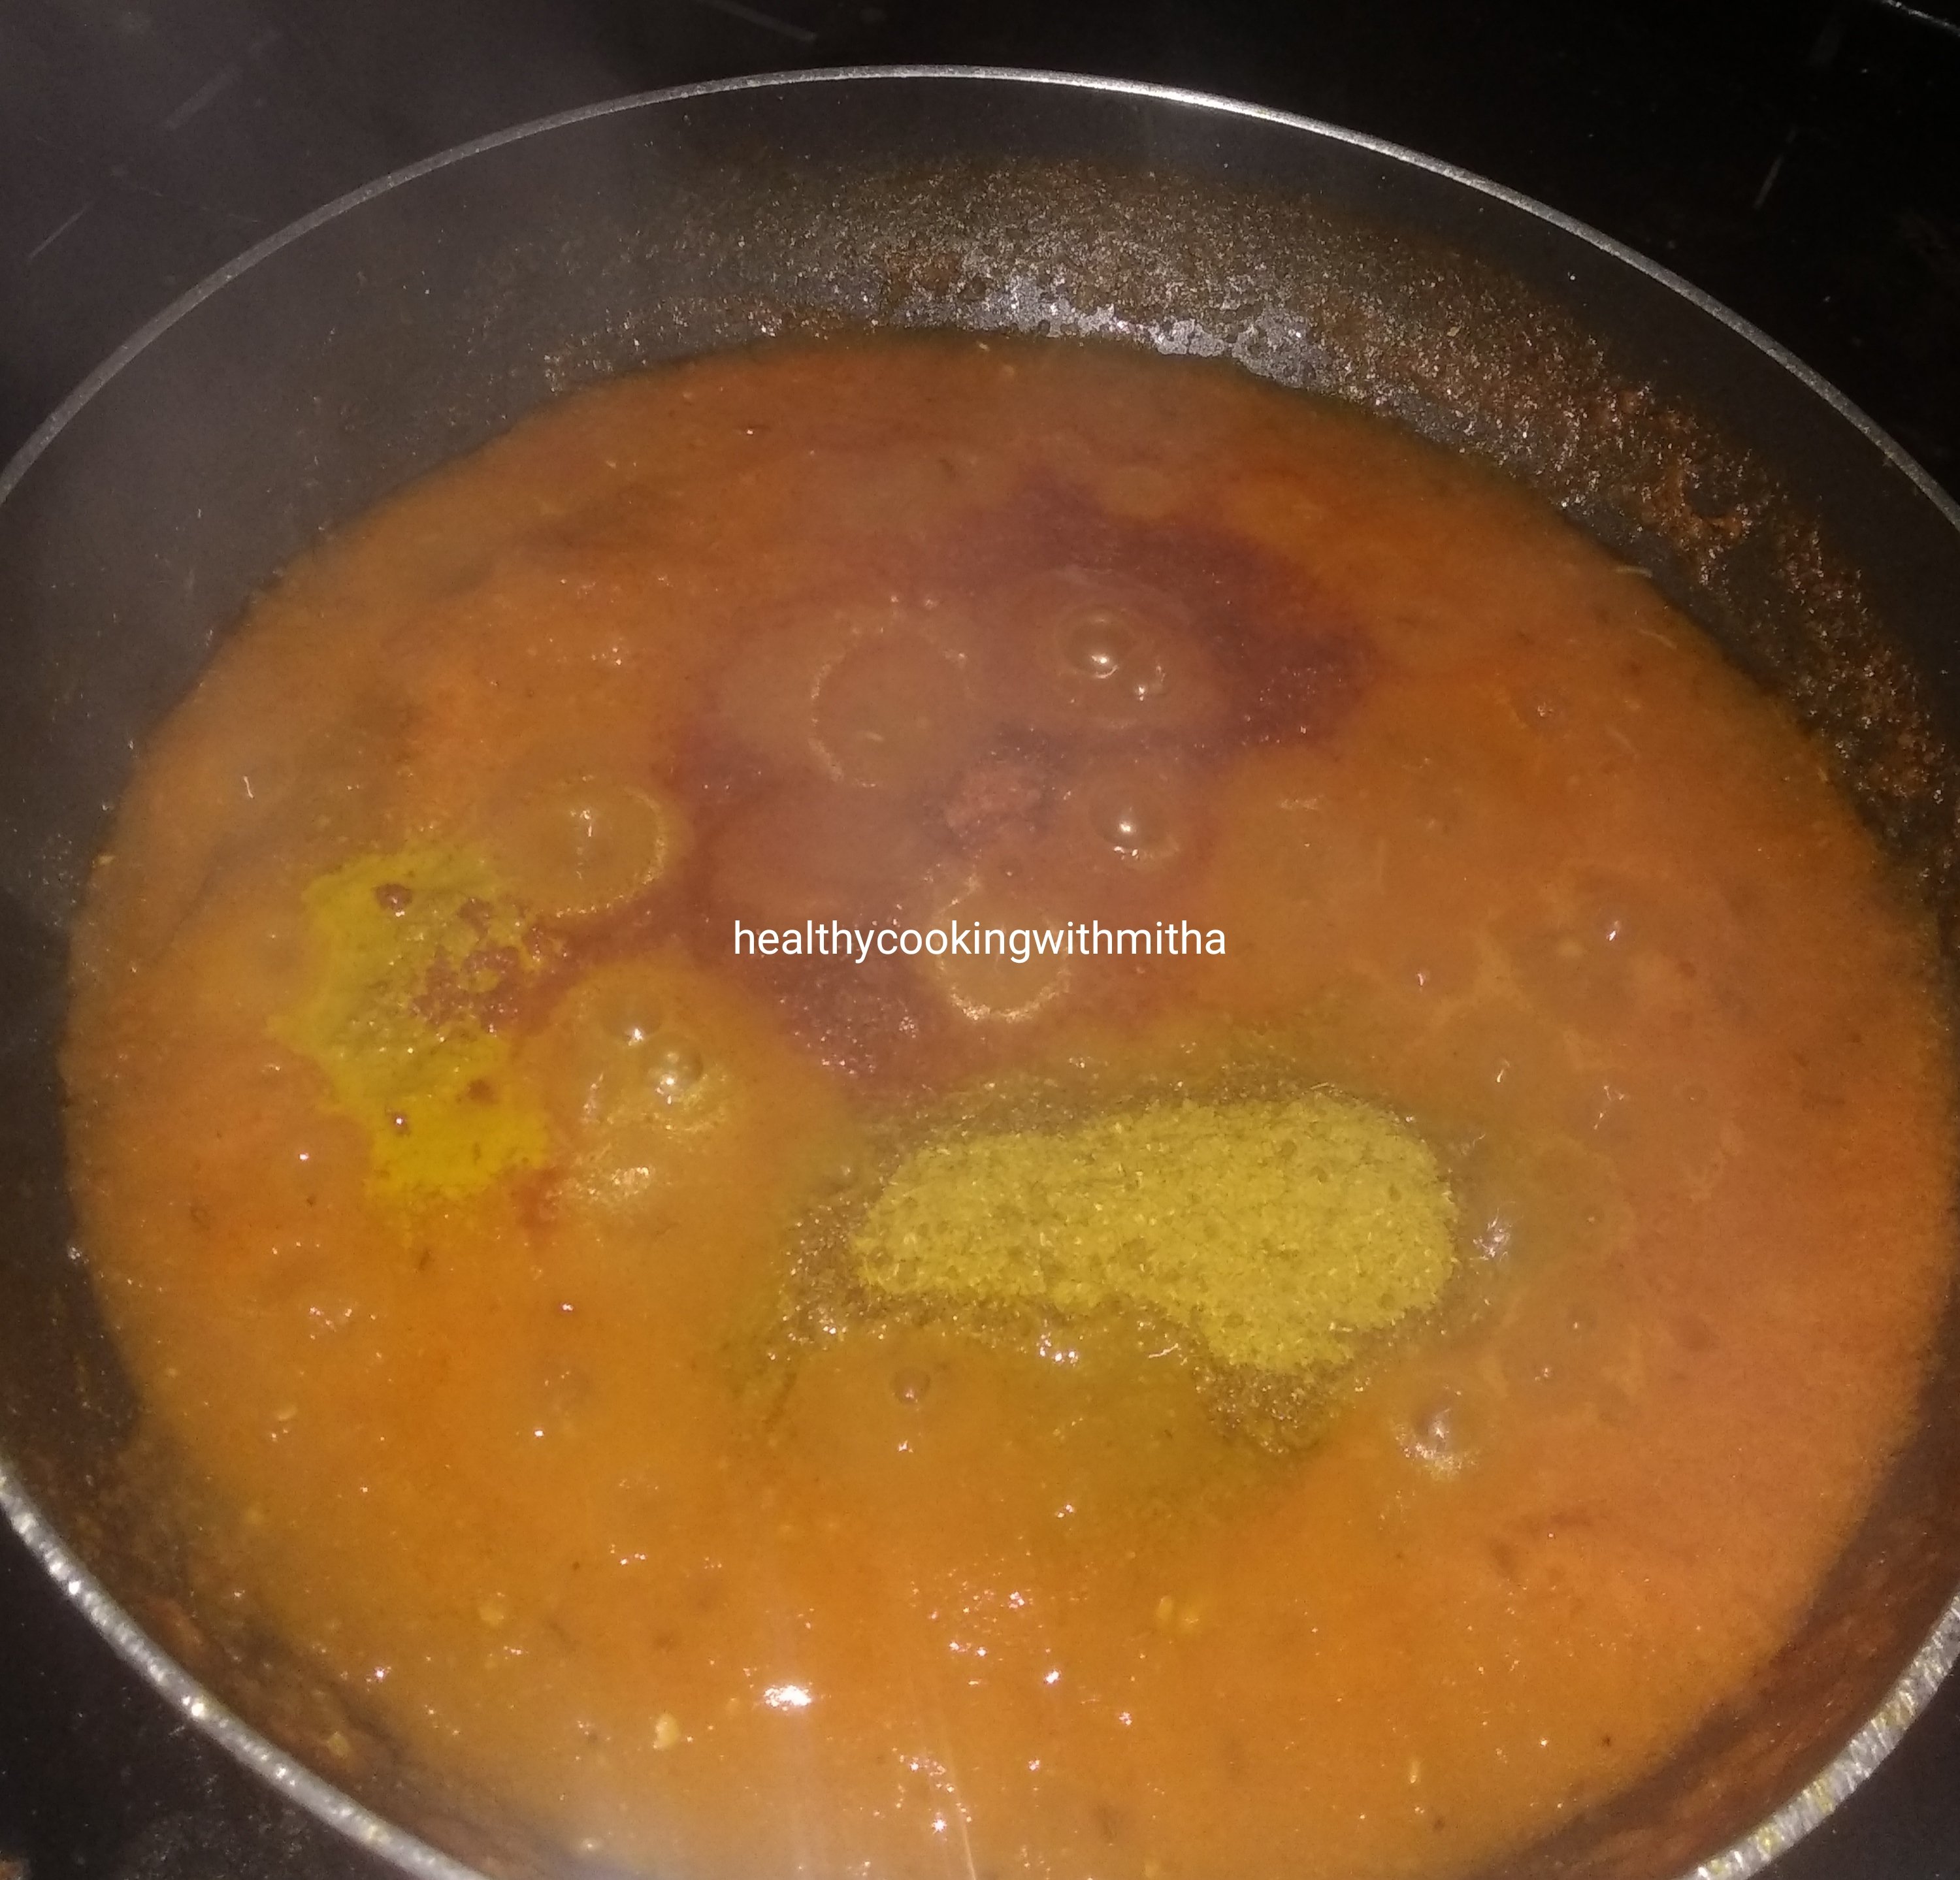
3. Allow it to cook on medium flame for about 10 mins till it changes colour and leaves the sides of the pan. Add salt, turmeric powder, red chilli powder and sabzi masala.
4. Now add potato pieces and green peas. Mix well. Cover and cook till they turn soft.
5. Now add mushroom and mix well.
6. Cover and cook on high flame. Mushroom will leave water and turn soft. Check the consistency of the gravy and add water only if needed.
7. Remove from flame and serve hot with rotis or rice.
Notes:
* Do cook the ground paste very well before adding potato and peas. Else there will be a raw flavour in the gravy.
* You can skip peas too but it gives a good bite in the gravy.
* I use MDH Sabzi masala. You can use any spice powder of your choice.
* Don’t add water at all while adding mushrooms. Mushrooms leave water while cooking. So most times you don’t have to add additional water.
* If needed, add additional water towards the end to adjust the gravy.
Click on the image to save the recipe on Pinterest
Mallige is Jasmine flower in Kannada and just like jasmine flowers, these idlis turn out pristine white, very soft and delicate. I have been using this recipe for making idlis since a long time and love how beautiful they turn out apart from being very soft.
My husband’s aunt too loves this recipe and follows it for making idlis. They live in a farm and have to feed workers when some farm work is going on. So these idlis come handy as they use less urad dal as compared to regular idlis, yet turn out super soft. So it is economic specially while making huge batches.
I have been lucky enough to get to stay in the farm for about 4 months right after my marriage while hubby had to go back to Qatar after his vacation. Those few months of living in the farm gave me a lifetime of lessons and beautiful memories. Some of them are:
* How to live life without internet or proper phone access and still it was super fun and I hardly used my phone except to talk with hubby or my mother.
* How beautiful it is to wake up to birds chirping amidst greenery and just sit looking at its beauty early in the morning.
* How to treat workers like our own family and feed them with love to their hearts content.
* Hubby’s aunt whom I lovingly call mhave is a very generous person and I learnt from her to never let any person who comes to our house leave empty stomach. The way they treat their guests is simply amazing.
All these and many more memories of living there are etched in my heart forever and I thank God for the unforgettable and precious experience.
Here’s sharing the idli recipe. Hope you all try and love it. Happy and healthy cooking!
RECIPE:
Ingredients: { Makes about 26 Idlis}
1 Cup White rice (OR 2 Cups Rice Rava)
1/2 Cup Urad dal
1/2 Cup Poha or flattened rice or rice flakes or Aval
Salt to taste
Oil to grease the idli plates
Step by step recipe:
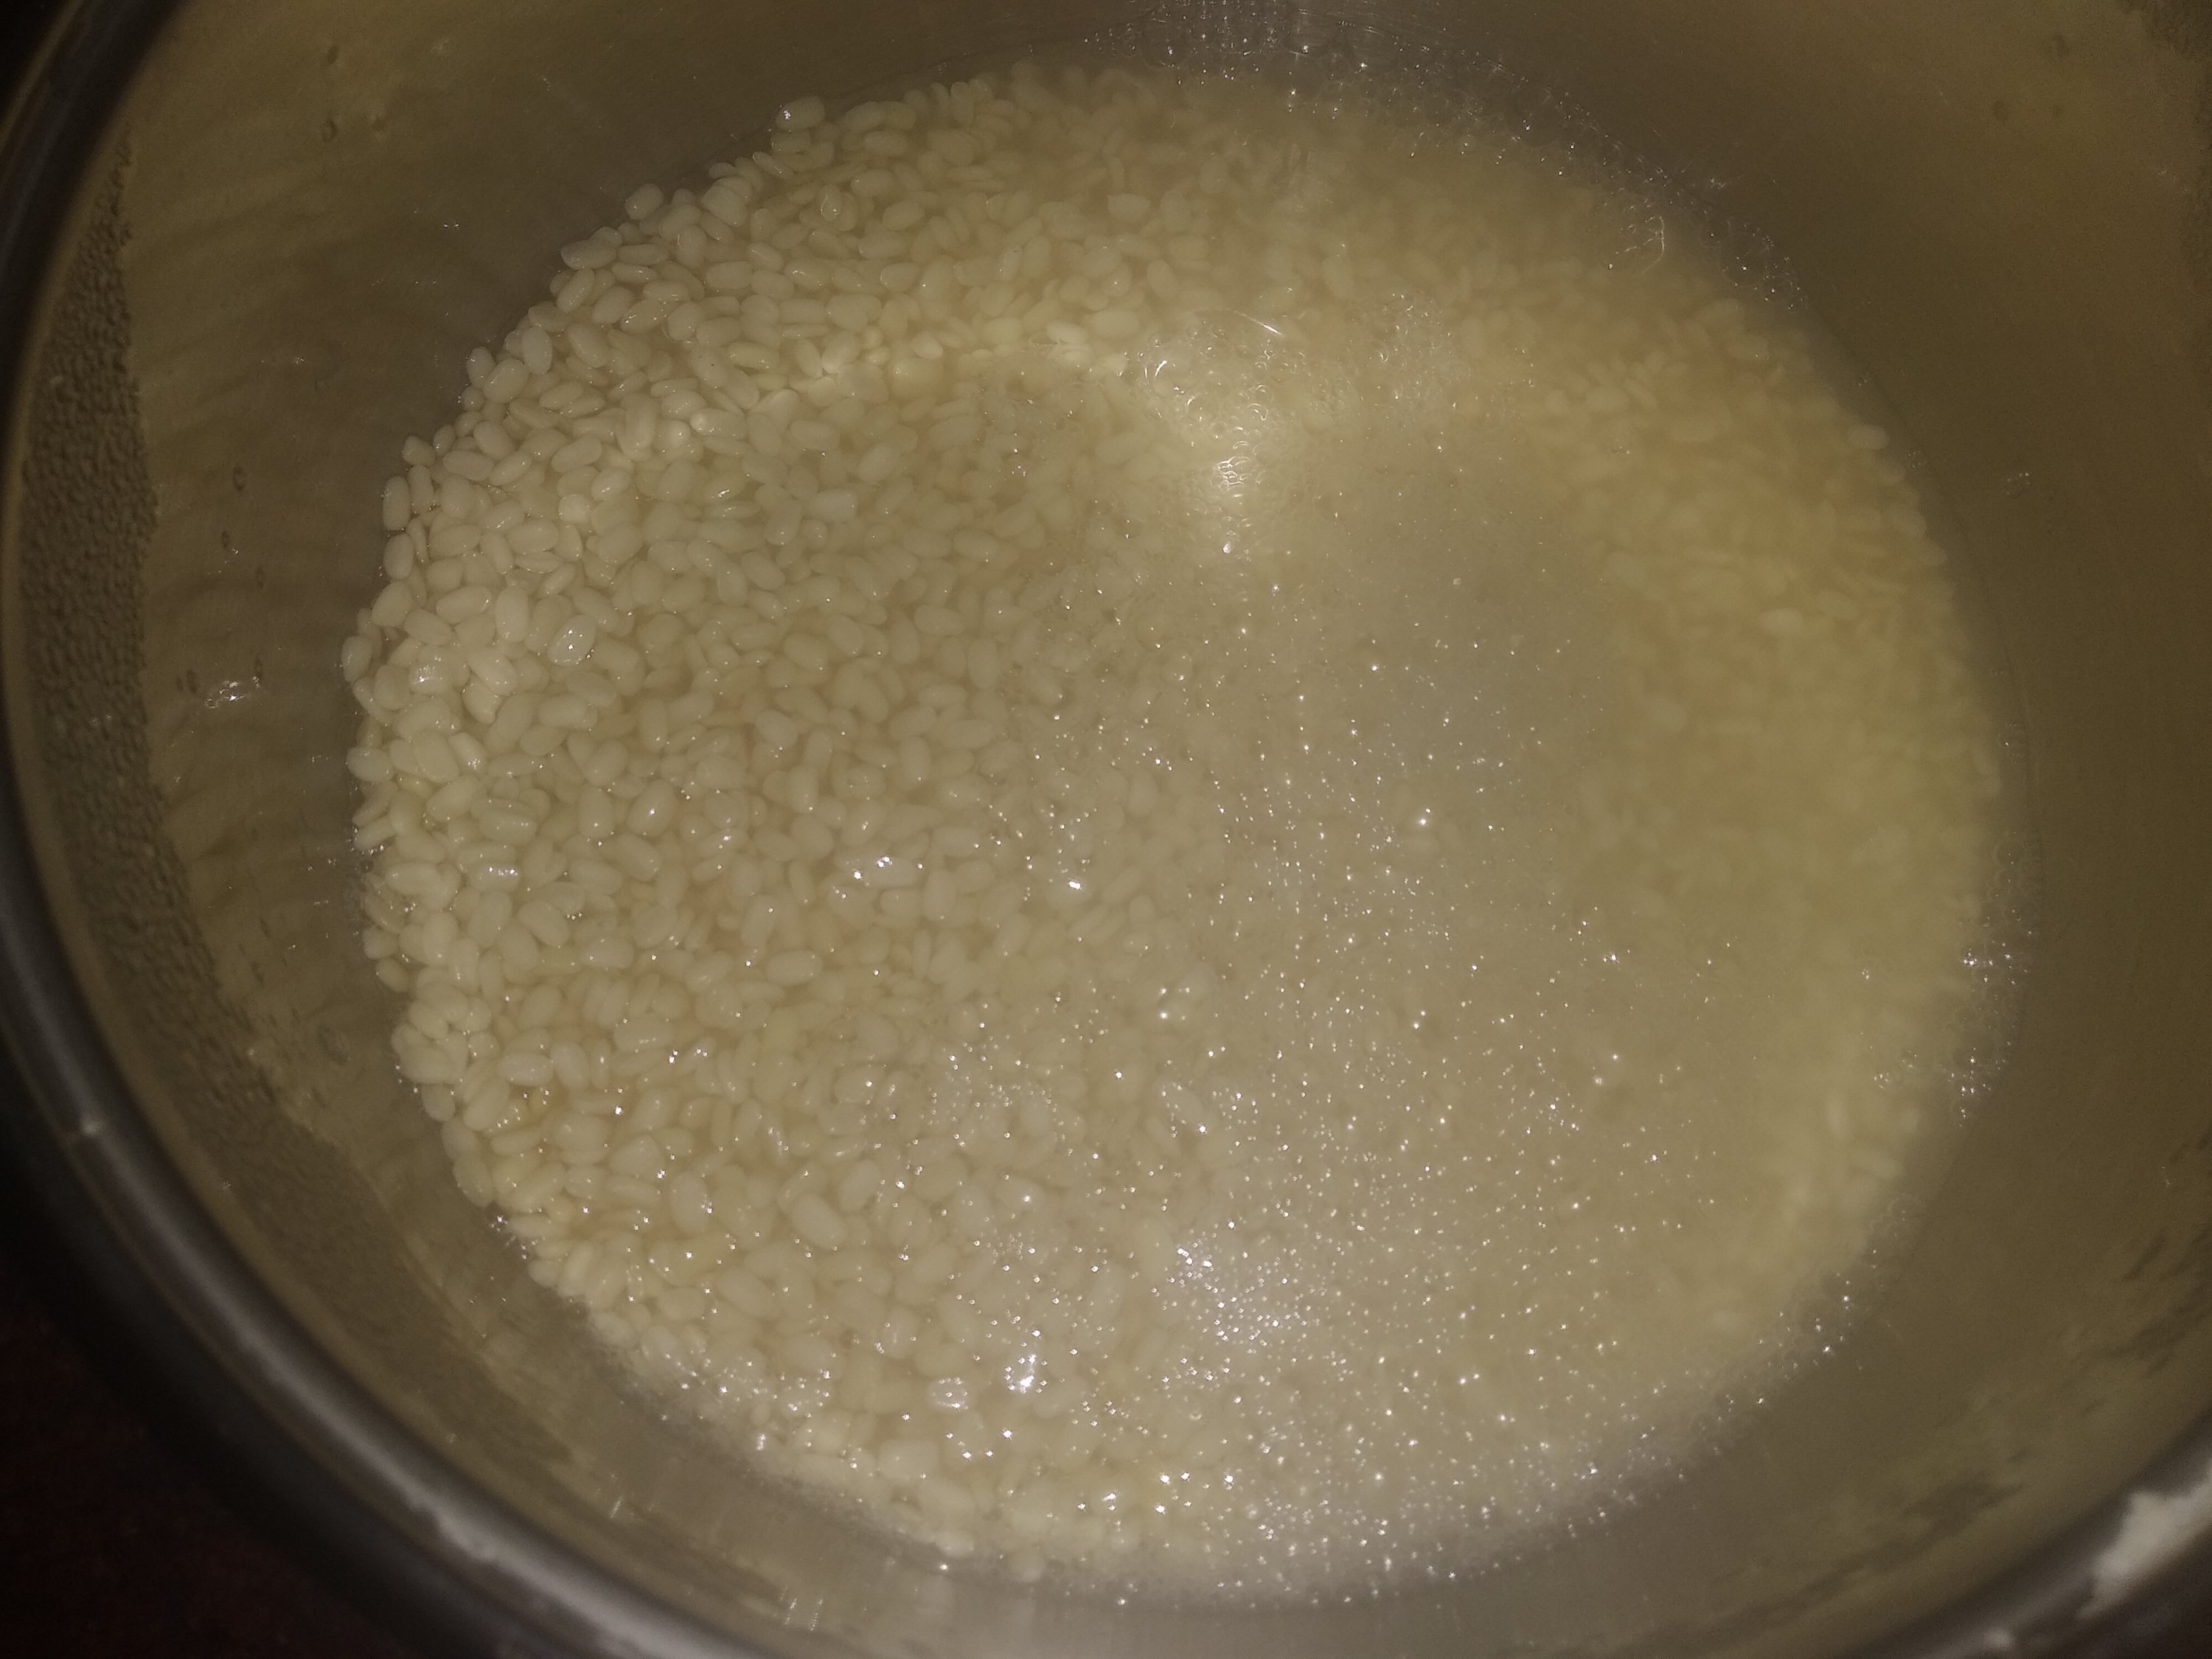
1. Soak the urad dal for about 4 hours in a large vessel.
Note: If using rice, soak rice too for 4 hours.
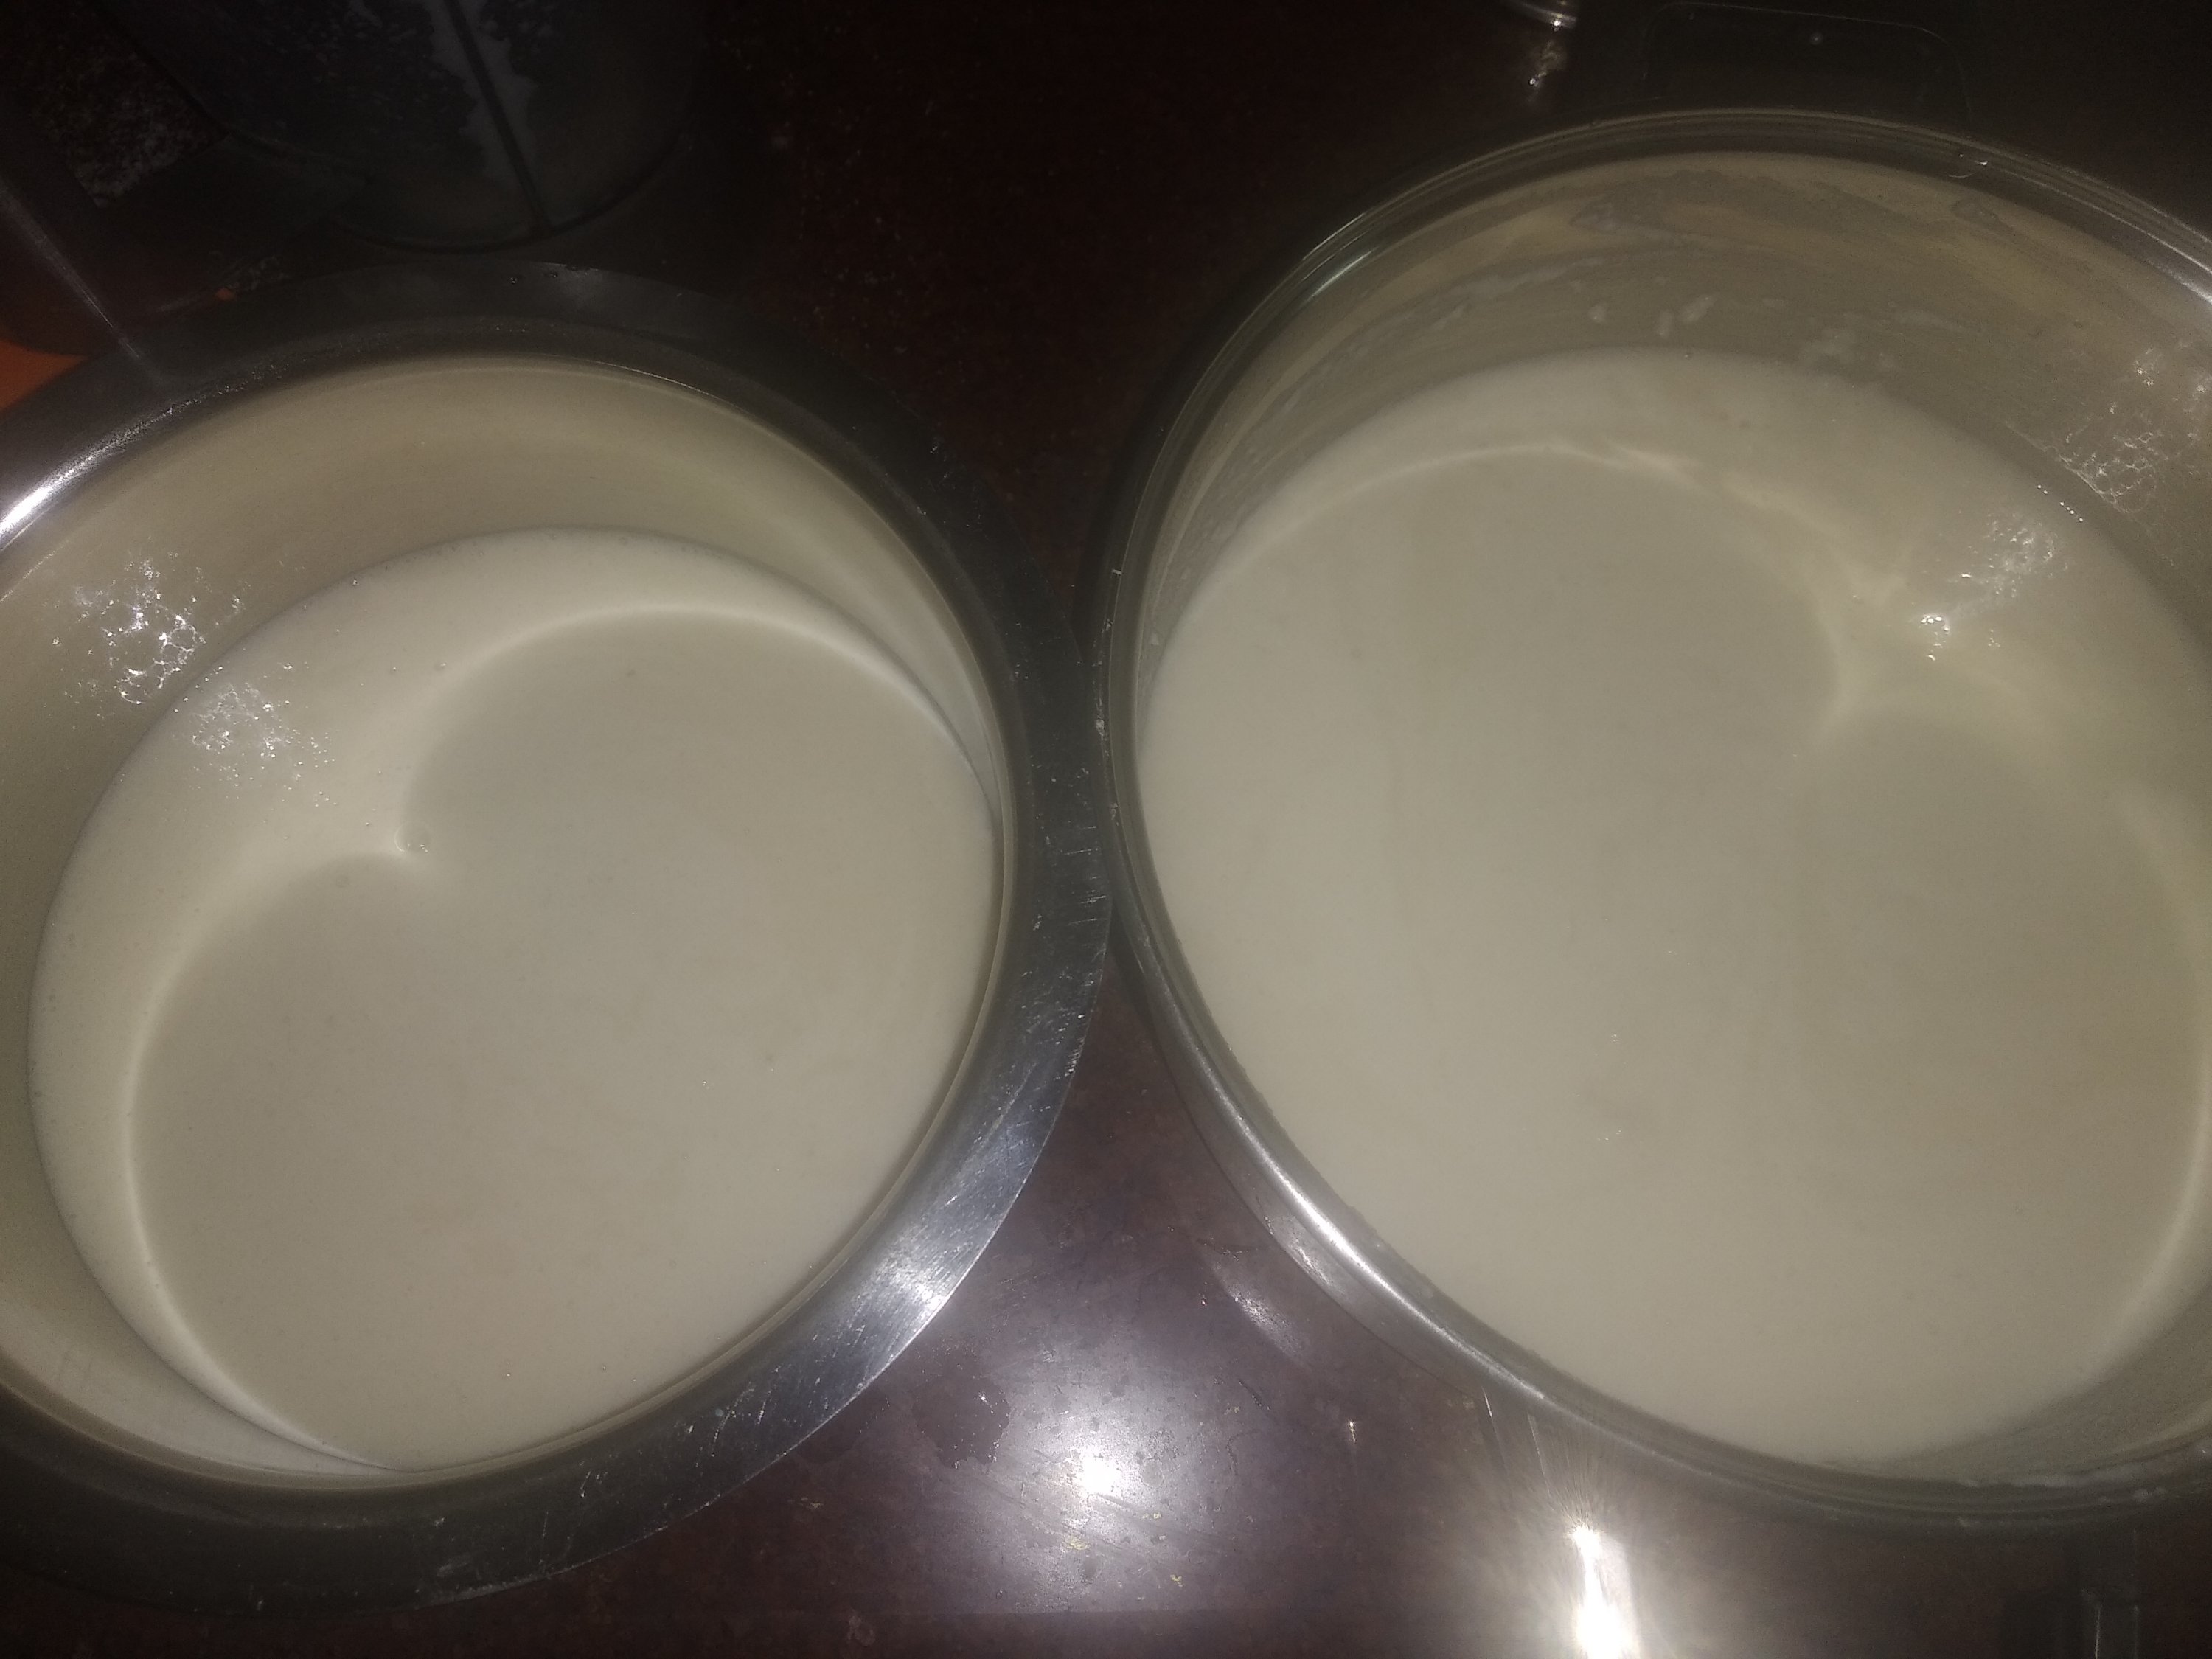
2. Grind to a fine paste. Add to the large (preferably) steel vessel.
3. Add washed Poha and rice ( or Rice Rava)in the mixer and grind for few minutes. Not to a fine paste. Mixture should be grainy.
4. Now add to the ground urad dal batter. Mix well with hands. Then keep for fermentation overnight or for 8 to 10 hours.
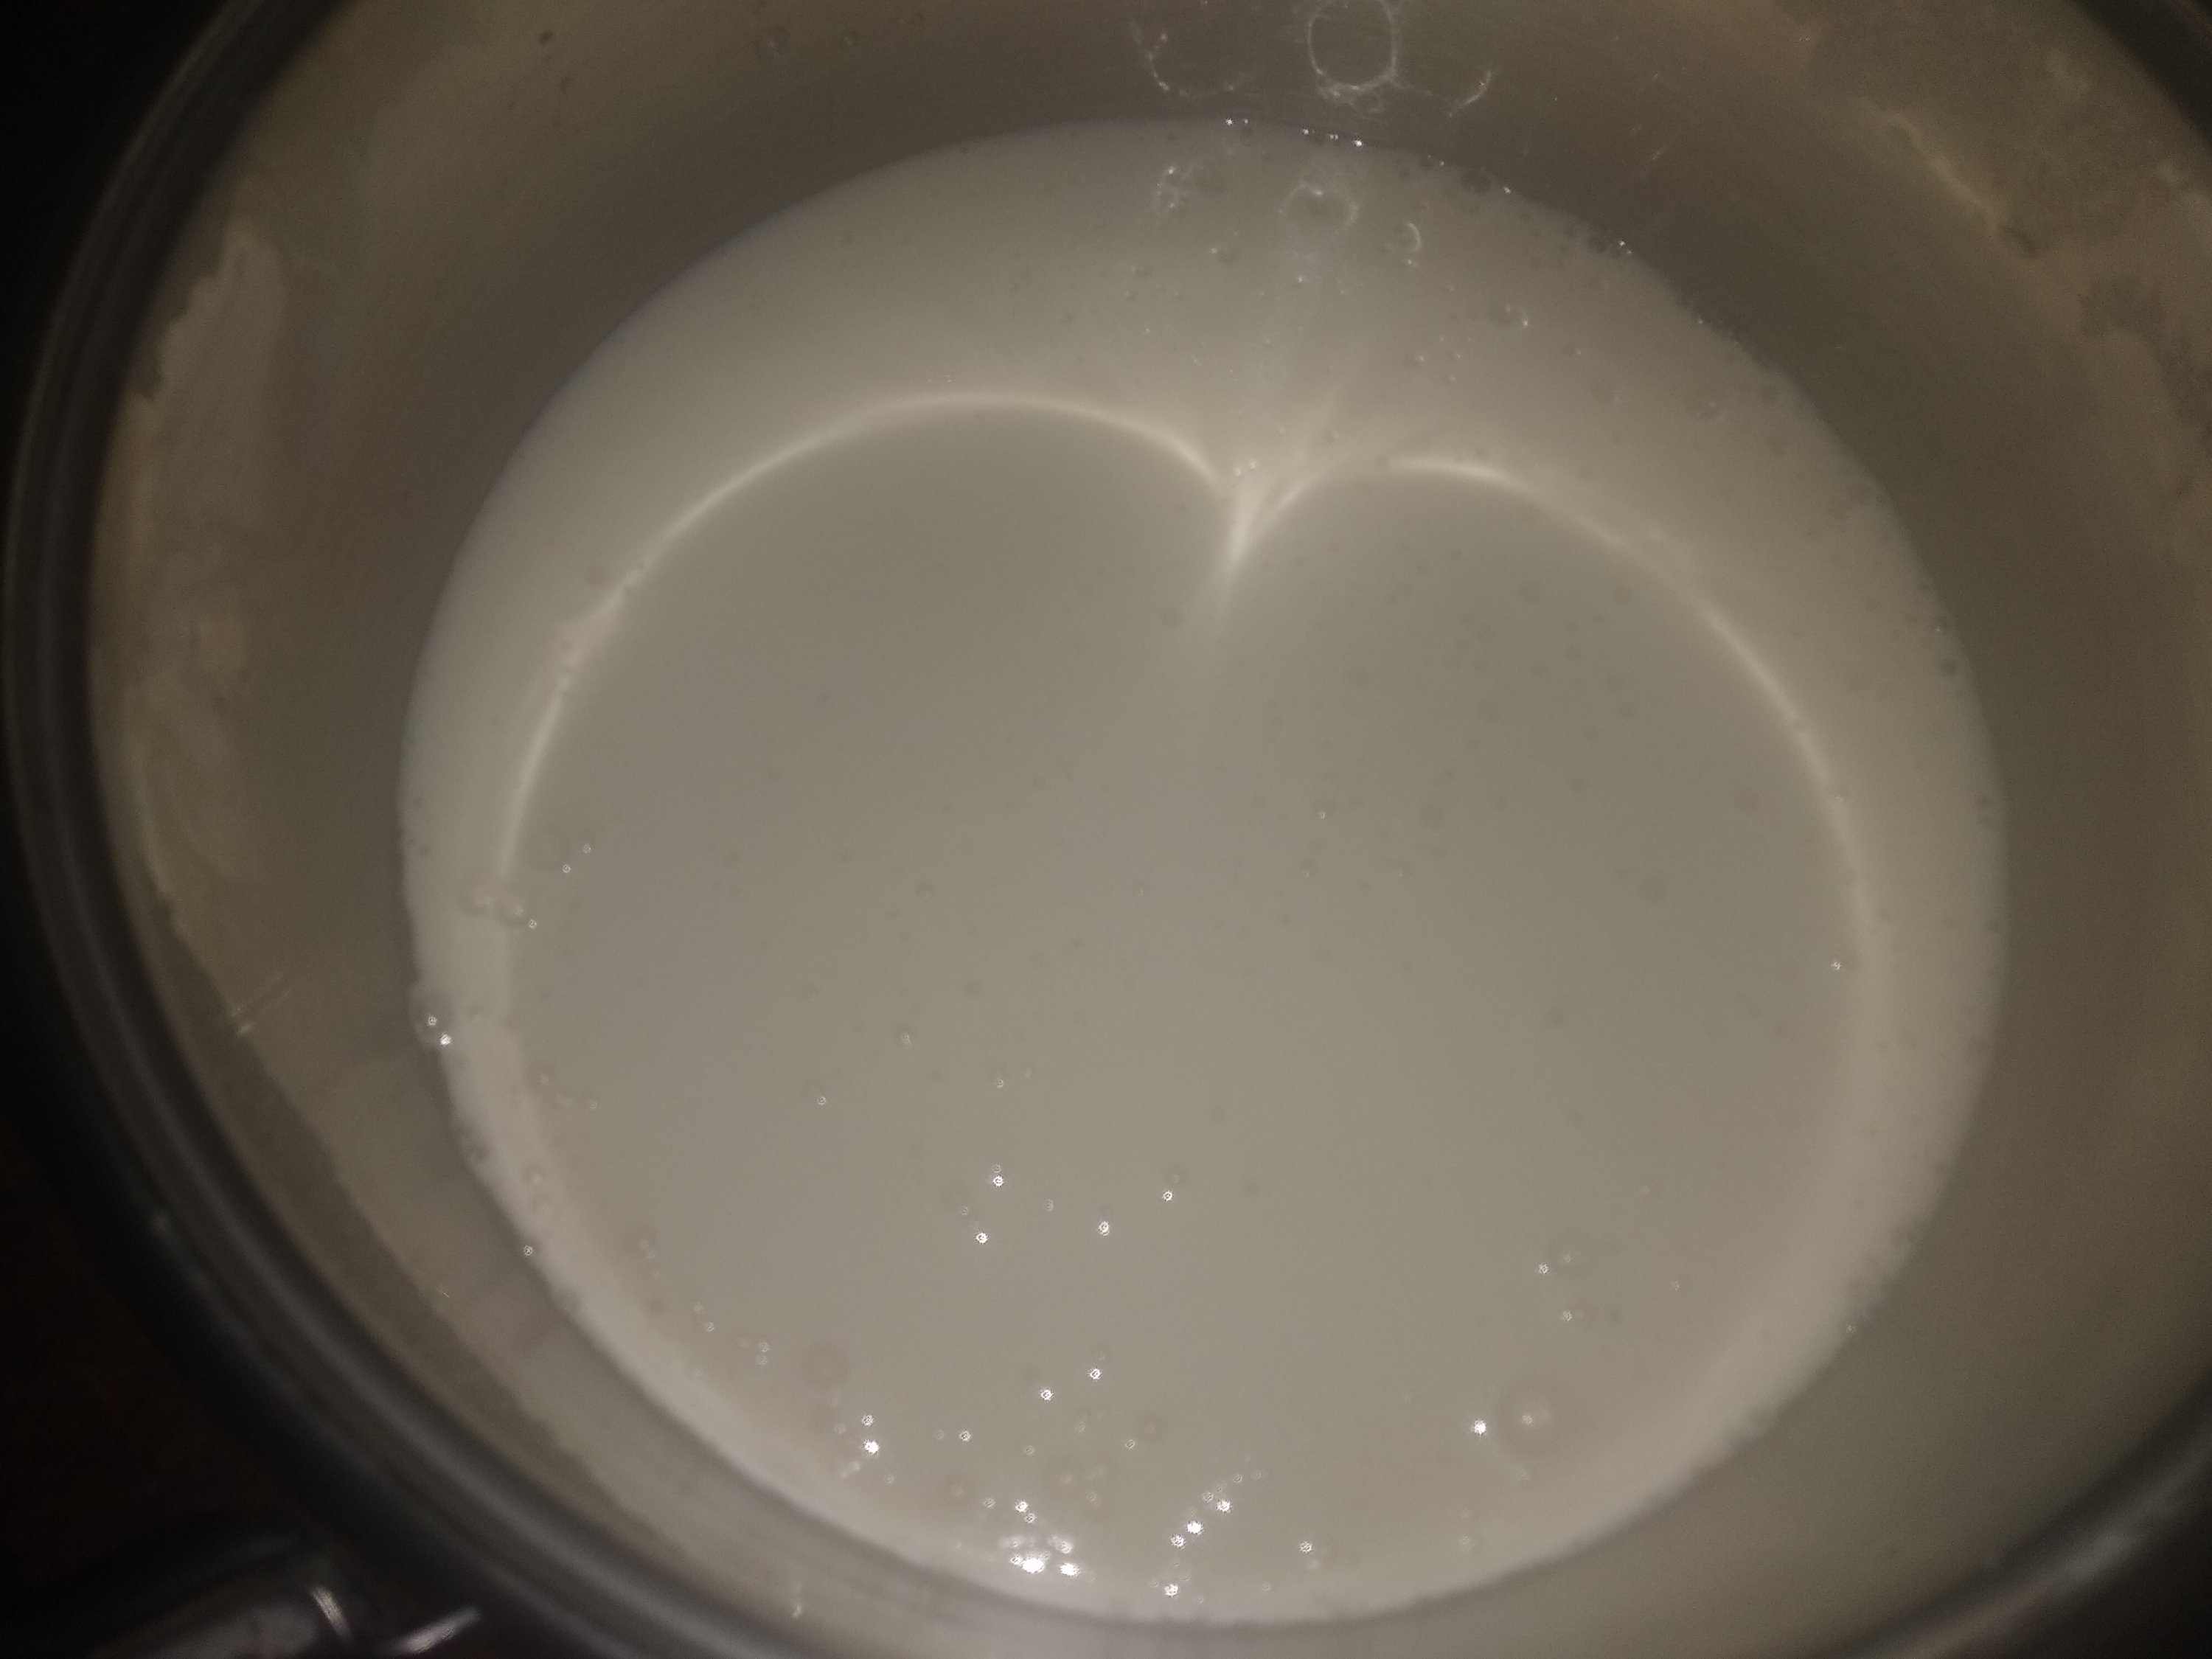
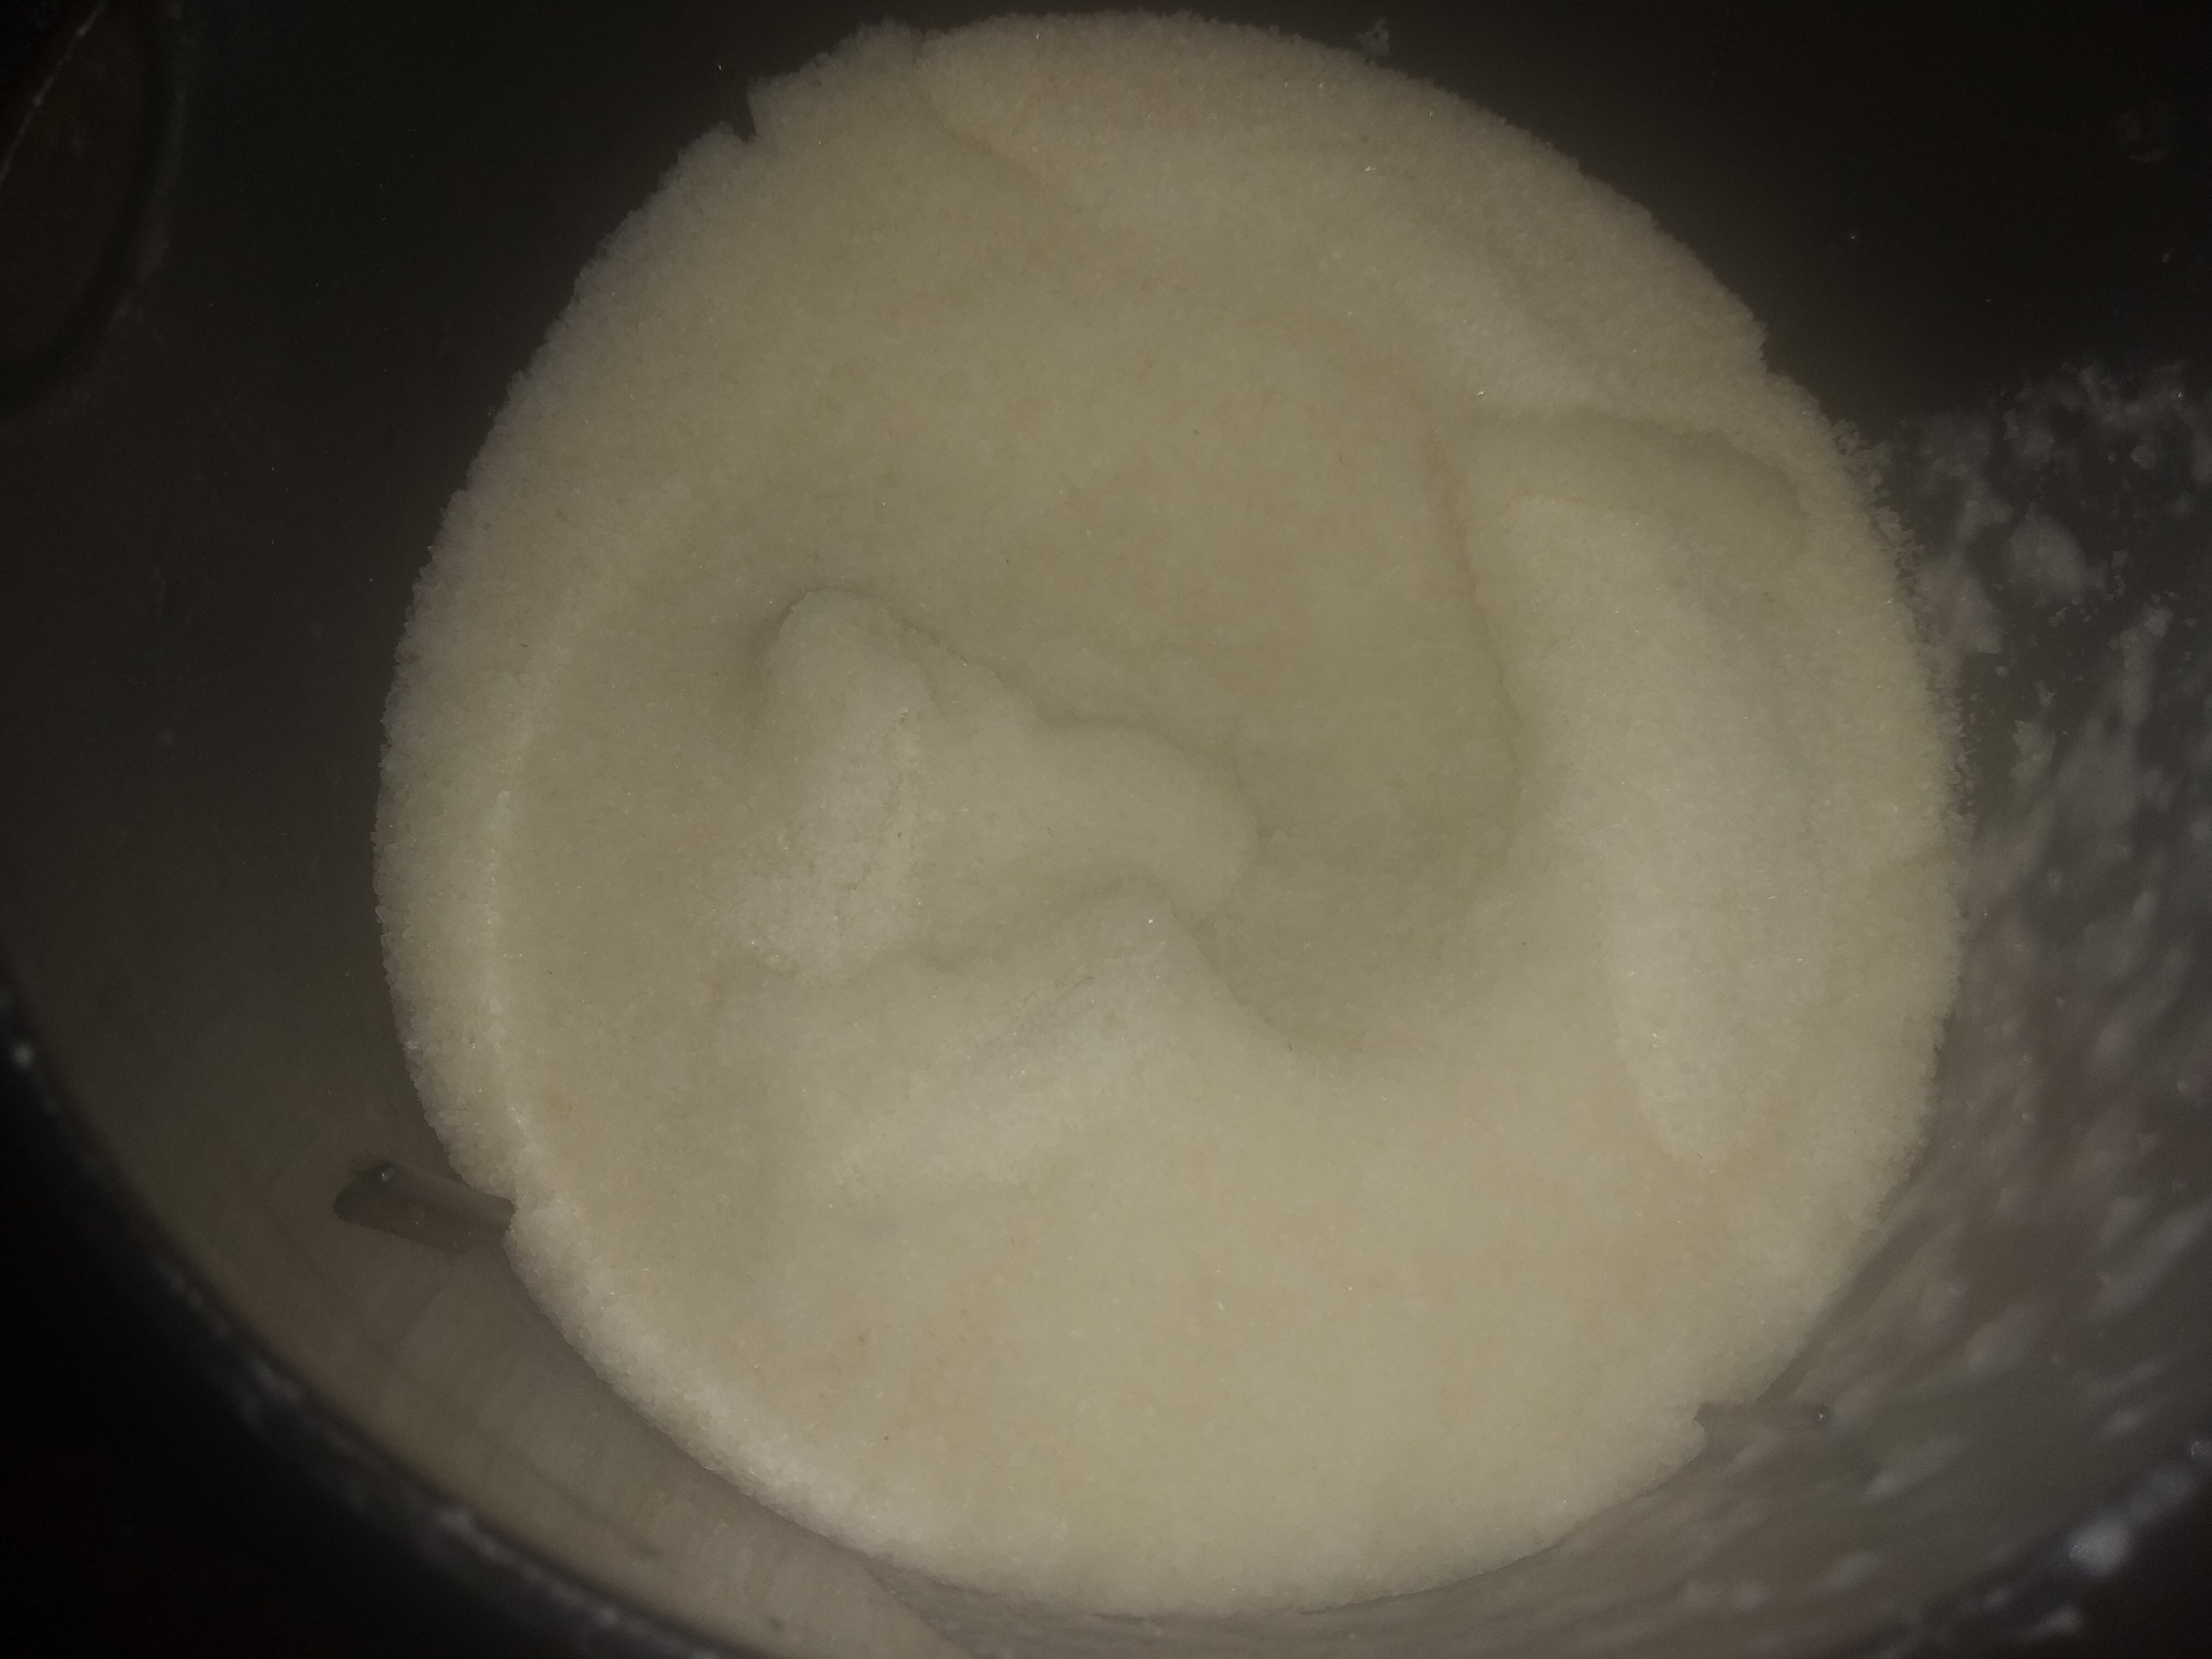
I had ground the batter with double the measurements. So kept in two large steel vessels just in case it spills after fermentation.
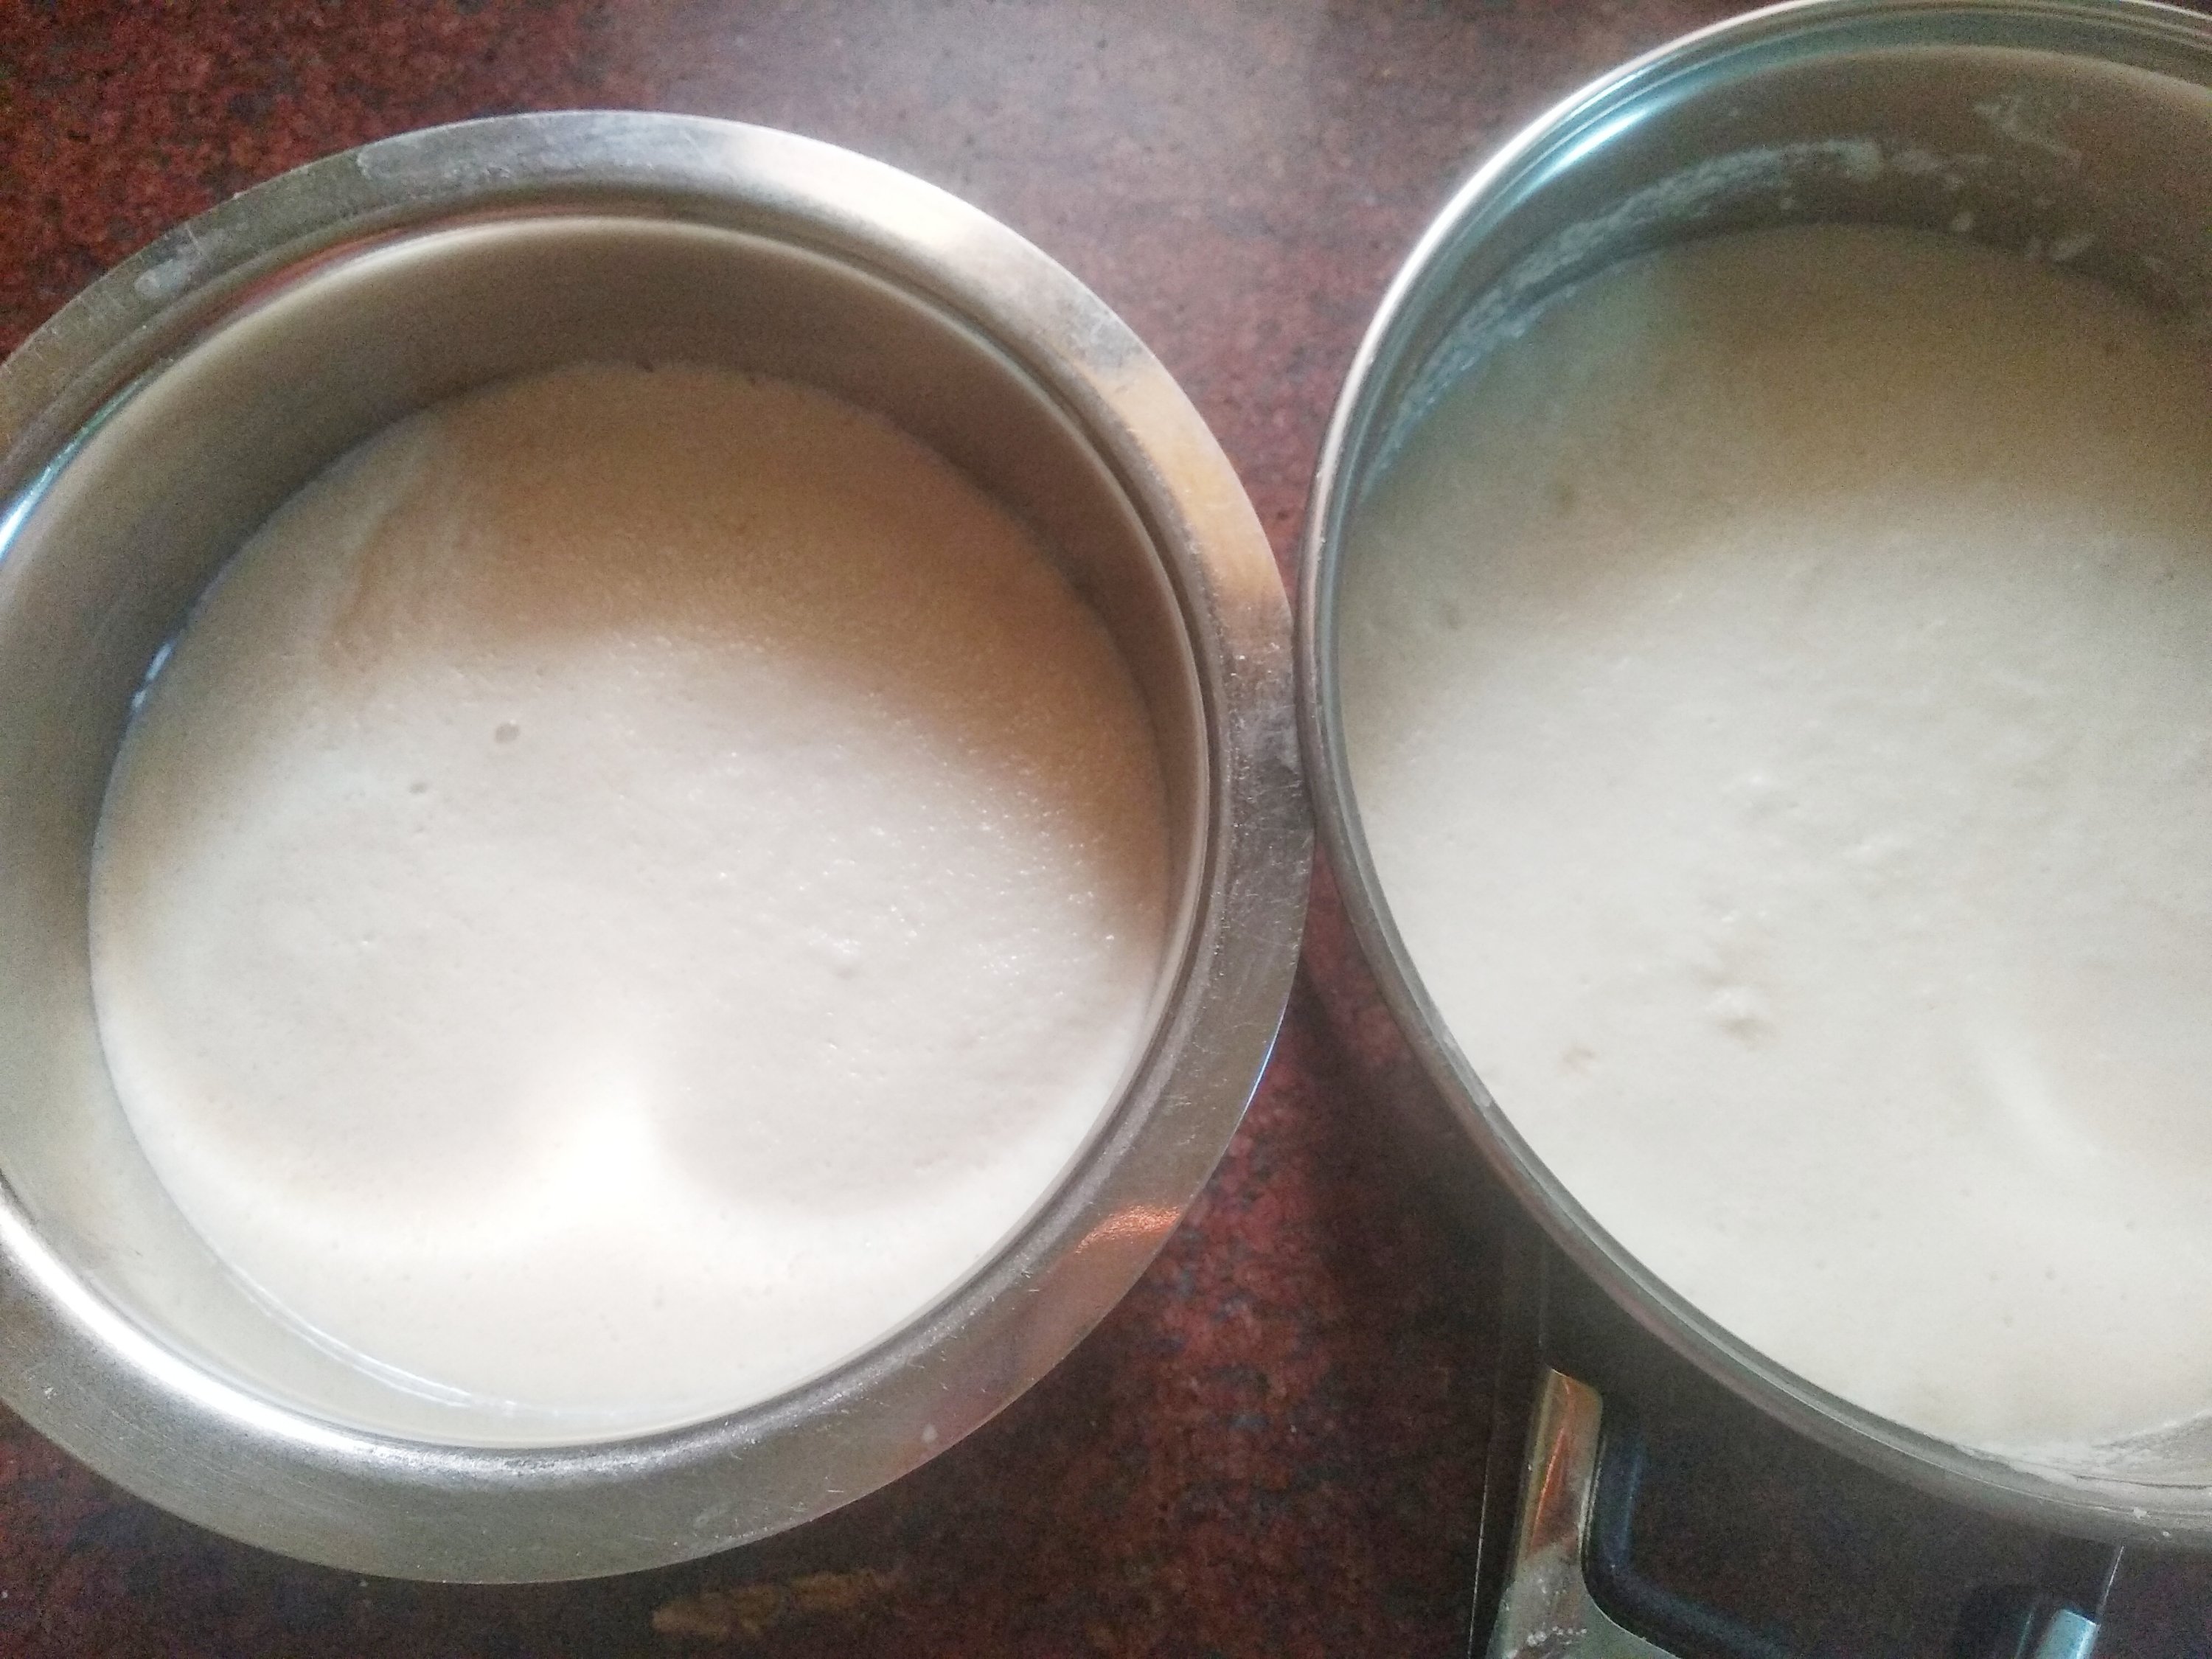
5. The fermented batter. Though it does not seem so, the batter had risen double the size and was perfect with air bubbles in it.
6. Put the batter in the greased idli moulds and steam for 20 minutes or till done.
Steaming hot super soft and spongy Idlis are ready!
7. Remove and serve with a chutney of your choice.
Notes:
* I usually serve these Idlis with Raw Onion chutney and it makes a delicious combination. For the chutney, grind together about 1 Cup of coconut gratings with 3 to 4 Red chillies and 1 medium sized Onion and salt. Remove in a bowl and drizzle coconut oil. Mix well and serve. No need to heat the coconut oil.
You can use either Rice or Rice Rava to make these idlis, depending on what you have available. I regularly use Rice now to make these idlis.Also I use mixie and not grinder to grind the batter.
* Idli rava is rice rava or rice semolina and not wheat semolina or rava that we use to make upma.
* Don’t add more idli rava than mentioned or the Idlis will turn slightly hard. The measurement is perfect to get the softest and spongiest Idlis.
*You can make super soft dosas too with this batter. When using idli rava in the batter, the dosas turn crispy. When using rice in the batter and if ground smooth, it gives really soft dosas.
* For all varieties of Idlis, instant ones, unique ones and millet ones, you can check here
Click on the picture to save the recipe on Pinterest
I love baking during my free time. Especially healthy bakes without sugar and using wheat flour instead of maida. My kids have been eating these cakes since they were babies and love them a lot. So I keep experimenting with different proportions and ingredients.
Dates and carrot cake is a commonly found cake in bakeries specially in Cochin where I have spent 13 years of my life. I used to ask my Aanu (my dad) to bring it for me when he went out to buy groceries. I never thought then that I would bake this cake at home and it would turn out exactly the same taste and texture.
Also this cake uses dates paste as main sweetening agent. So does not need sugar at all. Jaggery can also be skipped if you don’t have an extra sweet tooth. Hence best for people who don’t want any form of refined sugar in their diet.
I feel happy to share my bakes as I am really proud of them. Hope you all try and love it too. Happy and healthy baking!
RECIPE:
Ingredients: { 1 Cup = 240 ml}
Dry ingredients:
1 Cup whole wheat flour/ Gehun ka Atta (I use Pillsbury brand)
1 tsp Baking powder
1 tsp Baking soda
1/2 tsp Salt
Wet ingredients:
1 Cup peeled and grated Carrots
1 Cup Milk (Use 1/2 Cup to soak the dates and 1/2 Cup to add to the mixture)
3/4 Cup Dates (after removing seeds)
1/4 Cup Ghee
1/4 Cup Jaggery powder (Optional)* check notes
Step by step recipe:
1. Soak dates in 1/2 Cup milk for about 30 mins to an hour till it turns soft. Grind the soaked dates and the milk to a smooth paste. After that preheat the oven at 180 C for 10 mins.
2. Sieve together wheat flour, baking powder, baking soda and salt in a bowl. Keep aside.
3. In another bowl, take the dates paste, grated carrots, ghee and jaggery (if using).
4. Mix well using spatula. Now add the dry ingredients to wet ingredients and fold well. Do NOT overmix. Just mix once so that the flour specks are not seen.
5. Now add the rest of the 1/2 Cup milk and mix once.
6. Grease the loaf pan with ghee and pour the batter into the pan. Level using spatula.
7. Bake at 180 C for 30 to 35 mins or till a toothpick inserted in the center comes out clean.
Note: Every oven is different. So keep an eye after 25 mins so that the surface doesn’t turn black.
8. Allow it to cool completely. The top surface may be hard when you touch. It will be super soft as it cools down. Invert, slice and serve.
Notes:
* This cake tastes sweet even without jaggery as it has dates paste and carrots but since my kids have an extra sweet tooth, I add 1/4 Cup Jaggery. You can reduce or completely skip it if you don’t like cakes extra sweet.
* Please see that you divide the 1 Cup milk into two halves. 1/2 Cup milk to soak the dates and 1/2 Cup milk to add to the mixture as last step.
* Grind the dates in the soaked milk itself. Don’t add extra milk or water while grinding.
* My cake takes exactly 30 mins at 180 C. Every oven is different. So keep an eye after 25 mins so that the surface doesn’t turn black.
*Allow the cake to cool completely. The top surface may be hard when you touch. It will be super soft as it cools down.
* Lasts well for couple of days at room temperature if kept in an airtight container and handled well. Tastes even better the next day and the texture turns even softer.
* If you are new to baking, I have written an article combining all notes and pointers that I learnt in my decade long baking journey. You can check that if needed – Baking Basics for Beginners
I have tried to note down as much points as possible so that it’s easy for you all to follow but if you still have any doubts, either comment here or message me on my Facebook page Healthy cooking with mitha and I would be happy to help. Happy baking!
Click on the picture to save the recipe on Pinterest
As you all already know, we are a dosa loving family and on most days, our breakfast is any variety of dosa. I have already shared 15 varieties of dosas which I make regularly. Here’s sharing a dosa which my grandmother made atleast once a week – Pejje Polo.
This thick cumin flavoured dosa is actually served as prasad or offering to Lord Venkataramana in a temple in Karkala which is a place in south Karnataka. Though homemade ones can’t match the divine flavours of temple offering, it does taste very delicious. The aroma of cumin seeds take this dosa to another level.
I feel so happy to be sharing my Anama‘s (grandmother’s) recipe on the site. Hope my kids too read this recipe someday and prepare with love for their family just like how my Anama and Amma made it and taught me.
My family loves these soft on the inside yet crispy dosas very much. Hope you all try and love it too. Happy and healthy cooking!
RECIPE:
Ingredients: {About 18 small sized dosas}
2 Cups Raw white rice (any variety works well)
1 Cup Urad dal
1 Tbsp Cumin seeds/ Jeera
Oil or ghee to cook the dosa
Step by step recipe:
1. Wash well and soak urad dal and rice together for about 4 hours.
2. Drain the water and grind along with little water to a slightly coarse paste. Add cumin seeds and salt.
3. Now grind to a almost smooth but little grainy batter. (It’s okay to grind smooth too but this dosa has a little grainy texture)
Note: Consistency is like regular dosa batter (a thick batter but still pouring consistency).
4. Ferment the batter overnight or for 8 to 10 hours.
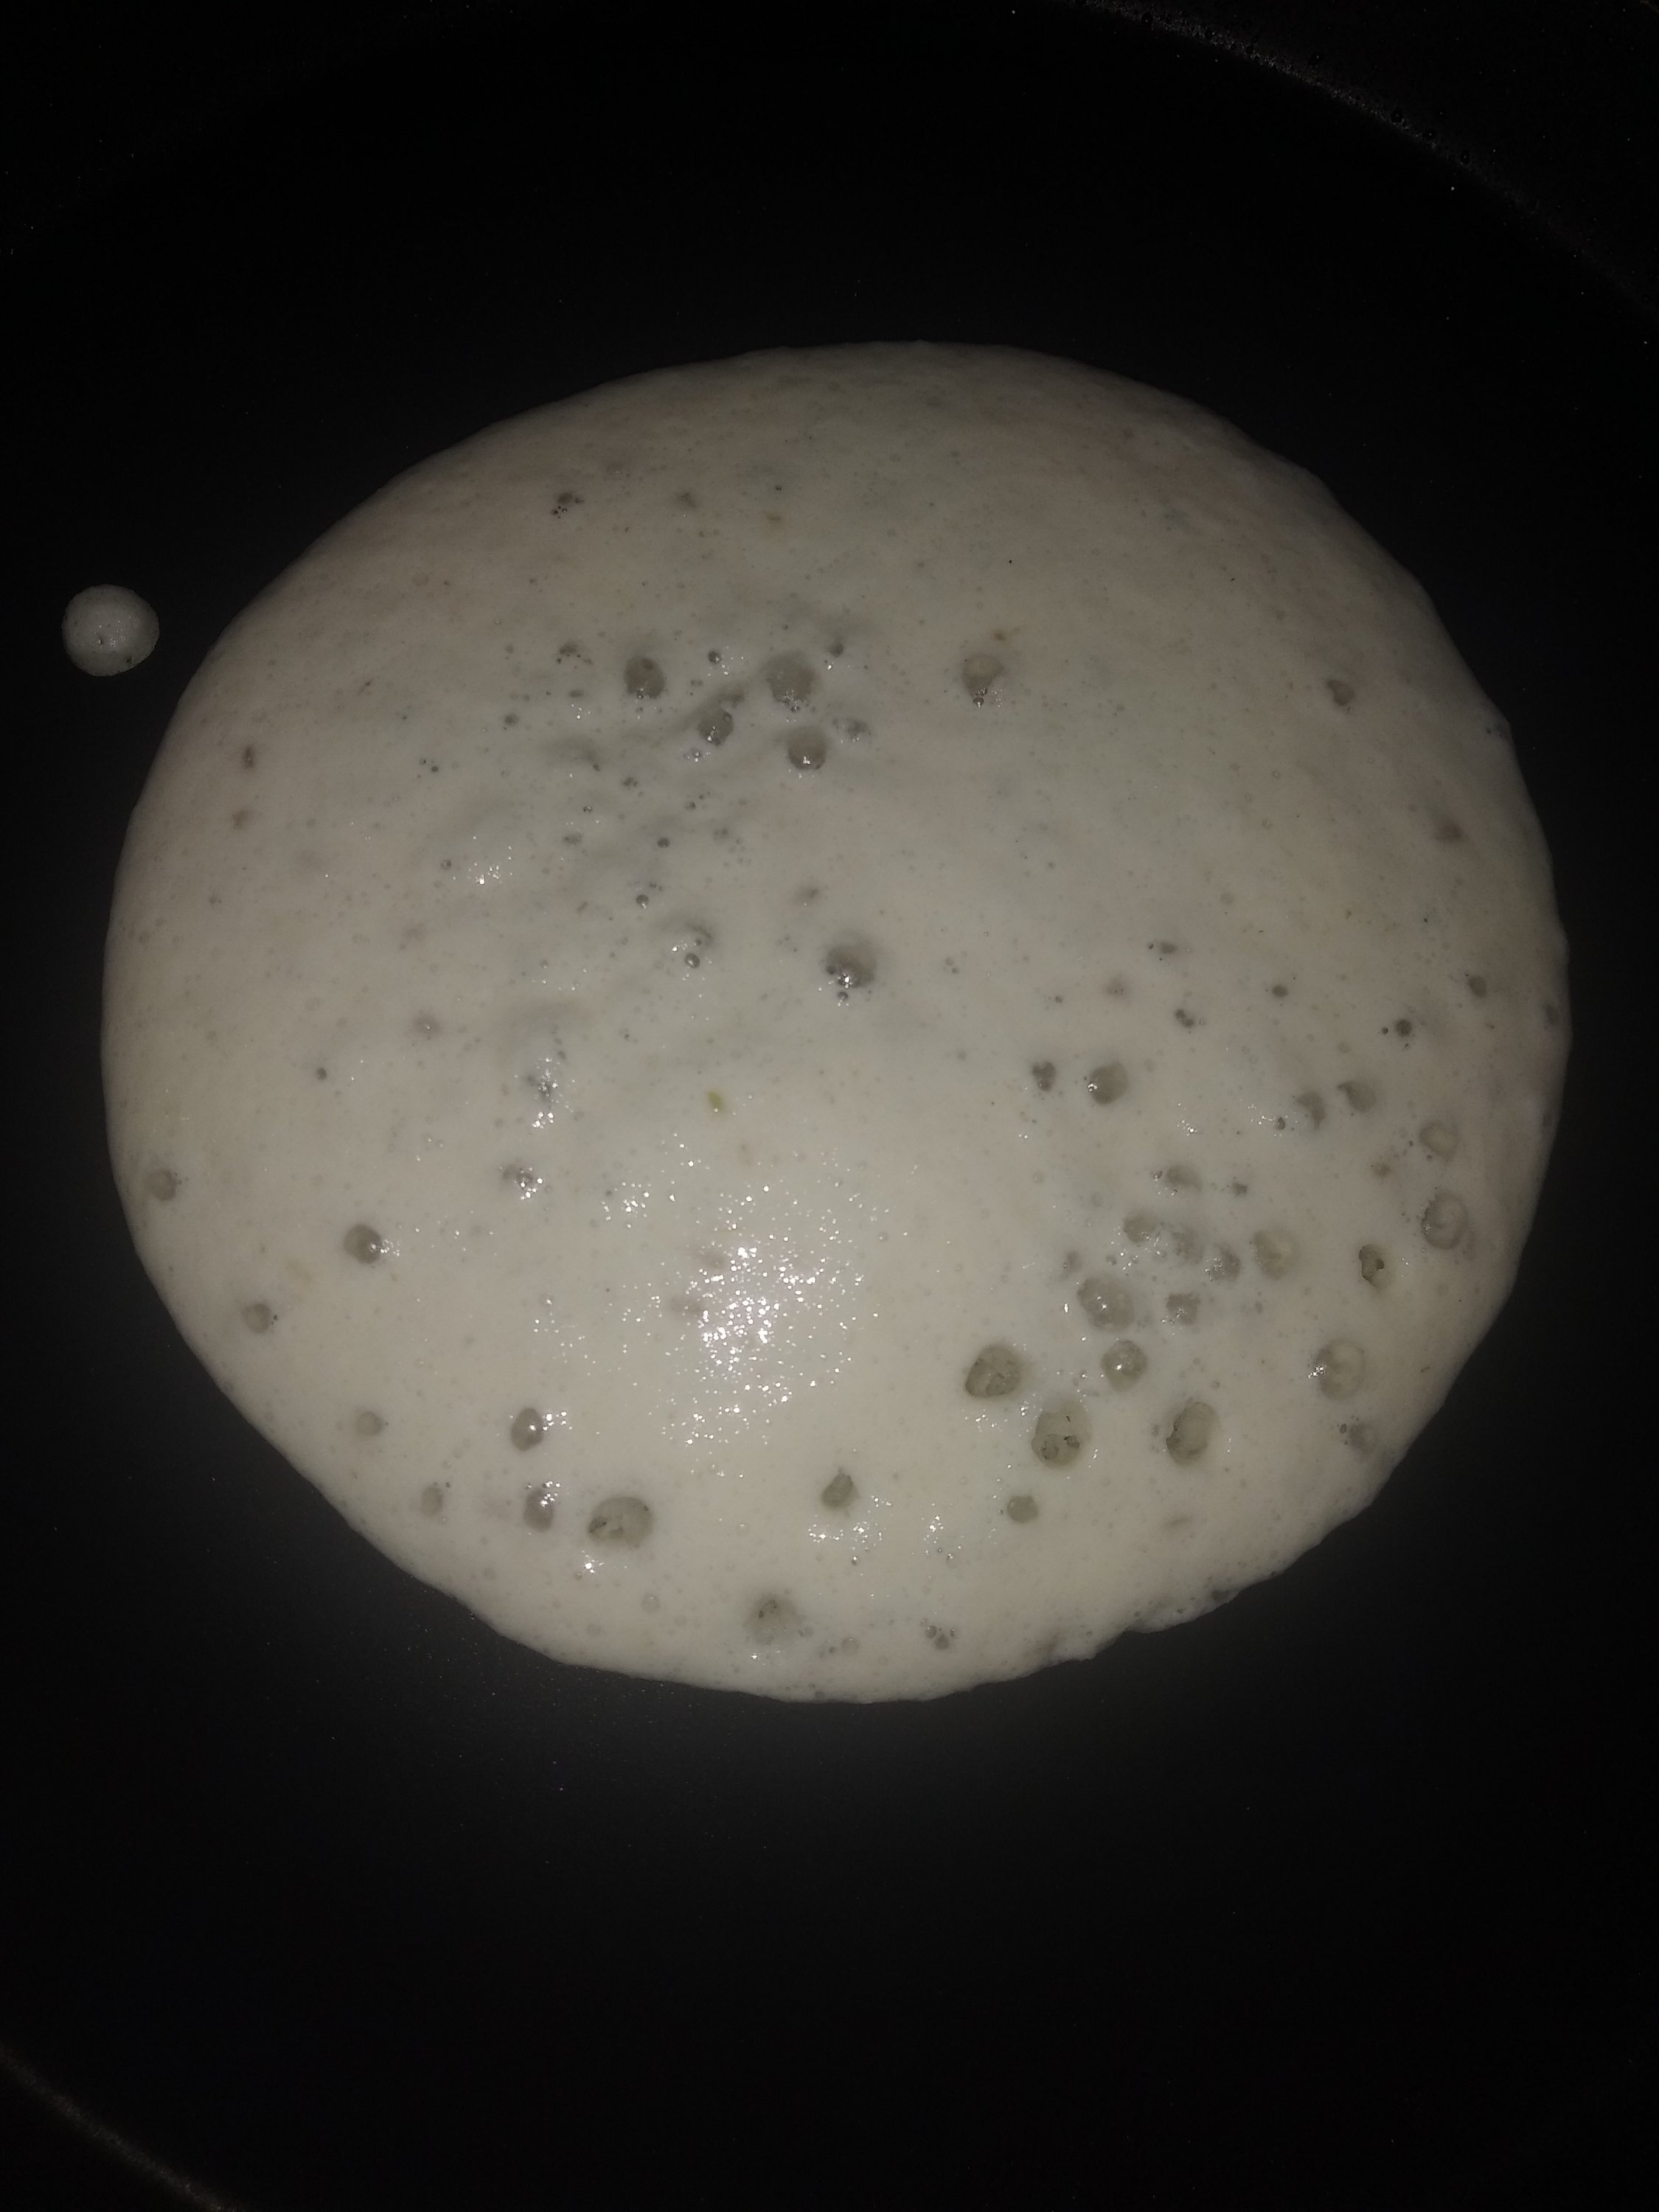
5. Now when making dosas, heat a dosa pan and pour a ladle of batter in the center of the pan. The dosa is small and slightly thick. No need to spread the dosa.
6. When the surface looks almost cooked, drizzle oil or ghee over the dosa. Flip and cook for a minute or so.
7. Serve hot with a chutney of your choice.
Notes:
* Cumin seeds are the highlight of this dosa. Don’t skip it. It gives a wonderful aroma and flavour to this dosa.
* Keep the batter consistency thick (like regular dosa batter) and slightly coarse for authentic texture of the dosa.
* Also cook both sides crisp for best taste.
* I serve this dosa with simple coconut chutney. Just grind coconut gratings with ginger, green chillies and salt with little water to a smooth paste. I don’t season this chutney. You can also season in coconut oil with mustard seeds, hing and curry leaves.
Being a mommy has turned me into a non stop thinking person about what healthy and yummy food to make for the kids. Yes, kids first and then us. I guess its common everywhere. We always keep our children’s food choices over ours.
My kids take maximum benefit of it and I have to sometimes whip up very quickly for their sudden hunger pangs. It is during this time that our Indian snacks such as bhel come handy. Quick to make and quicker to polish off, a very healthy option as a light but filling evening snack.
The kids too love it very much and I heave a sigh of relief that I won’t get to hear “potta bhook” (I am hungry in konkani) for the next one hour (?? ) atleast. 😄
Hope you all try and love it too. Happy and healthy cooking!
RECIPE:
Ingredients:
2 Cups Bhel or puffed rice or churmura or kurmura
1/2 Cup Bhujiya or Sev
1 Cup Sweetcorn (steamed for about 10 mins)
1/2 Cup finely chopped Onion
1/2 Cup finely chopped Tomatoes
1/4 Cup thick Curd/ Yogurt (optional)
1 Tbsp finely chopped Coriander leaves
1/2 tsp Tamarind paste
1 Tbsp roasted Peanuts
1 tsp Tomato ketchup
1/2 tsp Red chilli powder
1/2 tsp Chat masala powder
Rock salt or regular salt to taste
Step by step recipe:
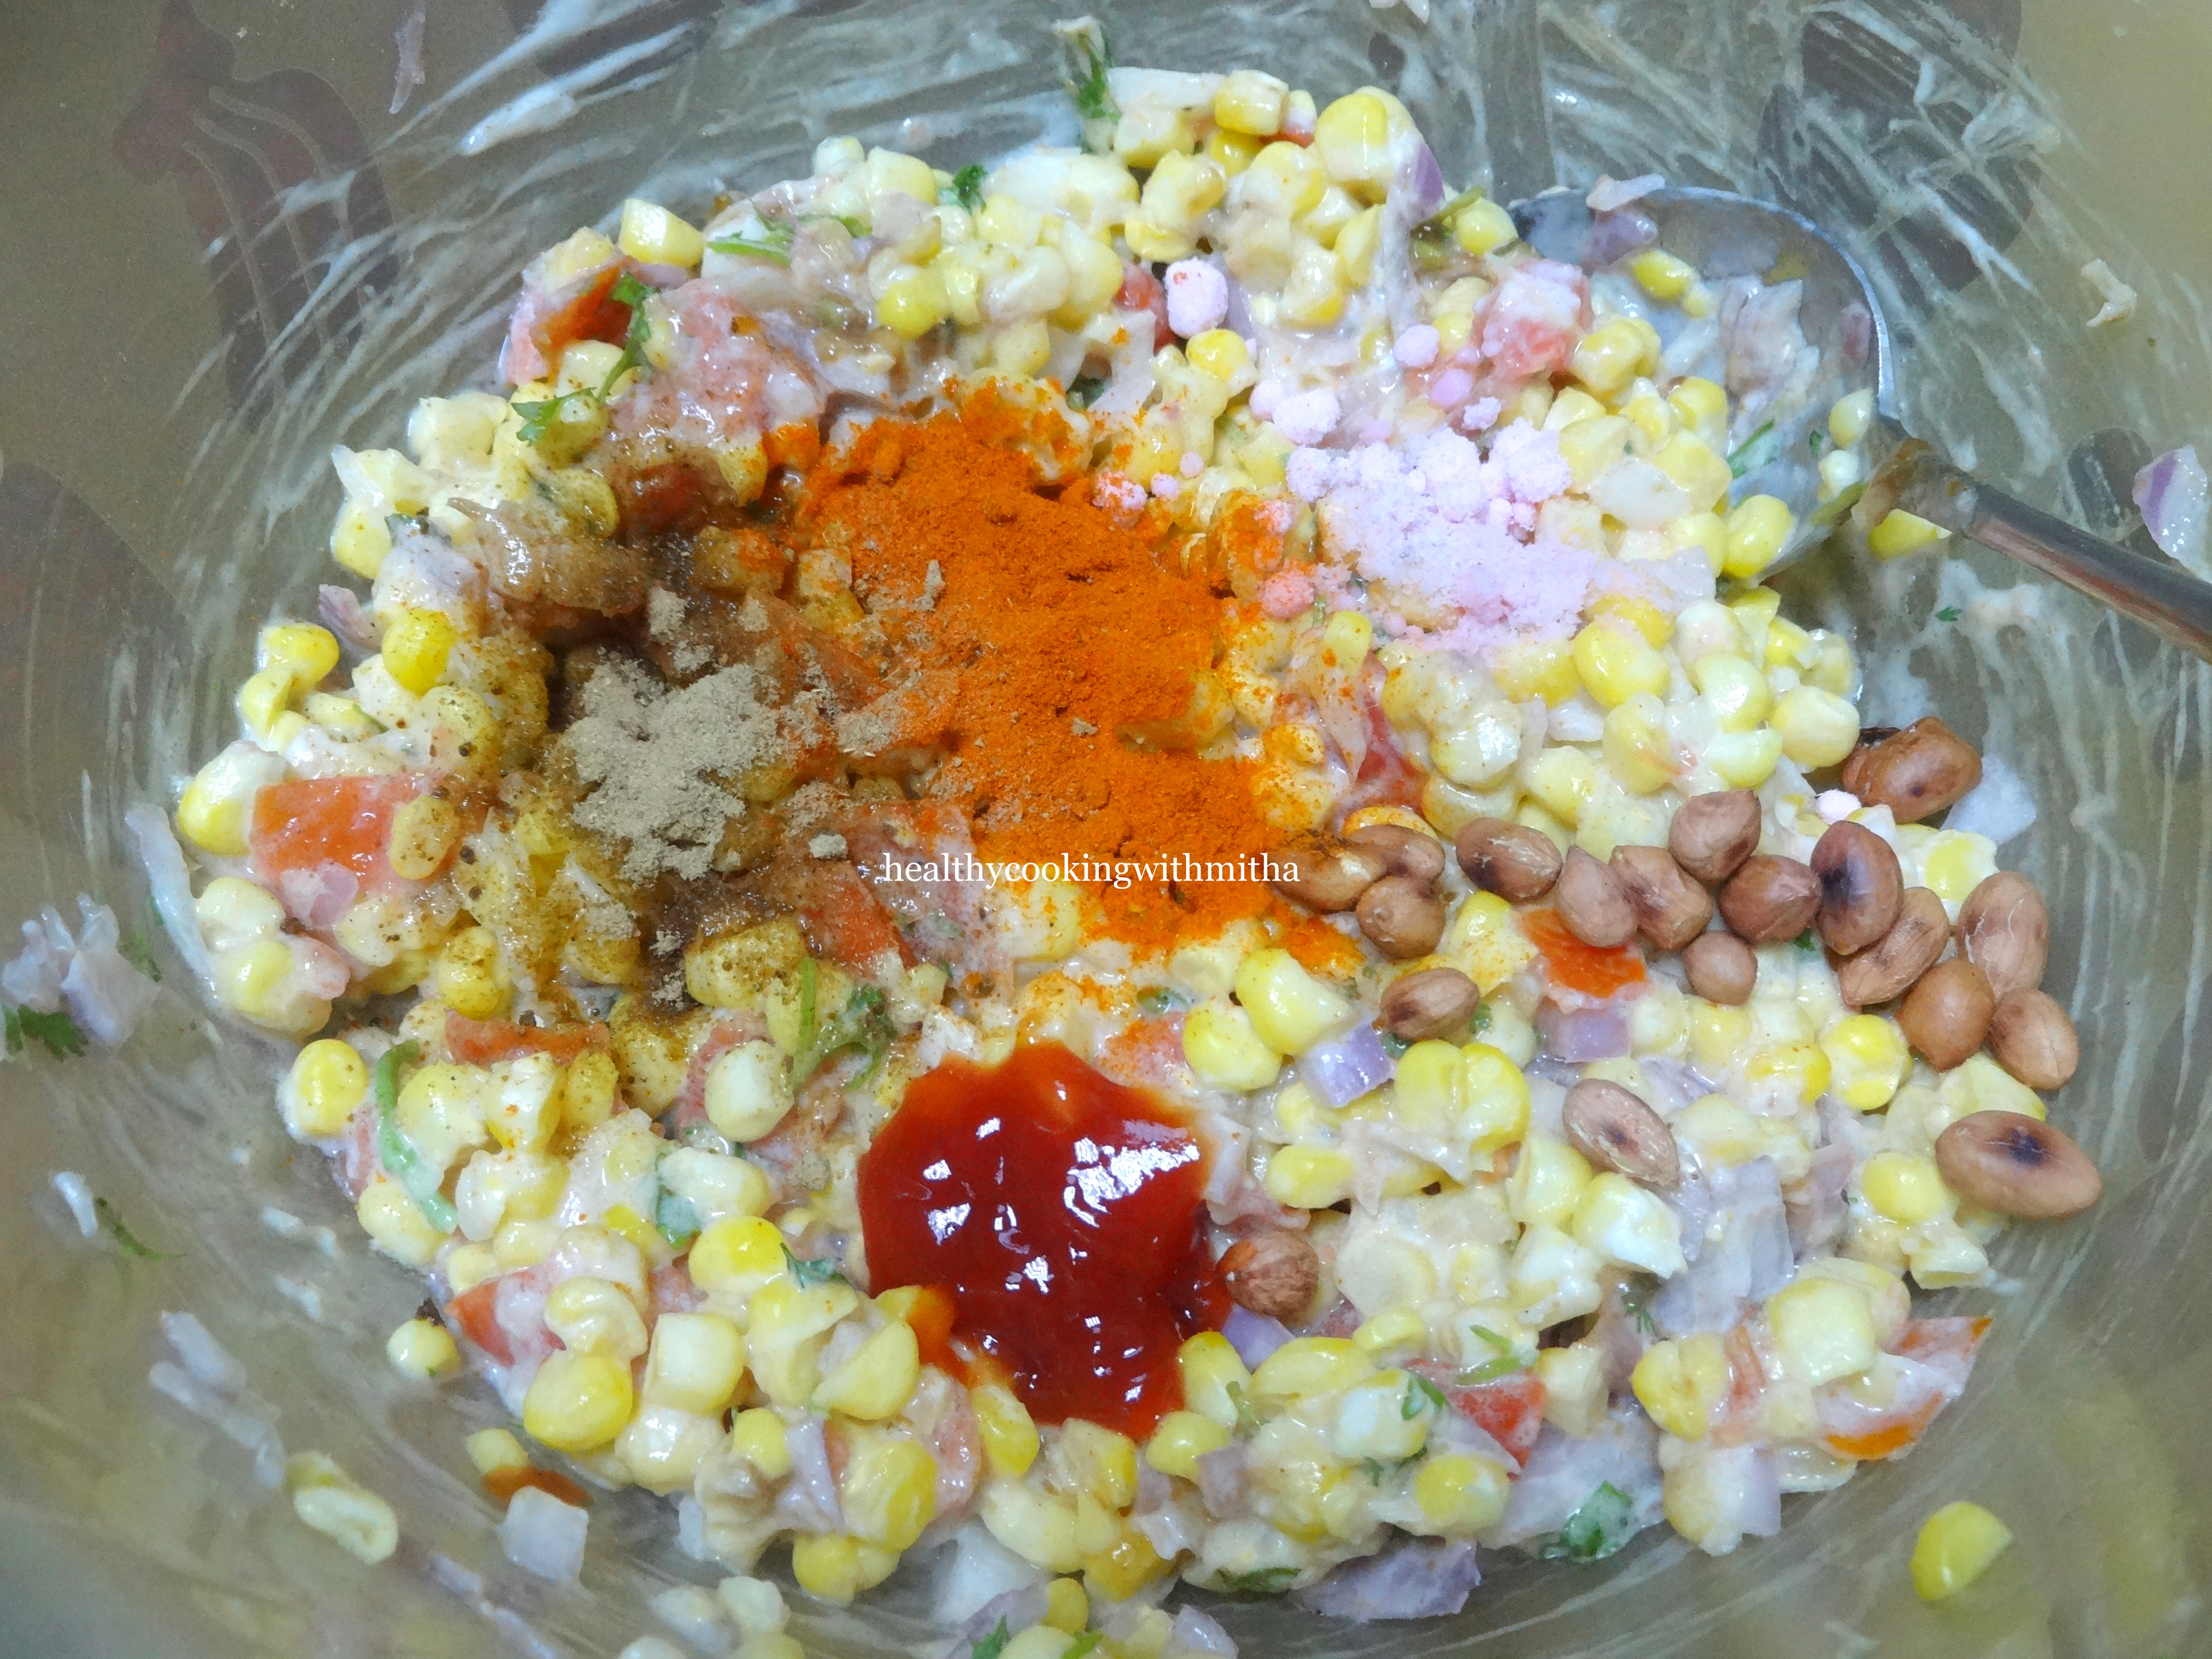
1. Take a large mixing bowl and add steam cooked sweetcorn, tomatoes, onions, coriander leaves, tamarind paste. Curd is optional but we love the creamy tangy flavour it gives.
2. Mix well. Add chat masala powder, red chilli powder, salt, ketchup and roasted peanuts.
3. Add bhel and bhujiya. Mix well.
4. Serve immediately else the bhel turns soggy. Enjoy with a dash of lemon juice if you feel it needs more tangy flavour.
Notes:
* The proportions of ingredients are to taste and you can change or adjust as per your taste buds.
* You can also skip any ingredient if you don’t have. This is just an easy to make snack idea which can be made with whatever ingredients you have in your kitchen.
* Do remember to serve immediately. Else the bhel turns soggy.
Advertisements
Join me in my journey with a foodie husband and hungry kiddos while I make them eat healthy!