I love different varieties of mixed vegetable curries and Vegetable Kurma is one of my favorite. Apart from that, I also make Vegetable stew for a change as it’s very quick to make, tastes divine and so aromatic too.
Though it is usually eaten with Appam and Idiyappam, it is a great combination with chapatis and pulav too. Today I made it with dosas for breakfast and it was amazing as well. The soft dosas dipped in this stew was a tasty and healthy breakfast.
Hope you all try this delicious stew and enjoy it’s aroma in your kitchen too. Happy and healthy cooking! ❤️
(Sorry for short writeups nowadays. My kids hardly give me time to write blogs as they need me always. But I really wanted to share this recipe right away. So writing this quickly for all of you. 😍)
RECIPE:
Ingredients:
2 Tbsp Coconut oil
2 Cardamom pods
2 Cloves
1 inch Cinnamon stick
1 Bay leaf
1 inch Ginger, finely chopped
1 medium sized Onion, finely chopped
1 long Carrot, diced (about 1 Cup)
10 to 15 medium sized Beans, chopped
2 medium sized Potatoes, diced
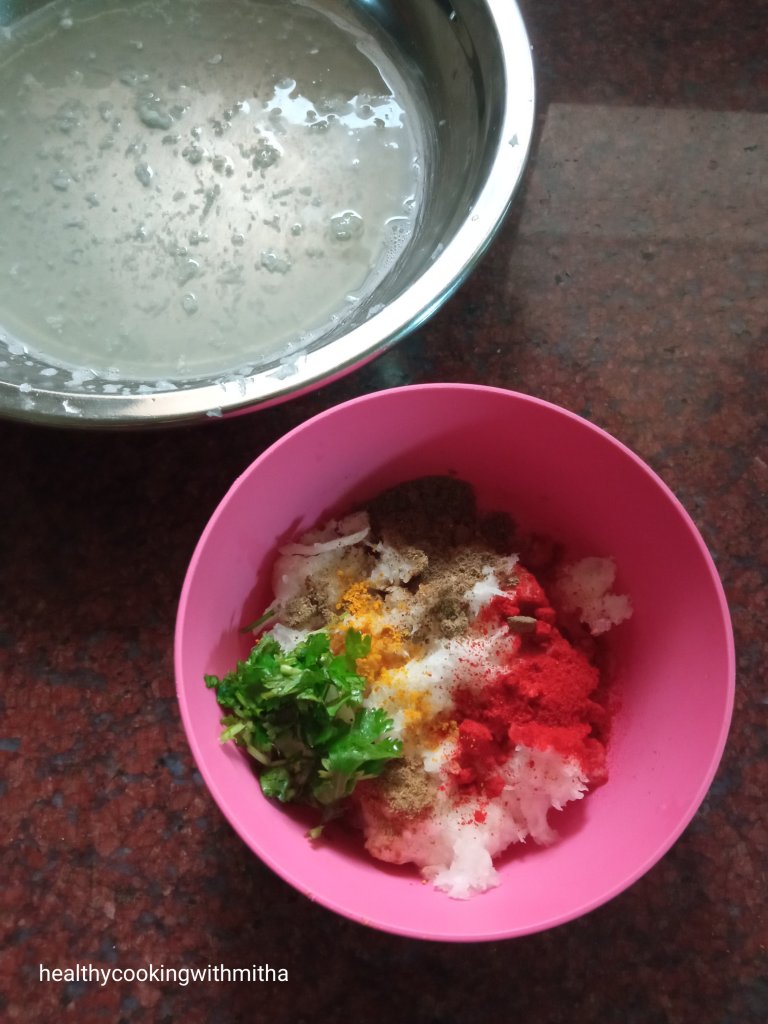
1/4 tsp Pepper powder
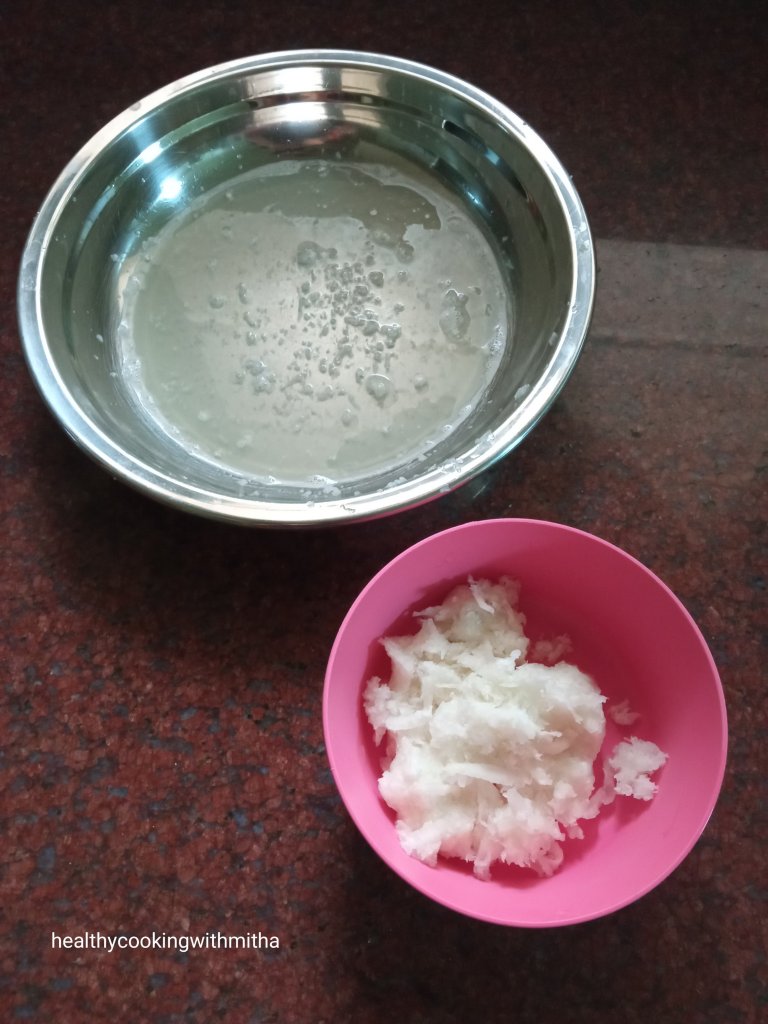
2 Cups thin Coconut milk
A sprig of Curry leaves
1 Cup thick Coconut milk
Salt to taste
Step by step recipe:
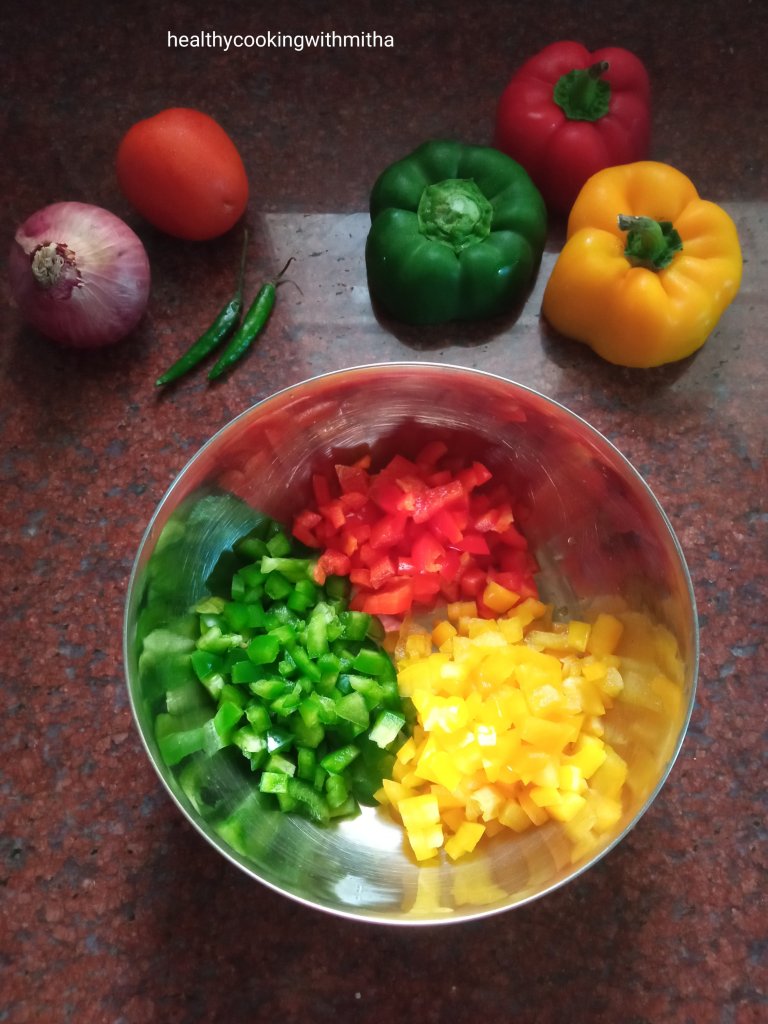
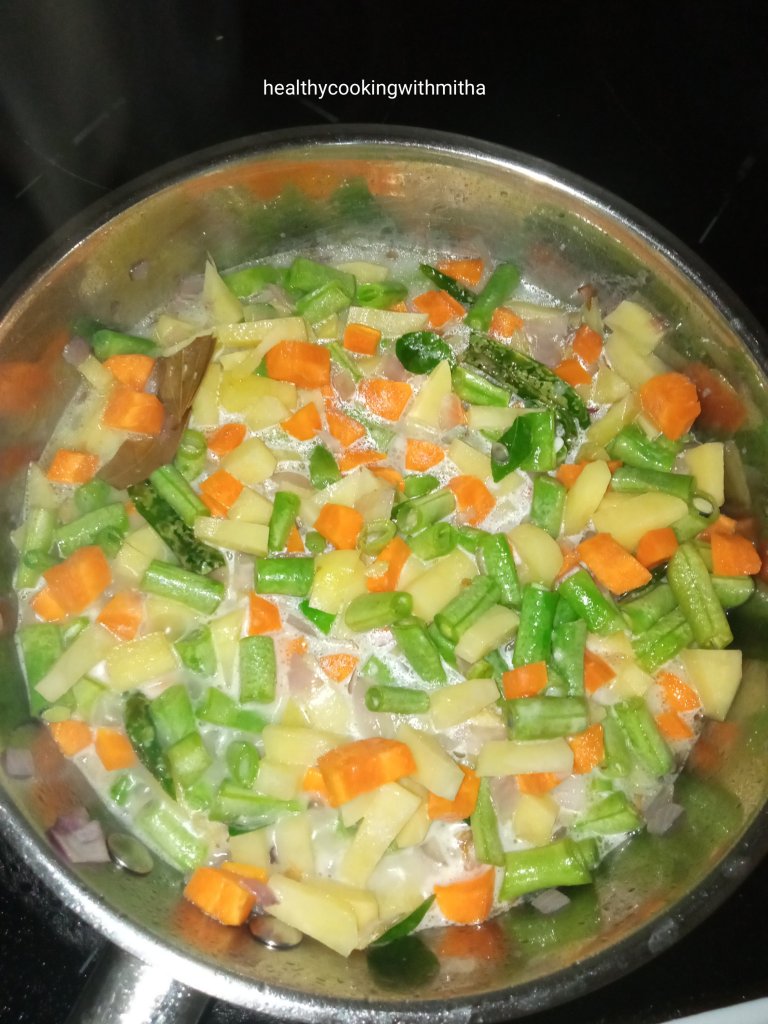
1. Prepare the vegetables first by peeling and dicing carrots, chopping beans into 1 inch pieces (discard the ends), peel and dice potatoes. Keep aside. Also cut green chillies into long pieces and finely chop onions and ginger.

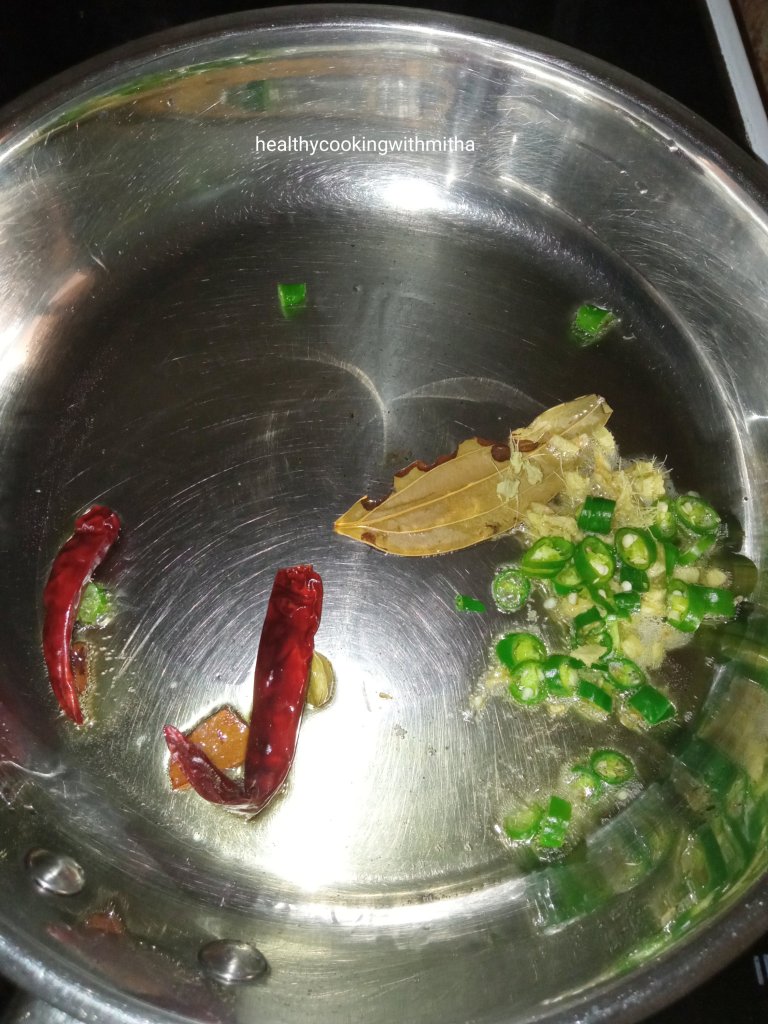
2. Heat oil in a pan. Add a bay leaf, cloves, cardamom and cinnamon. Also add ginger, green chillies and onions. Fry till onions turn translucent.

3. Now add the vegetables along with curry leaves and mix well. Add the thin Coconut milk (about 2 Cups). Also add salt and pepper powder. Cover and cook till the veggies turn soft.
4. Once vegetables turn soft (about 10 mins), add thick Coconut milk ( 1 Cup) and mix well.

5. Let it simmer on medium flame for about 10 mins till the gravy thickens. Now adjust water and salt. Done ❤️

6. Vegetable stew is served with Appam or Idiyappam. You can also serve it with rice or pulav, chapatis or dosas. It is so simple yet aromatic and delicious. ❤️
Notes:
* You can also add fresh/ frozen/ dried peas if you have.
* There are so many variations to stew as some add turmeric powder and even Garam Masala powder but this is a basic recipe close to the authentic Kerala style Vegetable stew. You can make variations as per your taste.
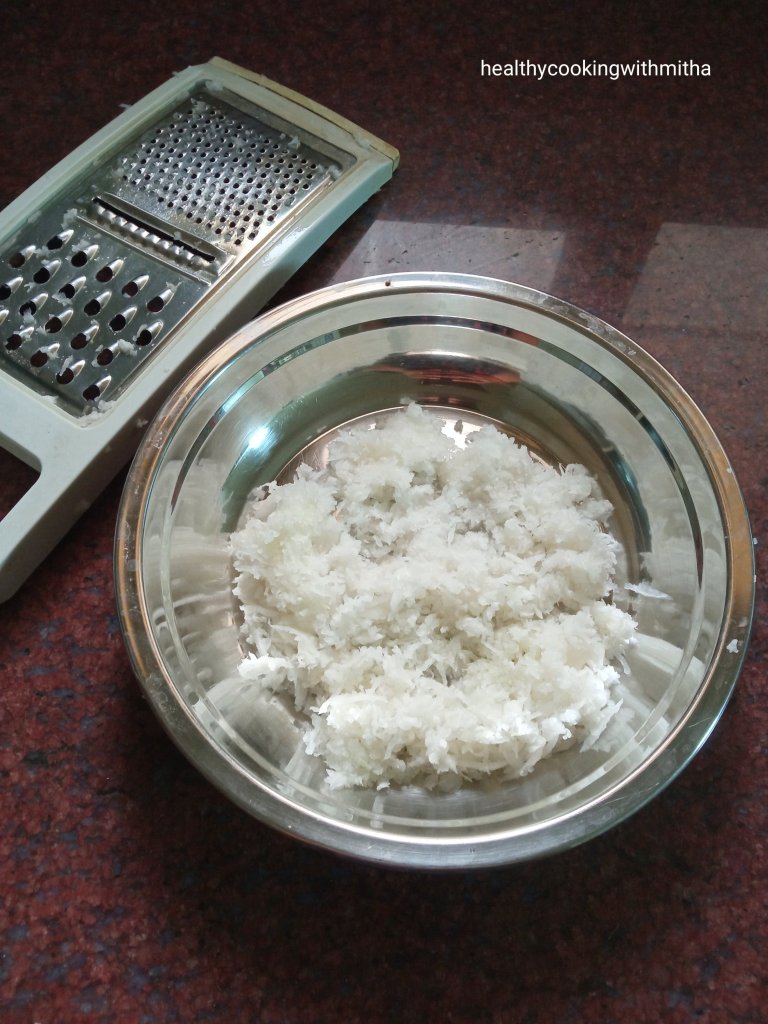
* Thick Coconut milk means when you grind fresh coconut with little water and sieve.
* Thin Coconut milk means when you grind the sieved coconut again with water and sieve again. That is the second coconut milk.
* What I do is, I use coconut milk powder diluted with water to get thin Coconut milk and use canned coconut milk for thick Coconut milk.
* You can use fresh, powder or canned coconut milk in this recipe as per what is easily available for you.
* Cooking the vegetables in thin Coconut milk is what gives the stew it’s flavour. So don’t skip it.
* After adding thick Coconut milk, don’t cook it on high flame for long. Just simmer it till it boils and remove from flame.
* You can also try this recipe of Restaurant style Vegetable Kurma.